Overview
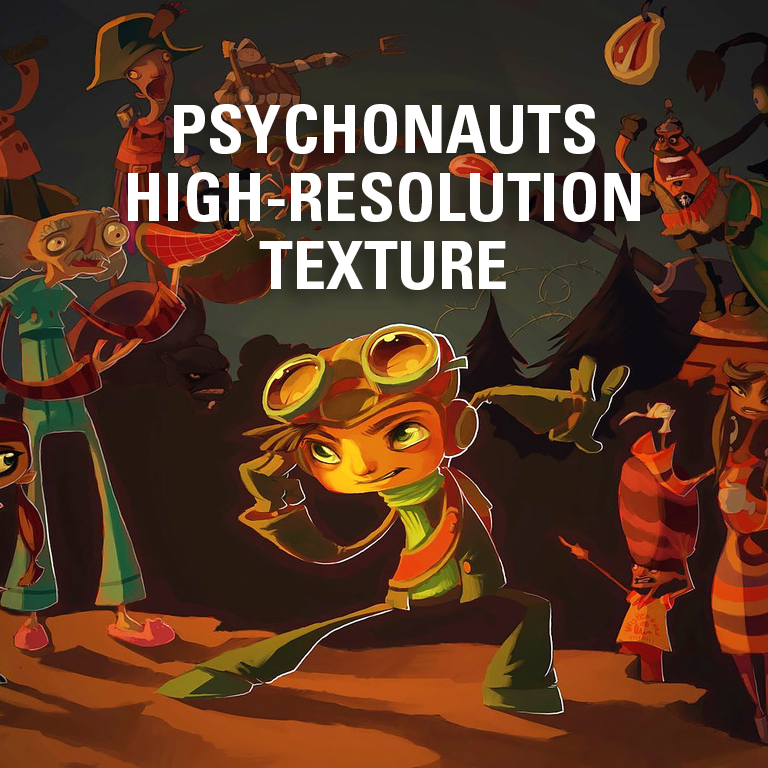
A simple and useful guide on installing the HrD mod for Psychonauts. The HrD mod provides high resolution textures for the characters, environment, figments and much more so you can enjoy Psychonauts on a modern resolution a bit better.
Introduction
I recently started playing Psychonauts and was blown away by how the game looks so modern despite it being around 15 years old, but, just like any other game, it was bound by technical limitations of that time and hence the textures were designed mostly for 4:3 screen ratios and were much lower resolution.
The game looks slick in my ultrawide but the textures were a bit blurry and when I searched for some texture mods, I found only one mod named HrD Mod by Ribeena at NexusMods.
The mod author redrew some textures and upscaled few other textures to look better in higher resolution. A small warning though, not all textures are included and you may find some low res textures throughout the game and the mod is far from perfect, you may find some bugs also, but anything is better than nothing.
Before we get started, I want to thank the mod author Ribeena at NexusMods for taking their time to pimp-up the textures of this cult classic. You can find their profile here: [link]
Let’s get going then!
Things you need
- 15 minutes of your life.
- All the files from this[www.nexusmods.com] link.
- uMod_v1_r44.zip from this[code.google.com] link.
After downloading the files from the above two links, move them to a recognisable location.
Installing the mod
INSTALLING UMOD
- Extract the uMod_v1_r44.zip file into a folder.
- Copy the d3d9.dll file from the uMod directory to the game directory*.

—
ADDING THE GAME TO THE LIST
- Now open uMod.exe from the uMod directory.
- Click on Main > Add game.
- Browse to the game directory* and select Psychonauts.exe.
INSTALLING THE TEXTURES
- Click on Main > Start game through uMod.
- Select the item which ends with Psychonauts.exe.

- Now Alt+Tab and open uMod window while the game is running in the background.
- Click on Open texture/package on the bottom left corner.
- In the window that pops up, navigate to the folder where you placed all 5 the texture packs and select one of them and click Open. The uMod app will load the texture with the check box next to it.

- Do the same steps to add the four remaining texture packs.
- Now go to Main > Save template and give it a name and specify a location to save it.
- Go to Main > Set template as default.
- You’re almost done, you can now click on the Update button on the bottom to load the textures in the game. Just Alt+Tab into the game to enjoy the higher resolution textures.**
*You can find the game directory by navigation to your steam folder and going to steamapps > common > Psychonauts.
**You need to have the uMod running in the background for the mod to work. Closing uMod while playing the game may result in the game crashing.
Running the game with the mod enabled
Whenever you want to play the game with the mod enabled, you have to open uMod and launch the game through uMod. The mod will automatically load the default template and start the game.
Please don’t forget to read the next section. It’s really important.
A few notes, warnings and thanks
One biggest downside of this mod is that you have to launch the game through a different launcher. What this means to you is that:
- No steam overlay when playing the game through uMod.
- No steam achievements when playing the game through uMod.
- No steam card drops when playing the game through uMod.
- No steam controller support when playing the game through uMod.
- Hours played wont be recorded when playing the game through uMod.
There are also some other stuffs to remember, which are:
- The texture packs are not complete. There might be few places where you might still notice low resolution textures.
- There might be some bugs and glitches.
- uMod has to be running in the background for the mod to work.
Now that’s done, it’s thank you time!
- Thank you for reading this guide till the very end.
- Thanks to Ribeena[www.nexusmods.com] for making this wonderful mod.
- Thanks to the uMod[code.google.com].
Happy gaming!

