![[官方制图指南翻译]人类一败涂地做地图/关卡制作/上传/订阅教程 for Human: Fall Flat](https://steamsolo.com/wp-content/uploads/2021/07/n-a-human-fall-flat.jpg)
Overview
官方原文地址
写在前面
※本教程是官方教程的提炼版 如有翻译错误以及各种错误欢迎指正 侵删
1.准备以及配置Unity&重新加载Prefab(Configuring Unity for Human Workshop&Reimporting Prefab Thumbnails)
1.下载Unity 2017.4.13f1y 下载地址[download.unity3d.com]
2.下载之后打开Unity,新建一个3D项目,名字随便取
3.在Unity上面一栏点Assets,选Import Package,点Custom Package


然后去你的Human:Fall Flat的安装目录C(你的游戏安装盘)找到:/ ProgramFiles(x86)/ Steam / steamapps / common / Human Fall Flat / WorkshopPackage打开并等待加载完成出现这个窗口

然后按导入(Import)并等待进度完成,完成之后完全关闭Unity.
4.去C:/ ProgramFiles(x86)/ Steam / steamapps / common / Human Fall Flat / WorkshopPackage:复制 Project Settings 这个文件夹
把它粘贴到你新建的Unity项目源文件夹中替换它现有的Project Settings文件夹

4.替换完成之后重启Unity,现在可以在下面的Project→Assets窗口里找到Workshop文件夹

※但是你现在会发现Assets/Workshop/Prefab里的缩略图显示不完整都是蓝色小方块

这个是Unity一个不会被修复的BUG,想正确显示的话 右键单击Prefabs文件夹,选全部重新导入(Reimport All)选项,等待完成就会正确显示(需要等很久)

2.创建你的关卡(Create Your Level)
1.创个新场景(Create a new Scene file),随便取个名字并打开它
2.删除Hierarchy里面的Main Camera和Directional Light
3.去下面Workshop > Prefabs找到Level prefab拖进去。
在Workshop> Prefabs,您可以找到Level prefab
场景中可以拖入任何关卡,或者你可以自己重新做一个
如果你不想知道怎么做制作Level prefab,跳至指南的初始级别布局(Initial Level Layout)部分
1.创建一个empty(空)Object并将其重命名为Level(GameObject→Create empty)
确保所有轴上的位置都设置为 0
2.在Component中搜索Builtin Level,添加(Component→add…→搜索Builtin Level)
该组件允许级别在编辑器中播放。
•添加名为Sound Manager的组件
这允许关卡使用游戏音响系统。
•添加名为Sound Library的组件
将游戏指向正确的声音库。
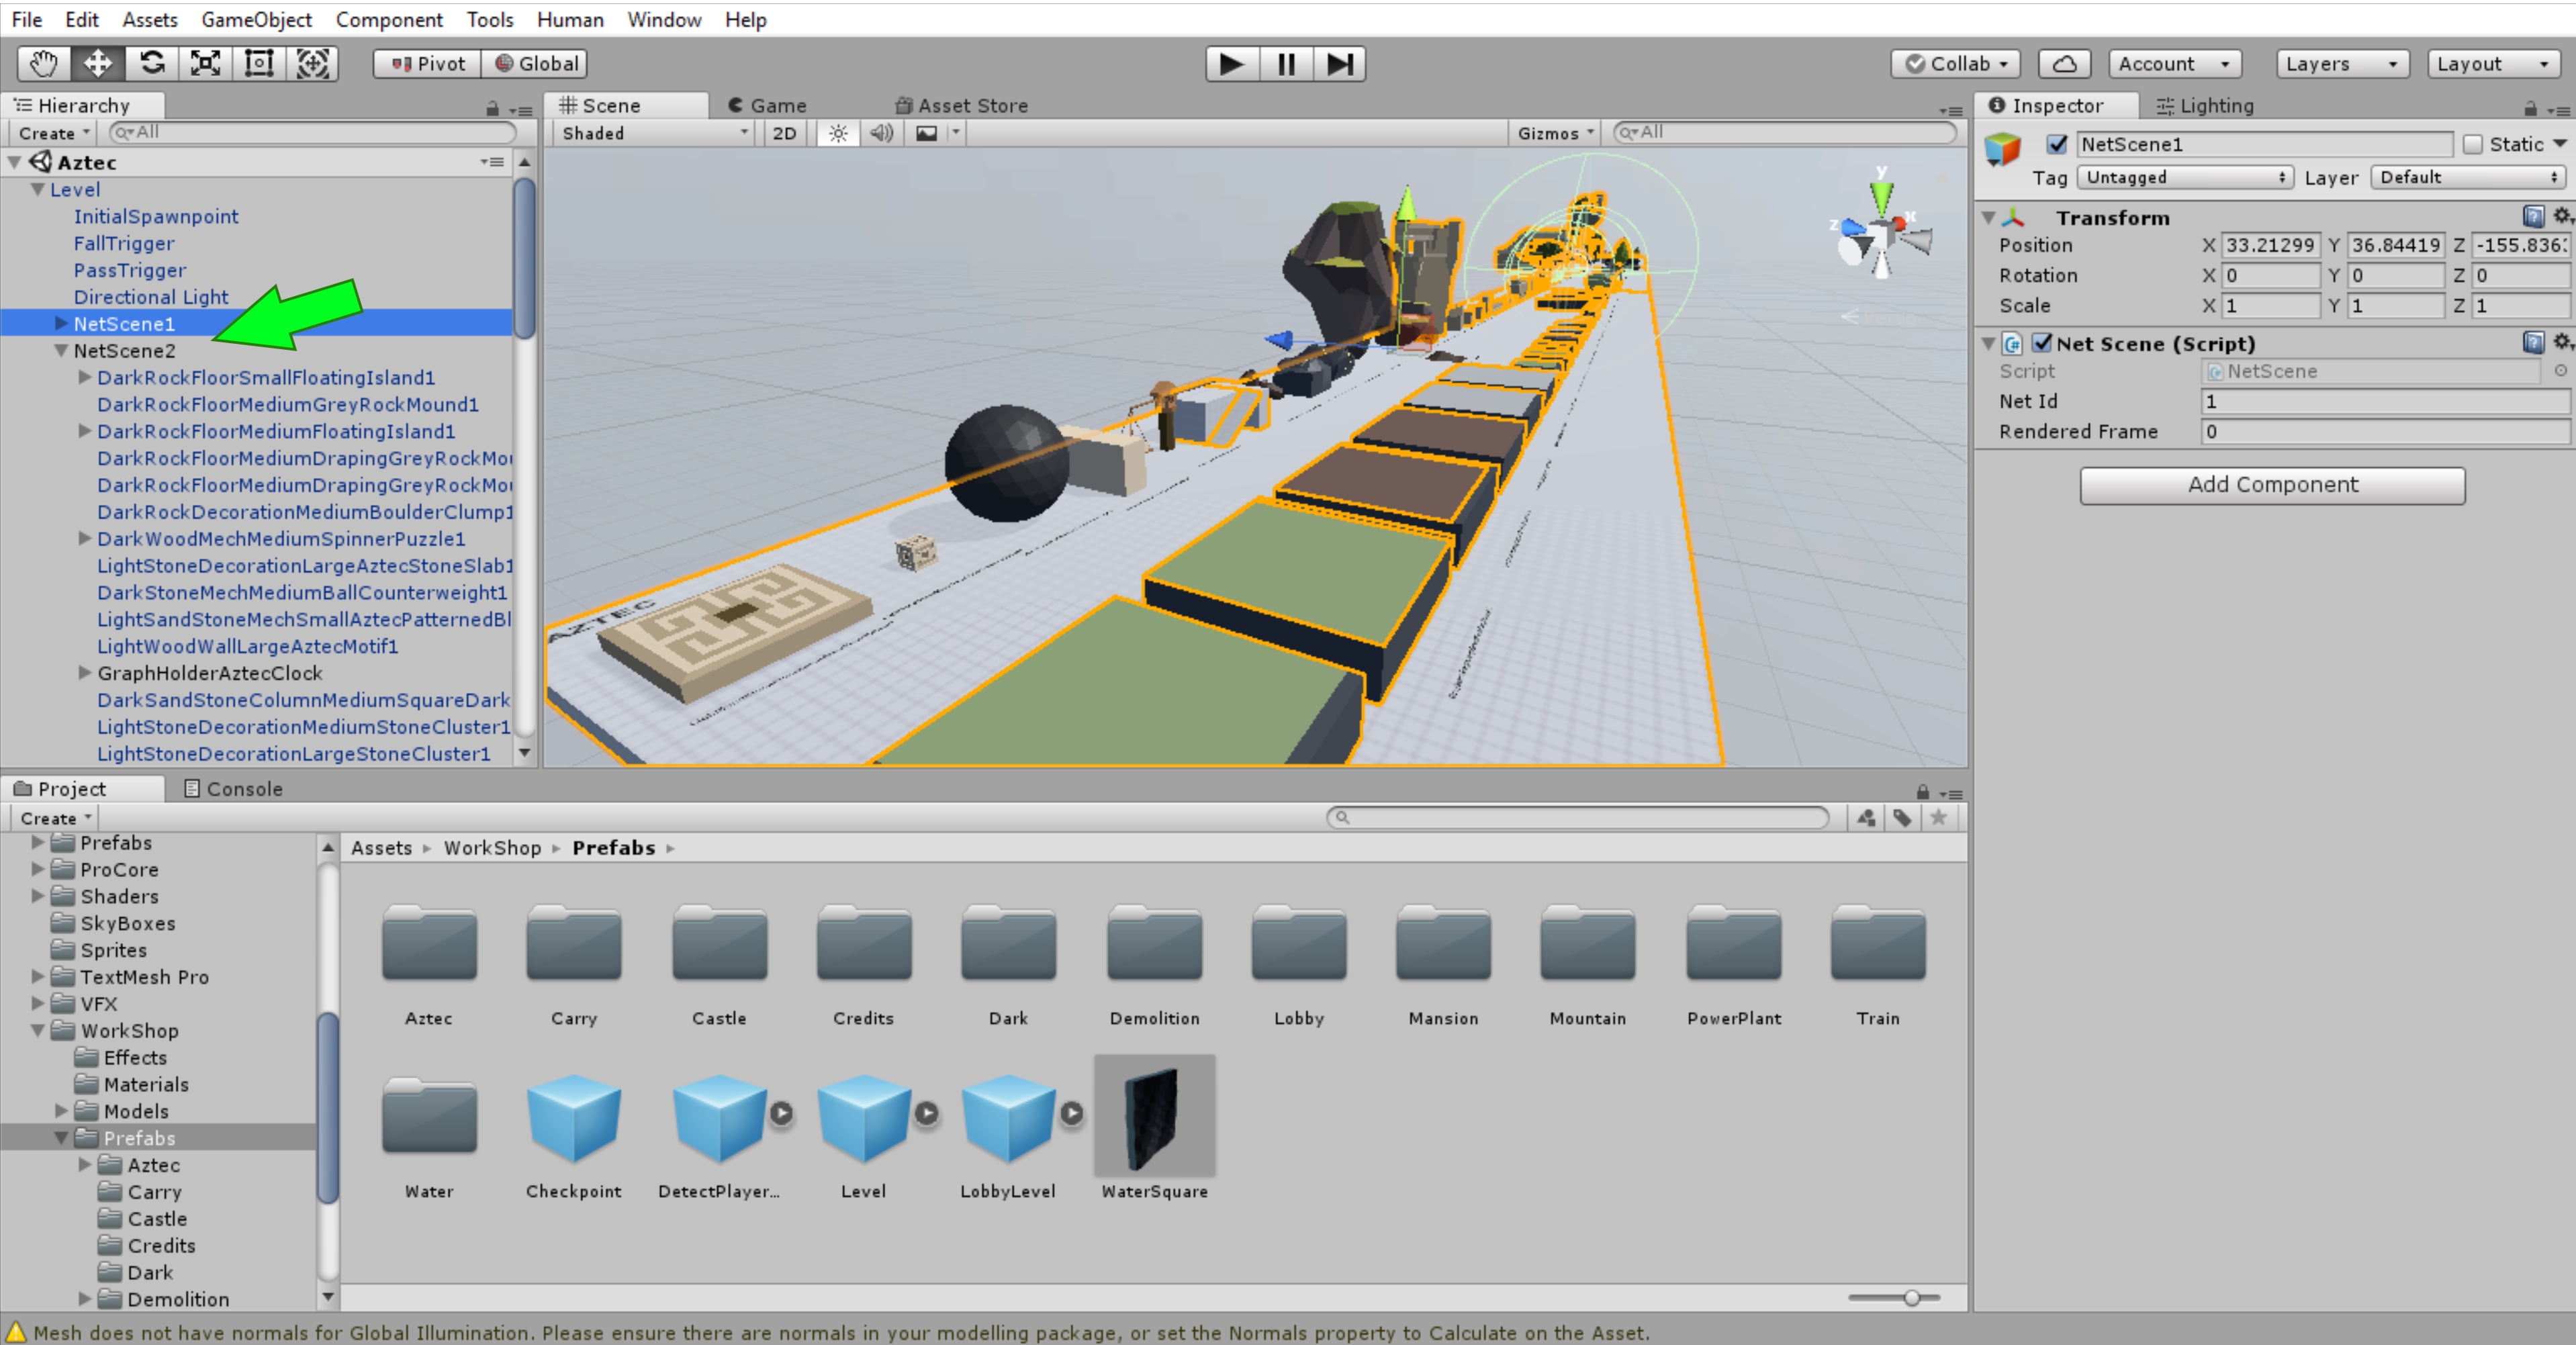
•添加名为Net Scene的组件
允许场景通过网络在线多人游戏。
•添加名为Scene Manager(场景管理器)的组件
通过网络控制多人游戏的场景。
•在Level下创建一个空对象(empty object),并将其重命名为InitialSpawnpoint。
此对象将控制播放器在场景中生成的位置。
•添加名为Checkpoint的组件(component)。
•将位置设置为0,0,0
•Drag InitialSpawnPoint into the Spawn Point box and the Debug Spawn Point in the Builtin Level component of the Level.
把InitialSpawnPoint拖到Level右边→Builtin Level选项下的Spawn Point里并且调试Spawn Point(这句好难翻译)
•在Level下创建一个empty object并将其重命名为FallTrigger。
此对象将检测玩家何时跌落。
•添加名为FallTrigger和Box Collider的组件。
•将位置设置为 0,-30-0(预设里需要改的)
•将盒子对撞机尺寸更改为 200,20,200
•勾选了触发器。(Is Trigger)
•在Level下创建一个空对象,并将其重命名为PassTrigger
这用于在玩家进入等级结束后检测玩家,当玩家超过等级后,他们将进入下一等级。
•添加名为(在Level下添加)PassTrigger和Box Collider的组件。
•将Position设置为0,-3,34
•将Box Collider的size(尺寸)更改为6,6,6
•确保勾选了触发器(勾选右边的Is Trigger)
•在Layer下拉按钮上,选择机关Triggers:

3.初始关卡布局(Initial Level Layout)
•在Workshop预制目录中搜索 GreyStoneEdgeLargeGrassFlooringStraight1.prefab
•把它拖动到场景中
•位置(position)设为 0,-1,0
•旋转(rotation)设置为 0,0,0
•移到你的Level下
•Label Floor1 (标为 Floor1 )
•在下方Workshop中搜索 LightSandStoneFloorSmallAztecFloorPattern1
•将它(预制件)拖动到场景中
•位置(position)设为 0,-0.5,12
•旋转(rotation)设置为 90,0,0
•移动到Level
•标为 Floor2
•在Workshop中搜索 LightWoodFloorTreePlatform1
•将它(预制件Prefab)拖动到场景中
•位置(position)设为 0,0,25
•旋转(rotation)设置为 0,90,0
•比例(Scale)3,1,0.9
•移动到Level
•标为 Floor3
•同时选择(按住Ctrl单击这三个)Floor 1,Floor 2和Floor 3按 CTRL + D 复制所有三个对象
•将每个重命名为Floor4,Floor5,Floor6
•将 Floor4 位置设置为0,-1,37
•将 Floor5 位置设置为0,-0.5,55
•将 Floor6 位置设置为9,0,55和旋转0,0,0
你的关卡现在看起来应该和图里一样:

4.添加机械预制件(Adding Mechanical Prefabs)
•在下方Workshop中搜索 MetalMechPressureSwitchDoorwLight1 拖进去
•移到Level里。
•把它重命名为 DoorPuzzle1
•位置设为 0,0,0
•单击Hierarchy中DoorPuzzle1旁边的小三角形打开下拉列表
•然后选择 PressurePlate
•将位置设置为 -3,0.1,14
•选择指标 Indicator
•将位置设置为 0,2.5,26
•选择 AutomaticDoor
•将位置设为 0,0.1,26
现在你的关卡看起来像这样:

•在Workshop中搜索 LightGreyMetalMechMediumDanglingLantern1 拖进场景
•Move into Level game object within the hierarchy.
•将位置设置为0,6,46
5.过关机关(Pass Trigger)
这个东西可以使玩家落入并且过关到达下一关
•在 Hierarchy 中选择 PassTrigger
•把位置设置为15,-3,55
6.刚体和多人在线游戏(Rigid Bodies and Online Multiplayer)
任何具有Rigid Body组件的游戏对象都需要添加Net Body组件,以确保它在整个网络中正确同步以进行在线多人游戏
你可以通过单击Crate1x1x1对象来查看此示例。 添加Net Body组件还将自动添加Net Identity组件,并在保存级别时自动为其分配值。
通常,如果对象在场景中移动,并且具有刚体组件,则它还应具有Net Body组件。
7.光源(Lighting)
•打开Windows菜单并导航到Lighting,然后选择Settings
•将Skybox Material更改为Sky
•将(Level prefab附带的)Directional Light拖入Sun Source box
•把Environmental Lighting下的Source改为Color
•把Ambient Color改为#6C7B96(注意#号)
•把Environmental Reflections Intensity Multiplier改为0.7:

8.存档点(Checkpoints)
去Workshop> Prefabs,可以找到Checkpoint预制件(prefab)
可以省时间直接拖入Level object,也可以做一个存档点Checkpoint:
1.在Level下点上面GameObject→Creat Empty Child创建之后重命名为Checkpoint
2.上面Component→Add→搜索Box Collider并添加
3.把size设为 6,6,6
3.勾选Box Collider上的Is Trigger
4.上面Component→Add→搜索Checkpoint并添加
5..把右边Checkpoint的Number改为1
6.把右边的Layer选为Triggers,
7..把position设为0,3.5,35
8.要添加更多检查点,请复制此对象并将其移动到你想设置存档点的位置;每多添加一个检查点,都要将Checkpoint组件的number增加1

这个是Checkpoint预制件(Prefab)

现在如果你添加了Checkpoint,您的关卡看起来应该和下图一样

9.把人类扔进你的地图(Drop Human)
1.按Play/Run
2.选择Sence Tab
3.把窗口移动到你想扔下人类的位置
4.在上面选Human,Drop Human
5..你的人类现在会掉下去了
6.现在你可以在这里(Game tab)测试你的地图了
10.把关卡导出到本地(Exporting to local levels)
你已经在Unity中测试了你的关卡,现在你已经准备好将它导出到游戏中,这样你就可以继续测试地图并在那里进行游戏。但是在导出之前需要满足很多导出要求。
首先,你需要在Play播放/运行测试地图的时候截一张地图的封面图。 如果按Play之后没有生成在关卡中,你可以在控制台看到当前地图中的错误,控制台中的错误暂停按钮设置为ON。 如果将其设置为OFF,你会发现自己可以正确生成在关卡中

•进入播放/运行模式后,在适当位置按F9可以截取封面图。 这样做会显示一条Thumbnail Captured确认消息:

•再次按“播放/运行”以结束游戏。
•选择Human选项,然后选择Human Export:


- 关卡标题 Level Title:地图名,随便取 但是有129个字符限制(包括空格),在游戏中达到此限制之前它会被截断,取个短小精悍的名字吧
- 关卡描述 Level Description:详细描述你的关卡,Steam限制为8000个字符(包括空格),但在游戏达到此限制之前会被截断,在创意工坊发布后可修改
- 地图类型 Dream Type(Tag):选择你的地图是适合单人游戏还是多人游戏的,多人游戏选择Multiplayer
- 推荐玩家数量 Recommended Players(Tag):选择你的地图适合多少人一起玩,人数在1-8之间选择
- 主题标签 Theme Tags:接下来,您将看到Theme Tag tick boxes。默认情况下,这些将查看您在关卡中使用的任何预制件并自动勾选该主题。作为示例,我们提供的中级示例场景将自动填充大厦,火车,拆除,城堡,水,发电厂和阿兹特克的主题标签,因为它具有来自所有这些级别主题的预制件。
- (Theme Tags. Next you’ll see the Theme Tags tick boxes. By default these will look at any prefab you’ve used within your level and tick that theme automatically. As an example, the Intermediate Level example scene we’ve provided will auto-populate the Theme Tags of Mansion, Train, Demolition, Castle, Water, Power Plant and Aztec because it features prefabs from all of those level themes.)
- 导出地图 Export Dream:然后按Human Export窗口底部的Export Dream按钮。等一会导出完成就可以关闭Human Export窗口了
下一部分介绍怎么把地图上传到创意工坊
以下是导出地图时可能出现的错误造成的原因:
- 场景中不应有摄像机
- 场景中有多个级别
- 场景中没有关卡对象(Level Object)。 检查示例场景
- SpawnPoint未在Level上定义
- 关卡中没有光源(Lighting)。 检查示例场景
- 关卡中没有FallTriggers。 检查示例场景
- 级别中没有LevelPassTrigger。 检查示例场景
- 检查点(Checkpoint)丢失
- Dream Title不能为空
- Dream Description不能为空
- 无效的元数据(Invalid metadata)
- 需要Dream Image
“人类导出”窗口中还有许多其他按钮可供您分解,如下所示:
- 语言选择:在“Human Export”窗口的顶部有一个语言选择选项,您可以在其中将“Human Export”窗口中的任何文本更改为您选择的语言,同时游戏也支持该语言。这有助于理解在导出关卡之前可能需要清除的任何导出错误。
- 打开Workshop文件夹:这将打开导出关卡保存到的本地位置,如下所示:
C:/Users/user.name/AppData/LocalLow/NoBrakesGames/Human/Workshop
- 加载截图:单击会加载截取的最后一张图(通过按F9,同时通过Local Levels菜单主动播放关卡)或Unity中加载
- 加载梦想图像(?)(Load Dream Image):如果之前已经把地图导出到本地,则此选项将从导出的关卡重新加载已保存的缩略图,而不是显示自将关卡导出到游戏后您已截取的任何新缩略图。
换句话说,Load Screenshot会切换到您的新屏幕截图,而Load Dream Image会切换到您级别的现有屏幕截图(如果之前已将其导出到游戏中)
11.玩-测试地图&上传到Steam创意工坊(Play-Test&Publish to Steam)
一旦成功从Unity导出了地图,就可以在游戏中玩它,你可以在单人游戏和CO-OP游戏中进行游戏测试,然后再发布到Steam Workshop(创意工坊)只有在您发布和订阅它之后,才能在在线多人游戏中游玩 以下是如何上传并订阅:
- 打开Human:Fall Flat.
- 选择PLAY> LOCAL> SELECT A LEVEL
- 选择LOCAL LEVELS
- 你应该可以在这个菜单中看到导出到本地的地图:

如您所见,可以看到地图名称,地图描述和地图封面,以及从Unity导出时所有的关卡设置
下面还有一些选项:
- WORKSHOP LEGAL AGREEMENT 任何东西在上传到创意工坊之前都需要同意这个
- 同意之后才可以发布到创意工坊:

- 运行地图:在发布到创意工坊之前应该测试你的地图
除了能够在本地进行测试以确保您对它感到满意之外,您还可以按照以下步骤捕获游幕截图:
- 在正在玩的地图中按F9捕获缩略图屏幕截图。 如果您正在大厅,您首先必须按F8两次才能进入正确的摄像机视图,然后在地图中按F9捕获缩略图屏幕截图:
- 你可以看到截图成功的消息
- 截的图会保存在:
C:/Users/user.name/AppData/LocalLow/NoBrakesGames/Human

- 这只是将此缩略图文件移动到Levels文件夹下的正确文件夹,方便替换
除了能够在游戏中捕捉你关卡的截图,你还可以在关卡的暂停菜单中找到RELOAD LEVEL的附加选项,但只能在从LOCAL LEVELS菜单中播放时:

这是一个非常有用的功能,用于在游戏中测试您的关卡,在Unity中对其进行更新和改进。您可以按如下方式使用它:
- 首先运行游戏然后运行Unity,以便它们同时处于活动状态。
- 在Unity中成功导出一个Level,以便在游戏中的LOCAL LEVELS菜单中可用。
- 切换到游戏并在LOCAL LEVELS菜单中找到导出的Level并进行播放Play。
- 进入关卡后,切换回Unity。
- 对级别进行更改,如果需要,请使用新的缩略图屏幕截图,然后重新导出。
- 切换回游戏,进入暂停菜单并选择RELOAD LEVEL选项。
- 关卡将完全重新加载,现在将包括您从Unity上次导出的更改。
暂停菜单中唯一的其他附加选项是SHOW LEVEL IN WORKSHOP,但只有在您成功发布了正在进行游戏测试的级别后才会添加到暂停菜单中。我们将在本指南后面讨论SHOW LEVEL IN WORKSHOP选项,但现在让我们实际看看将地图发布到Steam。
- 选择PUBLISH TO WORKSHOP选项,立即开始上传到Steam:

- 上传完成后,Steam Overlay将自动打开,我们将在本指南的下一部分中介绍。
12.订阅,评分和举报(Subscribing, Rating and Reporting)
在关闭Steam Overlay之前,需要订阅刚刚发布到Steam的地图,它才可以出现在Subscribed Levels菜单中,这样就可以在单人游戏或CO-OP中进行本地游戏。 更重要的是,订阅您发布的地图允许使用该地图主持在线多人游戏
您还可以从Workshop中心订阅并下载其他人的地图,大厅和模型(皮肤)
关闭Steam Overlay并重新进入游戏后,请执行以下操作:
- 选择PLAY> LOCAL> SELECT A LEVEL
- 选择SUBSCRIBED LEVELS
- 您应该在此菜单中看到您订阅的任何地图:

- 已订阅地图菜单中还有OPEN STEAM WORKSHOP选项
- 选择此选项将打开Steam Overlay并查看地图,大厅或模型(皮肤)可以快速导航到Workshop中心,可以快速浏览和订阅
当您是会话的主持人时,也可以通过在线多人游戏中的SELECT LEVEL选项找到Subscribed Levels屏幕:

对于您订阅的任何地图,如果喜欢玩,请花时间通过Steam Overlay评分。 在游玩该地图时,可以使用游戏中暂停菜单中的SHOW LEVEL IN WORKSHOP选项轻松访问Workshop中心的任何已发布地图的Workshop页面。 选择此选项将立即打开Steam Overlay,您可以在其中订阅并给它评分
如果您不喜欢正在玩的地图并且某个关卡包含令人反感的内容,也可以通过同一屏幕将其报告给Steam

就是这样,你现在可以自由发挥了!
请查看我们的其他指南,了解有关多人游戏支持,向后兼容1.2 Alpha2,示例Workshop级别,模板,预制测试平台以及节点图系统等等的信息。
13.提示和技巧(Hints & Tips)
如果你想在多人游戏中创建一个没有问题的关卡,你需要将它保持在一个合理的大小。当距离关卡的原点> 500单位/ 0.5公里时(>500 units / 0.5 kilometers from the origin of the level),对象可能无法运行(这是现有游戏中最大地图的两倍大小)。此限制是由于网络系统中的范围,其中通过网络为多人游戏发送的位置的最大范围是500个单位。任何大于此的东西都会导致对象在多人游戏中断开。
作为参考,水位中的水仅占该距离的一半以下,实际可玩区域甚至小于此值。
In addition to having to keep your levels to a sensible unit size for multiplayer you’re also going to need to ensure that you’ve set-up the scene in the level in order to cope with a large amount of prefab placements, if you’re wanting to use a large amount of placements. If you’re getting the following kind of warning in the Console in Unity then you’ll need to look at adding Net Scene Parent Nodes into your scene’s hierarchy:
Net Scope “Level” (netid=0) might produce a data packet larger than 1200 bytes, which could fail to send on some platforms! Estimated worst-case size of this scope is 1395 bytes; maximum safe limit is 1193 bytes
The above warning is to do with having too many placements without dividing them between Net Scene Nodes. You can see examples of the set-up required for this within the PrefabTestbeds that are part of the Unity package we’ve provided:
The above warning is to do with having too many placements without dividing them between Net Scene Nodes. You can see examples of the set-up required for this within the PrefabTestbeds that are part of the Unity package we’ve provided:
The PrefabTests started out as a single PrefabTested but during development we had to break up the PrefabTestbed into separate levels due to the sheer number of placements. Even after doing this they still needed splitting into individual Net Scenes within each level when it came to being able to test the prefabs for multiplayer.
If you get this warning then your level will need splitting into individual Net Scenes within the level so that it does not break when trying to get it to work in multiplayer. Without a at least a couple of Net Scene Parent Nodes everything will be under a single Net Scene by default, which will cause this error.
When it comes to building steps and staircases within your level each step should be no higher than 35 centimetres and the depth should not be lower than 35 centimetres .This is so that you’ll be able to just walk up them while playing the level. If you don’t follow these metrics you’ll find yourself struggling and having to jump up the stairs instead.
• Vertical Jump Distance – Jump to grab an upper ledge edge is approximately 2 metres.
• Horizontal Jump Distance – This will need to be adjusted and play-tested on a case-by-case basis, as the jump distance is reliant on physics and the topography of the level area i.e. whether it’s an uphill or downhill jump.
Use programs such as Maya, 3DS Max and Blender[www.blender.org]to create new models for your levels!
This page gives an overview of the default Unity keyboard shortcuts: [link]
Unity Interactive Tutorials:
[link]
Official Learn Unity Playlist:
https://www.youtube.com/user/Unity3D/playlists?shelf_id=27&view=50&sort=dd
ProBuilder is a great tool to quickly build your dream levels and it’s included with Unity!
Remember that you’ll need to create a thumbnail screenshot while testing your level in Play / Run mode by pressing F9. You’ll get shown a Thumbnail Captured confirmation message on doing so:

This will then be assigned to your level for when it comes to exporting it to the game once you’re ready and then when finally publishing it to Steam.
You can also capture a screenshot of your level in-game but if you’re playing a lobby you’ll first have to press F8 twice in order to get into the correct camera view and then press F9 in-level to capture a thumbnail screenshot.
14.Further Reading
Please take a look at my other guides for Human: Fall Flat’s Workshop features:
15.Appendix
These are Spawn Points that only activate once the player has passed through them once; replacing the previous Spawn Point.
A volume that defines the area the player can fall into before they are reset and fall back into the level.
Create a folder for your levels before you export them.
Window that renders the game for testing.
A graphic representation of the interactivity between different scripts attached to objects.
A list of all Game Objects that exist in the current scene.
All information on the currently selected object.
An empty Game Object that every level needs to act as a Parent Object to other required objects in the level.
A description of your levels that will appear in the main game. Be sure to fill this in so other players know what they’re getting into!
In the Workshop folder under Prefabs there is a Level Prefab. You can just drop this into your level and this will all be implemented.
Give your level an interesting name to attract other
This is a specific script that allows an object to sync in online multiplayer and respawn if it falls off the level.
A volume that defines the area the player falls into to trigger the end of the current level and loading of the next. This isn’t required when building a Lobby level.
These different materials change the physics properties on an object.
Check the Prefabs folder for ready made objects. Also check out Assets > WorkShop > Scenes > Levels > PrefabTestBeds. We’ve created a separate Prefab TestBed for each level in the game that you can open. You can then drop into Play / Run mode so that you can go on a tour of all of the prefabs from that level!
Check out these scenes to quickly see it all! If you can’t see something you want as a prefab then you need to let us know and we’ll add it to the backlog of work to get it created for you.
A list of all assets currently in the project. Assets can be dragged and dropped straight into the Scene window from here.
This is a component that makes an object a physics object that will interact with other objects.
The window that allows for navigation of the game world as well as manipulation of objects.
A volume that shows the fall trajectory of the player once they spawn into the level for the first time.
感谢&写在最后
如果有喜欢玩L4D2的朋友速加++++++