Introduction
Greetings, Test subjects. No this sadly isn’t Cave. In this guide I will be going into depth of most of the useful commands that you can use inside of Portal 2. Let’s get started.
Enabling the Console
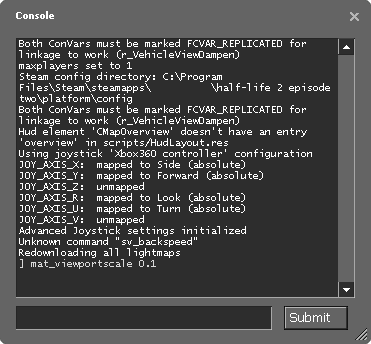
In some cases the Console should already be enabled. But just in case it isn’t, allow me to show you how to enable it. First you must go into Options -> Keyboard/Mouse then set it to Enabled. After you have ticked the box press the ` key (Located right under the ESC key on the top left of your keyboard) and a grey box filled with text should appear as shown below.

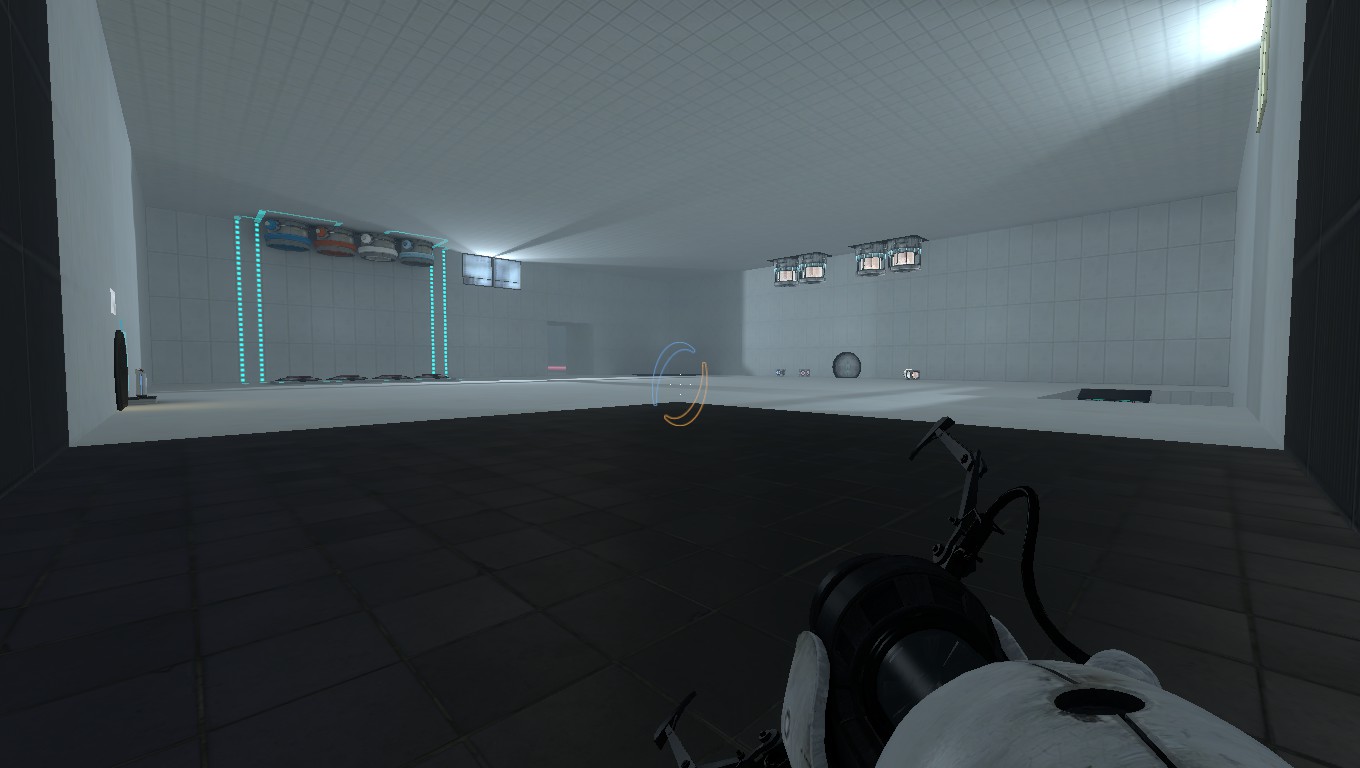
The map I’m using is a quick little sandbox map that I made for this guide.

Getting started
Now, if you have used the Console before then you should know how to allow most commands to be used. once you have the map loaded and ready to go, type in the command sv_cheats 1
Now that you’ve done that, let’s start with a few easy to use commands.

Basic commands
Now that you have sv_cheats set to 1, you should be able to use all of the commands on this guide. Let’s start with some well known and basic ones.
Noclip: Allows to user to fly in and out of the boundaries of the map, disabling collisions.
mat_fullbright 1: Set’s the level’s brightness to max and removes all shading.

mat_fullbright set to 0
mat_fullbright set to 1
God: Makes the user invincible to all damage from the game. This also allows players to swim in toxic pools.
cl_showfps 1,2,3 or 4: 1 shows the fps, 2 shows smooth fps, 3 shows the server MS and 4 will show the fps and log it to the file. (Sadly this wouldn’t work for me so I don’t have a screenshot for it.)


Kill: kills the user. Pretty self explanatory.
Crosshair 0: Removes the crosshair from the players FOV. This may make it harder to place Portals.
Crosshair set to 1
Crosshair set to 0


Uncommon commands
Water (clear): ent_create_paint_bomb_erase
Repulsion Gel: (blue): ent_create_paint_bomb_jump
Propulsion Gel: (orange): ent_create_paint_bomb_speed
Conversion Gel: (white): ent_create_paint_bomb_portal. These commands spawn the different types of gels that you find in the game
sv_portal_placement_never_fail 1: Allows Portals to be placed anywhere in the level.

Bonus: They can also be placed on top of each other to make a mirror.


upgrade_potatogun: This is one of the few commands which is used in the campaign. It will give you the Potatos Portal gun.
viewmodel_offset_x:
viewmodel_offset_y:
viewmodel_offset_z:
These commands will change the position of your Portal gun on the screen.

The one set for the screenshot is:
viewmodel_offset_x -6.5
viewmodel_offset_y 7
viewmodel_offset_z -3

setmodel: This command will set the playermodel to another model that is currently in the level.
Warning: If the model isn’t in the level then the game will crash. Now let’s say I want to be a cube. In order to do that I will have to type in “setmodel props/metal_box” If there is no cube in the level then type “give prop_weighted_cube;setmodel props/metal_box” the ; will sync commands together. Allowing you to do multiple commands at once!

portal2_square_portals 1: Though the command name may seem like it will turn your Portals into squares; sadly, they do not. Instead for some reason it makes the Portals larger and more round then the stock Portals as well as making their entrance larger.
Warning: I’ve only tested the command on a few maps so the Portals may crash some maps.

Fadein
Fadeout: These two commands are also used in the main game. As the command implies, it will make your screen fade in or fade out, though this won’t trigger a level change. It’ll just make your screen go black. (Trust me, I thought it did. Turns out I was just walking blind.)

End of the Guide
Hey, you bothered to make it to the end? Nice. Hopefully this has been some use to some of you out there. I might add more commands later into this guide if requested. The map I used for this may be uploaded if also requested. Thanks for reading this guide, Test subjects. Feel free to take the exit to your left. Unless you want to go stop a corrupted core from destroying the place, take the door on your right. Either way, have a nice day!
-⎛⎝Darkie⎠⎞