
Overview
Quick overview over the symbols used ingame for the different techniquies.
Basics
Best place for feedback to this guide (if you want an answer from me) is this discussion thread.
You can find detailed explanations for all techniques in the game if you select “Lessons” from the main menu. You can also get a short description for each technique if you open the tools menu (“space” in most menus) and select Technique Guide.
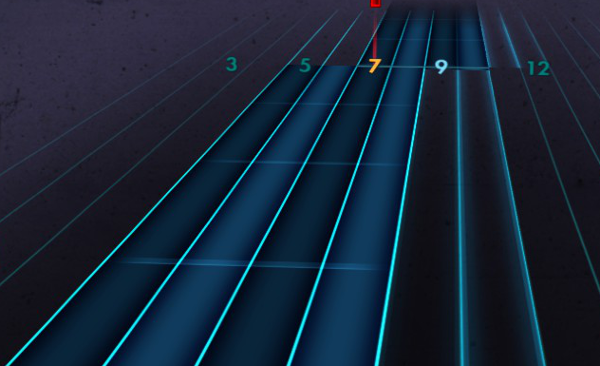
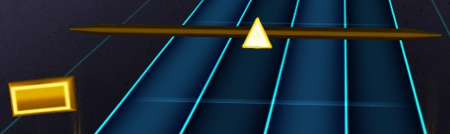
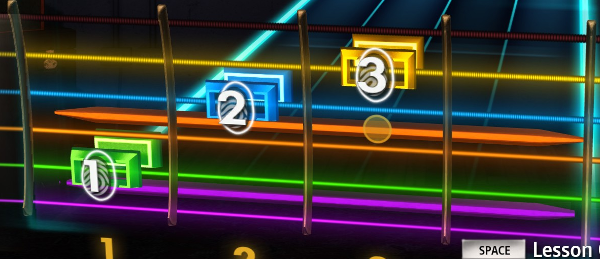
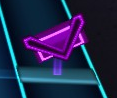
Gives you a hint on which four frets your fingers should rest (fret 5-8 in the image)
Gives you a hint where your hand should move next (fret 7-10 in the image).


Sustain
Just let the note ring for the duration of the trail.


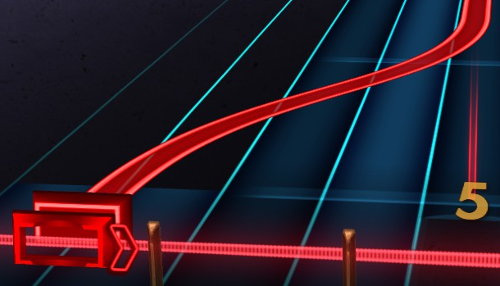
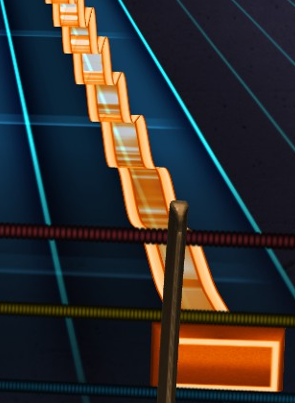
Slides
Fret and strike the indicated note, then slide the finger along the indicated path while still keeping it pressed down. The arrow indicates in which direction to slide.
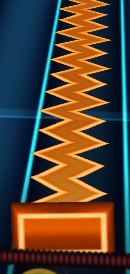
Bends
The arrow direction gives you a hint in which direction you should bend the string (always in the direction where there is the most space on the fretboard). The number of arrows indicate how many note steps you should bend. The contour of the line gives you a hint on how the bend should be played. Also while playing a bend Rocksmith indicates on the string how far you’ve bend it and the hollow square shows you if it’s a normal bend (positiosend on the same colored string when it starts) or a prebend/release (positioned on another colored string).


Hollow arrows on the notes could be semitone bends, I’m not sure about that.
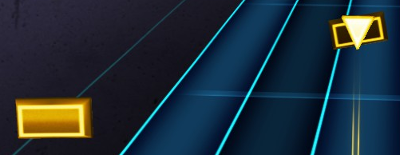
Hammer ons
Fret and strike the first note, hit the next note hard enough with your other finger to make it sound without plucking the string.
Pull offs
Hold both frets and strike the note, then pull off (more like a downwards motion) one finger so the next note rings without picking it. Or as shown in the image fret and strike in a single position and pull off the finger to make the open string ring without picking it.
Tremolo
Pick the note repeatedly.
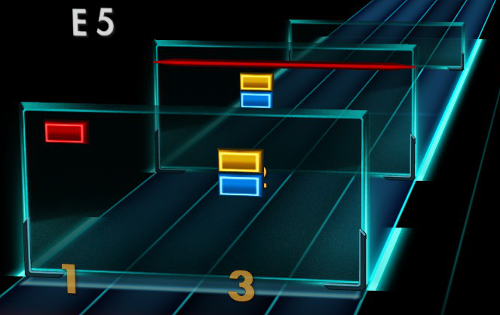
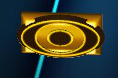
Palm Mutes
Don’t confuse this with the symbol for frethand mutes.
Create a muffled sound by placing your picking hand on the strings near the bridge.


The highlighted borders on the ground show you how long the chord should ring.
Frethand Mutes
Don’t confuse this with the symbol for palm mutes.
Create a percussive sound by pressing the strings down only a little while picking but don’t actually fret them completely.

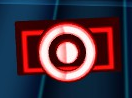
Harmonics
Only touch the string very very lightly exactly over the indicated fret when striking it.
Touch the string with the thumb of the picking hand during the picking motion right after plucking the string.
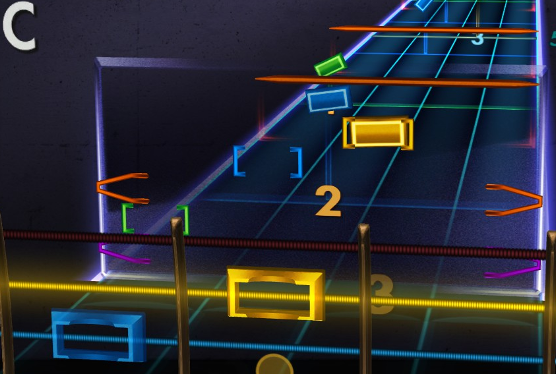
Accents
Played “louder” than the rest of the notes.


Vibrato
Wiggle the fretting finger around.
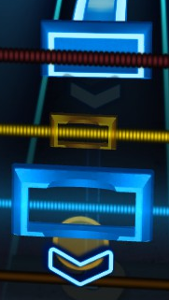
Chords
Rocksmith shows a chord box with the frets you have to push down and what open strings should ring out. In the front on the guitar it’ll show (a suggestion of) which fingers to use for the chord. If the chord is to be strummed multiple times it just shows the lower half of an empty chord box for every time you should strum it.


Arpeggio
Play each note of a chord on it’s own in the order they are shown behind the chord box while holding the chord shape.
Two-Hand Tapping
Tap the fret with your picking hand
Miscellaneous
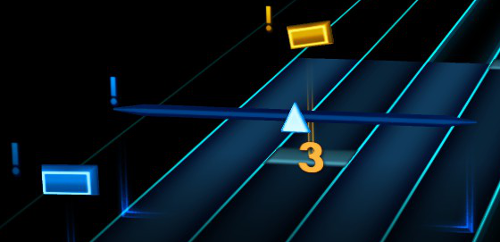
If you play multiple rounds in Riff Repeater a little exclamation mark is added to the notes you missed the previous round.
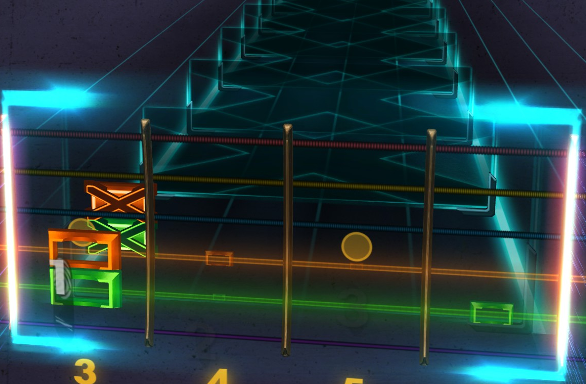
The progress indicator shows an overview of the difficulty settings of each song section (bars fill up from bottom to top, purple on max difficulty) and during song playpack they act as a progress bar (greying out from left to right).
