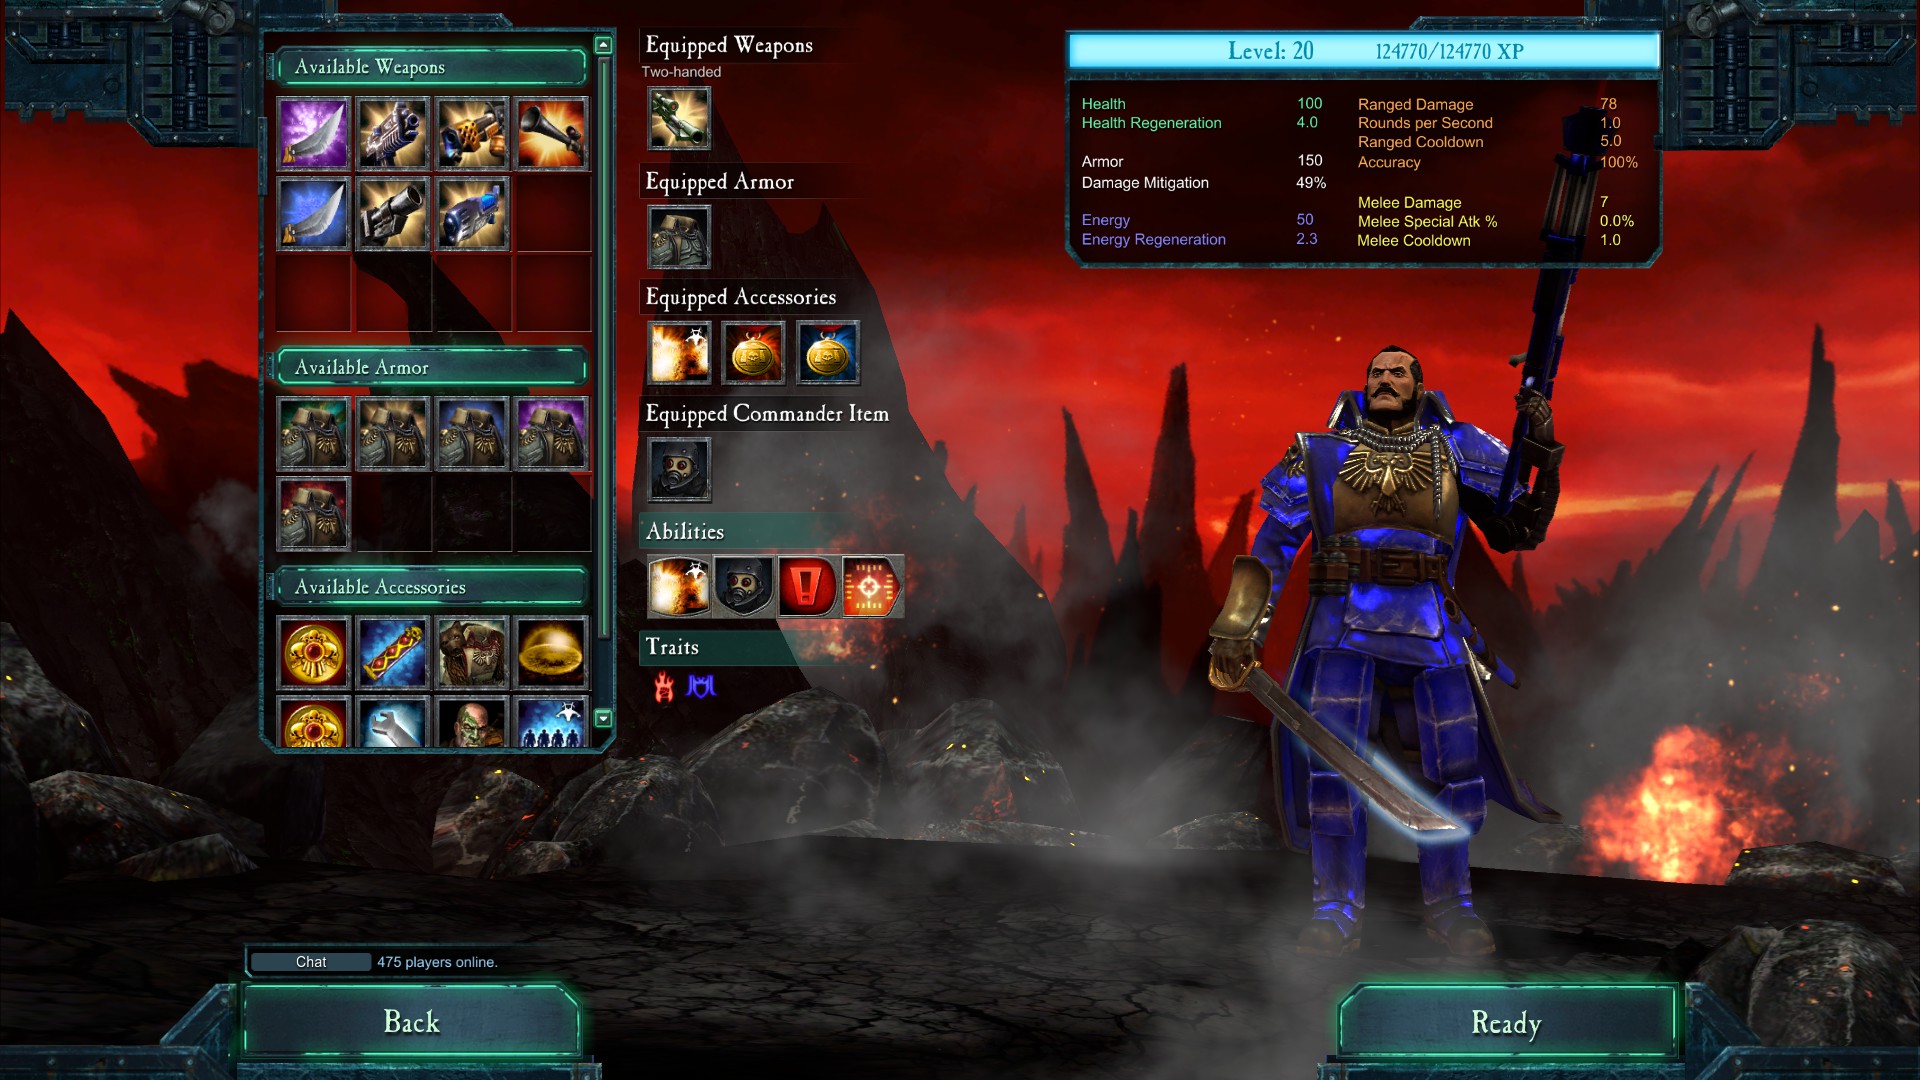
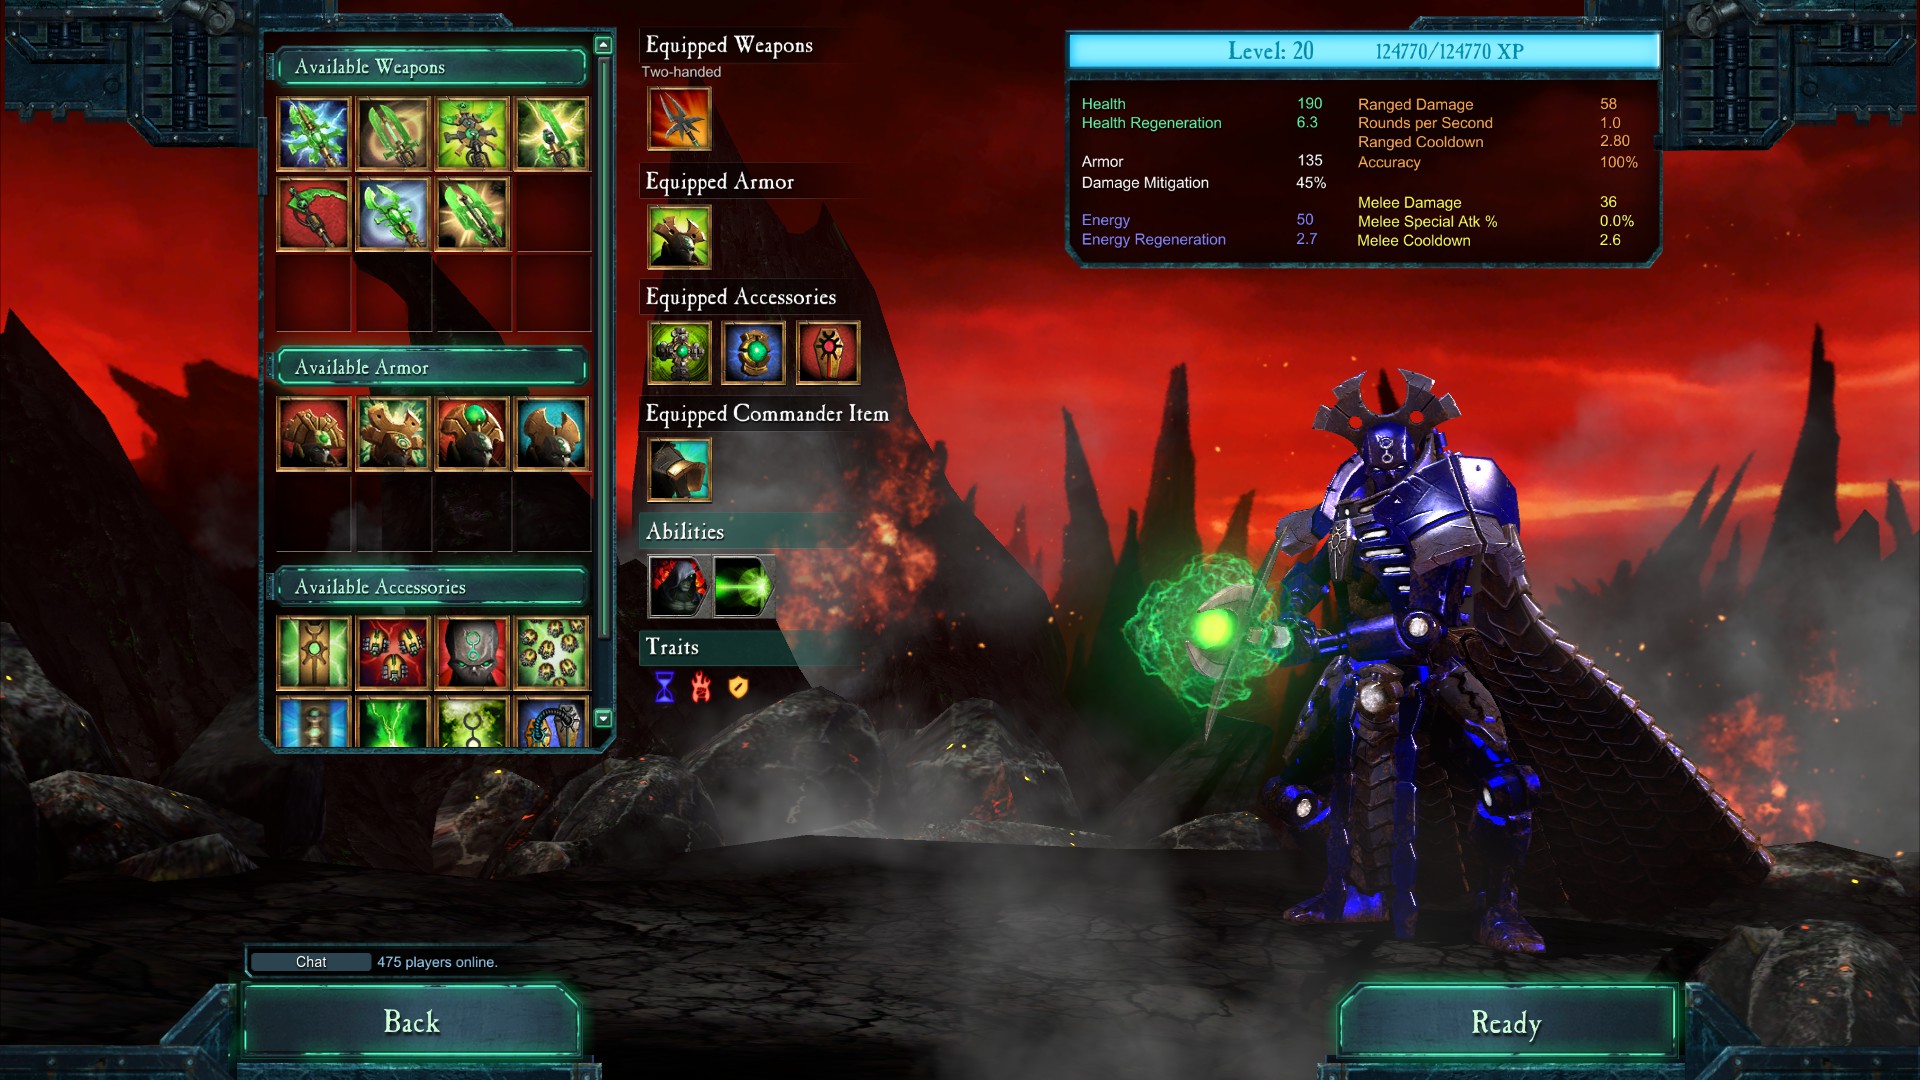
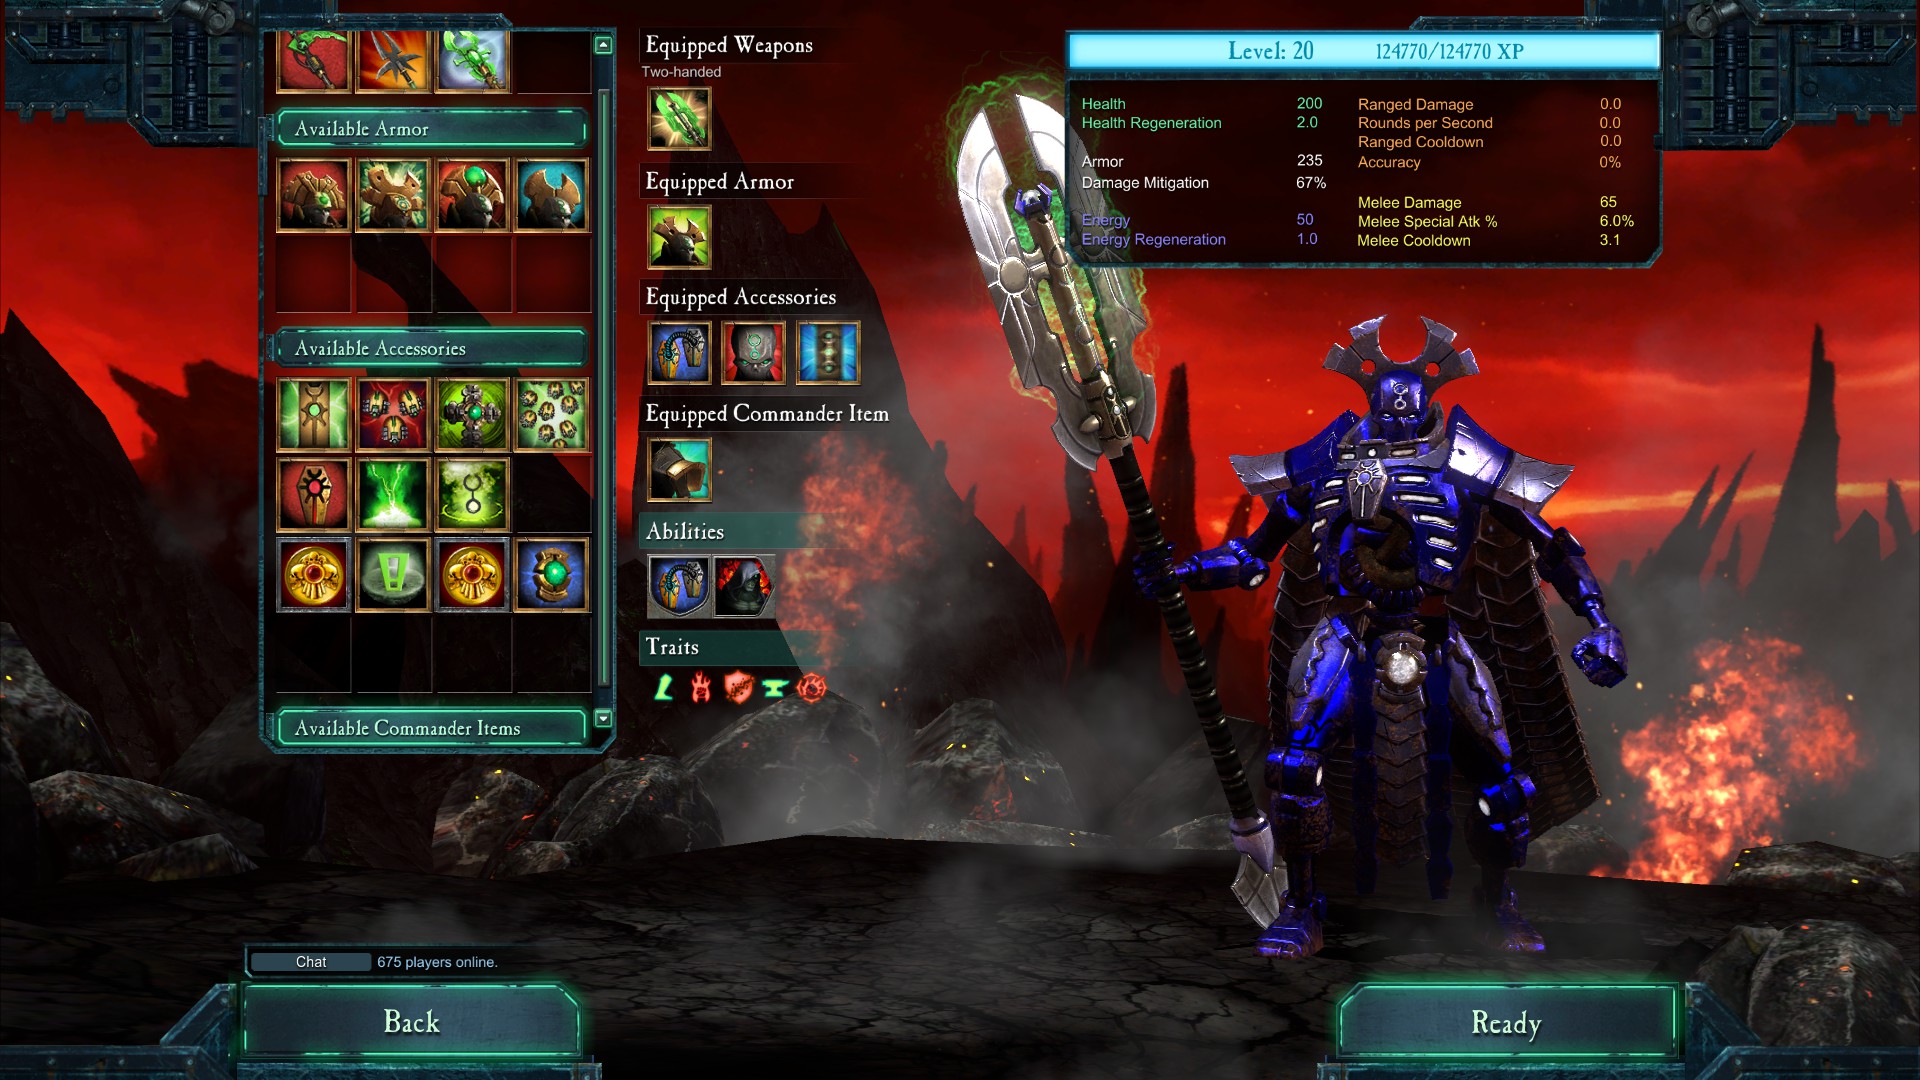
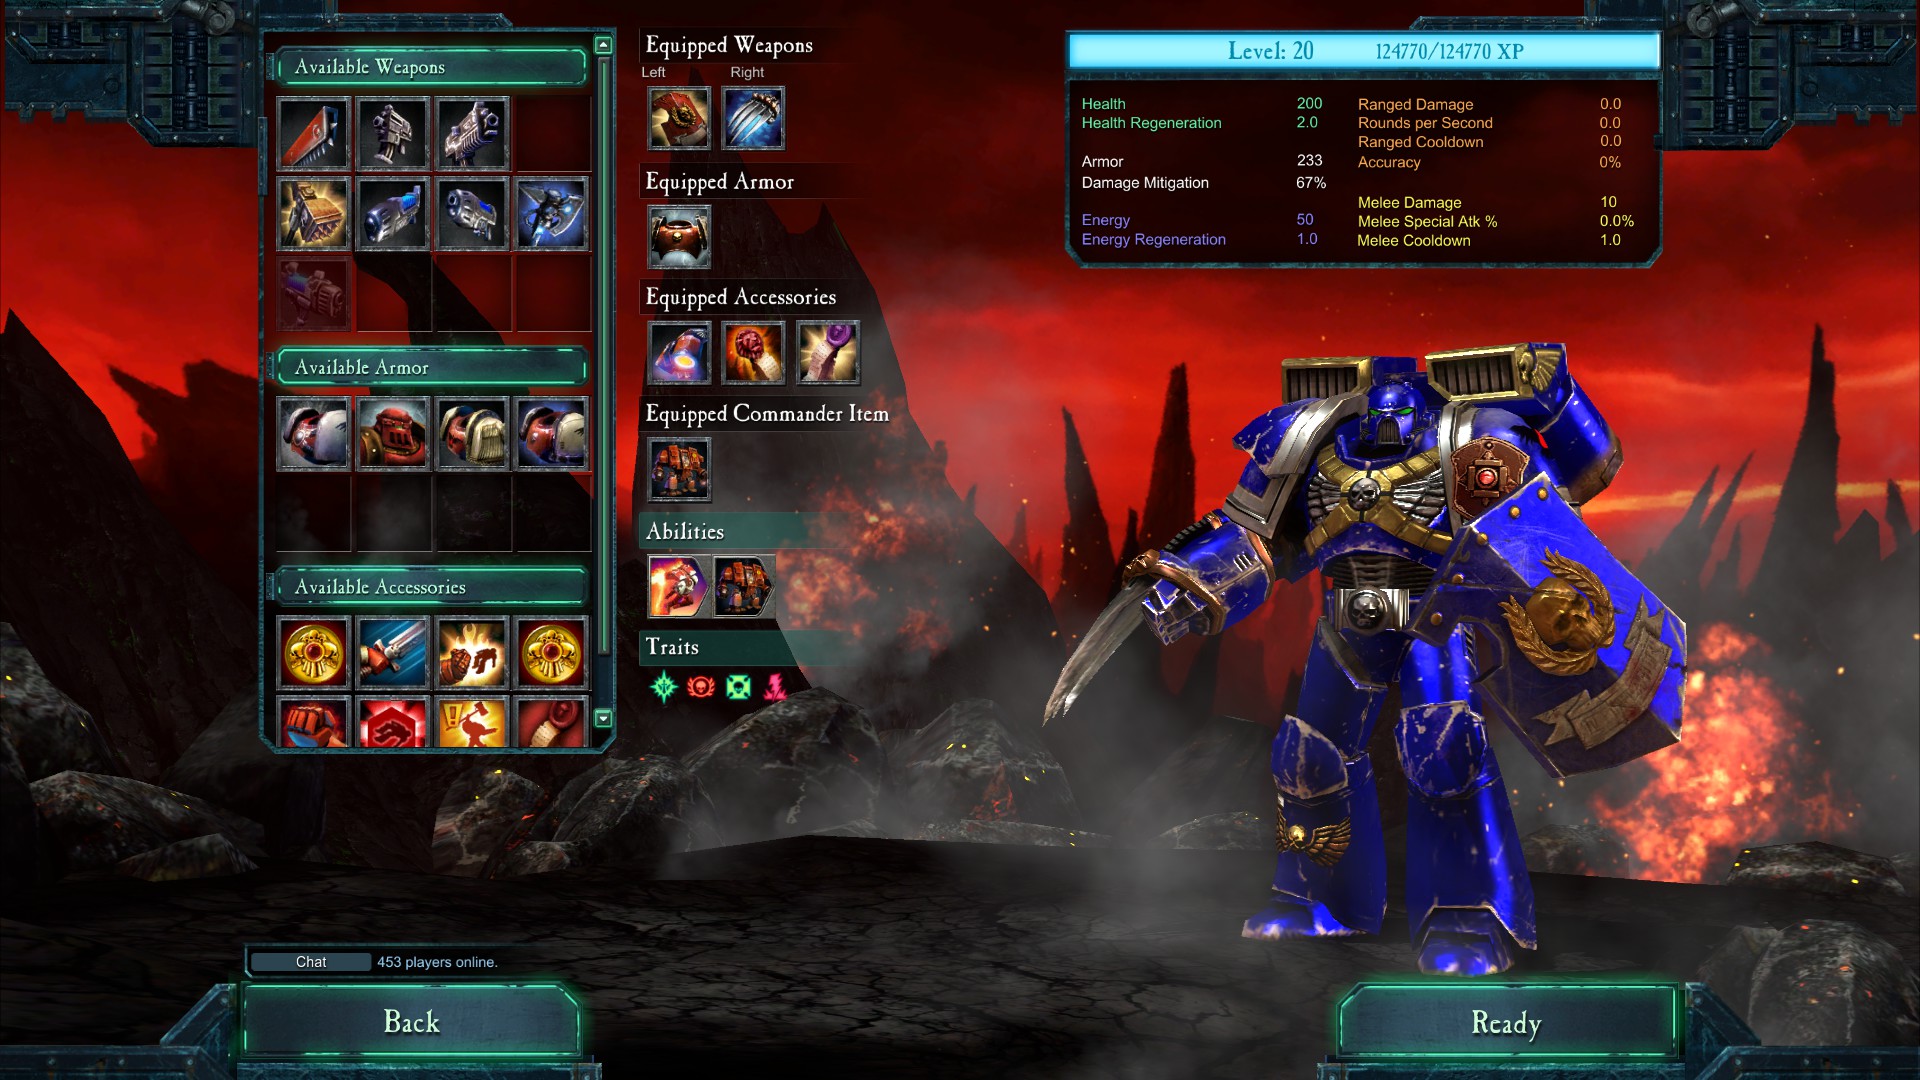
Overview
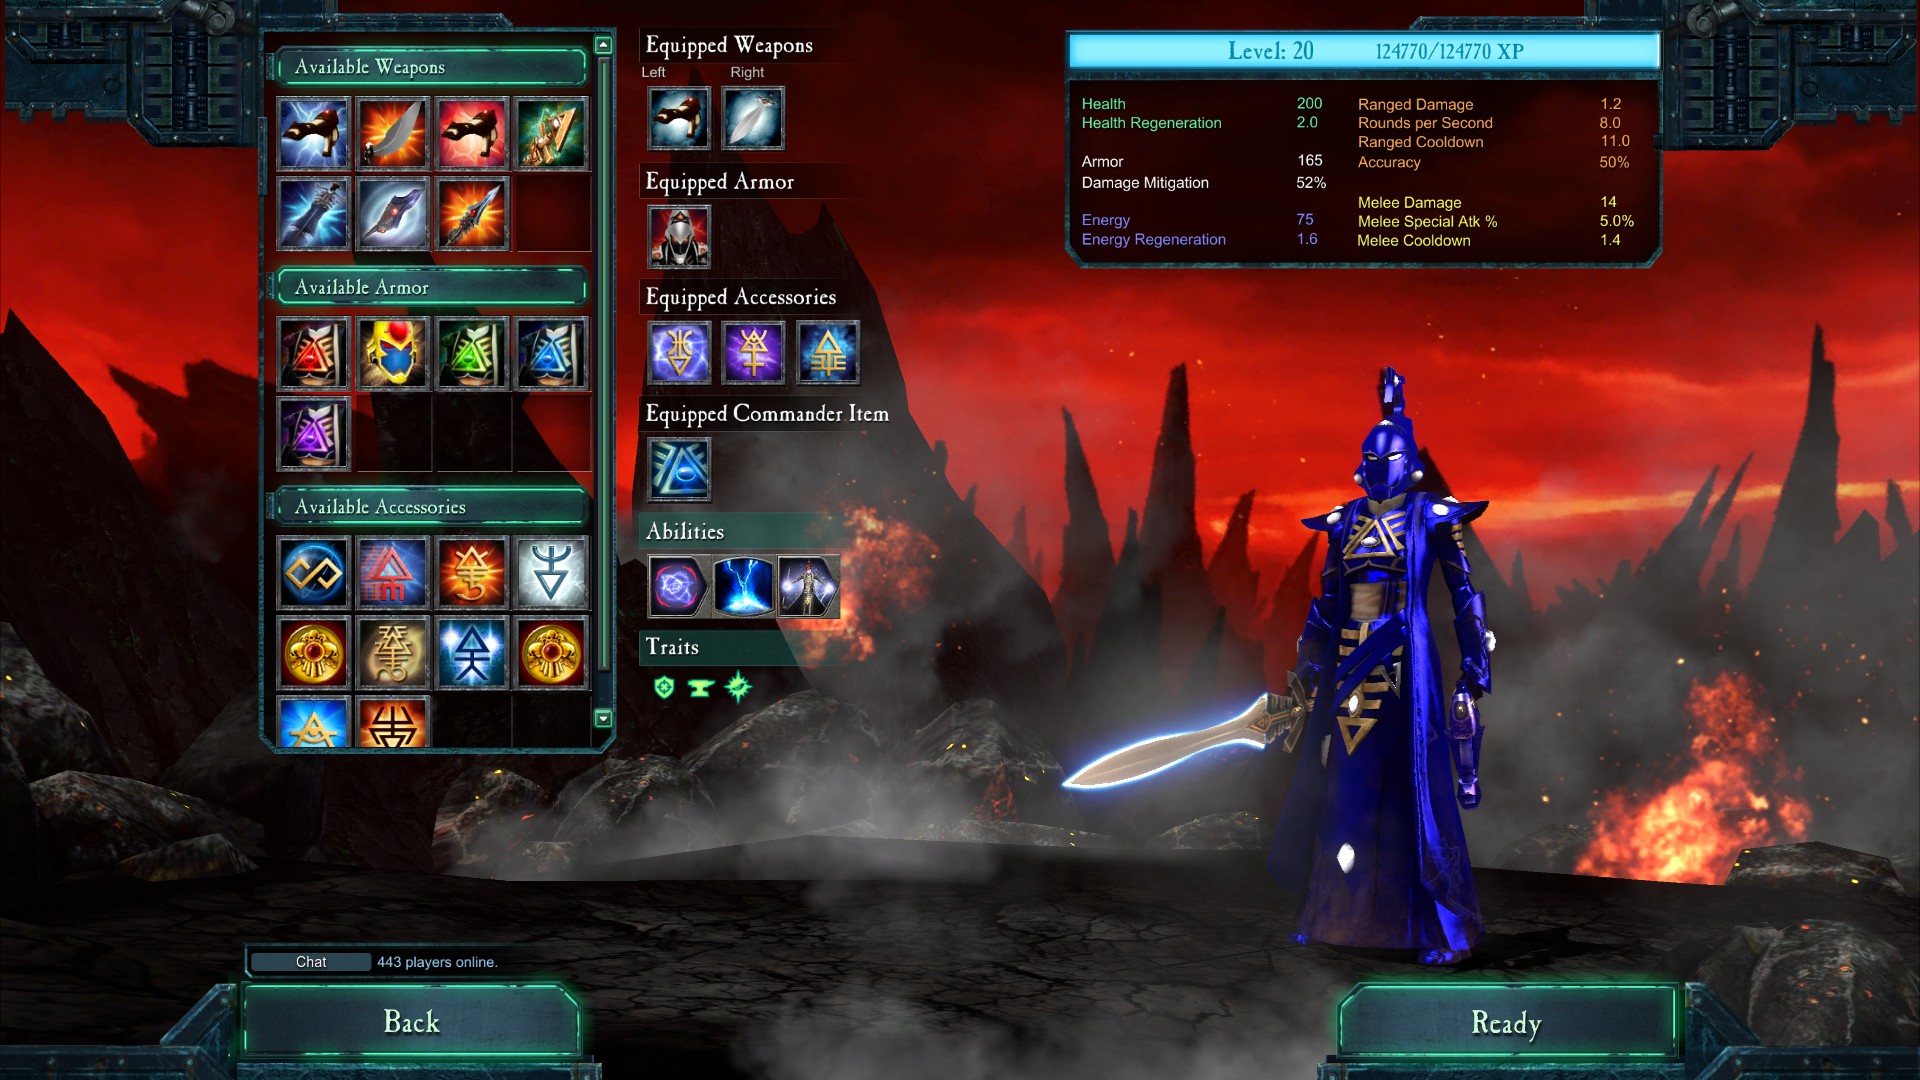
In this guide you can find only best builds for all classes from Global Elite really good Last Stand player.This guide is created specifically with the purpose to open eyes for all beginners and medium players.This builds work only on “Bloodied Colosseum”. They wont work on second Last Stand map.
Intro
Updated: 27.12.2018
Corrected few grammatical mistakes.
What to do in future: nothing, I do not play this game anymore, sorry!
——————————————————————————————————————————-
You can find many guides from different people about their best builds in community. But when you check their results and read what they wrote – you can understand that’s only empty words from beginners which cant pass all waves without dying. So why does they give some advices?!
Why this guide is better the others?
I’ve played over 1300 hours in this game, almost all of this time was spent only on Last Stand. I’ve earned 27+ millions for all classes and 29+ millions for Tau. I’m part of top teams in speedrun games on both Last Stand maps. So yes, I am probably pretty good here and have the right to give some advices.
Please, dont waste your time sharing your opinion about your builds on comments section, for that you can create your own guide. All messages about your “good builds” will be deleted without any answers. Beat my score first, then you can talk about builds. As simple as it is.
If you have any questions – feel free to ask. Don’t forget that English is not my native language, so there can be found a huge number of grammatical mistakes. I’ll try to correct them in the nearest future.
I’ve recorded some videos of my games. This games were created with 8 and 9 elite tokens.
You can`t get so much points with full equipment without elite tokens. Only for demonstration!
[link]
[link]
[link]
Stunners
Stunner is a hero which can block most dangerous enemies and during that time, your teammates can kill them without any problems. Especially, that’s important when killing clones and getting maximum scores.
Game include 4 kind of stunners. Only the first two of them are really reliable. Third and fourth also can be used but they wont be so effective and can cause strong problems if you are a newcomer.
So, stunner classes efficiencies (in order): Tau > Necron >> Space Marine > Farseer
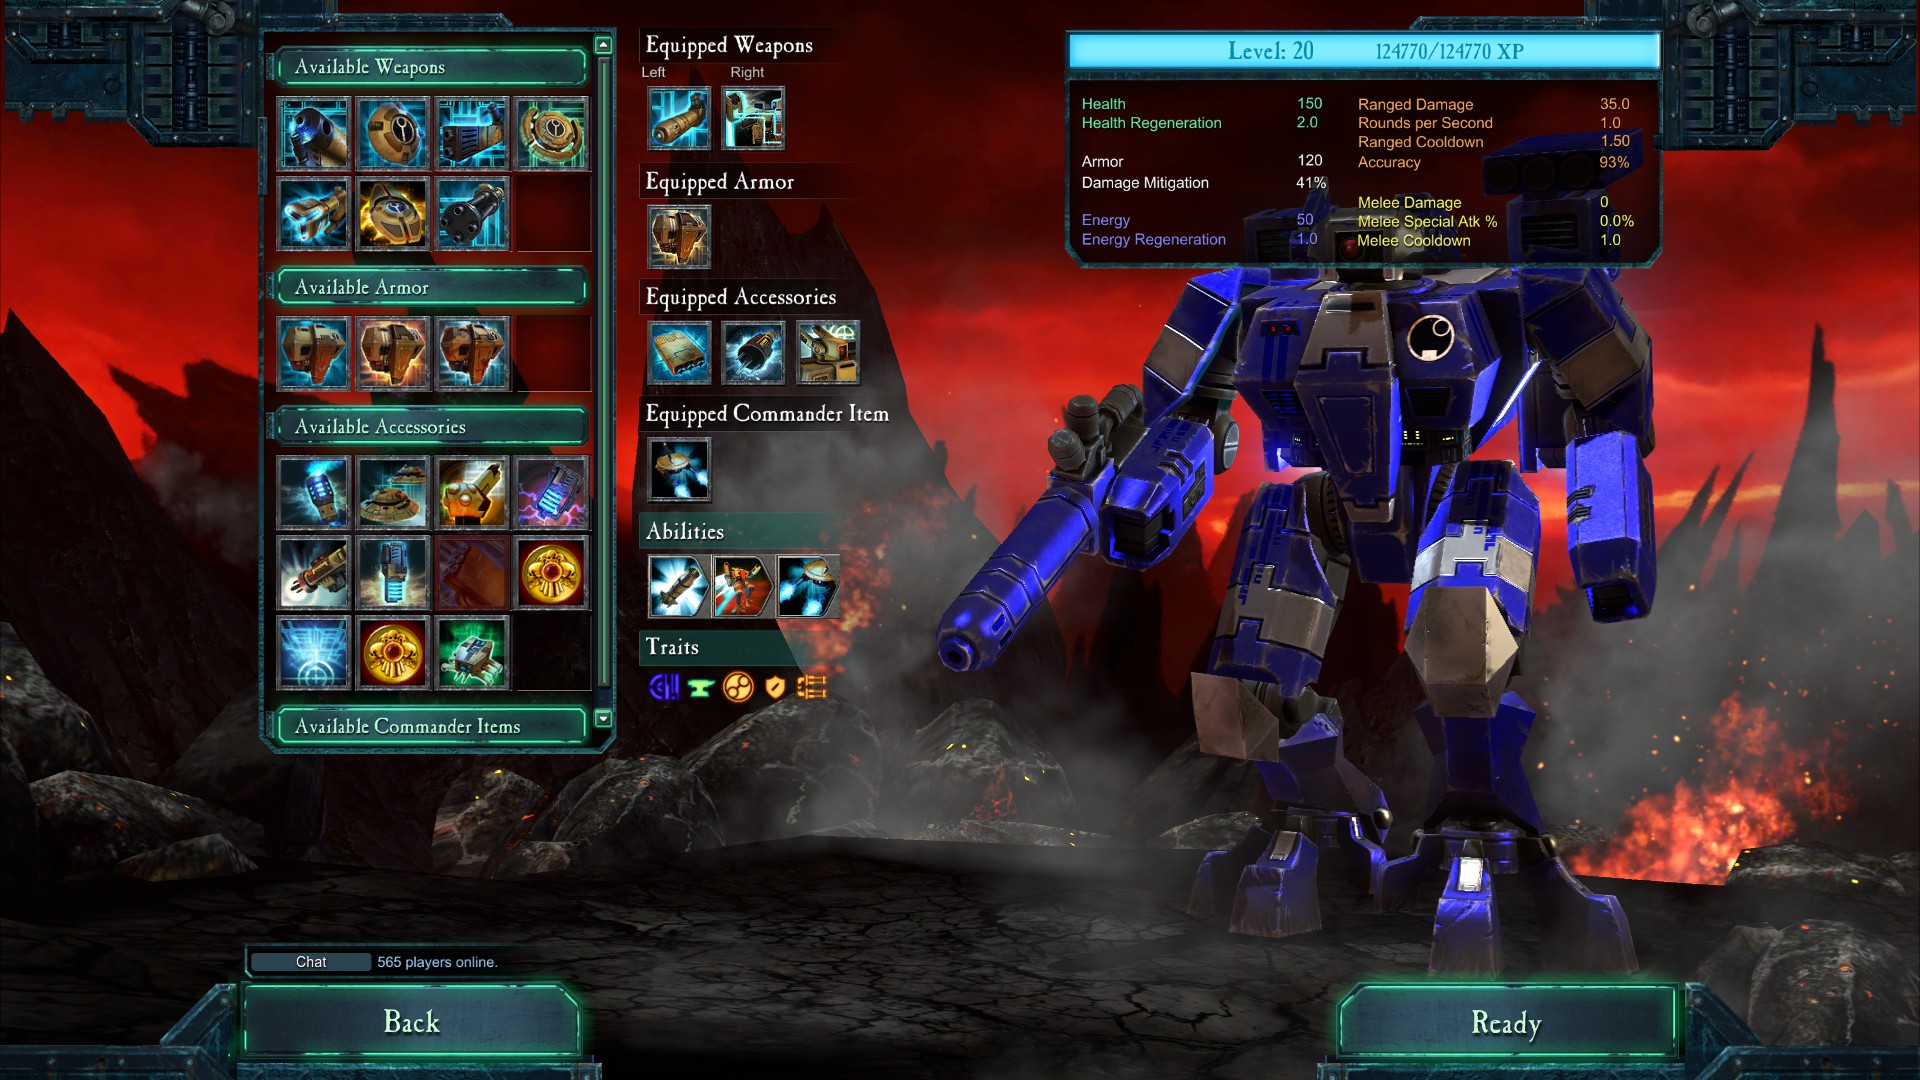
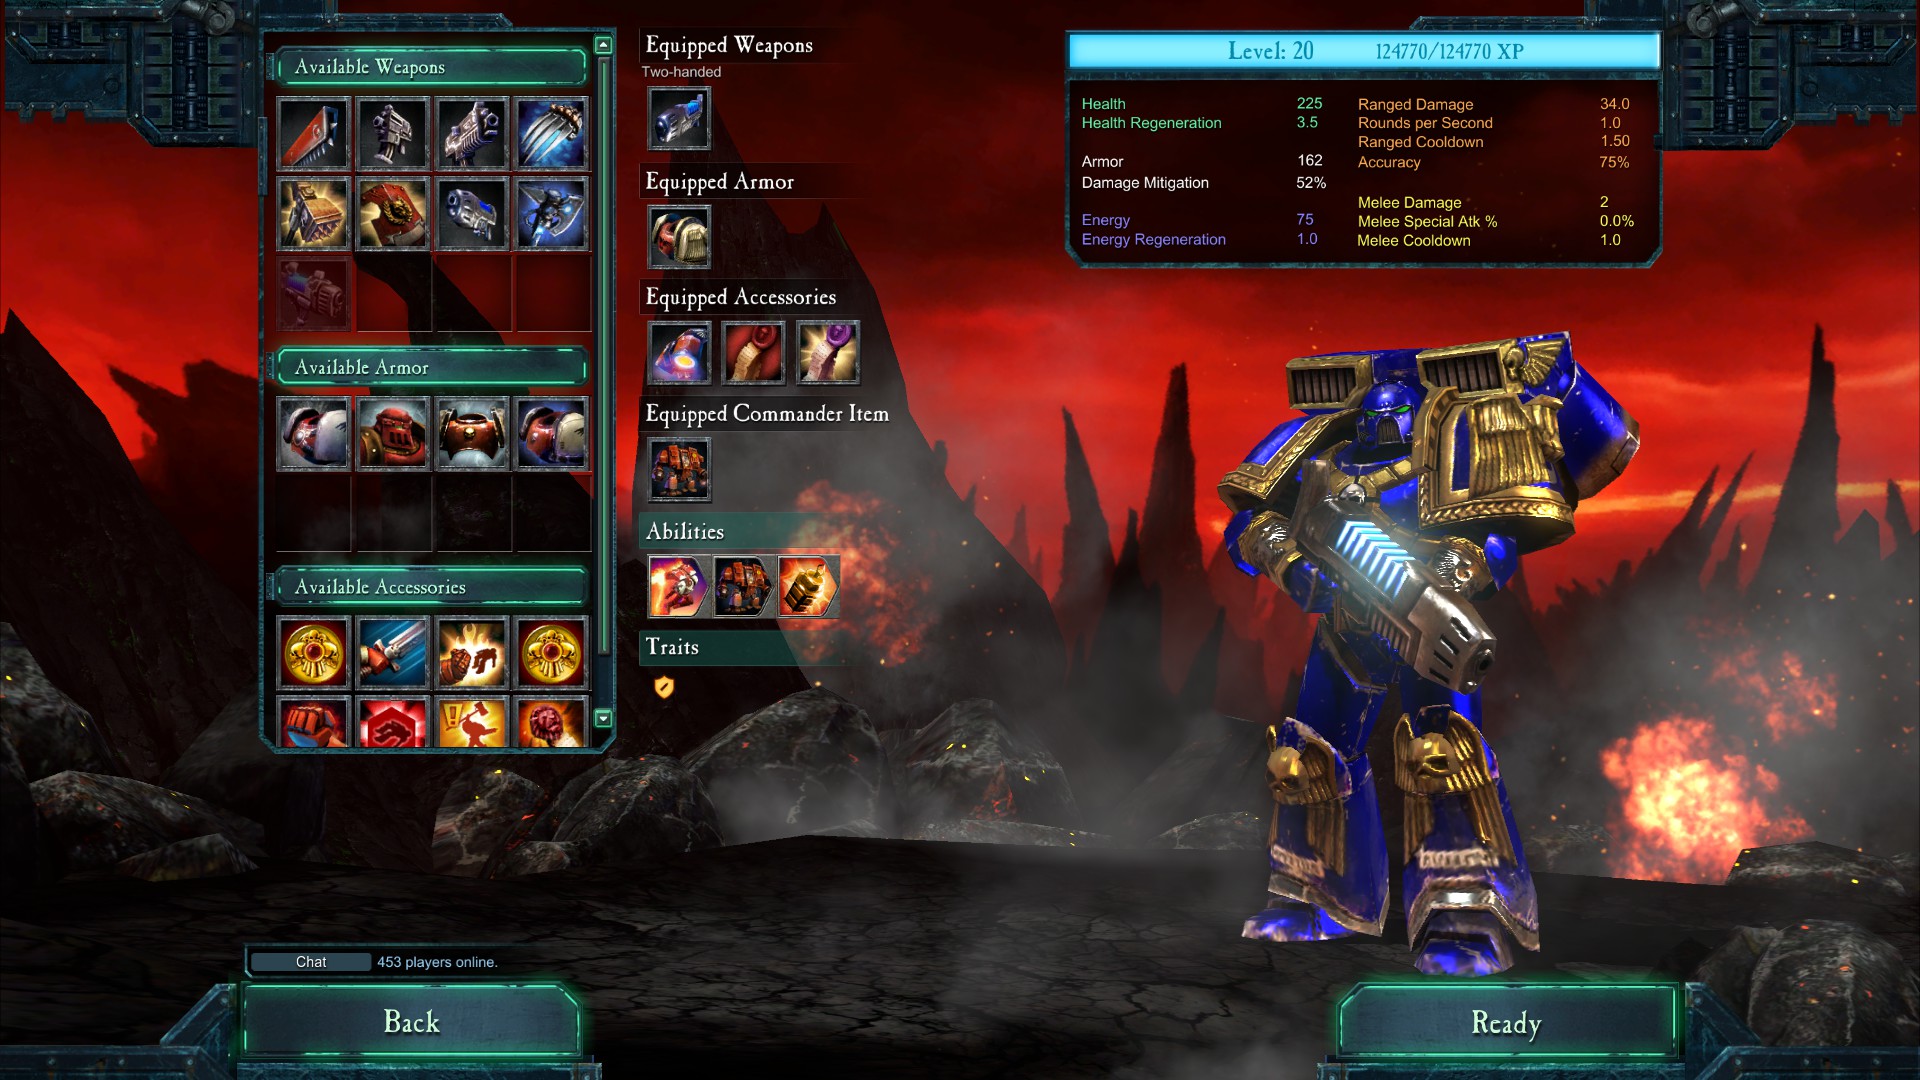
Stunner Tau – must have: XV8 ‘Armored’ Crisis Battlesuit – armor.
Stunner Necron – must have: Raiment of the Tesseract – commander item.
Stunner Space Marine – must have: Litanies of Hate – accessories.
Stunner Farseer – must have: Runes of the Harlequin – accessories.
Tau and Necron are best stunners. Use them for better results.
Space Marine – will taunt on all enemies and then run away. Don’t try to become the hero. You can attack only small and medium enemies. Your ranged teammates must kill heavy targets. Distance of taunt: full map. Costs only 3 points of energy. Very fast cooldown. You can use that ability infinite amount of times.
Farseer – is the worst choice between stunners. She can confuse enemies. But after using her ability, it has cooldown and can`t confuse second target so fast. Also, player which chooses Farseer must have enough skill for using that class correctly. 16 and 20 waves wont be easy.
Tau
1). Godlike build
Its the best build in WHOLE game. You are like a God. 3x Tau with the same build – best team.
Effective against all targets. Drone is very effective against invasion of small enemies.
Stunner. Mobile. Good armor and 150 health. Your clone do not know how to activate drone.
● Weapons: Command Issue Plasma Rifle … Networked Weapon Interface
● Armor: XV8 ‘Armored’ Crisis Battlesuit
● Accessories: Advanced Drone Controller … Coolant Injectors … Targeting Cluster
● Commander: Marker Drone Controller
“Advanced Drone Controller”. To get it – you need to complete achievement
called “Tau Efficiency”. Its the most hardest achievement in this game.
2). Standard build
Effective against medium and heavy targets. Not effective against invasion of small enemies.
Stunner. Mobile. Good armor and 150 health. Your clone will use rockets first of all.
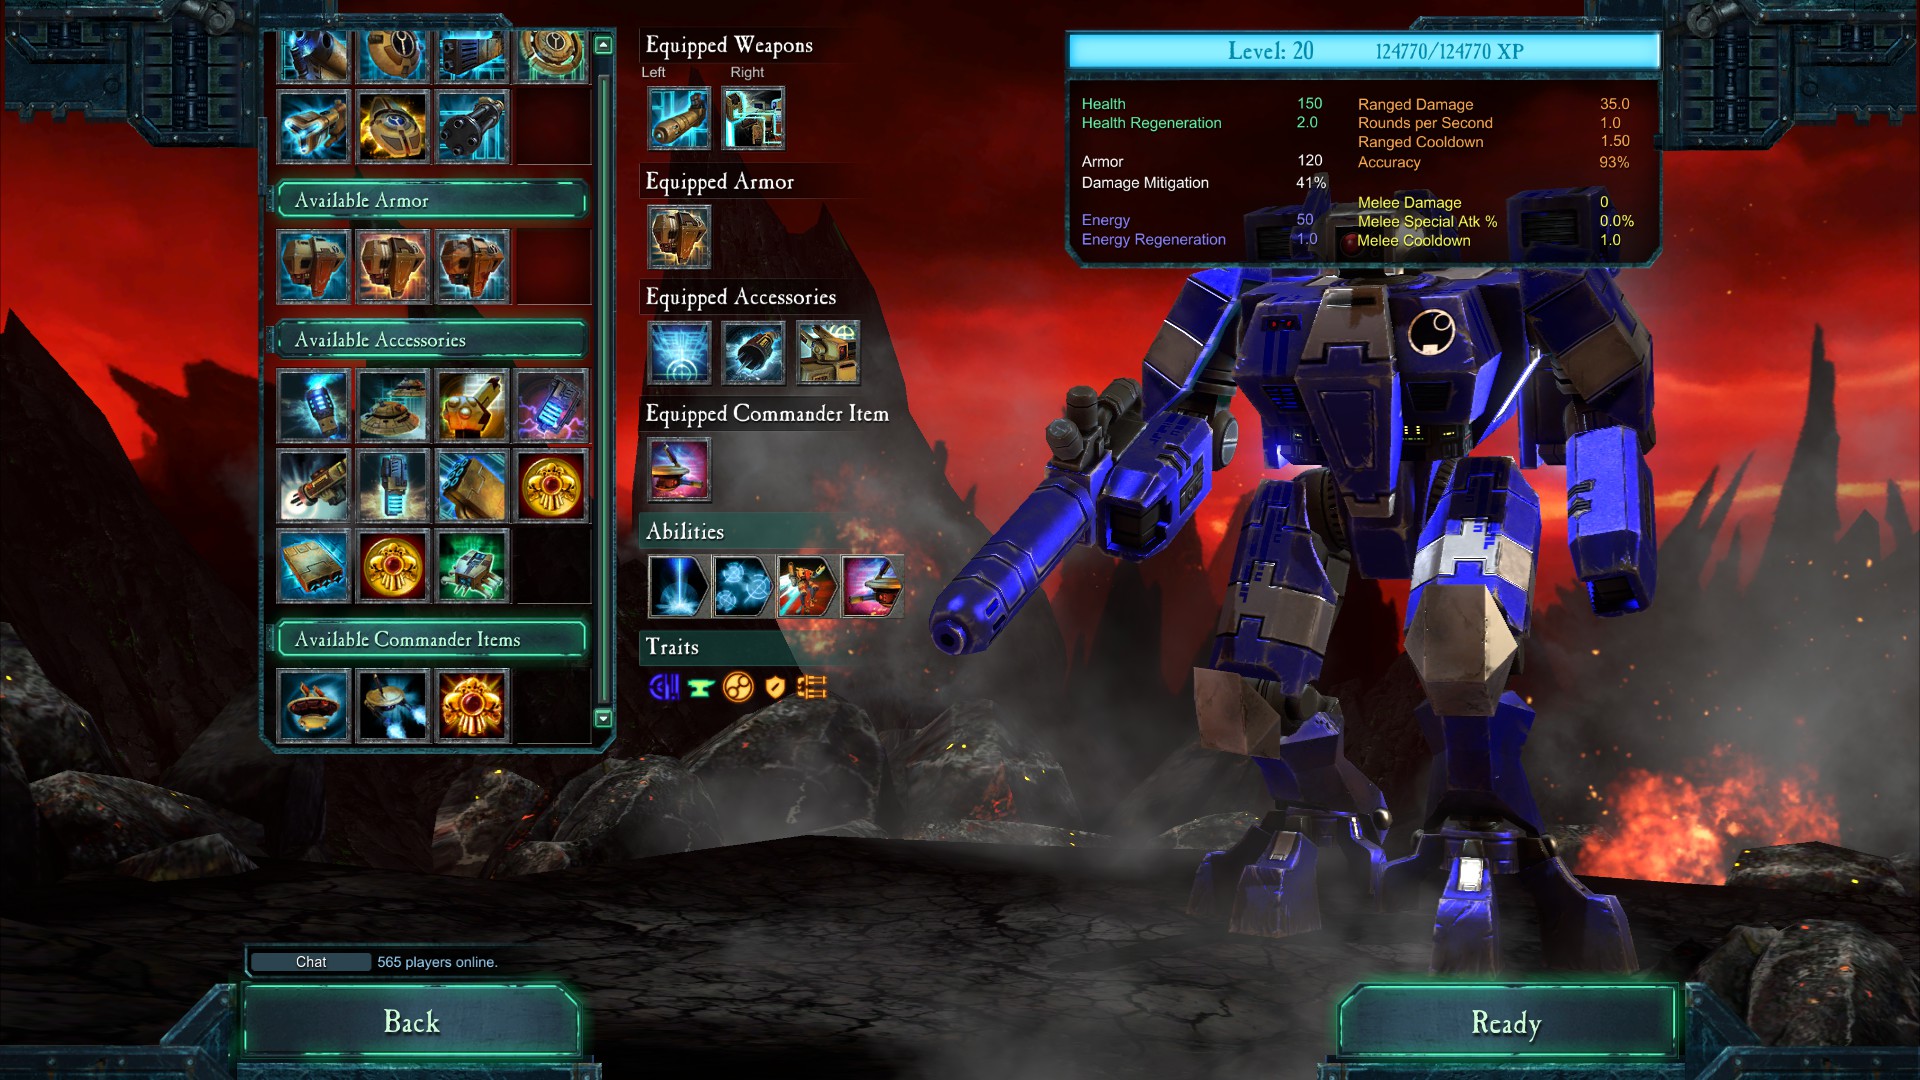
● Weapons: Command Issue Plasma Rifle … Networked Weapon Interface
● Armor: XV8 ‘Armored’ Crisis Battlesuit
● Accessories: Anti-Armor Missle Pod … Coolant Injectors … Targeting Cluster
● Commander: Heavy Gun Drone
3). Build against small enemies
Effective against invasion of small enemies and good against medium.
Stunner. Mobile. Good armor and 150 health. Can provoke and mark enemies – its good for saving control points. Your clone is no threat.
● Weapons: Command Issue Plasma Rifle … Networked Weapon Interface
● Armor: XV8 ‘Armored’ Crisis Battlesuit
● Accessories: Markerlight … Coolant Injectors … Targeting Cluster
● Commander: Marker Drone Controller
4). Aggressive shooter
Very effective against medium and heavy targets. Less effective against invasion of small enemies.
Long jump. Mobile. Light armor and only 100 health, really easy to die. Your attack strongly dominates above your defense. Your clone will use rockets first of all.
● Weapons: Command Issue Plasma Rifle … Networked Weapon Interface
● Armor: XV8 ‘Command’ Crisis Battlesuit
● Accessories: Anti-Armor Missle Pod … Coolant Injectors … Targeting Cluster
● Commander: Shield Drone Controller
5). Tank`s build
Very effective against invasion of small enemies + rockets against heavy enemies.
Stunner. Mobile. Heavy armor and 175 health. Really hard to die. Your clone will use rockets first of all.
● Weapons: Command Issue Plasma Rifle … Repulser Shield
● Armor: XV8 ‘Armored’ Crisis Battlesuit
● Accessories: Coolant Injectors … Anti-Armor Missle Pod … Energy Core
● Commander: Heavy Gun Drone
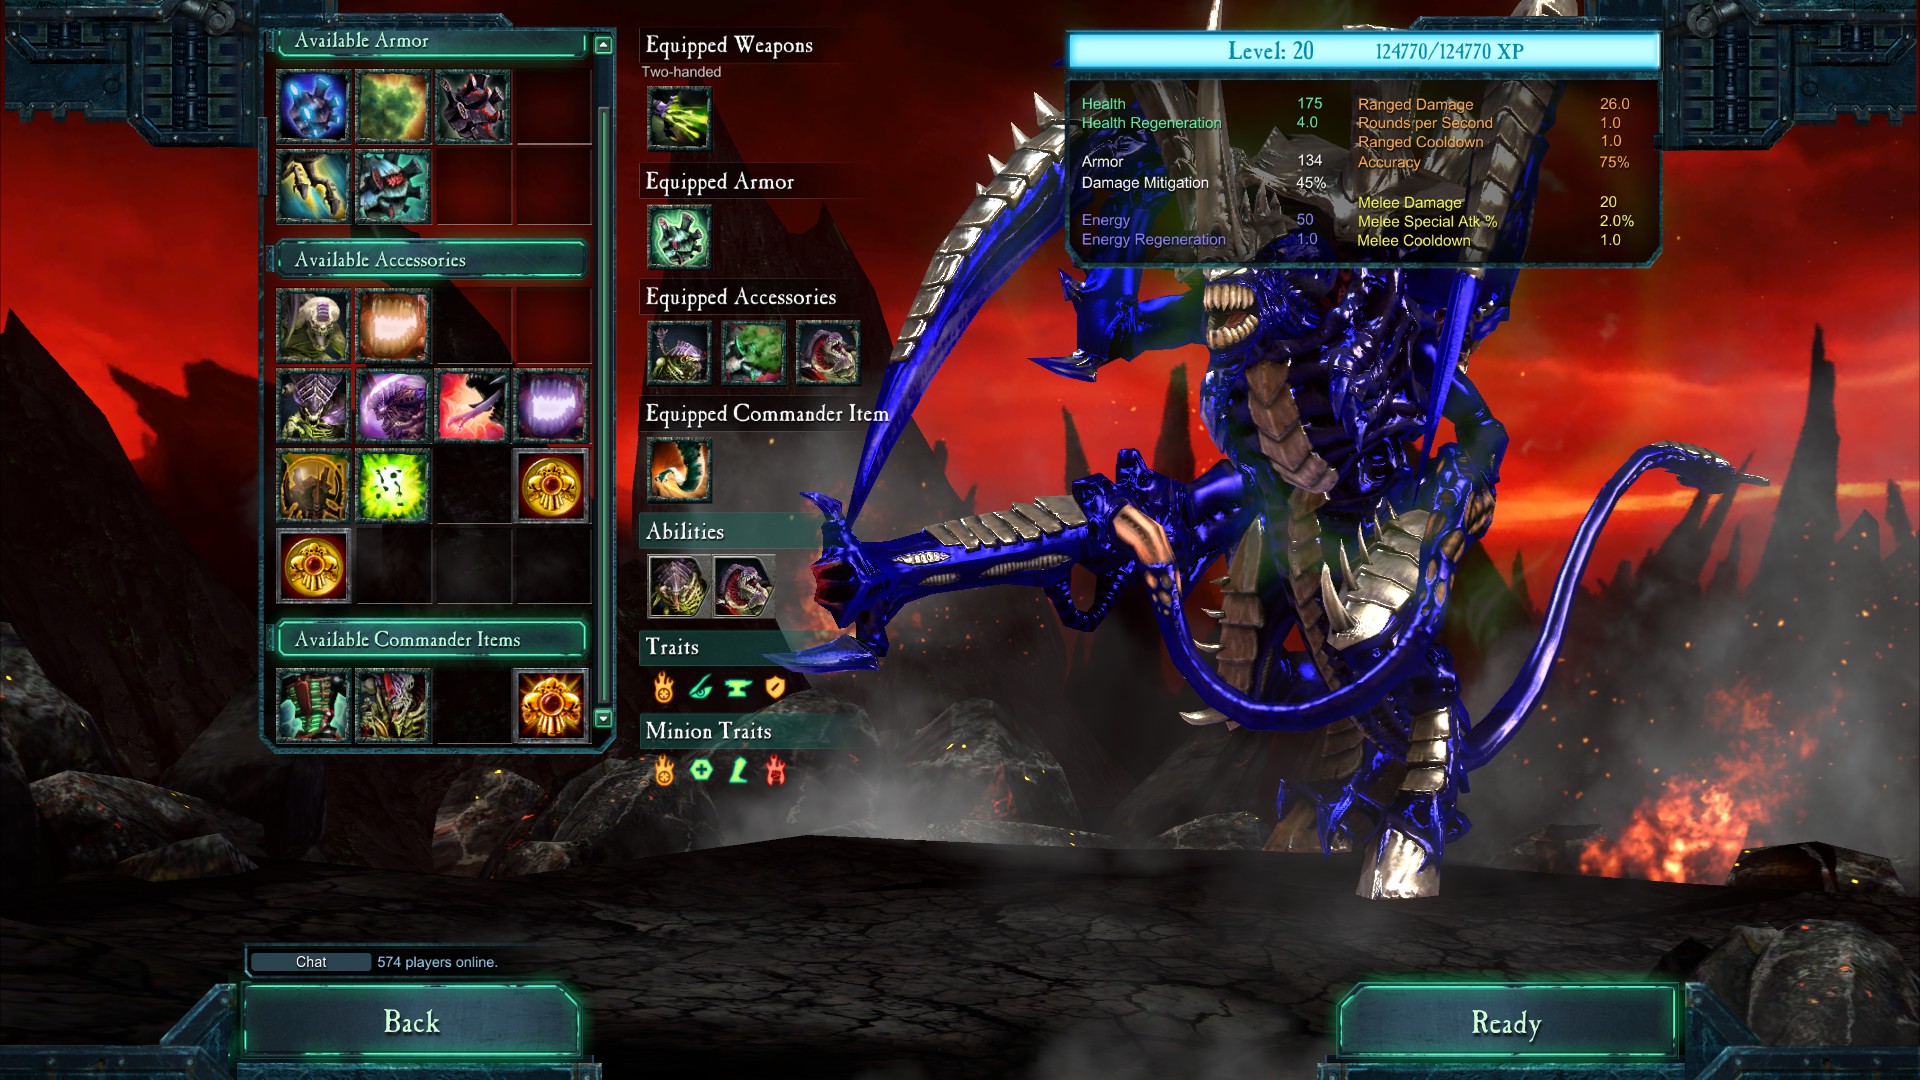
Sorcerer
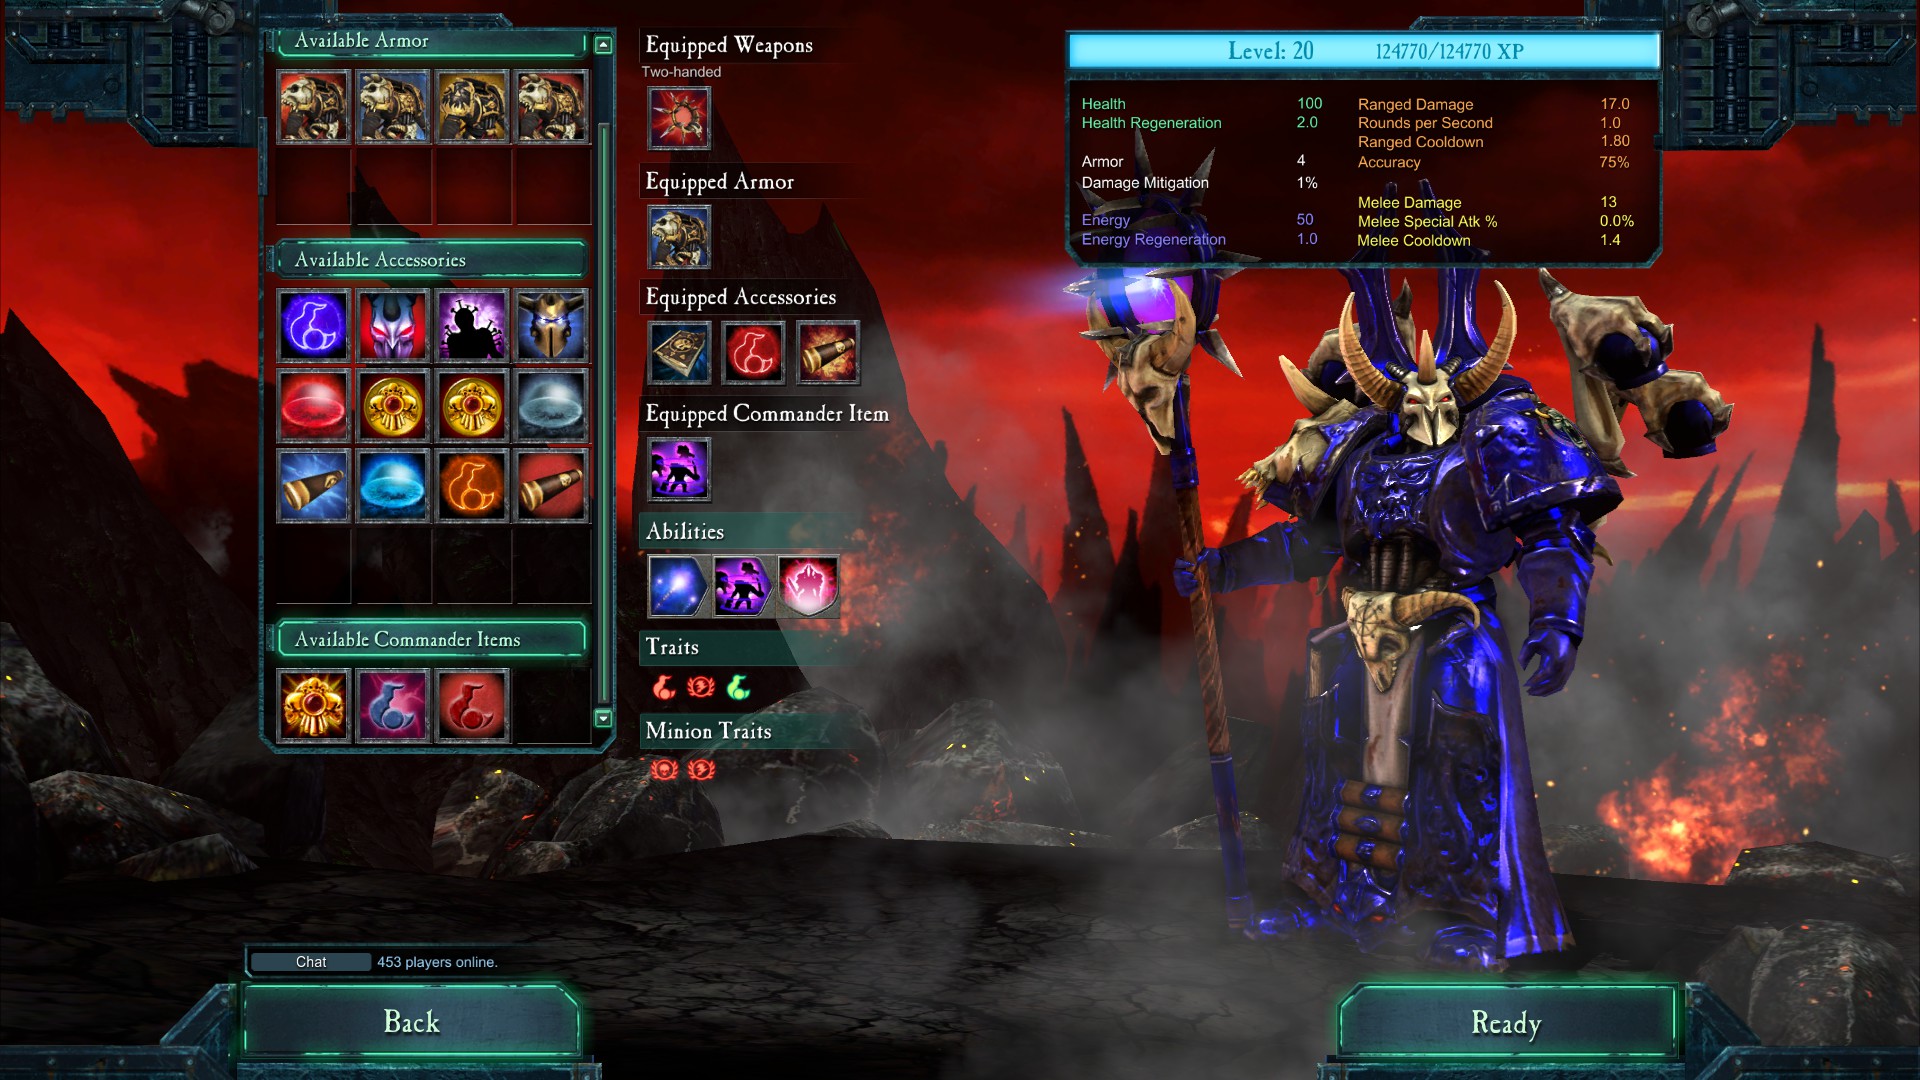
● Weapons: Staff of Tzeentch
● Armor: Robes of the Deathless
● Accessories: Tome of Doom … Sigil of Greater Sorcery … Daemonic Gift of Retaliation
● Commander: Icon of Summoning
Sorcerer power: “teleport + doombolts”, at first. And his clone – at second.
Sorcerer without “teleport + doombolts” – dont deserve to be called Sorcerer. Feel free to leave him on his own.
Rules:
1). Use your doombolts only in very close distance, under your feet.
2). Be sure to copy right targets. Only if your right target dies, copy the best one which you can.
3). DONT copy anything during 4 wave. DONT even DARE to think. He’s too slow.
4). Copy “warriors” during 5 wave. With second life from your Sorcerer, they’ll be very helpful.
5). Copy “raveners” during 14 wave. They’re ranged and better than “warriors”.
6). 16 wave, what class better for copy? (in order)
Tyrant >> Tau >> Space Marine > Necron
DONT copy another classes. AI is too stupid for them.
7). If you havent good targets during 16 wave, just dont copy anything. Kill them all and copy Carnifex (very big Tyrant) during 17 wave. He will survive until 20 wave.
8). DONT copy anything else during 17-20 waves if your Carnifex still alive.
Priorities for copying (from better to worse order):
1). Tyrant (1 or 2 build)
2). Tau (4 build)
3). Tau (2 build)
4). Tyrant (3 build)
5). Tau (3 build)
6). Tau (1 build)
7). Space Marine (1 build)
8). Space Marine (2 build)
9). Necron (2 build)
10). Necron (3 build)
11). Carnifex (17 wave)
12). Melle Dreadnought (19 wave)
13). Bloodletters (20 wave)
14). Chaos Lord (20 wave)
15) Warboss (18 wave)
Tyrant
Rules for 1 and 2 builds. Not suitable for 3 build.
I recommend starting with this class. Its very easy to use. Just stay near the most difficult gate and shoot them all. Protect your ravener, no one should block him, he must always keep shooting. If he was blocked – spawn new one. Another slave have not big attack, but have very high armor. He’s useful only as protection for you and your ravener. He’s like “human shield”. He will often provoke enemies.
Do not forget that your clone will be very serious enemy. Especially his ravener!
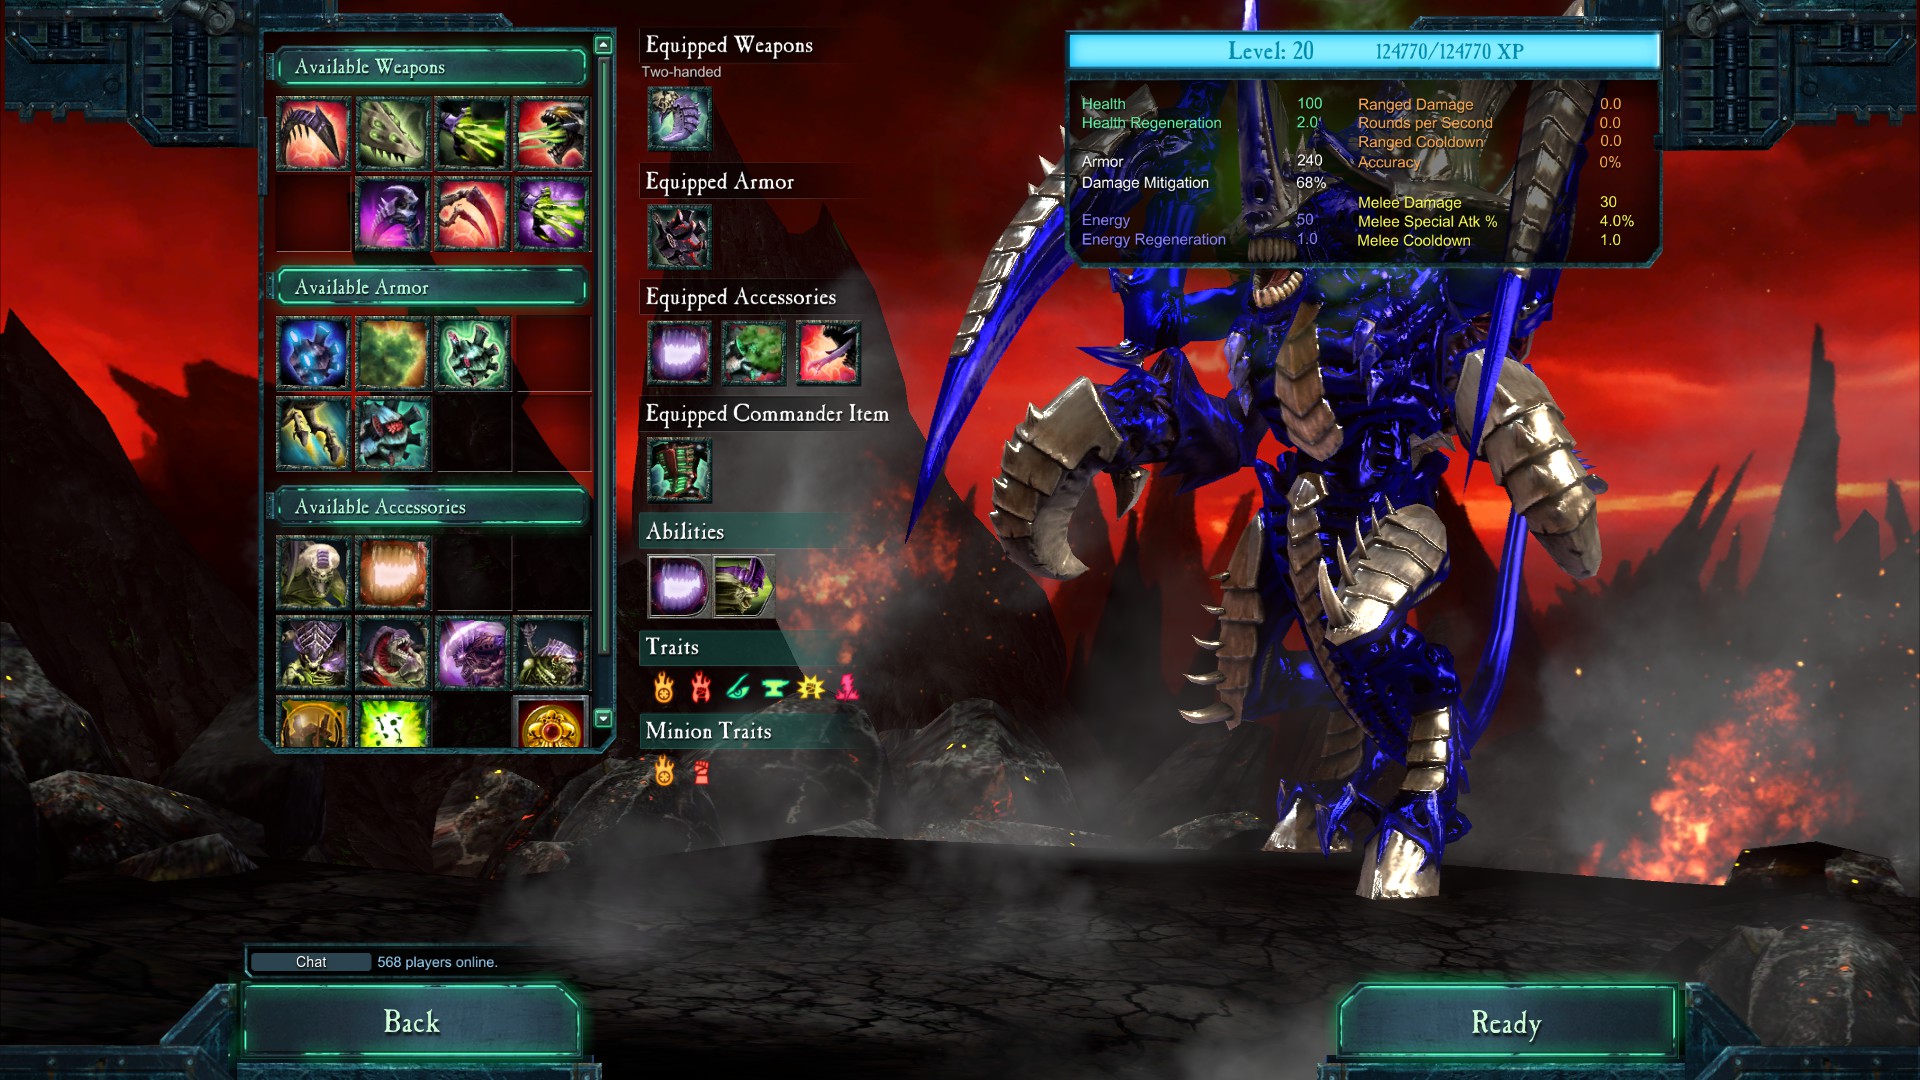
1). Build with DLC weapon
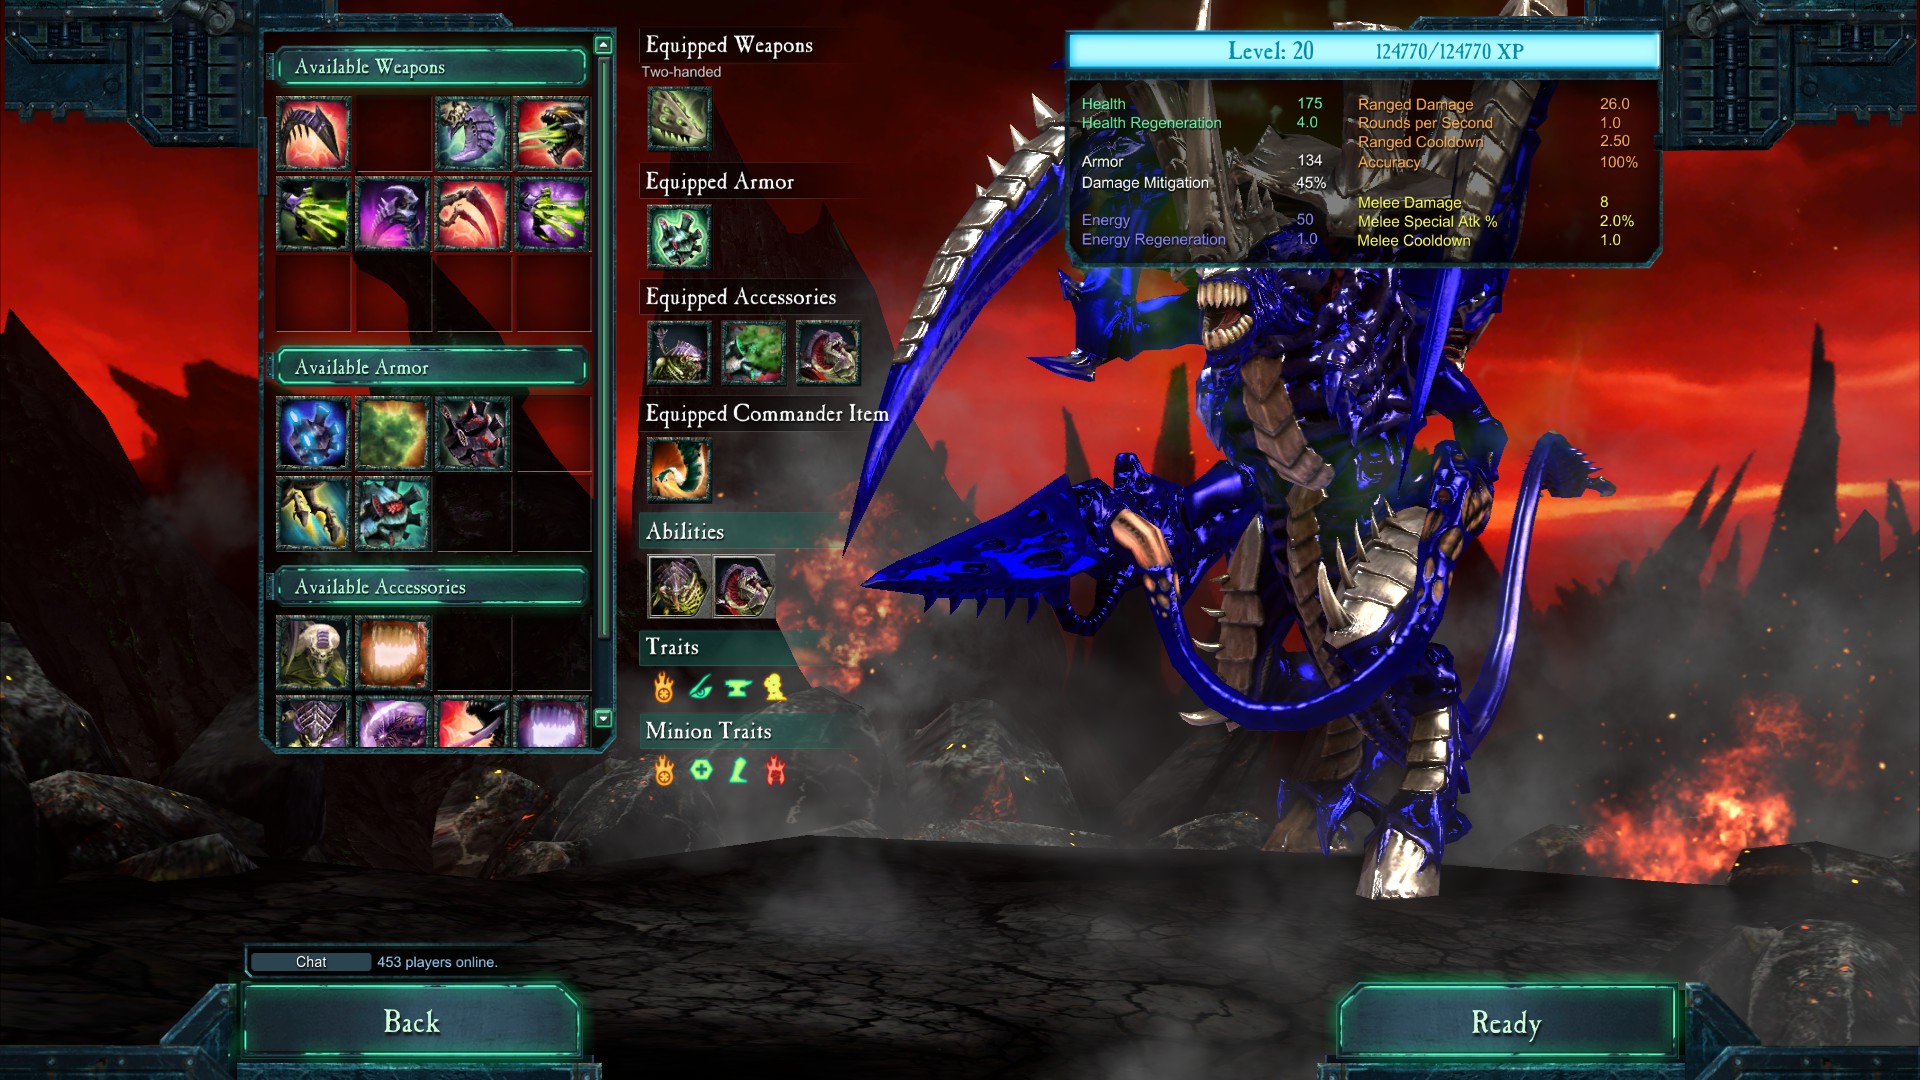
● Weapons: Devourer Cannon
● Armor: Bonded Exoskeleton
● Accessories: Ravener Nest … Toxin Sacs … Tyrant Guard Nest
● Commander: Evolution
2). Build without DLC weapon
If you have not “Devourer Cannon” (DLC), you can use “Venom Cannon”. Its a little bit worse.
● Weapons: Venom Cannon
● Armor: Bonded Exoskeleton
● Accessories: Ravener Nest … Toxin Sacs … Tyrant Guard Nest
● Commander: Evolution
3). Tank`s build
I can recommend this build only during leveling. Its not mobile. You cant kill small enemies so fast. But you have the maximum melee attack and very powerful armor. Also, “Psychic Scream” item is very useful. When you activate it – all enemies in the big affected area will not attack anything during some seconds.
● Weapons: Behemoth Claw
● Armor: Thornback Carapace
● Accessories: Psychic Scream … Toxin Sacs … Implant Attacks
● Commander: Thornback
Mekboy
Mekboy has only one good build. The only difference is which weapon you will use. You must buy
” Mekboy Wargear DLC ” to get “Juiced Up Tellyporta” item or this builds are not for you.
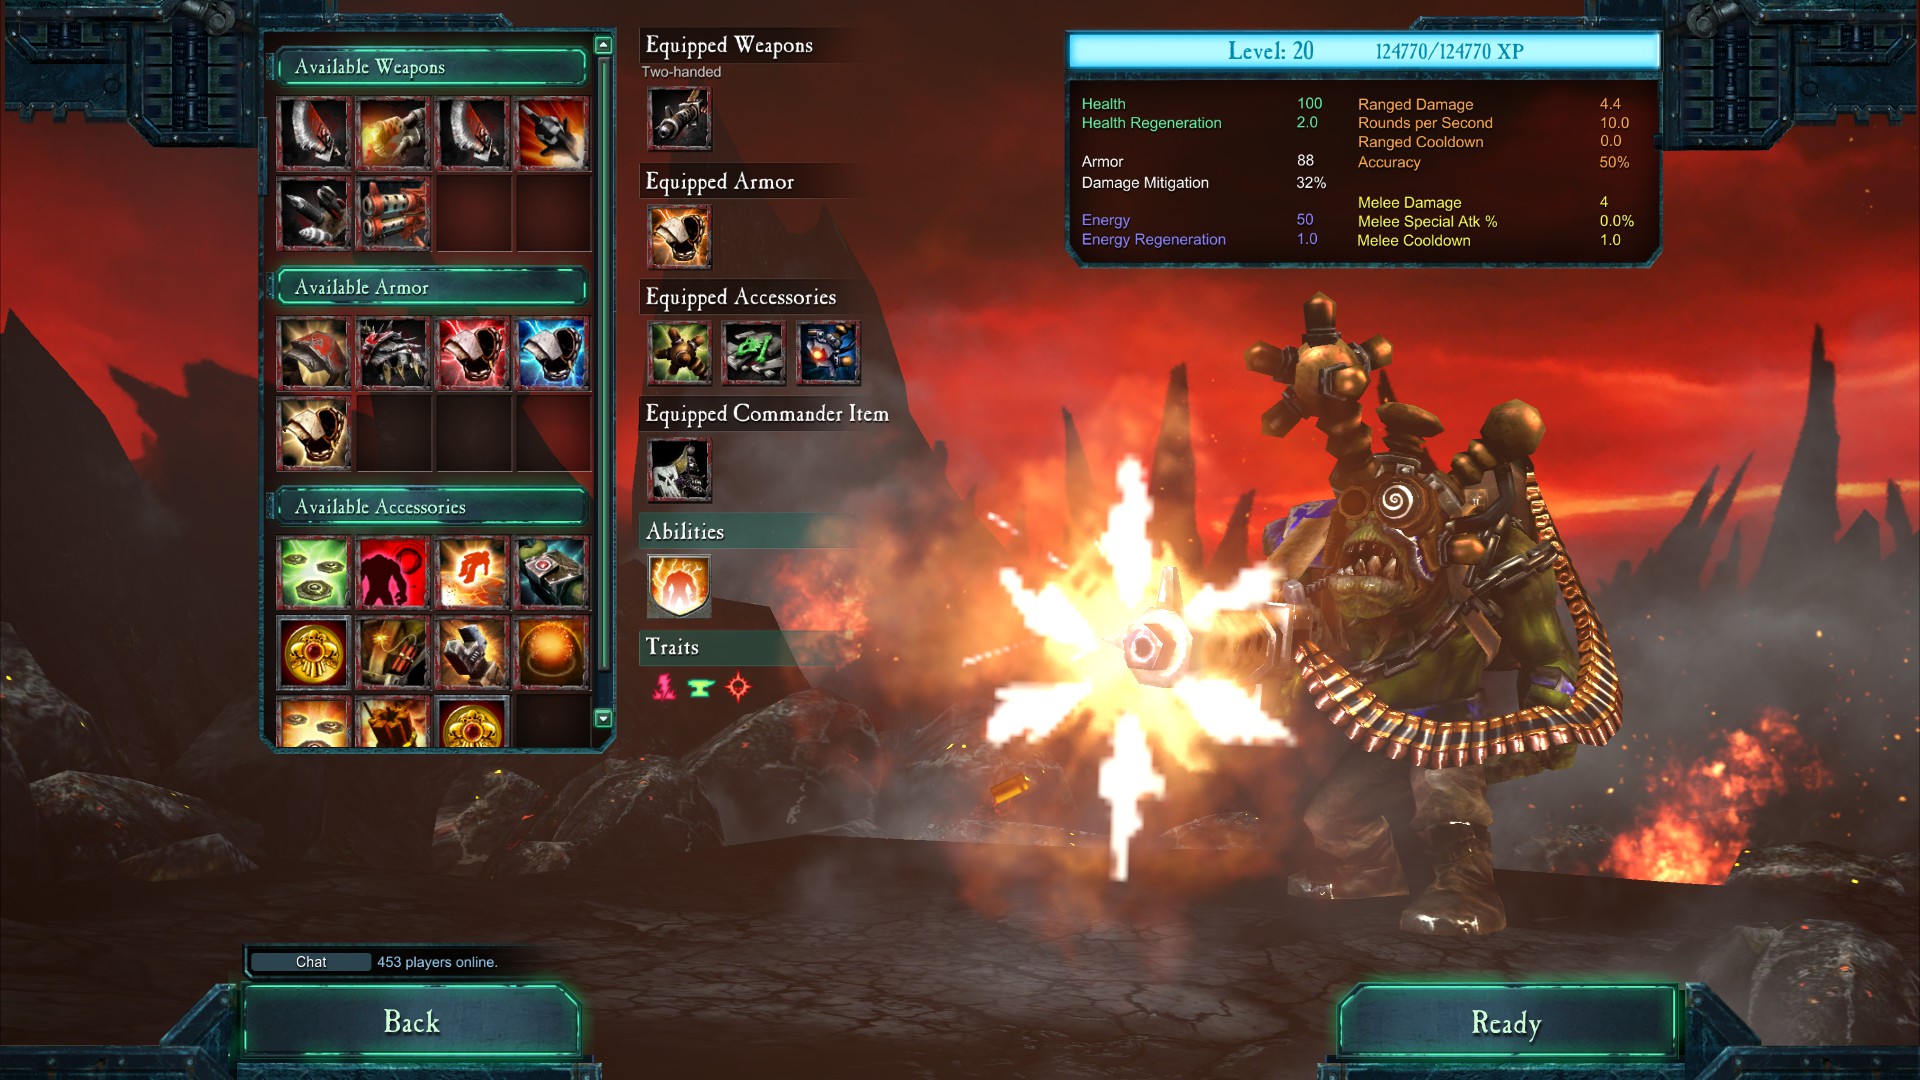
1). Ranged build
With “Big Shoota” weapon – you can provoke enemies and can save controll points. But its harder to survive in comparation with “Big Choppa”. You have only 2x health regenreration and it may be a problem with the lack of energy if you are using very agressive style of the game.
● Weapons: Big Shoota
● Armor: Teleporta Pack
● Accessories: Juiced Up Tellyporta … Sturdy Bitz … Cybork Parts
● Commander: Trophy Rack
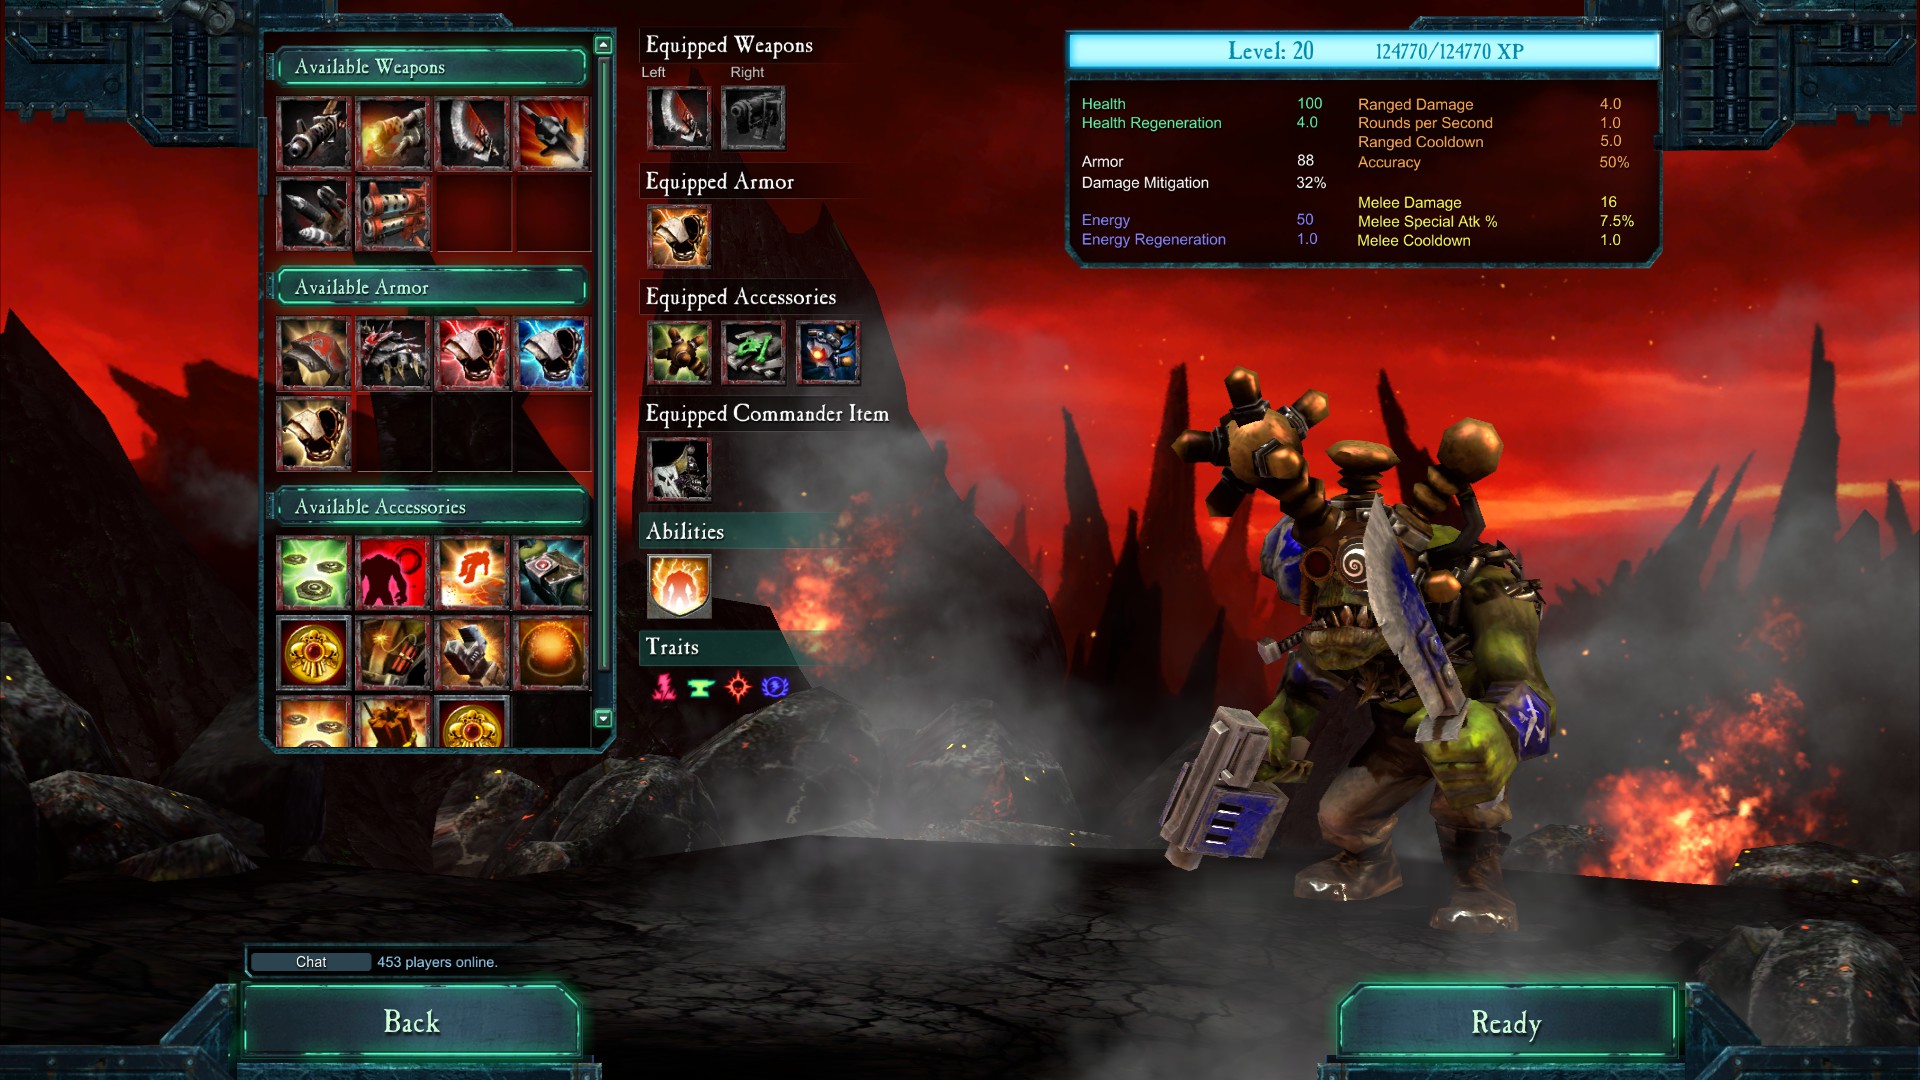
2). Melle build
Its not ranged weapon but gives you 4x health regenreration. You can be a “tank”.
Also, this weapon ability gives you chance to get some free energy when you kill enemy.
Don`t use second slot, better leave it empty. Your rocket launcher will mess your attacks sometimes.
As for myself, I prefer this build. There’re no problems with health regenreration and energy. You can play maximum aggressively. Your clone will be useless. He will try to kill you only in a melle attack with a knife.
● Weapons: Big Choppa … “Empty slot”
● Armor: Teleporta Pack
● Accessories: Juiced Up Tellyporta … Sturdy Bitz … Cybork Parts
● Commander: Trophy Rack
General
General has only one good build. The only difference is which armor you use.
Power of your General located in his “Rocket Run”. Spam it against a big clusters of enemies as often as possible. Use “Super shot” of your sniper rifle against medium and heavy targets only.
Hold a distance from all enemies. Nobody has to approach close to you or you will die very fast.
“Stormtroopers” can be only used as “human shield” but they reduce amount of necessary energy and giving you very useful ability (you will be able to escape from any bad situation).
1). Best build
This build can be maximum effective but really easy to die. You need some practice and get used to it.
● Weapons: Deadly Sniper Rifle
● Armor: Cadia Pattern Carapace Armor
● Accessories: Rocket Run … Medallion Crimson … Honorifica Imperialis
● Commander: Stormtroopers
2). Reliable build
It has less energy regeneration but you’ll be able to survive easier. Use it only if you aren’t assured in your surviving.
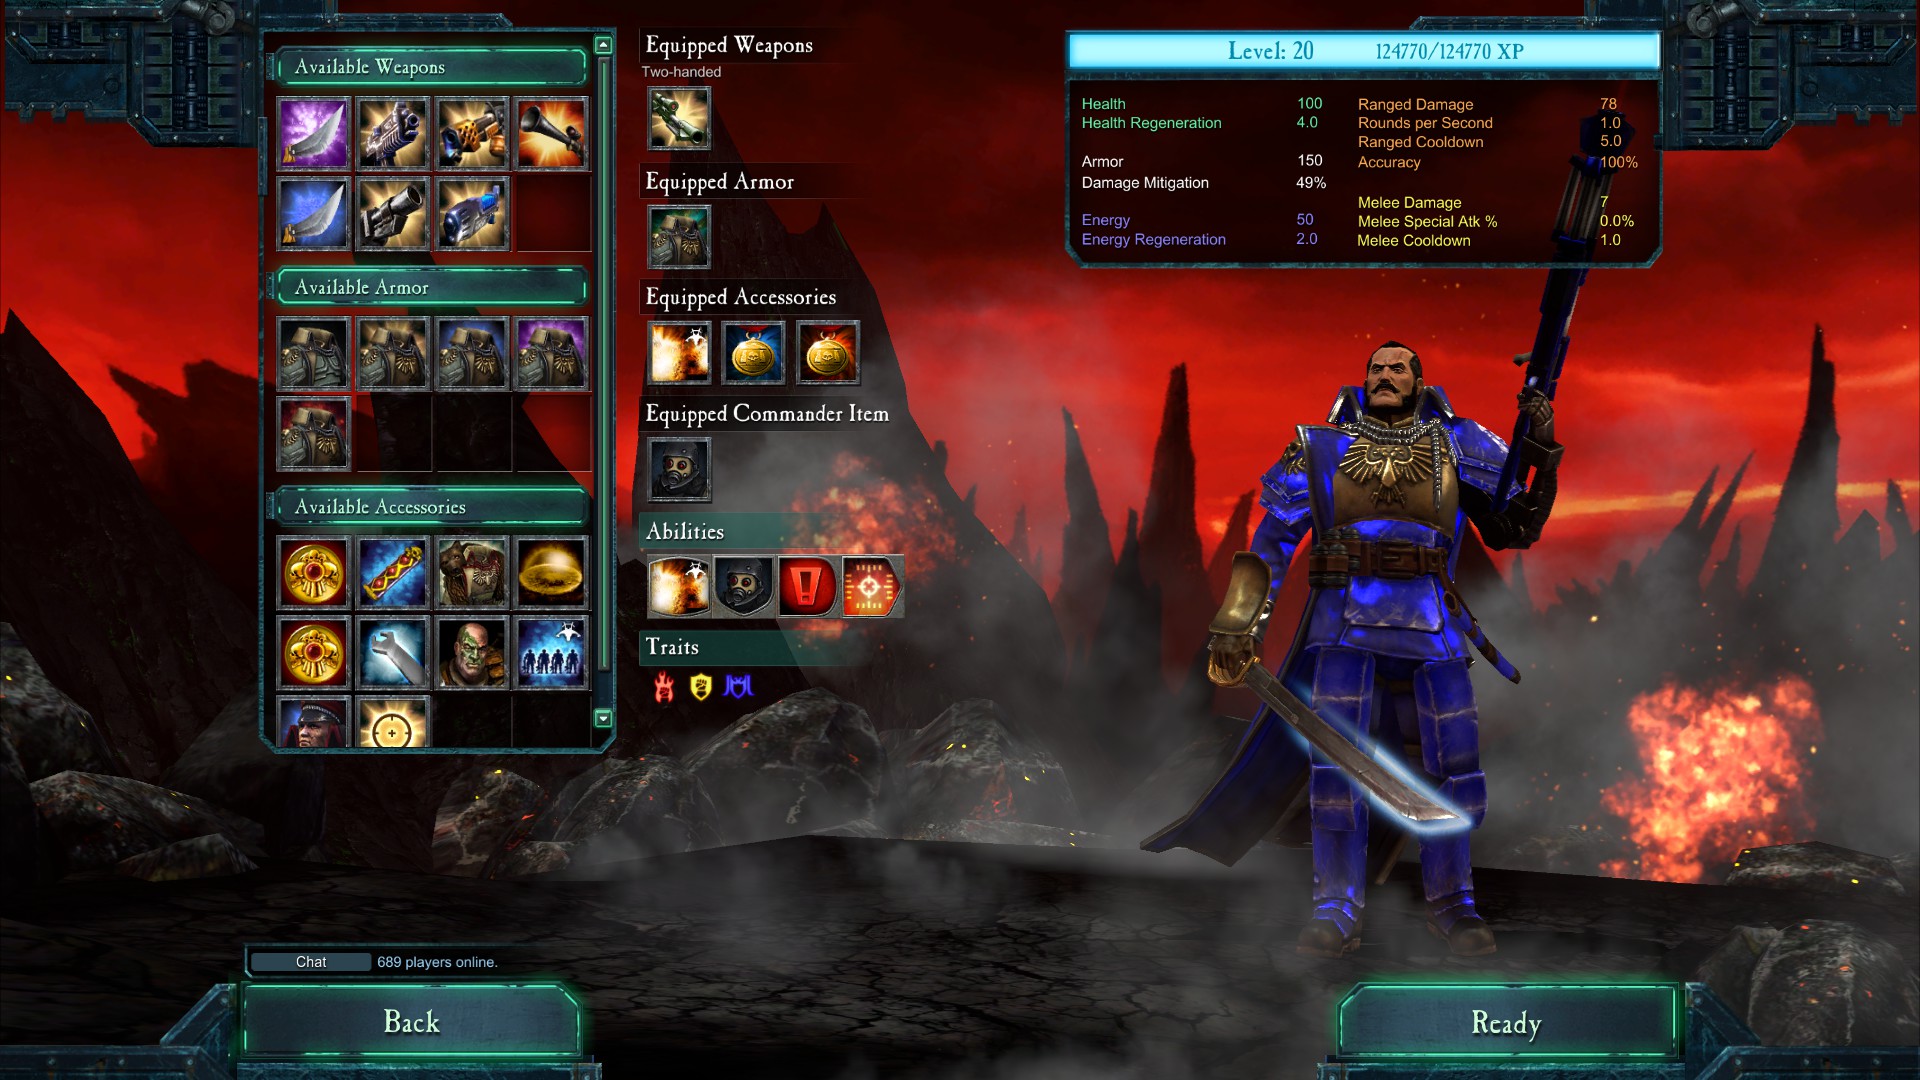
● Armor: The Black Plate
● Accessories: Rocket Run … Medallion Crimson … Honorifica Imperialis
● Commander: Stormtroopers
Necron
First of all, Necron is not overpowered. He is balanced. He is very slow, absolutely not mobile.
Shortcoming of this class is only that he is too slow and can’t kill enemies quickly.
He isn’t suitable variant for the fast scored games but has several useful things.
1). Agressive build
Use your 2 abilities as often as possible against a clusters of enemies. “Raiment of the Nightbringer” has very big cooldown even with “Glyph of the Tireless Harvest”.
You’ll need a little practice to get used to this weapon. Its area damaging.
Health regeneration is 6,3x, what means that its very hard for you to die. You also can be a “tank”.
● Weapons: Lance of Annihilation
● Armor: Diadem of the Nemesor
● Accessories: Glyph of Living Metal … Glyph of the Star Gods … Glyph of the Tireless Harvest
● Commander: Raiment of the Nightbringer
2). Stunner
Use this build if you need stunner for your team. Its also good build but in some different way.
Your weapon is effective against medium and heavy targets. Big radius of injury.
“Glyph of the Reclaimer” is very effective against invasion of small enemies. Its his best item.
Health regeneration is 5,0x means that its very hard for you to die. You also can be a “tank”.
● Weapons: Staff of the Phaeron
● Armor: Diadem of the Nemesor
● Accessories: Glyph of the Reclaimer … Glyph of Living Metal … Glyph of the Tireless Harvest
● Commander: Raiment of the Tesseract
3). Heavy tank
Use this build only if you need “heavy tank”. Not really good build, but its playable.
Melle weapon, not mobile. Heavy armor with “Glyph of the Reclaimer” – practically impossible to die.
Effective against all kind of enemies but only in mellee combat + low speed of the attack. You can practically ‘feel’ cooldown for your melle weapon. Also “Raiment of the Nightbringer” have biggest cooldown in game.
● Weapons: Warscythe of the Phalanx
● Armor: Diadem of the Nemesor
● Accessories: Glyph of the Reclaimer … Glyph of the Implacable … Glyph of the Wraith
● Commander: Raiment of the Nightbringer
Space Marine
Its a favourite class of all beginners. But its not suitable variant for the fast scored games.
He can’t kill enemies quickly. it is the defence class. Choose him if you are a total begginer
and lazy player which doesn’t want to study something new.
1). Popular build
200 health and very heavy armor means that its very hard to die. You can be a mobile “tank”.
For getting this shield you need to buy ” Captain Wargear DLC “. Without it, this build will not
be so effective. Anyway you have a medium speed of attack and can’t perform multikills.
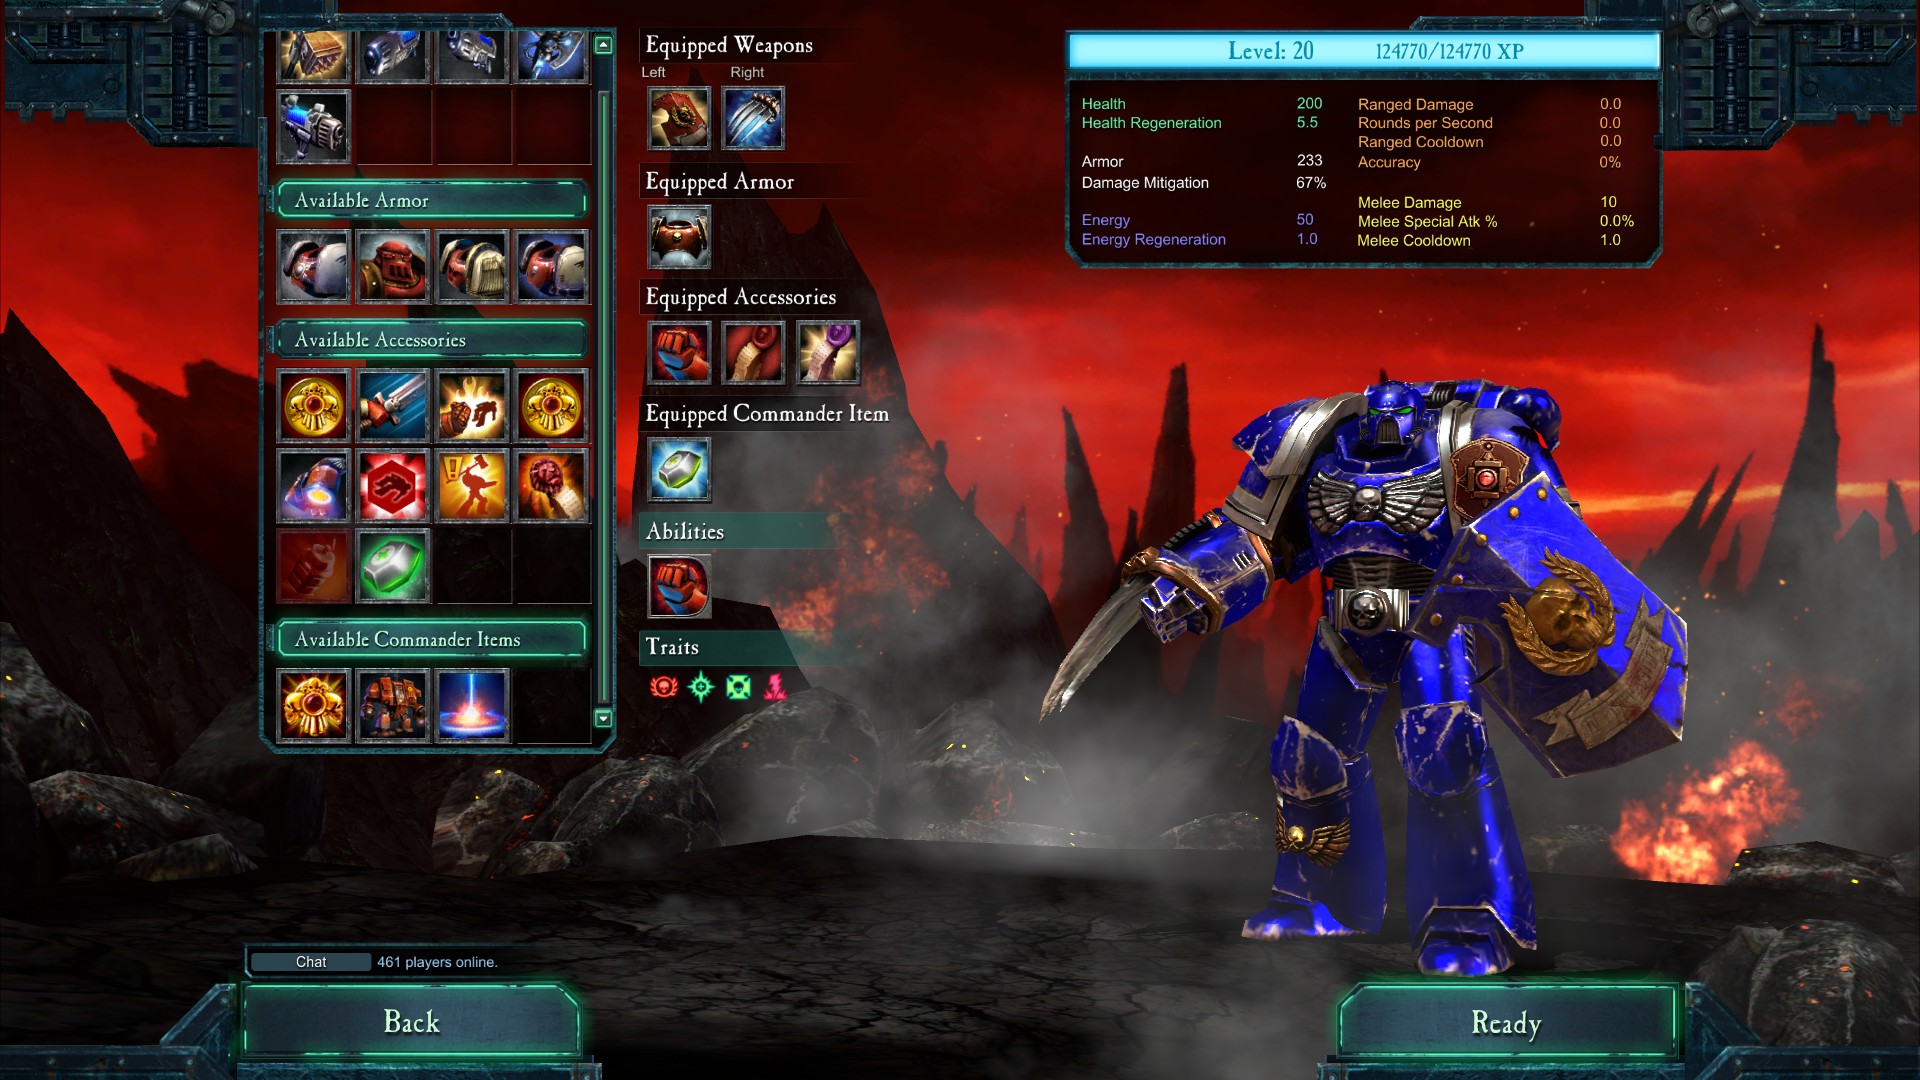
● Weapons: Inscribed Combat Shield … Lightning Claw
● Armor: Armour of Vengeance
● Accessories: Jump Pack … Litanies of Zeal … Rite of Fortitude
● Commander: Dreadnaught Drop Pod
2). Attack build
If you havent bought DLC and want to be able to kill small enemies fast, I can offer this build. As for me, I prefer it. Its my choice. But its much more difficult to survive. Need some skill.
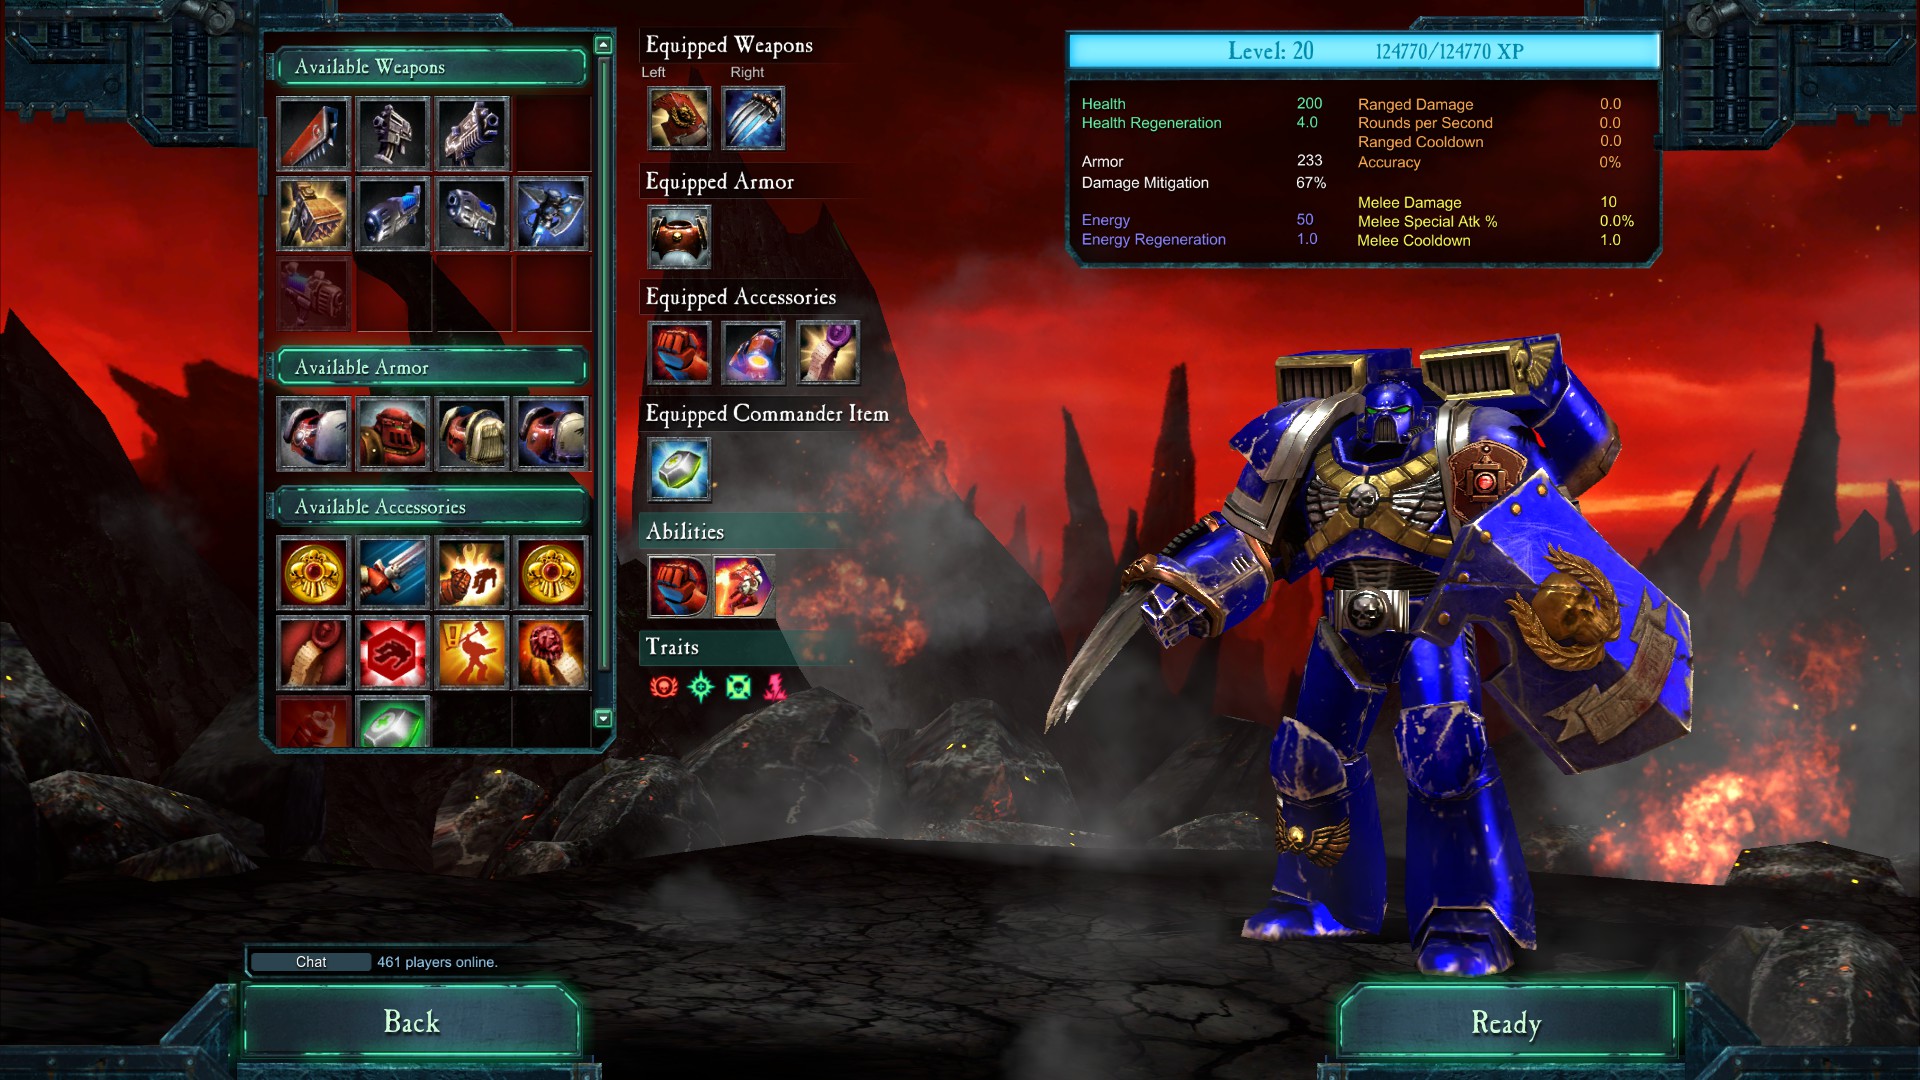
● Weapons: Plasma Gun
● Armor: Artificer Armour
● Accessories: Jump Pack … Parable of the Stalwart Brother … Rite of Fortitude
● Commander: Dreadnaught Drop Pod
3). “Stunner” v1
Use this build only if your 2 teammates have high extent of the ranged attacks and need a stunner.
● Weapons: Inscribed Combat Shield … Lightning Claw
● Armor: Armour of Vengeance
● Accessories: Litanies of Hate … Parable of the Stalwart Brother … Rite of Fortitude
● Commander: Larraman’s Blessing
4). “Stunner” v2
This build gives you less health regeneration but “Jump Pack” will give you some more mobility.
Use this build only if your 2 teammates have high extent of the ranged attacks and need stunner.
● Weapons: Inscribed Combat Shield … Lightning Claw
● Armor: Armour of Vengeance
● Accessories: Litanies of Hate … Jump Pack … Rite of Fortitude
● Commander: Larraman’s Blessing
Farseer
The worst class in this game. It hasnt any good builds for fast attacks. Its a full support class.
Her mellee attack damage is very low, practically zero. You can kill enemies only using your abilities.
All games with this class will be very boring and long. Dont use it if you want enjoyable game.
If you’ll use items like invisible or mass teleportation – it means that only your teammates will be able to kill enemies when you’ll stay like AFK. During 20 wave, enemy Farseer will use mass teleportation too and someone of your teammates will fight against 3 clones and lord of chaos together.
Running around the corners like a chicken will not help your teammates. They will die every time the hard wave income. But you’ll survive, off course. Its a wrong strategy. You are also must be pretty fast in killing enemies with your teammates.
1). Support build
“Runes of Fortune” gives yo very useful ability. It noticeably lowers the received damage.
Its cost cheap and have fast cooldown. You can spam it often for your teammates.
You are effective against small and medium targets but havent “Spirit Stone of Eldritch Might”.
With “Runes of the Harlequin” and “Runes of Fortune” you can be the best “tank” but you’ll not have any attacks.
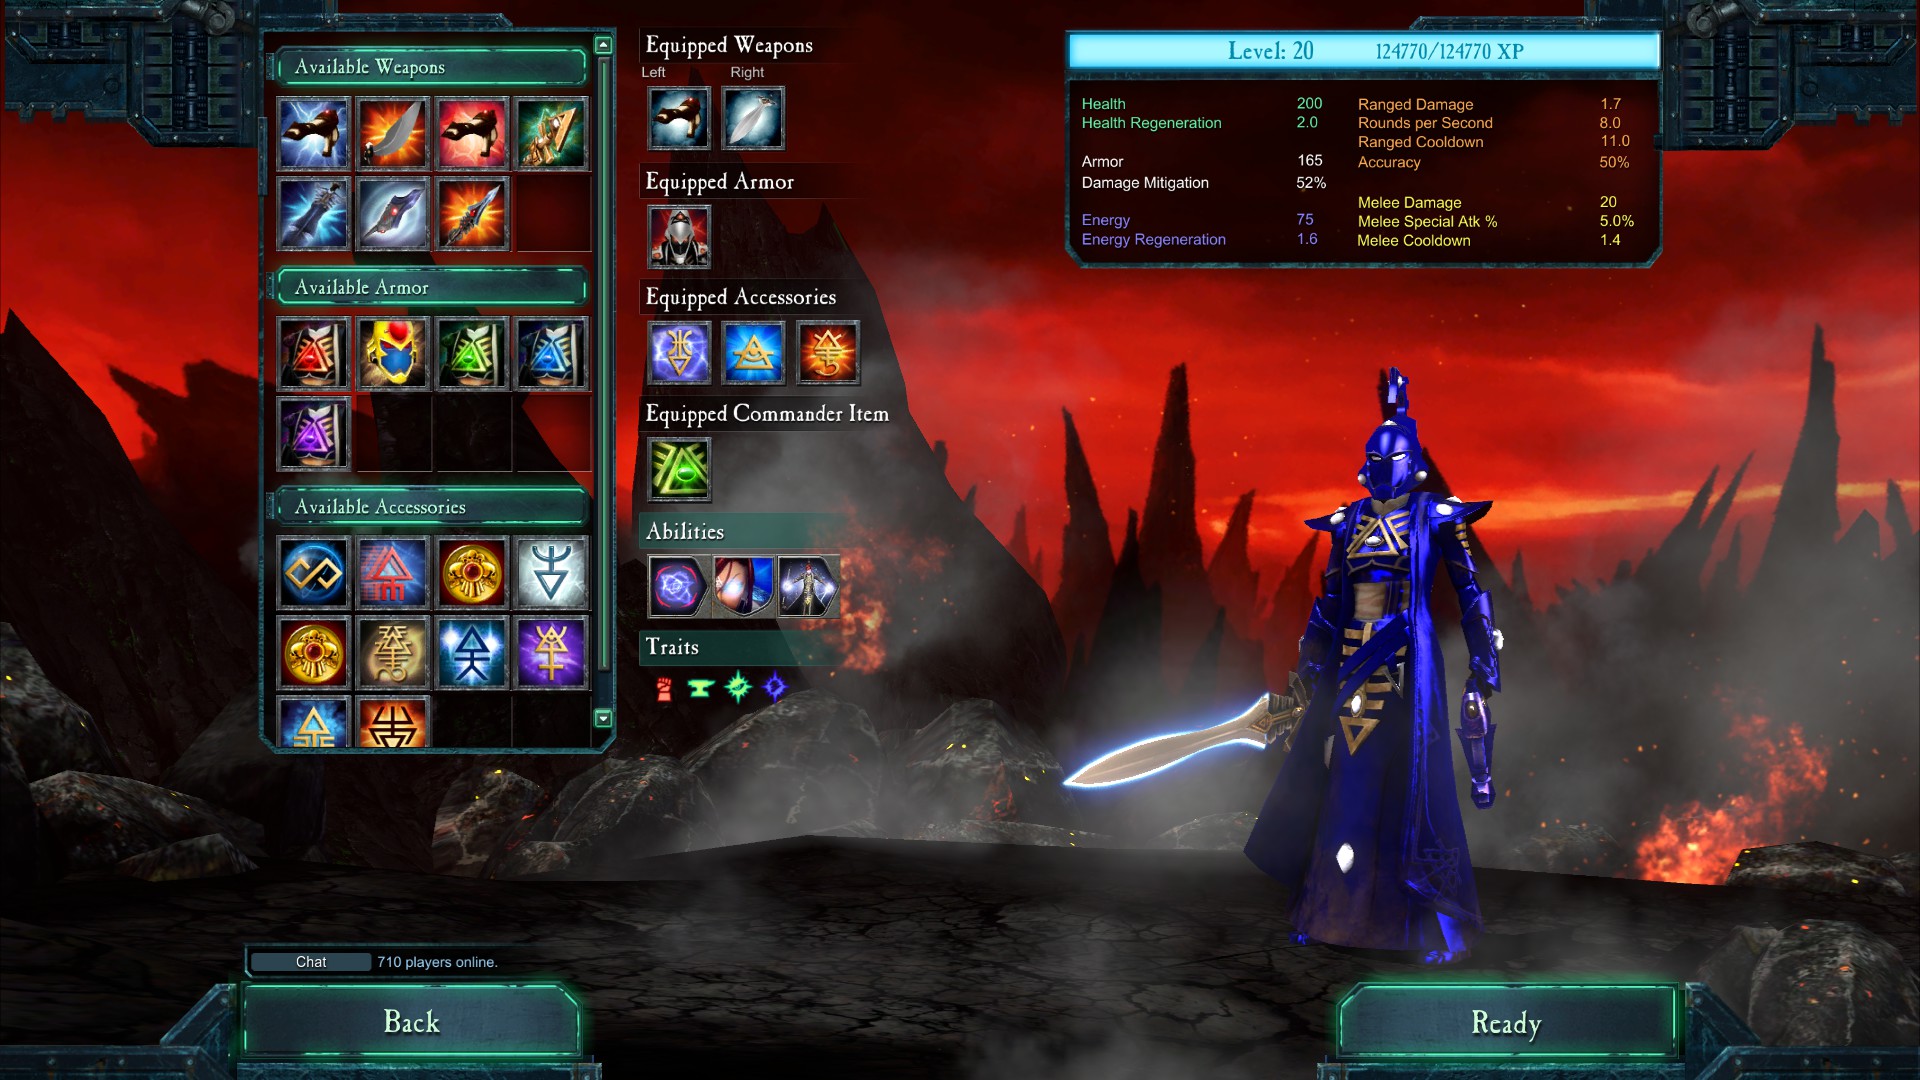
● Weapons: Pistol of the Skyseer … Witchblade of Isha
● Armor: Armour of Idranel
● Accessories: Runes of the Harlequin … Runes of Fortune … Runes of War
● Commander: Spirit Stone of Vigor
2). Attack build
Seems that here you can get maximum attack result from this class.
You are effective against small and medium targets. Confuse heavy targets.
● Weapons: Pistol of the Skyseer … Witchblade of Isha
● Armor: Armour of Idranel
● Accessories: Runes of the Harlequin … Runes of Vigor … Runes of Evasion
● Commander: Spirit Stone of Eldritch Might
Successful teams
In this cases, all games with stunner Tau in team will be much simplier than games without him.
1). Best team: 3x Tau (1 build)
Practically impossible to die. Only own drones can kill you. You can get maximum points for the leaderboards only in this team. ~21,5 millions is awaiting for you. What do you wait for? Just do it.
2). 2x Tau (1 build), any 3rd hero with any build
Doesn’t matter who will be the 3rd, because 2x Tau with drones can kill everyone even if 3rd player is totally low or have wrong build. But that 2x Tau must be pretty good in that case. Its a best variant if you want to get new score record for your “not Tau” class. Just select my 1st build for every class if you’ll play with 2x Tau with drones.
Use next combinations ONLY if YOU DONT HAVE Tau with “Advanced Drone Controller”.
3). 1x Tau (2 build), 1x Sorcerer, 1x Tyrant (1 or 2 builds)
Copy enemy Tyrant.
4). 1x Tau (5 build), 2x Tyrant (1 or 2 builds)
20 wave can be problem. You need good Tau for safe stunning of enemy clones.
5). 1x Tau (2 build), 2x Sorcerer
During 16 wave, your Sorcerers must copy enemy Tau. During 20 wave they must copy Tau again only if he died before. 20 wave can be problem. You need good Tau for safe stunning of enemy clones.
——————————————————————————————————————————-
If you havent Tau or you are racist and hate Tau`s nation – you must choose Necron as a stunner. In this cases, all games without Tau in team will be harder and more long, but they’re still passable.
1). Best team: 1x Necron (2 build), 1x Sorcerer, 1x Tyrant (1 or 2 builds)
Only Sorcerer is mobile. Copy enemy Tyrant.
2). 1x Necron (2 build), 1x Tyrant (1 or 2 builds), 1x Mekboy (1 or 2 builds)
Only Mekboy is mobile. Enemy Mekboy will be useless and isn’t dangerous.
3). 1x Necron (2 build), 2x Tyrant (1 or 2 builds)
2x Tyrant with 2x raveners are very serious danger for all enemies. That why only 20 wave will be a problem. Need good Necron for safe stunning of enemy Tyrants with raveners.
4). 1x Necron (2 build), 1x Tyrant (1 or 2 builds), 1x Space Marine (1 build)
Only Space Marine is mobile. 1x “tank” here so 20 wave will not be a problem.
5). 1x Necron (2 build), 1x Tyrant (1 or 2 builds), 1x General (2 build)
It will work only if your General have enough skill. 17-19 waves can be problem only for him.
For 20 wave need good Necron for safe stunning of clones.
——————————————————————————————————————————-
These combinations of teams will be very convenient for beginners. Only Space Marine has to be very attentive and taunt is as much enemies as possible. Taunt all enemies and run from them.
Your ranged teammates will kill heavy targets.
1). Best team: 1x Space Marine (3 build), 2x Tyrant (1 or 2 builds)
Very effective team but very attentive Space Marine required. Safe positions are necessary for the starting of 16 and 20 waves.
2). 1x Space Marine (3 build), 1x Tyrant (1 or 2 builds), 1x Sorcerer
Copy enemy Tyrant.
3). 1x Space Marine (3 build), 1x Tyrant (1 or 2 builds), 1x Mekboy (1 or 2 builds)
Mekboy must be careful against enemy clones.
4). 1x Space Marine (3 build), 1x Tyrant (1 or 2 builds), 1x General (1 build)
Requires good Space Marine or General will probably die.
5). 1x Space Marine (3 build), 1x Mekboy (1 or 2 builds), 1x General (2 build)
You’ll get some problems only against heavy targets.
——————————————————————————————————————————-
Its a hard way. You can`t get so much points here. This games will be for fun only.
1). Best team: 1x Farseer (1 build), 1x Sorcerer, 1x Tyrant (1 or 2 builds)
During 16 wave, your Farseer must always confuse enemy Tyrant until he doesn’t die. Your Sorcerer must copy Tyrant and try to kill enemy Sorcerer as soon as possible. He shouldnt have any chances to copy yours Tyrant. 20 wave will not be so hard as 16 wave. Luck is necessary anyway.
2). 1x Farseer (1 build), 1x Tyrant (1 or 2 builds), 1x Mekboy (1 or 2 builds)
Only Mekboy is mobile. Enemy Mekboy and Farseer will be useless and isn’t dangerous. Its a balanced combination between rate of kills and reliability. Choose this combination if you don’t want to rely on luck.
3). 1x Farseer (1 build), 1x Tyrant (1 or 2 builds), 1x Space Marine (1 build)
2x tanks here make this game very safe and without deaths. But it’ll be very long and boring. Choose this combination only if you are beginner and don’t want to play difficult games.
4) 1x Farseer (1 build), 1x Mekboy (1 or 2 builds), 1x Space Marine (1 build)
2x tanks here make this game very safe and without deaths. But it’ll be very long and boring. Choose this combination only if you are beginner and don’t want to play difficult games.
5). 1x Farseer (1 build), 1x Tyrant (1 or 2 builds), 1x Tyrant (3 build)
During 16 wave you need to confuse ranged Tyrant and run away from melle Tyrant.
During this time – you must kill ranged Tyrant. Same for 20 wave.
——————————————————————————————————————————-
When you’re playing with random players, prepare yourself for this variant. It’ll be in 99% of cases.
Most players even dont know what means “clones gate” and therefore won’t stun any clones.
Yes, you can survive even without stunner. But there’re 2 ways:
1). You need to use absolutely another builds. More defenses, less attacks. Games will be a lot longer. Other combinations of heroes can also work but there will be a high chance of loss and the received points won’t be so high. Do you really need it?
2). You need a big experience in this game, 300 hours minimum. All 3 players have to know what to do on any of the following waves.
For second variant I can offer this teams. But it’ll be practically impossible to survive for beginners. Try to play them only if you are a pretty skilled player. These teams don’t make sense to be here. It approaches better for classic “Warhammer 40,000: Dawn of War II” for score games with elites.
a). 1x Sorcerer, 2x Tyrant (1 or 2 builds)
b). 2x Sorcerer, 1x Tyrant (1 or 2 builds)
c). 3x Sorcerer
16 wave will be the hardest one, and you’ll require some luck for 20 wave. Off course, remember always to copy enemy Tyrant.
For 3rd team – you’ll have to kill all clones and copy 3x Carnifexes during 17 wave. Enemy Sorcerers shouldn’t copy your Carnifexes. You need to kill them accurately and quickly.


