Overview
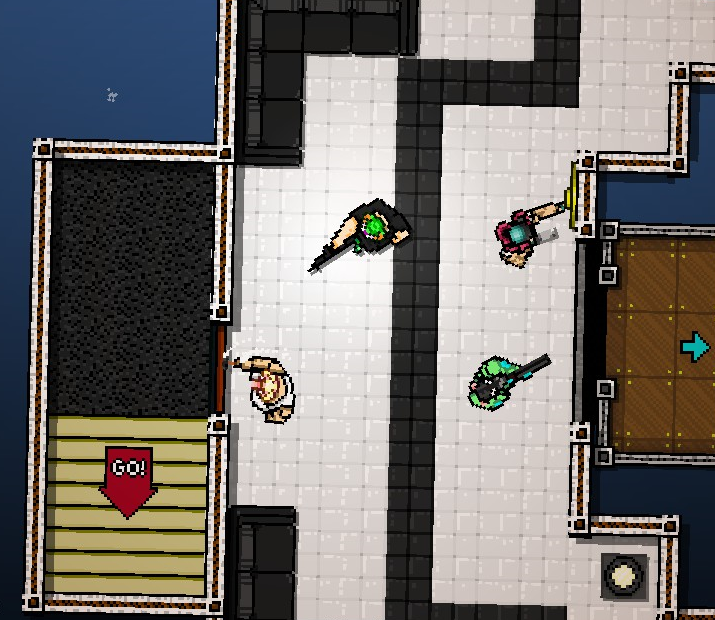
Want to create a level like Death Wish? This guide will show you how to swap player characters while the level is still going!
Getting Started
In order for this guide to work, you will need two things: Notepad++ and a level to work with. I would recommend using an empty or unwanted level for testing things out, just in case you insert a wrong number and accidentally cause the level to crash.
Notepad++ download: [link]
If you are unfamiliar with using Notepad++, here’s how it works: when you place down an item or enemy, its IDs are listed in the level.obj file for that floor. There are two main types of IDs to look for: the sprite ID and the object ID. Sprite ID determines how something looks, while object ID (located two lines below sprite ID) determines how it acts in-game. Between those two spaces is the direction (0-360 degrees) it is facing. By changing the sprite and object ID of an item you added to the level, you can add virtually anything to the Level Editor that isn’t there by default. Everything below has its IDs listed as (sprite ID, object ID).
NOTE: Changes from Notepad++ will not stay unless you save the level again in the Editor before playing it. Playing the level without saving it from the Editor will not show anything you just added.
Choosing Characters & Enemies
If you want to swap characters while your level is still going, you’ll need to decide beforehand which characters you’ll include. A list of characters (and character variants) is included in the guide below along with their IDs.
[link]
When doing this trick, only the starting character’s default enemies are available. Keep this in mind when swapping characters, as your next character’s regular enemies might not be available. To get around this, either start with a multi-faction character (like The Hammer or The Cop), or use The Hammer’s enemy template for the starting character. The second exploit can be found in the guide below.
Swapping Out Characters (New)
This trick can be done with any number or combination of characters.
For the transition, create a floor without enemies. You will change the character here, as it will not interfere with the flow of combat this way. You should hide the character you want to replace behind the map. Use the Soldier Levels Camera (-1, 1182) to do this.
As an example, create a simple level on three floors. This level will feature The Henchman and Cop. We will make it a Hammer level and add The Henchman with Notepad++ so we will have the most options for enemies. Like the Henchman, the Cop has no does not have special mask or styles, we will not miss out on unique features.

4162 — 1786
2387 — 1067
4271 — 1933
2394 — 1147
This changes The Hammer and his Car to The Henchman and a HenchmanCar.
For the second level, we need to make two walls parallel to each other and put the transition on the third level. Further, for easier editing, we will put two AcadoGT (1848, 1082) next to the transition. Using Noxtepad++, change the values of one of AcadoGT to SubwayGate, and the second to the values of Cop.

(Since both SubwayGate and Cop both have a decoration property ’11’, in the editor we will move them using the Items option.)
After the manipulations, the second floor should look something like this:


However, I do not recommend using elevators to change characters. Since there will be a delay on the next floor. Although you can use elevators already on the next floor, when the character has already been changed, as in the “Cleaning” level. Also, this method is great for changing characters in cutscenes.
You can also use special effects during character changes, such as STATIC INTRO (-1, 1961) and DATE (-1, 811)
An example map can be downloaded here: [link]
Hiding the Transition
If you want the character swap to occur subtly, here’s how to hide the transition.
So, as we move the input down, we actually make the transition to the third floor a little higher:
Tony’s Y coordinate is 785, means we need to change the value of Y transition from 720 to 785.
Next Room – 2297
If the character has a choice of a mask or style, then a bug occurs which can cause a random style to appear during the transition. I do not know how to fix it yet, so it’s safer to use ordinary characters like individual Fans, The Cop, The Writer, Henchman, Biker and Hammer.
After you do everything, the results should look like this:
Then just delete the unnecessary walls.
Other Tips & Conclusion
The amount of characters you can include depends on the number of floors your level features. 7 floors are available by default, and you can add more using Notepad++.
[link]
Remember to balance each floor around the character you choose next. Tony plays best in close-quarters areas with plenty of cover, while The Soldier and The Cop are suited for both open levels and tight levels.
For the full sprite and object ID lists, download them here:
[link]
[link]
FInally, make sure you thoroughly test any levels that feature a character swap before publishing them. The process behind this can get complicated, so play through the level a few times to ensure there aren’t any problems that could freeze or crash the game.
All credit goes to Janja for finding this technique! His discovery of this and the time/date screen shows that the Editor still has more content waiting to be revealed.
Have fun with this feature!


