Overview
Guide to the Challenges in Lonesome Road. Includes no-miss walkthrough. Created because I was tired of having a million tabs open JUST TO GET THESE LOGS FOR STORY REASONS UGH. Think of it as an easily-accessible compilation of facts rather than an actual guide by somebody.
Recent Changes and Planned Changes
19/8/17
The guide should be complete, but if anyone notices anything erroneous, please let me know.
I would like to thank all of the beautiful people in the comments who keep correcting my guide!

Most recent change: July 1 2020: minor formatting changes
corrected the poster placement between sections 3, 4, and 5. It should correctly
count from 14-20. Thanks Kelp The Great!
Helping Hands:
Thomas Cheek!
Kelp The Great!
shindragan!
Simplified List
• Condemned to Repeat It
Complete the quest “The Launch” by launching the missile from Ashton Silo Control Station. Required to progress, Main Story challenge and achievement.
• Hometown Hero
Complete the Lonesome Road DLC. Main Story challenge and achievement.
• Rocket’s Red Glare
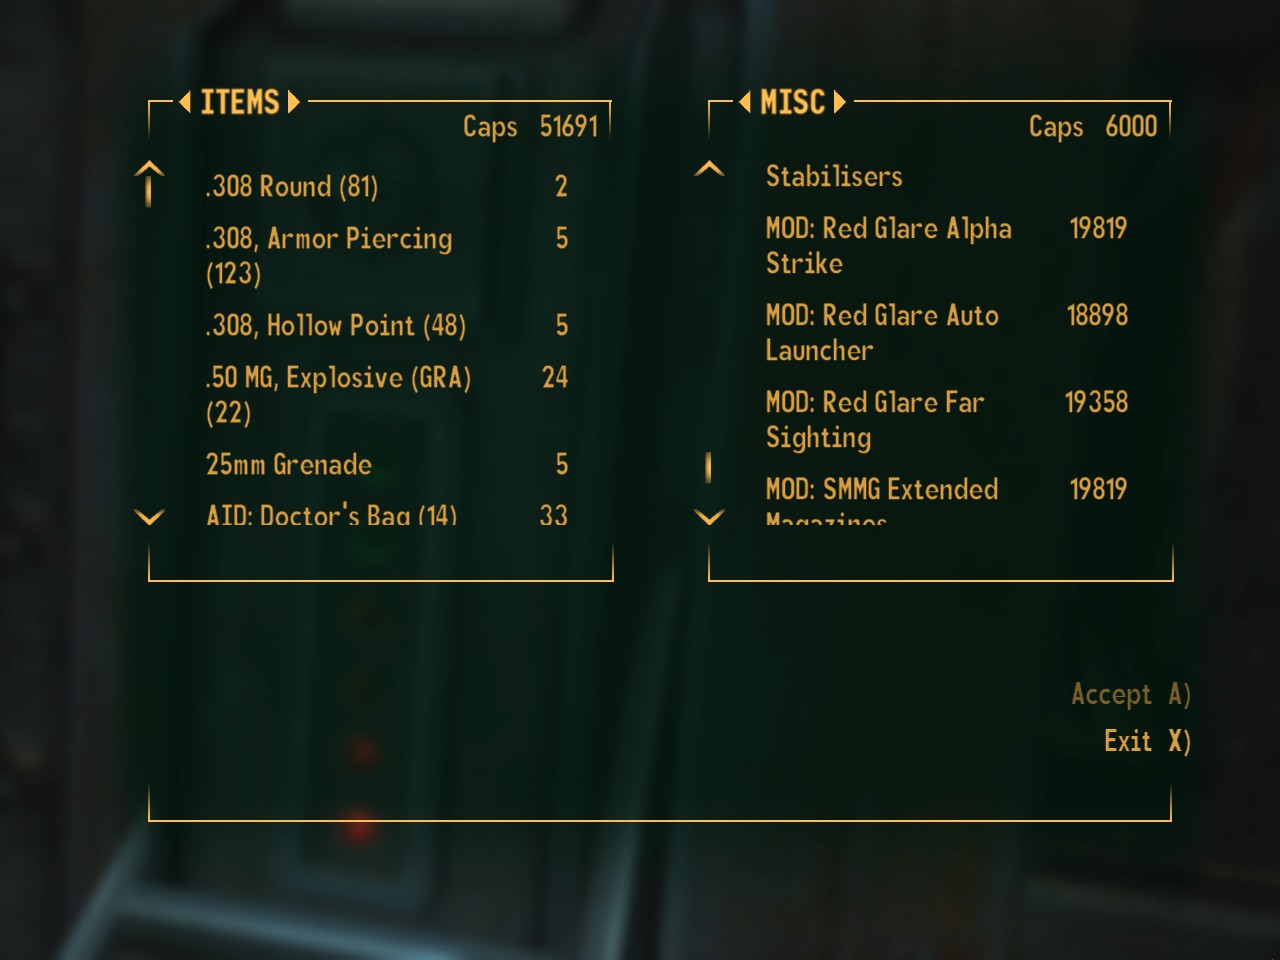
Find all the attachments for the Red Glare. Optional Challenge/Achievement. To complete, simply buy all three attachments from the various commissary terminals in various places throughout the DLC. They don’t need to be installed, in fact, you don’t even need to own a Red Glare to complete it.
• Ends of the Earth
Visit every marked location in The Divide. Easy if you have the “Explorer” perk.
• The Courier’s Mile
Visit the Courier’s Mile. To unlock this one, finish the quest “The Launch,” then fast travel to Hopeville Missile Base and head immediately right. The entrance will be in the southwest corner.
• Ulysses’ Odyssey
Find all 6 holotapes recorded by Ulysses. Detailed guide below.
• ED-Ecated
Find all 5 destroyed eyebots containing upgrades to ED-E. Detailed guide below.
• Warhead Hunter
Find and detonate all 30 warheads in the Divide. Detailed guide below.
• Most Likely To…
Discover the courier’s forgotten past through dialogue with Ulysses. Detailed guide below.
• Nostalgia
Find all 10 journal entries in the Divide. These do NOT include the holotape recordings Ulysses made, those are for Ulysses’ Odyssey. Detailed guide below.
• Feel Like A Kid Again
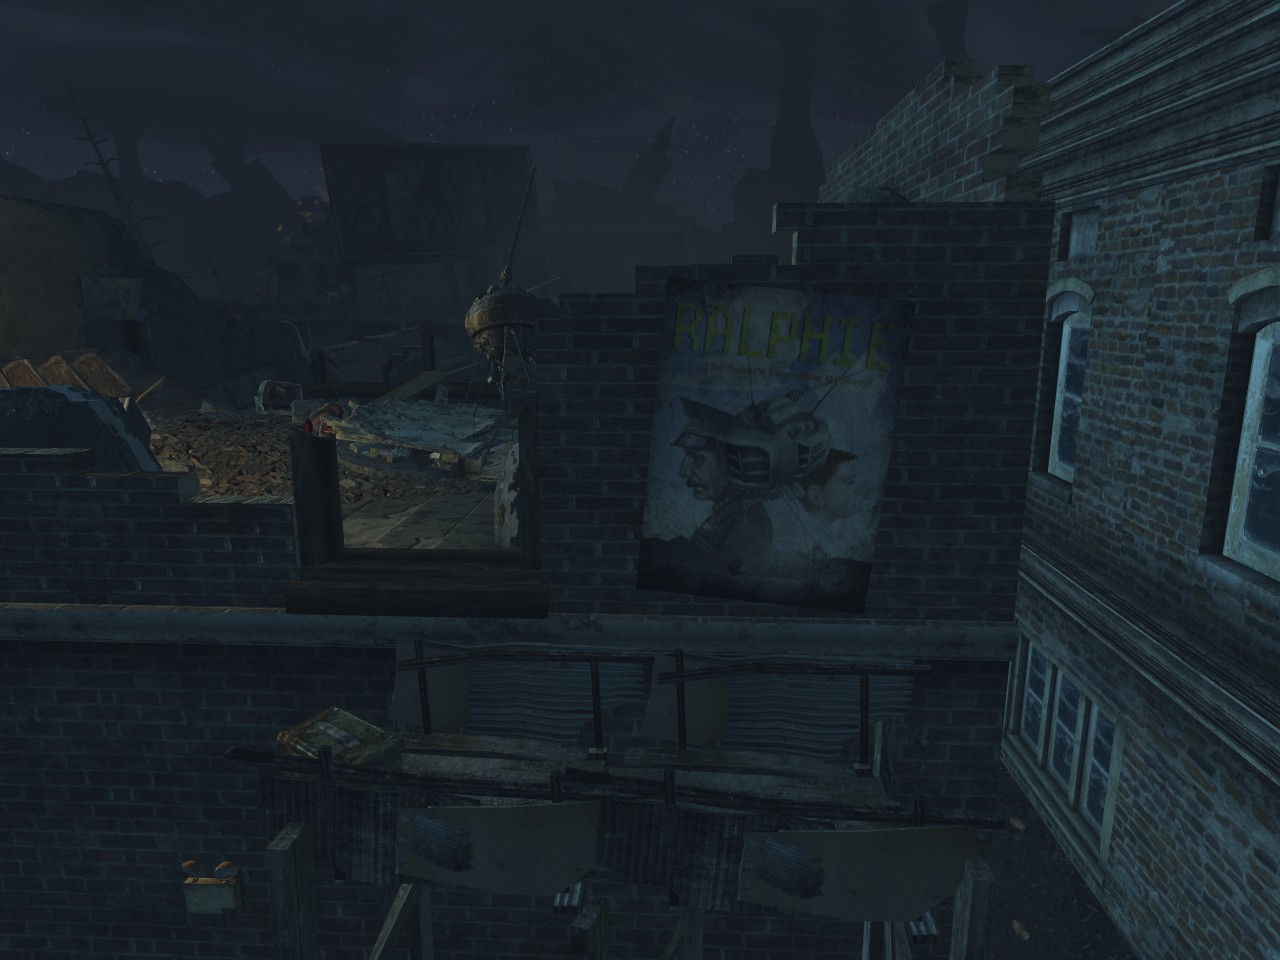
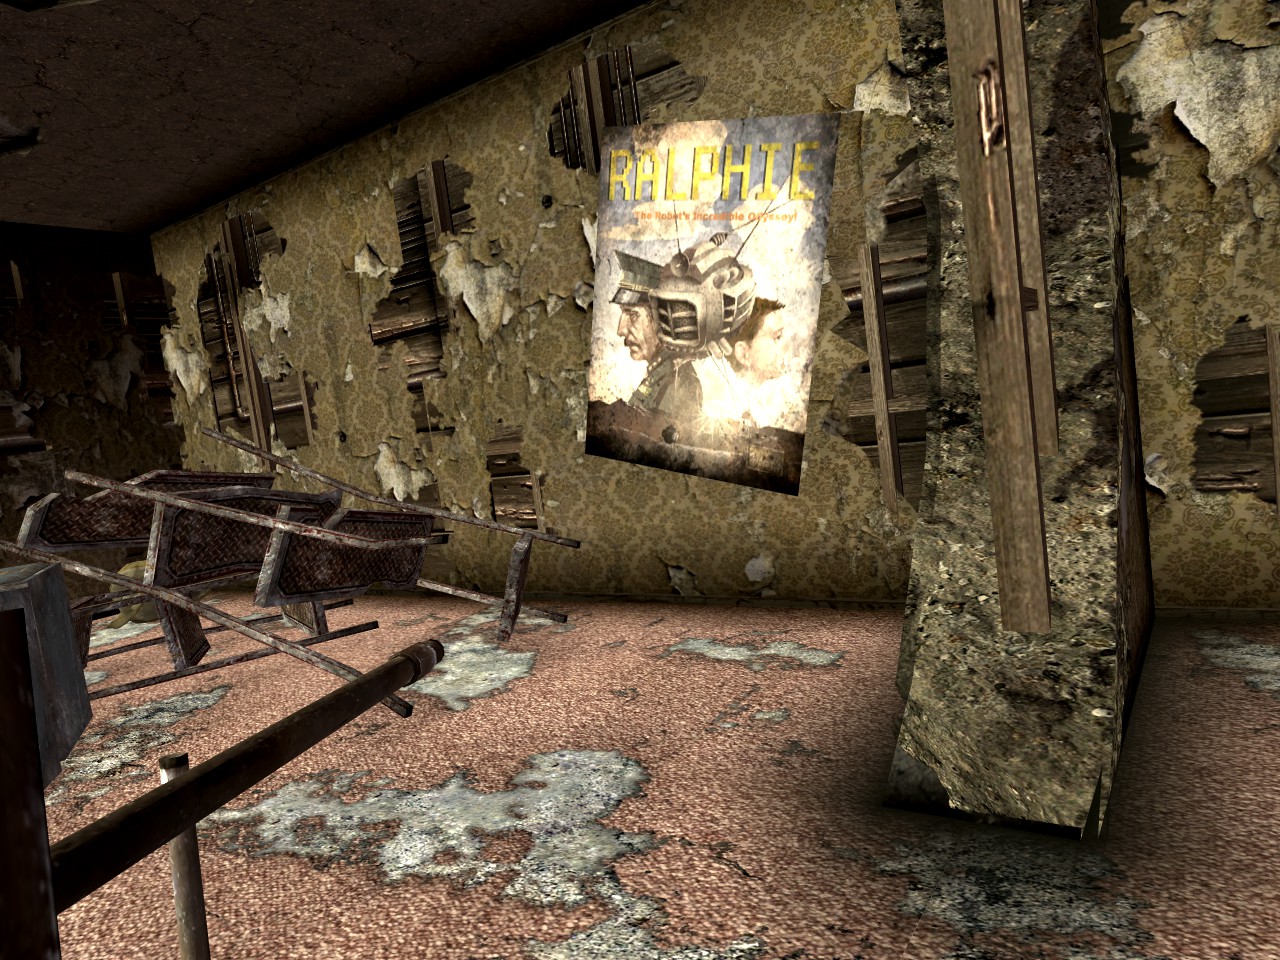
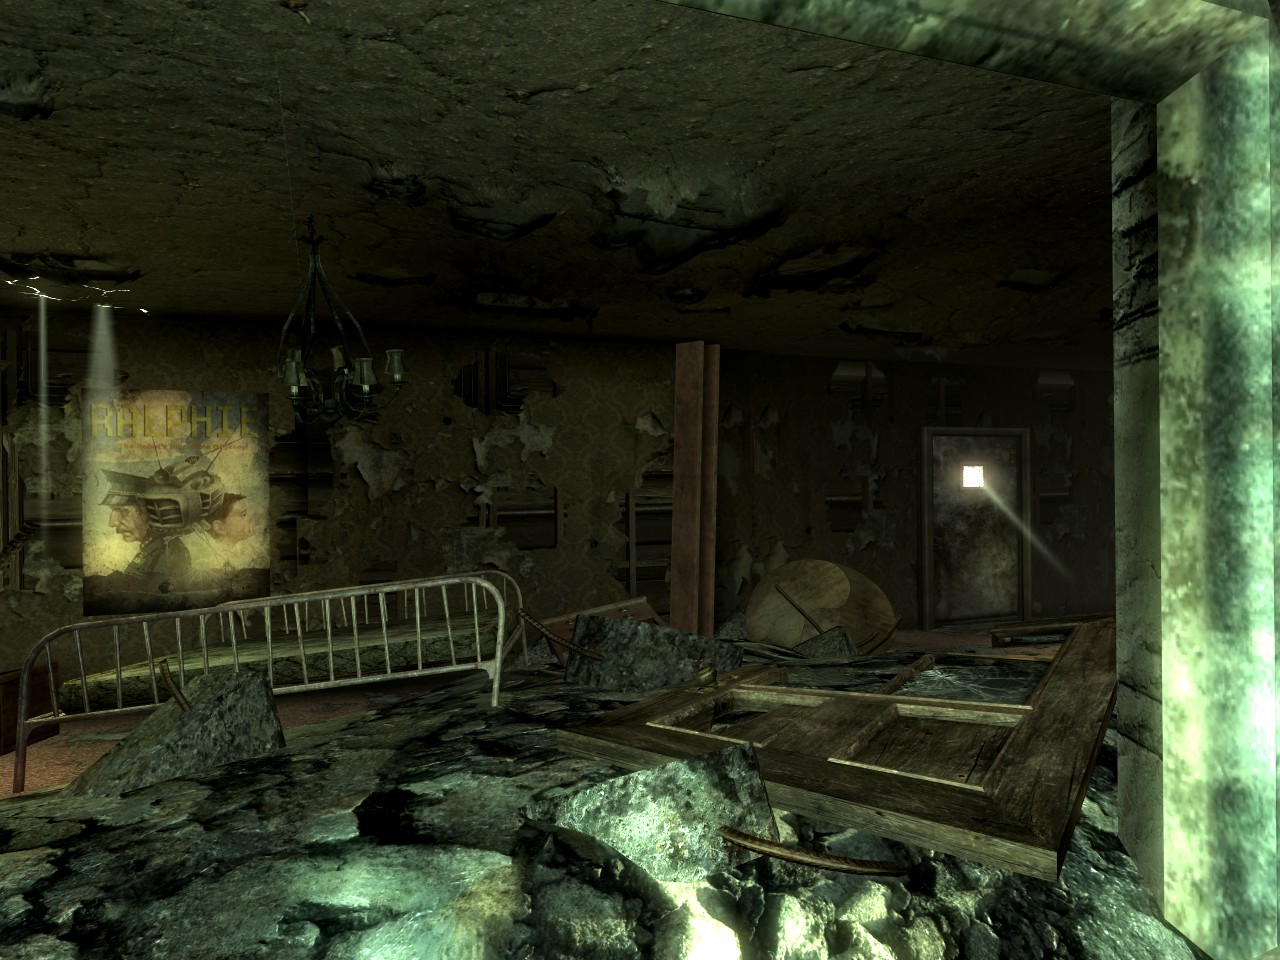
Find, and inspect, all 20 Ralphie the Robot movie posters. Detailed guide below.
Ulysses Odyssey
Find all 6 holotapes recorded by Ulysses.
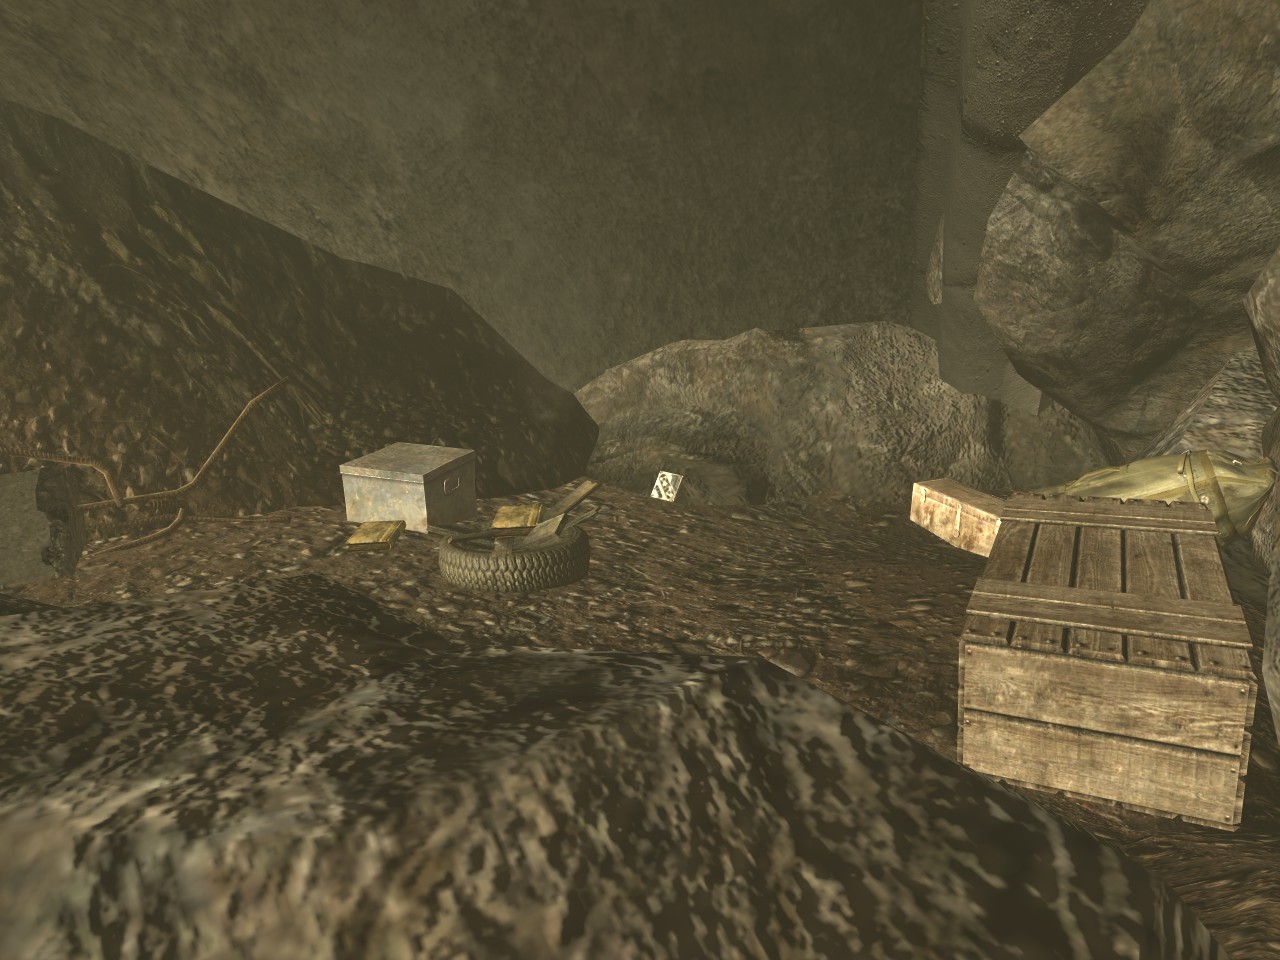
1.Ulysses log Y-17.15 -Located just past the locked gates of Hopeville Missile Base – Loading Station in the toolbox amongst the military crates of the overturned truck to the right.
2.Ulysses log Y-17.21 – Next to the Marked men supply outpost, behind a locked gate (leveled difficulty).
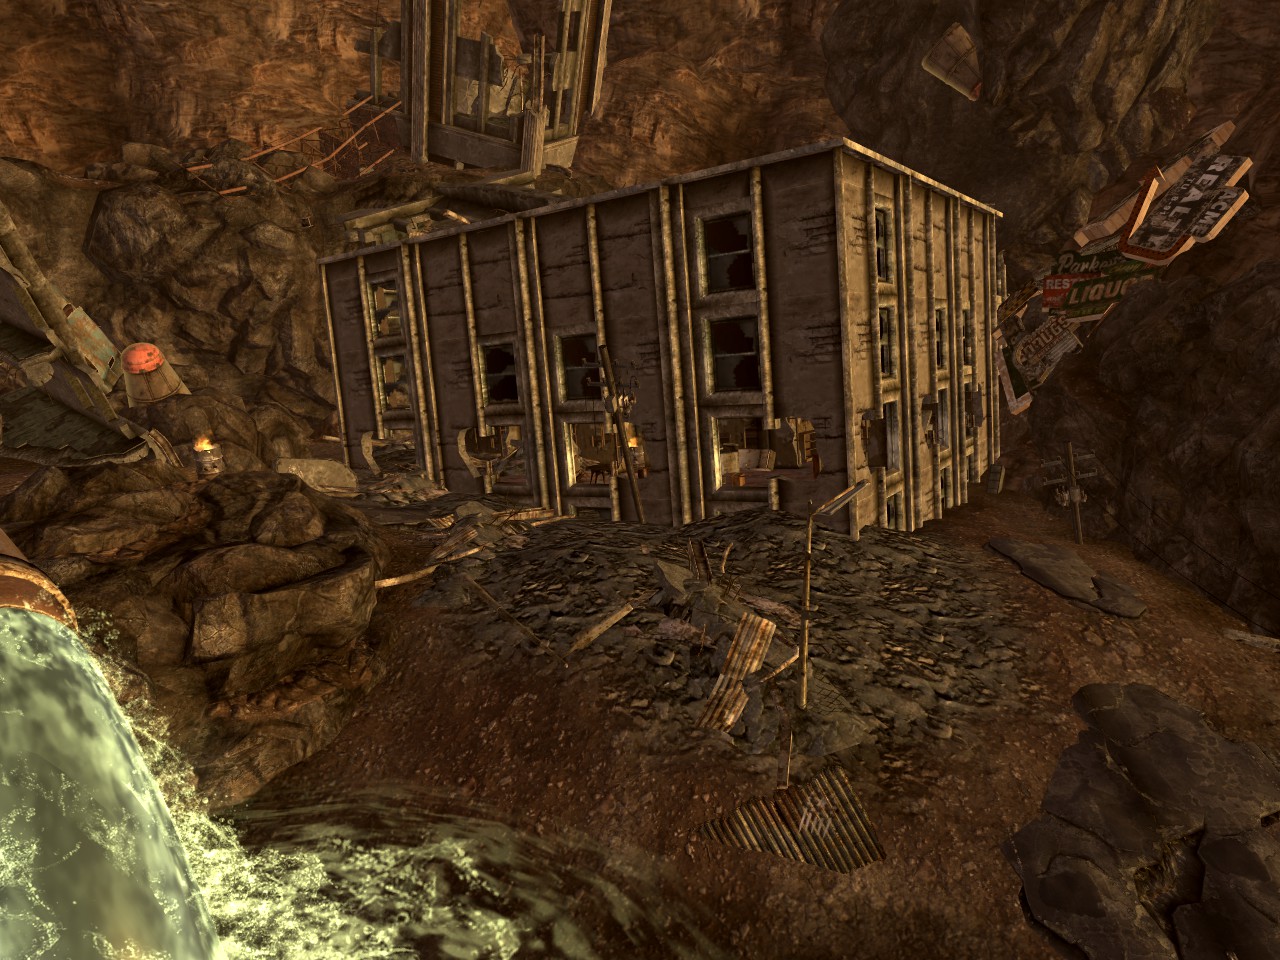
3.Ulysses log Y-17.16 – In The Crow’s Nest, inside the top of the ruined buildings next to a bedroll.
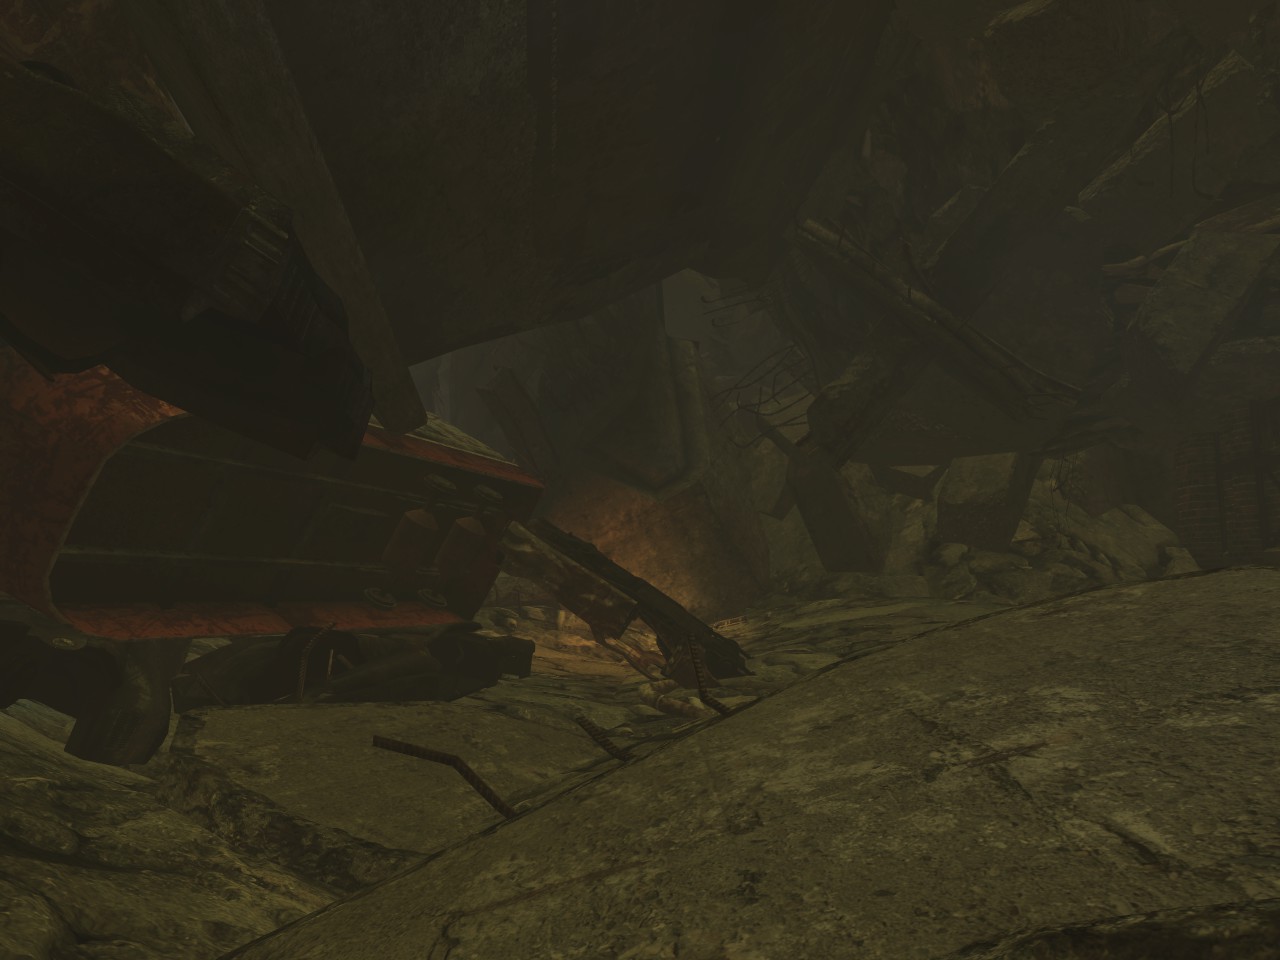
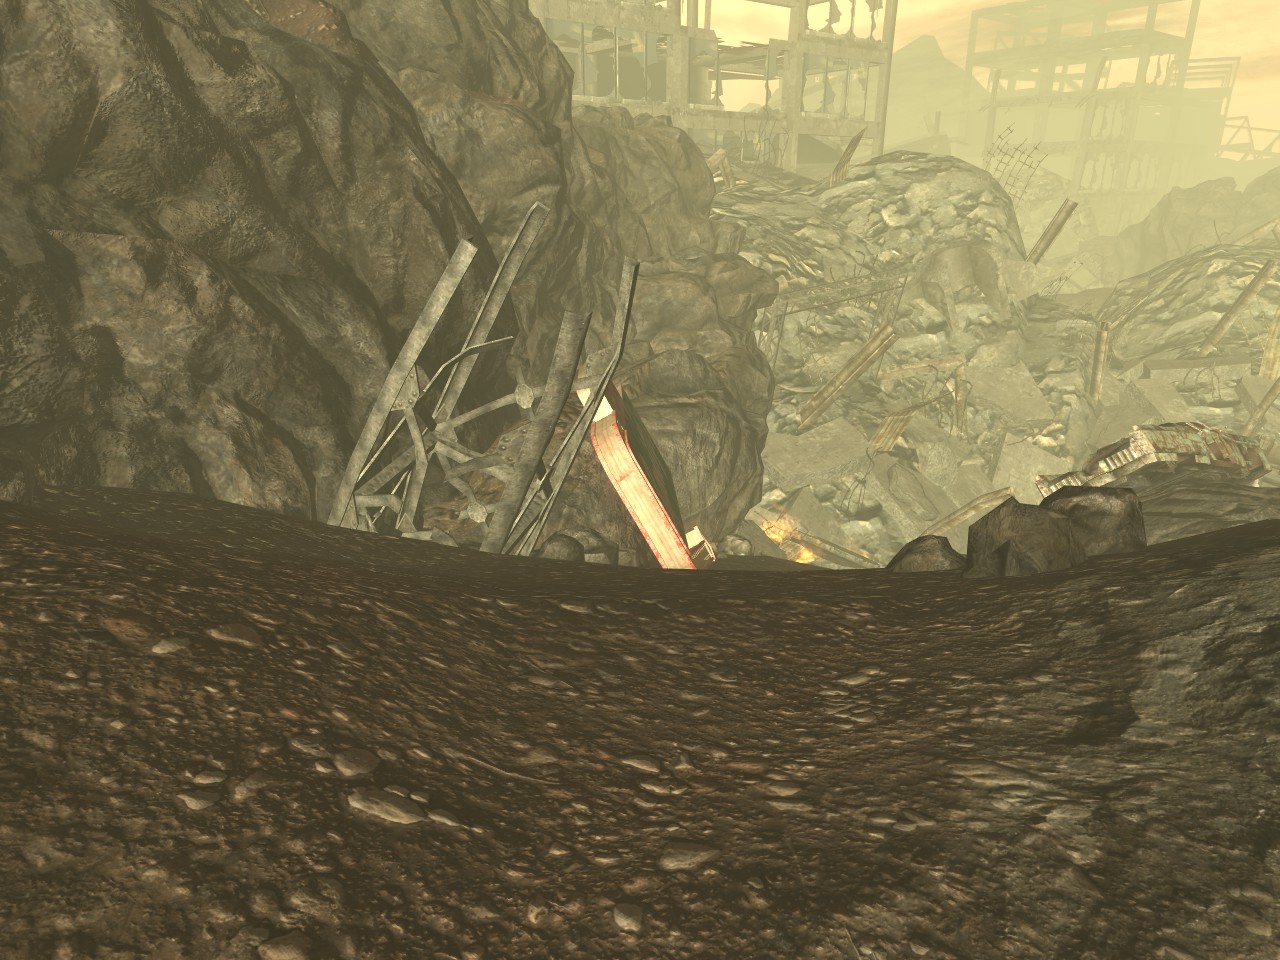
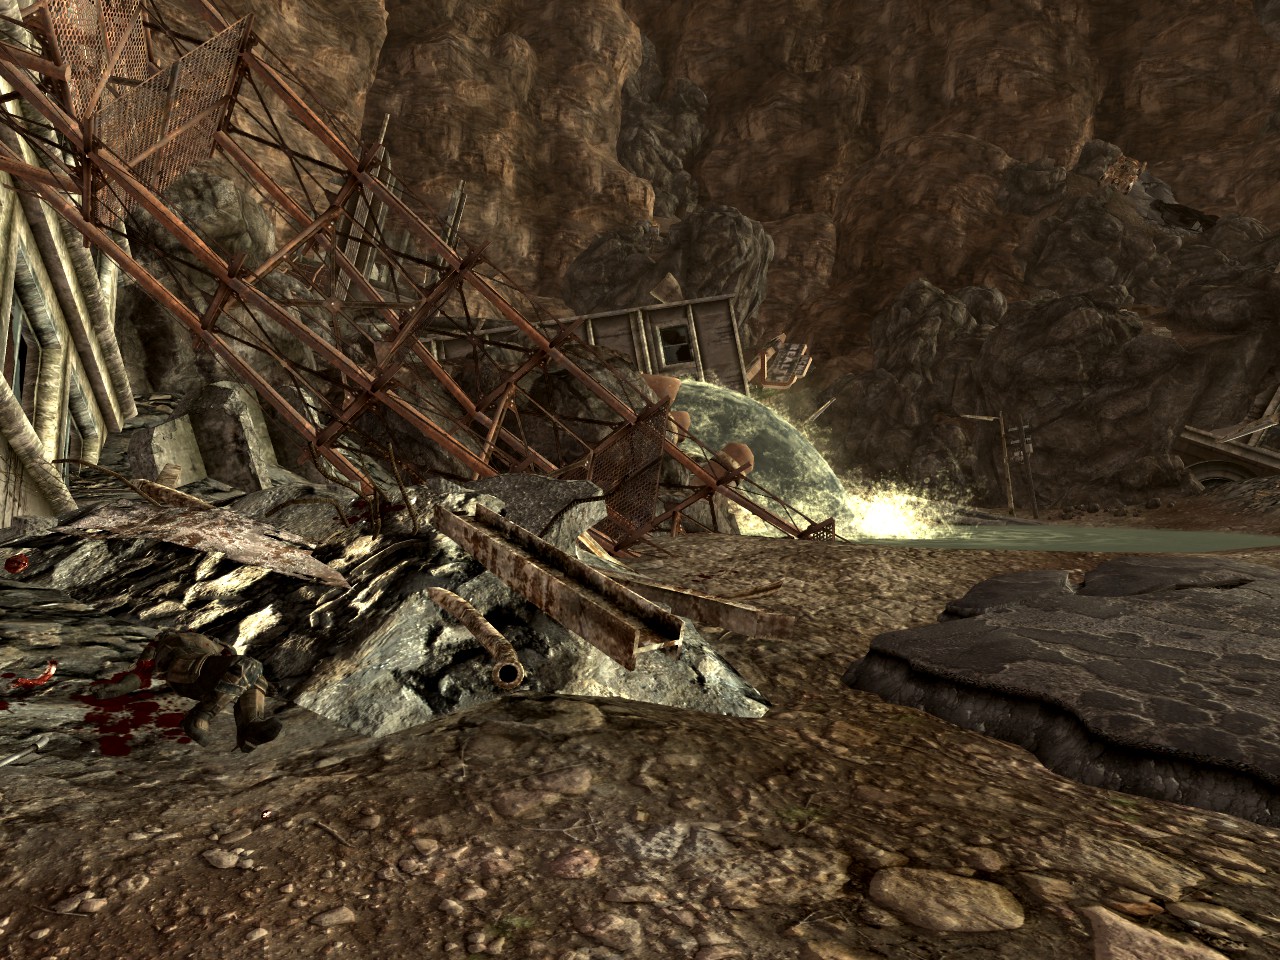
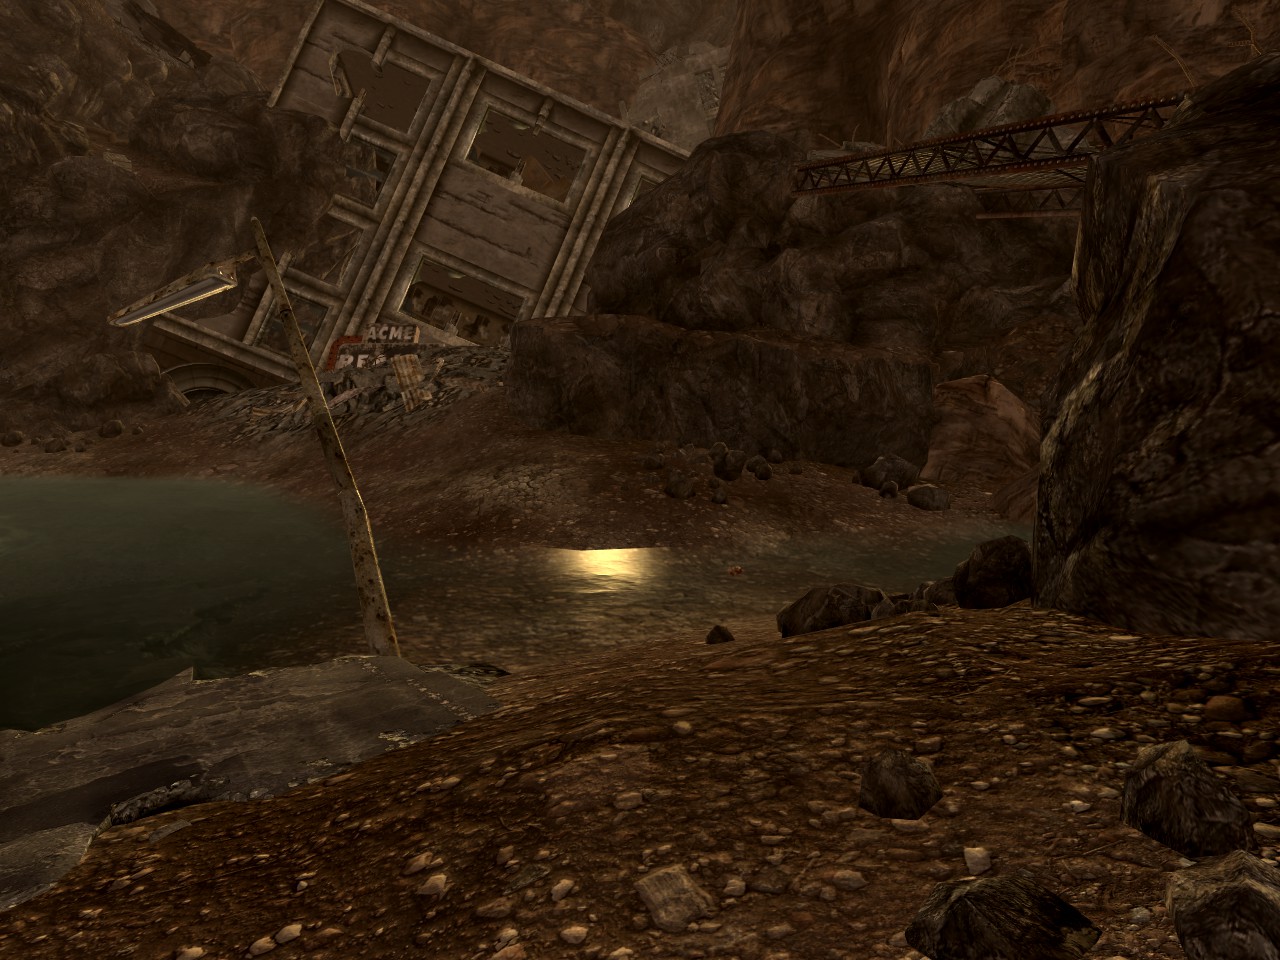
4.Ulysses log Y-17.22 – Just beyond the High Road past Junction 7 rest stop, where the road dead ends, you should see a long cargo container high up sticking out underneath the collapsed tunnel. Jump up the rocks to get to the truck back, turn right. You should see smoke from a campfire. The holotape is directly south of the campfire, leaning against a rock wall.
5.Ulysses log Y-17.23 – Midway between Sunstone Tower roof and the ground. When descending from the roof, the rusted metallic structure will lead to a small room with stairs that lead down. Do not proceed down the stairs. The rusted structure continues out of that room, forming a bridge to another room marked by a blue old world flag. Head for the room marked by the flag and look for an average locked wall safe. The holotape is on the desk in front of the safe.
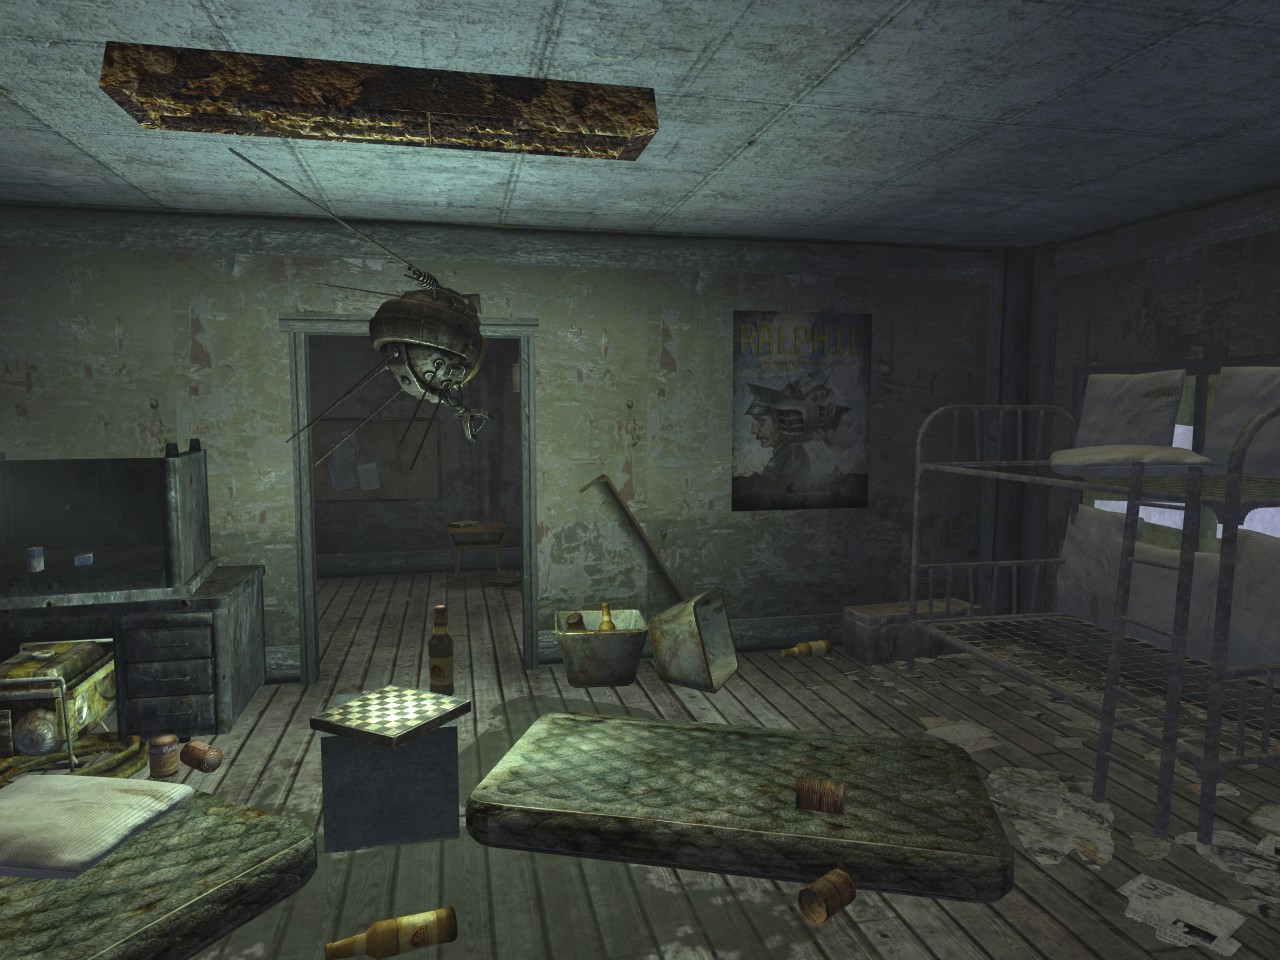
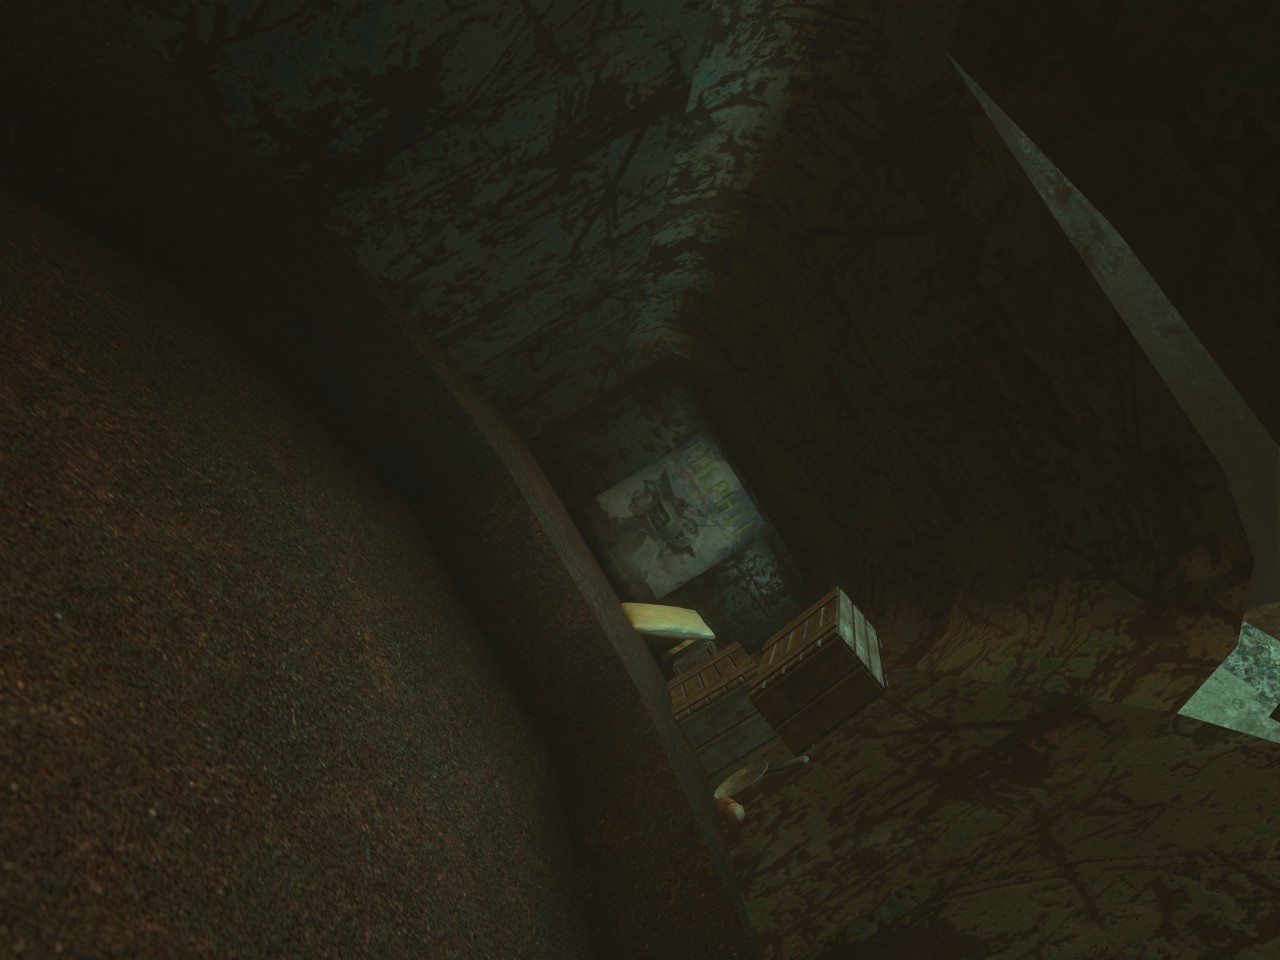
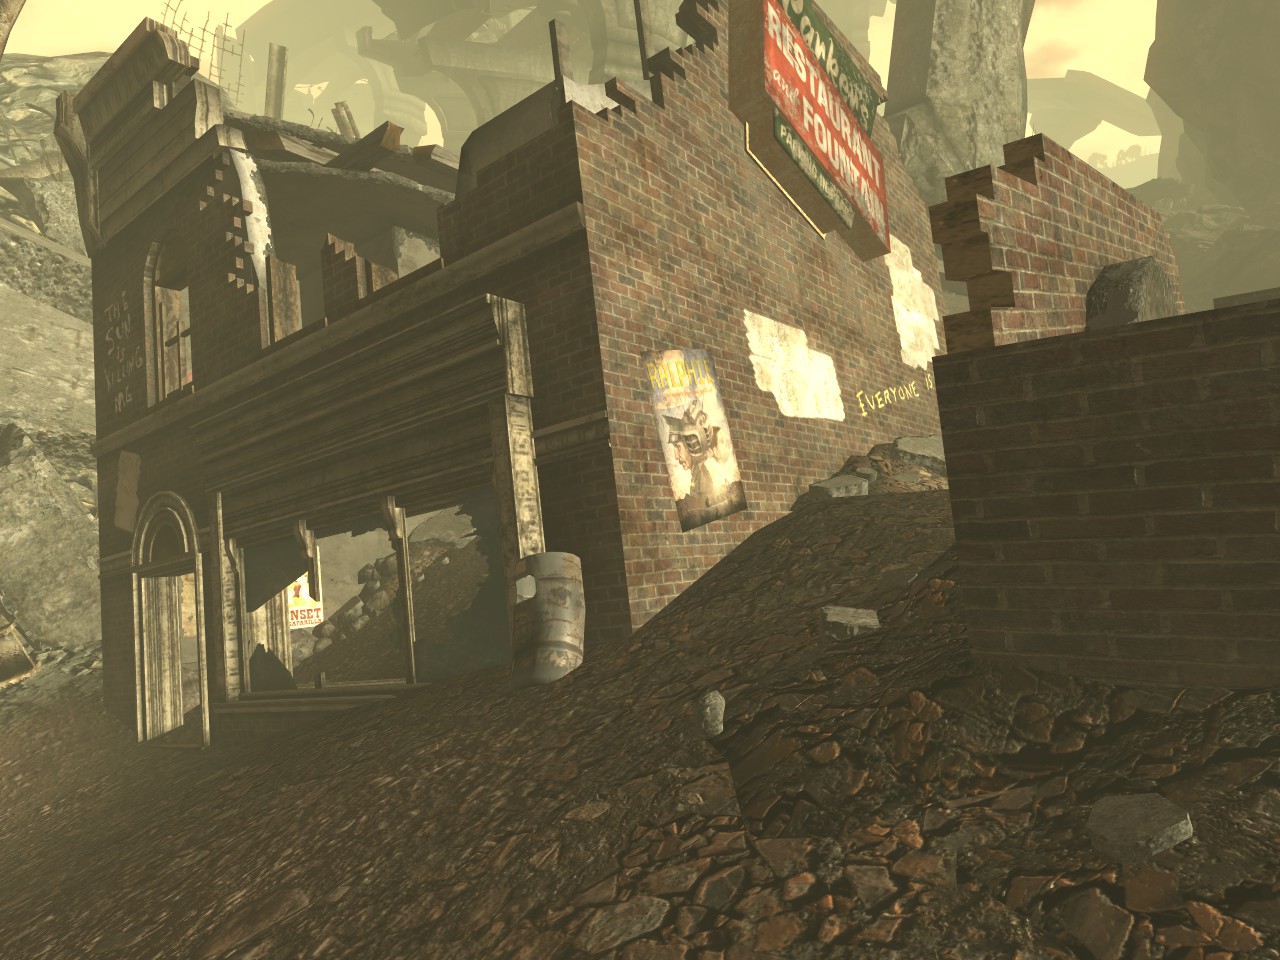
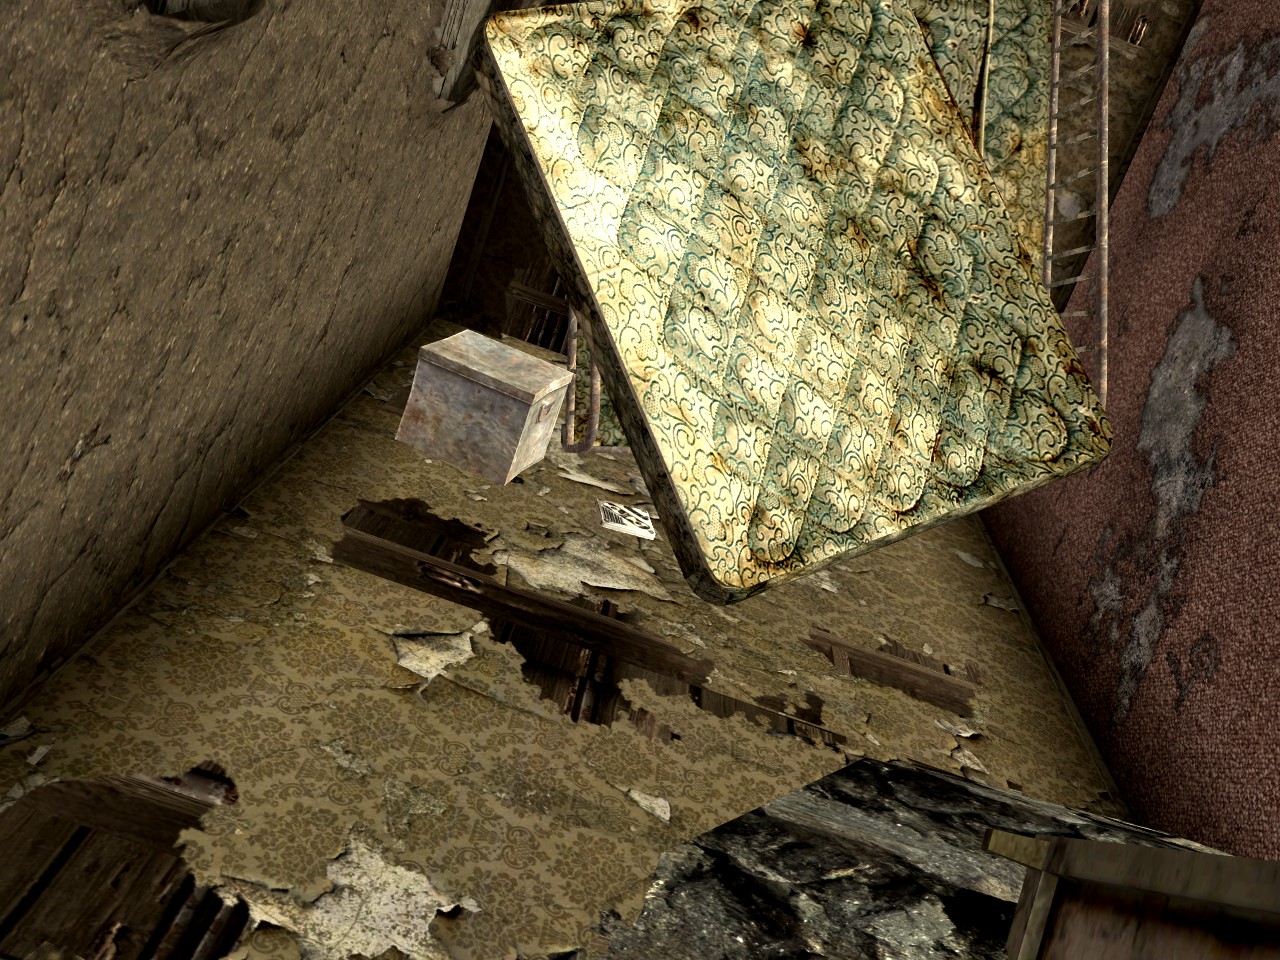
6.Ulysses log Y-17.17 – West of Sunstone Tower roof, after detonating the warhead to continue on, turn right towards the entrance into the building that leads into the The Cave of the Abaddon. On your left you should see a building lying on its side, next to a “Saturnite” neon sign. The building in question has a white Old World Flag sign on its roof. The log is in the upper floor, at the very end, underneath a mattress.
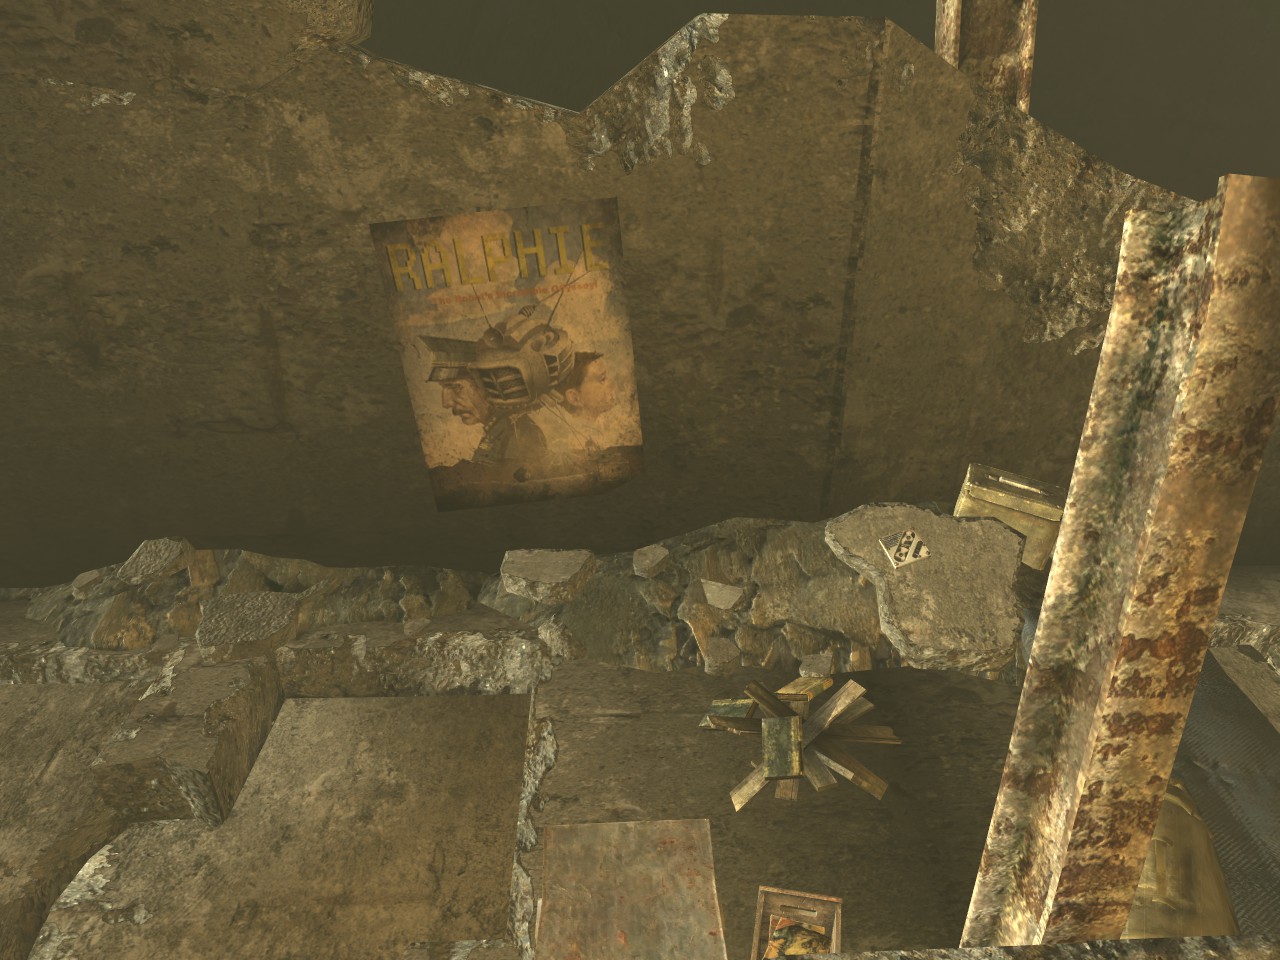
Feel Like a Kid Again
Find and inspect all 20 Ralphie the Robot posters in The Divide.
Key: a(b) where “a” is poster in this section and “b” is poster count overall, including this one.
ex: 1(6) is the first poster of this section, but the sixth total poster.
This makes it easy to check which one you’re on by looking at your progress in your pip-boy under “challenges.”
1(1). On the wall next to the pod where you find ED-E in the Hopeville missile silo bunker.
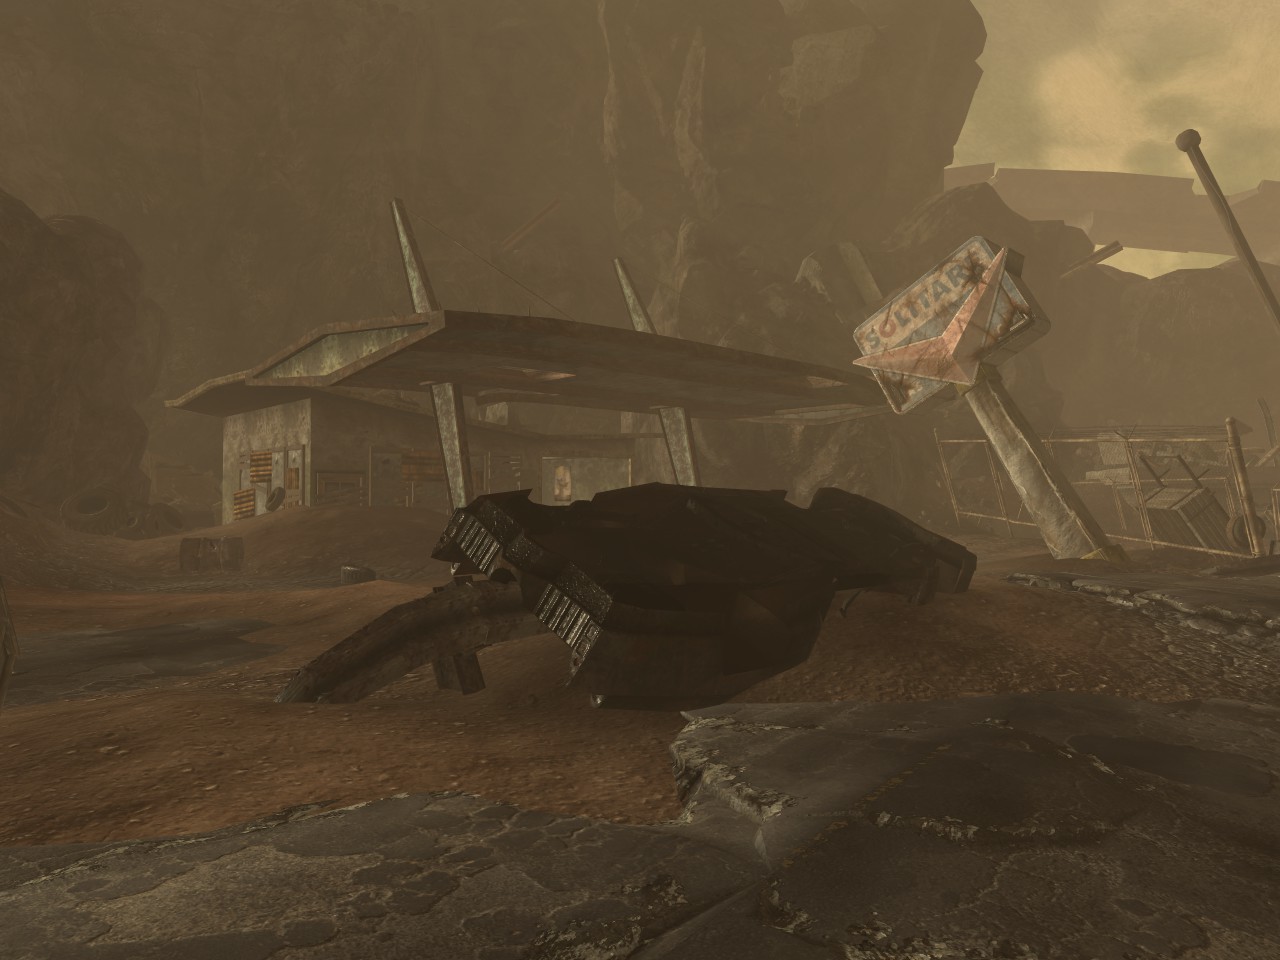
2(2). After leaving the silo bunker, travel north west to an abandoned gas station and in the garage on the wall next to a workbench.
3(3). Outside the Hopeville Missile Base Headquarters on the north side of the building, this one can be tricky, its on the side facing the hill, look carefully at the wall and you should see it.
4(4). In the marked men camp, on the side of the building furthest south-east.
5(5). Inside the Hopeville women’s barracks, far wall.
6(6). Upstairs at the marked men guard outpost, on the outside of the rear wall accessible by a catwalk.
7(7). In the basement of the marked men guard outpost, next to some hanged skeletons.
8(8). Inside a locked gate, opened by the warehouse stash key (with some writing on the wall), northeast of marked men supply outpost and south of the collapsed overpass tunnel entrance.
9(9). Enter the collapsed overpass tunnel, located inside the trailer of the first overturned truck immediately to your left.
1(10). In the Crow’s Nest by the NCR riot police corpse, if you use fast travel, you can see it easily.
2(11). On the outside of the building containing the Lonesome Road snow globe at the Junction 7 rest stop.
3(12). Along the road east of the Ashton silo control station entrance, in a blown out building opposite of Bonesaw’s marked men camp, on the second level on one of the central pillars.
1(13). In Sunstone Tower on the third floor behind a bookcase.
3(14). In the two-story building opposite the Third Street Municipal Building, upstairs. Turn right; it will be behind some filing cabinets.
2(15). Inside the Third Street Municipal Building second level, on the back wall beyond the dead NCR soldier wearing Elite riot gear.
4(16). In the buried buildings just before entering the Boxwood Hotel roof, on the wall behind the bed.
5(17). Inside the wastewater treatment plant, in the office with the manager’s terminal.
6(18). On the wall outside the waste disposal station.
7(19). In the building across the water due South from the waste disposal station on the wall behind some bookshelves close to a workbench.
1(20). In the Courier’s Mile east and south of the entrance, on the first floor (not ground level) of the remains of a building
Most Likely To…
Discover the Courier’s forgotten past through dialogue with Ulysses.
1. Choosing the Perception option, pass or fail, flags one of the pieces as complete.
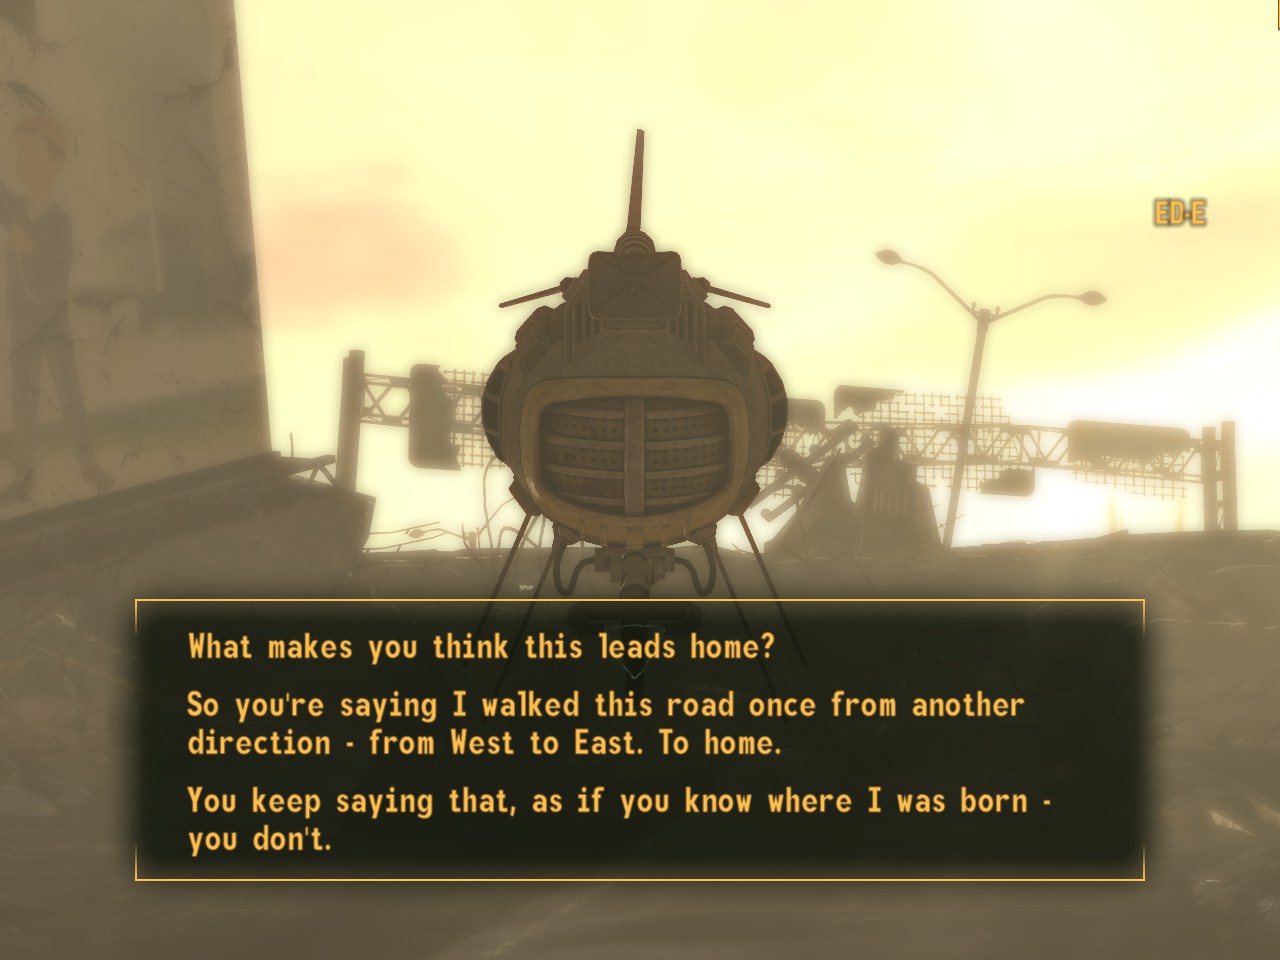
1. Selecting “What makes you think this leads home?” will trigger another completion flag.
1. Selecting “You said I brought it from the West?” will trigger another completion flag.
2. Selecting “Why would I have brought it here?” will trigger another completion flag.
3. Selecting “You said you made a promise not to kill me. Why?” will trigger another completion flag.
4. Selecting “What’s our history? How do you know me?” will trigger another completion flag.
ED-Ecated
Find all 5 upgrades for ED-E in The Divide.
1. In the Hopeville silo bunker; in the hallway just after you unlock the silo doors.
2. In the Hopeville Missile Base HQ; under a desk.
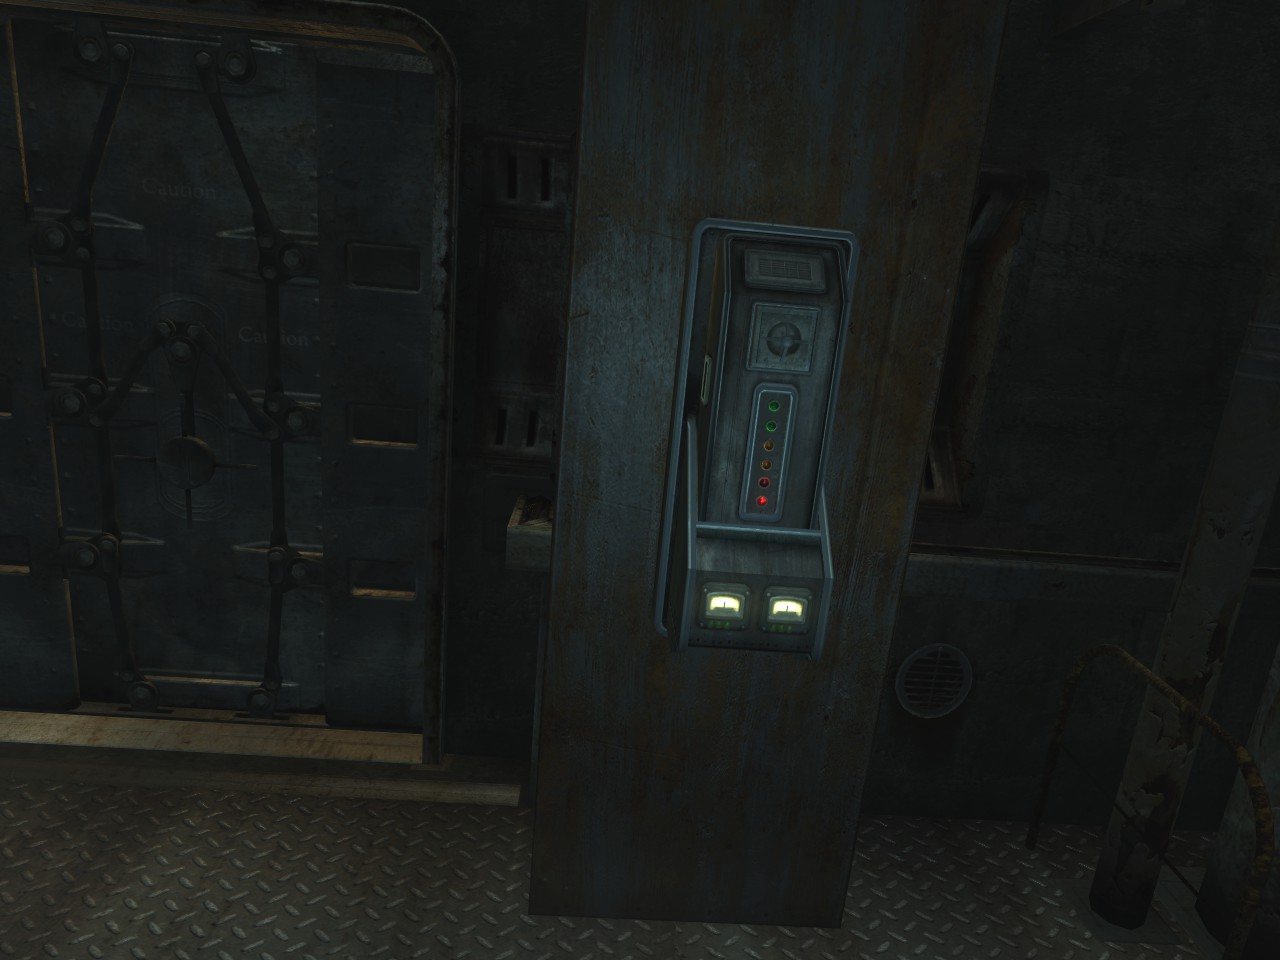
3. In the Ashton silo control station behind a locked door, level 1 silo; hack the (hard) terminal next to it.
4. In the municipal sewers connected to the Third Street Municipal Building offices. Enter the pipe you’ll see at the north-west side of the building.
5. Near the Cave of the Abaddon, behind the warhead south-east of the Cave entrance. Once you’ve detonated the warhead, it’s on the ground to the north east of the pipe’s top opening.If you already destroyed the warhead and missed the ED-E upgrade fast travel once again to the Cave of Abaddon and turn back outside. You should see a fallen sign with red letters to your left. Climb up the debris to find it. If you crossed two electric posts you’ve gone too far (again these posts are to your left).
Nostalgia
Find all 10 journal entries in the Divide. These do NOT include the holotape recordings Ulysses made, those are for Ulysses’ Odyssey.
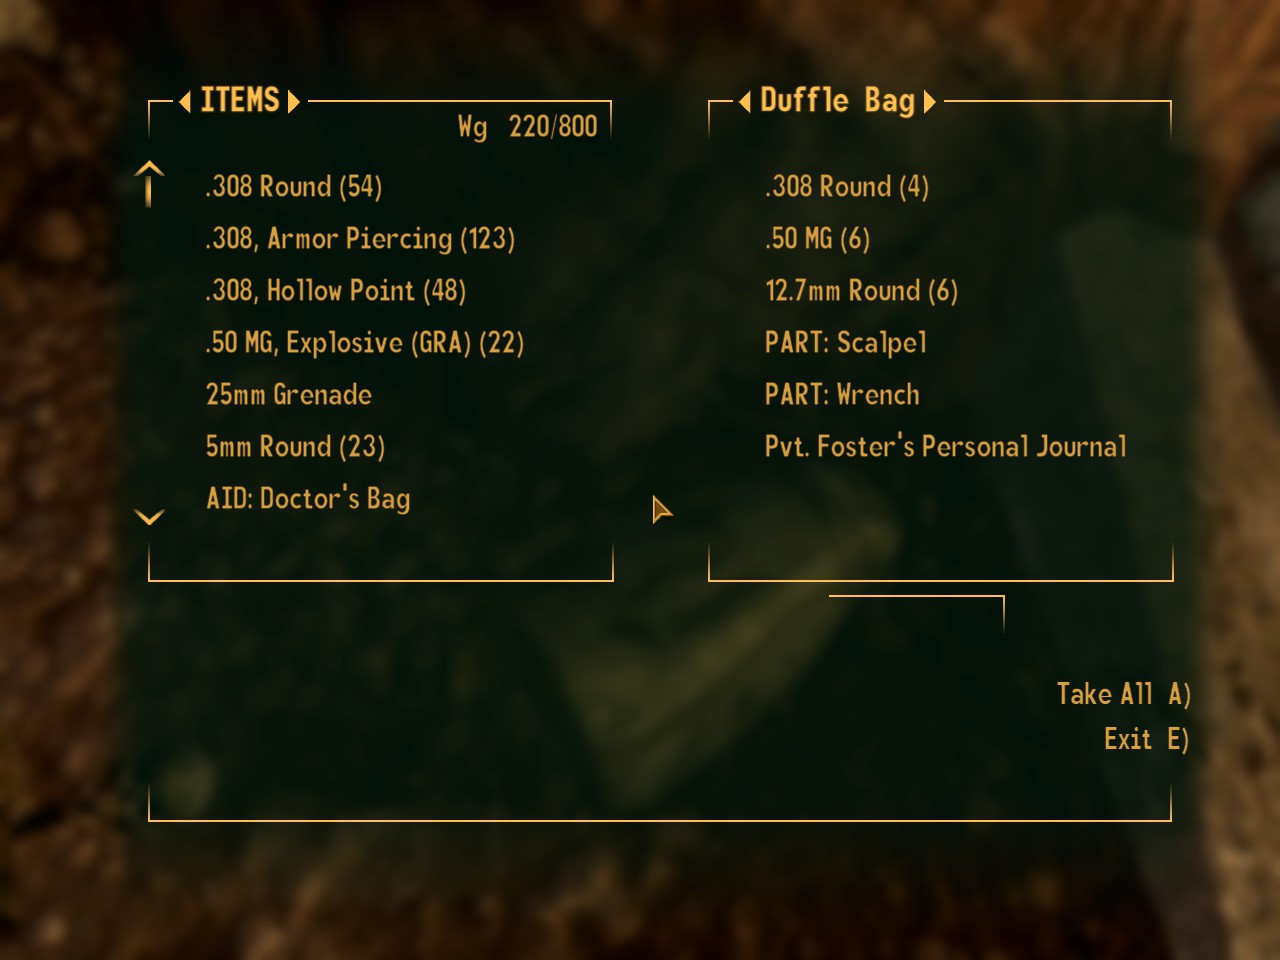
1. Pvt. Foster’s personal journal – in a duffle bag south of Sunstone Tower roof surrounded by 2 mole rats.
2. Third Street Municipal Building – on “Activate Office of the Treasurer Terminal” (Unusually, this may not add a note to your PipBoy, although reading the terminal still counts toward the achievement.)
3. Sunflower Summers’ diary – in a side cave in the northeast corner of the Cave of the Abaddon.
4. Mission report – in a duffle bag surrounded by skeletons directly east of the Boxwood Hotel roof, behind a partially buried blue trailer situated near 2 deathclaw cages. After reaching the ground level in this vicinity, two Deathclaws will spawn south of the player, on the other side of a pile of rubble.
5. NCR Radio distress beacon – in a duffle bag near the entrance to Rawr’s lair.
6. NCR Ranger action report – below wastewater treatment plant – after detonating a nearby warhead, look below for a campfire with several duffle bags.
7. NCR Ranger action report – addendum – in a second duffle bag, right next to the previous note.
8. Jackie’s computer terminal: On computer terminal north of the wastewater treatment plant. Inside the toppled building 2nd path from south to north westernmost window looking down.
9. On the manager’s terminal in the office inside the wastewater treatment plant.
10. For whoever finds this…. – in a skeleton’s hand inside the waste disposal station cave. Follow the path on the right; it’s at the end of the first tunnel to the left.
Warhead Hunter
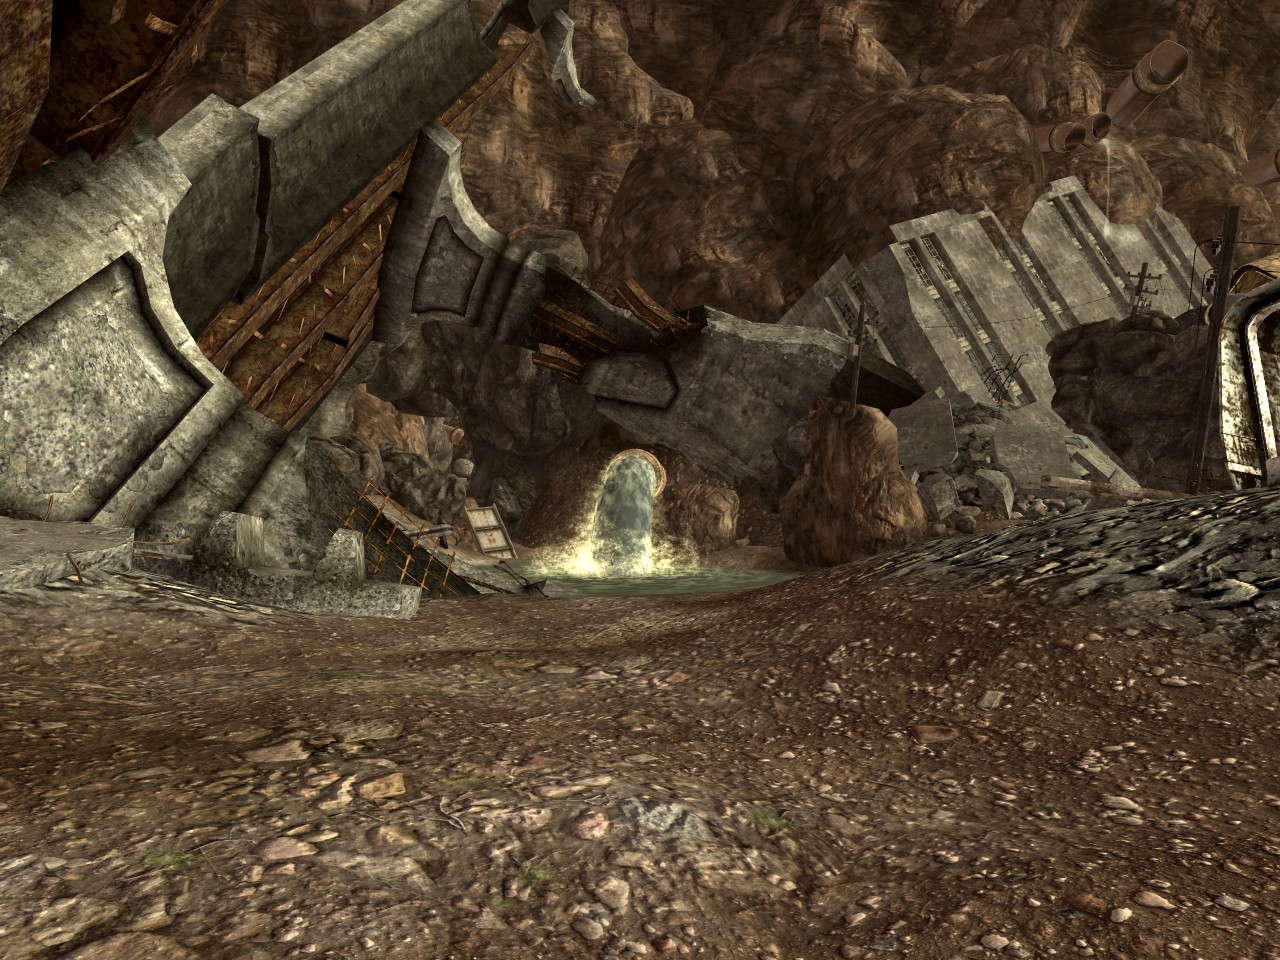
Find and detonate all 30 warheads in The Divide.
Key: a(b) where “a” is warhead in this section and “b” is warhead count overall, including this one.
ex: 1(6) is the first warhead of this section, but the sixth total warhead.
This makes it easy to check which one you’re on by looking at your progress in your pip-boy under “challenges.”
1(1). (Required) After retrieving the laser detonator in the marked men camp, you have to blow up a warhead on a truck bed to leave the area.
2(2). Head back to the Hopeville Missile Silo Bunker exit. Another warhead is in front of the Hopeville women’s barracks across from the destitute gas station.
3(3). (Required) In the back of a truck blocking the main path to the marked men base.
4(4). Following the path to the collapsed overpass tunnel entrance, it branches before reaching the marked men base. At the marked men supply outpost along the right-hand path is the warhead. It is directly in front of you if you fast travel to the Supply Outpost.
5(5). (Required) In the very southeastern-most corner of the marked men-run ruined city you’ll find another warhead in the center of the broken-down trucks and vehicles blocking the bridge to the collapsed overpass tunnel entrance.
1(6). After leaving the Collapsed Overpass Tunnel, and moving along past the first group of marked men, it is at the base of the path up to The Crow’s Nest. Beware another group of marked men.
2(7). The next warhead is surrounded by deathclaws in the middle of the Ruined highway interchange area.
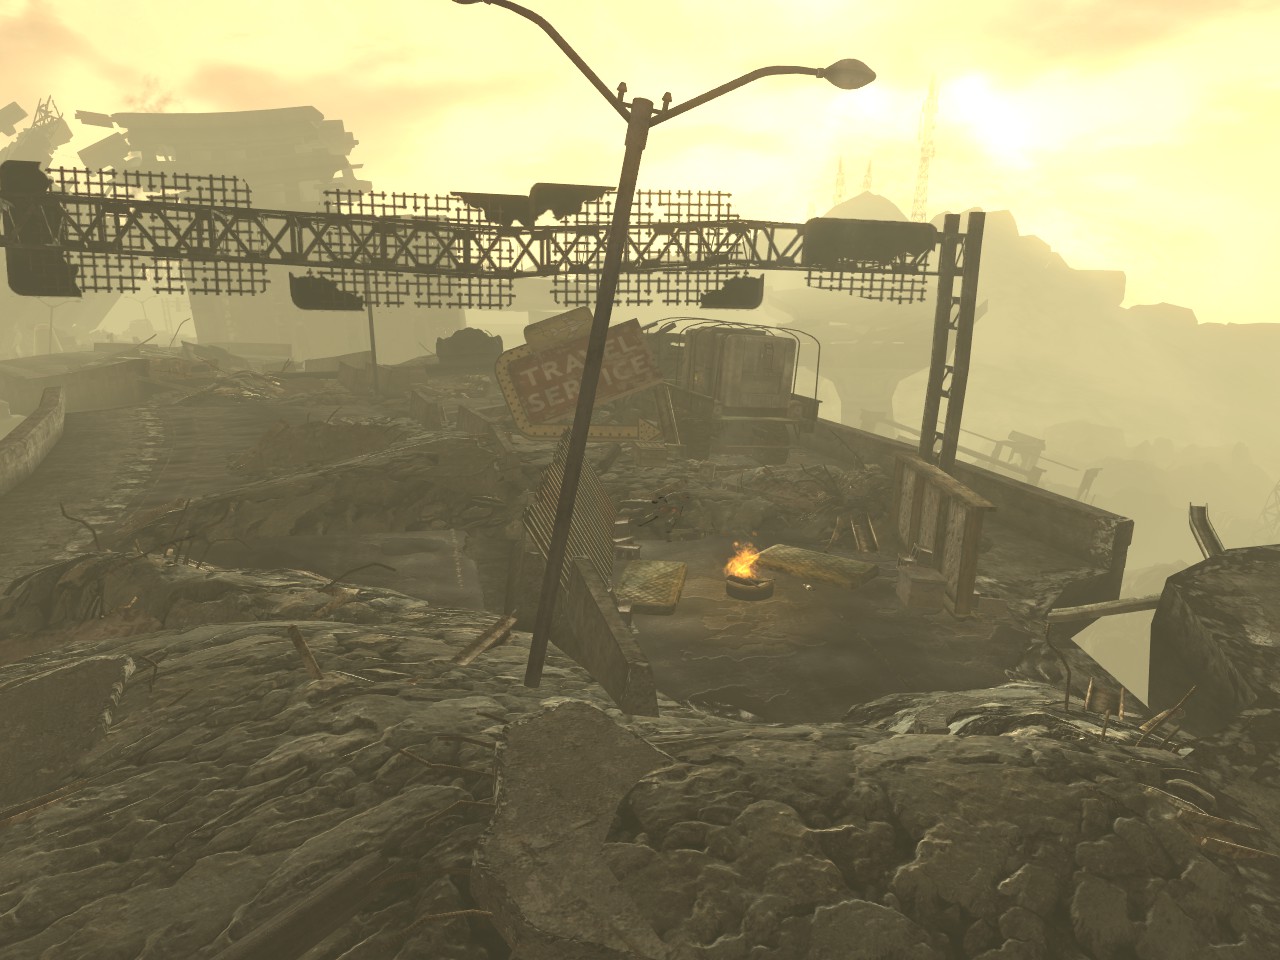
3(8). As you near the end of the highway, you’ll come across a fork. Take the right path that heads downward toward a collapsed tunnel and a ruined vehicle. A warhead is near the “Smitty’s Diner” sign, near the Junction 7 Rest Stop.
4(9). After the last warhead, now take the left fork leading to Ashton silo control station. When you come upon the marked men camp, head southeast towards the back of the camp. Tucked in with the rocks behind a truck is a warhead.
1(10). As you exit the Ashton Silo on the Sunstone Tower rooftop, head to and peek down over the western edge. Below, on the left-hand side of a large white “On Solid Ground!” billboard near a large, collapsed building you’ll see a warhead.
2(11). On the opposite side of the same billboard from the last warhead is another.
3(12). (Required) From Sunstone Tower, head southwest. Tucked between the boulders is a warhead you have to detonate to continue along.
4(13). Head around to the right from the last warhead. Up among the rubble on your right, you’ll see only the tip of a buried warhead sticking out near the end of the building with the white old world flag on it.
5(14). (Required) Head northwest from the last warhead. You’ll see another warhead wedged in-between the rocks.
1(15). After reaching the Boxwood Hotel Roof, head southeast. Behind a pipe gushing water you’ll find the den of Rawr, the deathclaw. One is embedded in the ceiling.
2(16). After defeating Rawr, another is used to leave the den.
3(17). (Required) Further along from the last two, at the base of a ruined building where some marked men are shooting from you’ll spot a warhead.
4(18). After passing under the building using the path created from the last warhead, look up and to the right. In the distance (above the entrance to the Waste Disposal Station area) you’ll see a warhead sitting next to a marked man sniping at you.
5(19). (Required) Head south from the toppled building. Around another gushing pipe, up among rocks, you’ll find one.
6(20). After detonating the previous warhead, a path leading up will be created. After climbing up, you’ll be atop the toppled over building. Going around to the right will take you up to the entrance of the Wastewater treatment plant. The warhead is on the rocks to the left of this entrance.
7(21). Look out southwest from this area and you’ll see one atop the nearby building in the farthest corner.
8(22). High up and to the right of the entrance to Ulysses’ Temple.
1(23). Next to you as you walk in, to the right.
2(24). To the left as you walk in, along the wall next to large missile.
3(25). Further to the right between two large missiles.
4(26). Hidden in recess behind first large missile along right wall.
5(27). Further to the left between large missiles.
6(28). To the right of center walkway.
1(29). As you enter The Courier’s Mile, you’ll see a fork. As you take the right one, you’ll be able to see a warhead up ahead in the distance among the destroyed buildings behind the deathclaws.
2(30). Back and along the left road, you’ll come to a path and a clearing on your left full of marked Men. Tucked away in the back with the ruined buildings is a warhead.
No-Miss Walkthrough (pt. 1)
This section will cover from the start of the DLC until the Marked Men Base.
The walkthrough follows a similar format to the last parts. The first count is the number so far out of the total for that specific collectable and the second count is items overall. So if the count is (8/30, 17/77) for warheads then it is the 8th warhead and the 17th collectable.
Follow the main path through the Hopeville Silo Bunker and you’ll come across the first poster for Feel Like A Kid Again on the wall just to the right of where ED-E is (1/20, 1/77).
After you get ED-E up and running and you get him to open the door (the one where the window opens and you can see the missile), walk through the hallway that opens up and the first eyebot holding the first upgrade for ED-Ecated will be lying on the ground at your feet. Can’t miss it (1/5, 2/77).
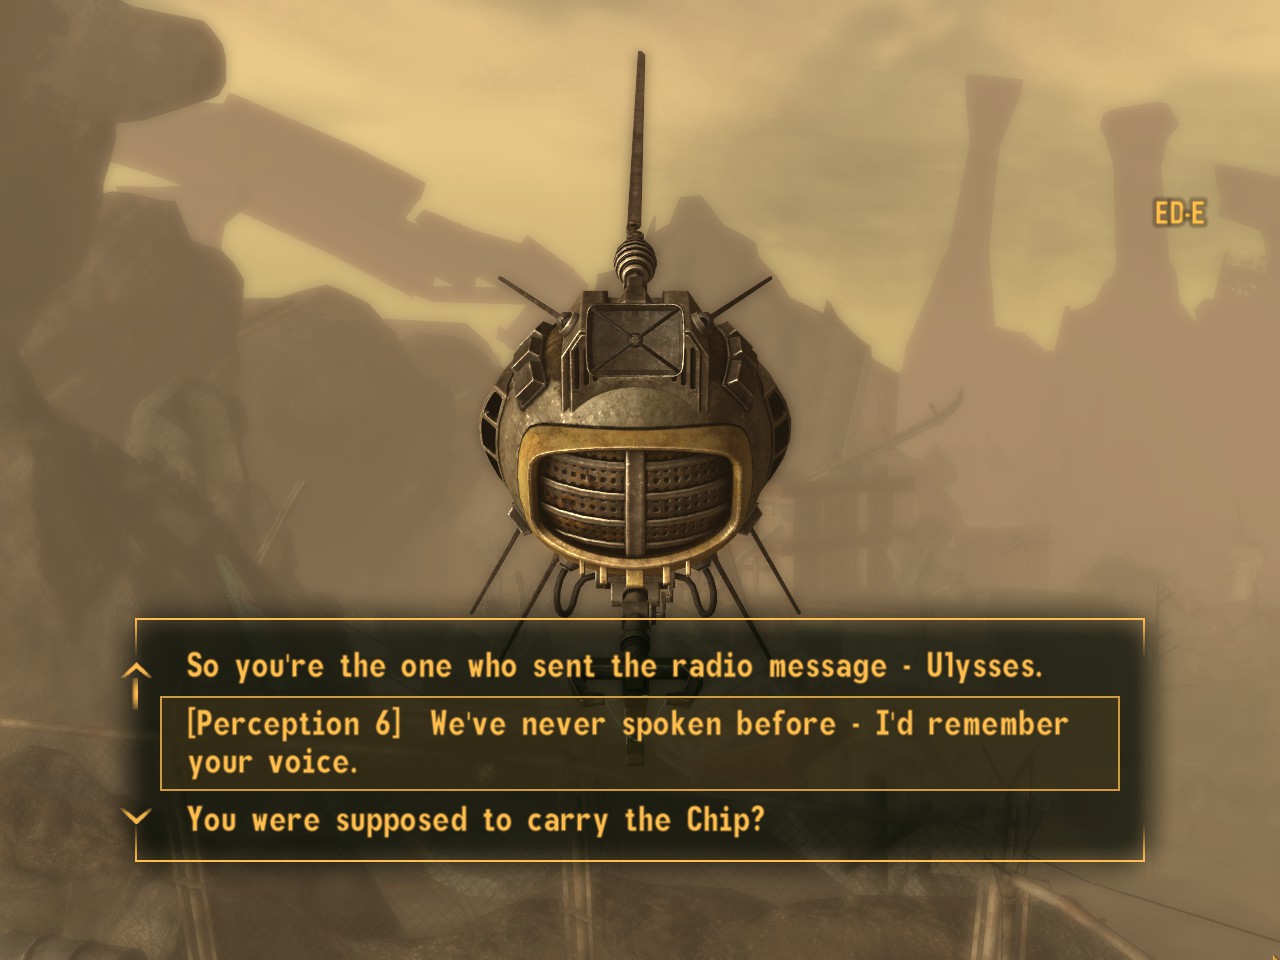
Once outside the Hopeville Silo Bunker, Ulysses will contact you via ED-E. Click the perception option when it appears and, pass or fail, you’ll get one of the triggers for Most Likely To…(1/6, 3/77).
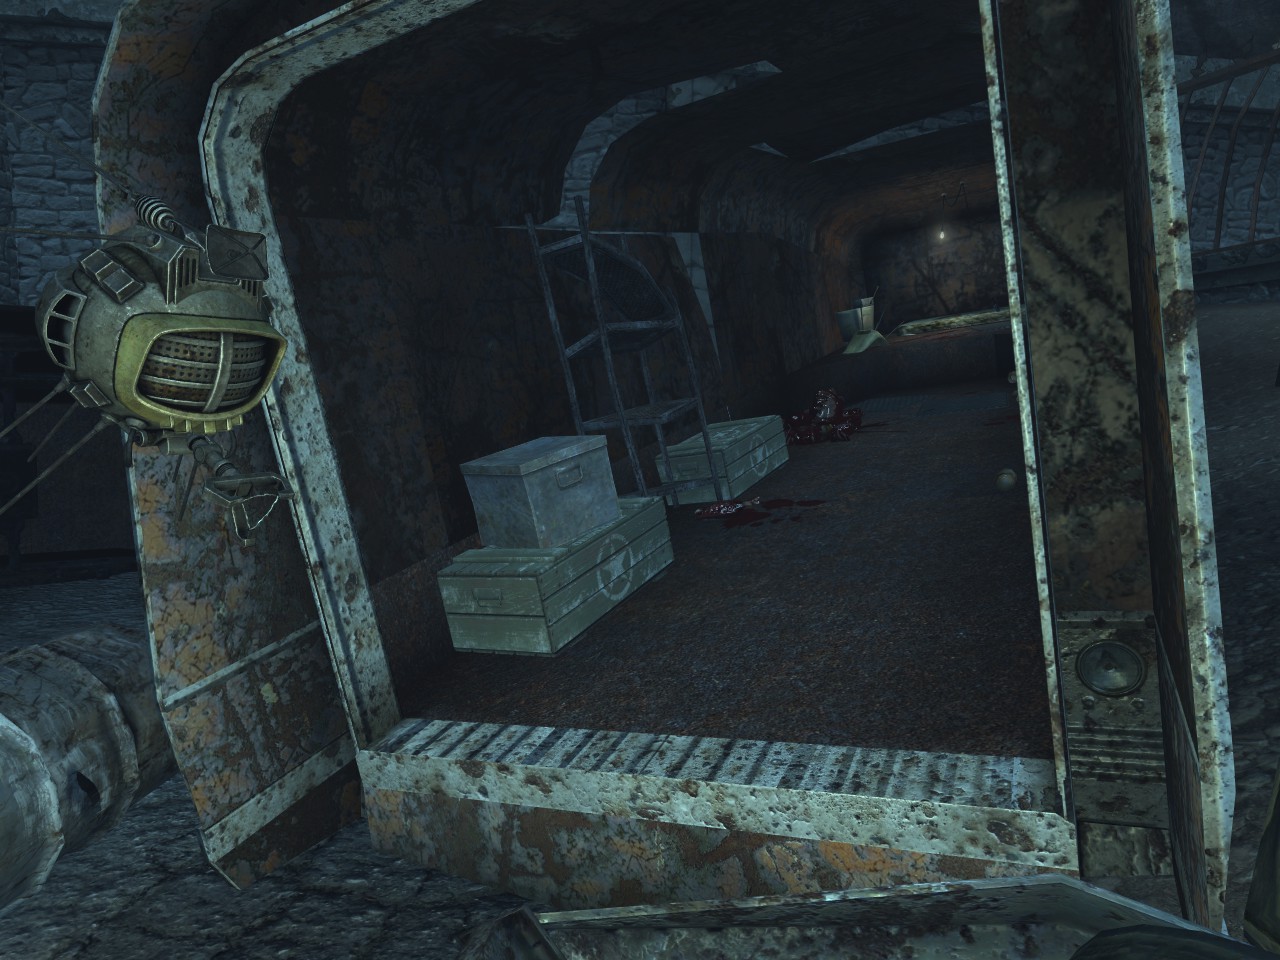
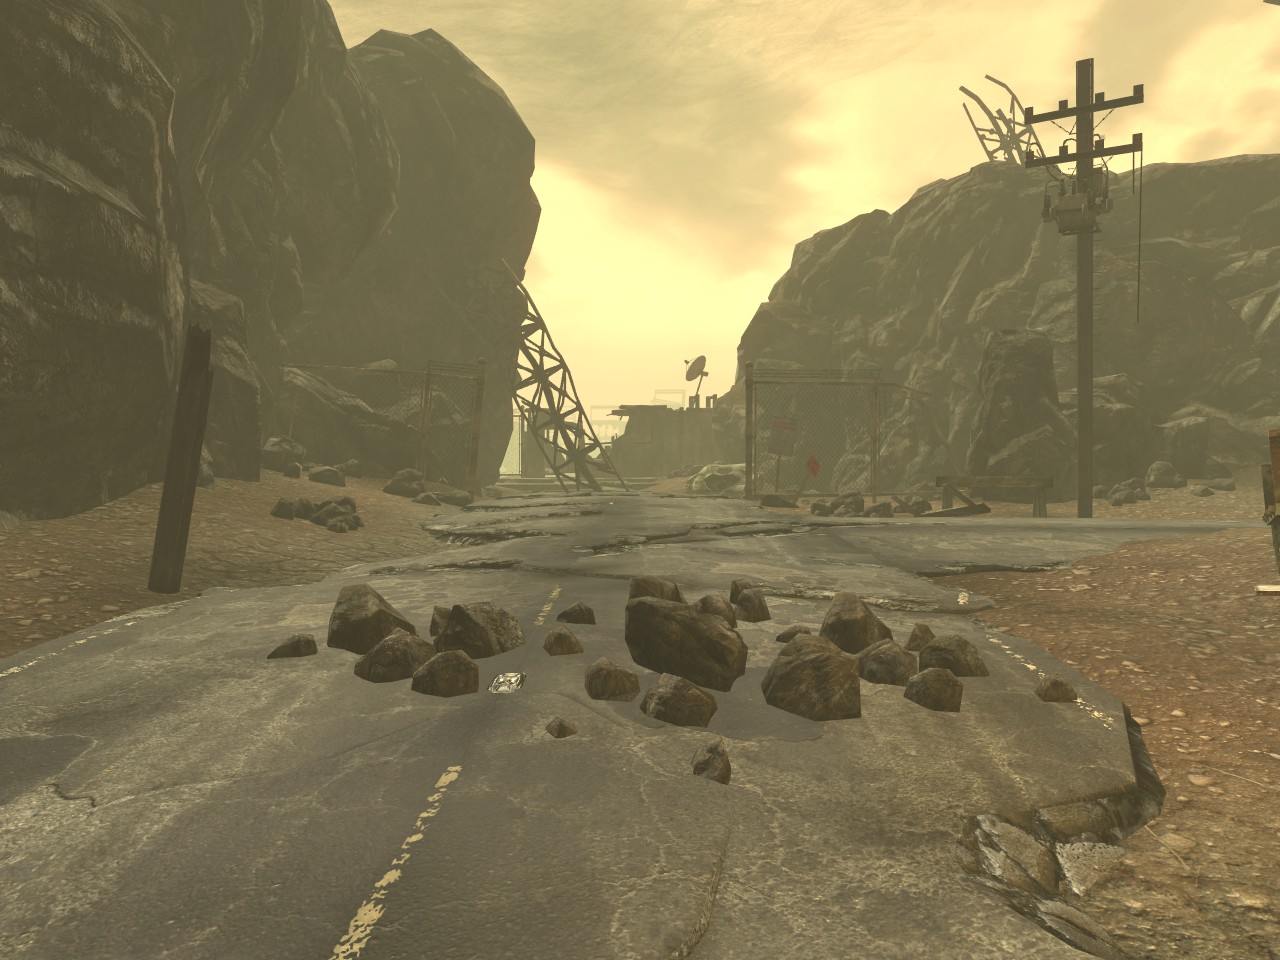
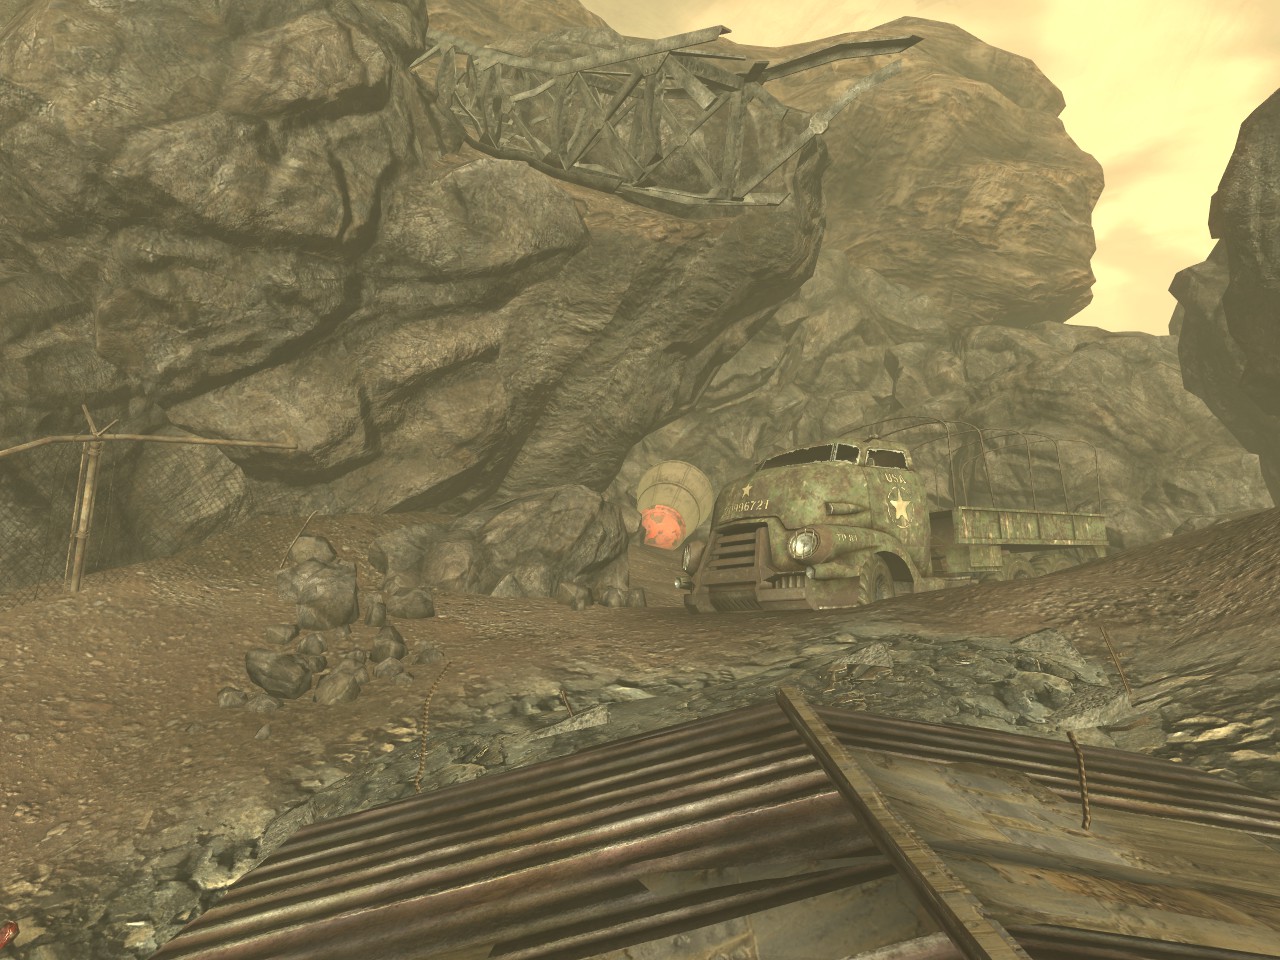
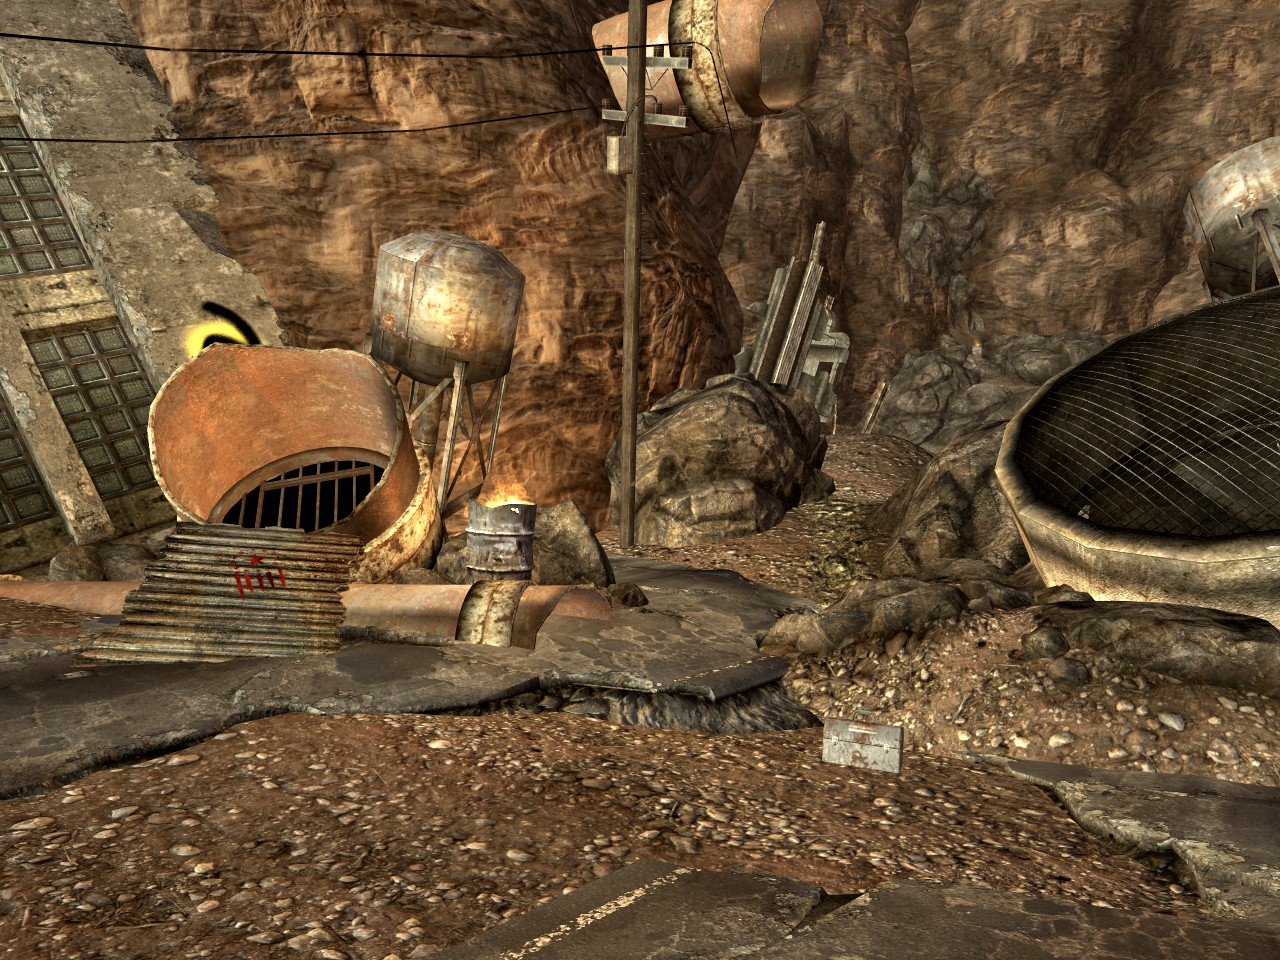
Once that’s over, head to the main road directly in front of you and head to the right. Follow the road just past and around the Hopeville Women’s Barracks. You’ll see a big chain link gate to your left, behind the barracks building. Unlock it and the first log for Ulysses Odyssey will be in a toolbox in the back of an overturned cargo truck (1/6, 4/77).
Turn around and head back to the main road and follow it until you see a Soltaire gas station. In the little driveway/garage area on the right hand side of that building will be a poster for Feel Like A Kid Again (2/20, 5/77).
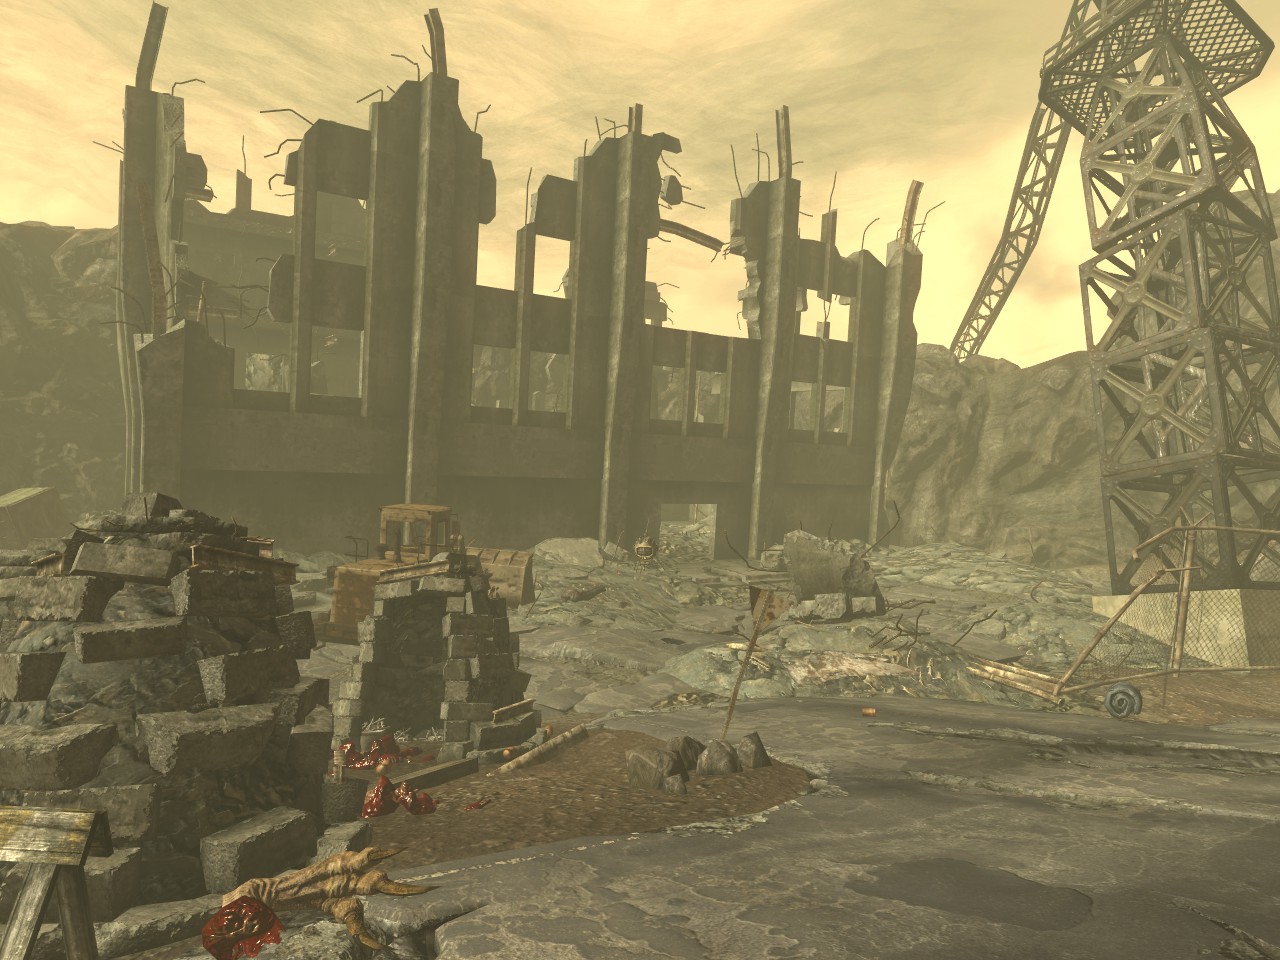
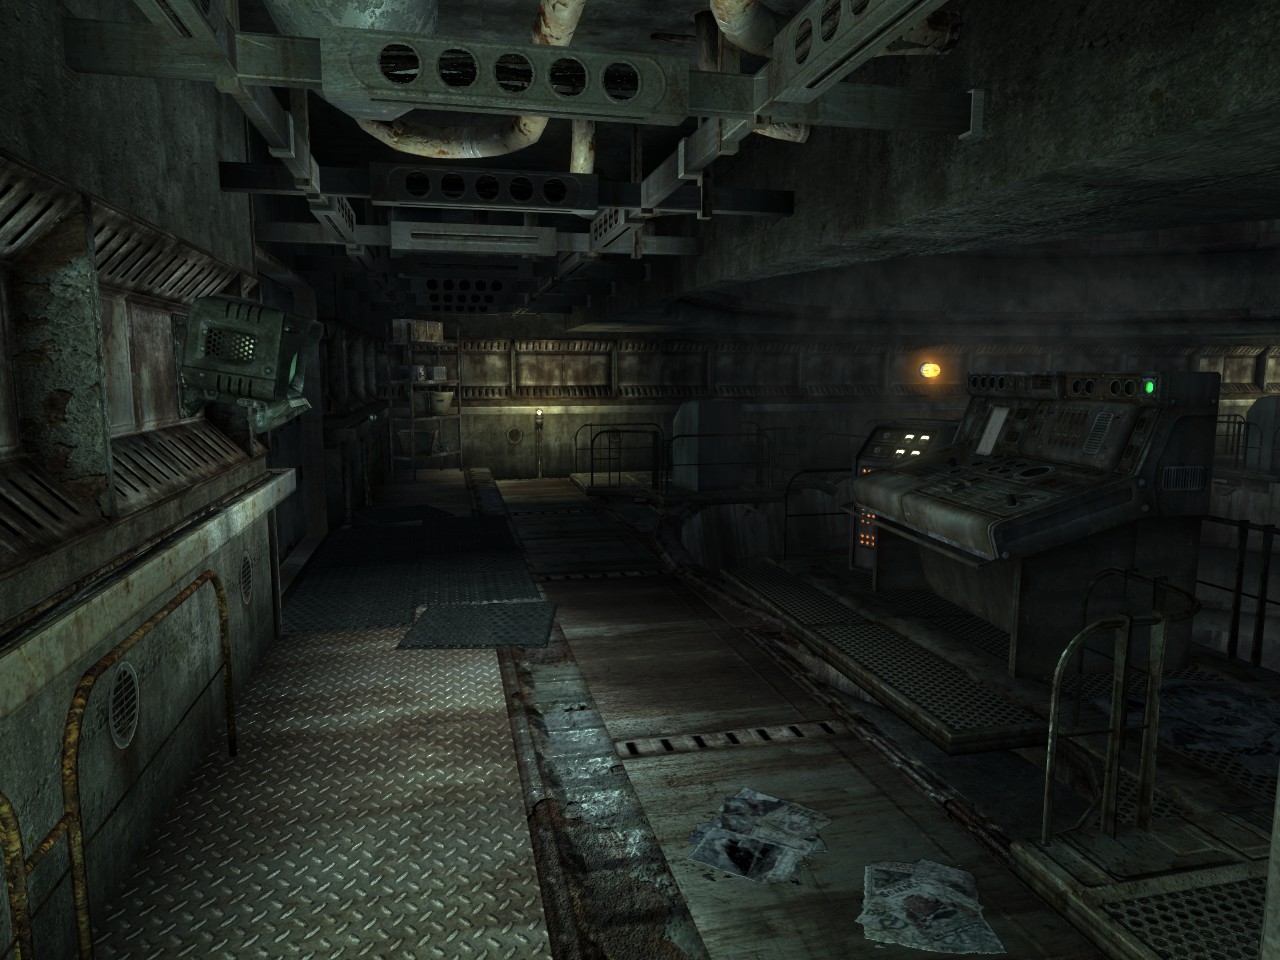
From here, follow the road in the same direction as you have been, but make a sharp left at the ruined chain link fence. Take care of the two marked men and enter the Hopeville Missile Base HQ. Careful of the marked man right in your face when you enter. Take care of him and his buddy then loot the place. In the first room in the hallway on the left hand side of the building is the second eyebot for ED-Ecated (2/5, 6/77) under a desk. Look and listen for the electrial sparks it emits.

From here, exit the building hug the wall, heading to the right. Keep watching the wall for the third poster for Feel Like a Kid Again (3/20, 7/77).
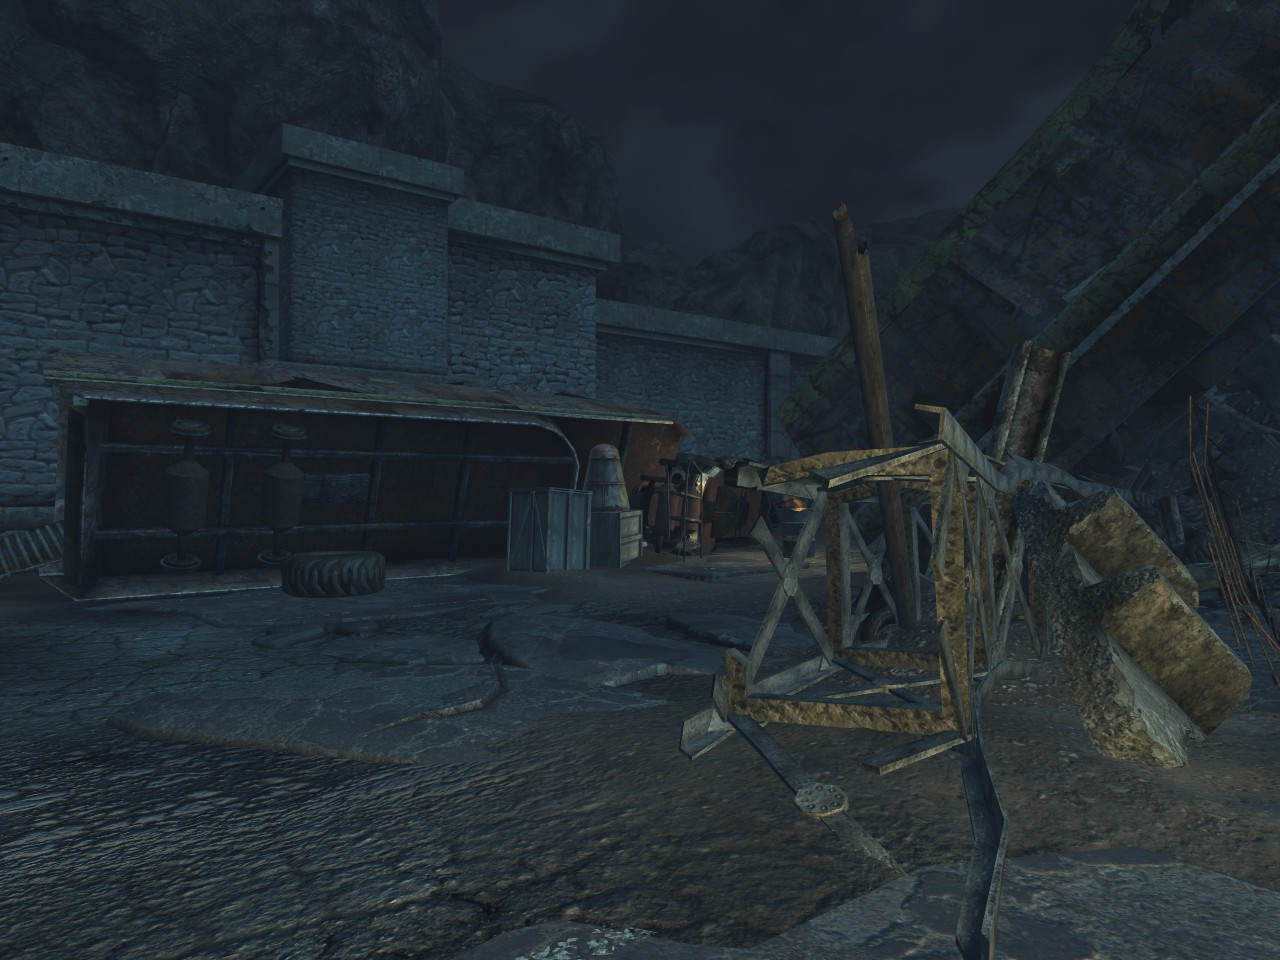
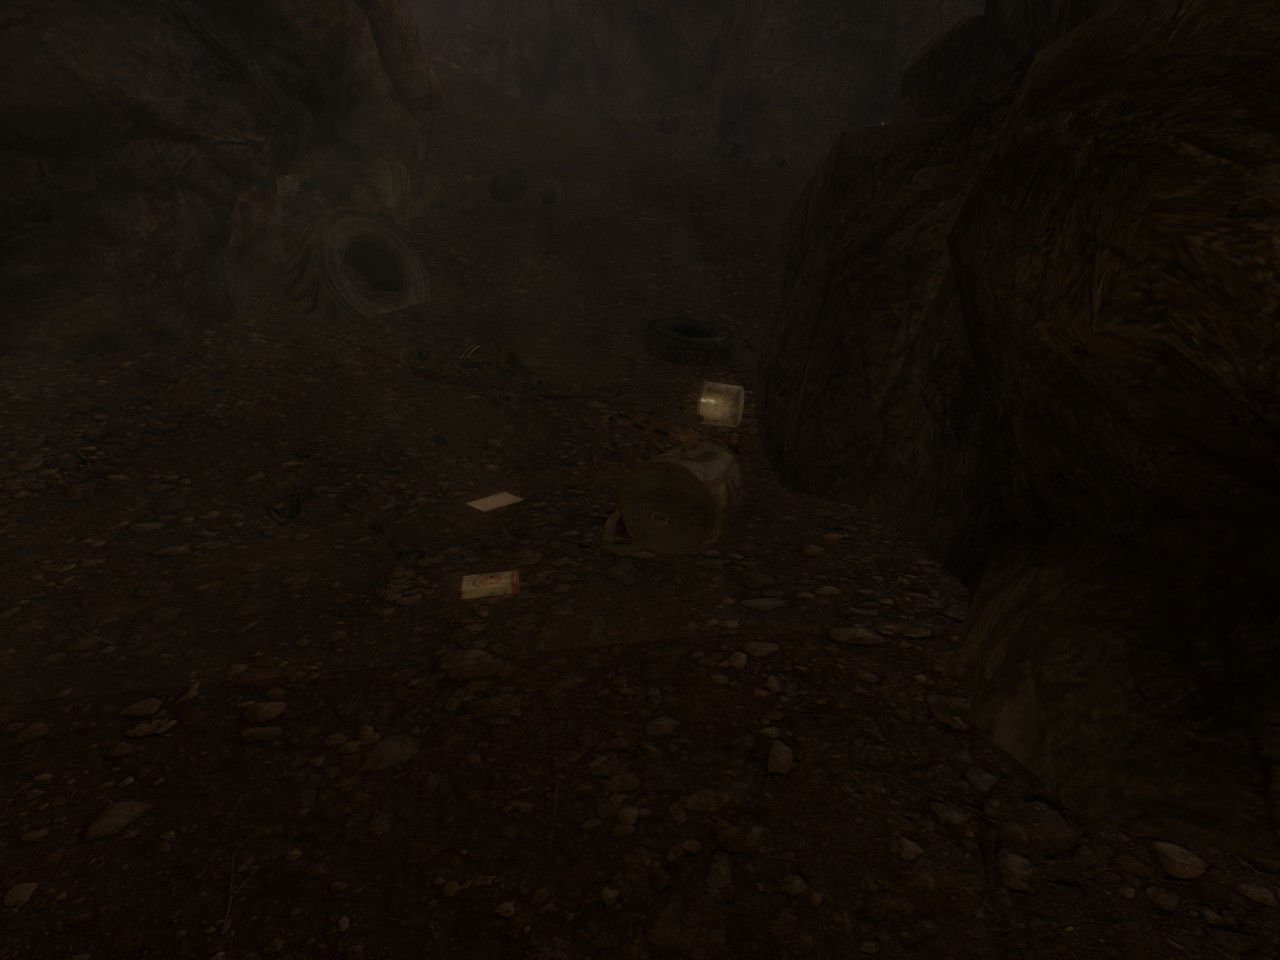
Follow this path until you see a concrete ramp. Take this ramp up and into a destroyed building, then drop down into the Marked Men camp. Retrieve the laser detonator and clear the camp. Head to the first warhead, but head left into the alleyway for another poster (4/20, 8/77).

Detonate the first warhead for Warhead Hunter (1/30, 9/77). From here, backtrack to the Hopeville Women’s Barracks and detonate the second warhead (2/30, 10/77).
Head inside and on the far wall will be the next poster (5/20, 11/77). Watch out for the pair of marked men that will enter right after you.
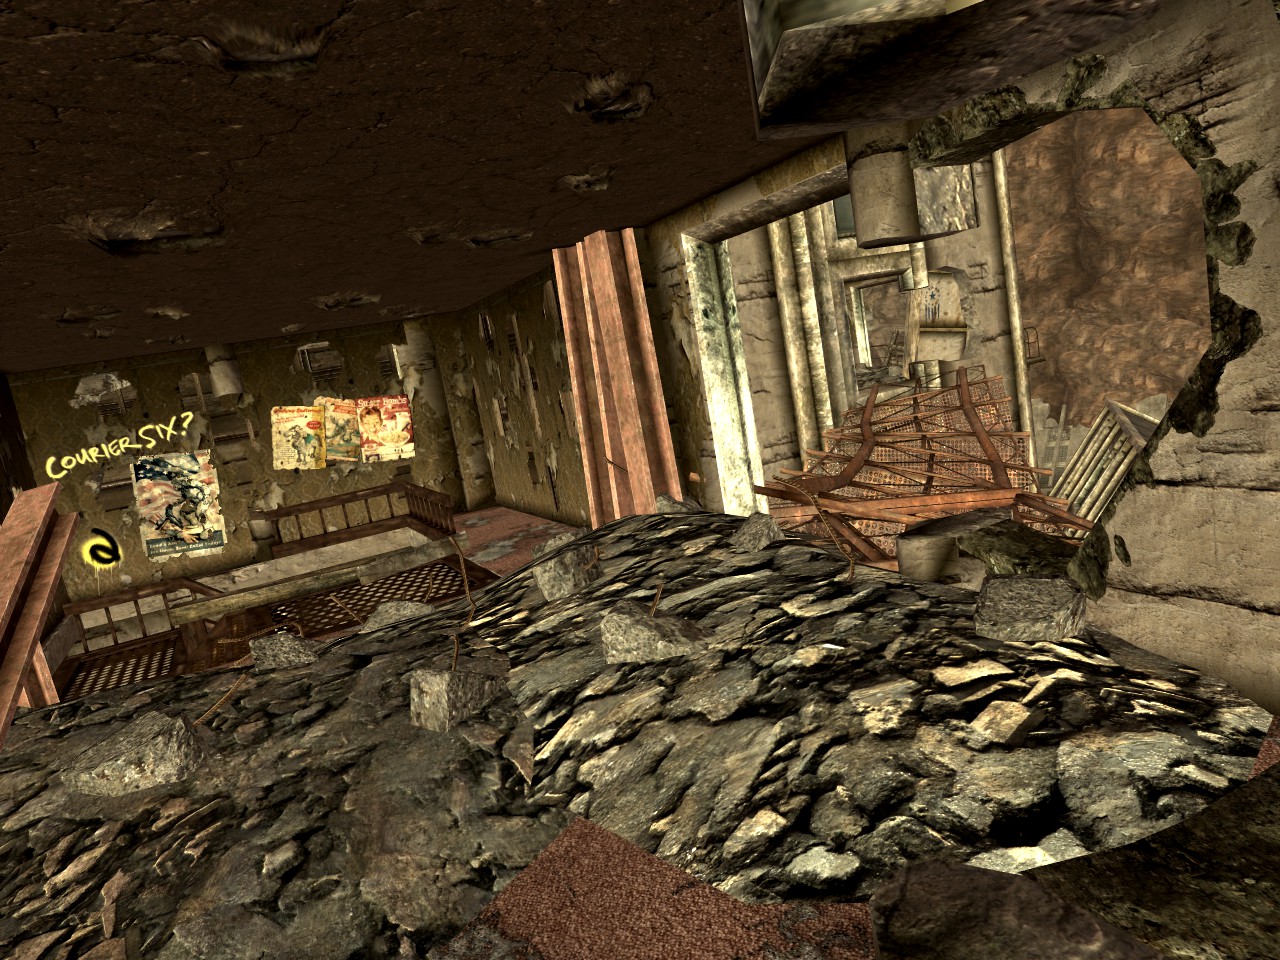
From here head back to the main road. After unlocking the fence to the next section, immediately turn right after the wrecked cars to find the Marked Men Guard Outpost. Kill the 2 marked men inside and go to the roof of the building on the right. From here, go to the back part of the roof and jump down onto the catwalk. The poster should be on the back wall, accessible from the catwalk (6/20, 12/77).

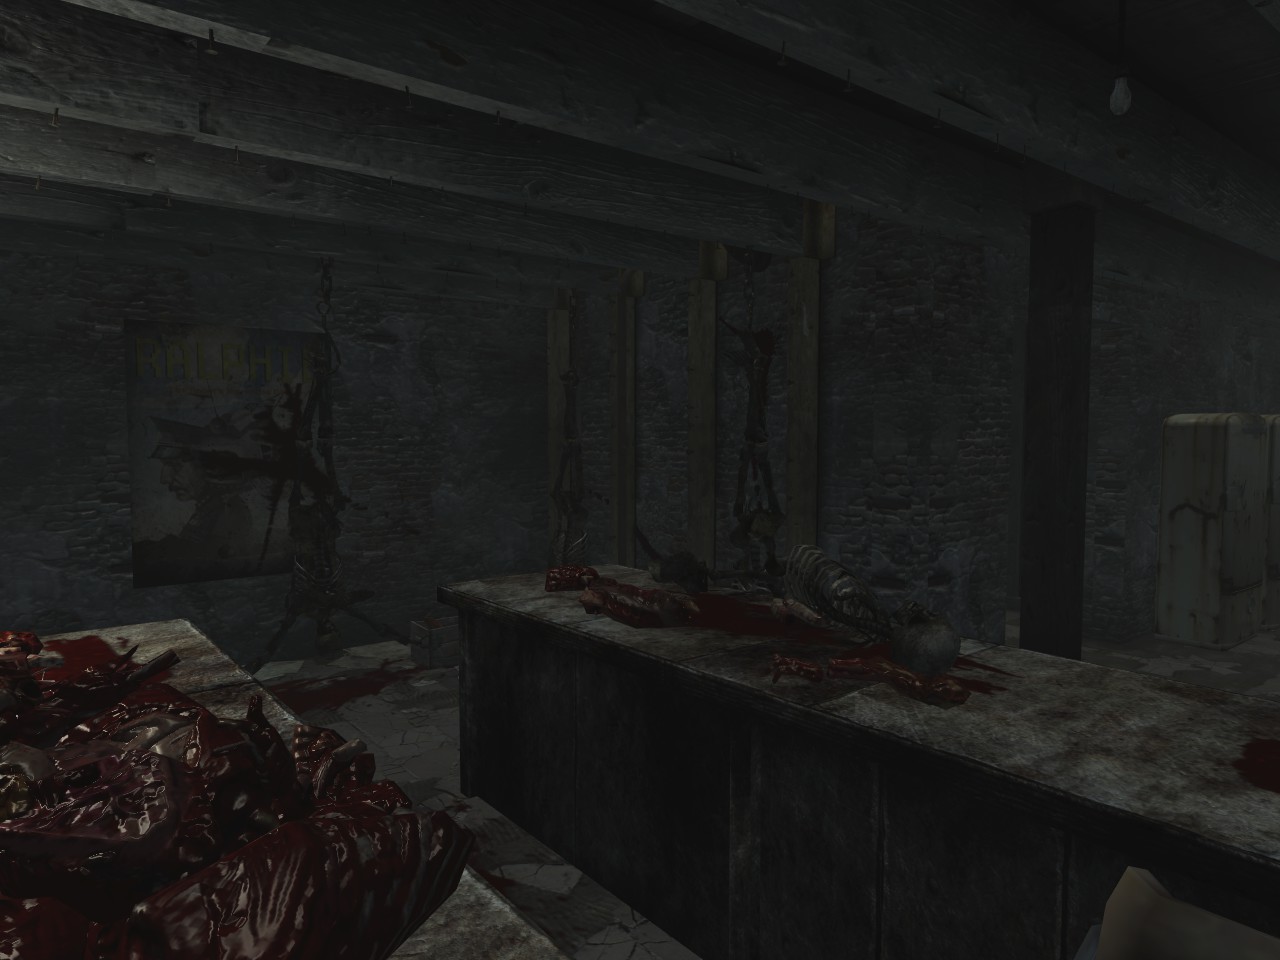
Exit this building and go around the building next to it to find a hatch leading to the basement on the left side of the building. The next poster will be on the wall to the right of where you enter. It’s covered in bloodsplatter, but it’s still mostly visible (7/20, 13/77).
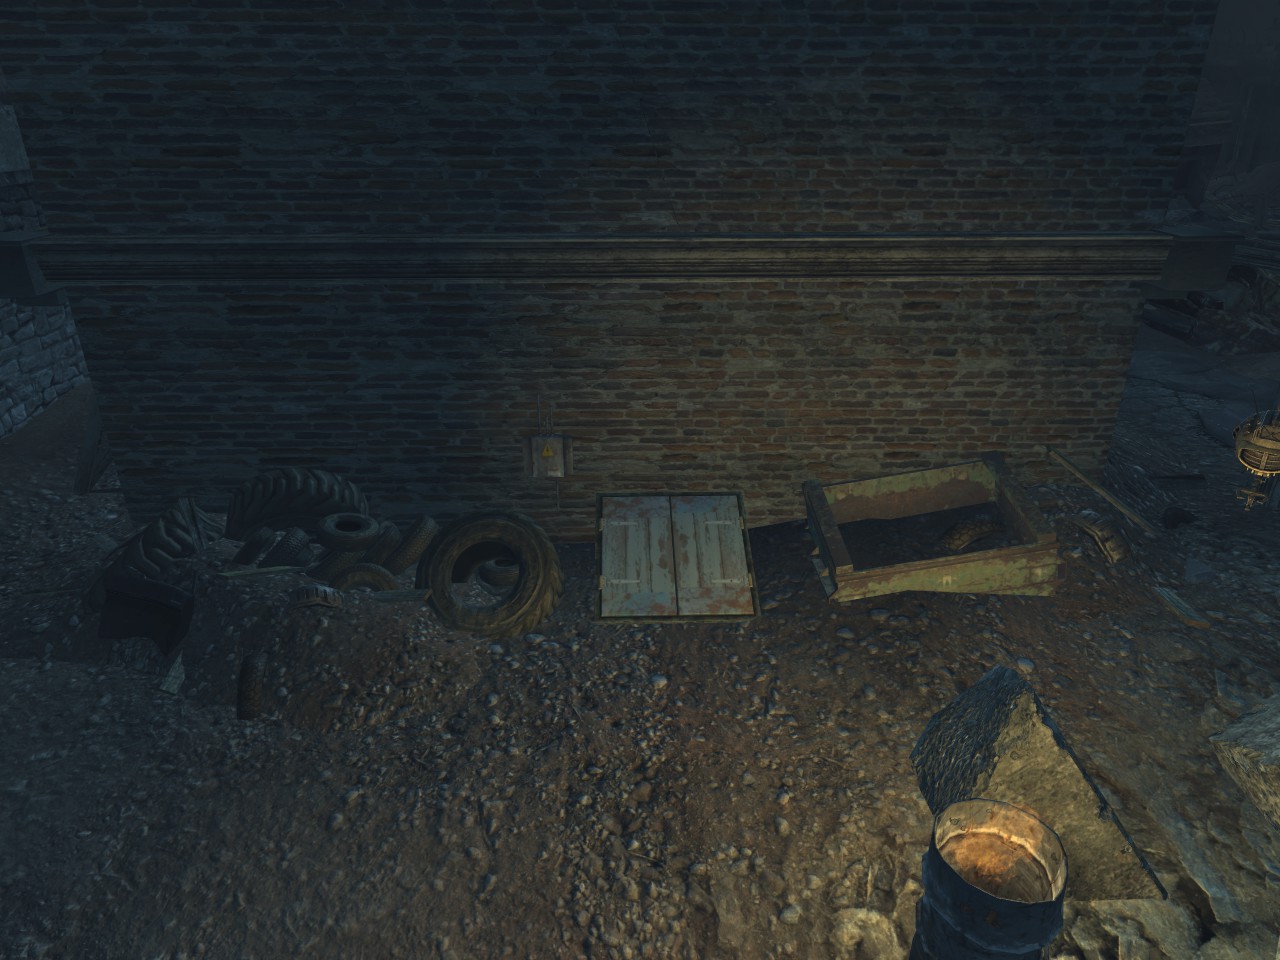
Go back to the main road and follow it, but don’t detonate the warhead in the truck yet. Head to the right and follow that path a little bit. Directly ahead of you there will be a chain link fence gate. If you have a high enough lockpick skill then you can just unlock it. There’s a poster in your face when the gate opens (8/20, 14/77). After nabbing that, grab the log on the shelf to the left (2/6, 15/77).
If you don’t have the required lockpick skill, then turn around from the gate and head to the left, into the Marked Men Supply Depot. You should head here anyways, there’s a warhead here (3/30, 16/77).
If you didn’t have a high enough lockpick skill for the second Ulysses log, go to the second overturned supply truck and grab the key from the metal crate near the back (entrance) of the truck.
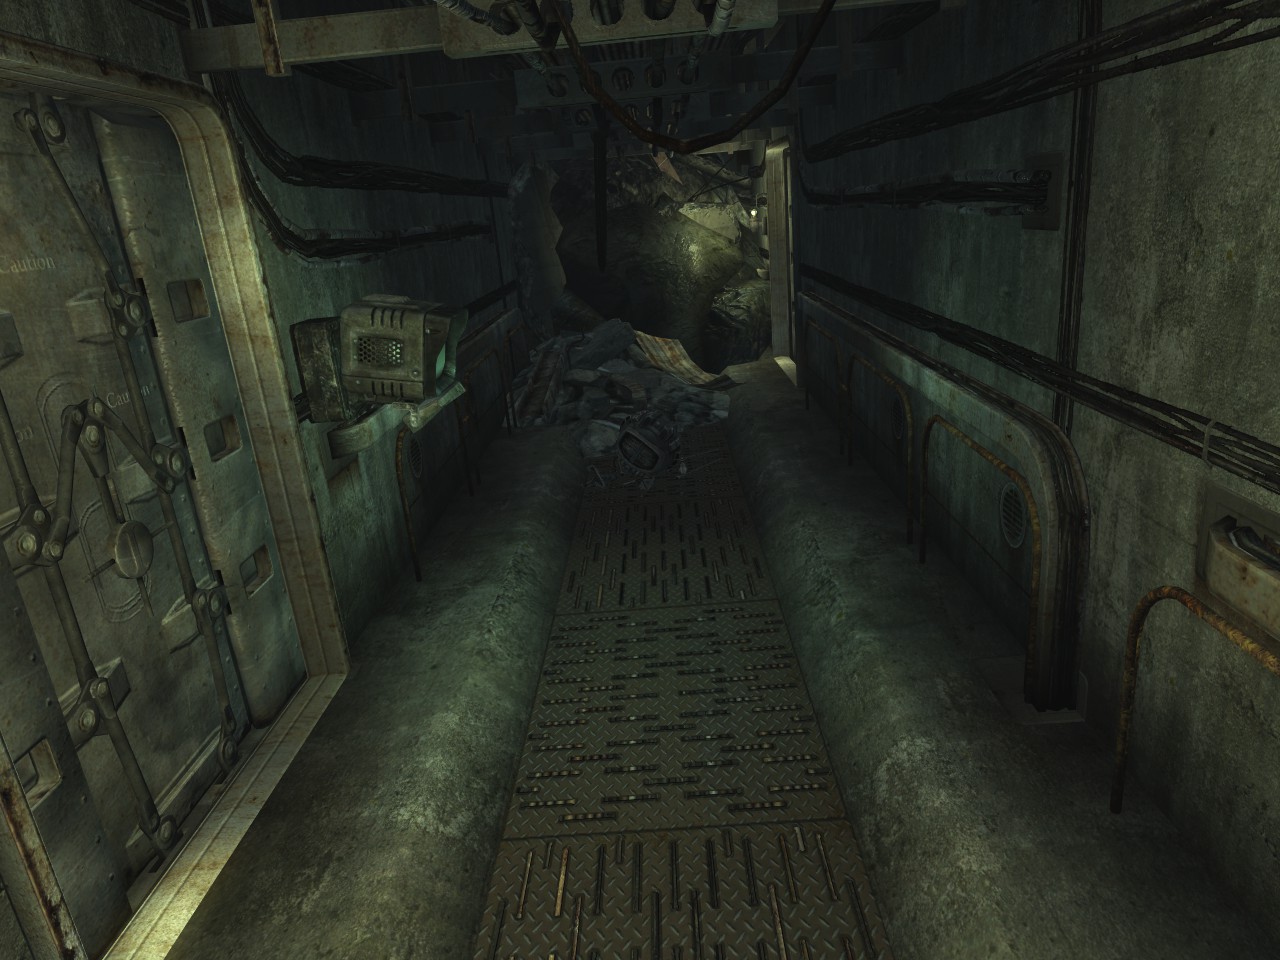
Kill the marked men, detonate the warheads, and continue into the collapsed overpass tunnel. (4/30, 17/77)
This last one is necessary for progression. (5/30, 18/77)
end part 1
No-Miss Walkthrough (pt. 2)
This section will cover the Collapsed Overpass Tunnel until Ashton.
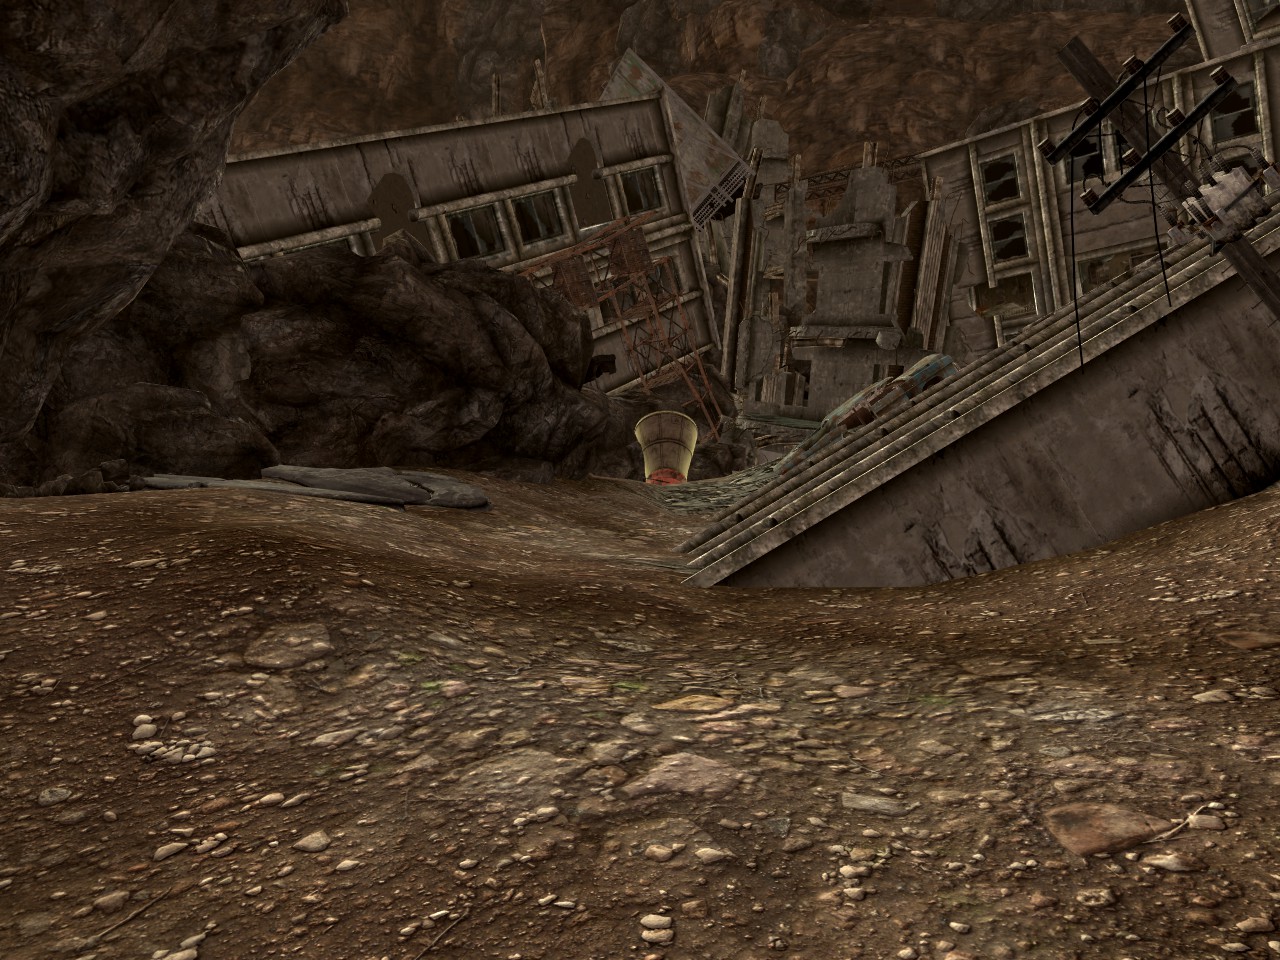
Once inside the collapsed overpass tunnel, you’ll see a crashed supply truck. The next poster is inside it. Climb up the destroyed car propped against it to claim it as your own (9/20, 19/77). Continue through the rest of the collapsed overpass tunnel at your own pace.
When you exit the Collapsed Overpass Tunnel, Ulysses will hijack ED-E again. Select whatever options please you. Eventually there will be an option that says “What makes you think this leads home?” Selecting this option will trigger another marker for “Most Likely To…” (2/6, 20/77)
After this, continue along the path and take out the marked men camp in your way.
At the top of this little hill you’ll see the Crow’s Nest, a huge structure. Look to the base for the next warhead (6/30, 21/77).
Next, climb the crow’s nest. Be cautious of the various satchel charges left by Ulysses. The entrance to the tower is on the left. Look for the Blue Old World Flag.
Once on the top, there are three main points of interest. The Advanced Riot Gear-clad soldier on the right and Ulysses camp on the left.
After you loot the soldier, head left for another poster (10/20, 22/77) and another of Ulysses’ logs (3/6, 23/77).
Climb down before you slip or something and continue along the road under the crow’s nest. Keep an eye out on the right for the next warhead (7/30, 24/77).
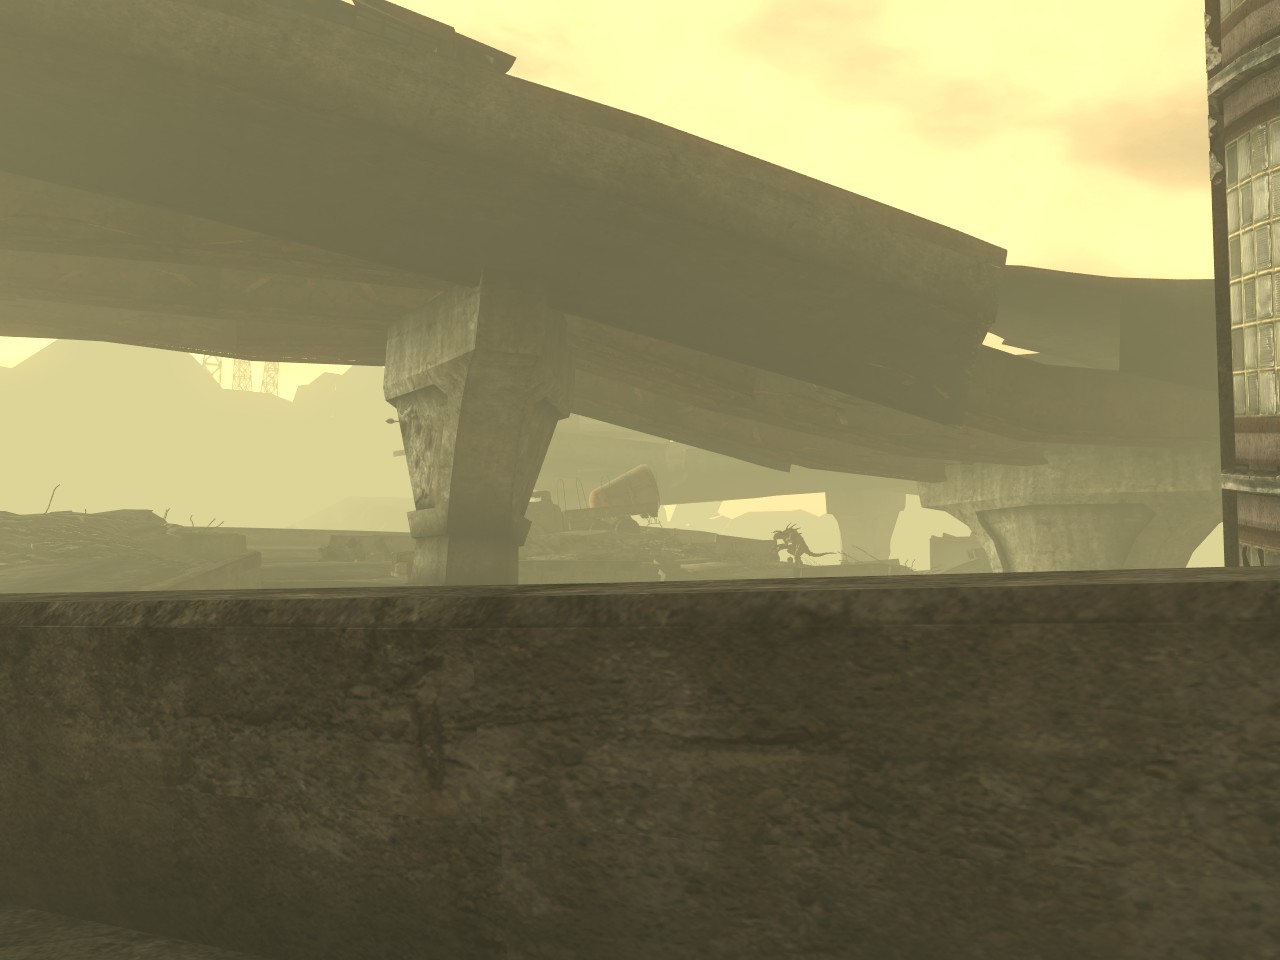
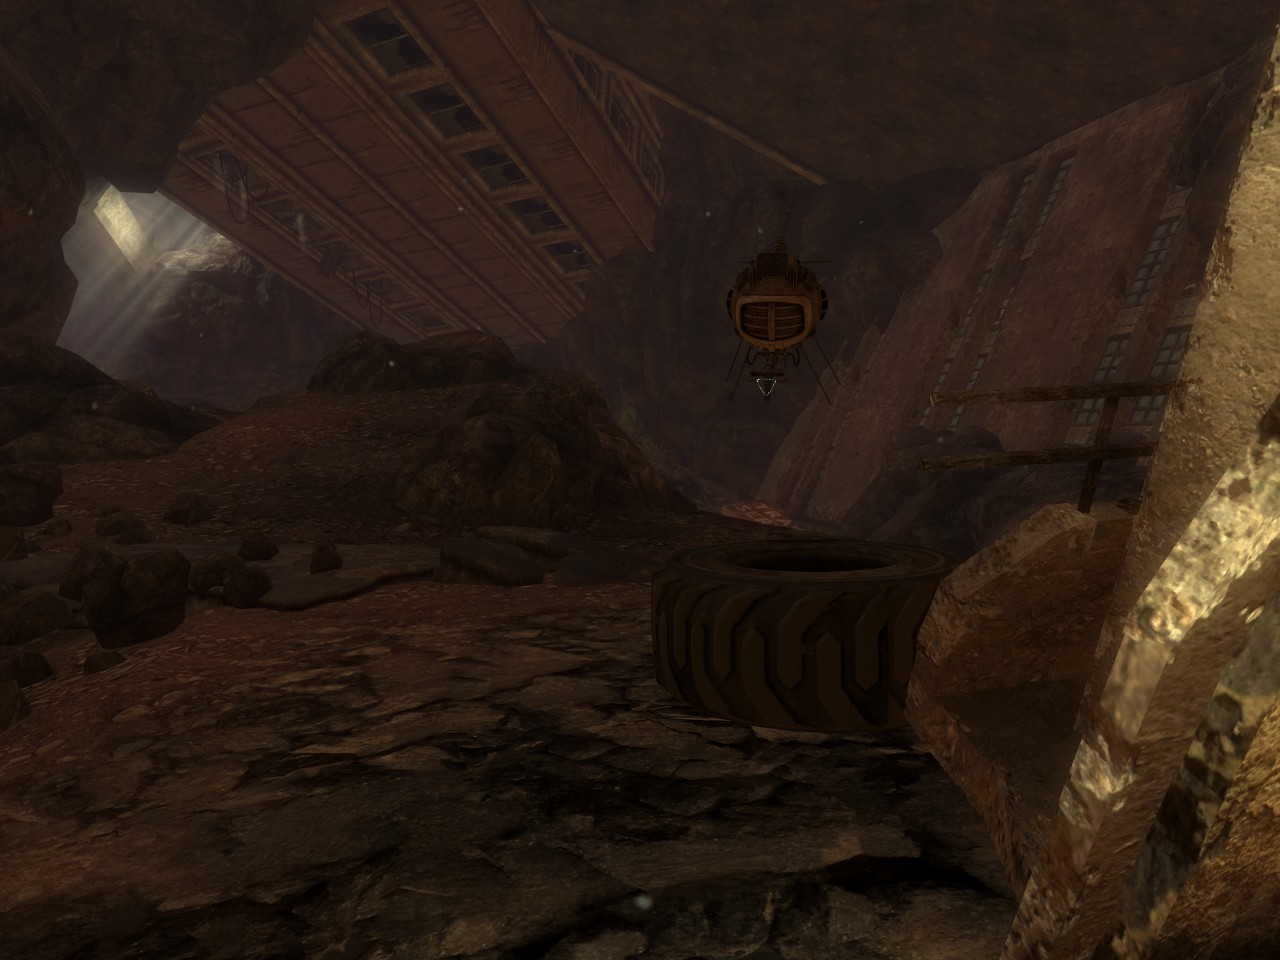
Another neato thing is this camper. When you walk inside and start scavenging it, you’ll hear a thump and a growl. A deathclaw just fell down on top of it from the section of highway above you!
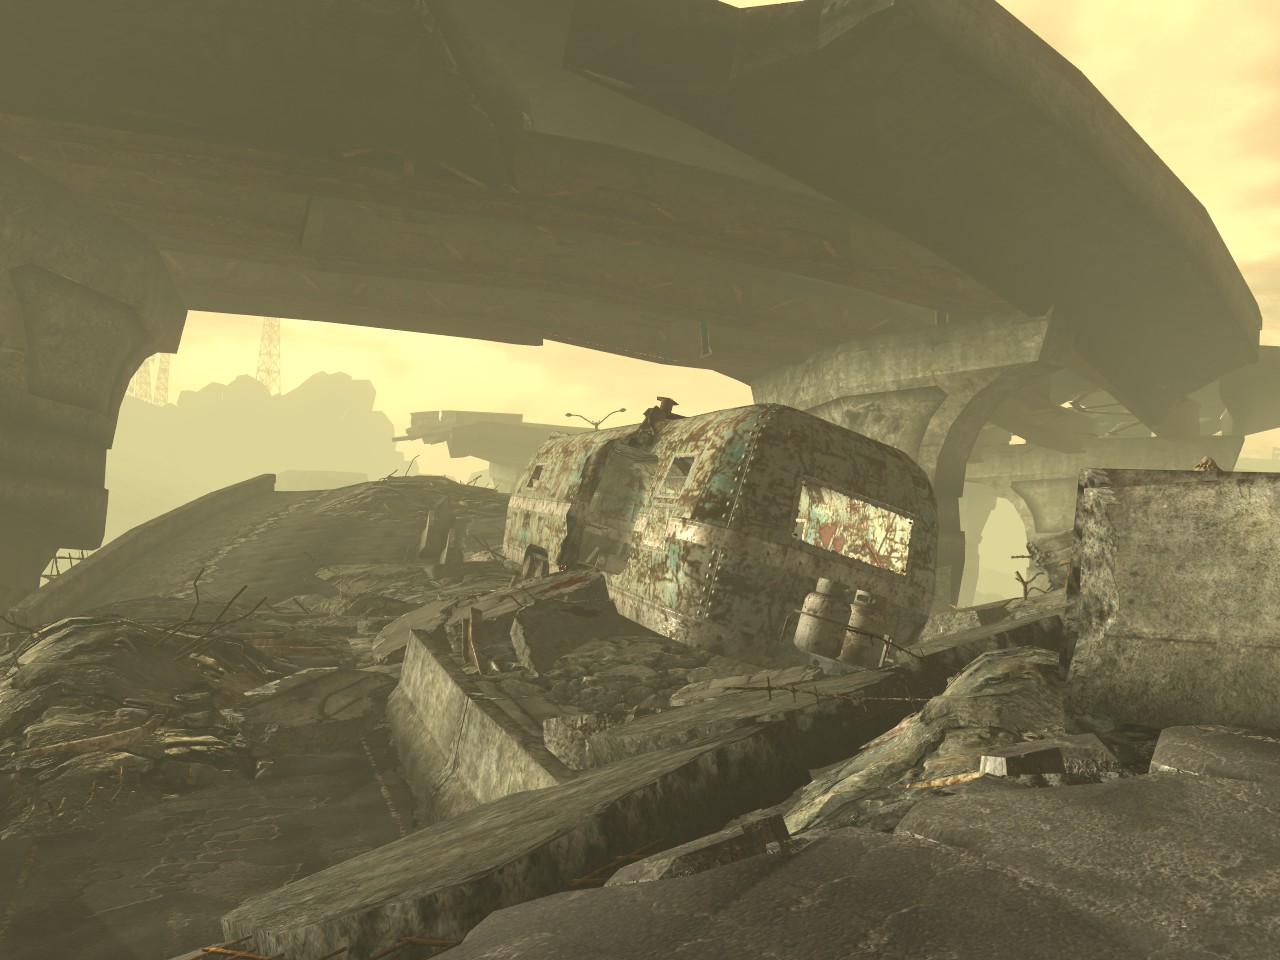
Continue along the path until you reach this part near the end where the road breaks.

Stand there and look down. If you can’t see the warhead at this point, I can’t help you (8/30, 25/77)
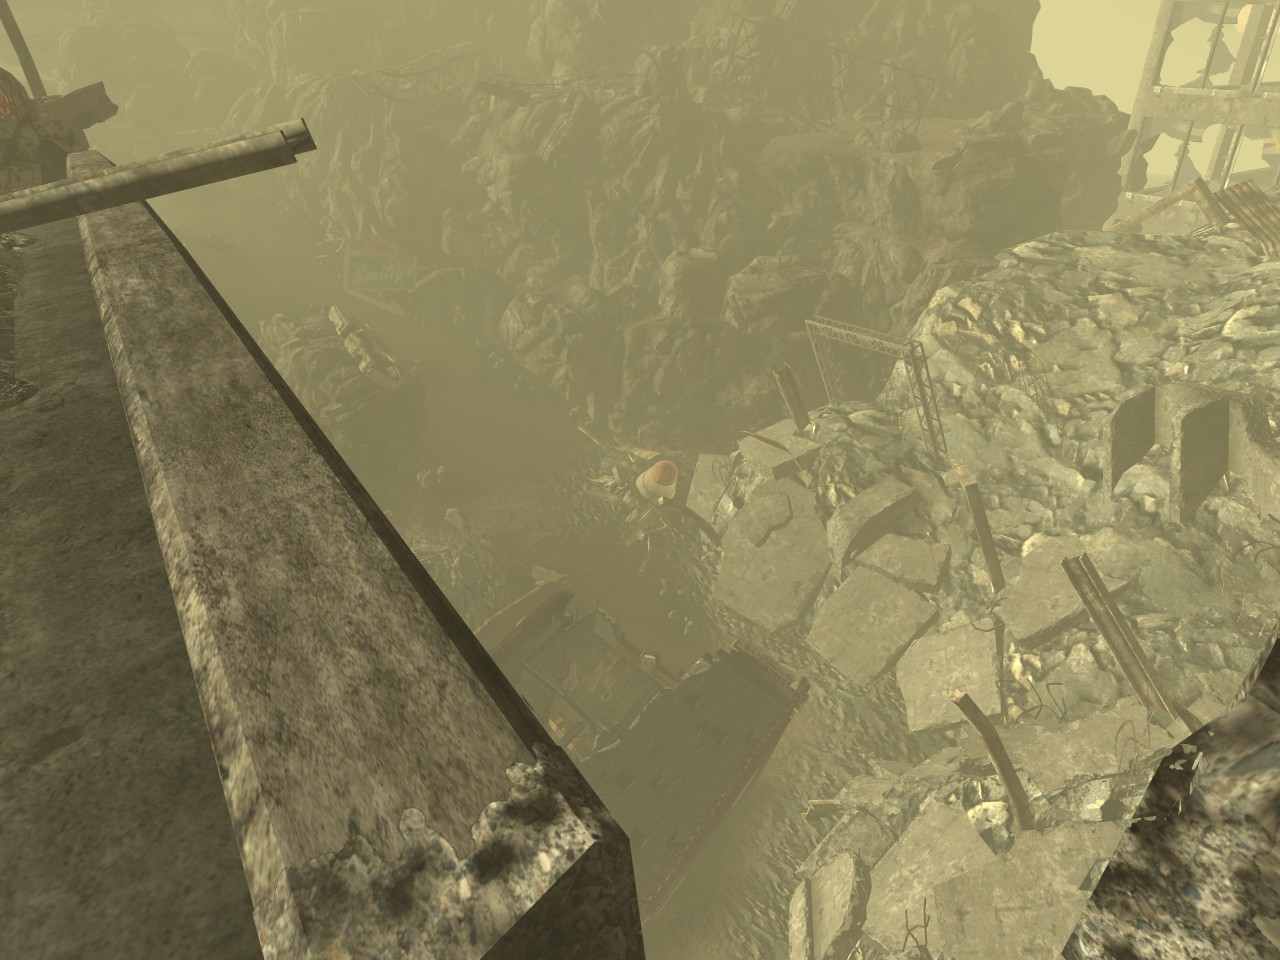
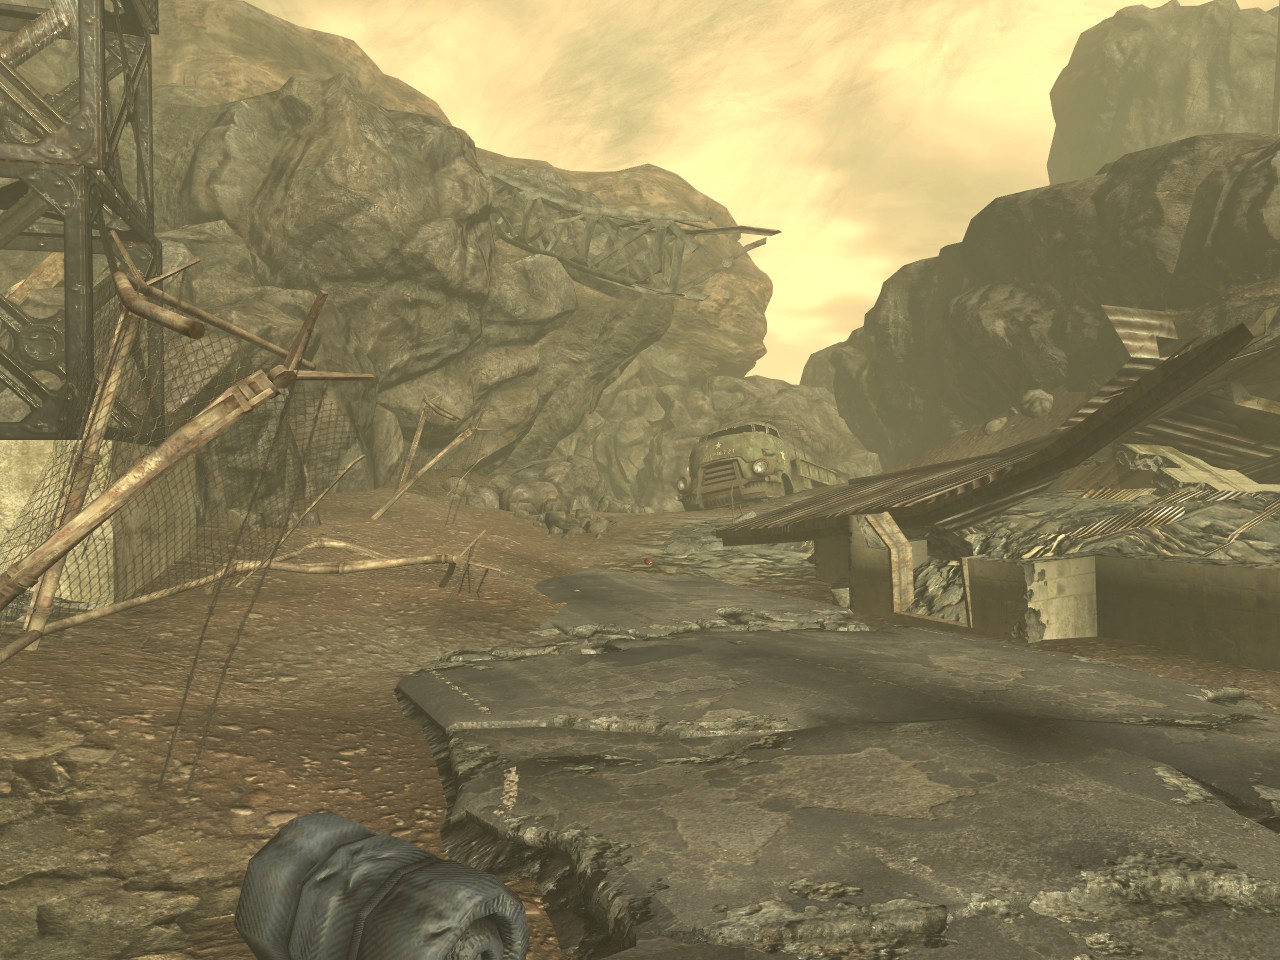
Follow the road until it dead-ends and head to the right at the end of the road.
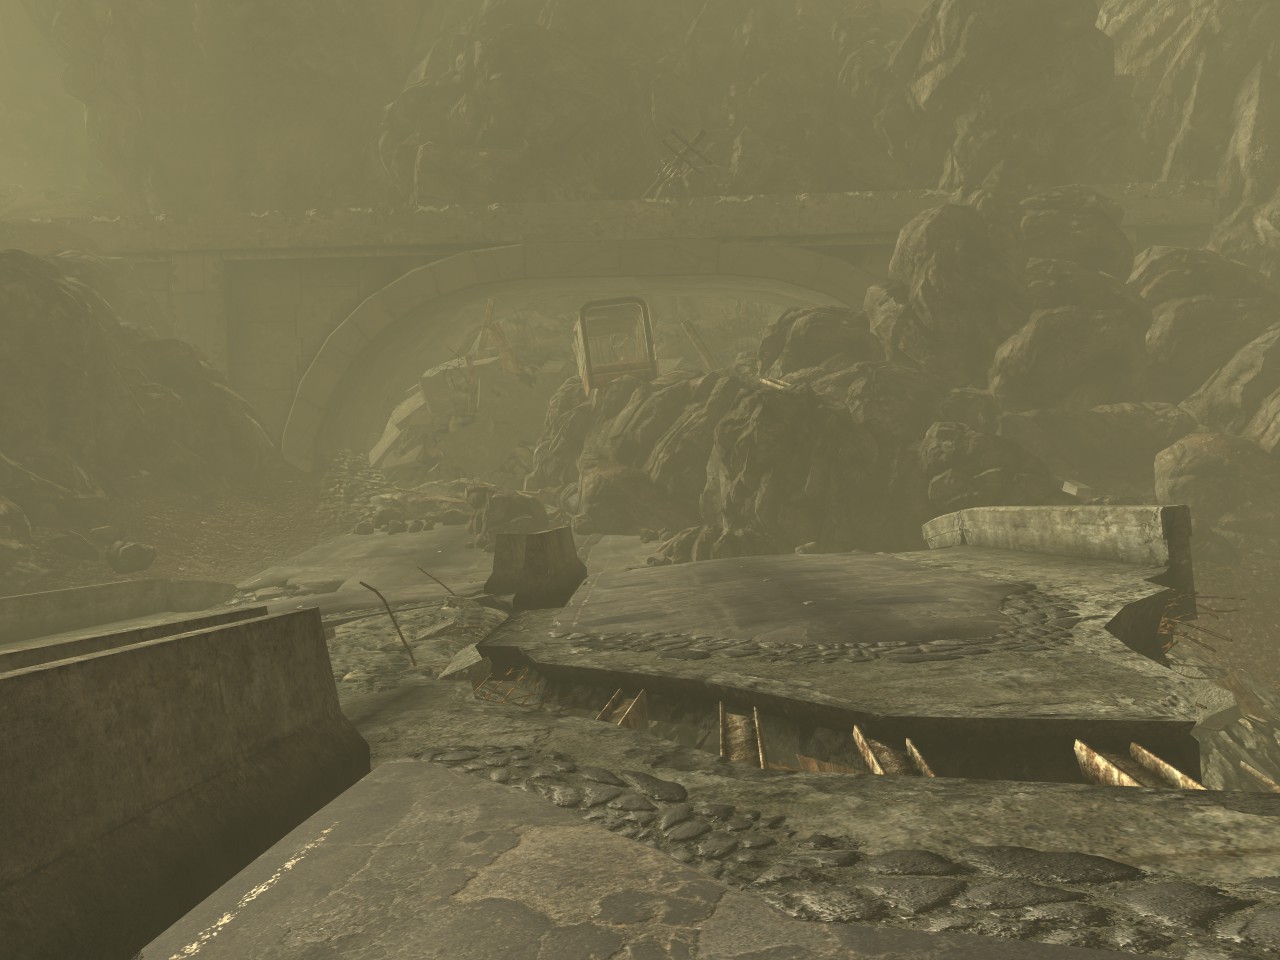
When you see the diner sign, turn left and look for a path to the left among the rocks.
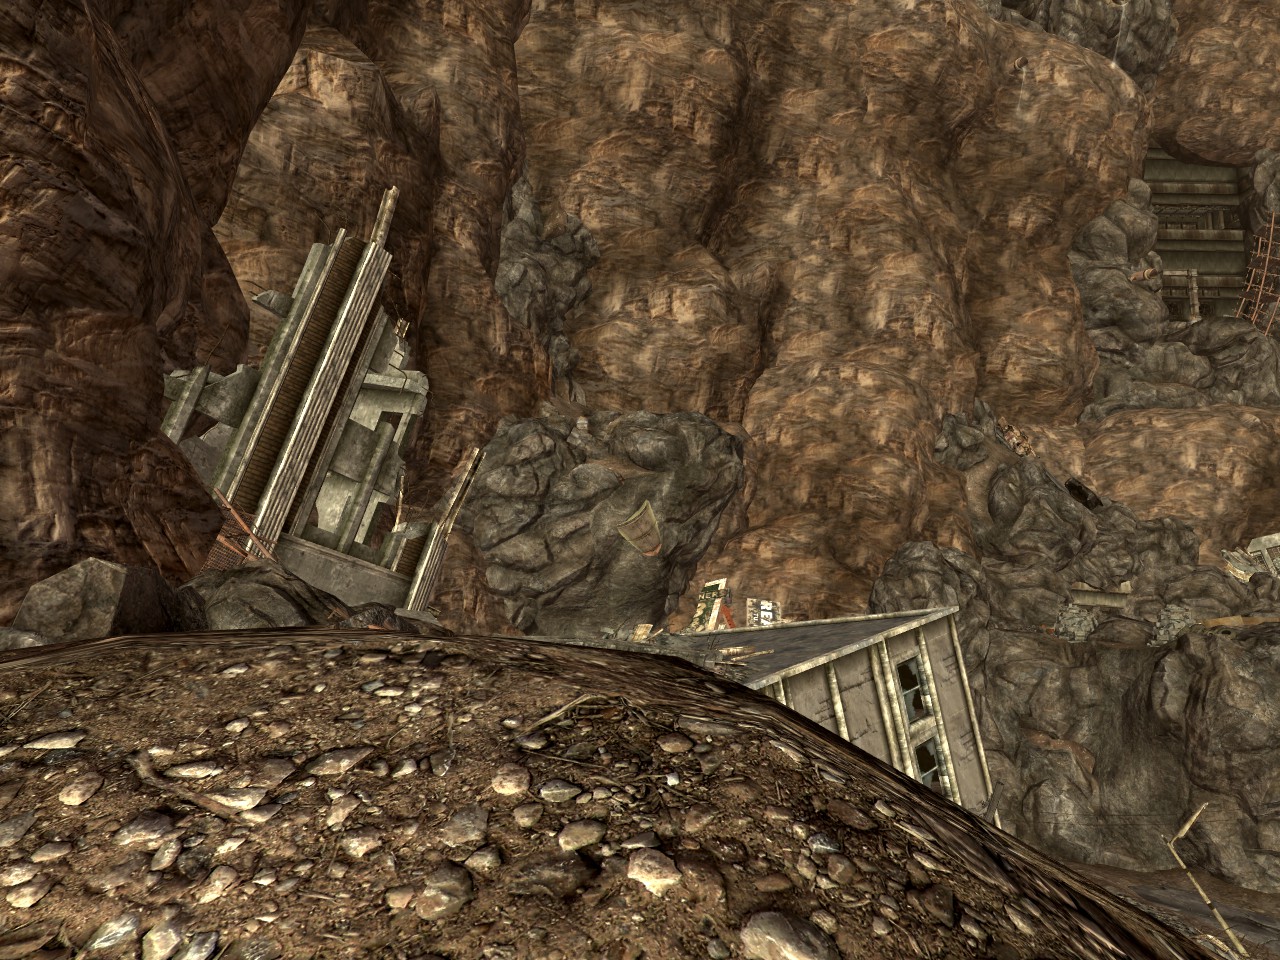
Follow this until you see the back of the cargo truck and look for a little cave to the right. You should see the next of Ulysses’ logs (4/6, 26/77)
Head down below the highway. On the side of the first fallen building is another poster (11/20, 27/77).
the snowglobe is inside this building, in a fallen bookshelf on the second floor.
Head back to the highway once you’re done playing Columbus below the highway and head to the left. Follow this path, wary of more satchel charges, and head to the right when you see the chain-link fence. For the satchel charges, they seem to be hidden wherever the rocks are on the ground. Clear out the camp you come across. The fight is not an easy one, but bags of loot reward you.
There is a building to the left. The only big building here. Enter and head to the second floor.
On one of the central pillars, the one closest to the stairs, there is another poster (12/20, 28/77).
Head outside and head to the left. In an alcove in the rocks, next to a truck, is another warhead (9/30, 29/77)
Head to the chainlink fence we saw like 5 minutes ago and go inside. After ED-E unlocks the terminal, hit the lever on the left before revealing this spoiler. Once you launch the warhead and complete “Condemned to Repeat it,” the Courier’s Mile opens.. Enter the station and take the elevator down.
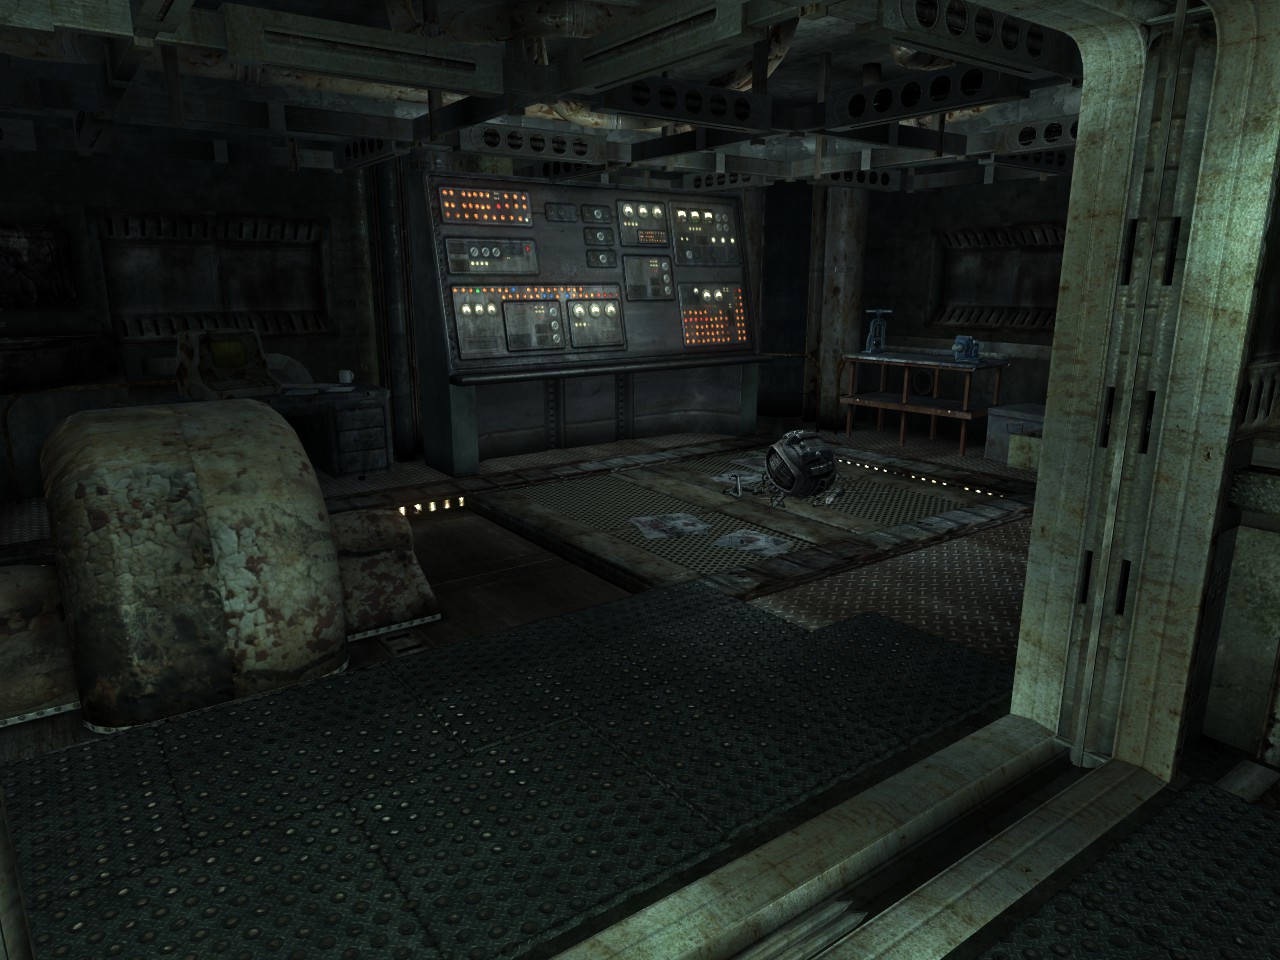
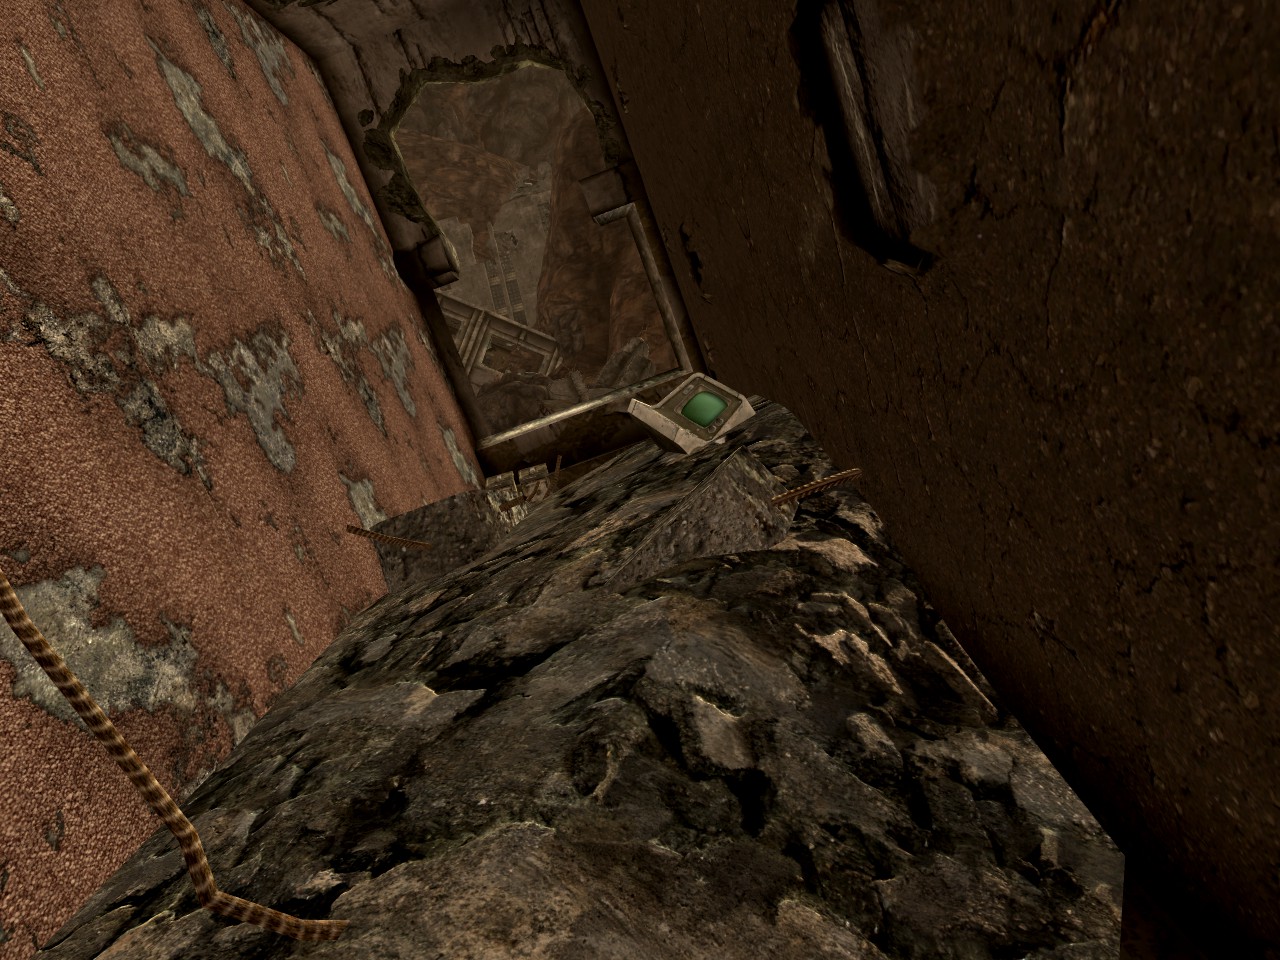
Instead of going down and progressing, explore the upper level of the silo until you reach this double-wide door and a [hard] locked terminal. Unlock the terminal to get another ED-E part (3/5, 30/77)
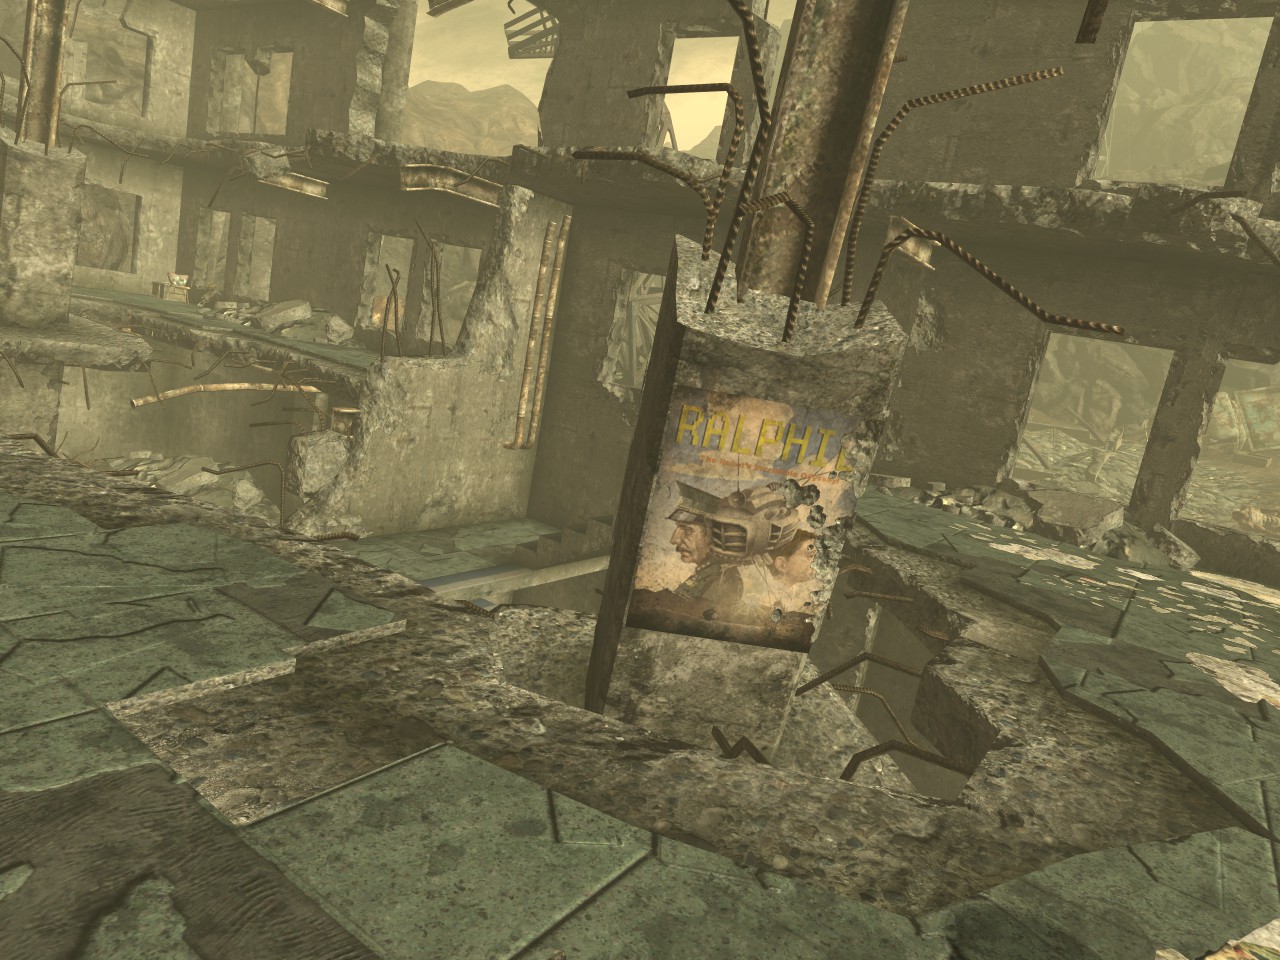
Continue through the station until you wind up in an apartment tower. Climb up the tower. Assuming you start on the first floor, then on the third floor in a room to your left will be a poster on the back wall (13/20, 31/77)

End Part Two
No-Miss Walkthrough (pt. 3)
Continue until you reach the Sunstone Tower Roof. You’ll know you’re there when you’re on a roof. Ulysses will hijack ED-E again. There are a LOT of cues in this dialogue. For convenience I’ve broken it up a bit.
- “You said I brought it from the West?”
- “Why would I have brought it here?”
- Anything BUT “I’m not interested in talking, only getting through this”
- literally anything
- continue with anything except “I’ve had enough of this – whatever the game is, I’m done” until you see an option that says “I’m not done talking to you yet, there’s more I want to know.”
- “You said you made a promise not to kill me. Why?” or “Why didn’t you kill me in primm?”
- “What’s our history? How do you know me?”
After the conversation this challenge will be completed. Congratulations! (3, 4, 5, 6/6 32, 33, 34, 35/77)
From here you can either go to the Courier’s Mile or you can finish the main questline. The Lonesome Road DLC is EXTREMELY forgiving and you can leave at almost any time and re-enter, either while doing the quests or even after everything is done. This guide will do the main questline before going to the courier’s mile, but I’ll separate the courier’s mile at the end if you wish to do that first then return to this section for the rest.
The top of this roof is some good snipings. You can also see three or four warheads. Refrain yourself from detonating them because it’s easier to keep track if we do things in order. Really. Calm yo tits.
Head down the outside of the tower. When you come back into the tower you can either go downstairs to the left or continue along the metal walkway to the right.
Head right towards the Blue Old World Flag and you’ll find another of Ulysses’ holotapes on a desk (5/6, 36/77).
Once you reach the ground floor, take out any marked men you left alive and detonate the two warheads here (10, 11/30, 37, 38/77)
Head to the left, past where the warhead was, and head towards the enemies here.
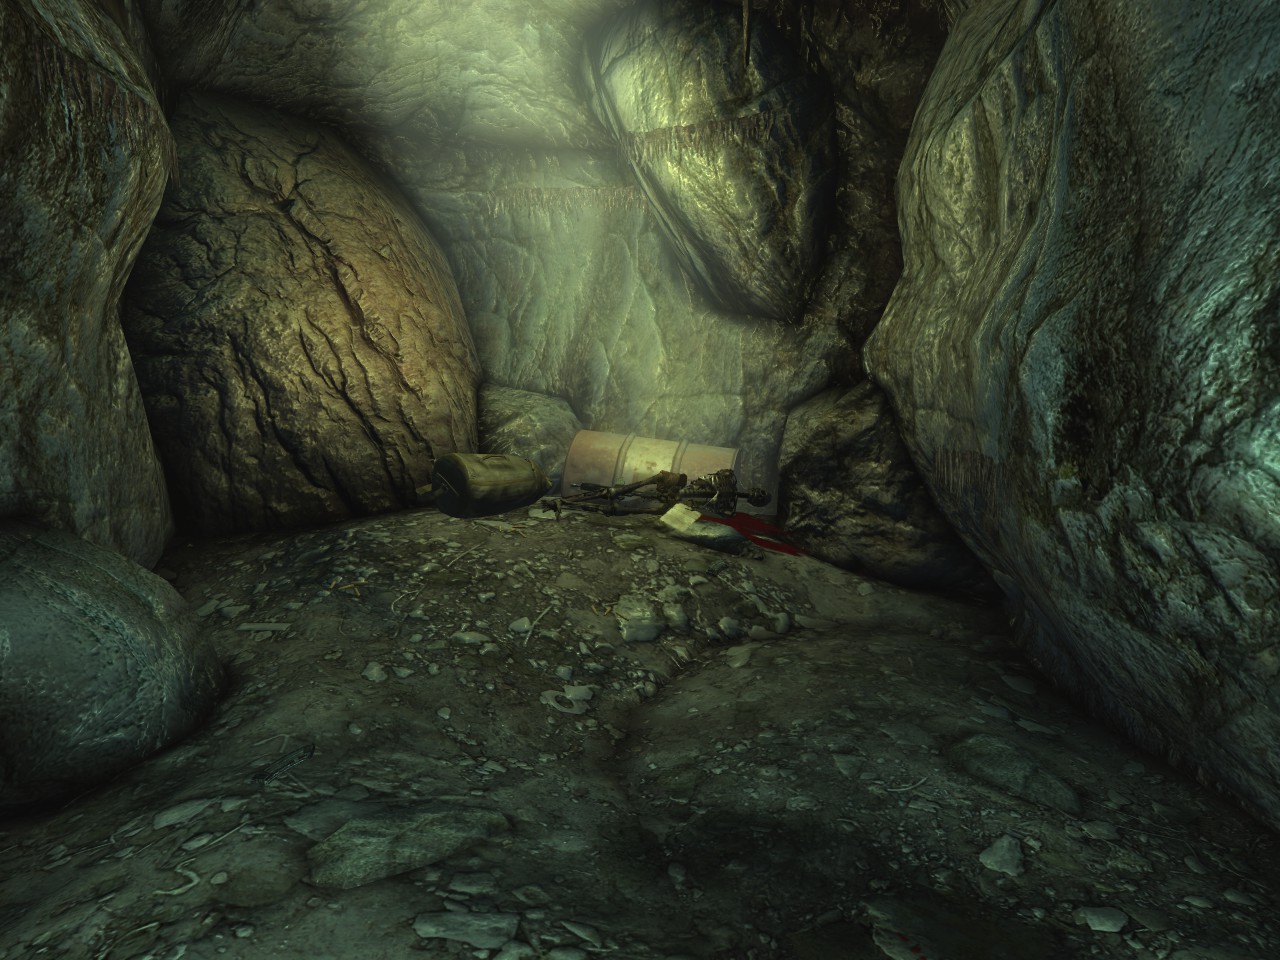
Don’t worry, they’re just molerats. In the alcove where the molerats were will be a skeleton, a campfire, and a duffel bag.
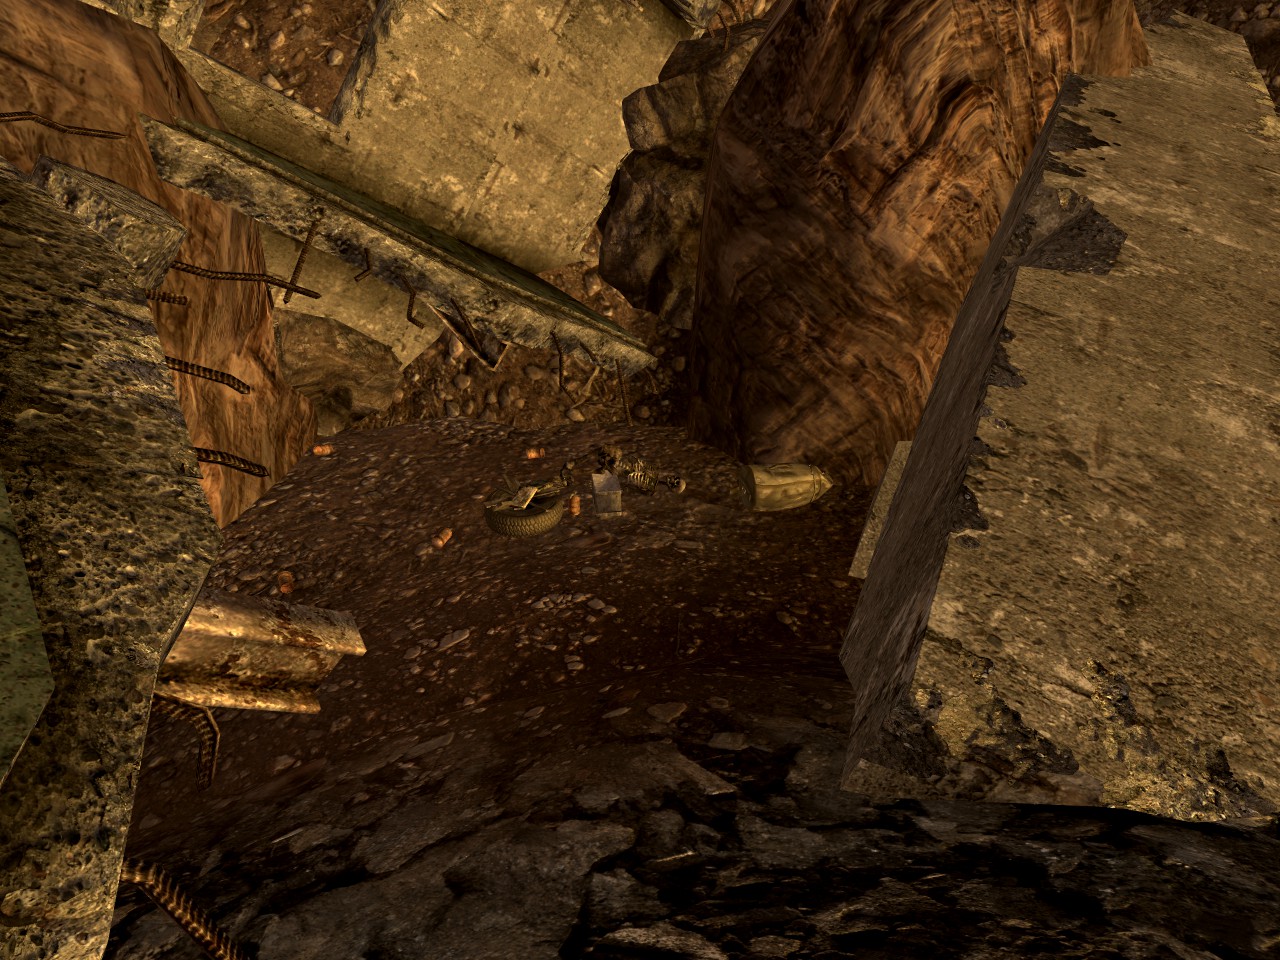
Search the bag for Pvt. Foster’s Personal Journal to find the first journal of “Nostalgia” (1/10, 39/77)
continue along the path to the next warhead nestled in the rocks. Detonate it to continue. Don’t worry, it won’t hurt you. It doesn’t have a big blast radius. (12/30, 40/77)
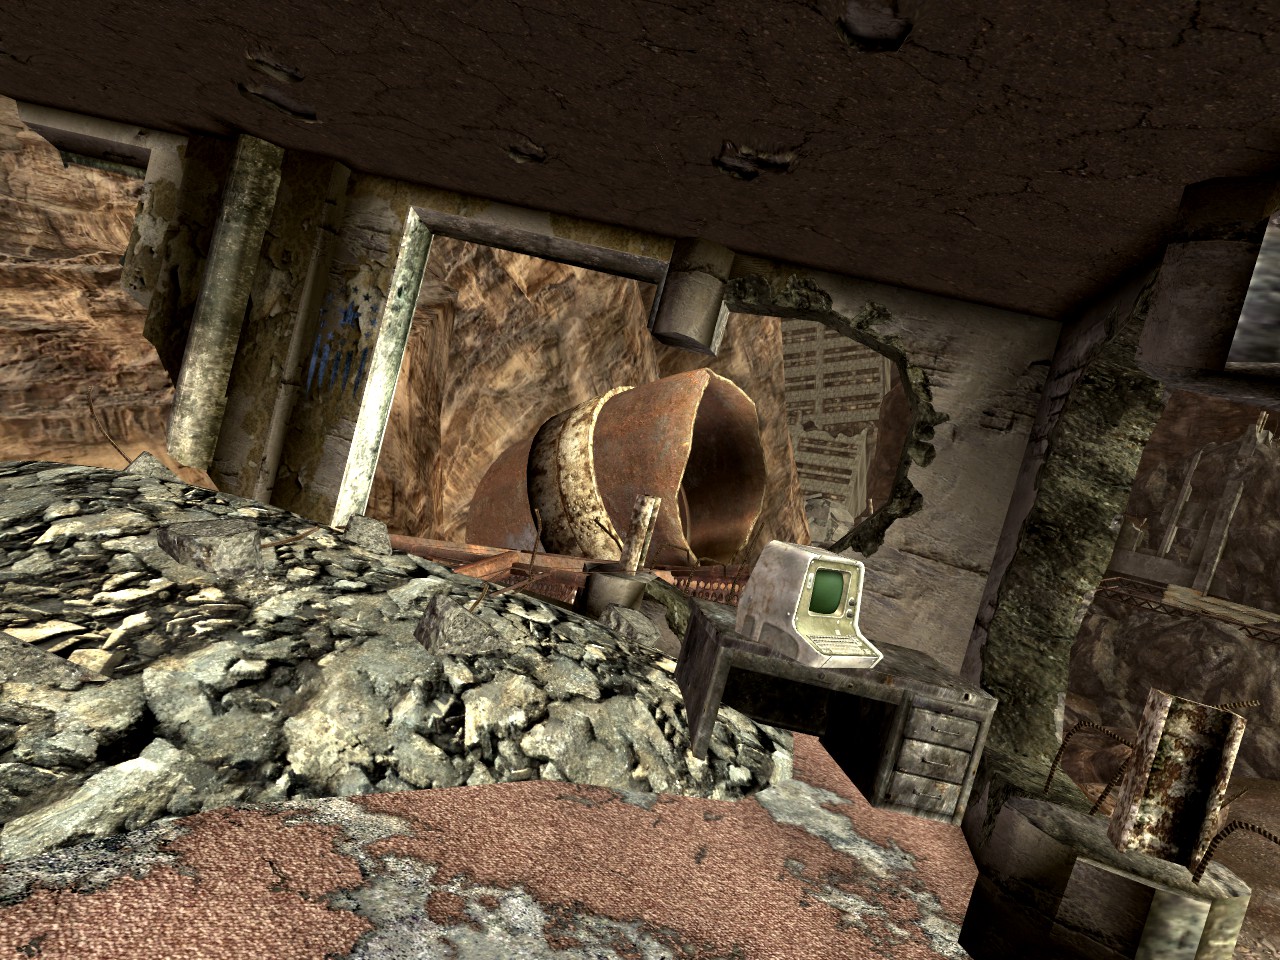
Head left when you get through the gap. Climb up the building. Activate the “Office of the Treasurer” terminal for another journal (2/10, 41/77).
Head out through the gap in the building and into the sewers. Continue through for an eyebot (4/5, 42/77).
Once you reach the exit, loot the soldier for the best medium armor in the game and head right. Alongside the wall will be another poster. (14/20, 43/77)
Head back out and look across the way at the two buildings. There are two points of interest here: the building with the gaping hole in its side and the building behind and to the right of that one with a white Old World Flag on it.
Head through the first building and get to the second story. Turn right at the top of the stairs to find another poster (15/20, 44/77)
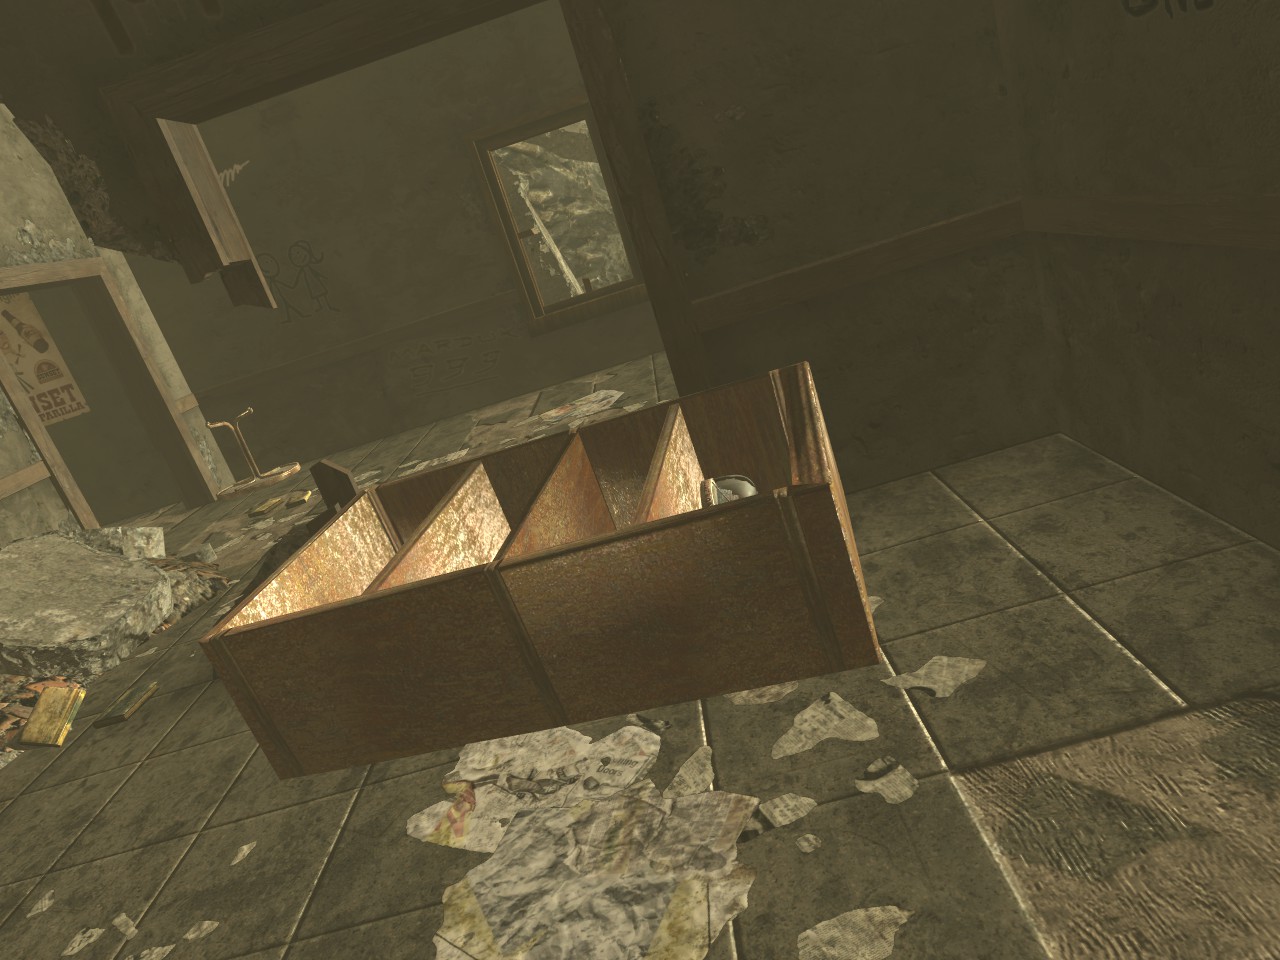
Enter the overturned building. The one with the white Old World flag on it on your way in to this clearing. The last of Ulysses’ logs is inside under a mattress (6/6, 45/77)
Now exit and turn left, towards the clearing. You should see a warhead peeking out from the rubble. Detonate it.(13/30, 46/77)
After detonating that warhead, turn around for the next one. (14/30, 47/77)
After that head up the concrete beam with the blue Old World flag on it for the last eyebot! yay! (5/5, 48/77)
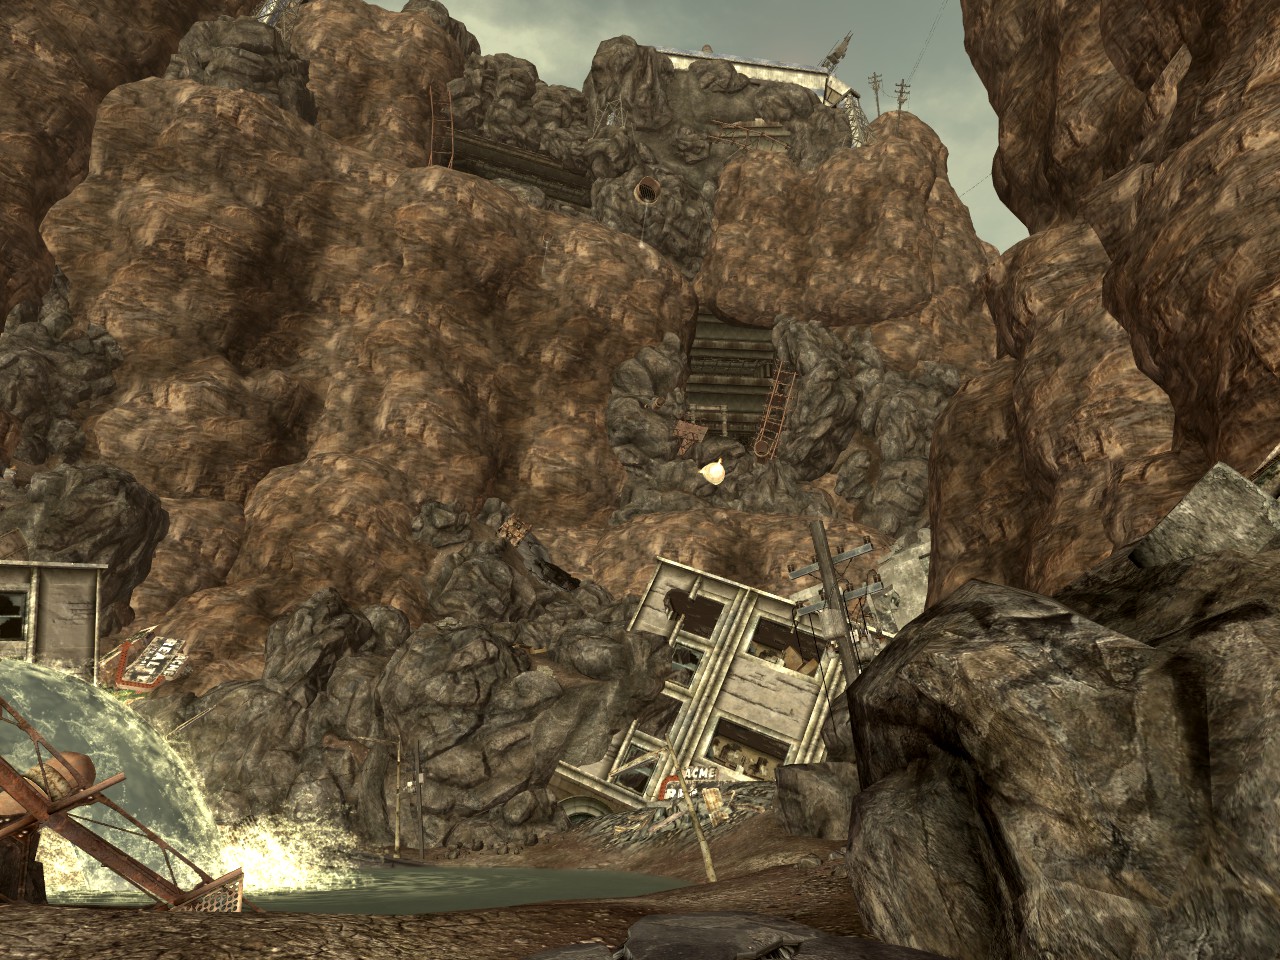
head into the cave of Abbadon. This place is lousy with tunnelers so be careful. Once inside, look to your right slightly.
There’s an alcove here in the rocks marked with a blue Old World Flag. Look inside the suitcase for the third journal (3/10, 49/77).
Continue in the cave up to the buried buildings.There’s a poster on the wall next to the door that you can’t miss (16/20, 50/77)
after heading through the door, Ulysses will kidnap ED-E. climb down the building and in front of you to the left should be a blue truck.


No-Miss Walkthrough (pt. 4)
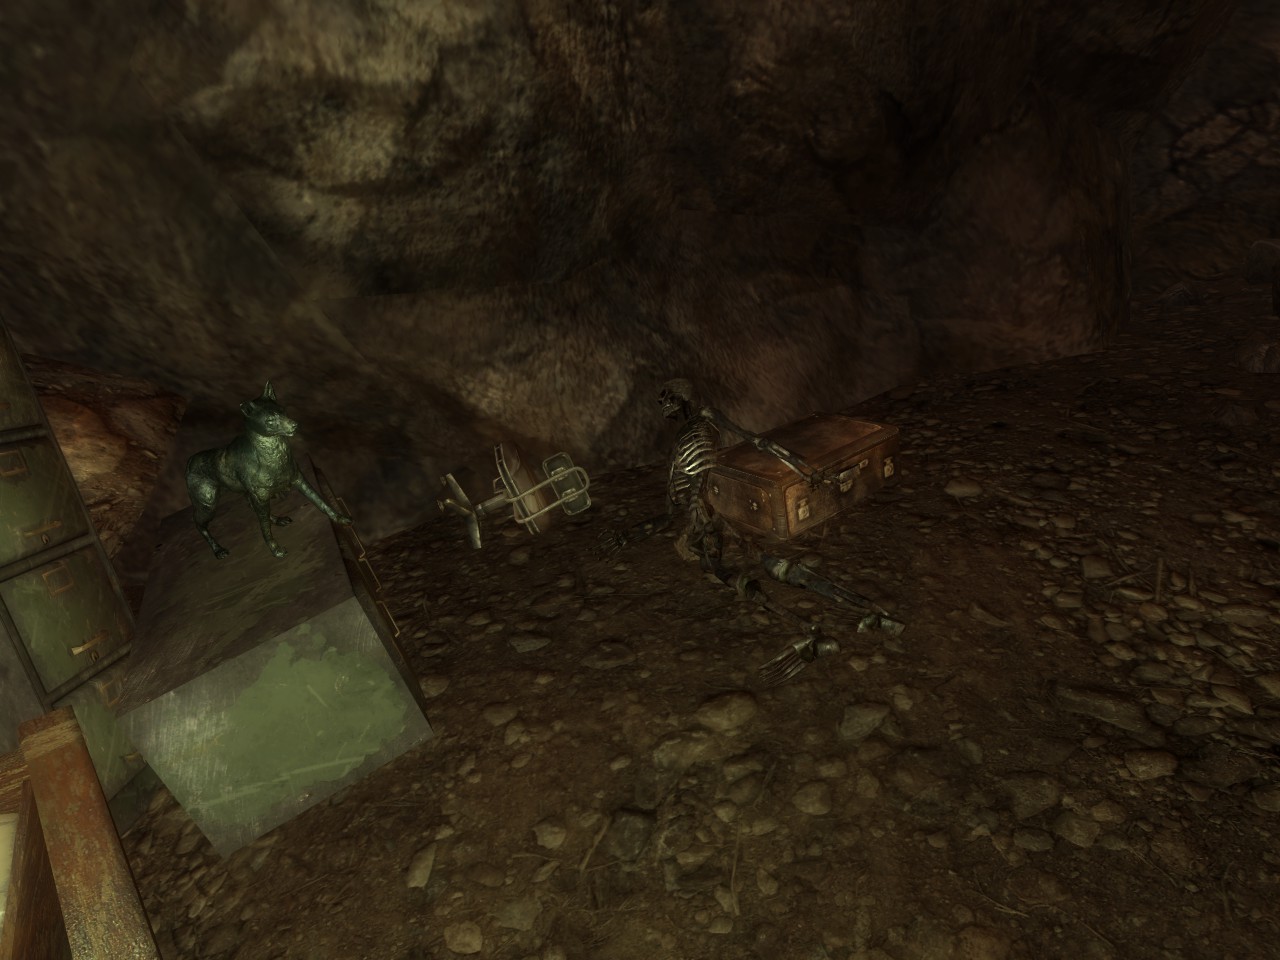
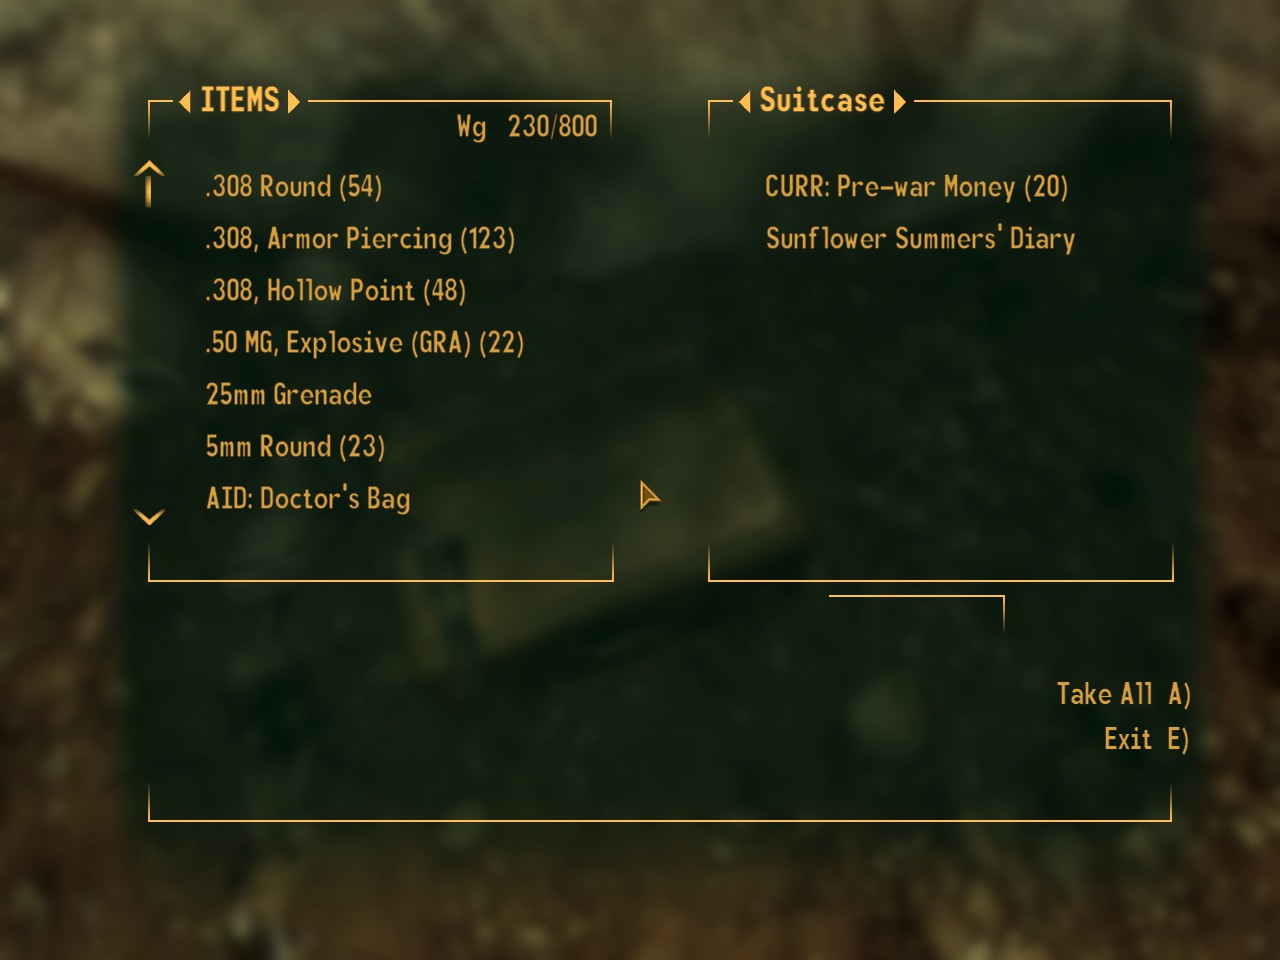
On the other side of the truck is three skeletons and a duffel bag containing “Mission Report.” (4/10, 51/77)

After nabbing that, follow the main path (wary of deathclaws) until you come across a small pond and a waterfall. You really can’t miss it.
Inside is one of the strongest deathclaws in the game, rawr.
anyways, you can stealth inside and when rawr wakes up you can detonate this warhead to kill him AND get a warhead down in one move (15/30, 52/77)
With rawr out of the way you can loot the duffel bag to get the NCR Radio Distress Beacon (5/10, 53/77)
Detonate another warhead to exit rawr’s cave (16/30, 54/77)

The next warhead is right in your path. Can’t miss it (17/30, 55/77).
Next you head under a building. As soon as you get out from under it, look up and to your right for another warhead (18/30, 56/77).
then you can detonate the one above ulysses’ temple directly ahead of you and up high. I shot it a few times for visibility (19/30, 57/77).
Now look to your left for a metal pathway up to the building you just crept underneath.
Make your way up and through the building. Once through, there will be a campfire and two duffelbags holding “NCR Ranger Action Report” and “NCR Ranger Action Report-Addendum for Nostalgia (6, 7/10, 58, 59/77).

Continue your climb to find Jackie’s Computer, also for nostalgia (8/10, 60/77). Now climb down before you slip or something.
Follow the path for like 10 feet until you reach a small stream coming from the lake to your left.
Follow the stream for another poster (17/20, 61/77).

Then, enter the cave just to the left of the poster. You are now in the waste disposal station.
Do some exploring. This is an interesting and irradiated area. You’ll come across a skeleton with a note for Nostalgia (9/10, 62/77).
Skirt around the lake (or through it if you’re feeling kind of warm) and into the next building.
There’s a poster in here, to the right behind some bookcases (18/20, 63/77).
Next, get that warhead (20/30, 64/77).
Climb up the car and hang right. Detonate the warhead up here (21/30, 65/77).
Turn right at the pipe leading to the wastewater treatment plant and another warhead will be staring you in the face (22/30, 66/77).
Now enter the pipe to the wastewater treatment plant.
You’ll come across an open room with a smaller room to the left.
When you enter, there will be the manager’s terminal, the last entry for Nostalgia to your left (10/10, 67/77).
Directly across from the door in the same room as the terminal is another poster (19/20, 68/77). One more left!
This is the homestretch.
No-Miss Walkthrough (pt. 5)
Exit the Wastewater Treatment Plant and follow the path across the building and gain entrance to Ulysses’ Temple.
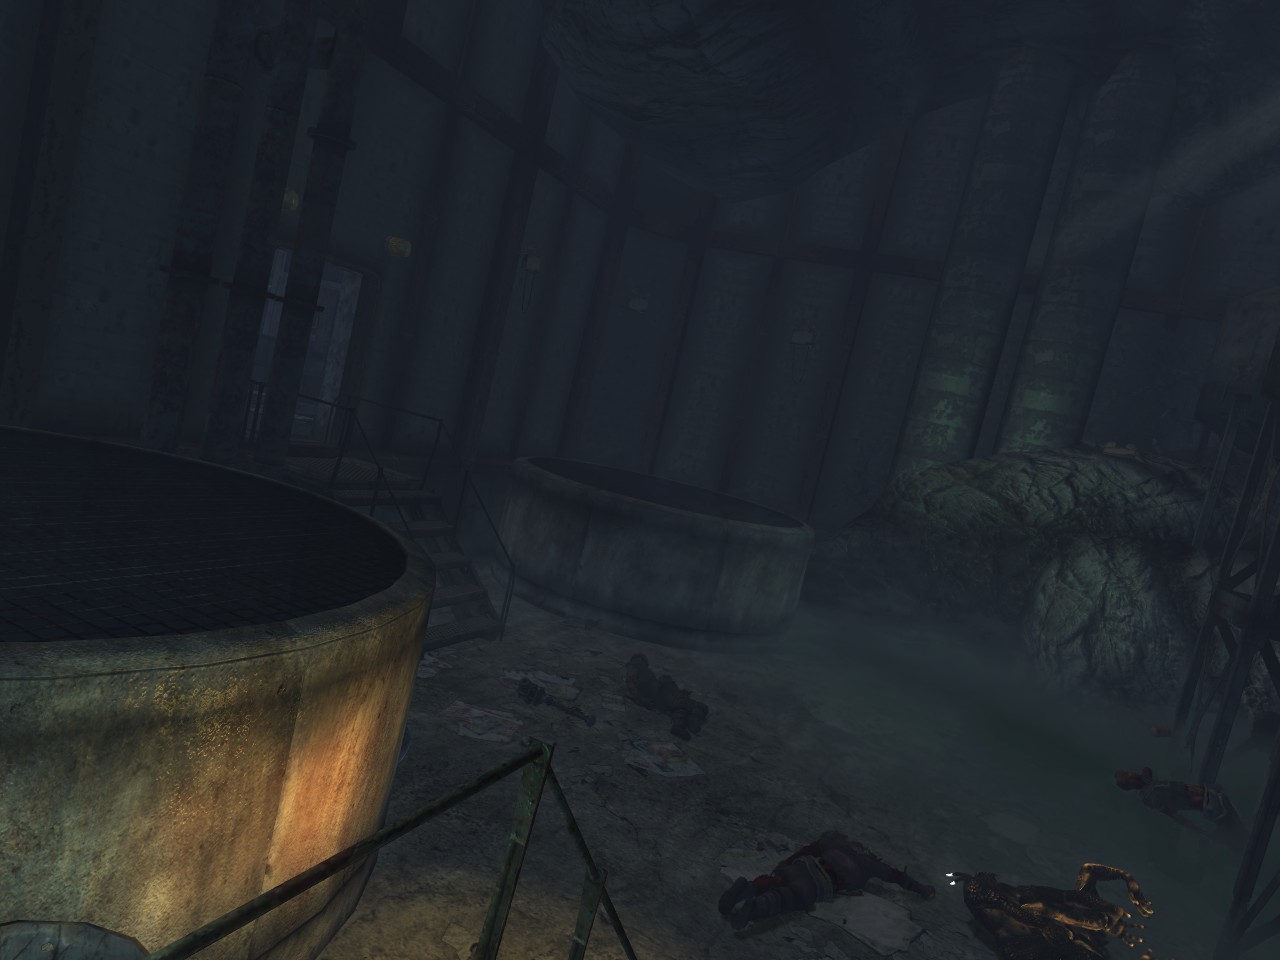
After you enter the main temple there are warheads everywhere. I suggest taking them all out before you start the fight. I’d start with the one to your immediate left then work your way around clockwise. There are 6 in here, two on the left, one in the center, and three on the right (23, 24, 25, 26, 27, 28/30, 69, 70, 71, 72, 73, 74/77).
After you complete the dlc, drop off your stuff and grab some rad supplies. These final three areas are HIGHLY irradiated. Also bring your favorite hole puncher because there are a lot of deathclaws and higher-leveled marked men wandering around these places.
head back into the divide and fast travel to the hopeville missile silo bunker. We’re heading into the Courier’s Mile.
If that wasn’t an indication, go ahead and enter the Courier’s Mile. Just follow the road to the right and you’ll be in.
Remember to equip your anti-rad equipment and use some Rad-X.
These last three collectables are especially hard to find. Follow my directions to the letter.
follow the road past the barber shop.
look to the right along the wall for another warhead (29/30, 75/77).
Now climb into this building for the final poster (20/20, 76/77).
walk back to the entrance and head to the left of the collapsed highway.
go into the building and climb this pile of rubble.
the final warhead is here (30/30, 77/77).
Credits and Changelog
Screenshots: Tsu
Editing: Tsu
Formatting: Tsu
most of the important stuff: Fallout: New Vegas Lonesome Road Wiki Portal[fallout.wikia.com]
15/7/15
more updates. Added third section because of character limits. Guide will probably consist of 5 sections. Woah! The easy part is out of the way now. The game becomes more chaotic and the collectables are scattered everywhere once you leave Ashton, so wish me luck in cataloguing this.
- Screenshot progress: 100% completed
- No-miss walkthrough progress: 98% completed.
Planning to update with screenshots and walkthrough when I reach these main points:
- Collapsed Overpass Character limits force me to cut this section just before the last two warheads. Edited to keep those warheads in section 1, but moving the last poster to section 2.
- Ashton Completion (The Launch)
- Just before Ulysses’ Temple
- DLC Completion
much more efficient to just do it as I go along so that’s the plan right now.
At this point, I’ll consider doing things about the two unlockable areas you can access post-dlc, but there’s not much pertinent to this guide there, so I may not. Leave comments about it and I’ll base my decision off that.
17/4/15
good things coming soon. life stuff is mostly out of the way.
hold onto your chonnies.14/11/14
Added first section of no-miss walkthrough. Maxed out text, will shift contents to match.
Moved changelog to the end. This section will now be reserved for recent changes.7/11/14
more minor grammar edits. Working some late nights this week so I may be slow in upating, or I may be fast. Can’t really tell.5/11/14
More screenies, more writing. Minor edits to spelling, grammar, format of main guide.
Planning to update with screenshots and walkthrough when I reach these main points:- Collapsed Overpass
- Ashton Completion (The Launch)
- Just before Ulysses’ Temple
- DLC Completion
At this point, I’ll consider doing things about the two unlockable areas you can access post-dlc, but there’s not much pertinent to this guide there, so I may not. Leave comments about it and I’ll base my decision off that.
- Screenshot progress: 27% completed
- No-miss walkthrough progress: 25% completed.
2/11/14
took more screenshots. Will add them when halfway through the guide.1/11/14
- Guide created and published for personal use. Hilariously enough, the fact that this guide is published already will make it all go that much quicker as far as the screenshots and no-miss walkthrough goes. Most content is admittedly copy-pasted from the Fallout wiki with minor formatting, but will be edited greater in time.
- Screenshot Progress: 12% completed
- no-miss walkthrough progress: 10% completed
- Basic wiki copy-paste: 100% completed