Overview
This guide will describe how to make an effective rail satellite. This is an easily manoevarable sniper platform, use it to get in and out of range. In the lower tiers you will one shot people with ease.
Introduction
In this guide we will first learn how to make a very manoeverable satellite drone. Then we will focus on drone orientated combat. My personal opinion is that the drone is best used as a sniping platform due to it’s hight and manoeverability.
Being able to one shot people from superior height and then rapidly reposition or run away is pretty amazing, but it comes at a cost: you will yourself be extremely fragile. You will learn to hate smg vehicles and love plasma ones. Rail gunners are evenly matched in that they heavily damage/kill each other, but your manoeverability gives you an extreme advantage.
My T3 example:

Drone Basics
The fundamentals to any drone/satellite build is BALANCE. You need to be balanced in every respect, or you will not be able to manoevre with ease or at all. The same is true if you are damaged in combat, losing any part of your vehicle makes manovering difficult at best.
You will need helium, thrusters, and a gun of your choice. The more you have the merrier you will be!
This build is appropriate for T3, but can be modified all the way up to T10. After T7 however rail guns begin to lose their effectiveness and thus this vehicle’s fragility cannot be compensated for.
The beginnings:
The basic design for this drone is a cross, with your driver seat being in the middle. The amount of blocks you use will vary depending on how many guns you with to fit on it, but they must be balanced on all 4 sides. Here I have 7×7, with one T4 rail cannon it just squeezes me within T3.

IMPORTANT: You must understand how helium works to fully appreciate this design’s versatility. Helium will always give you a set amount of lift. This is balanced by your vehicles weight. You will drift towards this set height/bouyancy from the start of the game, even without the use of thrusters.
The more helium you have the higher altitude you can easily fly around at. I will explain this more in the next section.
Thrusters
With your base design done, you now need to add thrusters to it. Thrusters are the difference between manoevarability and being a stationary platform.
I prefer using T3 thrusters, they give you more speed than T2 and still allow you to squeeze in at the T3 level. Even at T7 the only thrusters you really need to upgrade are the forward thrusters to give more speed.
Left/Right T3 thrusters give you more than adequate turning speed. For the upward thrusters T3 gives you adequate lift, and are small in enough in scale to fit them on the same vertical axis as rail guns or in between much bigger thrusters (T7+ thrusters are rather chunky).
Remember: balance is key. What you add to the top you will also need to add to the bottom, unless you put the thrusters out to the very sides of your craft to restrict them to one dimension. Both of these examples are fine.
You could also put forward thrusters on the far sides, but I prefer having 4 forward thrusters for greater speeds. Also eventually I believe adding guns to the far sides is a good idea. Guns on the sides are able to shoot upwards too, something good against other aircraft.


Flying around in this drone is rather easy, as long as you maintain being intact. Once you reach your helium’s set altitude, flying is ridiculously easy. Example: Simply hold forward to move forward. Unlike an aircraft, you can stop in place to shoot, turn around, rapidly change direction, while also being able to go up or down. You won’t be able to go down BELOW your helium’s altitude unless you have downwards thrusters, which also means you won’t be able to capture points.
Manoevering around while not at your helium’s altitude can be trickier. You will tilt forward with your momenum. This can be alleviated by trying to fly up, at which point you are flying like a helicopter. You also can’t change direction while moving forward as easily as an aircraft, but again this can be somewhat alleviated by stopping your forward motion, turning, then going forward again; or by using a combination of your sideway-tilt with your upwards thruster.
Guns
Now we look at guns. To squeeze into T3 we are able to place one T4 railgun in the middle, directly under our driver seat. This is gives us balance. For any other guns, we need to add the same amount to the OTHER side. If your drone is not balanced, it will not fly well.
To Squeeze into T4 I have 2 T6 and 2 T5 Rail guns. You can see how I’ve balanced it:
The design remains the same throughout the tier’s, but simply adding more/better matierals. This is what I have at T7:


Combat
With the drone, you want be able to get into range, shoot, and then get out. The trickiest and most important part of any rail gunner is maintaining the perfect distance to their opponent, and this is something the drone is particularly adept at.
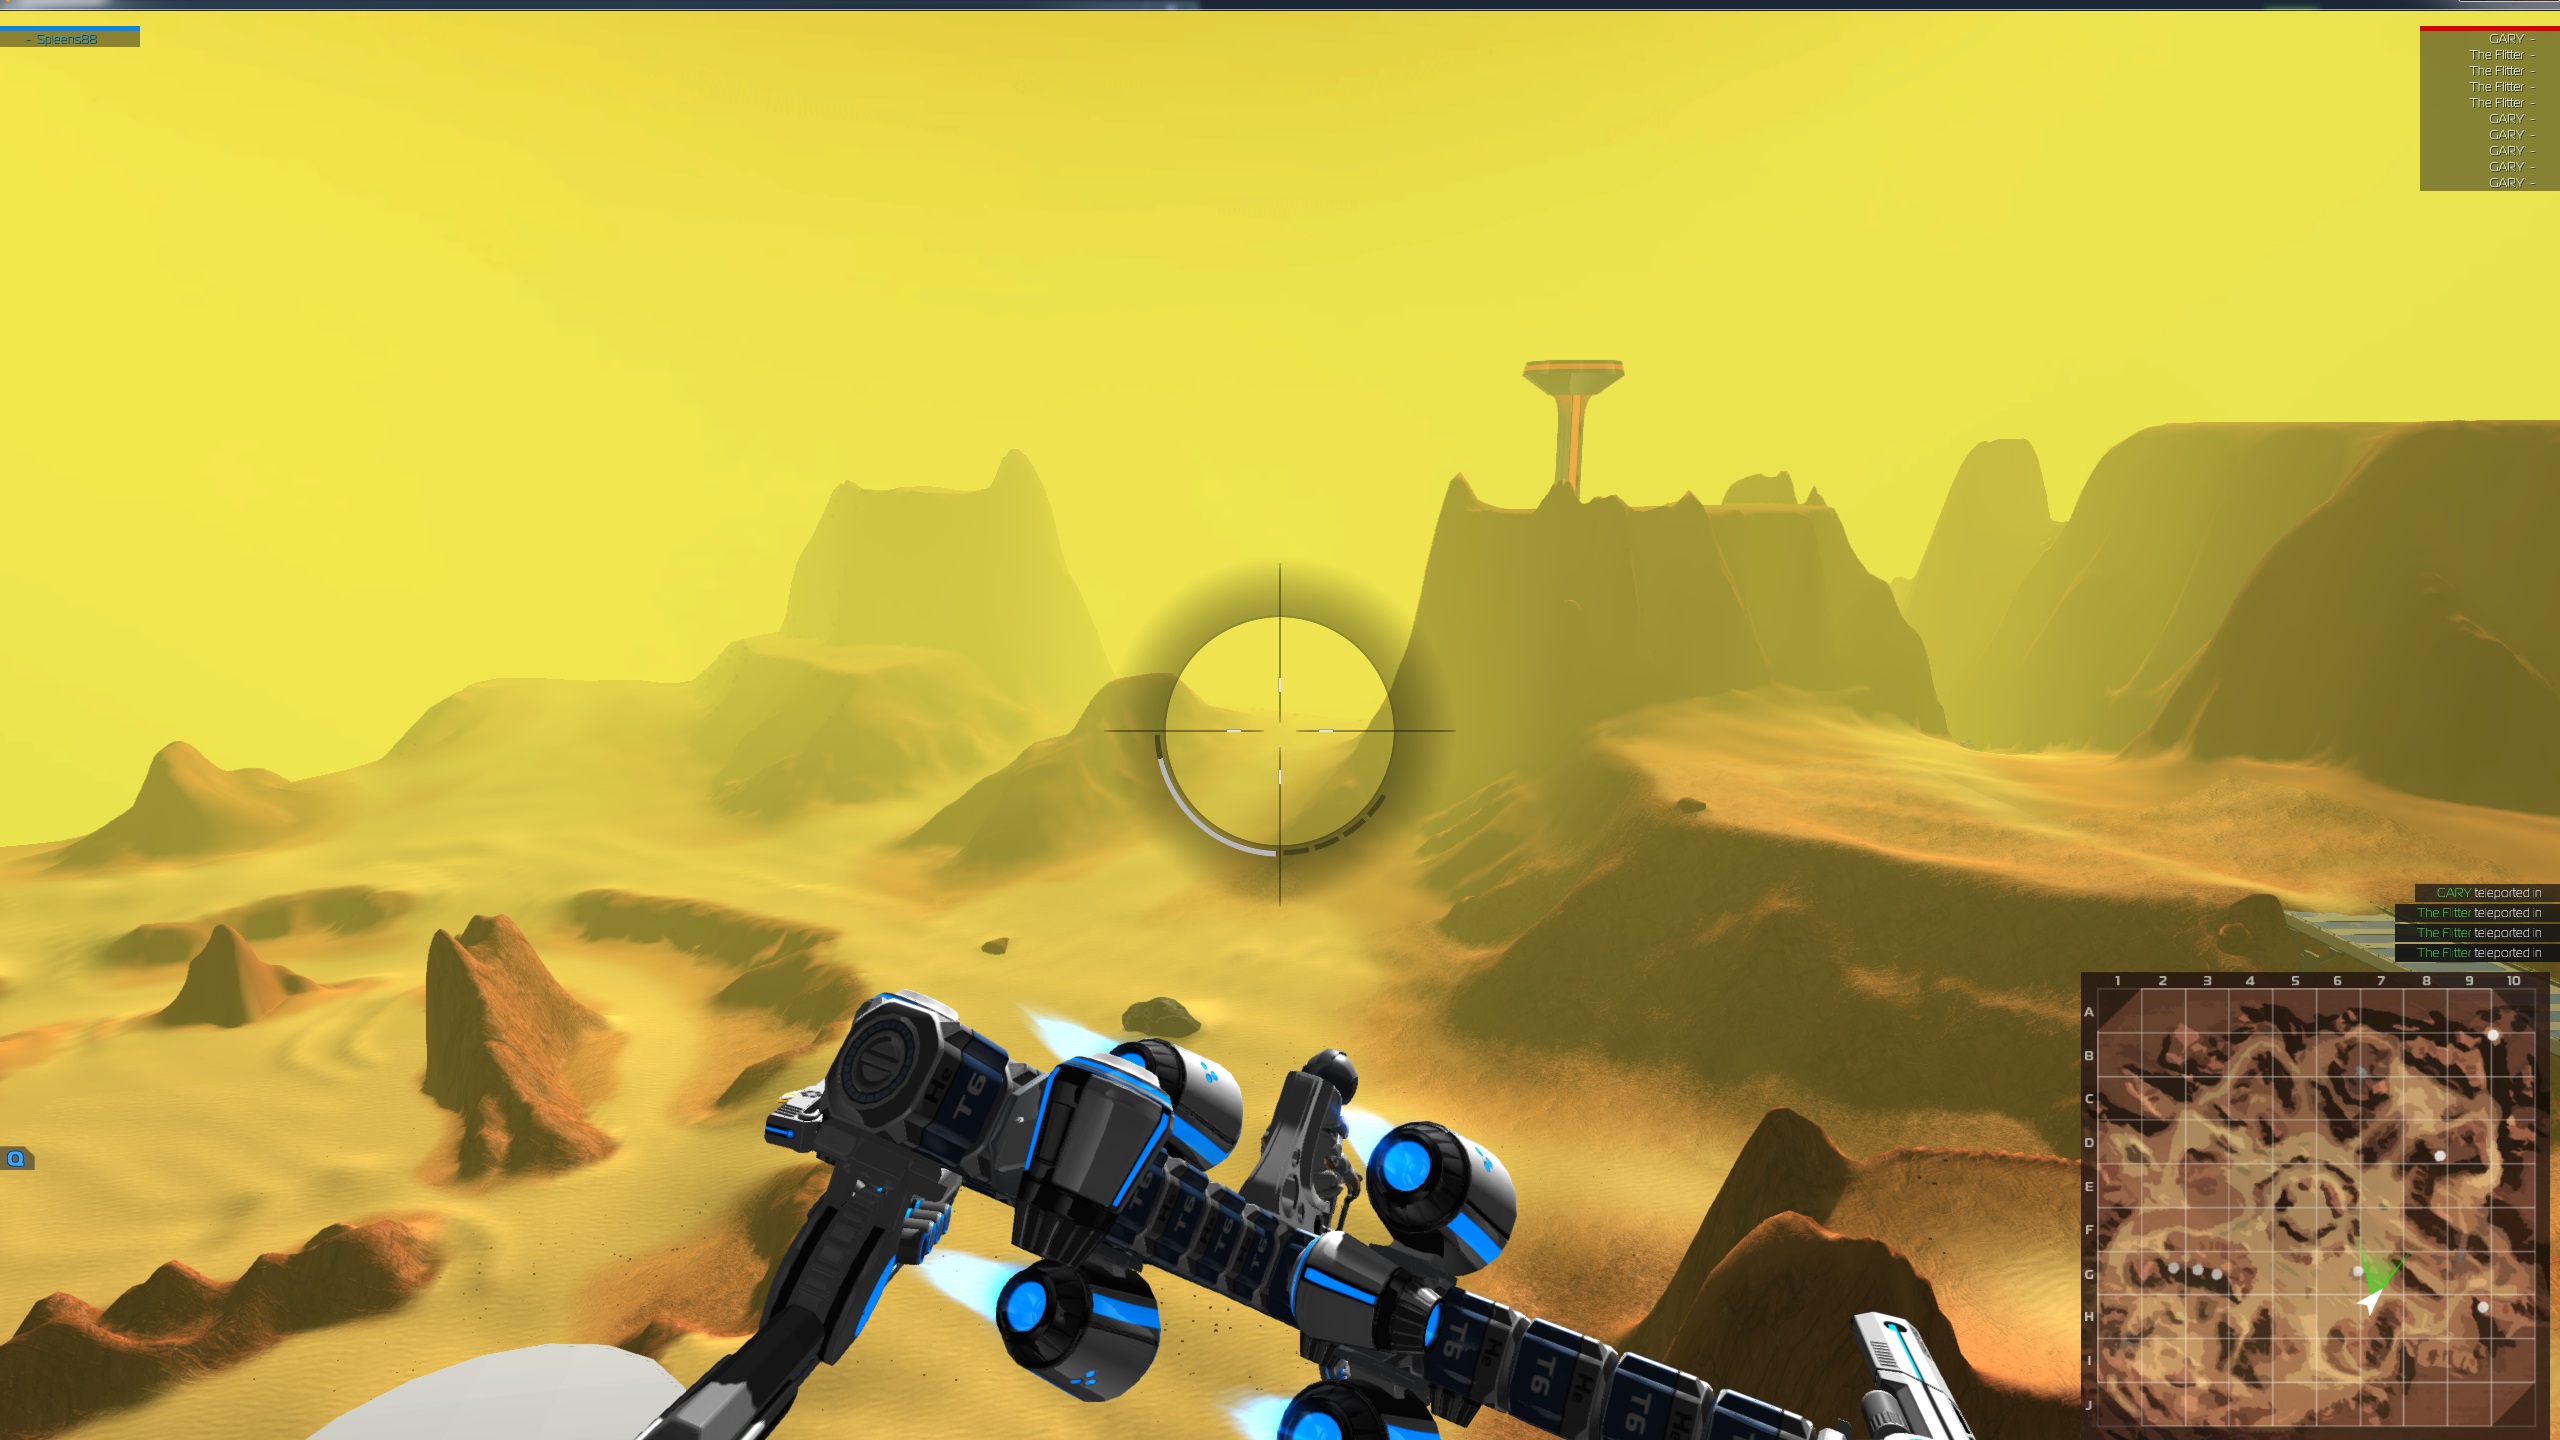
Knowing where this distance is, is another matter entirely. You can see people emerge from the fog, even if they have been pinged by your team mates; but they are not hittable even if you can see their silhouette yet. Only at the moment that you begin to see colour on their vehicle can you know that they can be hit. This picture is a close example of that, but it could have been further out. This is something experience will teach you.
Using your drones rail guns effectively is another useful thing that experience will teach. Your guns that are in the same forward axis as your pilot seat will ALWAYS fire straight, assuming you are facing your target. Satelitte direction is the most important thing to be aware of when lining up your shot, especially with guns on the side.

With your side guns, face them towards the enemy like this for a more precise shot:
Target priority:
RUN AWAY from smg vehicles. They will kill you with minimal effort. Reposition to kill them from range. If the enemy is an interceptor, hope and pray he doesn’t go for you.

Target healers first, they beef up your enemy team and are usually more fragile than smg or plasma variants, in that their guns use more CPU points. At the very least you will be able to blow off one of their guns.
Also aircraft are a close top priority as well, they are more likely to get close to you and hurt you, and are also the most fragile of vehicles next to yourself. Blowing off their wings and seeing them plummet into the ground is pretty funny. At least if you get damaged, you will still float and hopoefully be able to shoot and move (if poorly).
Plasma ground units you can laugh at. You will see their projectiles incoming and be able to dodge them. Plasma bombers are a different story though, but still easily dealt with. Remember you can fly high as well, but steering and shooting becomes more difficult, though certainly not impossible.
Always be on the lookout for other rail gun users, especially rail gun walkers in higher tiers. They are able to scale cliffs and hide behind rocks, and are far more tanky than you. Their legs/guns are easy enough to blow off though. As you get higher in the Tier’s, you are increasingly unable to one-shot units. Instead target their vitals: guns, wheels, wings, legs, etc.
Eventually there becomes a point where your fragility just can’t be compensated for any more. That is why my suggested limit is T7, though it is defintely possible to go beyond this. It’s possible to make a vehicle with lots of T10 rail guns.
Choosing what tier you wish to play in is as simple as choosing the power of your guns and how many of them there are. Using higher tier helium and more of it will also influence your tier, but also increases your height giving you more advantage.
And this concludes my guide. I hope at the very least I’ve taught some basics in drone crafting, as well as in rail gun based combat. have fun blasting away your unsuspecting foes! They will never see it coming.