Overview
Hey! Welcome to my guide on how to build microbots, the smallest, hardest to hit hovers! In this guide I will give a brief overview on microbots in general and then how to build them. Enjoy!
Microbots Overview
A microbot is the most agile hover one can get, and they are commonly found in around 500 cpu.
They are small and fast, and are rather hard to hit. They aren’t the best bots out there, however, they are very good at being a distraction to help your team.
How to kill a microbot
Micribots are very hard to hit. It’s possible though: here’s how.
Option 1: Use a PSK
The Proto-Seeker (or PSK) is a weak weapon, designed to destroy shields. It’s also very useful against microbots, why? Well, it has homing capability, and even though it has very low damage, drones have health that is very low. And so they are ripped apart by a PSK.
Option 2: Lasers
If you’re microbot hunting with lasers, be sure to use the lower classed ones. They have high spread and high fire rate, which gives a higher chance to hit one.
Option 3: Pure luck or skill
If you don’t have any of the above, your best shot might be plasmas because of their splash damage (one hit KO), homing weapons or a flak. Ion distorter also works well.
–Building microbots–
Beneath this section are guides on how to make several different microbots!
Microbot 1: Close-range Skirmisher
This microbot is probably one of the smallest. It’s fast and I’d recommend it for, obviously, close range.
Pros:
-Fast
-Agile
-Cheap
Cons:
-Weak armour
-Only good at close range
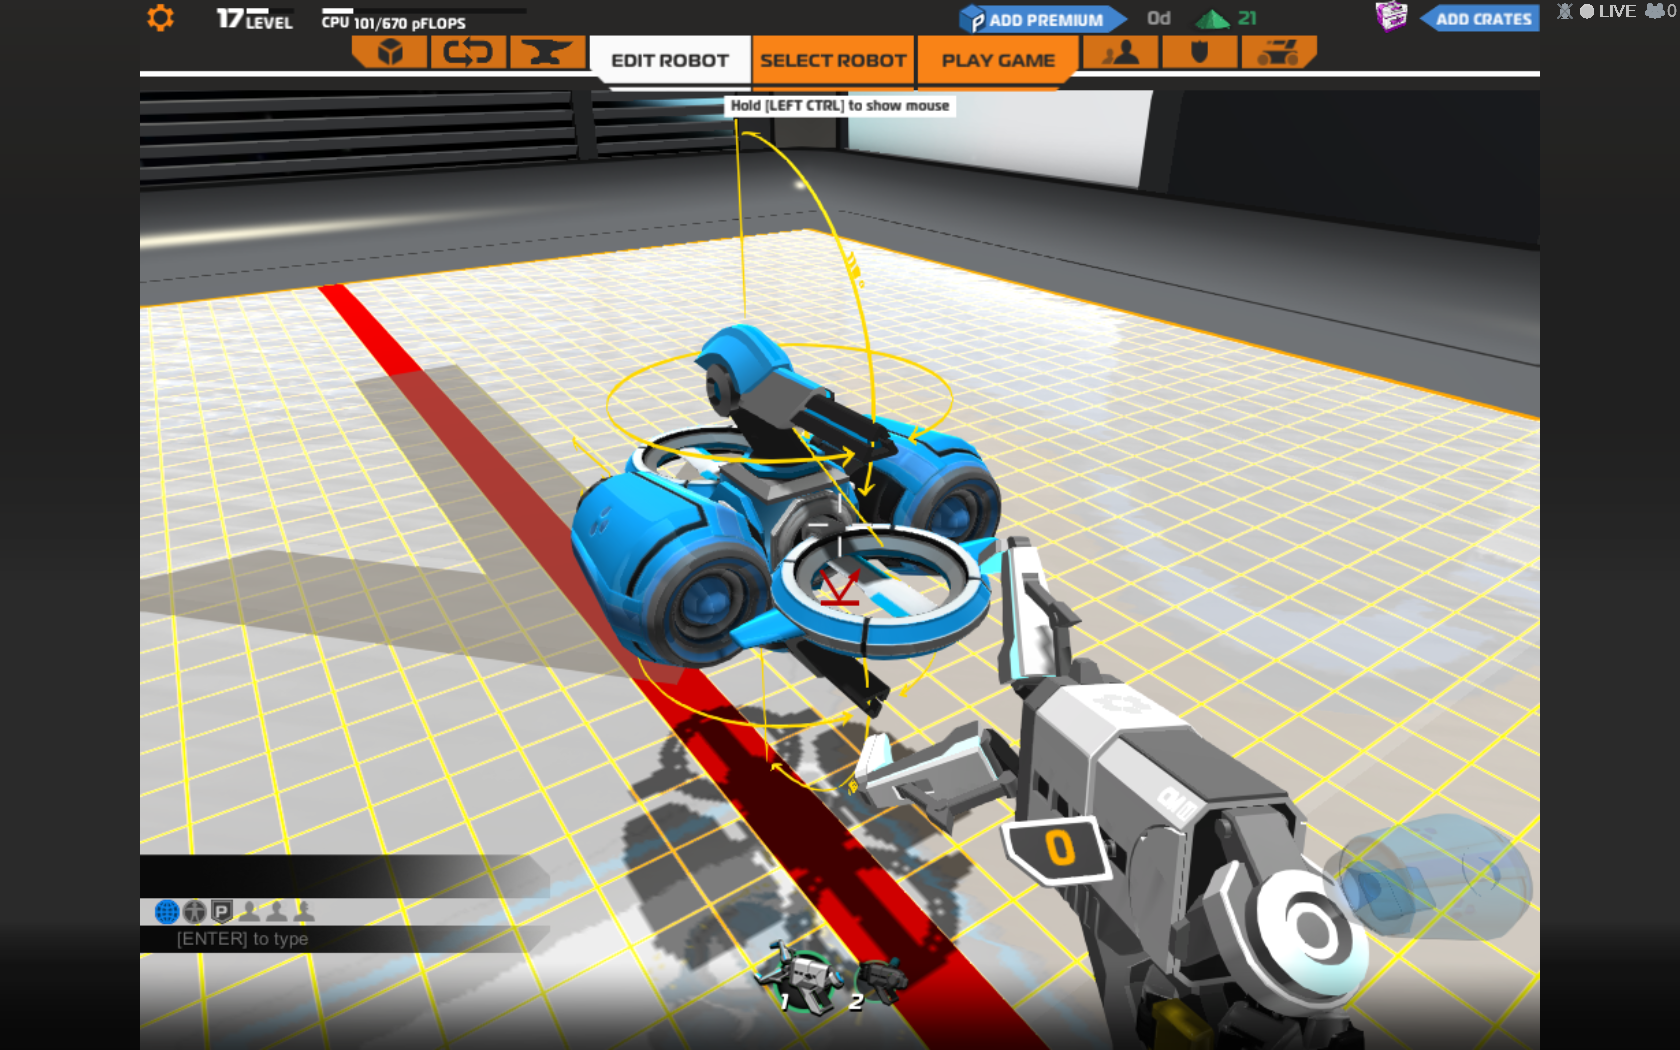
Step 1: Place a cube (best cube to use: inner slope for lightweight)

Step 2: Place hovers on sides as pictured: (I use thunder hover blades, any work though :p)

Step 3: Place thrusters on either side: (again, any work but I use thruster leopards)

Step 4: Add 2 laser wasps on top and bottom: (laser hornets can also be used)

Step 5: You’re done! Enjoy your new bot.
–VARIATIONS–
Here are some examples of this microbot upgraded or changed for a different purpose.
Sniper variant: Better with longer range targets.

Microbot 2: Tanky ‘Paladin’
The paladin is a more tanky build that sports 2 electroshields to take damage and protect it.
Pros:
-Tanky
-Good for beginners
Cons:
-Can be very expensive!
-Slower than most drones
-Poor acceleration
Step 1: Place a block (use inner slopes to be faster)
Step 2: Place hovers (in this screenshot I use hover blade thunder)
Step 3: Place electroshields (only the first ones work)
Step 4: Place guns (I use larger lasers, mainly because they have a lot more HP)
Step 5: Congrats, you built the Paladin!


–VARIATIONS–
Here are some examples of this microbot upgraded or changed for a different purpose.
N/A
Microbot 3: Support Microbot
This microbot won’t be feared on the battlefield, but it features more hovers for stability and a nano for healing. Recommended to players who want a solid support vehicle early on.
Pros:
-Can heal
-Still quite fast
Cons:
-Low rate of fire
-Low armour
Step 1: Place a block (again use inner slopes)
Step 2: Place 4 hovers as shown
Step 3: Place a nano on the bottom (I use the binder as it does not consume power. Power should be reserved for the gun (even though that doesn’t consume power!!))
Step 4: Place a laser on the top (I use vaporiser)
Step 5: Congrats, you built the Support Microbot.


–VARIATIONS–
Here are some examples of this microbot upgraded or changed for a different purpose.
Combat: This variant has been refitted to include another laser!


Microbot 4: ‘Battleship’
This variant is rather different as opposed to the ones above. It’s a lot longer and holds more guns and thrusters.
Pros:
-Lots of firepower
-More armour
Cons:
-Easier to hit
Step 1: Place a row of 5 blocks like so (use inner slopes again!)
Step 2: Place hovers like so (I used a mix)
Step 3: Place laser vaporisers like so:
Step 4: Place laser hornets like so:
Step 5: Place thrusters on the side like this: (I used leopards)
Step 6: All done! Enjoy your new microbot.


–VARIATIONS–
Here are some examples of this microbot upgraded or changed for a different purpose.
Close range- This variant is refitted to carry more close range guns at cost of control.

Summary
Thanks for taking the time to look at my guide! I hope it helps you build some amazing microbots!
The microbots I provided are mainly for ideas- I have however tested them all and they’re pretty good.
Have fun!
-Crdguy