Morrowind Visuals Remastered (OpenMW)
THIS IS ONLY FOR OPENMW!
Intro
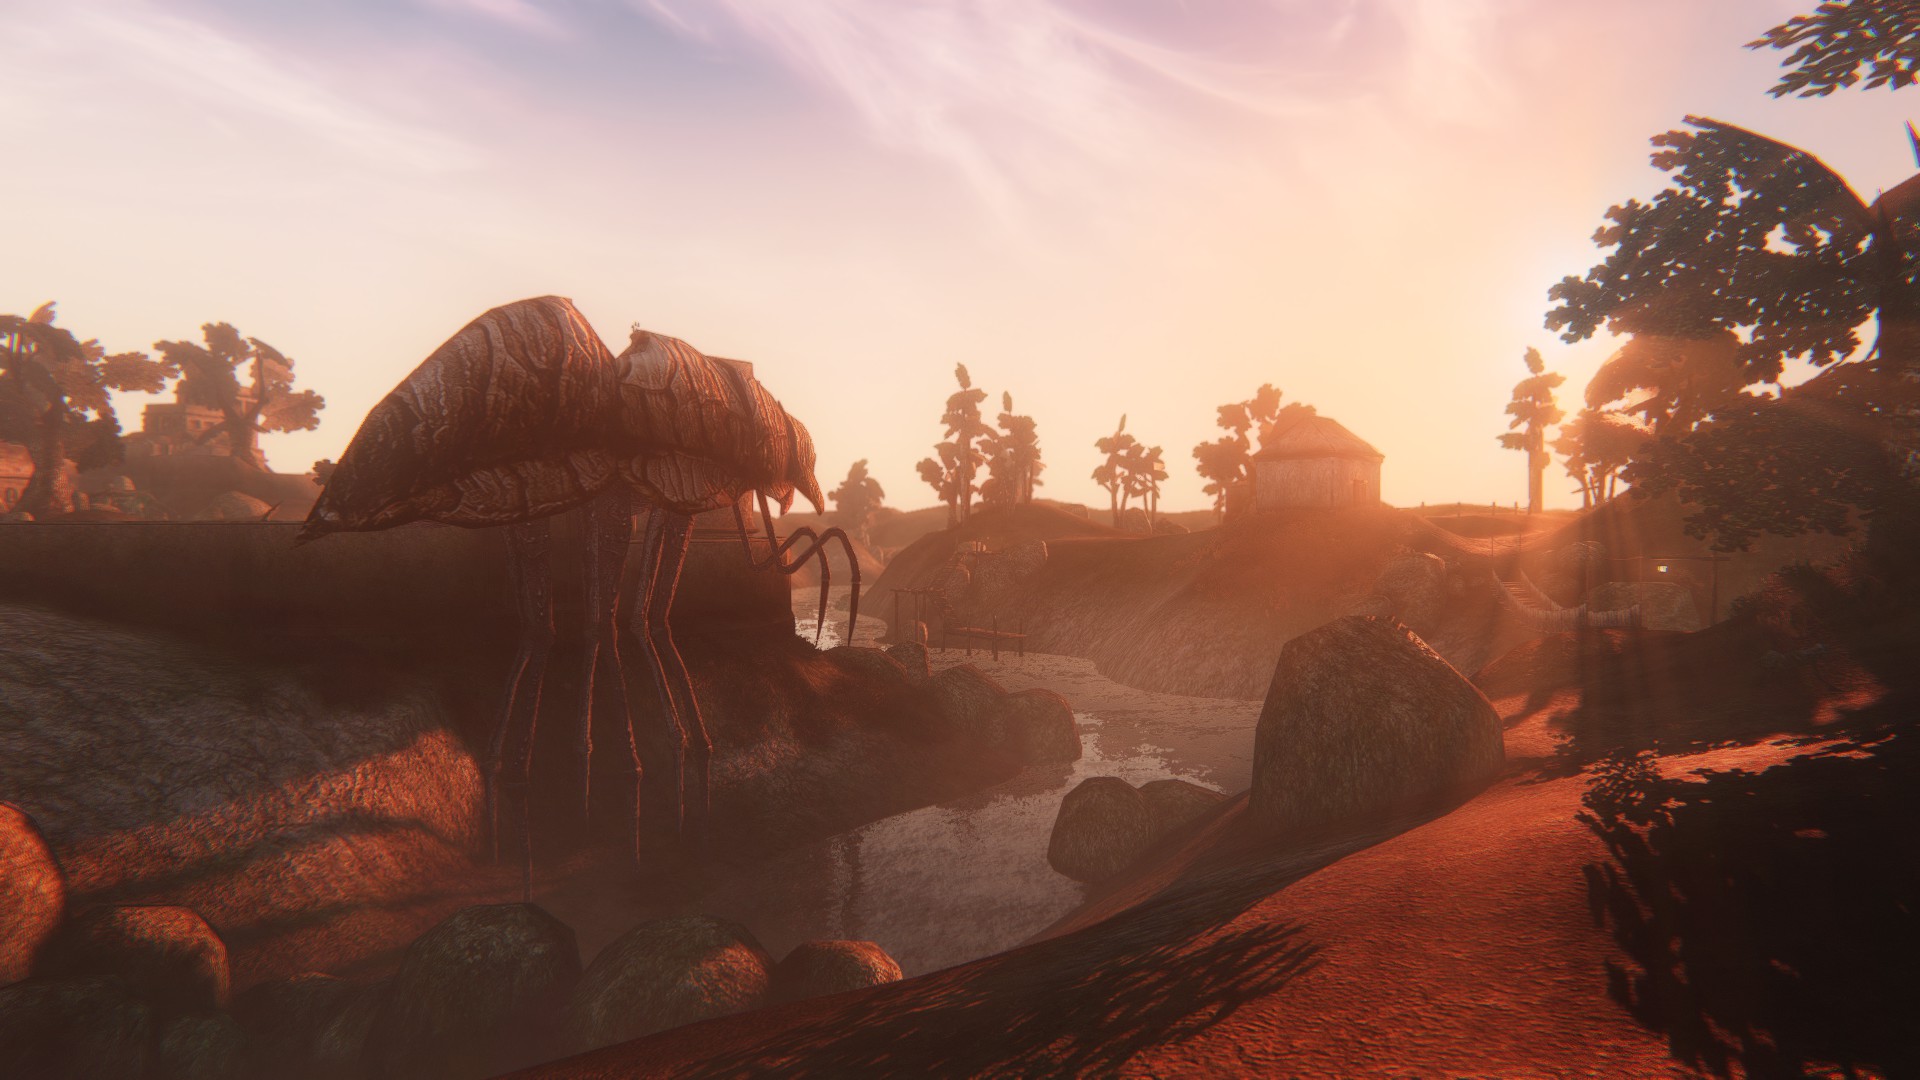
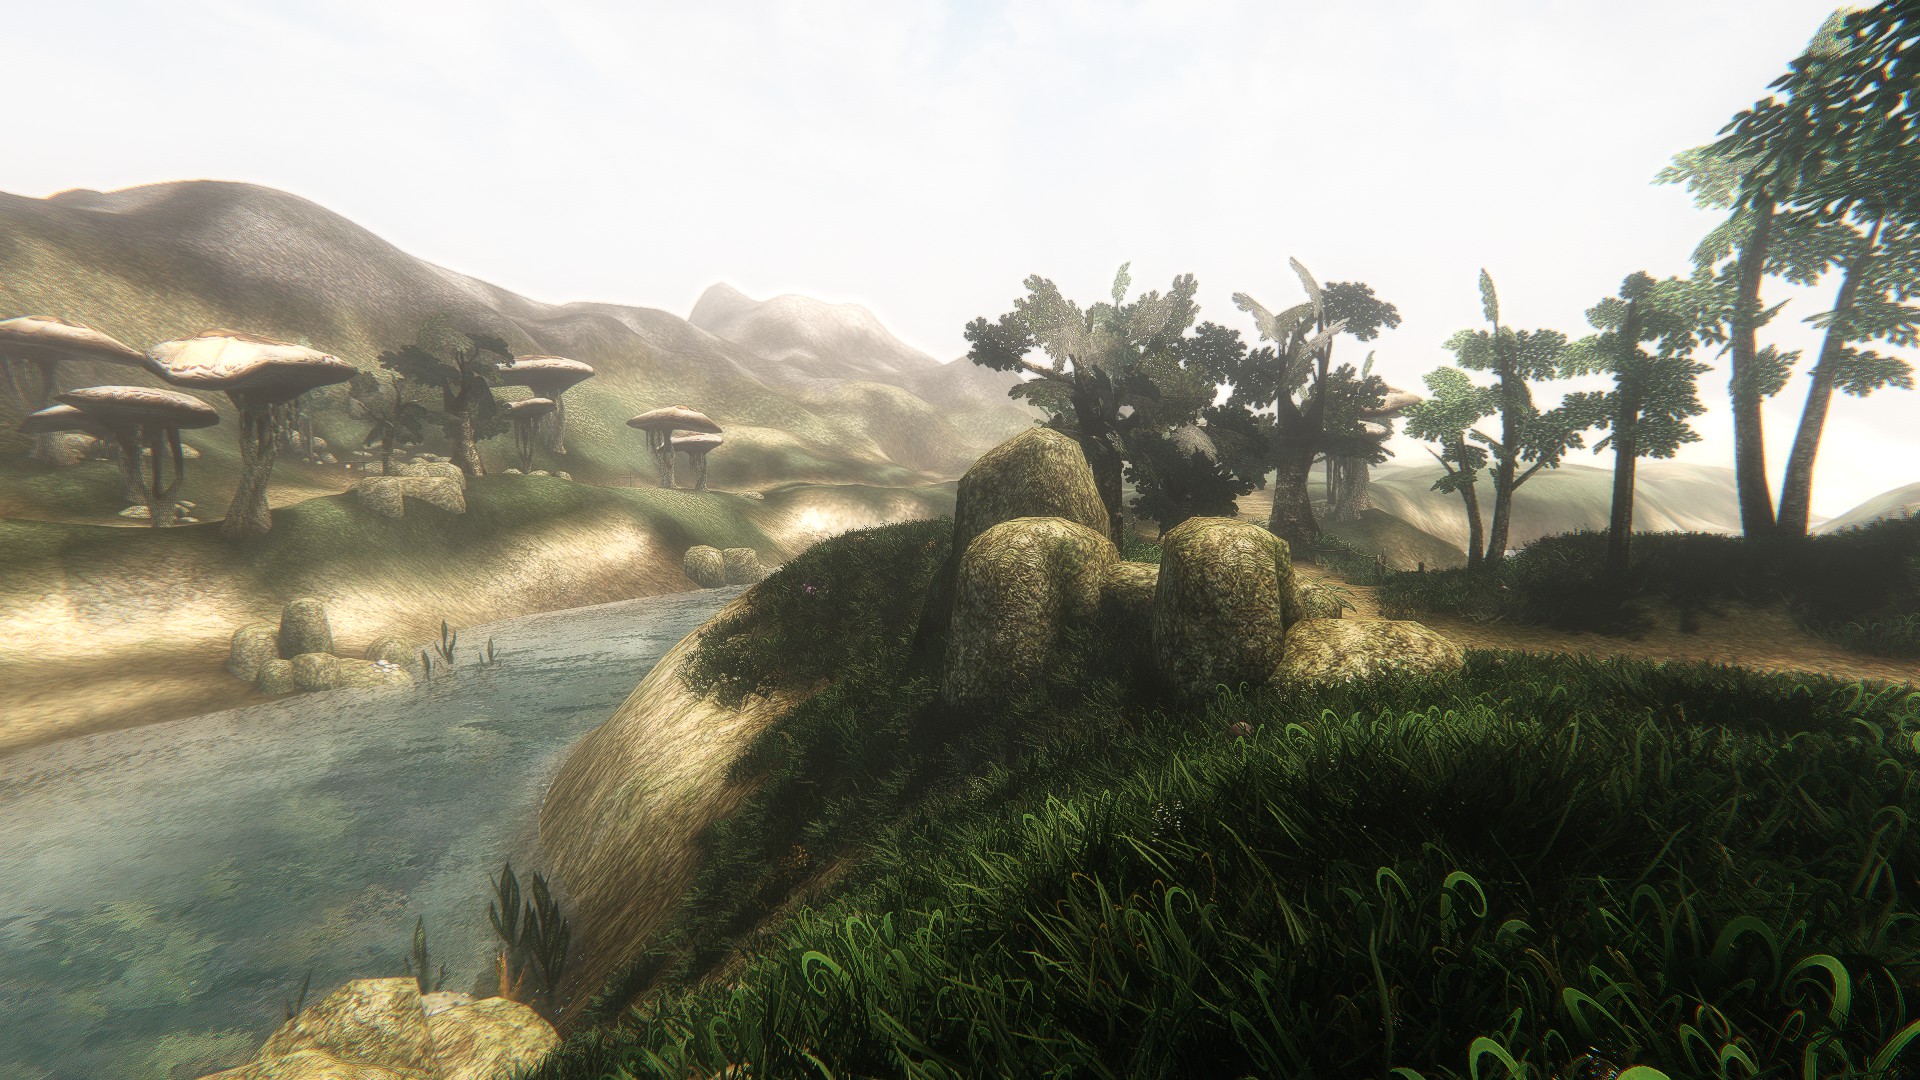
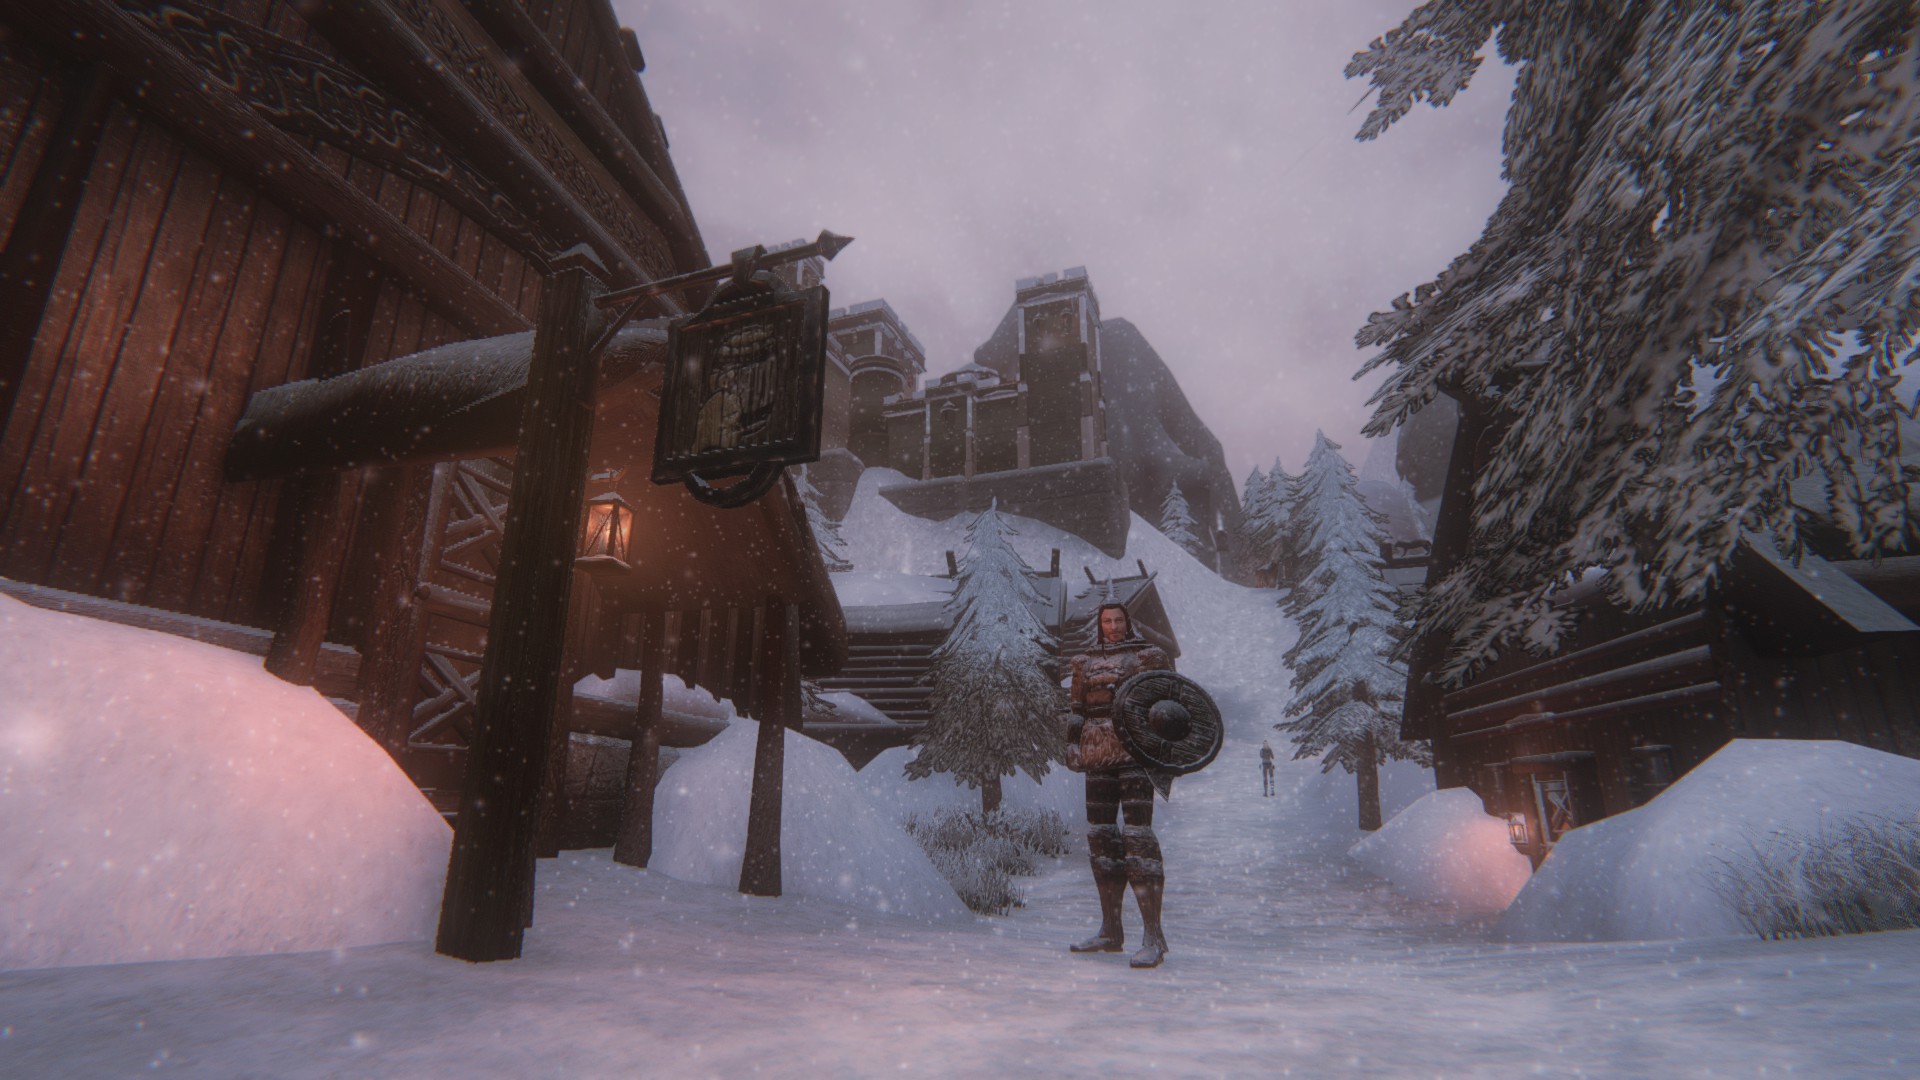
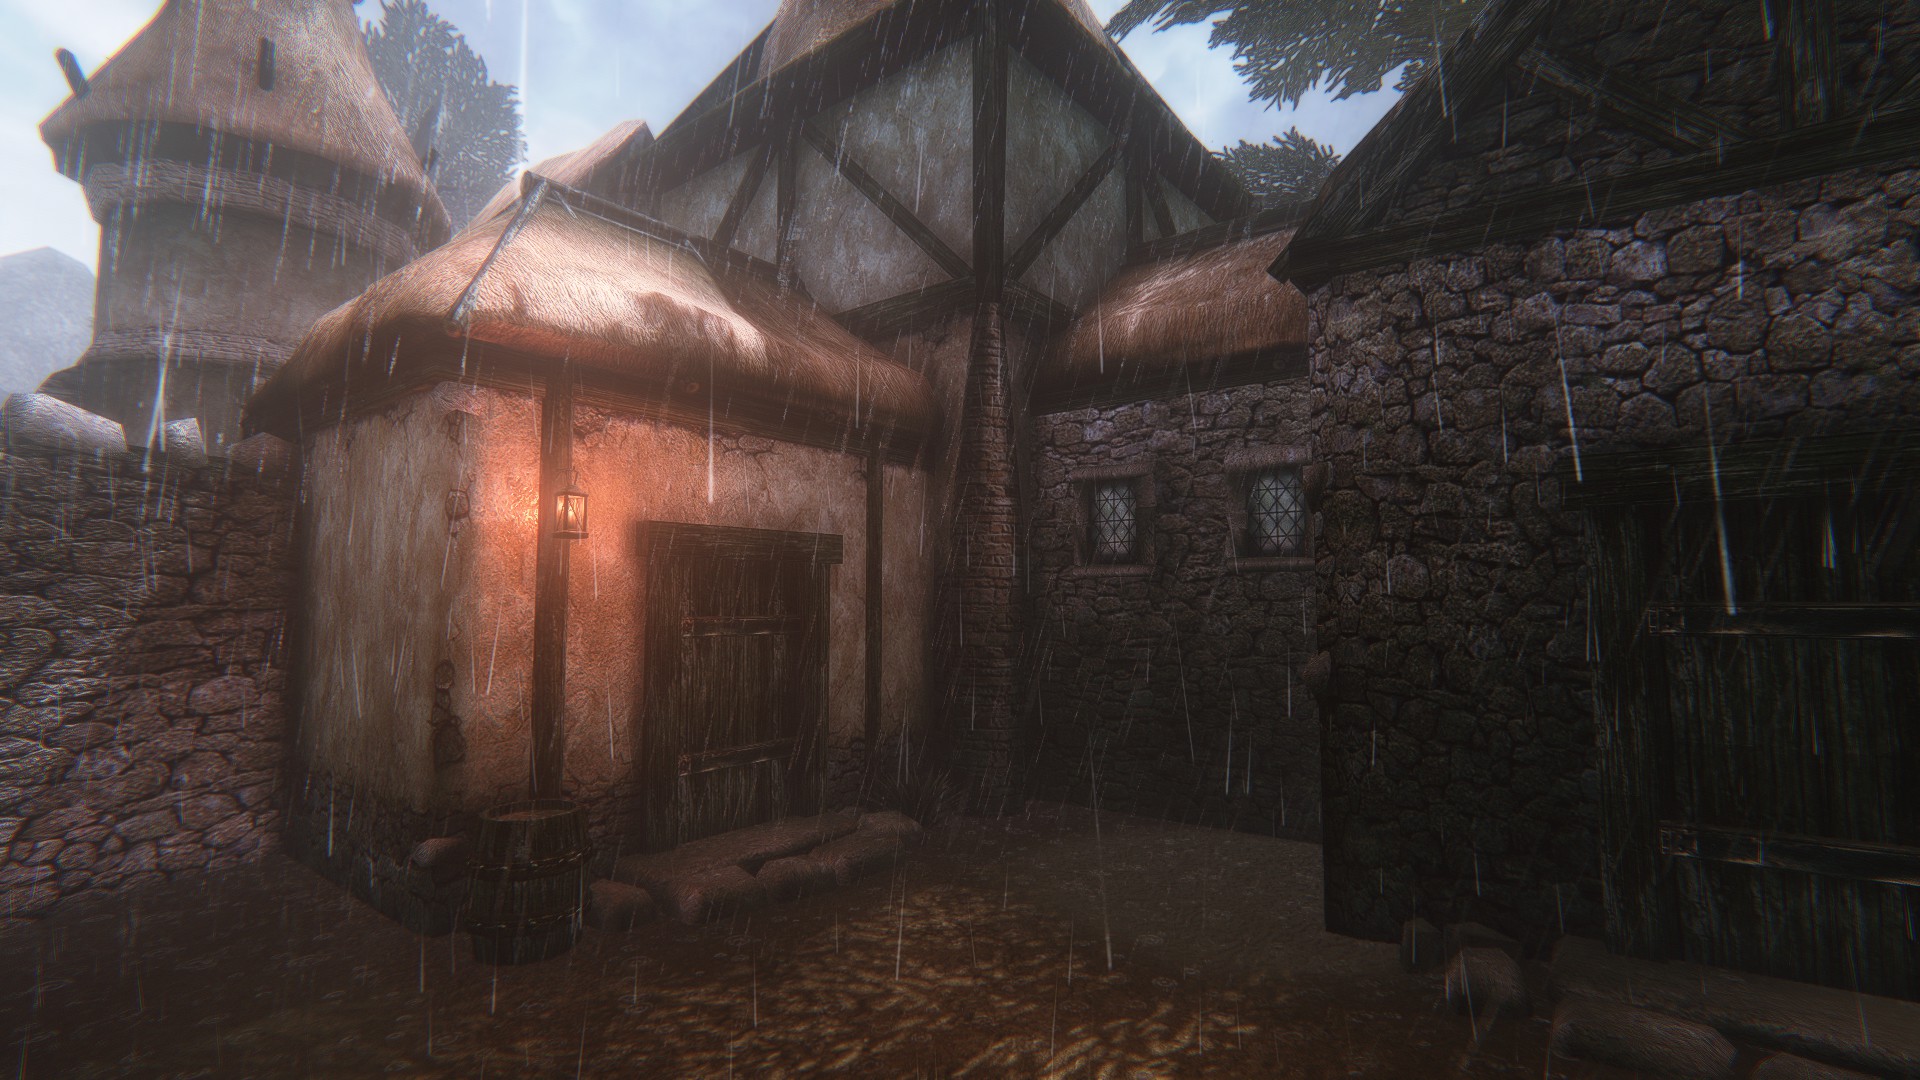
Morrowind is a fantastic game to find yourself lost in, for hours upon hours. Why not make it prettier to look at? I have a pretty huge modlist and I've spent a very long time configuring both them and the shaders I'm about to get into to make Morrowind look remastered and renewed. I upload screenshots all the time and people tend to ask me what shaders or mods I'm using, and the answer unfortunately isn't a plug-and-play solution. However, it's still pretty simple.
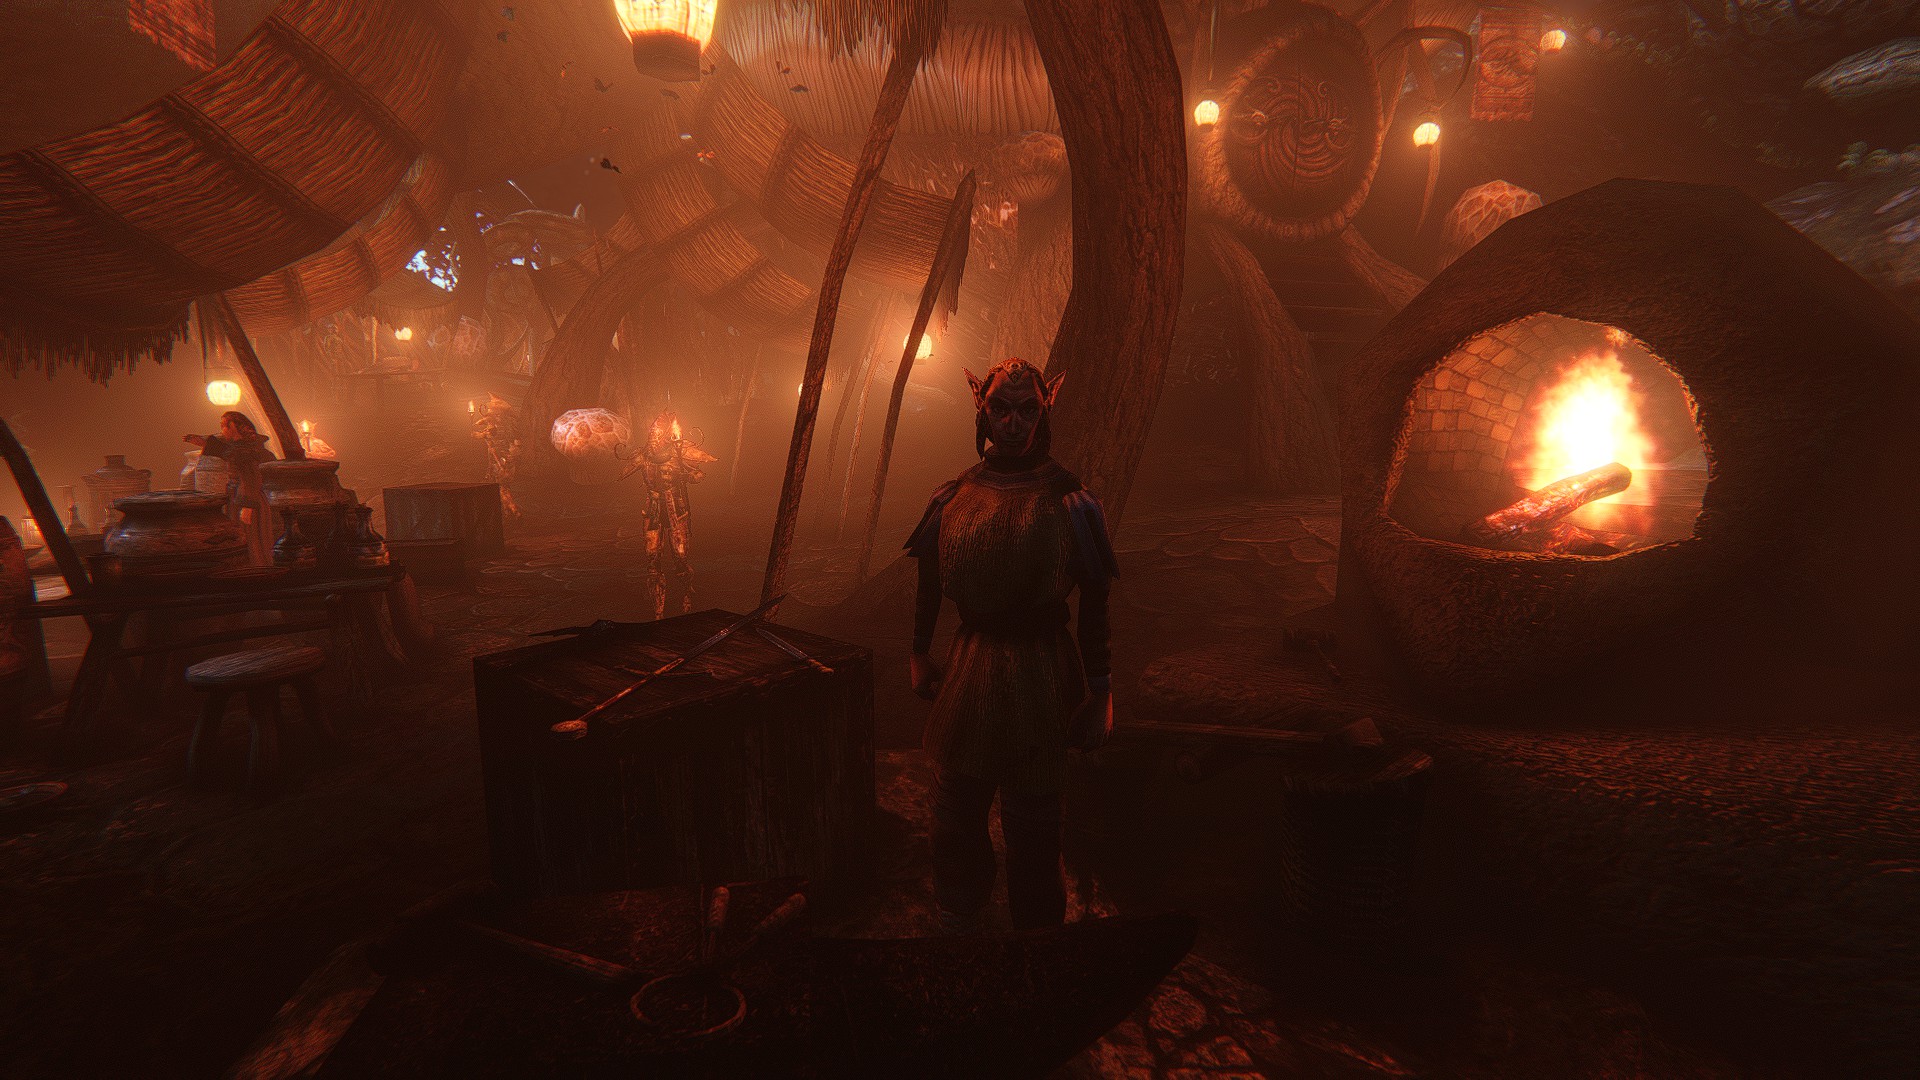
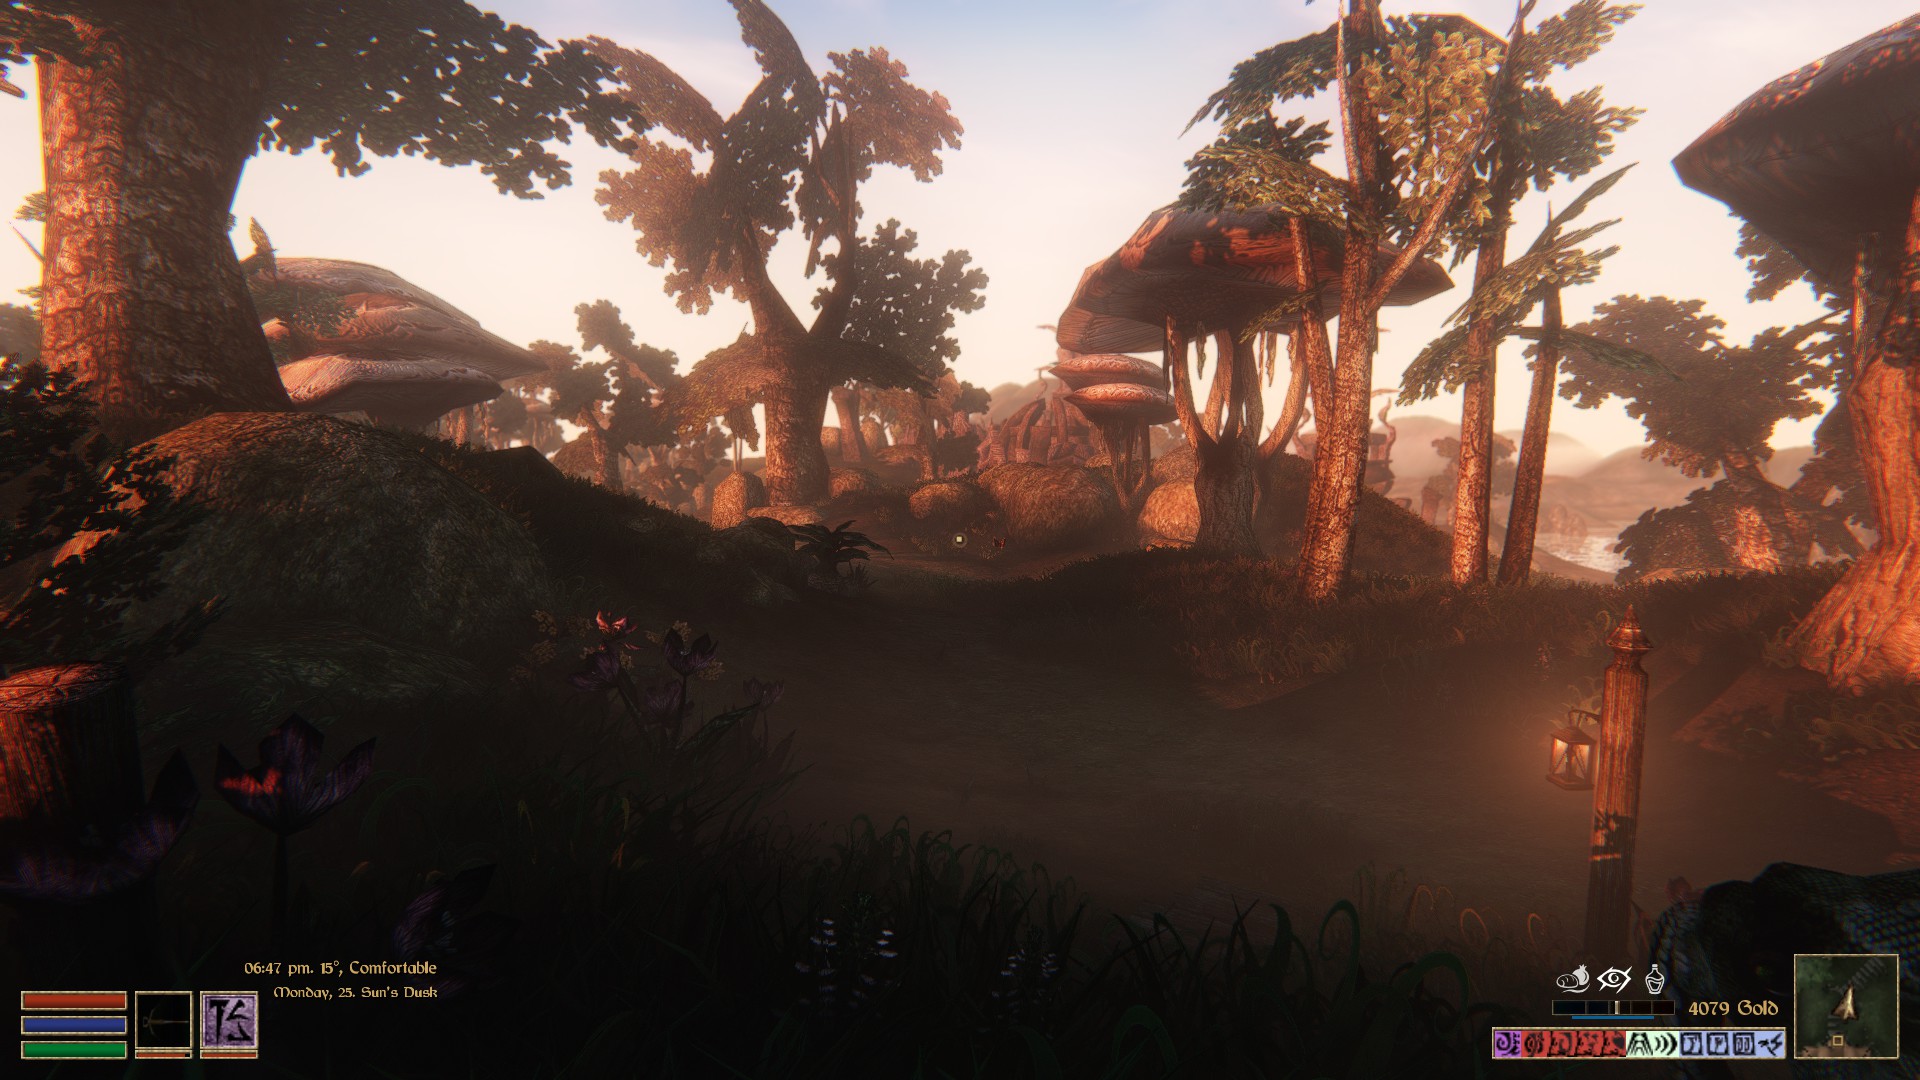
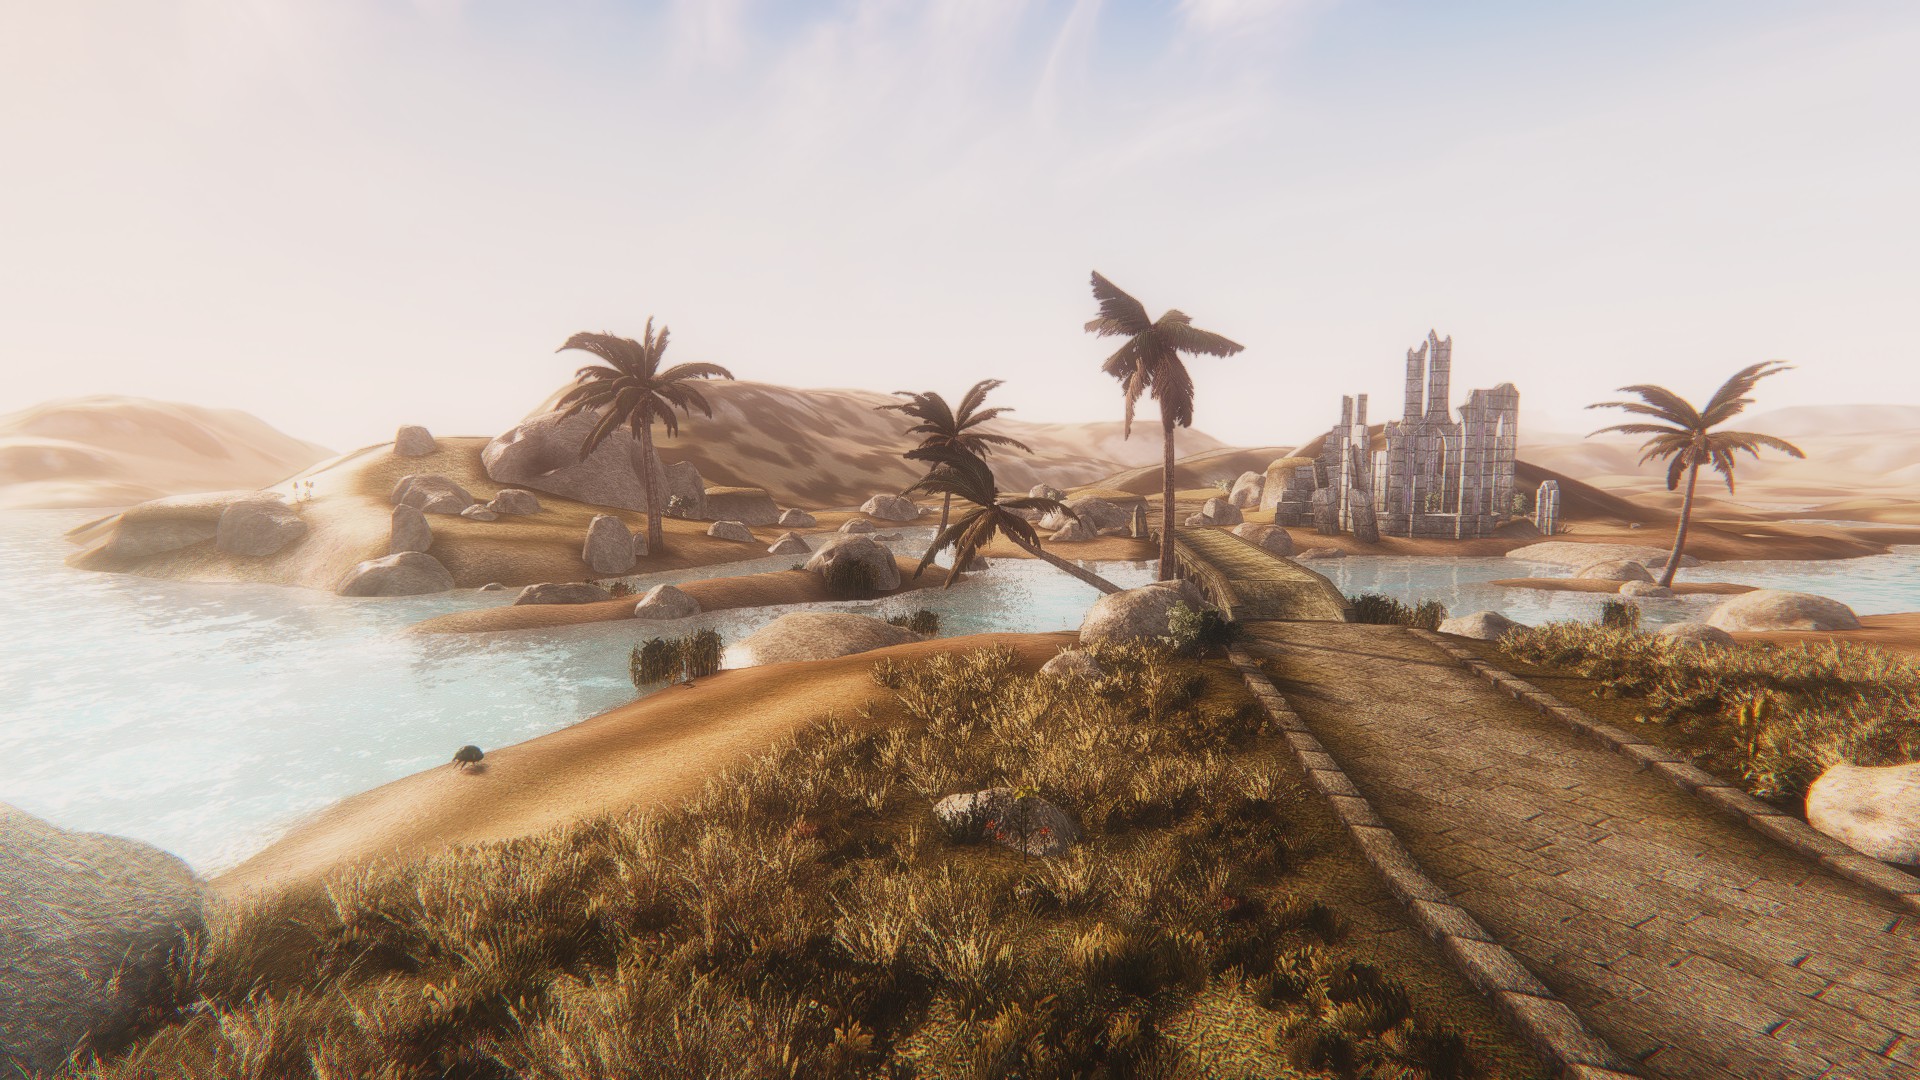
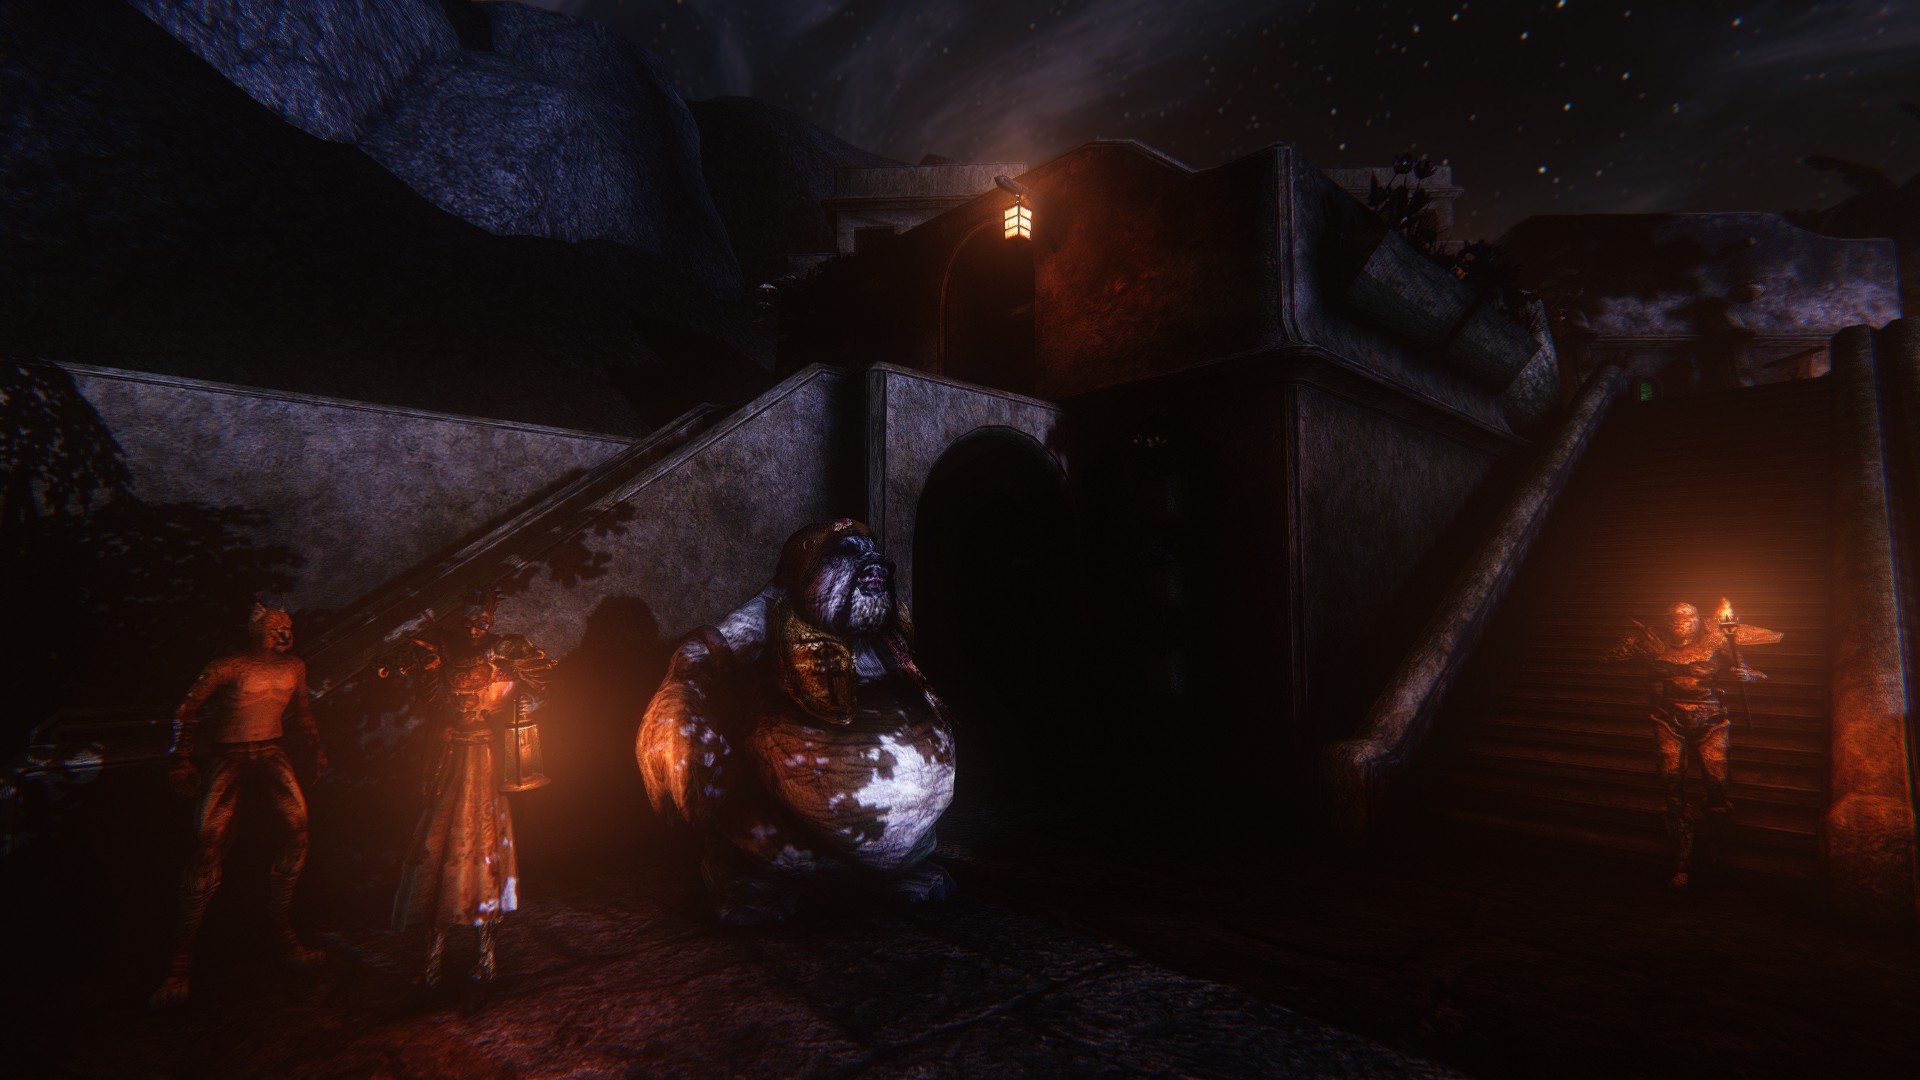
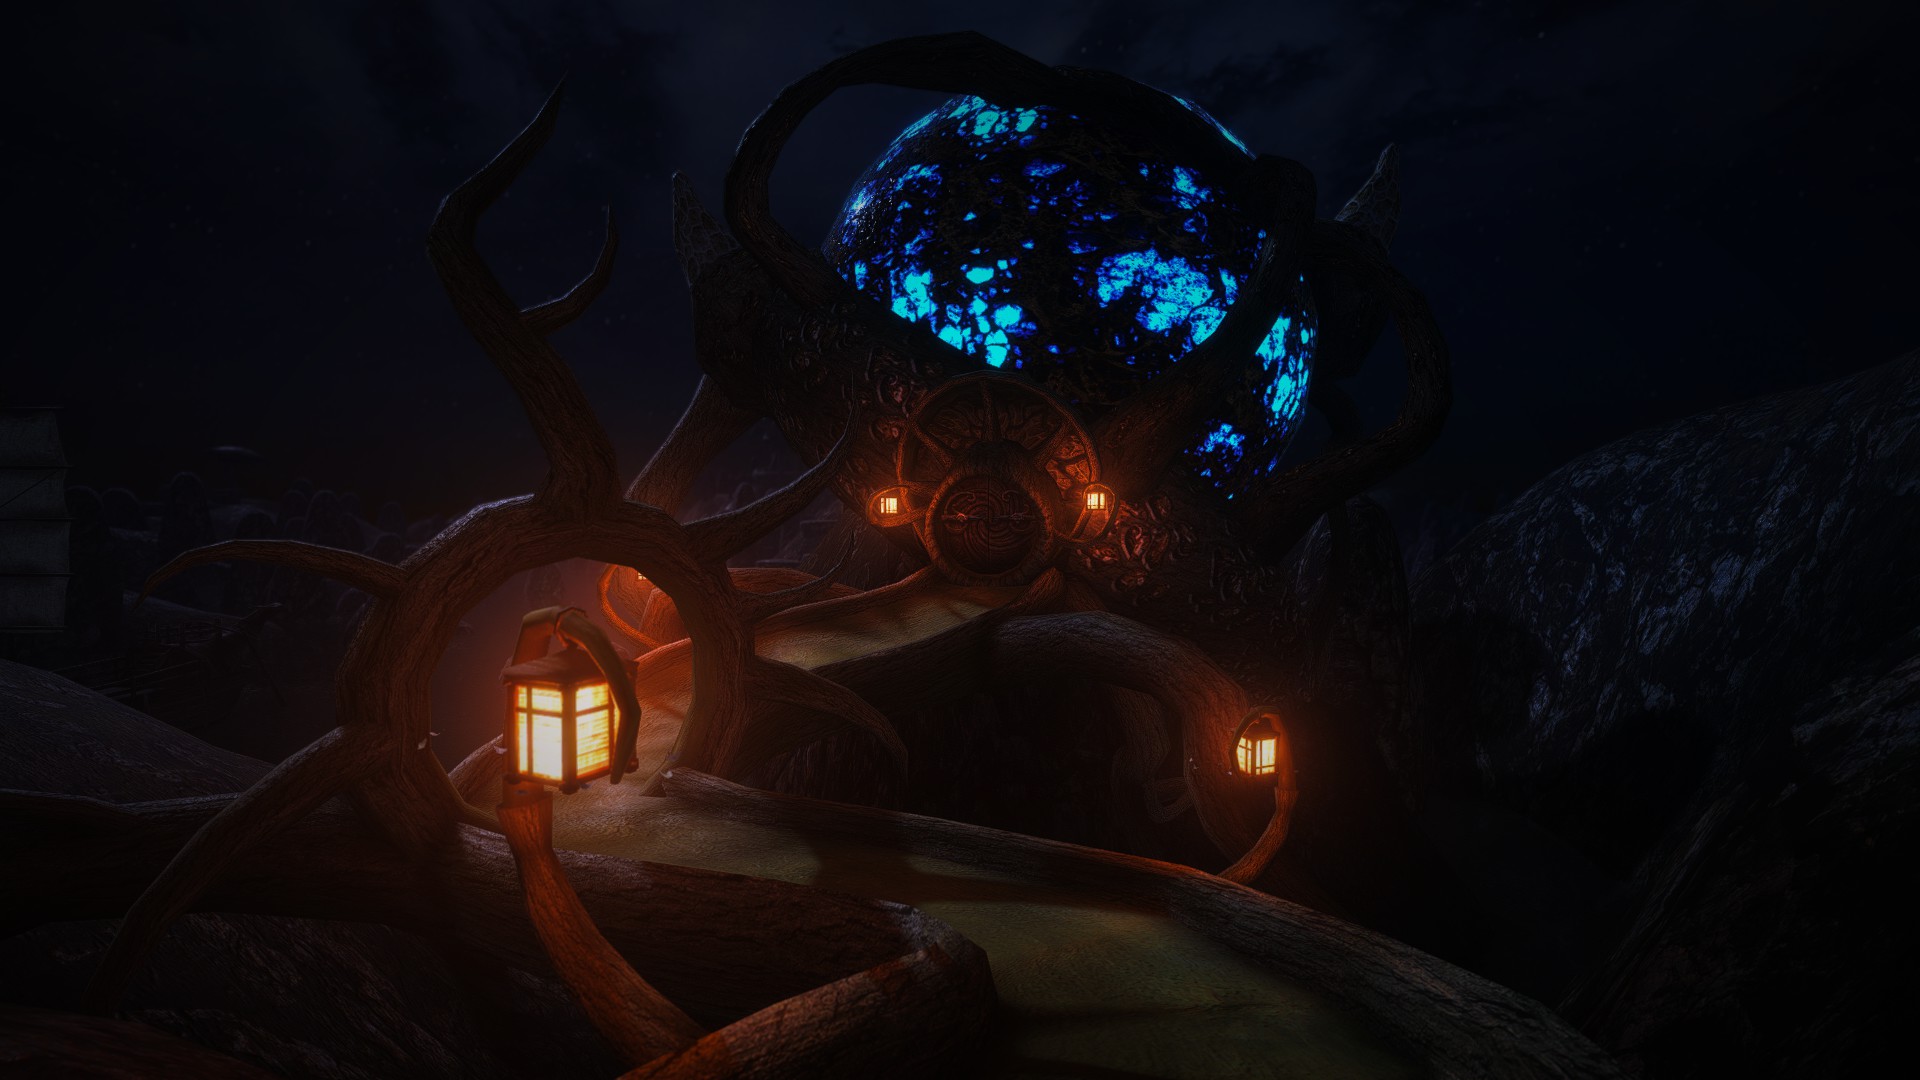
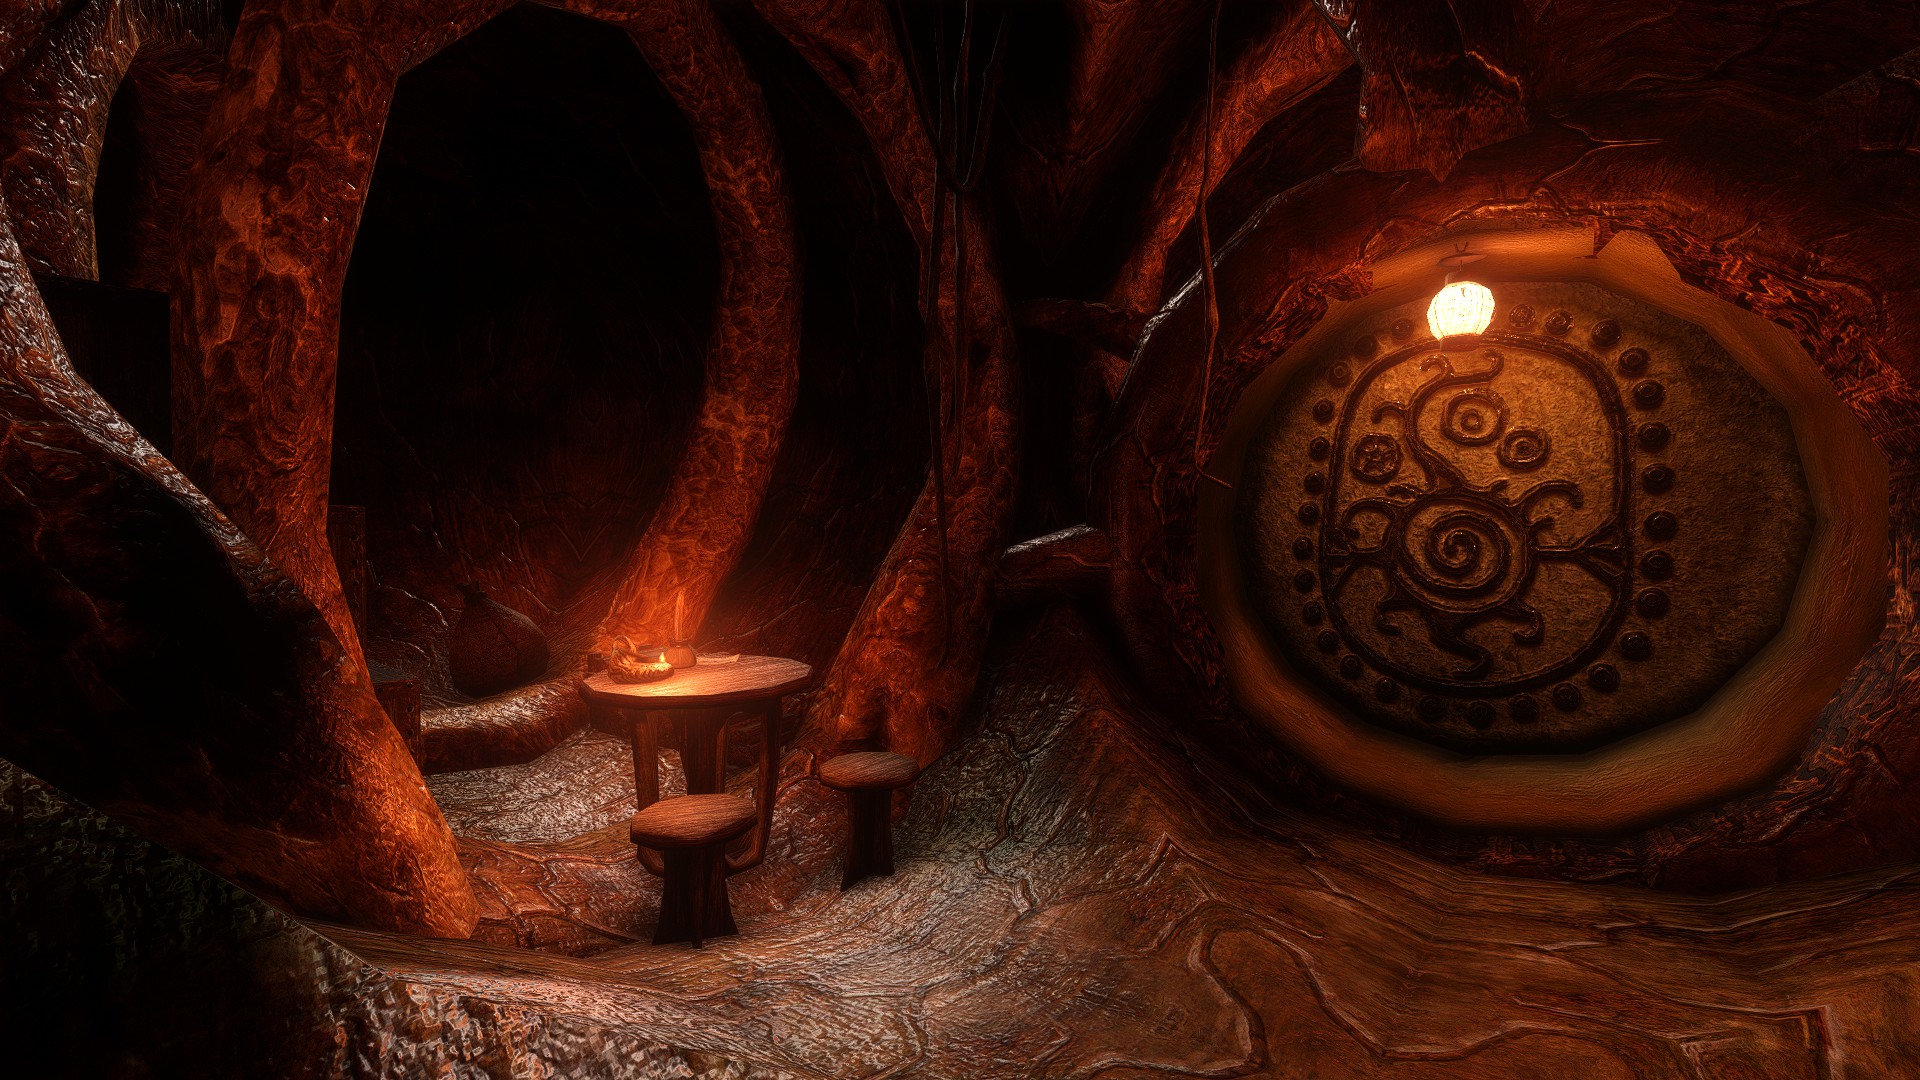
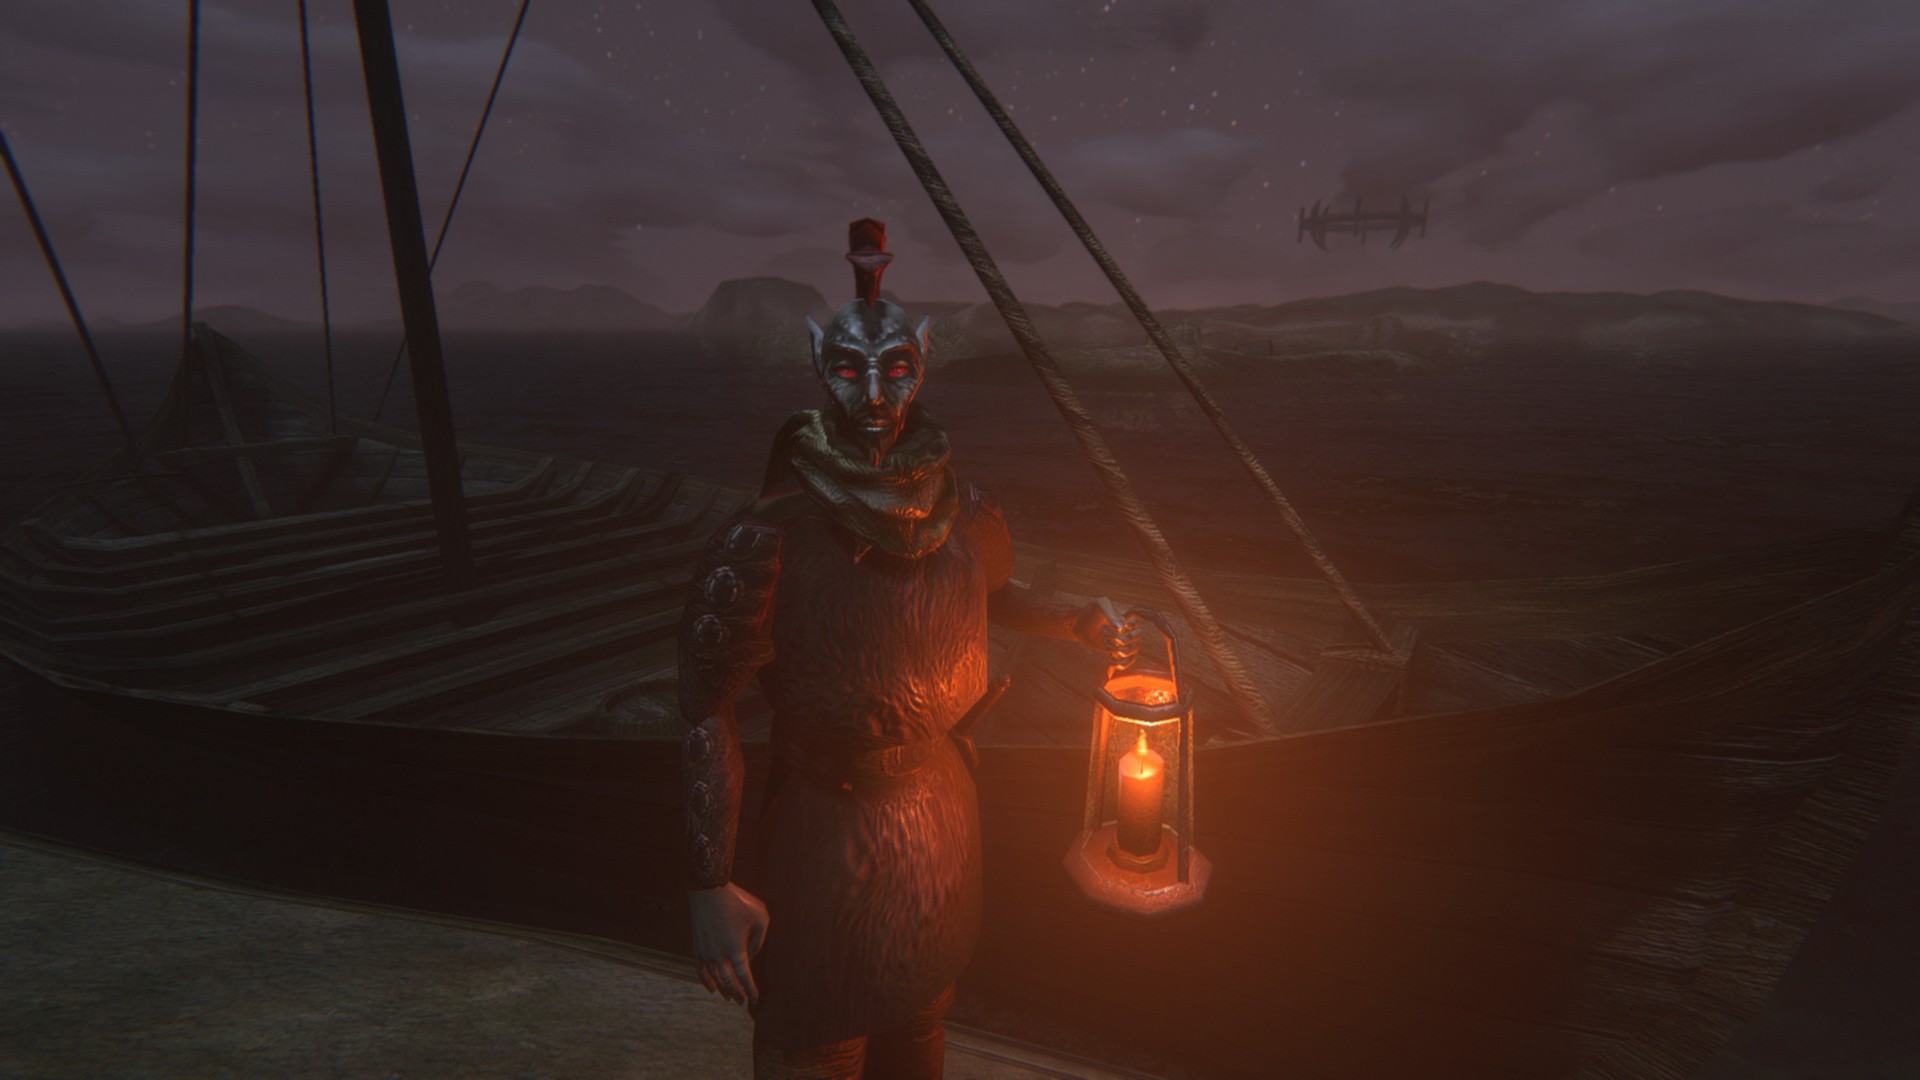
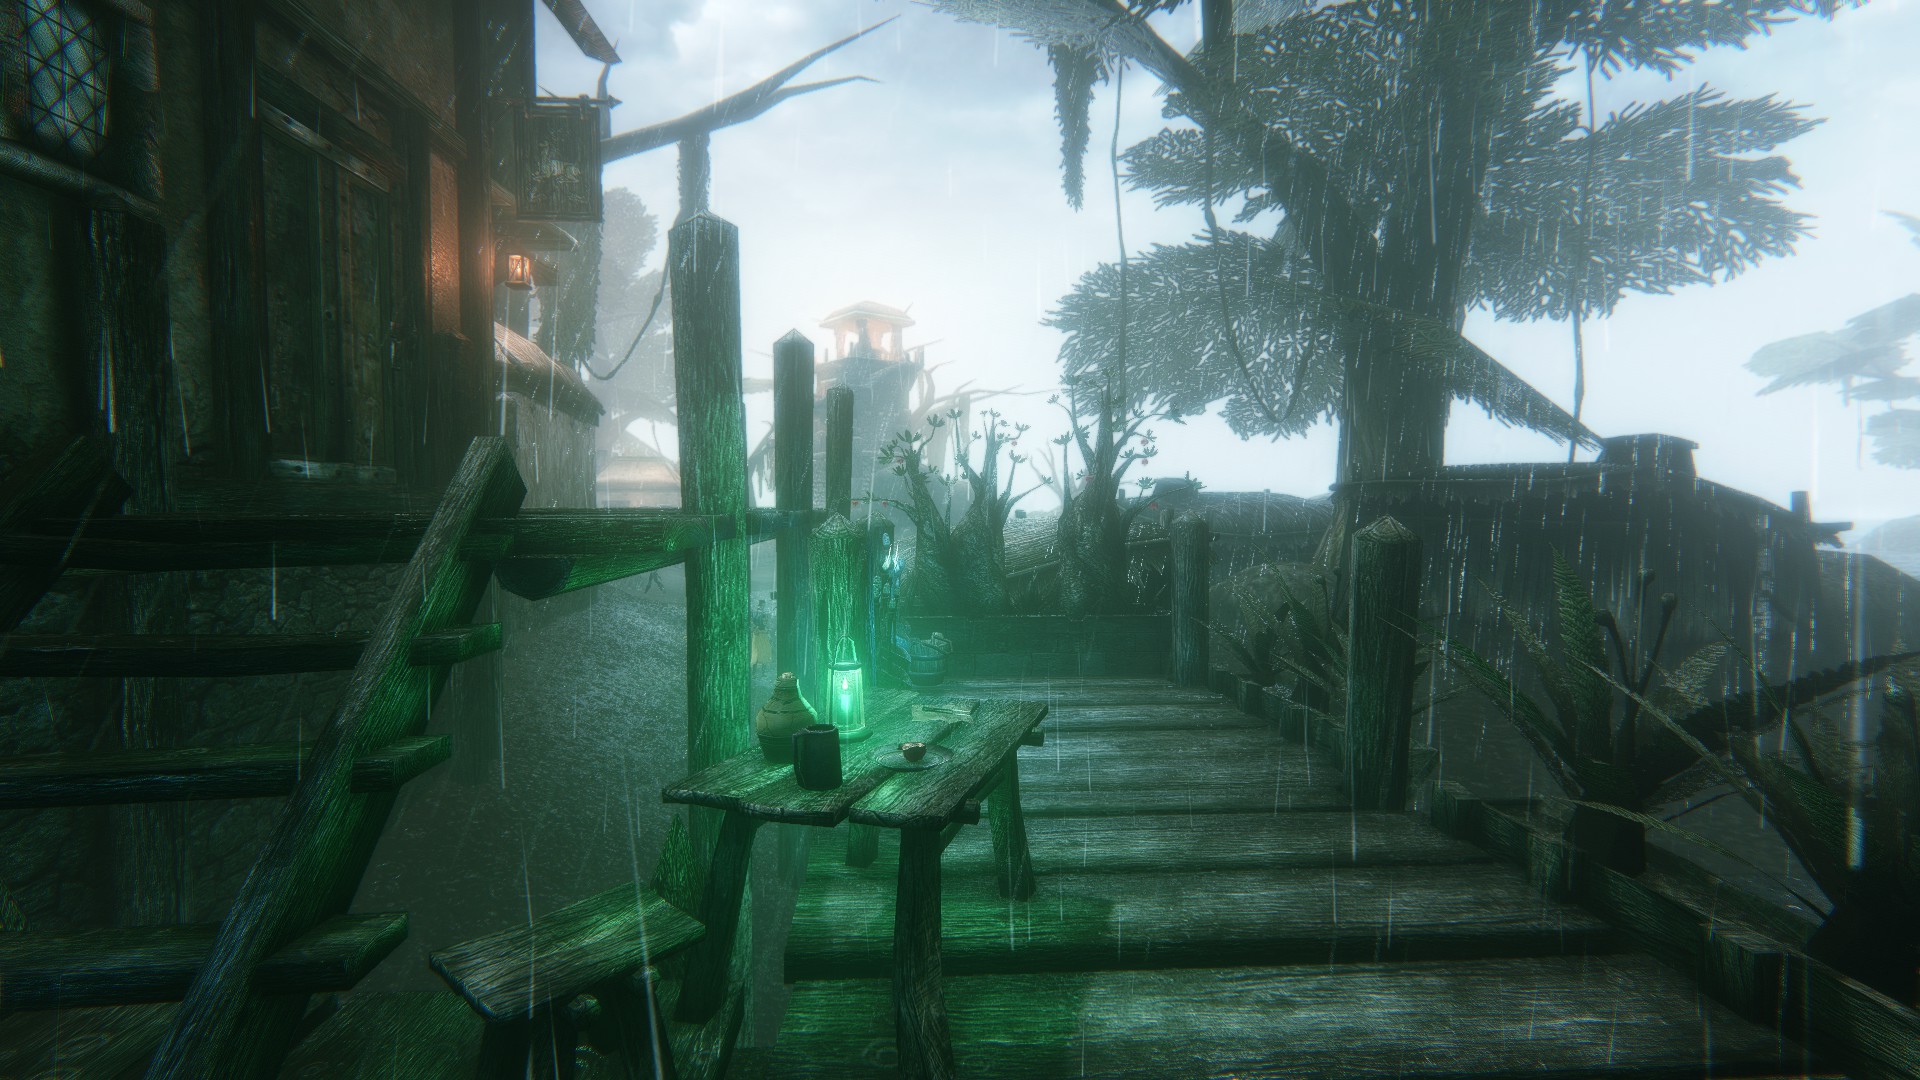
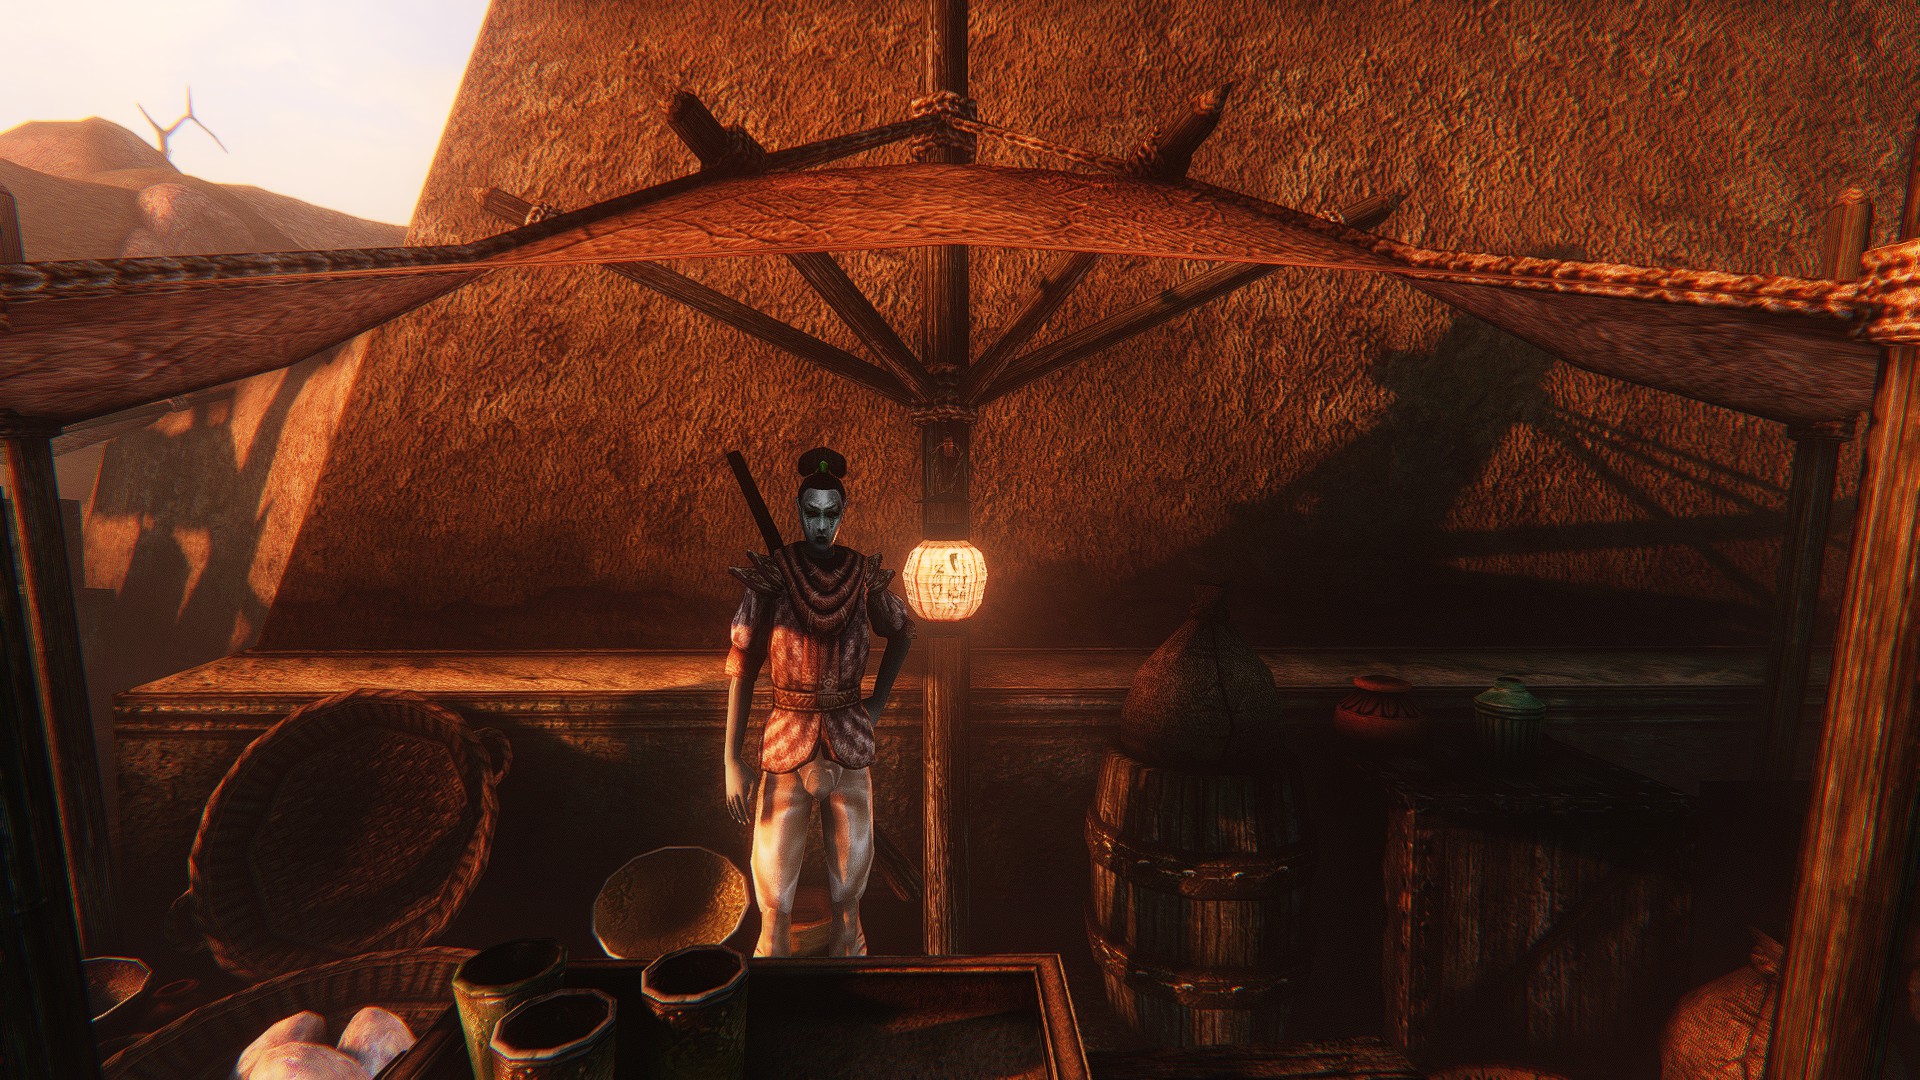
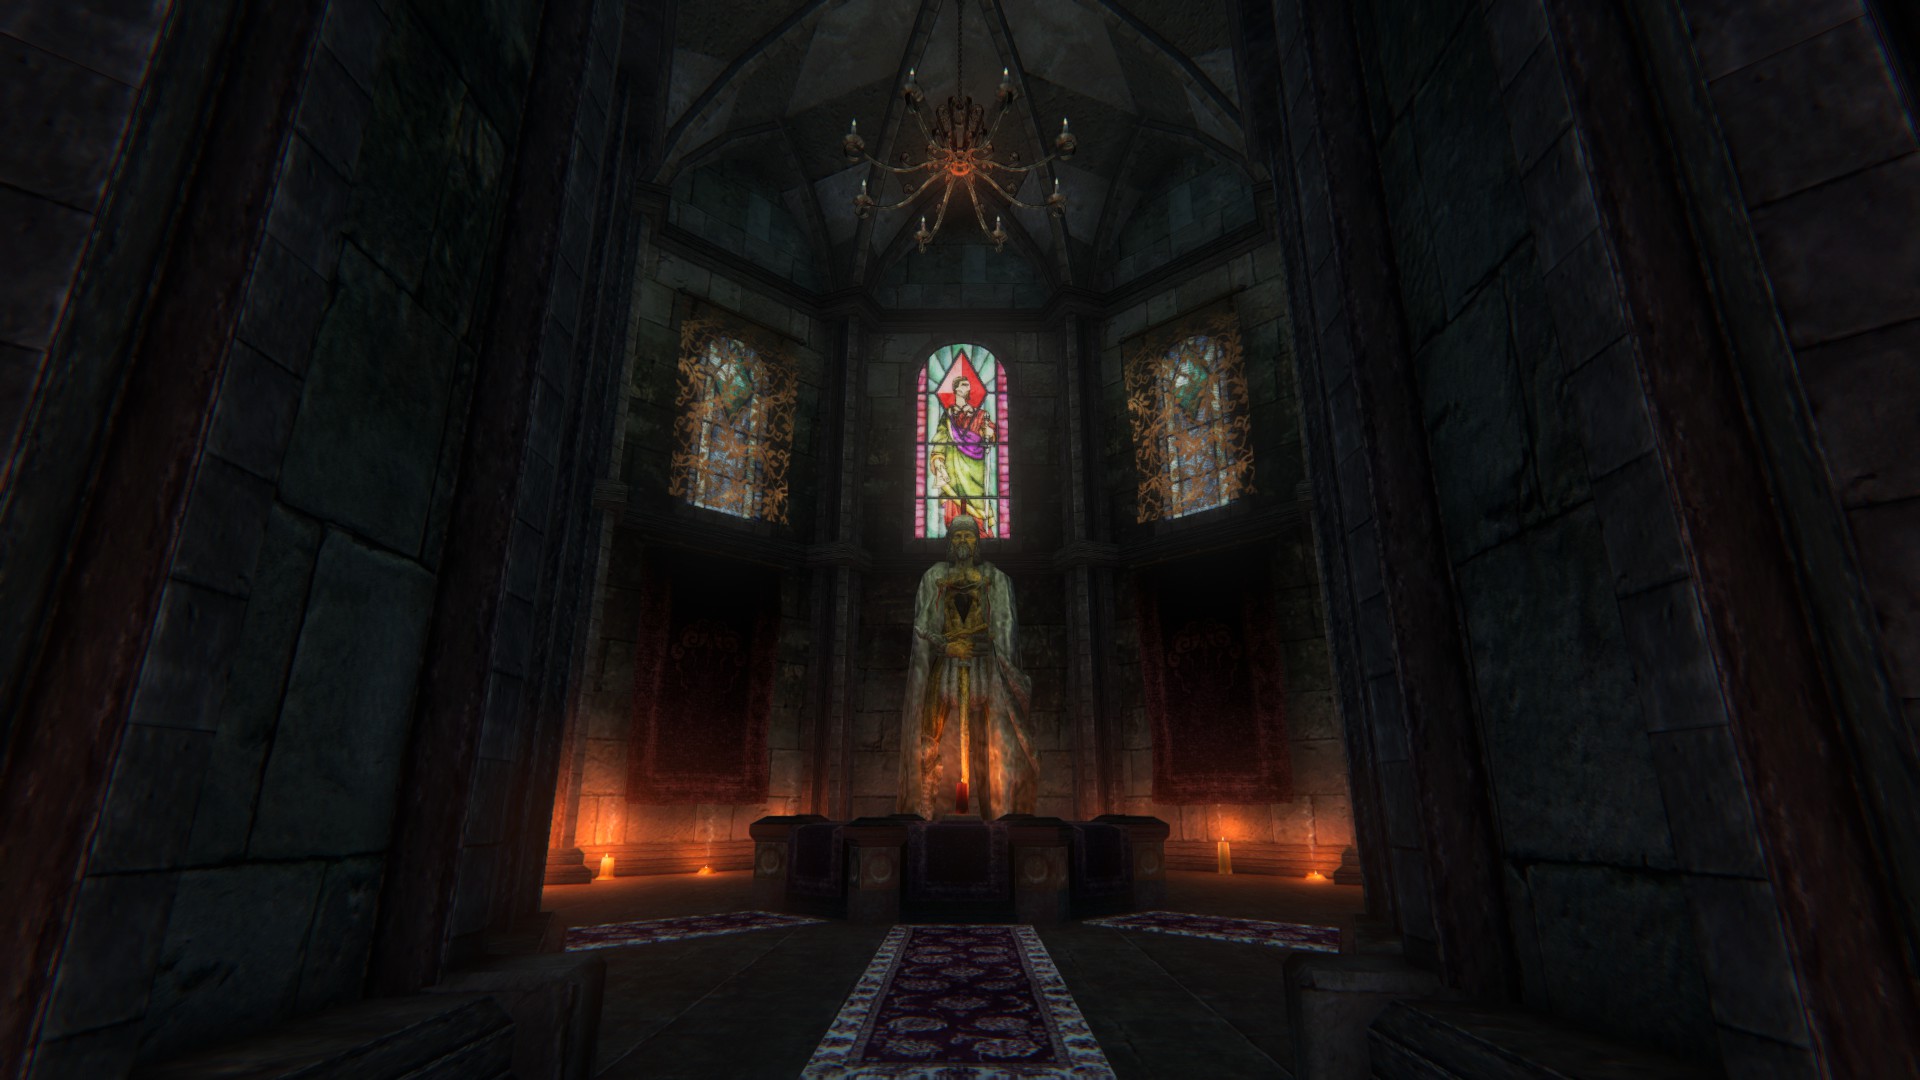
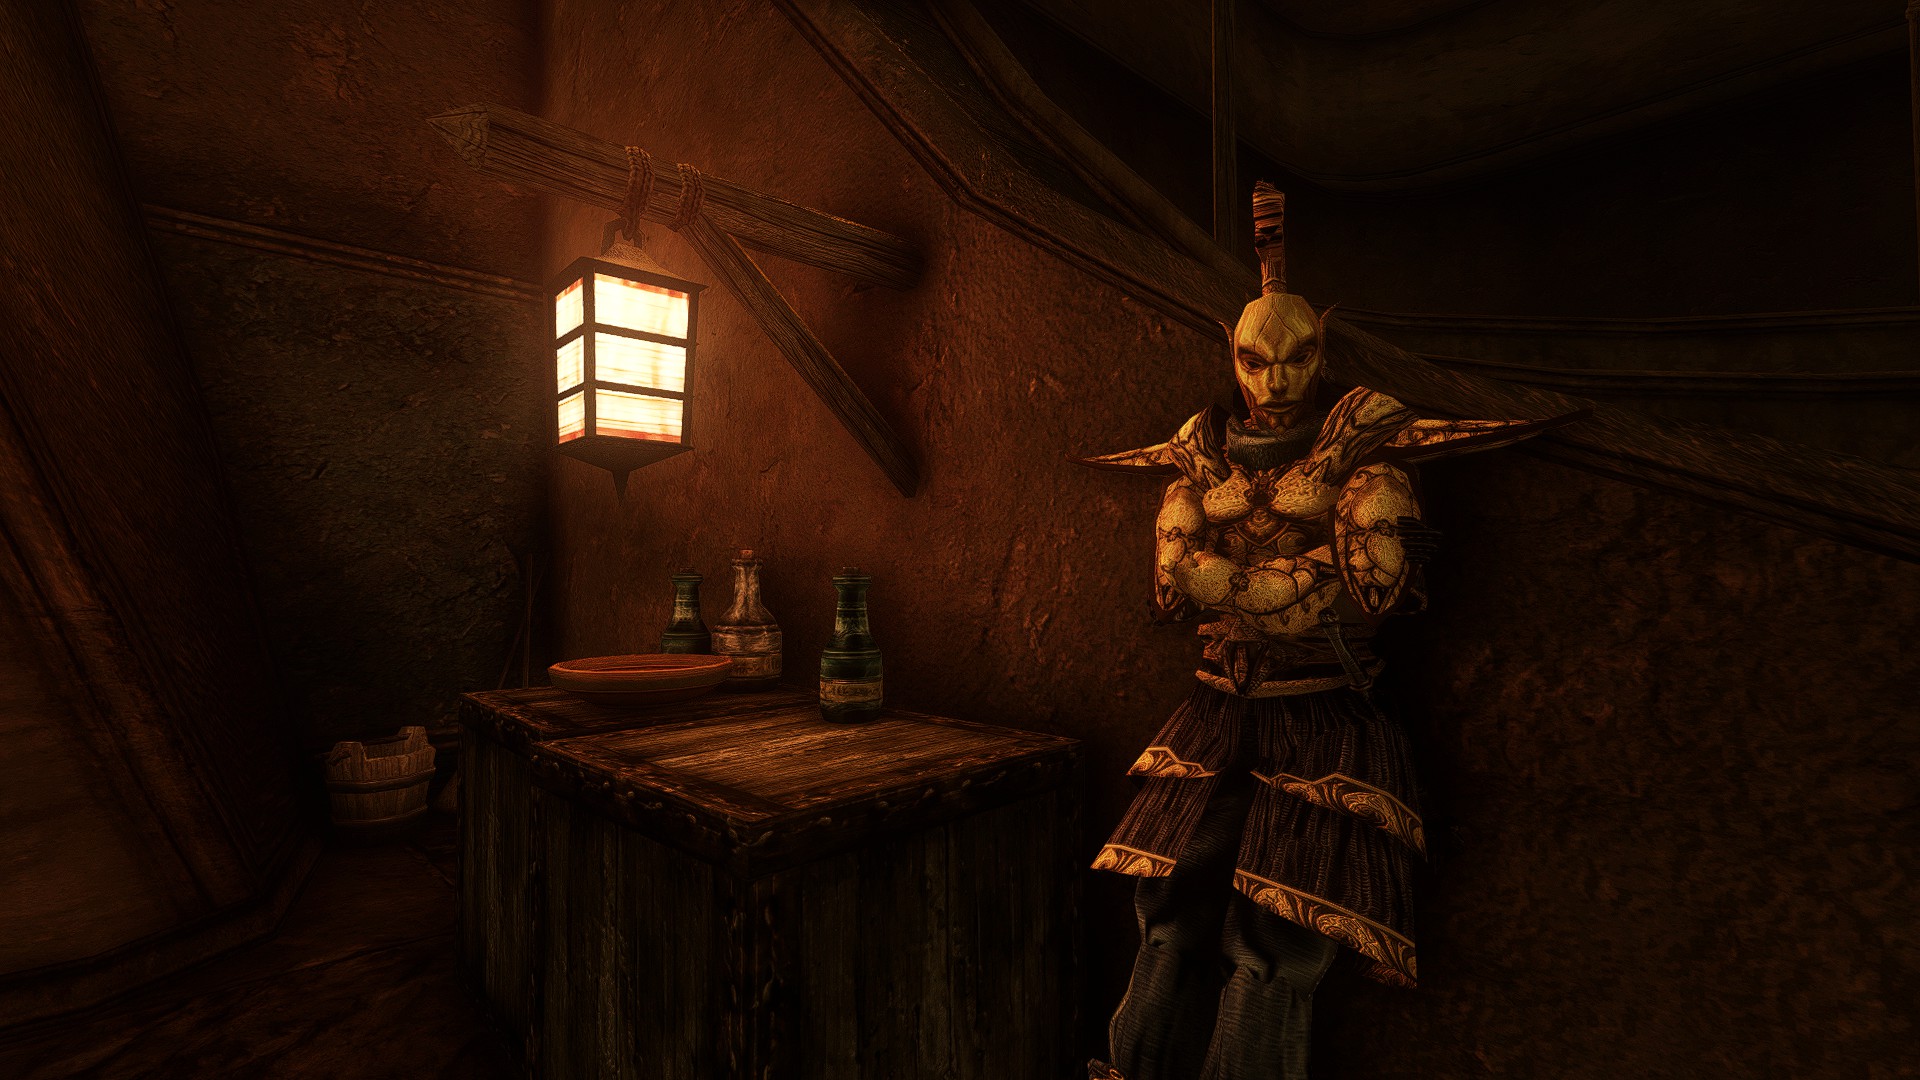
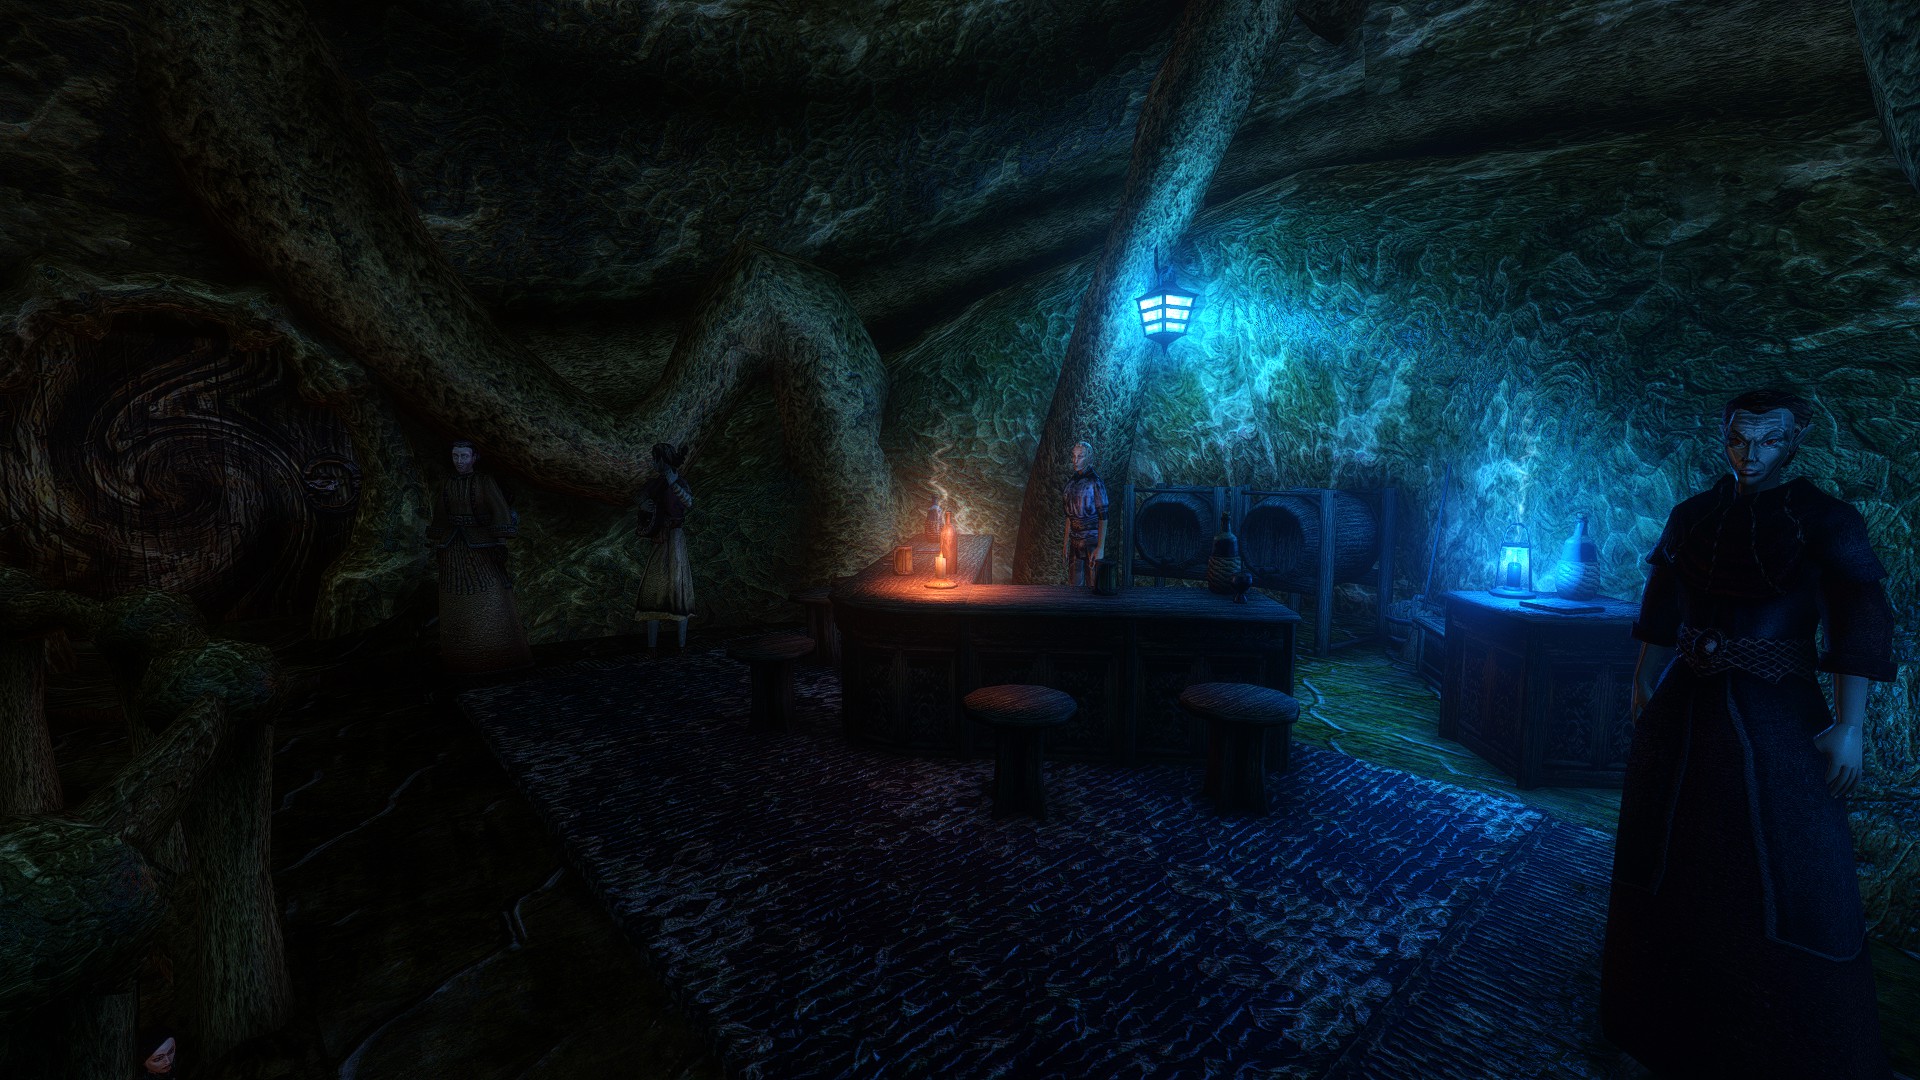
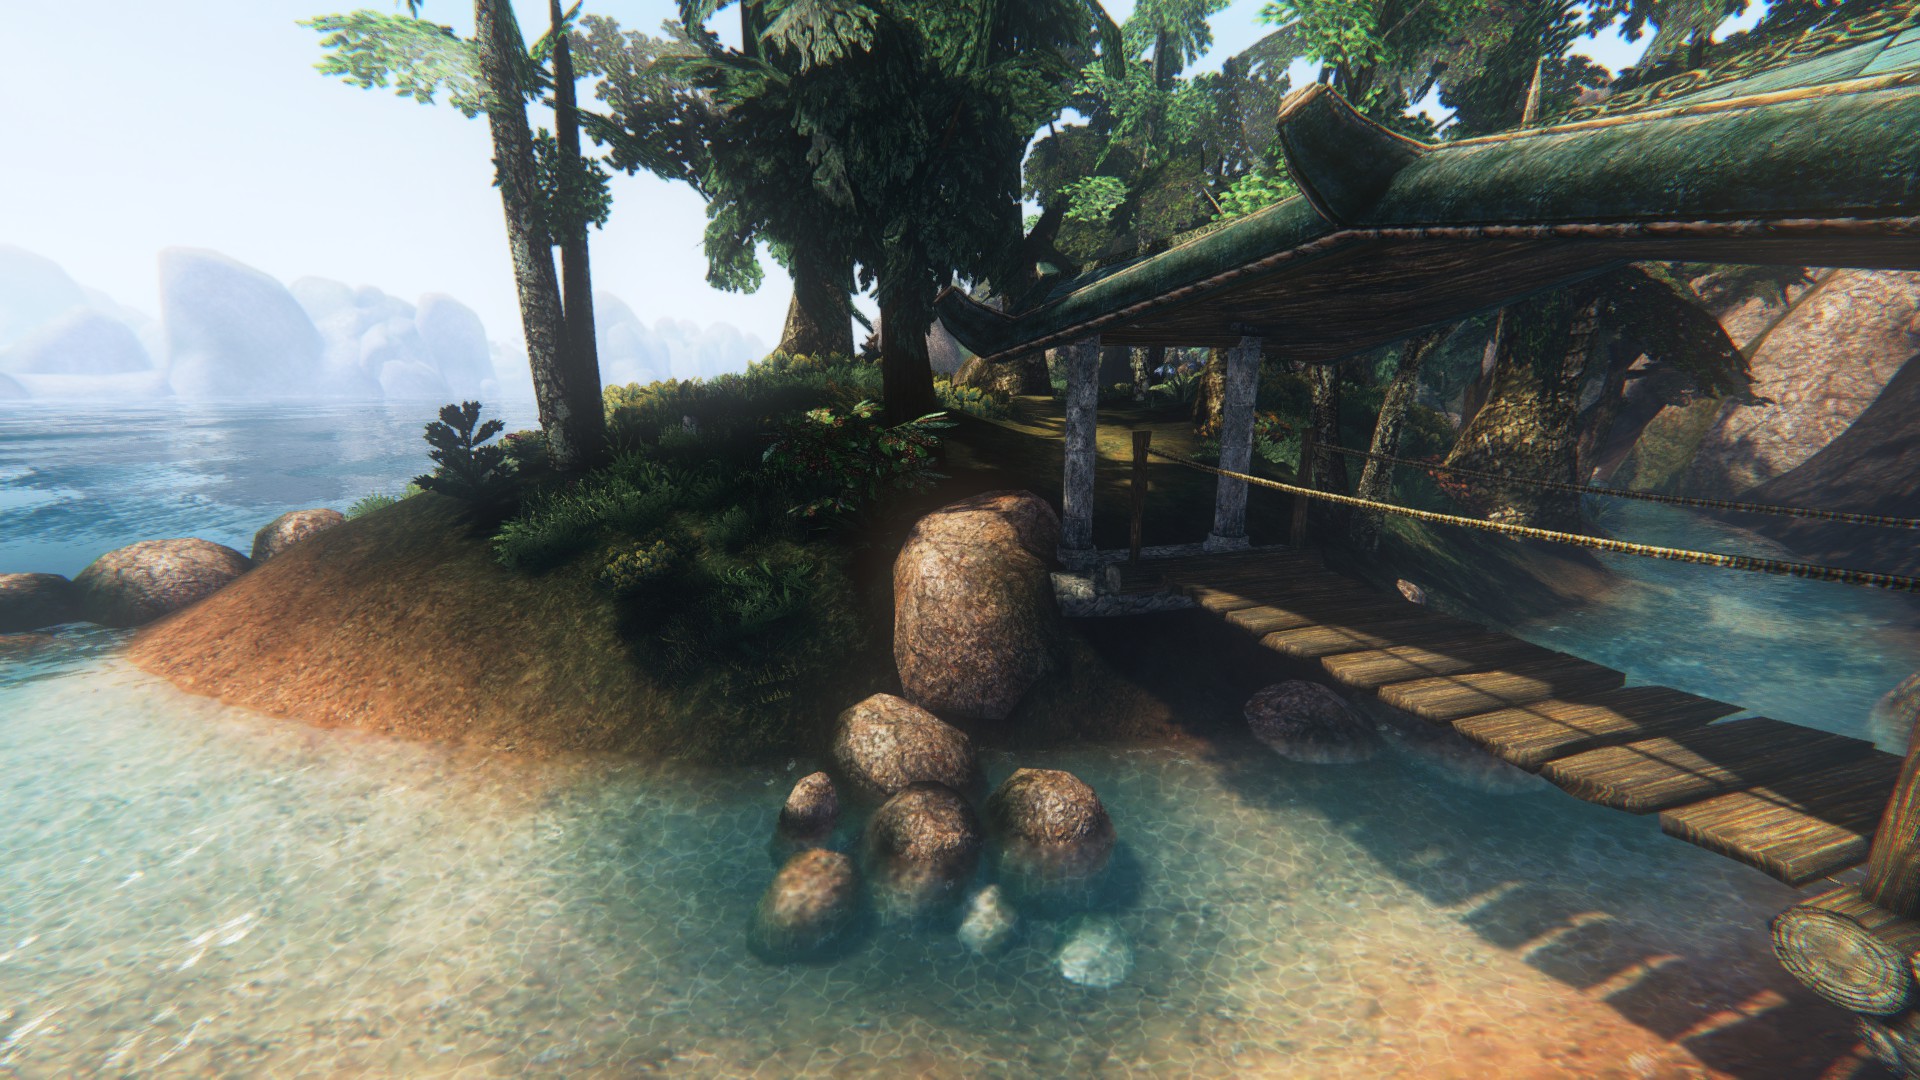
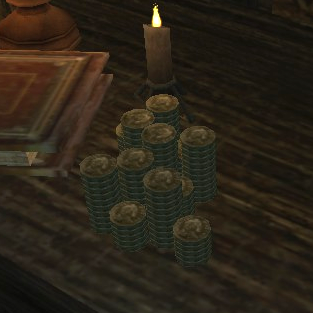
I've provided some of those screenshots below to give you a sense of how things look. If you like them, great! I tell you exactly how to achieve that. If you like it but maybe a little something's off, or not to your taste, then feel free to use the guide to get a foundation going and make changes of your own. The shader system in OpenMW is very versatile and with all the options you're provided by other modders, you can specify exactly to your tastes.
I've provided some of those screenshots below to give you a sense of how things look. If you like them, great! I tell you exactly how to achieve that. If you like it but maybe a little something's off, or not to your taste, then feel free to use the guide to get a foundation going and make changes of your own. The shader system in OpenMW is very versatile and with all the options you're provided by other modders, you can specify exactly to your tastes.
Screenshots
Assuming you like what you see, this guide is for you. Below I will be providing links to all the shaders I use, how I've installed them, and my own personal configuration of them.


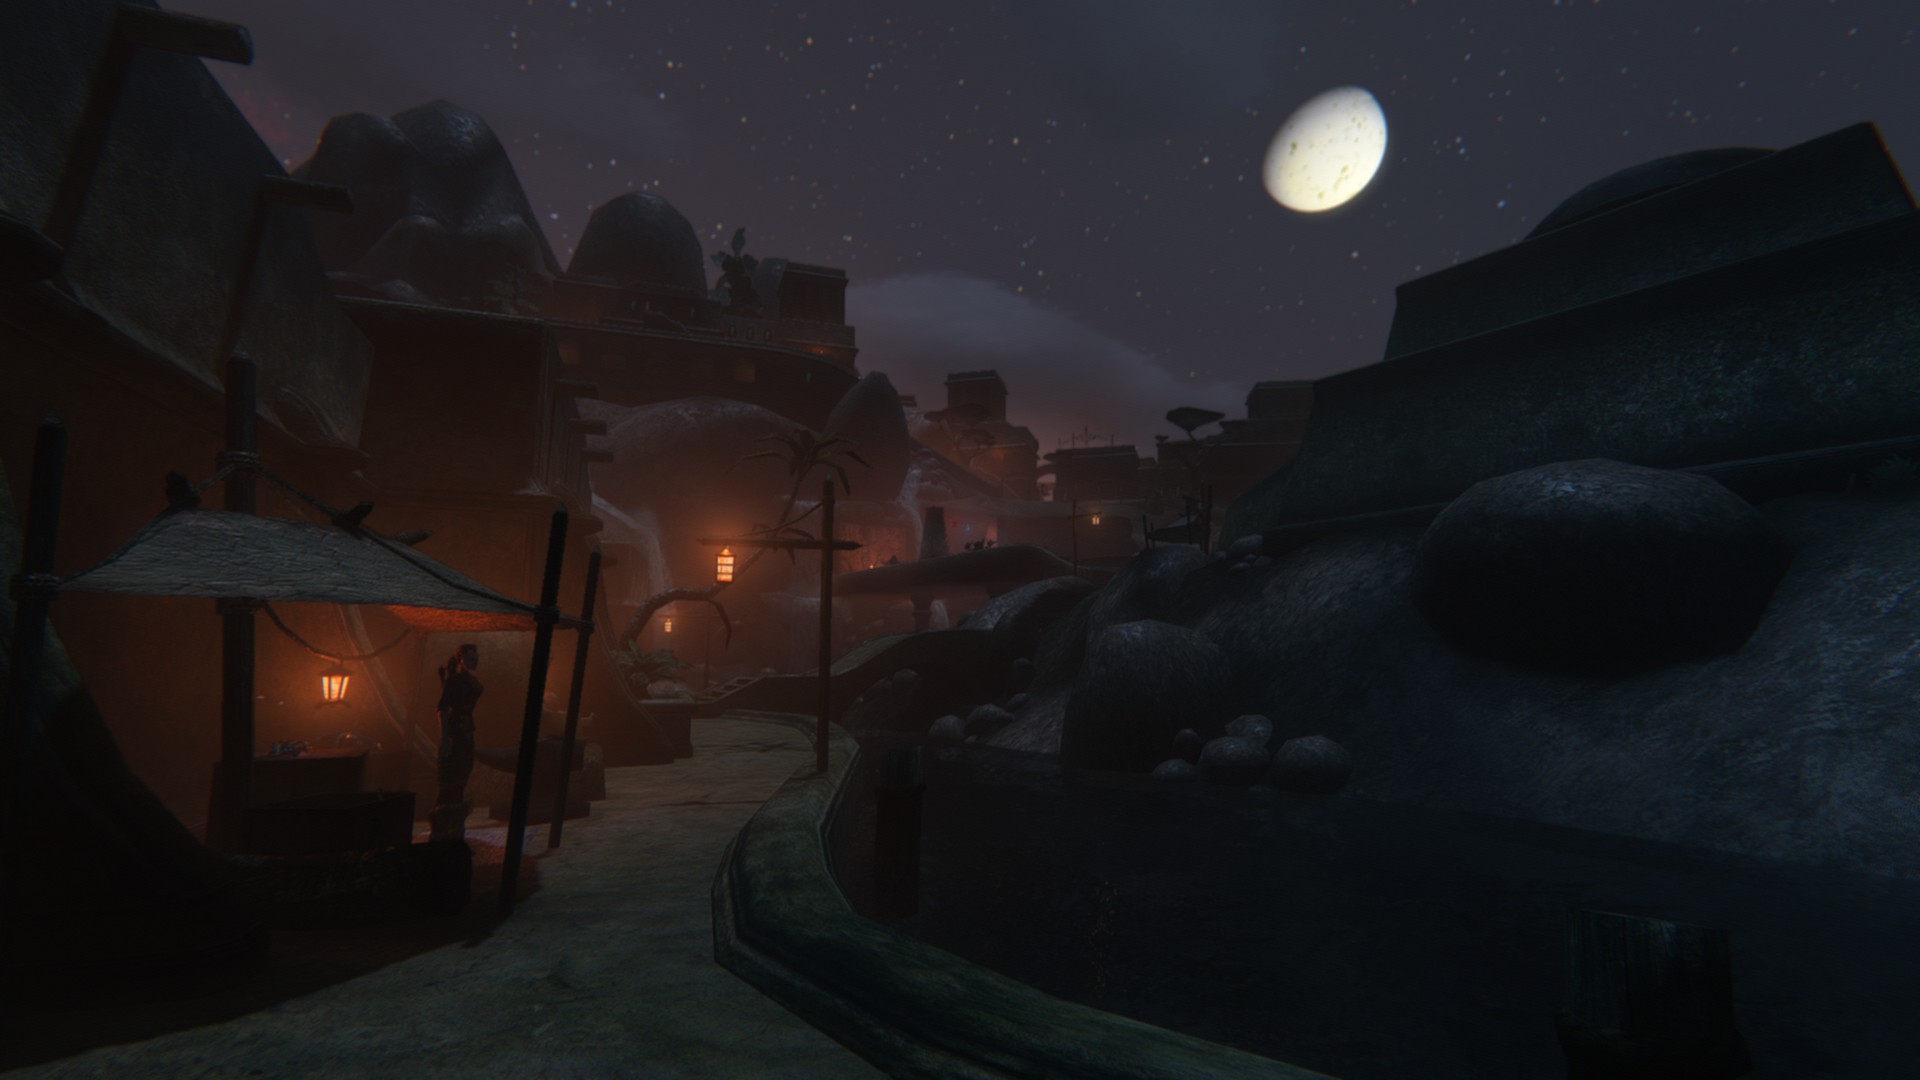
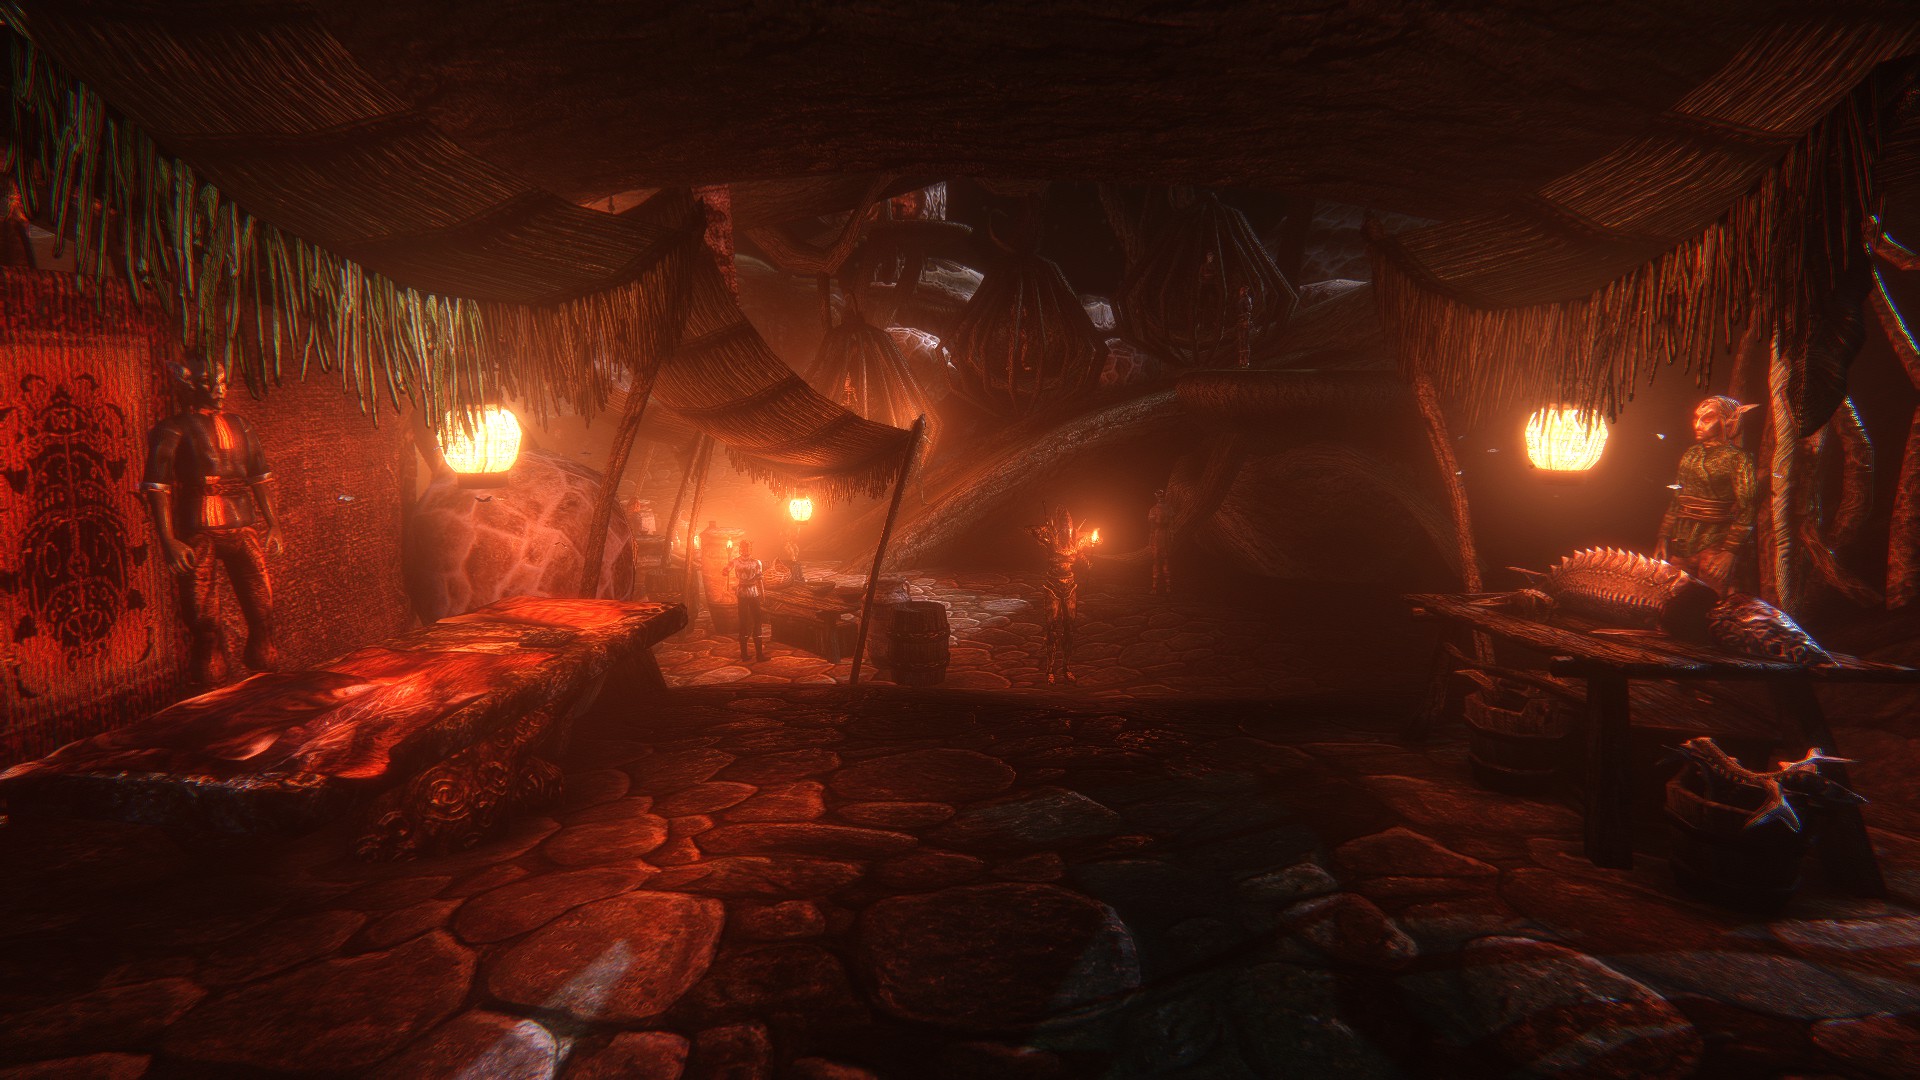
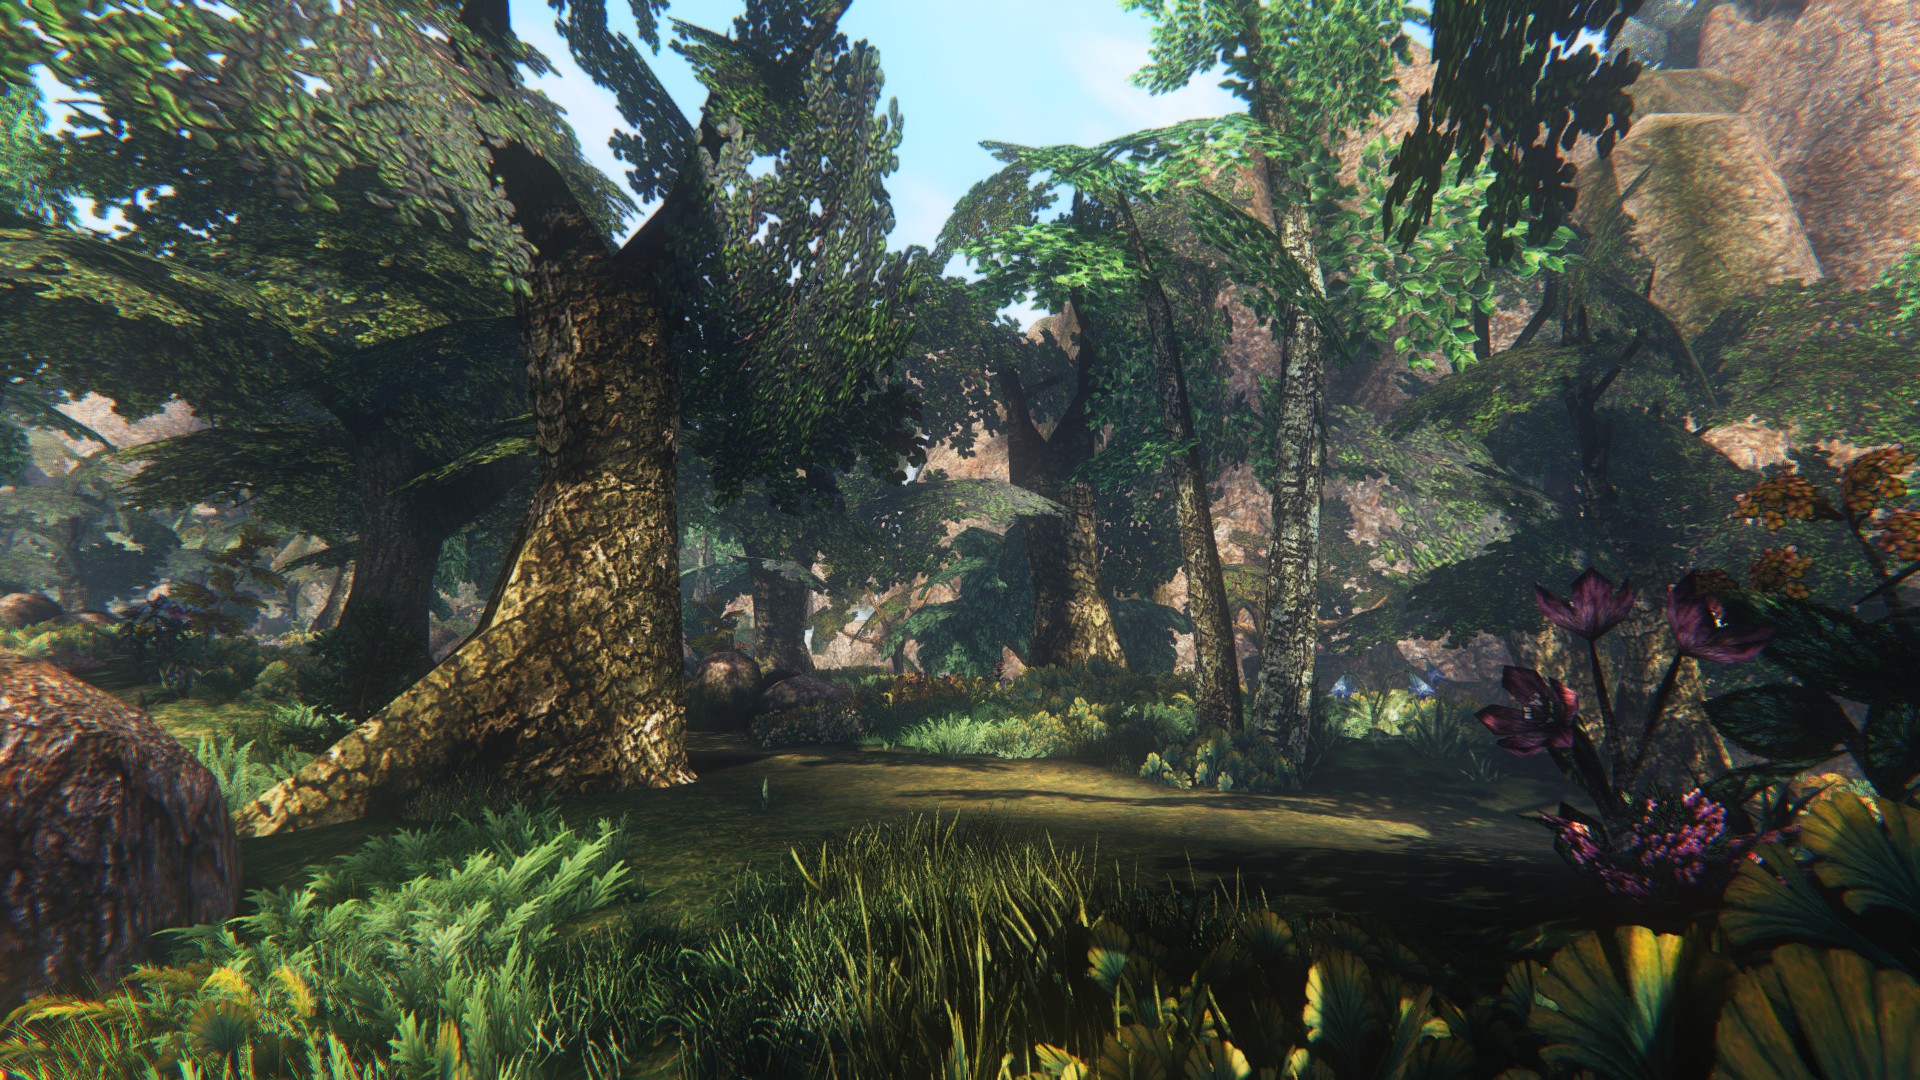
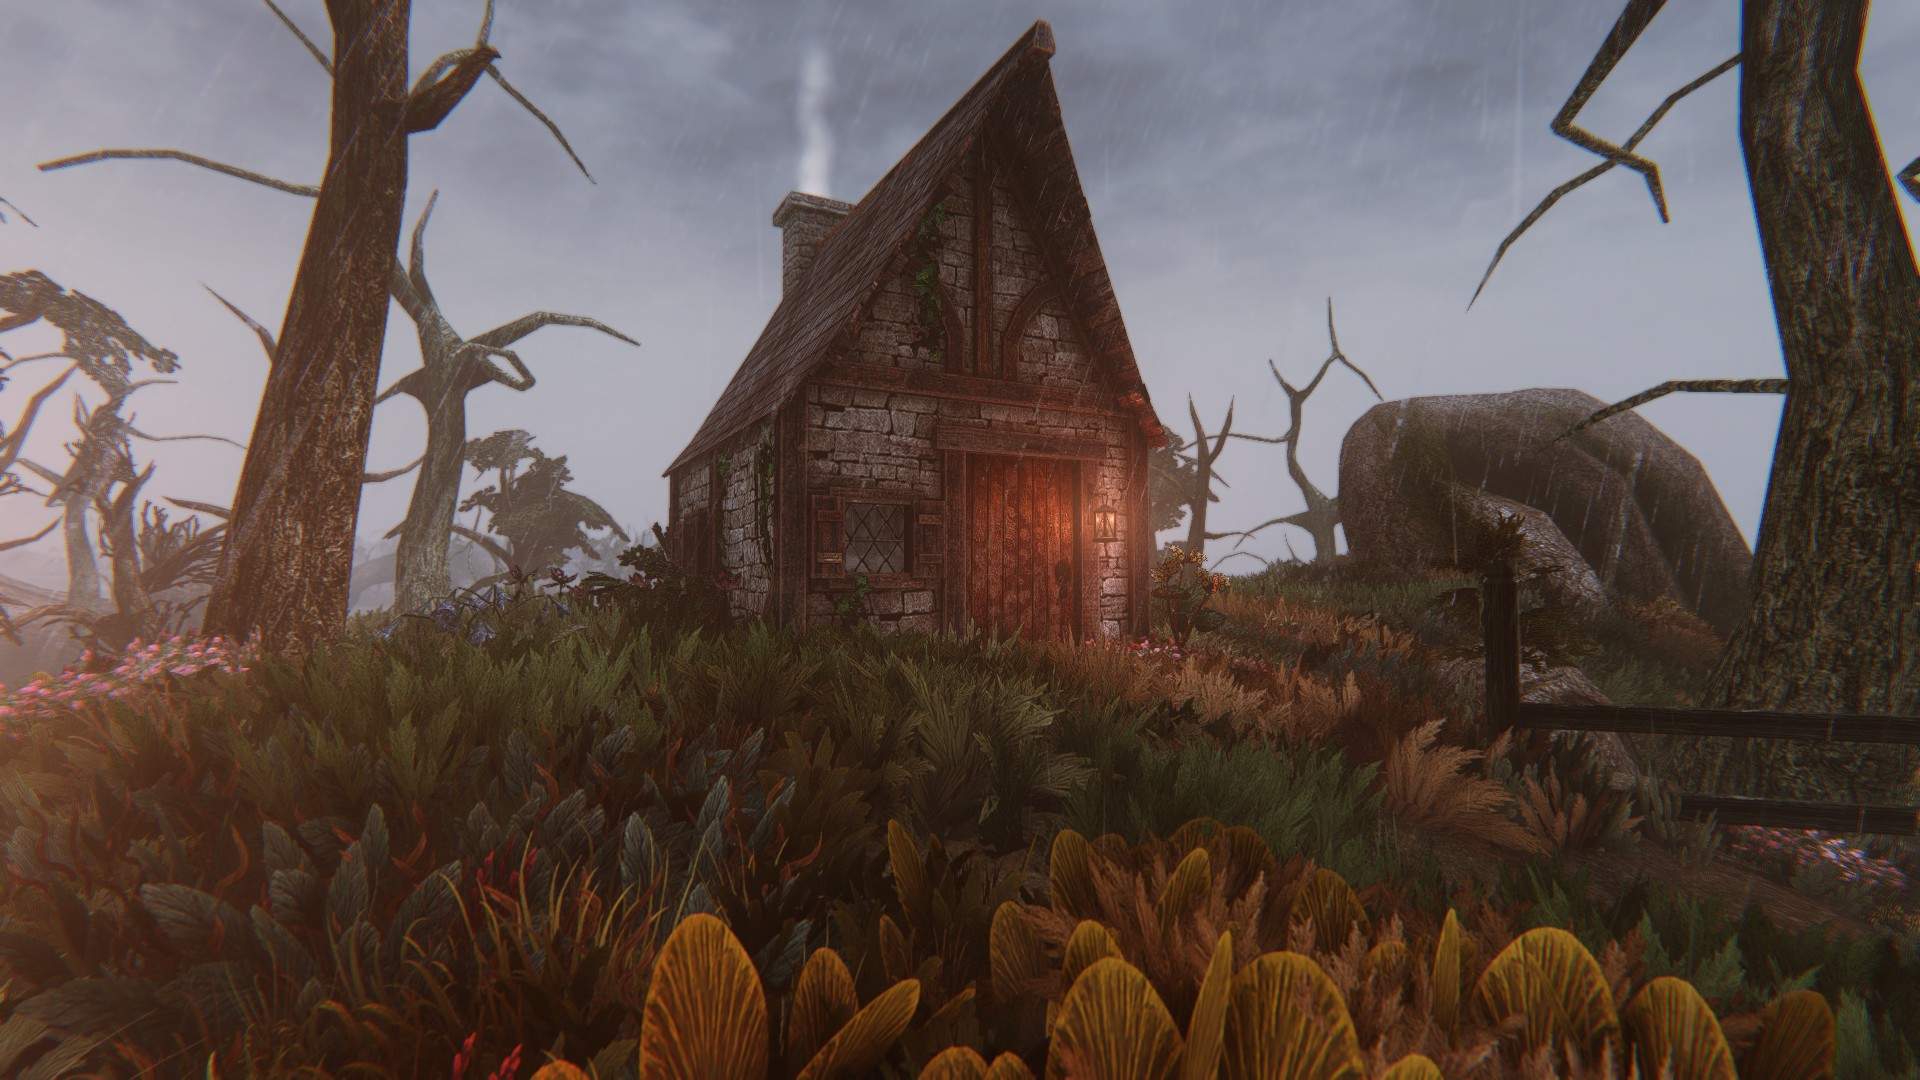
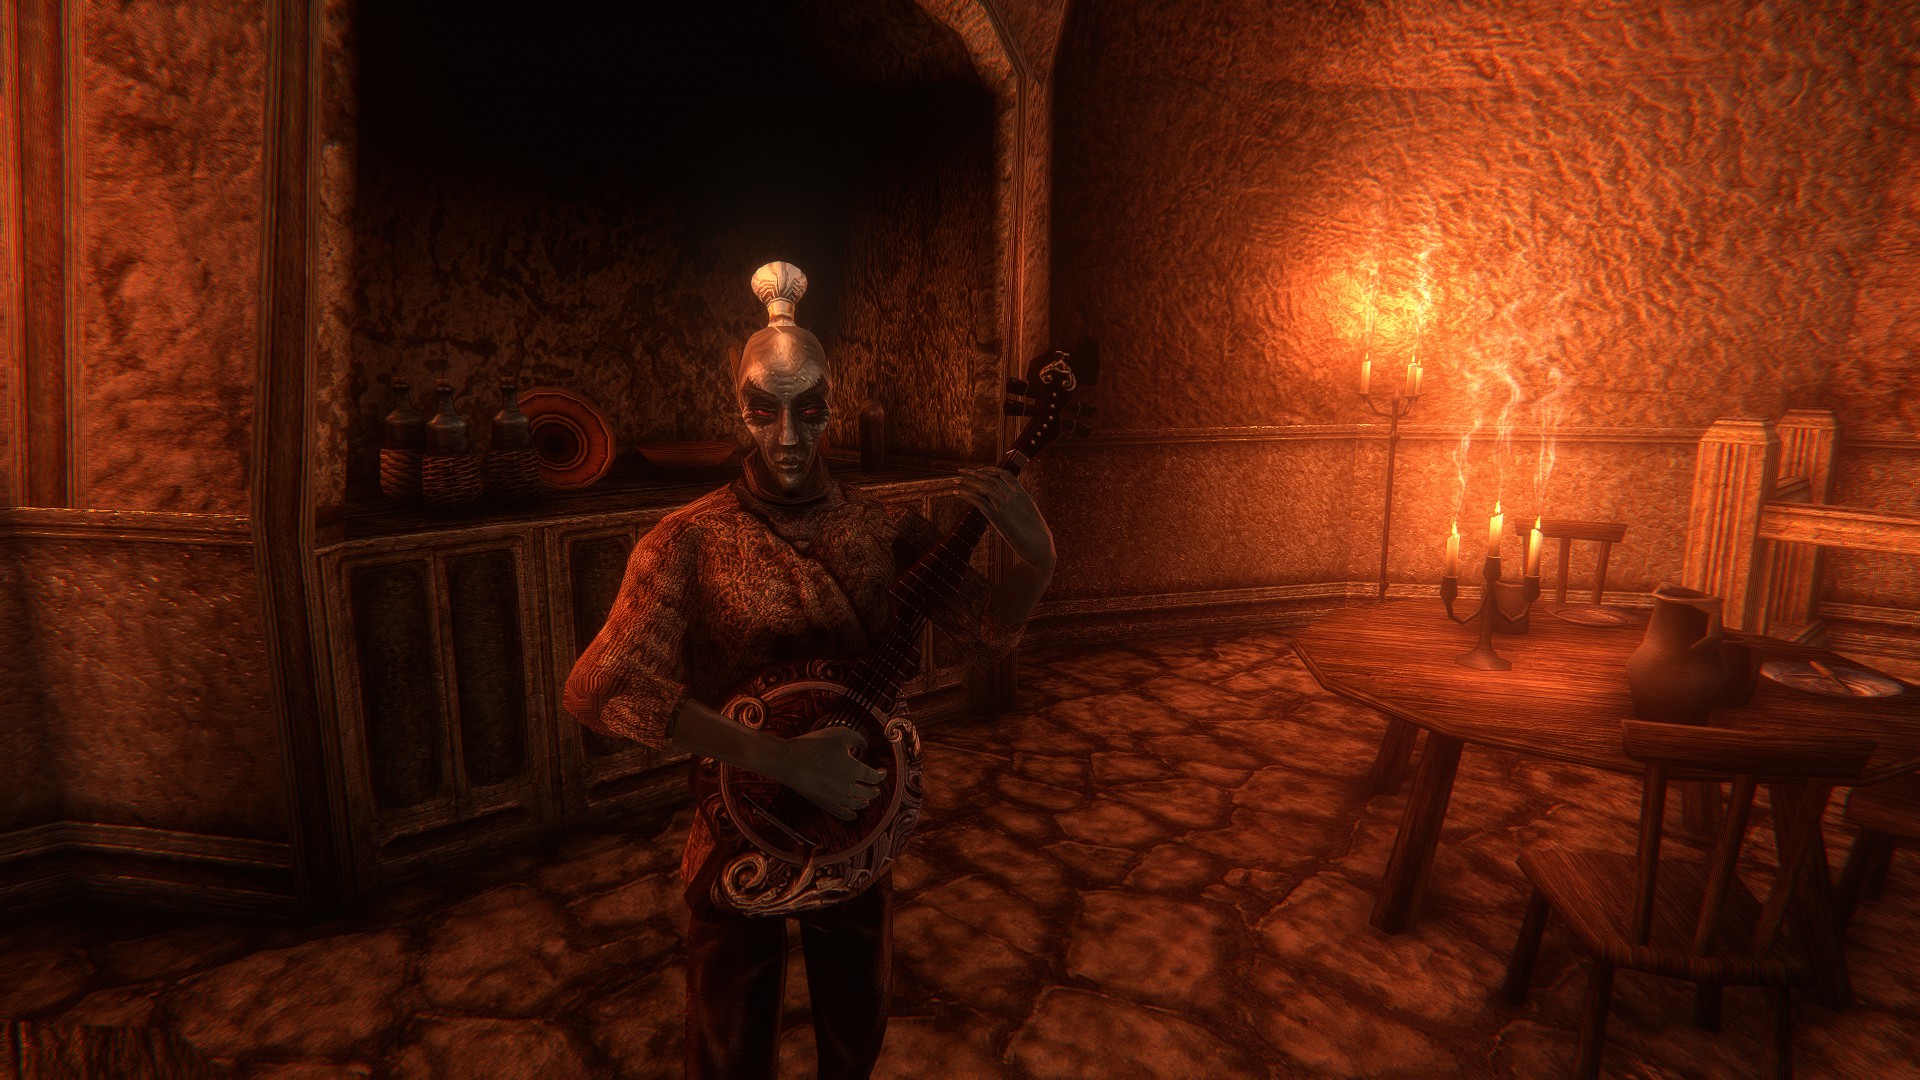
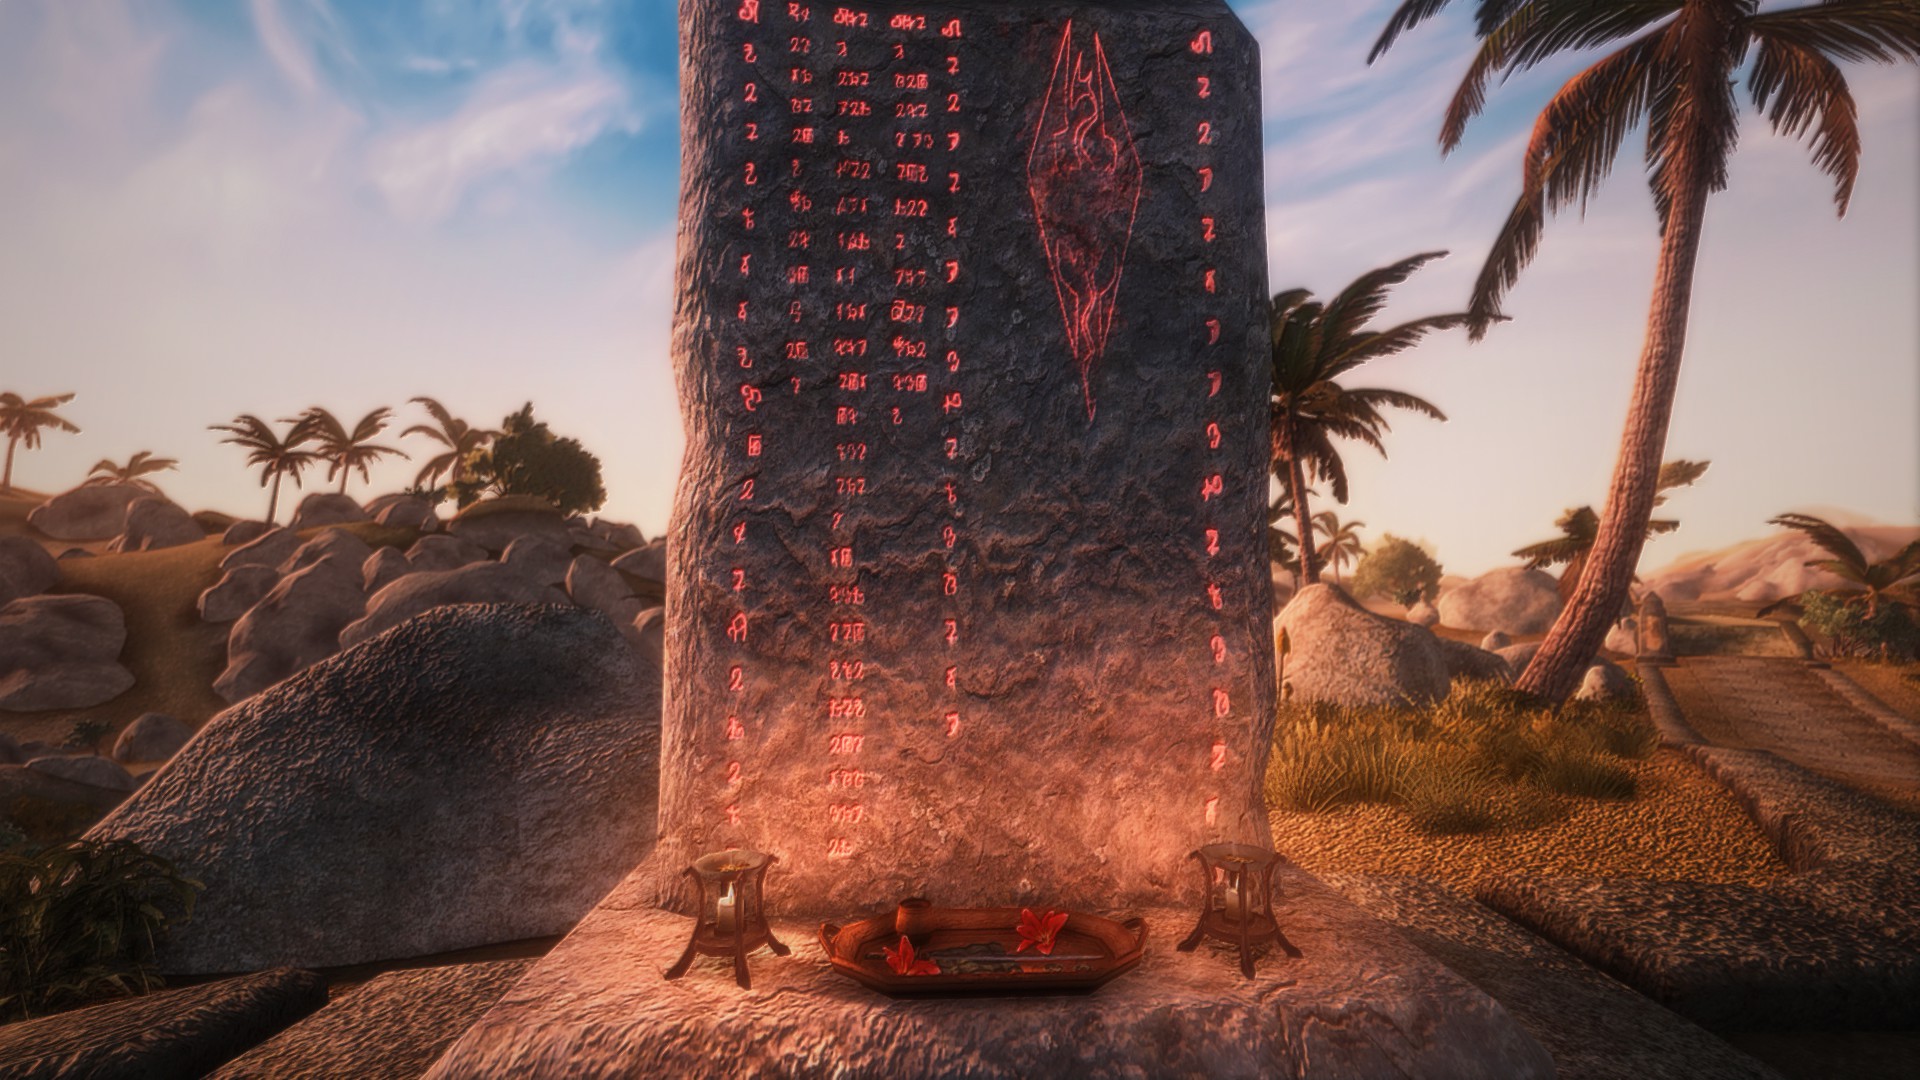
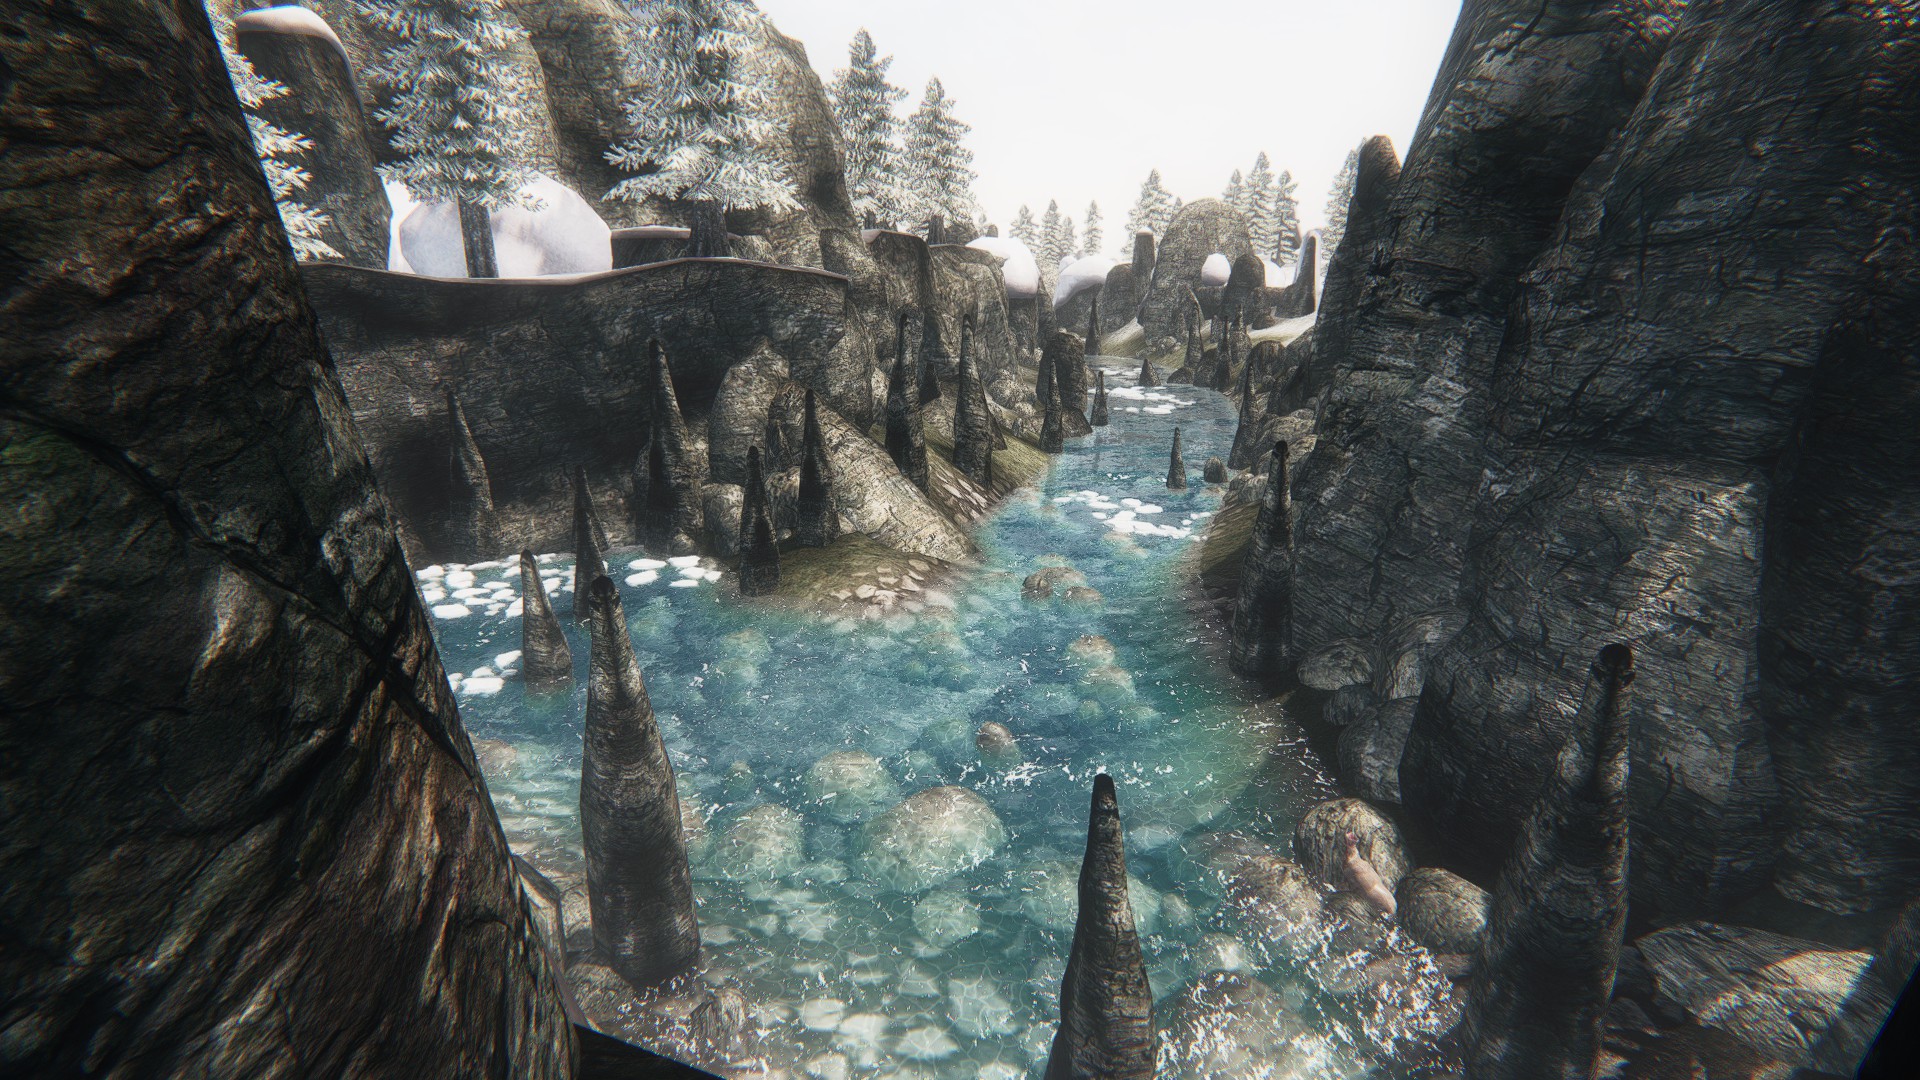
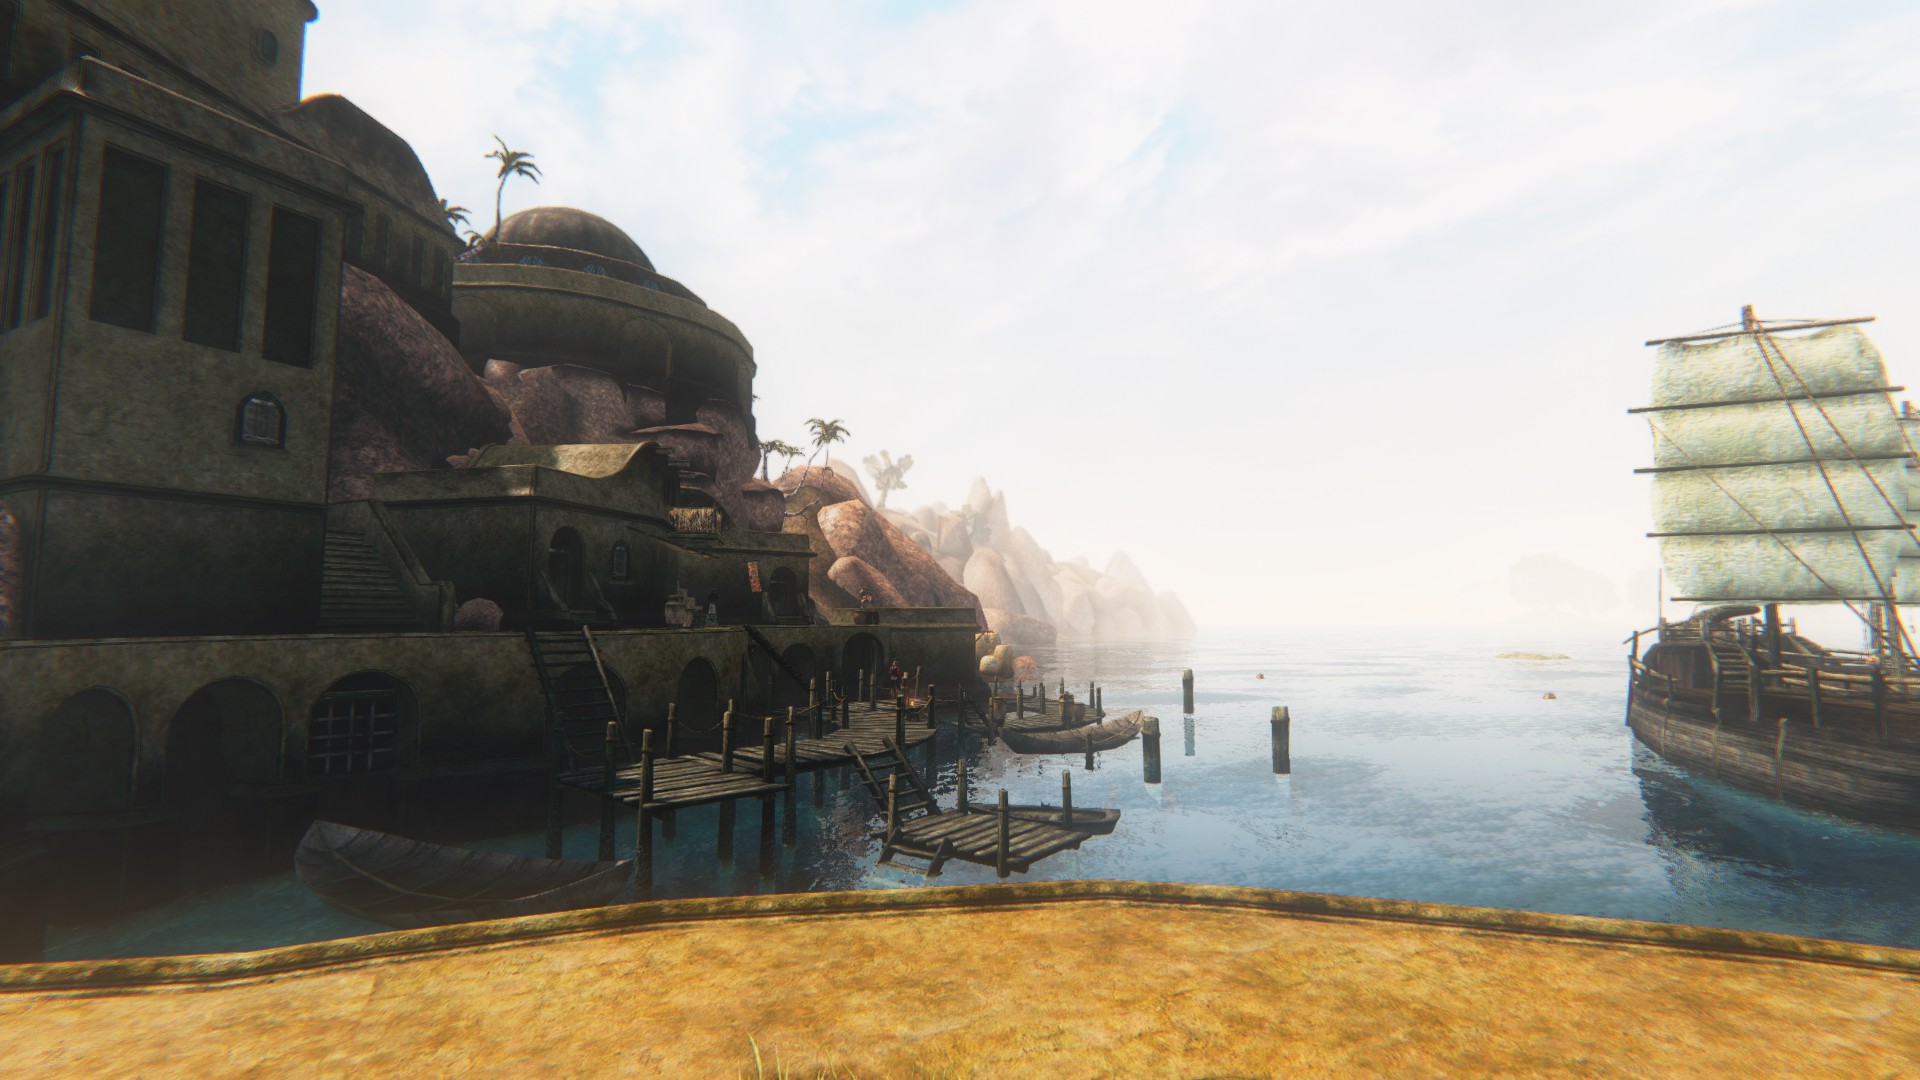
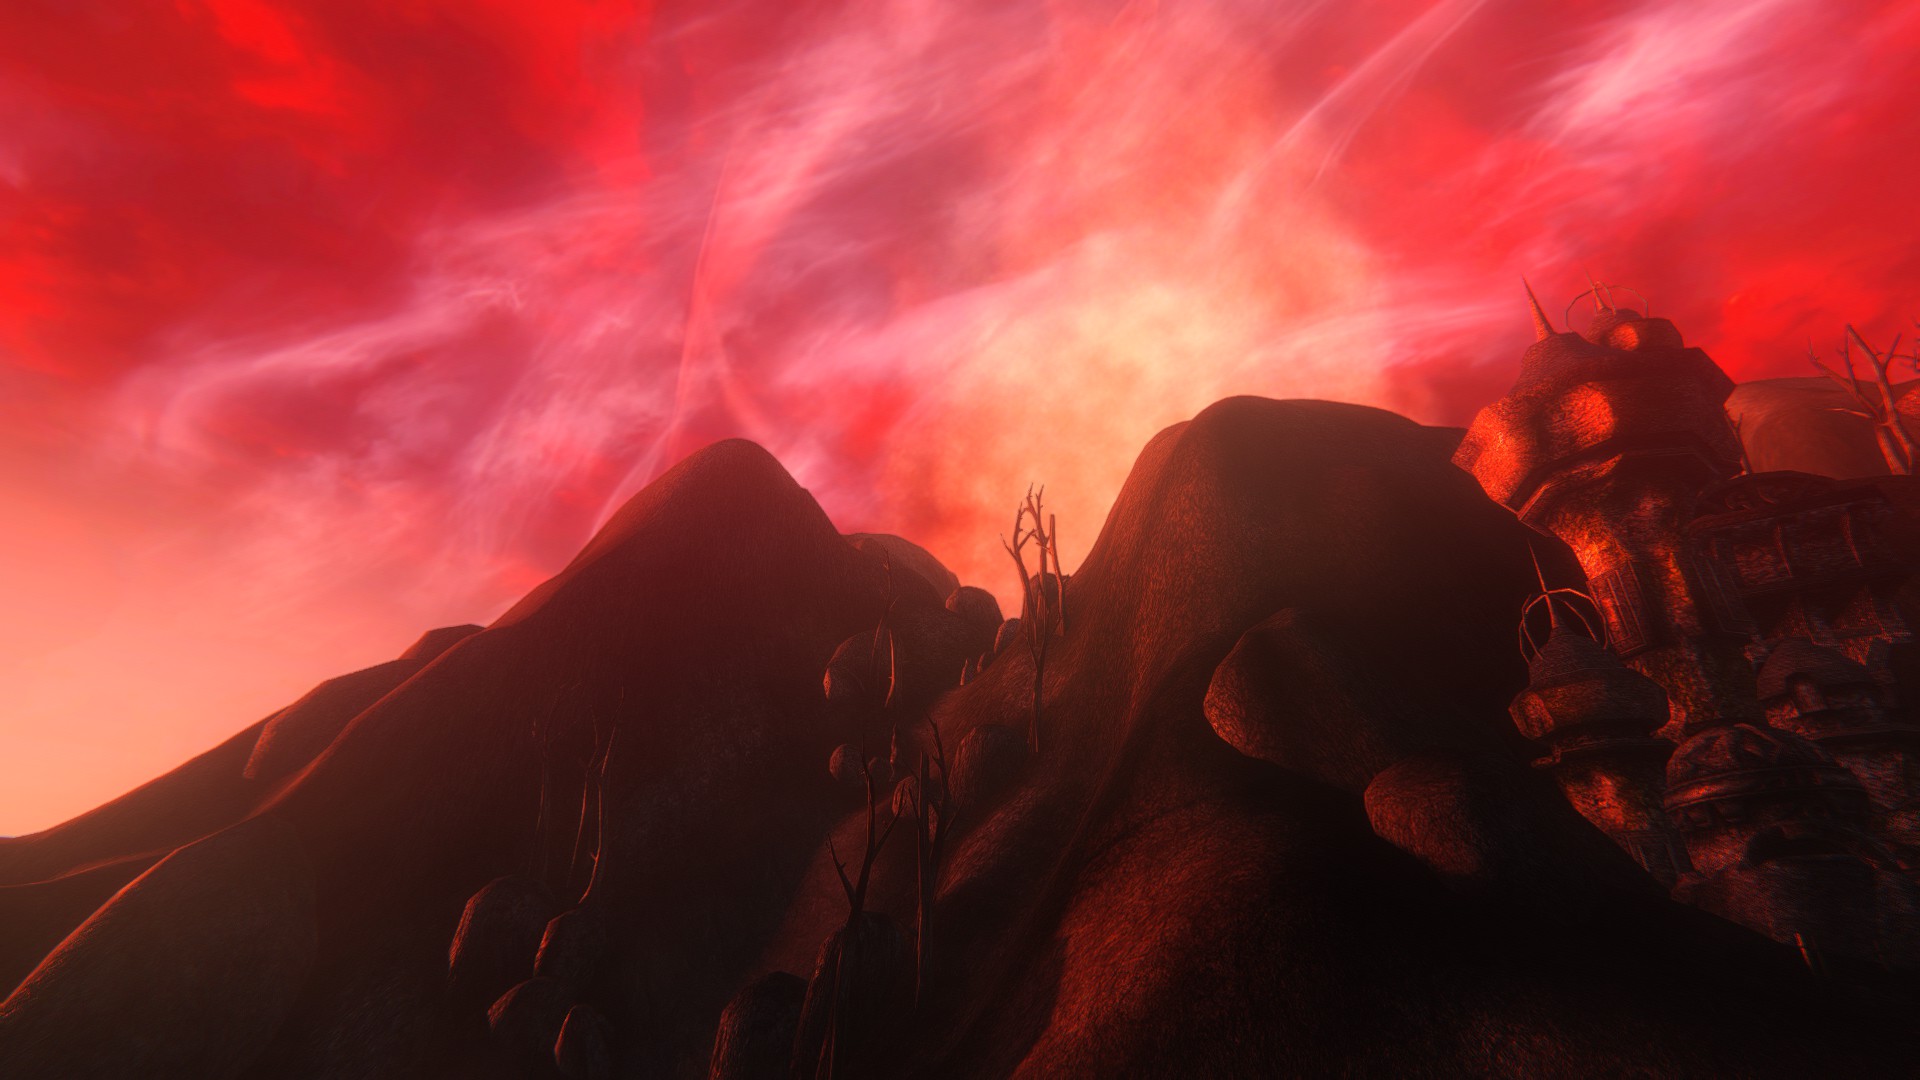
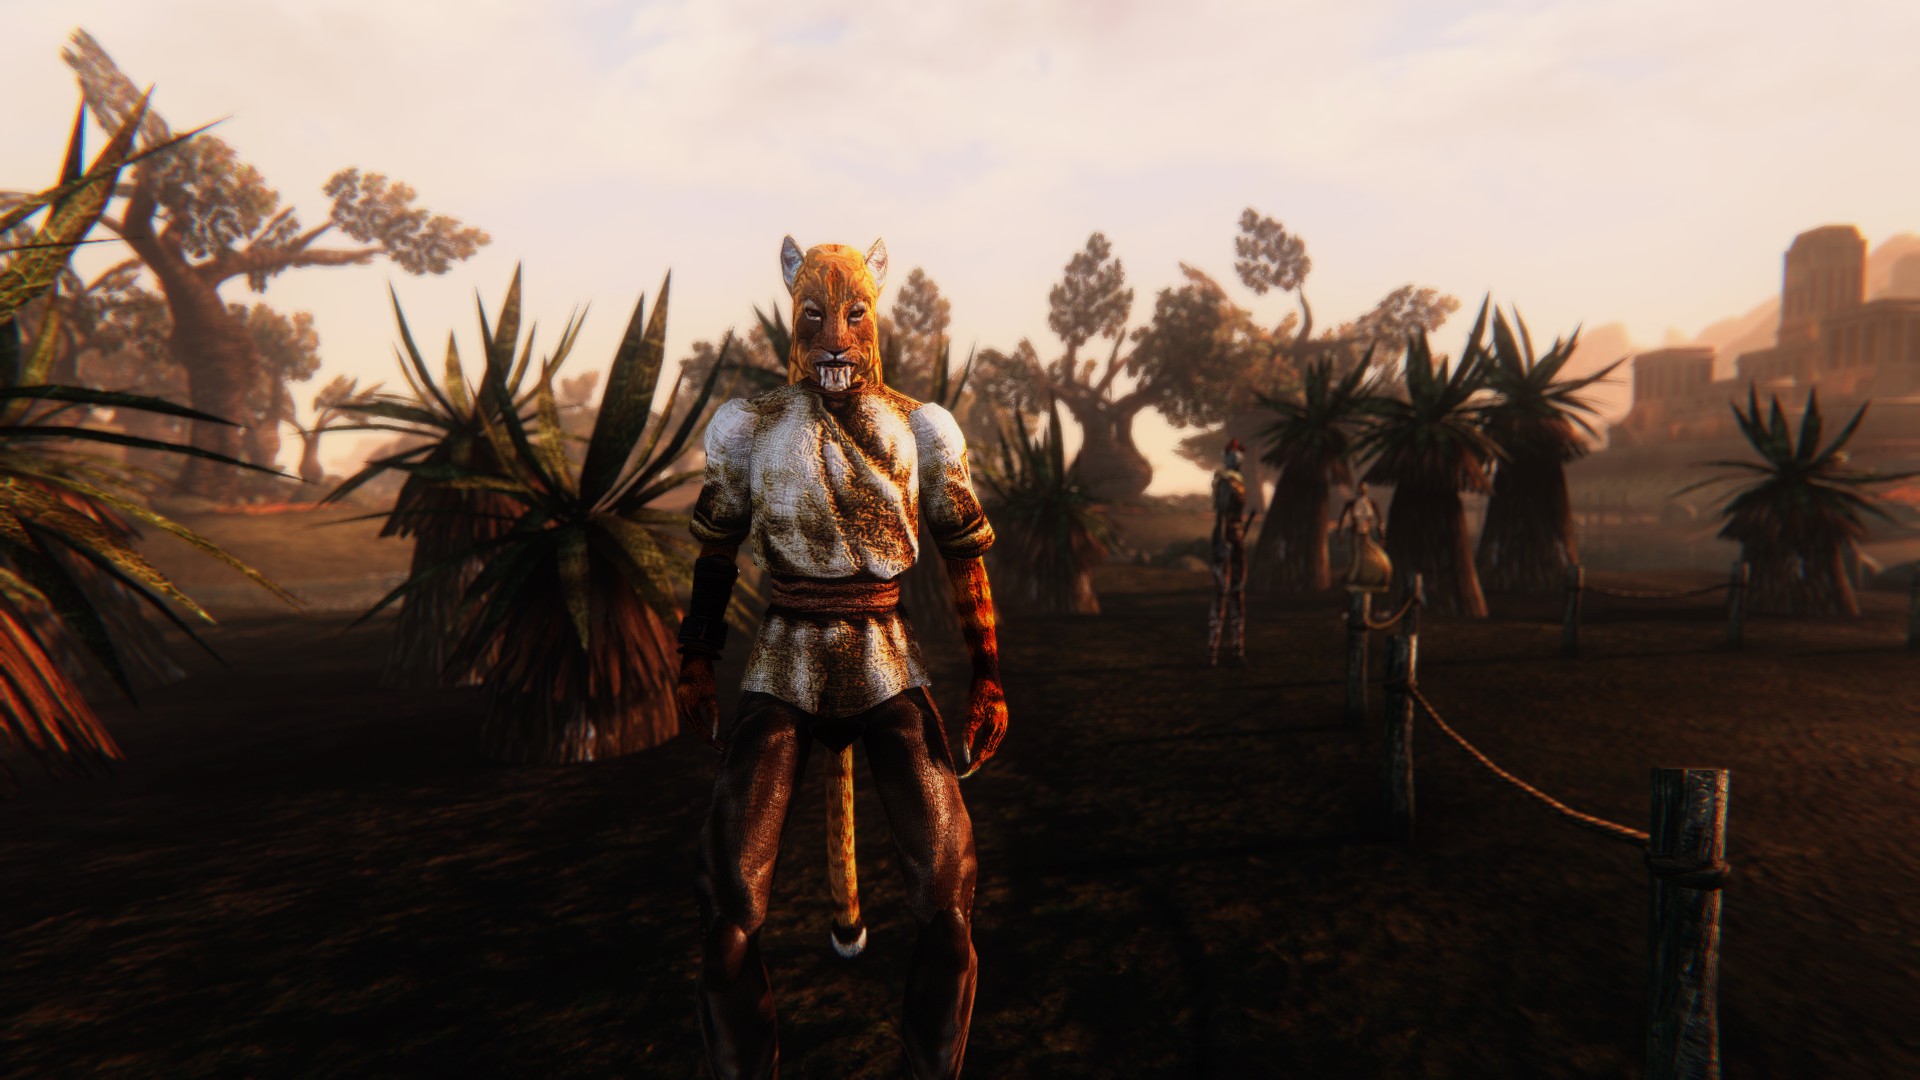
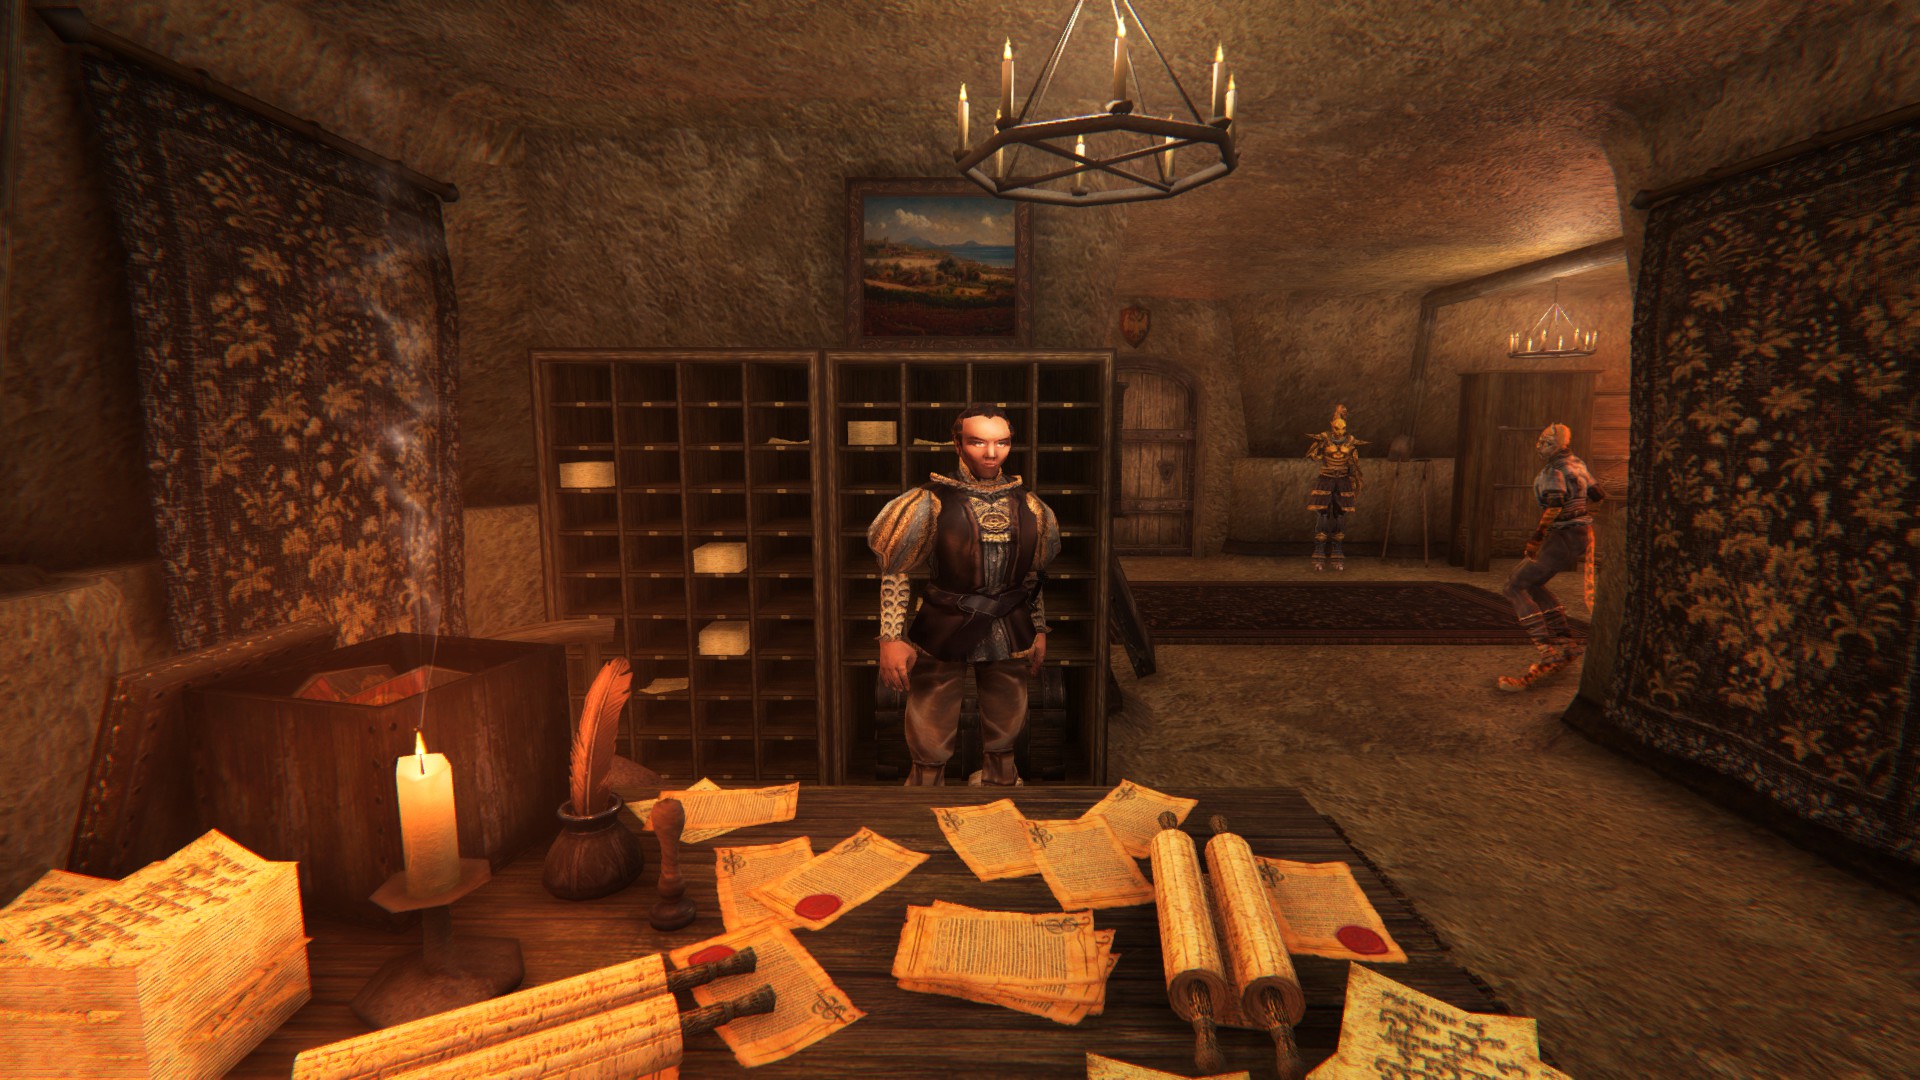
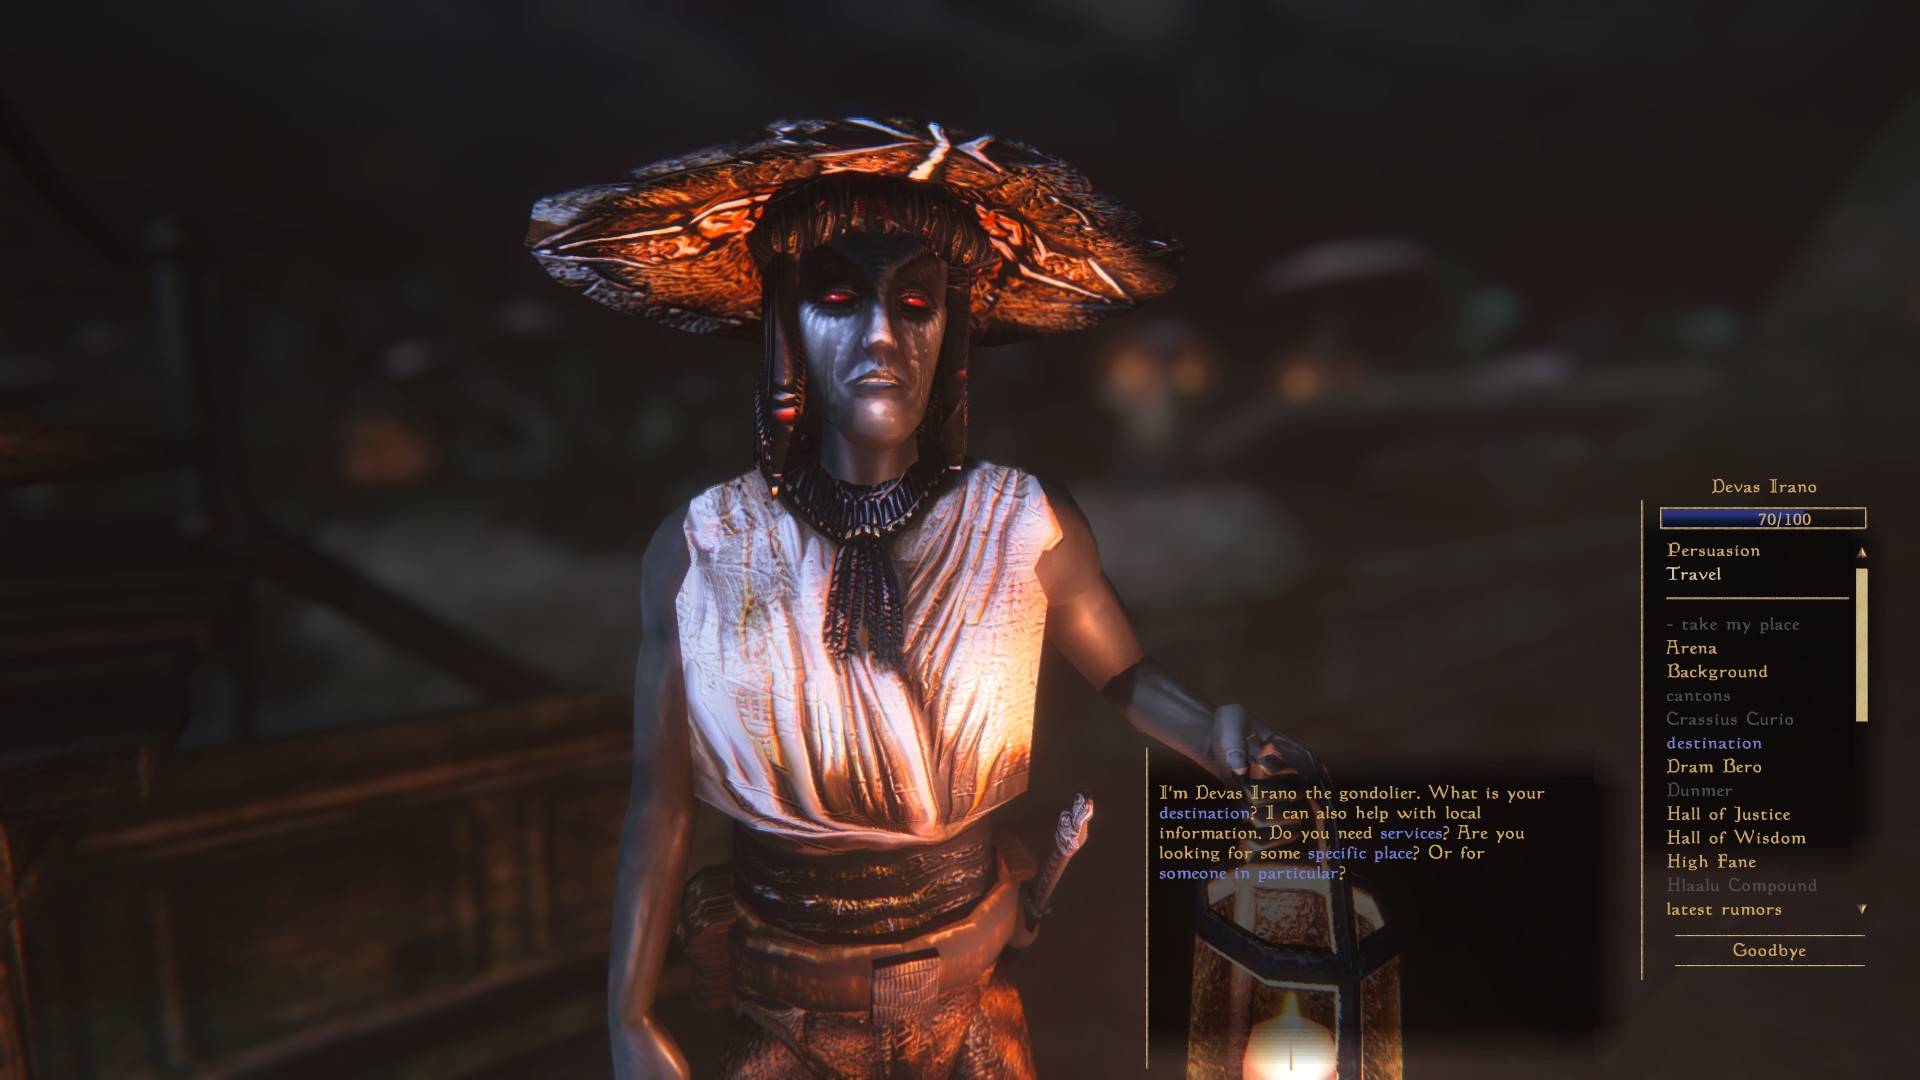
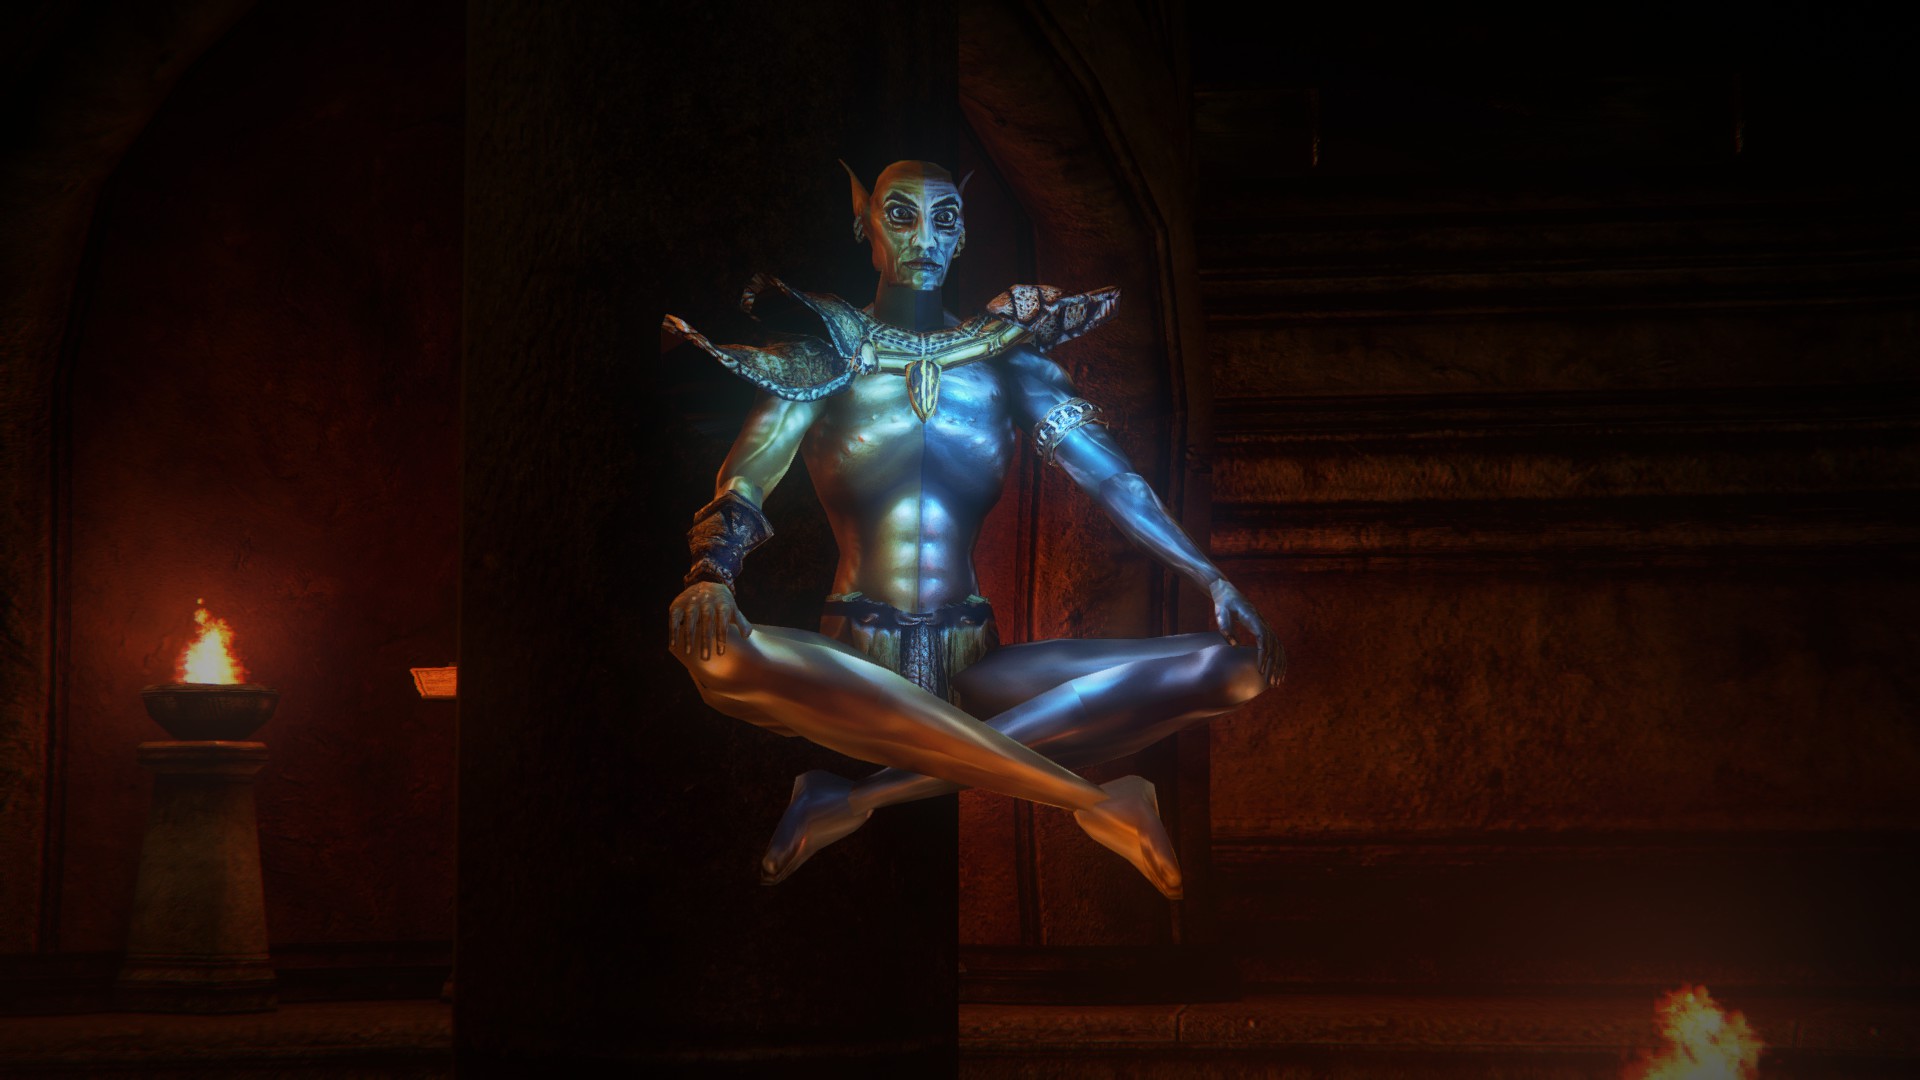
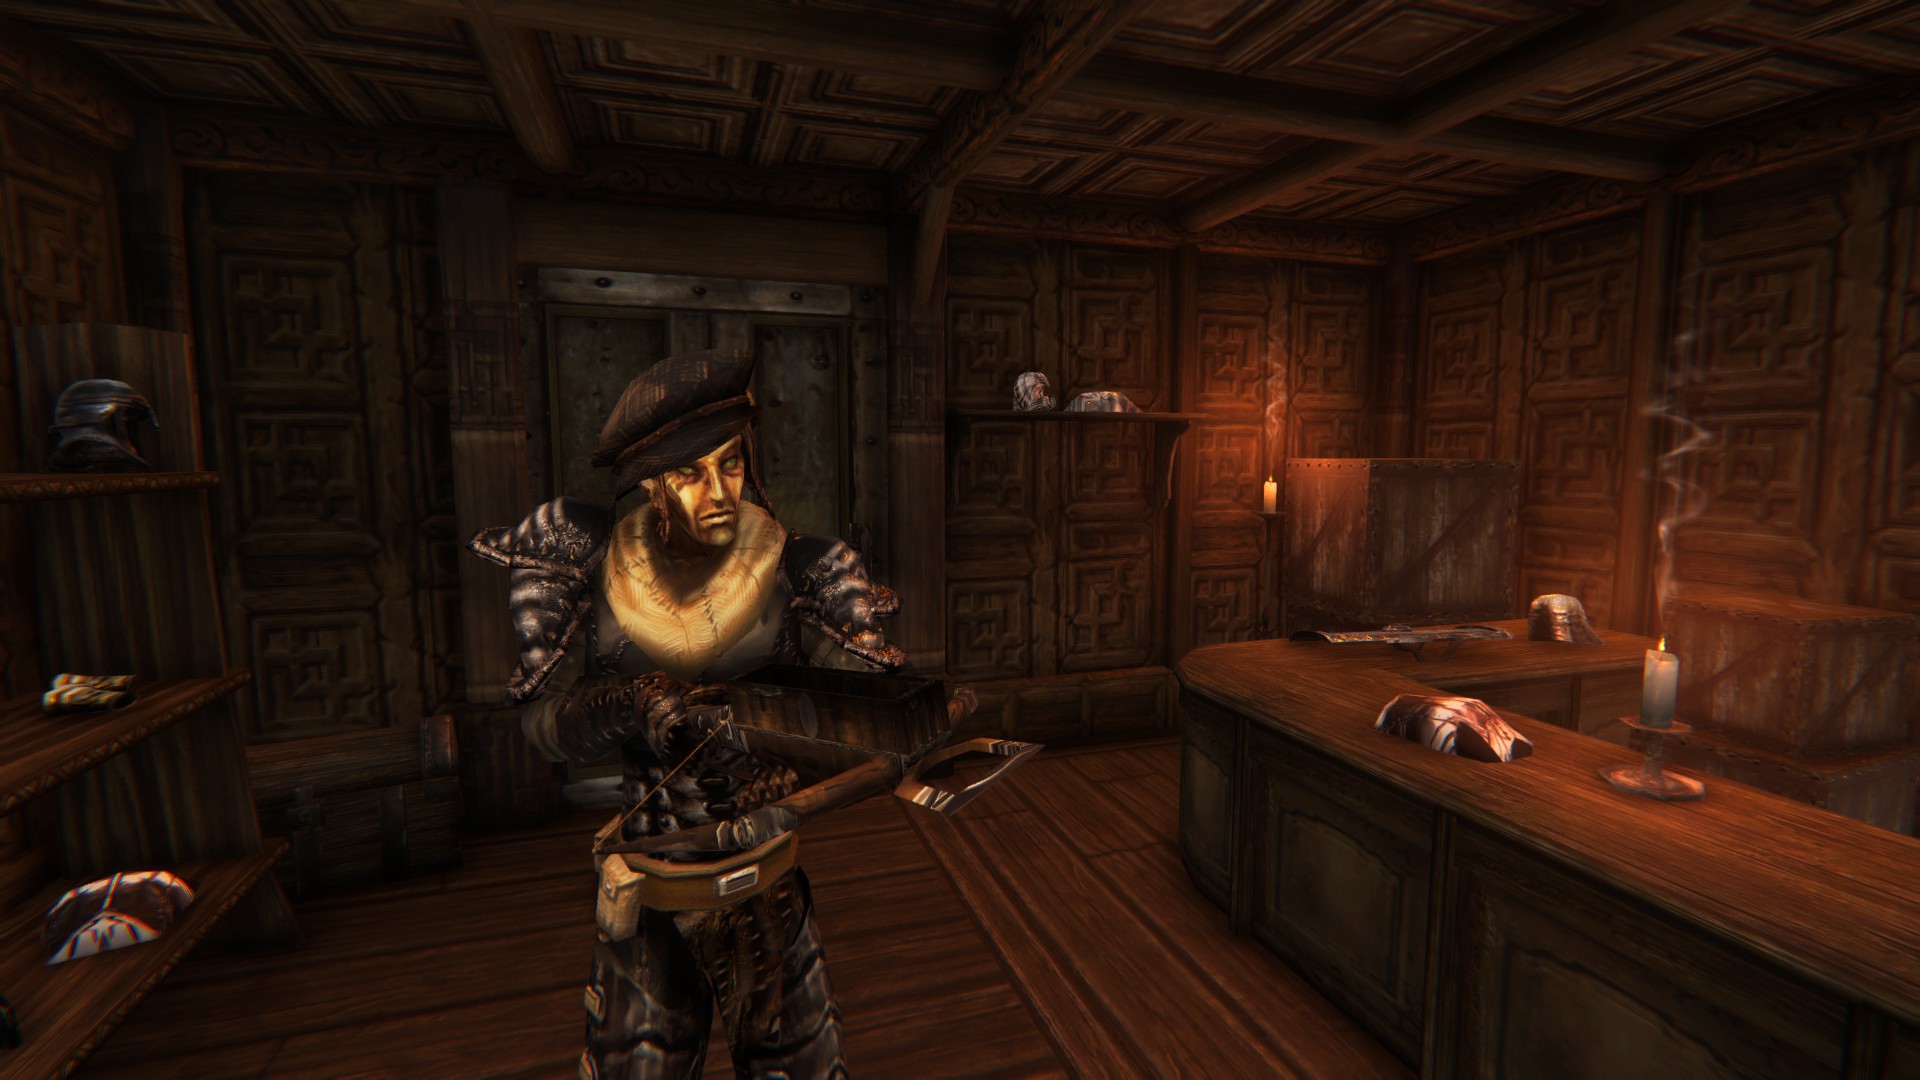
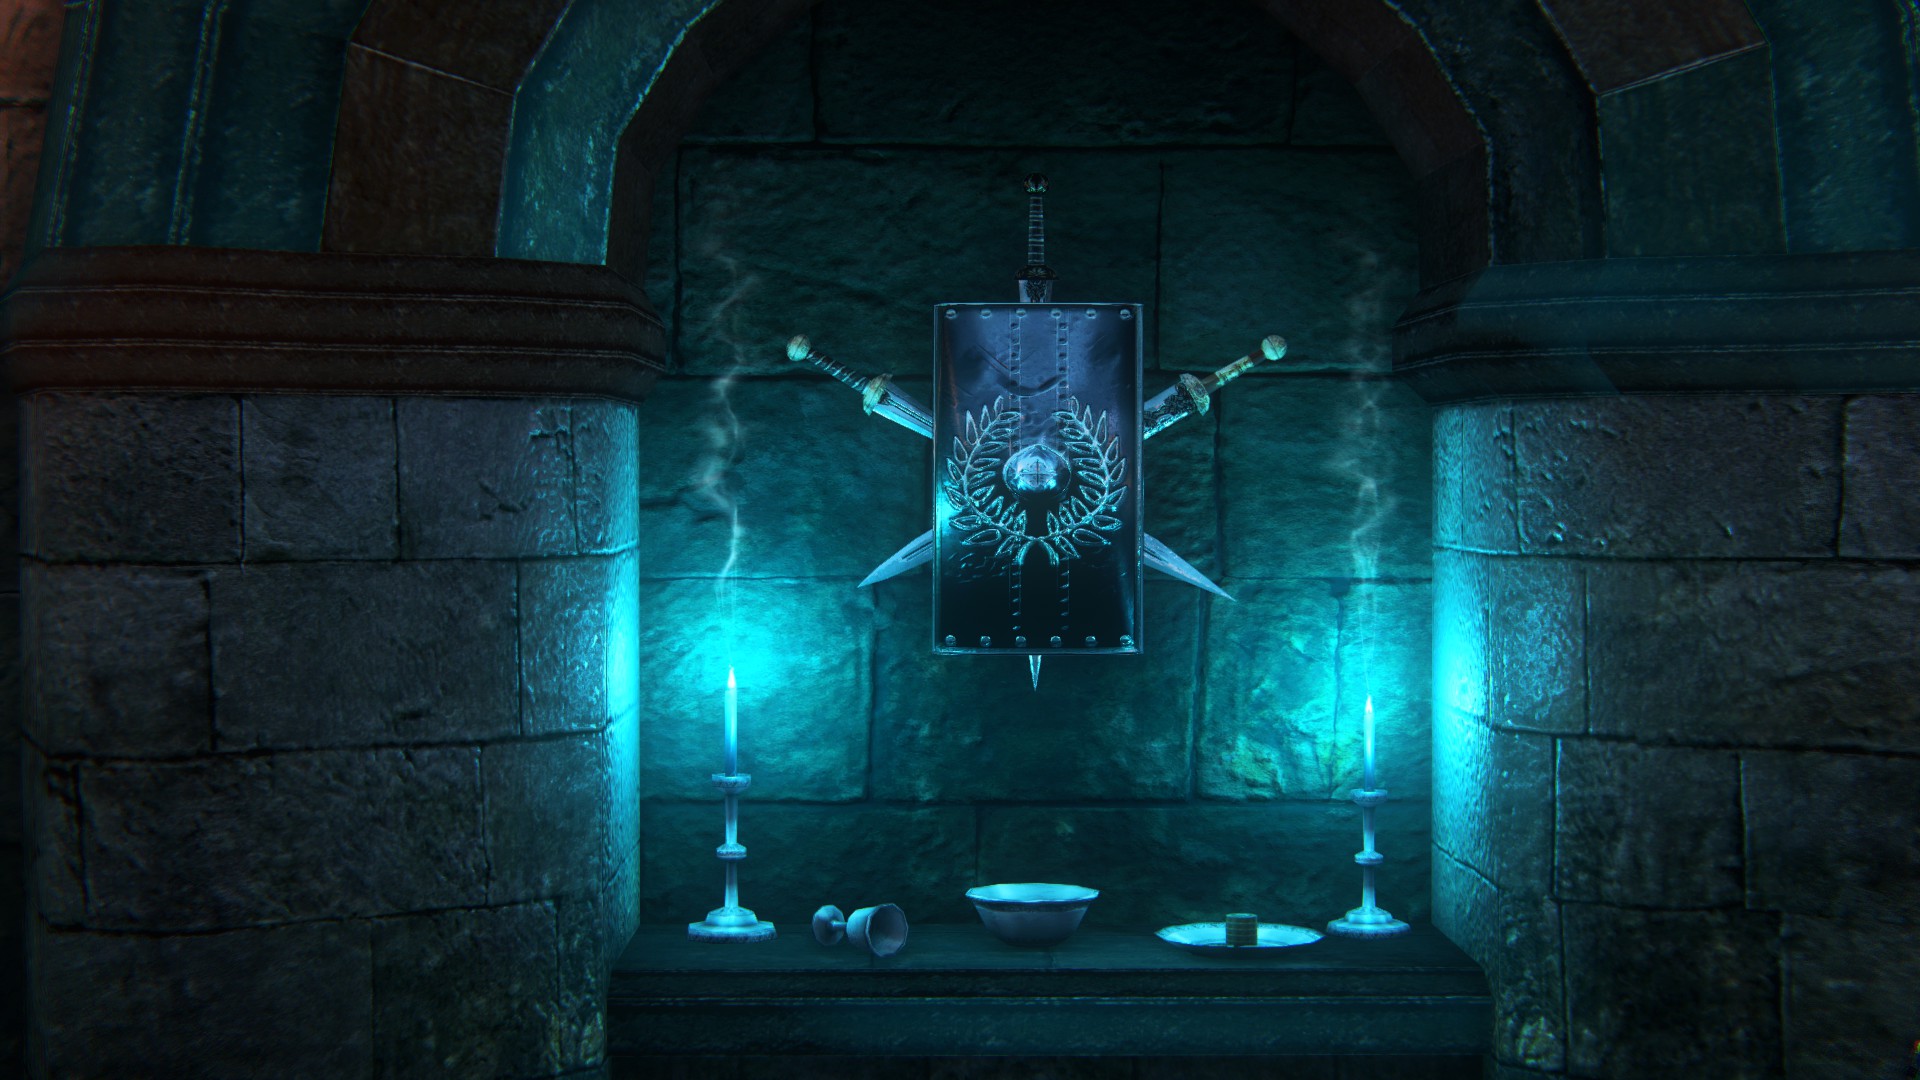
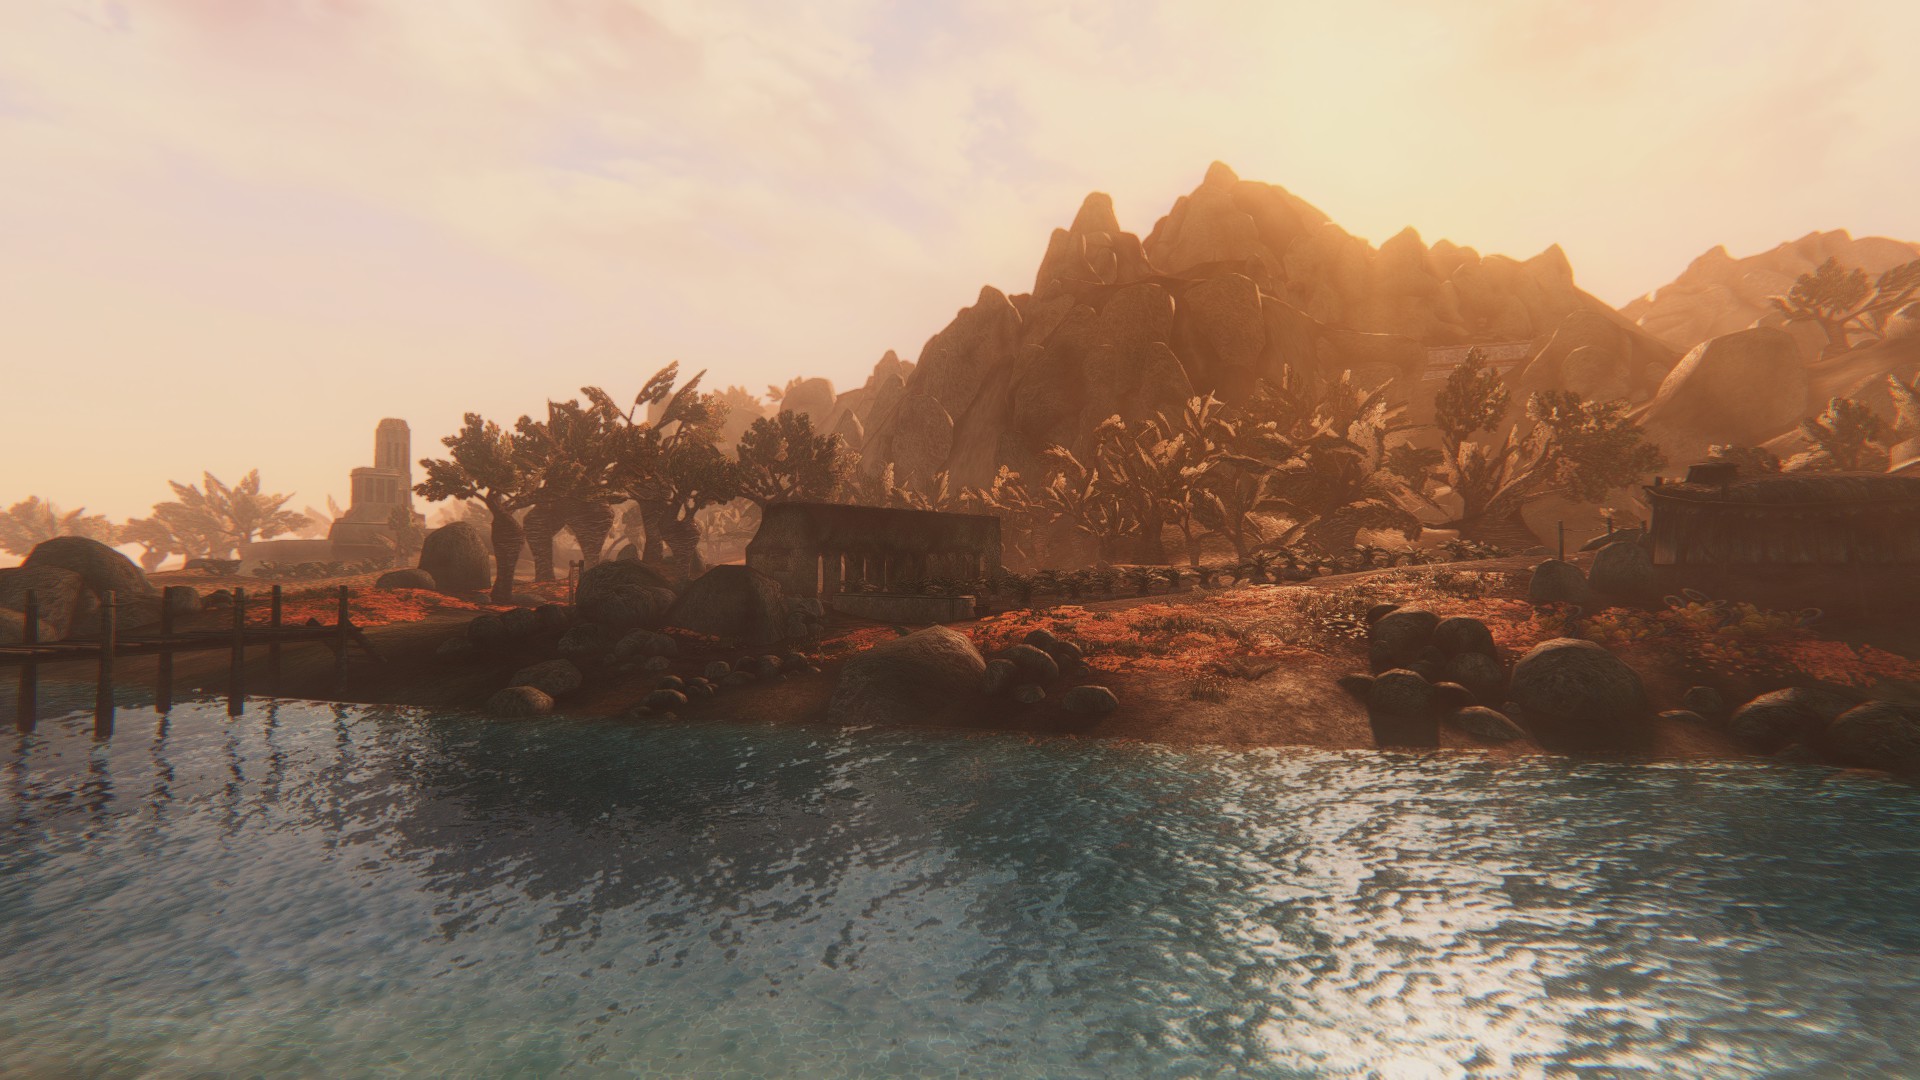
PART 1 - Getting the Shaders and Installing Them
Here's the basics:
1. Install Rafael's shader pack here: https://www.nexusmods.com/morrowind/mods/53667
Get the main pack, skip his PBR lighting, get his shadows for whichever shadow resolution you use, and then finally get his enhanced water shader and anti-transparency bug fix. You'll install the main thing into its own folder, RafaelsShaderPack, which you should add to OpenMW as a data directory. Again, you want to SKIP the PBR part as Zesterer's own PBR shader will be used instead, trying the merge the two will create lighting glitches.
2. Install Zesterer's shaders here: https://github.com/zesterer/openmw-shaders?tab=readme-ov-file#download
Drag and drop, don't overwrite anything that's been added by Rafael's.
3. Install the analog film shader pack here: https://www.nexusmods.com/morrowind/mods/56507
Same thing as step 1, put wherever you like and then add the folder as a data directory in the OpenMW launcher.
4. Install this collection of shaders: https://modding-openmw.gitlab.io/momw-post-processing-pack/
Place them in their own folder, add the whole folder as a data directory in the OpenMW launcher.
5. Install the final shader pack from this link and get BOTH files: https://www.nexusmods.com/morrowind/mods/57940?tab=files
This contains reshade conversions as well as some more original shaders. Again, put them in their own folder or with your other shaders from above, then add that directory as a data directory in OpenMW if it hasn't been already.
Other than that, generally just follow the further install instructions provided by each of the shaders' creators.
BUT! If you want to get everything all at once, just scroll down a little bit and get my shader collection. I've provided everything in one .rar file.
1. Install Rafael's shader pack here: https://www.nexusmods.com/morrowind/mods/53667
Get the main pack, skip his PBR lighting, get his shadows for whichever shadow resolution you use, and then finally get his enhanced water shader and anti-transparency bug fix. You'll install the main thing into its own folder, RafaelsShaderPack, which you should add to OpenMW as a data directory. Again, you want to SKIP the PBR part as Zesterer's own PBR shader will be used instead, trying the merge the two will create lighting glitches.
2. Install Zesterer's shaders here: https://github.com/zesterer/openmw-shaders?tab=readme-ov-file#download
Drag and drop, don't overwrite anything that's been added by Rafael's.
3. Install the analog film shader pack here: https://www.nexusmods.com/morrowind/mods/56507
Same thing as step 1, put wherever you like and then add the folder as a data directory in the OpenMW launcher.
4. Install this collection of shaders: https://modding-openmw.gitlab.io/momw-post-processing-pack/
Place them in their own folder, add the whole folder as a data directory in the OpenMW launcher.
5. Install the final shader pack from this link and get BOTH files: https://www.nexusmods.com/morrowind/mods/57940?tab=files
This contains reshade conversions as well as some more original shaders. Again, put them in their own folder or with your other shaders from above, then add that directory as a data directory in OpenMW if it hasn't been already.
Other than that, generally just follow the further install instructions provided by each of the shaders' creators.
BUT! If you want to get everything all at once, just scroll down a little bit and get my shader collection. I've provided everything in one .rar file.
PART 2 - My Config and My Files
So you've installed everything, but you haven't got a config. If you don't wanna go through the trouble, just use mine. Now to keep things simple, I have provided my own configuration, shader collection, and /resources/shaders folder.
My entire shader collection: https://mega.nz/file/ZNZS0brR#otQHYRy-9daK-51b39z6RKWbrjBV4tplxSnOZqkPsGg
This is a singular folder that contains all shader files for everything I described installing either. For archival purposes I think it's good to throw in my latest collection here, in case any of the original links above are removed or otherwise lost. Just rename the folder to whatever you want, and then add it as a directory in OpenMW. Simple.
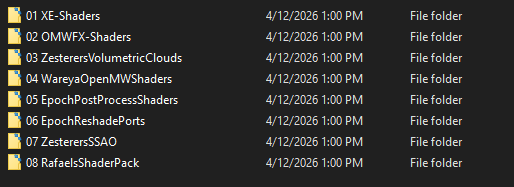
shaders.yaml: https://mega.nz/file/9YBShDia#RHGObq9aR4afqzwVUk5_gptMAOwH35u47cp9gRUP7MU
This is the file that contains my configurations for each individual shader, as tuned in the F2 shader menu. You place it in Documents/My Games/OpenMW.
Alternative, older version:
https://mega.nz/file/pcQz2AYB#pFmJOf7IJtBhdF3DAvGVTtP967zE4qyG0Rq-sZ-Otzw
This is the version I shipped with the guide. Rename it to just "shaders.yaml" if you want it. If you want something I've been using more recently, then click the link before this one.
My shaders folder (OpenMW/resources/shaders) : https://mega.nz/file/xcox1CrZ#zrlQZzzGSCaNqdgQKJTqXSmQUmSyu1dQHKa4rQ5mG0g
This is if you want to avoid mixing and matching pieces of Rafael's shaders with Zesterer's, as I've already done so. You will still need to install the shaders above as described, just do this part afterwards if something's gone wrong with the merging.
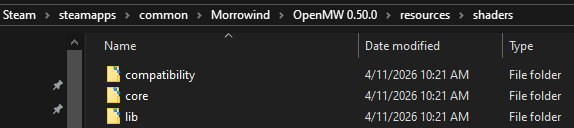
The contents of this folder go in (wherever you put OMW)/OpenMW/resources/shaders, and you will overwrite everything.
It should look like this. Your OpenMW folder can be anywhere you want, just pay attention to the structure after "OpenMW 0.50":
My settings.cfg file: https://mega.nz/file/IMg22Q6b#o3jJeDB8DUqUSGiXQx2mXPD0lXgpgtKQ2G1wzk2slcs
This is my setting configuration file, containing performance optimizations as well as the shader chain if you don't want to add it manually. I recommend combining things like your [Input] and [Sound] section from your existing settings.cfg file into this one via copy/paste. If you've never changed any settings and just have defaults, you can replace the file completely with this one.
After all of this, your Post Processing section within the settings.cfg file in Documents/My Games/OpenMW should be changed to exactly this:
[Post Processing]
enabled = true
chain = Deband,reshade-CAS,GTAO,toon,adjustments,ScreenSpaceShadows_Distant,ScreenSpaceShadows_Exterior,ScreenSpaceShadows_Interior,HBAO,ssao,SSGI_Exterior,SSGI_Interior,VAIO,godrays,DIVE,caustics,point-glow,reshade-ambientLight,war_adjustments,hdr,tonemap,wetworld,quakeunderwater,raindrops,FollowerAA,SMAA,1 txaablur,depth_of_field,ChromaticAbberation
transparent postpass = true
NOTE: It's recommend to download my shader collection to ensure everything in this shader chain is actually present.
After you've done this, your game should look like mine and your shaders should be working in full effect.
My entire shader collection: https://mega.nz/file/ZNZS0brR#otQHYRy-9daK-51b39z6RKWbrjBV4tplxSnOZqkPsGg
This is a singular folder that contains all shader files for everything I described installing either. For archival purposes I think it's good to throw in my latest collection here, in case any of the original links above are removed or otherwise lost. Just rename the folder to whatever you want, and then add it as a directory in OpenMW. Simple.
shaders.yaml: https://mega.nz/file/9YBShDia#RHGObq9aR4afqzwVUk5_gptMAOwH35u47cp9gRUP7MU
This is the file that contains my configurations for each individual shader, as tuned in the F2 shader menu. You place it in Documents/My Games/OpenMW.
Alternative, older version:
https://mega.nz/file/pcQz2AYB#pFmJOf7IJtBhdF3DAvGVTtP967zE4qyG0Rq-sZ-Otzw
This is the version I shipped with the guide. Rename it to just "shaders.yaml" if you want it. If you want something I've been using more recently, then click the link before this one.
My shaders folder (OpenMW/resources/shaders) : https://mega.nz/file/xcox1CrZ#zrlQZzzGSCaNqdgQKJTqXSmQUmSyu1dQHKa4rQ5mG0g
This is if you want to avoid mixing and matching pieces of Rafael's shaders with Zesterer's, as I've already done so. You will still need to install the shaders above as described, just do this part afterwards if something's gone wrong with the merging.
The contents of this folder go in (wherever you put OMW)/OpenMW/resources/shaders, and you will overwrite everything.
It should look like this. Your OpenMW folder can be anywhere you want, just pay attention to the structure after "OpenMW 0.50":
My settings.cfg file: https://mega.nz/file/IMg22Q6b#o3jJeDB8DUqUSGiXQx2mXPD0lXgpgtKQ2G1wzk2slcs
This is my setting configuration file, containing performance optimizations as well as the shader chain if you don't want to add it manually. I recommend combining things like your [Input] and [Sound] section from your existing settings.cfg file into this one via copy/paste. If you've never changed any settings and just have defaults, you can replace the file completely with this one.
After all of this, your Post Processing section within the settings.cfg file in Documents/My Games/OpenMW should be changed to exactly this:
[Post Processing]
enabled = true
chain = Deband,reshade-CAS,GTAO,toon,adjustments,ScreenSpaceShadows_Distant,ScreenSpaceShadows_Exterior,ScreenSpaceShadows_Interior,HBAO,ssao,SSGI_Exterior,SSGI_Interior,VAIO,godrays,DIVE,caustics,point-glow,reshade-ambientLight,war_adjustments,hdr,tonemap,wetworld,quakeunderwater,raindrops,FollowerAA,SMAA,1 txaablur,depth_of_field,ChromaticAbberation
transparent postpass = true
NOTE: It's recommend to download my shader collection to ensure everything in this shader chain is actually present.
After you've done this, your game should look like mine and your shaders should be working in full effect.
PART 2.5 - PBR and Normalmaps
IMPORTANT: PBR shaders only truly benefit from PBR and normalmap textures being installed.
PBR is a shading method that simulates how light realistically bounces off of different materials based on height and roughness, while normal maps are specialized textures used to fake intricate surface details and bumps without adding extra geometry. POM or Parallax Occlusion Mapping is a method of making these textures appear 3D, with bumpmapping.This is what I use:
https://www.nexusmods.com/morrowind/mods/52114
https://www.nexusmods.com/morrowind/mods/52567
https://www.nexusmods.com/morrowind/mods/56037
https://www.nexusmods.com/morrowind/mods/57592
https://www.nexusmods.com/morrowind/mods/58303
https://www.nexusmods.com/morrowind/mods/57094 (use only the normalmaps)
To save time after you get all these extensive textures, just download my OpenMW resources shader folder for instant compatibility with everything above.
Additionally, most major mods now also include normalmaps, so you won't have to think about that too much.
PART 3 - Explanation / Configuration
What do the shaders do?
Each of the shaders I've pieced together work in conjunction to make up the overall look of the game, as seen in the screenshots I've provided. Some are more important, some less so. I'll go into what you can toggle on/off simply without compromise, and what I would recommend leaving as-is.Firstly, if you want to configure anything at all you must open the shader menu by pressing F2.
To disable a shader, refer to the list on the right side and click a shader. Either look within its settings for a "disable" toggle, or click the left-arrow button in the F2 menu to take it out of the list.
To enable a shader, you click a shader from the list on the left side and click the right-arrow button. There are plenty of other shaders to play with and you can add or adjust these as you see fit.
If you take a shader out of the list, and you wish to re-add it, you will have to re-order it as well.
If you don't recall the order, refer to the next part below:
The Shaders (and appropriate order)
DebandThis smoothes and removes rough color artifacting in the game's textures, ESPECIALLY if you don't have any texture mods. I recommend keeping it on.
reshade-CAS
A simple sharpening filter. Can be disabled easily.
adjustments
Gamma tweaker. Entirely optional and you can disable it if you want, but I would keep it on.
toon
Adds very, very subtle outlines to geometry to help objects pop. Optional depending on your visual preference. There are other gamma and color options being used so don't disable it, if you dislike the lines then turn the line thickness option to 0.
GTAO
Ground Truth Ambient Occlusion. A very high-quality method of adding shadows to crevices and corners. Optional.
ScreenSpaceShadows_Exterior / Interior
These add dynamic shadows based on what is currently visible on your screen. They help ground objects in the world and greatly compliment the vanilla shadows.
HBAO and ssao
These provide simulated shadows and edges to characters and the environment. They compliment the in-game shadows and provide depth. If you want them darker or lighter, both provide options for this.
SSGI_Exterior / Interior
Screen Space Global Illumination. This simulates how light bounces off surfaces onto other objects, greatly improving the realism of the lighting engine. This is a BIG performance impact, so you should either tweak the slices and steps options to 2, or disable it completely if you have issues.
VAIO
Volumetric fog and lighting. It provides fog effects that deepen the lighting quality and visual range. Absolutely necessary and should not be disabled.
godrays
Godrays go hand in hand with the volumetric fog effect and create a sense of natural lighting when it's both cloudy and sunny. Keep it on.
DIVE
Underwater lighting and color shader. The settings are pretty intricate but I would recommend keeping everything as I've set it, and definitely don't turn it off.
caustics
A complimentary underwater lighting shader that adds light refractions to any underwater scene. Without it, underwater scenes will look a bit flatter.
point-glow
Makes every light source in the game blend in more realistically. An absolute necessity for light sources to look good; it prevents them from looking like flat, floating bulbs.
reshade-ambientlight
An effect that realistically blends the color and lighting of any given scene. I have it set so values don't get too bright and the blending remains subtle.
war_adjustments
Specific color and lighting tweaks that compliment all other effect. Helps maintain the intended atmosphere. Don't disable.
hdr
Simulates High Dynamic Range, expanding the contrast between the brightest and darkest parts of the image for a more vivid look.
tonemap
This is one of the most important effects for the overall contrast of the end product. Don't touch too much here and definitely don't turn it off.
specialprocess
A backend shader used for contrast boosting and slight bloom. Best left enabled to ensure other effects display correctly.
wetworld
A reflection shader that makes surfaces wet when it rains and makes water more reflective. Absolutely necessary for visual quality, do not turn it off.
quakeunderwater
Another underwater effect that adds some screen waviness to give the impression of swimming underwater. Optional.
raindrops
When the weather is rainy, the screen will show water droplets coming in and out over the player's POV. You can disable this if you want, it's just for immersion.
FollowerAA
A specific anti-aliasing pass designed to smooth out jagged edges on character models and moving objects.
SMAA
A post-processed antialiasing method. Great workaround if you don't have multisampling toggled on; it gives a smooth result for very little processing power.
depth_of_field
An effect that blurs things that are out of focus for a photography-esque look. Completely optional; I usually have it toggled off but it is great for screenshots.
That is the full list of shaders, and their appropriate order.
Too Dark?
I've had a couple people report some issues in when it comes to things like gamma, contrast, and brightness; keep in mind these settings were tuned for my own monitor's values. My OpenMW in-game brightness setting is set to default, so as such I would recommend against playing with that too much and relying on the shaders instead.As such, things may appear too dark in some areas for you, indoors or outdoors. If that is the case, then alter the following shader settings by hitting F2 in-game:
adjustments:
My contrast is set to 1.050. If this appears too dark for you, reduce it to the default of 1.000, and configure gamma to your own taste.
tonemap:
This is an extensive HDR and gamma adjusting shader. For the specific purpose of tuning your light and dark values there are several settings within it, and they are separated into interior and exterior sliders. I would generally recommend you leave everything in here as I have set it EXCEPT for "exterior toe length" and "interior toe length". Adjust those settings to balance how dark and how light the in-game lighting values become.
Furthermore, if you want more saturation, there is a setting for that at the top of the tonemap settings. 0 follows the vanilla game's saturation level, and 5 is 5 times that. It feels a little too much in my opinion, but you might like it. Try it out!
Performance
I have tried my best to optimize all the shader settings to be relatively lightweight. Performance will greatly depend on how your OpenMW already runs, especially with a bunch of mods. I get 40FPS stable, without hitching, on a 1080ti and i7 8700 non-K. I also use Lossless Scaling, on adaptive mode, to frame-gen my FPS to the number of my monitor's refresh rate. Your mileage may vary, it depends on your hardware and how modded your game is.In my experience the heaviest hitters in terms of performance are having a huge modlist, having far too high of an antialiasing value in the OpenMW settings (I keep mine to 2, or none), and having extensive texture mods (like this guide recommends installing).
If the performance is unsatisfactory for you, reducing the settings or otherwise complete removal of the following shaders should help:
SSGI Interior
SSGI Exterior
Screenspace shadows exterior
Screenspace shadows interior
HBAO
ssao
GTAO
Uncoincidentally, these are all lighting-based shaders that provide either further shadowing or an implementation of ambient occlusion.
Recommended Mods
Finally, here is a list of recommended mods that pair well:
UI -
https://www.nexusmods.com/morrowind/mods/54985
https://www.nexusmods.com/morrowind/mods/46854
https://www.nexusmods.com/morrowind/mods/56584
https://www.nexusmods.com/morrowind/mods/57040
Animations -
https://www.nexusmods.com/morrowind/mods/56625
https://www.nexusmods.com/morrowind/mods/57633
https://www.nexusmods.com/morrowind/mods/54782
https://www.nexusmods.com/morrowind/mods/55327
https://www.nexusmods.com/morrowind/mods/54585
https://www.nexusmods.com/morrowind/mods/56594
Visual -
https://www.nexusmods.com/morrowind/mods/55572
https://www.nexusmods.com/morrowind/mods/55392
https://www.nexusmods.com/morrowind/mods/50796
Sound -
https://www.nexusmods.com/morrowind/mods/56836
https://www.nexusmods.com/morrowind/mods/55364
https://www.nexusmods.com/morrowind/mods/56572
Those are some of my favorites, but Nexus offers a lot. Honestly, if you want to play this game basically forever, then just grab a ton of content mods like Tamriel Rebuilt and all the hundreds of quest mods. Those and the plethora of OpenMW mods uploaded these past couple years make a great-looking modlist.
UI -
https://www.nexusmods.com/morrowind/mods/54985
https://www.nexusmods.com/morrowind/mods/46854
https://www.nexusmods.com/morrowind/mods/56584
https://www.nexusmods.com/morrowind/mods/57040
Animations -
https://www.nexusmods.com/morrowind/mods/56625
https://www.nexusmods.com/morrowind/mods/57633
https://www.nexusmods.com/morrowind/mods/54782
https://www.nexusmods.com/morrowind/mods/55327
https://www.nexusmods.com/morrowind/mods/54585
https://www.nexusmods.com/morrowind/mods/56594
Visual -
https://www.nexusmods.com/morrowind/mods/55572
https://www.nexusmods.com/morrowind/mods/55392
https://www.nexusmods.com/morrowind/mods/50796
Sound -
https://www.nexusmods.com/morrowind/mods/56836
https://www.nexusmods.com/morrowind/mods/55364
https://www.nexusmods.com/morrowind/mods/56572
Those are some of my favorites, but Nexus offers a lot. Honestly, if you want to play this game basically forever, then just grab a ton of content mods like Tamriel Rebuilt and all the hundreds of quest mods. Those and the plethora of OpenMW mods uploaded these past couple years make a great-looking modlist.
More The Elder Scrolls III: Morrowind guides
- Morrowind 2024 Essential Modding Guide★ 5 (570)46k views1.7k ♥26 minUpdated Jul 31, 2024
- Русификатор The Elder Scrolls III Morrowind® Game of the Year Edition★ 5 (980)46k views2.1k ♥2 minRussianUpdated Jul 29, 2020
- Integrate OpenMW with Steam (the better way)★ 5 (1.1k)45k views1.9k ♥6 minUpdated Jun 16, 2025
- [FullRest] Улучшение графики, русификатор и оверлей★ 5 (1.1k)39k views2.7k ♥11 minRussianUpdated Oct 25, 2025
- How To Become OP Before Level 2★ 5 (550)34k views1.4k ♥4 minUpdated Jul 4, 2017
- The Morrowind Questing Guide★ 5 (1.6k)33k views3.4k ♥208 minUpdated Mar 27



This guide was created by its original author on the Steam Community. Are you the author and want it removed? Request removal.