
Overview
This guide is for the Mrs Pilsen’s Remorse achievement, finding all the dolls in the Dunwall City Trials DLC
Welcome
Hey all, welcome to the guide, this achievement is for Dishonored’s DLC, Dunwall’s City Trials. It’s an awesome DLC that lets you hone your assassin skills in stealth, kill and agility tests.
In this guide I do a short summary of where the doll is at the beginning of the section then I follow-up with the pictures and a better step-by-step guide. Hopefully between the two you can find the doll easily enough for yourself.
If any chapters are unclear let me know in the comments and I’ll try to redo it so it’s clearer and of course, rate it up if it helps! Thanks.
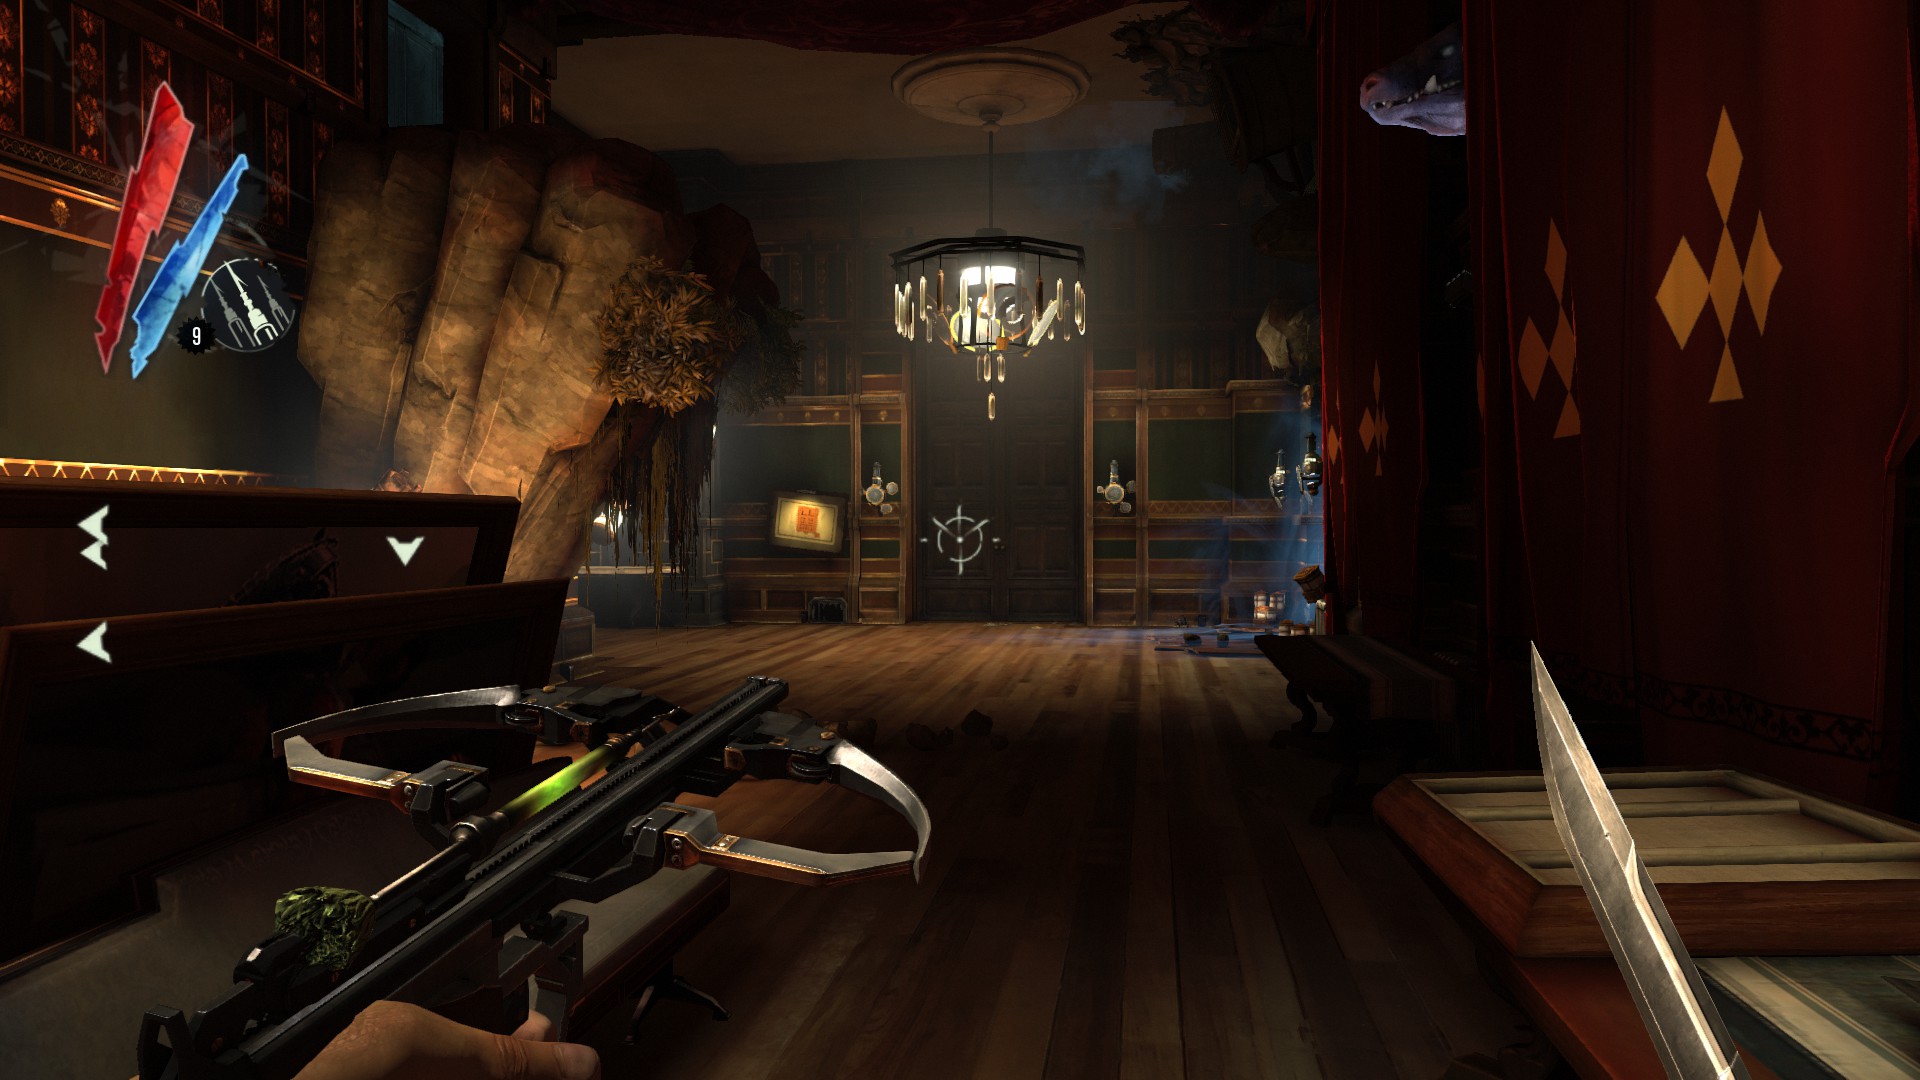
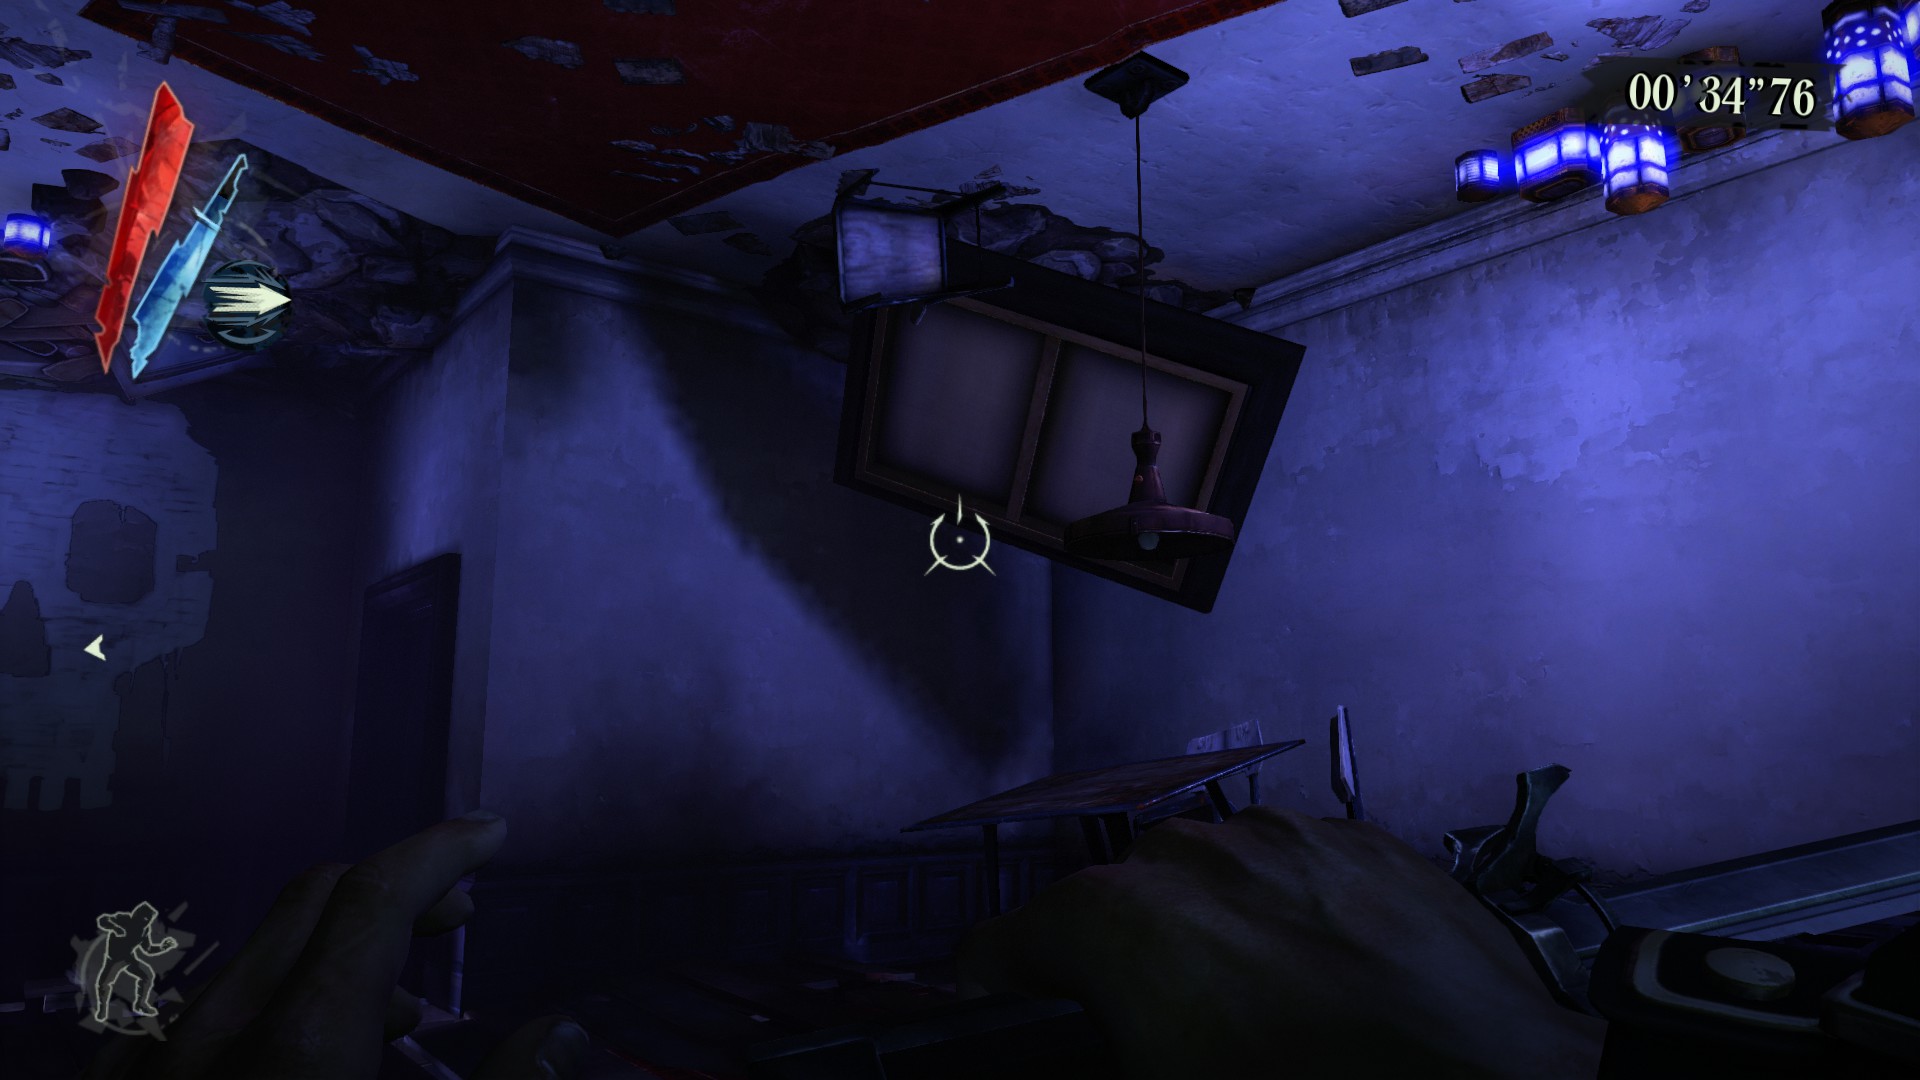
Challenge 1: Mystery Foe
The first hidden doll is in a room down the hall with a tree in it, head down the hall to your right. Once you reach the end look to your left and you’ll see another room on the right wall. Move inside, blink on top of the bed and blink to the tree. The doll is on the tree.
Head down the hall on your right.

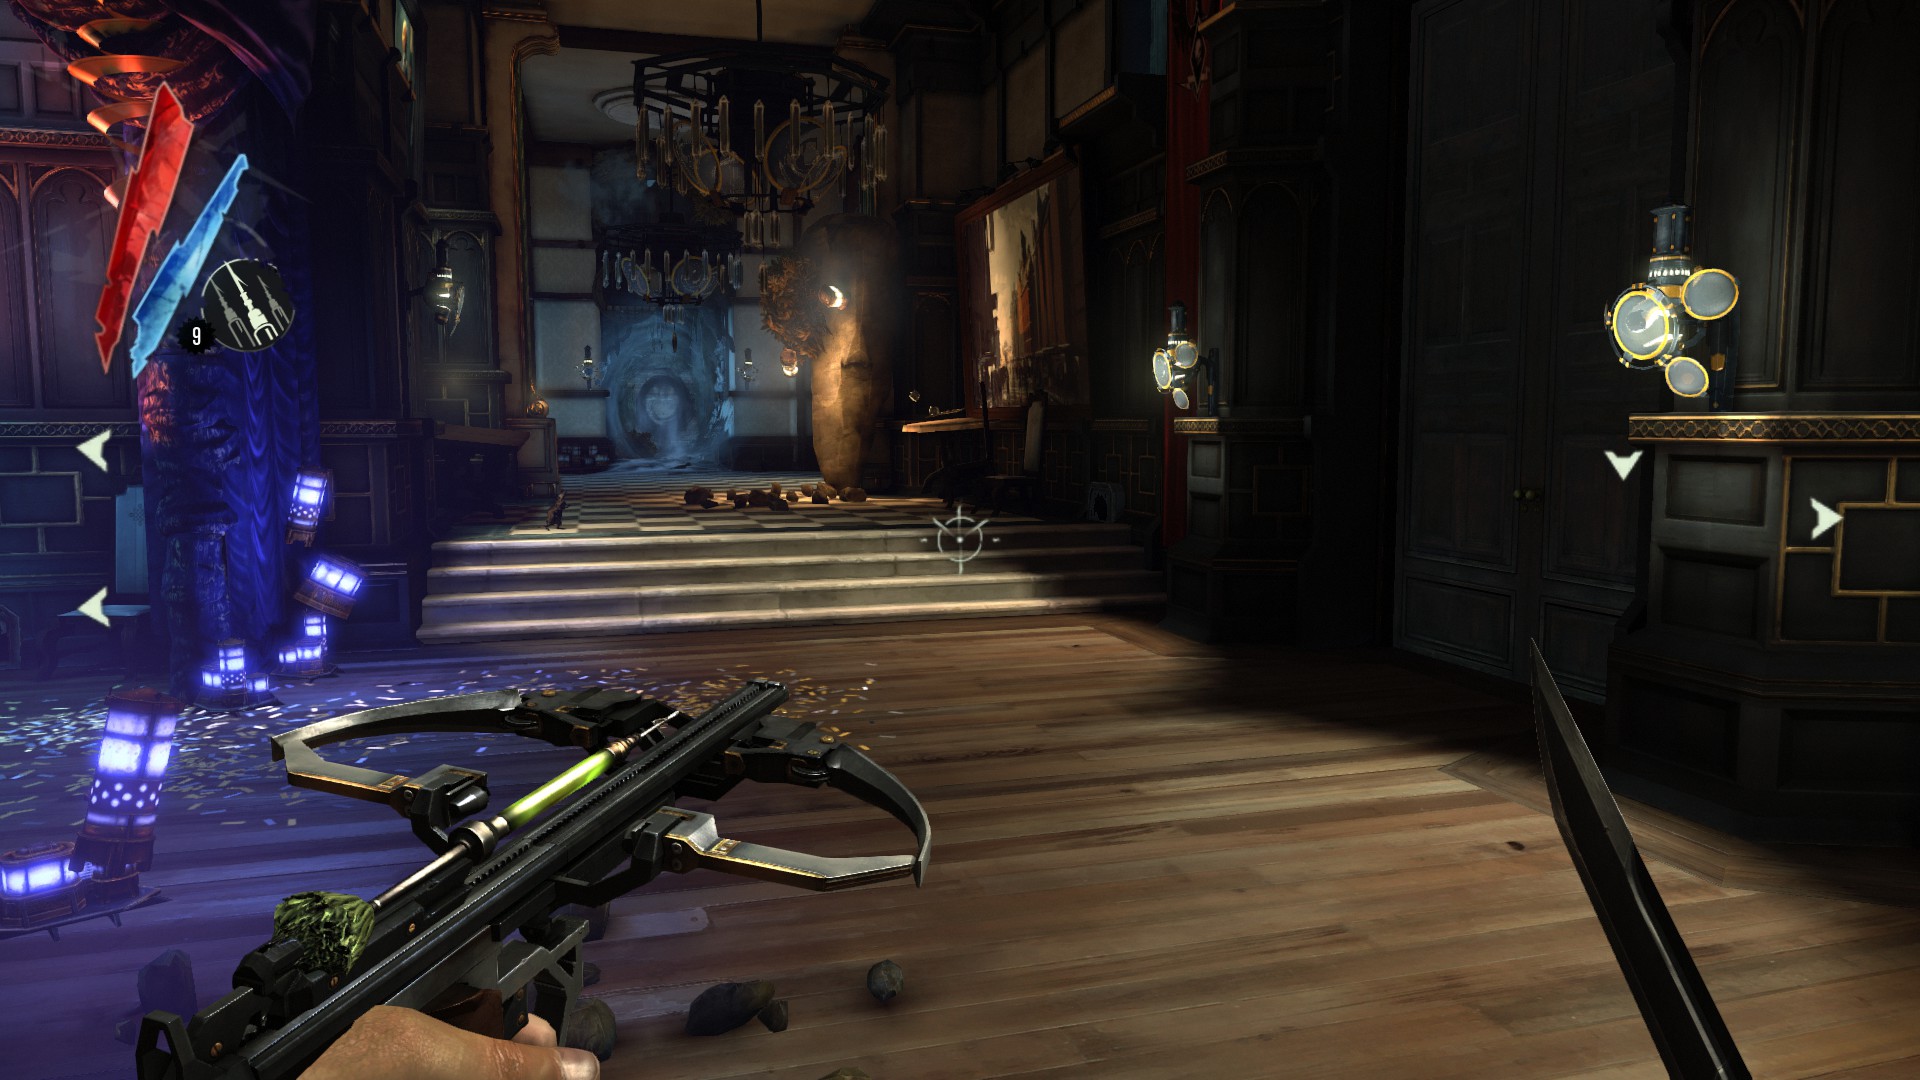
At the end of the hall look to your left and you’ll see a door to your right across from the purplely area.
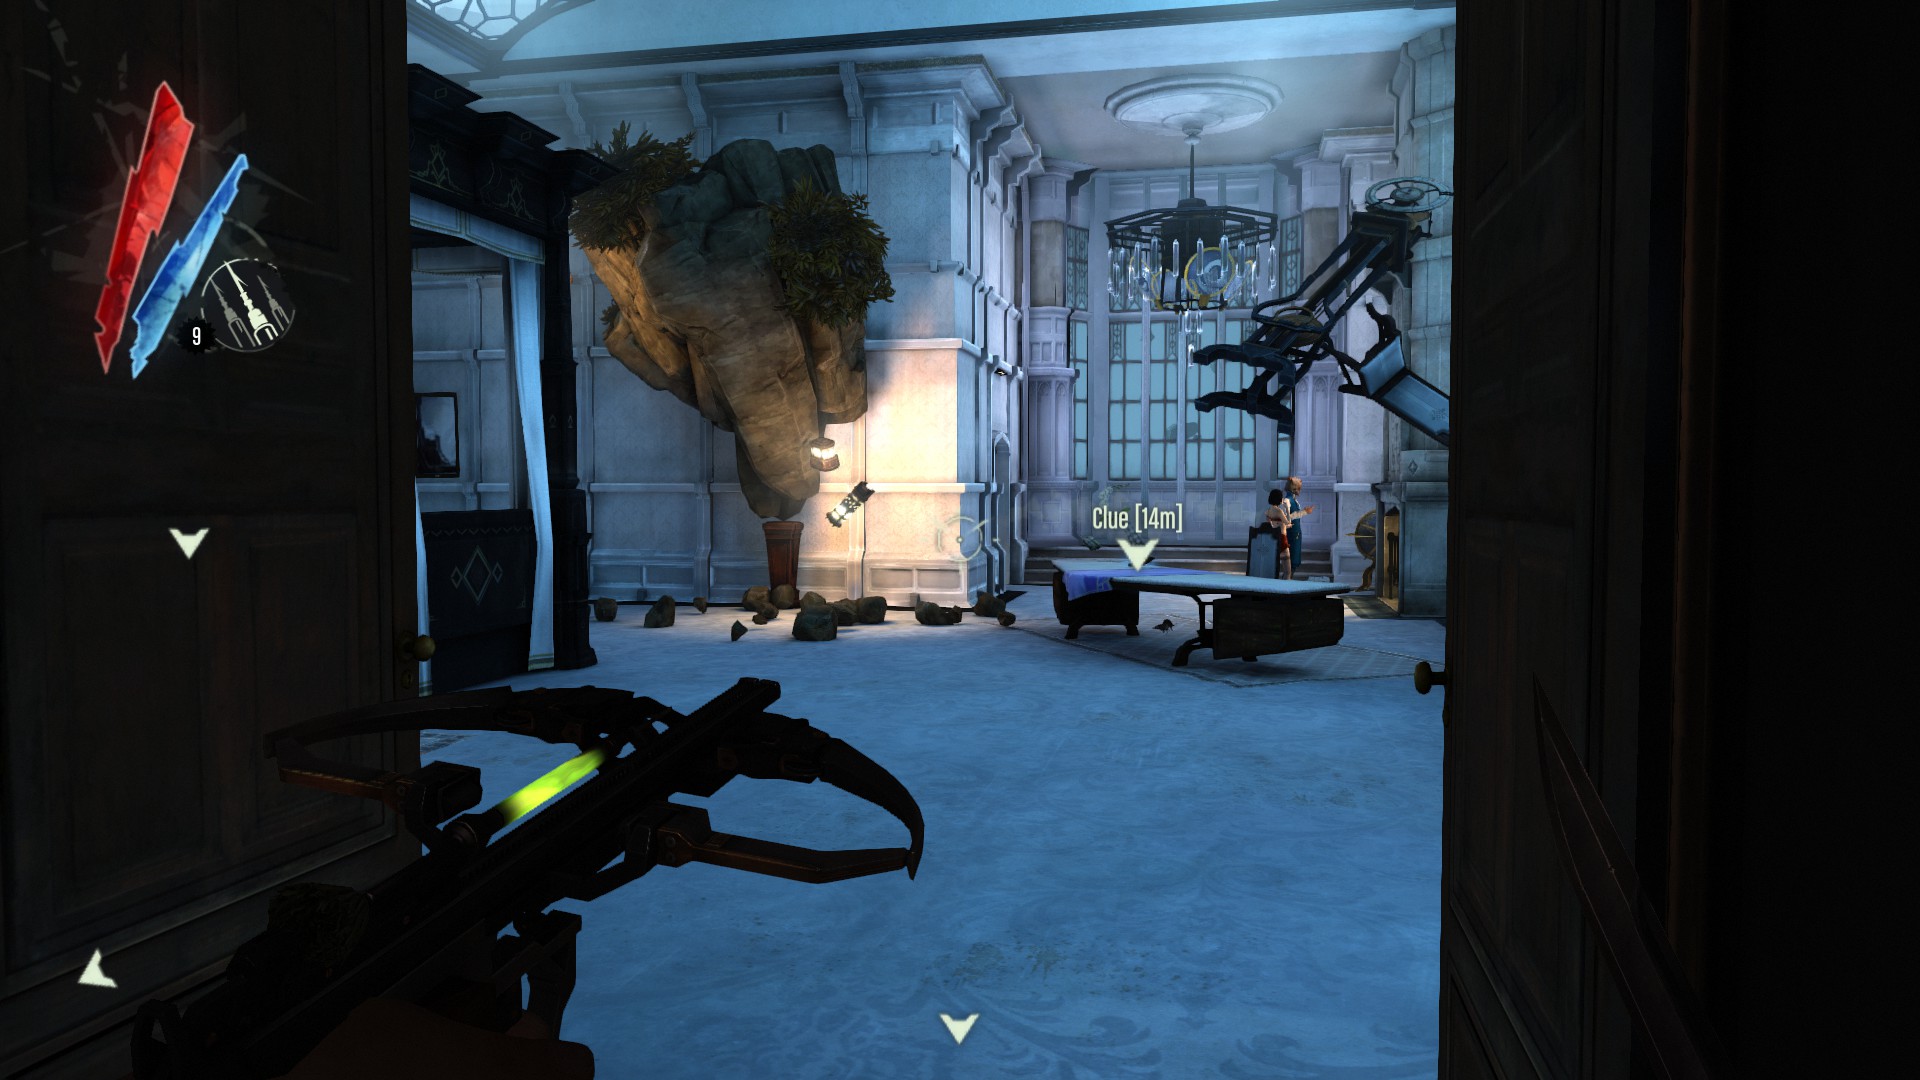
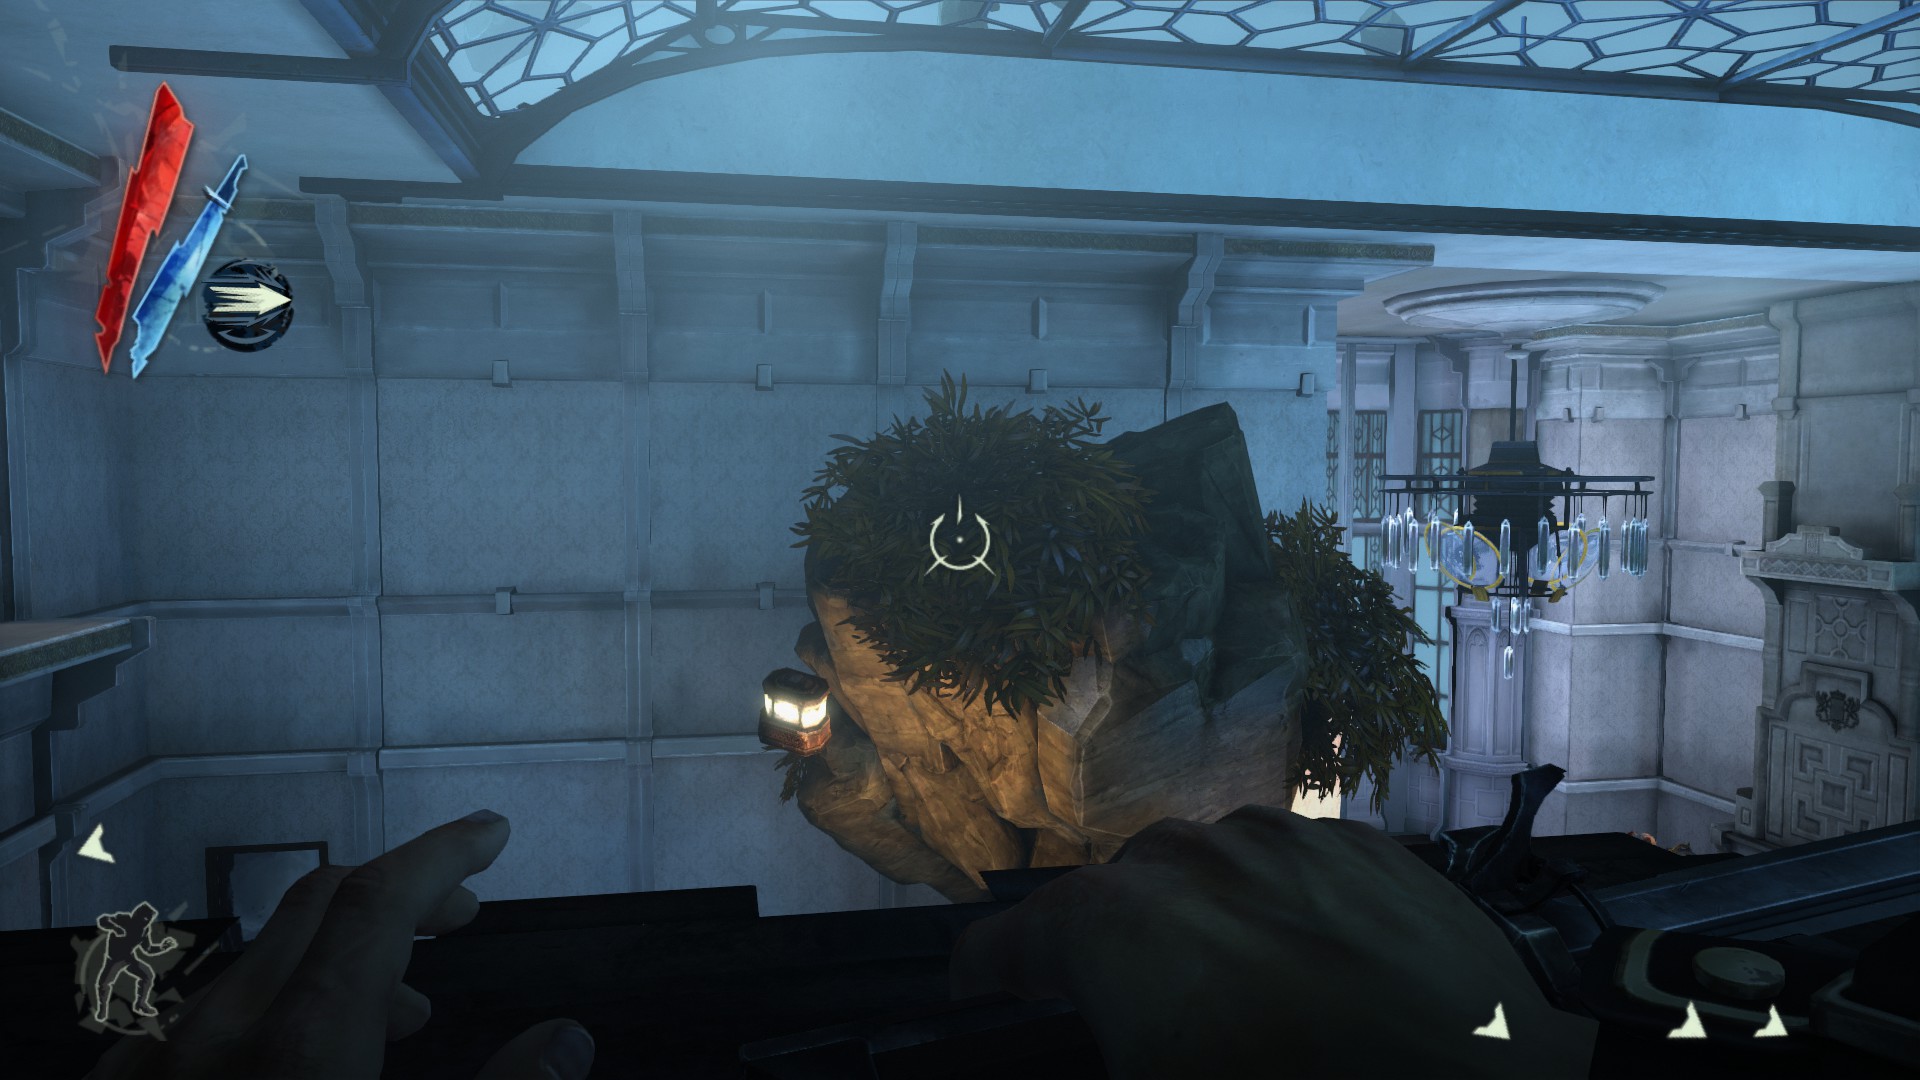
Enter the room and blink up on top of the bed then blink on over to the top of the tree to find the doll sitting up top.
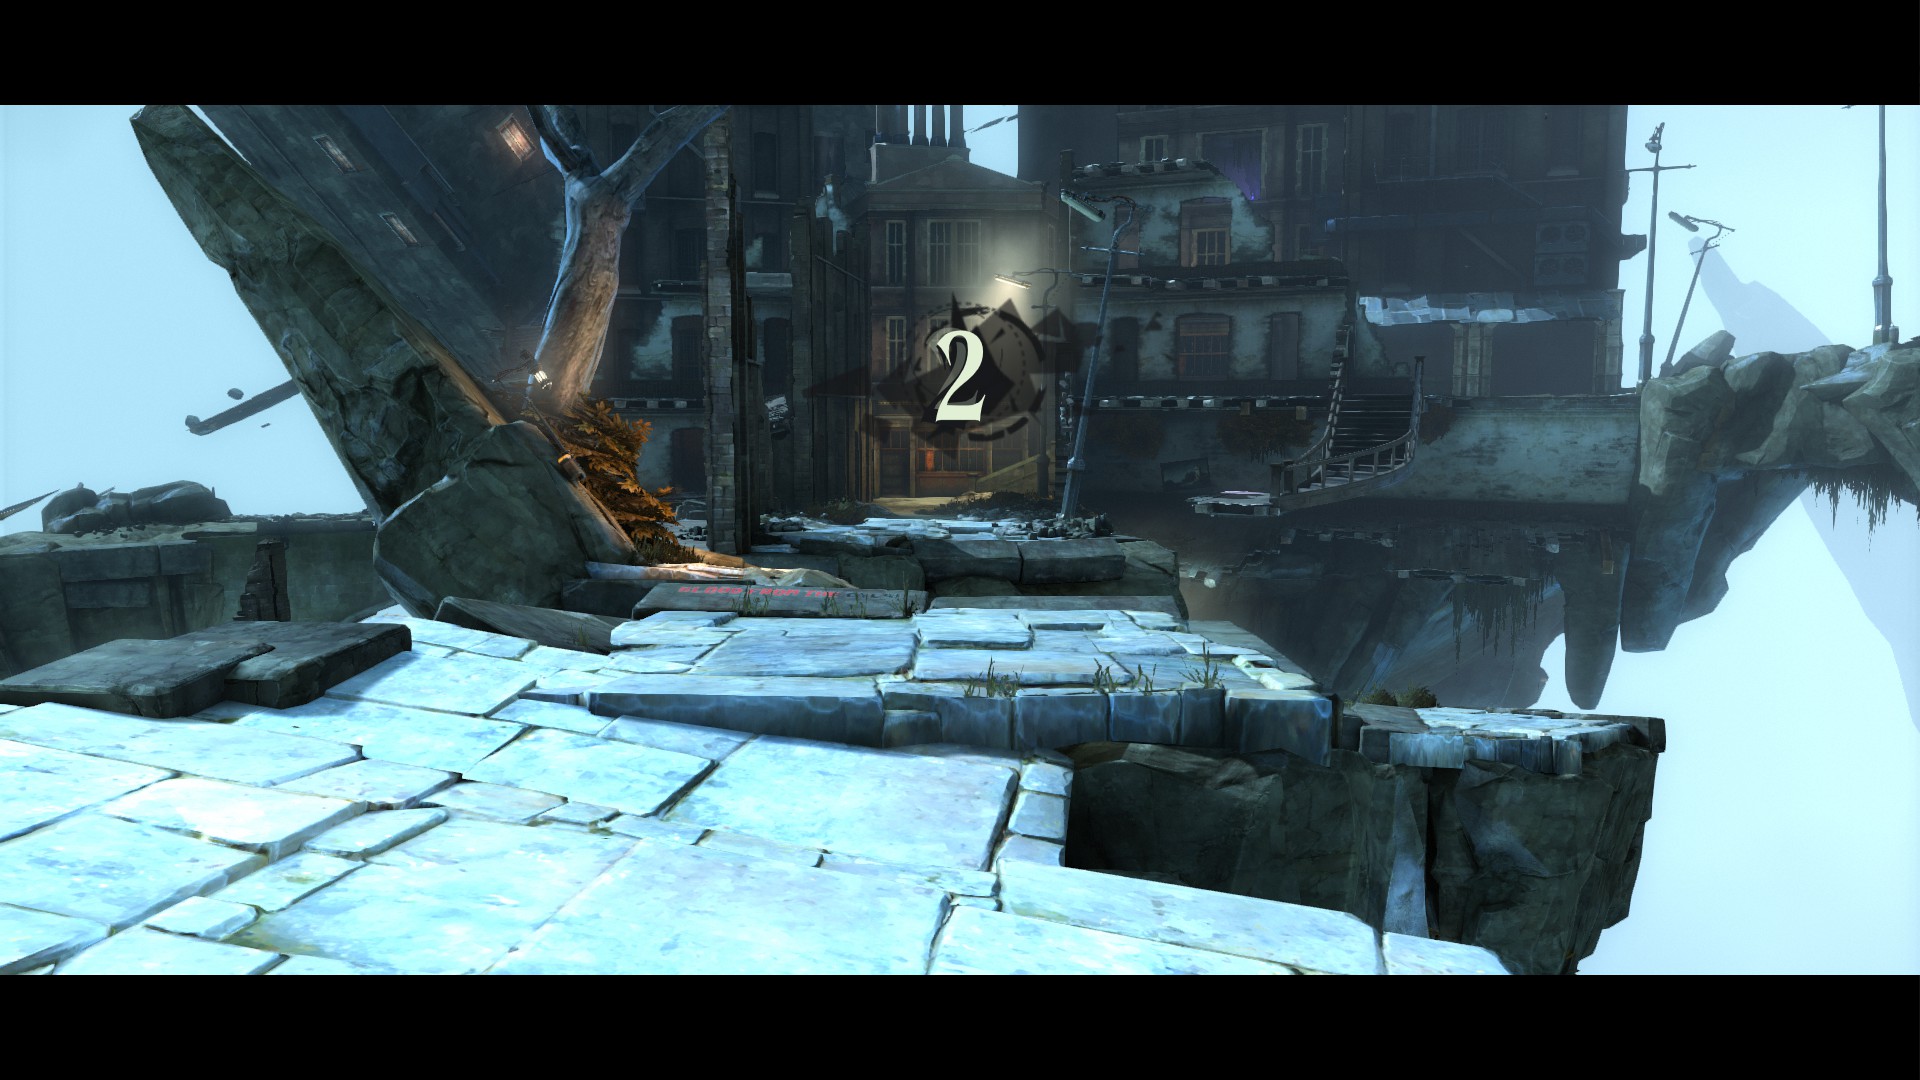
Challenge 2: Burglar
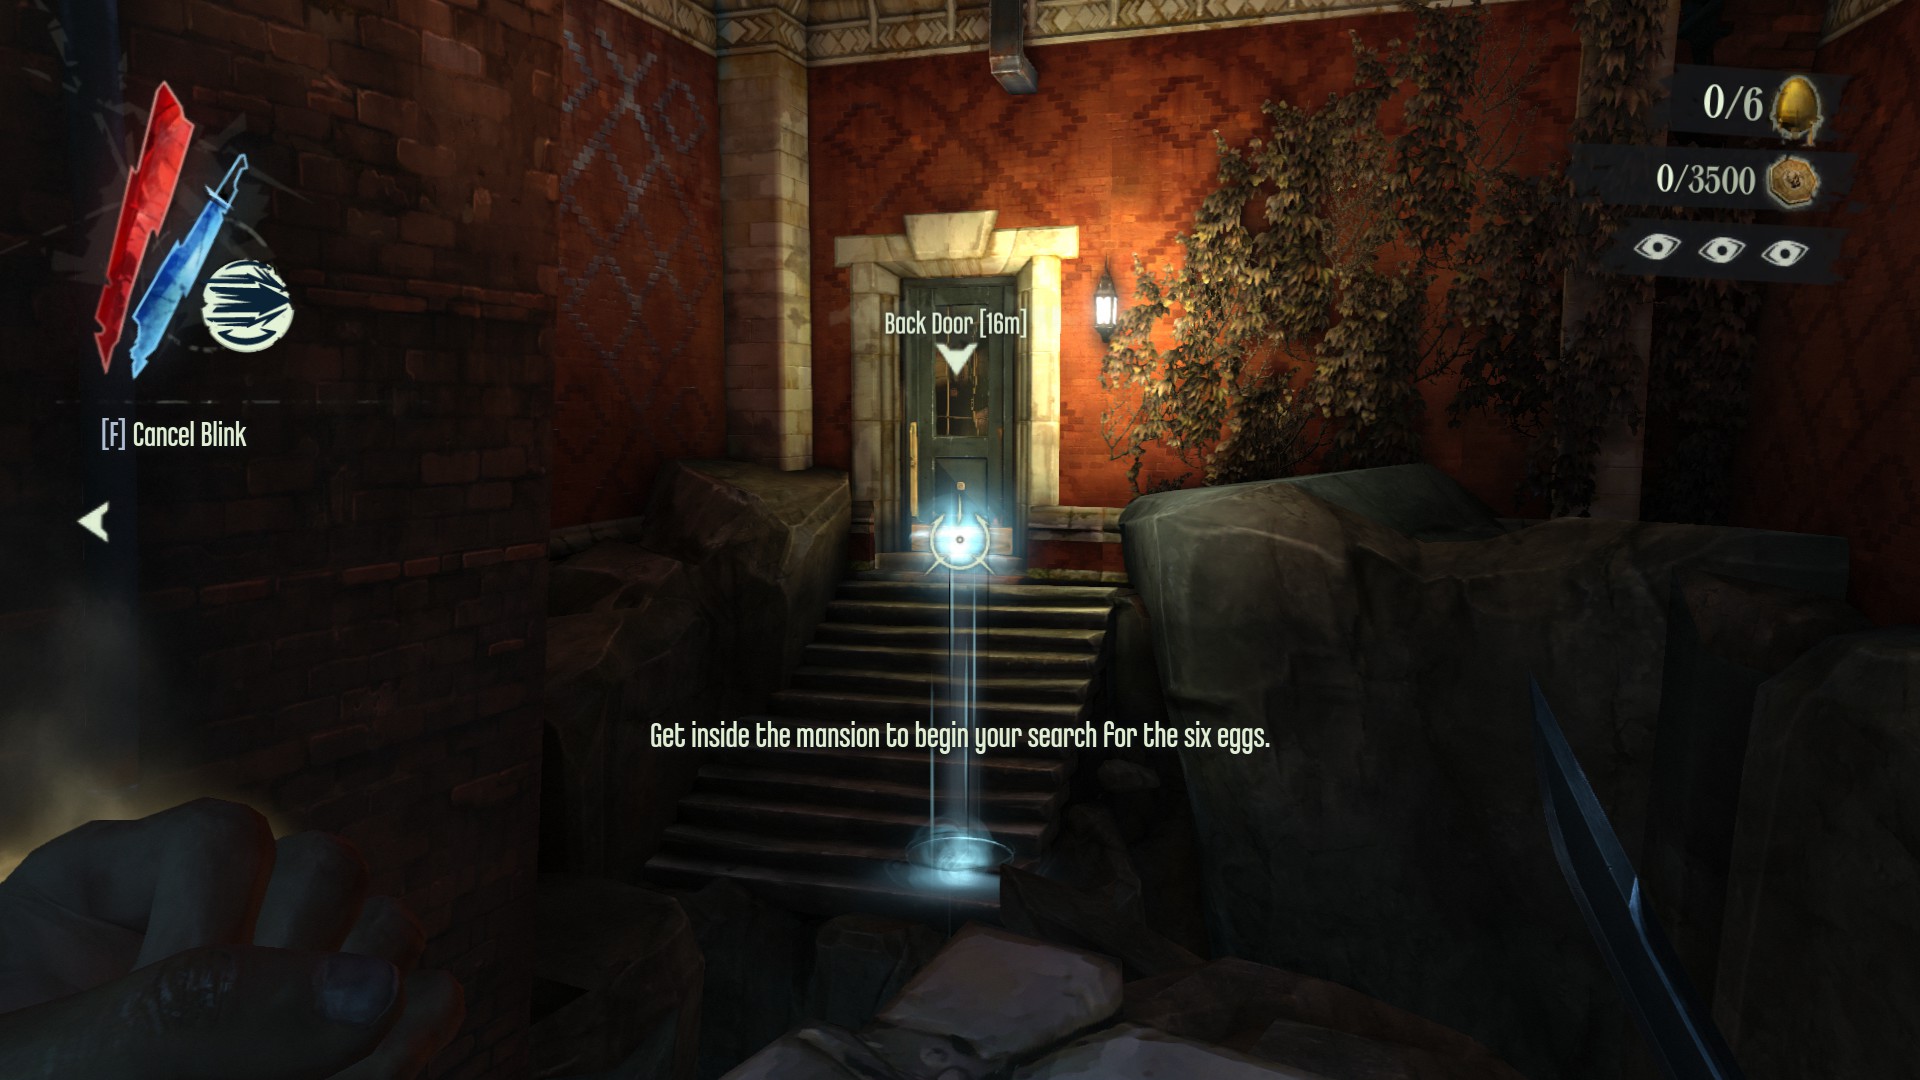
This one requires a bit more work than the first one. Head through the back door to this level and work your way up to the third floor. You’ll see a hidden switch in a lamp (you can see it in Dark Vision). Hit the switch and go inside the hidden room. Grab the coin which opens up a hidden path behind you, grab the scroll in that second hidden room and turn around again and head back to the previous hidden room, the doll will appear this time.
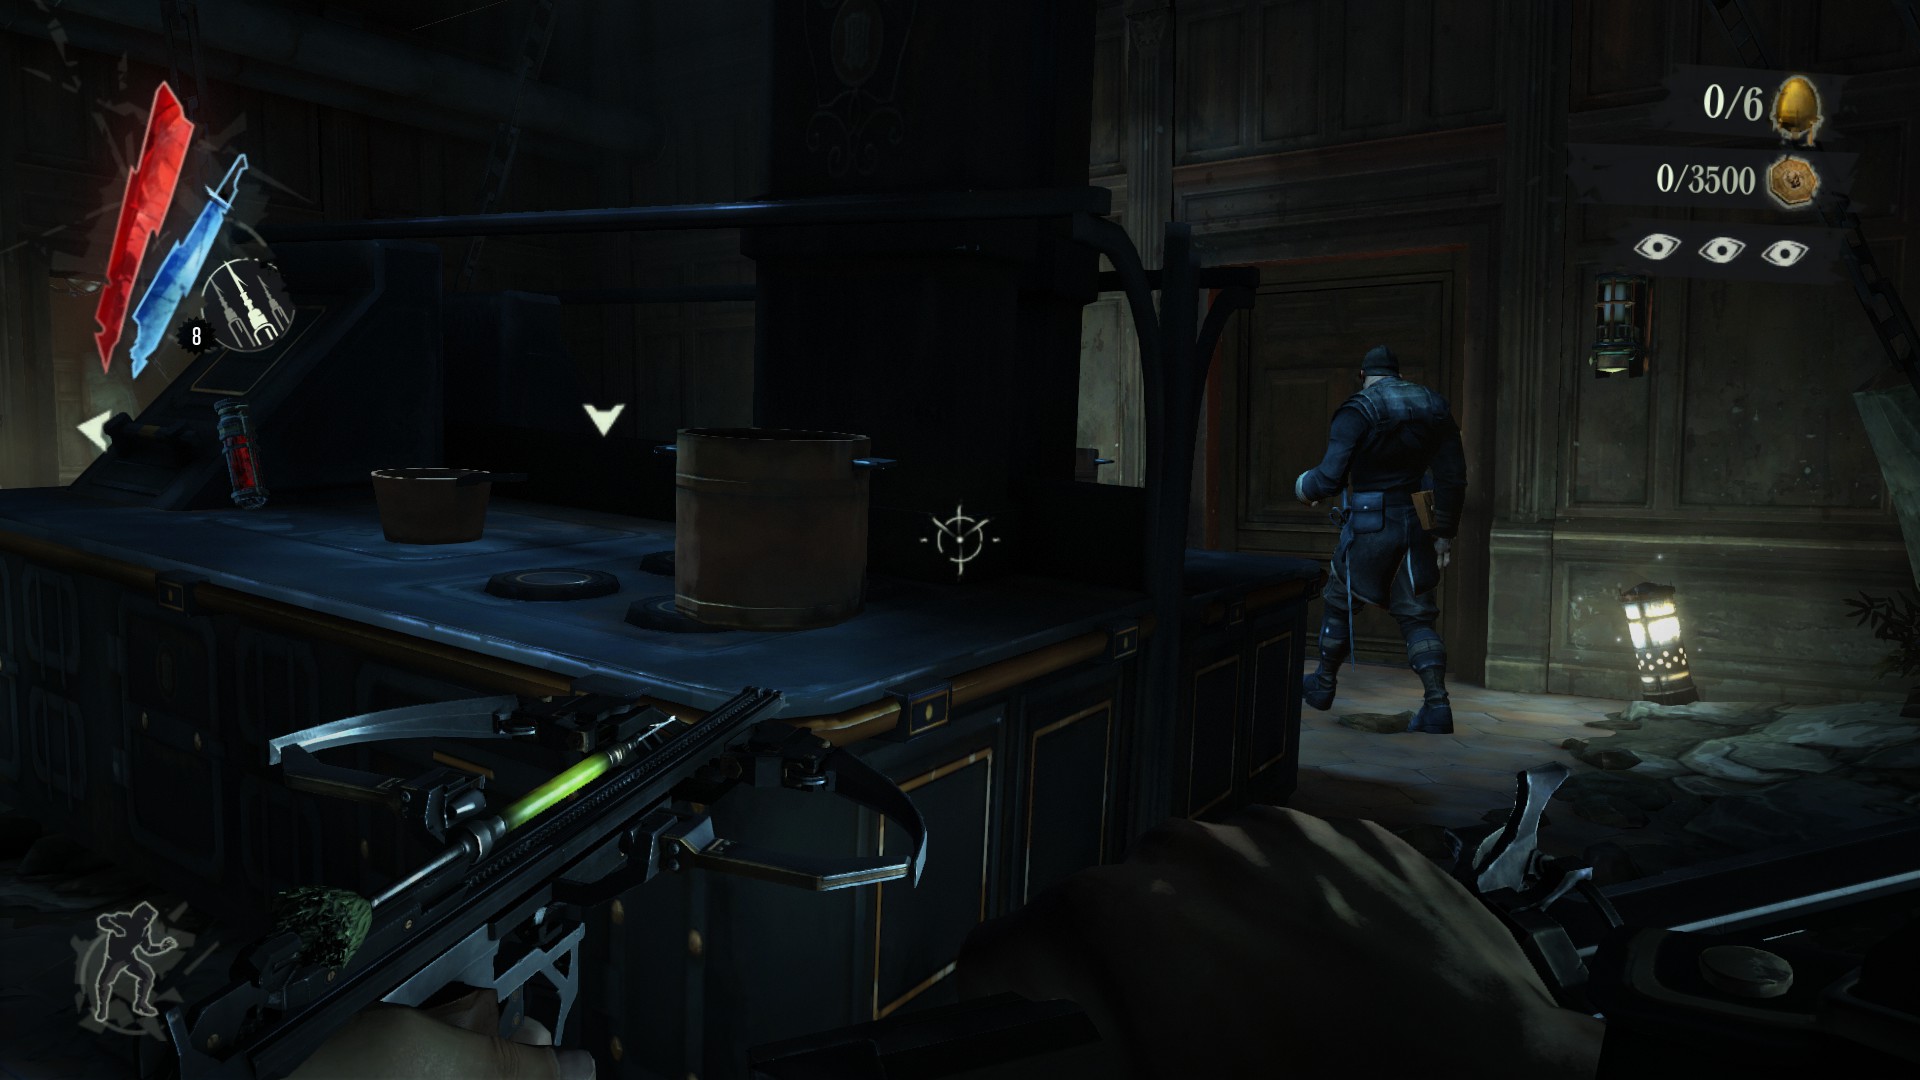
Blink over to the back door.
If you’re fast enough you can follow this guy in the next room and you’ll come to the staircase.
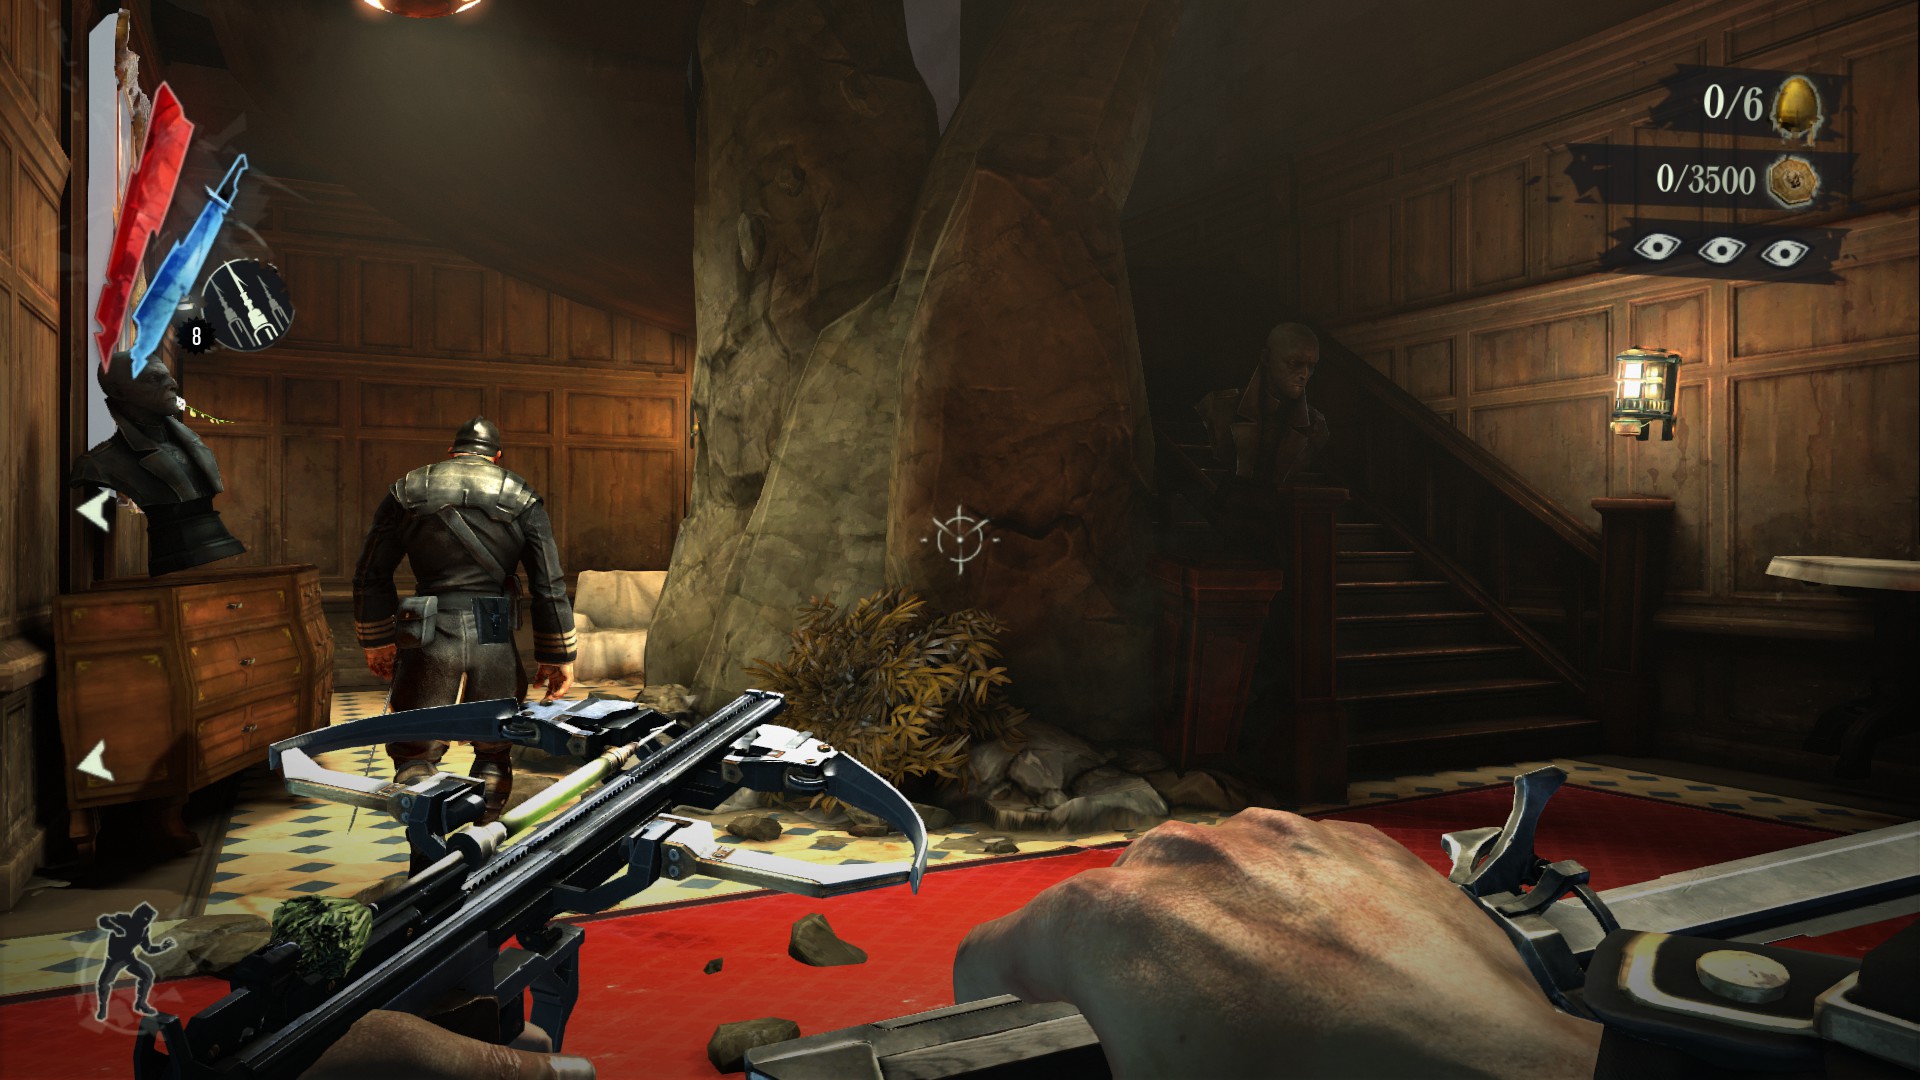
Keep winding around these stairs to reach the third floor.
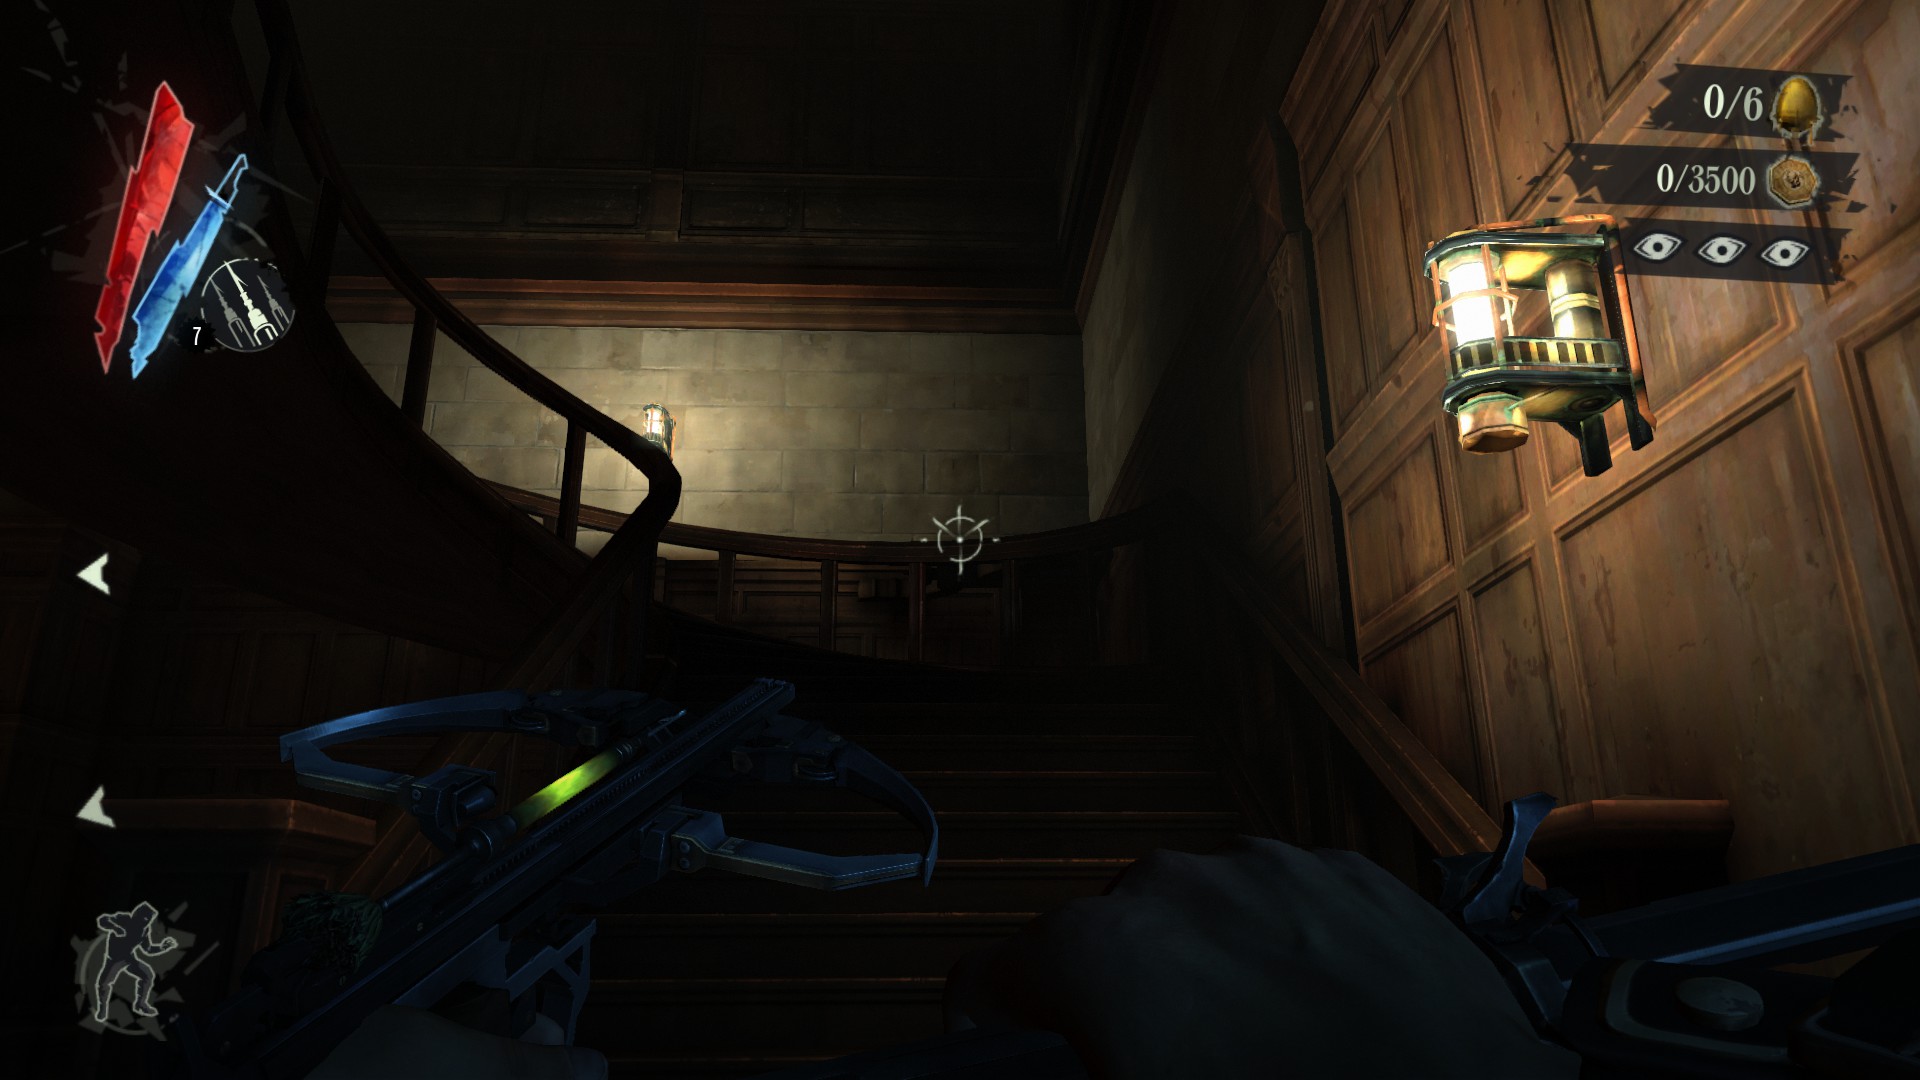
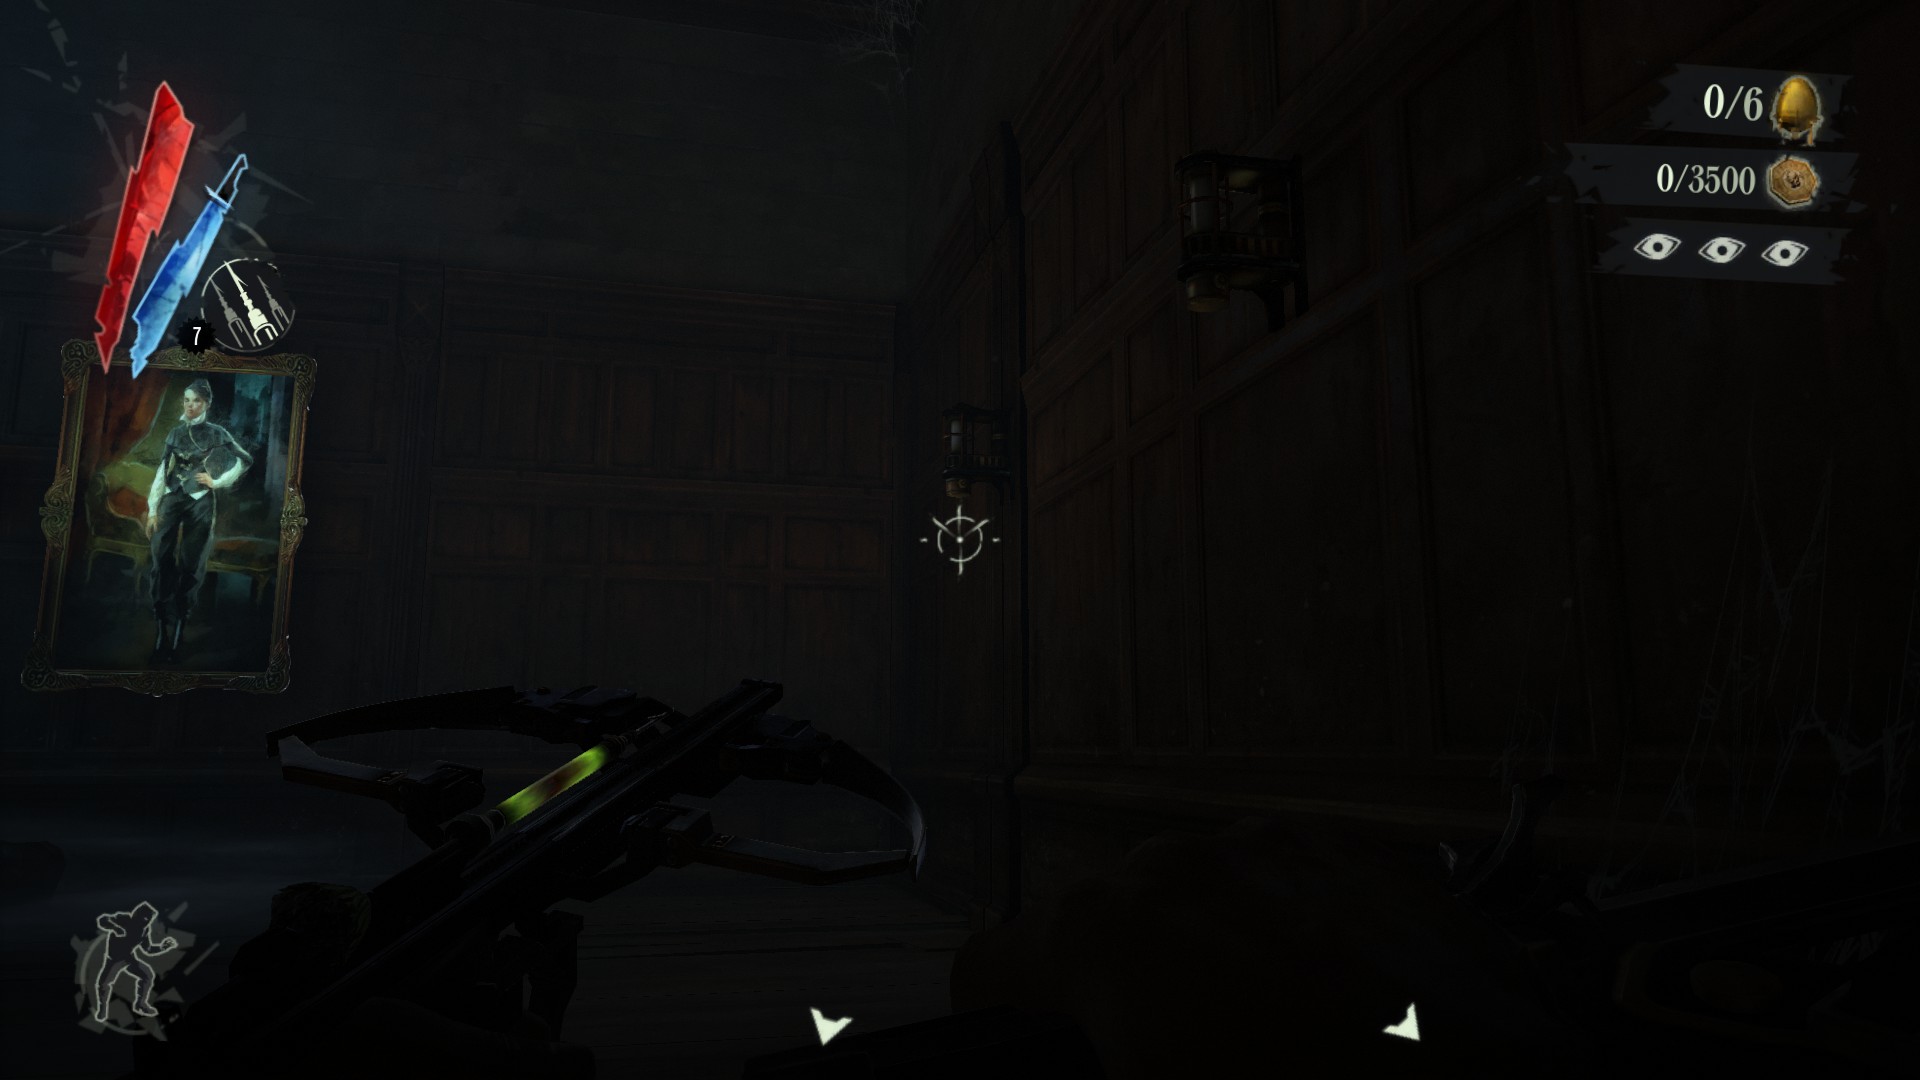
As you ascend the final set of stairs you’ll see the fake lamp directly in front of you on the wall.
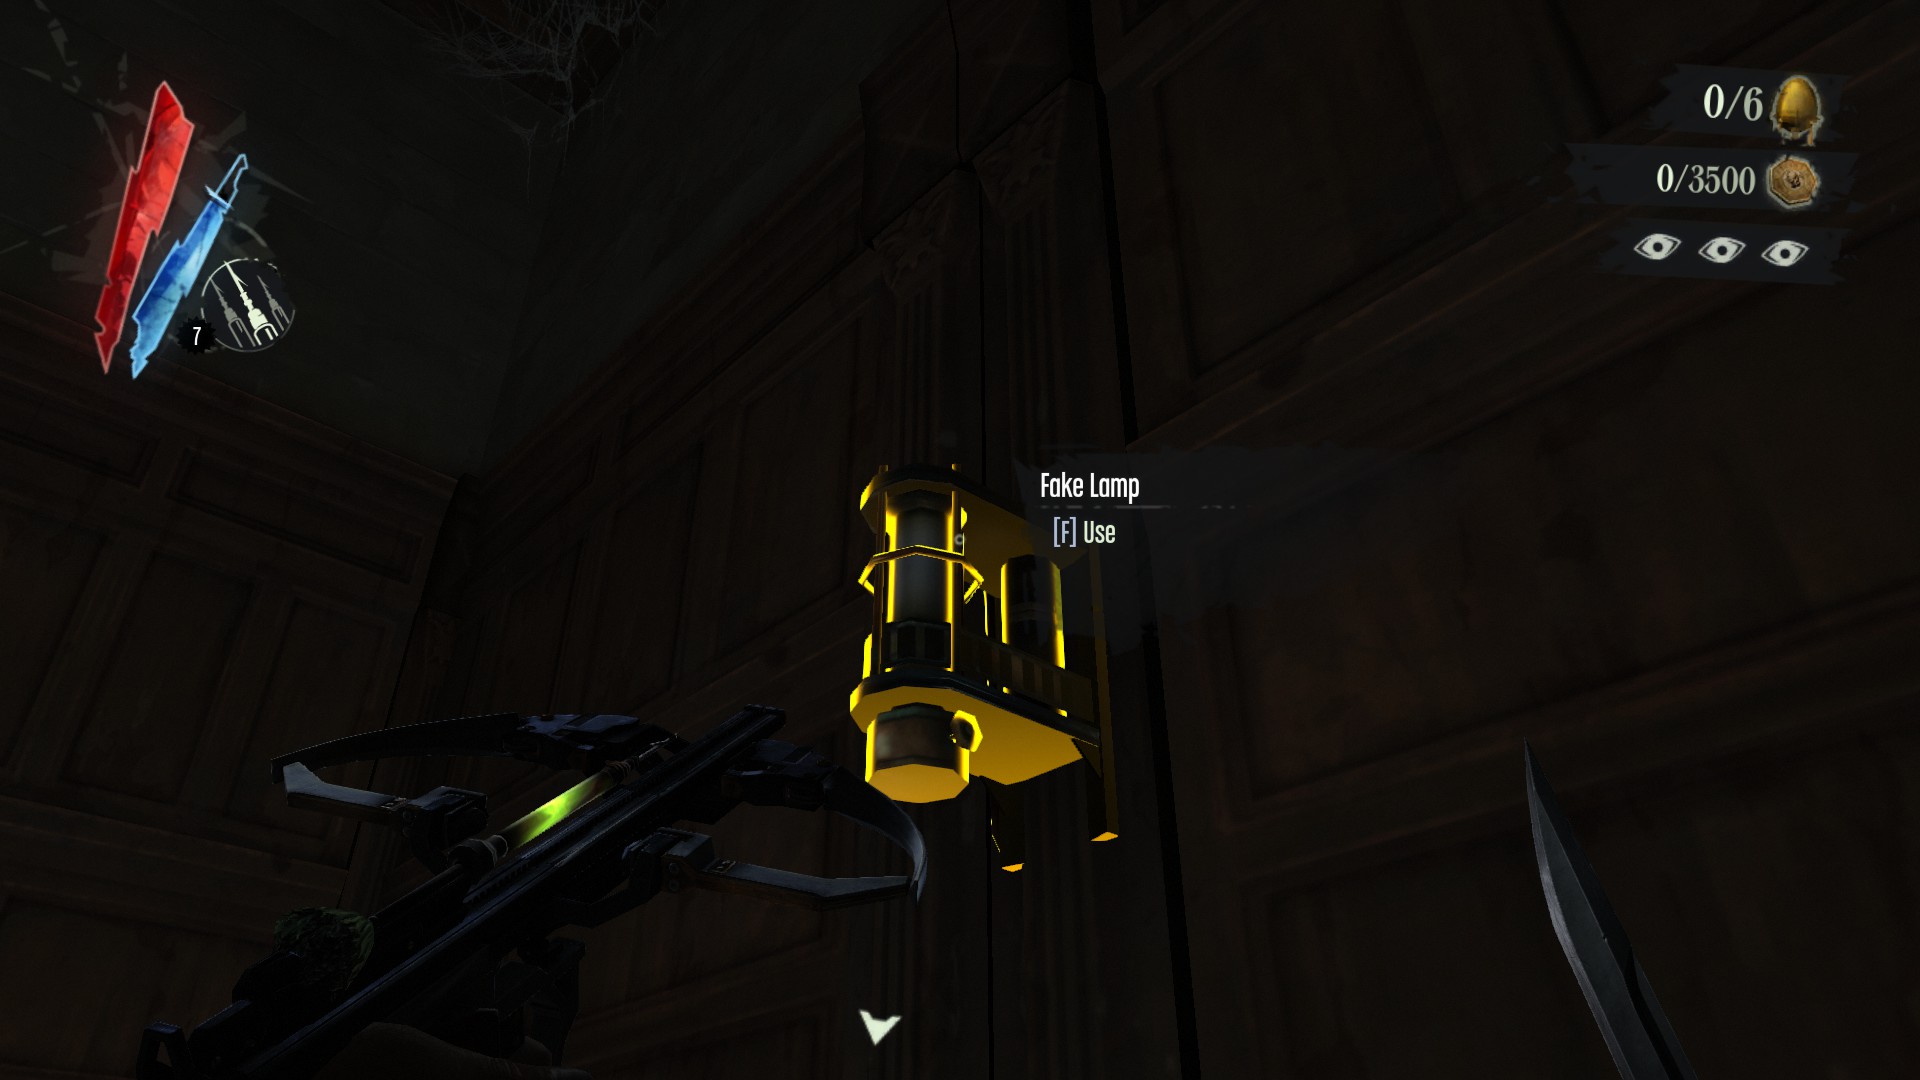
Press the switch and enter the hidden room.
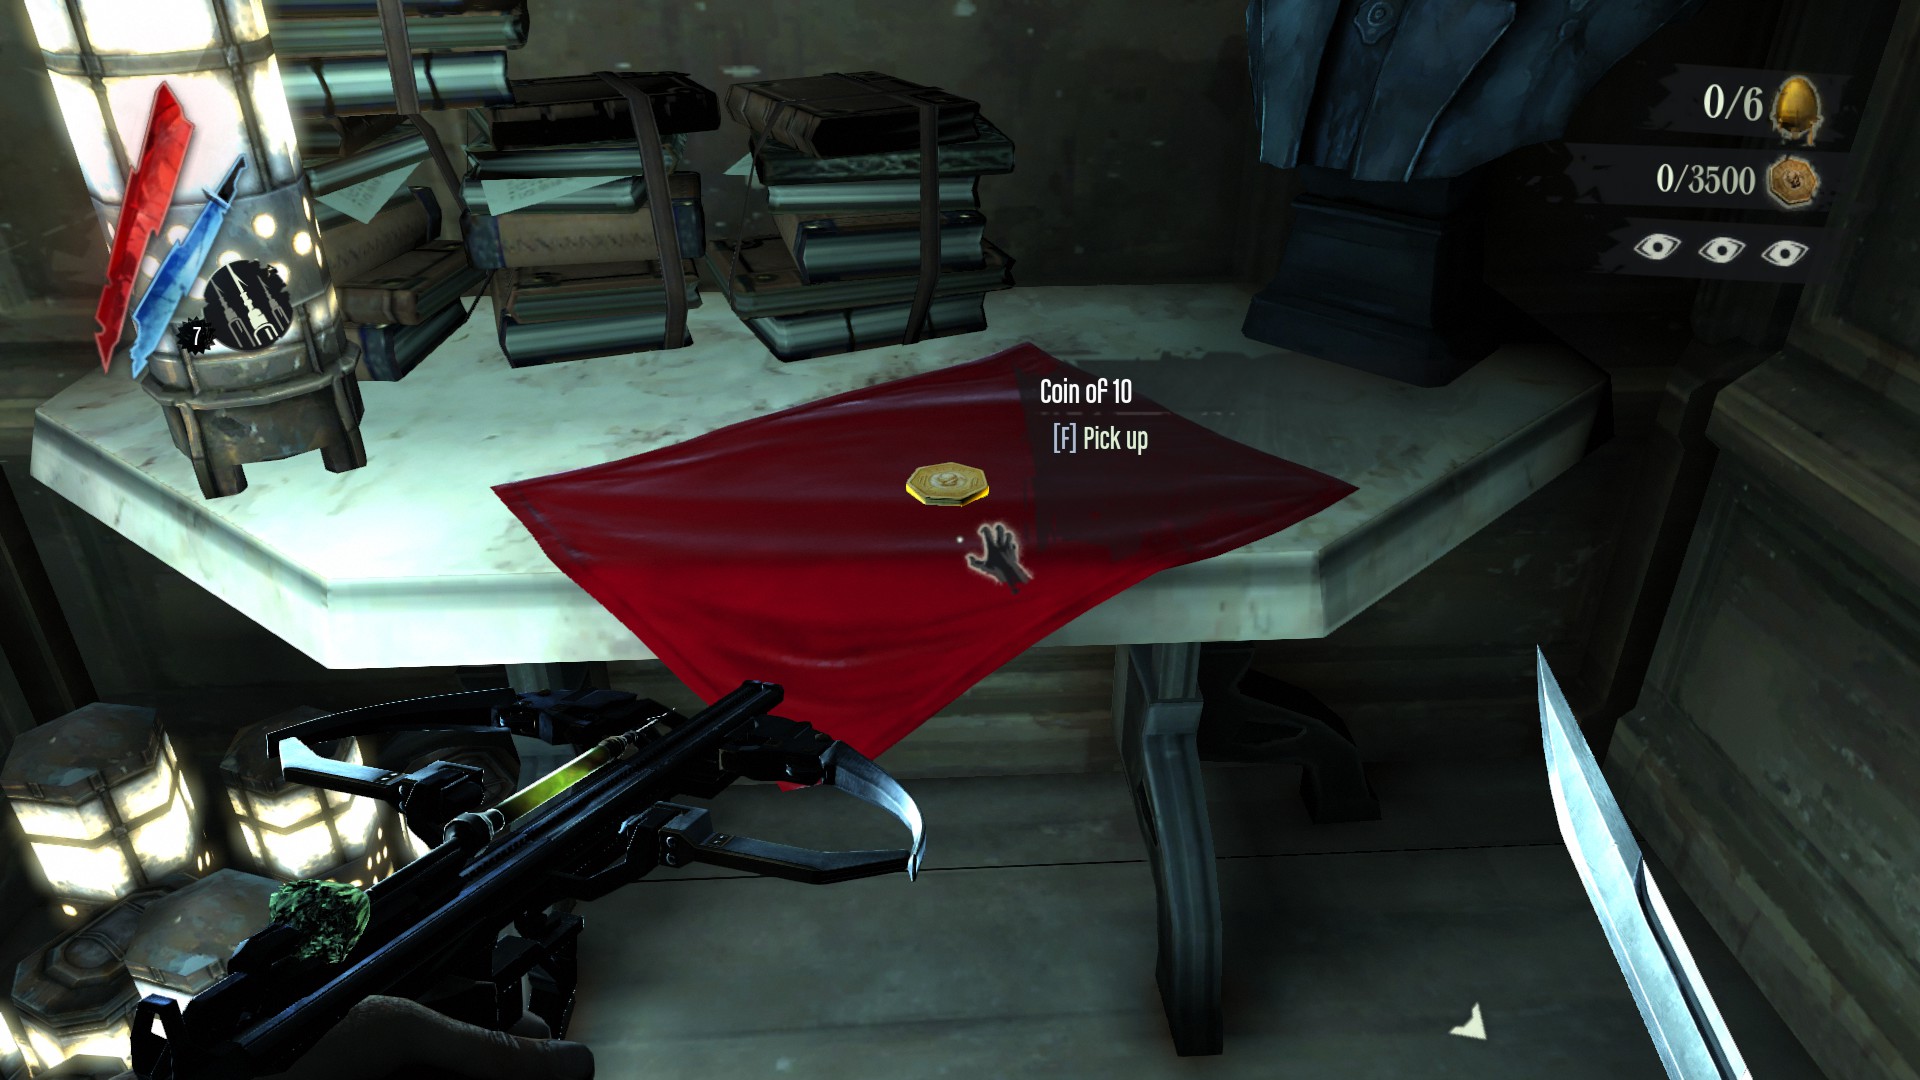
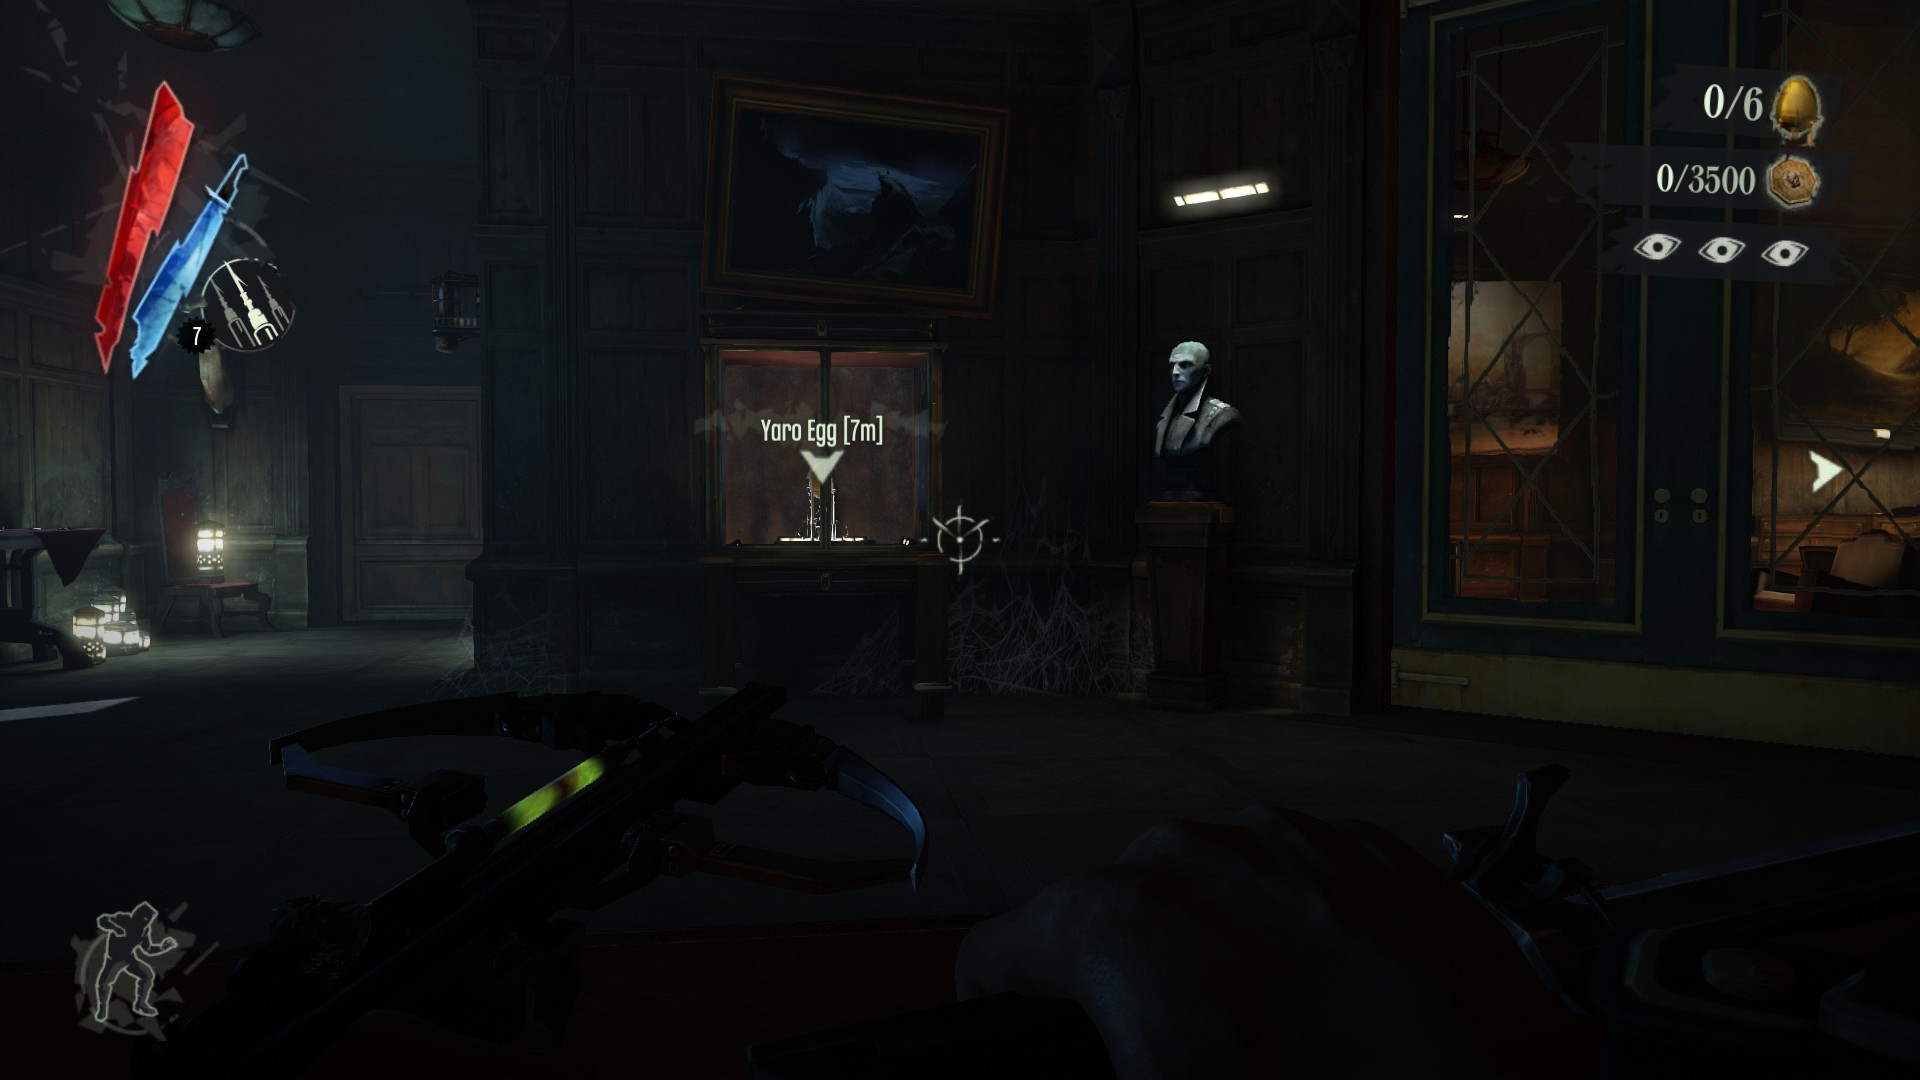
Grab the coin off the table and turn around to see the second hidden room.
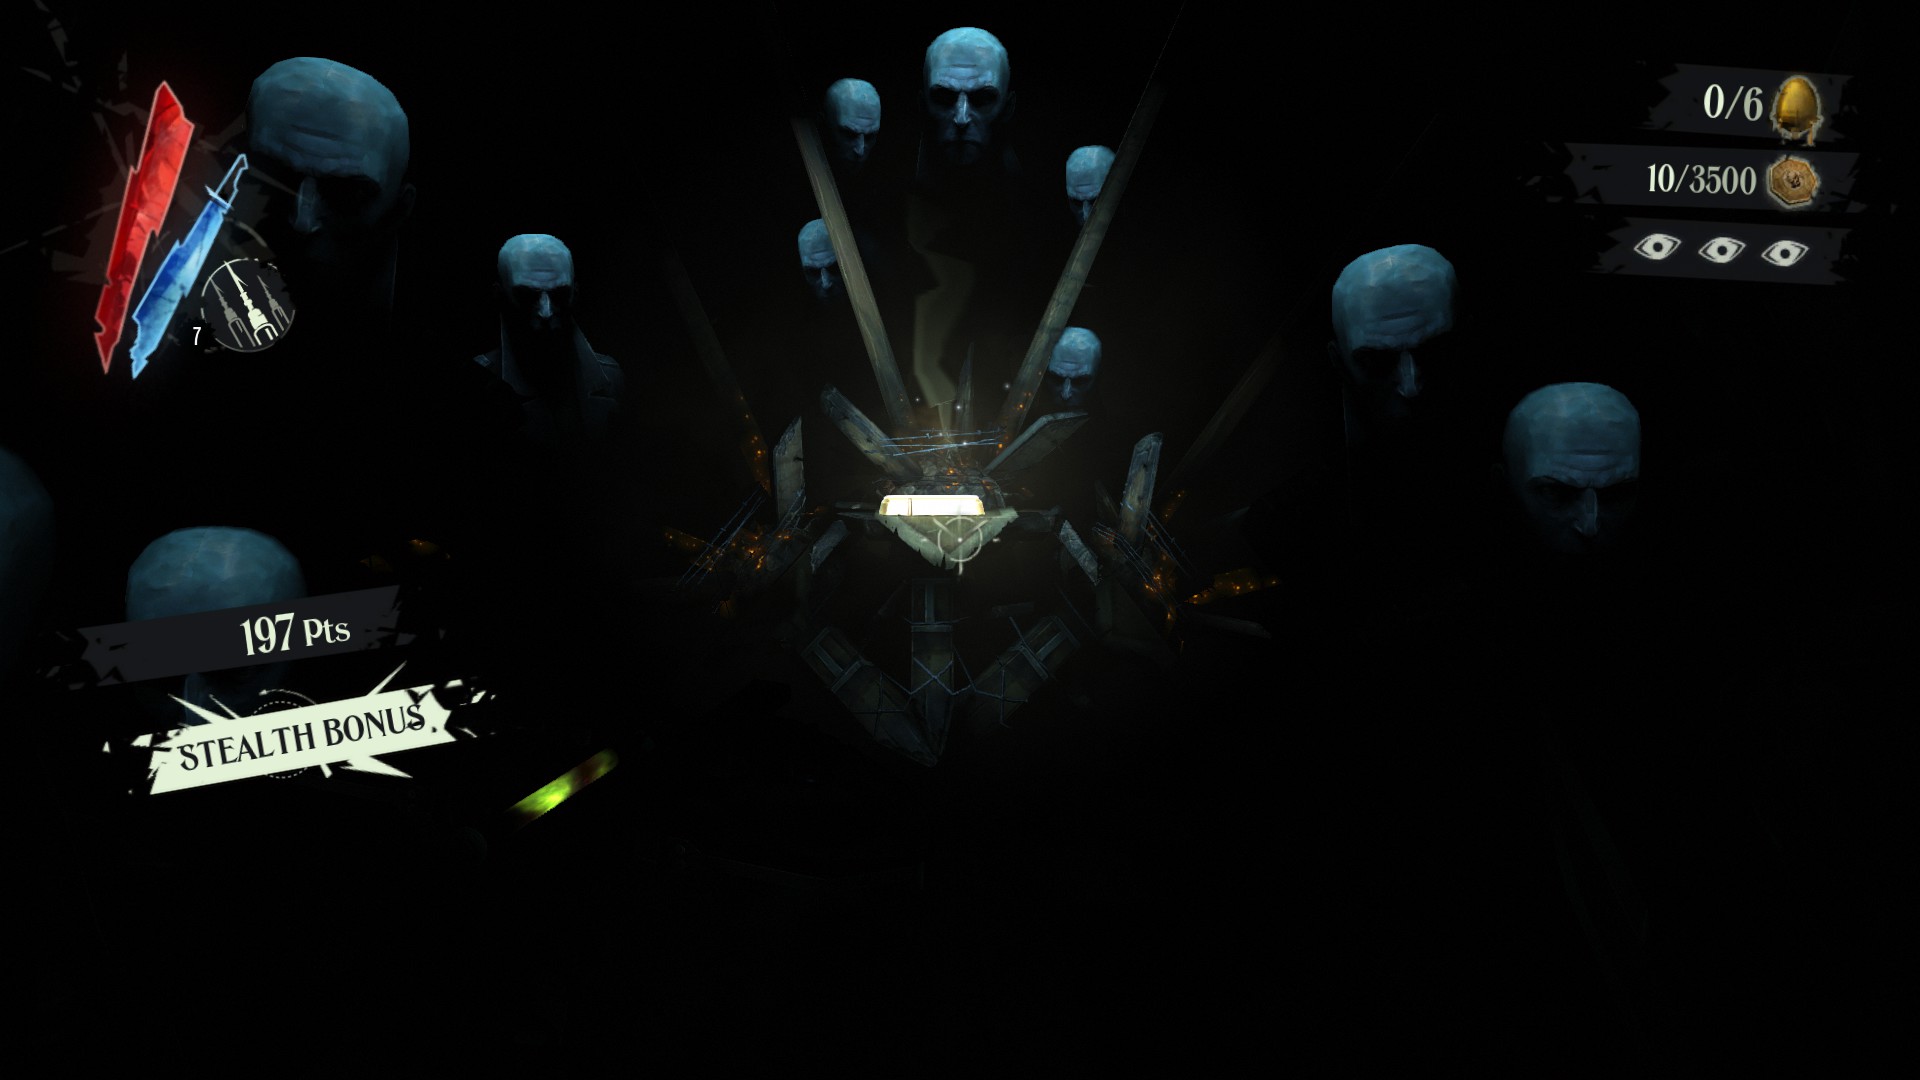
Grab the item in the second hidden room and turn around to see the original hidden room with the emily doll.
Now you can leave the circle of hidden room confusion.
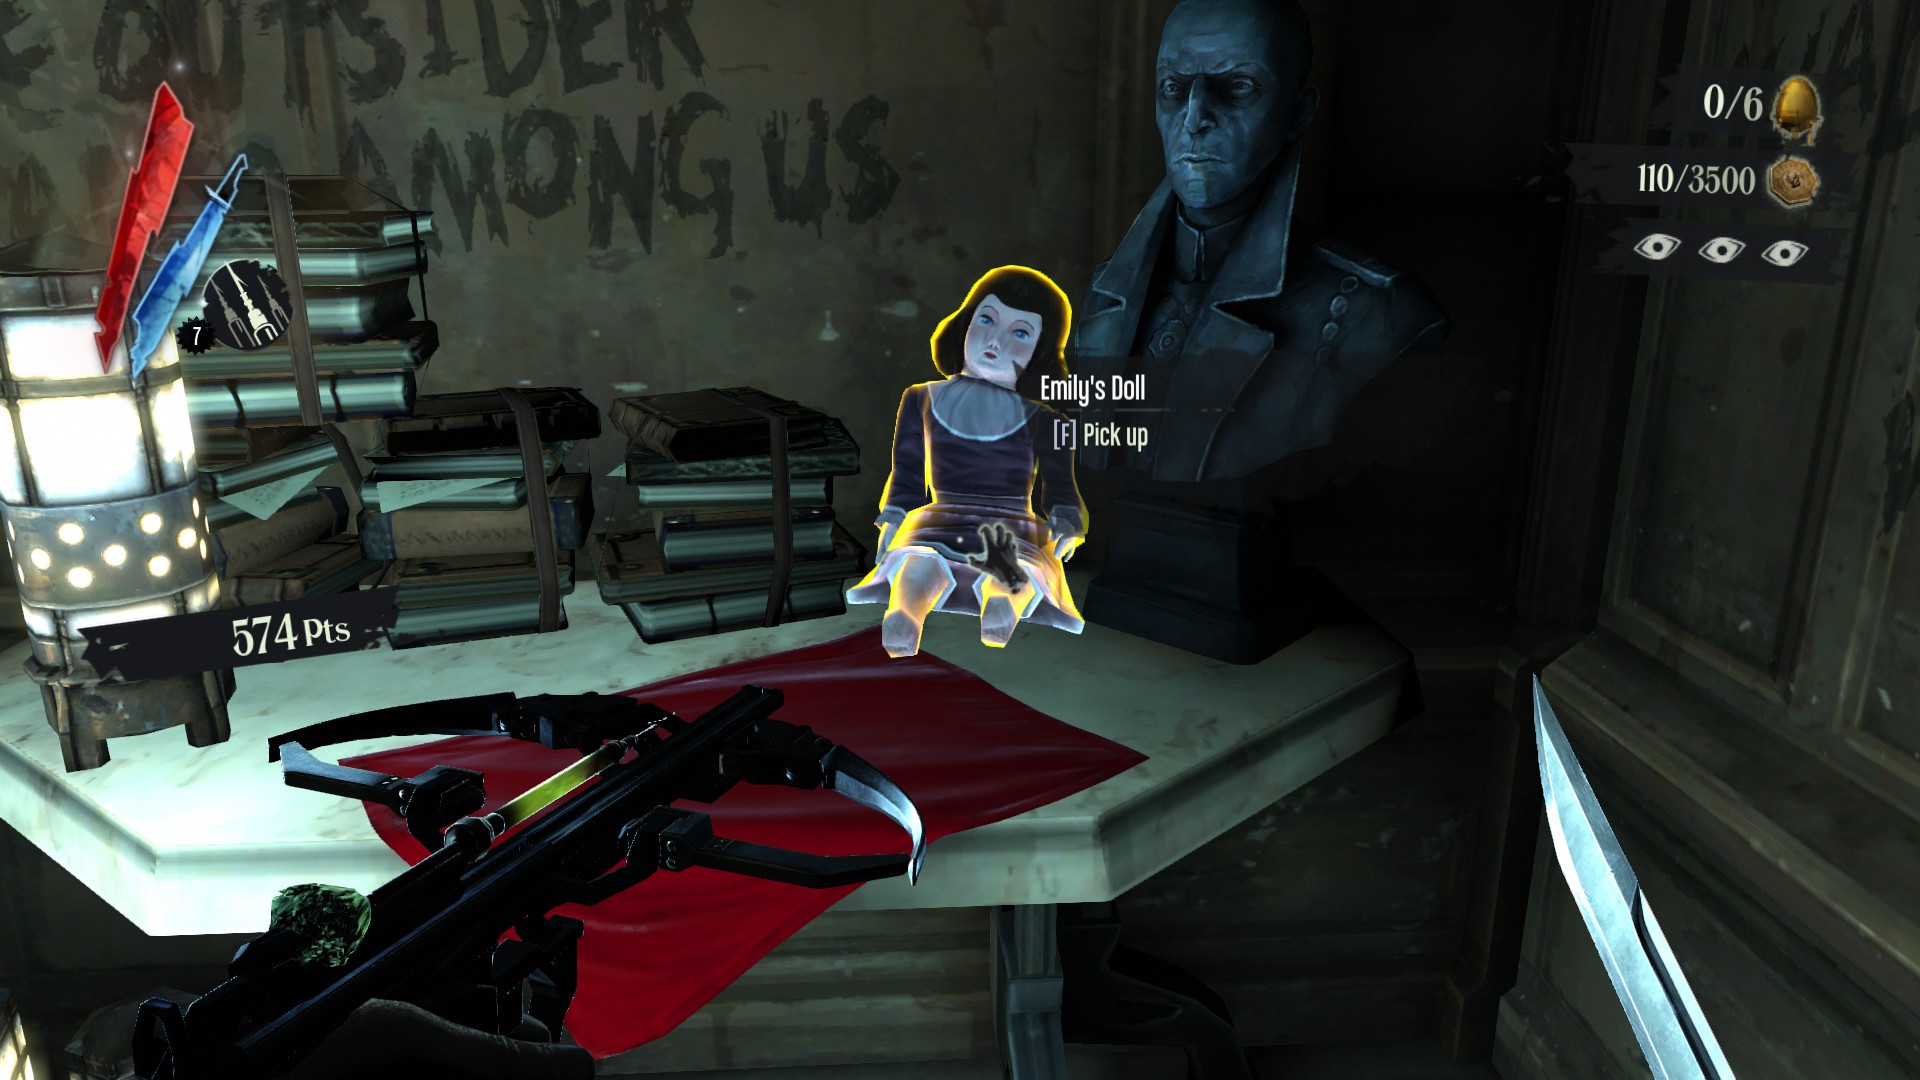
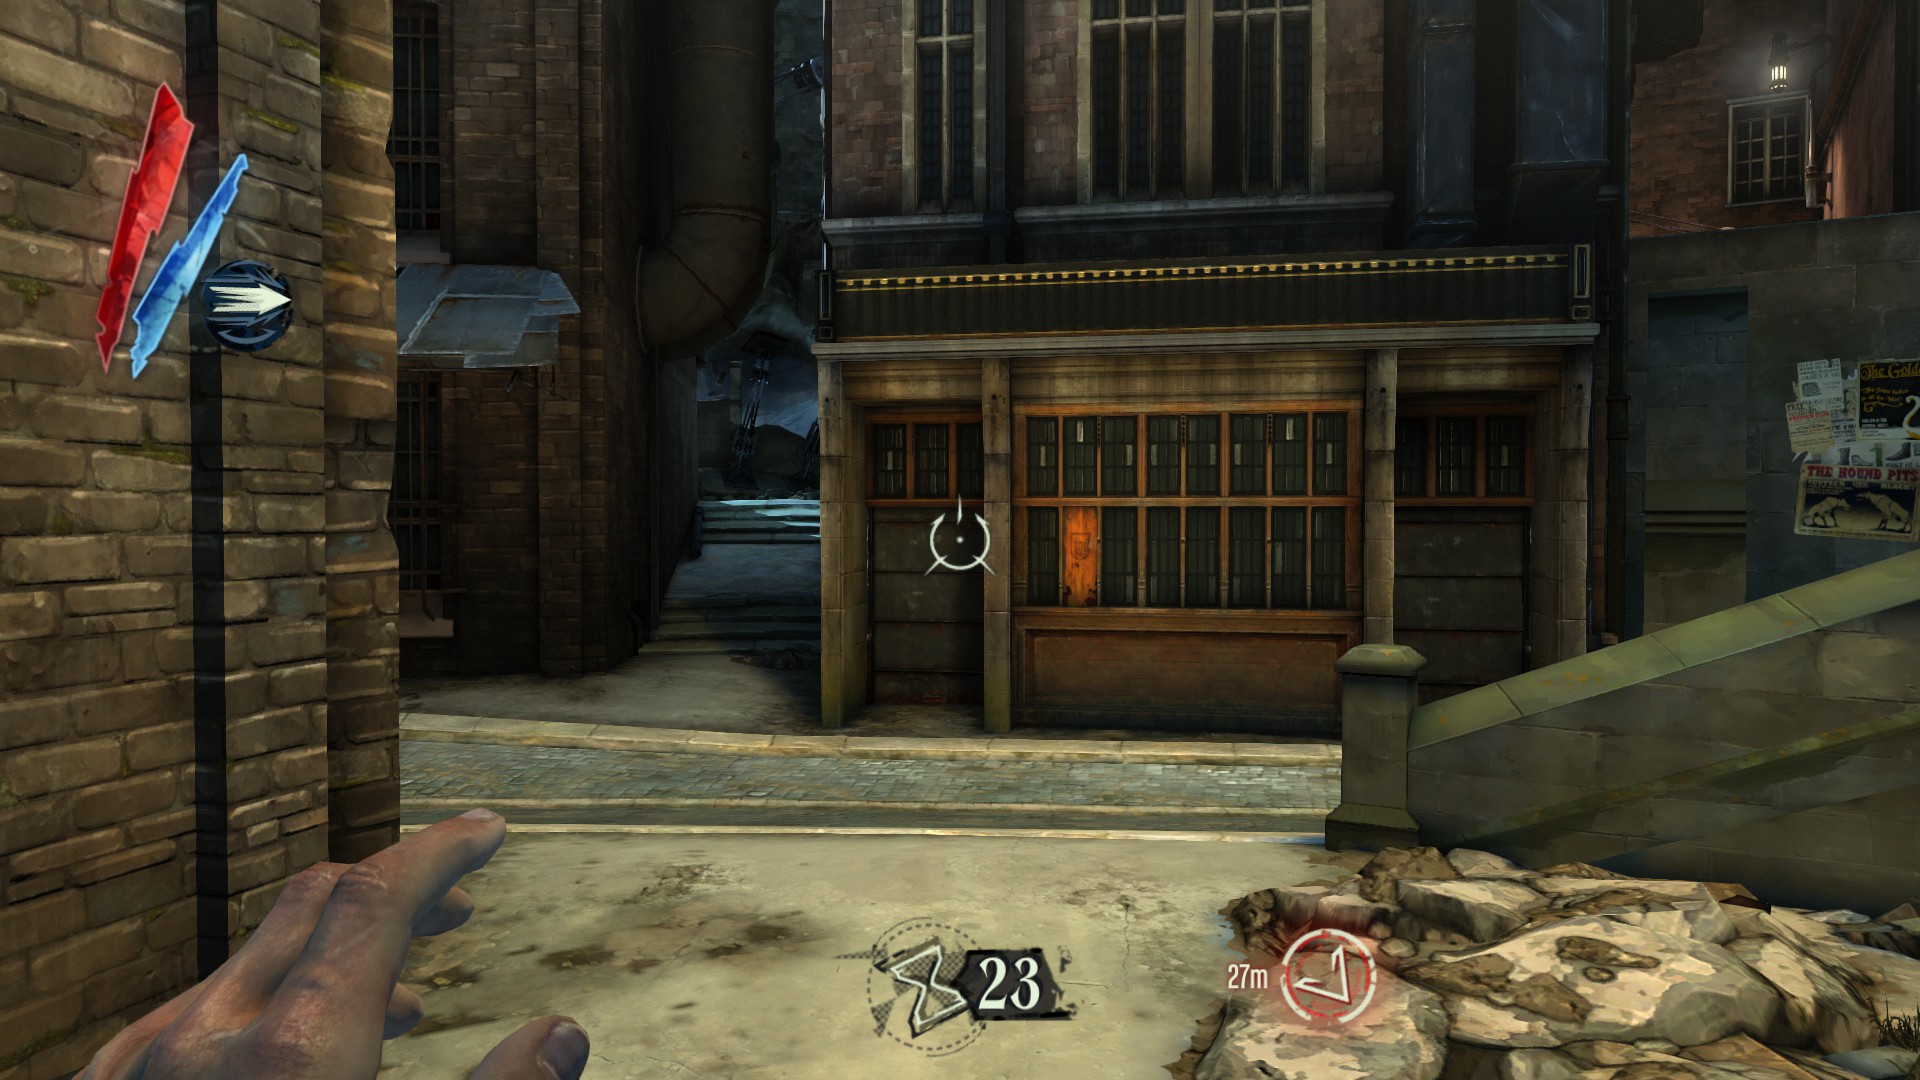
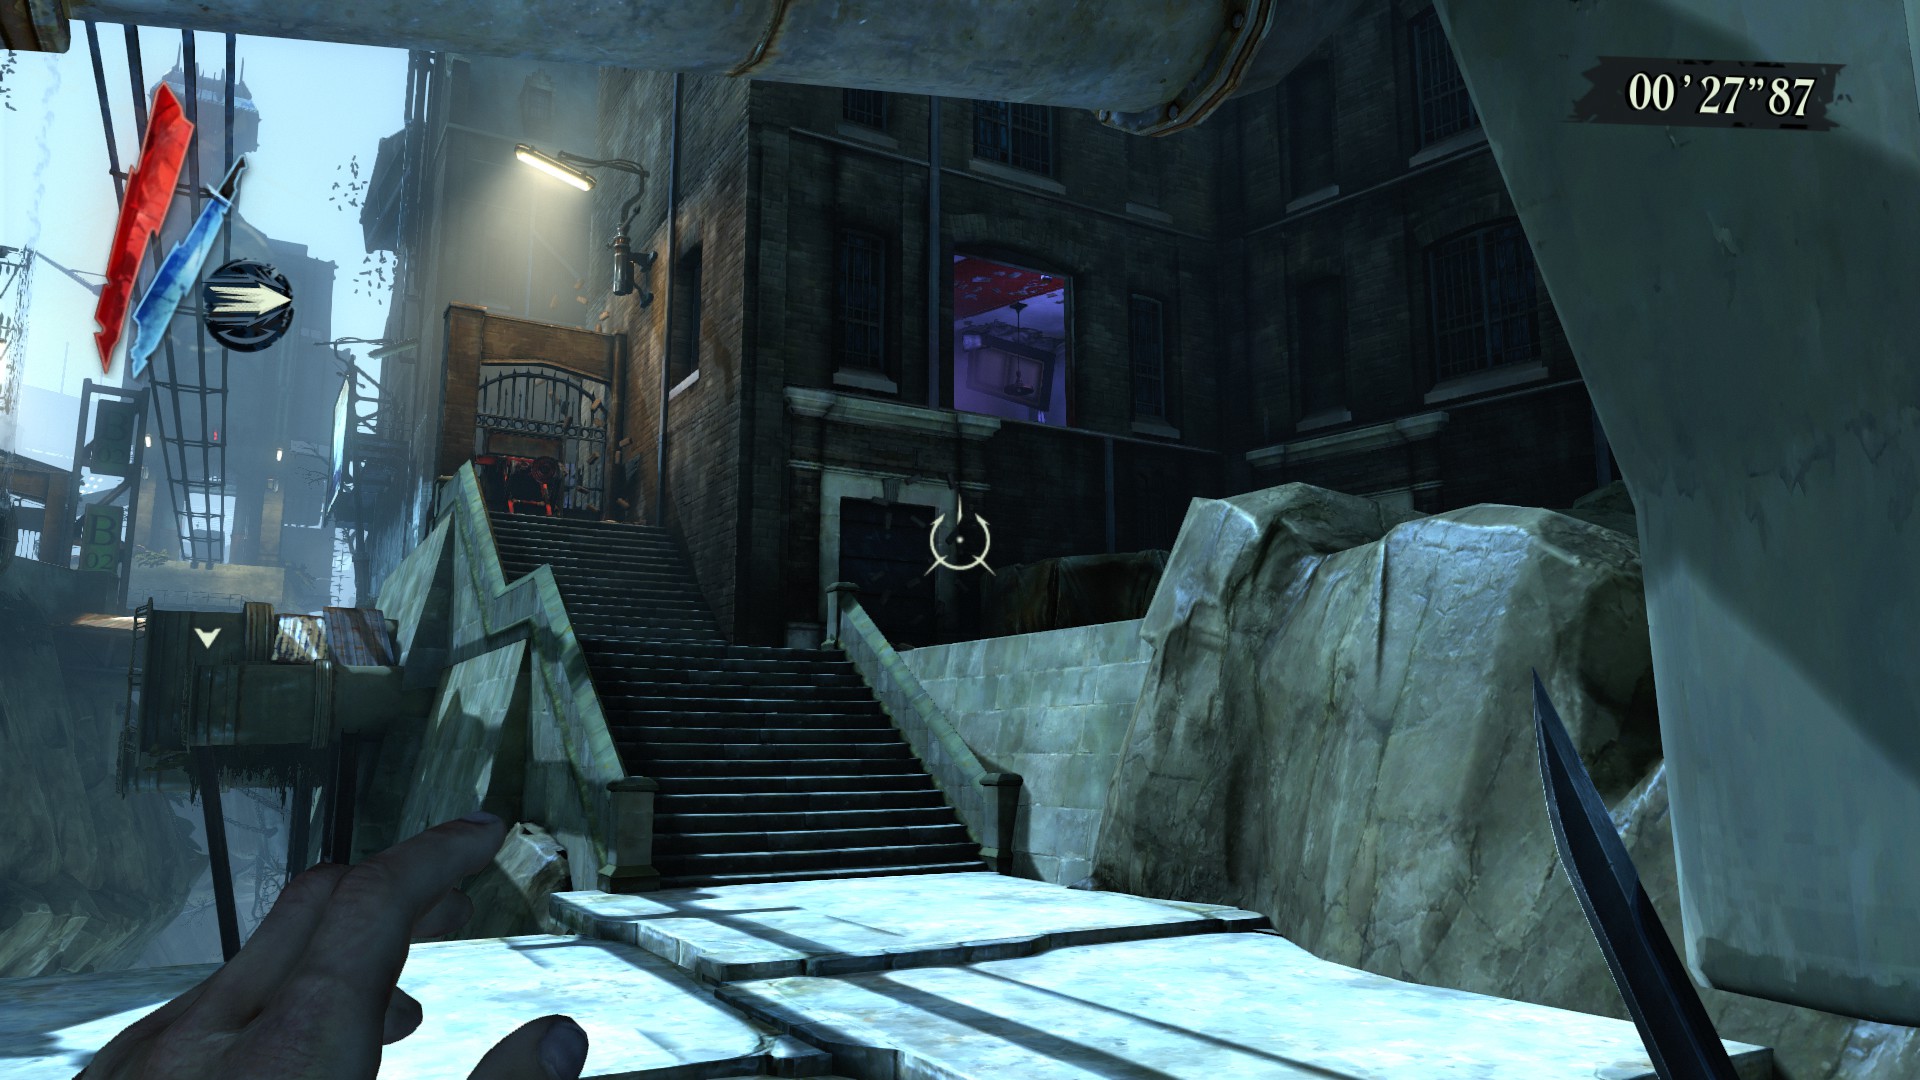
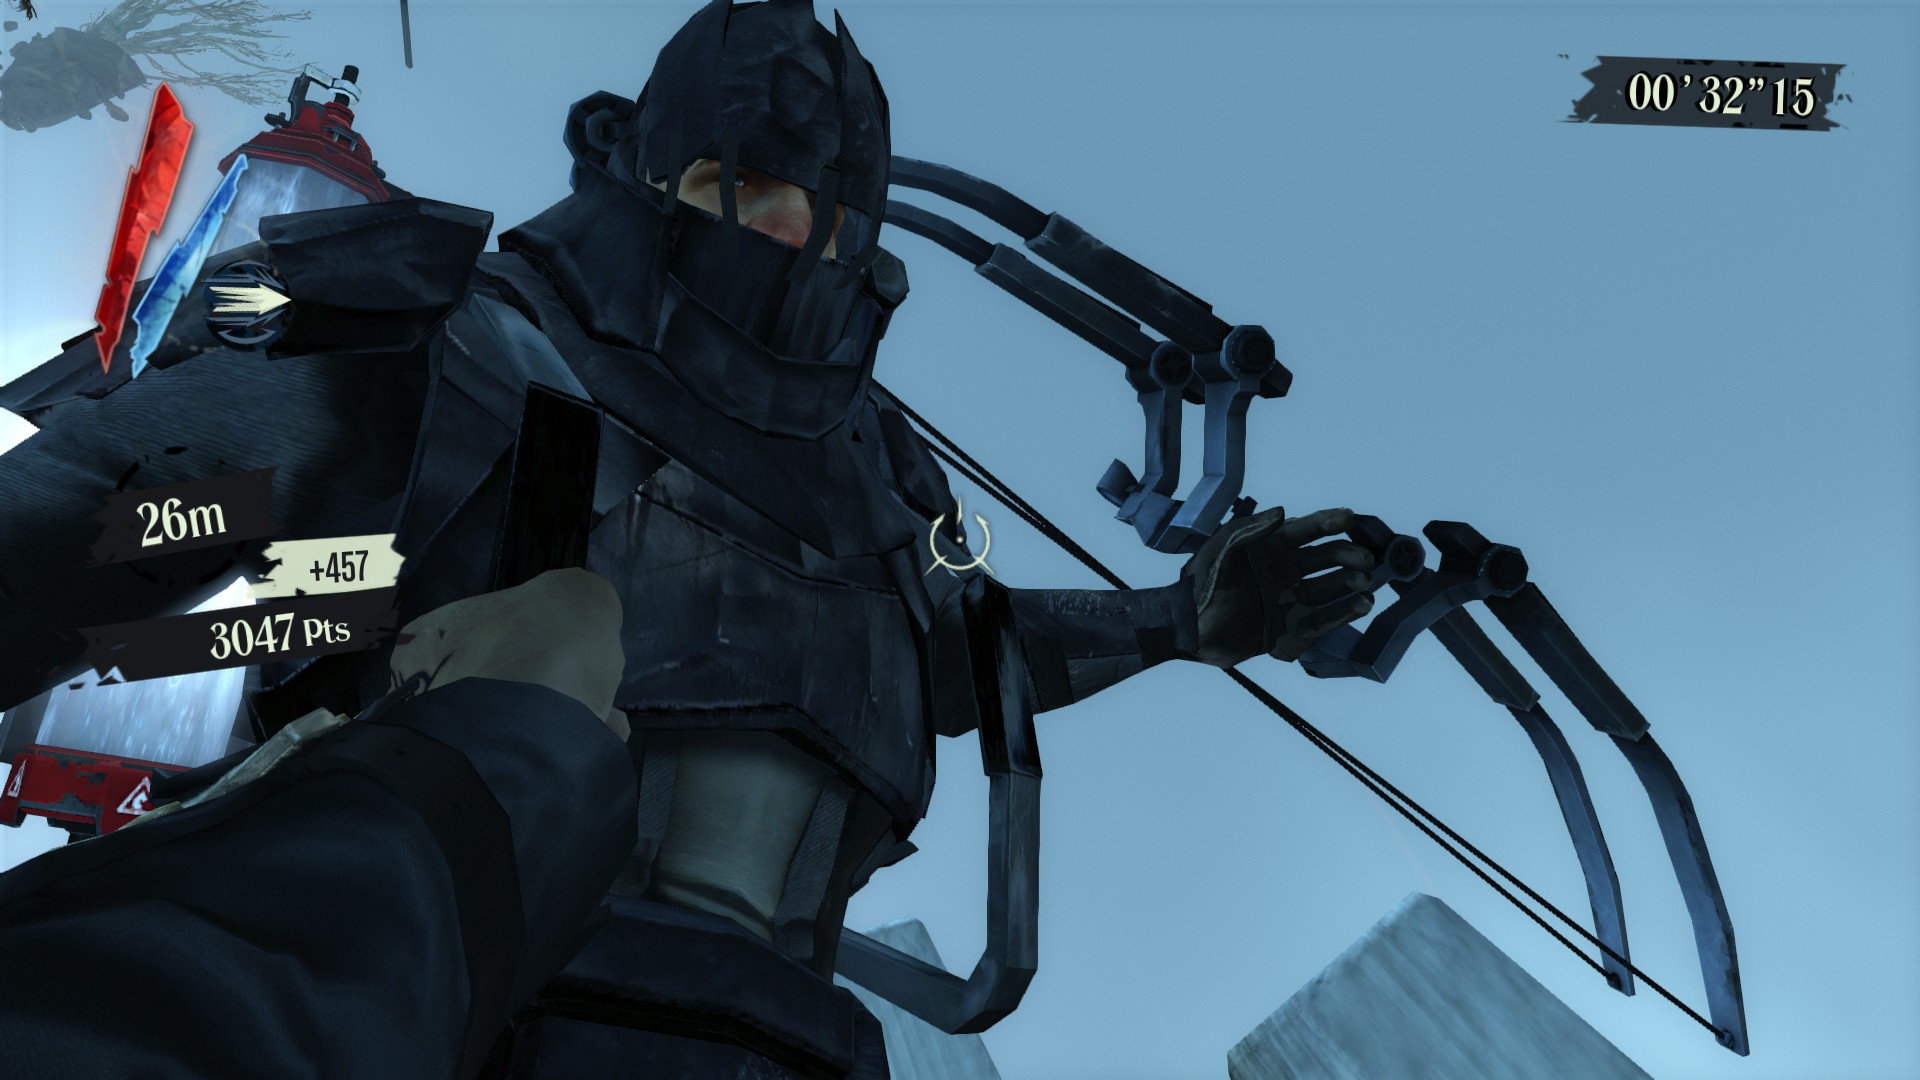
Challenge 3: Back Alley Brawl
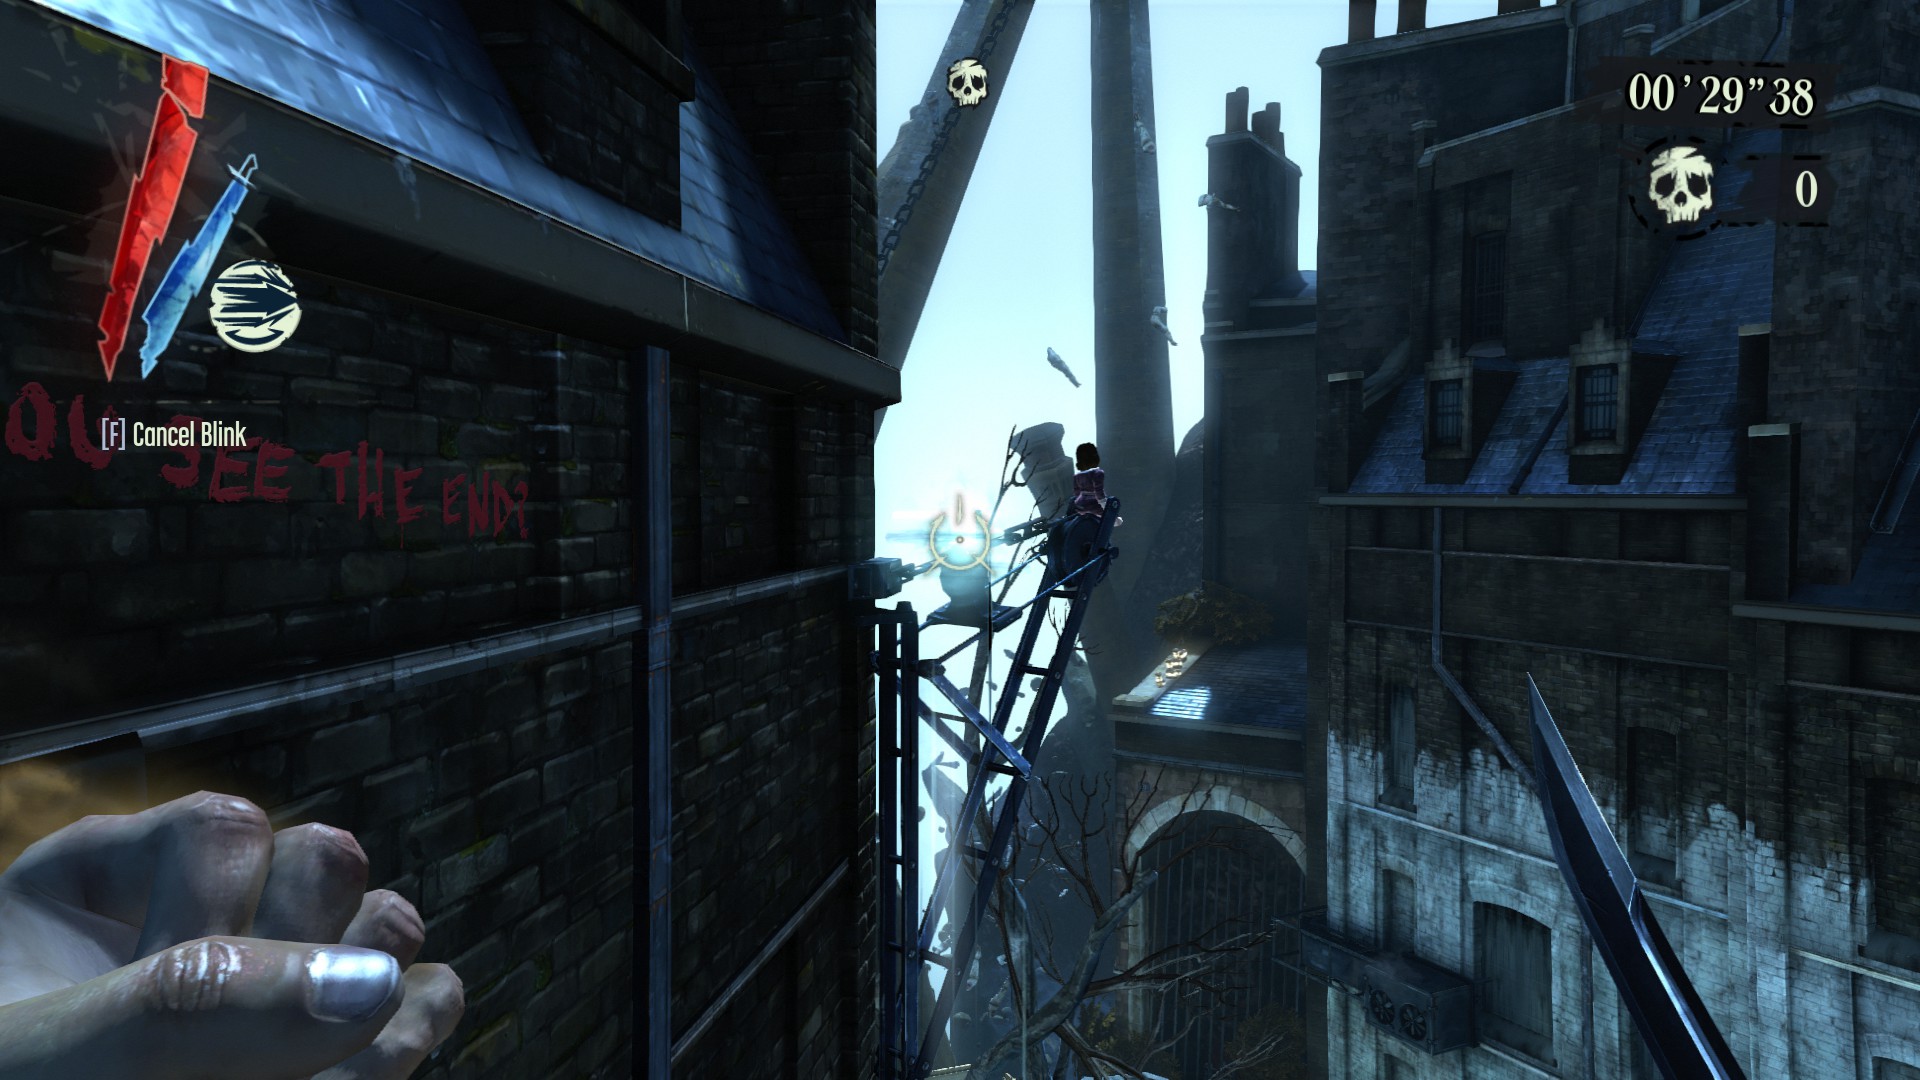
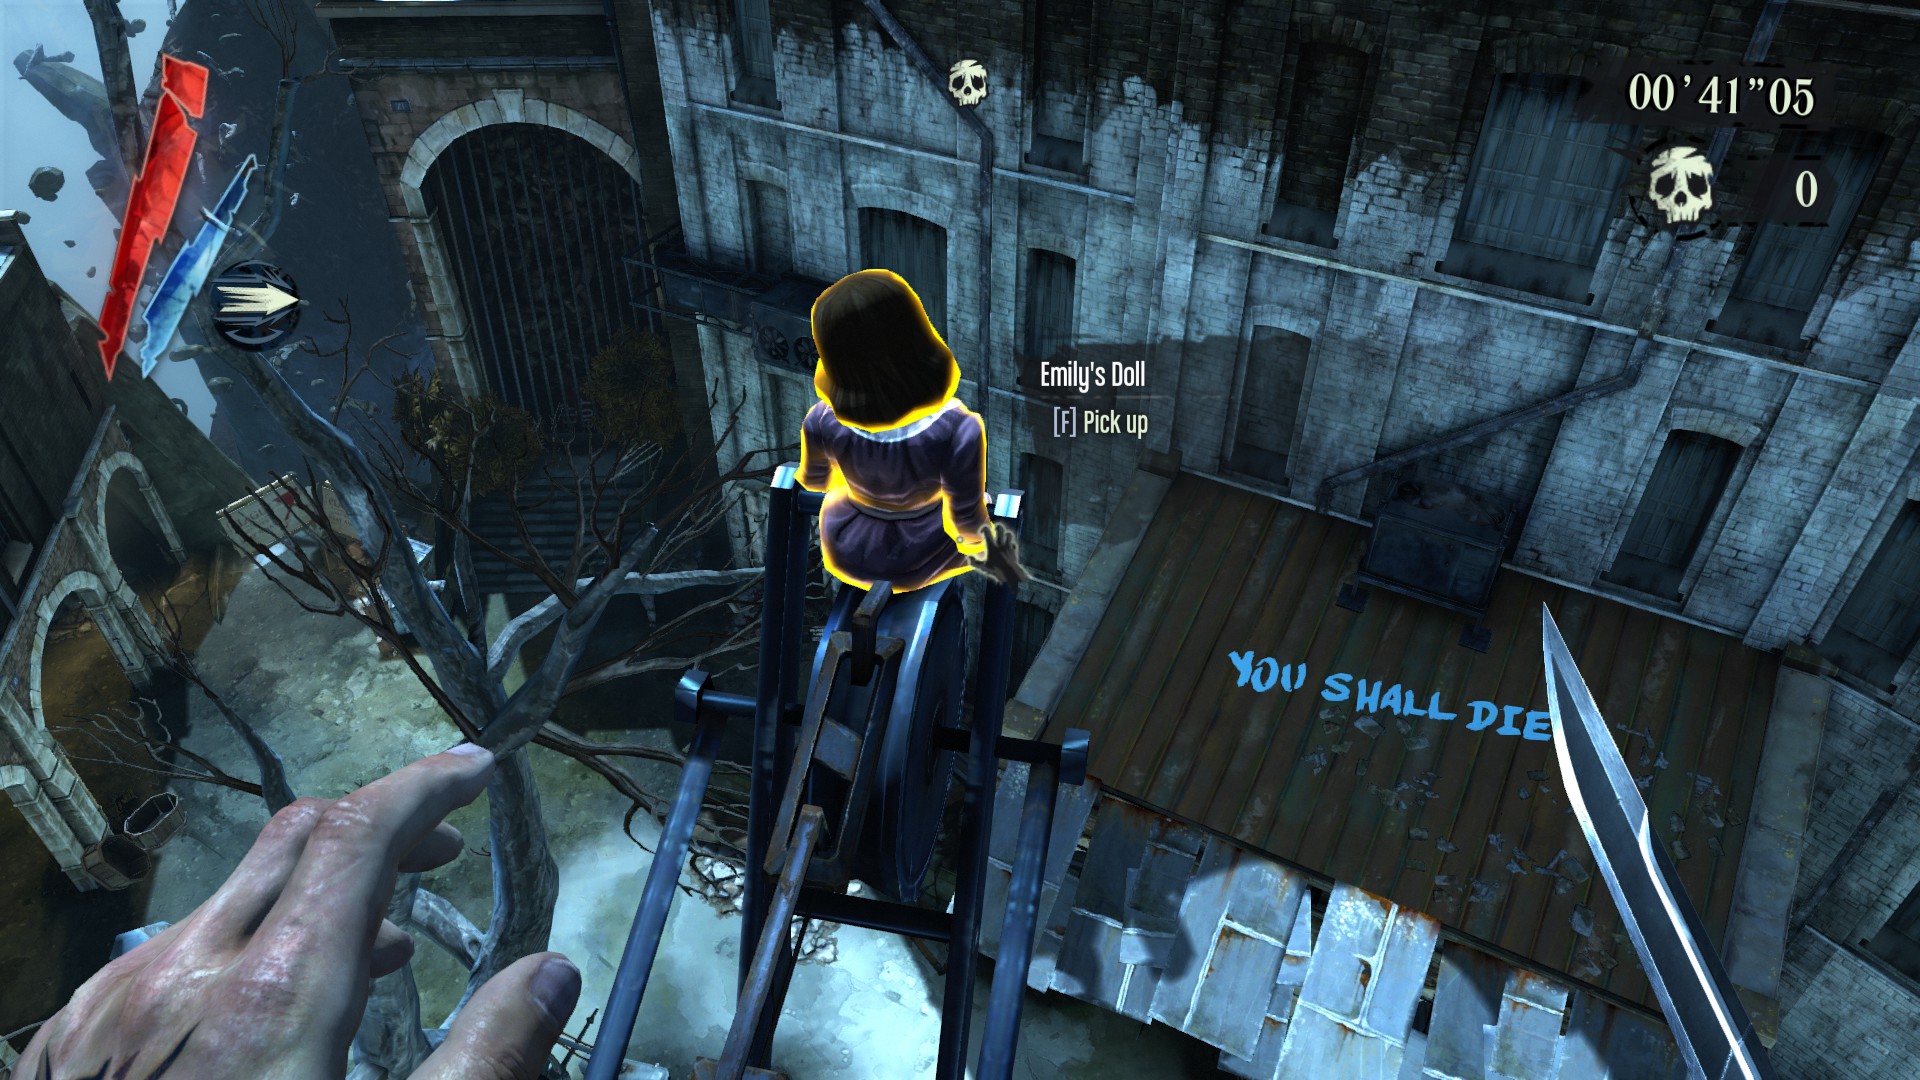
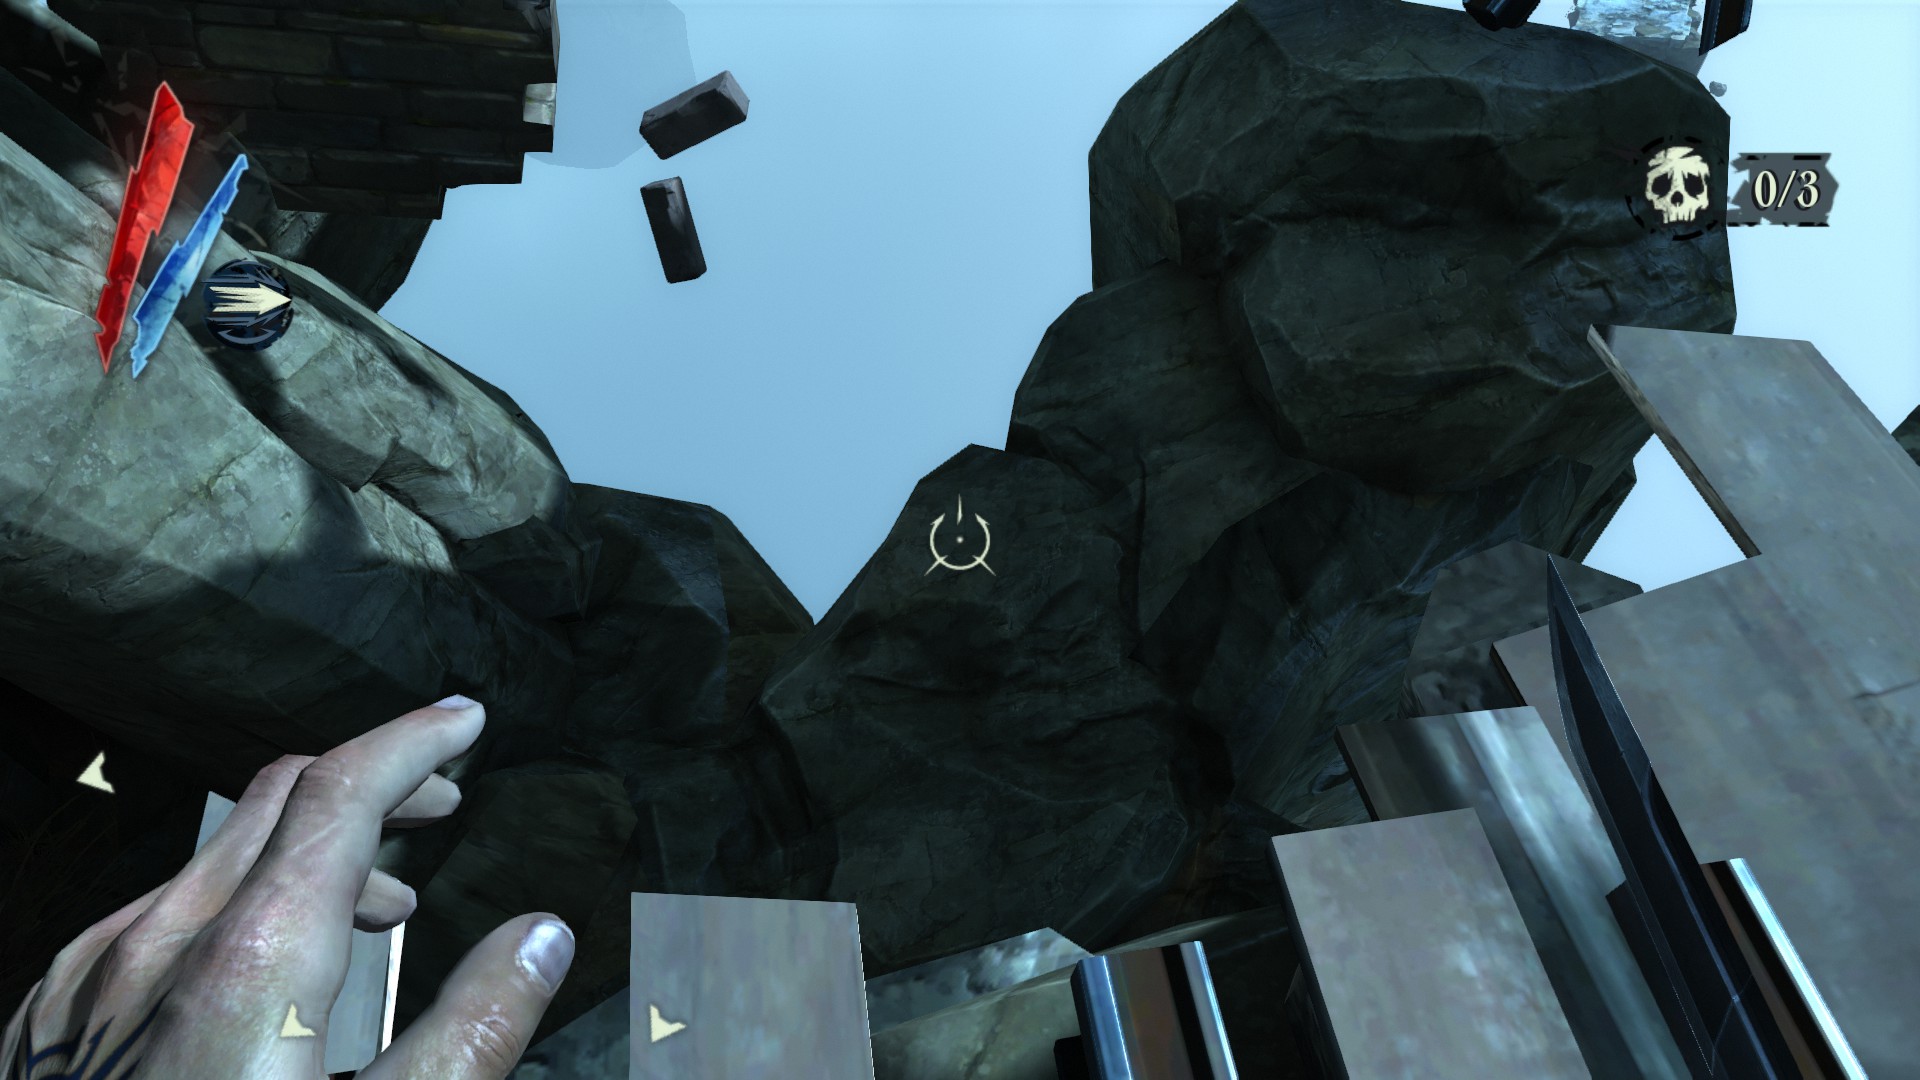
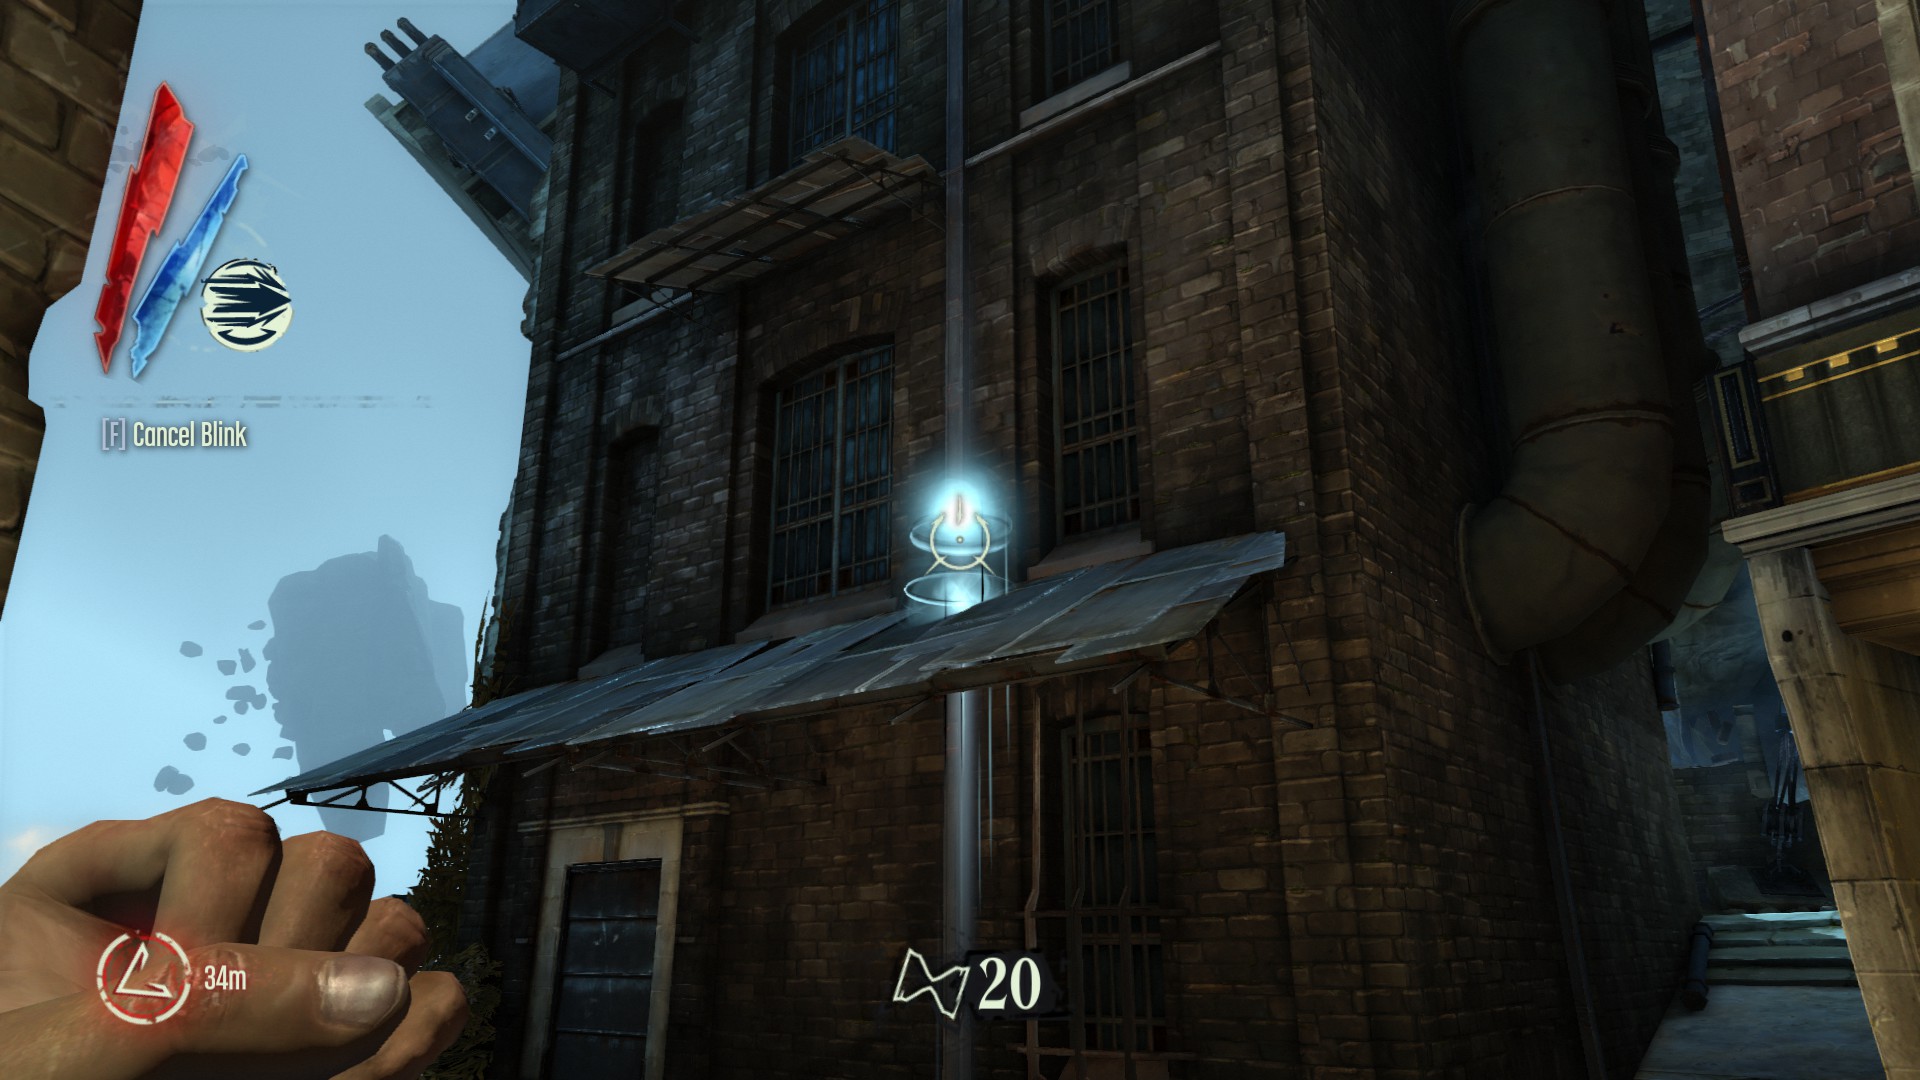
This one is quick and easy, right at the beginning look over to your left and you’ll see some floating pieces of sheet metal. Blink over and blink up to the chains holding the buildings together. Turn around and blink to the next set of chains. Run up these chains to the buildings wall and you’ll see the doll that you can blink to on a crane.
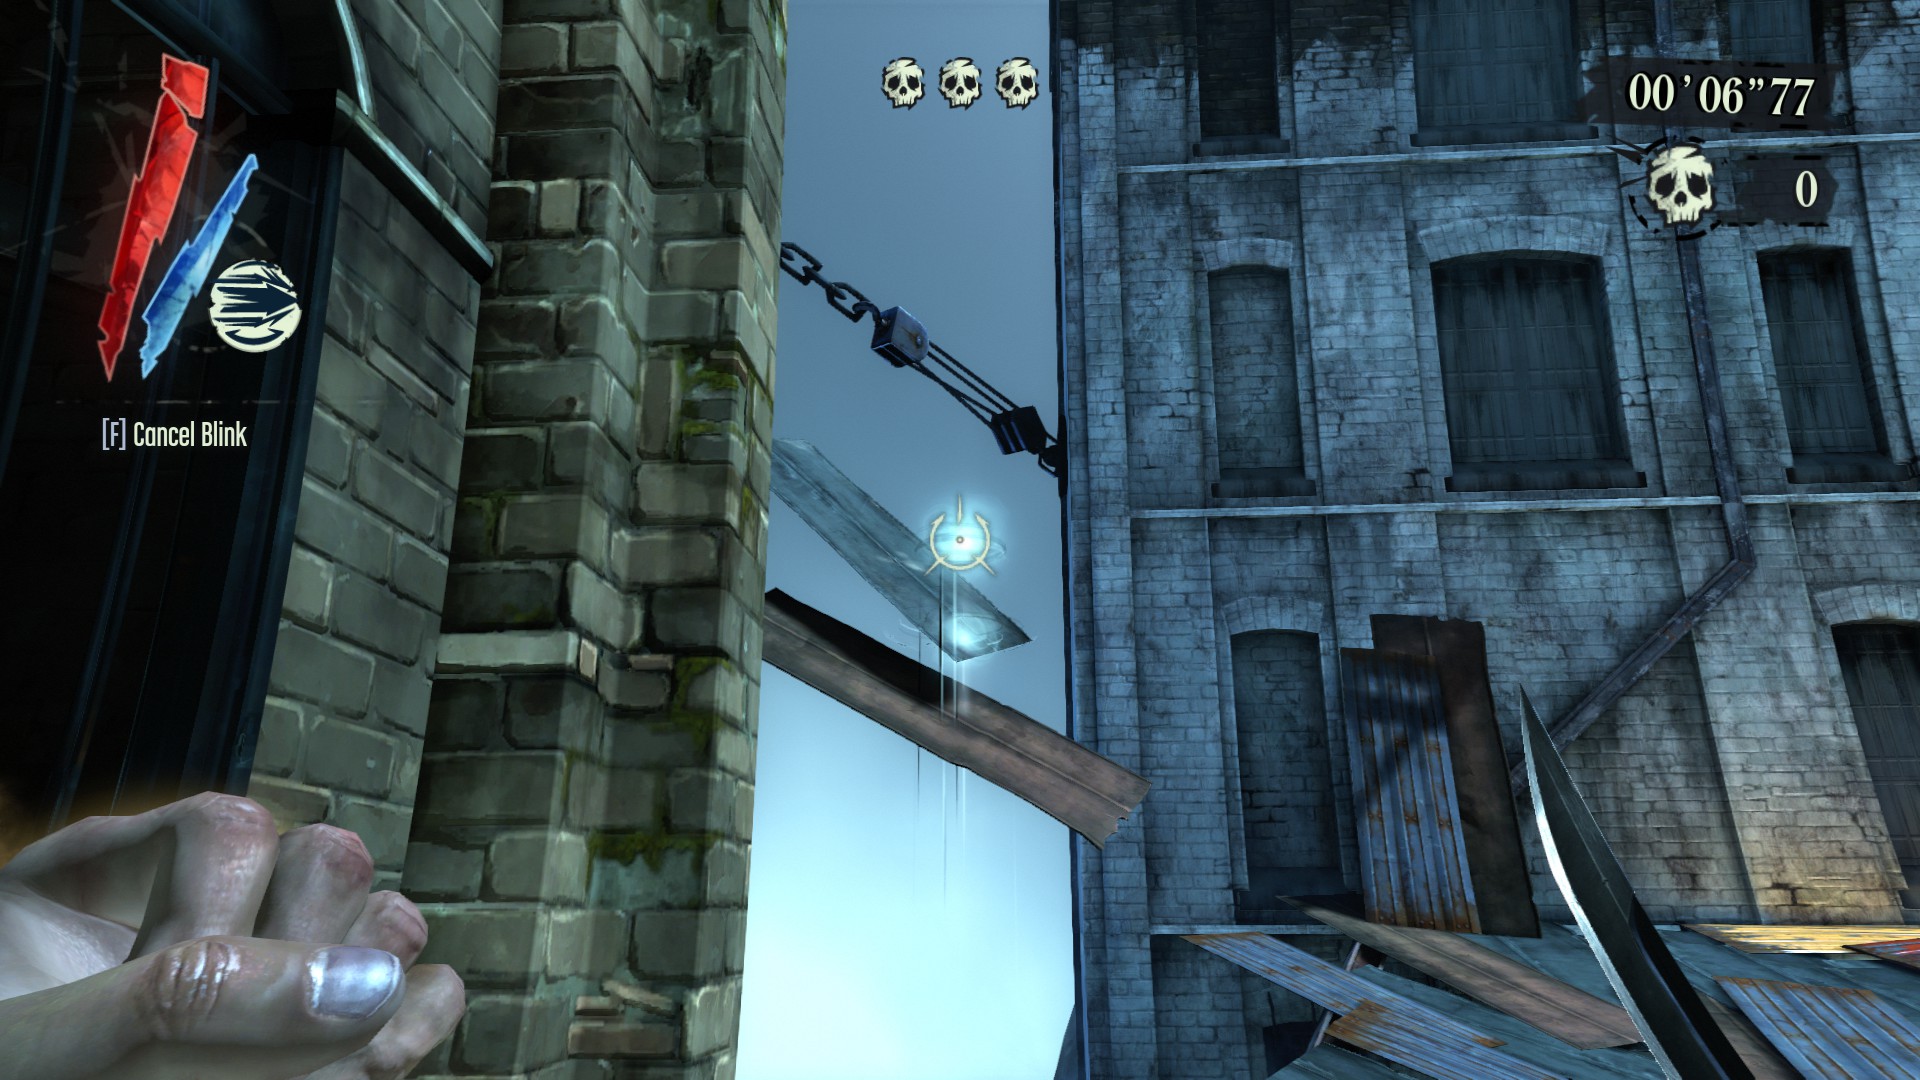
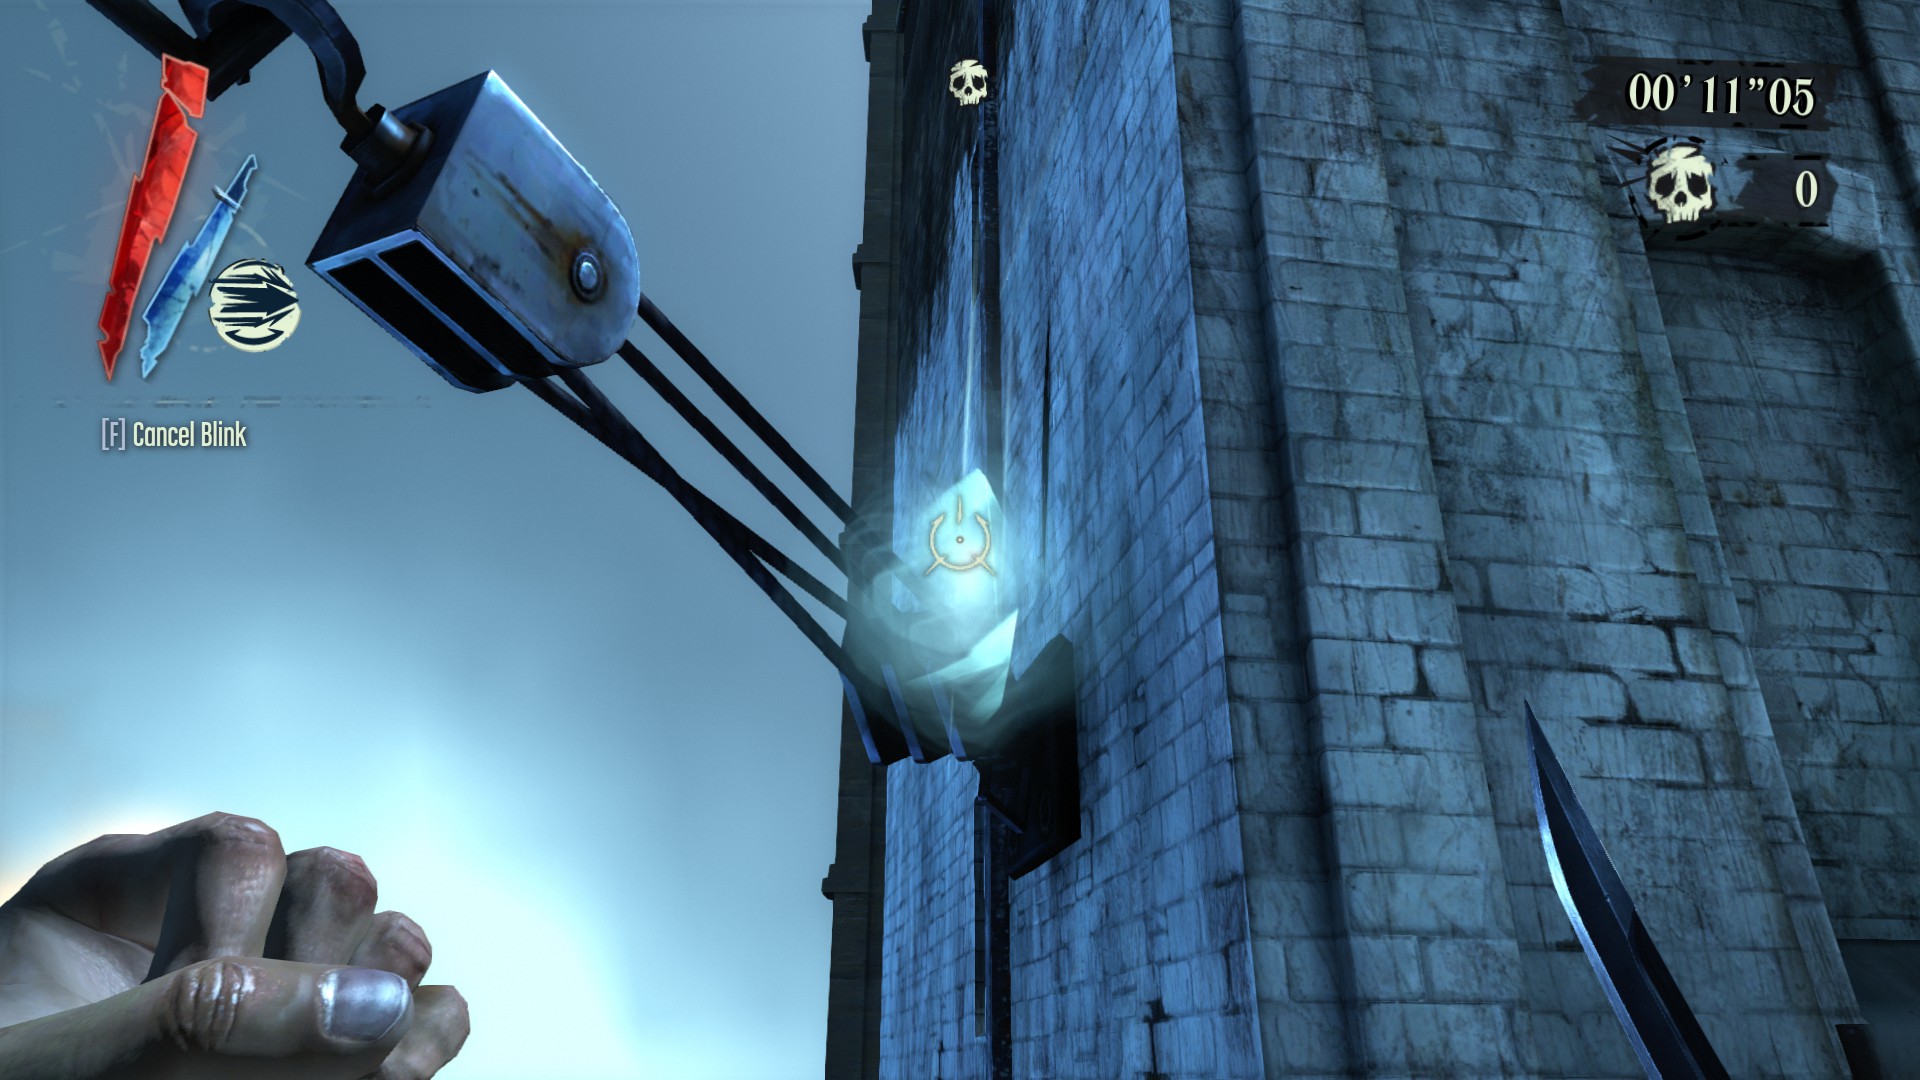
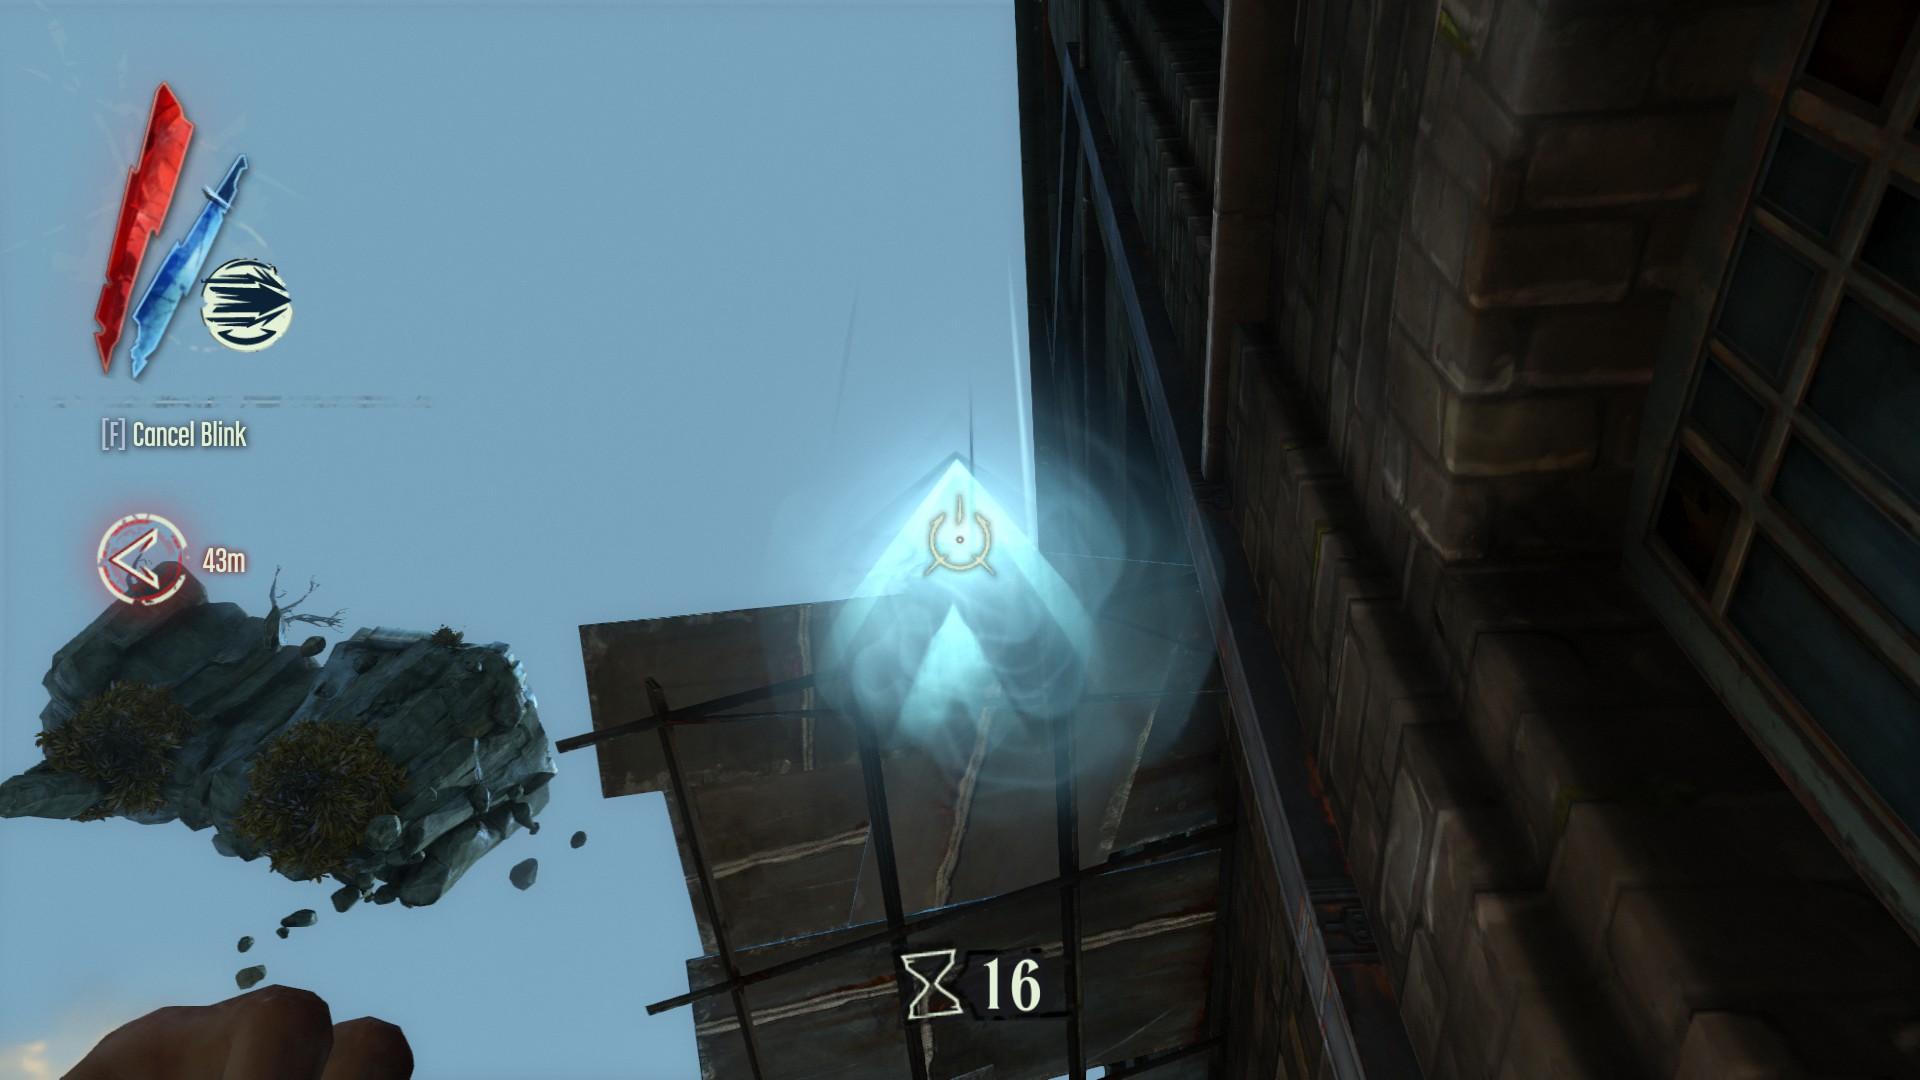
Turn around here and you’ll see the next chain to blink to.
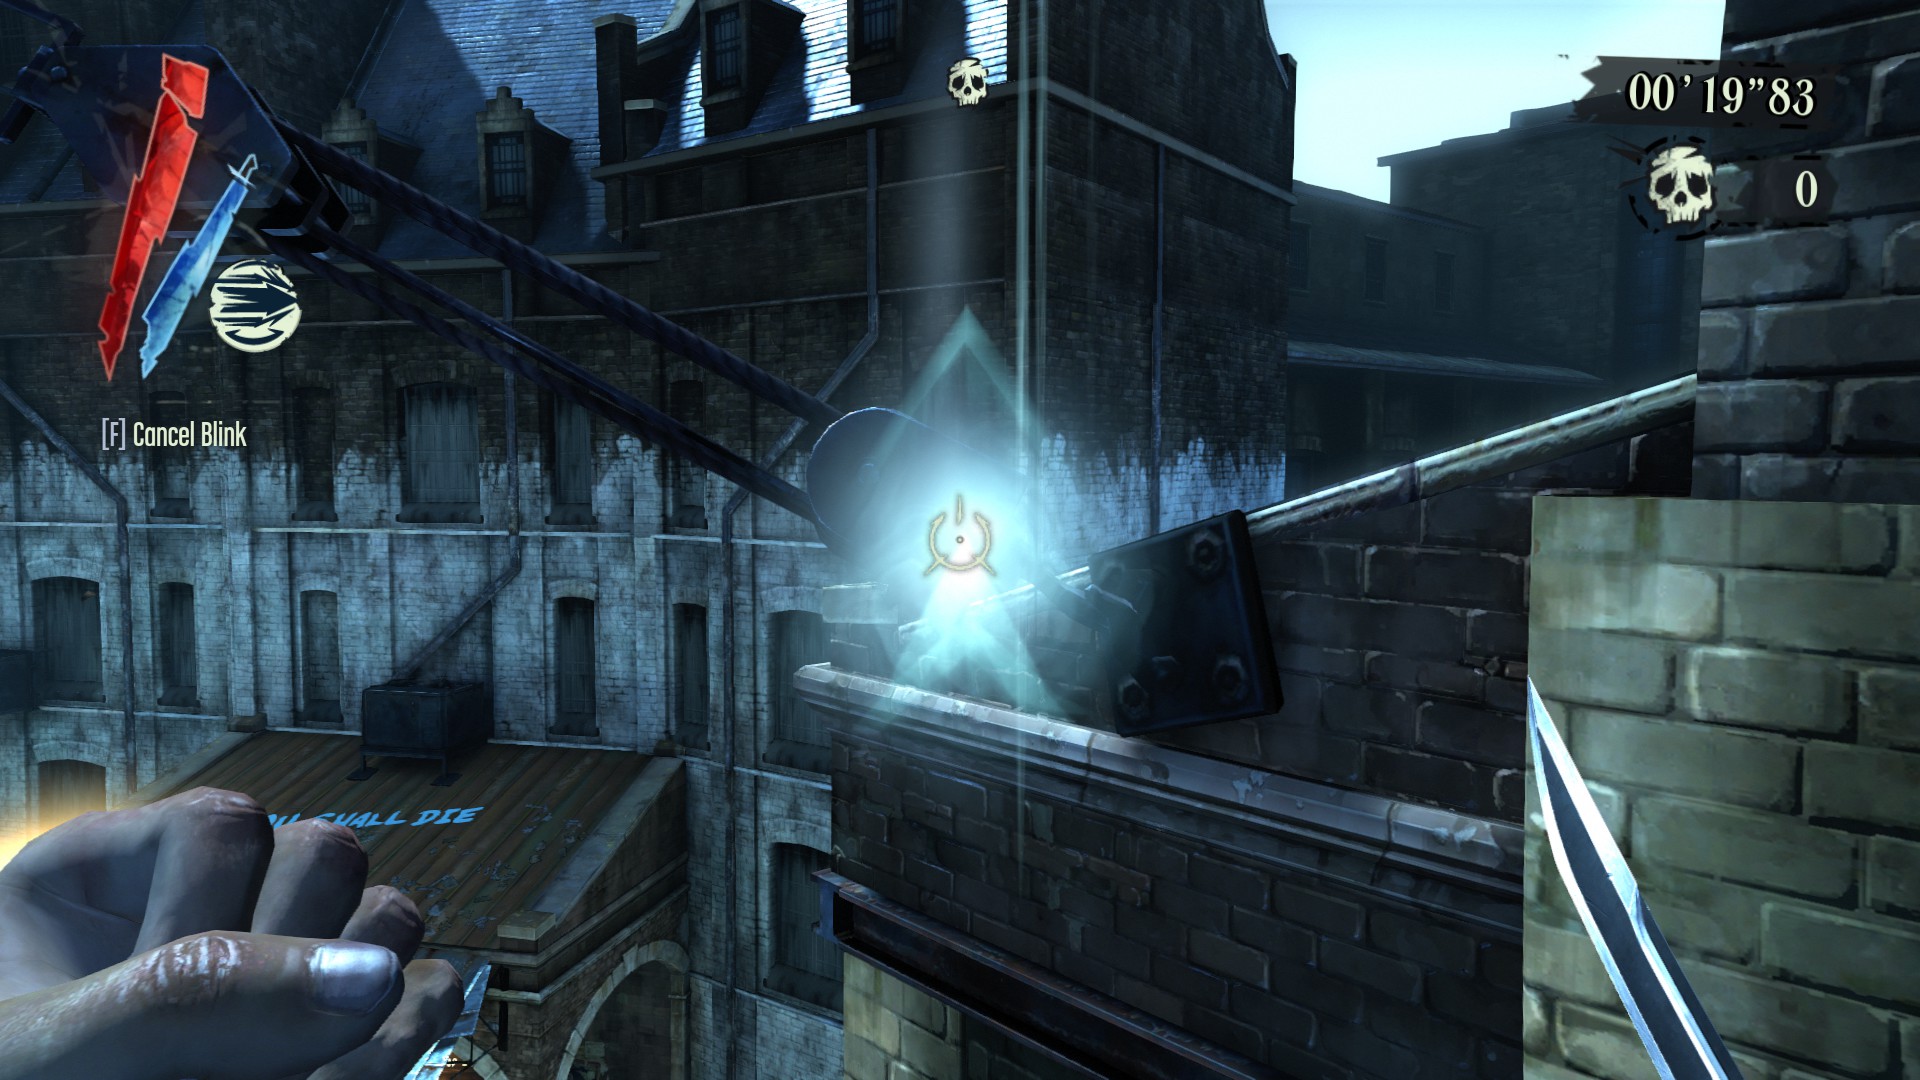
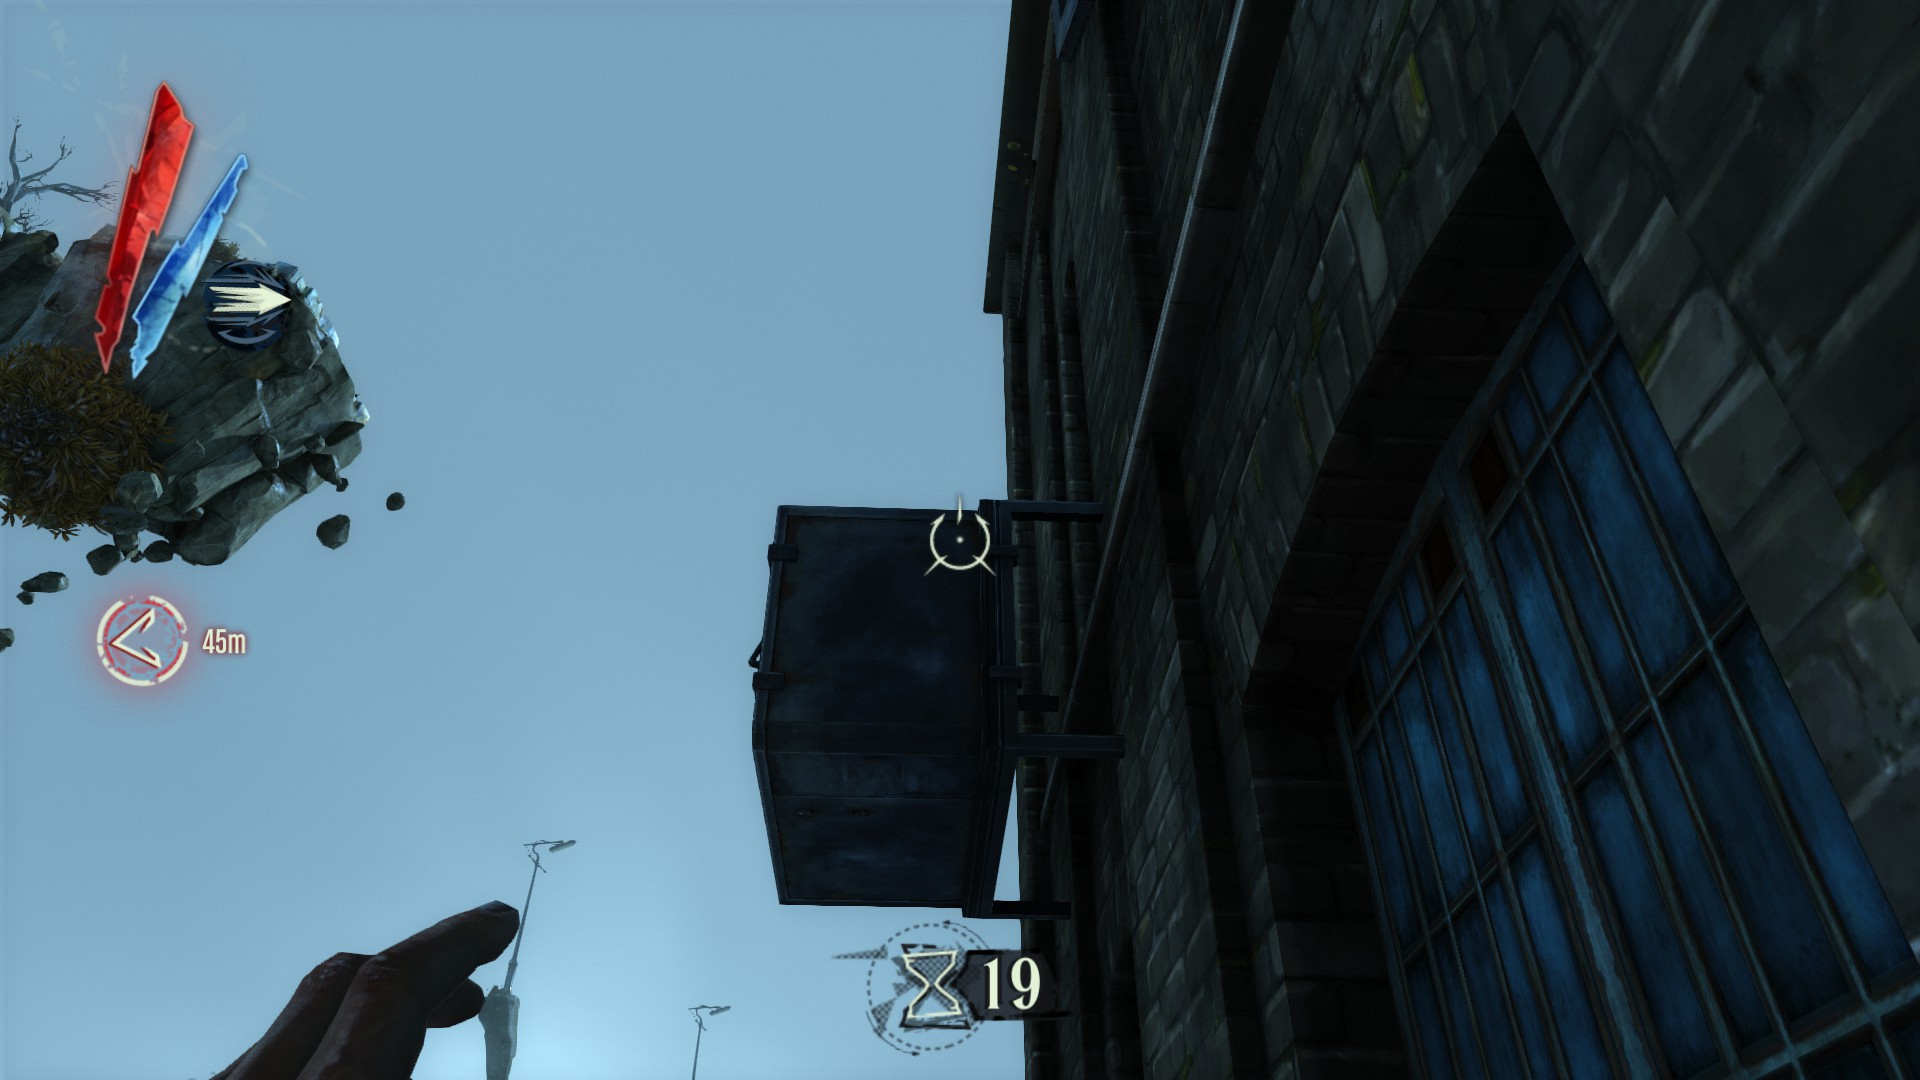
Run up these chains and look to the right and you’ll see the doll on top of the crane.
Challenge 4: Assassin’s Run
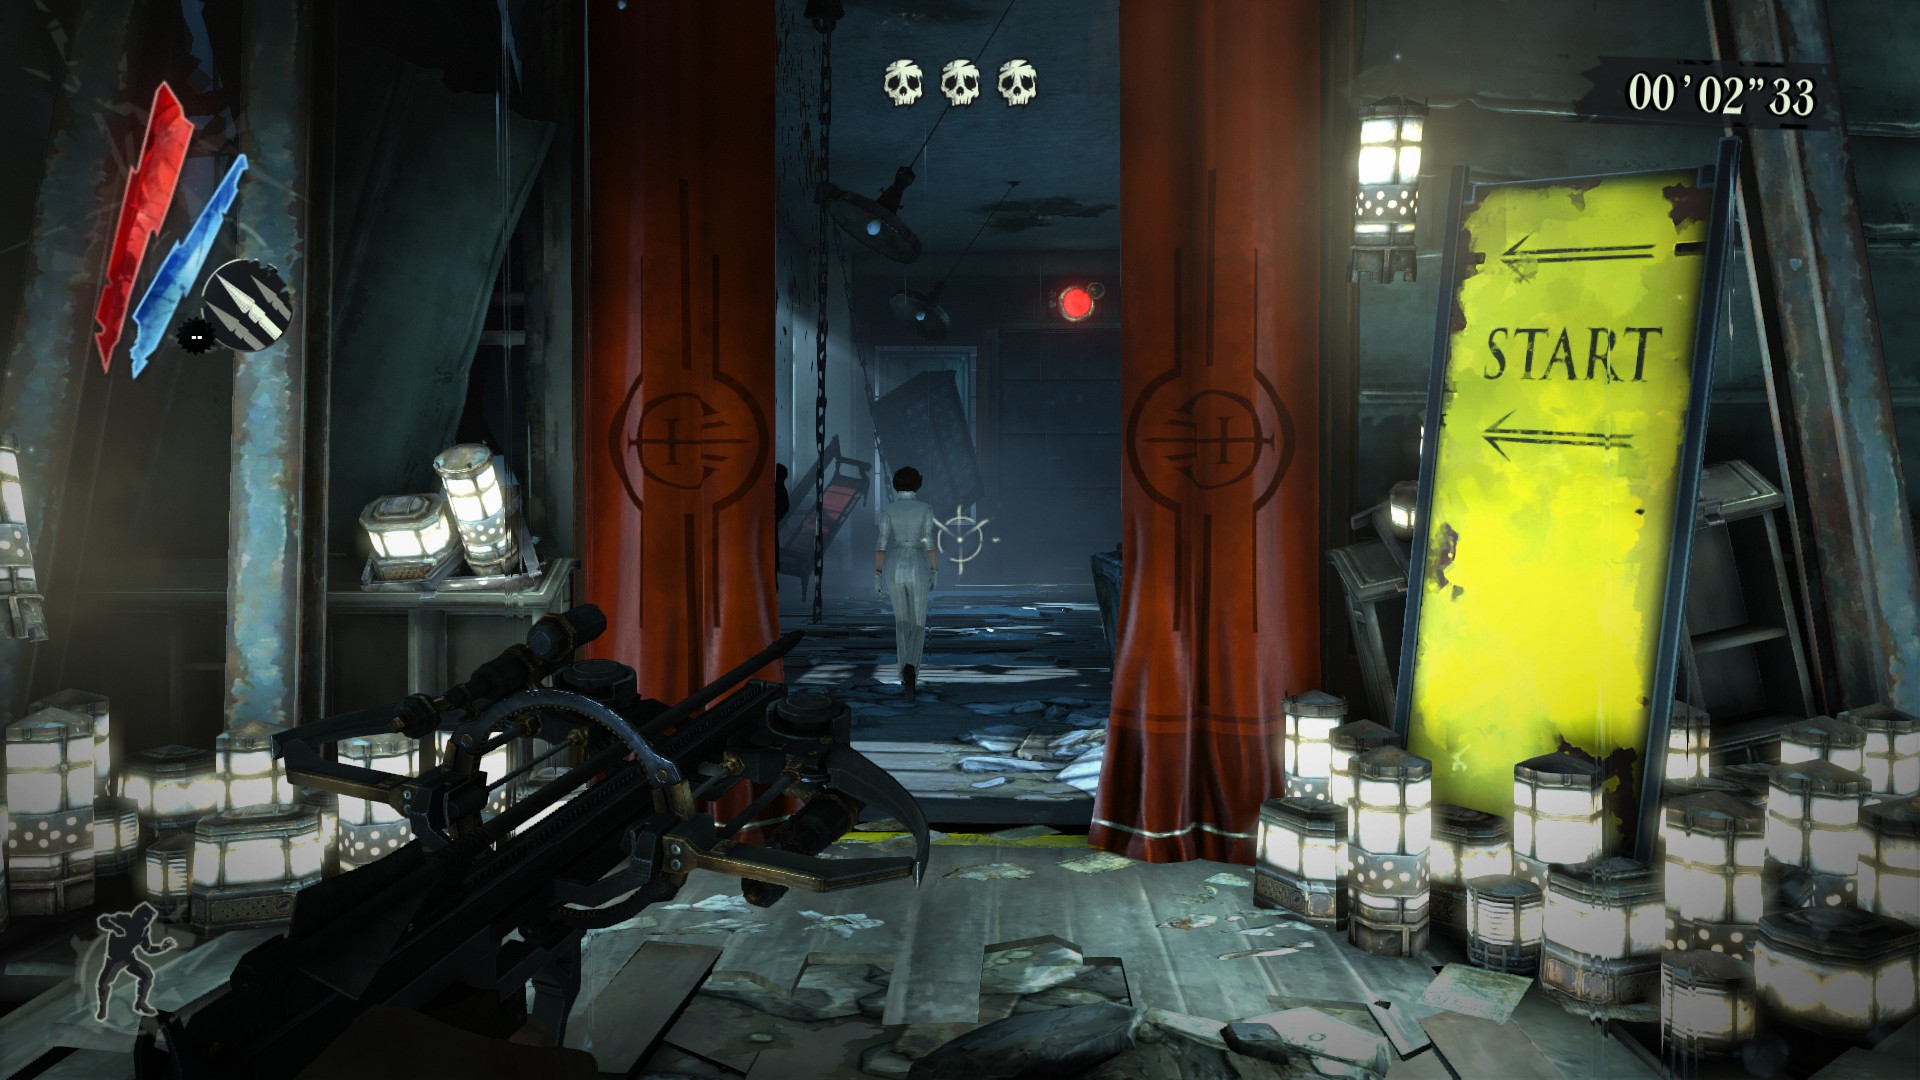
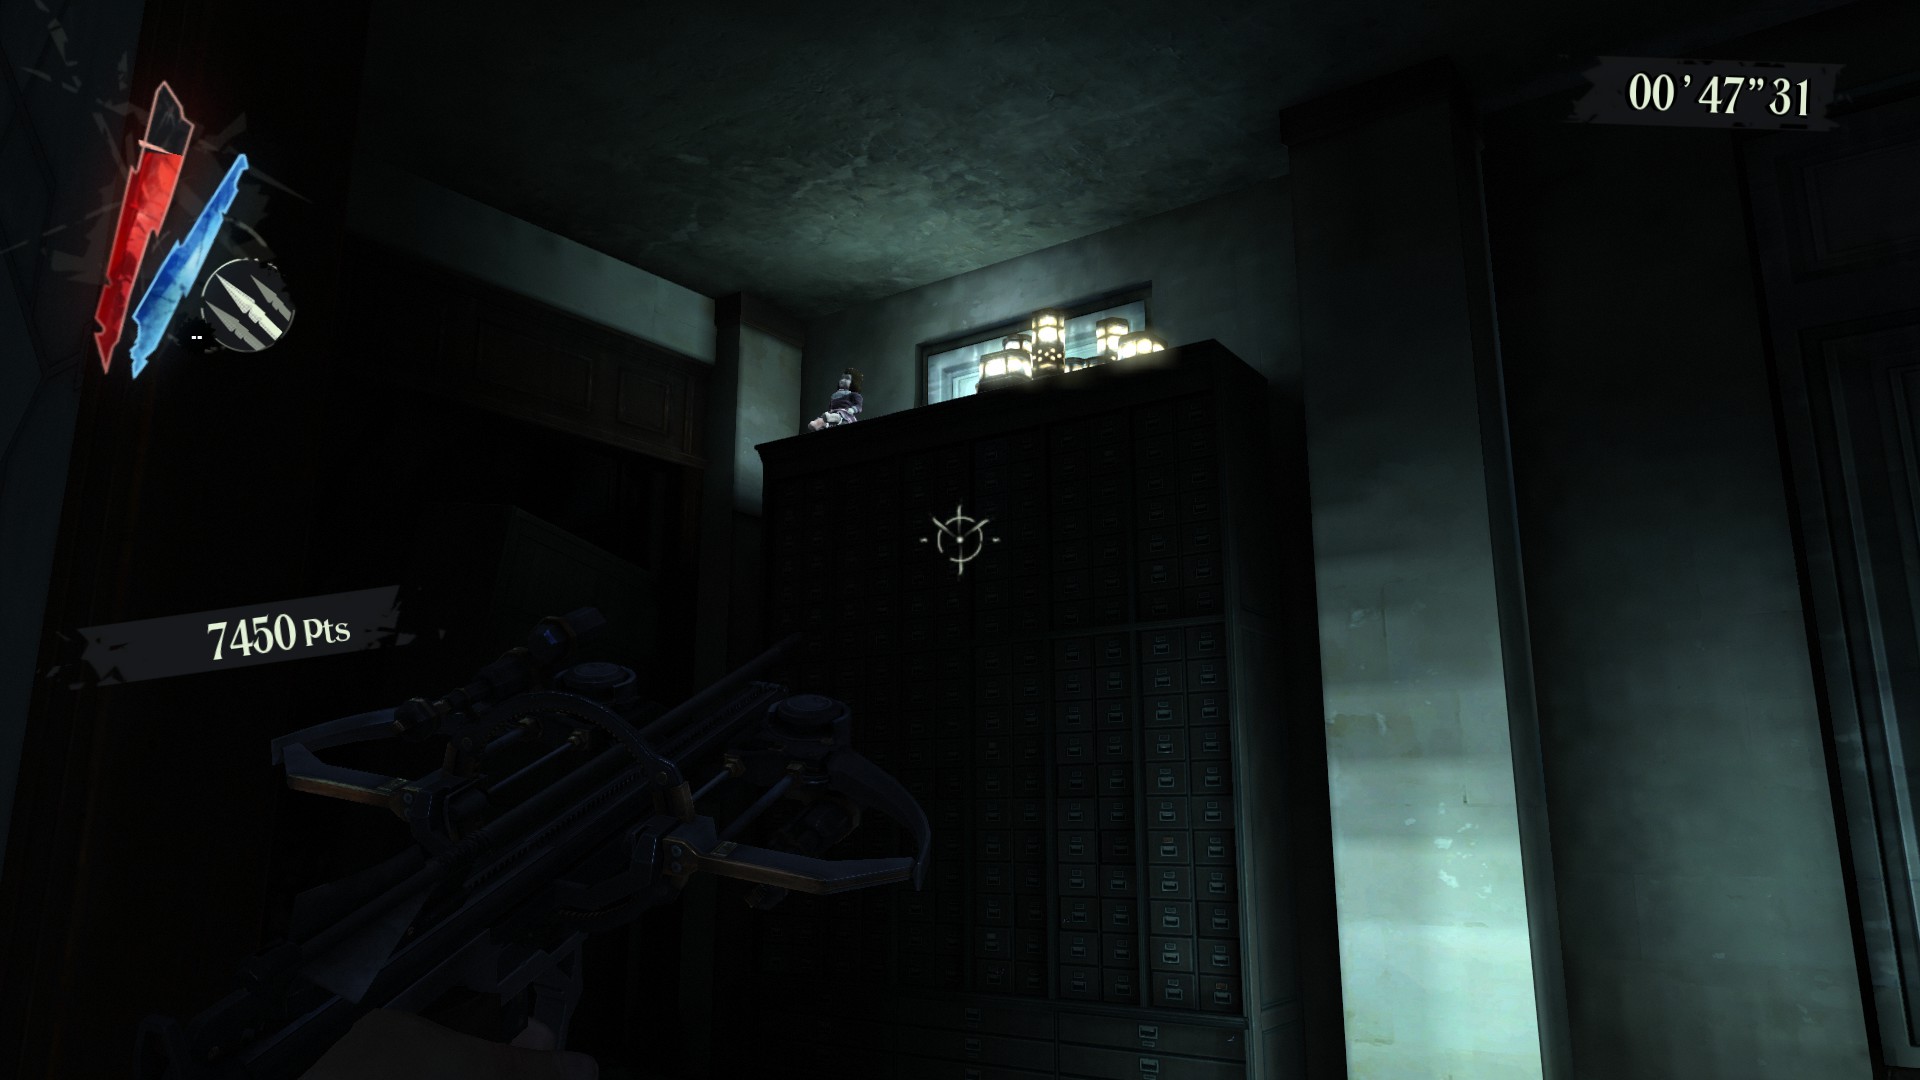
In this challenge you fight through separate scenarios before moving to the next one, the doll is in the 3rd scenario. After you fight off the wave of weepers before you move to the 4th scenario head to the back of the room and you’ll see a bookcase with the doll on top. Blink up there and it’s yours.
Move through the first two stages.
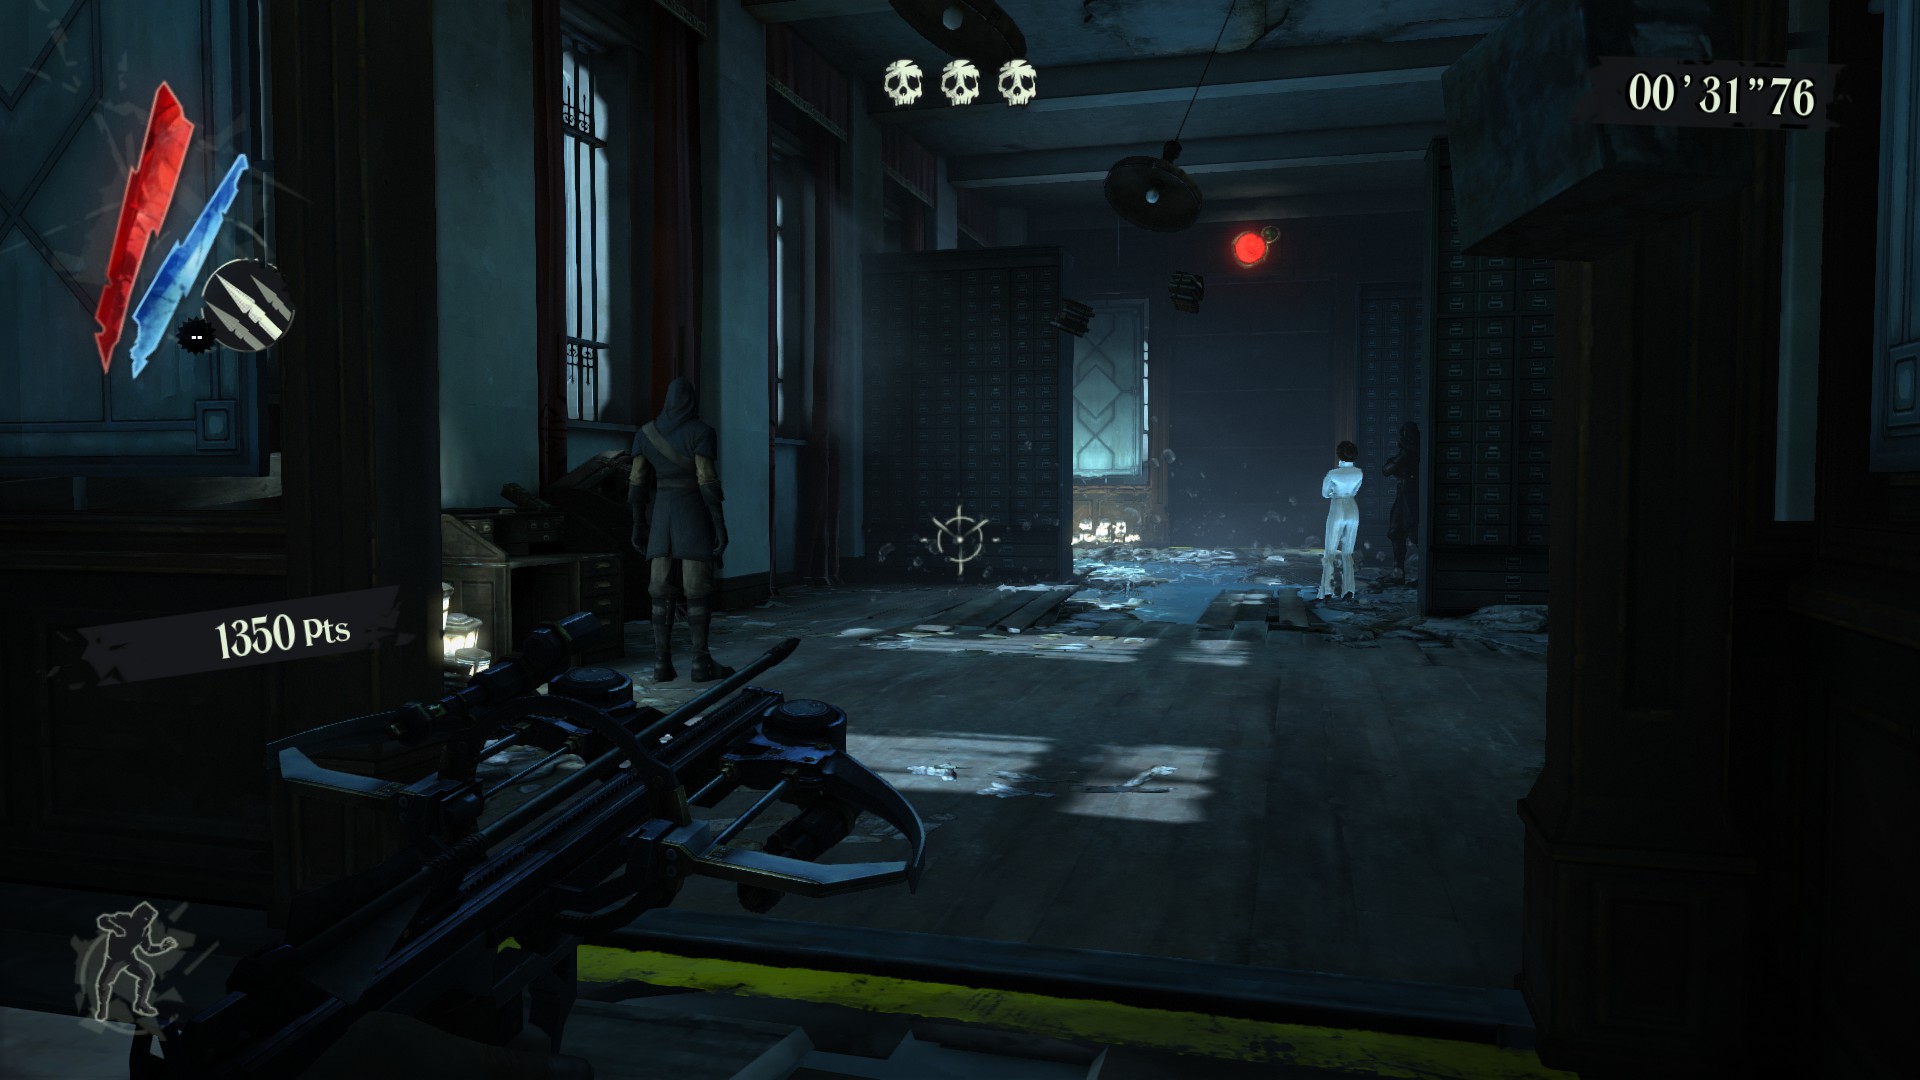

Then you’ll get to the weeper wave.
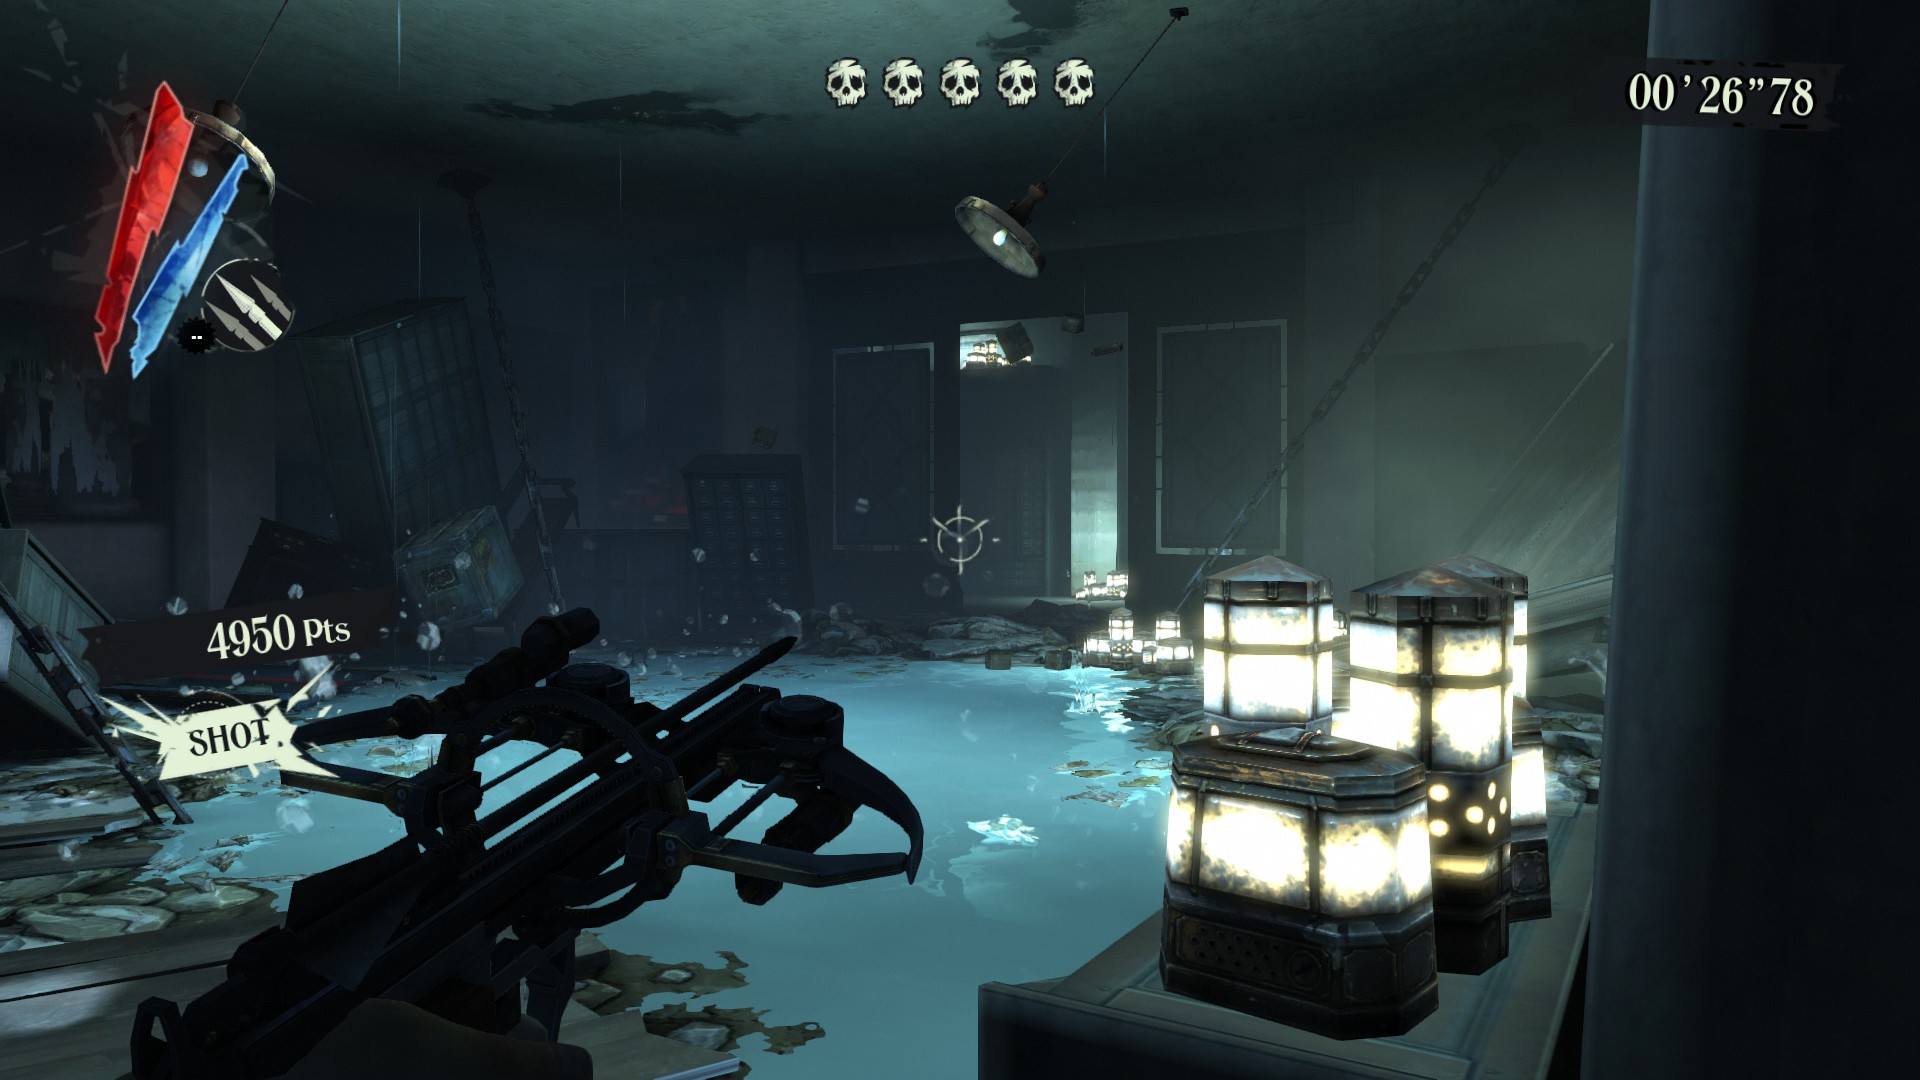
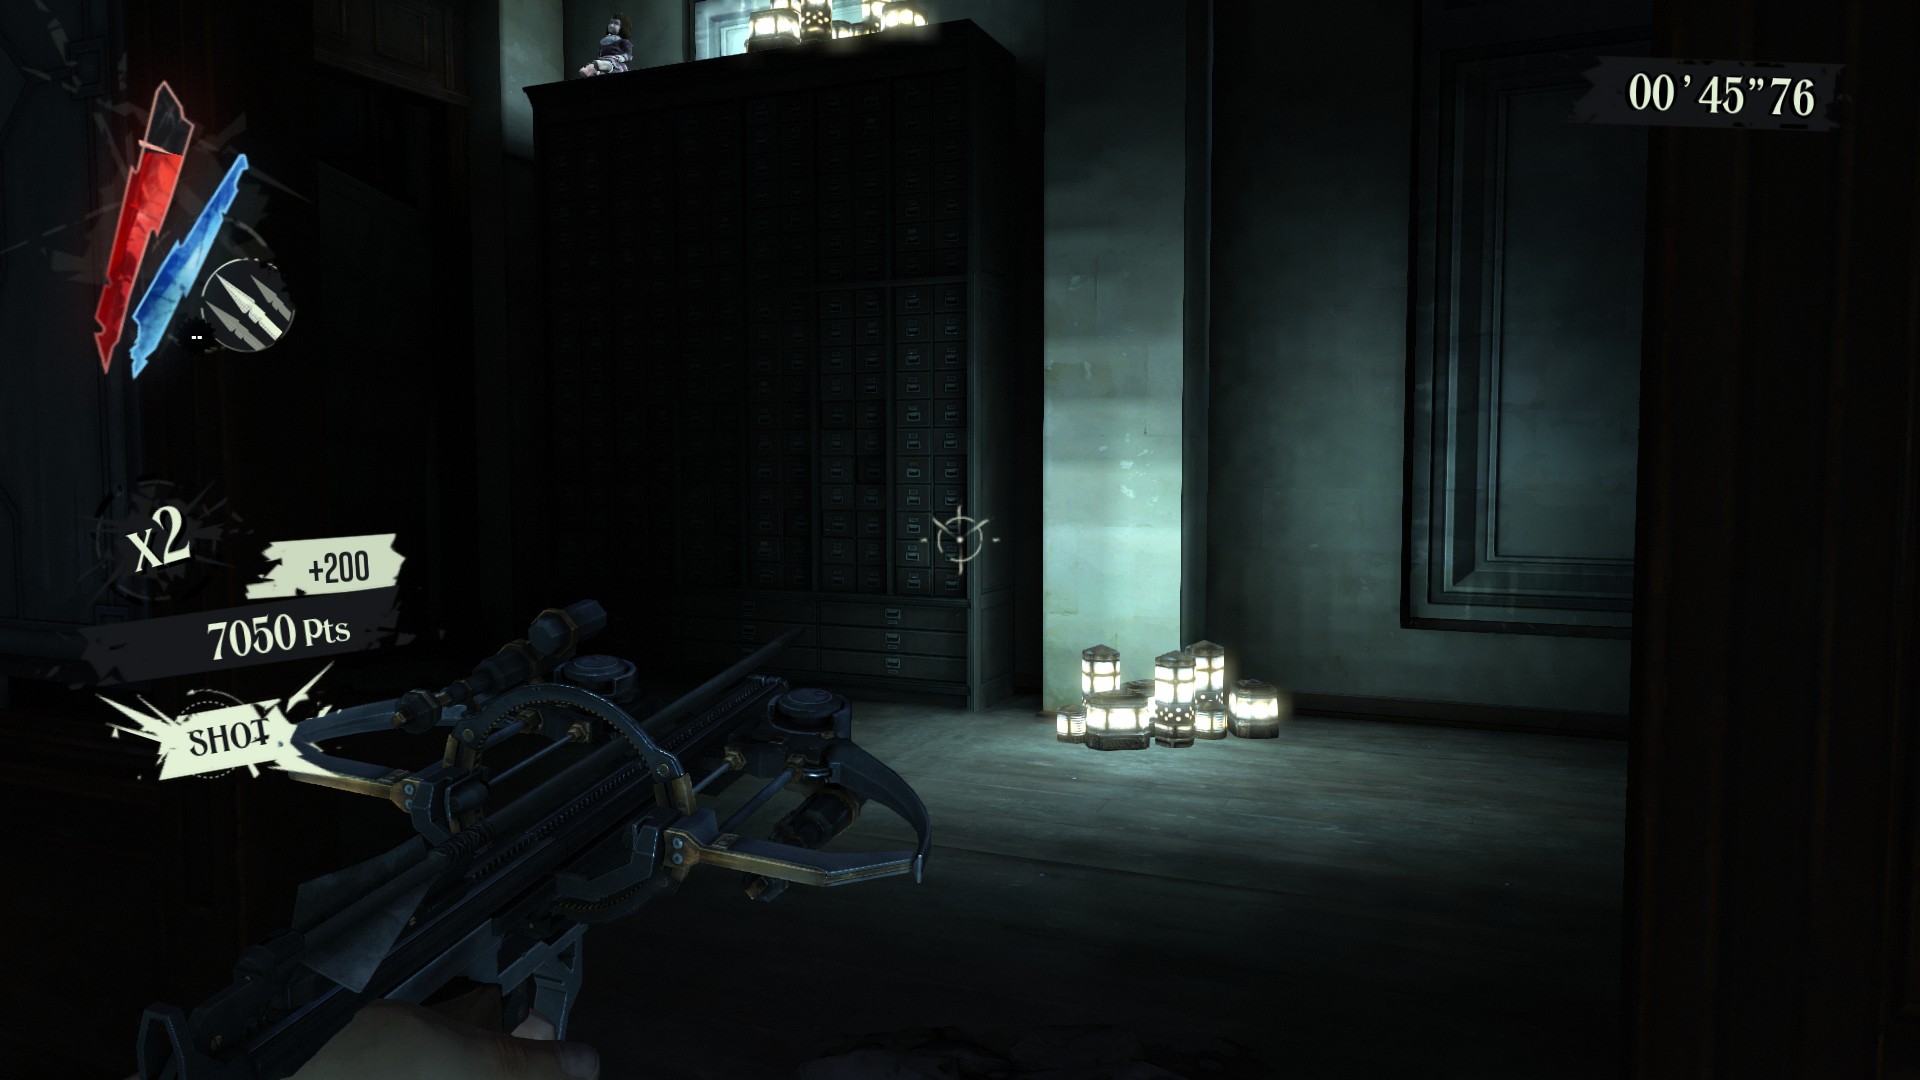
Blink up to the top.
Challenge 5: Oil Drop
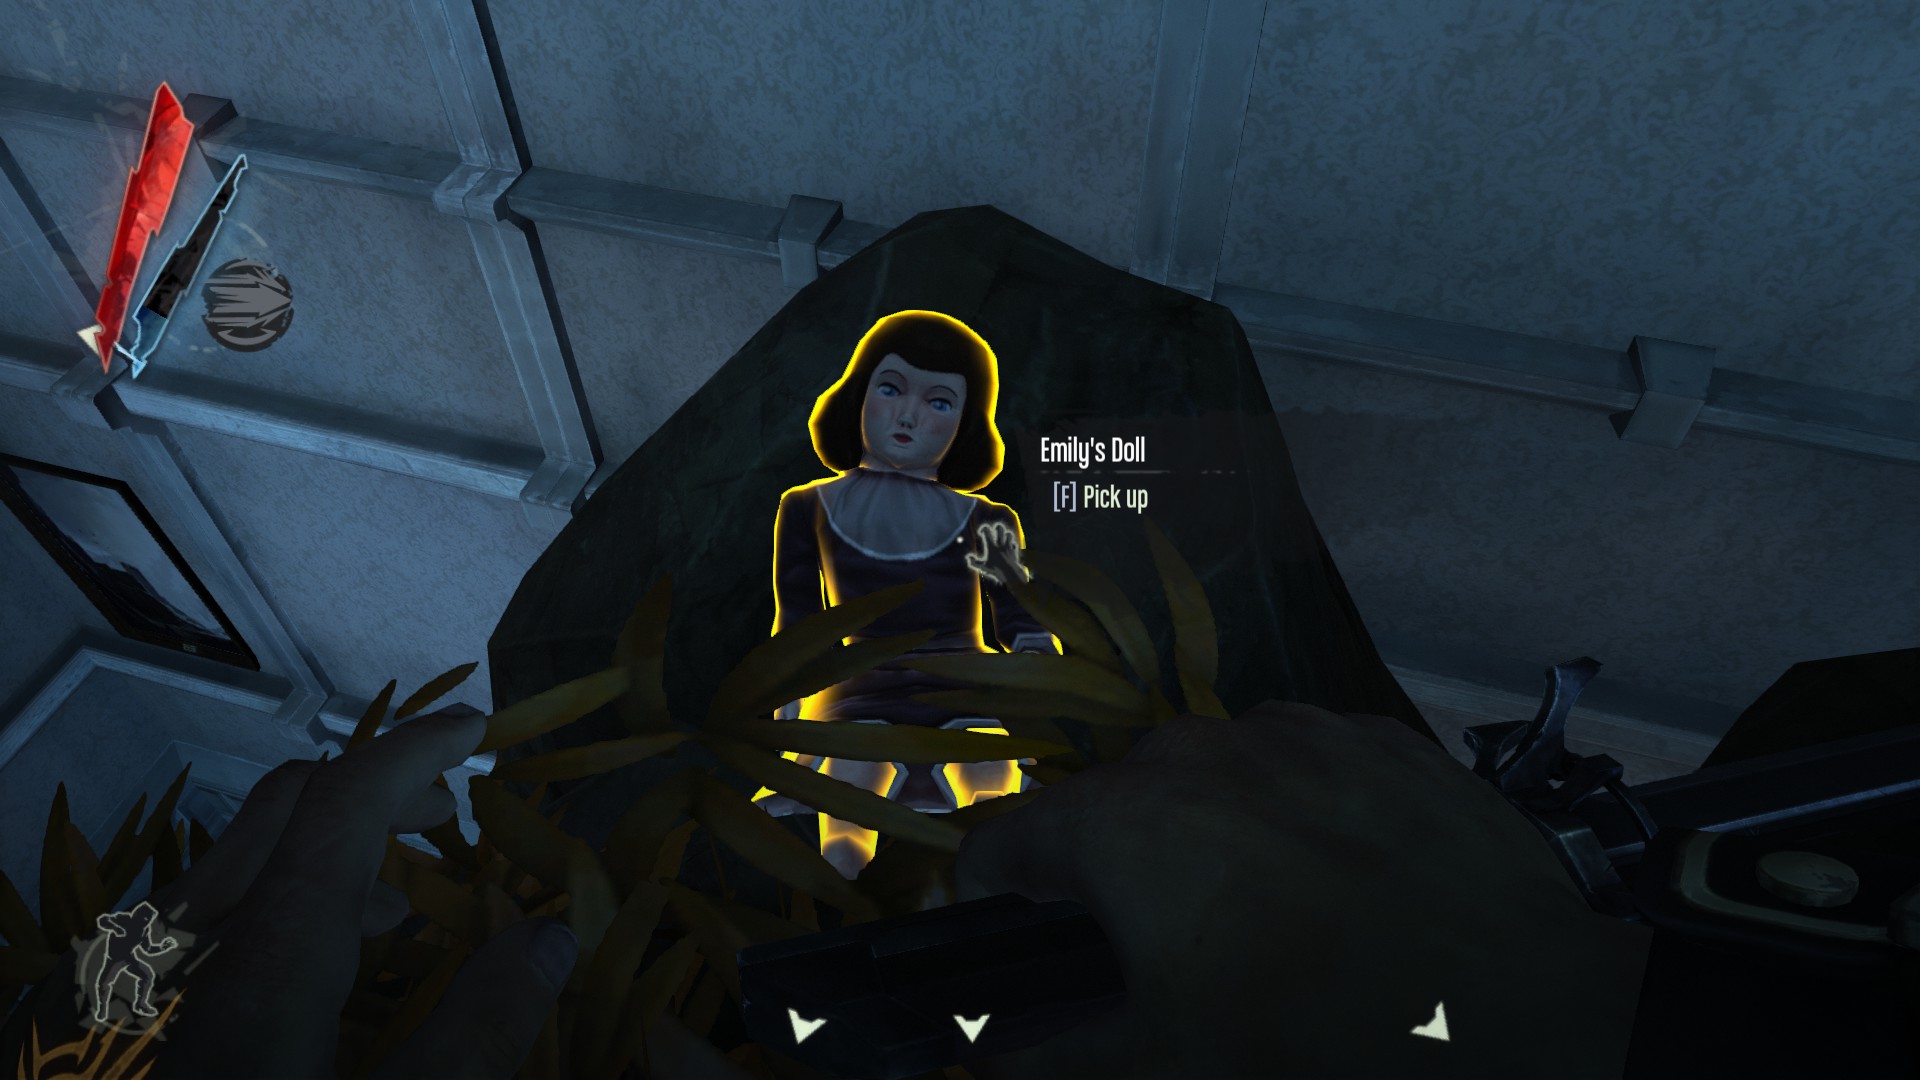
This one is very easy because there’s only a little platform to move around on. Just walk forward into that bush to find the hidden doll. It’s kind of near the back.

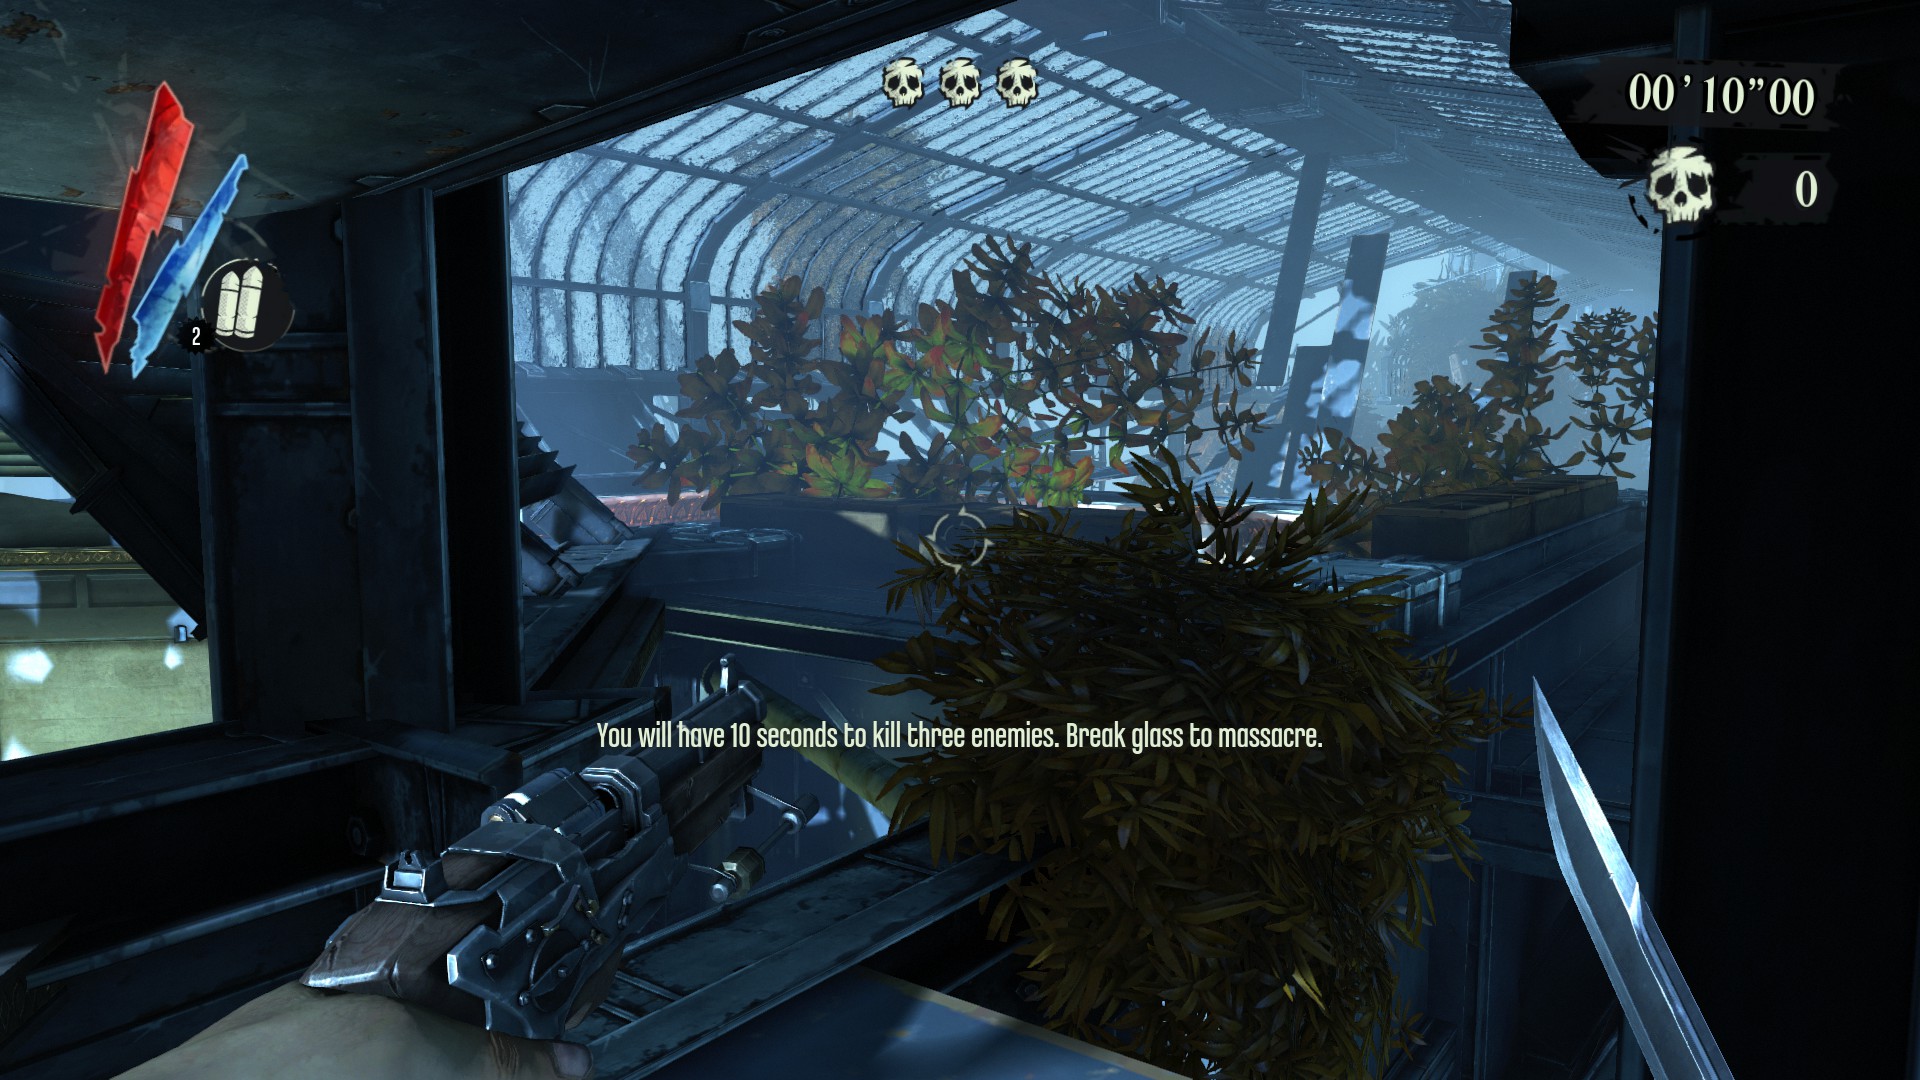
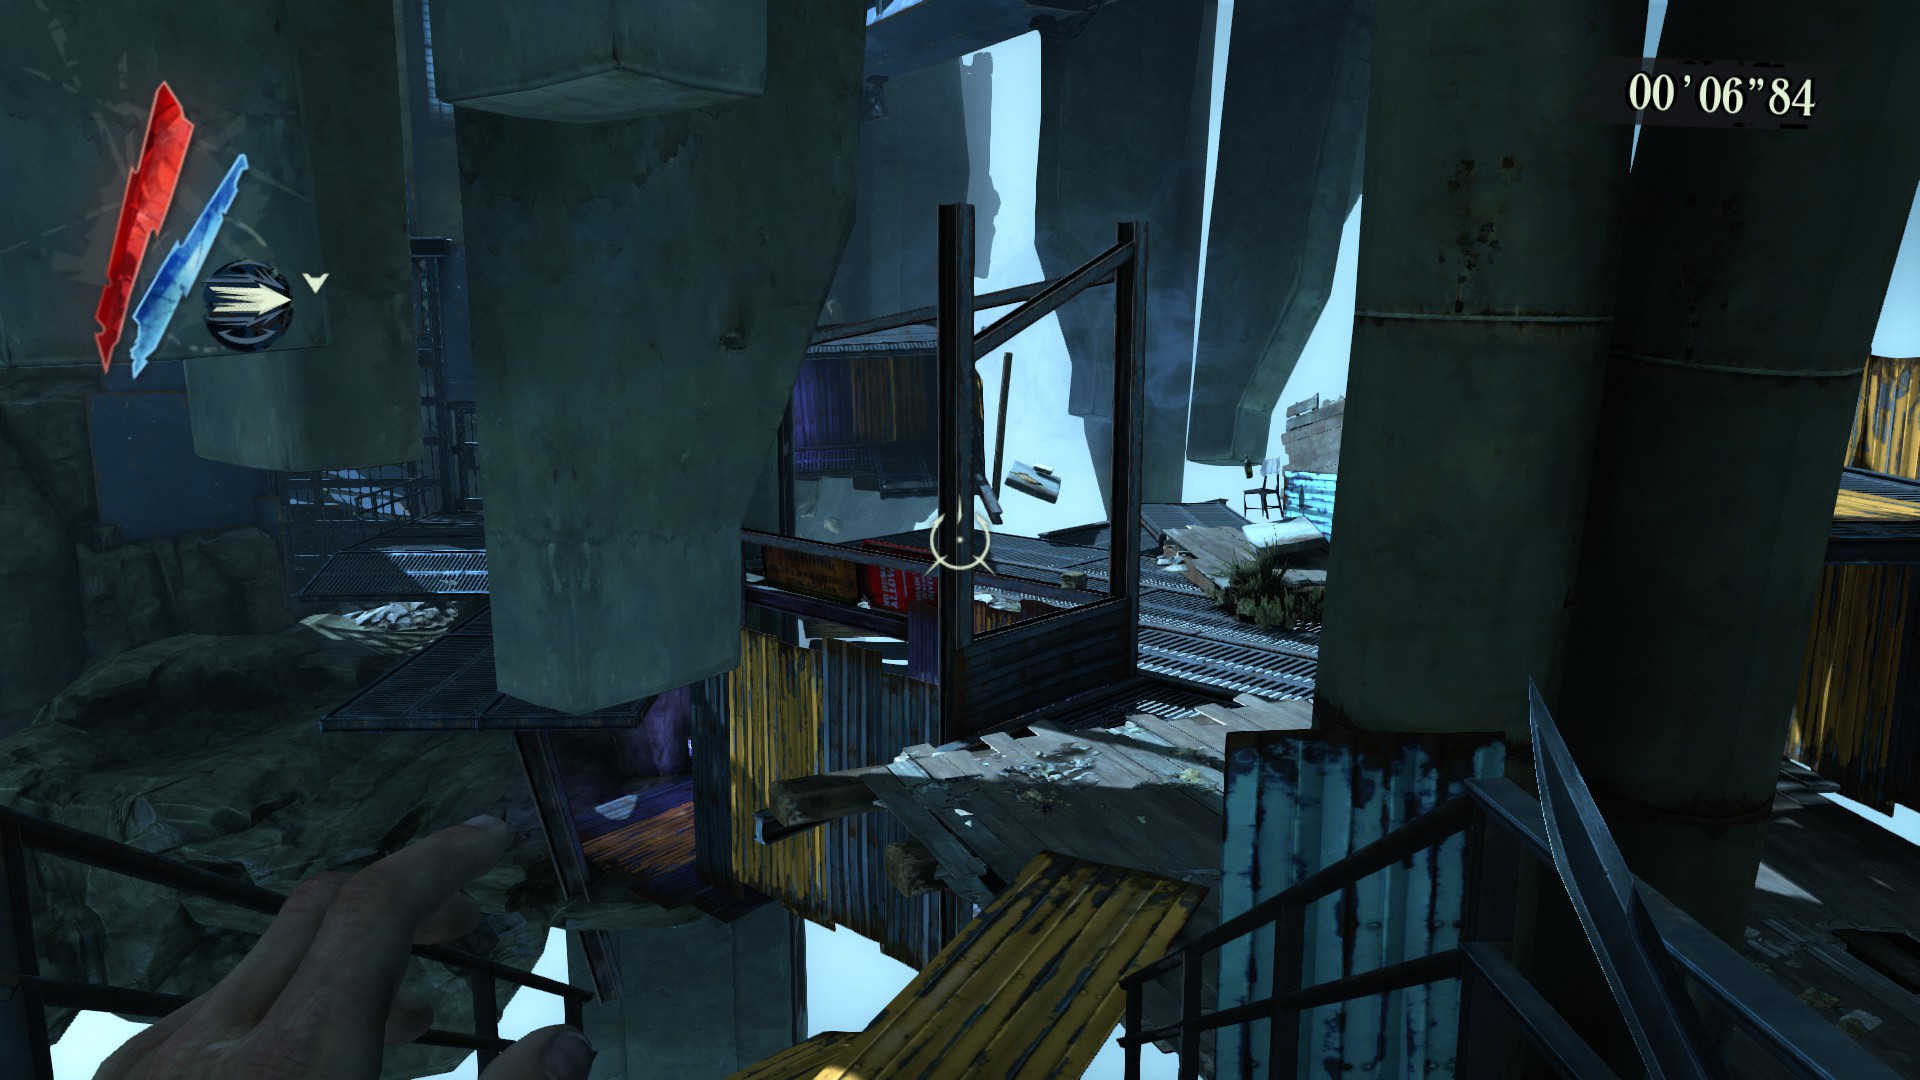
Challenge 6: Bend Time Massacre
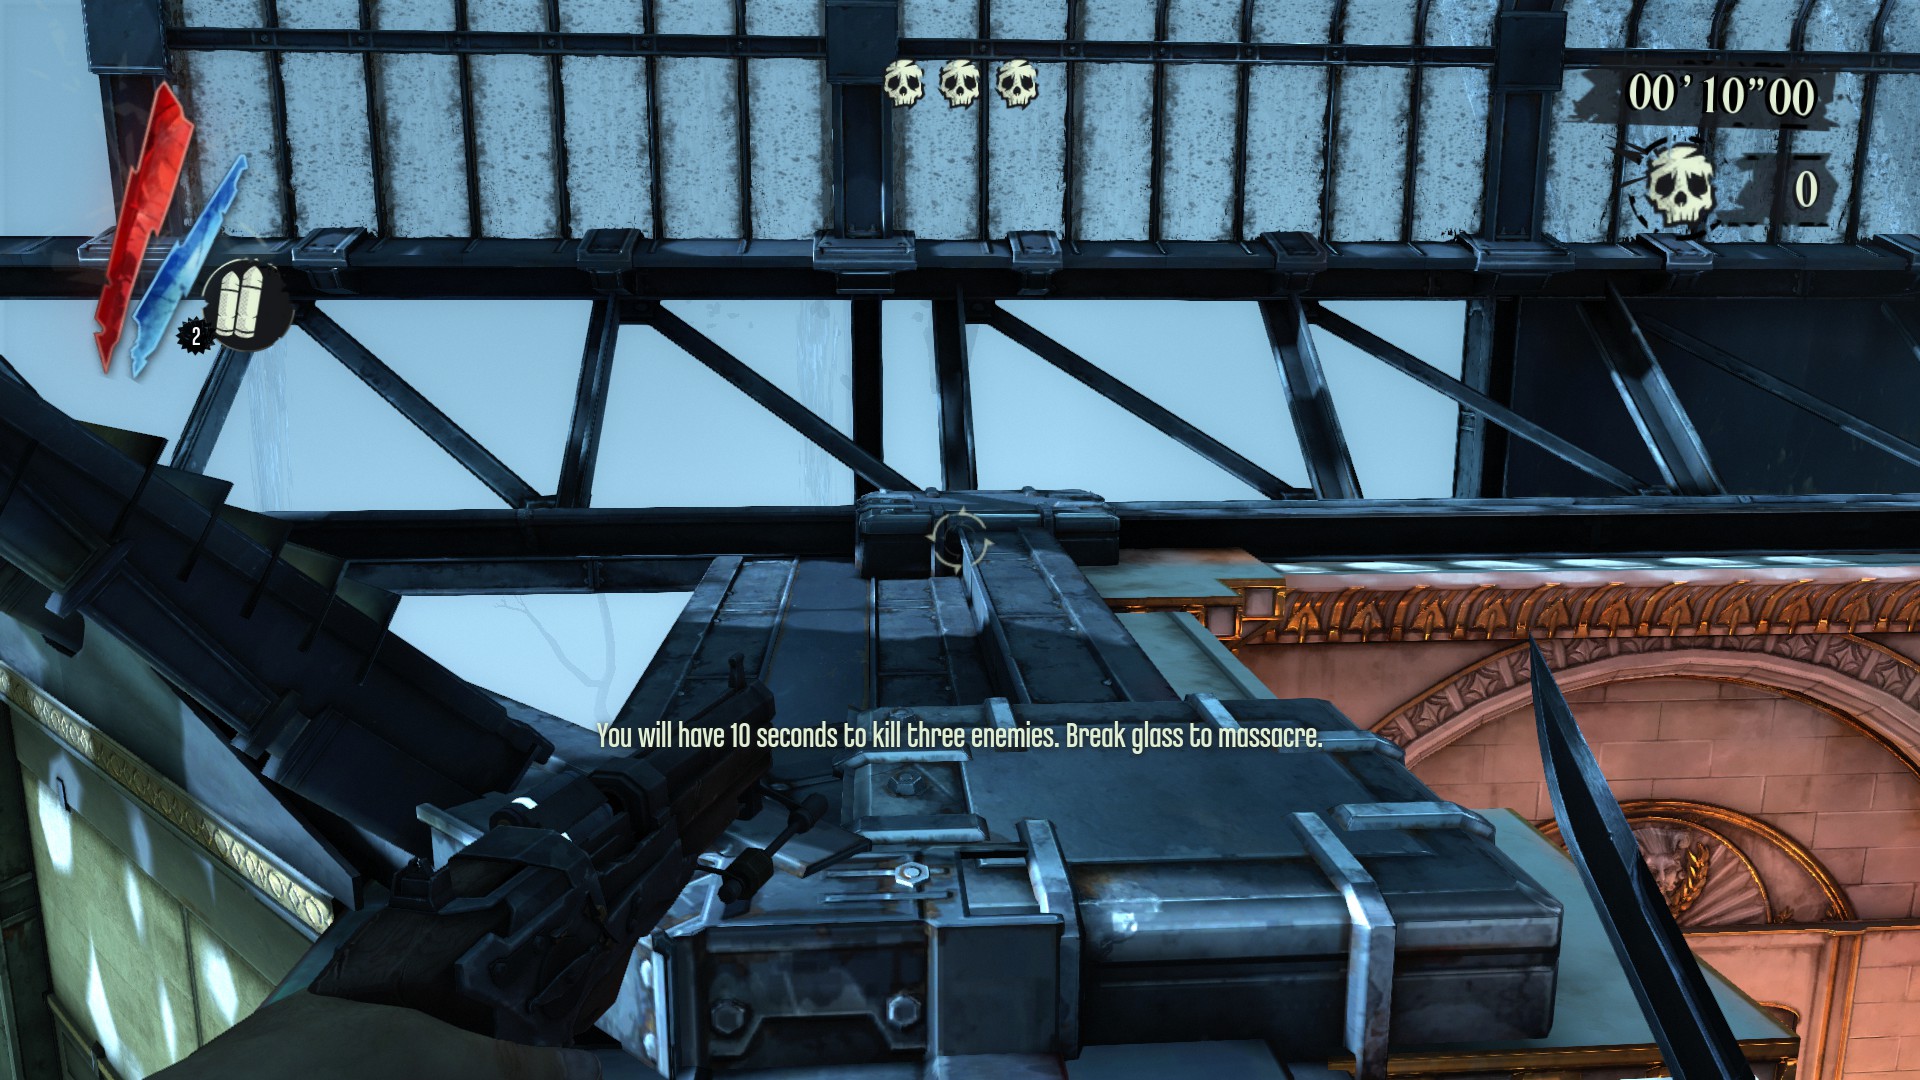
The trick for this one is to get it in Round 1, so when you start don’t break any glass that will trigger the bend time mode. Instead, walk around to the right and you’ll see some floating sheet metal. Jump up to the next platform above you, it’s a little tricky since they don’t give you the double jump in this challenge. Once you make it up work your way around to the left then look to the right and follow the metal bar trail. At the end you’ll see some more floating sheet metal that you’ll have to do a little hopping to get to the emily doll on the last one.
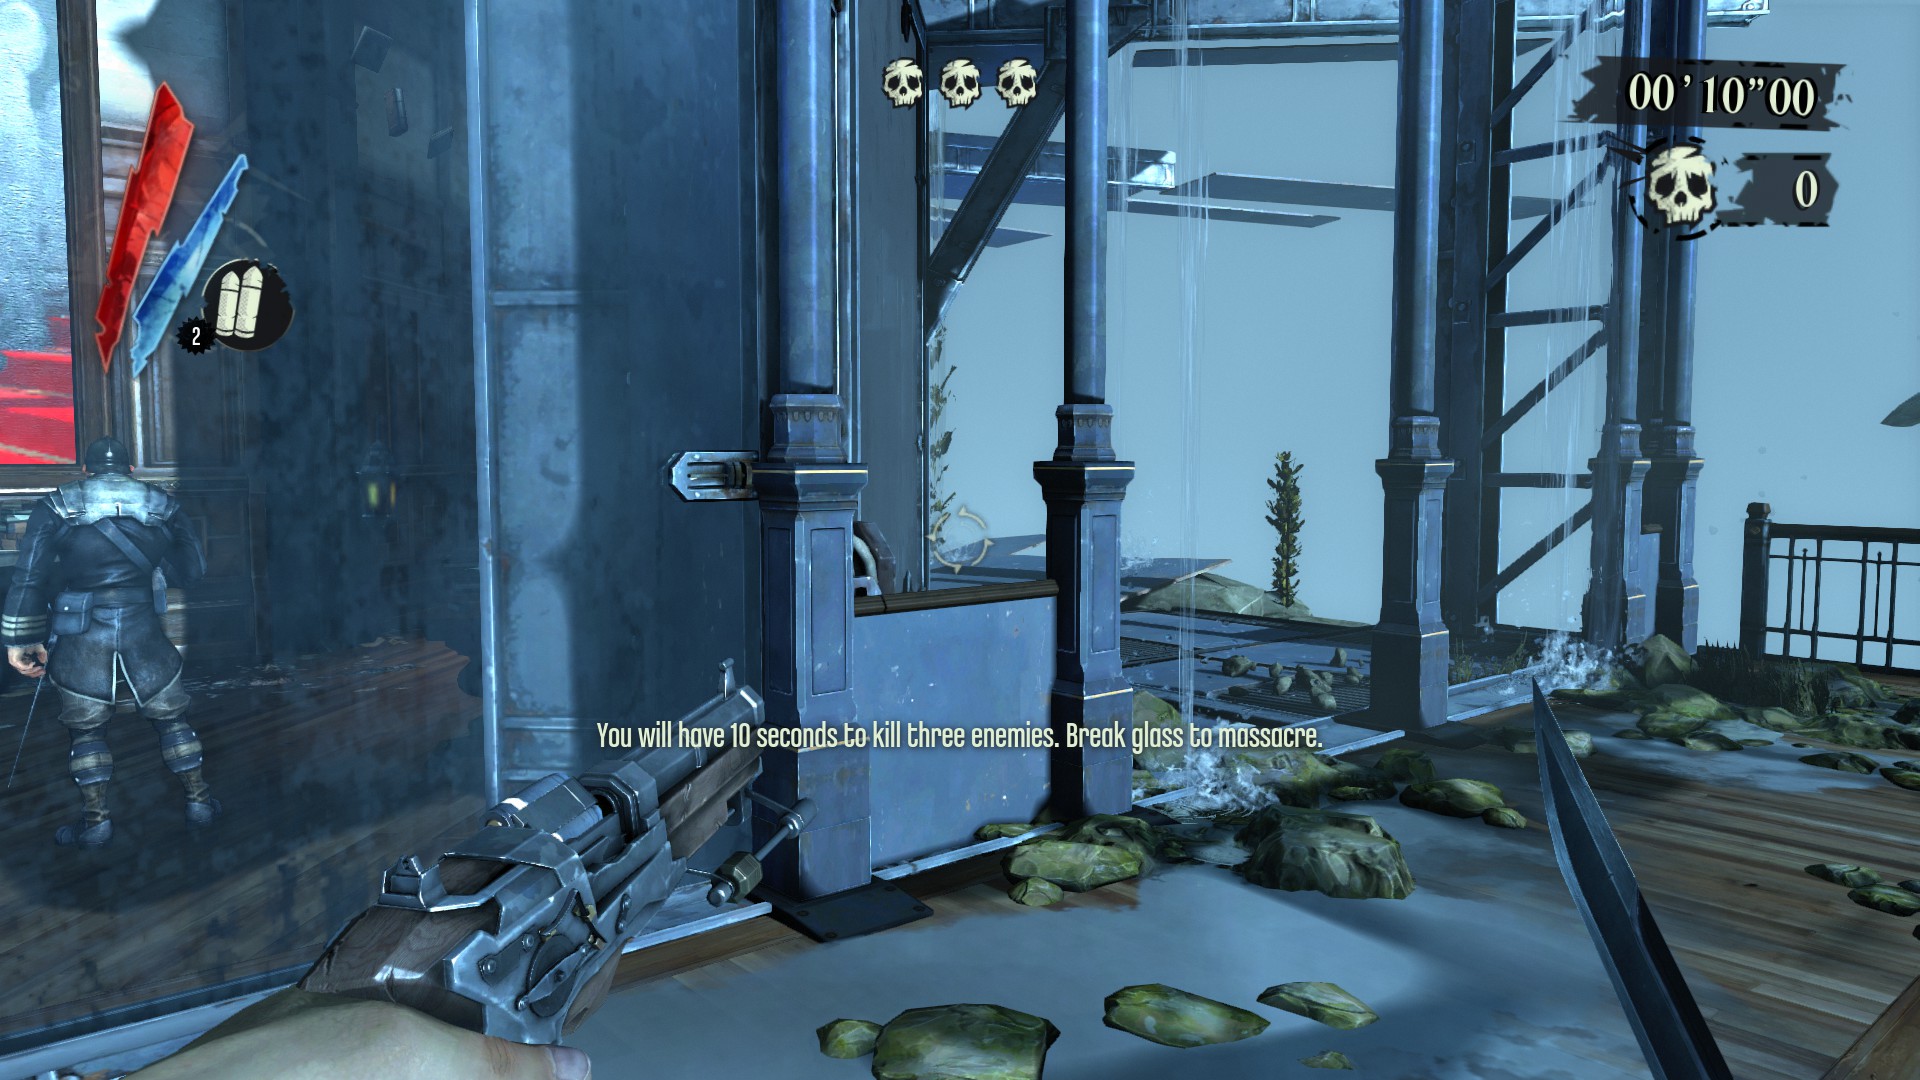
Move around to the right.
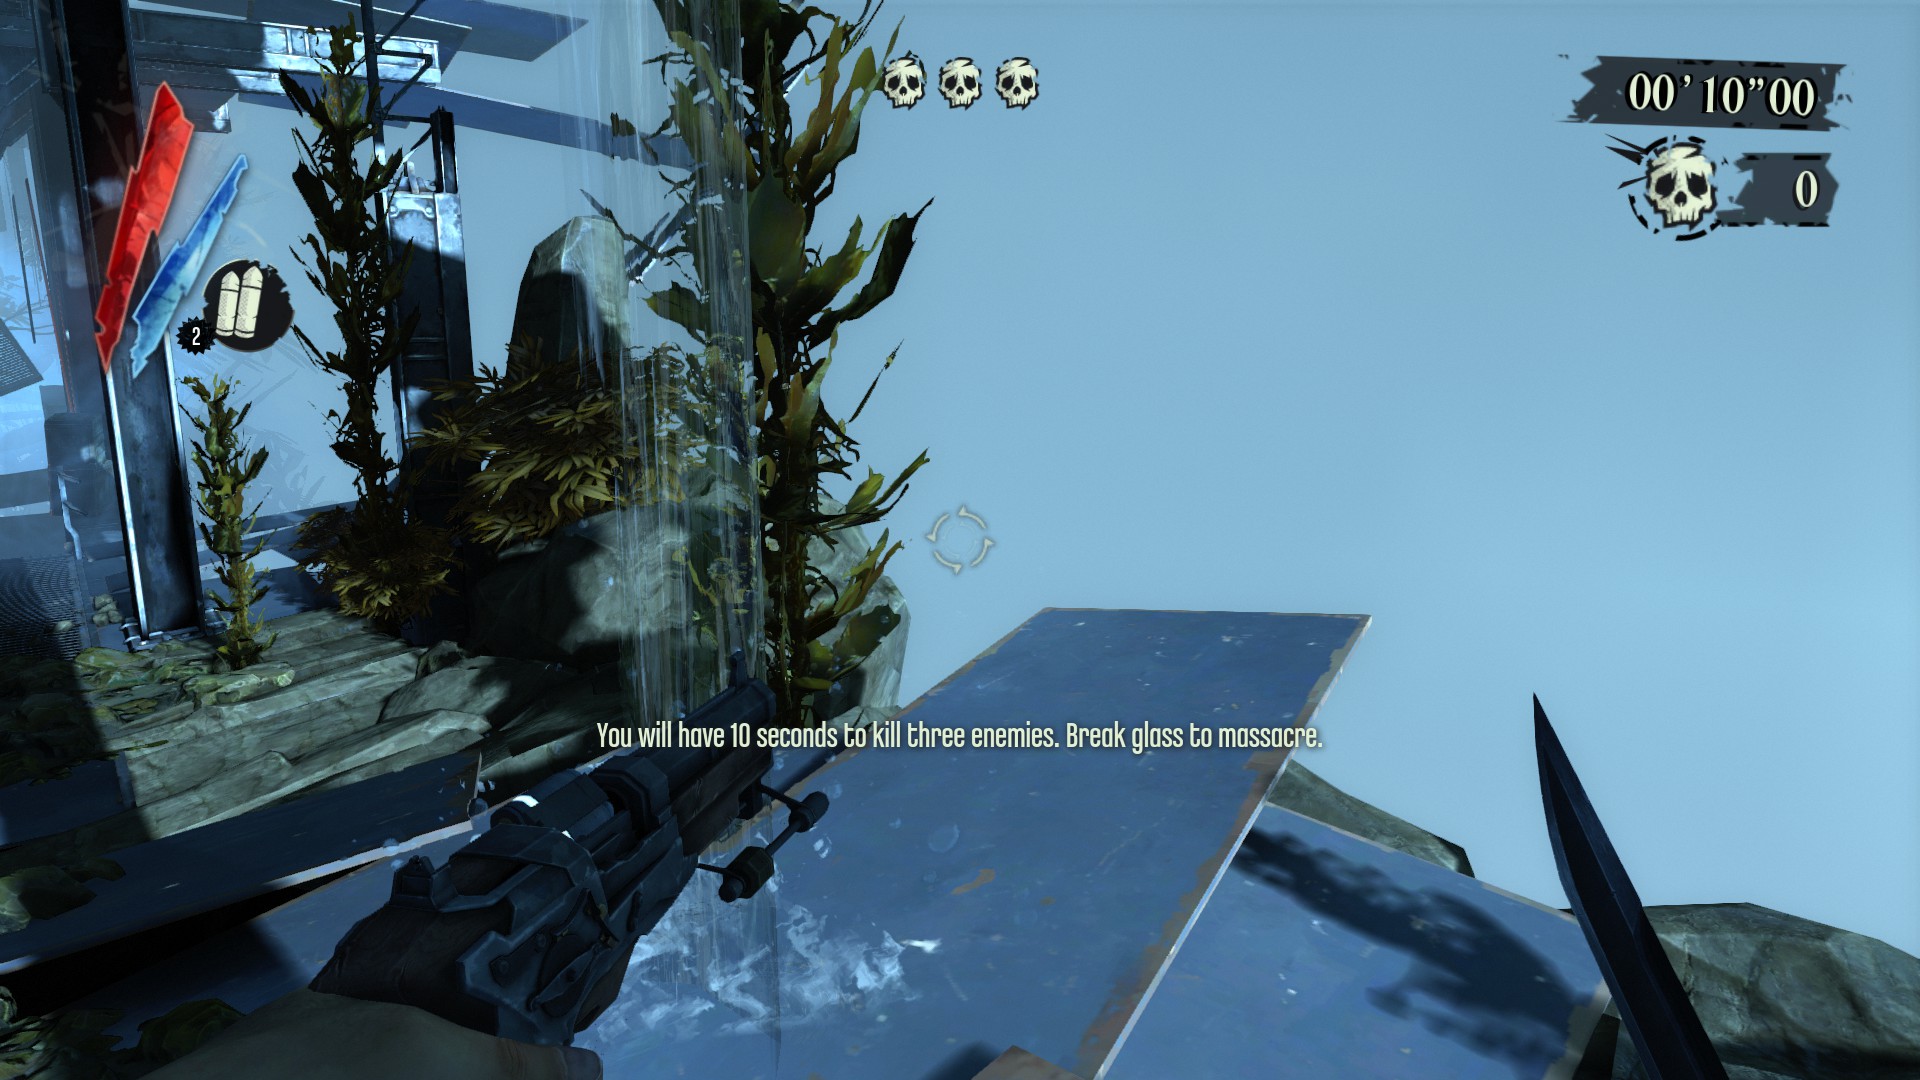
Look for this ramp to walk up
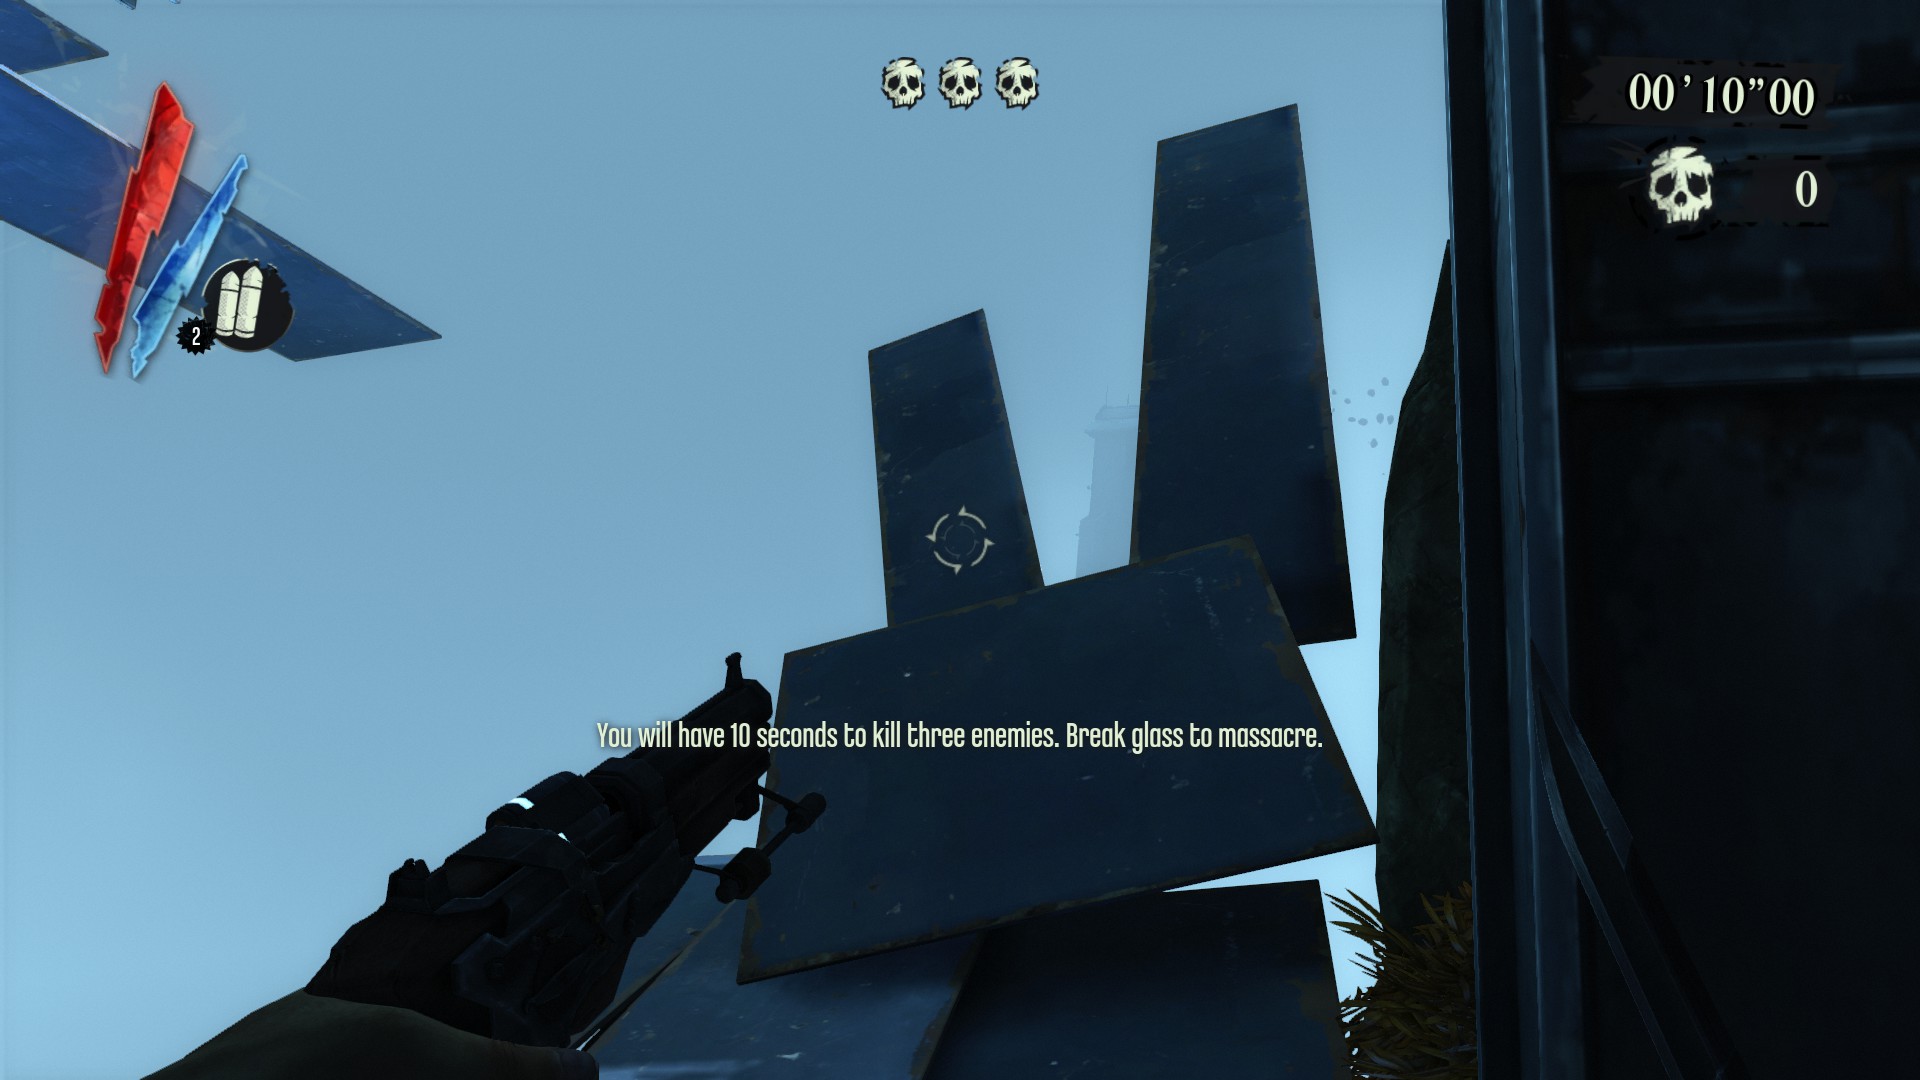
Then look up to see the next ledge to jump on.
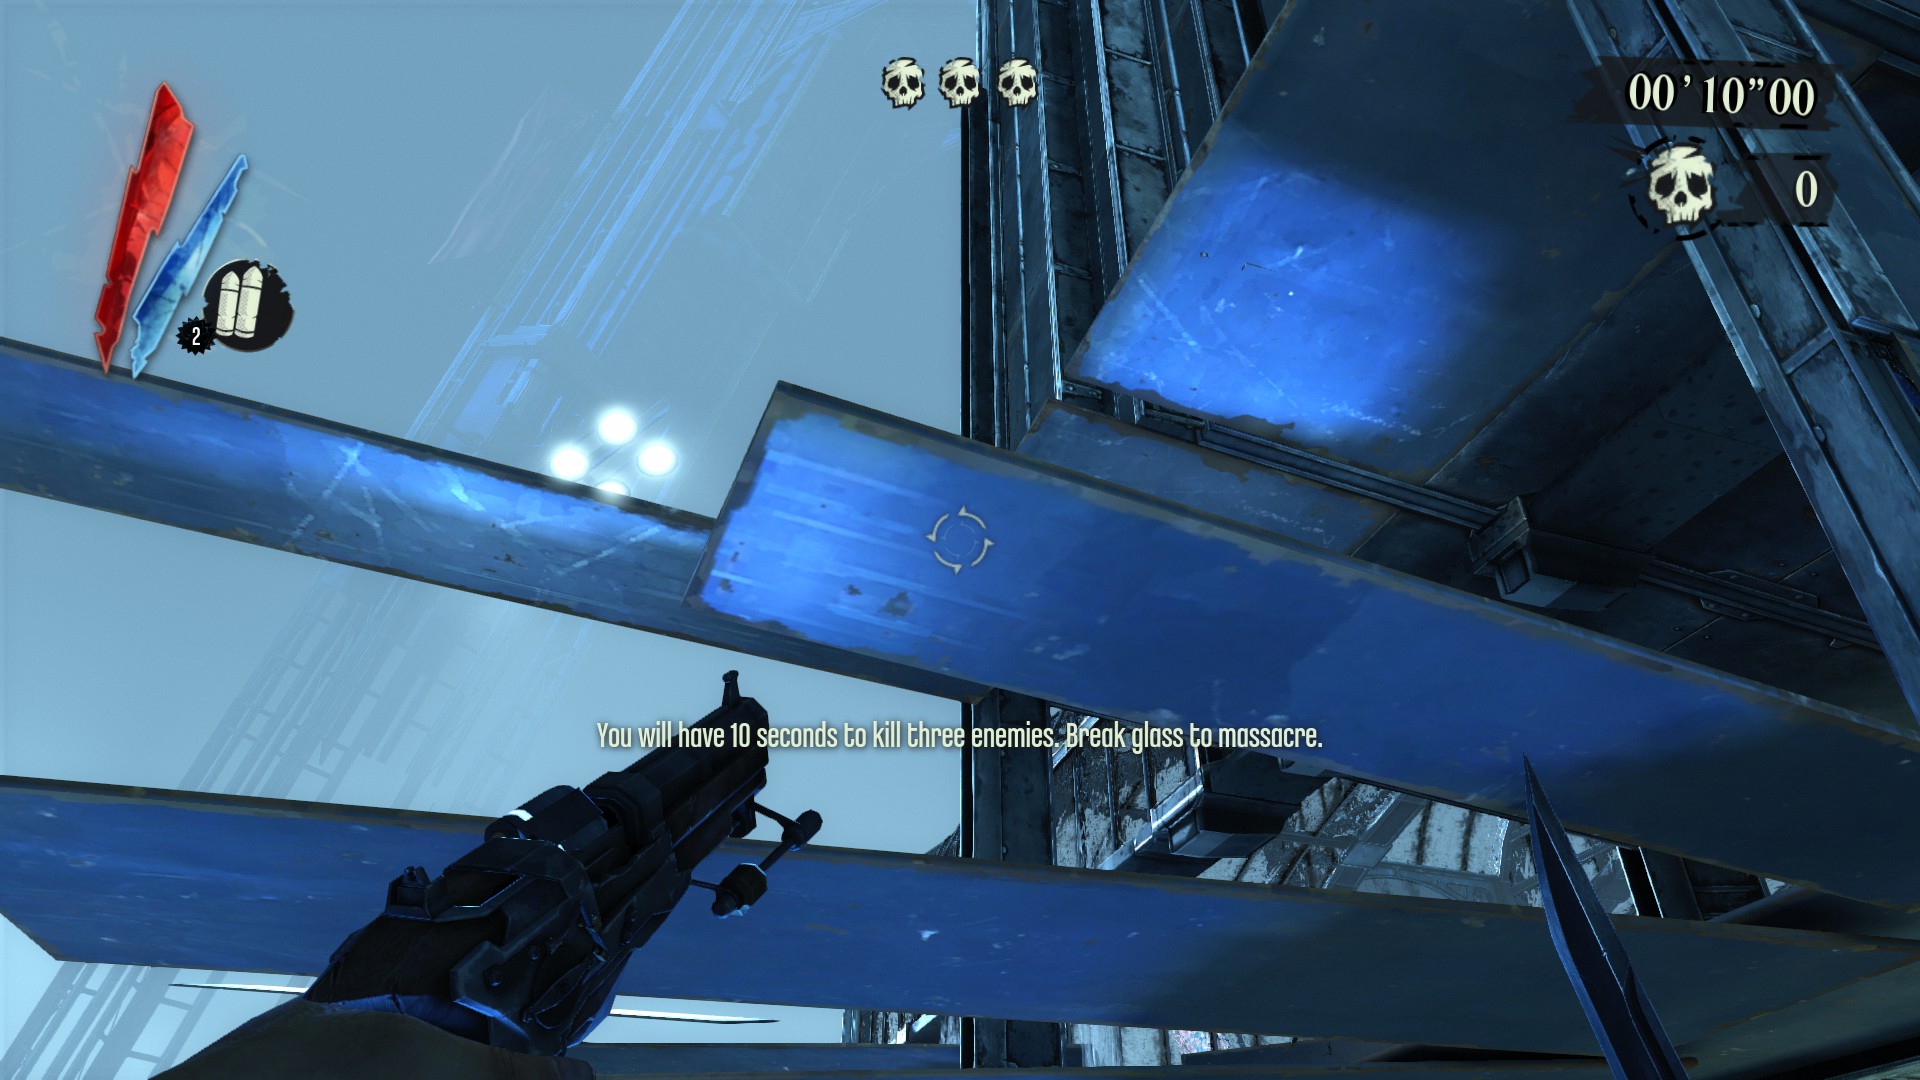
Work your way around to the left.
Reach the end and look right
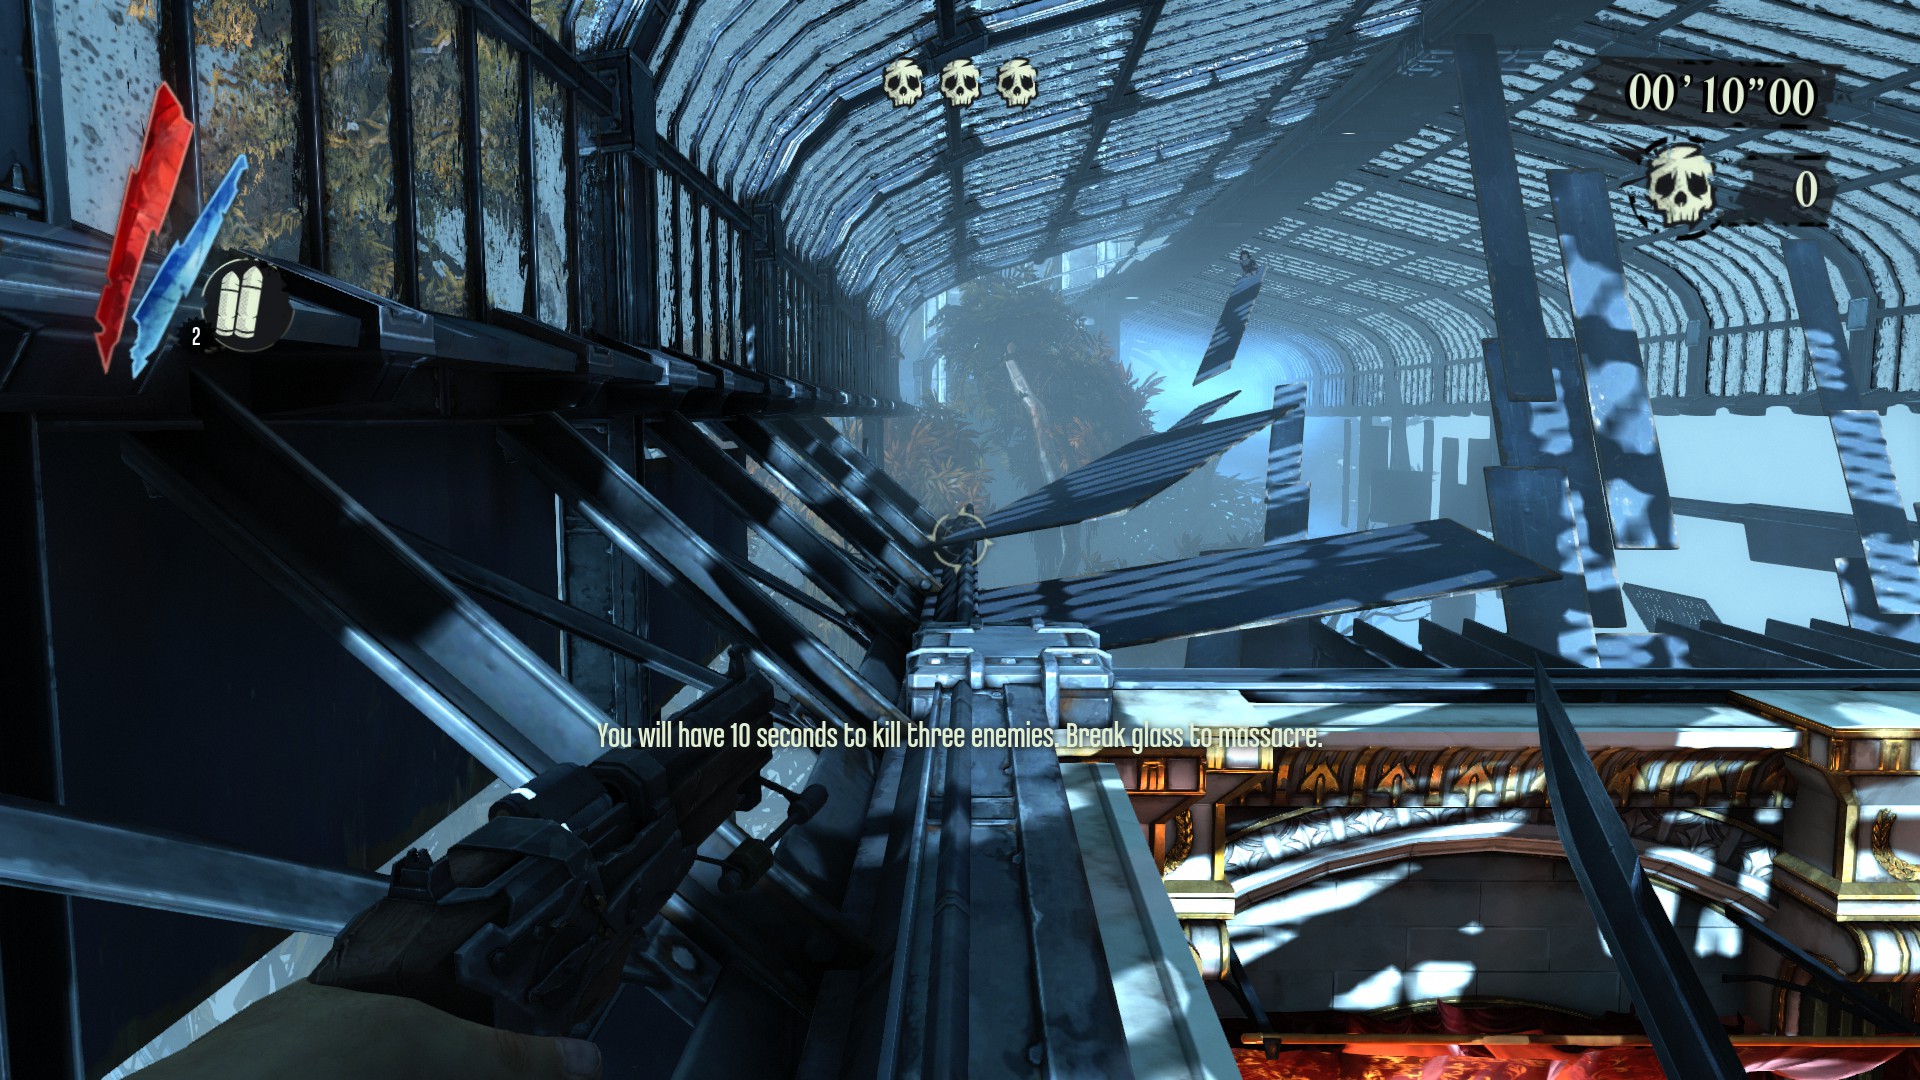
A couple more jumps and the emily doll is sitting at the top.

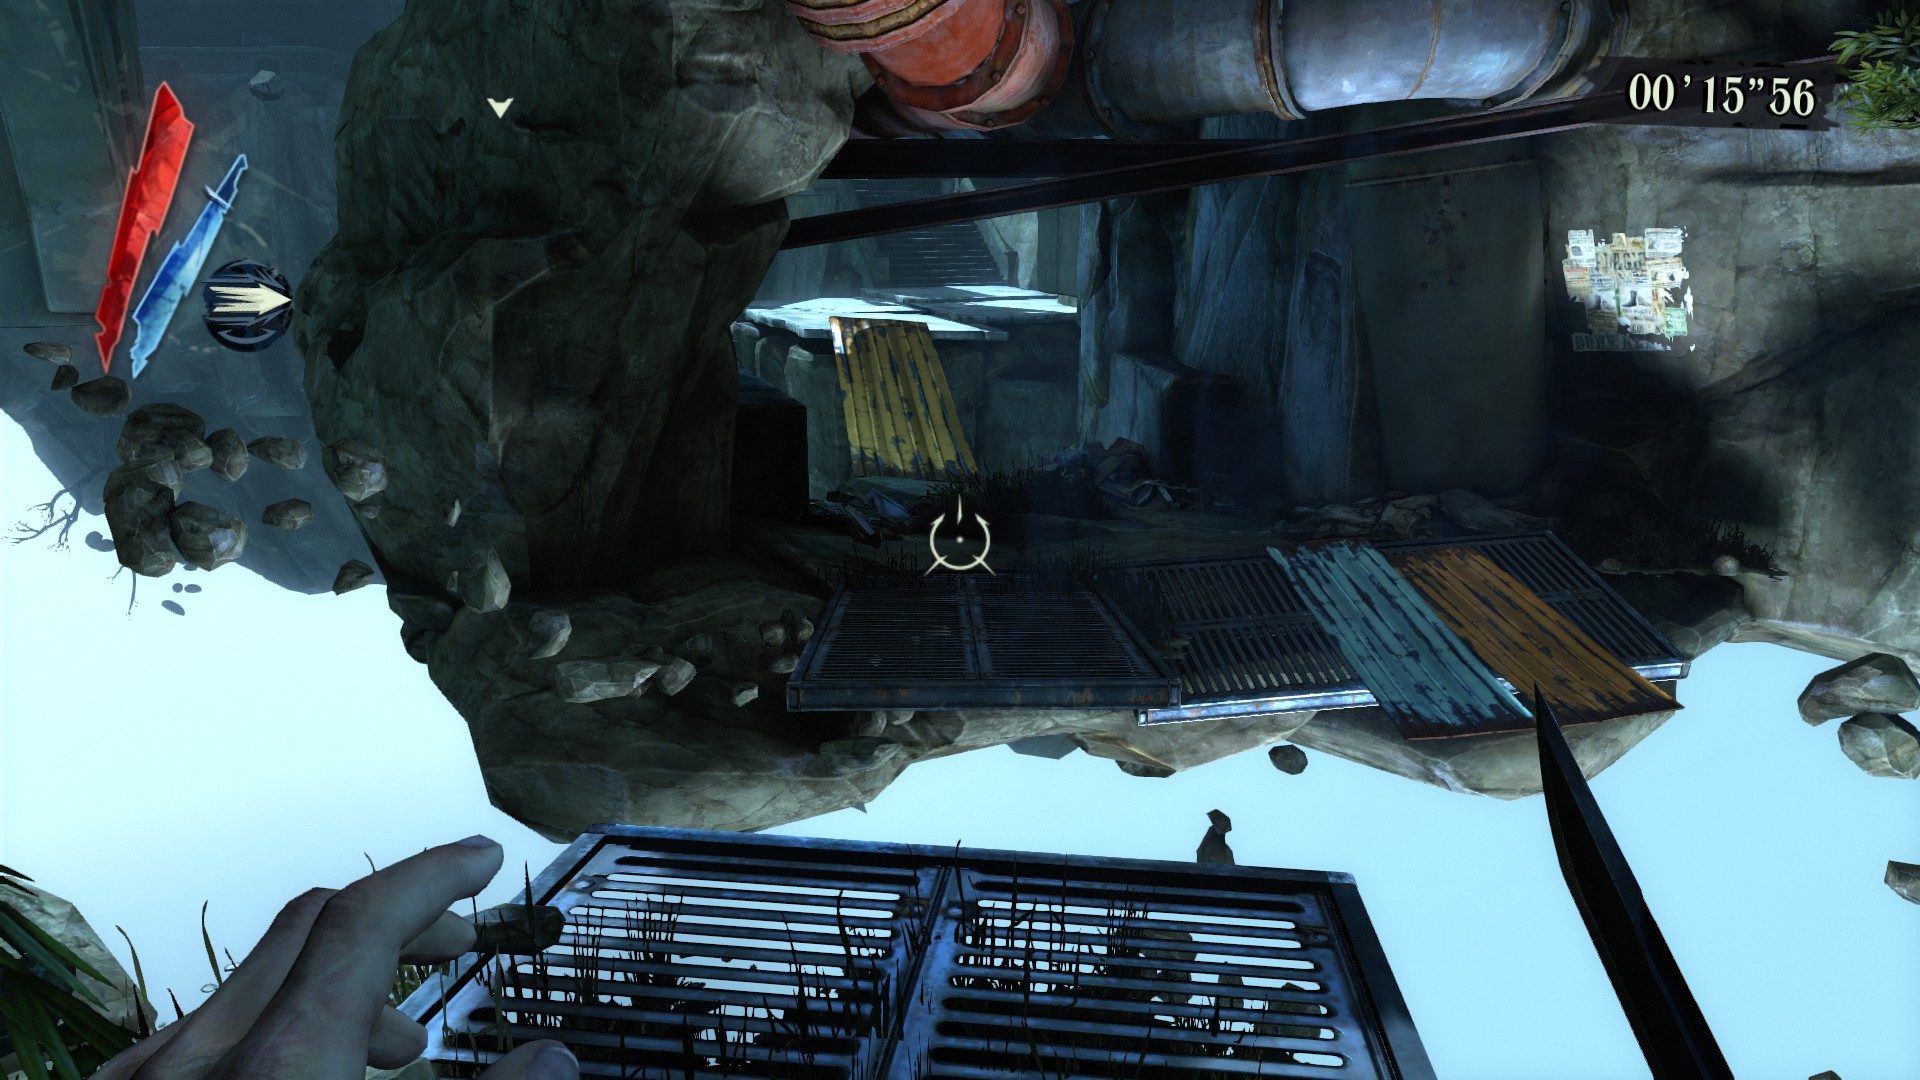
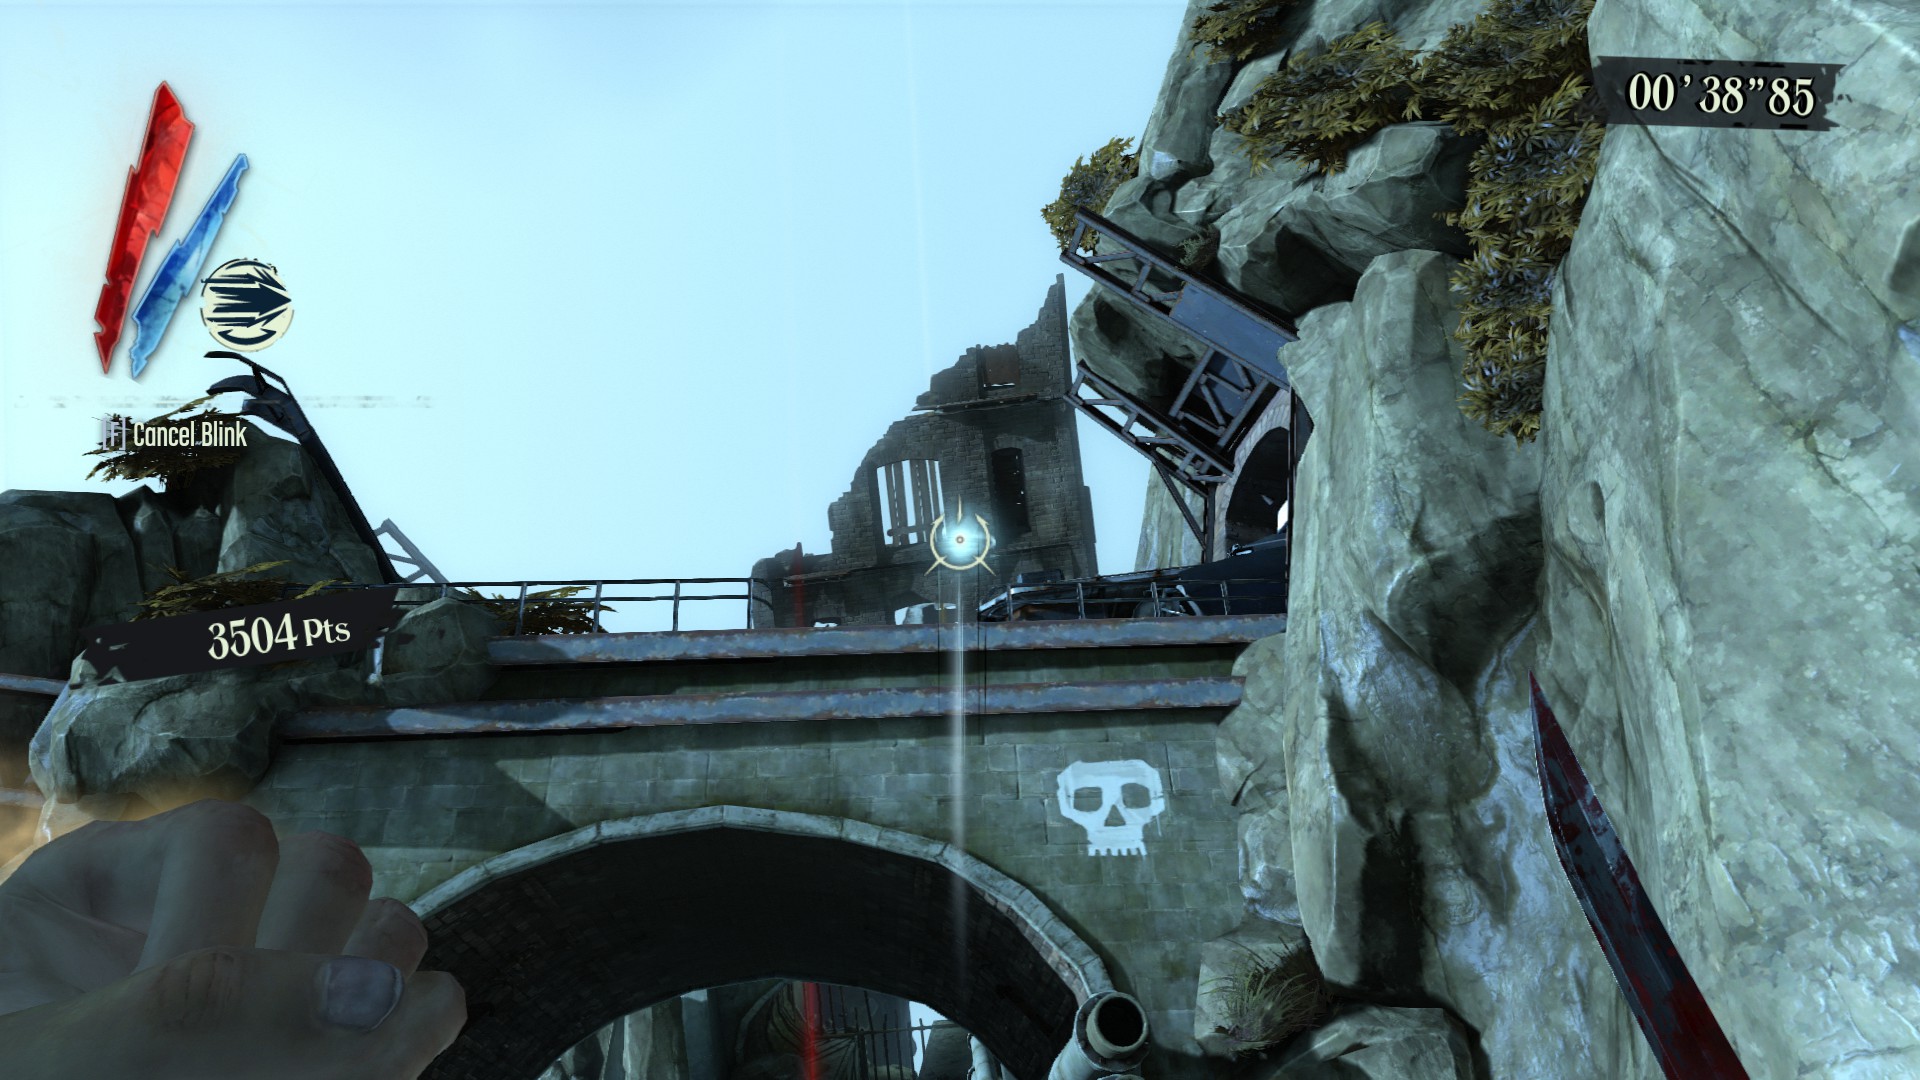
Challenge 7: Kill Chain
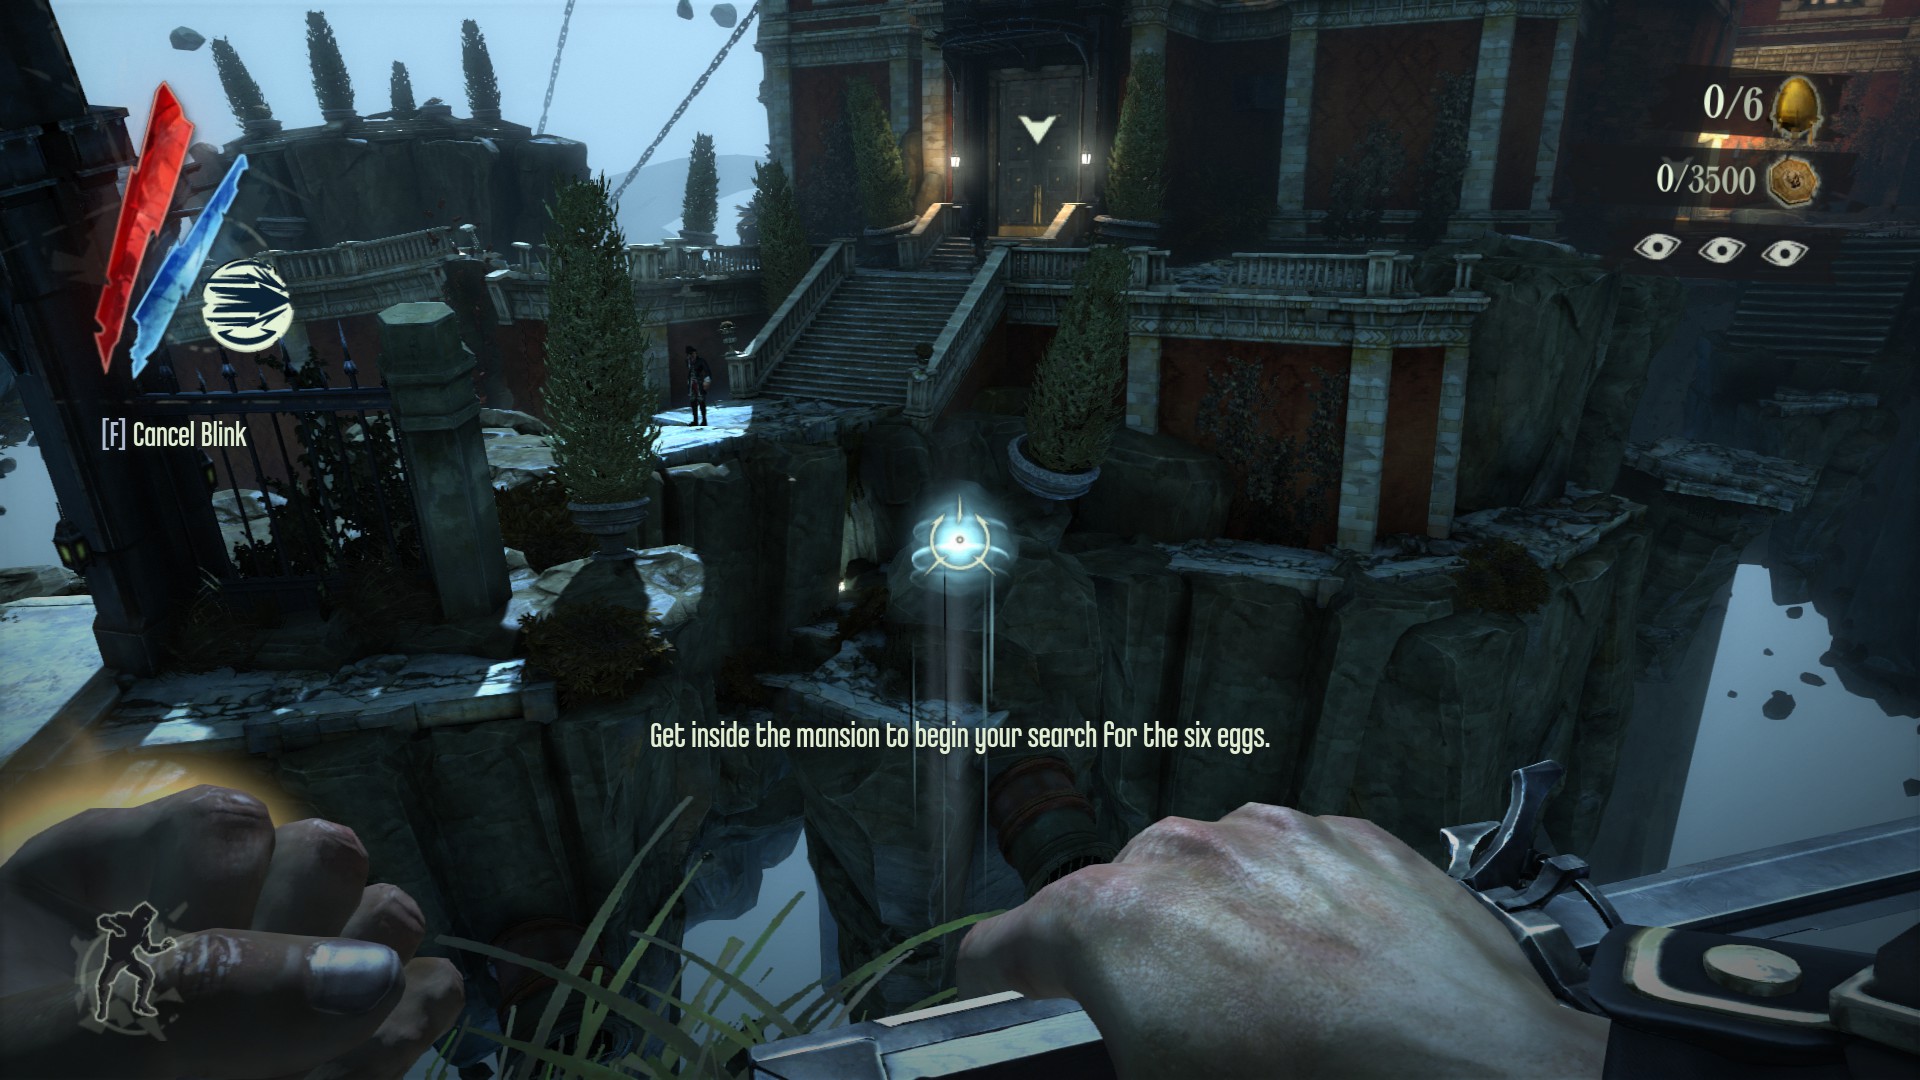
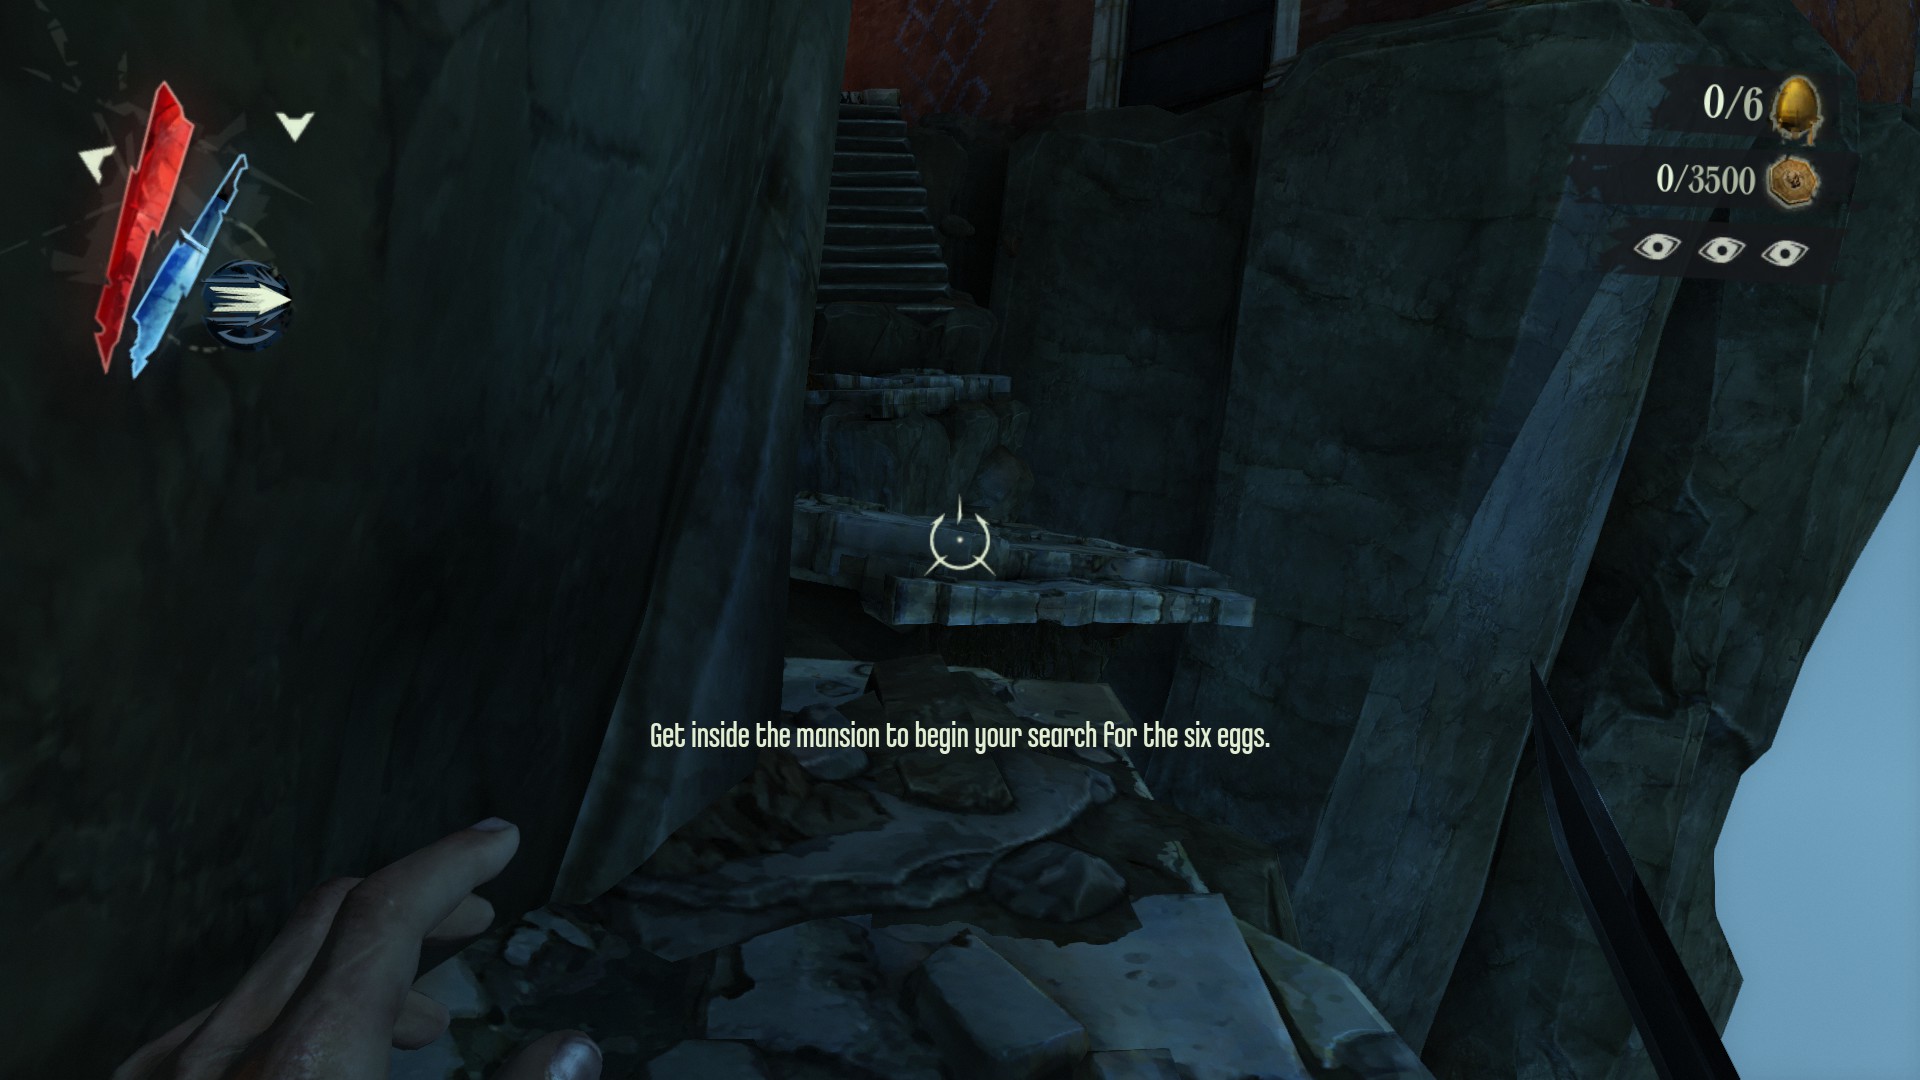
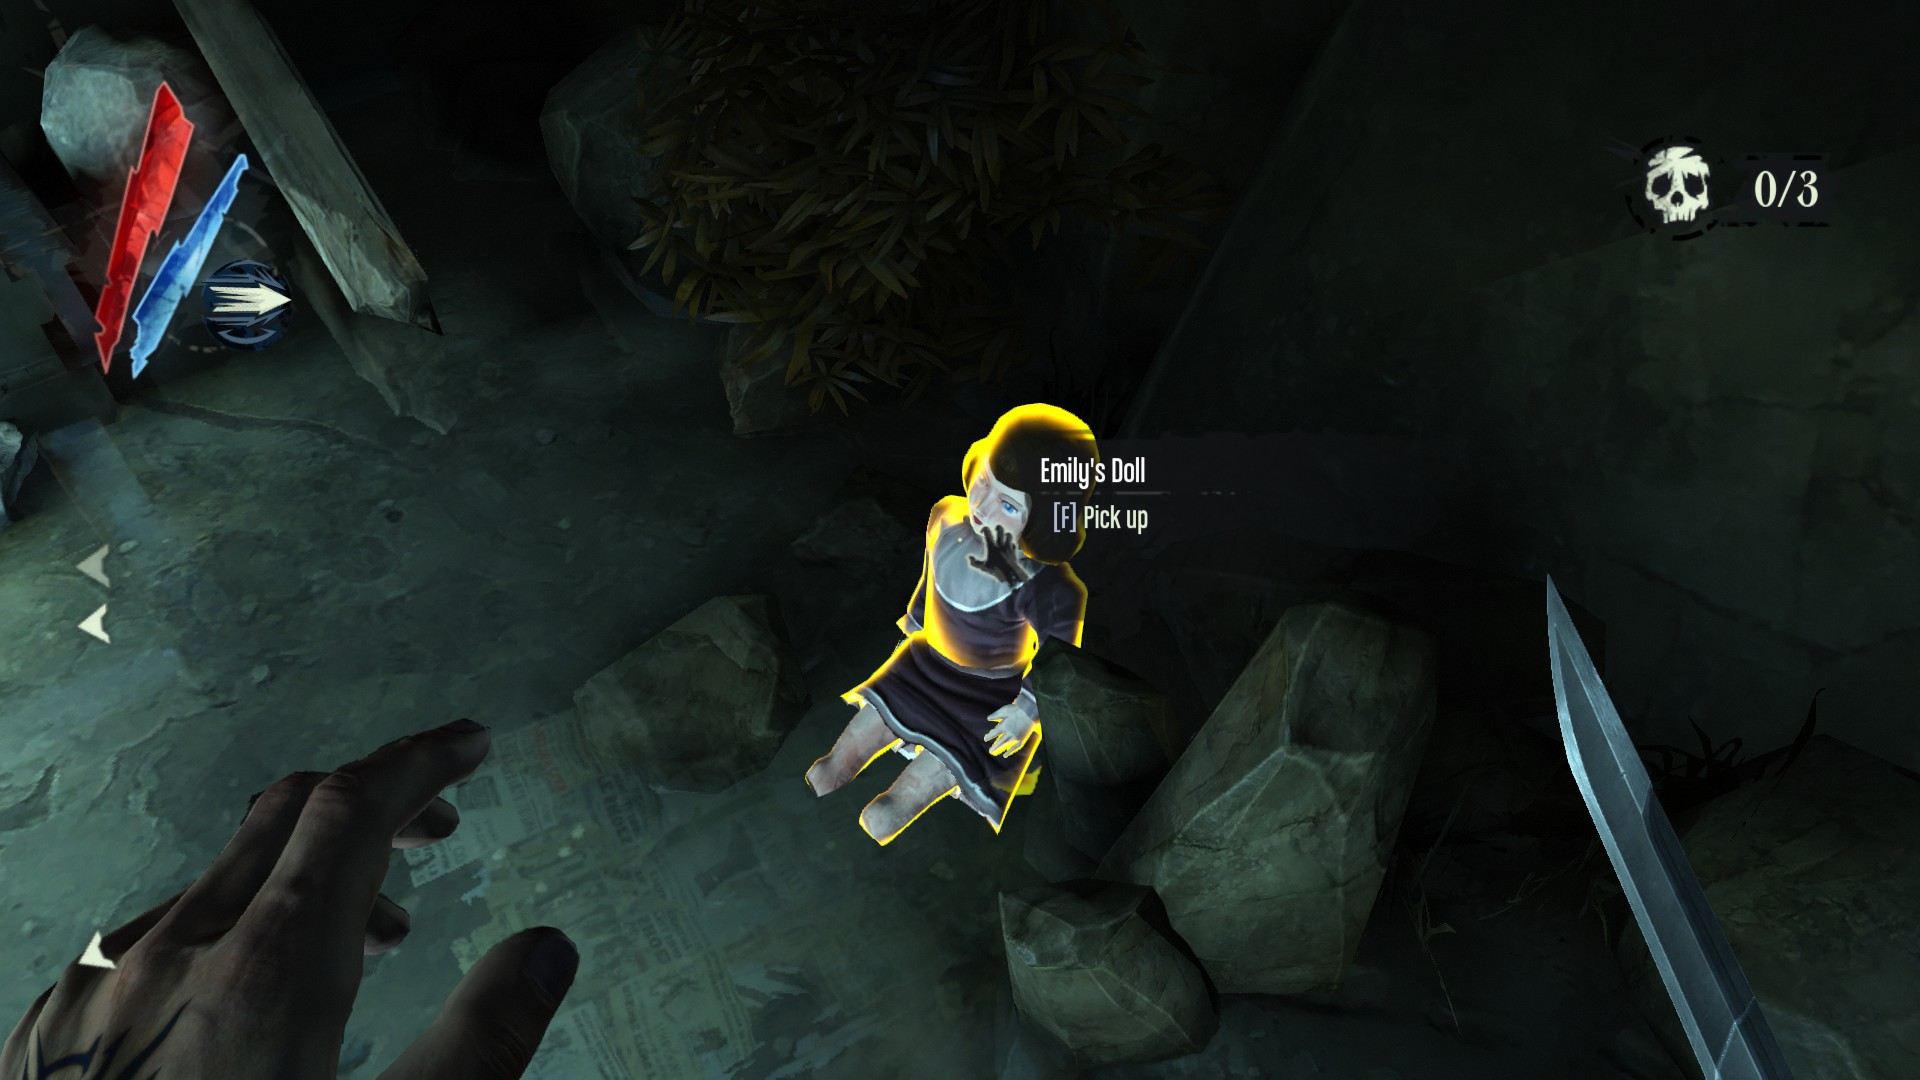
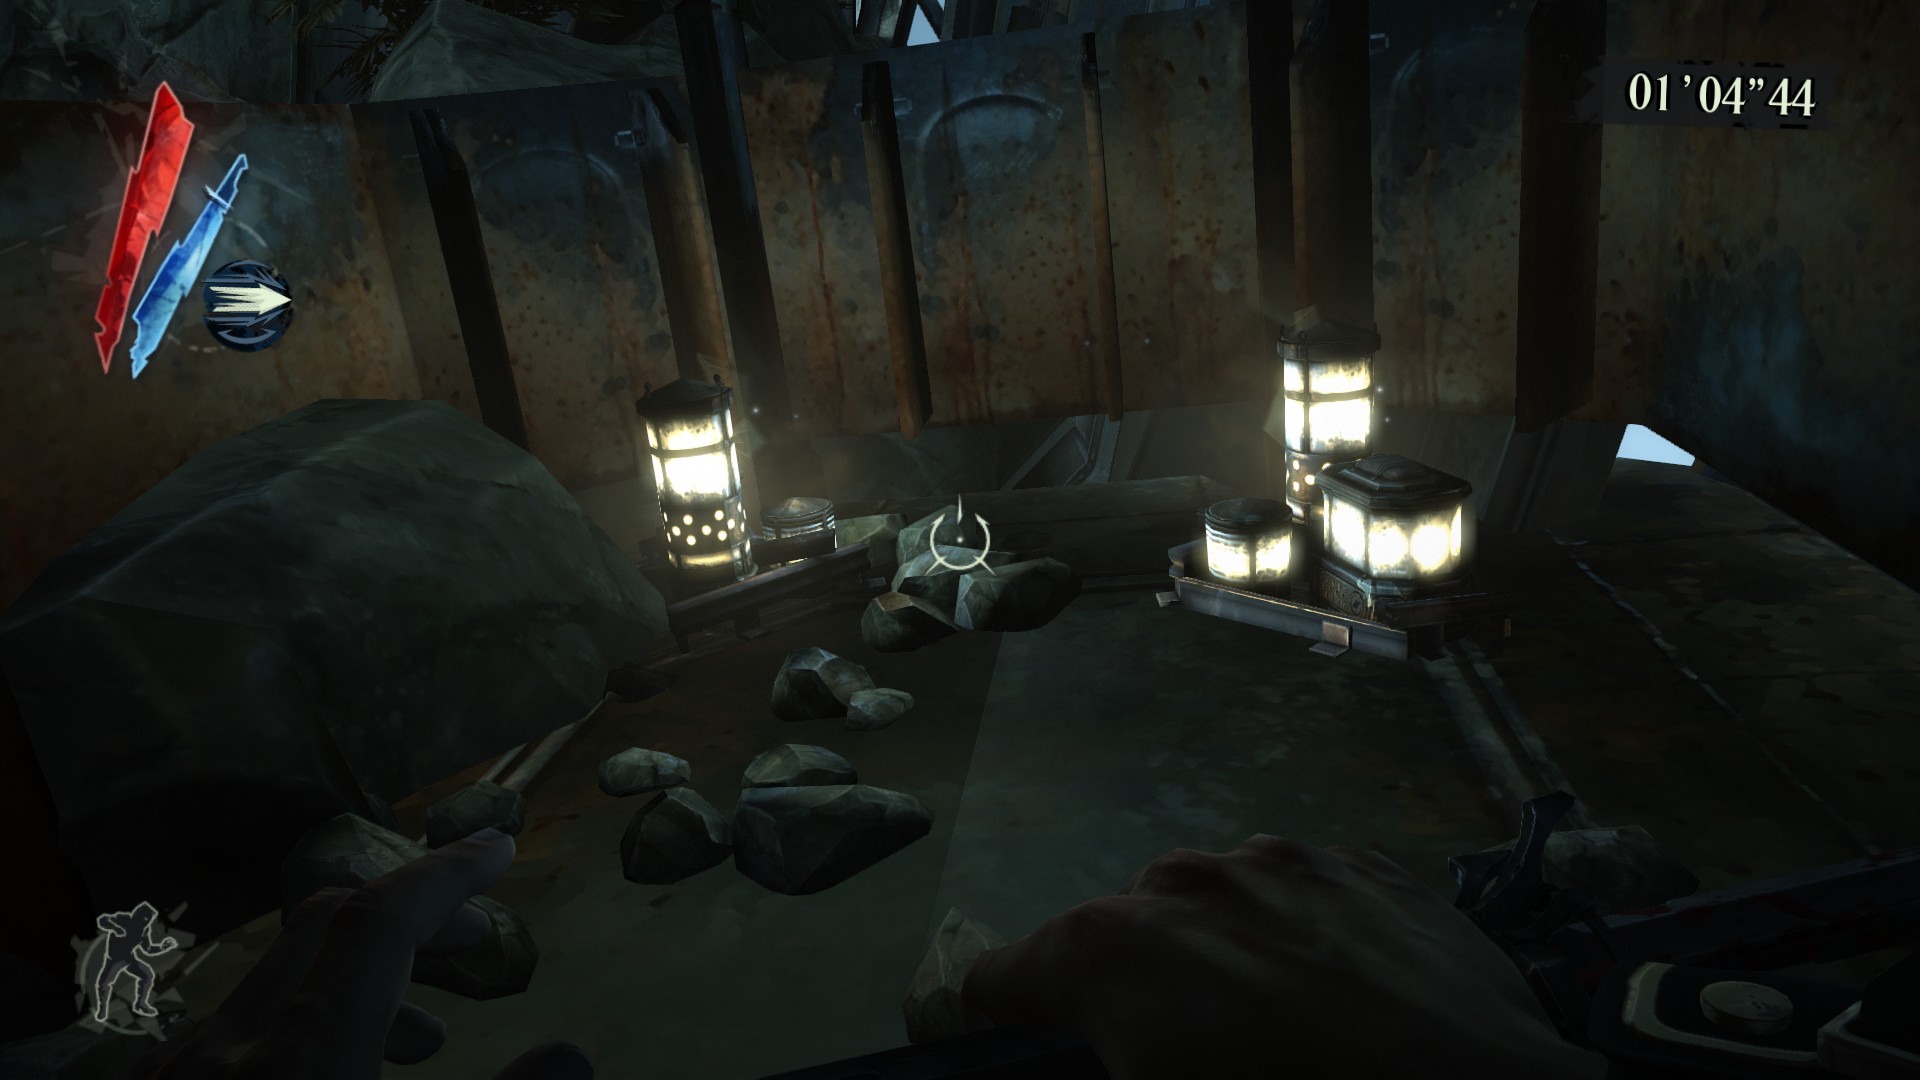
This next one is an easy one since the enemies don’t do anything until you trigger the events so you can just waltz right on by. Head down the stairs and to the right over some wood boards. Look over them on the left to see some rocks, hop down to the rocks and turn around to see a secret area underneath the level. The doll is inside and to the right.
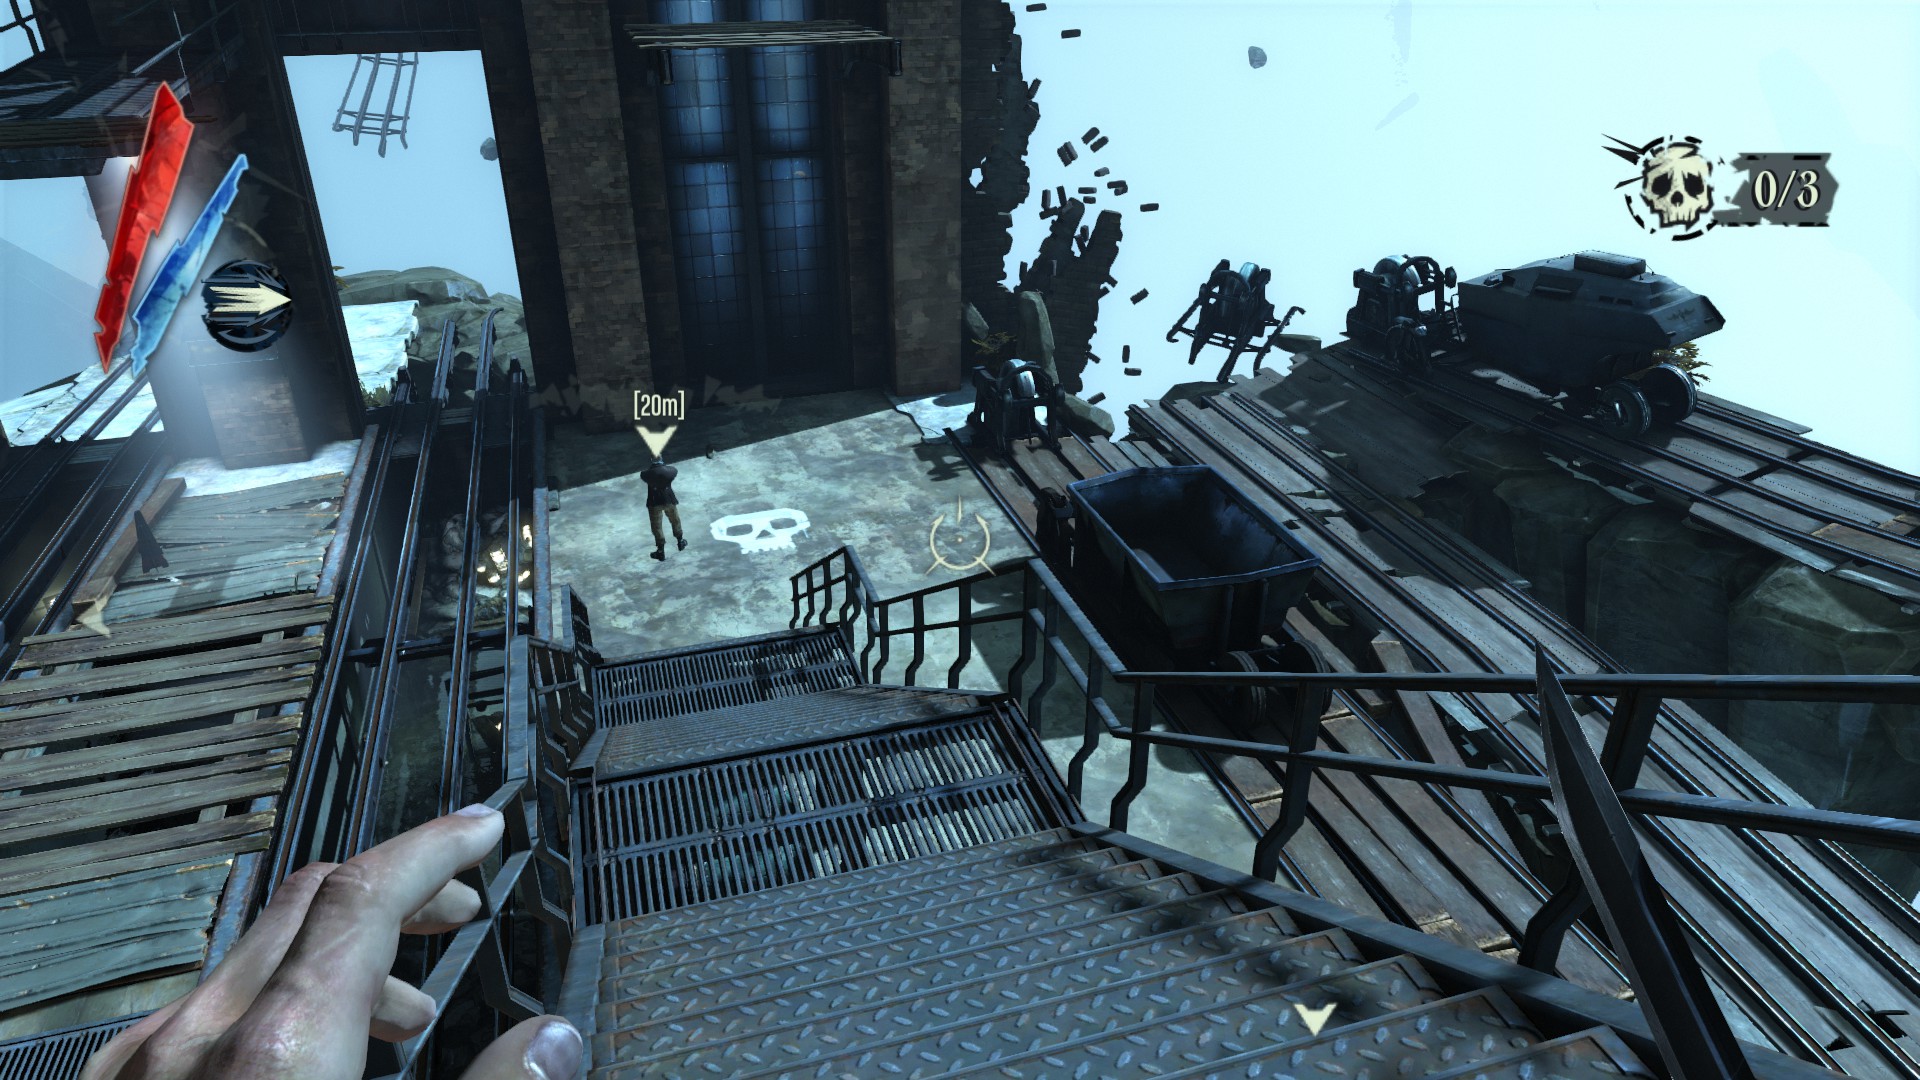
Head down the stairs and look for the wooden boards to cross.

You can see some rocks to jump down on.
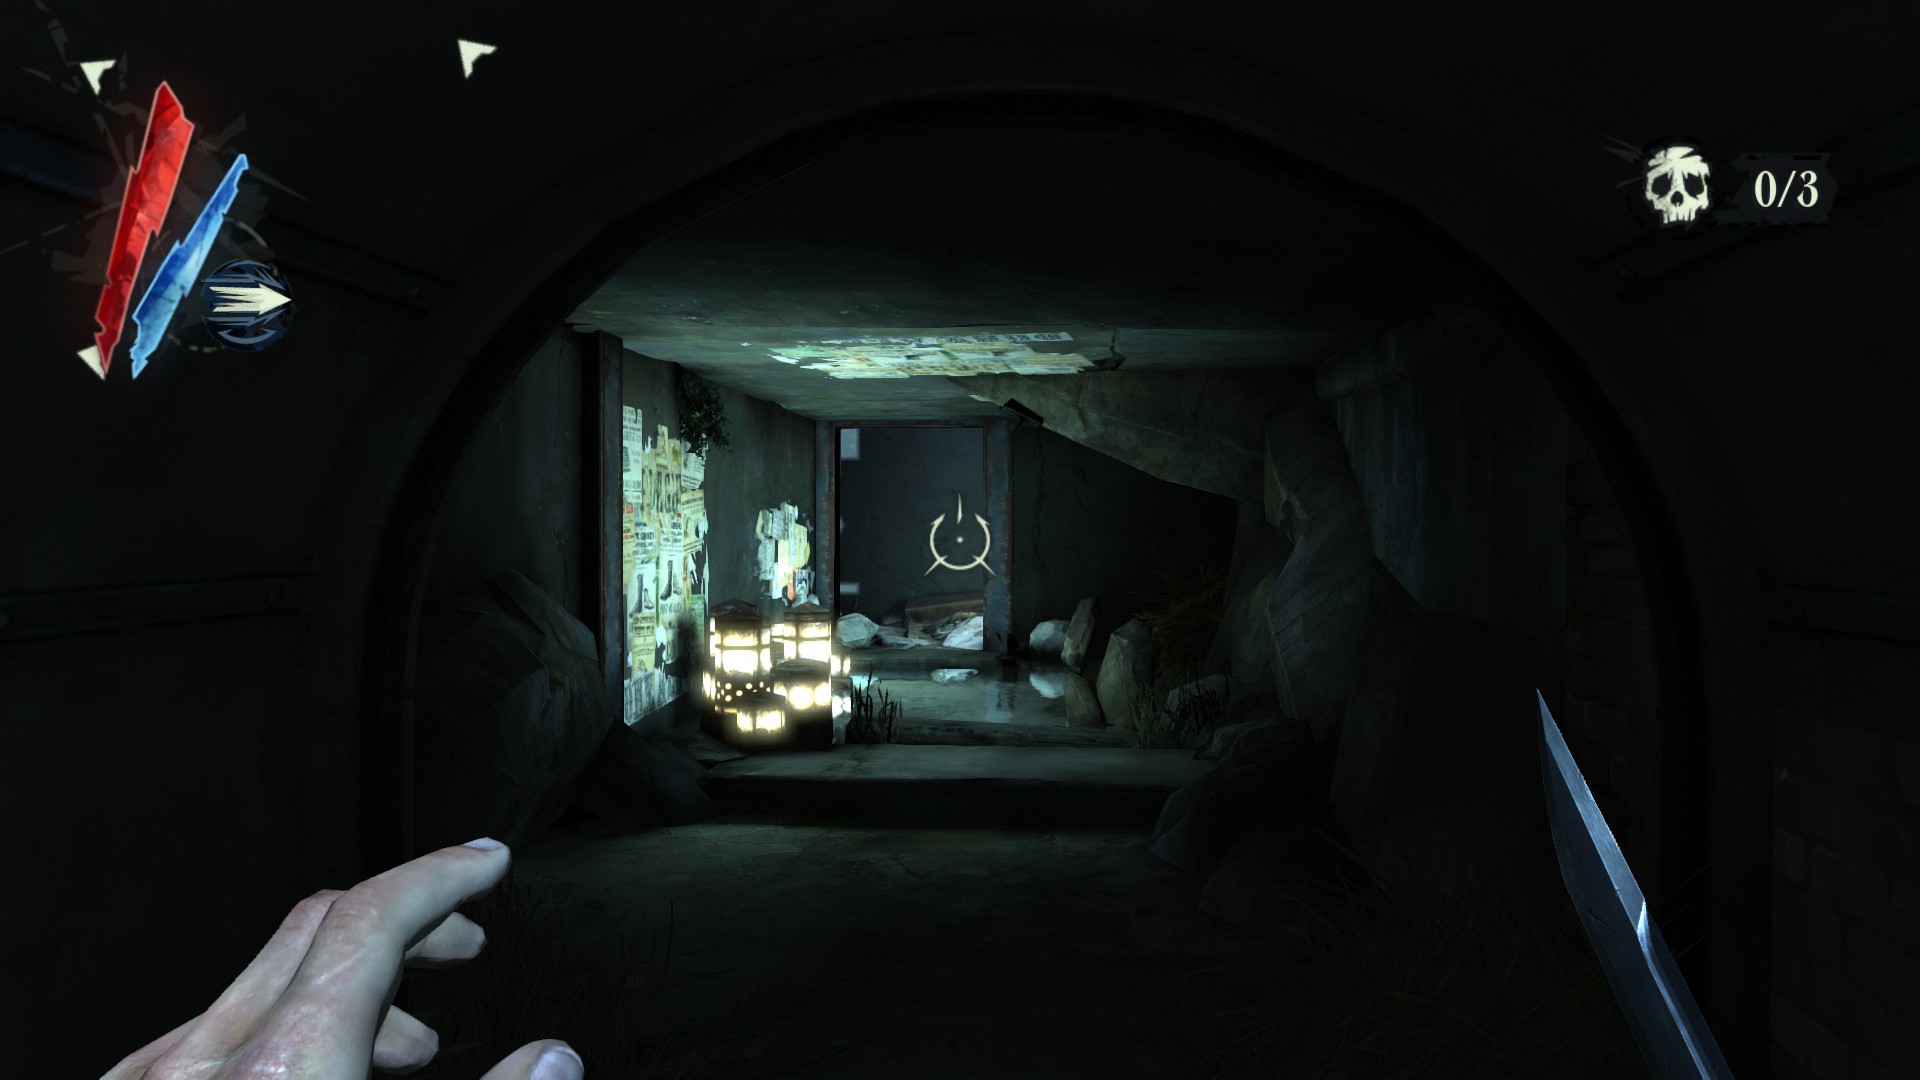
Look on the ground and to the right.
Challenge 8: Bon Fires
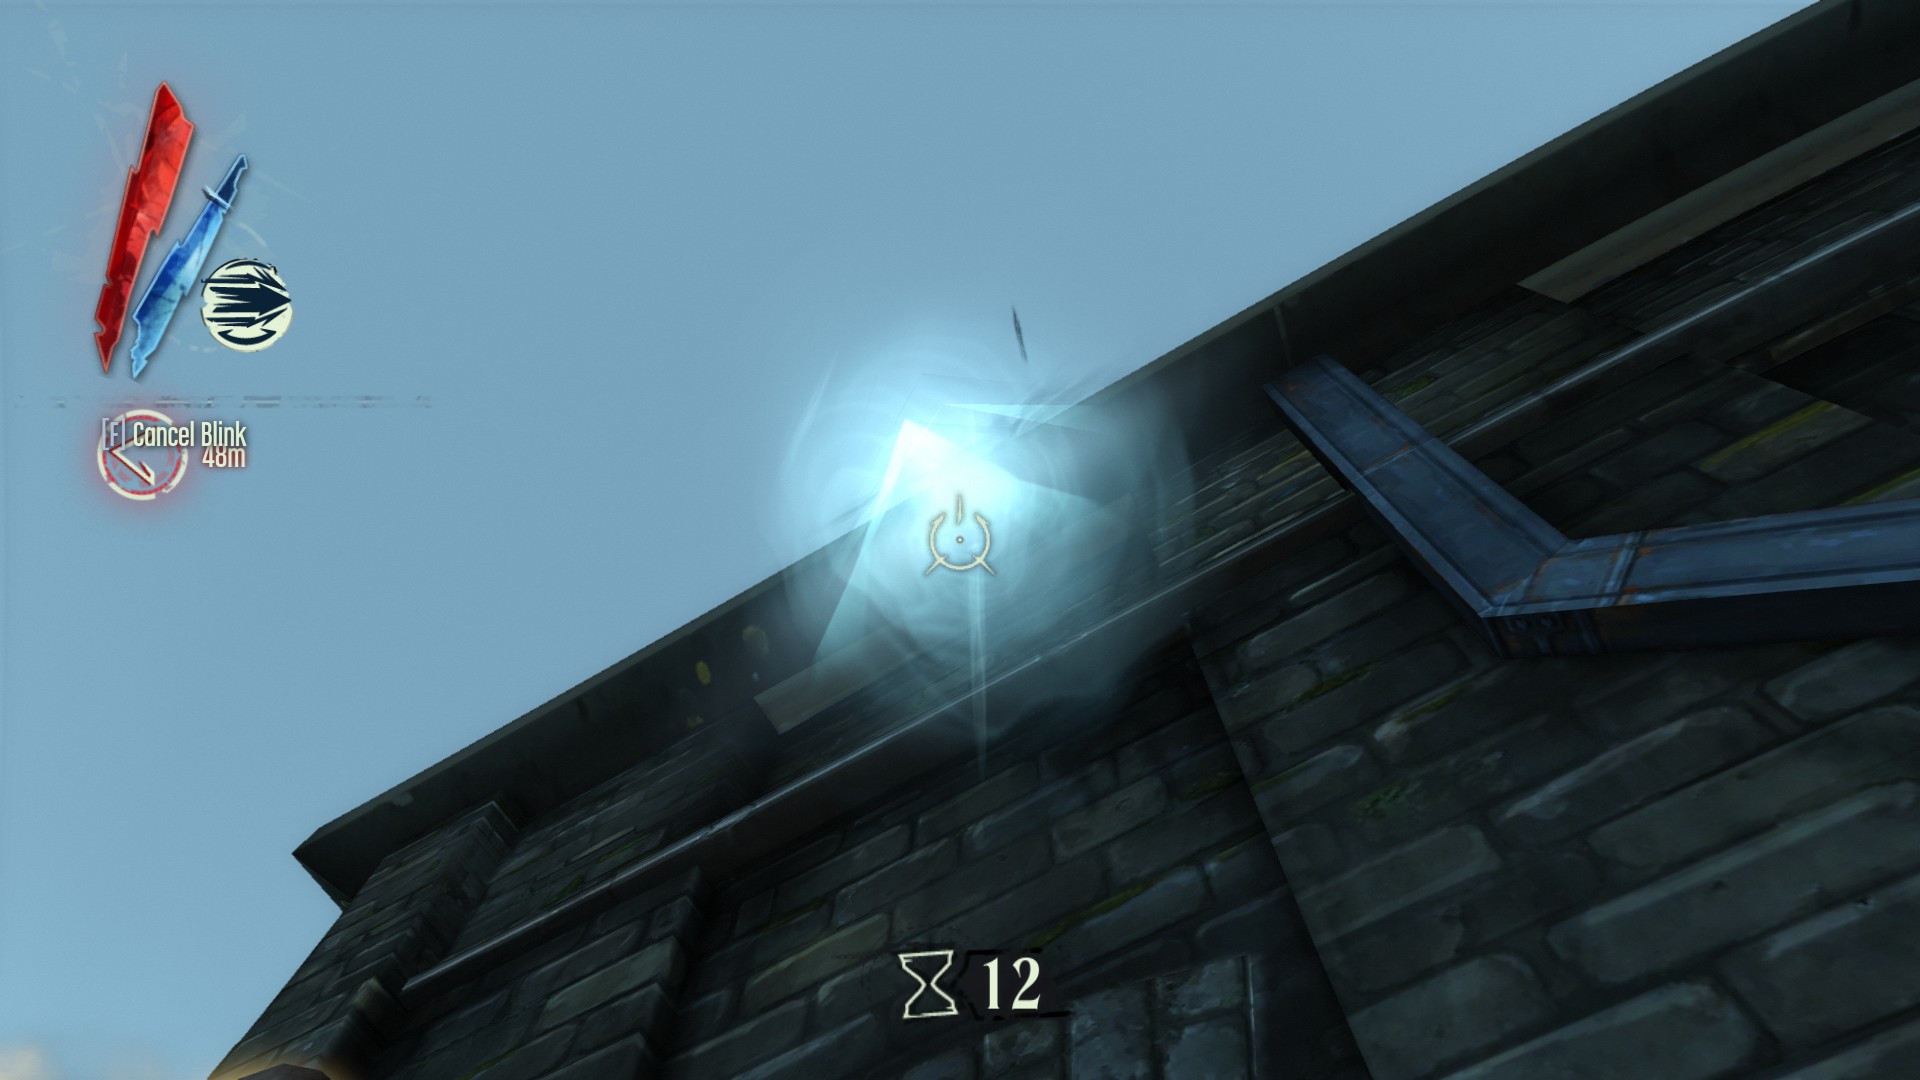
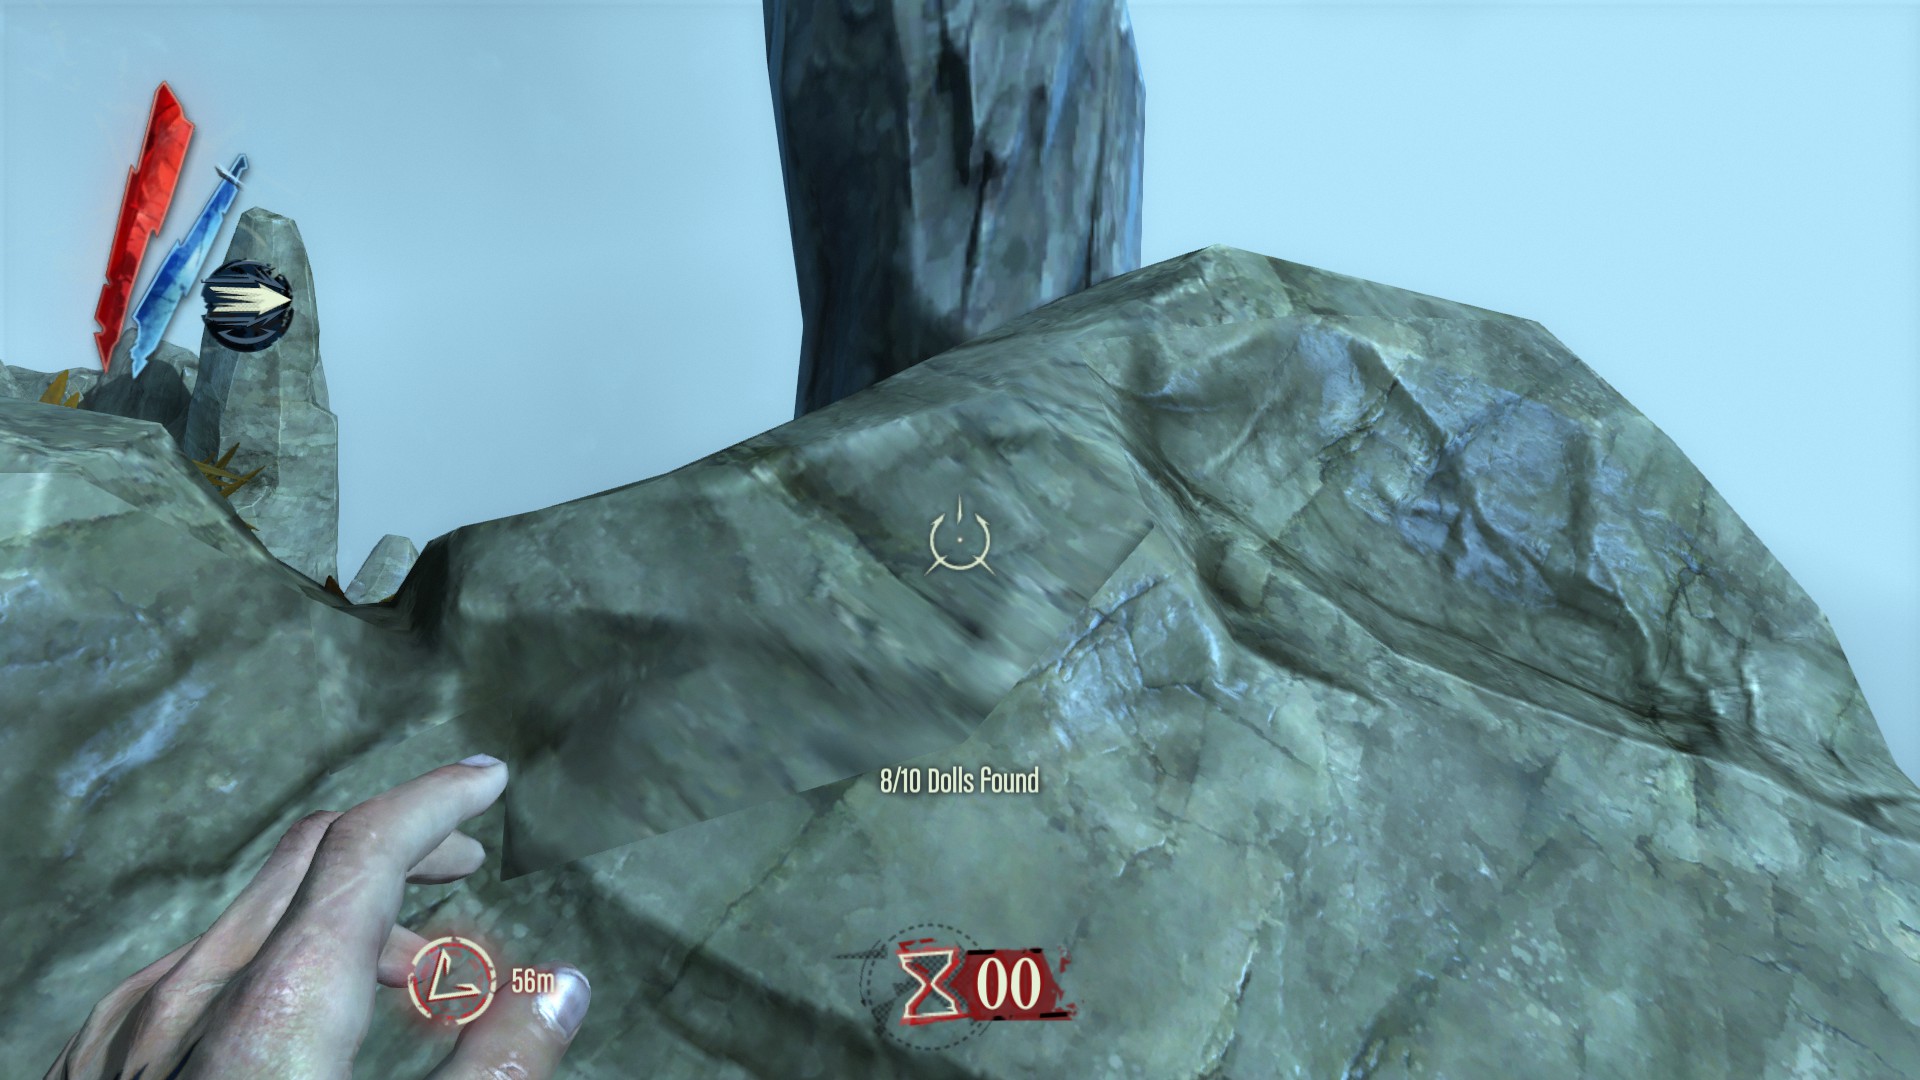
This is probably the hardest one because you’re racing against a clock. Basically the doll is on a floating island that you have to blink to. Head straight to the buildings in the back and look left, blink to the top of the cover above the door, blink to platform above it, blink to the air unit then finally blink to the roof of this building. Now look forward to see a tilted church, blink over there and you can look left to see the floating island where the doll is. Position yourself on the church and take a running jump at it then have blink ready and shoot it as far as you can towards the island. If timed right you’ll be on the edge of the island, run to the back tree to find the doll at the trunk.
Run straight back in the alley

You’ll see a cover over the door, blink on top
Blink up again.
Blink up again.
Then finally to the roof.
Blink over to the church.
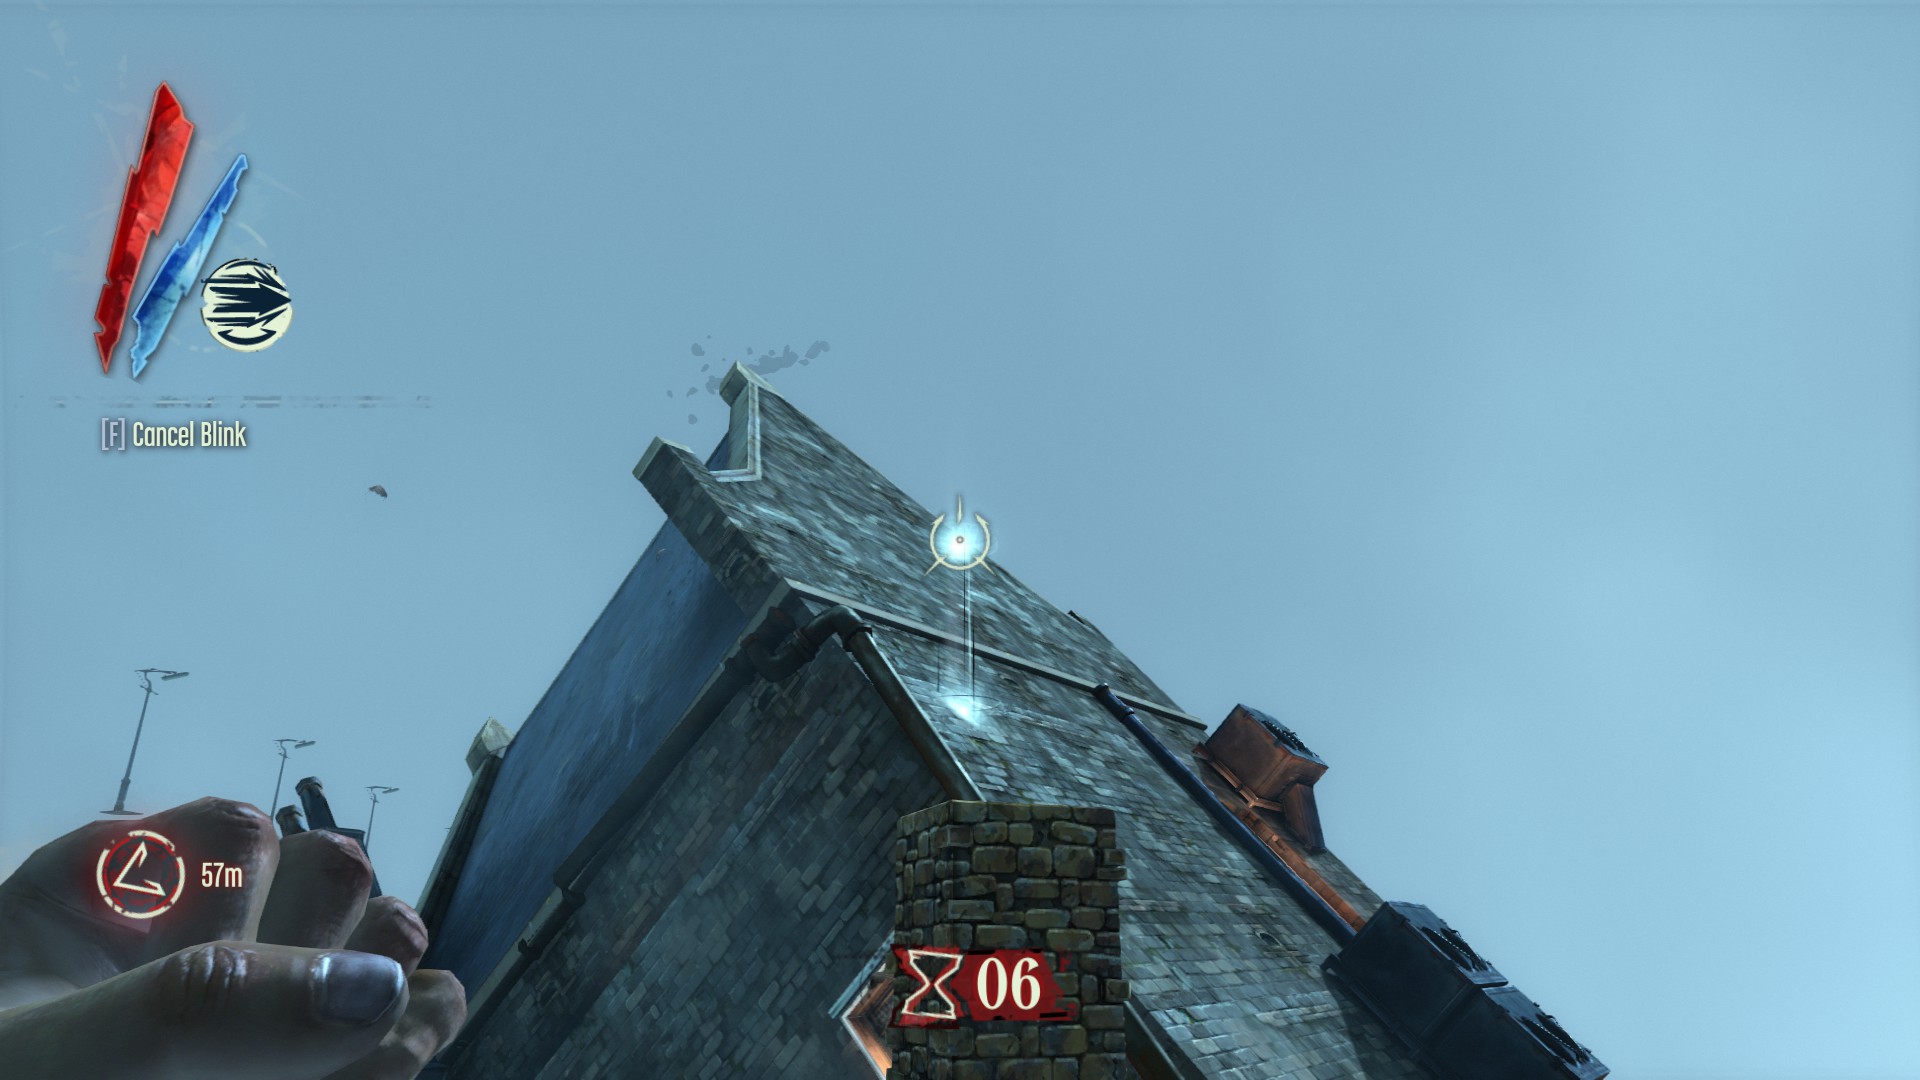
Align yourself up with the island.

Blink mid-jump for the most air coverage.

Run to the back of the tree.
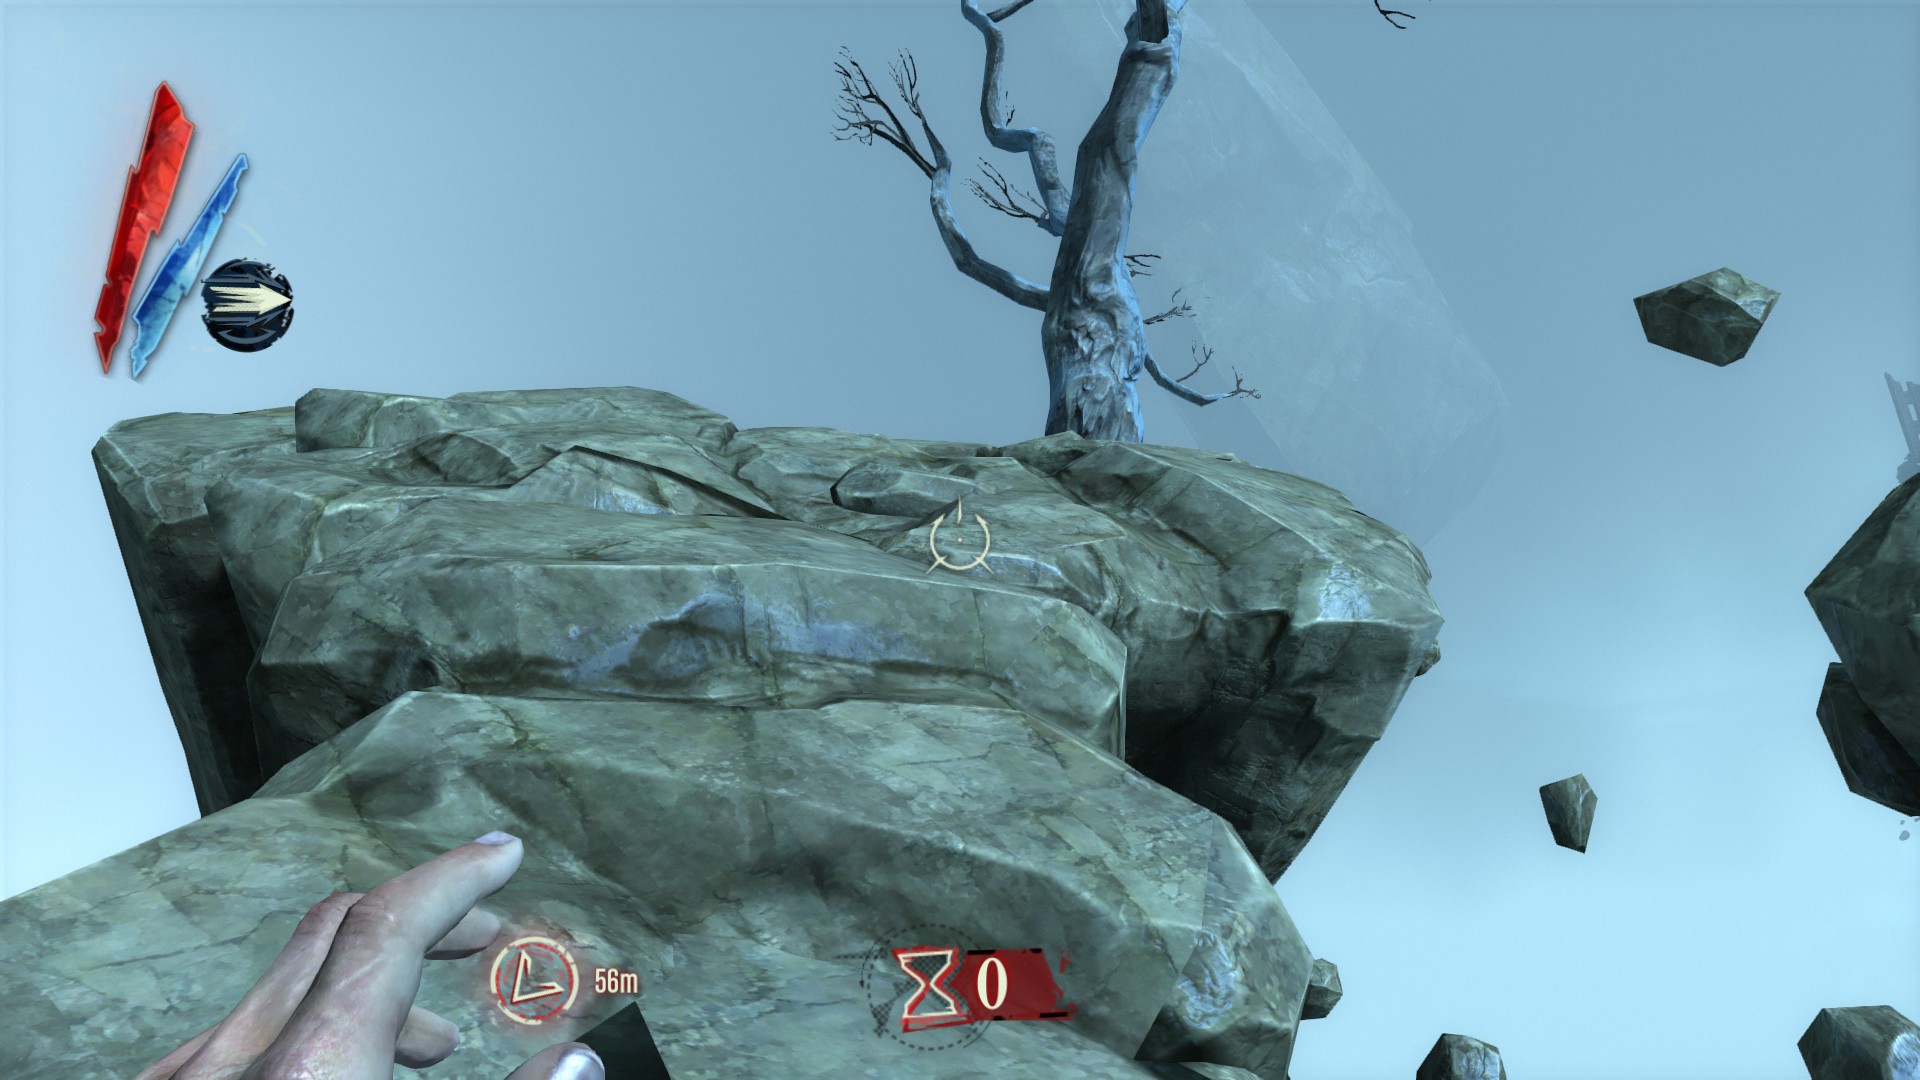
The doll will be right here, I was just running through this like crazy and picked it up before taking a screenshot.
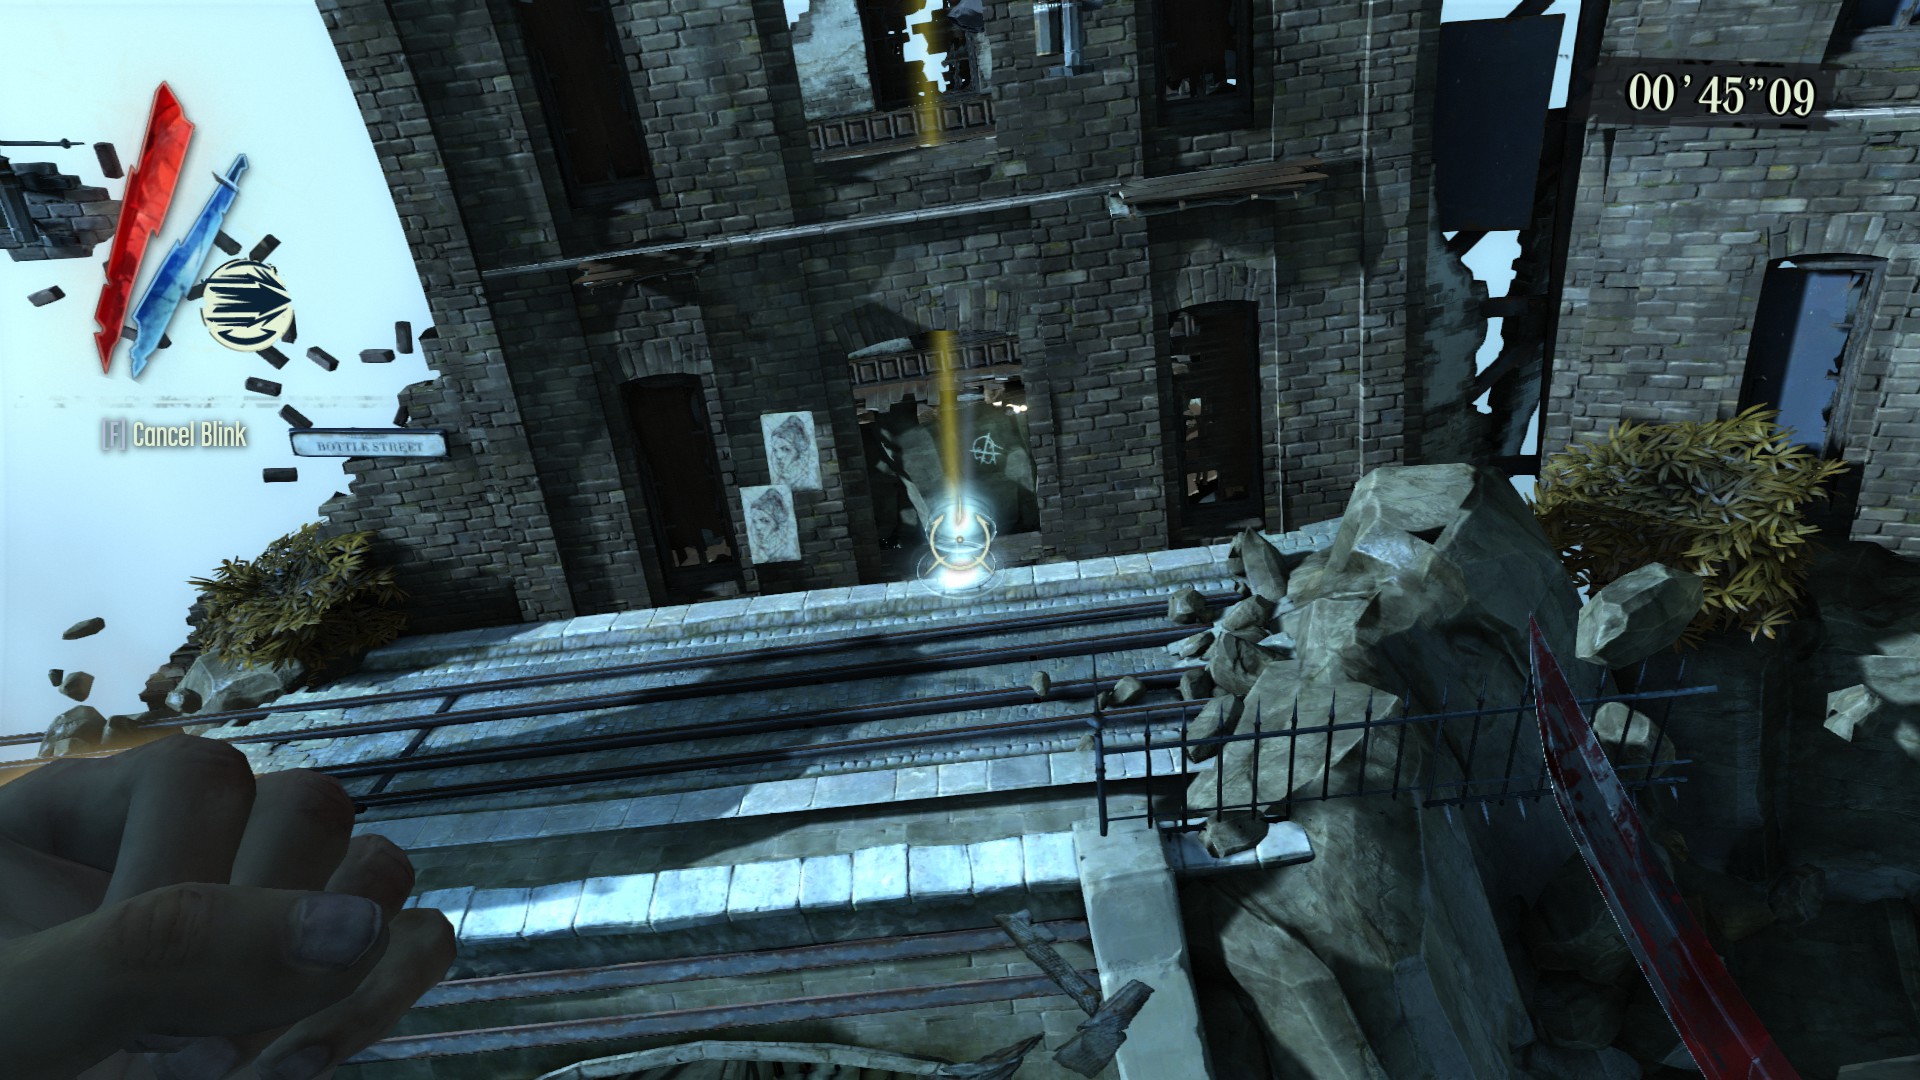
Challenge 9: Train Runner
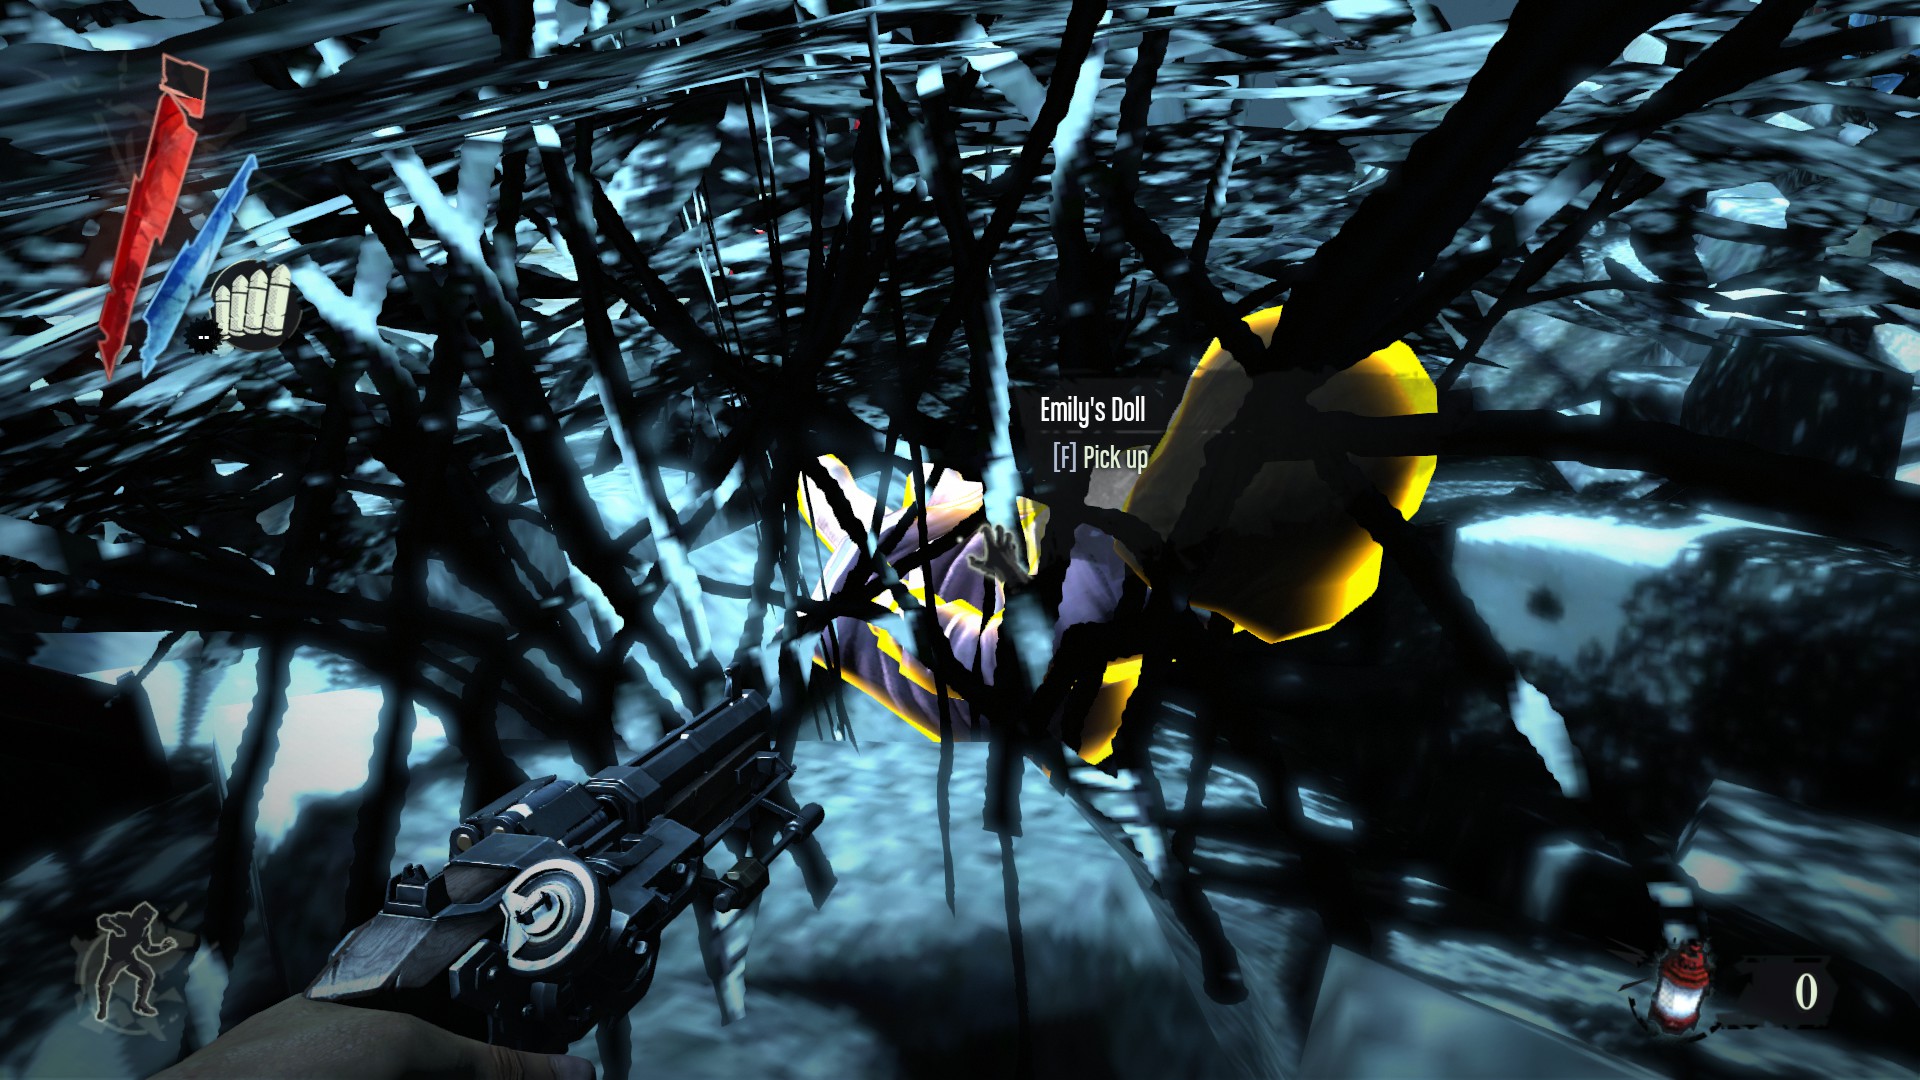
The trick for this one is to look for the purple clues to follow. Just run through the level like normal at the beginning. You’ll come across a purple room in the distance. Blink inside the room and look in the right corner to see some debris hanging from the ceiling. Look behind it for the emily doll.
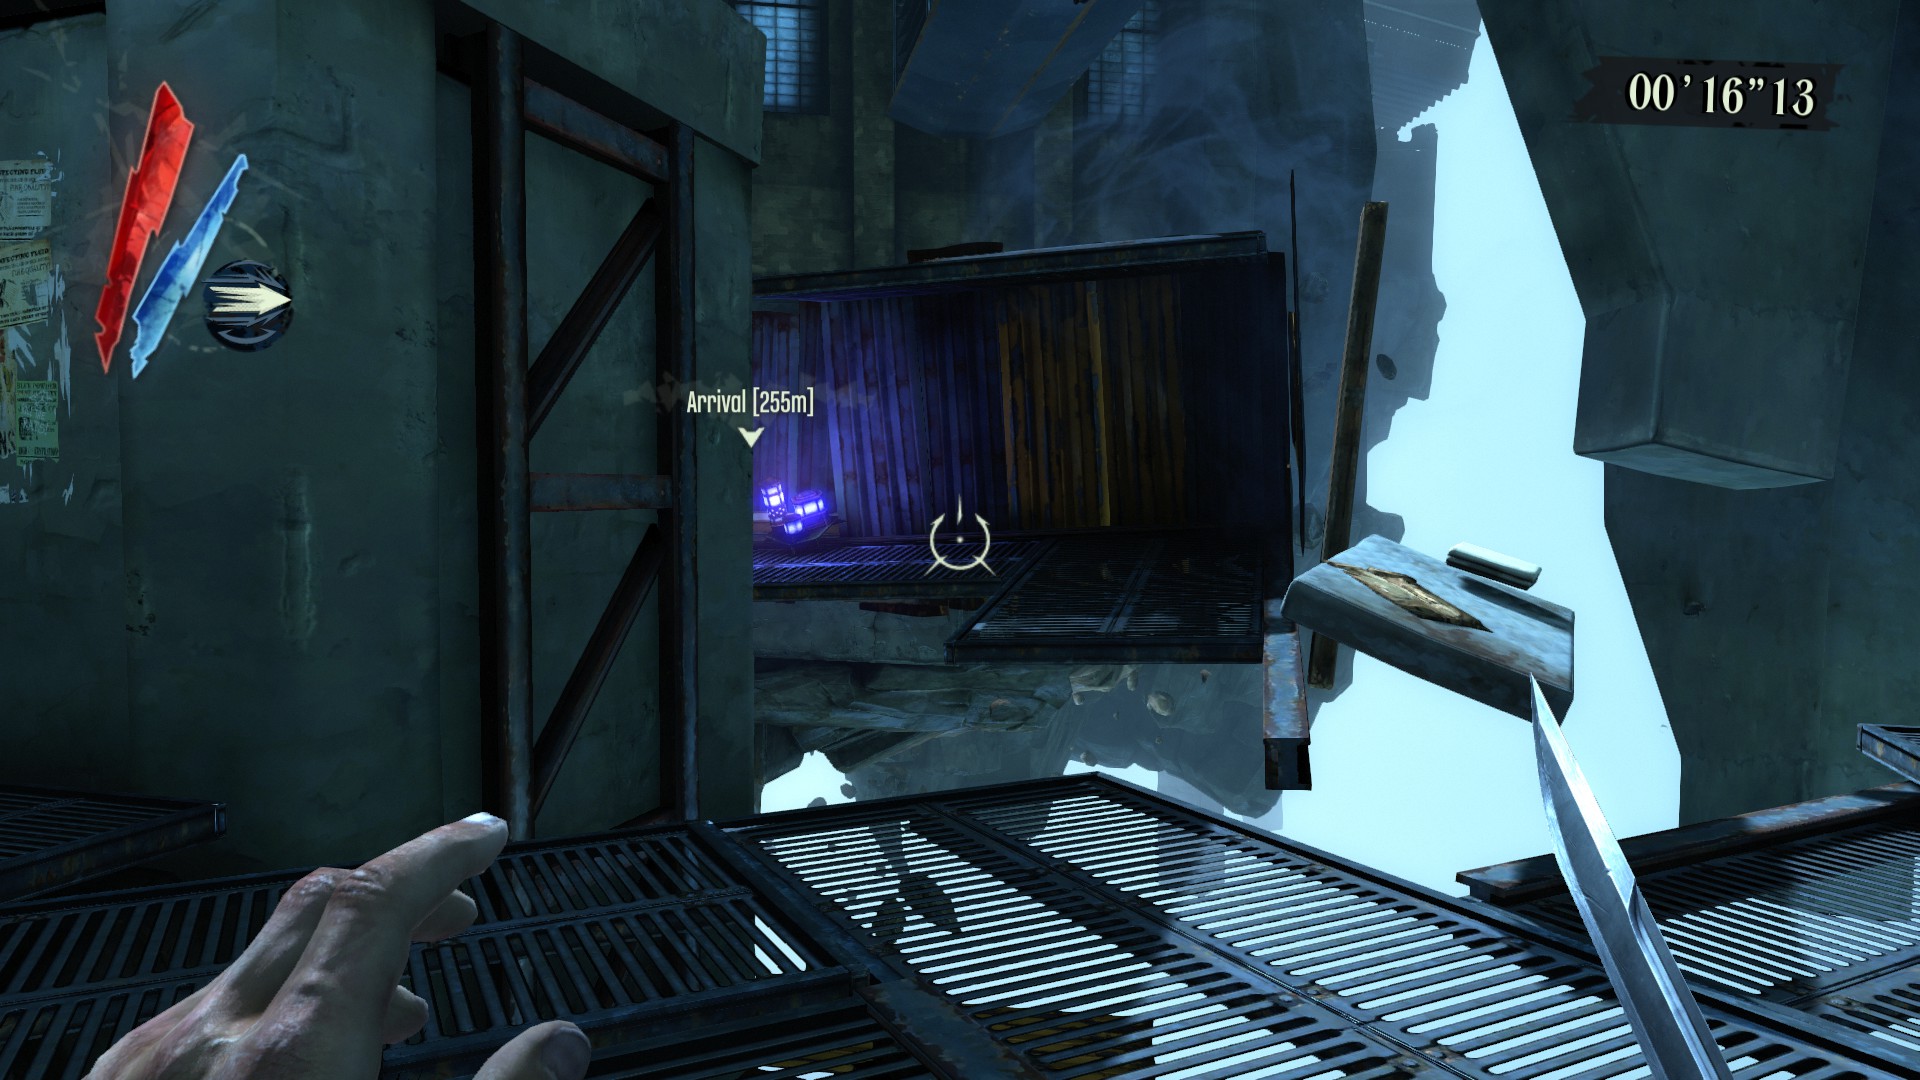
Keep moving through the level until you reach this yellow ramp.
You’ll see the purple room to your right.
Blink inside the room.
Look behind the debris.

Challenge 10: Kill Cascade
This one is near the end right before the final jump. You’ll come across the tall boy and blink over on top of the archway. Blink over to the next building and you’ll see some railroad tracks and a big Dunwall sign. Just after you go underneath it look to your left and up. You’ll see an open rail car, blink inside and you’ll see the final emily doll. (Another one I already picked up before grabbing a screenshot).
Blink up the archway
And into the next building.

Look over to the left to see the train car
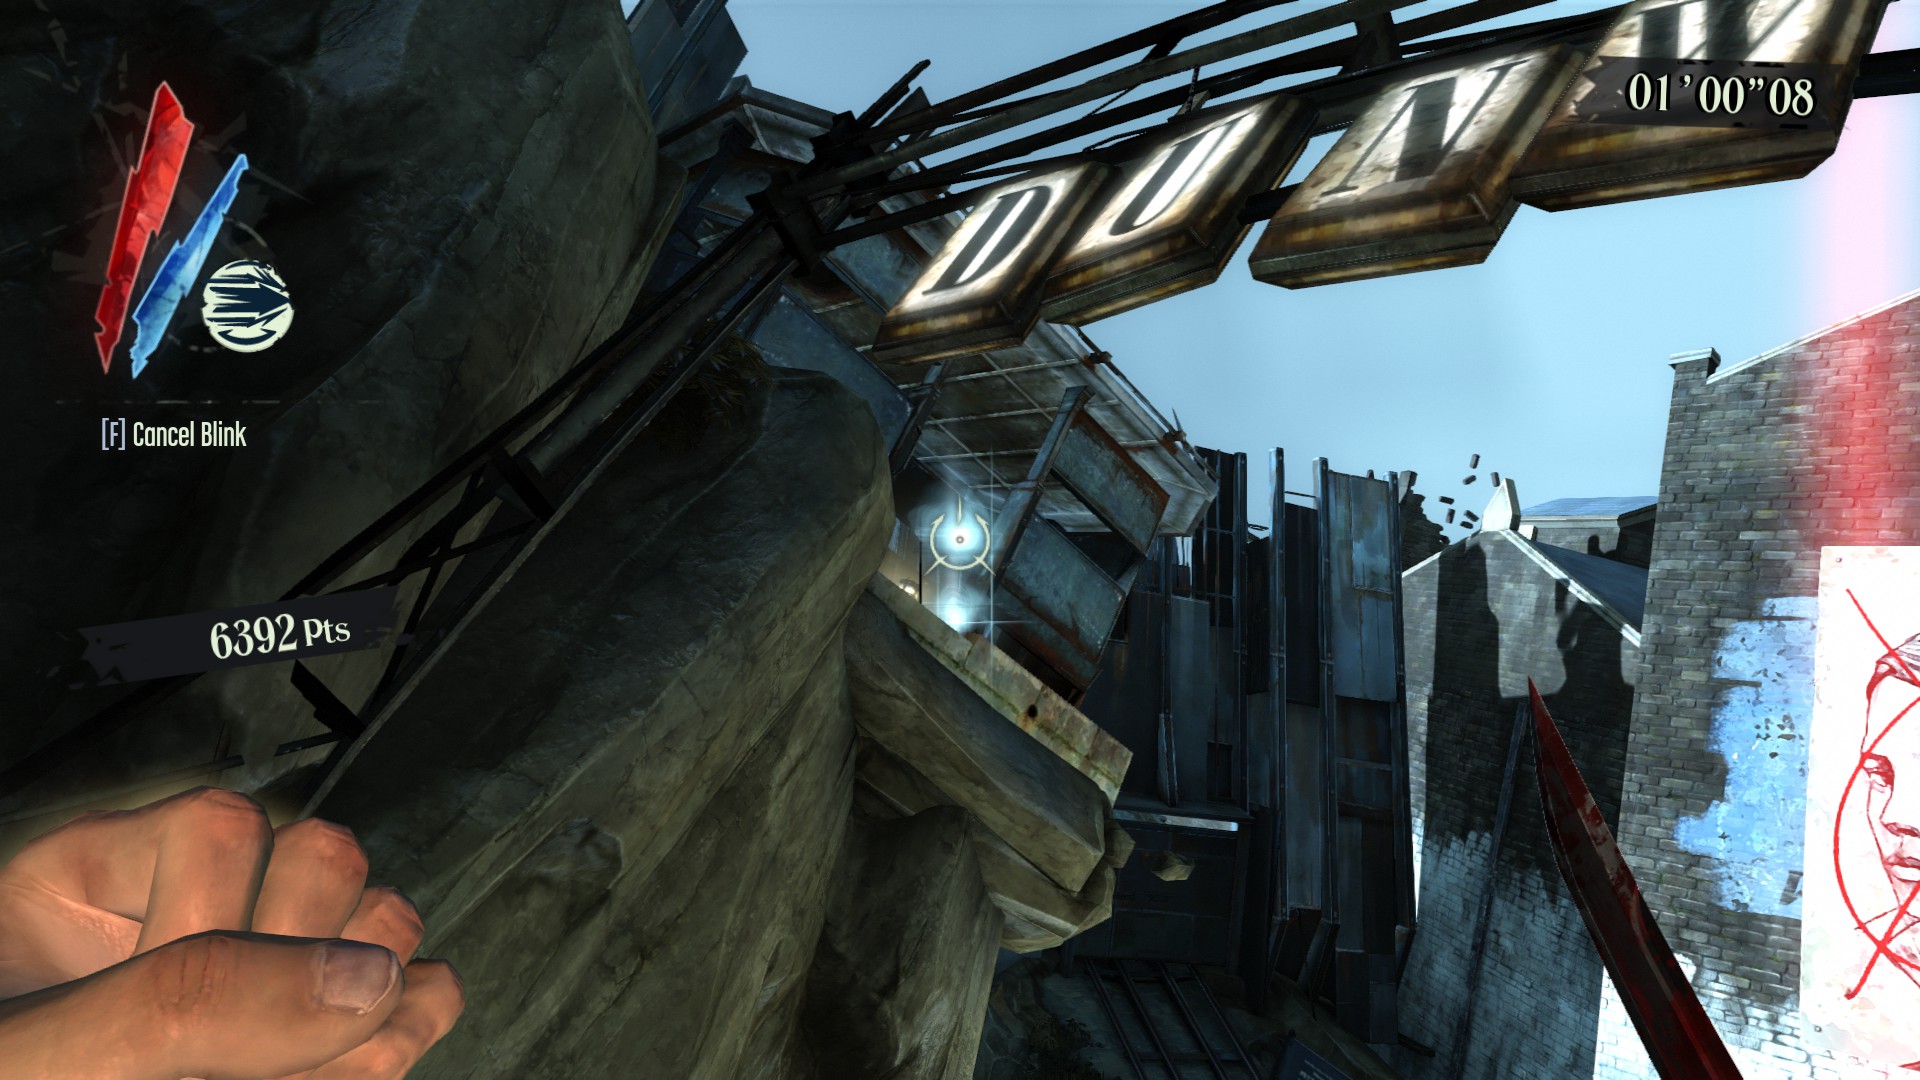
The emily doll will be in the back of this train car.
That’s all 10! Good hunting.