Overview
This guide covers how to achieve 100% in this game along with how to earn cash and REP easy and quickly, cars and the best upgrades, how to get all the collectibles (even the tricky ones).
Basics of the Game
Keyboard and Mouse vs Controller
- Controller is a lot easier. Keyboard is do-able but the drifting get tricky to do with the keyboard.
How To Earn Cash
- Player’s can earn cash during the day by completing races. Each race can be run multiple times, but total payout decreases after each run. Just go back to the garage and then back to day to reset the payout.
- Player’s can also earn cash by collecting collectibles and completing activities throughout the map.
- Some night races have cash payouts, but not many. The heat level 3 and 5 races do have a cash payout.
Buying Parts and Upgrading Cars
- Just because you can engine swap and upgrade different parts doesn’t mean you should. All cars handle different, and just because a part is better doesn’t mean the car will perform better. Do your research before spending money as it only takes a couple minutes, but saves time from doing more races than you want to.
- Don’t spend a lot of money on the starter cars as you probably won’t use them a lot once you get the BMW i8 or the Chevy Corvette unlocked.
Car Repairs
- By equipping repair kits in the auxilary options.
- Unlimited repairs during the day at gas stations.
- ONLY 3 repairs at night at gas stations, use them wisely.
- Entering a safe house/garage.
Collectibles and Activities
- Most, but not all appear on the map.
- Need to buy Keys To The Map to get all of them listed on the map.
- The DLC is only 5USD$, but saves a lot of time from trying to find all the collectibles that don’t show up on the map. DLC its self isn’t worth it unless your an achievement/trophy hunter like myself.
[link]
McLaren F1 Black Market Delivery
- The only way to get the McLaren F1 is by purchasing the DLC.
- A purchase DLC that delivers a new shipment to the dockyard of Palm City. Get the McLaren F1 Black Market Delivery to burn all limits with the McLaren F1 through a unique set of challenges. Plus, receive hot, new special customization parts, character outfits, vanity items, and decals as rewards!
[link]
Safe Houses
- Appear across the map, but need to drive to them, and enter the safe house to unlock them and have access to them in the future.
- Can only fast travel to them during the day, not at night.
- Can not enter the safe house if your being chased by cops.
How To Earn Rep
- Can only earn REP at night by completing races and evading cops.
- Once you have earned REP you will need to make it to a safe house to keep it all.
- How to lose REP.
- Totaling your car.
- Getting busted, not only do you lose REP, but a portion of your cash in the bank.
- Quiting/closing the game before making it to the safe house.
- How heat level and multiplier affects rep earned.
- 10,000 x heat level 1 (1 multiplier) = 10,000
- 10,000 x heat level 2 (2 multiplier) = 20,000
- 10,000 x heat level 3 (3 multiplier) = 30,000
- 10,000 x heat level 4 (4 multiplier) = 40,000
- 10,000 x heat level 5 (5 multiplier) = 50,000
Escaping Cops
- Only stay in the heat level your car can handle. Just go to the safe house and re-enter the night-life.
- Stay in town and drift around corners. Cops will more than likely outrun you on straight roads.
- Avoid going off-road unless you have an off-road build. You slow down off-road, cop cars don’t.
- Remember where jumps are and how to get to them quickly. They are and effective resource to escape cop chases.
Earning Cash Quickly
Quickest And Easiest Ways To Earn Cash
- Keep in mind that the payouts are based on the “end game/end of storyline” of getting to REP level 50 and completing the main story races.
- Payouts may vary depending on where you are in the story and what level you are.
- Times may vary a little depending on the car, upgrades, handling, crashes, etc.
- Each payout/race section has been broken down to 2 minutes (for a common and fair trial) and then broken down to 1 hour of gameplay/real life grinding out cash.
- These methods get repetitive and boring, but quickest way to make cash without wasting time driving from race to race.
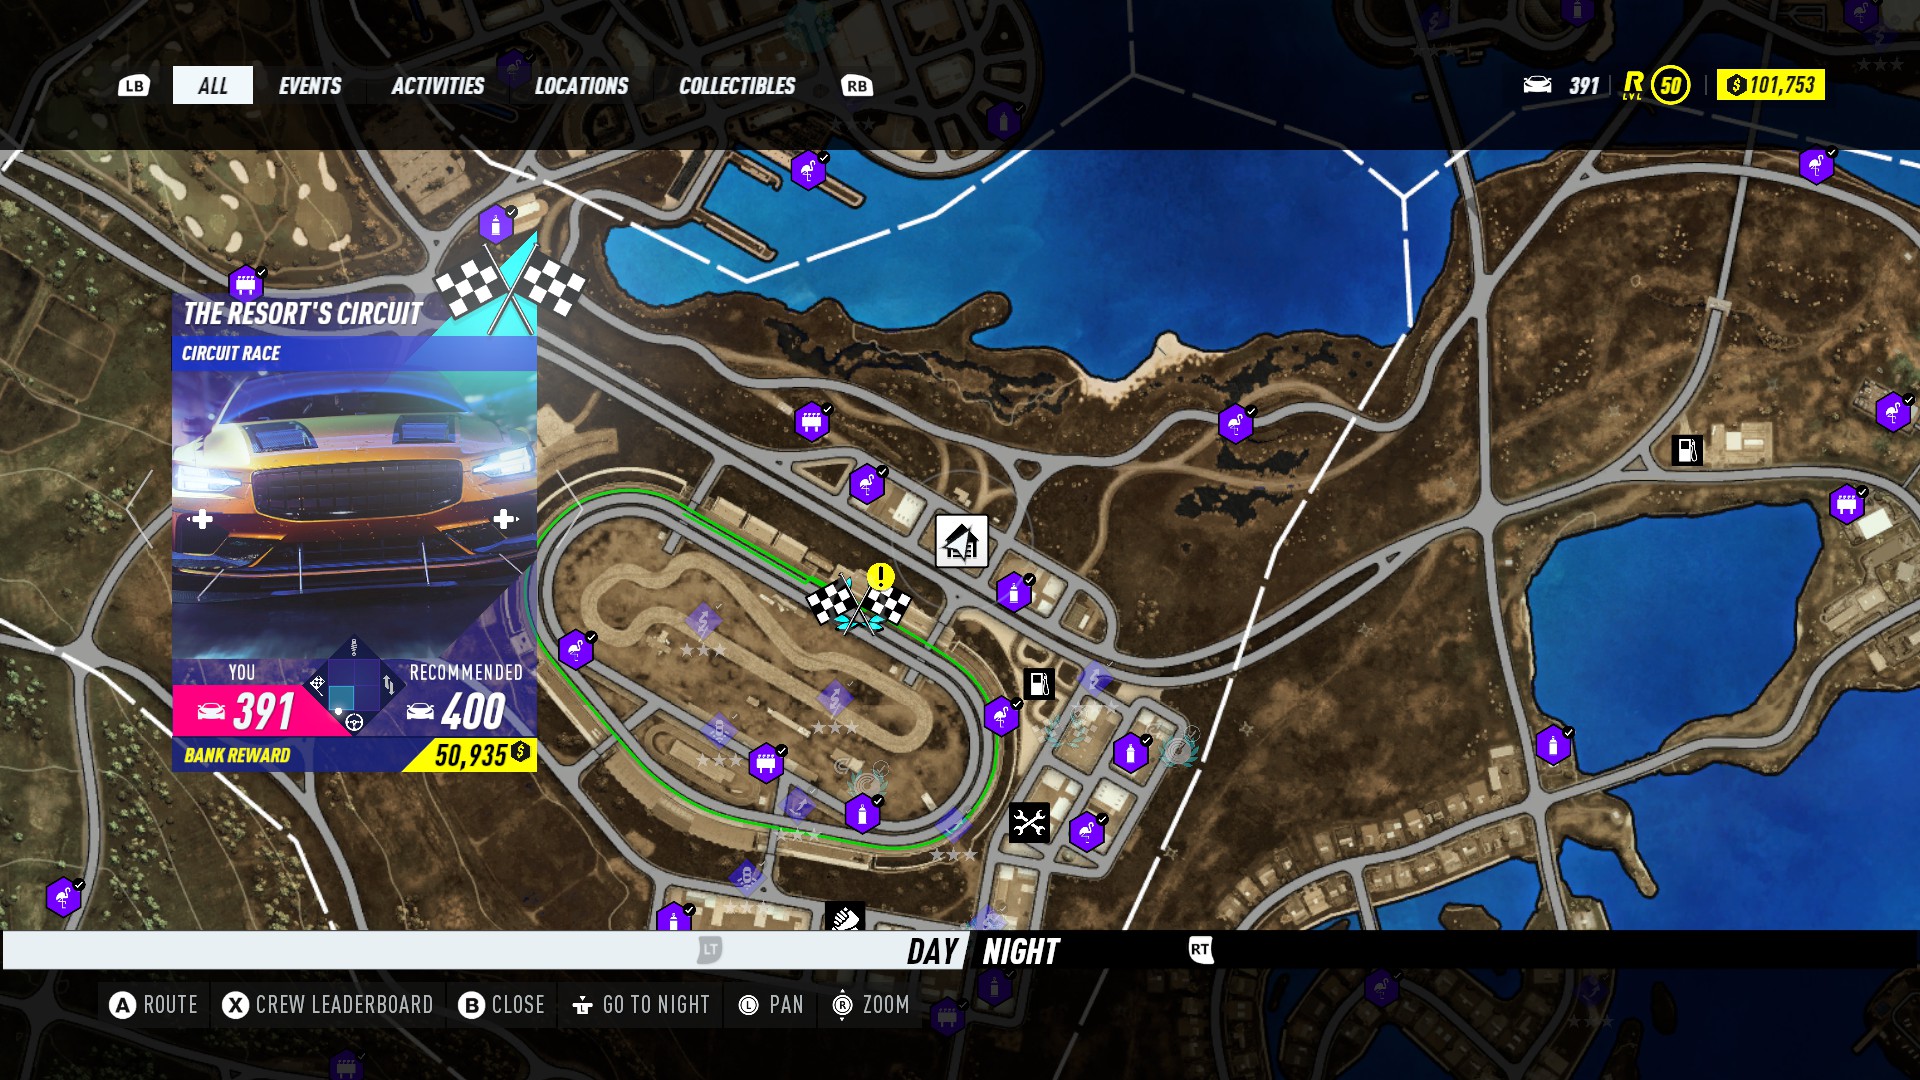

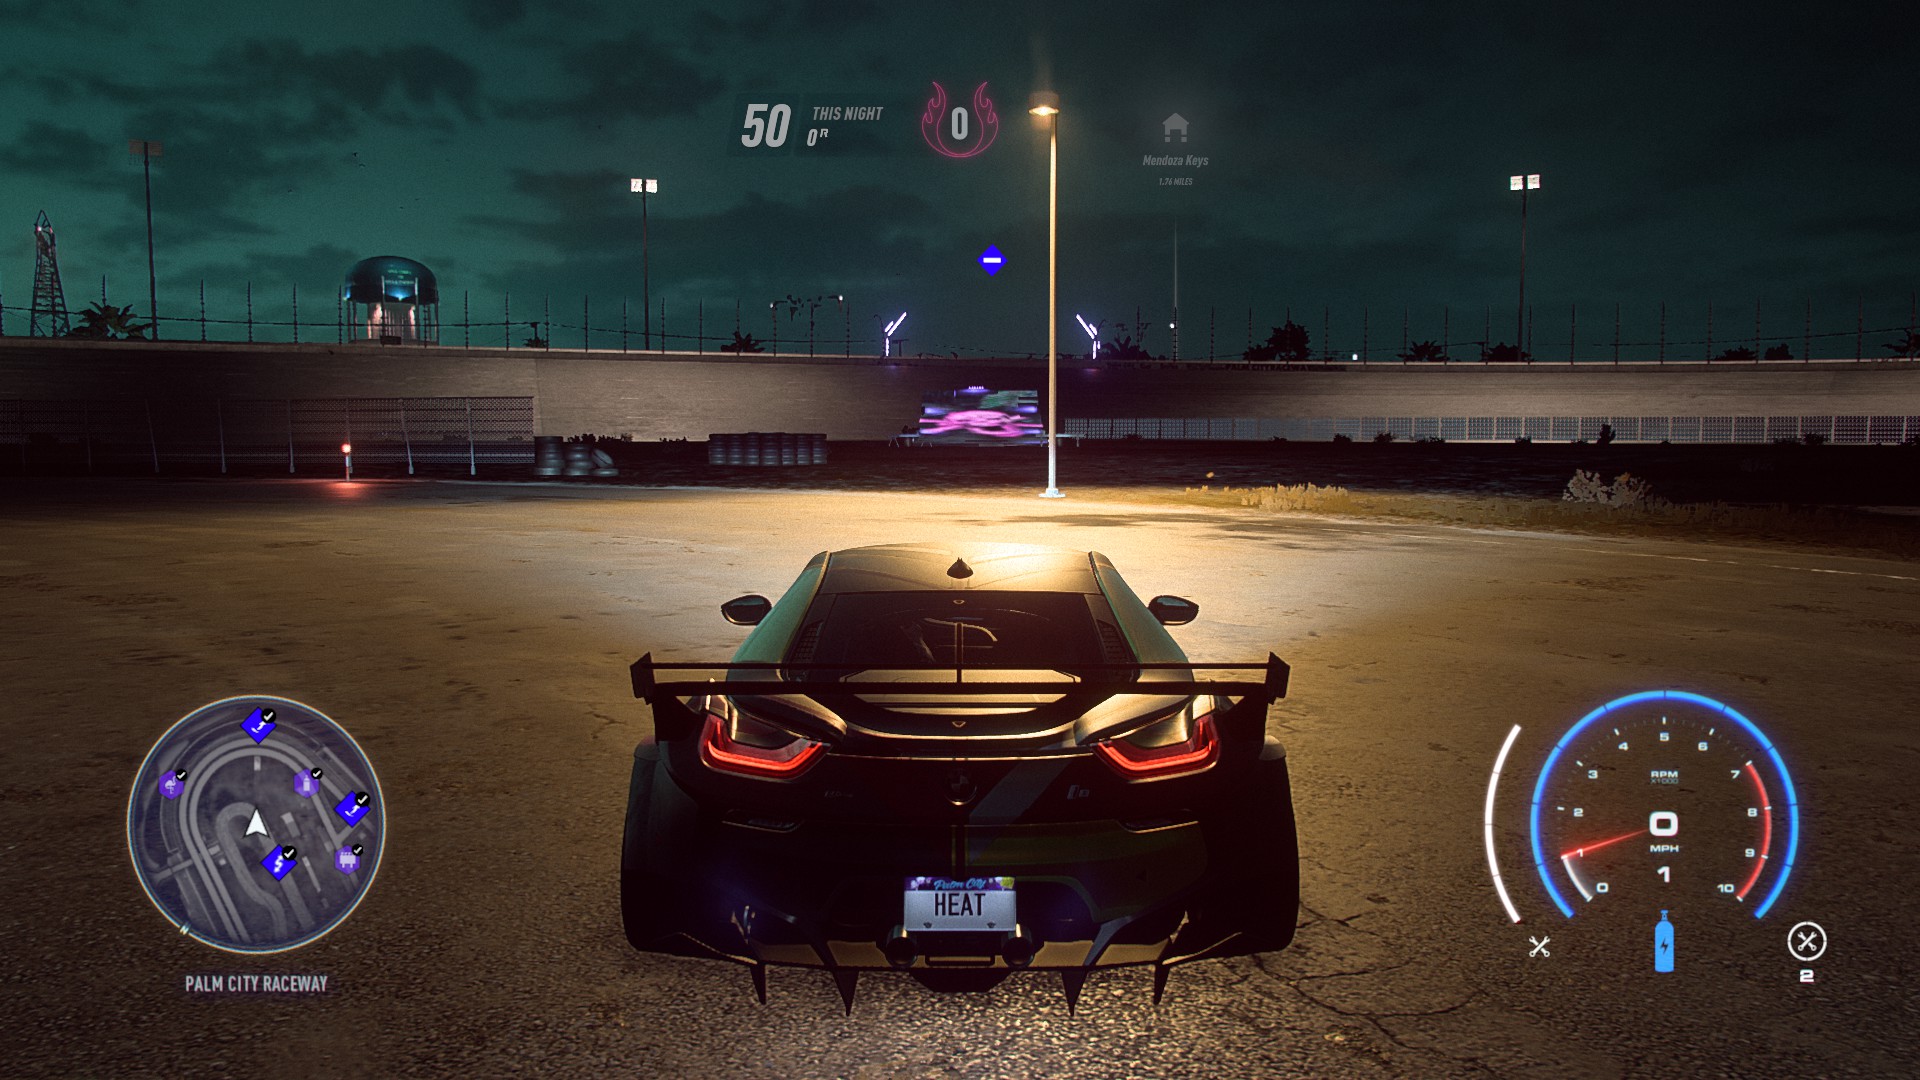
Method 1 – Palm City Raceway – Resorts Circuit.
- This should take 8-9 minutes to complete. I timed it the moment I was outside the garage, completed 3 races, went back into the garage, and back outside, and paused my timer.
- Race 1 – $53,361
- Race 2 – $40,021
- Race 3 – $26,681
- Total Payout – $120,063 (8 minutes).
- $120,063 x 8 total runs (60 min / 8 min = 7.5 runs) = $960,804.
Method 2 – Palm City Raceway – Resorts Circuit
- This should take 5-6 minutes to complete. I timed it the moment I was outside the garage, completed 2 races, went back into the garage, and back outside, and paused my timer.
- Run 1 – $53,361
- Run 2 – $40,021
- Payout – $93,382 (6 minutes).
- Total payout $93,382 x 10 total runs (60 min / 6 min = 10 runs) = $933,820.
Method 3 – Palm City Raceway – Resorts Circuit and Up UP and Away time trail
payout with time trail run.
- Same as the methods above, time it takes starting from the garage, complete 2 races, complete a time trial, enter the garage, and back to day time.
- Only need to beat the previous time by a few seconds to make beatable. If you beat it too fast and too quickly, it may become hard to break it again. I did this on accident by not paying attention and on accident beating the previous time by 500 yards.
- This one doesn’t make as much money as it takes a little longer to get to the time trial and the time trial takes 3+ minutes to complete.
- Race 1 – $53,361
- Race 2 – $40,021
- Time Trail – $26,667
- Payout – $120,049 (10 minutes).
- Total payout – $120,049 x 6 total runs (60 min / 10 min = 6 runs) = $720,294.
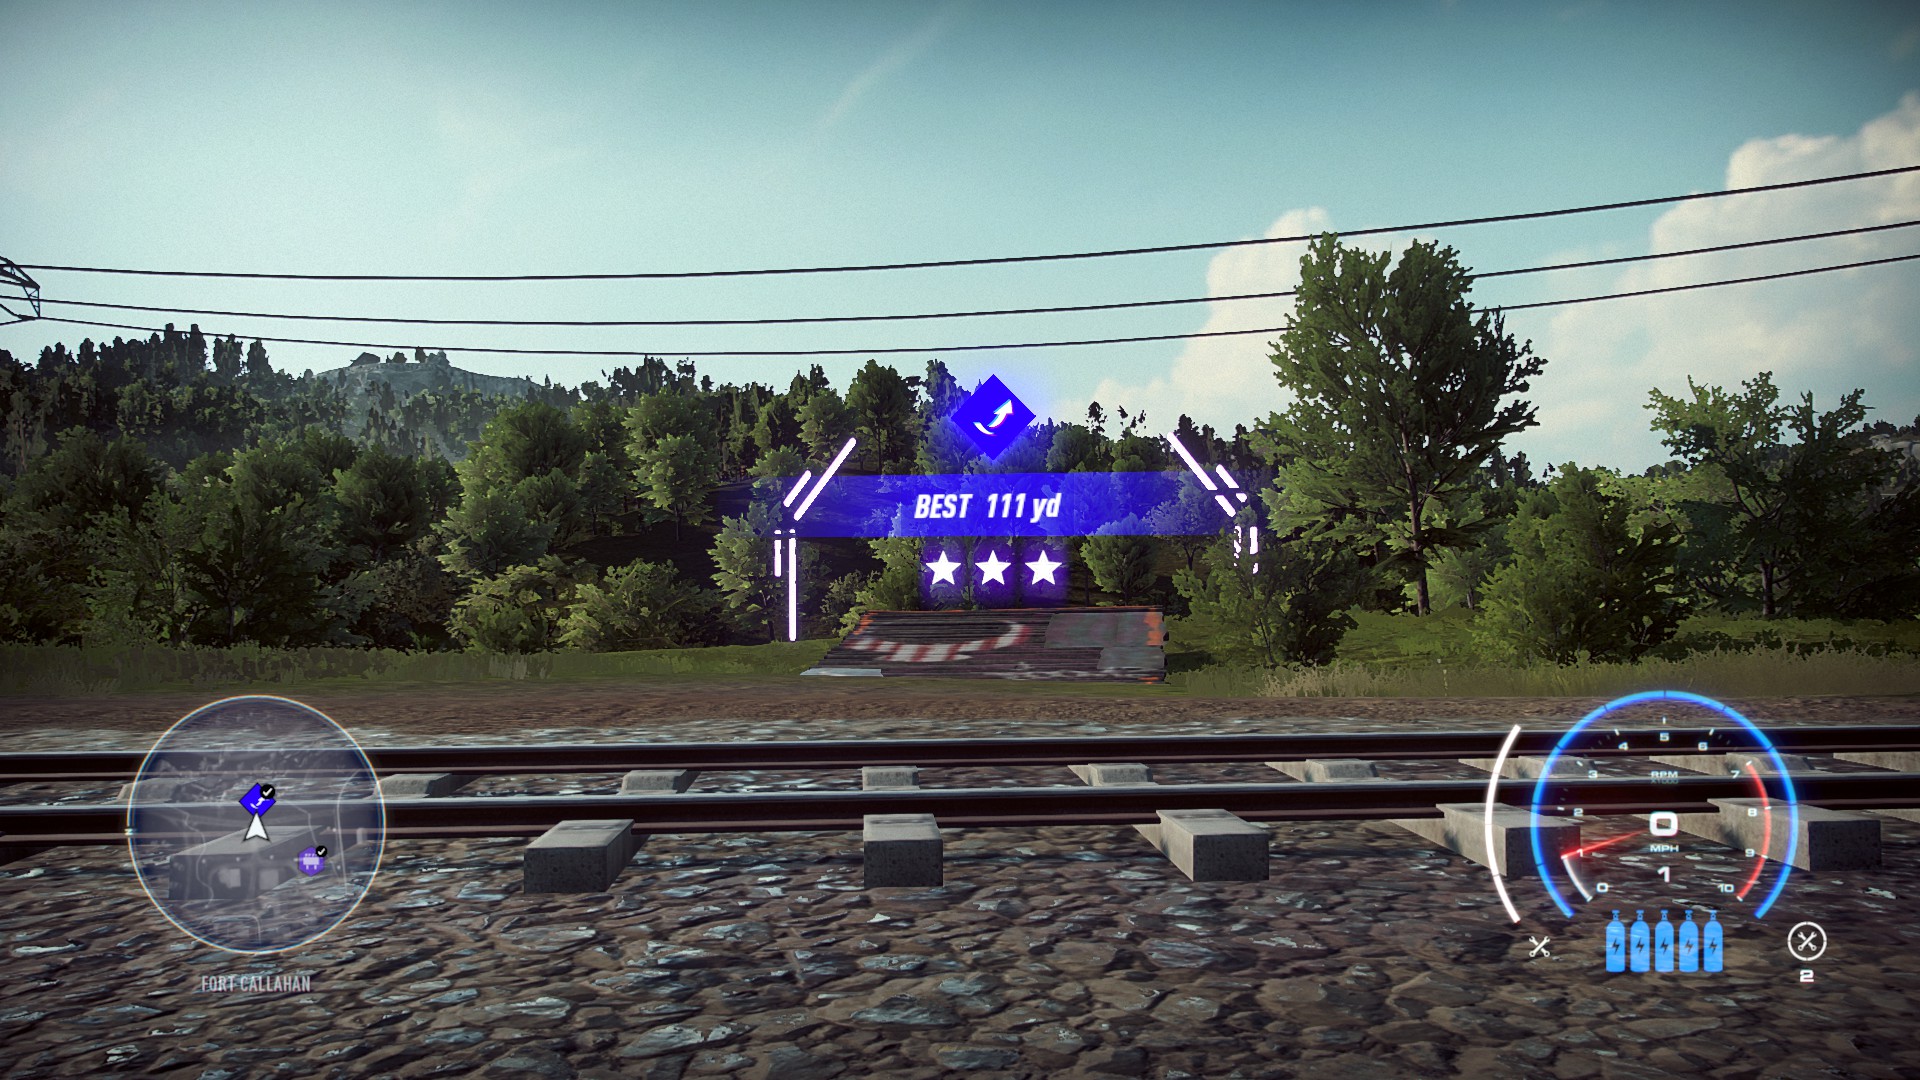
Method 4 – Jailbreaker Jump in Fort Callahan
- Doesn’t appear on the map unless you have Keys To The Map, otherwise you can just drive to that general area and find it.
- If you jump short you will respawn, but will not get paid.
- Jump too far will get paid, but need to drive back around.
- Start by the tracks, go off the jump between 60-70 mph and land on the small rock island.
- If done correctly you should respawn back on top and rinse and repeat.
- Cash payout stays the same, don’t have to go to safe house to reset it.
- 12 jumps in 2 minutes
- 12 x $3,307 = $39,684
- $39,684 x 30 (60 min / 2 min) = $1,190,520.

Earning REP Quickly

Earn and bank 1 000 000 REP during one night
- Use the steps below. Stay in Palm City Raceway until you reach Heat Level 5, then go do races that have high REP payout. At this point it will be easier to track as each race will be multiplied by 5 and won’t have to do as many races.
So when I first was playing, I was going around from race to race to earn rep and level up. Which at times felt like forever because there would be times where I would get a lot of rep and other times very little rep. After putting some time into the game, I found a very easy way to increase your heat level without putting yourself in danger or harms way. All you need to do is hit the minimum speed which for me was 170 mph.
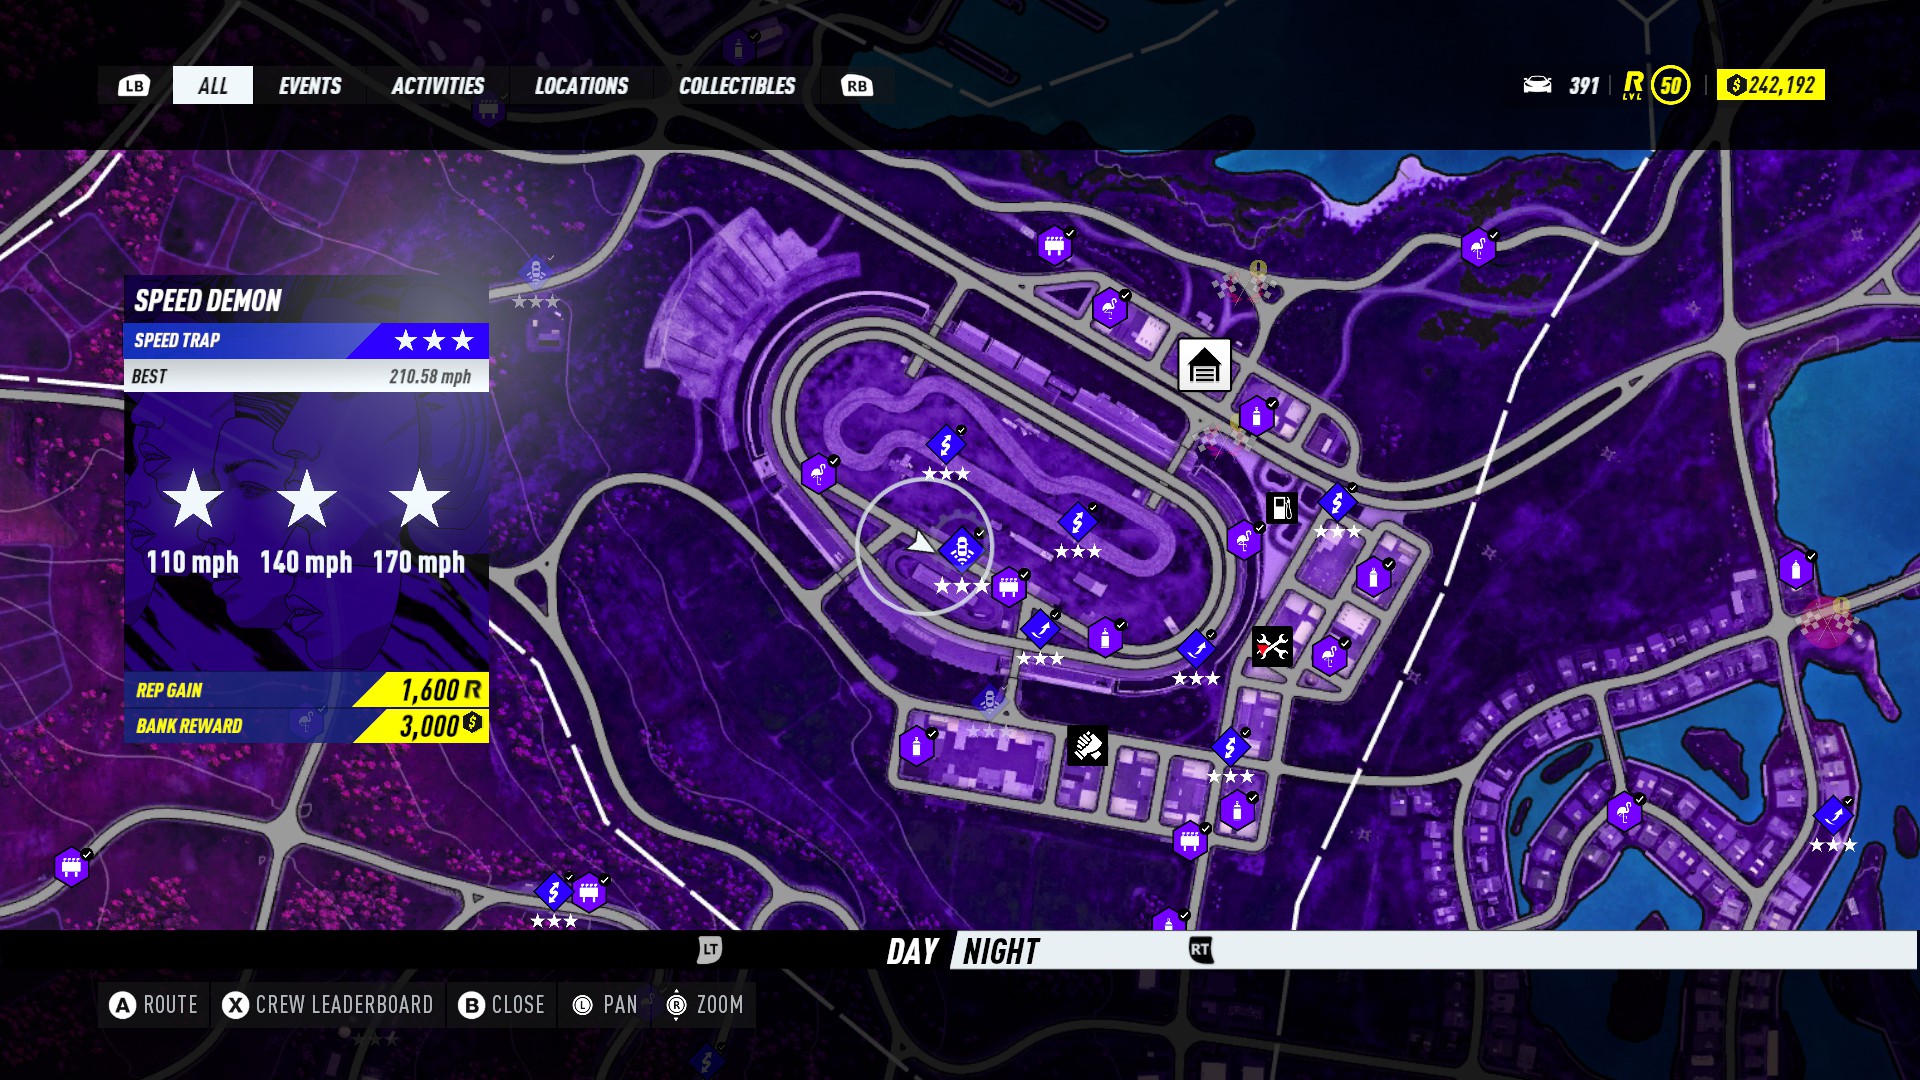

Step 1
- Leave the garage, open the map, and mark a preferred race or heat level 3 or 5 race on the map.
Step 2
- Once the race has been marked, go to Palm City Raceway. Keep going around the circuit like you would in the day race Resorts Circuit. As you make your way around, cut in early, and go through the speed trap.
Step 3
- Keep going until you the desired heat level. Preferrably one that you can evade cops easily enough without getting busted. If cops do appear, just keep going, you should be able to outrun them as your making your laps around the circuit.
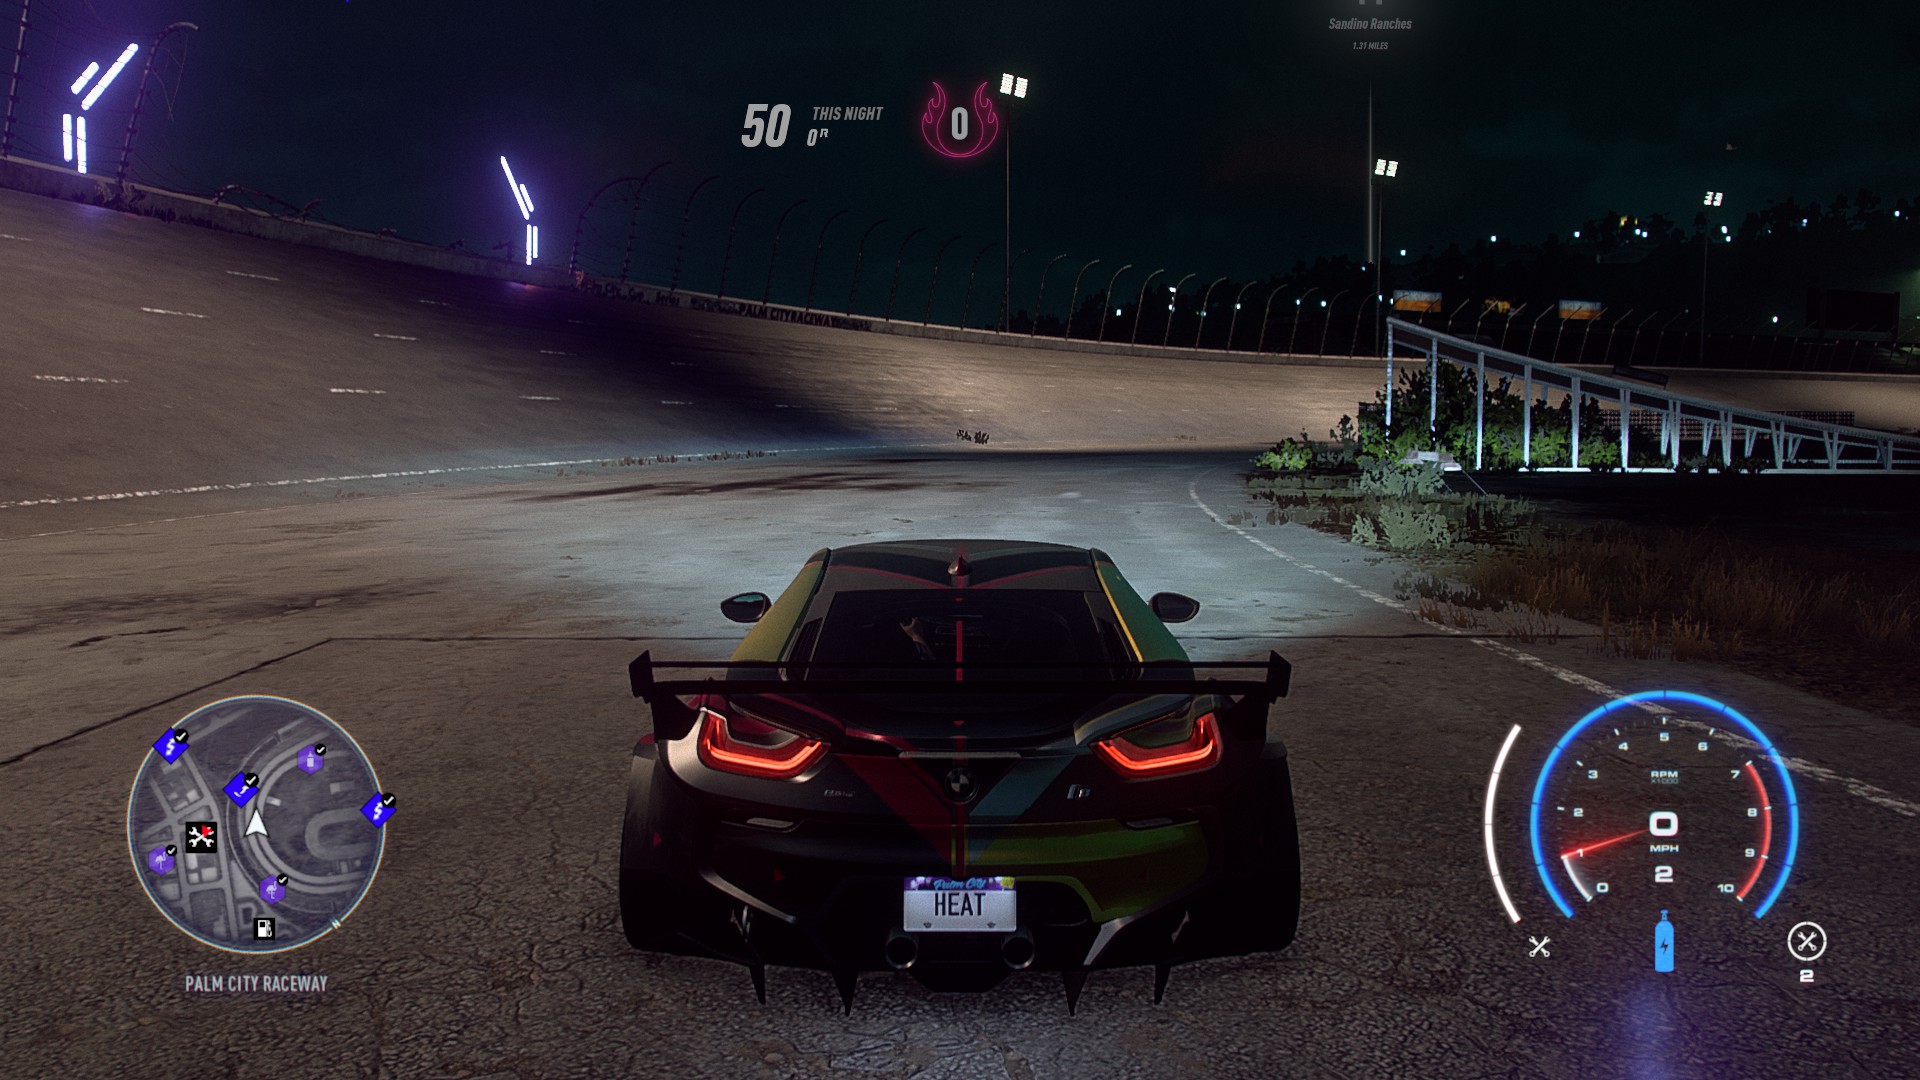
Step 4
- Now that you hit the desired level, there is a jump inside the circuit you can use to jump out and escape cops if there are any. Go fast enough to make the jump, but not too fast otherwise you will hit the building on the other side. Otherwise just use the normal tunnels to get out if there are no cops.
Step 5
- Once you have exited the circuit, follow the gps on the map, and go to the desired race.
- Heat level 3 – takes 3-4 minutes, going around the track in one continuous loop.
- Heat level 5 – takes 9-10 minutes, going around the track in one continuous loop.
- Heat level 5 – takes 6-7 minutes go to the ramps on either side and immediately turn around.
- If you did it the normal way of increasing the heat level by just doing races, it would take a little more time as your heat level will be levels 3-5 vs 0-2. The difference is the multiplier will have a bigger impact and will end the night with more REP.
Now I am not saying this is 100% safe as it does have its risks. When you leave the raceway you will be at your desired heat level. Now this will increase the amount of rep you gain per race as the multiplier will be higher than normal. Now the downside is the amount and difficulty of cops you will have to deal with.
Evading, Escaping, and Avoiding Cops
- Pay attention to the map. If cops are coming your way or if they’re sitting still, just drive fast and fly by them.
- Don’t be afraid to slow down, sometimes cops can be avoided by just slowing down as they will take a turn in a different direct away from your path.
- Don’t risk it. Just go to a safe house and re-enter the night life to save yourself from losing getting busted.
- Cops will out run you if you go on straight roads or off-road unless you have build to do so. You slow down off-road, cop cars don’t. So just stay in town and drift/maneuver around the city.
- Remember where jumps are and how to get to them quickly. They are an effective resource to escape cop chases.
- There are many jumps around the map that are useful to evading the cops, these are just the areas I ended up using the most in my gameplay. Locations and how to get there are easy to remember.
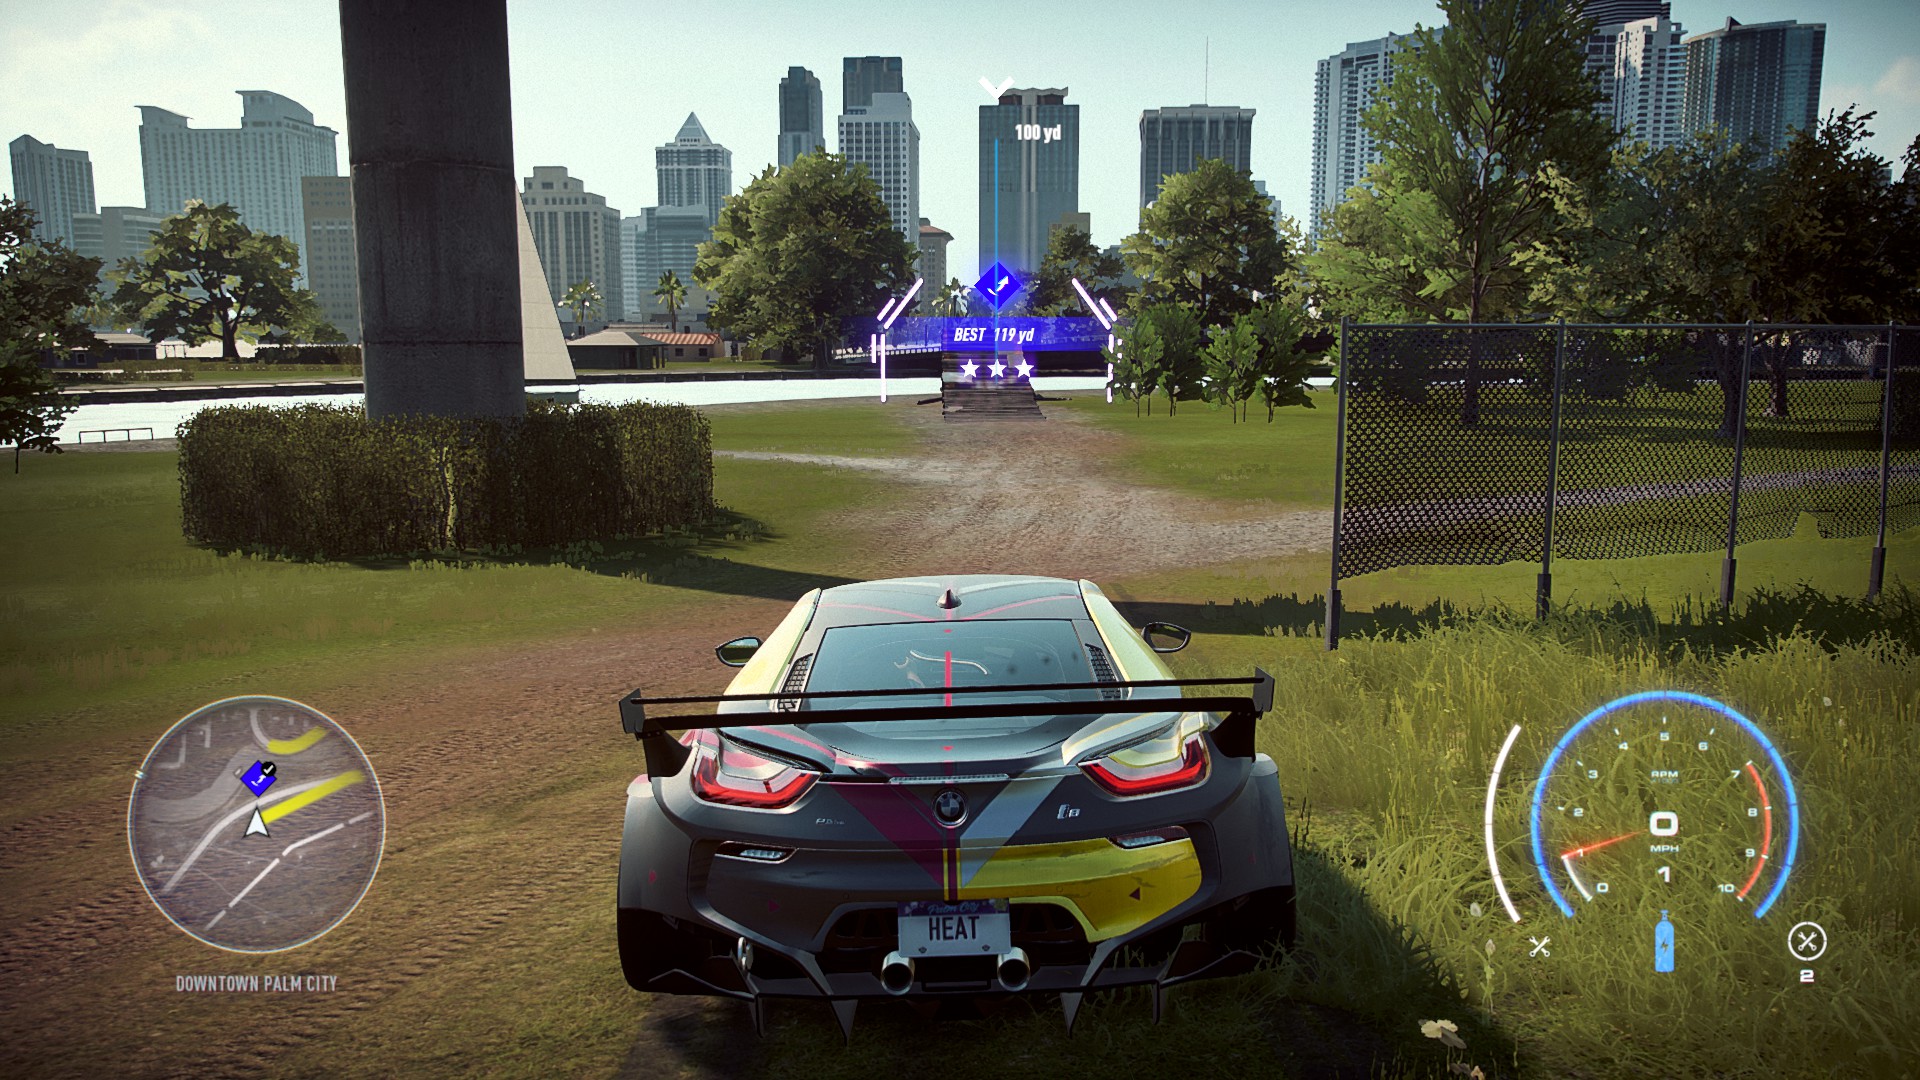
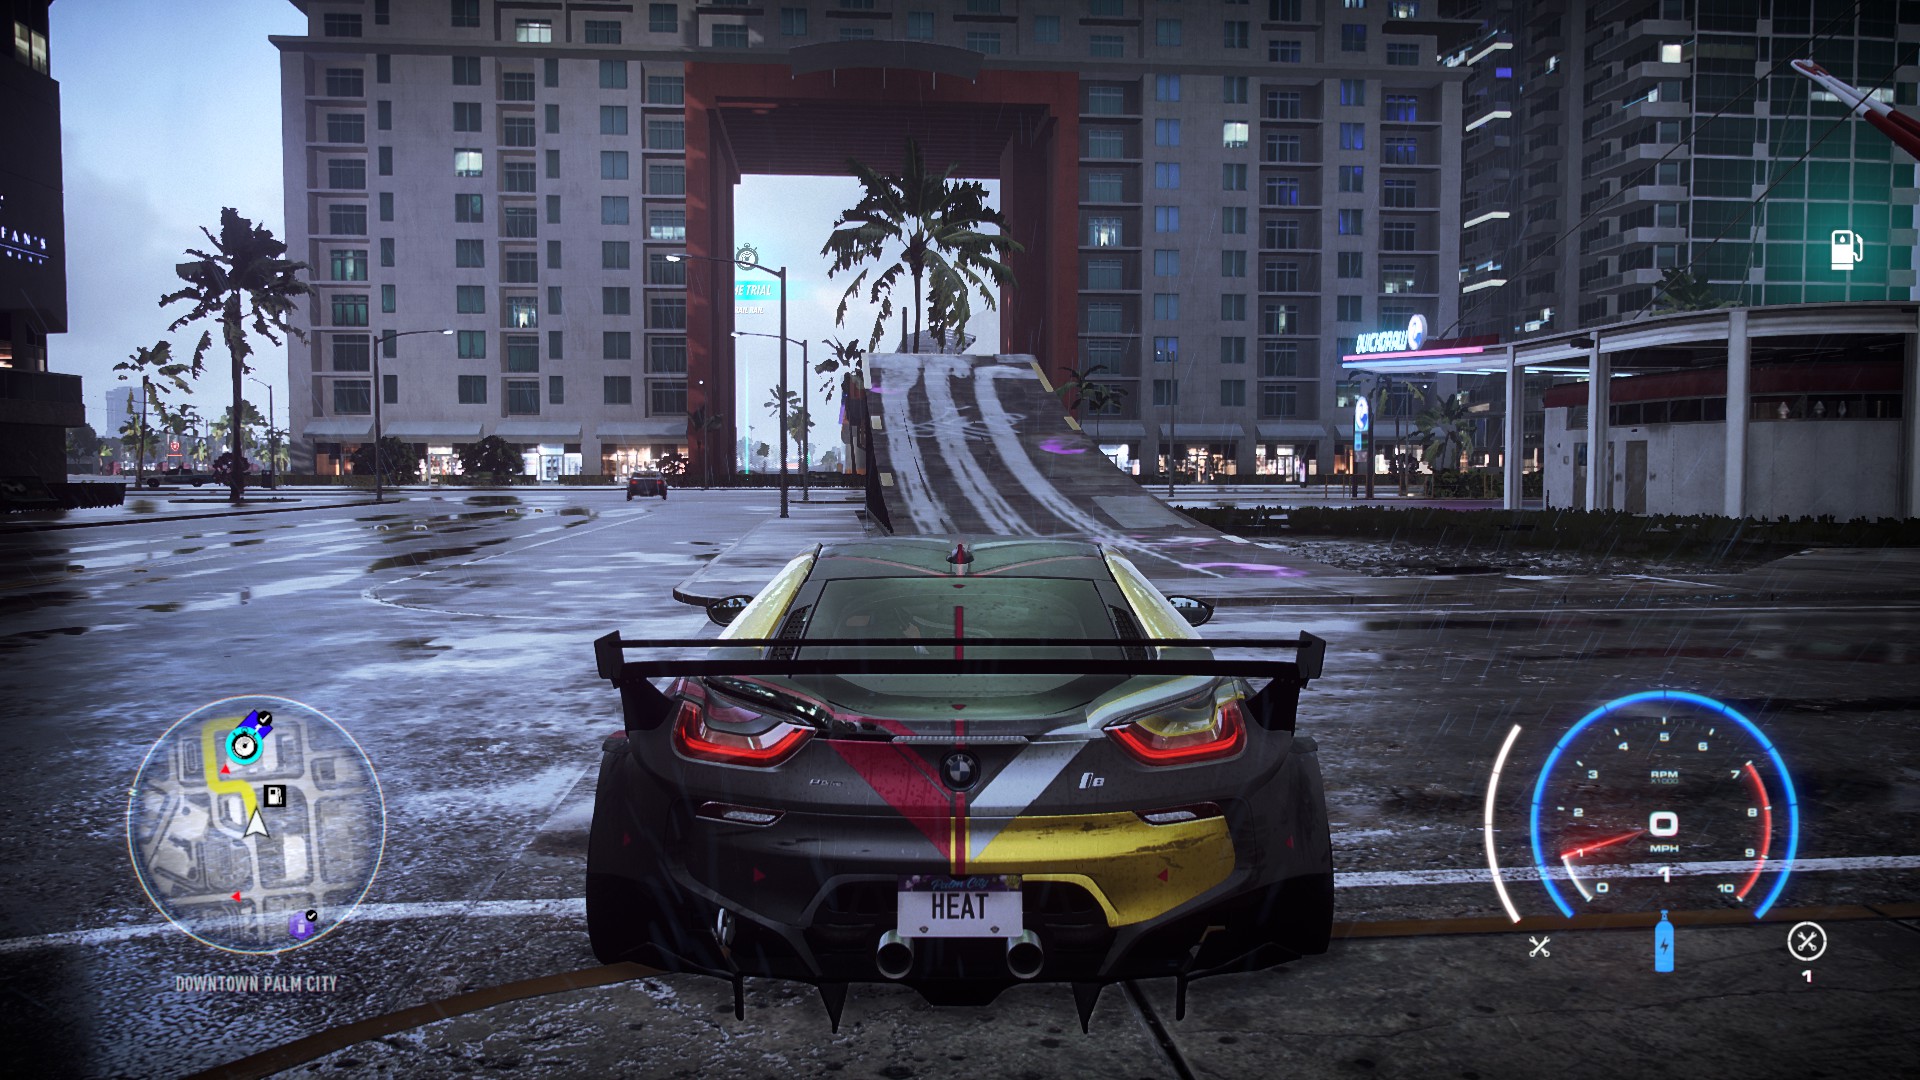
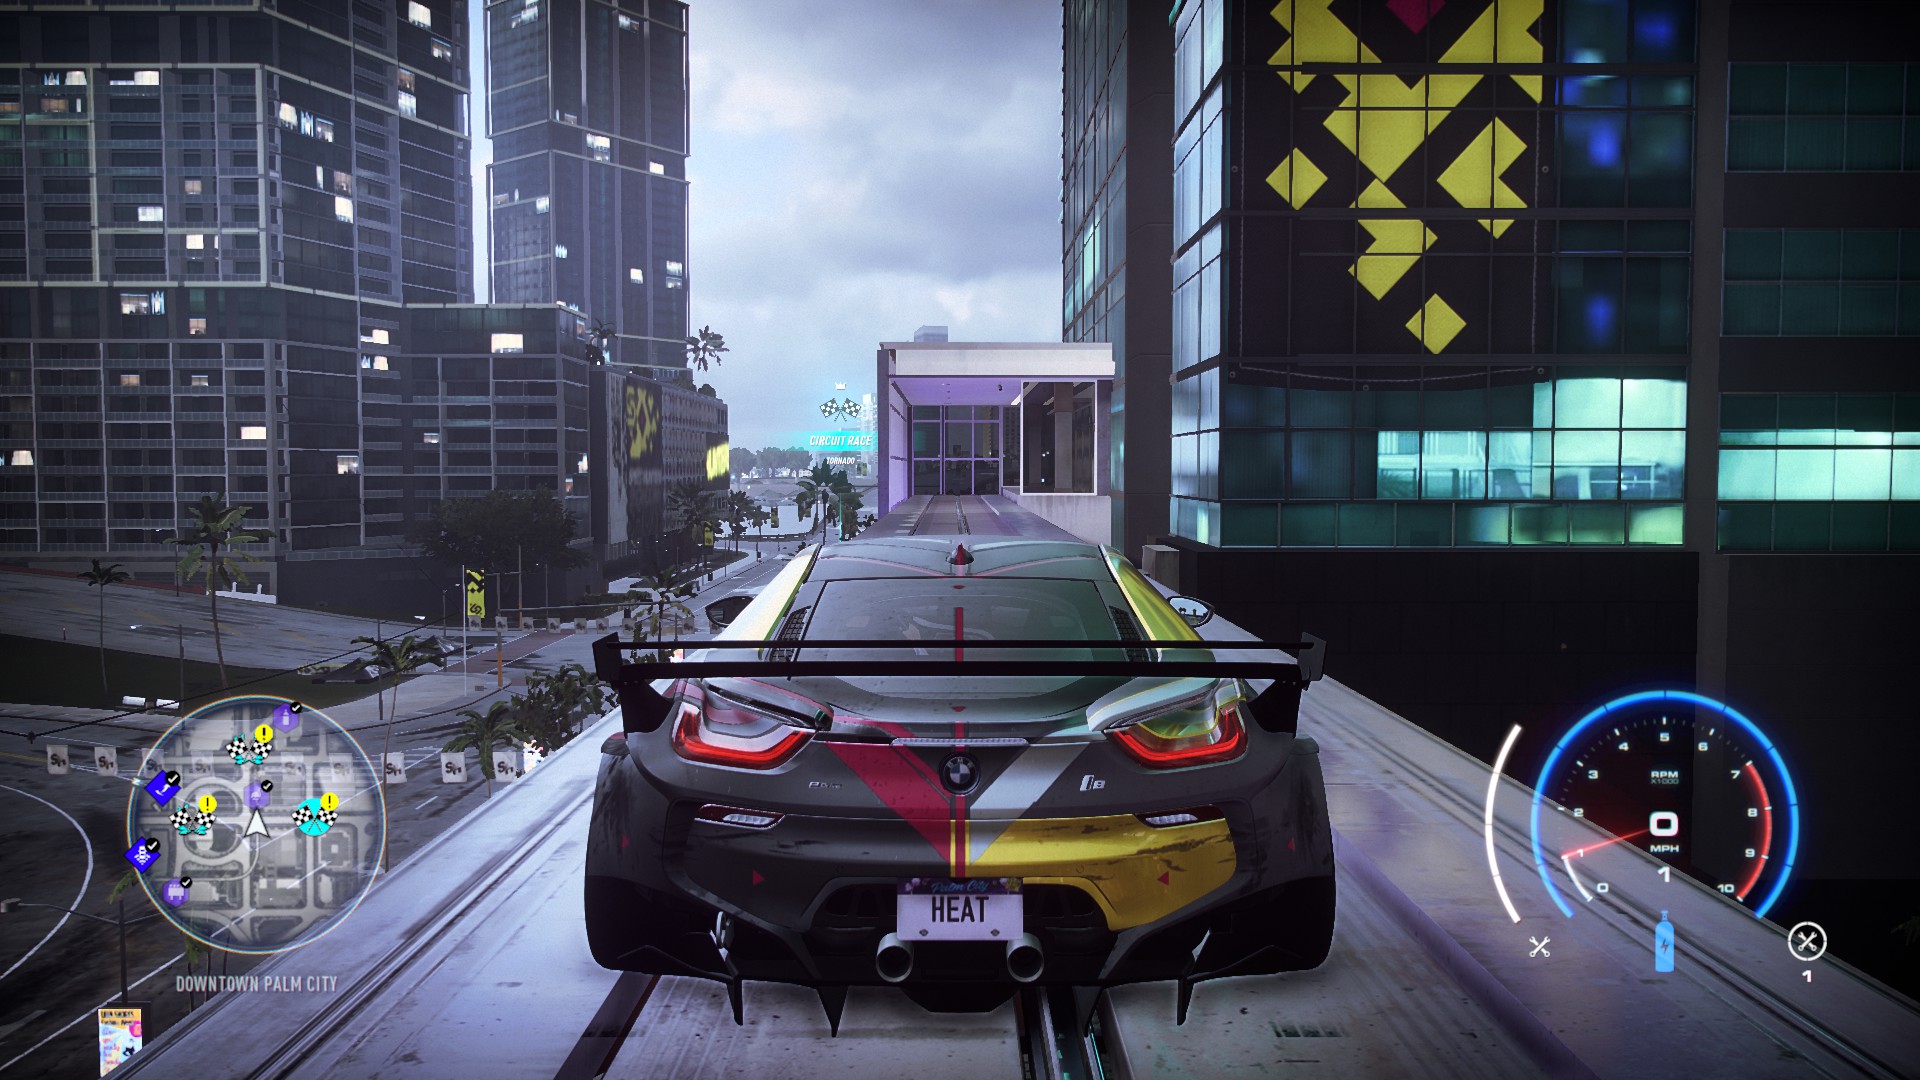
- Downtown Palm City
- Has a few different areas that are useful to escaping cops chases.
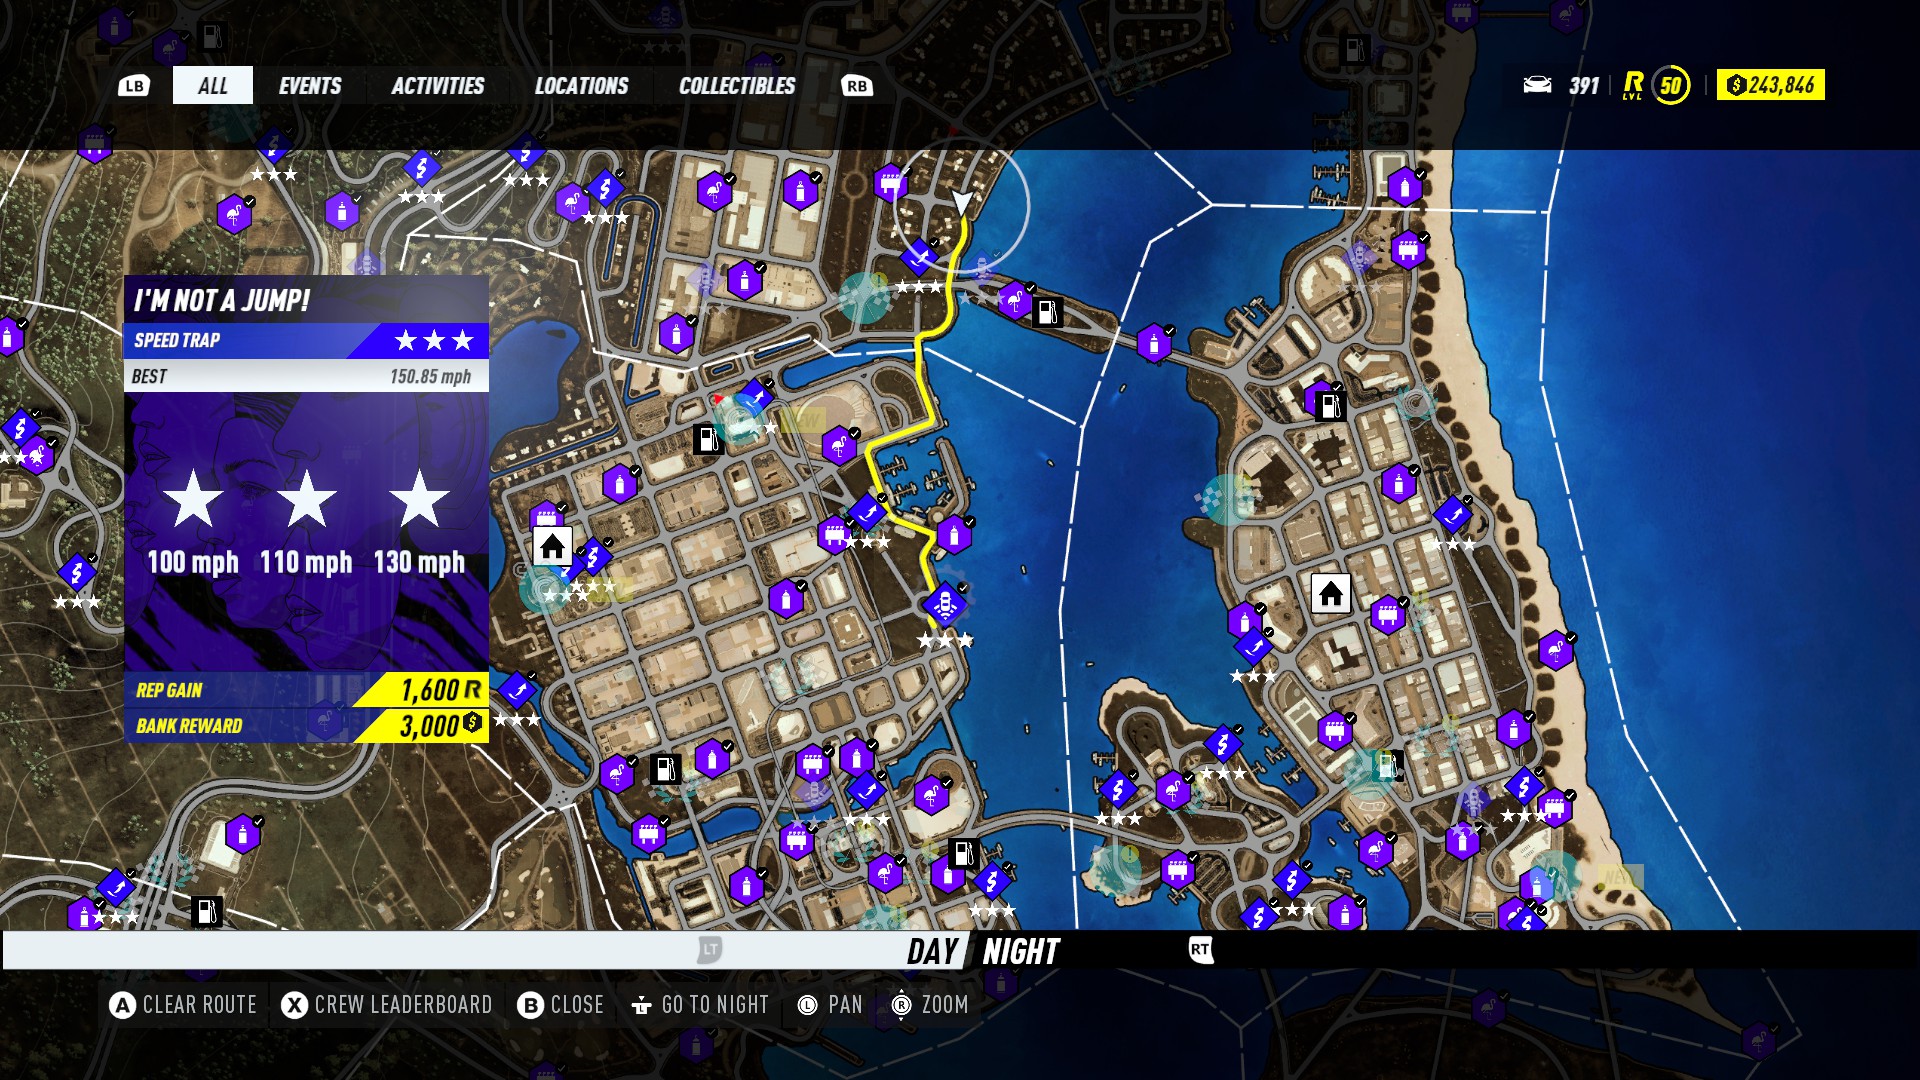
- I’m Not a Jump! – don’t follow the direct gps path, stay along the water, there a 2-3 jumps in that stretch.
- Turbine Upgrade – when cops are chasing you just jump it and go into the city, should lose the cops with ease.
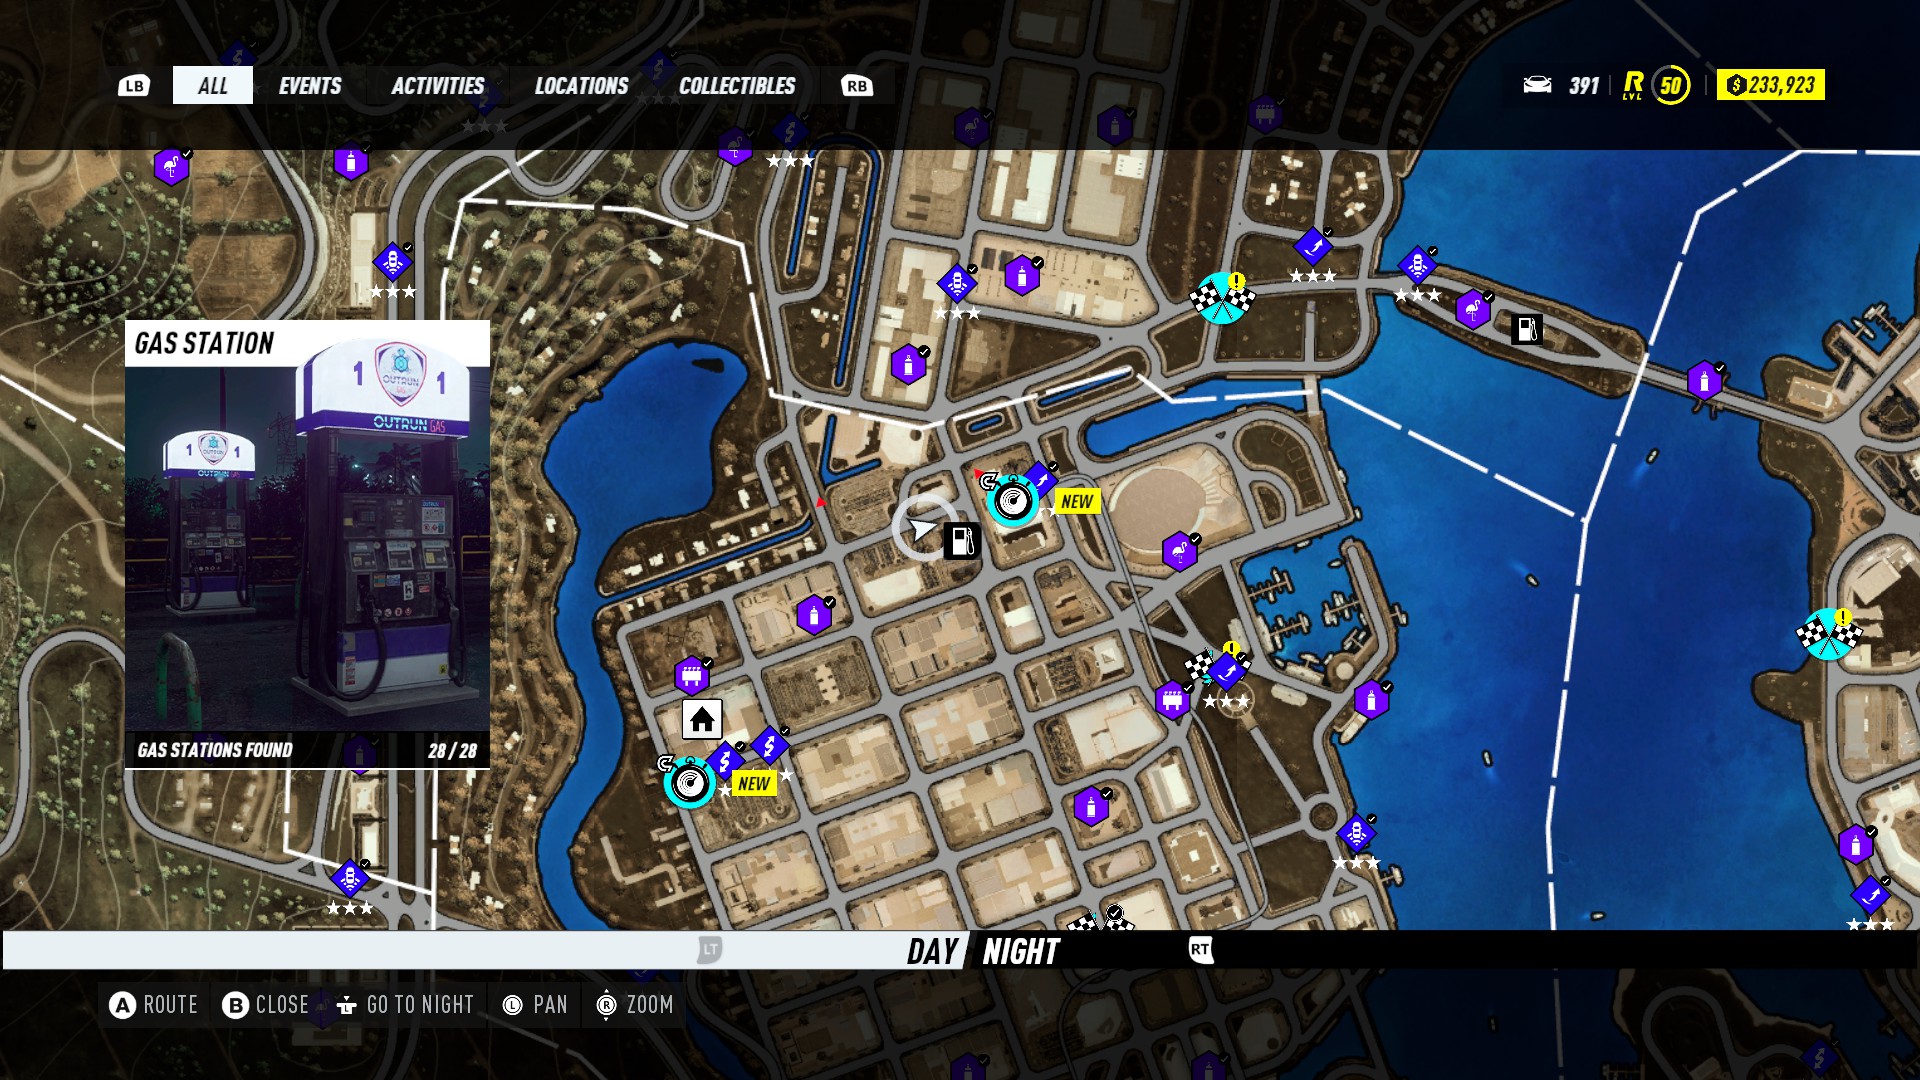
- Gas Station/Train Terminal/Platform – The nice part about this is there is a gas station next to it for a quick repair if needed. Just hit the jump and land on top of the platform and wait for the cops to clear out. Plus there is a safe house nearby if needed.
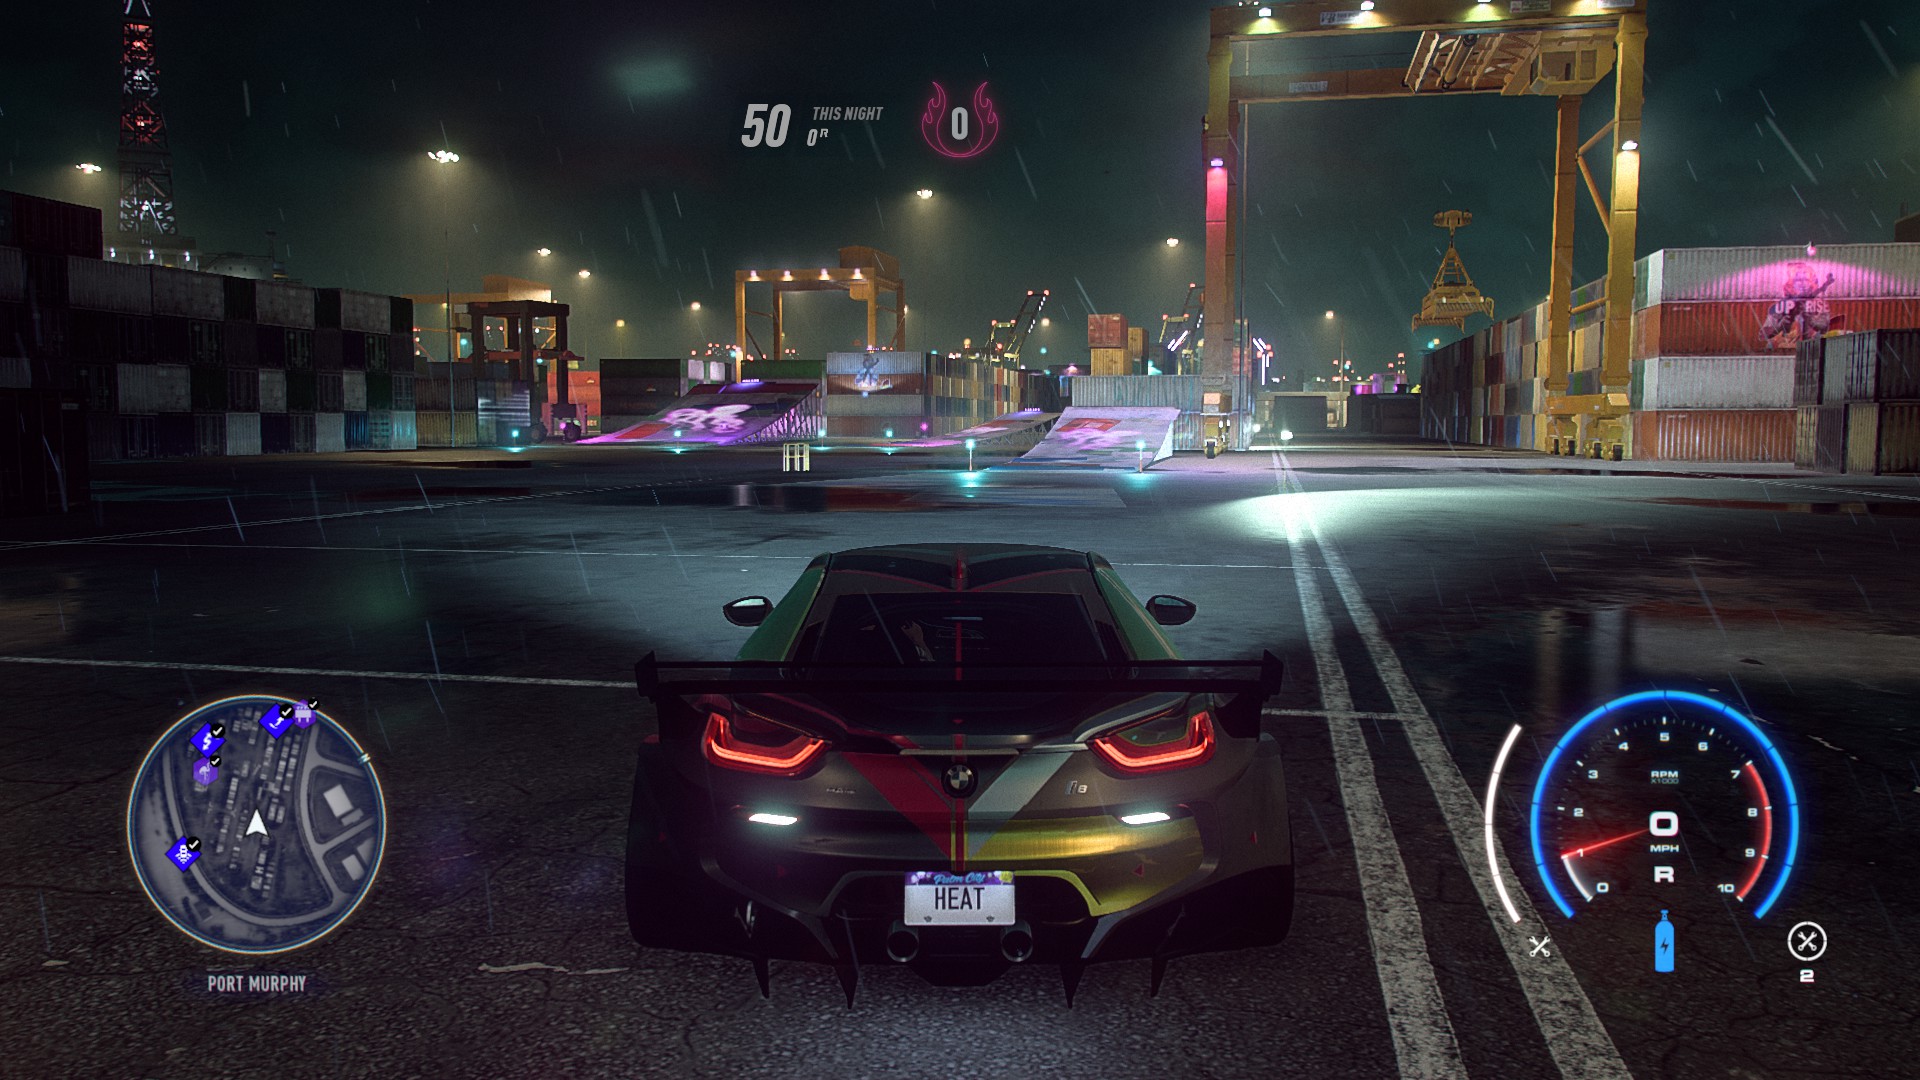
- Port Murphy – the docks
- On the bottom of the map.
- Safe house close by to end the night.
- Has a gas station nearby to repair the car if needed.


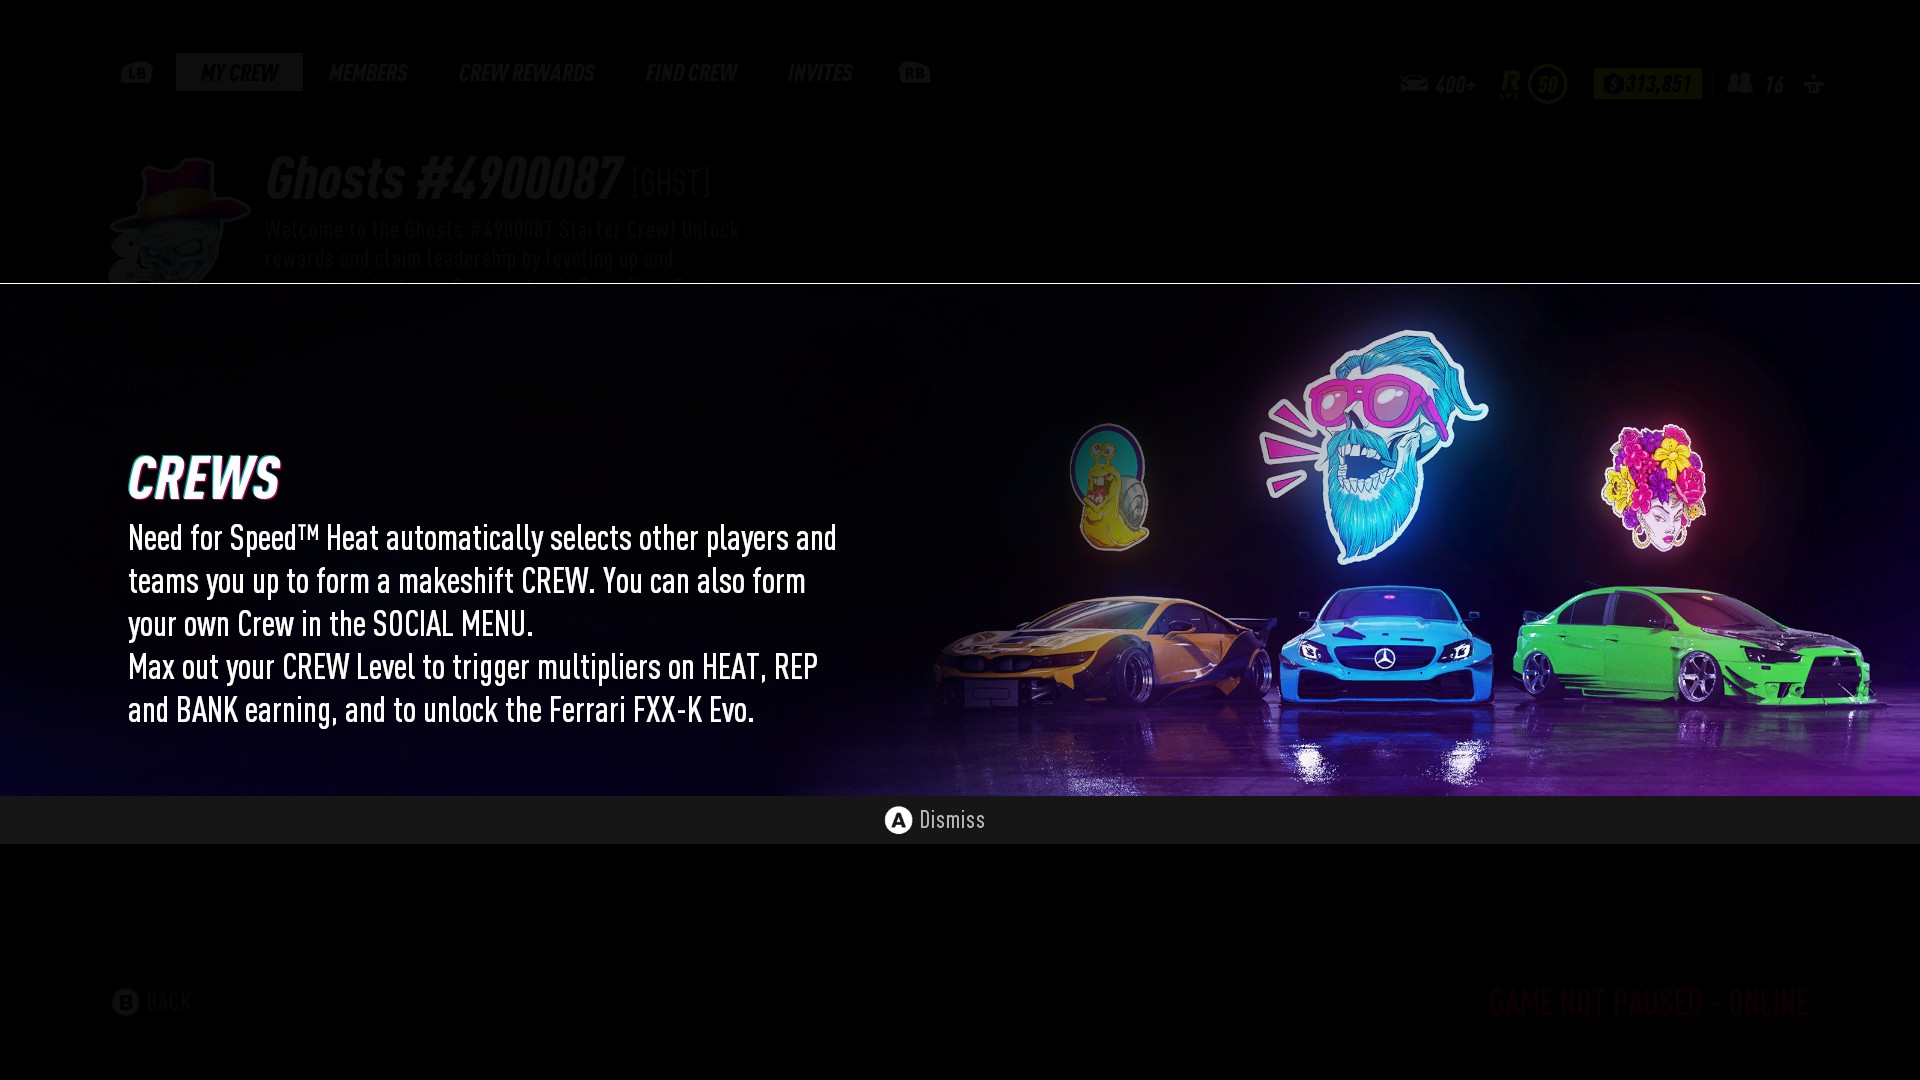
Crews
Reach REP Level 2
Reach REP Level 50
Reach max Crew Level with your Crew
- The max level is level 50 at which point the Ferrari FXX-K Evo ’18 becomes available at an expensive cost of $2,177,500.

You can join or create your crew early on, I think around level 7 or 10 if I am not mistaken. You can stay in the pre-set crew ghost when first joining or you can join other crews or even create your own crew. As you level up within the crew you unlock different things throughout the game such as additional REP and cash bonus percentage.
Step 1 – press start and tab over to “social”.
Step 2 – If not already in a crew, tab over to members, and click on leave crew.
Step 3 – You will get a little message that pops up.
Step 4 – Join a crew or create your own and call it good. Some crews may have a lot of people, but the actual crew may be dead meaning not many of the members play anymore. So you can go solo, join up with a few friends, or browse internet forums and Reddit to find active players.


Story Achievements
You progress through the story pretty fast as its not that long and isn’t that hard to complete. The main storyline lines are broken down into 5 different sections. You have the main story with Ana and Lucas (storyline during the day and a seperate one during the night), racing with Dex, drifting with Wayne, and off-road with Roshni.
Completing each story unlocks different cars that you get for free and can be upgraded later on.
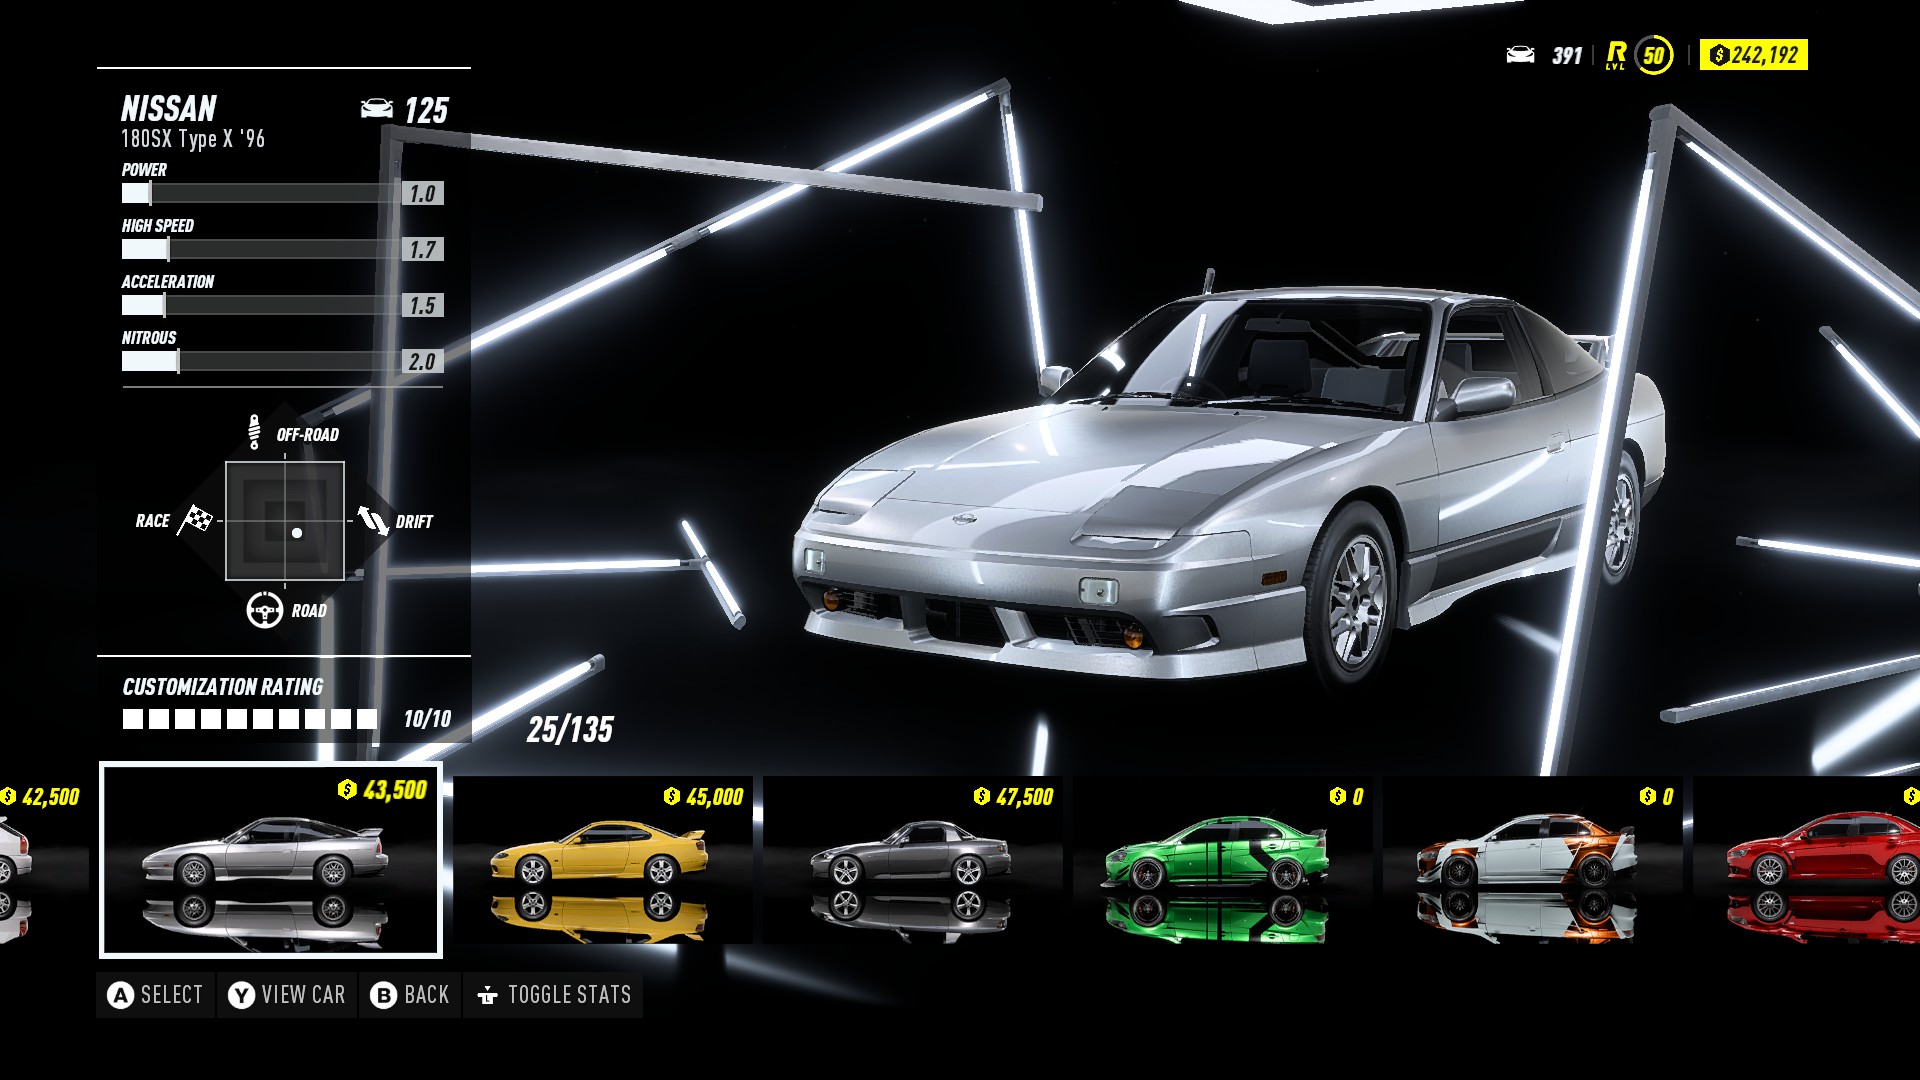
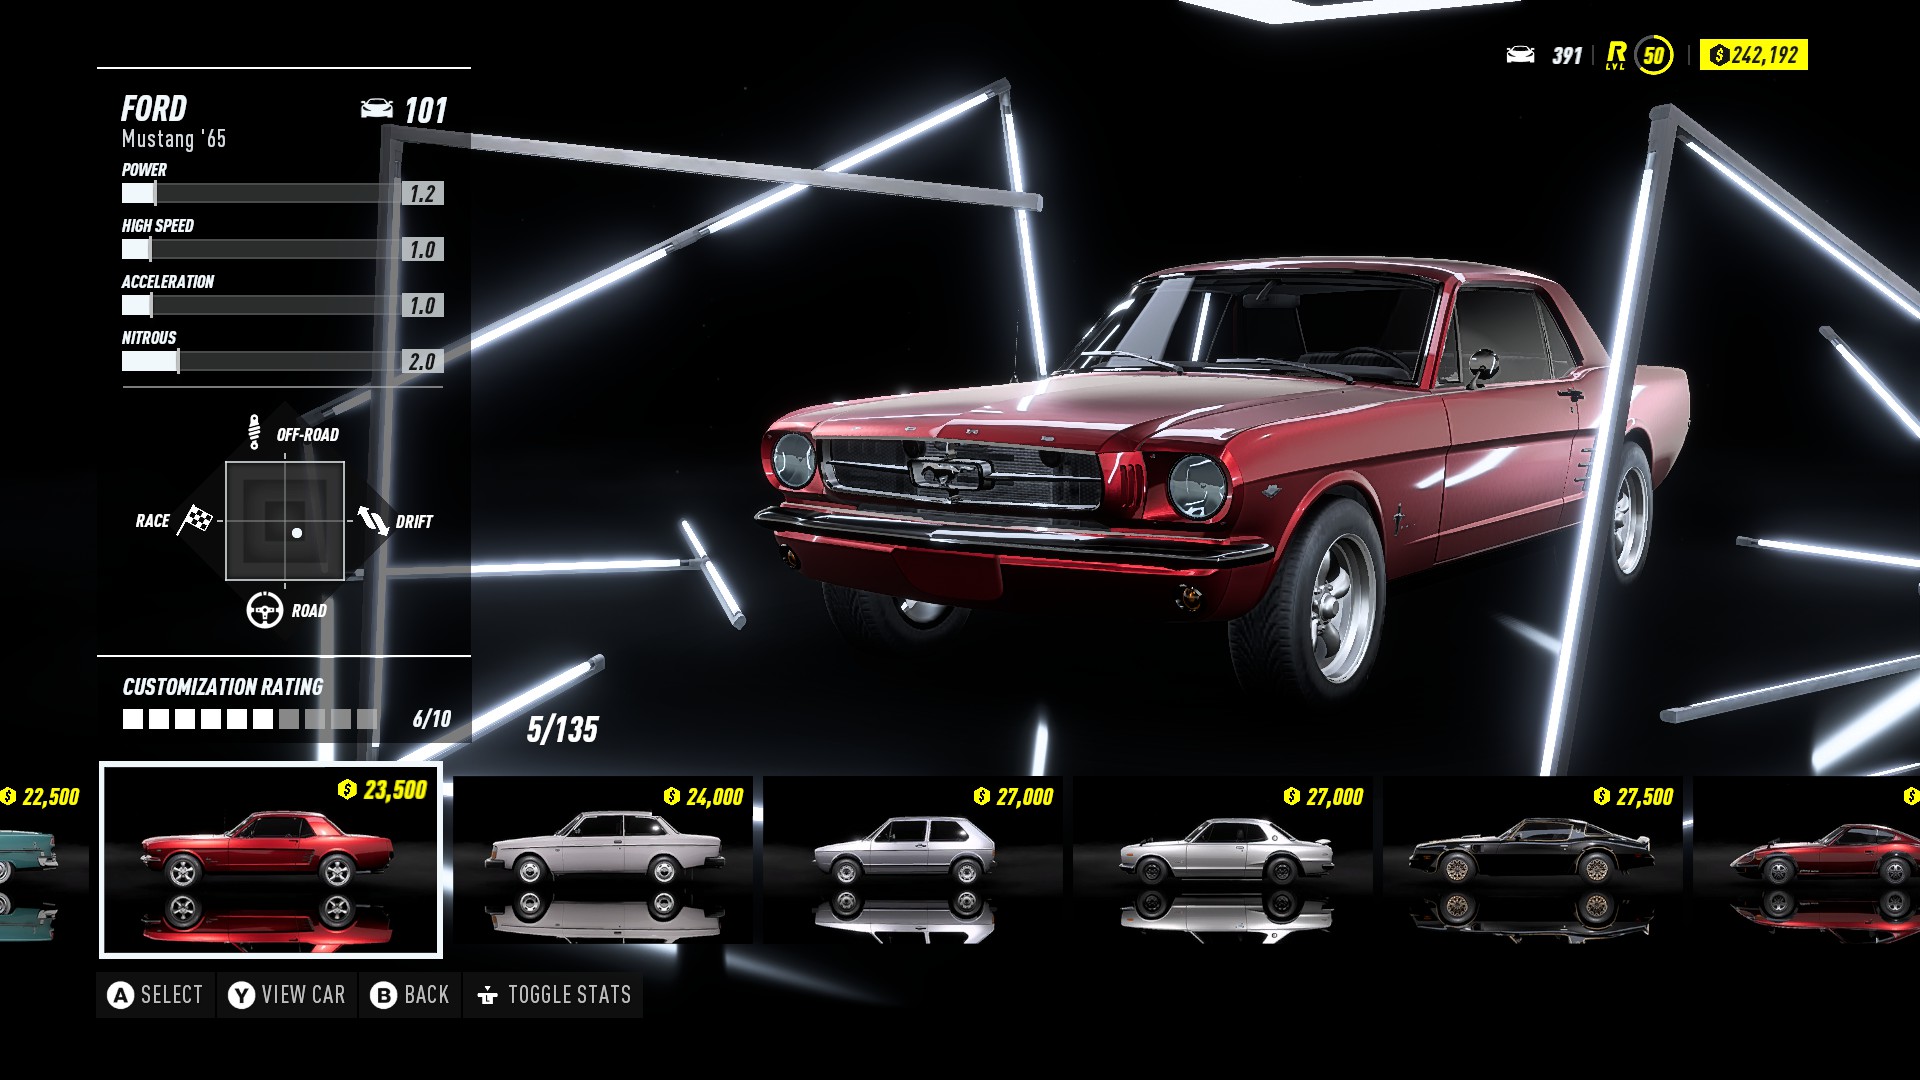
Pick your first ride
- For your first ride you can choose between 3 different cars. A 65′ Ford Mustang, an 88′ BMW M3, or a 96′ Nissan 180SX Type X. Also you will see a Camaro, but unfortunately you can not pick that one.
- I chose the Ford Mustang ’65 as my car. I didn’t do any engine upgrade, unnecessary for this car in my opinion. Save the money for other cars that you will drive more often.
- I did a track build with my Ford Mustang and it worked out pretty well until I got the BMW i8 and Chevy Corvette. Then switched the Ford Mustang to an rally/off-road build.
Complete Chapter 1
- Complete “Make a Name”. You get a safe house after the cut-scenes.
Complete Chapter 2
- Complete “Got Your Back”.
Complete Chapter 3
- Complete “Party Crashers”.
Complete Chapter 4
- Complete “Breaking the Law”.
- Unlocks the BMW M3 GTR LE ’06 (get it for free).

Complete the Drift driving story
- Complete a series of races, the final race will be “Wayne’s Last Wonder”.
- Unlocks the Nissan 350Z Z33 LE ’03 (get it for free).

Complete the Off-road driving story
- Complete a series of races, the final race will be “Pit Potential”.
- Unlocks the Ford F-150 Raptor LE ’17 (get it for free).

Complete the Race driving story
- Complete a series of races, the final race will be “All Gone South”
- Unlocks the Nissan Skyline GT-R LE ’02 (get it for free).

Collectibles
The DLC is only 5USD$, but saves a lot of time from trying to find all the collectibles that don’t show up on the map. DLC its self isn’t worth it unless your an achievement/trophy hunter like myself.
[link]
Smash your way through all the Billboards.
- Need to smash 85 billboards.
- Unlocks the 2017 Nissan GT-R Nismo

Collect all the Flamingos.
- Need to collect all 100 Flamingos.
- Unlocks the 2015 Porsche Cayman GT4

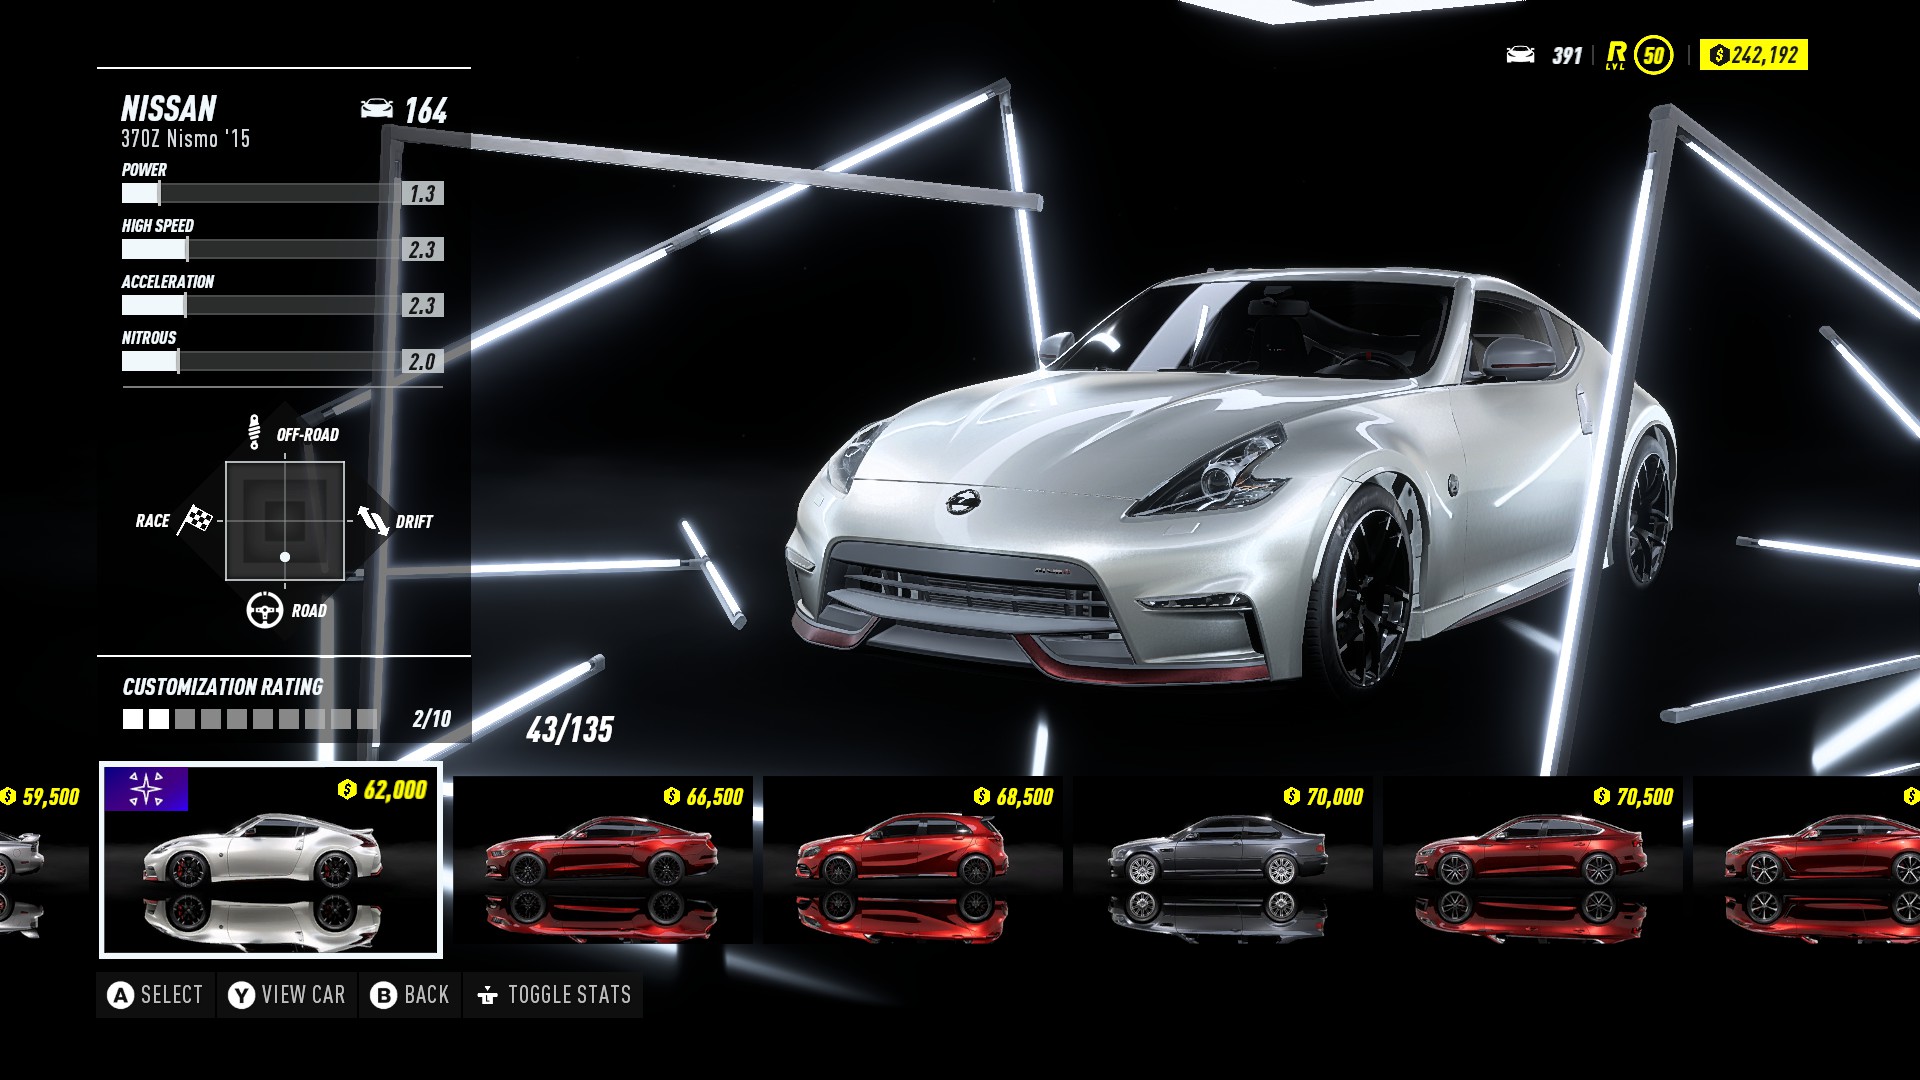
Collect all Street Art.
- Need to collect all 130 street arts.
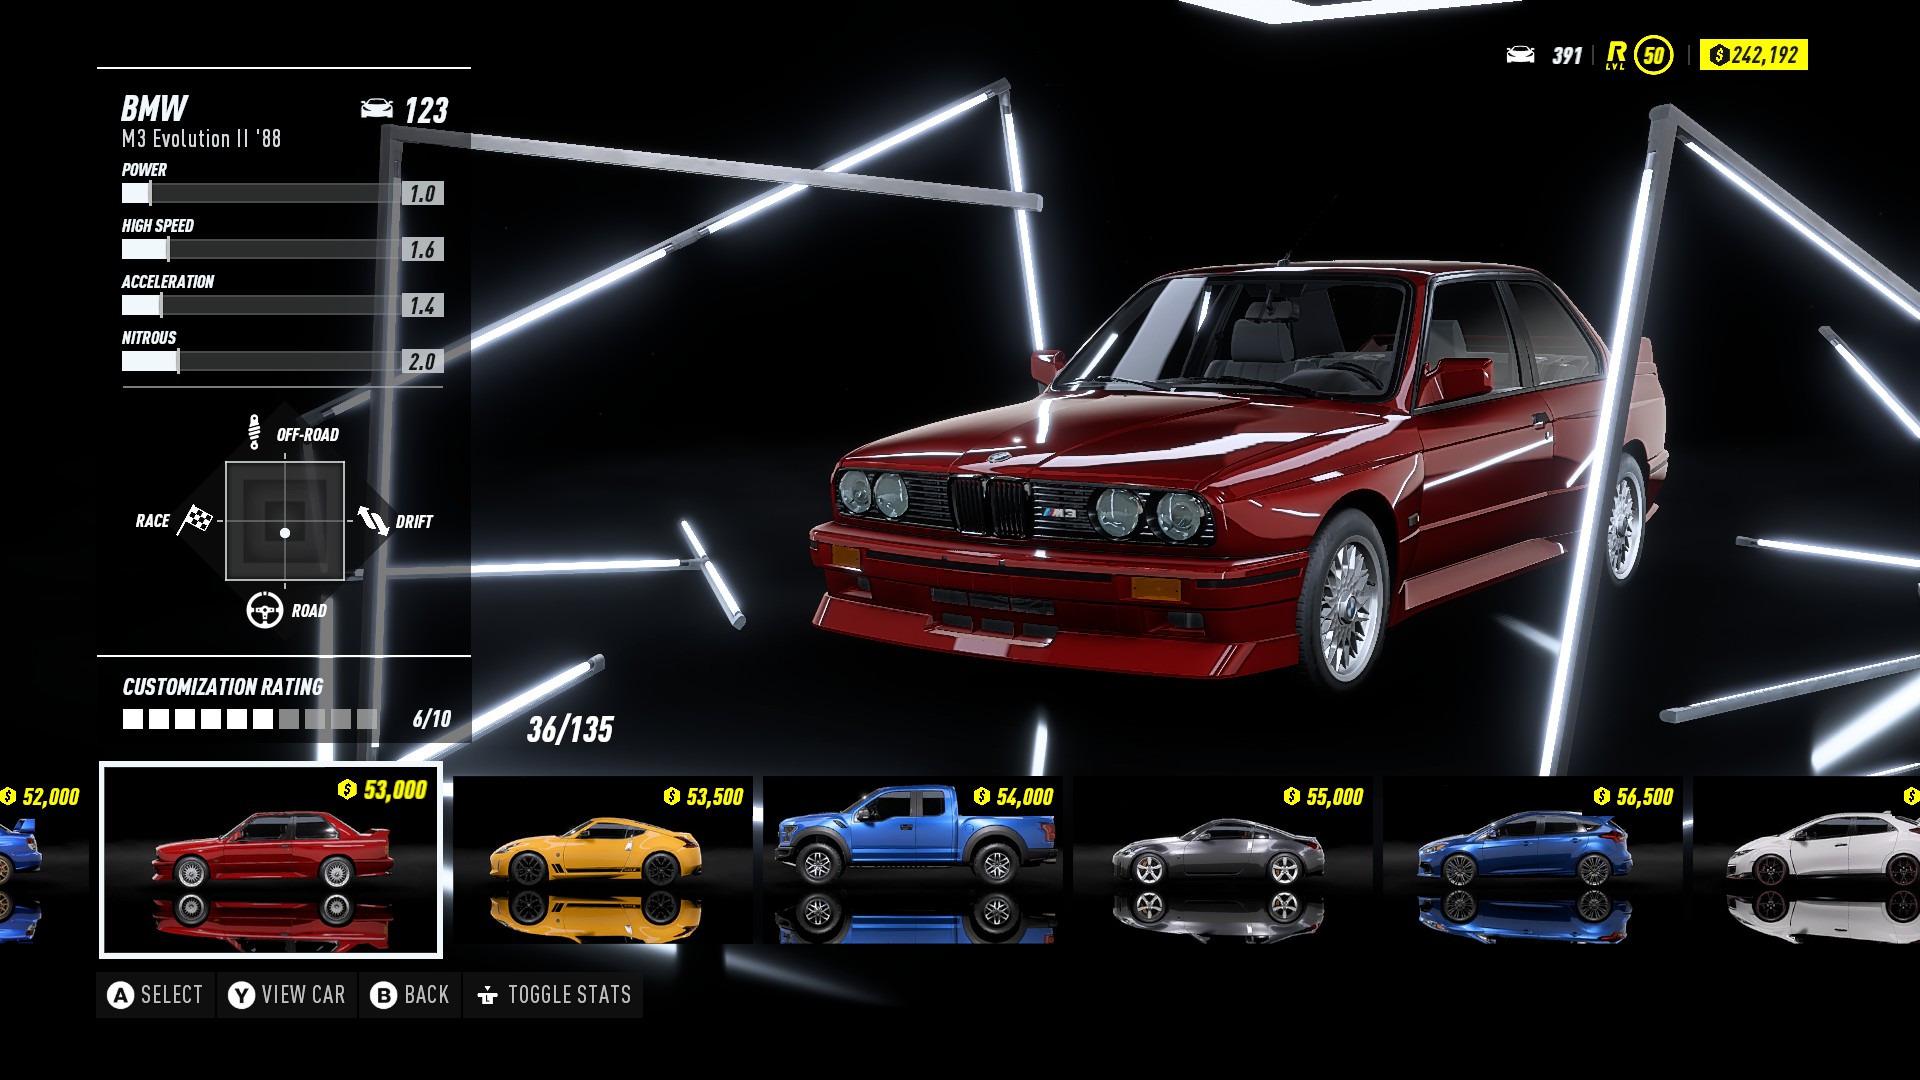
- Unlocks the Nissan 370Z Nismo ’15
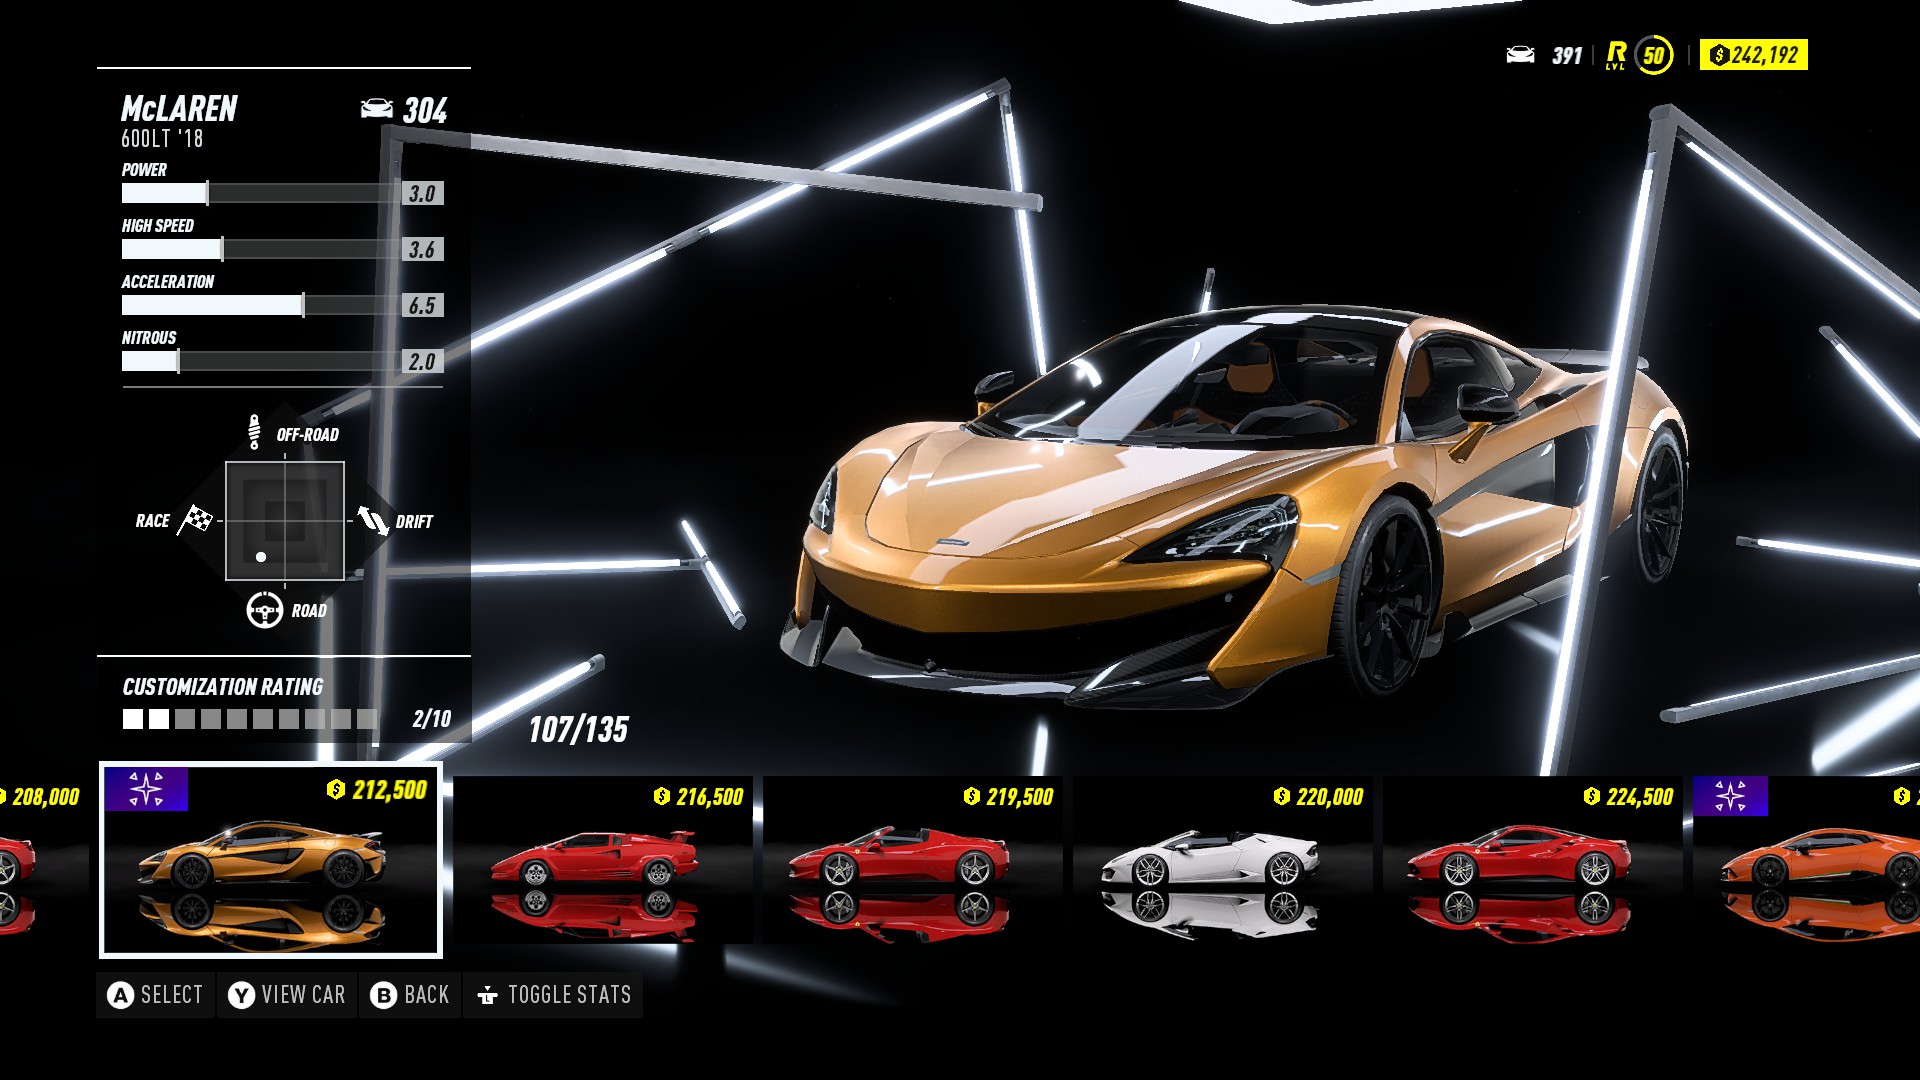
Complete all Speed Traps.
- 45 speed traps.
- Unlocks the McLaren 600LT ’18, but need 3 stars on all speed traps
- Used the RSR and the BMW i8. BMW i8 works very well for doing all jumps. For the “off-road” speed traps I just added off-road tires and it worked out pretty well.
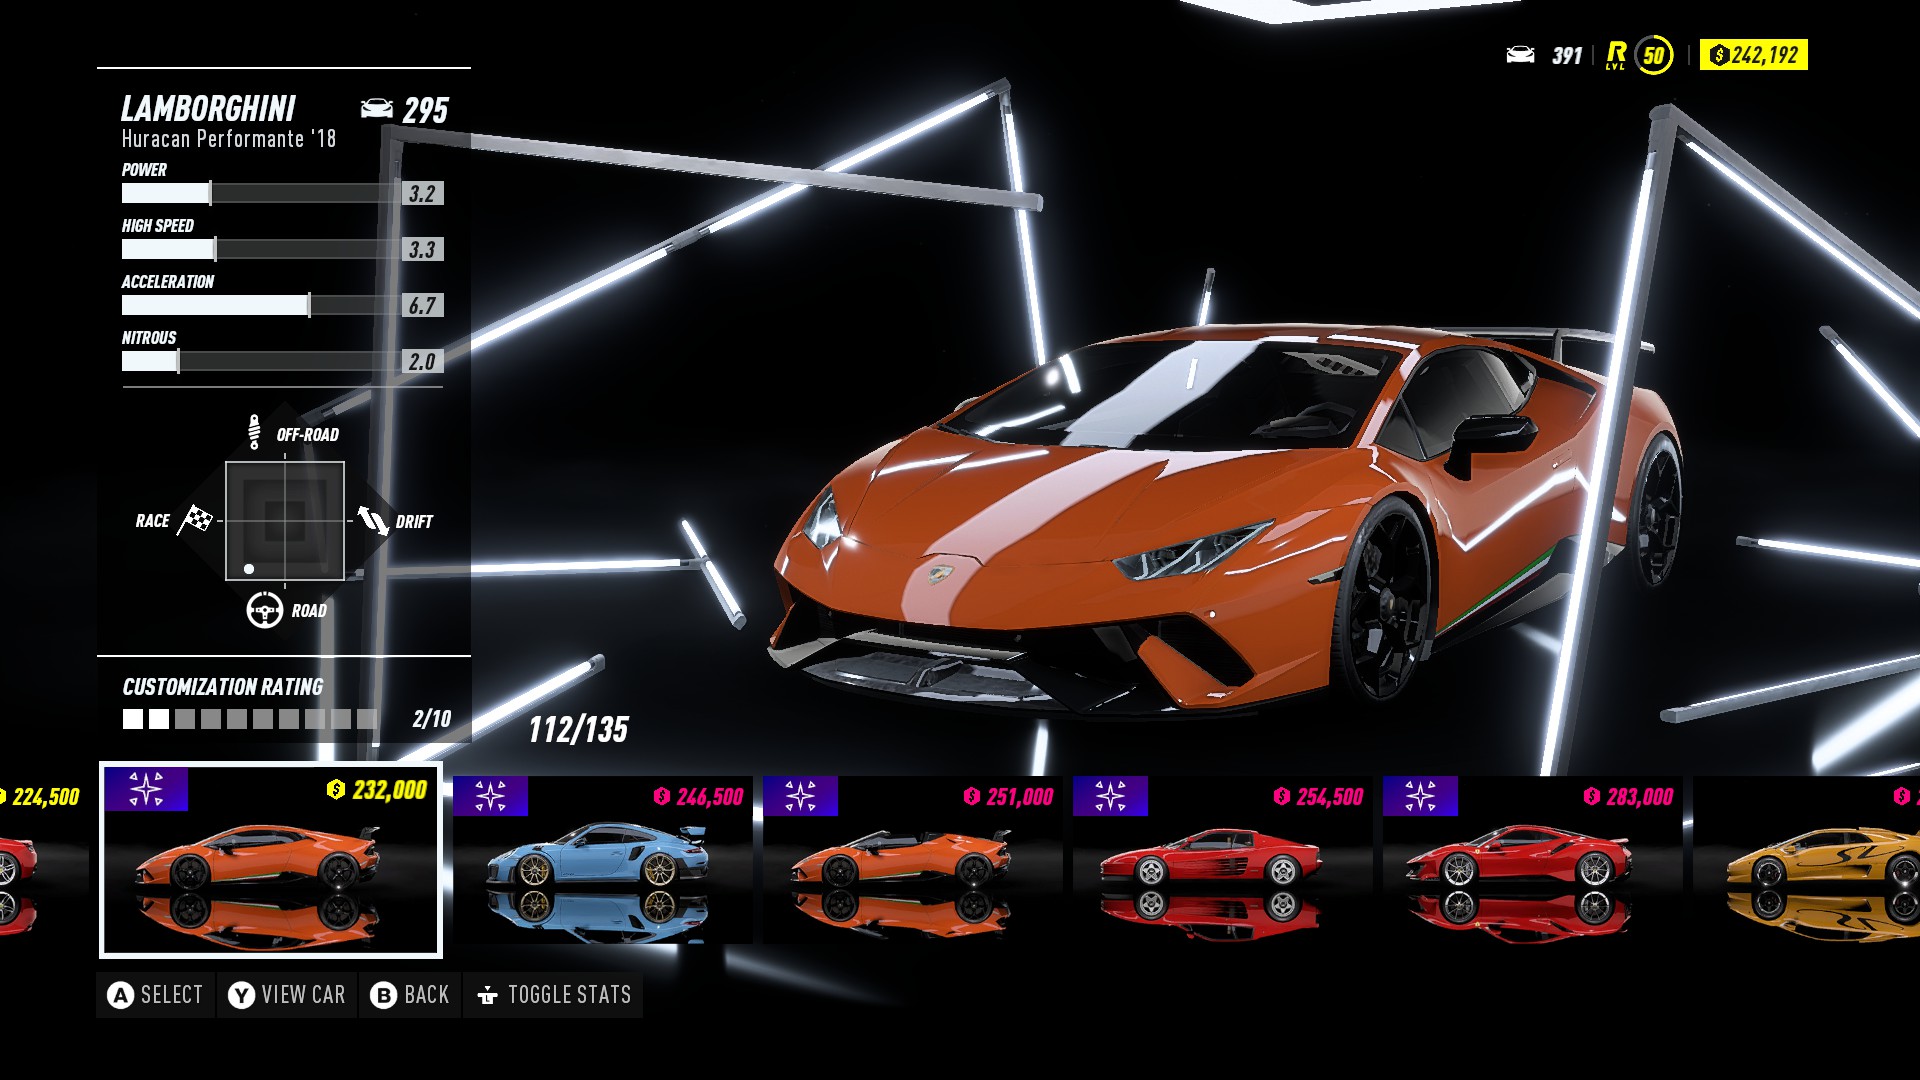
Complete all Long Jumps.
- 40 long jumps.
- Unlocks the Lamborghini Huracan Performante Spyder ’18, but need get 3 stars on all jumps.
- Used the BMW i8 for most of the jumps. For some of the off-road jumps I just converted the RSR or the BMW to an off-road car by using rally parts.
Complete all Drift Zones.
- 35 drift zones.
- unlocks the BMW M4 GTS ’16, but need to get 3 stars on all drift zones.
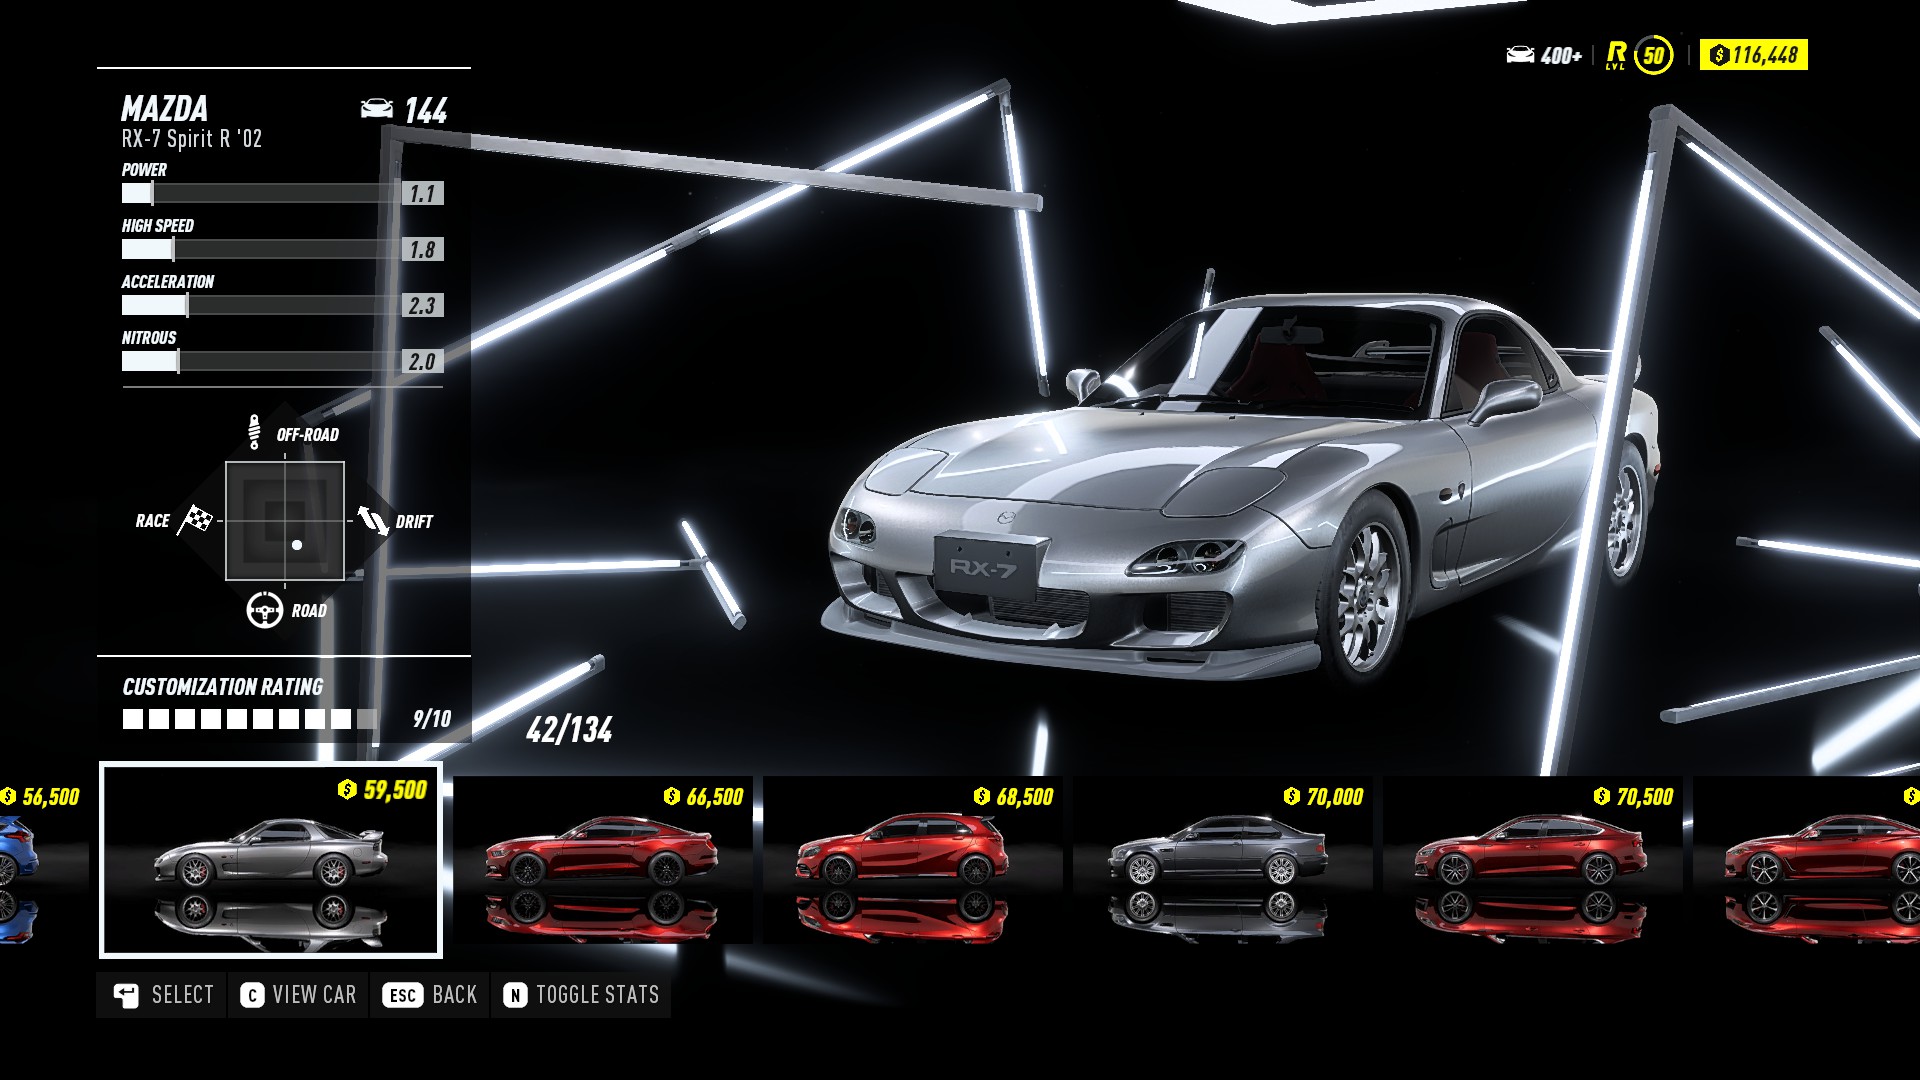
- I actually bought the Mazda Rx7 as my drift car and it actually worked out pretty well that I had no need to try out other cars.

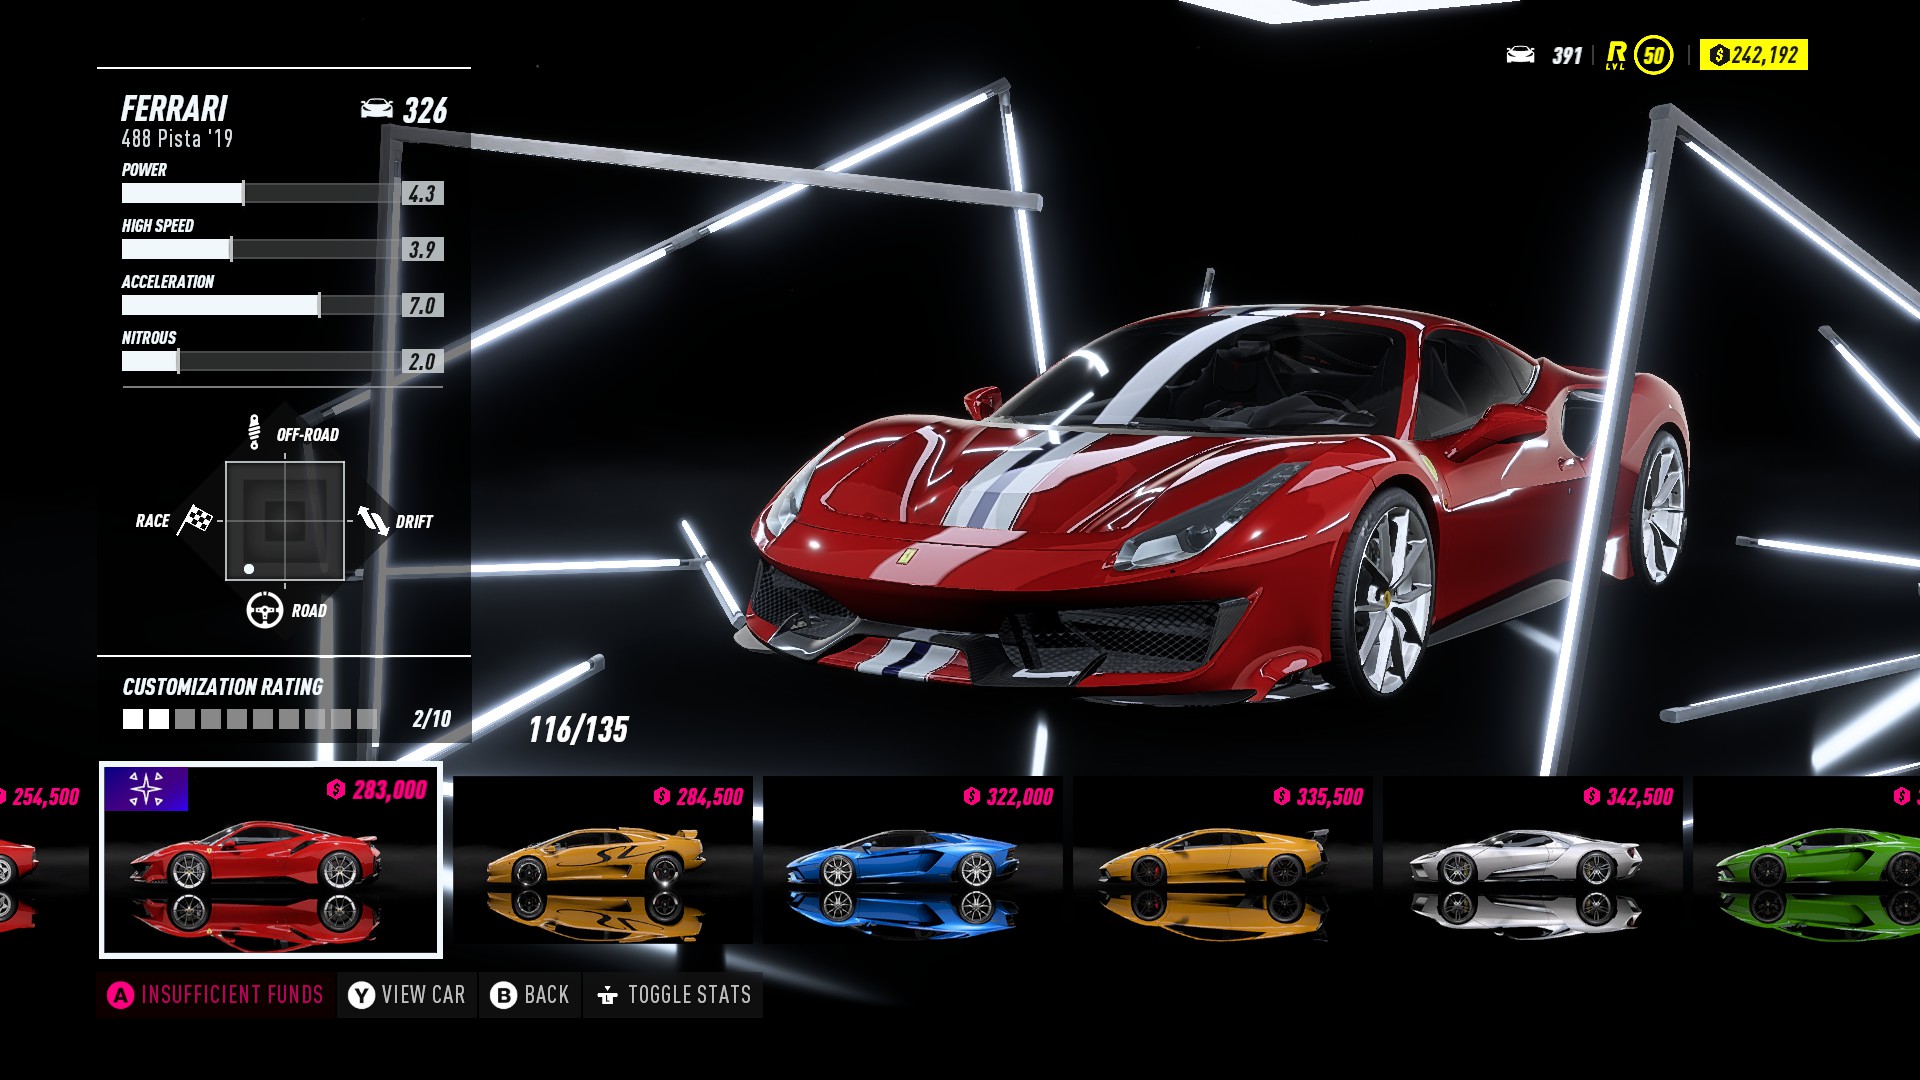
Get a 3 Star Rating on all the Activities in the game.
Get all Collectibles and 3 stars on all Activities.
- Unlocks the Ferrari 488 Pista ’19
Drift Zones – The Mazda Rx7 is really a great and cheap/affordable car.
Long Jumps/Speed traps – The BMW i8 is a great car to use for completing these activities. Plus its free at level 14, just need to pay for upgrades. Another good option is the 911 Porsche RSR ’73. Even though some are off-road, I just equipped either car with off-road tires and I was able to get enough traction and speed to get 3 stars on the jumps.
A lot of them are straight forward and pretty easy, but a few can be tricky. No particular order for these. These are the ones I would say I struggled with the most. There is 1 flamingo (forgot which one it is) that its in the middle of a grass field, but its not on top, its actually in the ground in the tunnel.
Dowtown Palm City
- I struggled with a few but was able to figure it out by looking at the train track that’s raised up in the air.
- All you need to do is back track it until you get to the beginning area. There will be a gas station and a ramp next to it.
- Just keeping driving on the track until you get the 3 collectibles.
- Billboard 1 – just drive through it.
- Billboard 2 – use the tracks to get onto the building then just drive through the billboard.
- Flamingo 1 – just drive to the end until you get to the end which will be an enclosed room.
- Flamingo 2 – In the same region/district.
- Its actually in the underground tunnel. Just go to the drift zone and you will see it on the left side.
- Its actually in the underground tunnel. Just go to the drift zone and you will see it on the left side.

Rockville
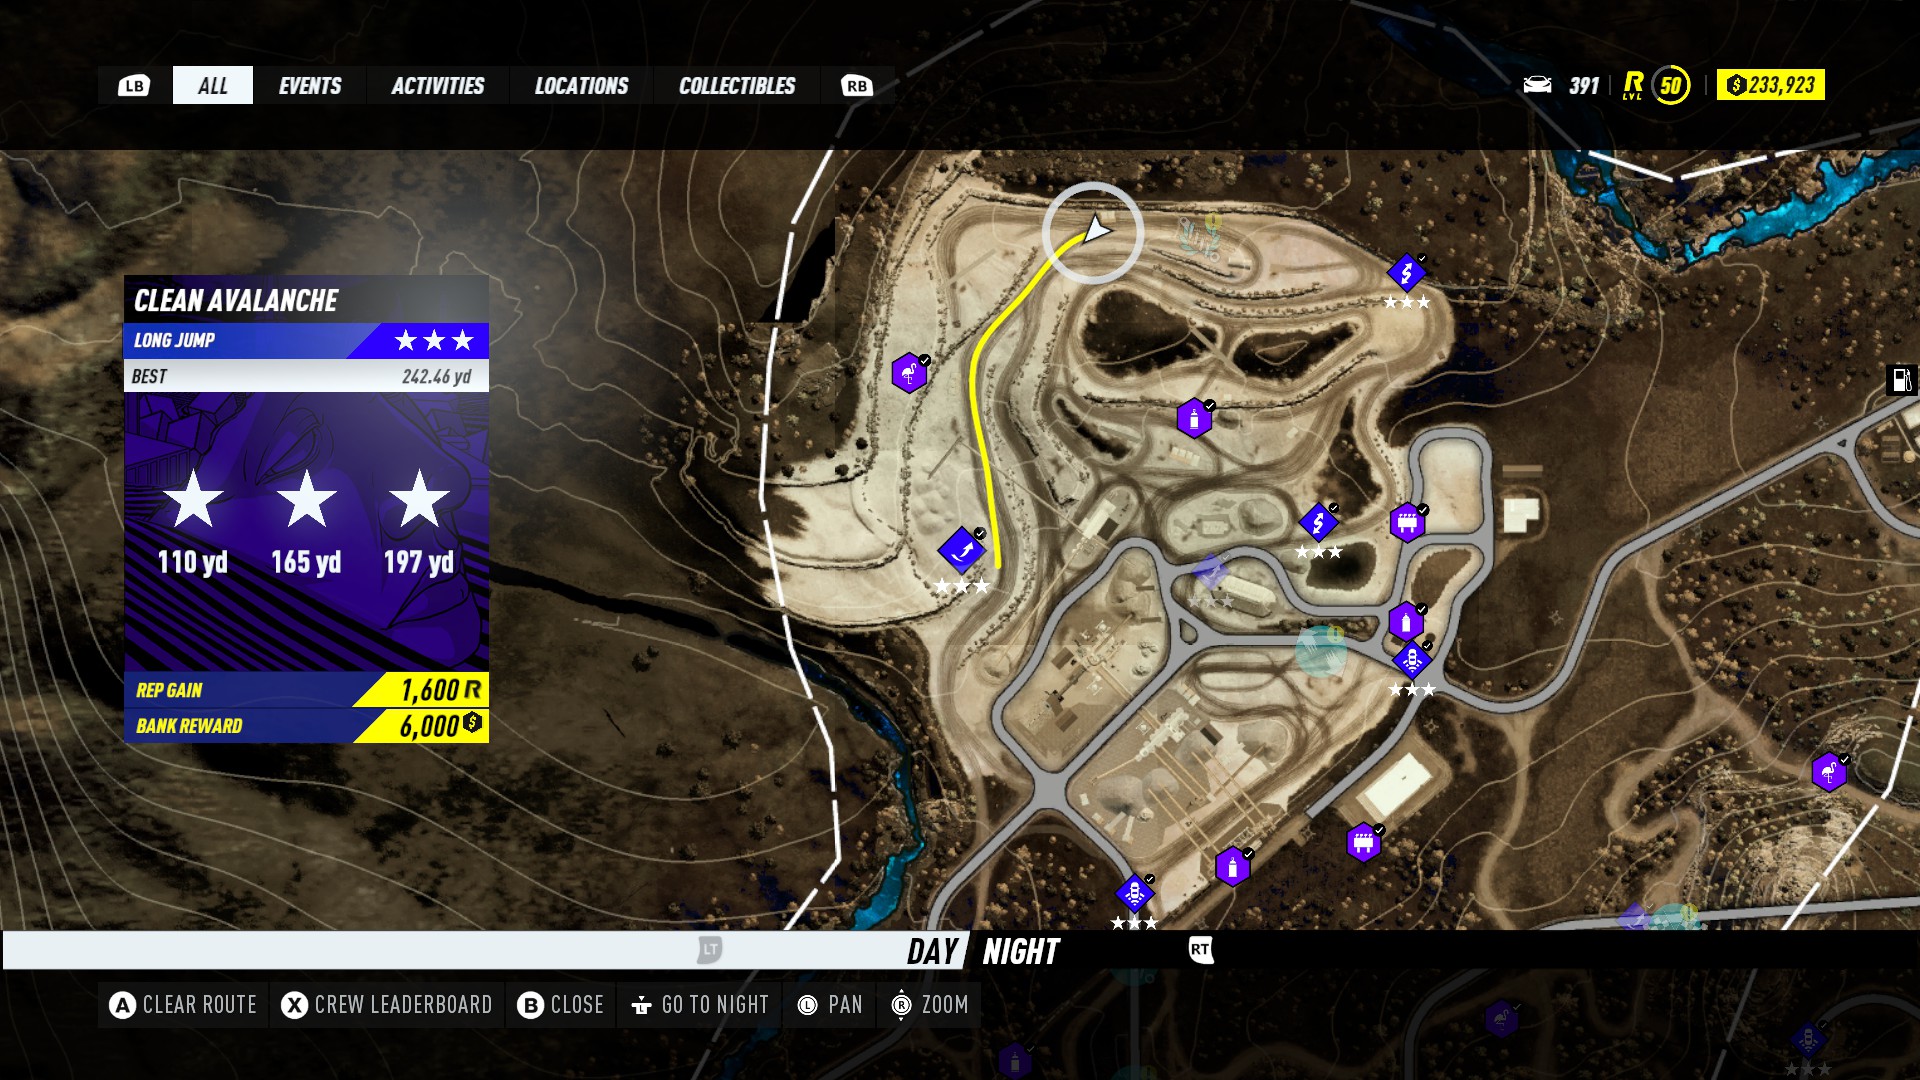
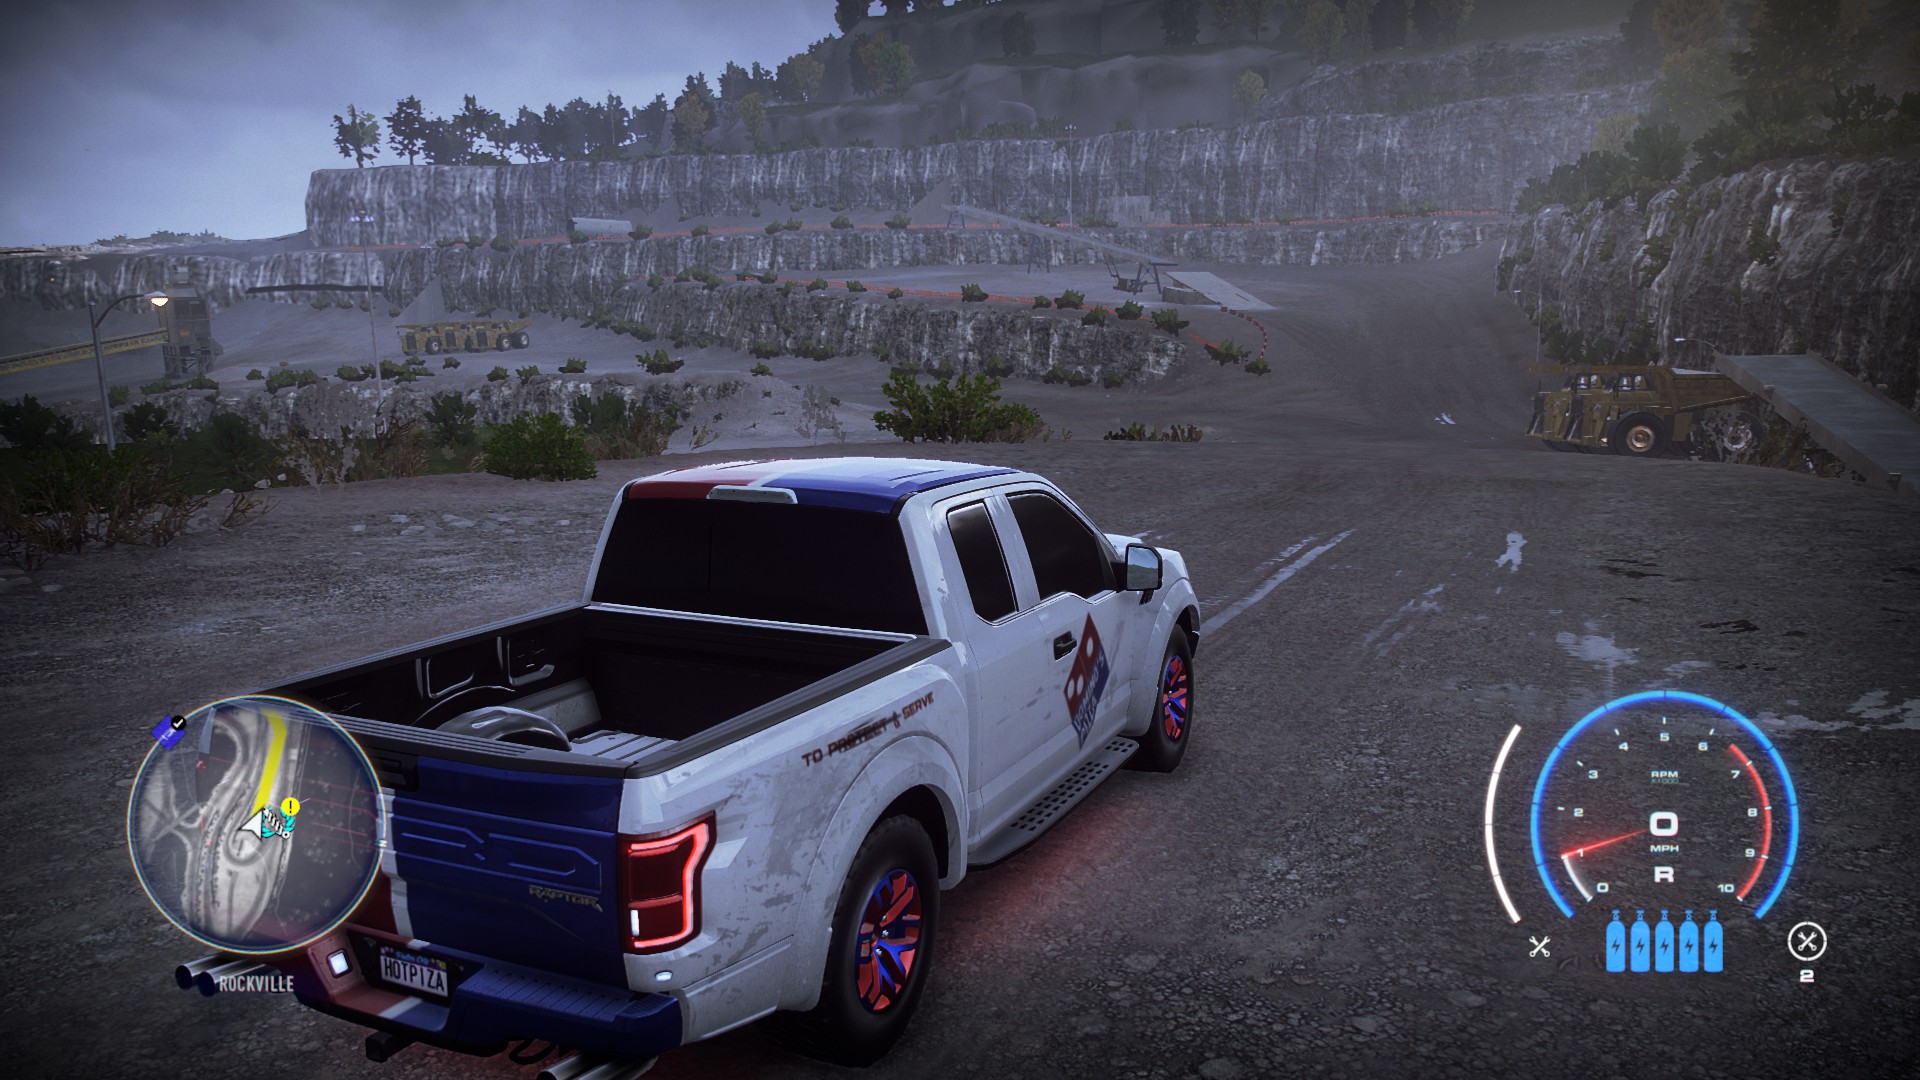
- Clean Avalanche
- Need an off-road car build with rally parts to get enough speed and traction. I used the Ford Raptor ’17 with rally upgrades and got this in my first jump.
- Hit the NOS when you get to the big metal structure with the metal beam on the left.

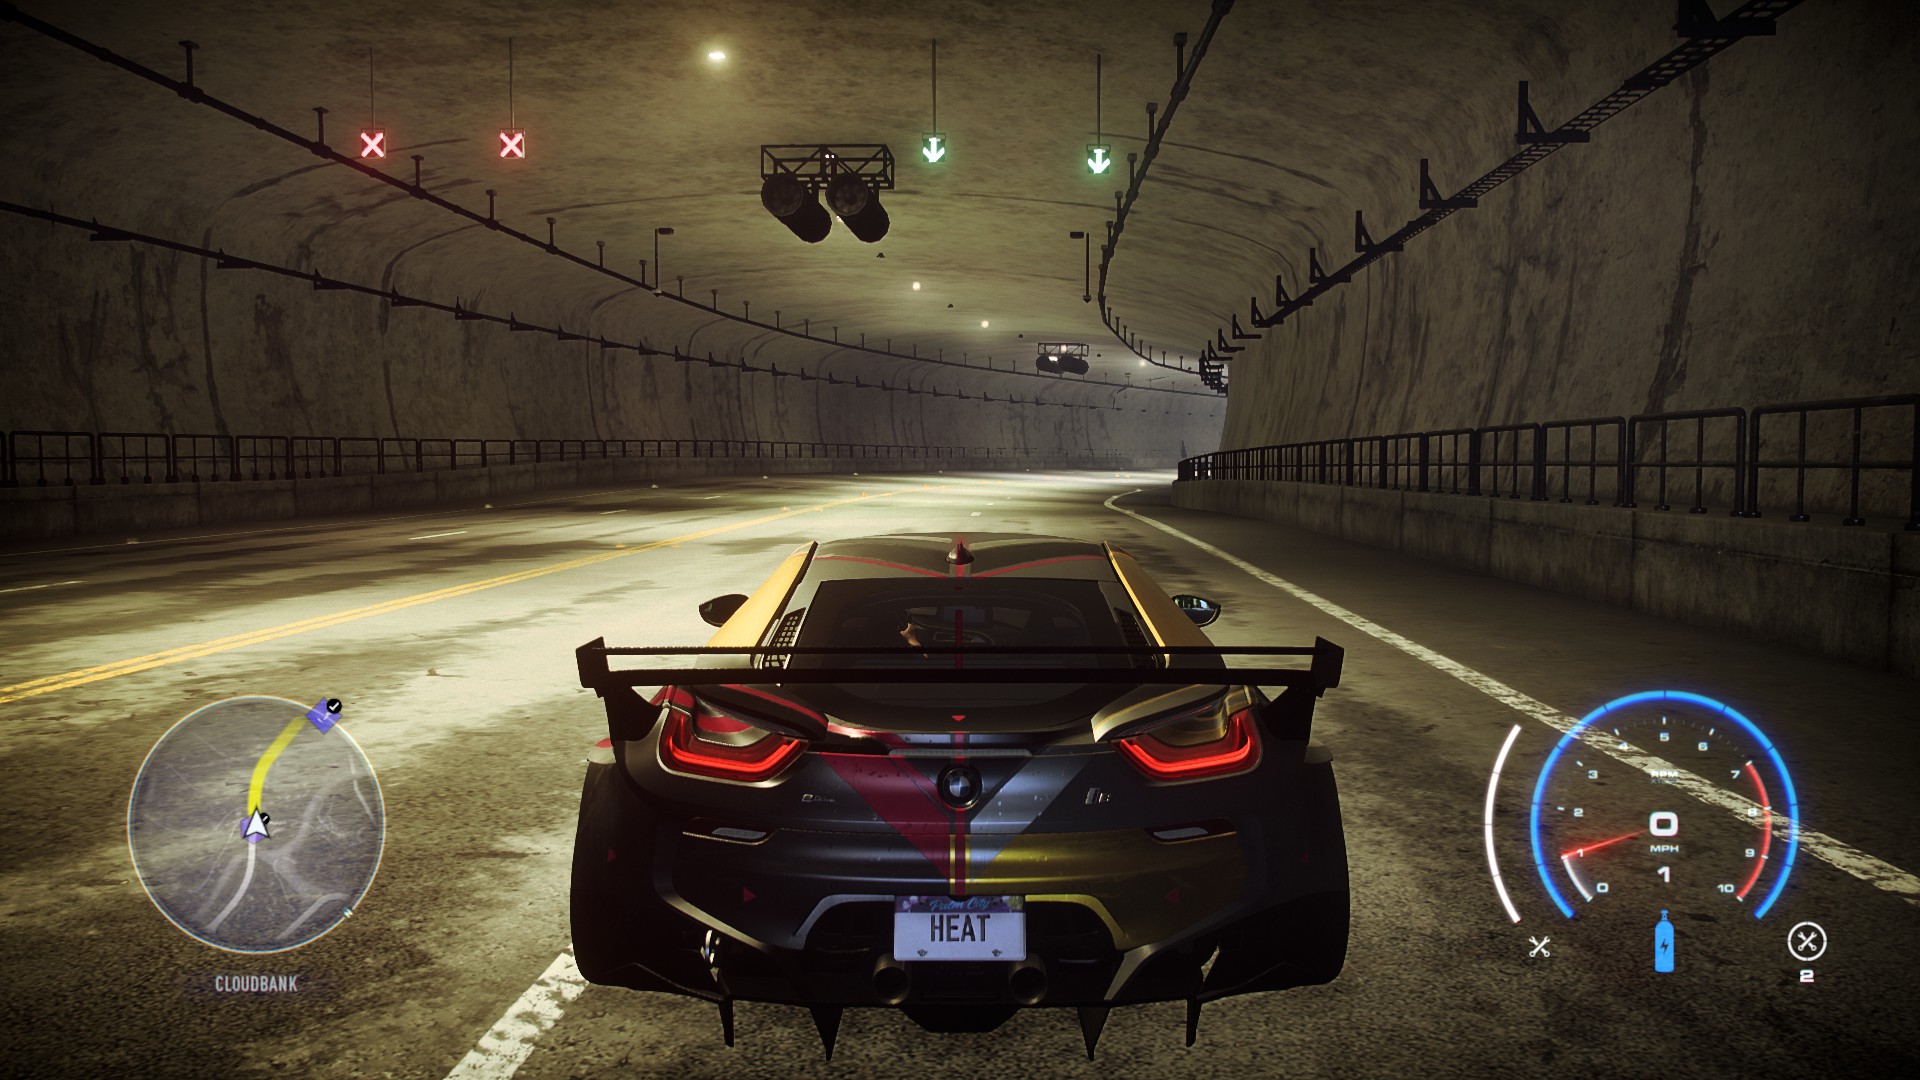
- Flying Shun
- This one is a little tricky, just because you need to be flying in the tunnels and all it takes is bad timing and hitting a car right before the jump.
- If you look in the tunnels you will see some big black lights on the ceiling. You want to have a 1×15 NOS equipped and hit the NOS when you get to the 3rd light for maximum speed to carry you over and past the jump.
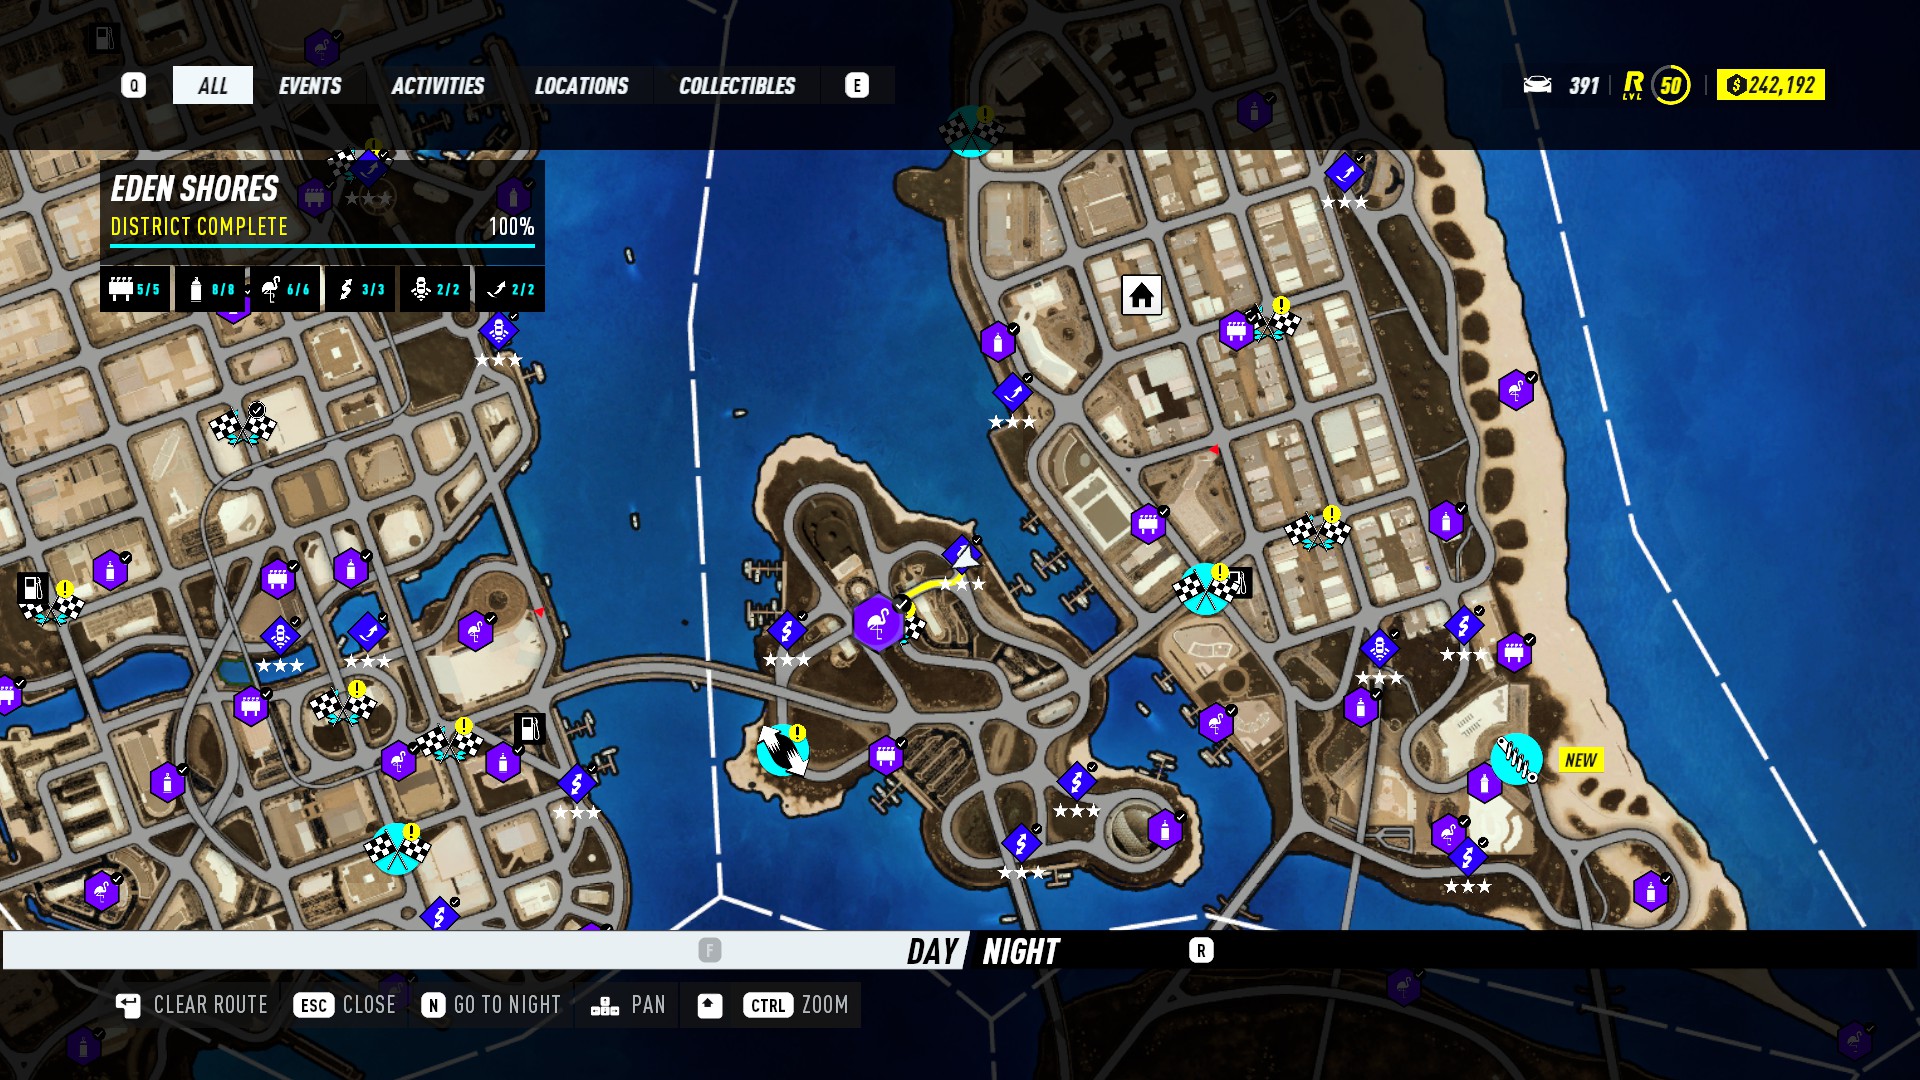
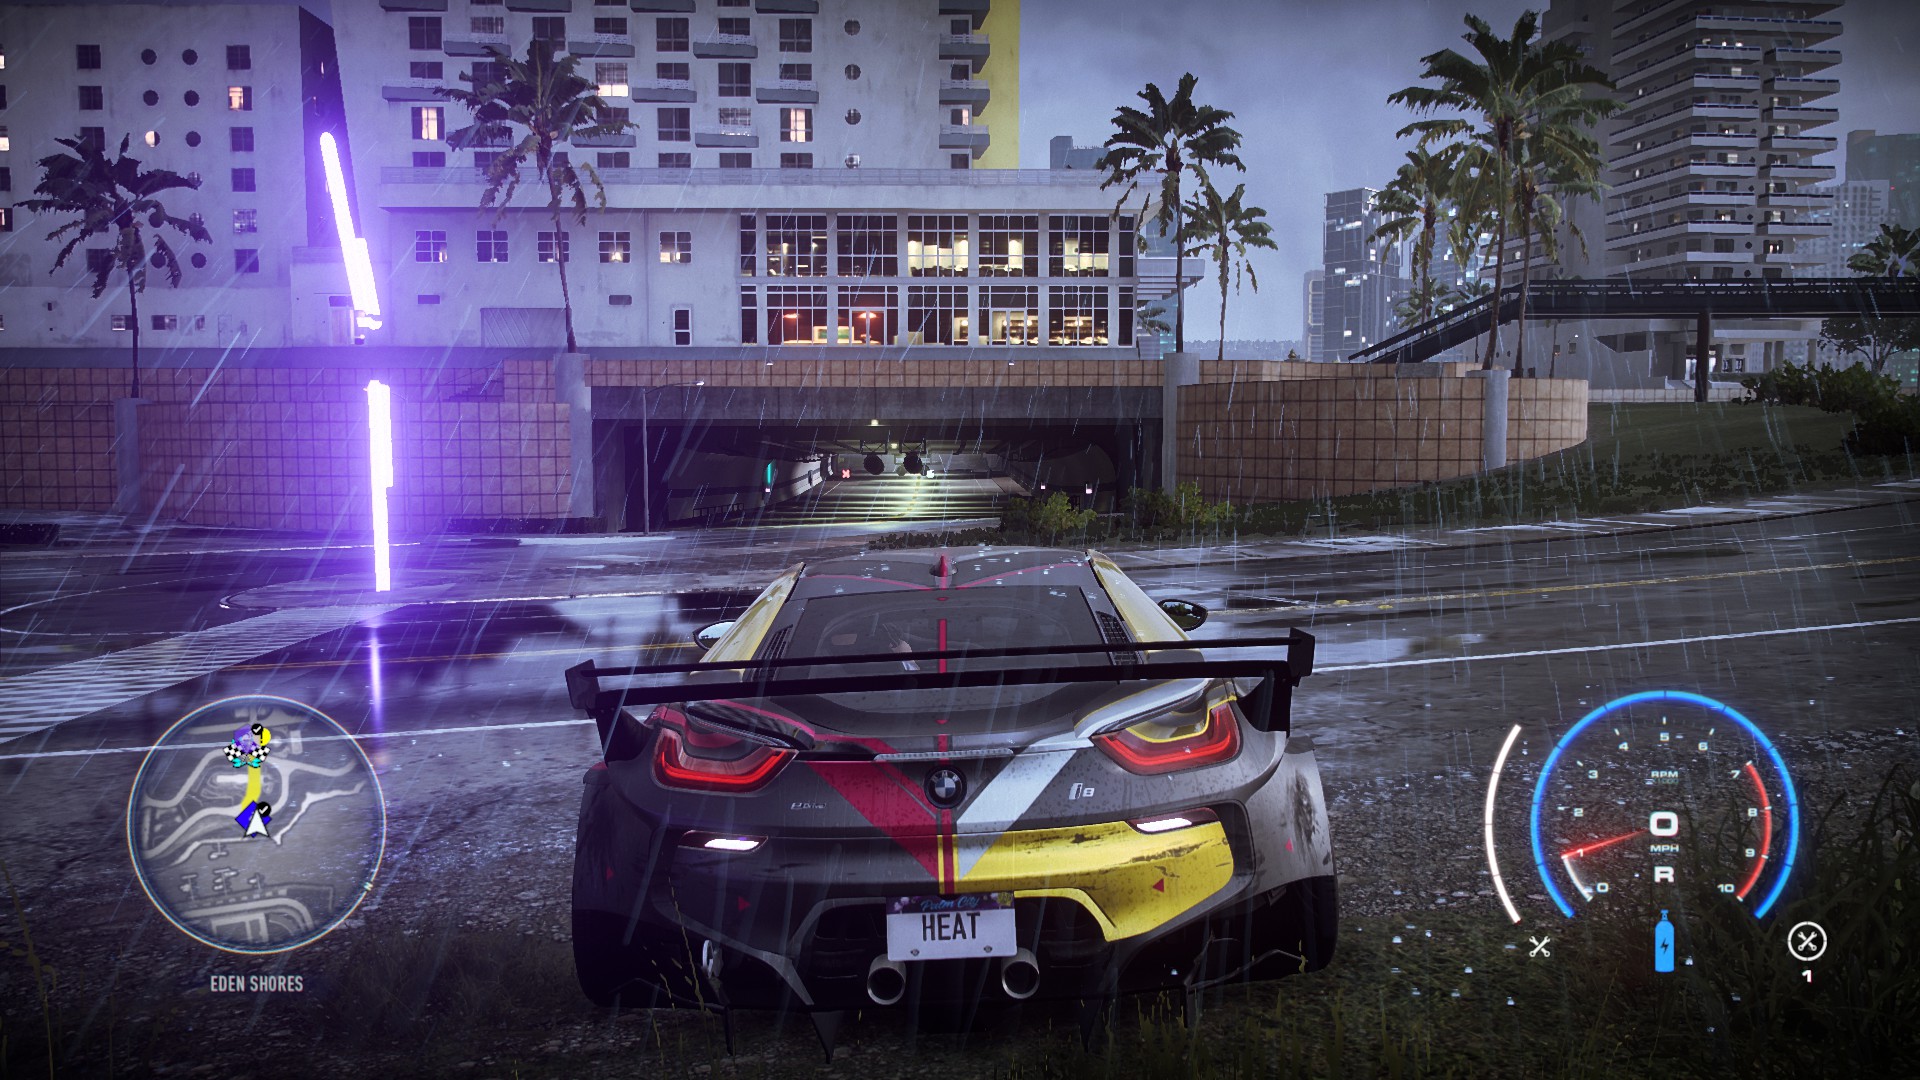
Eden Shores – Billboard
- This one took me a while to figure out. It isn’t hard, just need to get the right angle and speed.
- Get a wider car, more likely to hit it. Car tends to shift towards the right, so consider that when jumping.
- Start on the side I am on. The other side has a small wall going up so you won’t be able to climb and jump up.
- Use a 1×15 NOS to give you the boost needed to get speed to hit the billboard.


Miscellaneous Achievements
- These aren’t hard to do, but can be a little tricky for them to unlock.
Go from last to first place during the final lap of a race and win
- Now this one is easy but a little tricky. It took me 3 attempts before the achievement triggered. I did this in the Palm City Raceway – Resorts Circuit.
- 1st attempt – I passed some cars, but made sure I was in the 12th spot when I crossed the line, but didn’t work.
- 2nd attempt – I made sure to stay in the 12th position, and not pass anyone, until I crossed the start/finish line. Achievement did not register.
- 3rd attempt – Just like my 2nd attempt I crossed the start/finish line and waited for the text “final lap” to disappear from the screen and soon as it disappeared I started passing the other cars, finished the race in 1st, and the achievement unlocked.
Take down 100 Cop Vehicles
- Just need to hit the rear bumper and sides of a police car.
- You will complete most of this throughout races and the story missions.
- I used a car that has good speed and acceleration and then just use NOS for extra force to ram into the cars to take them out.
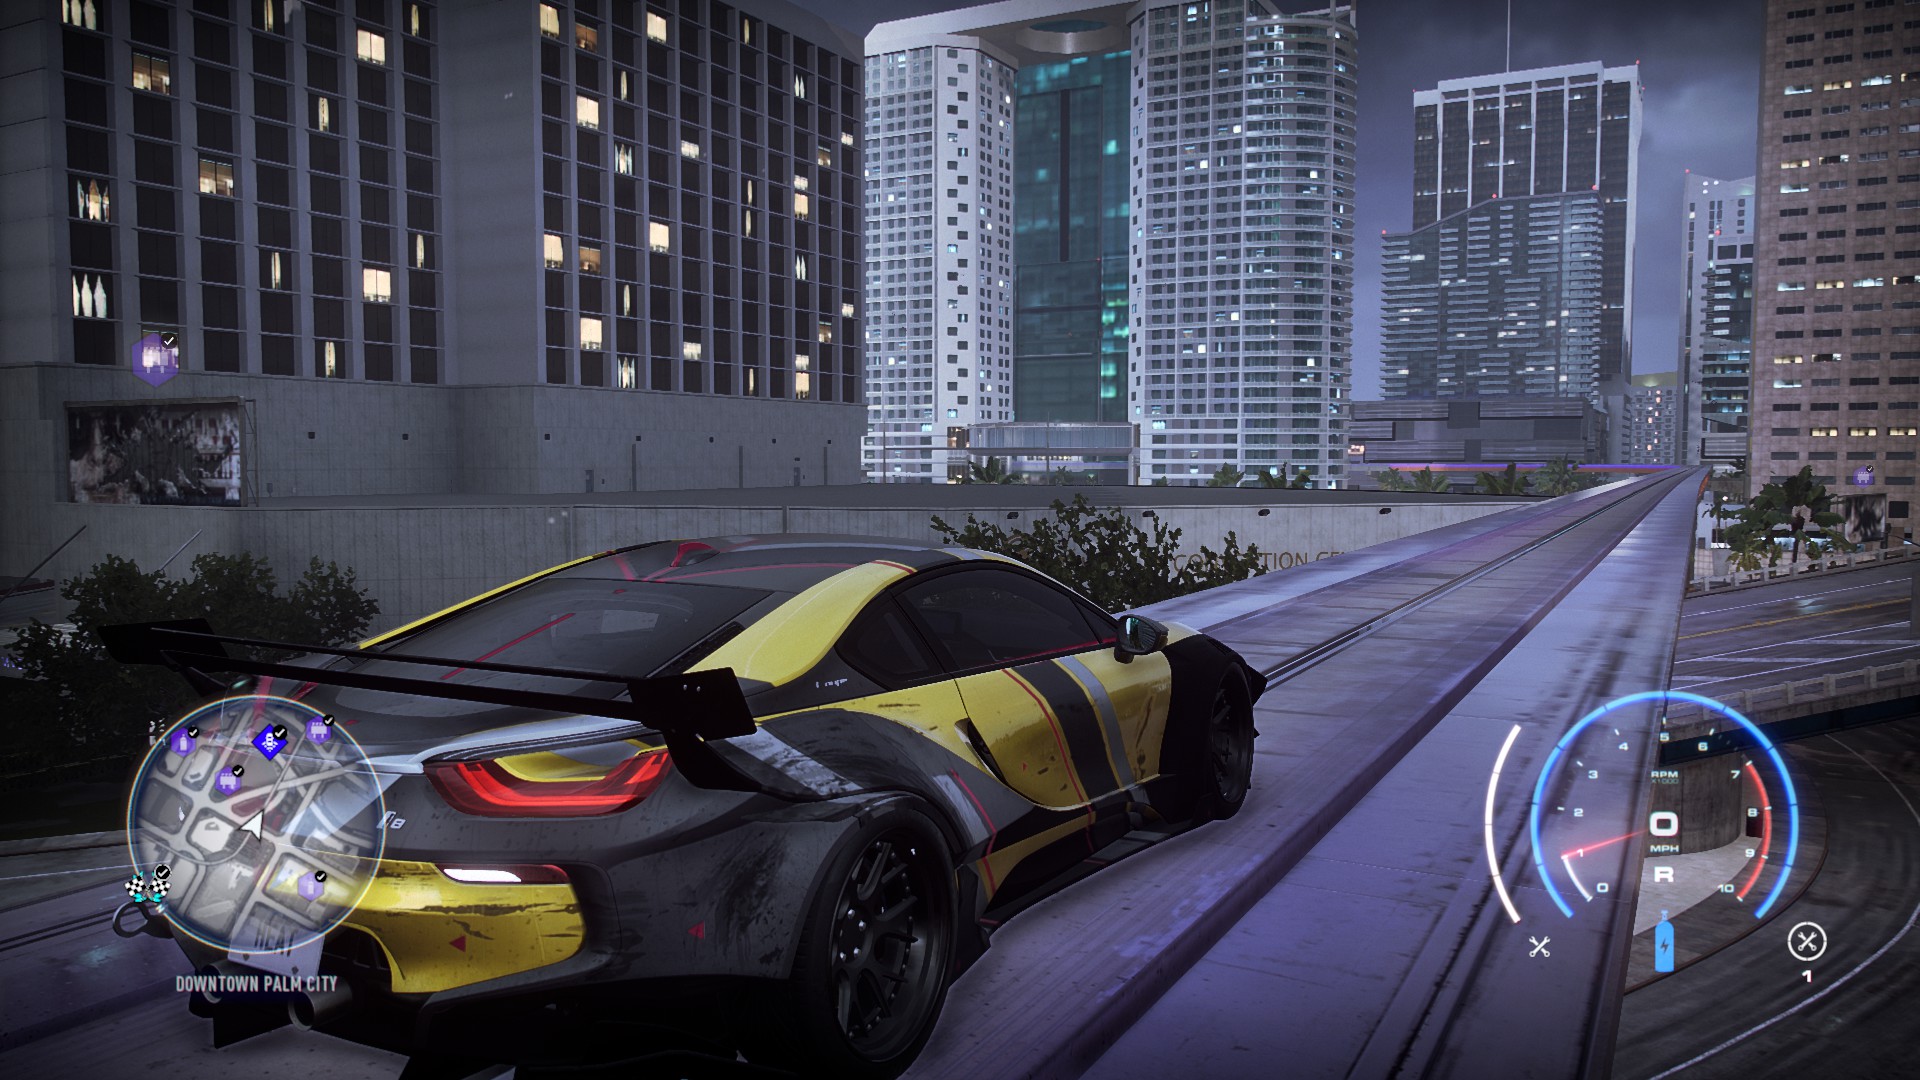
Hit 240 mph using any car
- I used the BMW i8, but any fast car would work. Just find a fairly straight road and just go. I got the BMW i8 up to 230 miles per hour and used a 1×15 NOS take to get to 240.
- All you need to do is hit 240 for 1 second that’s all.
- Screenshot shows the road I used to complete this challenge.

- All these can be done in the garage under performance and customization. Need to “accept” changes otherwise achievements won’t pop up after winning a race.
Customize a vehicle with a wrap
- Just to go wrap and paint and then download a wrap from the community library.
Change the text on the License Plate
- Done through the car customization, go to the rear of the vehicle, click on the license plate, and change the wording.
Win a race with all vehicle effects slots equipped
- Go to customization then effects. There are 6 categories.
- Nitrous color, backfire, tire smoke, underglow, air suspension, and horn.
Win a race with parts equipped in both auxiliary part slots
- Just click on performance and go the end and equip two auxiliary parts.
Win a race in a vehicle with tuned exhaust sound
- Customization tab, go to the far right, and just move a bar to the left or right.
Win a race in a vehicle with an engine swap
- When in the garage press E on keyboard or Y on Xbox controller to swap out engine.
Beat your first Crew Time Trial
- Once in a crew or once the time trials open up, just go to any one and beat the ghost car.
Win a race with a car at 399/400+ Performance Rating
- Easy to do, just need unlock some parts and upgrade the car. I actually did this with the Chevy Corvette that unlocks at level 18 without an engine swap.
Escape 100 Cop Chases
- Will do this by just completing races and escaping cop chases.
- Get chased by 1 cop, escape, and it counts as 1.
- Fort Murphy in the docks with crates and jumps is an easy spot to grind this one out.
Win a High Heat 5 race and return to garage safely
- Once you reach level 50 and complete the story line with Anna and Lucas you will start to see Heat Level 5 races across the map.
- See section above how to get REP and increase heat level quickly.
Complete your first Daily Challenge
- You will actually complete this without realizing it. With Xbox controller press right arrow to view the challenges.
Repair critical damage at a Gas Station at night
- The gauge will flash red and say “critical damage” and at that point just go to a gas station.
Complete 5 events online with other players
Complete 25 events online with other players
- Just need to complete 25 events online.
- Accept invites from other players or start up and challenge other players.
- Easier and quicker to do with friend(s).
Win the Discovery Event
- Unlocks once you reach REP level 50.
- Needs to complete 3 races Discovery A/B/C.
- Race take you around the whole map and have car rating of 400+.
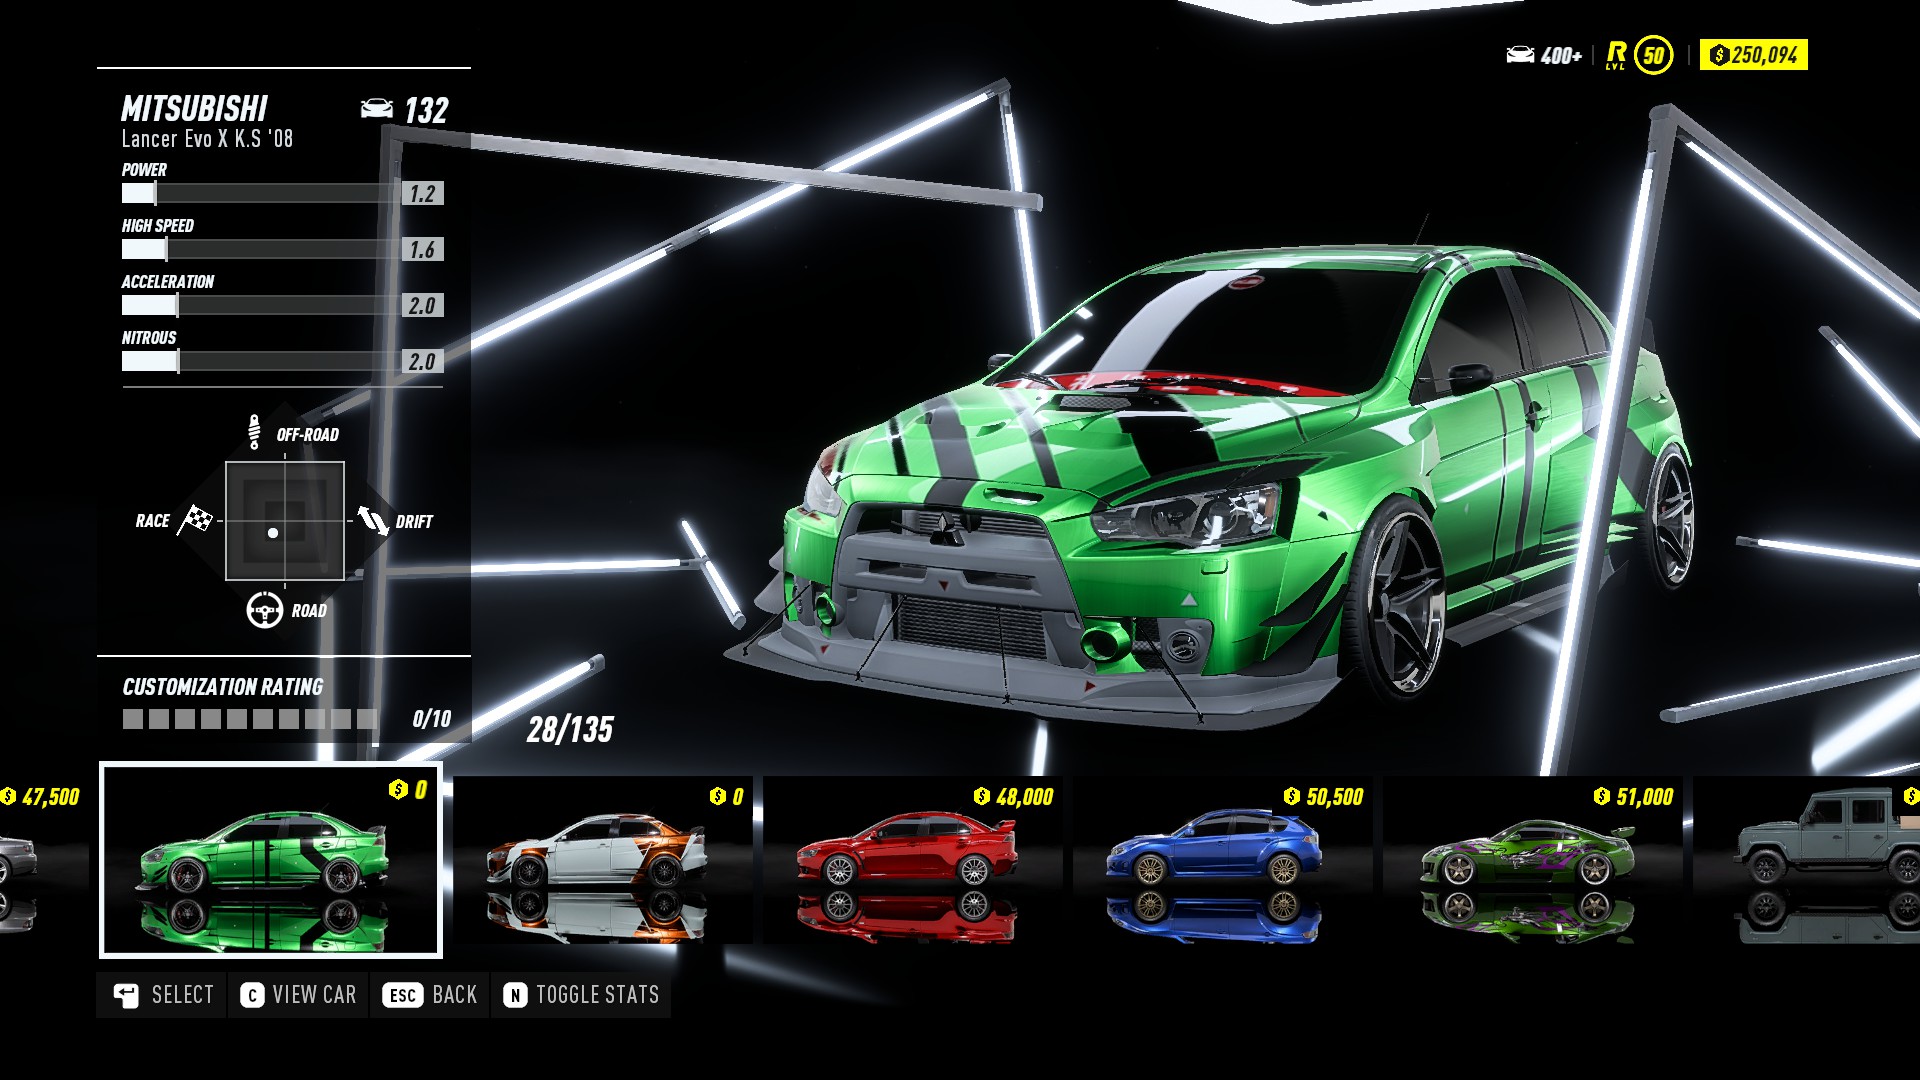
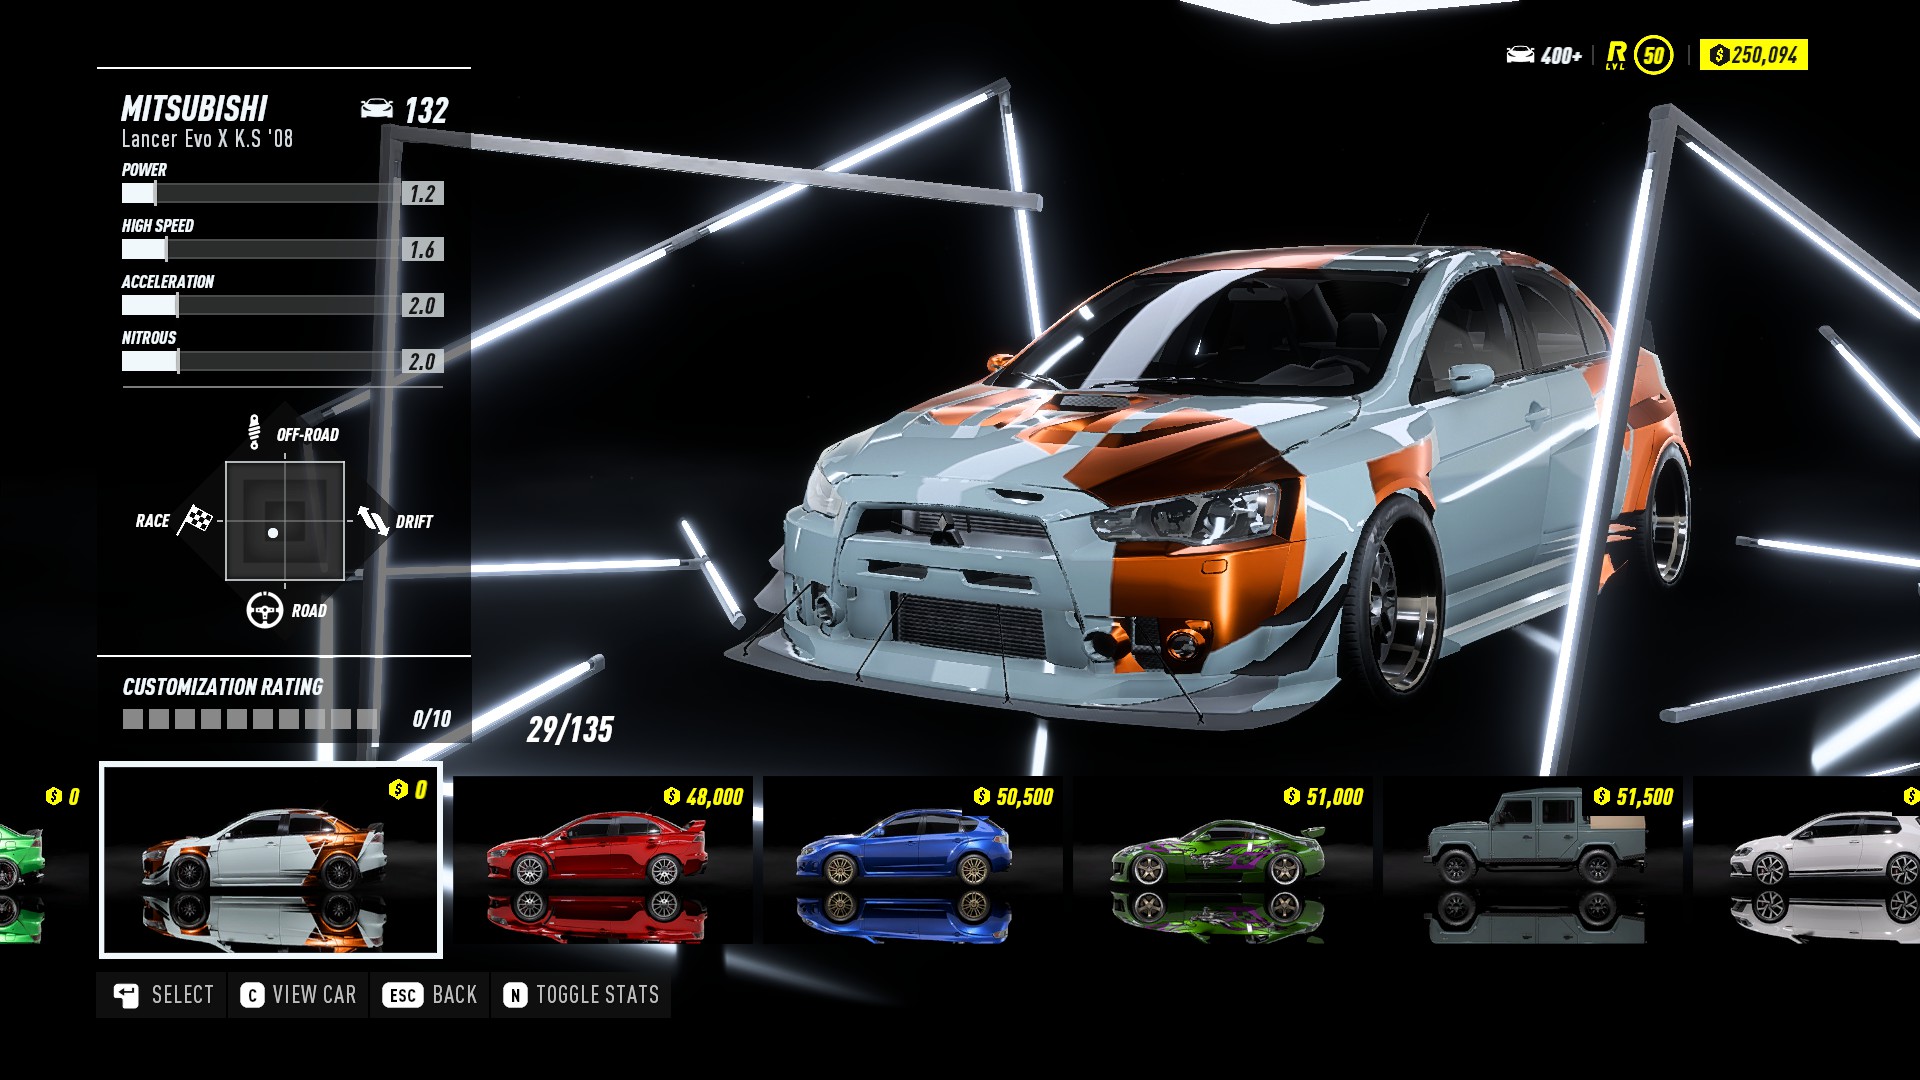
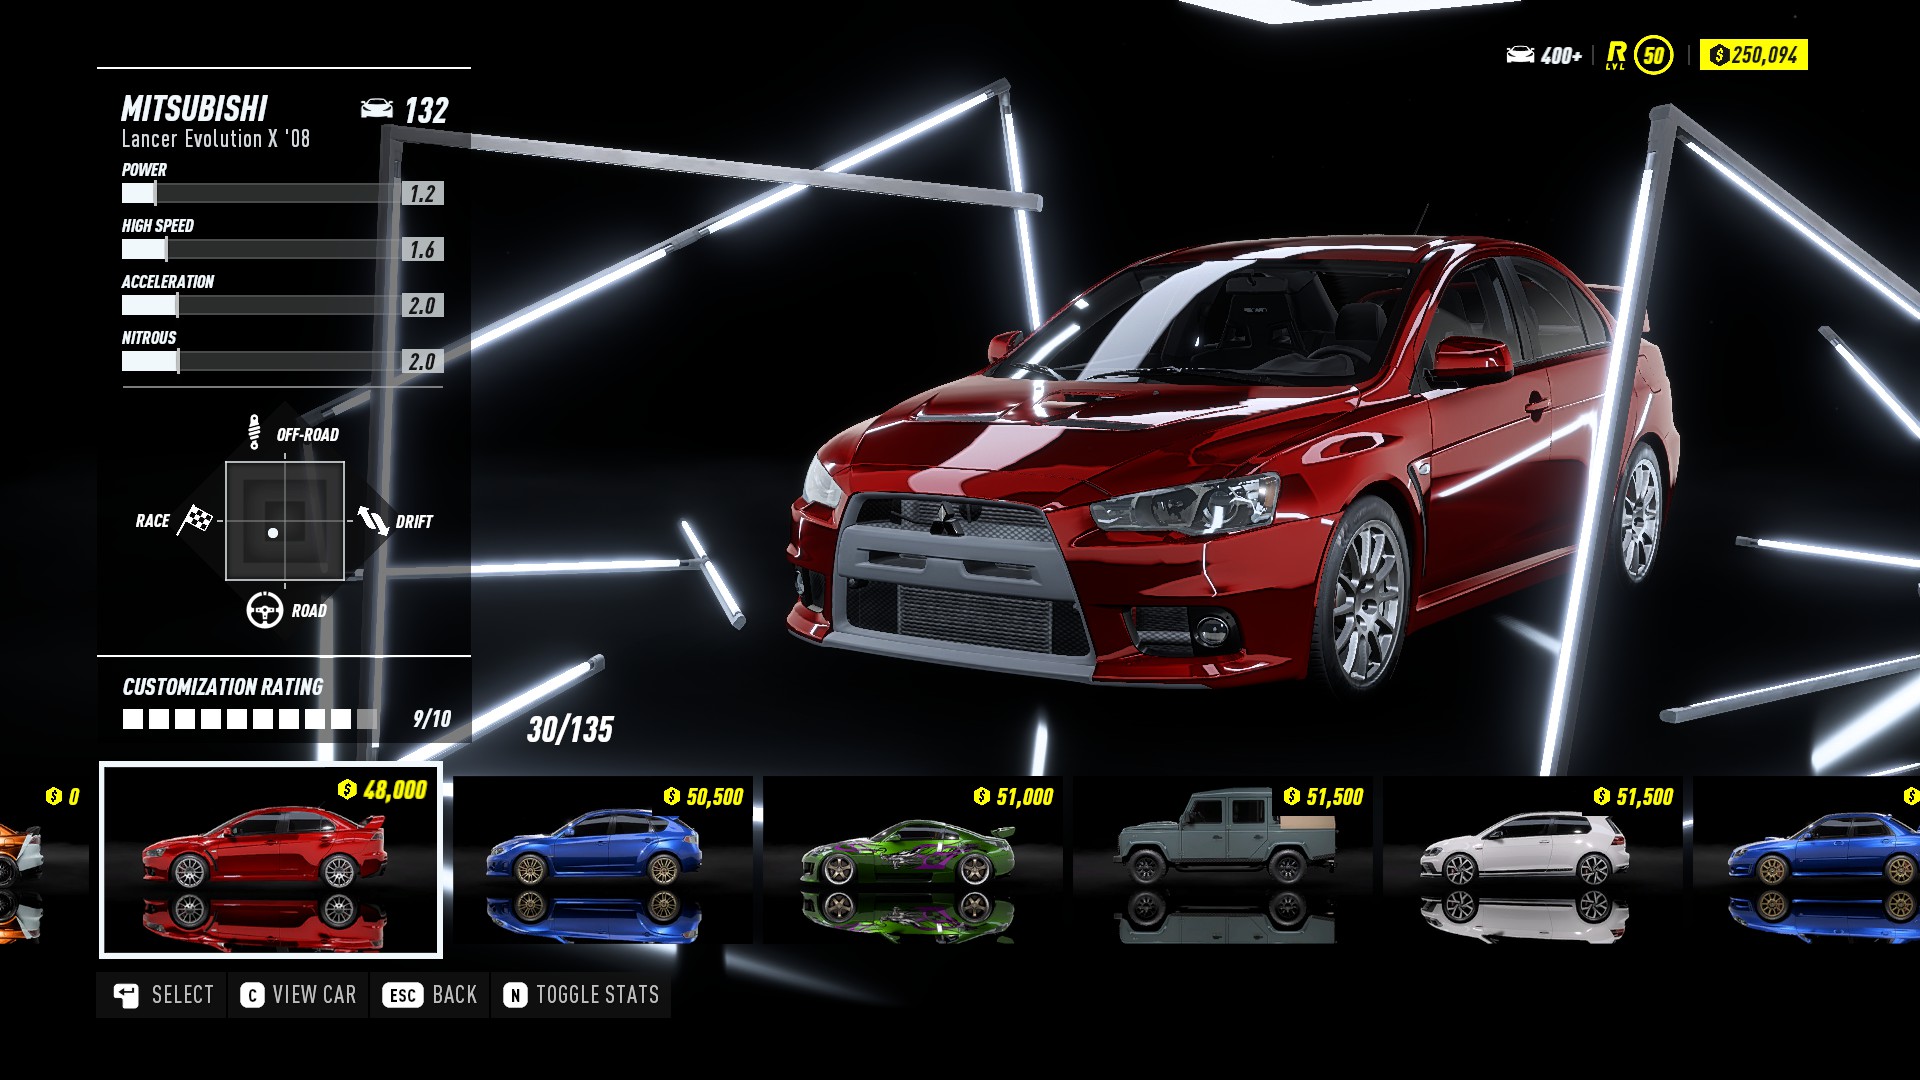
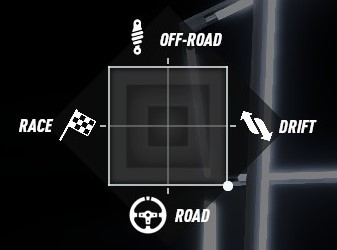
- For these ones, you just need to win a car that touches the line on its side.
- See screenshots below (have been cropped and zoomed in).
Win a race with handling parts for maximum drift equipped
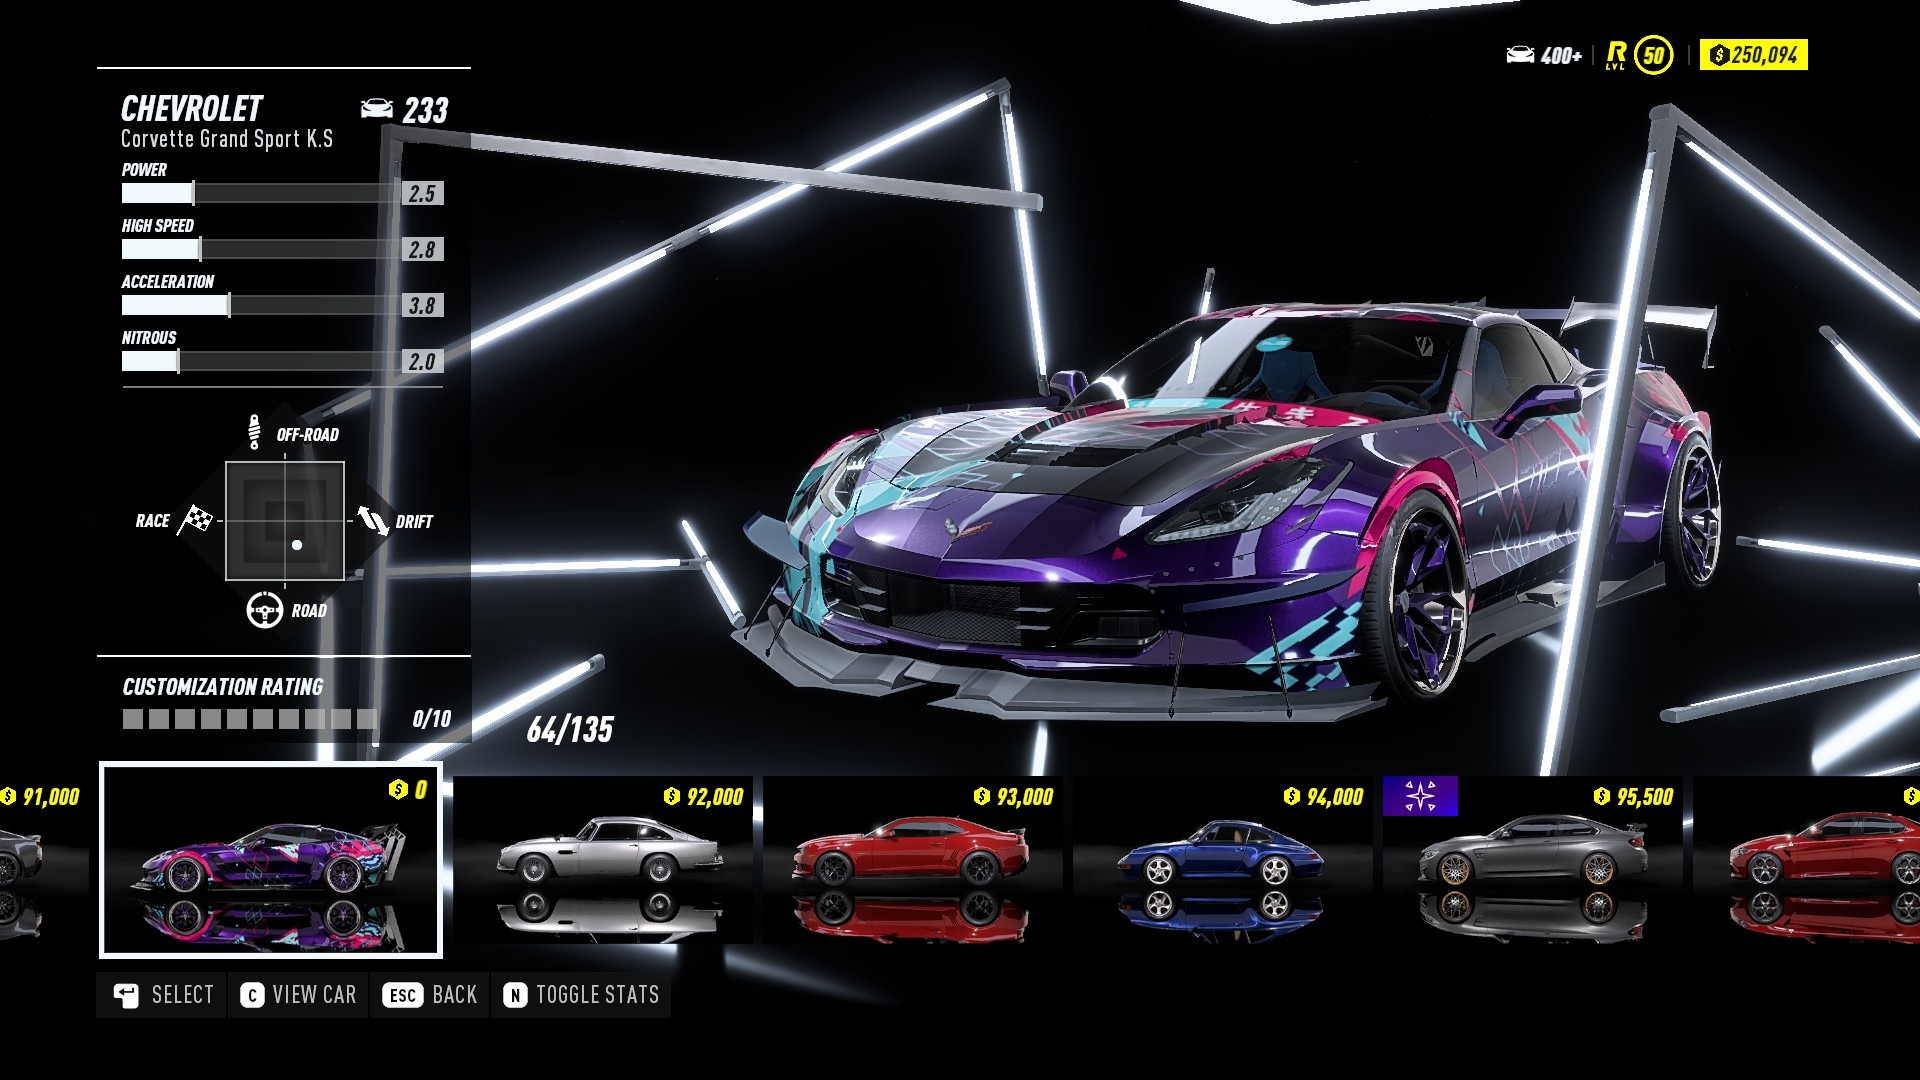
- When you customize your drift car just make sure the white dot touches the right side of the graph.
Win a race with handling parts for maximum road traction equipped
- When you customize your road car just make sure the white dot touches the bottom side of the graph.
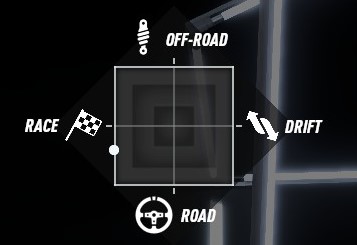
Win a race with handling parts for maximum race equipped
- When you customize your road car just make sure the white dot touches the left side of the graph.
Win a race with handling parts for maximum off-road traction equipped
- When you customize your off-road car just make sure the white dot touches the top side of the graph.

All 128 Available Cars
All available cars in the game. When they unlock and how to get them.
Available from the start
Plymouth Barracuda 70’
Dodge Charger ’69
Reach Rep level 5
Nissan Silvia Spec-R Aero ’02
Honda Civic Type-R ’15
Mazda RX-7 Spirit R ’02
Lotus Exige S ’06
Reach Rep level 7
Nissan 370Z Heritage Edition ’19
BMW M3 ’06
BMW Z4 M40i ’19
Reach Rep level 8
Mercedes AMG A 45 ’16
AUDI S5 Sportback ’17
Infiniti Q60 S ’17
Land Rover Range Rover Sport SVR ’15
Reach Rep level 10
Dodge Challenger SRT8 ’14
BMW M3 ‘ 10
Reach Rep level 12
Ford Mustang ’65
Pontiac Firebird ’77
Nissan Fairlady 240 ZG ’71
Chevrolet Camaro SS ’67
Ford Mustang BOSS 302 ’69
Buick Grand National ’87
Nissan 350Z ’08
Aston Martin DB5 ’64
Ferrari Testarossa Coupe ’84
Reach Rep level 14
Mercury Cougar ‘67
Subaru BRZ Premium ’14
Nissan 180SX Type X ’96
Mitsubishi Lancer Evolution X ’08
BMW M3 Evolution II ’88
Nissan Skyline GT-R V-Spec ’93
Nissan Skyline GT-R V-Spec ’99
Porsche 718 Cayman GTS ’18
Reach Rep level 16
Chevrolet C10 Stepside Pickup ’65
Ford Focus RS ’16
Ford Mustang GT ’15
Mitsubishi Lancer Evolution IX ’07
Porsche 911 Carrera RSR 2.8 ’73
BMW M4 Convertible ’17
Honda NSX Type-R ’92
BMW M2 Competition ’19
BMW X6 M ’16
Reach Rep level 18
Mercedes AMG C 63 Coupe ’18
Chevrolet Camaro Z28 ’14
Porsche 911 Carrera S ’97
Alfa Romeo Giulia Quadrifoglio ’16
Jaguar F-Type R Convertible ’19
Mercedes AMG GT ’15
BMW i8 Coupe ’18
Porsche Panamera Turbo ’17
Lamborghini Countach ’89
Reach Rep level 20
Chevrolet Bel Air ’55
Nissan Skyline 2000 GT-R ’71
Mazda MX-5 ’96
Mazda MX-5 ’15
Ford Mustang Foxbody ’90
Acura RSX-S ’04
Honda Civic Type-R ’00
Honda S2000 ’09
Volkswagen Golf GTI Clubsport ’16
Subaru Impreza WRX STI ’06
Ford F-150 Raptor ’17
Chevrolet Corvette Grand Sport ’17
BMW M5 ’18
Mercedes AMG G 63 ’17
Jaguar F-Type R Coupe ’16
Nissan GT-R Premium ’17
BMW i8 Roadster ’18
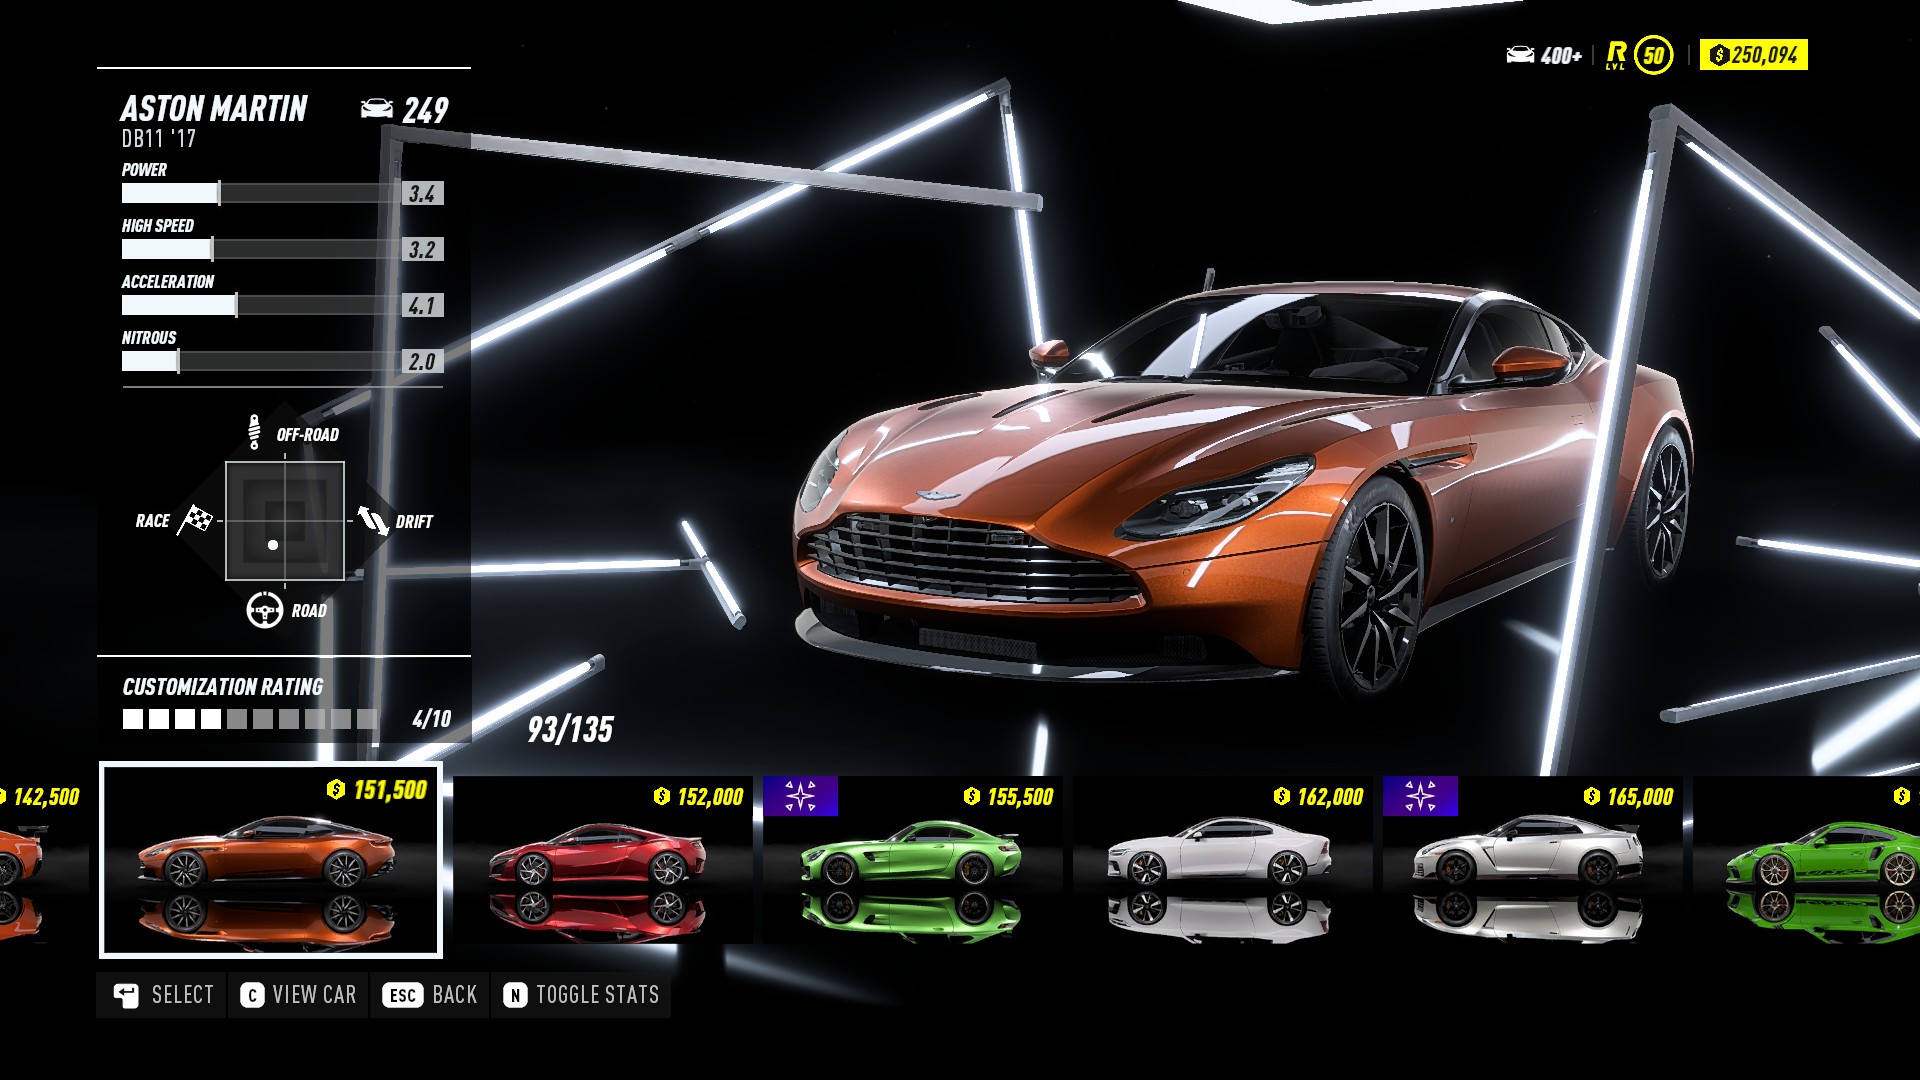
Aston Martin DB11 ’17
Reach Rep level 22
Volkswagen Beetle ’63
Volvo Amazon P130 ’70
Volvo 242DL ’75
Volkswagen Golf GTI ’76
Mini JCW Countryman ’17
Chevrolet Corvette Z06 ’13
Porsche 911 Carrera GTS ’18
Porsche 911 Carrera GTS Cabriolet ’18
Mercedes AMG GT S Roadster ’19
Porsche 911 Targa 4 GTS ’18
Acura NSX ’17
Polestar 1 ’20
Lamborghini Diablo SV ’95
Reach Rep level 24
Chevrolet Colorado ZR2 ’17
Subaru Impreza WRX STI ’10
Land Rover Defender 110 ’15
Mercedes AMG GT R ’17
Porsche 911 GT3 RS ’19
Porsche 911 Turbo S Cabriolet Ex ’18
Lamborghini Huracan ’18
Ferrari 458 Spider ’11
Lamborghini Huracan Spyder ’18
Ferrari F40 ’87
Reach Rep level 28
SRT Viper GTS ’14
Porsche 911 Turbo S Exclusive ’18
McLaren 570S ’15
AUDI R8 V10 Performance ’19
McLaren 570S Spider ’18
Ferrari 458 Italia ’09
Lamborghini Huracan Performante ’18
Reach Rep level 32
Chevrolet Corvette ZR1 ’19
Ferrari 488 GTB ’15
Porsche 911 GT2 RS ’18
Lamborghini Aventador S Roadster ’17
Lamborghini Murcielago SV ’10
Reach Rep level 36
Ford GT ’17
Lamborghini Aventador S ’18
Lamborghini Aventador SVJ Roadster ’19
Lamborghini Aventador SVJ Coupe ’19
Porsche 918 Spyder ’15
Pagani Huayra BC ’17
Reach Rep level 40
McLaren P1 ’14
Ferrari LaFerrari ’13
Aston Martin Vulcan ’16
McLaren P1 GTR ’15
Reach Rep level 50
Koenigsegg Regera ’16
Unlocked by completing story missions and activities.
BMW M3 GTR LE ’06 Complete the main story.
Nissan 350Z Z33 LE ’03 – complete the drift story.
Ford F-150 Raptor LE ’17 – complete the off-road story.
Nissan Skyline GT-R LE ’02 – complete the race story.
Nissan 370Z Nismo ’15 – collect all street arts.
Porsche Cayman GT4 ’15 – collect all flamingos.
Nissan GT-R Nismo ’17 – collect all billboards.
BMW M4 GTS ’16 – get 3 stars on all drift zones.
McLaren 600LT ’18 get 3 stars on all speed traps.
Lamborghini Huracan Performante Spyder ’18 – get 3 stars on all jumps.
Ferrari 488 Pista ’19 – collect all collectibles and get 3 stars on all activities.
DLC cars
McLaren F1 Black Market Delivery – need to purchase.
A new shipment has arrived to the dockyard of Palm City. Get the McLaren F1 Black Market Delivery to burn all limits with the McLaren F1 through a unique set of challenges. Plus, receive hot, new special customization parts, character outfits, vanity items, and decals as rewards!
[link]
My Cars and Upgrades.
A list of my cars and the best builds for these cars.
- Cars listed in no particular order.
- Screenshots taken from the dealership to show the buying cost.
- Don’t forget to live tune your car by using the arrows on controller and using numpad on keyboard.Will vary depending on individual preference and driving skills.
- Steering sensitivity – varies and changes, depending on how the car is handling.
- Downforce – I prefer a high downforce on majority of my cars.
- Use best available tier parts you have at the time.
- NOS and auxiliary parts are always personal preference.
- Build – Track for racing and Rally for off-road racing
- Engine Swap – None (not required or needed)
- Engine – Dual Turbo Charger
- NOS – I used the 3LB tanks, not 1 the big tank.
- Auxiliary
- Active – Repair Kit
- Passive – Radar Disruptor
- Build – Drift
- Engine Swap – 562HP 3.8L V8
- Crankshaft –
- ECU –
- Cooling –
- Exhaust –
- Engine – Dual Turbo Charger
- NOS – Not required, but useful for spin out and no traction (off-road)
- Chassis
- Suspension – Showcase
- Brakes –
- Tires – Drag
- Drive train
- Clutch –
- Gears – 4 speed
- Differential – Showcase
- Auxiliary
- Active – Repair Kit
- Passive – Reduced Damage from crashes
- Build – Showcase for collectibles and activities (speed traps and jumps).
- Engine Swap – 4.0L V8
- Engine – Dual Turbo Charger
- NOS – 1×15 Ultimate
- Gears – 7 speed
- Auxiliary
- Active – Repair Kit
- Passive – Reduced Damage from crashing

- Build – Track
- Engine Swap – 440HP 3.5L V6
- Engine – Dual Turbo Charger
- NOS – I prefer smaller tanks than 1 big one
- Gears – 7 speed
- Auxiliary
- Active – Repair Kit
- Passive – Radar Disruptor

- Build – Rally, but actually does decent for a track build
- Engine Swap – 715HP Forged 5.0L V8
- Engine – Dual Turbo Charger
- NOS – Rally – 1 big tank, Track – 3LB tanks
- Auxiliary
- Active – Repair Kit
- Passive – Radar Disruptor

- Build – Track
- Engine Swap – 730 6.5L V12
- Engine – Dual Turbo Charger
- NOS – 3LB tanks instead of 1 big tank
- Auxiliary
- Active – Repair Kit
- Passive – Radar Disruptor
- Build – Track
- Engine Swap – 592HP Forged 2.6L i6
- Engine – Dual Turbo Charger
- Auxiliary
- Active – Repair Kit
- Passive – Radar Disruptor

- Build – Track
- Engine Swap – 721HP Forged 3.8L V6
- Engine – Turbo Charger or the Dual Turbo Charger work just fine
- NOS – 3LB tanks instead of the 1 big tank
- Auxiliary
- Active – Repair Kit
- Passive – Radar Disruptor
- Build – Track
- Engine Swap – 514HP 4.0L Flat 6 or 599HP 3.8L Flat 6.
- Auxiliary
- Active – Repair Kit
- Passive – Radar Disruptor