Overview
How to get the Steam version of Nekopara working on Ubuntu-esque Linux distros via WINE, including intro/credit videos.
Background: Or Why Do This?
Update v.4: With the release of Proton for Steam, this guide is mostly obsolete. Just enable SteamPlay “For all other titles”, install Nekopara 0, 1, 2, or Extra, and you should be good to go. Opening/Closing movies will probably not work unless you manually install Windows Media Player to the same prefix as the game (e.g. /home/$username/.steam/steam/steamapps/compatdata/420110/pfx for Nekopara vol. 2)
Perhaps you’re a Linux guru, salivating at the catgirls in front of you, but shaking your fist at the fact that it doesn’t have the SteamOS/Linux compatability marker, and you loathe the thought of a certain Redmond OS befouling your sacred digital space.
Or maybe, like me, you have multiple computers, some of which run different operating systems.
Note that this uses WINE, which is best described as a workaround that helps translate Linux functions into those a Windows program can understand, without needing to entirely pretend to be an entire OS (that would be an emulator, and as the recursive acronym for WINE says, Wine isn’t one). This method does not magically port Nekopara or its engine to Linux.
v.4. Steam Proton details (see above).
v.3. Updated the wine version, launch arguments, wmp10 install instructions, and ECDSA signature verification link.
v.2. Updated the wine version, as 2.12-staging no longer works well with Steam.
Getting Started: WINE, Virtual Drives, and You
By default, WINE normally uses a lot of command line-fu and programs share a single virtual drive and a single iteration of the underlying Wine software, which may not be ideal for peaceful coexistance. Thus, this guide uses a graphical frontend to Wine called PlayOnLinux.
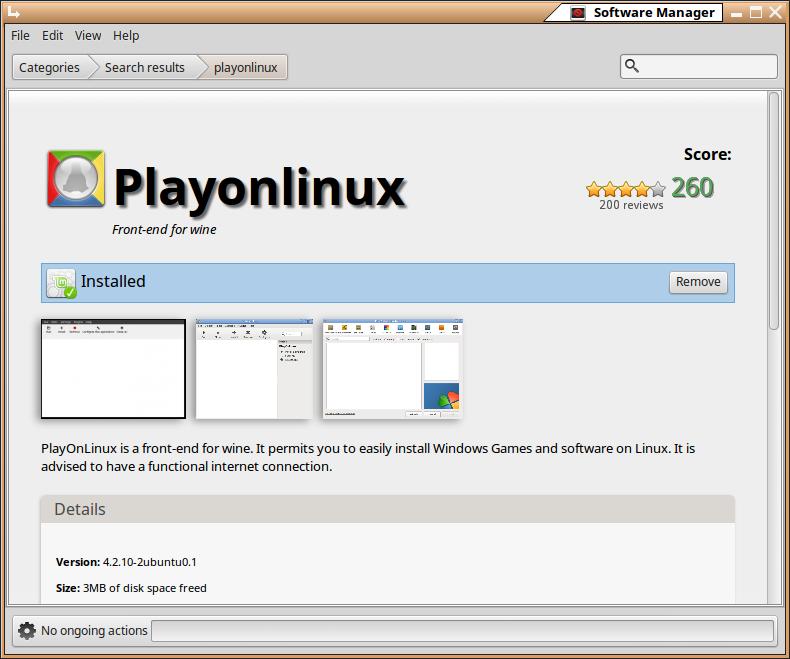
Depending on your exact flavor of Linux, PoL may already be in your software repository, so check there first:
Sweet, it is! Command line and the package manager of your choice also works.
If not, point your browser to [link] and download and install the appropriate package.
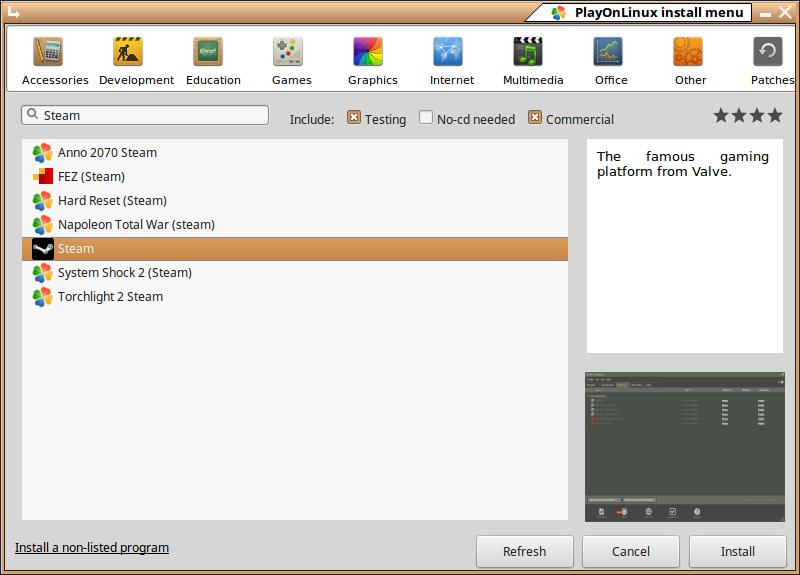
Once PlayOnLinux is installed, boot it up and click the giant + sign that says “Install” under it:
This will bring up a database of programs that PoL is preconfigured to work with, and in this case, we want Steam itself, so either start typing it in the search box or click the “Games” category, scroll down a ways, and select it:
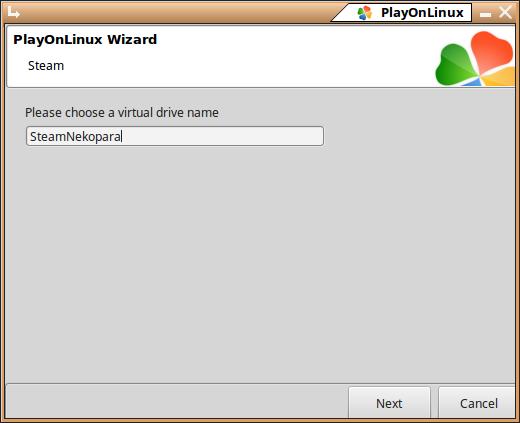
Follow the instructions given by the wizard. This will create a new virtual drive with a Steam-specific copy of the Wine software, so give it a meaningful name without spaces, like so:
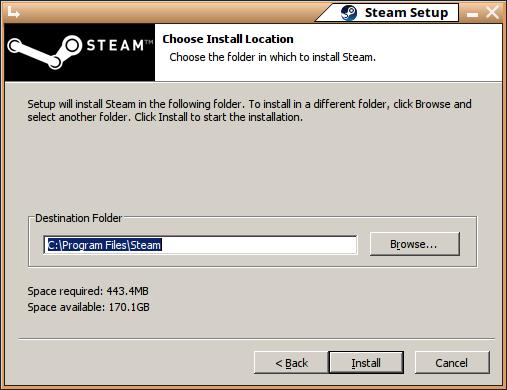
You’ll then be given the Steam Setup screen. Follow it through and let it install to the default C:Program FilesSteam directory:
Once it installs, uncheck the “Run Steam” option and click Finish, which will return you to PlayOnLinux wizard.

Once back to the main PlayOnLinux screen, click the Gear marked “Configure”, then once you’ve selected the virtual drive with your Steam installation:
- Under wine version, change it from 2.12-staging to 3.2. If it’s not in the dropdown box, click the + and install it using the dialog box.
- Add “-no-cef-sandbox” to the arguments textbox. This will fix browsing within the Steam client.
- Click the tab marked “Wine” and click the “Configure Wine” button. Under “Windows version”, select “Windows XP” from the dropdown box and and then click “OK” to close the window.
click the tab marked “Install Components”:
Then install the following two from the list:
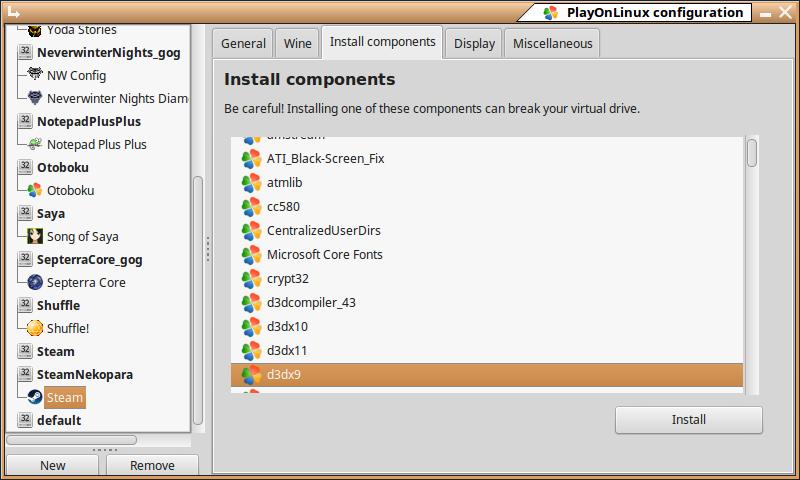
- d3dx9 (DirectX9 used to render the game)
- d3dx10 (DX10, ditto)
You will also need to install Windows Media Player 10, since the game’s movies are a variant of .wmv file. The PlayOnLinux installer link is broken, so visit:
[link] and grab the “MP10Setup.exe” file. Plop it in down in your virtual C drive and install it via Play On Linux:
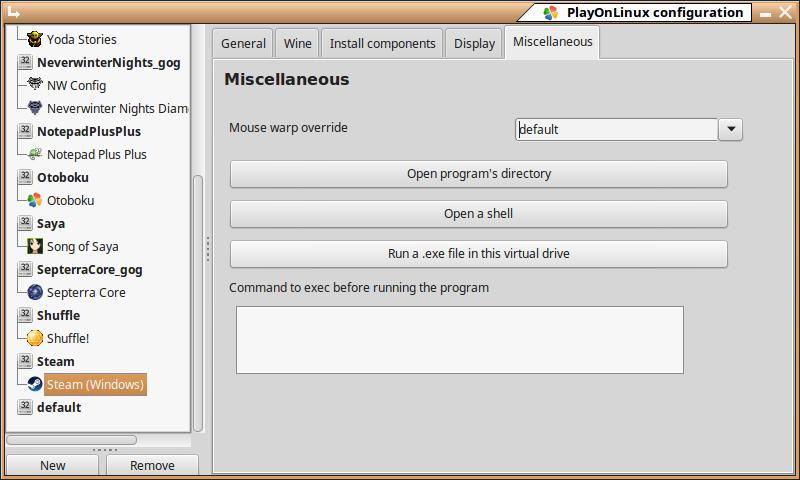
Click configure, then the “Miscellaneous” tab, then “Run a .exe file in this virtual drive”. Follow the directions onscreen.
Once done, click the “Open Program’s Directory” button on PlayOnLinux. Navigate to the config folder and open “convig.vdf” with your favorite text editor.
Shortly after the line labelled “Accounts” should be a series of lines that start with:
>”cip” [some hexadecimal number]
>”CM” [series of IP addresses]
>”PercentDefaultWebSockets” [number]
Directly after the CM line, create a new line, indent to match, and copy and paste the long single line starting with “CS” found inside this comment:
[link]
This should fix Steam being unable to contact its servers if you try to install a game.
Installing and Configuring Nekopara
Assuming that you now have a Windows installation of Steam paradoxically running on your penguinbox…
Some of the menu effects will be slightly wonky because of the different ways that Wine renders Steam, but it will happily now let you install Windows-only programs without them being greyed out due to using a Linux OS. Huzzah!
Launch the game. Attempt to pry yourself from the catchy titlescreen BGM.
(If in fullscreen, move the mouse to the top to get the menu bar to appear).
Under the menu bar, click Help->Display Advanced Settings to get an additional menu column. Under the Advanced Settings, check to make sure the entry “Video Rendering Method” reads “* Layer”. If not, change it to Layer.

Extras: Quirks, Notes, and the 18+ Patch
Resizing
Swapping from fullscreen to/from windowed will sometimes mess up mouse detection, screen size, or screen borders. Once you’ve toggled, it’s best to exit Nekopara and relaunch it to clear out any weirdness.
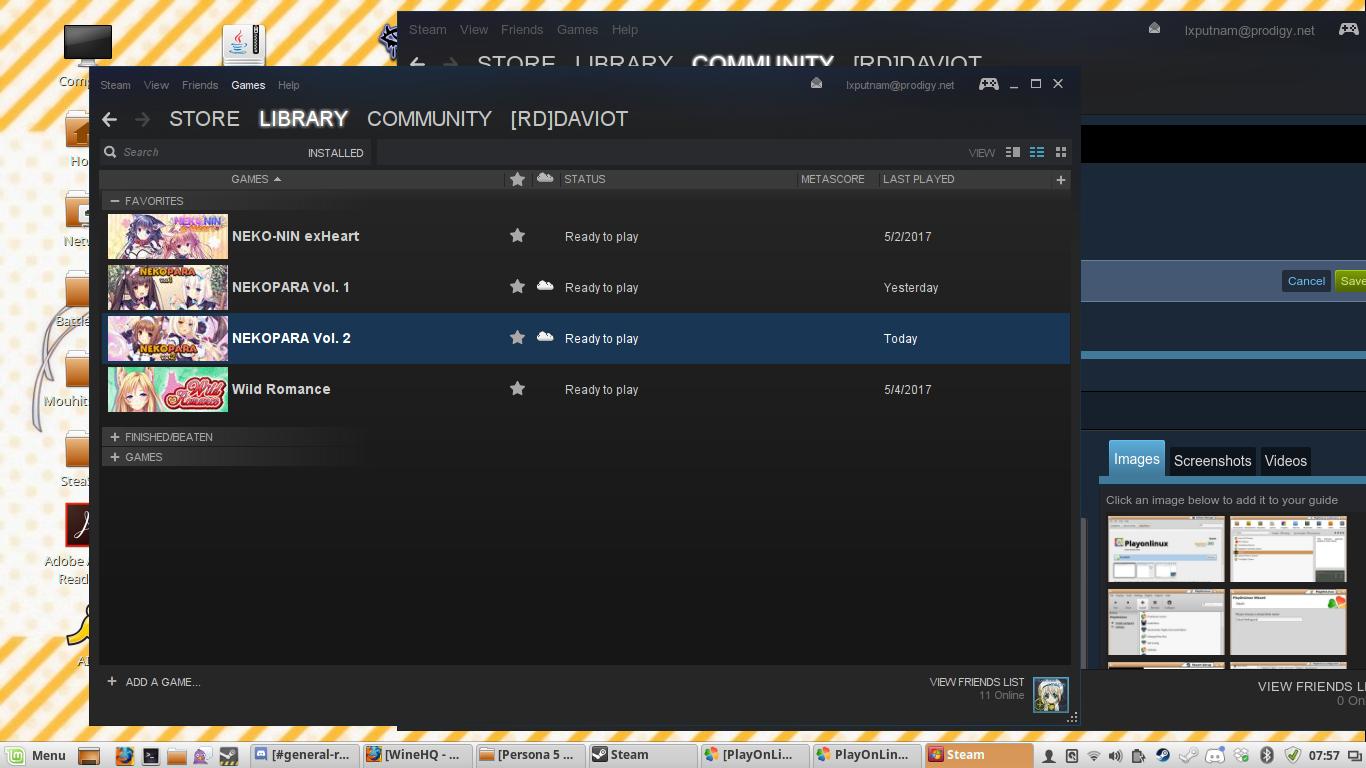
Works not just with Volume 2
This method works with volumes 0, 1, and 2 of Nekopara games, since they share the same engine (Vol 3 tends to crash at the intro video; it uses an entirely different engine). Once you’ve installed the Windows version of Steam and the extra libraries, you can install any of the games directly through Windows!Steam in the same virtual drive since you’ve already done the hard stuff.
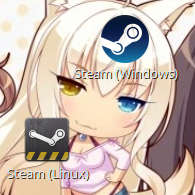
Two versions of Steam active at once
It is entirely possible to run the Linux/SteamOS native version of Steam and your workaround-Wine Steam simultaneously, although Steam will sometimes disconnect the friends list of whichever was running first. Generally, it’s easier to run one at a time.
This is caused by Steam not recognizing that DirectX is already installed, when it’s bundled with the game. If this bugs you, navigate to the virtual drive and then the Steam directory, and then your Nekopara directory:
There are several ways to get there, such as through Windows!Steam, your Linux file manager, or the Configure menu of PlayOnLinux, but it should point to something like:
“/home/username/.PlayOnLinux/wineprefix/Steam/drive_c/Program Files/Steam/steamapps/common/NEKOPARA Vol. 2”

Since the Windows version of Steam is already being juked into running on an OS it was never intended, clicking “Create Desktop Shortcut” from Windows!Steam won’t work. It is possible to make a shortcut directly to the game’s .exe executable:
Open the “configure” menu in PlayOnLinux, and select that huge “Make a new shortcut from this virtual drive” button. It will scan the folders for .exe files, and select “nekopara_vol2.exe” (or the appropriate file for the game in question).
And last but not least…

If you’re that segment of the playerbase who posts “18+/adult porn patch where” because your visual novel experience just isn’t complete without shrieking and squelching noises, then you’re in luck. As you are an adult and have no doubt already paid the porn tax for the official patch at Denpasoft, then yes, yes, there is a way to install it on top of the Steam version even when playing the game through Linux.
H1. Copy the official patch to the fake C drive inside your Wine/PlayOnLinux virtual drive and extract it from the archive (if you’ve not already done so).