Overview
This guide is attempting to help people put some life back into their Fallout New Vegas experience.IMPORTANT NOTICE:I am NOT responsible if you do not install these mods carefuly and they end up breaking your game. I am also NOT responsible if your system is not able to handle these mods and therefore I am going to give you my system specs for reference.System Specs:CPU: Intel Core i7 4790K 4.4GhzRAM: 16GB 1600MhzGPU: EVGA GeForce GTX 1070 8GB Super-ClockedOS: Windows 8.1 ProNow that we got that out of the way, Ring-A-Ding-Ding, Baby!
Brief Description:
I personally don’t really like changing my game to a point of not being able to recognize it and therefore I picked my mods that are fairly light on performance and don’t change the game up too much so that you can uninstall them incase you do not like them with a few exceptions.
I like to keep my mod choice as Lore Friendly, within the 3D Fallout Universe, as I can and therefore there are no mods that add any real life weapons into the game. I do understand, however, that the Classic Fallout games DID in fact have real life weapons.
Enough chit-chat, let’s get into the modding!
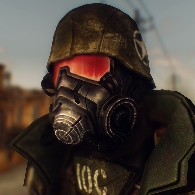
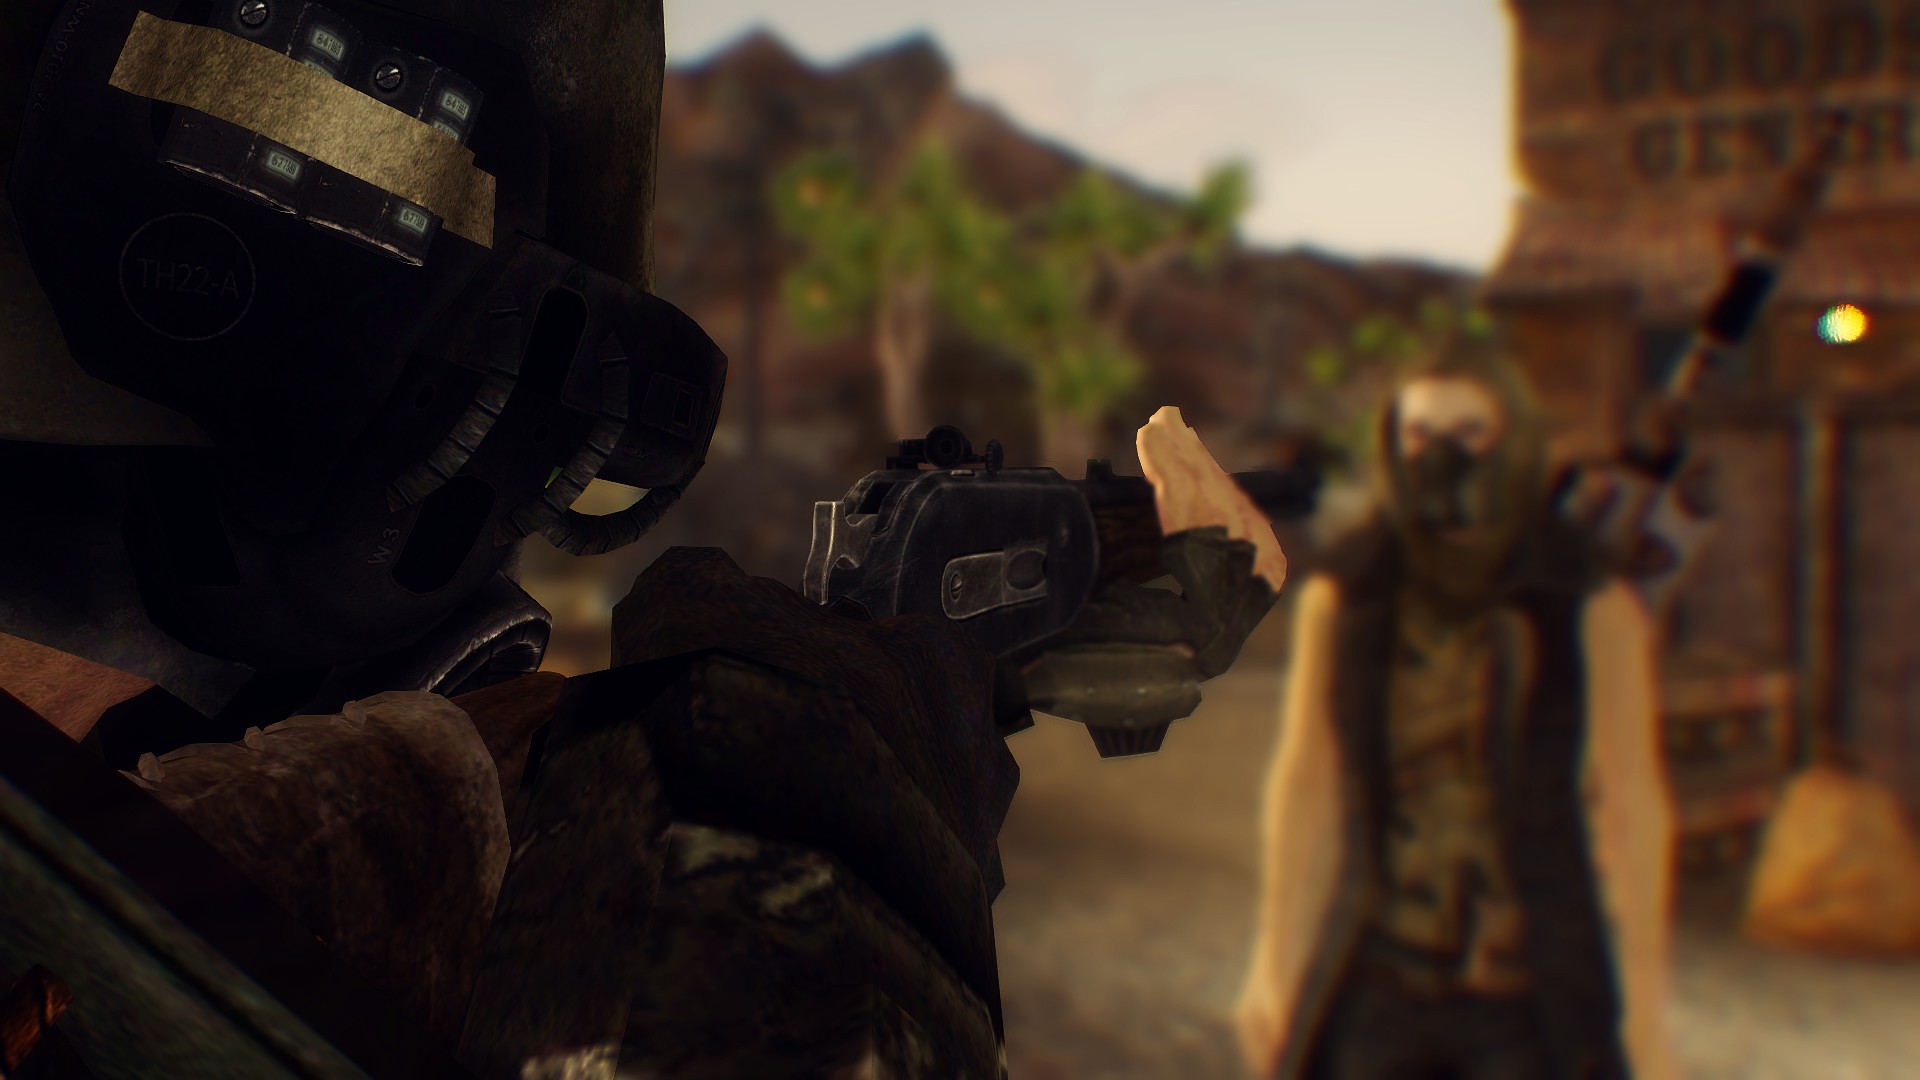
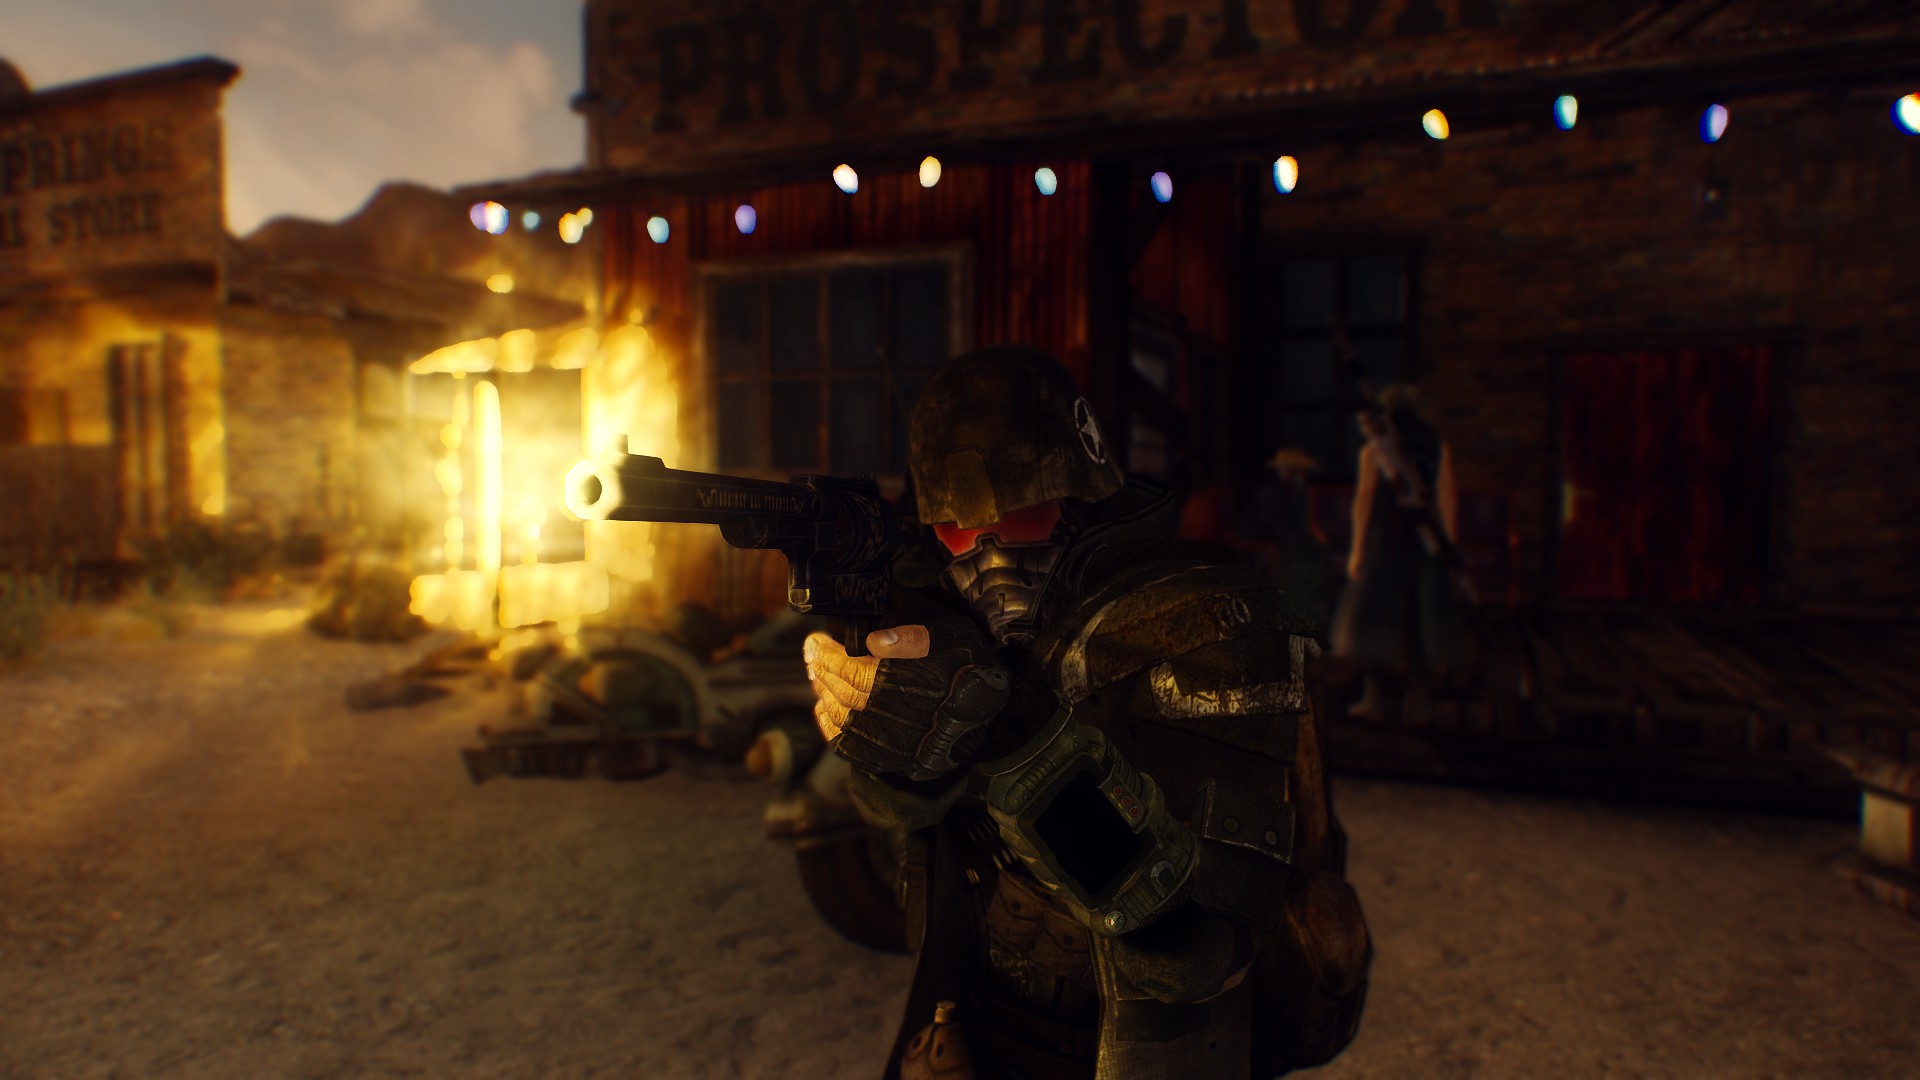
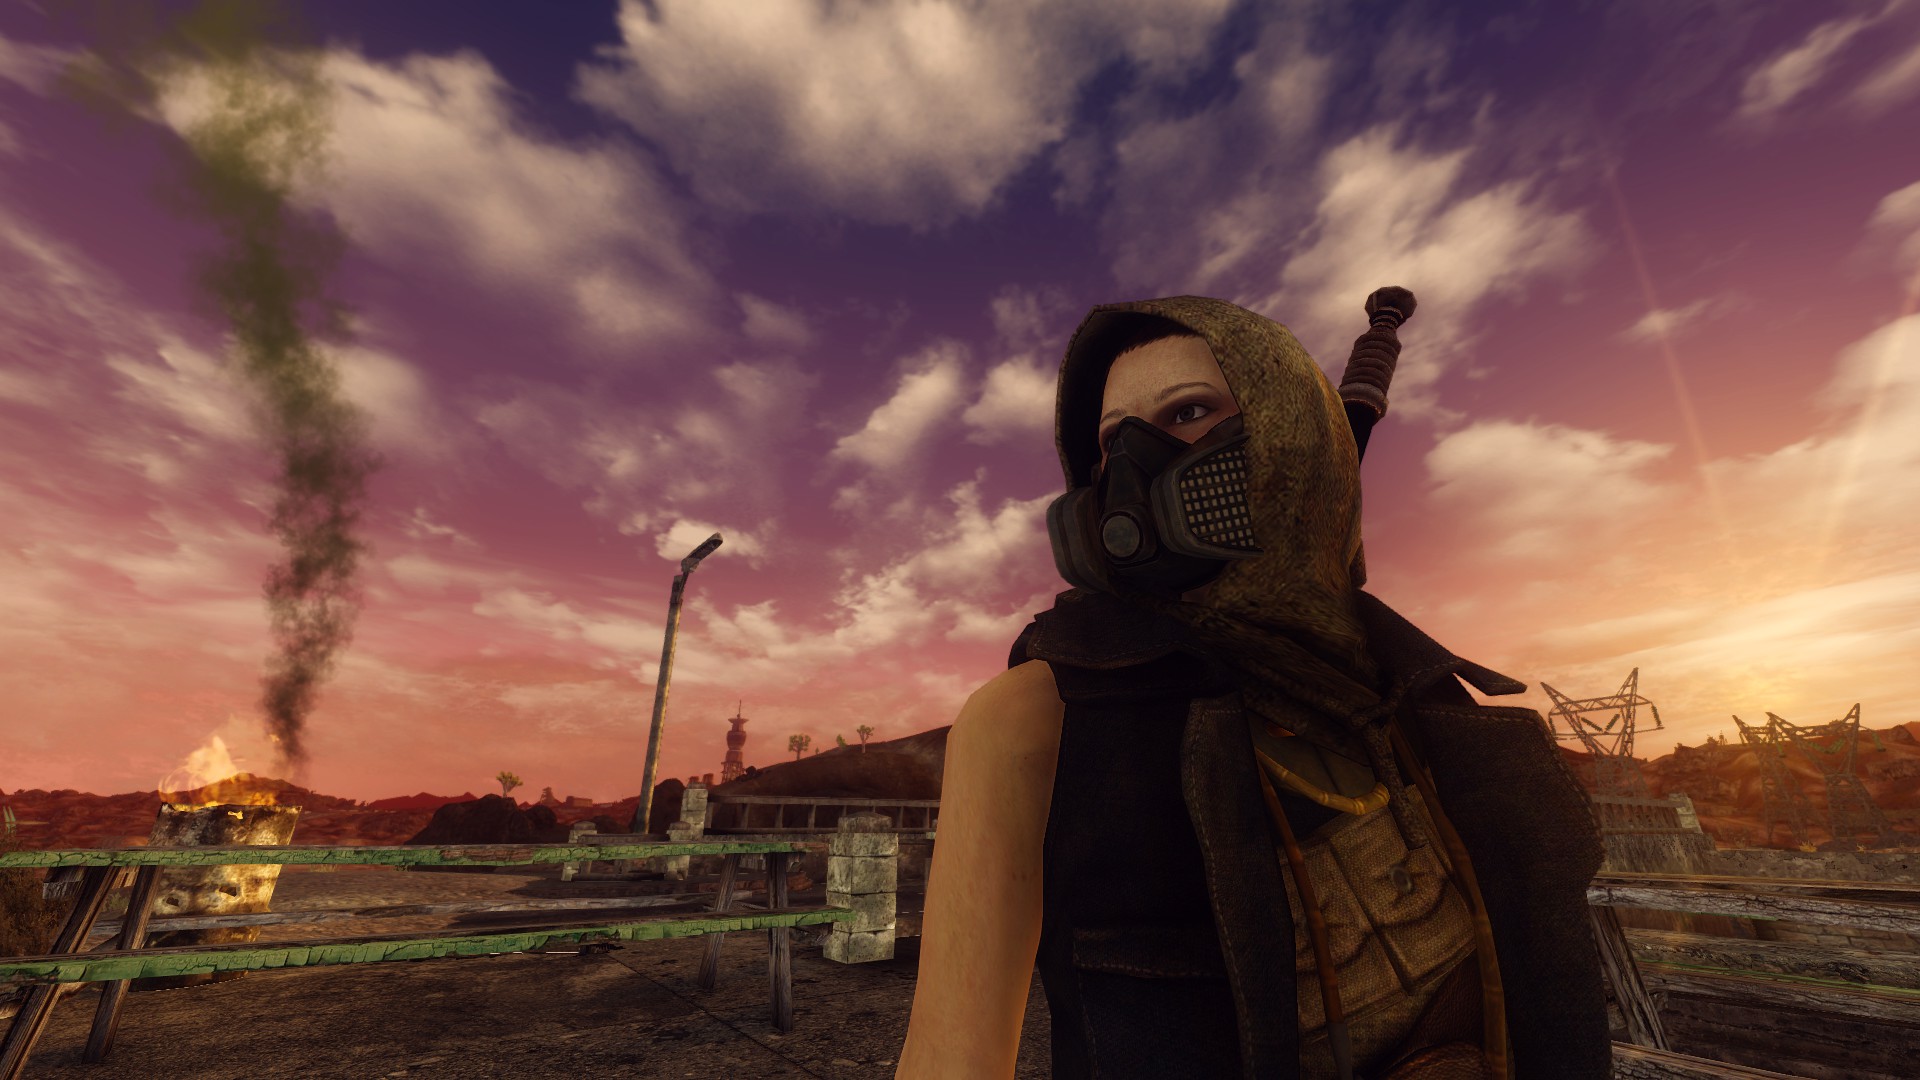
Example Screenshots
Why Does This Section Exist?
I made this because I like taking cool pictures with ENBs! No, but seriously, this is here to help you get a better idea of what your game may look like once you have installed these mods.
Oh and… these screenshots look pretty nice!

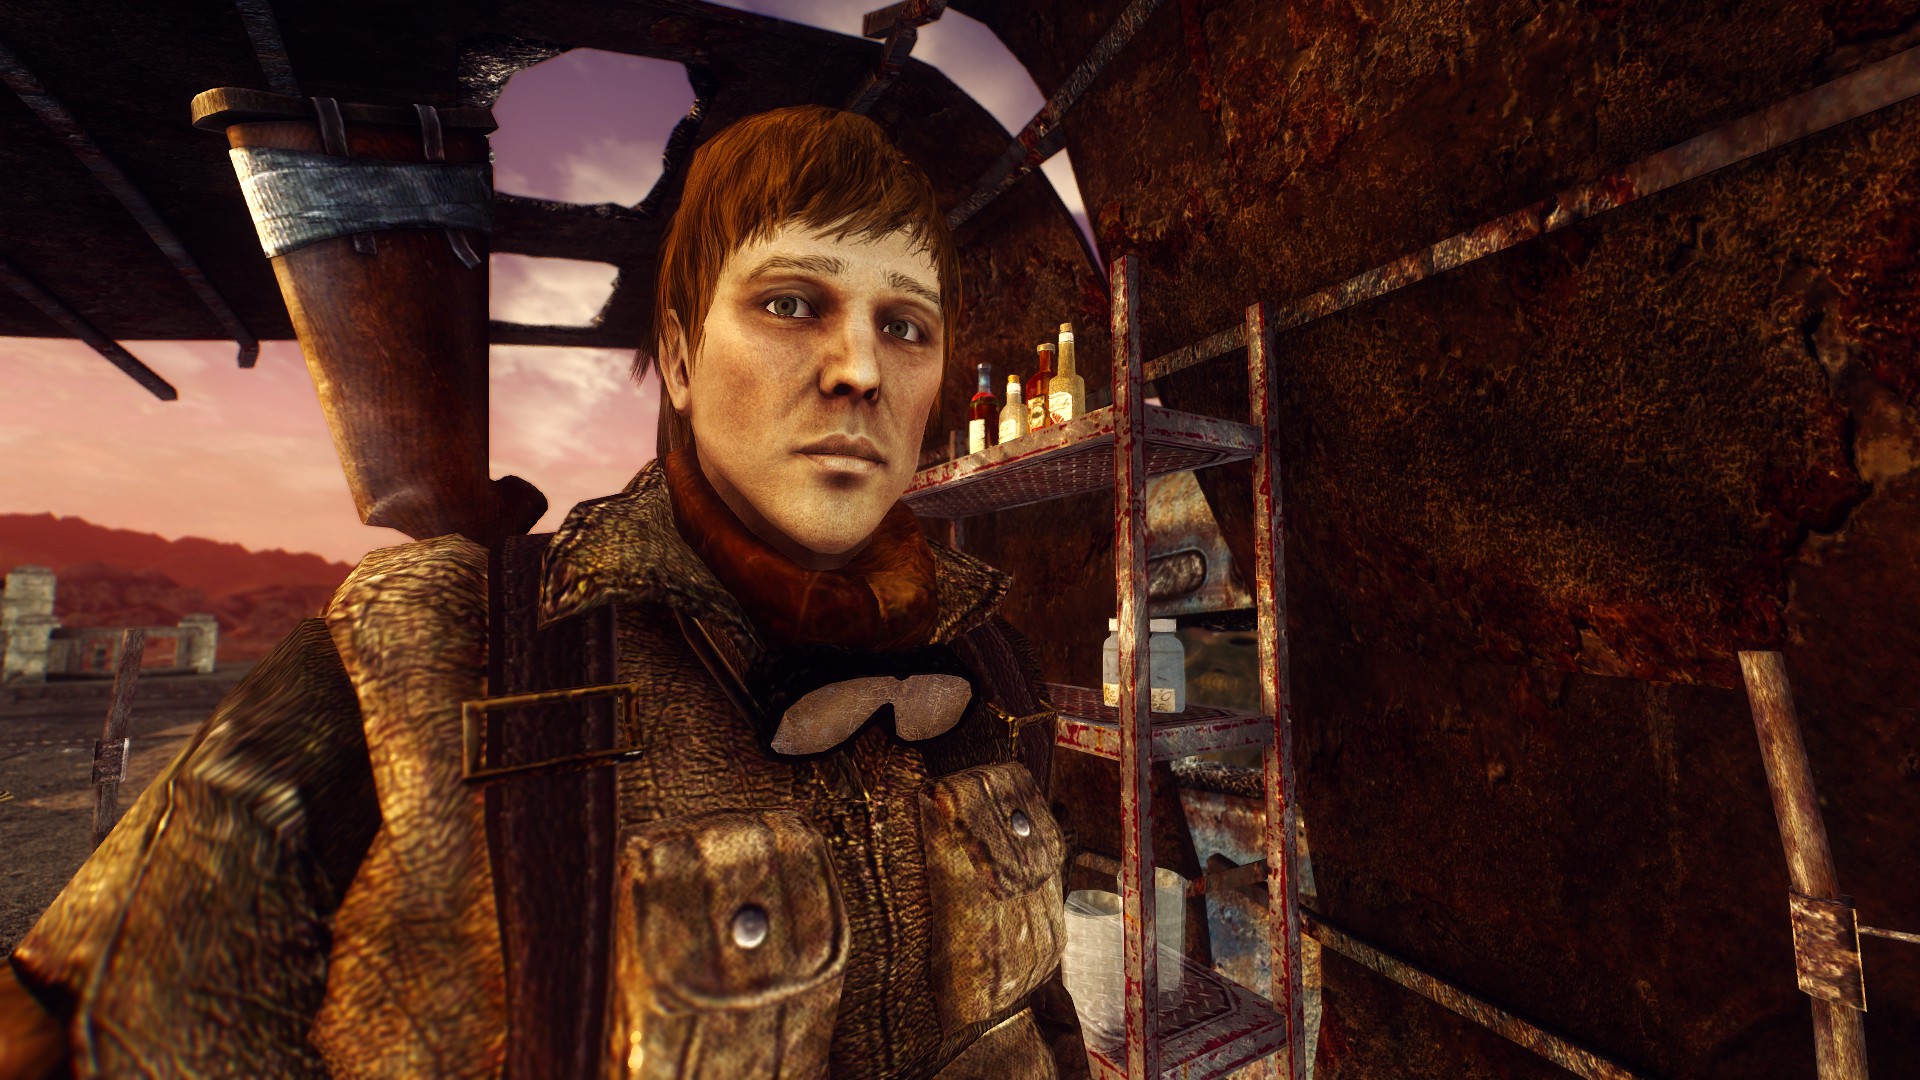
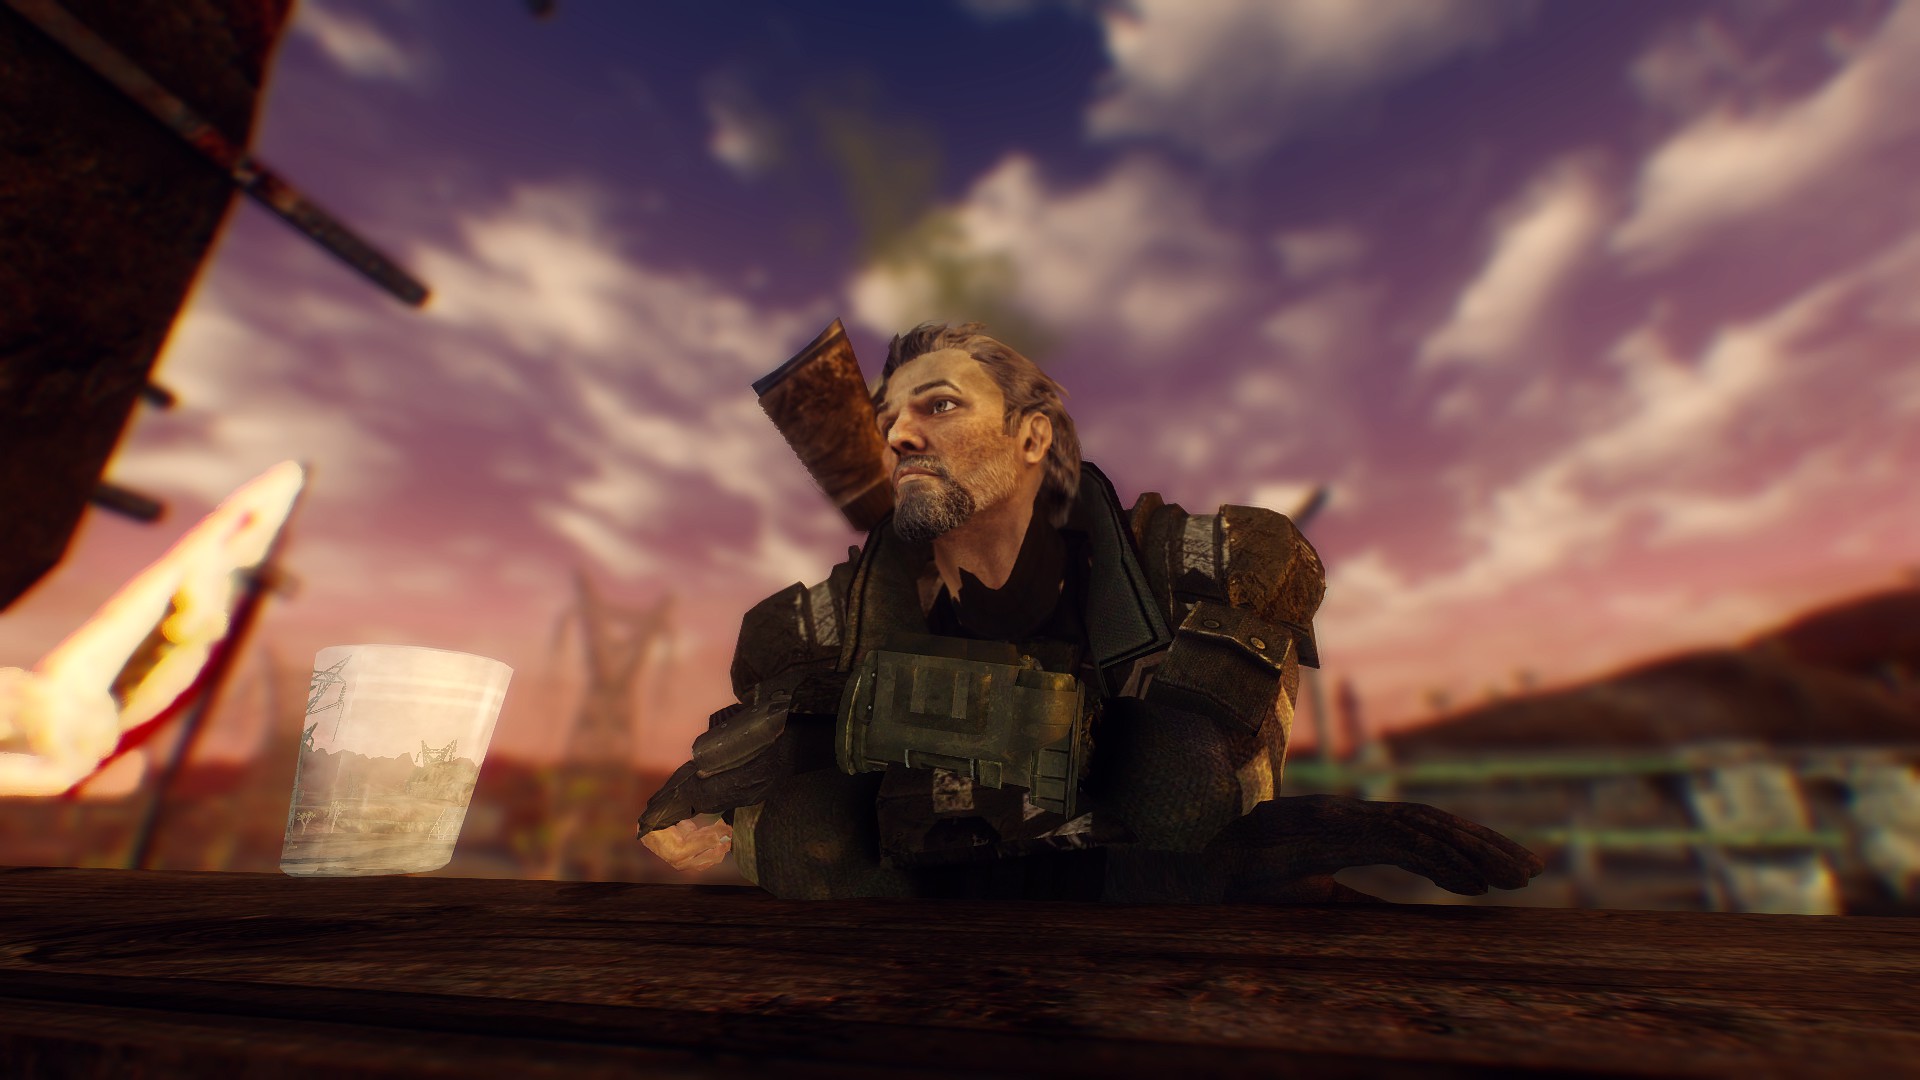
I think this is a nice balance for Visual Flare and Gameplay Practicality.
Mouse Acceleration Fix
No one likes a PC game with Mouse Acceleration and Fallout New Vegas is no exception! I decided to put the fix here rather than have people search around the internet and then come back here. It’s just a lot more conveniant to have it here.
Mouse Acceleration Fix:
You want to head into your ‘Documents‘ folder and click on ‘My Games‘, click on ‘FalloutNV‘
Here you want to make sure that your ‘Fallout.ini‘ is NOT set to ‘Read-Only‘
After that, open it up and hit Ctrl+F and type in ‘Controls‘ and add these lines under ‘bBackground Keyboard=1‘
fForegroundMouseAccelBase=0
fForegroundMouseAccelTop=0
fForegroundMouseBase=0
fForegroundMouseMult=0
Hopefully this has helped you remove that awful mouse acceleration that you get in menus, on your Pip-Boy and generally In-game.
IMPORTANT NOTICE
Steam will reset your ‘Fallout.ini‘ if you open New Vegas through Steam and therefore you should open the game through ‘NVSE‘ or after using the ‘4GB Patcher‘, make a Desktop Shortcut of ‘Fallout.exe‘ and open it purely through that.
REQUIRED Modding Tools:
First off, you are going to need some modding tools that will enable you to actually mod your game.
Don’t worry, these are very simple to grasp mods so there isn’t a high level of intelligence required to use these.
Mod Tools:
LOOT – Load Order Optimization Tool: Pretty straight forward, this tool optimizes your load order so that your mods work well together and load up in the game in the correct order so that it minimises your chance of running into issues.
Link: [link]
Nexus Mod Manager: This is essentially what you use to install mods into your Fallout: New Vegas, it can also be used to install mods to a variety of other games that it supports.
Link: [link]
FNV Edit: Allows you to create a Merge Patch between your mods so that there are less incompatibilites between your mods. This is better explained in my “Merge Patch” section.
Link: [link]
Now, these are not so much Modding Tools, per say, but they are REQUIRED for some of the mods to function properly.
NVSE – Beta Version: Extends the game’s flexibility for using modded scripts, allowing things like the Mod Configuration Menu to function, alongside other mods.
Link: [link]
4GB Patcher: Allows the game to use up to 4GB of memory, rather than only 2GB which allows for a better, smoother experience in gameplay.
Link: [link]
MAKE SURE to follow the installation steps provided in the links above.
Mods:
Congratulations! You have finally made it into the Mods section! This is where the fun starts!
DISCLAIMER:
This mod list is based on my own preference and therefore if there are mods on here that don’t suit your fancy or if you feel that there are some mods missing that could make your experience better then you can go ahead and change that in your own game.
I am going to section these based on how Nexus Mod Manager has sectioned these.
Important Notice:
Make sure to read through each mod description on the Nexus to make sure you install them correctly.
Animation:
1st Person Weapon Animation Overhaul — [link]
Gun Follows Crosshairs in First Person — [link]
Solid Project — [link]
Bug Fixes:
New Vegas Stutter Remover — [link]
New Vegas Anti Crash — [link]
Yukichigai Unofficial Patch – Base Game and All DLC — [link]
Clothing:
Lionhaerts Backpacks NV — [link]
Companions:
Companion DLC Access — [link]
Unlimited Companions — [link]
Gameplay Effects and Changes:
CASM NV — [link]
Economy Overhaul — [link]
Electro City – Relighting The Wasteland — [link]
Enhanced Camera — [link]
Immersive Minigames — [link]
Interior Lighting Overhaul — [link]
Nevada Skies — [link]
Perk Every Level — [link]
The Strip Open — [link]
Weapon Mods Expanded — [link]
Weapon Mods Expanded – All DLC — [link]
Weapon Mods Expanded – Weapon Retexture Project Patch — [link]
Hair and Face Models:
Fallout Character Overhaul — [link]
Fallout Character Overhaul – Patch — [link]
Miscellaneous:
BLIND – Borderlands Inspired Numeric Damage —
[link]
Faster Access To Lucky 38 — [link]
Models and Textures:
ADAM – A Definitive Armor Mod — [link]
aMidianBorn NV – Book of Flesh — [link]
aMidianBorn NV – Book of Steel — [link]
Authentic Burned Man — [link]
Collision Meshes — [link]
Improved Robots Textures – Base Game — [link]
Improved Robots Textures – Lonesome Road Patch — [link]
Improved Robots Textures – Old World Blues Patch — [link]
MGs Neat Clutter Retextures – MGs NCR Pack — [link]
Misc Item Icons — [link]
NMCs Texture Pack LARGE – Part 1 — [link]
NMCs Texture Pack LARGE – Part 2 — [link]
NMCs Texture Pack LARGE – Part 3 — [link]
OJO BUENO Texture Pack — [link]
OR ALTERNATIVELY
POCO BUENO Texture Pack — [link]
PipBoy 3000 HD Retexture — [link]
Wasteland Clothing Hire Texture Pack — [link]
Quests and Adventures: COMPLETELY OPTIONAL
The New Bison Steve Hotel and Lucky Casino — [link]
Sounds and Music:
Immersive Pickup Sounds – Compatibility Version — [link]
User Interfaces:
Darnified UI — [link]
FOV Slider — [link]
Loot Menu For FNV — [link]
OneHUD — [link]
OneHUD – Darnified Patch — [link]
Shiloh DS – Color Survival Map & Icons — [link]
The Mod Configuration Menu — [link]
The Weapon Mod Menu — [link]
Utilities:
JIP LN NVSE Plugin — [link]
UIO – User Interface Organizer — [link]
Weapons:
357 Revolver Re-Retextured — [link]
Weapon Retexture Project — [link]
Weapon Retexture Project – Patch — [link]
!!!IMPORTANT NOTES!!!
I recommend to install ‘Darnified UI’ AFTER all your other mods to minimise the risk of running into issues.
Also recommend to install the ‘357 Revolver Re-Retextured’ AFTER ‘Weapon Retexture Project’ and Patch as I found that without it, you will run into texture issues with the revolver.
As for ‘ADAM – A Definitive Armor Mod’, you will have to manually download and install the mod, the installation guide is in the README that comes inside the WinRAR folder.
I also recommend installing the ‘1st Person Animation Overhaul’ AFTER all the other mods
If your GPU does not have 3GB+ of memory then I DO NOT recommend downloading ‘OJO BUENO Texture Pack’ but alternatively, I suggest going with ‘POCO BUENO Texture Pack’ which is a lot more friendly with GPUs that have 2GB of memory or less whilst still retaining some truly beautifully crafted textures.
Merge Patch
Now, this part can be actually quite beneficial for those that use a lot of mods. You will most likely run into some compatibility issues where some mods try to edit some game files that other mods attempt to do so too and that can cause a few issues such as crashing, missing items or mods not working to their full potential and therefore some talented mod makers have created another tool that helps to try to minimise those sort of issues with a tool called FNVEdit.
I’m not experienced with this tool myself and therefore I am going to refer to a tutorial that helped me a lot with this.
Check out Gopher’s video on FNVEdit which is extremely helpful and he makes sure that people understand what exactly they are doing with their game before they go ahead and use the tool.
Massive thanks to Gopher for making this useful and helpful video.
Thanks, Gopher!
!!!IMPORTANT NOTICE!!!
MAKE SURE that once you have created your Merge Patch, you go back onto your Nexus Mod Manager and activate it in the Plugins section AND put it at the bottom of your Load Order.
My Load Order
This is my Personal Load Order that you may use for reference:
FalloutNV.esm
DeadMoney.esm
HonestHearts.esm
OldWorldBlues.esm
LonesomeRoad.esm
GunRunnersArsenal.esm
ClassicPack.esm
MercenaryPack.esm
TribalPack.esm
CaravanPack.esm
YUP – Base Game + All DLC.esm
oHUD.esm
SolidProject.esm
FCOMaster.esm
Interior Lighting Overhaul – Core.esm
Interior Lighting Overhaul – L38PS.esm
ELECTRO-CITY – CompletedWorkorders.esm
ELECTRO-CITY – Highways and Byways.esm
NVStripOpen.esm
The New Bison Steve Hotel.esm
NevadaSkies.esm
YUP – NPC Fixes (Base Game + All DLC).esp
ADAM – NCR Patrol Armour.esp
The Mod Configuration Menu.esp
CASM.esp
PerkEveryLevel.esp
The Weapon Mod Menu.esp
UnlimitedCompanions.esp
LootMenu.esp
FOVSlider.esp
FP gun follows crosshairs.esp
Container Exit Override.esp
DeadMoneyCompanions.esp
HonestHeartsCompanions.esp
LonesomeRoadCompanions.esp
OldWorldBluesCompanions.esp
BLIND.esp
FCO – NPC Changes.esp
StripOpenMain.esp
FasterAccessToLucky38.esp
DarNifiedUINV.esp
Economy Overhaul.esp
FCO – OHSB NPC Edits.esp
FCO – The New Bison Steve.esp
ILO – Nevada Skies Patch.esp
ILO – PipBoy Light.esp
ILO – YUP Patch.esp
WeaponModsExpanded.esp
LHbackpacksNV.esp
ShilohDS-Color Maps and Icons.esp
boa ncrpahelmet.esp
Boacombat2glove.esp
Better Burned Man.esp
WMX-ArenovalisTextures.esp
357retex.esp
Immersive Minigames.esp
MiscItemIconsNV.esp
ImmersivePickupSoundsFNV.esp
WMX-GunRunnersArsenal.esp
WMX-OldWorldBlues.esp
WMX-DeadMoney.esp
WMX-LonesomeRoad.esp
WMX-HonestHearts.esp
WMX-PreOrderPackCaravan.esp
WMX-PreOrderPackClassic.esp
WMX-PreOrderPackMercenary.esp
WMX-PreOrderPackTribal.esp
Reload Sounds.esp
Interior Lighting Overhaul – Ultimate Edition.esp
NevadaSkies – Ultimate DLC Edition.esp
Merge Patch.esp
ENB: Optional
As I have a very decent PC setup, I am able to allow myself to run New Vegas alongside an ENB mod but I can’t speak for everyone and say that they should download one.
If you do, on the other hand, have a powerful desktop, then I recommend downloading an ENB and seeing the game take on a new look but of course, you can download whatever ENB you want as long as you know your PC’s capabilities.
Personal ENB Choice:
Dynamo ENB — [link]
ENBSeries V0.278 — [link]
I personally use the ‘Default One‘ colour pallette from the alternatives that come inside the package.
I like this ENB over most as it is fairly performance friendly whilst definitely boosting the visuals of the game, it also does not get too much in the way of gameplay and comes with a decent replacement for Anti-Aliasing.
Enhanced Shaders ENB — [link]
ENBSeries V0.278 — [link]
I went with the NEVADA SKIES Version as I am using NEVADA SKIES. For the ‘Optional Palettes‘ I went with the NEUTRAL Version.
I recently switched to this ENB and surprised as I was, it runs around the same framerate as Dynamo ENB but retains a lot of the Vanilla look of the game but just adds a few little touches so that the game feels a little more modern.
IMPORTANT NOTICE:
Upon installing the ENB MAKE SURE that you disable Anti-Aliasing, Anistropic Filtering and Water Displacement in your New Vegas Launcher
Performance Testing
I decided to find out how Fallout New Vegas would run on two completely different systems with more-less the same mods installed, alongside the Enhanced Shaders ENB, to attempt to find how different the performance would be and hopefully this can give people a rough reference as to what to expect after installing these mods.
DISCLAIMER
These tests are NOT an accurate representation of what you, personally, should expect from installing these mods. This test is purely here for a rough reference of what you MIGHT expect.
I ran these on my personal machine and another person’s to receive this:
First Test:
System Specs:
CPU: Intel Core i7 4790K 4.4Ghz
RAM: 16GB 1600Mhz
GPU: EVGA GeForce GTX 1070 8GB Super-Clocked
OS: Windows 8.1 Pro
Performance:
Travelling in Open Areas: 80 – 90 FPS
Travelling in Small Towns: 50 – 70 FPS
Travelling in The Strip: 40 – 50 FPS
Keep in mind that I am using the “Open Strip” mod which WILL tarnish your performance greatly, even with a machine such as mine.
Second Test:
CPU: Intel Core i5 3450 3.5Ghz
RAM: 4GB 1200Mhz
GPU: Asus GeForce GTX 660 2GB Directcu II
OS: Windows 7 Pro
Performance:
Travelling in Open Areas: 60 – 70 FPS
Travelling in Small Towns: 50 – 60 FPS
Travelling in The Strip: 50 – 60 FPS
This time, I decided to uninstall “Open Strip” mod as it is far too performance heavy and without it, it yielded a very stable and certainly playable framerate.
Reason For These Tests?
I wanted to get a better idea of what people could expect from using these mods alongside an ENB and with two systems that are quite different in power, most people would fall somewhere in-between.
All Done!
Double Congratulations on getting down to this section, Courier!
Hopefully this guide has been somewhat helpful to you by bringing some life back into the Mojave with all these great mods. I would highly appreciate it if you left a like on this guide and perhaps even favourited it just so that it can get out to more people out there. Thanks in advance!

Happy Trails, Pardner!