Overview
In here i explain:When do u need 2 change the oilOil drain controllsHow to keep the oil from spilling on the garage floor.
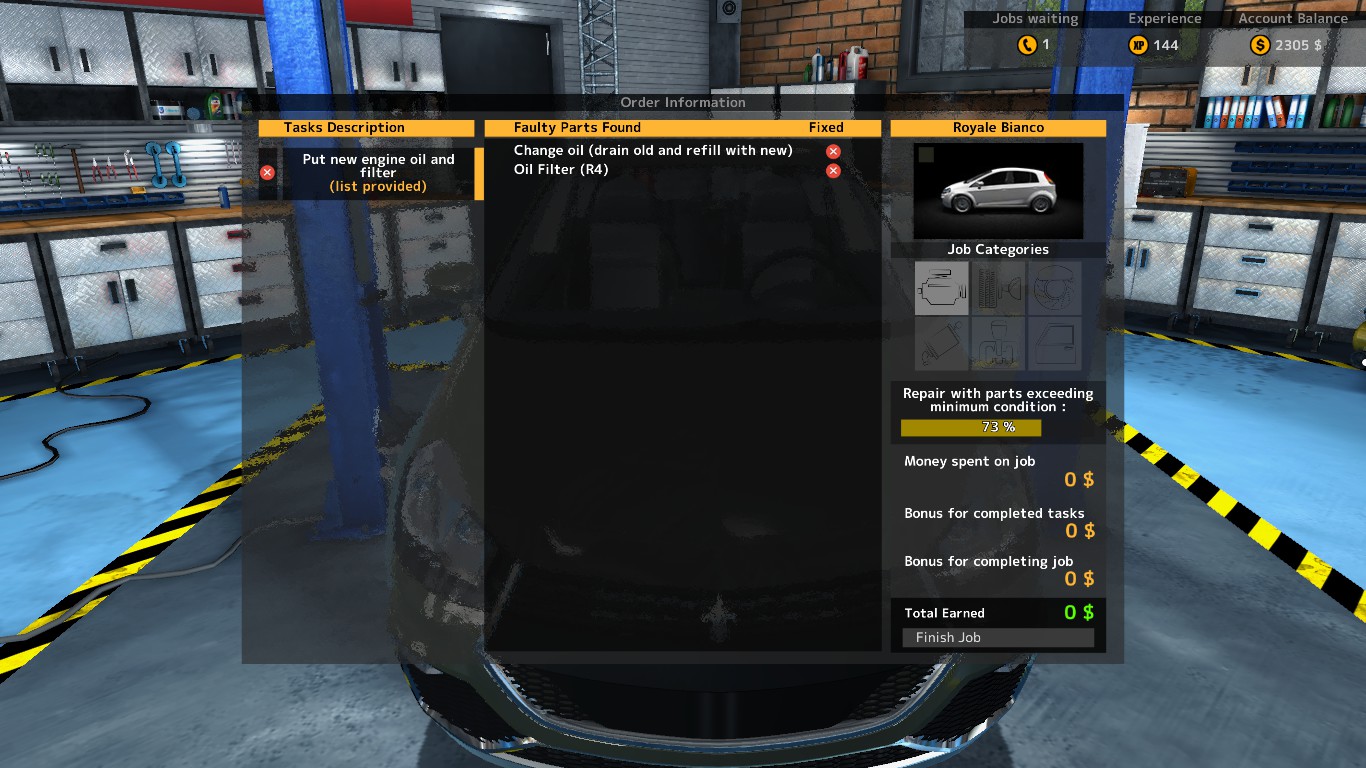
When do we change oil?
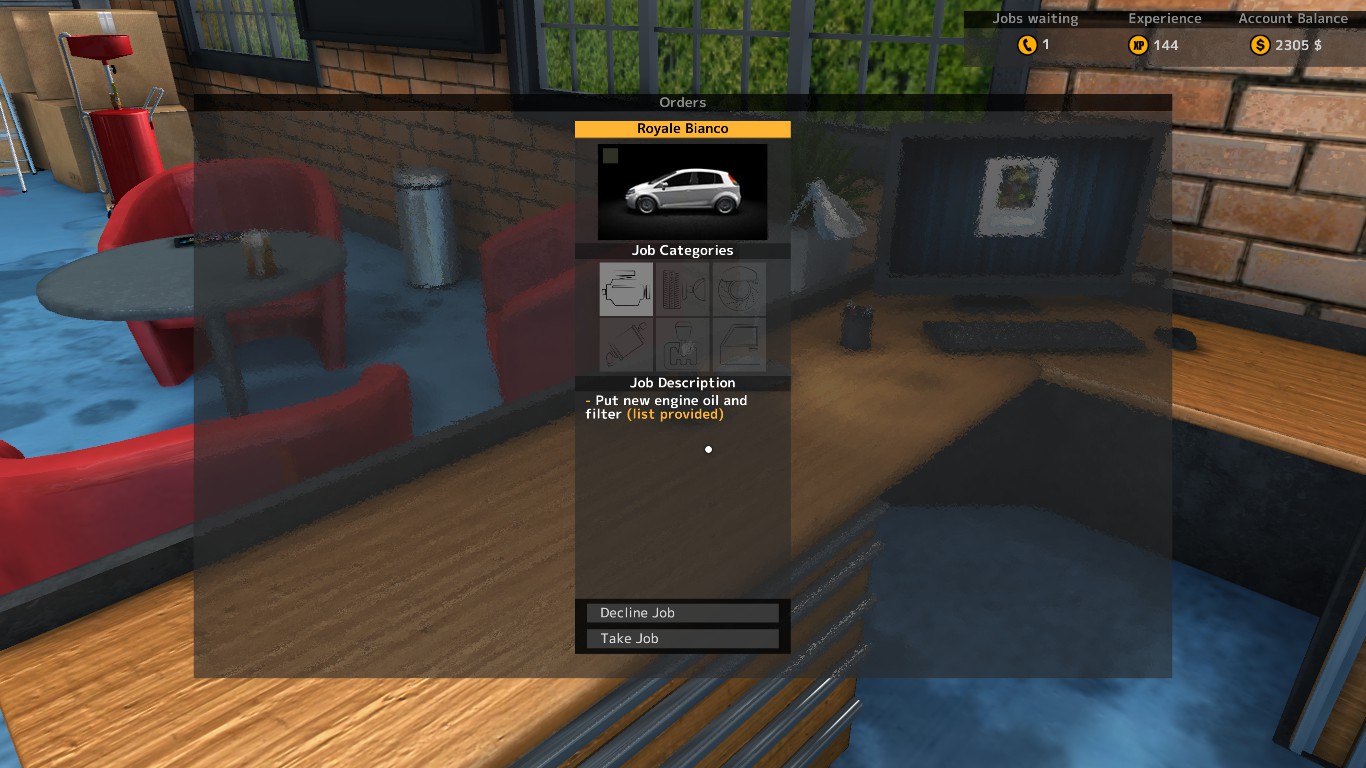
Oil in CMS 2015 needs to be changed when it’s required as a part of a job:
Oil drain basics.
The Oil drain is located in the corner of our workshop,standing right next to the boxes.
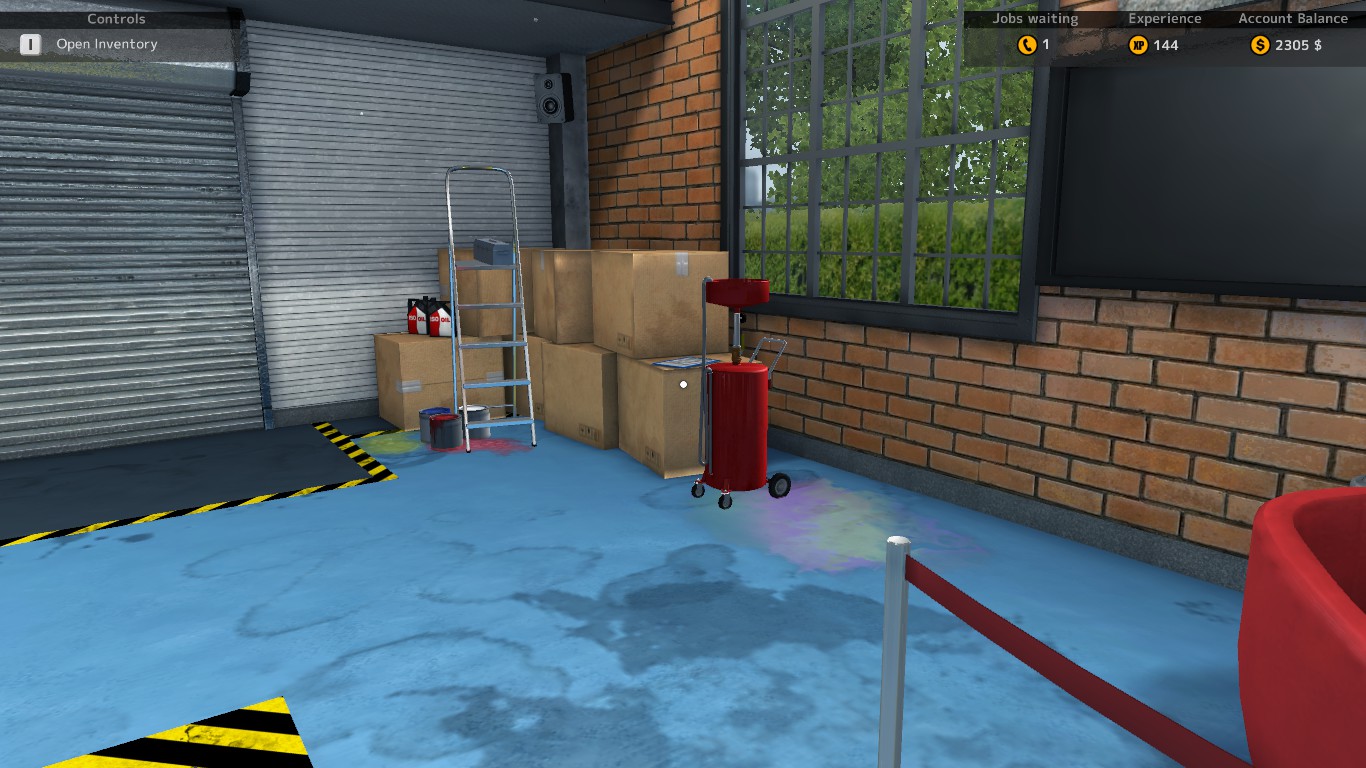
It will then stick to you allowing for relocation to any place of the workshop you fancy.
To release the oil drain press esc.
The drain’s position will be reset if you exit the workshop in any way ( main menu, auction, garage )to the spot near the boxes.
To successfully drain oil without spilling it on the garage floor you need to line up the drain to be just underneath the oil drain plug. The method to do it 100% at a time will be described later.
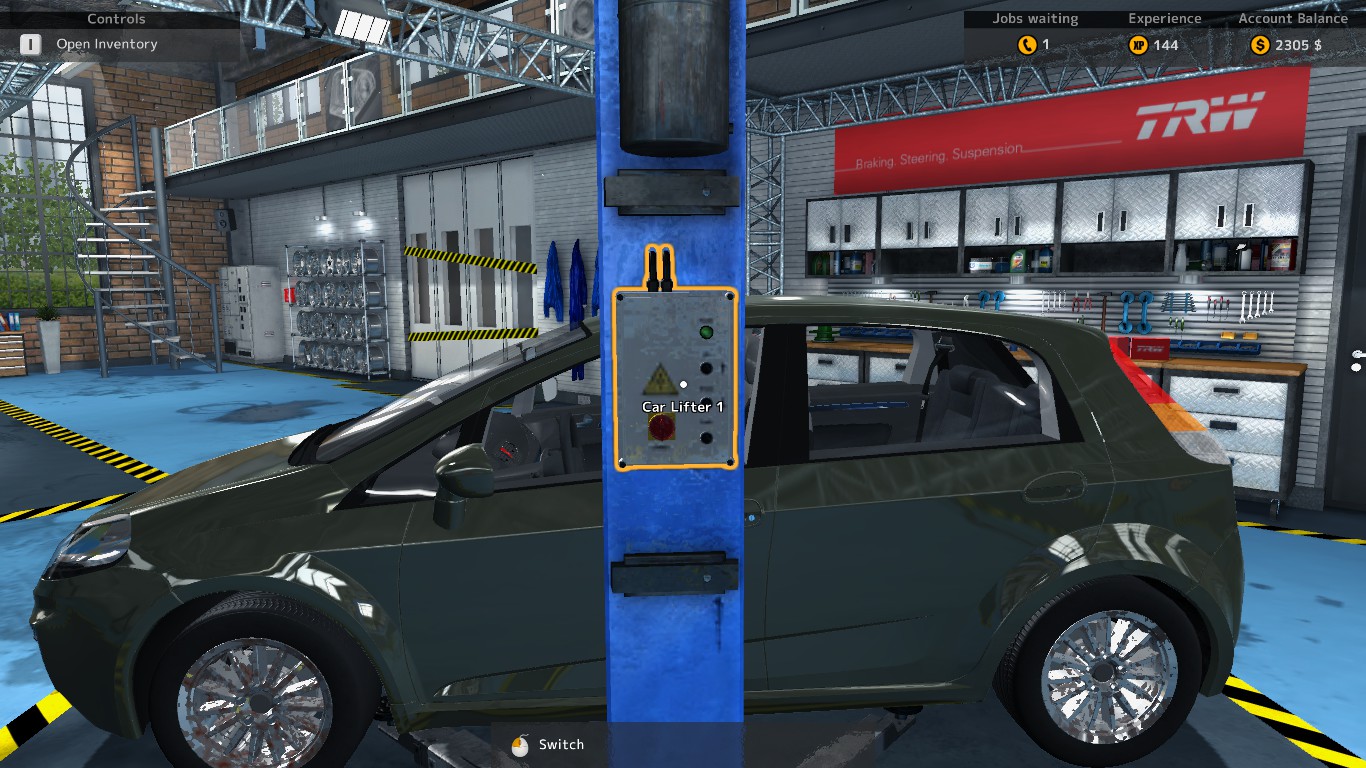
Before we drain oil.
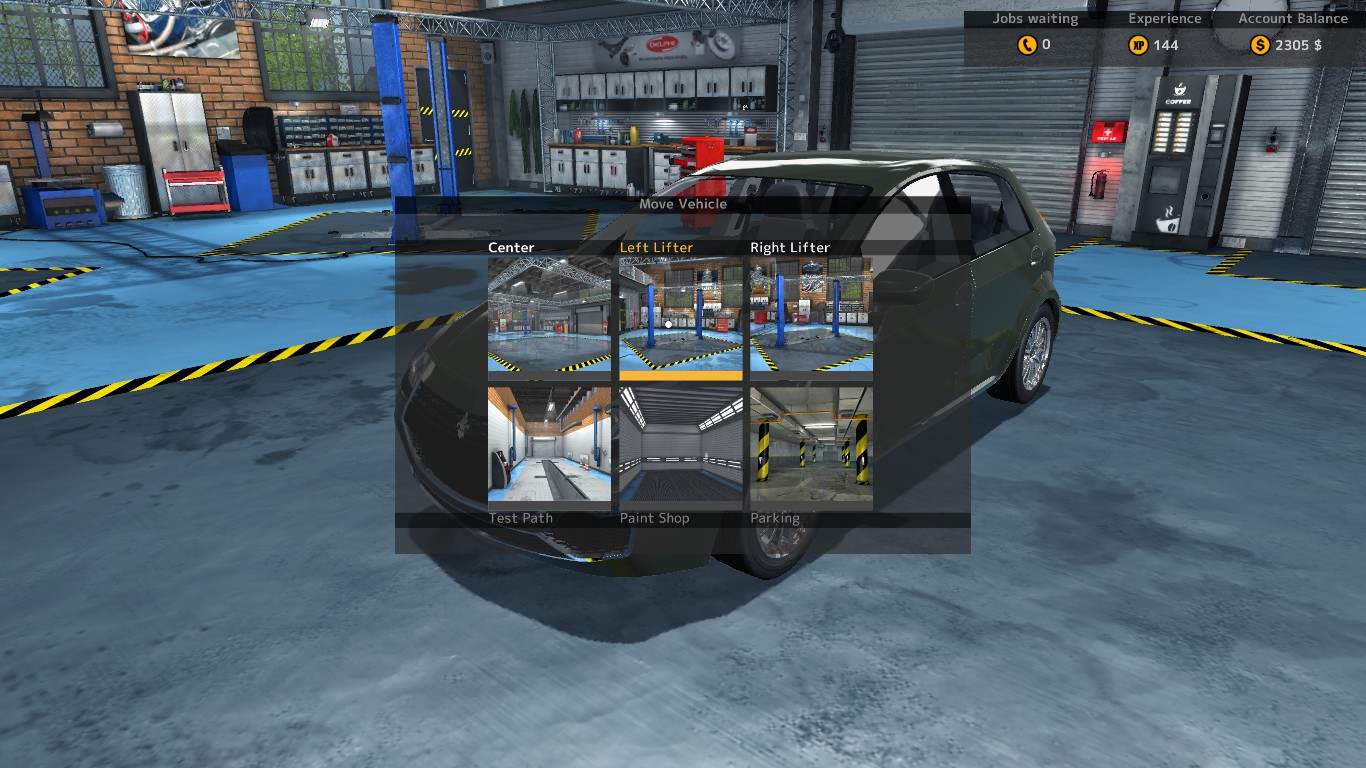
Before we will even be able to change oil we need to relocate the car to a spot with a car lifter.
We do it by pressing “M” while being close to the car and moving it to one of 2 avilable spots.
Out with the old.
When the car has been moved check if there are any other things you need to do underneath like
changing the oil filter:

1.Take the oil drain
2.Move it underneath the car
3.(While still holding the oil drain) look as far up as you can
4.Line up the cursor with the oil drain plug as thus:
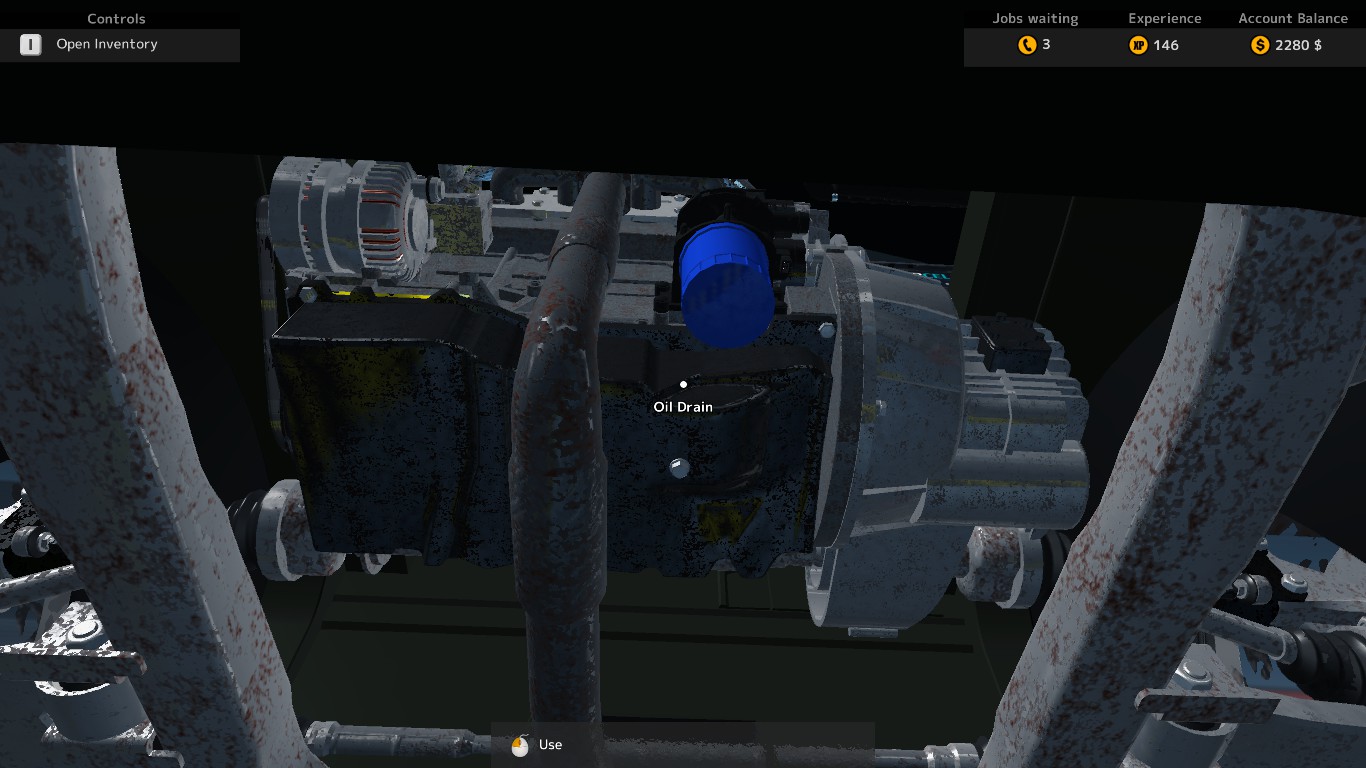
The oil drain is now perfectly under the oil drain plug. The only thing for you to do is to remove the oil drain plug.The reason this method is working is because you are holding the drain a little bit in front of you,which justifies the gap between the cursor and the oil drain plug.
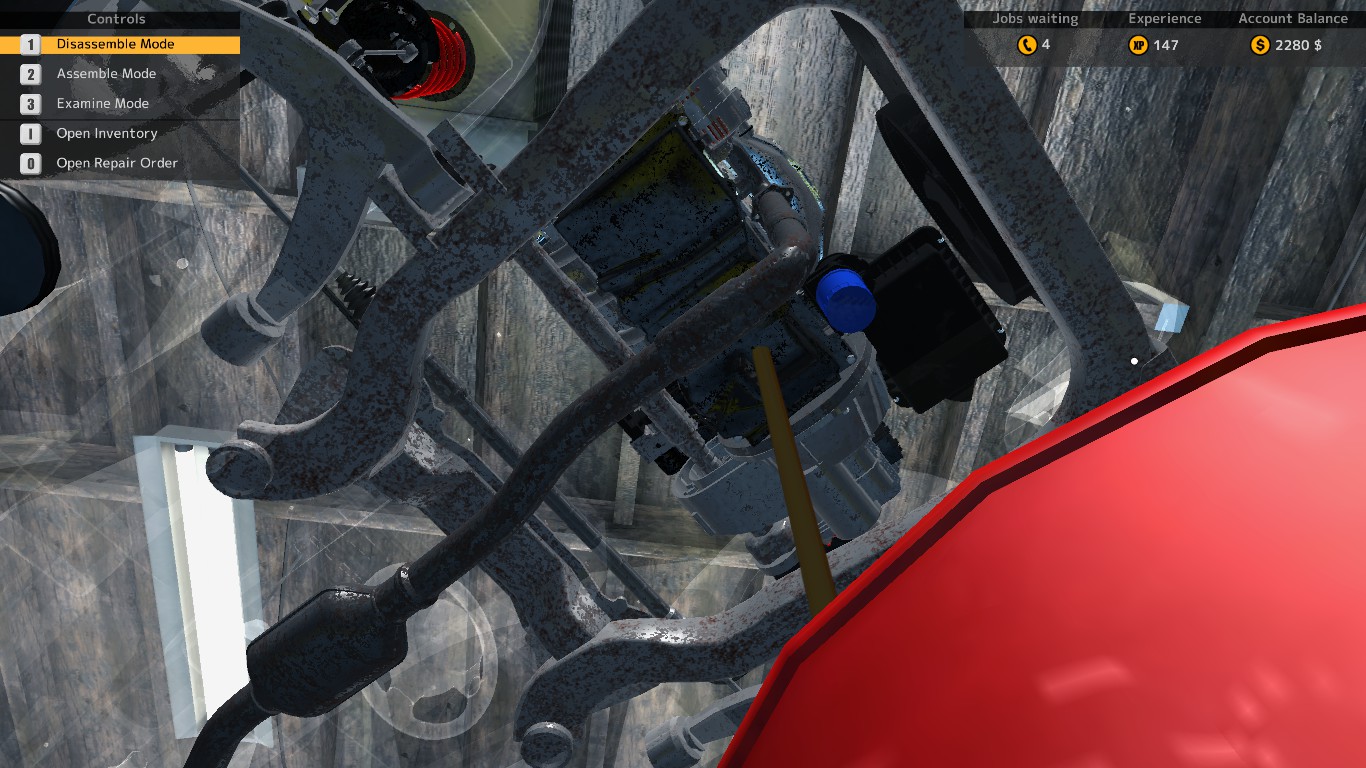
Here comes new!
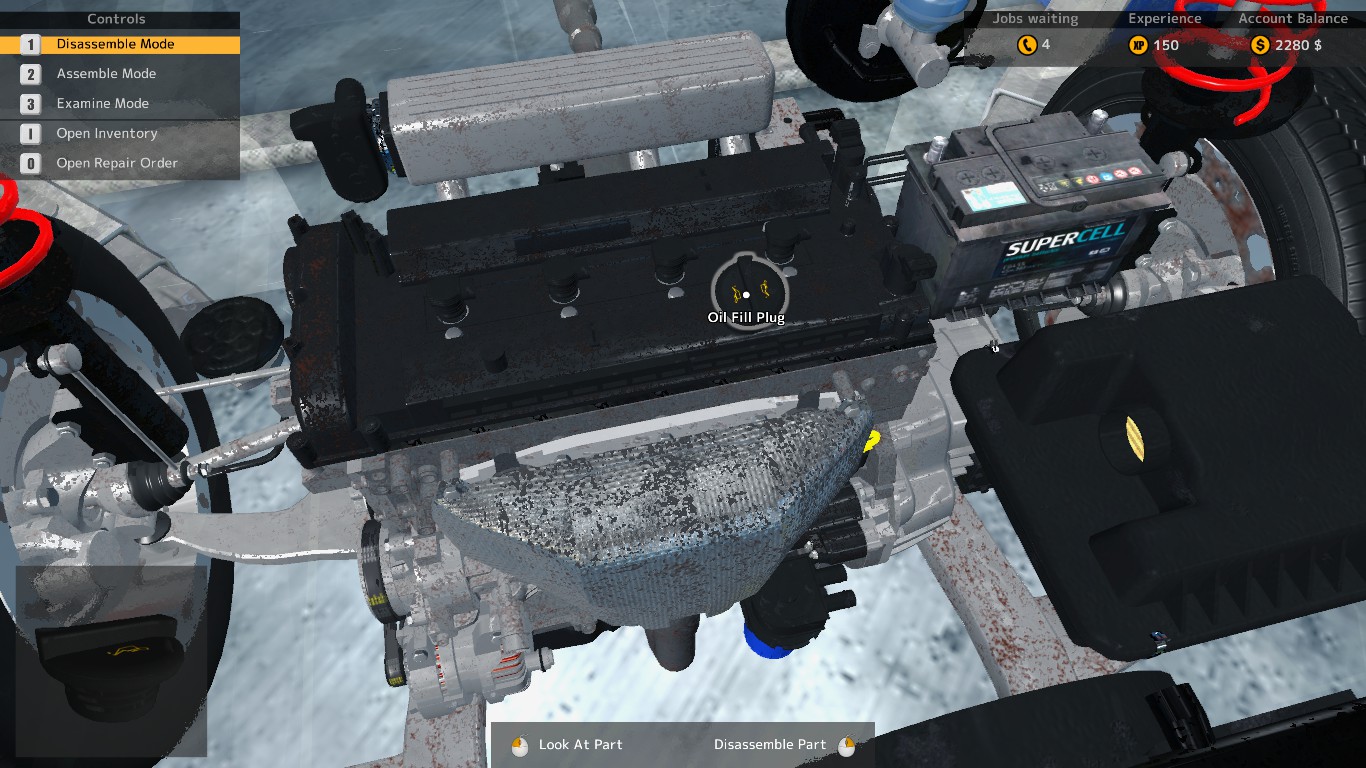
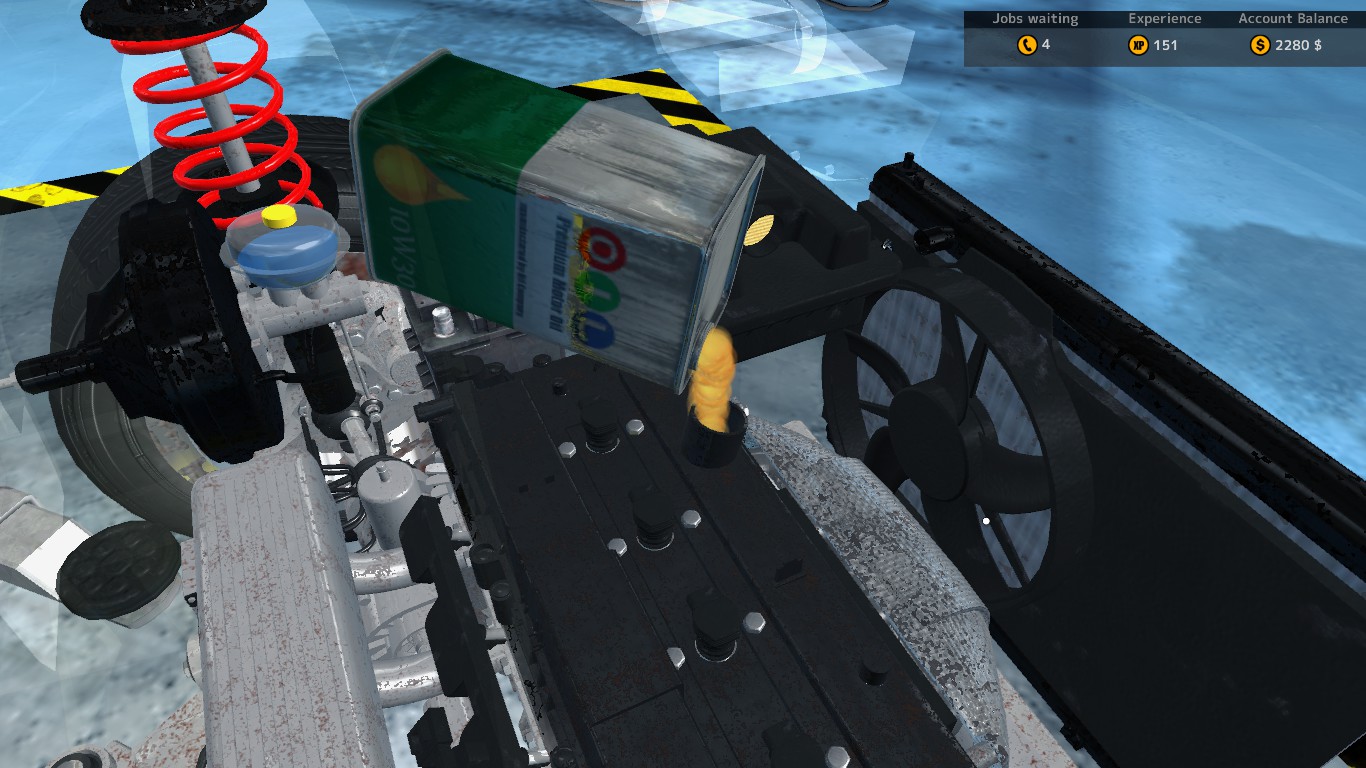
After draining the oil from the engine we move the oil drain from underneath the car and move the whole thing down using the car lift switch.Now we look inside the engine bay and locate the oil fill plug. To start pouring in oil we go into disassembly mode (1) and interact with said plug.

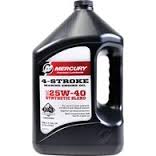
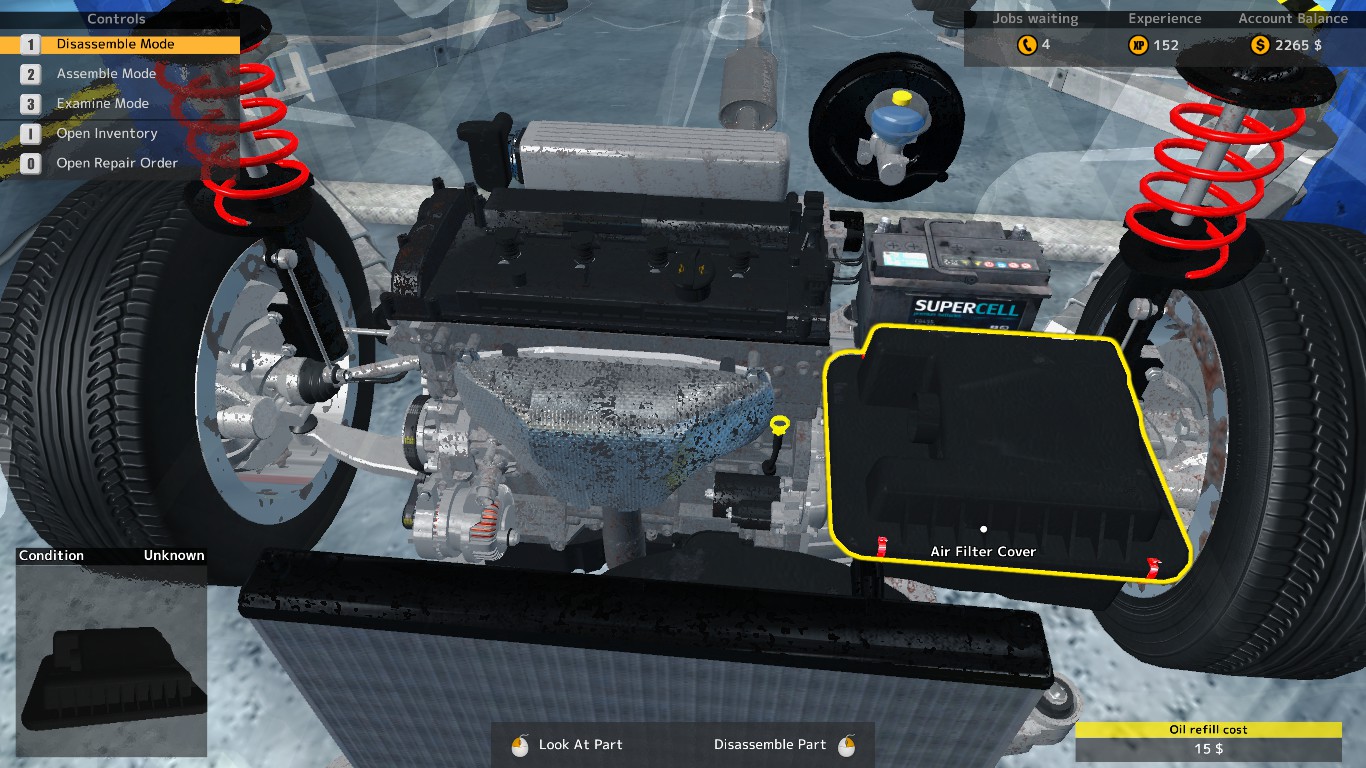
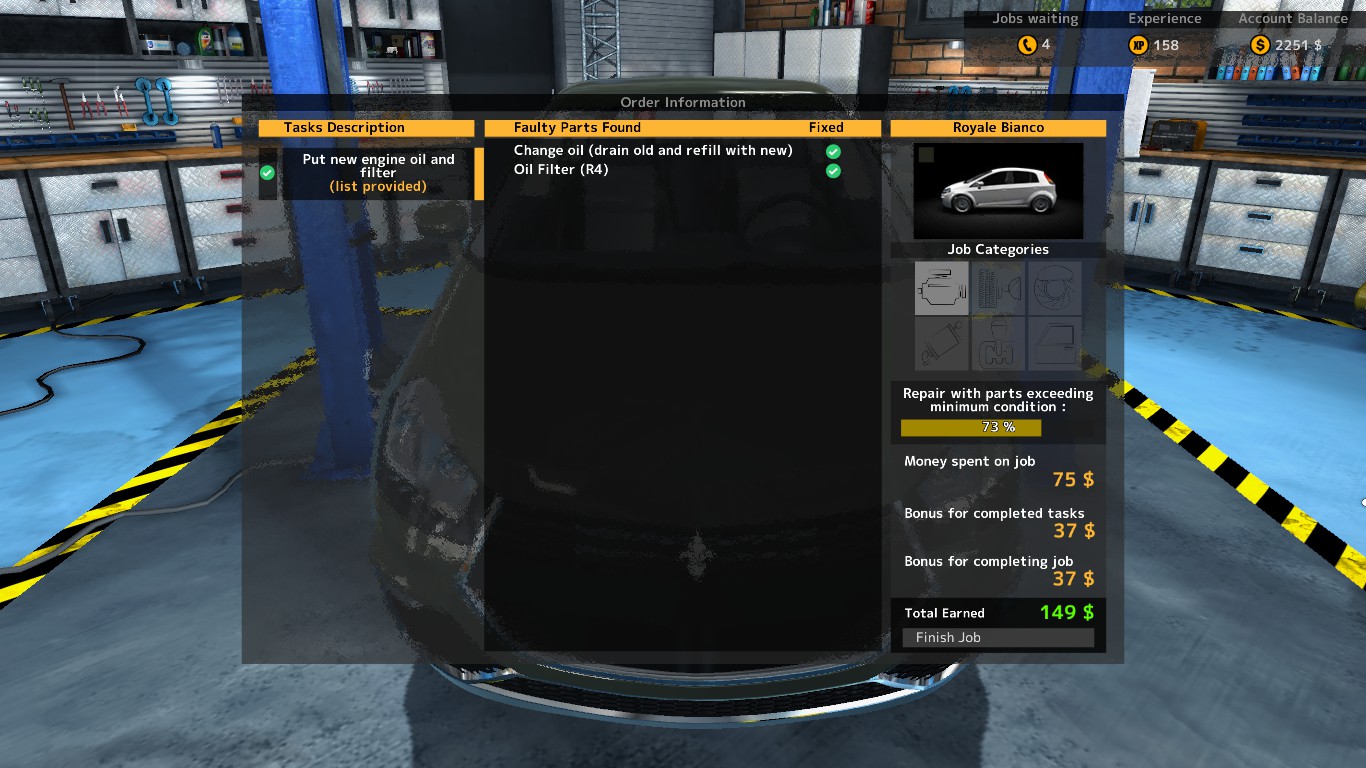
A proper refill should cost about 15$. The cost of the refill will be indicated in the bottom right corner of the screen:
After pouring the right ammount in the engine the task of changing oil should be marked as done.
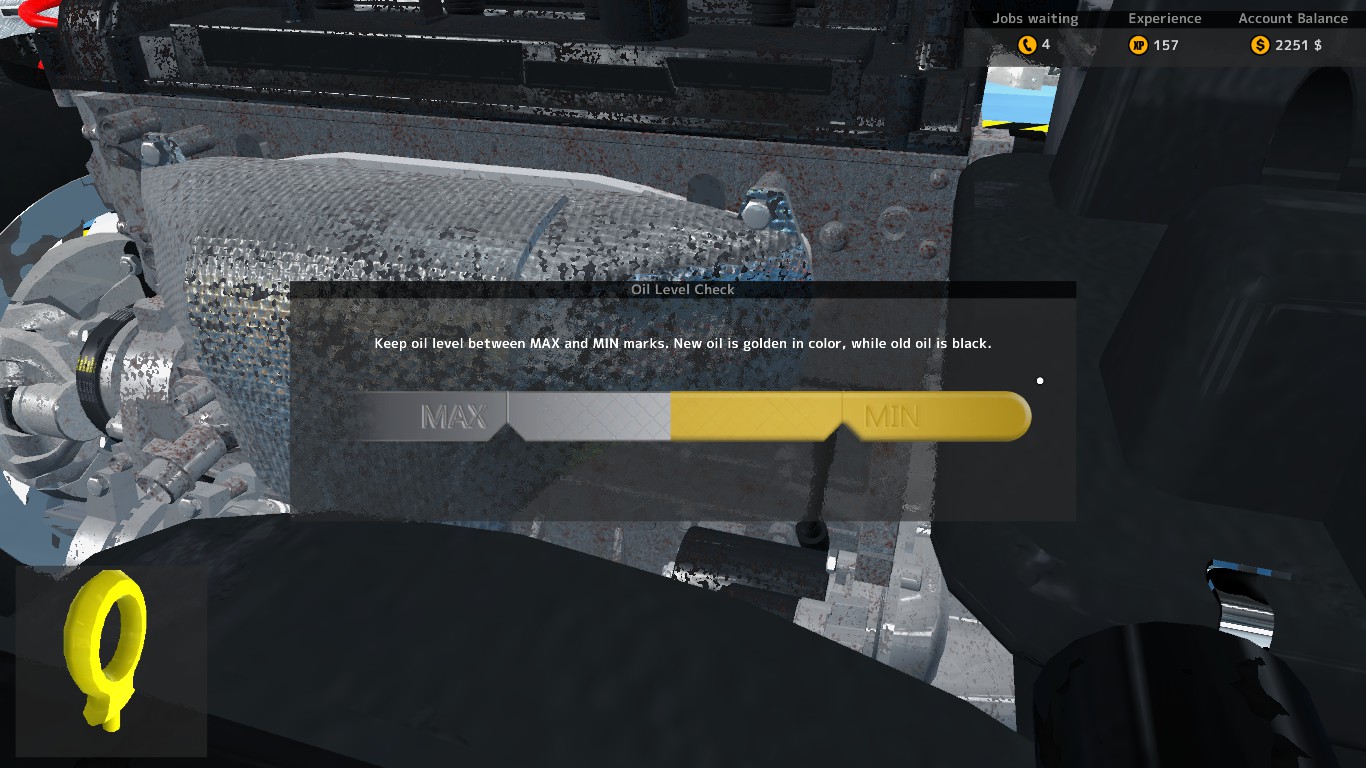
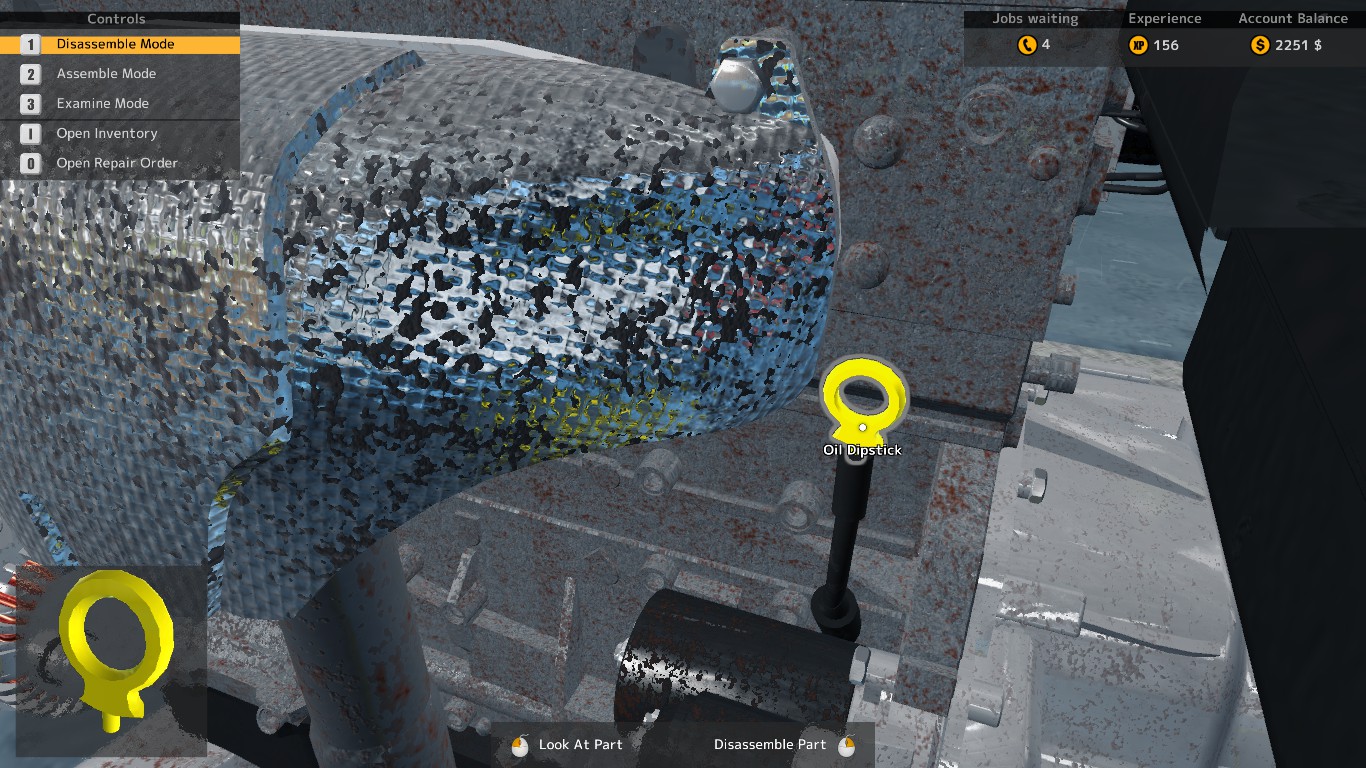
If not check the dipstick for info.
Thanks for reading!
I hope this small tutorial helped you in some way allowing you to master the art of oil. c: