Overview
How to create a custom portal gun skin for Portal 2 (since the other guide got taken down I had to re-figure it all out)
Introduction
Why do all guides have one of these lol let’s just get right into it. If you have any problems, you can leave a comment, but really just add me (since I’m back on steam from my much needed break) and I’ll try to help you out. Also please look at the screenshots, because they explain really a lot. Adding me is really a last resort because there have been people that come to me with issues that were clearly explained in the text.
Step 1: Necessary Components
The components you are going to need before beginning this process are:
- VTFEdit[nemesis.thewavelength.net]
- GCFScape[nemesis.thewavelength.net]
- HxD[mh-nexus.de]
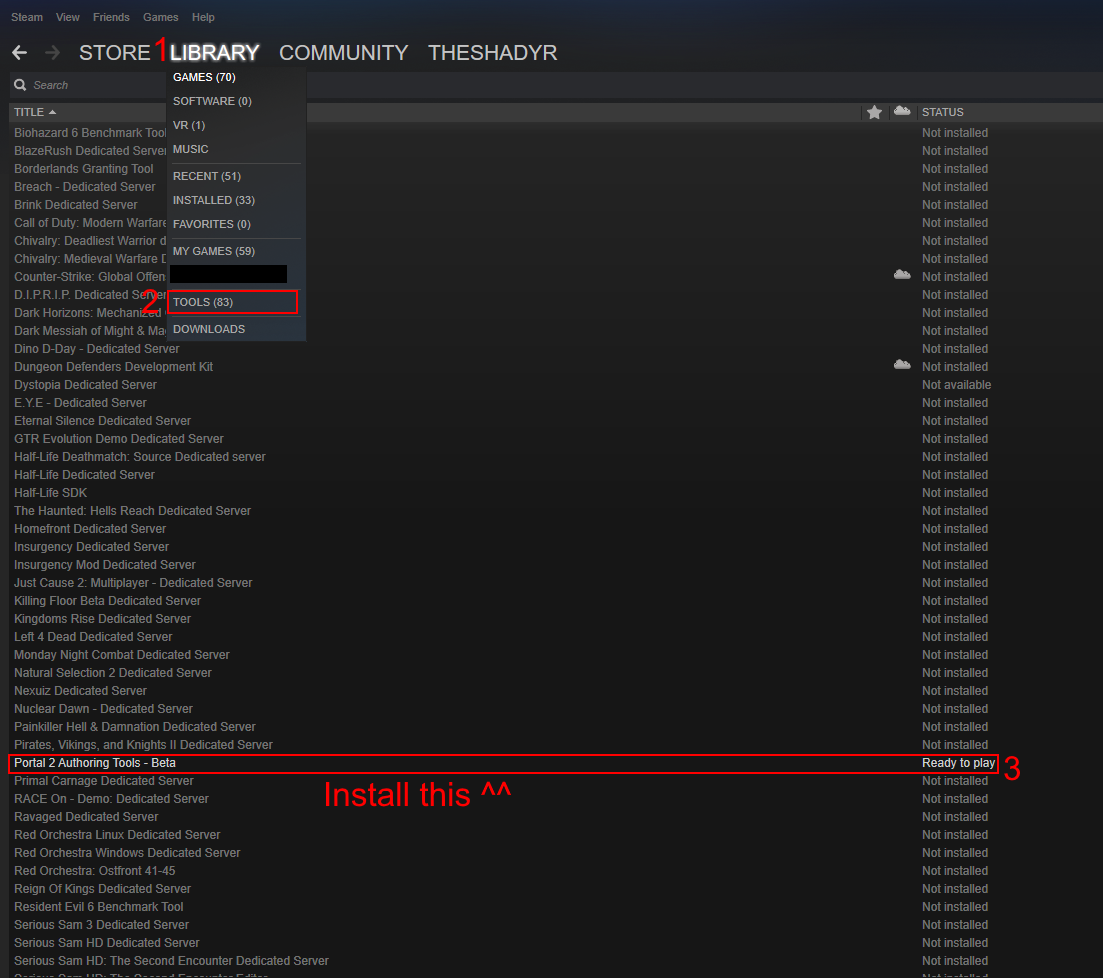
- Portal 2 Authoring Tools – Beta (In steam library dropdown menu > tools > it’s gonna be there
somewhere, see image)
(left) before 2019 update, (right) after 2019 update

Step 2: Backup/Locating Folders
(C:/Program Files (x86)/Steam/steamapps/common/Portal 2/portal2)
Then, scroll down until you find a .vpk called “pak01_dir”.
Open it with GCFScape.
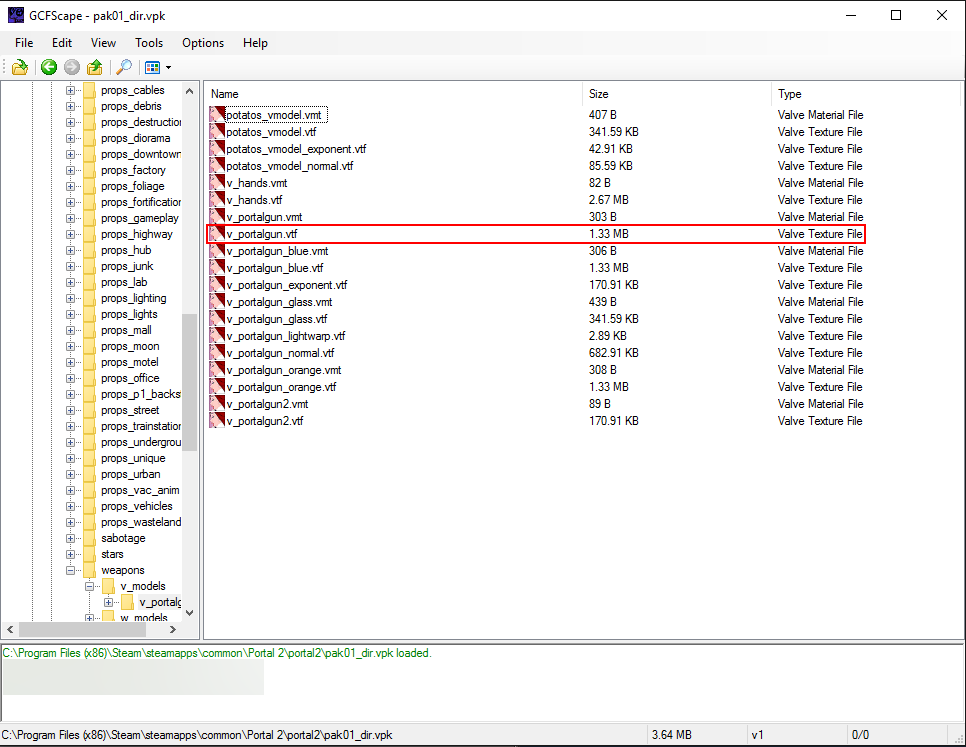
Once you’re in GCFScape, it will show a list of folders. Open the folders: materials, then inside that open, models, then weapons, then v_models, then v_portalgun.
And once you’re “v_portalgun” find the ‘.vtf’ file named “v_portalgun.vtf” NOT “v_portalgun.vmt”, that’s just a text file.
Optionally, you can extract pak01_dir/materials/models/weapons/w_models/w_portalgun.vtf if you want to also edit the texture of the portal gun when it isn’t in your hands (i.e. on the pedistal in sp_a1_intro3).
Now extract the .vtf to wherever you want it to (Right click the file > extract, then pick a folder like Documents) and open it.
So, there are 2 things that can happen from here…
1. It gives you an error message saying “Error: File version 7.5 does not match 7.0 to 7.4”
2. It actually opens
If you did not get the error, skip step 3.
Step 3: Fixing the damn error
So basically this is your error fixing step. It’s actually really easy.
First, open the corrupted “v_portalgun.vtf” with HxD, the hex editor. In the first row, go to column labeled “08”.
Click IN BETWEEN the 2 numbers “05” and then type “4”.
It will now show up as a red “04”.
Save.
Step 4: Extraction
So it’s time to actually reskin this thing, so go ahead and open your “v_portalgun.vtf” from your Documents folder (once again) with VTFEdit and it should actually open this time if it didn’t already. Btw if I haven’t mentioned already, you should back this file up just in case, like, make a copy and name it “v_portalgun_original” or something like that.
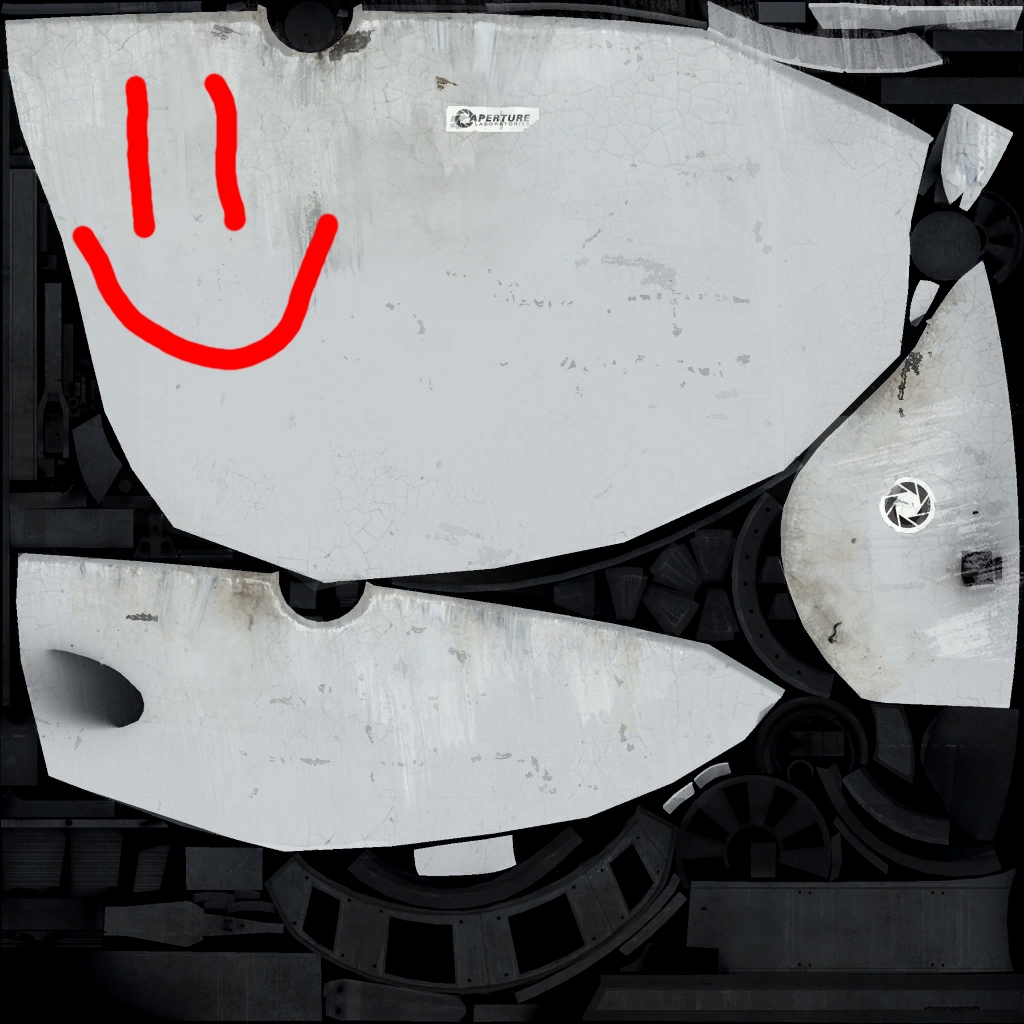
So once you have it open in VTFEdit, btw if any messages show up, just go ahead and click “Ok”, and go to the top and under File, click “Export” and save it as a .jpeg because .png can glitch out sometimes, and it also takes up less space. Now, open up the .jpg with something like paint(dot)net[www.getpaint.net] or photoshop, and then begin drawing!
Something like this (definitely legit)>>>
Step 5: Making a custom skin folder
Ok, so now that you’ve finished drawing your portal gun, it’s time to actually put it into action. First off, go to your Portal 2 folder (C:/Program Files (x86)/Steam/steamapps/common/Portal 2).
Create a new folder in your “Portal 2” folder called “portal2_dlc3”.
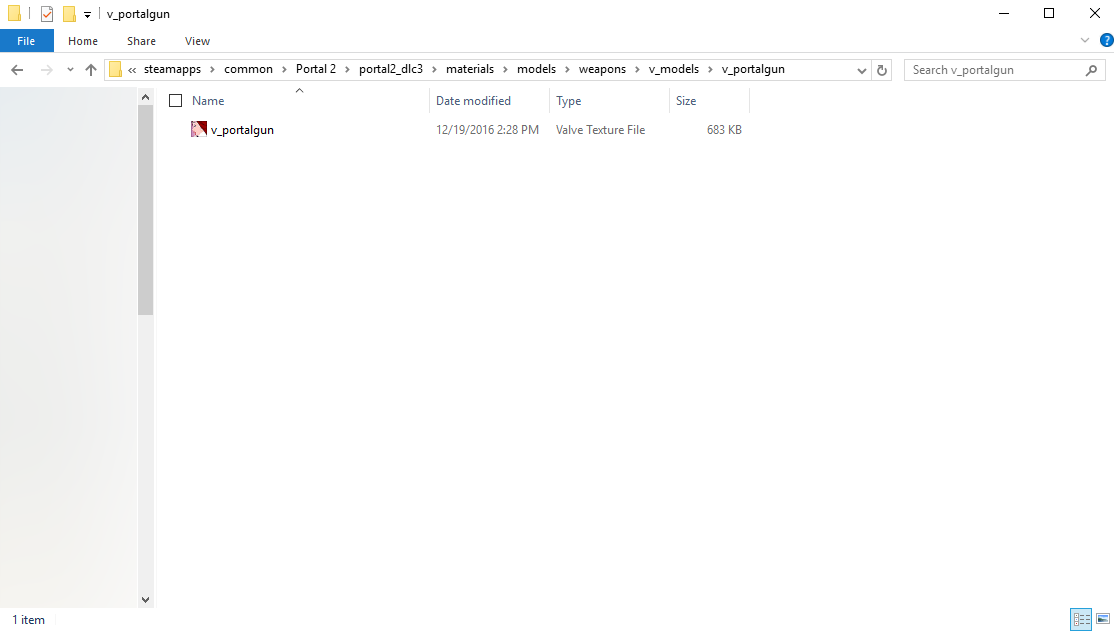
In that folder, create a folder called “materials”, then inside that one, create one called “models”, and then in that one “weapons”, then “v_models”, then “v_portalgun”.
Next, go to your finished .jpeg portal gun file and then open it with VTFEdit. Then go to File > Save as, and it should save it as a .vtf.
Make sure to name it “v_portalgun” and drop that file into your “v_portalgun” folder under “portal2_dlc3/materials/models/weapons/v_models/v_portalgun”.
Step 6: Making a .vpk/Finishing Touches
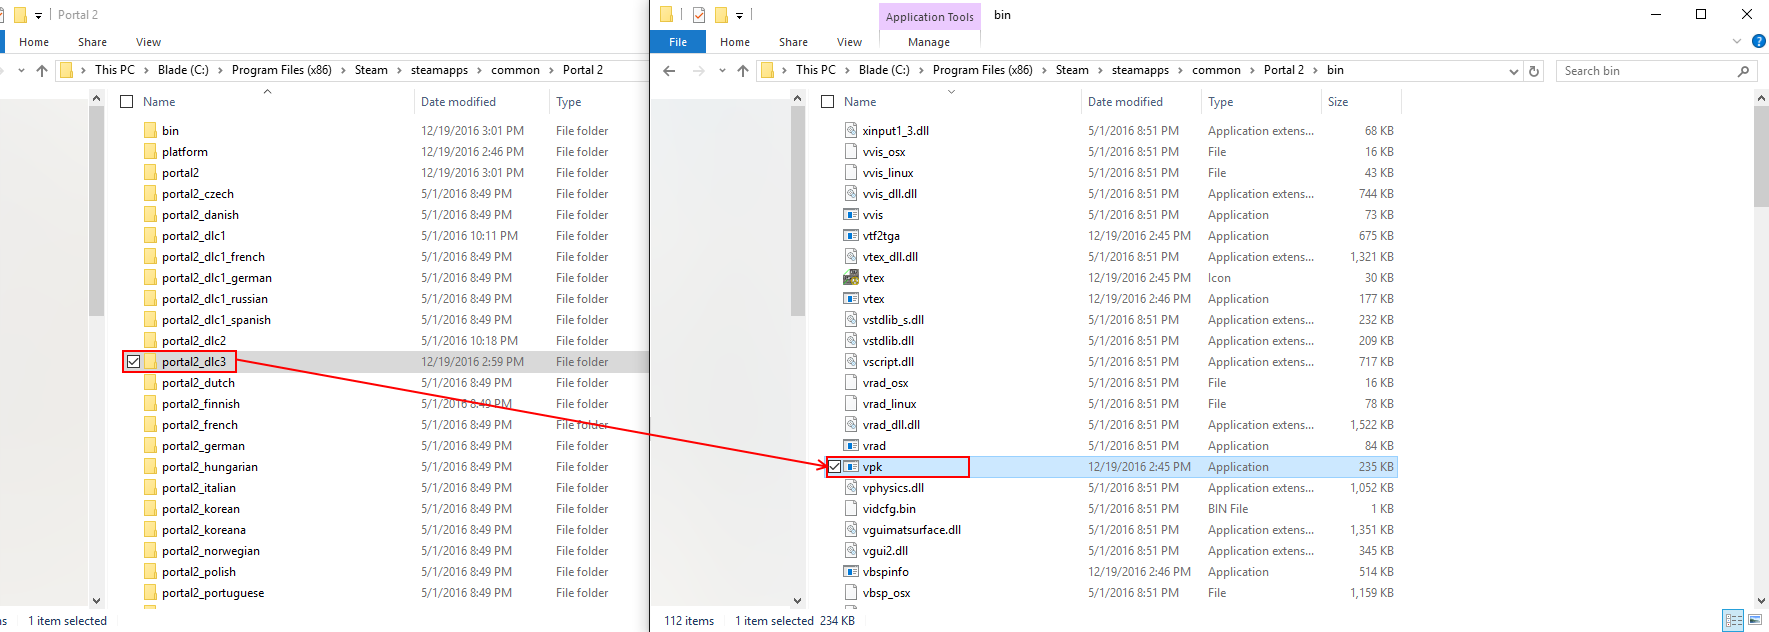
C:/Program Files (x86)/Steam/steamapps/common/Portal 2/bin.
Then under there, find a file named “vpk.exe” and drag the entire portal2_dlc3 folder from your C:/Program Files (x86)/Steam/steamapps/common/Portal 2 into it.
It should make a .vpk file in the original C:/Program Files (x86)/Steam/steamapps/common/Portal 2 folder. Then, drag that .vpk file that was just created into your “portal2_dlc3” folder and rename it “pak01_dir”. At this point, you’re pretty much done 😀
Step 7: Testing/Troubleshooting
So basically, launch portal 2 and test your new skin. Sometimes when you launch it it will come up with a loading screen type thing, let it load. When all the dots at the bottom turn yellow and it doesn’t go to the menu screen, force close the game and relaunch it. It should then work 😉
Conclusion
So, there you have it! I hope you enjoyed this guide and I hope this helped you achieve your goal in making a custom portal gun skin.
NOTE: This DOES work for other objects, just repeat the same process with those objects.
Anyways, thanks for following along and I hope this helped!