Overview
A tutorial on how to build the Portal Timer in your own chambers. featured here: http://steamcommunity.com/sharedfiles/filedetails/?id=1270148774
Setup Tutorial
NOTE: Crucial parts of this requires the use of #BEEMOD.
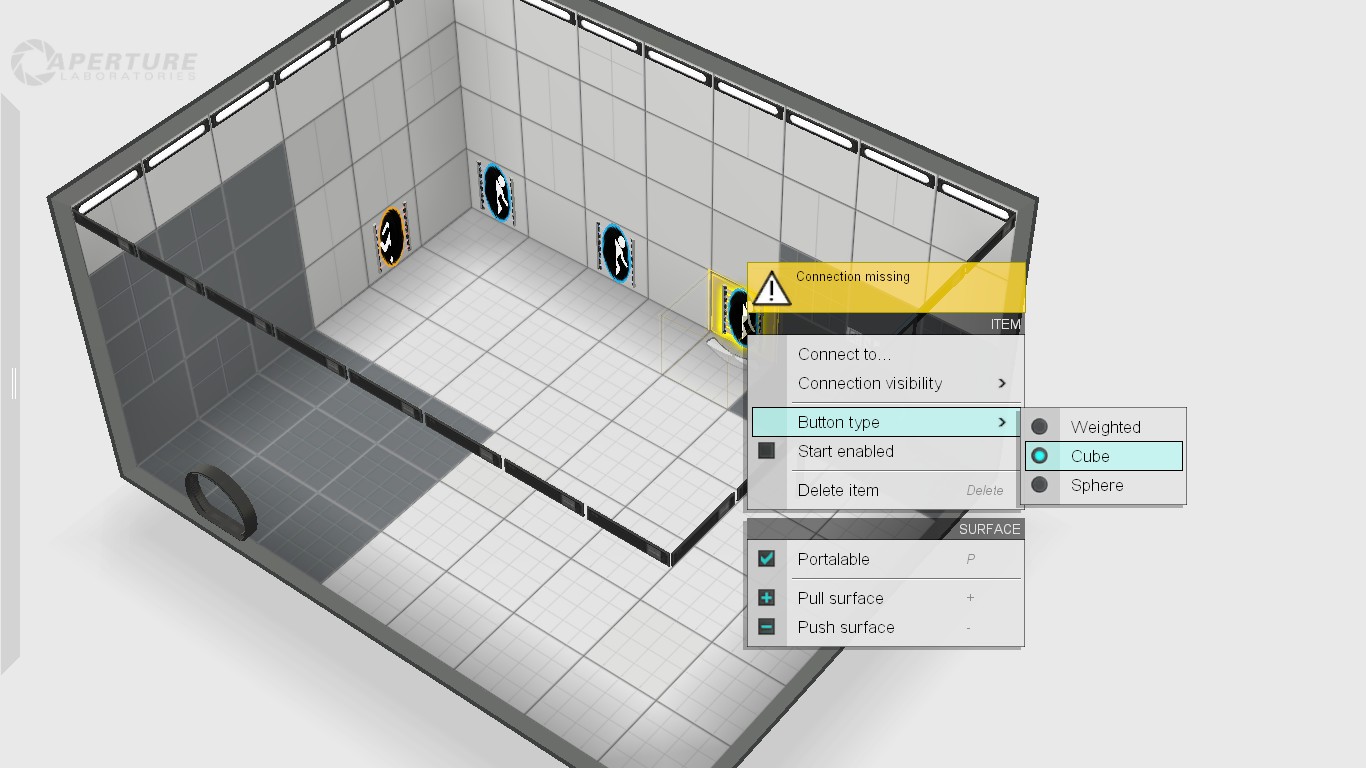
First of all, you need to know how many Auto-Portals you are going to cycle through, in this case, we will be using 3 set to Blue (Right click and set button type to “Cube”) and 1 set to Orange, place these in the locations you wish to put them in.
Now, you need to push a wall and cut it off from the main room, i suggest moving it as far from the chamber as possible to avoid sound contamination.


This room is not intended to be seen, so don’t bother styling it, just make it clean and useful.
Place a Cube Dropper, right click and disable “Auto-drop first cube”.


Now below the dropper should be an Excursion Funnel.

In front of that, place a Laser Emitter (Disable “Start Enabled” option on all of these) and Laser Catcher within the Excursion Funnel in an interconnected position.


Now you’ll need to connect the 1st Laser Catcher to the Auto-Portal you want to start with, i suggest setting the connection visibility to “None”.


This is the tricky part, you’ll have to calculate how fast you want the Auto-Portals to rotate, the funnel will carry the cube at a rate of 4 room units every 7 seconds in my chamber, you can choose to copy me but if you want portals to swap faster or shorter, you’ll have to change the structuring a bit.
Let’s just assume you’re copying my chamber’s rotation speed, from the laser, push 5 units, on the 5th unit, place another Laser Emitter (Uncheck “Start Enabled”) and Laser Catcher on the final unit.


Repeat this once more, but at the end, push one unit, place an Excursion Funnel on the ceiling, then push one unit downwards and add Deadly Goo.

The basic structure is now complete, now for functionality.
Triggers are invisible boxes included in BEEMOD that when stepped into will activate anything it’s connected to without the need for a button, place one Trigger Once in front of the Entrance Door and connect it to the Cube Dropper and Laser Emitters, this will begin the Auto-Portal’s “Booting Sequence” when the chamber is entered.


Now connect the Laser Catchers to their respective Auto-Portals IN ORDER of rotation, you may remember that you’ve already done the 1st one, continue from there.
Start the chamber and let’s see how you did.
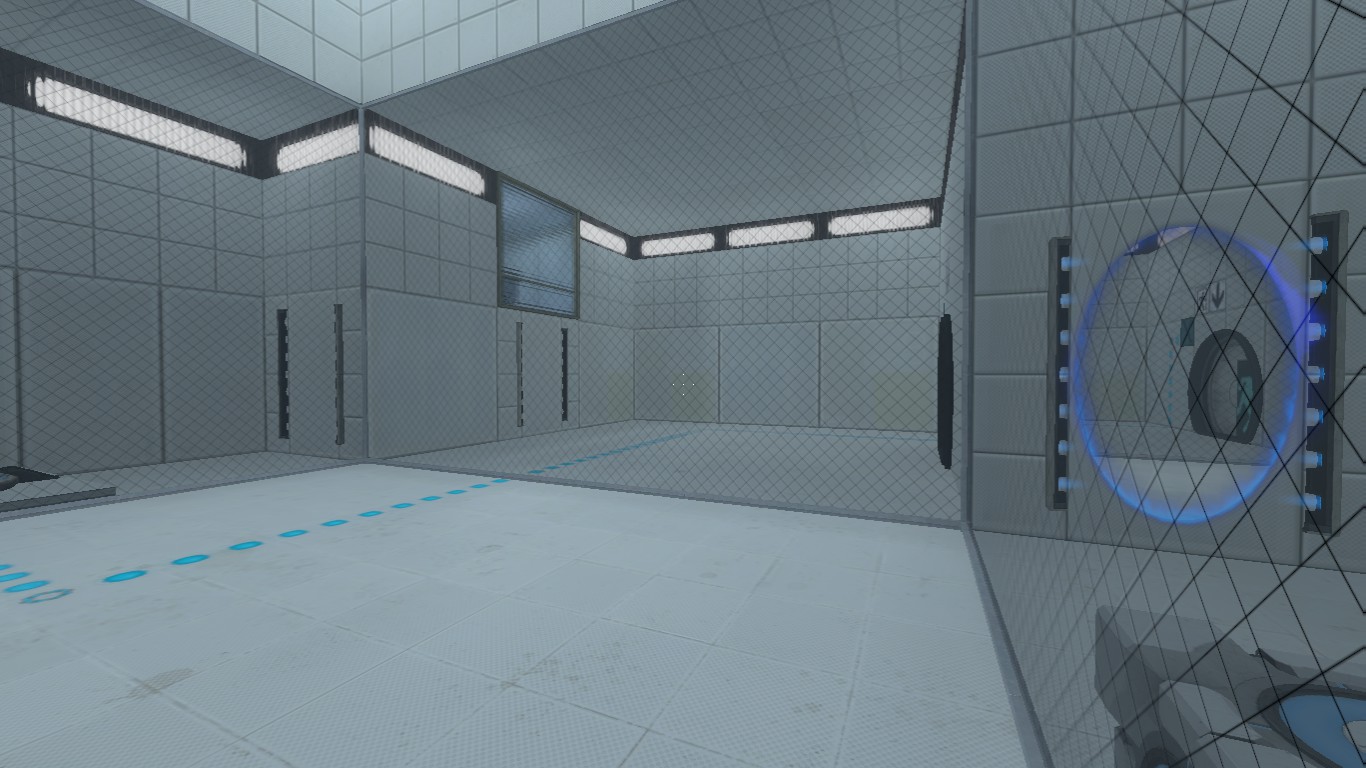
Now, people who regularly play Portal single player levels know that you can walk into a Blue Portal and come out of a Orange and vice versa, but once you start the level you may see this for a few seconds:

This is the “Booting Sequence” i was talking about, to hide this, i suggest just making it a long walk to the chamber, about 4 units sideways.

Oh, and move the trigger as well, also add lights.


Now, let’s try again:


Would you look at that? Very nice.
Oooh! There it goes!

Now, finally, and most importantly… Make the other end of the portal work, use a trigger or button really, wherever you please, (If you do use a button, remember to set the timer in the right click to infinite so it stays open) or alternatively, just set it to be enabled at the start.


Start again and see if everything’s in working order.


Congrats! You did it! Have fun with this concept!
Now get back to work, we’ve got the greatest con game in the history of the multiverse, and YOU are the bottleneck.
Yes, you!
GET BACK TO WORK.