
Advice
Only for The Phantom Pain this instruction is considered obsolete (but this should be working on a cracked version of the game) since last patches blocked this mod for the settings because some users used it maliciously(FOB), I hope one day the KojimaPro DEV team could release a patch with individually post processing adjusments without the use of mods
I’m not native English speaker/grammar mistakes.(Peru)
You can still playing normally through Steam, no cheat/ban, etc.
Please do not use maliciously.
Software needed
For Ground Zeroes:
You have to register in order to download the software.
-MGSV MODDING TOOL (1.0.0)
[link]
For The Phantom Pain:
– MGSV_QAR_Tool
[link]
Use Instructions
For Ground Zeroes:
(This is optional) First make a backup of your files, usually is located in C:Program Files (x86)SteamSteamAppscommonMetal Gear Solid Ground Zeroes

Open the file you had downloaded, go to Tools, then open MGSV_QAR_Tool.

Then paste the files into the Ground Zeroes folder , usually is located on: C:Program Files (x86)SteamSteamAppscommonMetal Gear Solid Ground Zeroes.
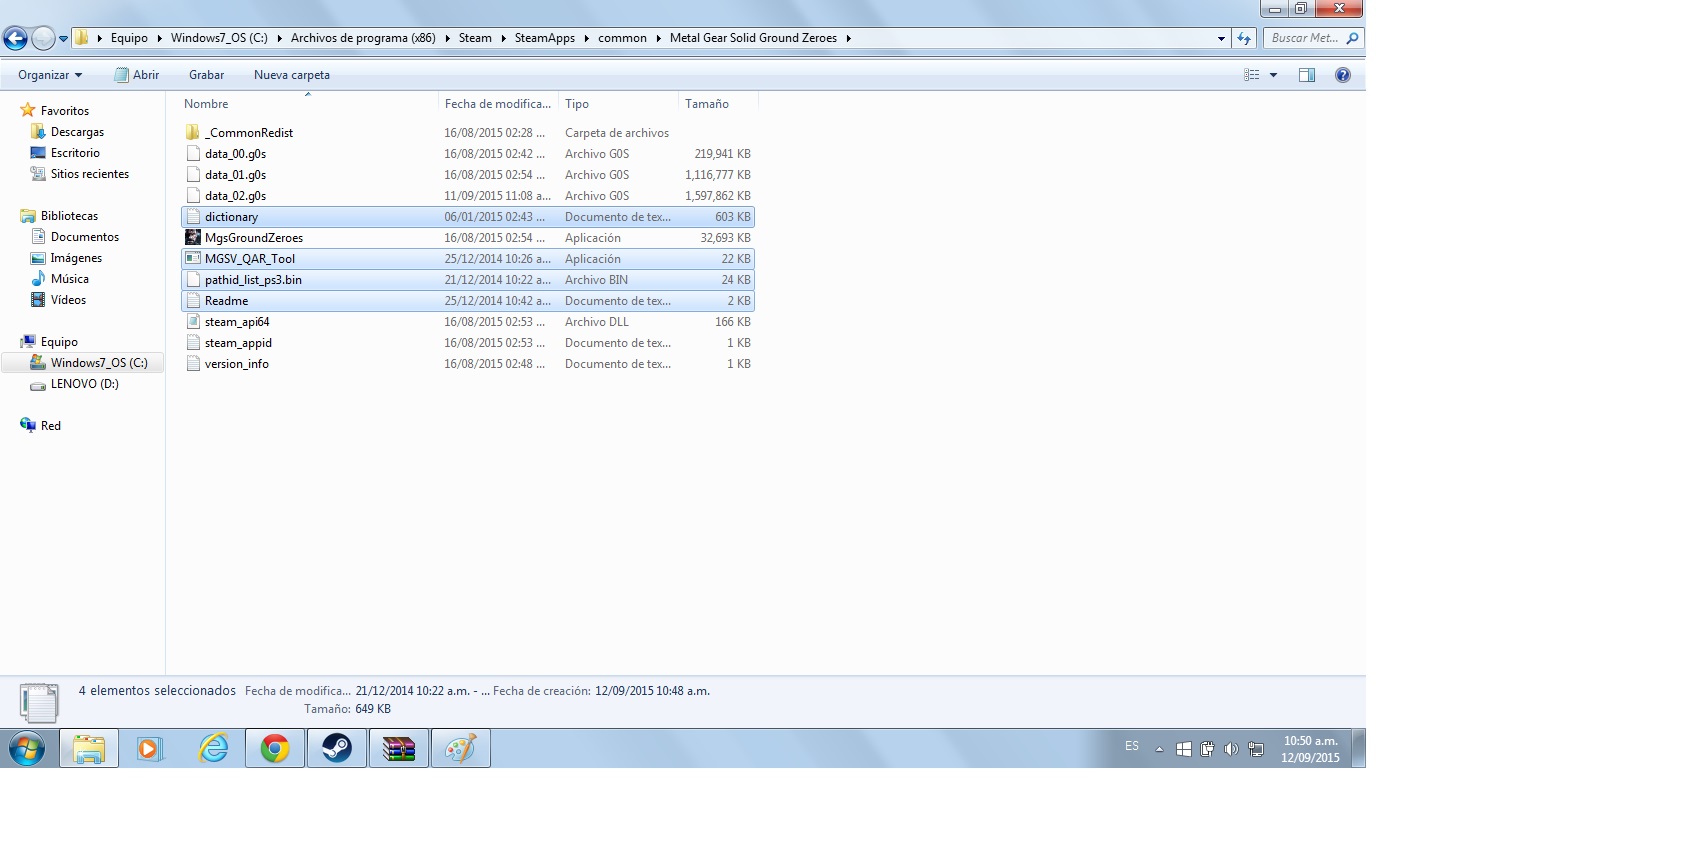
Grab “data_02.g0s” and paste into “MGSV_QAR_Tool.exe”.

Execute it and wait a couple of seconds.

Now it has been created a new folder called: “data_02”.

Open data_02 and go to C:Program Files (x86)SteamSteamAppscommonMetal Gear Solid Ground Zeroesdata_02FoxScriptsGr
Open “gr_init_dx11” with notepad or a text editor, now find the options do you want to modify.

To enable “1”
To disable “0”

If you finish, in order to make this options to the original game simply grab the “.inf” file “data_02.inf” and paste into “MGSV_QAR_Tool.exe” again.

Done.
If you want you can delete the “data_02 folder” ,”data_02.inf” , “dictionary.txt” , “MGSV_QAR_Tool.exe” , “pathid_list_ps3.bin” and “Readme.txt” which was created previously.
For The Phantom Pain:
Almost the same steps.
Go to the folder called “master”, usually is located in C:Program Files(x86)SteamSteamAppscommonMGS_TPP . In master, delete 0 folder.

Open “MGSV_QAR_Tool.exe” and paste all the elements into the previous folder, usually is located in “C:Program Files (x86)SteamSteamAppscommonMGS_TPPmaster”

Paste/Drag the file “data1.dat” into “MGSV_QAR_Tool.exe”.

Execute it and wait a couple of seconds.

A new folder has been created, “data1”.

Open the folder in order to find “gr_init_dx11.lua” or go to C:Program Files (x86)SteamSteamAppscommonMGS_TPPmasterdata1FoxScriptsGr

Then open this with a text editor (notepad).

After that change the settings you want.

Finally, in order to apply these options to the original game simply grab the ”.inf” file “data1.inf” and paste into “MGSV_QAR_Tool.exe”

If you want you want you can delete the “data1 folder” ,”data1.inf” , “dictionary.txt” , “MGSV_QAR_Tool.exe” , “pathid_list_ps3.bin” , “Readme.txt” and “zlib1.dll” which was created previously.

Done
Guide of the effects names and examples of changes
• Textures (settingName=”TextureQualitySettings”) “Texturas”
• Depth of Field (settingName=”PluginDof”) (For Activate/Deactivate Bokeh: QualityType) “Profundidad de campo/Bokeh: una profundidad de campo más impactante”
• FXAA antialiazing (settingName=”PluginFxaa”) “FXAA suavizado de bordes por rápida aproximación”
• SSAO Ambient Occlusion (settingName=”PluginSsao”) “Oclusión ambiental”
• SSAO+ Ambient Occlusion Plus (settingName=”PluginSao”) “Oclusión ambiental mejorada”
• Motion Blur (settingName=”PluginMotionBlur”) “Desenfoque de movimiento”
• Motion Blur Amount (settingName=”MotionBlurAmount”) “Nivel de aumento del desenfoque del movimiento”
• Bloom (settingName=”PluginToneMap”) “Brillosidad/resplandor en los objetos del mundo”
• Screen Space Reflections (settingName=”PluginLocalReflection”) “Reflejos en pantalla”
• Subsurface Scattering (settingName=”PluginSubsurfaceScatter”) “Dispersión del subsuelo, la luz pasa a travéz de la piel de una forma que se aproxima a la vida real”
You can enable the screen filtering setting as you see fit.
Examples:
“I want Post Processing/Screen Filtering on Extra High, but I don´t like antialiazing and I like DOF but I don´t like Bokeh DOF)
FXAA
{settingName=”PluginFxaa”,settingTable={…
…
{name=”ExtraHigh”,EnableFilter=1} to {name=”ExtraHigh”,EnableFilter=0}
Bokeh DOF
{settingName=”PluginDof”,settingTable={….
…
{name=”ExtraHigh”,EnableFilter=1,QualityType=1} to {name=”ExtraHigh”,EnableFilter=1,QualityType=0}
You can experiment, with the effects:
-Screen Filtering/Post Processing Low: FXAA off – DOF on – SSR on – Bloom off – Motion blur on
-Screen Filtering/Post Processing Extra High: FXAA on – DOF off – SSR off – Bloom on – Motion blur off
Sources
Extras
If you use a controller, I recommend disabling aim assist and installing the software “Durazno”.
You can download here:
[link]
In order to install just copy the files into the file which is located the main exe.(Usually into Steam/SteamApps/Common/GroundZeroes-TPP)
Open and adjust it to your preferences.
Works for Ground Zeroes and The Phantom Pain.
Compatible with DS3 and DS4 controllers.(DS3 driver and DS4 driver needed)
It´s useful to improve the deadzone of your controller sticks, aim better. Only increase the slider percentage of the Antideadzone.
Even you can change the buttons; personally I changed the sprint button to the right stick, because the left stick deteriorates to constantly press with use.