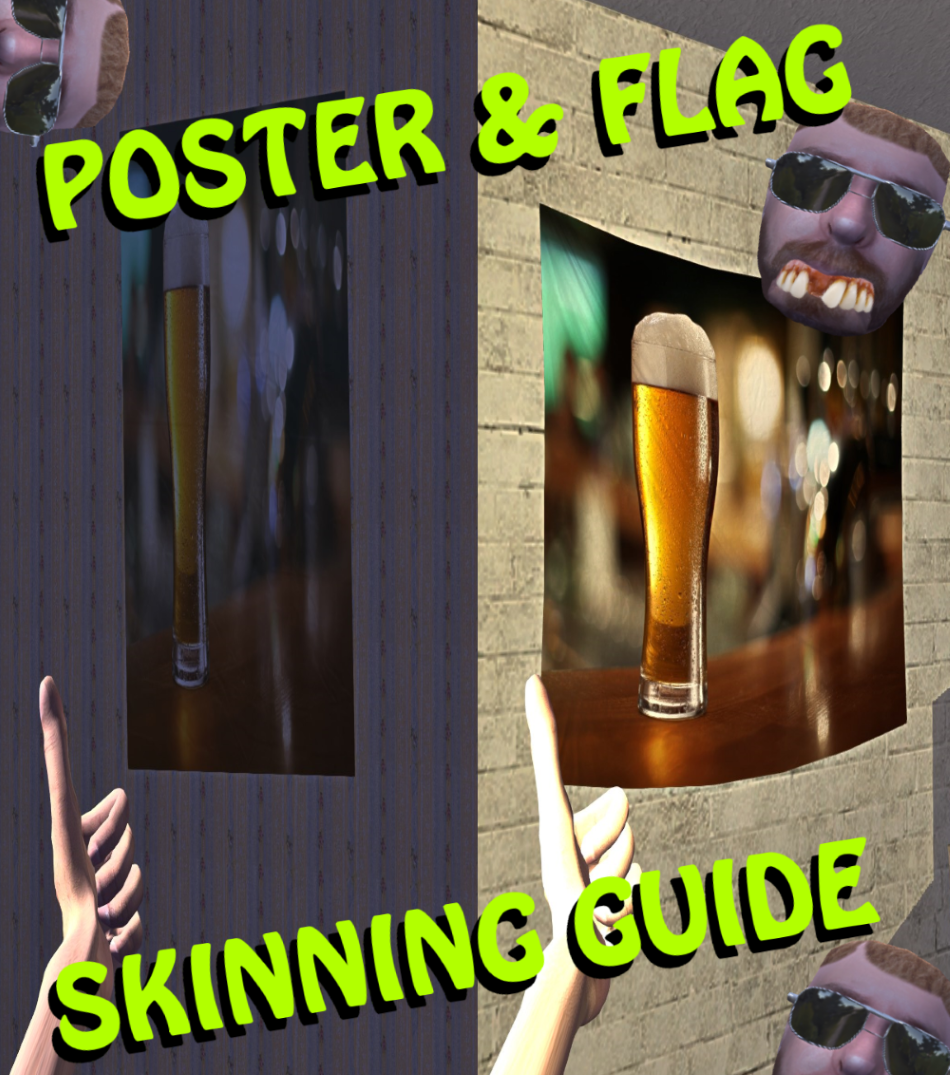
Overview
Thought I would write a simple guide on how to add and import your own images into the game, to create custom bedroom posters & garage flags. Given that I have no idea where those who may seek out & view this guide are, in terms of graphic editing knowledge, I’ve written this guide in a simple and basic manner. Having said that, it’s not intended to insult anyone’s intelligence. Keep in mind though, it has been created for those in the community who may have no clue how to edit graphic files, and/or mod their game. This guide also covers just ONE of the MANY ways to accomplish this task. This is simply just my preferred method for quickly editing images to import into My Summer Car. Please feel free to add comments to let me know how I did. Also, if you happened to find this guide useful & helpful – rate & give it a thumbs up!***Images & Websites shown are for illustrative purposes only***
Step #1
- Source an image using whatever tool you wish to use, and save it to your hard drive – in this demonstration, I used a Google search & Google Images.
- After selecting the image, right click on it, and save it to your hard drive.


Step #2
- Open your favorite graphics editing software and import your image – I’m using paintdotnet [www.getpaint.net]


Step #3
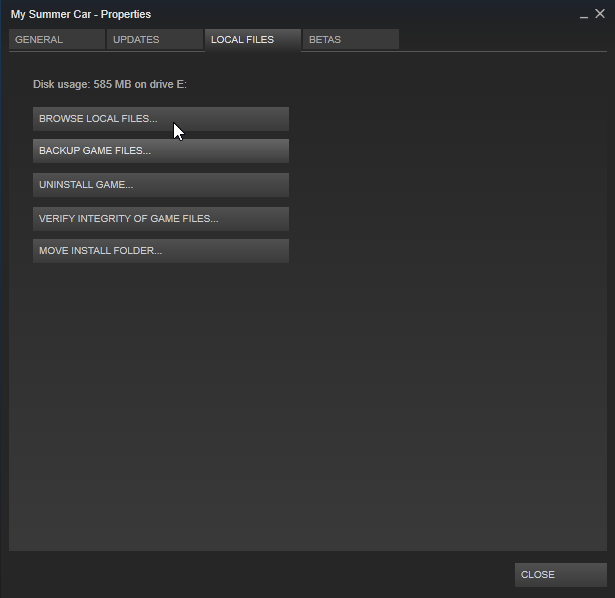
- Open your Steam Library, right click on “My Summer Car” to open up the properties box.
- Click on the “Local Files” tab and select “Browse Local Files…” to open the “My Summer Car” game directory (E:Program Files (x86)SteamsteamappscommonMy Summer Car…)
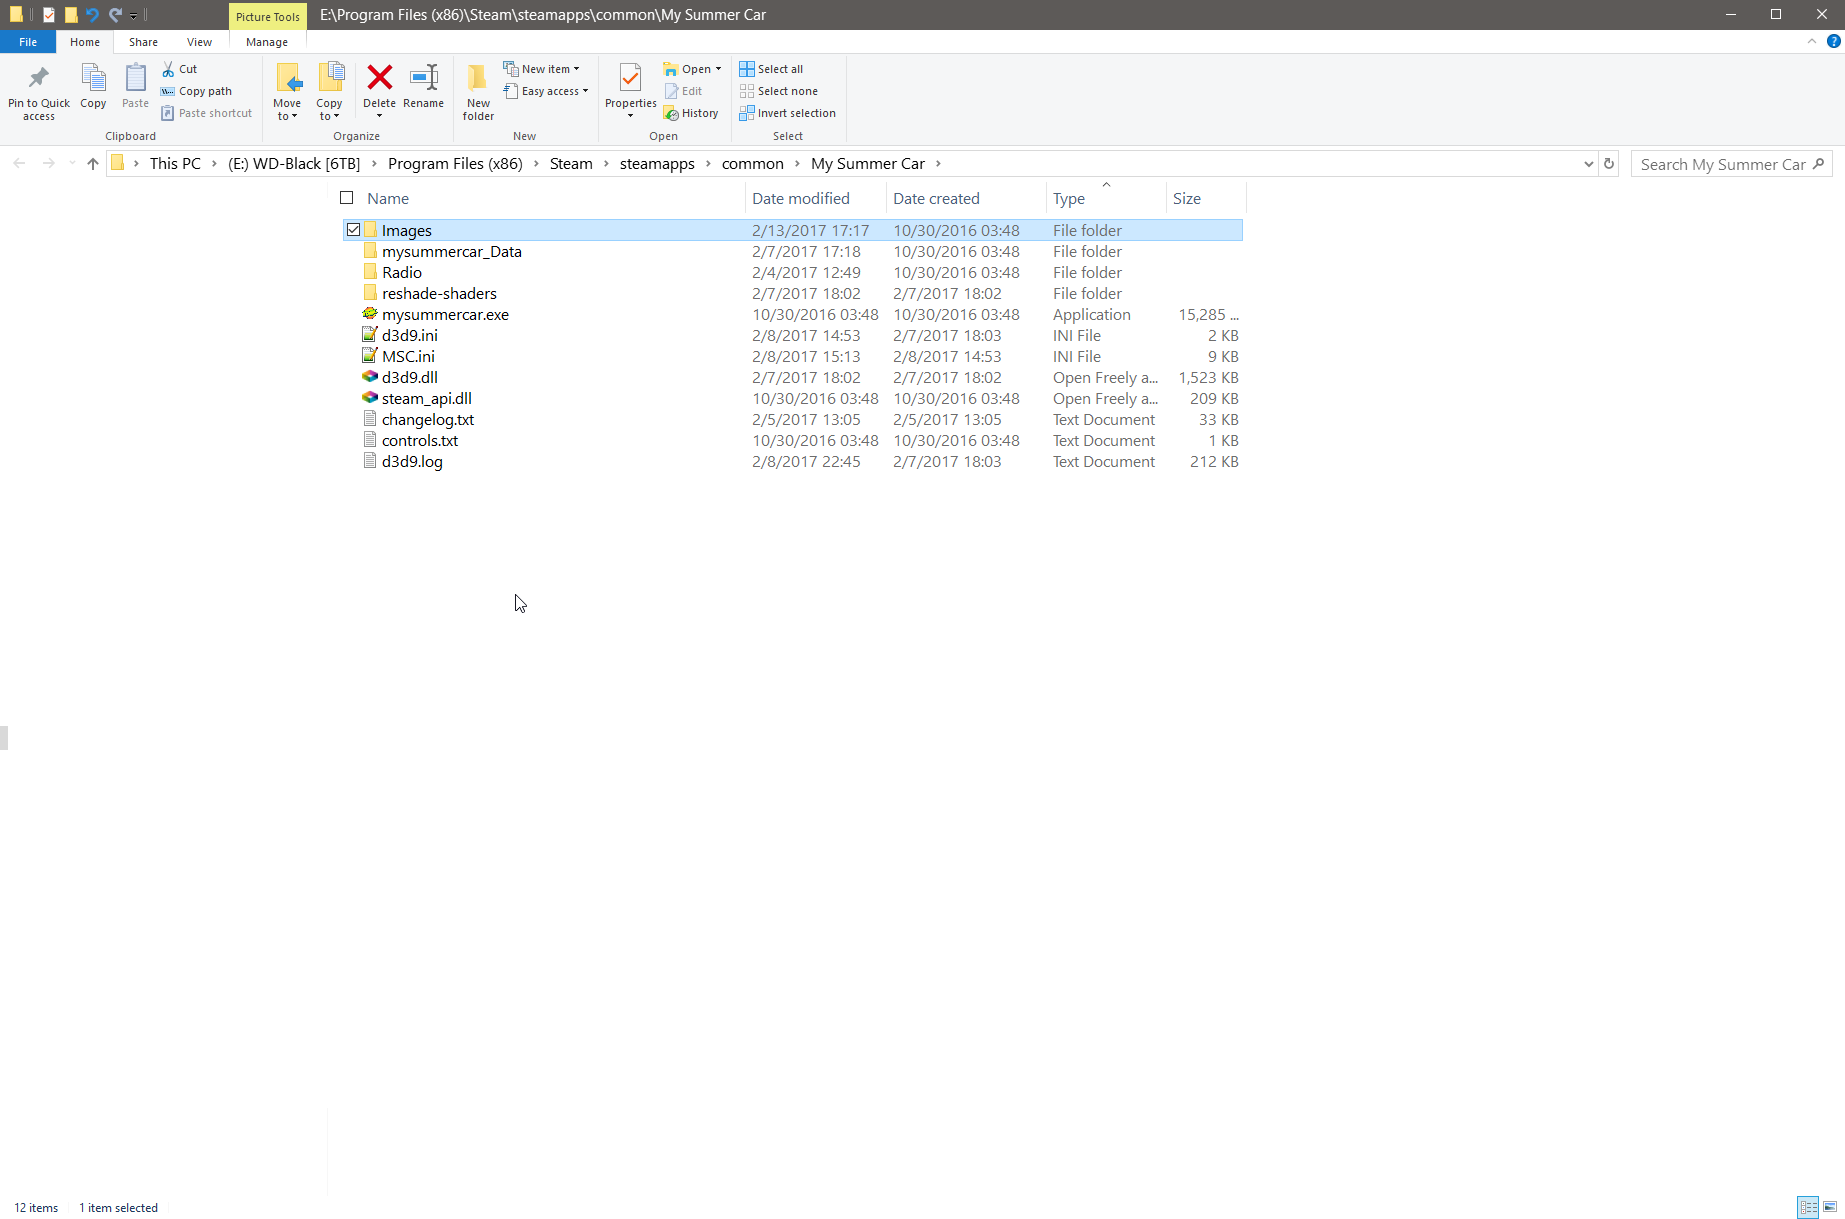
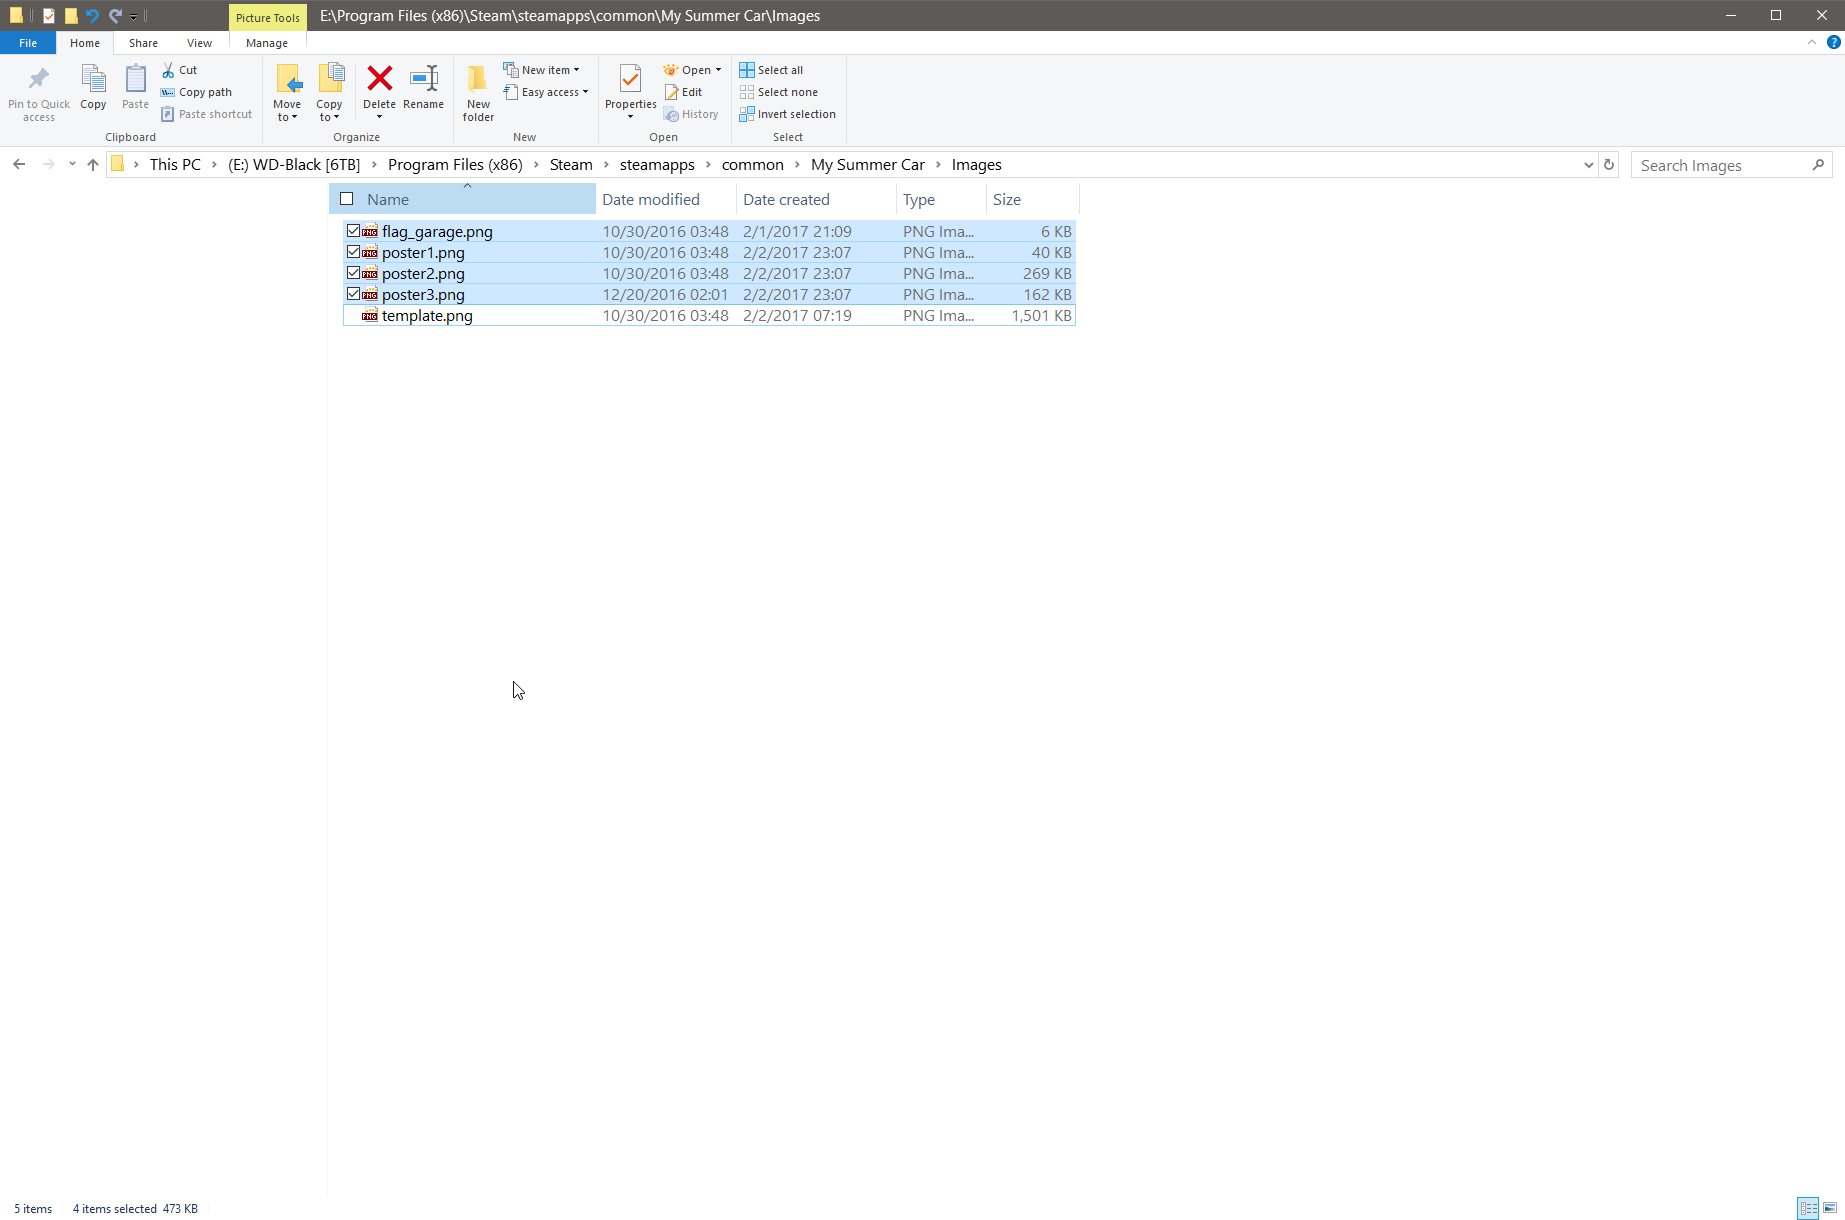
- Click to open the “images” folder. In that folder you’ll notice five “.png” files – I’m only going to show you how to edit the “poster1.png” and the “flag_garage.png” files. You can use what you learn here to edit the other two posters. Additionally, the “template.png” file is for creating a customized paint scheme for your Satsuma. Other guides are available if you’re interested in learning how to customize your cars paint scheme.
Step #4
There are a couple different ways to accomplish this next task, but I’m using the drag-and-drop method. A shortcut to this step is presented at the end of this guide under: “Image Resizing – Shortcut Method“
- Select the original “poster1.png” or “flag_garage.png” file, drag it over to paintdotnet [www.getpaint.net] and release it.
- You will be presented with a prompt that asks you what you want to do with the file.
- Select the “Add layer” option. This will, of course, create a new layer on top of your background image / current layer.


Step #5
- Double click the newly created layer, and adjust the “Opacity” from 255 down to about 155 (both poster & flag examples provided).
- Leaving this new layer visible, select your primary background layer (the one you’re wanting to use as your new in-game poster or flag).
- Push CTRL+A on your keyboard to select the whole image.


Step #6
- Select the “Move Selected Pixels” tool, or keyboard shortcut “M”.
- Drag the edges / corners of the image resizing it to match the size of the in-game poster, or flag.


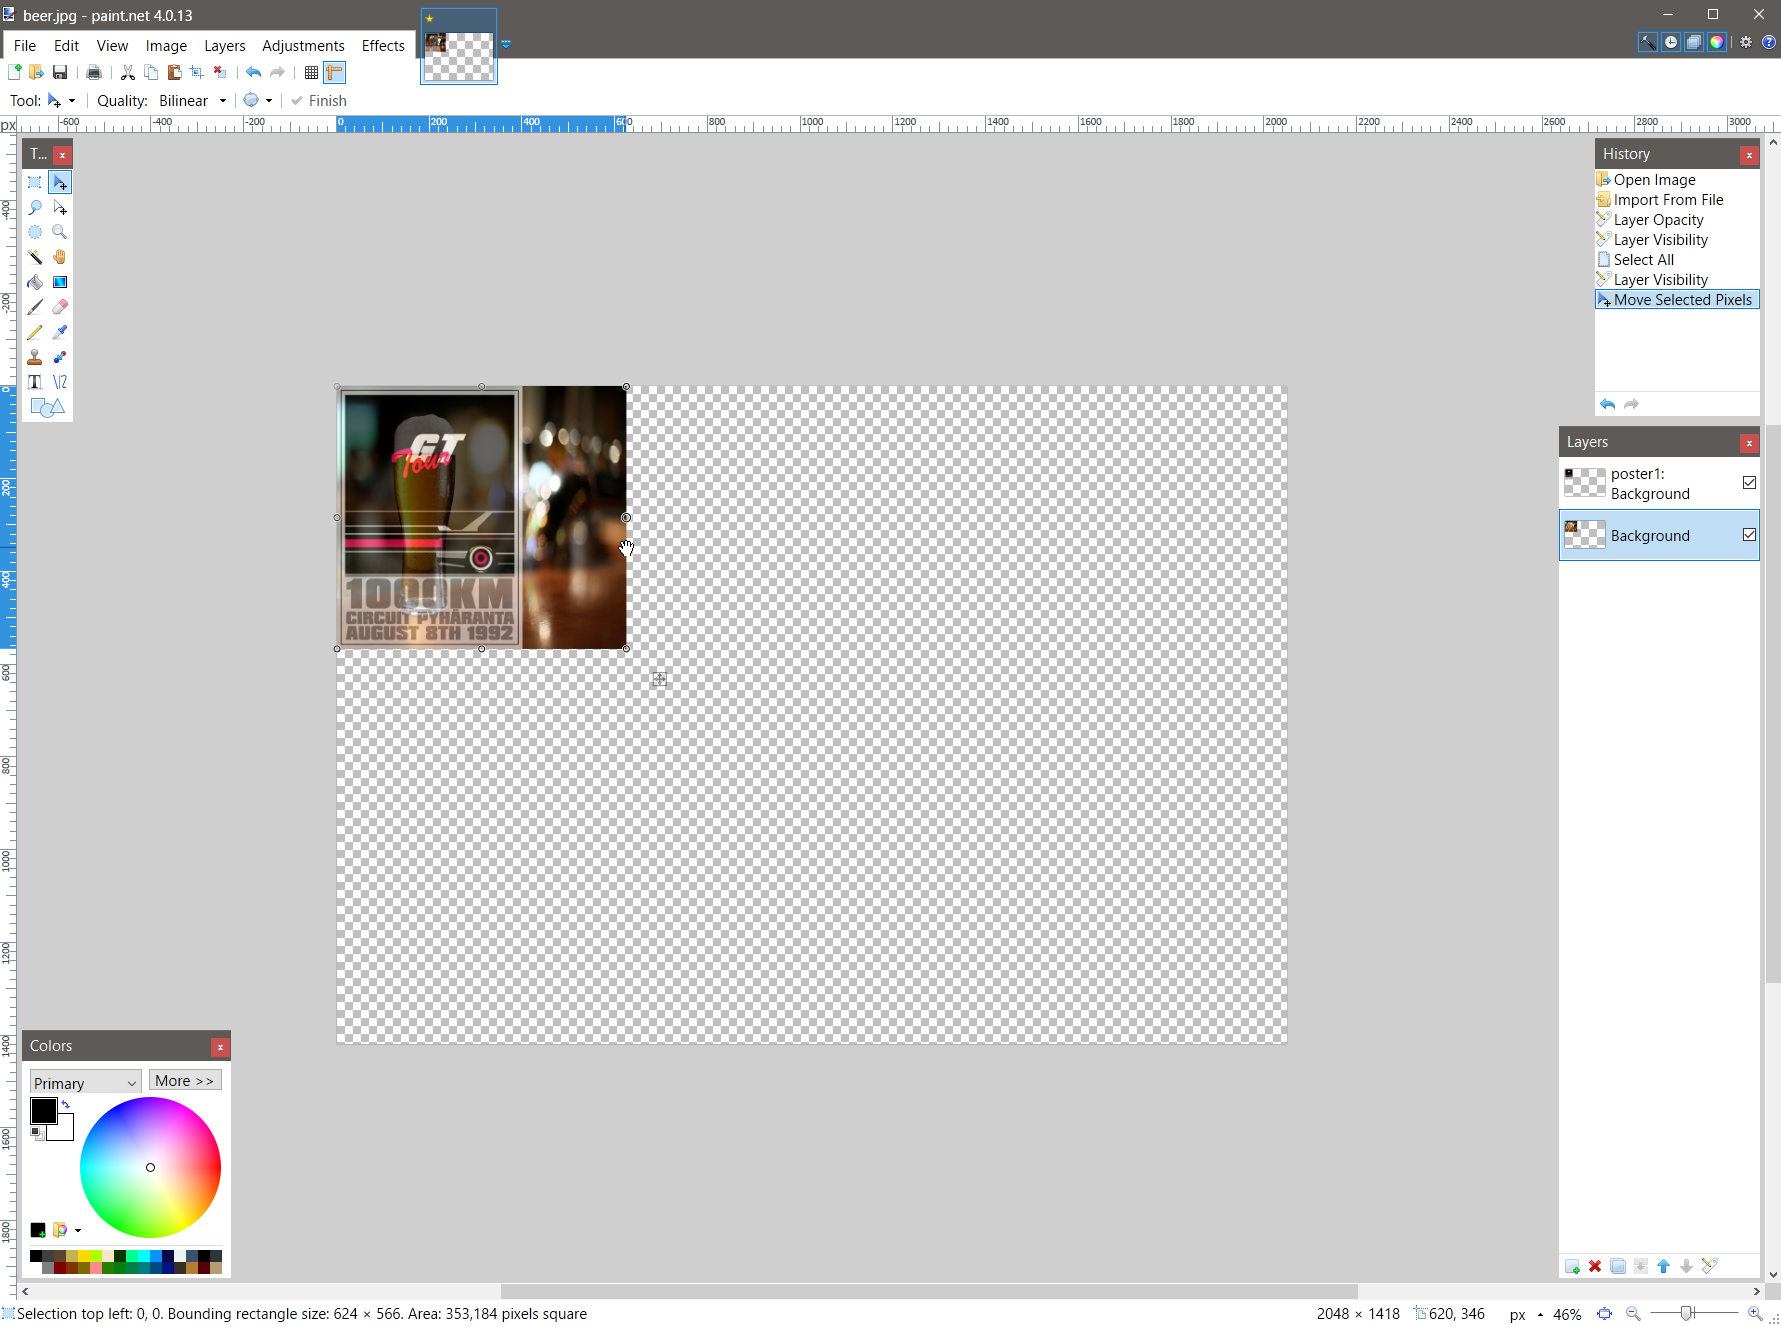


Step #7
After resizing your image, with that layer still selected (as confirmed by the animated dashed outline around the image):
- Untick the original game poster layer to turn it off (usually Layer #1).
- Select your newly resized custom image layer.
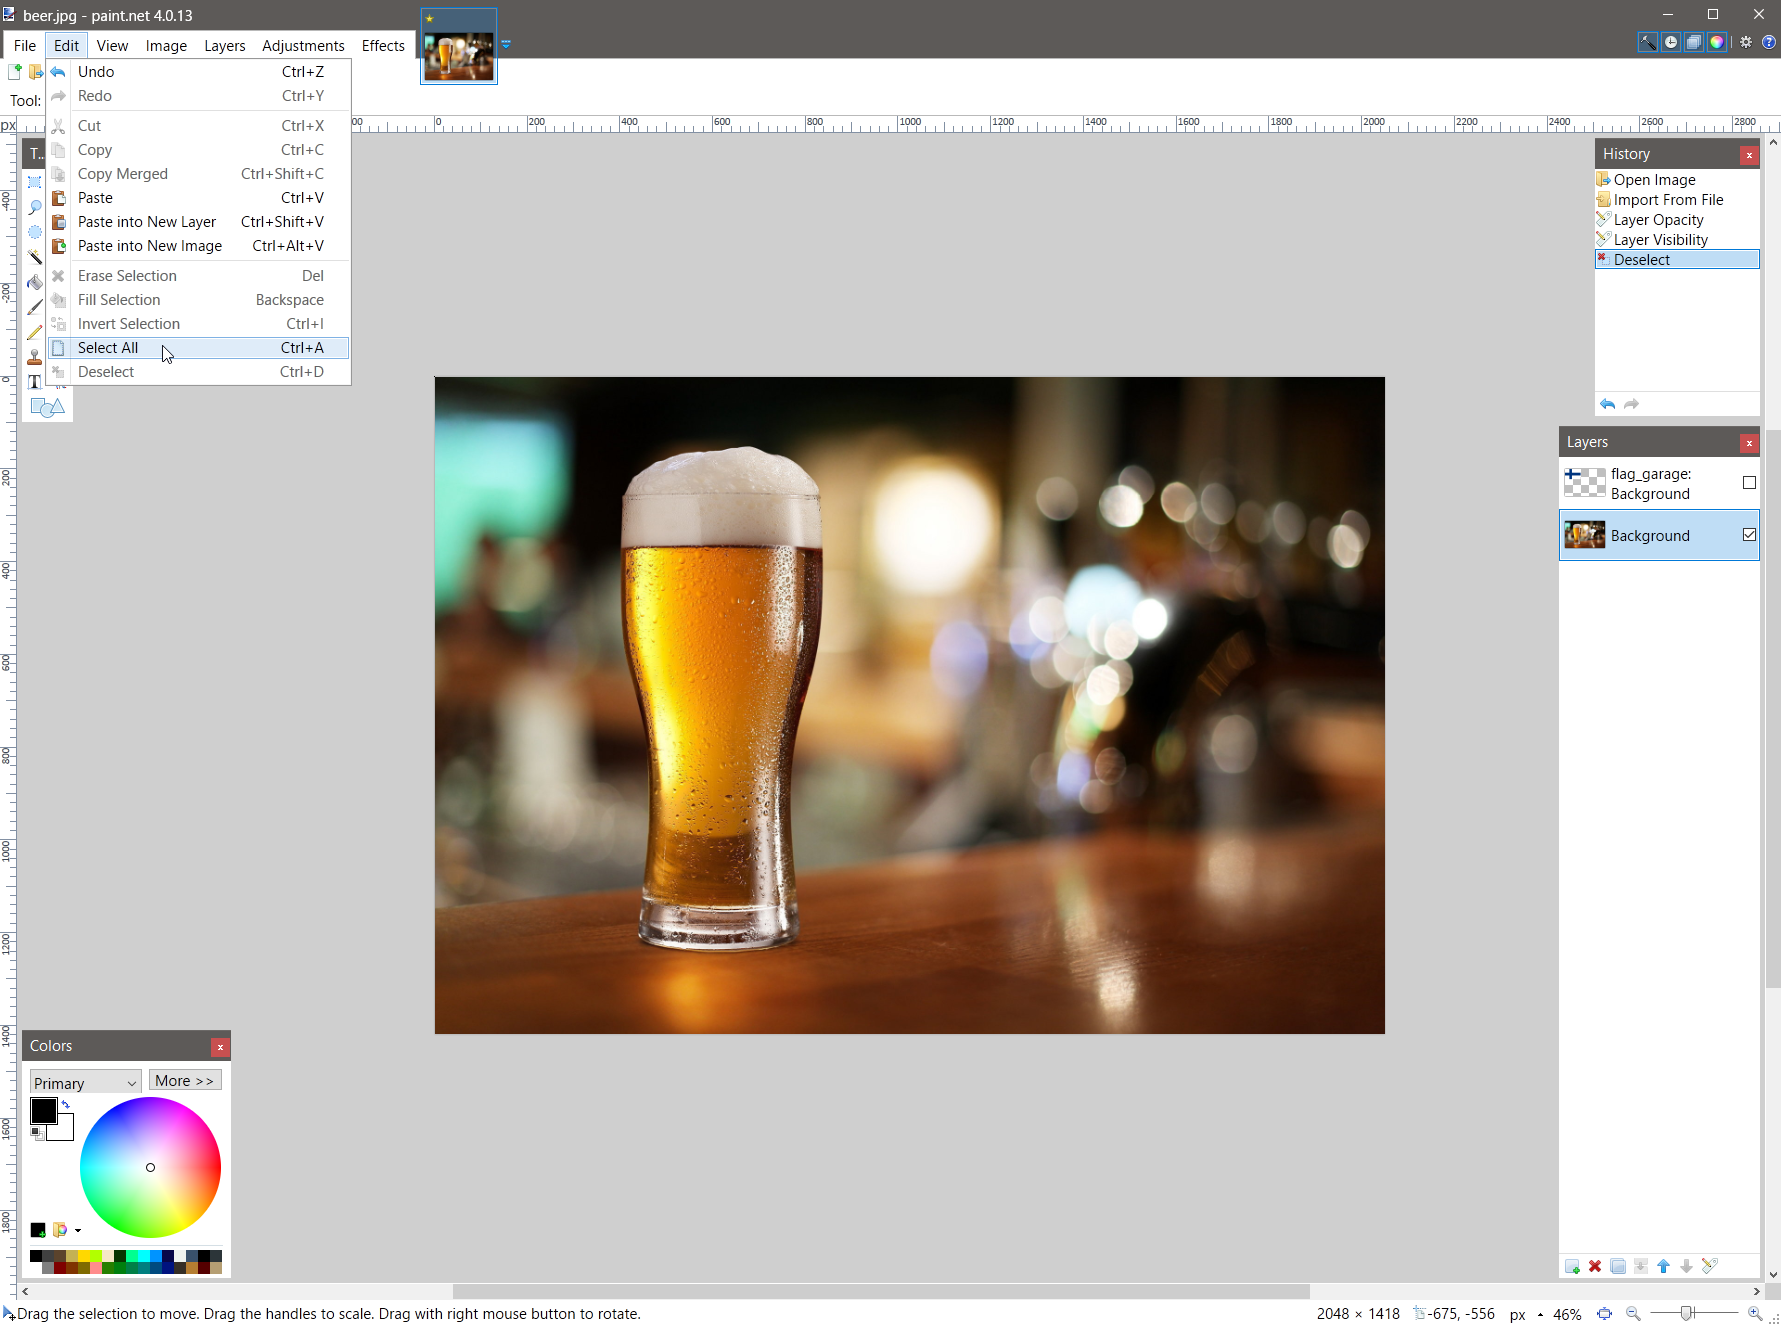
- Push CTRL+A, or mouse click the “Edit” tab, then select “Select All” to select your entire image.
- Push CTRL+C, or mouse click the “Edit” tab, select “Copy” to copy the image into memory.
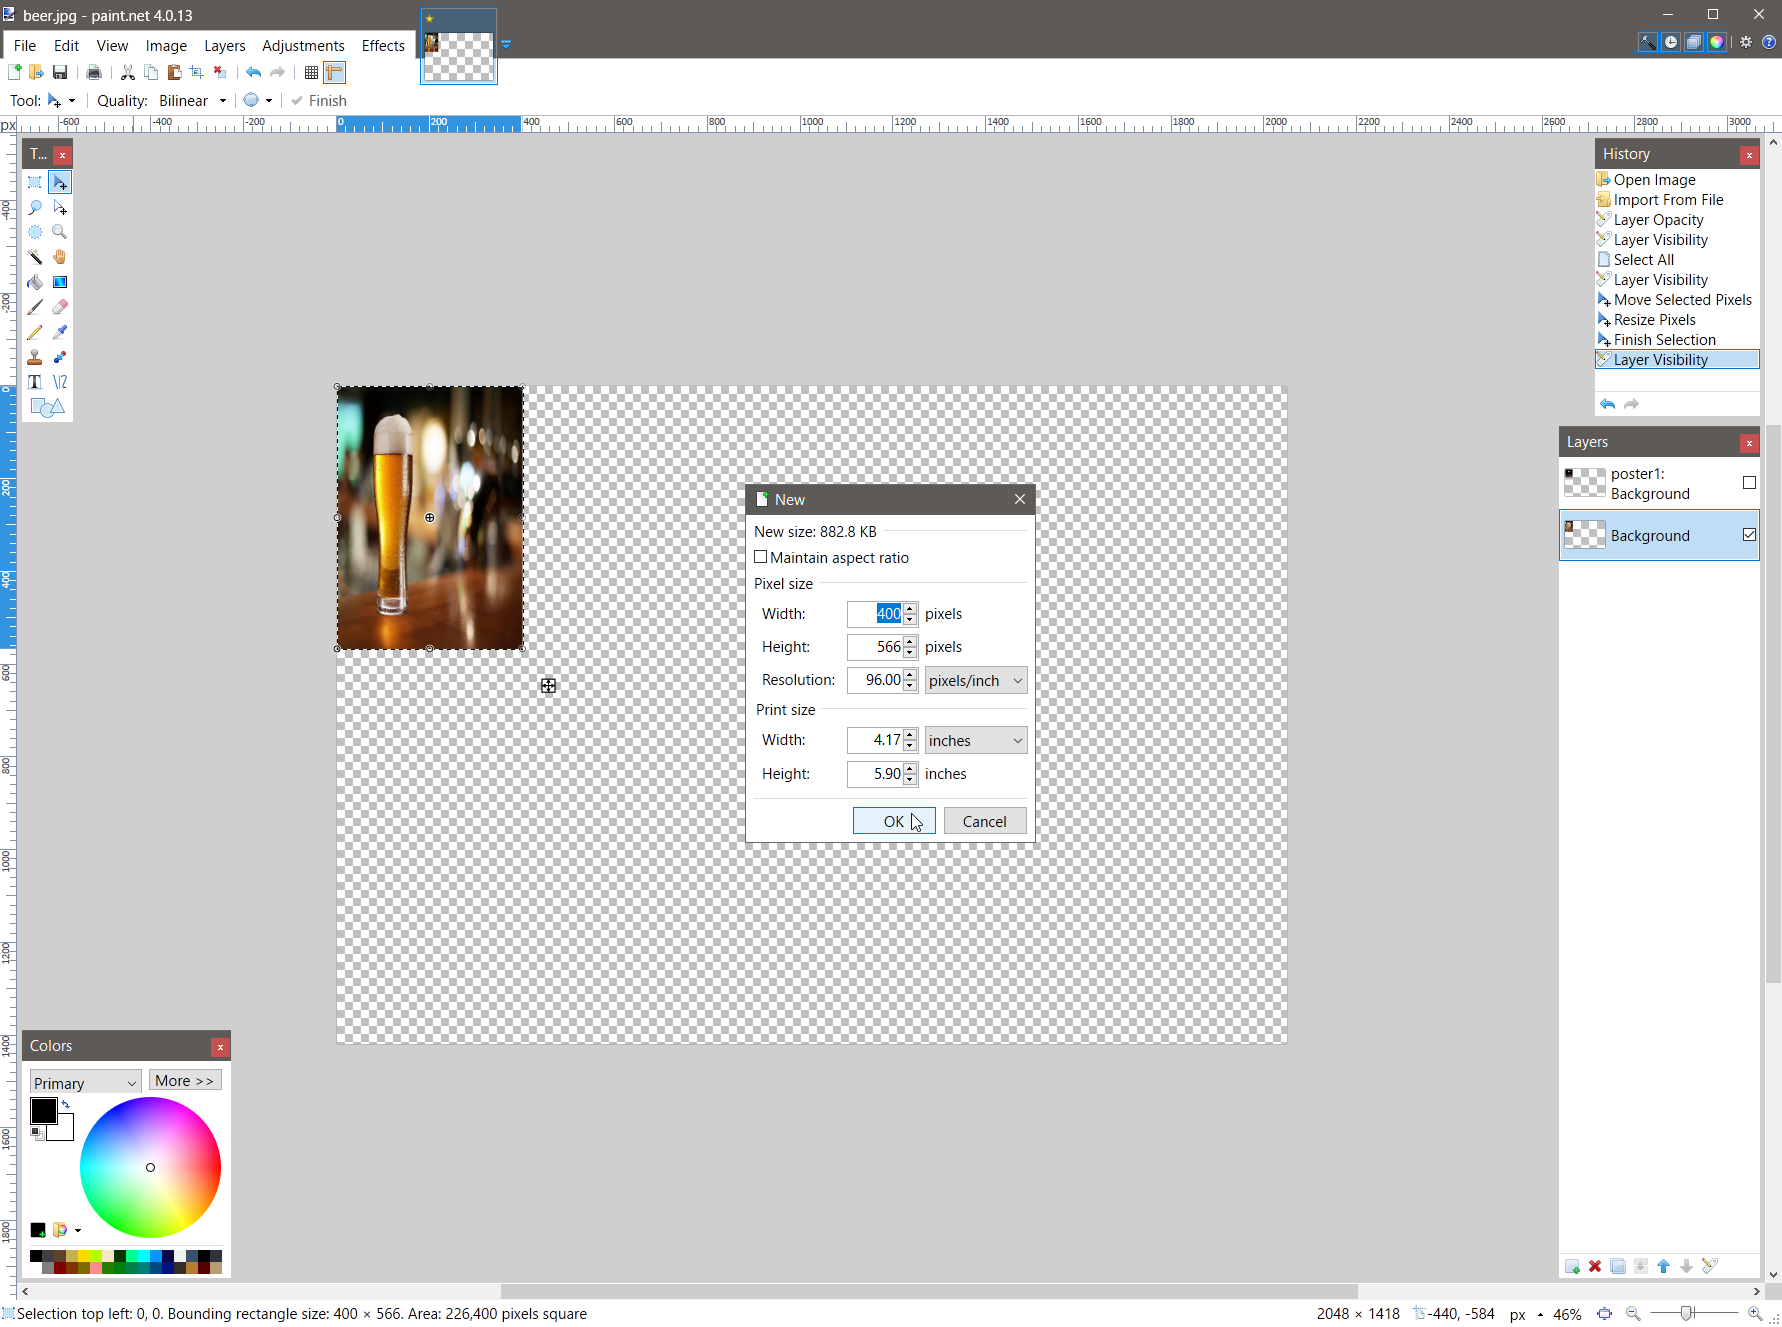
- Mouse click the “File” tab and select “New”.
- This should bring up an option box with image dimensions that match your current selection – you generally won’t need to make any changes here, so just click the “OK” button.
- OPTIONAL – The new image file will usually have a white filled background. I use an eraser tool to erase the background color in order to get a transparent background, as noted by the light checkerboard pattern in the picture.


Step #8
In the newly created empty file:
- Push CTRL+V, in order to paste your copied image into this new file. This step is done, primarily, so that you’ll have a perfectly sized image with no layers to delete, and no cropping to do before saving your new poster or flag.
- ALTERNATIVELY – after completing Step #7 you could switch back to your custom image, click “Edit”, then click “Paste into New Image” which will accomplish the same thing as the above – This is just simply another way to do it.


Step #9
To save and add your new poster to the game:
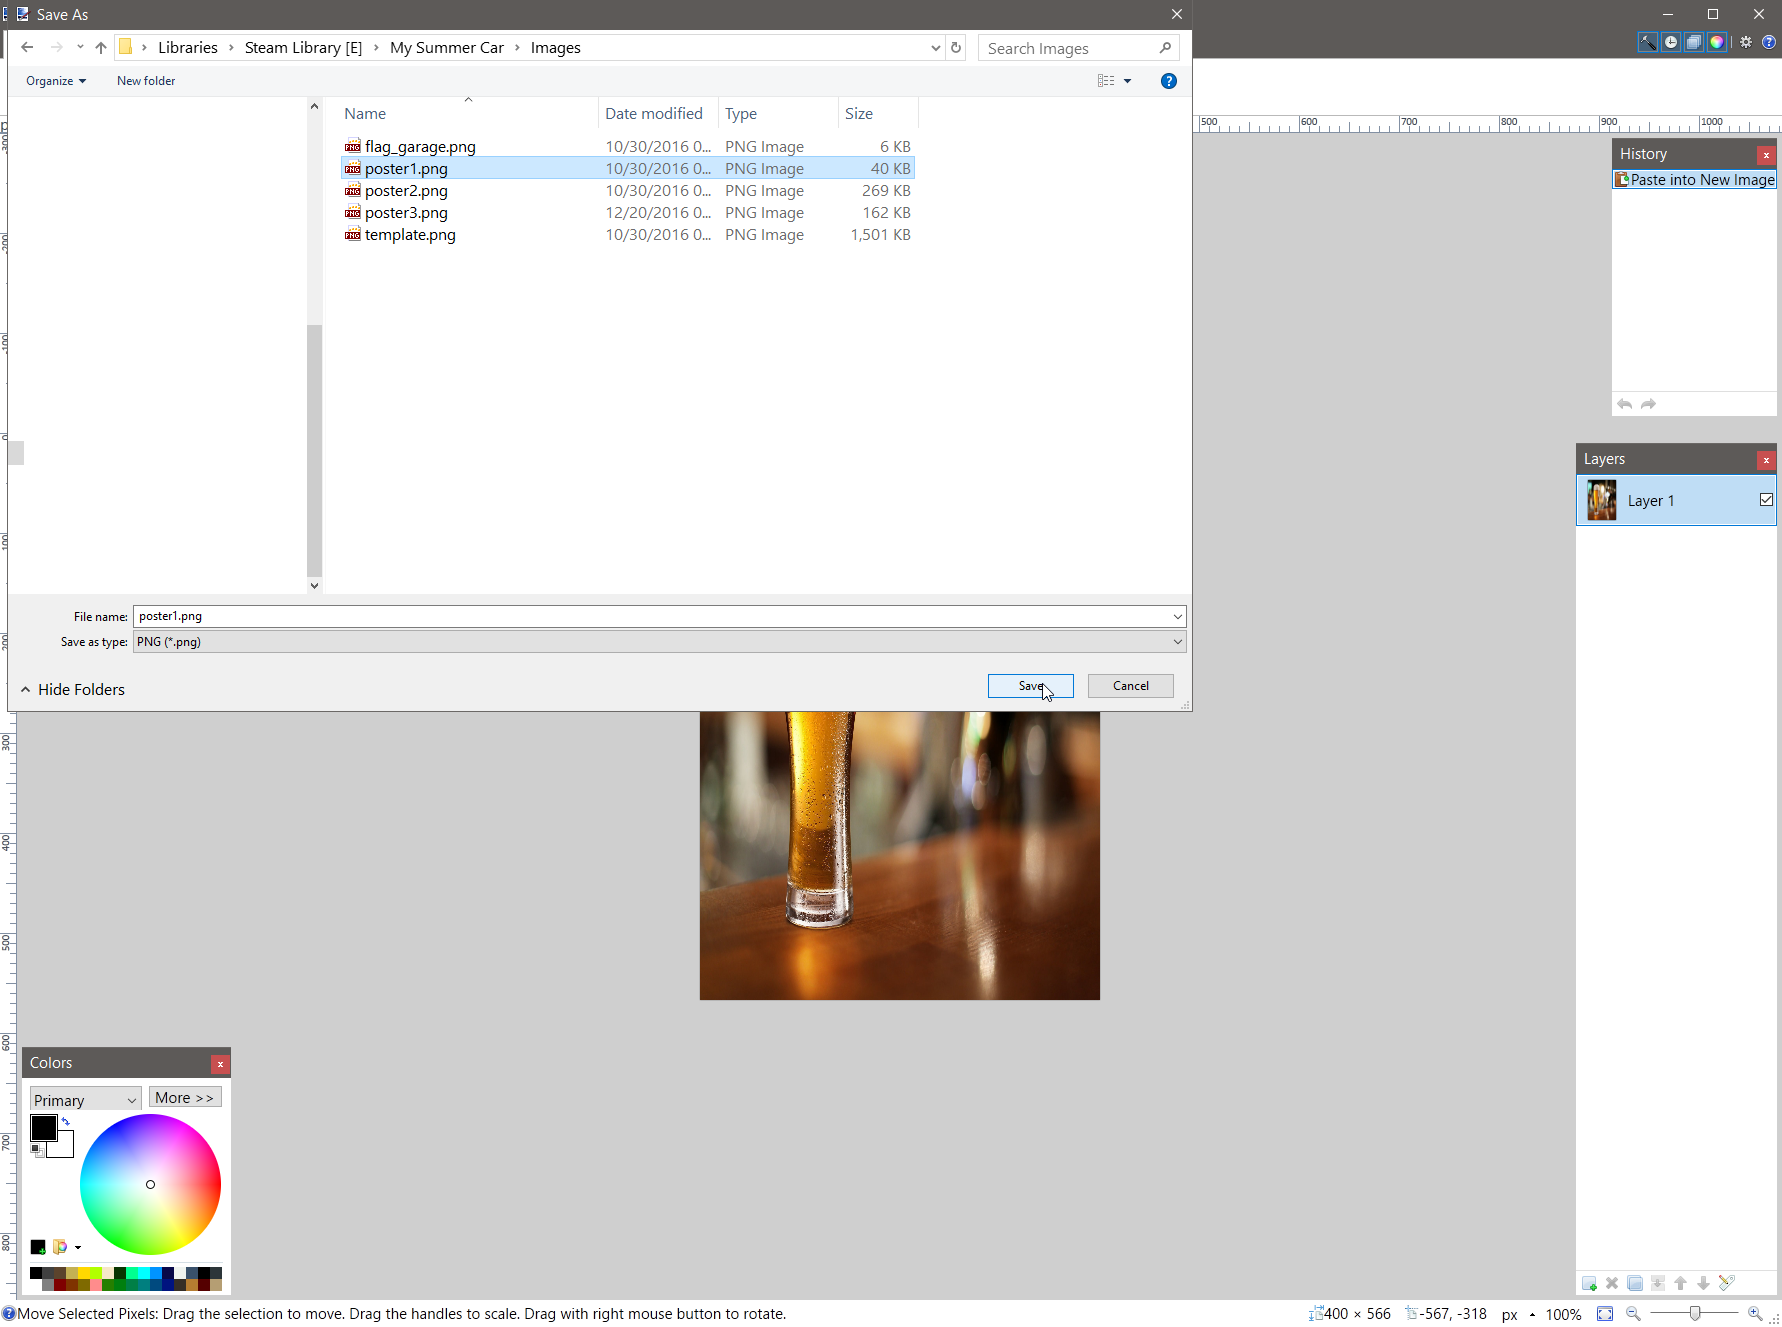
- Mouse click “File”, “Save As…”
- Select your “My Summer Car” game directory, then the “Image” folder.
- Save the file as one of the three posters (i.e. “poster1.png”, “poster2.png”, “poster3.png”, or as the flag – “flag_garage.png”). IMPORTANT – Your file MUST be saved as one of these files, and it MUST also be saved as a “.png” file for the game to be able to read / use it.
- Click the “Auto-detect” option for “Bit Depth” in the “Save Configuration” dialog and then click “OK.”
- The posters are all the same size: 400 x 566 pixels, so it just depends on what wall you want them on in the bedroom. Poster1 – is located on the wall opposite the bed, Poster2 – is located on the wall above the bed, Poster3 – is located on the closet door in front of / at the foot of the bed.
- The flag is 800 x 533 pixels and is (of course) located in the garage.


Step #10
- Open the game, check out your new posters and/or flag, and PROFIT!!


Image Resizing – Shortcut Method
As I mentioned in the guide overview, there are several different ways to accomplish these simple tasks. Some users may be familiar with the ways shown, some may be familiar with other ways, and some still may have no idea how to even open up and / or use a graphic editor such as; paintdotnet, MS Paint, Photoshop, Gimp, etc. Since it was mentioned in the comments section, I thought I would add a section showcasing a “short cut” method to resizing your selected image.
After opening your image in paintdotnet:
- Click “Image”, then click “Resize” or KB “Ctrl+R” – you’ll be presented with a “Resize Options Box”
- Set “Resampling” to “Best Quality”
- Tick the “By absolute size” radio button
- Untick the “Maintain aspect ratio” box
- In the “Pixel size” section:
- POSTERS: set “Width” to: 400 pixels, set “Height” to: 566 pixels, and “Resolution” set to: 72.00 pixel/inch (will be fine for this).
- FLAGS: set “Width” to: 800 pixels, set “Height” to: 533 pixels, and “Resolution” also to: 72.00 pixel/inch.
- After making the above changes, click the “OK” button – you should see your image automatically resized.
- Save your resized image (poster or flag) as either “poster1.png”, “poster2.png”, “poster3.png” or as “flag_garage.png”
- It’s also worth mentioning that in order to get the best image quality (in game) you will “GENERALLY” want to start with a larger size image than what you’re resizing up to – instead of starting with a smaller sized image & then blowing it up to larger size, which could possibly degrade the image.


