
Overview
A small graphical overhaul Guide for Skyrim SE.
Hello!
I will show you how to get most out of your game using as less mods as possible! Following this guide will give you a stable, beautiful looking and highly customizable game.
For people who never modded before or are new: Feel free to use the “Nexus Mod Manager”. If you already know how to use Mod Organizer 2, use that one instead! Vortex works as well!
For the NMM users: Always overwrite any existing mod, when NMM asks to. (“Yes to all”). If a mod comes with an installation, alway install everything and or to your liking!
In the past I had bad experience posting links openly into Guides so if you are too lazy to Google for each mod I suggest you taking a look at my “Google-Docs”-Document, which can be found on my profile page info!
And just a reminder: This Guide is still “Work in Progress”
Have fun!
If you have questions feel free to write a comment below! Because I am just a normal human being some mistakes might happen. If you have tips or additions, or see any problems in my modlist, feel also free to let me know and I will fix them!

Modding

All we need to start is a fresh installation of Skyrim. If you still have Skyrim installed and modded it before, delete it! Also delete the folder under “My Documents/My Games/Skyrim Special Edition” (Back up your savefiles before).
Install “Skyrim Script Extender (SKSE)” first please! Just place everything into your Skyrim folder (The “skse64_loader.exe” should be in the same Location as your Skyrim.exe). Always start the game with the “skse64_loader.exe” (Make a shortcut to your Desktop)
Now please install the following mods in this exact order!
- 1. Havok Fix
- 2. Address Library for SKSE Plugins
- 3. Unofficial Skyrim Special Edition Patch
- 4. Skyrim Project Optimization SE
- 5. Skyrim Particle Patch for ENB
- 6. fxDustDropRandomSCRIPT
- 7. PapyrusUtil SE – Modders Scripting Utility Functions
- 8. Culling data glitch fix
- 9. SkyUI
- 10. Forgotten Retex Project
Install everything! - 11. Static Mesh Improvement Mod – SMIM
Choose “Skyrim 2016 Special Edtion: Everything” but dont check “Statues” on the second page! - 12. Enhanced Lights & FX
One the first page press “Next” and on the second page choose the two “SMIM Patches” and press “Finish”! - 13. Blended Roads
Check Only:
Main Files: Blended Roads
SMIM compatibility Patch: Blended Roads - 13.1 Medieval Bridge (See the link above! -Optional Files)
- 14. Noble Skyrim
- 14.1 Noble Skyrim SMIM Patch (Update Files)
- 15. High Poly Project
Choose “Install Everything” - 16. Skyrim 2020
Install “Skyrim 2020” in this order:
- Skyrim 2018
Check Only:
Core Module: Core
Options: Landscape, Architecture and Armor
Options (second page): ELFX - Bugfixes 1.5
- Bugfixes 1.6
- A. Skyrim 2020 Part I
- A. Skyrim 2020 Part II
- mountain textures
- Skyrim 2018
- 17. Better Dynamic Ash
- 18. Better Dynamic Snow
Plugin Installation: Vanilla Replacement
Projected Diffuse Texture: Vanilla Texture – Tiled - 19. Cathedral Player and NPC Overhaul
- 20. Enhanced Vanilla Trees SE – Lush Trees
Install everything!
For the last option: Use pre-generated LOD textures.OPTIONAL: If you want to use DynDOLOD anyways I also suggest you to install the mod: “The Great Forest of Whiterun Hold”.
On the second page choose the “Blended Roads” patch!
- 21. Cathedral Landscapes
- 22. HD LODs Textures
- 23. Terrain LOD redone
- 24. Cathedral Weathers and Seasons
- 25. Cathedral Water
- 26. Etheral Clouds
- 27. Smooth Sky Mesh
- 28. Luminosity Lighting Overhaul
If you are done, use “LOOT” to sort your mods!
As for the ENB – I suggest you to use what you like! It should be compatible with Cathedral Weathers (Obsidian Weathers) and ELFX.
Right now I am using “Pi-CHO ENB – KONAN Edition for Cathedral Weather”. Read the description (As you always should!), setting up an ENB is easier as you might think!

Extras – New Body Textures

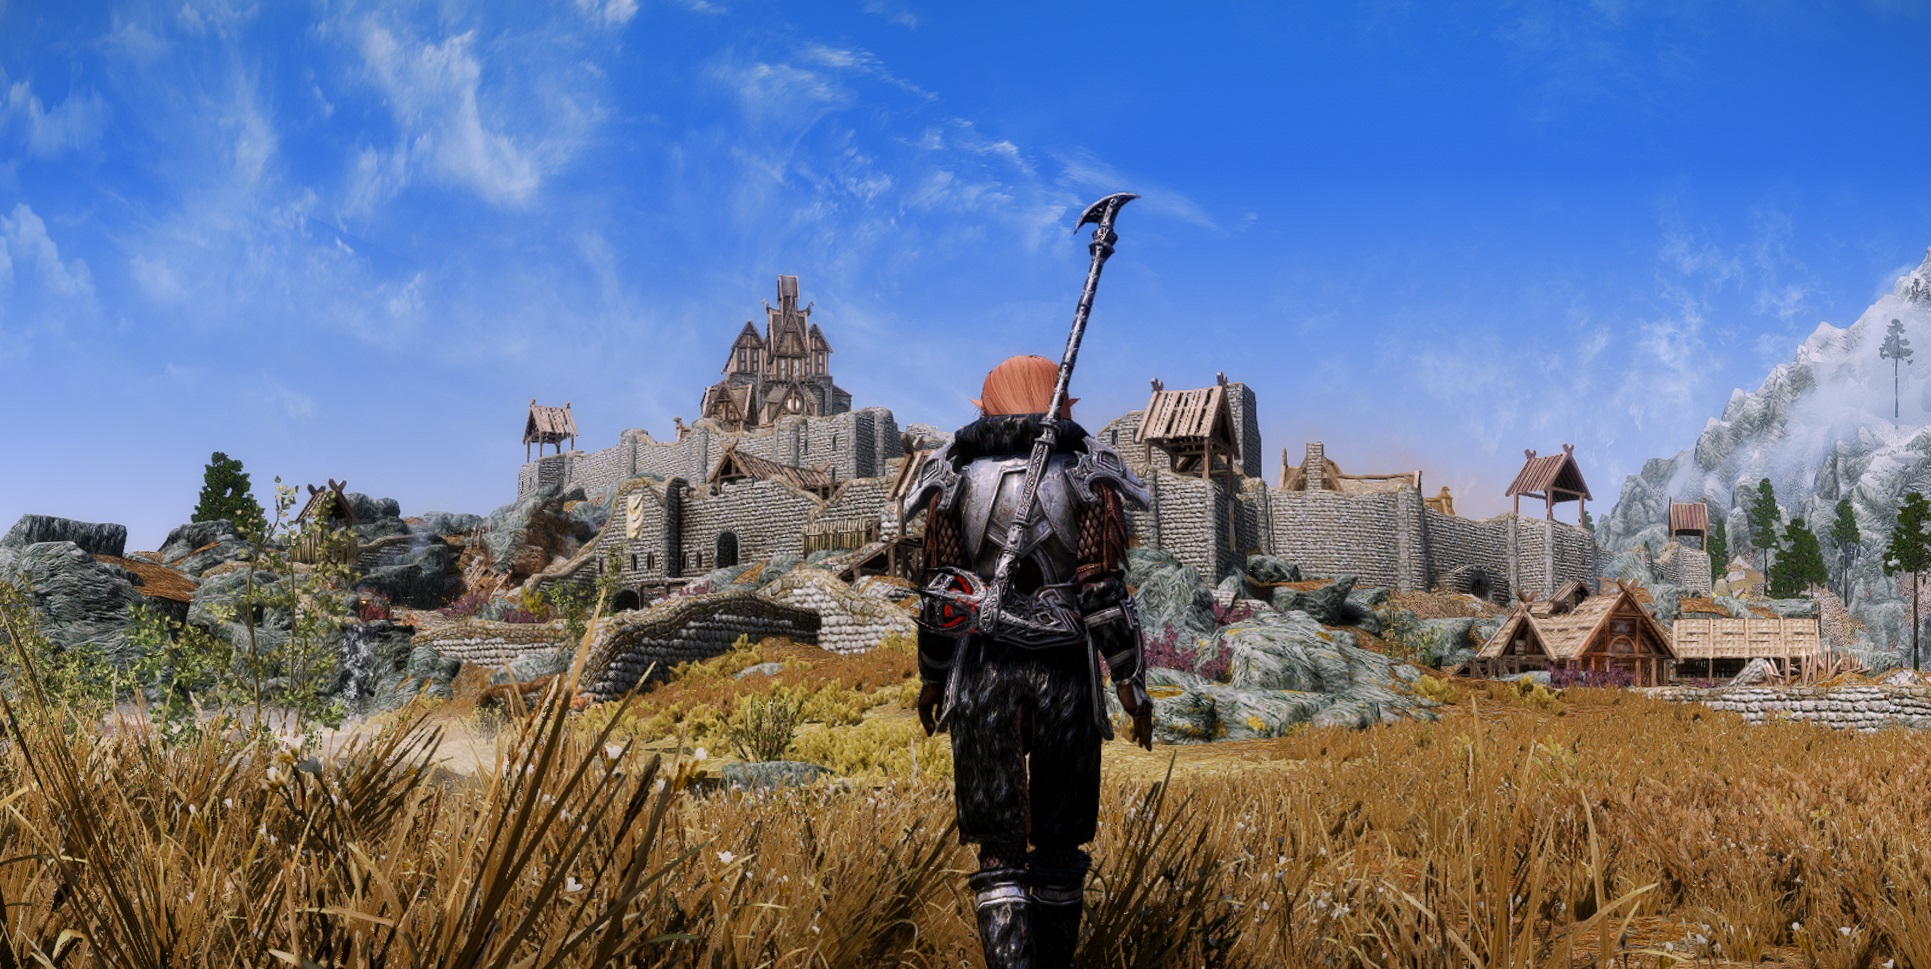
You might have noticed my character I play with in Skyrim. If you also want to have a good looking character, here are some suggestions. Just, as always, install them in this order!
As for the bodies: I prefer both body types (CBBE and UNP), but for this one I choose UNP. If you want to have a list using CBBE, feel free to ask for! I will gladly add one in the future!
Most NPCs look as good as they are thanks to “Cathedral Player and NPC Overhaul”. If you want to play any beastrace, I highly suggest you installing the mods you actually need.
- RaceMenu
- Race Compatibiliy All-In-One
Moonlight Tales: Do not install
Optional Compatibility Patches: USSEP
Optional Vampire Lord Transformation: Do not install
Optional Vampire Overhaul: No Vampire Overhaul - KS Hairdos SSE
- FNIS Behaviours
- FNIS Sexy Move
- XP32MSSE
Just click “Next”. The only thing you should uncheck is the
“SoS” option (on page 7). Select “NONE” - XP32MSSE Fixed Scripts
- UNP Female Body Renewal
(Choose what you like! If you have to select a “physics” option – choose HDT-SMP) - Female Dragonic Argonian Textures 4k – 2k (UNP Option!)
- Better Khajiit female body Texture for UNP and CBBE body (UNP Option!)
- Fair Skin Complexion
- Expressive Facegen Morphs
- Males Of Skyrim
- Male Dragonic Argonian Textures 4k – 2k (Vanilla Option!)
- Masculine Khajiit Textures (Vanilla Option!)
Install this after you installed “Cathedral Player and NPC Overhaul” (Number 19 of the Modding List). It should also work if you add them after you are done with the whole modding list. But this is my prefered installation method.
My character is made from a custom Race called: “Faerie Elves”

Useful Console Commands for Screenarchery

For this we don’t need any mods! We are just using the ingame console!
You can access the console using the “^” key (its above your TAB key – at least on a European keyboard)
Set Gamehour To “x” – You don’t like the time you have right now ingame? You want to have a better sunlight for a better scene lighting? Don’t waste your time using the “waiting” feature. Use this command to immediately change it. The “x” stands for the time you can enter (0 – 23)
TGM – “Toggle God Mode” is a good way not to die during action shots! You have infinite HP, Mana and Stamina