Overview
NFS Heat already has controller settings for XBone, but not PS4. This guide will help get your PS4 controller set up.
Introduction/Warnings
Need for Speed: Heat has in-game controls for the Xbox controller, but what if you’re using a PS4 controller? This guide is for you!
Before embarking on this guide, note the following warnings. These are based on my experiences:
- This guide is based on using manual transmission. Automatic transmission is .
- The game will always translate the triggers to gas/brake. This means if you decide to assign something else to the triggers, like shifting up/down, then they must be soft pulls. (more on this in the section Intermediate: Customizing Your Settings)
- Menu navigation requires a keyboard and using photo mode requires a keyboard and mouse. If you want to use a controller, I think you would need to define an Action Set, which I haven’t tried since all the buttons on my PS4 controller are in use. If this is something you want to see in the guide, I’ll update the guide to include some workaround (Mode Shift and/or Action Set).
Controller to Steam Setup
This section is necessary to complete only once.
- From Steam, enter Big Picture Mode. The icon can be found in the top right corner between your name and Minimize Window. It looks like a rectangle with two arrows pointing at opposite corners. Alternatively, you go to the upper left menus and go to View > Big Picture Mode.
- Click on the gear icon in the top right (Settings), then Controller Settings. Check the PS4 Support box.
- Connect your controller (USB or bluetooth). Steam should recognize it and register it to your account. It just means whenever you plug in/turn on a PS4 controller it loads its settings. You can mess around with the light bar brightness, color, etc.
Configuring Controller for NFS Heat
Now that Steam recognizes your controller, you can configure your controller for the game.
- While in Big Picture Mode, navigate to MCII. Find it in your library.
- Enter/click NFS Heat > Manage Game > Controller Configuration. You’ll be presented with your controller.
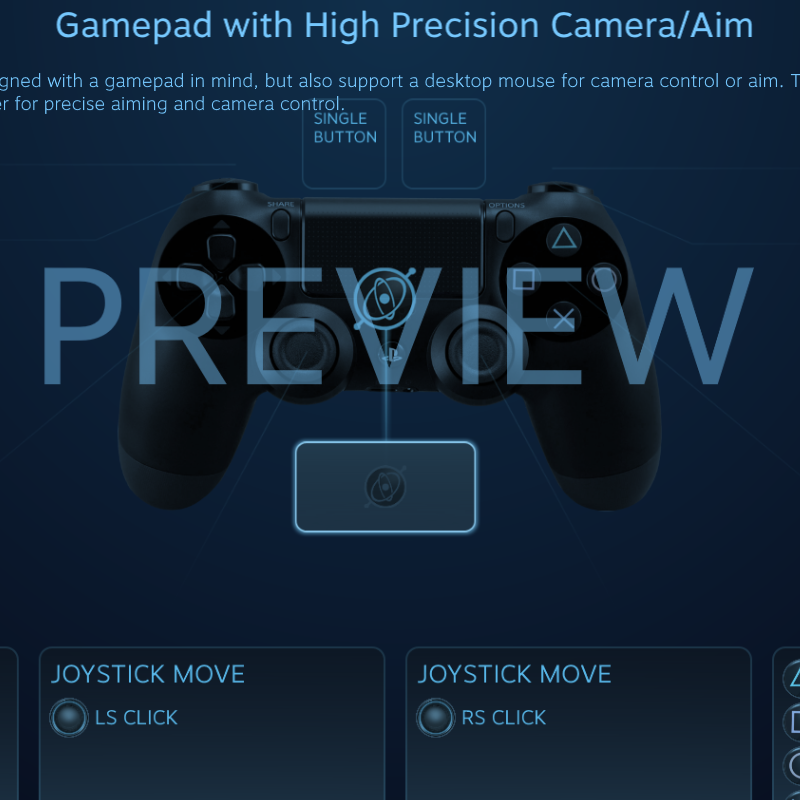
- At the bottom of the screen, go to Browse Configs. Left side of screen, go to Templates. Highlight Gamepad with High Precision Camera/Aim then Import Config.
- You’ll be sent back to your controller and see a blank template with the word Preview across the screen. Apply Config. You can now edit the buttons to your liking.
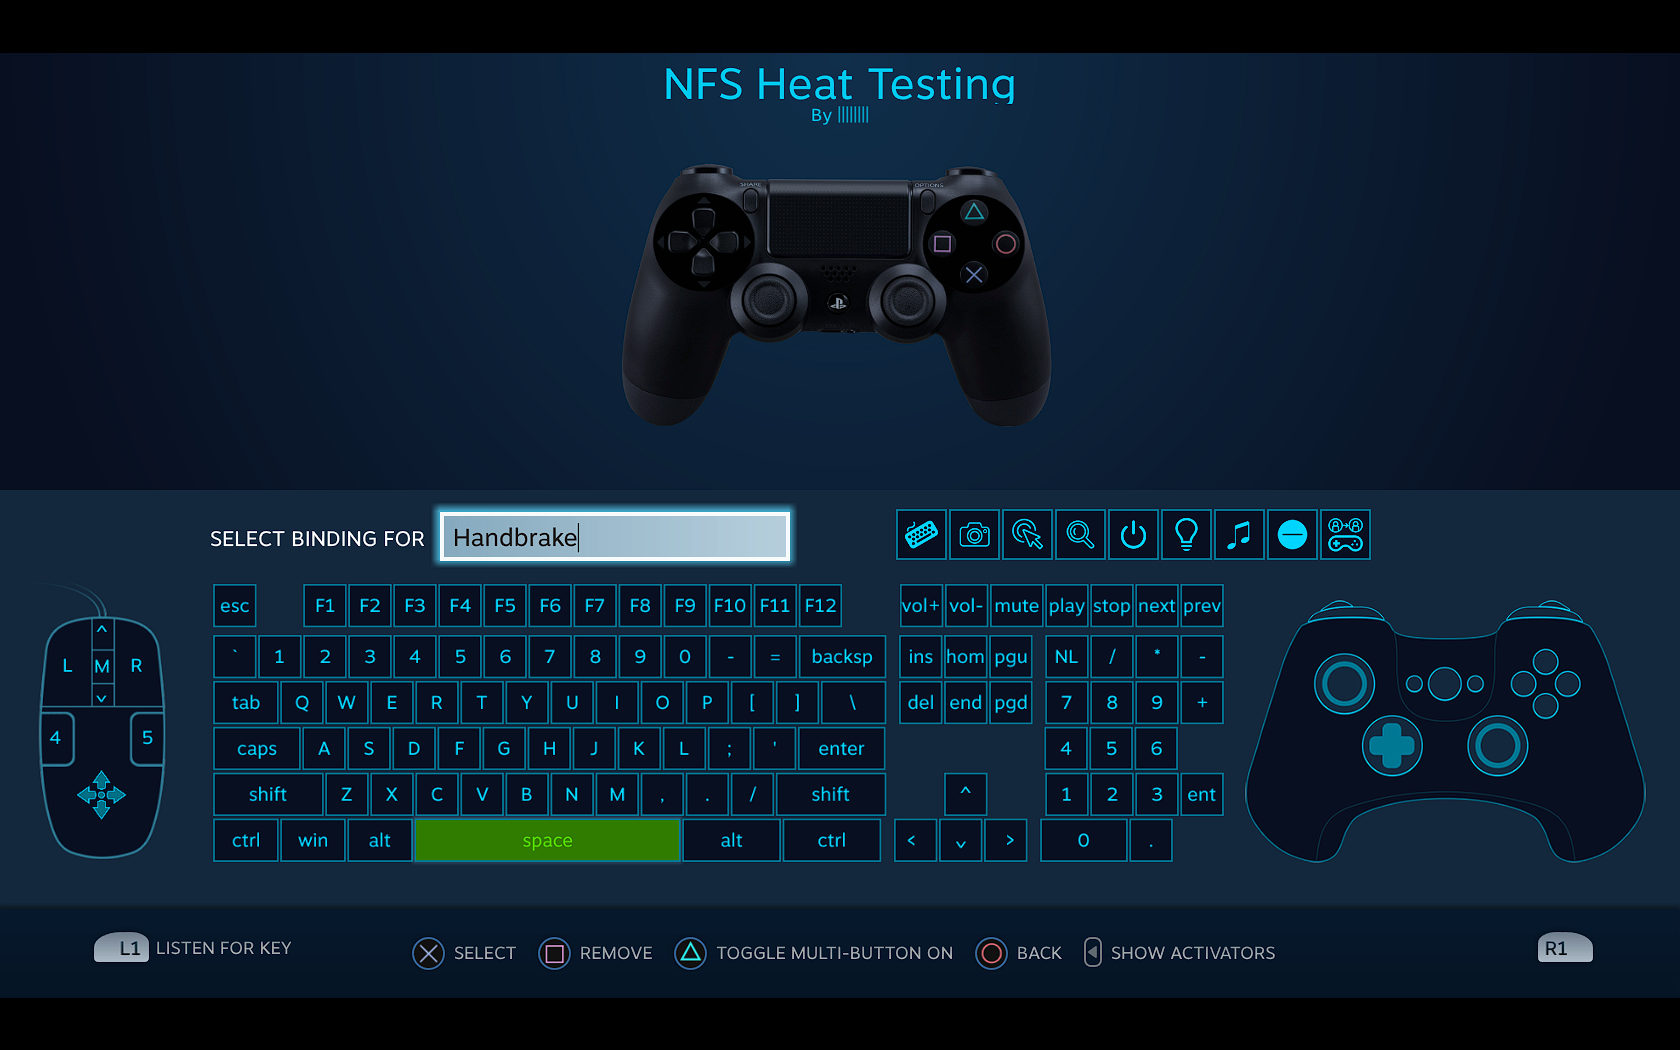
- To edit a button/bumper, select it (Enter on keyboard or Cross on PS4) and give it a name for easier identification. Use its function when in-game. For example, I have Handbrake as R1 (right bumper) so I named it Handbrake. Then select the key on the keyboard that corresponds to the mapping in-game.
- To edit a trigger, edit either the Full Pull Action or Soft Pull Action, then proceed as before. These actions will be discussed in the next section (Intermediate: Customizing Your Settings).
Here are the default keyboard controls for NFS Heat. I’ve also added info for default XB controls according to the game, as well as corresponding PS4 controls.
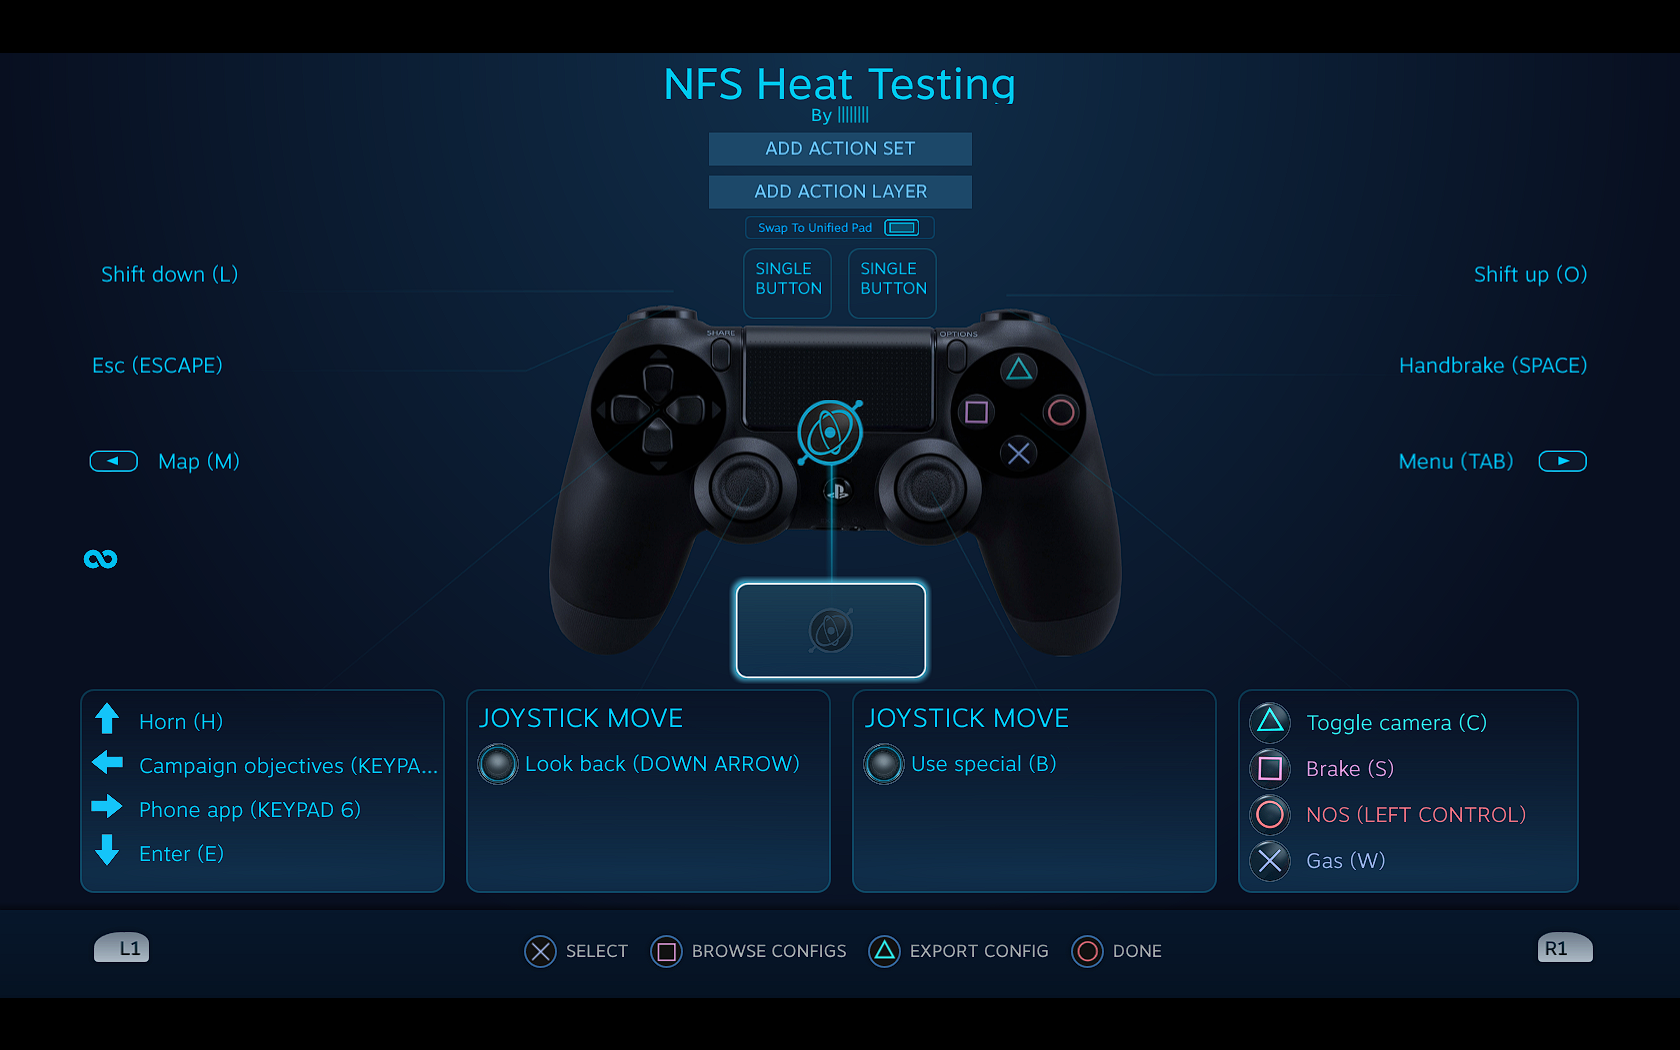
When you’re done, your configuration should look something like this:
My controls are switched around a bit. I prefer the old-school way of Cross/Square for gas/brake.
Intermediate: Customizing Your Settings
When configuring settings for triggers and joysticks, you should have noticed a bunch of others settings. I do not know what everything does so some things may not be correct.
Trigger
A trigger has two actions: a full pull and a soft pull. A full pull is as it sounds: when you pull the trigger all the way it does a certain action. A soft pull is somewhere between not pulling and fully pulling.
- The Trigger Range Start/End tell you how far you need to pull for it to take effect. A Trigger Range Start further to the left means you won’t need to pull as much for it to activate, and a Trigger Range End further to the right means you will have to pull farther for the Full Pull Action to activate.
- The Soft Pull Point tells you how much you need to pull for the Soft Pull Action to take effect. The further to the left the point is placed the less you need to pull for the Soft Pull Action to activate.
- Trigger Response Curve: I haven’t messed with this setting so it is kept as Linear.
- IMPORTANT: if you want to use triggers for shifting, you MUST use soft pull. The reason is the game defaults gas and brake to the triggers. Beyond a soft pull, the triggers will activate gas/brake. If you try using a full pull to shift, the car will not shift.
Joystick
My knowledge is very limited about joysticks but these should help you get going.

Left Joystick
Select Additional Settings to fine tune the joystick.

The Dead Zone Inner determines the area from the center that any movement in the joystick will not have an effect in-game. Sliding the point to the left means less movement of the joystick is required to steer the car. The Dead Zone Outer changes how far away from the center that you will achieve maximum input. Sliding the point to the right means you need to move the joystick further to the edge for maximum input.
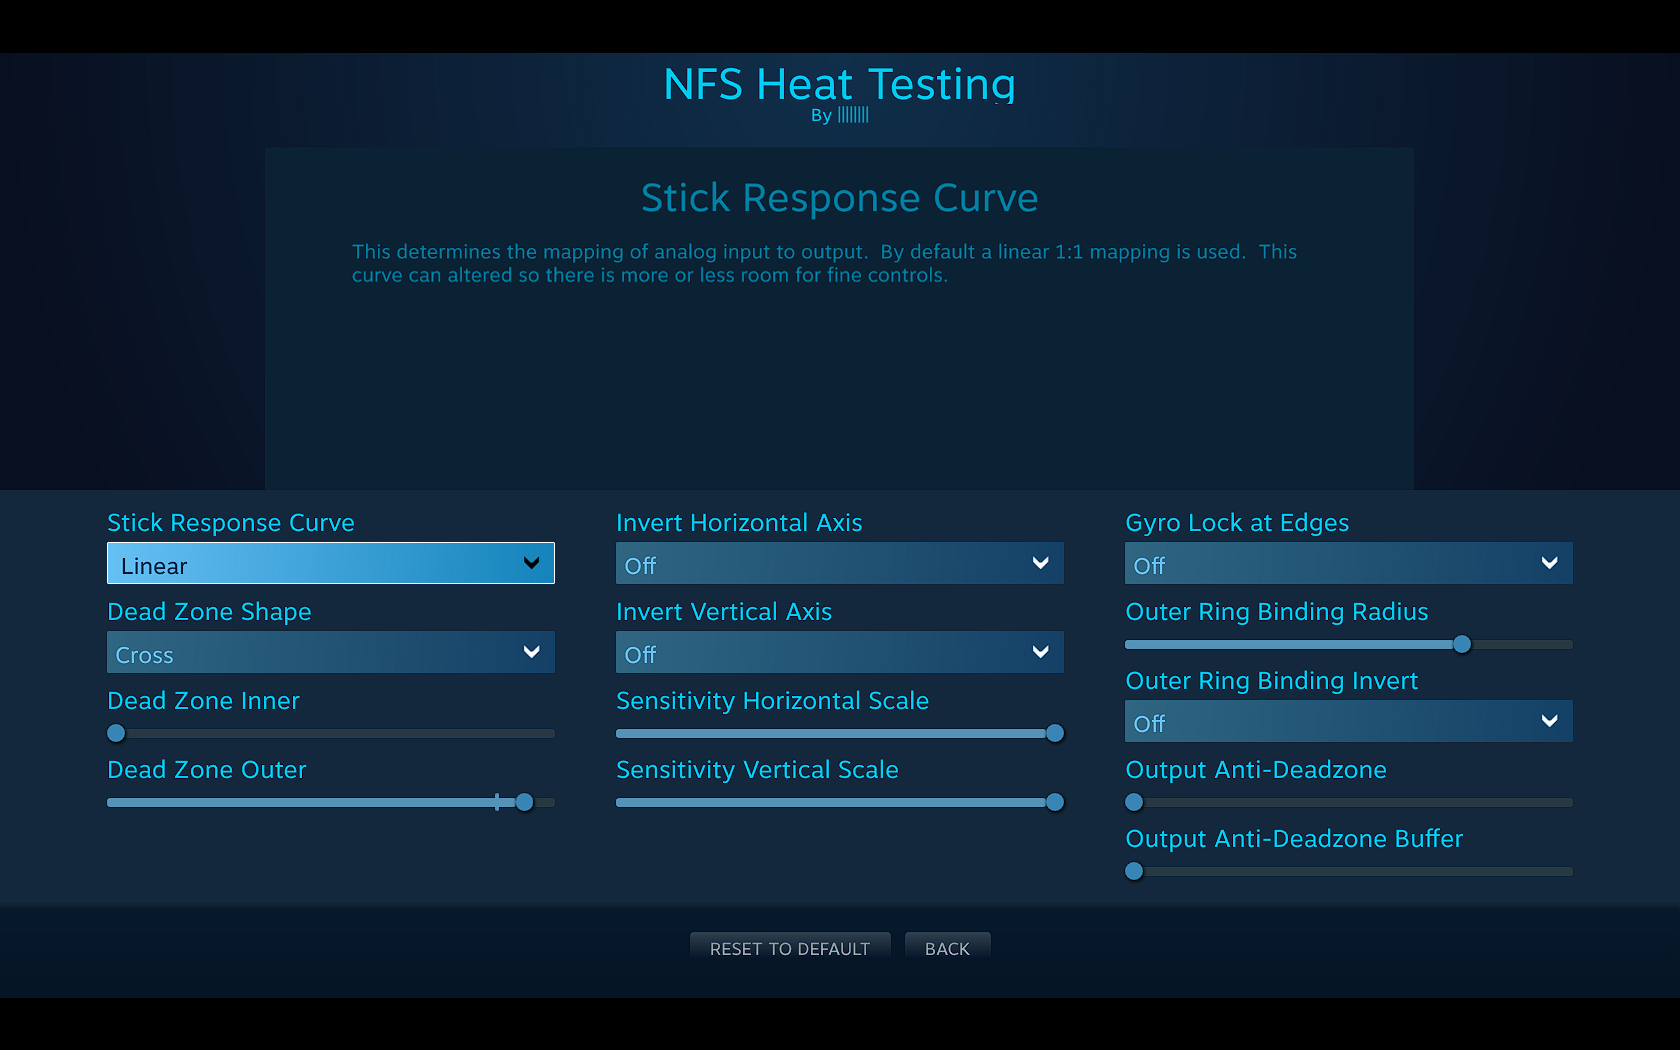
I chose to move the Dead Zone Outer a little to the right of default to give more precise steering.
I don’t know what everything else does.
Right Joystick
Click on Additional Settings for more fine tuning of the joysticks. Adjust to your preference.

Video Demonstration
[link]Closing Remarks
I hope this guide helped you in setting up your PS4 controller for NFS Heat. If you have any questions or corrections, let me know in the comments below. If you have suggestions for controller configurations, also put them in the comments.
Happy racing!