Overview
Screenshot assisted guide for locating all the secrets. Heavy on images.
Foreword
Quake II’s singleplayer mode consists of ten units of varying length and features a total of 94 secrets (93, if played on Easy). This guide has been created to serve as a clean-cut visual aid for new and returning players alike aiming for getting all of them. As with all classic shooters, discovering the secrets by one’s self is a huge part of the fun so it is recommended that you only refer to the guide to find out what you are missing instead of following it step by step. Though not marked as secrets, there are also many more items to be found in explosive crates or hard to reach spots so a thorough search of any given level is almost always rewarding.
The guide is laid out so that the numbering of the secrets is in line with the mostly linear flow of the game: where multiple paths are available, it is presumed that the player goes towards the objective first. In addition, due to the unit-based nature of the title, a few of the secrets are only accessible upon returning to the same level at a later stage. In those cases, a later visit to the level in question can be identified by the tag (Continued) besides its name.
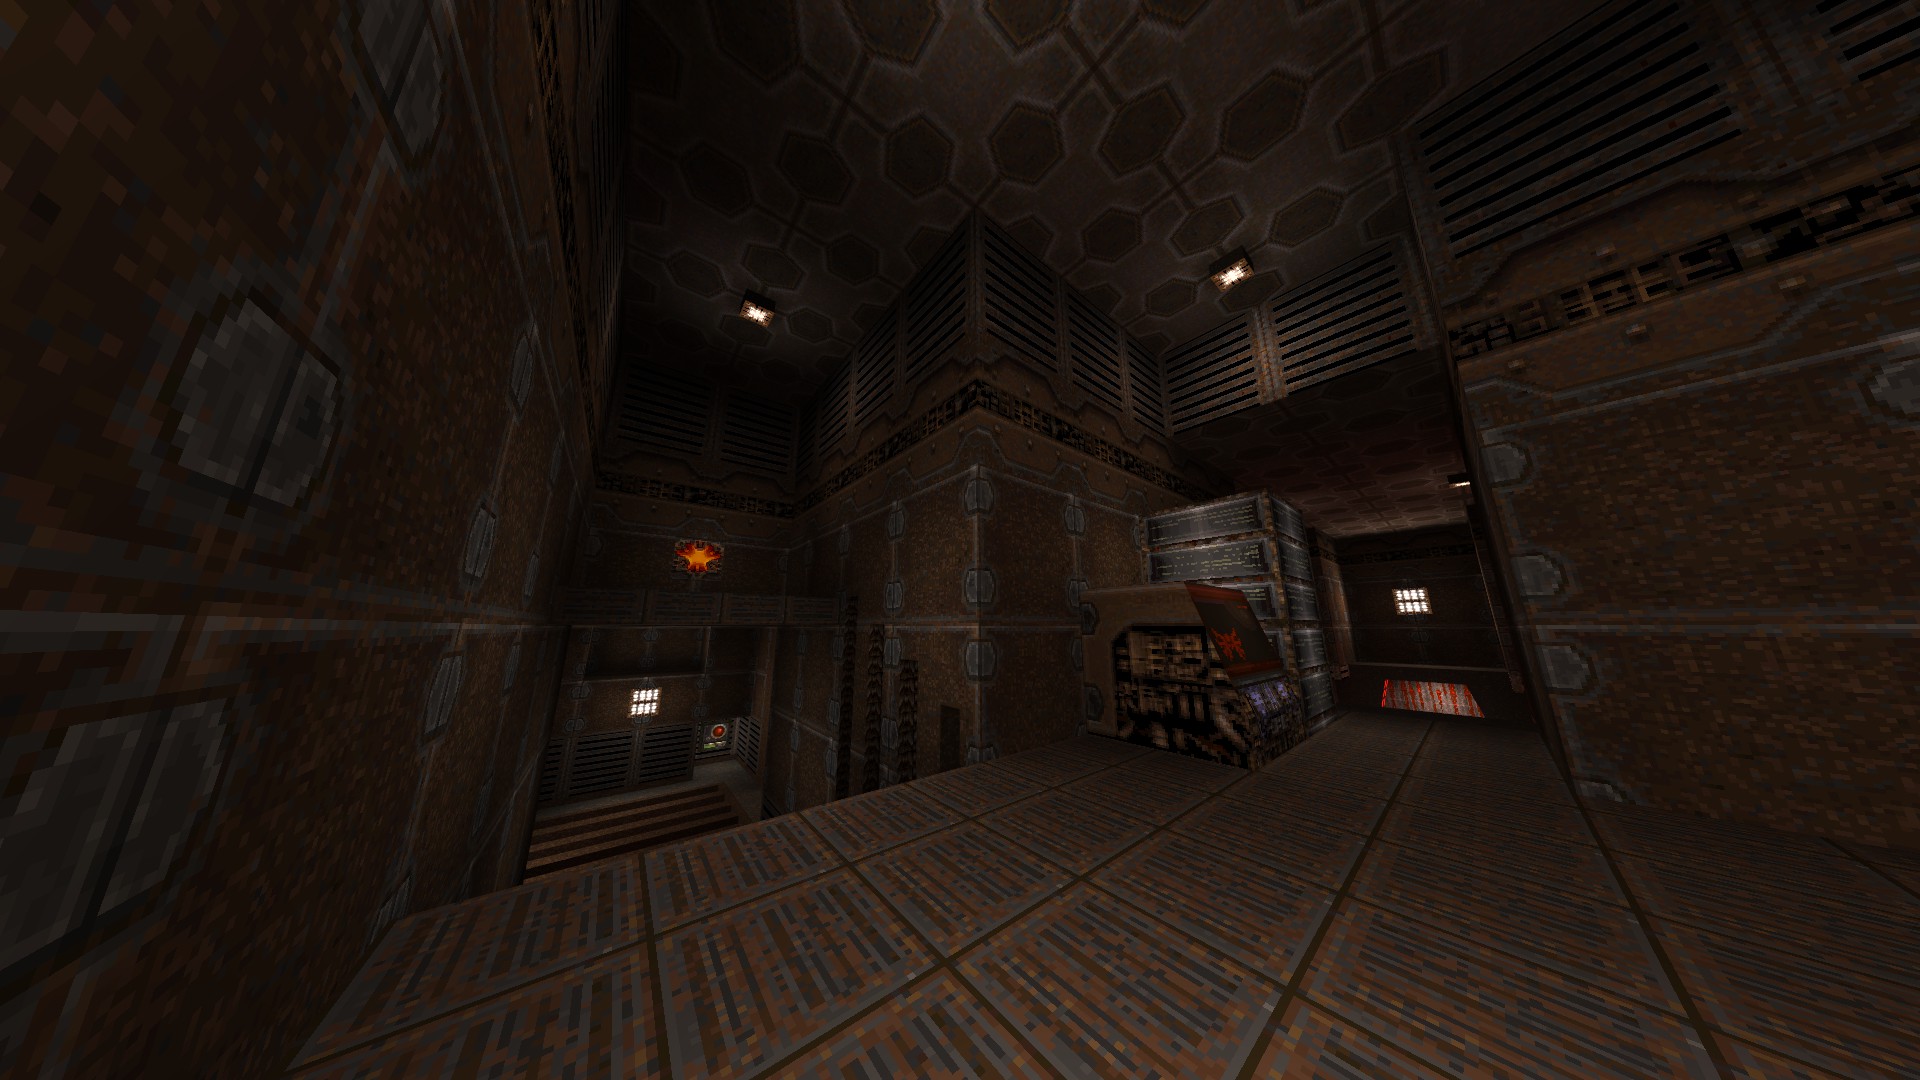
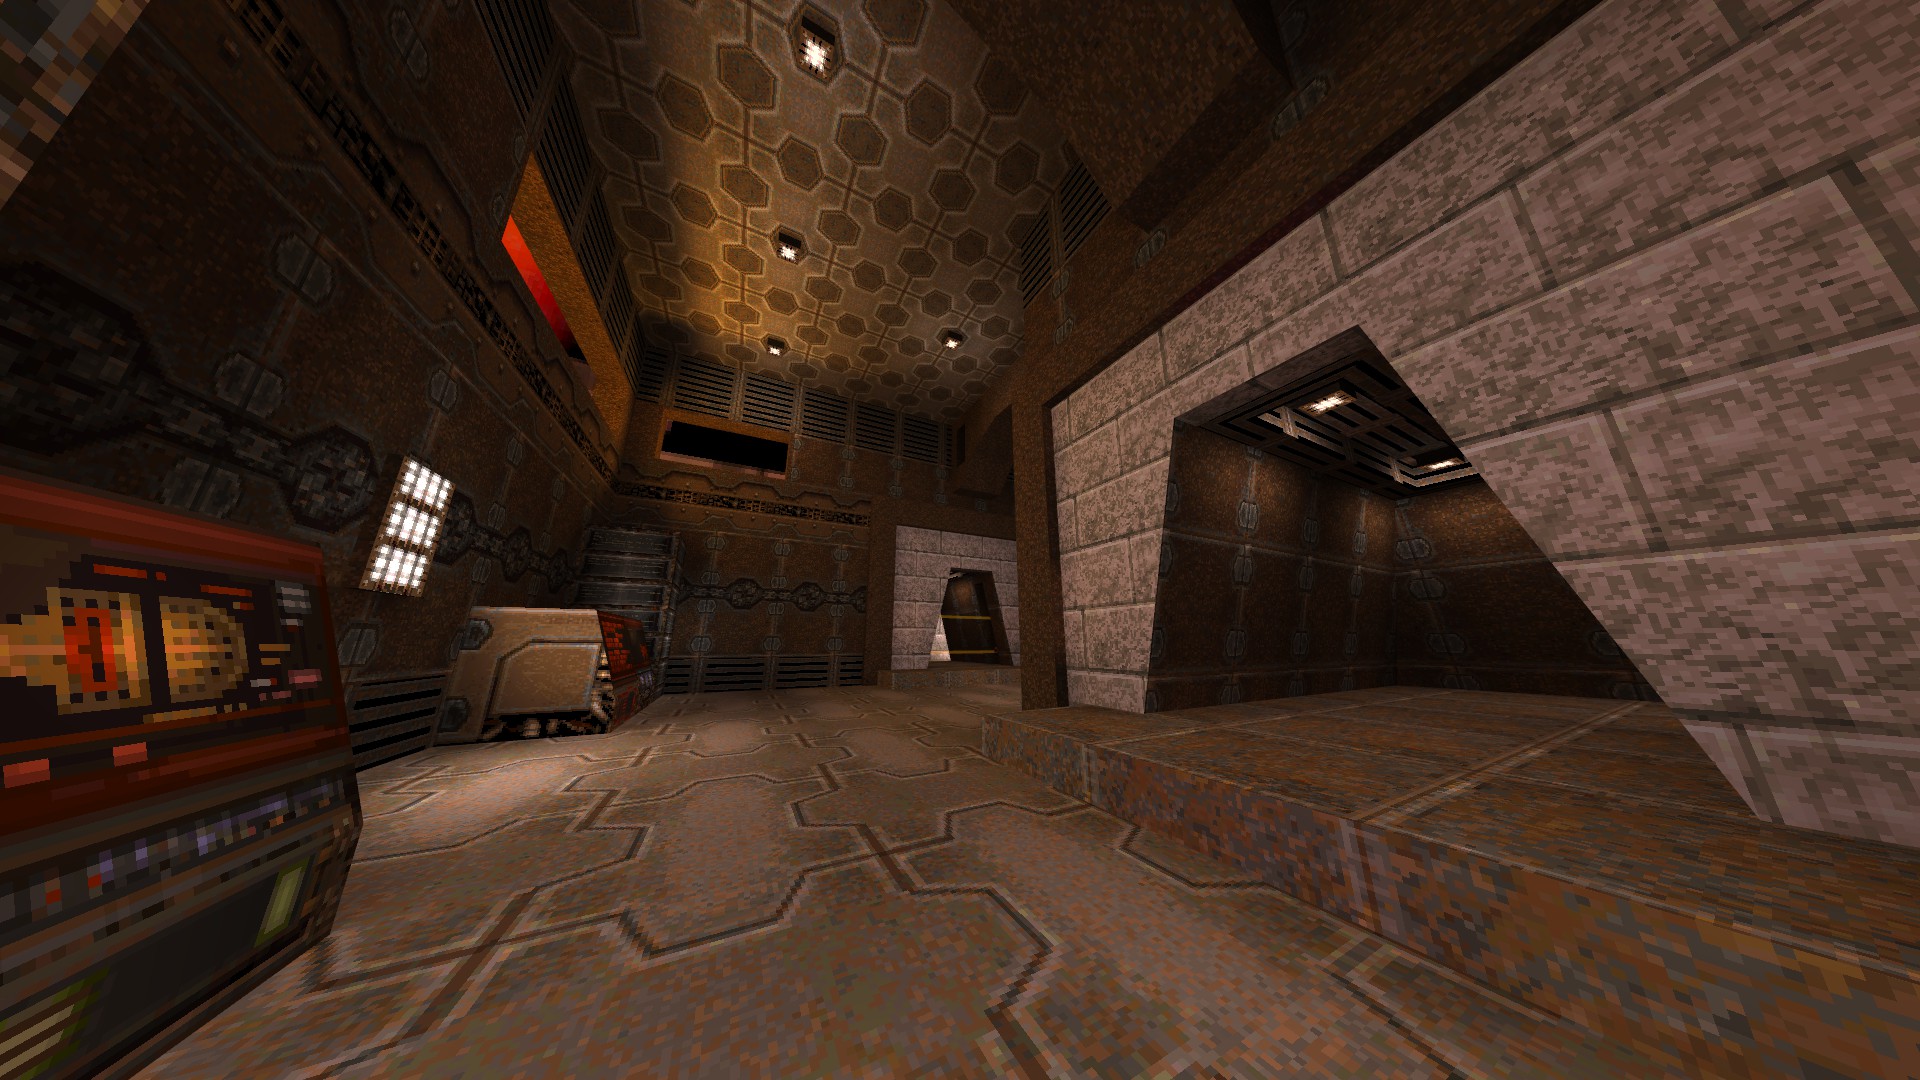
Of the two shots provided for the secrets, the first one covers the area it is to be found in while the second one shows a particular detail, which, in most cases, is the trigger itself. Additional tips are deliberately kept short to let the shots speak for themselves. The only exception to this format is the ninth unit, Palace. As navigating the said unit can be quite confusing, an ideal route that tries to keep the going back and forth to a minimum has been laid out through the tips.
Unit Select
Although not offered through the in-game menu, it is possible to start playing directly from a later unit with a loadout as seen fit by the developers. This can be done by using the following commands (given in italics):
Warehouse / exec warehouse.cfg
Jail / exec jail.cfg
Mine / exec mine.cfg
Factory / exec factory.cfg
Power Plant / exec power.cfg
Big Gun / exec biggun.cfg
Hangar / exec hangar.cfg
Palace / exec city.cfg
Showdown / exec boss.cfg
Note that the game defaults to Medium difficulty unless it is changed by using the skill variable. To start playing on another difficulty, be sure to type in the appropriate command (given in italics) from the list below before executing the command for the unit.
Easy / skill 0
Medium / skill 1
Hard / skill 2
Nightmare / skill 3
In Quake series of games, difficulty levels differ in the monster count and the amount of damage taken by the player, so Hard difficulty is recommended for the most complete experience. Nightmare (also known as Hard+, as displayed in the status / objectives subscreen) difficulty, which was originally hidden and is otherwise the same as Hard difficulty, remains a matter of preference as it requires a different approach to the gameplay due to its highly reducing the pain states of the monsters as well as its making them quicker on the trigger.
It is already pretty well-known that the game, as in most of the classic shooters, allows loading of the levels directly by typing in their filenames alongside the map command. Still, since doing so does not grant the player any type of equipment (other than Blaster) nor any key items which may be required for progression, the filenames for the levels are purposely left out of this guide.
Unit 1: Base
This unit consists of 4 levels that contain a total of 13 secrets.
—
OUTER BASE

 1/3 – Shoot the cracked floor and look for a hidden alcove underwater.

 2/3 – Crawl under the stairs to find a hidden item.

 3/3 – Shoot the button on the ceiling to open up a hidden compartment.
—
INSTALLATION

 1/2 – Follow the opening next to the tunnel entrance and shoot the cracked wall.
—
COMM CENTER

 1/2 – Dive into the water and look for an opening to follow in the corner.

 2/2 – Get onto the elevator found in the hidden area to access the first secret level.
—
LOST STATION (Secret level)

 1/6 – Get on top of the crates to reach a hidden item.

 2/6 – Dive into the water and follow the opening at the first station.

 3/6 – Dive into the water and shoot the button at the second station.

 4/6 – Shoot the button and get under the rising slope to reach a hidden item.

 5/6 – Shoot the button to open up a hidden door next to the gun trap.

 6/6 – Dive into the water and shoot the clipped part of the tower base.
Easter Egg
Get on the tram at the first station and do not get off it until it makes exactly thirteen rounds around the track. The wall panel at the second station (which can be seen in the first shot of secret #3 above) should get retextured to something creepy.
—
INSTALLATION (Continued)

 2/2 – Search for a hidden weapon in the tunnels under the area leading to the exit.
Unit 2: Warehouse
This unit consists of 3 levels that contain a total of 8 secrets.
—
AMMO DEPOT

 1/3 – Shoot the button on the ceiling to open up a hidden compartment.

 2/3 – Press the wall button to open up the compartment under the slope.

 3/3 – Look for an opening under the bridge over the lava to reach a hidden area.
—
SUPPLY STATION

 1/3 – Drop down below and approach the panel to access a hidden compartment.

 2/3 – Get on top of the moving crate and ride it to reach a hidden item.

 3/3 – Look for a crate with different texturing than the rest and shoot it.
—
WAREHOUSE

 1/2 – Shoot the button behind the crates to open up a hidden area.

 2/2 – Shoot the button on the ceiling to access a hidden item.
Unit 3: Jail
This unit consists of 6 levels that contain a total of 11 secrets.
—
MAIN GATE

 1/2 – Drop down into the water and look for a corridor leading back into the structure.

 2/2 – Push the alarm button (if it is not already on) and jump into the opening that the flyers come out to reach a hidden item.
—
DETENTION CENTER
 1/2 – Shoot the button and get under the rising stairs to reach a hidden item.

 2/2 – Press the two buttons back to back and make your way around to the door on the next wall to reach the previously barred area.
—
SECURITY COMPLEX
 1/1 – Shoot the wall behind the dead marine to reveal a hidden compartment.
—
THE TORTURE CHAMBERS

 1/3 – Step outside before taking the elevator down to find a weapon in the open.

 2/3 – Shoot the brick that slightly juts out in the cell in the corner of Cell Block A.

 3/3 – Activate an invulnerability power-up and dive into the lava to find a hidden cache.
—
GUARD HOUSE

 1/3 – Shoot the barrels or the cracked wall itself to reveal a hidden compartment.

 2/3 – Push the brick that slightly juts out to access a hidden item.

 3/3 – Drop down to the ledge below, follow it around and crawl under the broken door.
—
GRID CONTROL
 This level has no secrets.
Unit 4: Mines
This unit consists of 5 levels that contain a total of 8 secrets.
—
MINE ENTRANCE

 1/1 – Shoot the sparking computer to reveal a hidden weapon.
—
UPPER MINES

 1/2 – Shoot the sparking computer to reveal a hidden item.

 2/2 – Shoot the uniquely textured panel to open up a hidden compartment.
—
BOREHOLE

 1/3 – Check underneath the stairs for two semi-hidden items.

 2/3 – Drop down into the hole and dive into the water to find a hidden item.

 3/3 – Activate the drilling machine then shoot the panel at the back of the newly-opened compartment to access a hidden area. Get on one of the carts if you want to use the alternate exit to the next level. Doing so also grants you an extra item by the start of that one, which is otherwise unreachable (at least without rocket jumping).
—
DRILLING AREA

 1/2 – Shoot the cracked part of the tunnel to reveal a hidden item.
—
LOWER MINES
 This level has no secrets.
—
DRILLING AREA (Continued)

 2/2 – Jump on one of the barrels then the crates to reach the item near the exit.
Unit 5: Factory
This unit consists of 3 levels that contain a total of 7 secrets.
—
RECEIVING CENTER

 1/4 – Approach the panel in the middle to access a hidden compartment.

 2/4 – Drop down into the water to find a hidden weapon.
3/4 – Rocket jump onto the waterfall to access the second secret level.
—
SUDDEN DEATH
 This level has no secrets. You only have a single chance and thirty seconds to grab whatever items you can. It is possible to grab all of the worth-while four if you follow a strict path and move fast enough while doing so.
—
PROCESSING PLANT

 1/3 – Shoot the hidden button to open up a hidden compartment.

 2/3 – Drop down onto the ledge below to access a hidden area.

 3/3 – Stop the belt and crawl into its housing to find a semi-hidden item.
—
RECEIVING CENTER (Continued)

 4/4 – Shoot the button to open up another hidden compartment.
Unit 6: Power Plant
This unit consists of 6 levels that contain a total of 15 secrets.
—
POWER PLANT

 1/2 – Shoot the flashing light fixture on the ceiling to open up a hidden compartment.

 2/2 – Shoot the explosive barrels grouped in the corner to reveal a hidden area.
—
THE REACTOR

 1/1 – Shoot the slightly indented panel behind the door that leads to the reactor area.
—
COOLING FACILITY

 1/3 – Walk along the edge and climb down the ladder to access a hidden area.

 2/3 – Jump down to the ledge from the upper floor to reach the item in the open.

 3/3 – Activate the pistons and drop down below to find a newly-revealed compartment.
—
TOXIC WASTE DUMP

 1/2 – Get the suit, drop down into the slime and follow its path towards the start of the level to find a hidden area. Save the second suit and just jump down to the entrance below to continue with the objectives for now.
—
PUMPING STATION ONE

 1/3 – Shoot the flashing light fixture to reveal a hidden item.
2/3 – Still in the same room, shoot the cracked pipe to reach a hidden area.

 3/3 – Following on from the previous secret, shoot both of the grates found outside to open up a hidden compartment.
—
PUMPING STATION TWO

 1/4 – Shoot the Strogg symbol next to the blue key door to open up a hidden compartment.

 2/4 – Drop down to the lower floor and shoot the slightly indented panel to find a hidden item.


 3/4 – Get the suit, take the door behind the pipes in the same room and follow the slime’s path to reach a hidden ledge with items.

 4/4 – Dive into the slime right before the exit to find a hidden item. You may opt to activate an invulnerability power-up as the second secret in this level also contains one.
—
TOXIC WASTE DUMP (Continued)

 2/2 – Activate the suit you saved from the first time around and dive into the slime to look for a bunch of items. It should be possible at this point to get out of the pit near the secondary entrance to the level, so do so by following the opening.
—
Easter Egg

 Before exiting the unit, return to Cooling Facility and look for an opening underwater that only becomes accessible after completing the primary unit objective to meet an old friend and receive a message from the developers.
Unit 7: Big Gun
This unit consists of a single level that does not contain any secrets.
—
BIG GUN
 This level has no secrets.
Unit 8: Hangar
This unit consists of 6 levels that contain a total of 13 secrets.
—
OUTER HANGAR

 1/3 – Jump over the pipe to find a hidden item.

 2/3 – Dive into the water, shoot the pylon and swim through the pipe.

 3/3 – Following on from the previous secret, get into the portal found in the hidden area to access the third secret level.
—
COMM SATELLITE (Secret level)

 1/2 – Drop down onto the nearest beam and make your way around to reach a hidden item.

 2/2 – Drop down onto the beam located next to the door that leads to the exit to find a semi-hidden item.
—
RESEARCH LAB

 1/1 – Shoot the broken grate to open up a hidden compartment.
Easter Egg

 Kill all the marines you come across and use all the consoles found throughout the level. The phrase ‘Kill Me’ should appear on the window of the cell right next to the entrance. Shoot the window in question and follow the vent into the next cell to receive a message from the developers.
—
INNER HANGAR

 1/5 – Shoot the cracked computer to reveal a hidden item.

 2/5 – Shoot the single container in the corner to reveal a hidden item.

 3/5 – Dive into the water where it is deep enough and swim around for an opening to surface.

 4/5 – Dive into the water and look for a hidden item.

 5/5 – Shoot the part of the wall with the misaligned texture to reveal a hidden item.
—
LAUNCH COMMAND

 1/2 – Rocket jump towards the black hole generator to find a bunch of hidden items.

 2/2 – Shoot the cracked glass panel to access another bunch of hidden items.
—
OUTLANDS
 This level has no secrets.
Unit 9: Palace
This unit consists of 3 levels that contain a total of 18 secrets (17 on Easy).
—
OUTER COURTS

 1/5 – Make your way around the courtyard to the button located on top of the structure, push it, get back inside and look for a newly-opened door to access a hidden area.

 2/5 – Still in the courtyard, check the cave on the left and shoot the cracked part of the rock to access a semi-hidden item.

 3/5 – Once the alarm goes off near the palace entrance, return to the starting area and make your way around the courtyard once more to find a newly-accessible compartment.

 4/5 – Shoot the slightly indented part of the wall next to the data spinner to reveal a button that opens up a hidden compartment when pushed.
Enter Lower Palace via the main entrance.
—
LOWER PALACE

 1/6 – Shoot both of the Strogg icons to break down the pillar the item resides on.

 2/6 – Shoot the explosive barrel or the broken grate itself to access a hidden area.
Deactivate the red force fields then return to Outer Courts via the sewer entrance.
—
OUTER COURTS (Continued)

 5/5 – Dive into the water and look for the previously inaccessible compartment. The red key found here is needed for another secret.
Return to Lower Palace by the way you come.
—
LOWER PALACE (Continued)

 3/6 – Shoot the slightly indented part of the wall in the corner to deactivate the gun trap.
(The trap, the trigger and thus, this secret, are not present on Easy difficulty.)

 4/6 – Shoot the display panel on the wall to open up a hidden passage.
Enter Upper Palace via the main entrance, get the data CD and return to Lower Place by the way you come. Reprogram the data spinner, then explore the same floor to find a security booth.

 5/6 – Push the part of the wall that slightly juts out to open up a hidden compartment. Push the button in the booth to deactivate the lock on the green door next to the central computer.
Take the nearby sewer entrance to Upper Palace.
—
UPPER PALACE

 Be sure to find the security pass in this section, as it is needed for further secrets.
1/7 – Make your way to the top and shoot the slightly indented part of the wall to reveal a hidden compartment.
Make your way back through the Lower Palace and re-enter Upper Palace via the main entrance.

 2/7 – Shoot the slightly indented part of the ceiling to open up a hidden compartment.
Shut down the communications laser by using the data spinner and disable the yellow force fields by using the security pass in the same area.

 3/7 – Look for an opening in the corner near the newly-disabled blue force field door and jump down to find a hidden cache.

 4/7 – Following on from the previous secret, drop further down into the lava under the lower floor to find another hidden cache.

 5/7 – Now that the yellow force fields are disabled, go all the way down to the lowest floor of the sewers directly from the second floor and shoot the hidden button on the ceiling to get a hidden item.

 6/7 – Still in the same area, go further to find what seems like a dead-end and shoot the part of the rock that is not covered by the bricks to reveal a hidden item.

 7/7 – Still in the same area, push the piece of rock in the corner and dive into the slime to access a hidden area. If you have the red key from Outer Courts (found in secret #5) you can get a unique item by using the console found here.
Return to Lower Palace via the sewer entrance.
—
LOWER PALACE (Continued)

 6/6 – Go through the green door next to the central computer and return to the hidden area (found in secret #2, via the vent next to the sewer entrance to Outer Courts) and climb the ladder to check the previously inaccessible compartment.
Unit 10: Showdown
This unit consists of 2 levels that contain only a single secret.
—
INNER CHAMBER
 This level has no secrets.
—
FINAL SHOWDOWN

 1/1 – Push either of the two buttons located on both sides of the arena to access the tunnel from the other side and shoot the cracked wall to access the id gallery. Push the button located next to the photo of Brandon James to open up an additional area.
Afterword
All the screenhots within the guide are taken under the Yamagi client (build 7.45). It is a carefully maintained alternate executable that offers modern OS compatibility, a newer OpenGL renderer featuring enhanced visuals with external texture and proper widescreen support, a much better sound driver with surround capabilities and ogg playback, a reworked and more reliable save system and a scalable HUD alongside hundreds of code fixes and a bunch of subtle quality of life improvements. It is thoroughly recommended for a bug-free, hassle-free vanilla experience. Check it out here[www.yamagi.org].
Guides for both of the mission packs following the same format seen here have also been published alongside this one. Check them out if you are in for a completionist’s run:
