
Overview
This guide will show you the walkthrough you need for all leves and stuff 😀
The Beginning
Use the left and right arrow keys to steer your ship away from obstacles.
These blue pickups are called ‘Tris’ and add points to your score.
Gameplay is pretty simple, go as far as you can getting as much score before your solar powered skip runs out of energy or you crash into something and explode
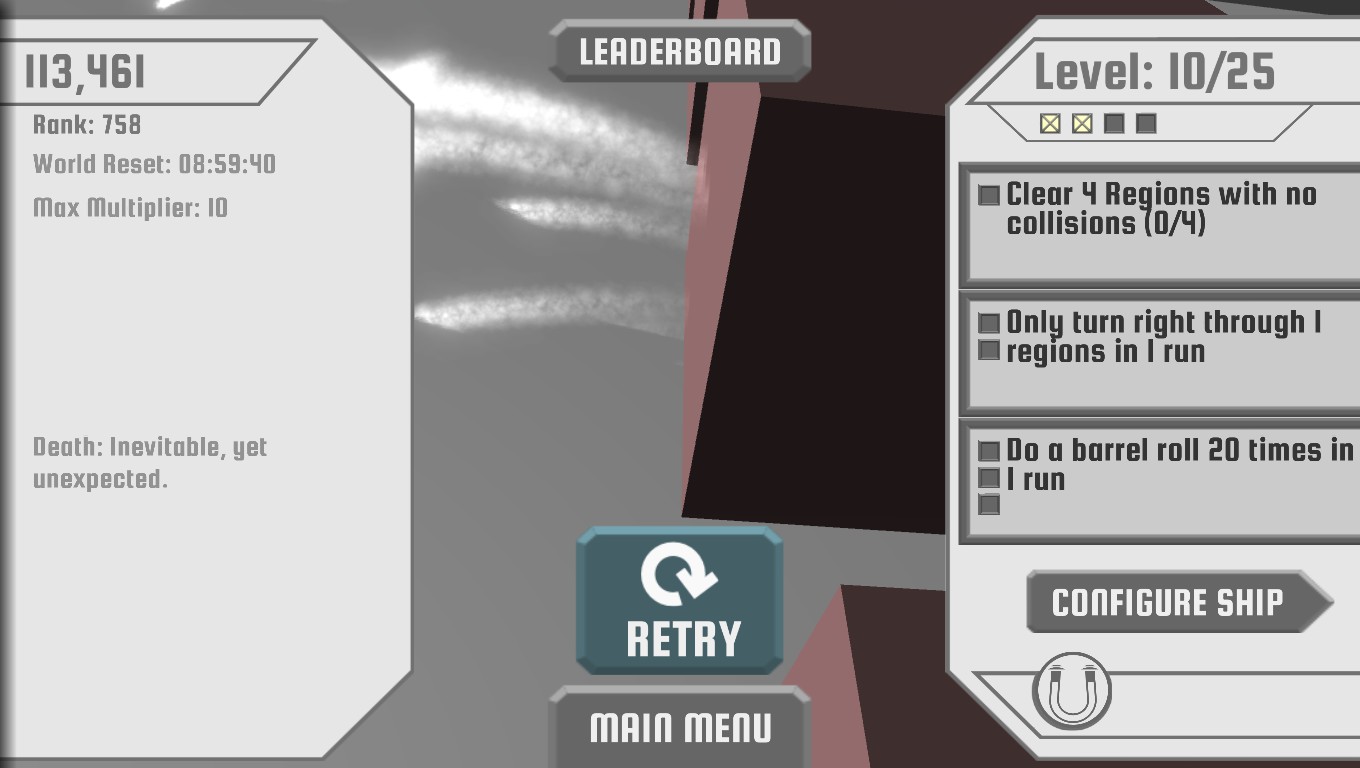
After dying, you’ll be presented with this screen. Here you can see some Objectives to complete and unlock new stuff. Complete them to get points into leveling up.

Level 1 – 5
– Getting the first level should be easy, just play 2 rounds and score at least 4000 in one round. This will unlock you the helpful Booster.
– Boosters will turn back time and keep the sun in the sky a little bit longer, allowing you to last longer and get a better score.
– The last of the original 3 objectives is to get 2 perfect regions. This means to complete a region without hitting anything.
– At level 3 you’ll unlock a score multiplier. Collecting 5 Tris will increase it, and colliding will greatly chop it down.
– I’ll be skipping basic objectives such as ‘Reach this distance’ or ‘Collect 10 Tris’ as they’re simple enough. You should get to Level 4 pretty easily to unlock the Jump powerup.
– The green Jump powerup will allow you to jump when you press the Spacebar. This is a onetime use though.
– Use it to soar out of the way of obstacles and dodge an otherwise unavoidable death.
– Level 5 brings you your first Attachment, the Magnet! This will pick things up from a fair range around you.
– Head into ‘Configure Ship’ to equip and change attachments.


Level 6 – 10
– Level 6 will start you with a 2x score multiplier, but around here you should be getting interesting missions like Collide with objects.
– Collisions are when you turn into an object from the side, but bounce off instead of exploding and dying. Although this first objective can be done by crashing 4 times.
– Another fun objective you should have by now is to do some barrel rolls. To do one, get into a sharp turn by holding down in one direction and then turning the opposite direction. If you were turning the original direction hard enough, you’ll change directions with a cool flip.
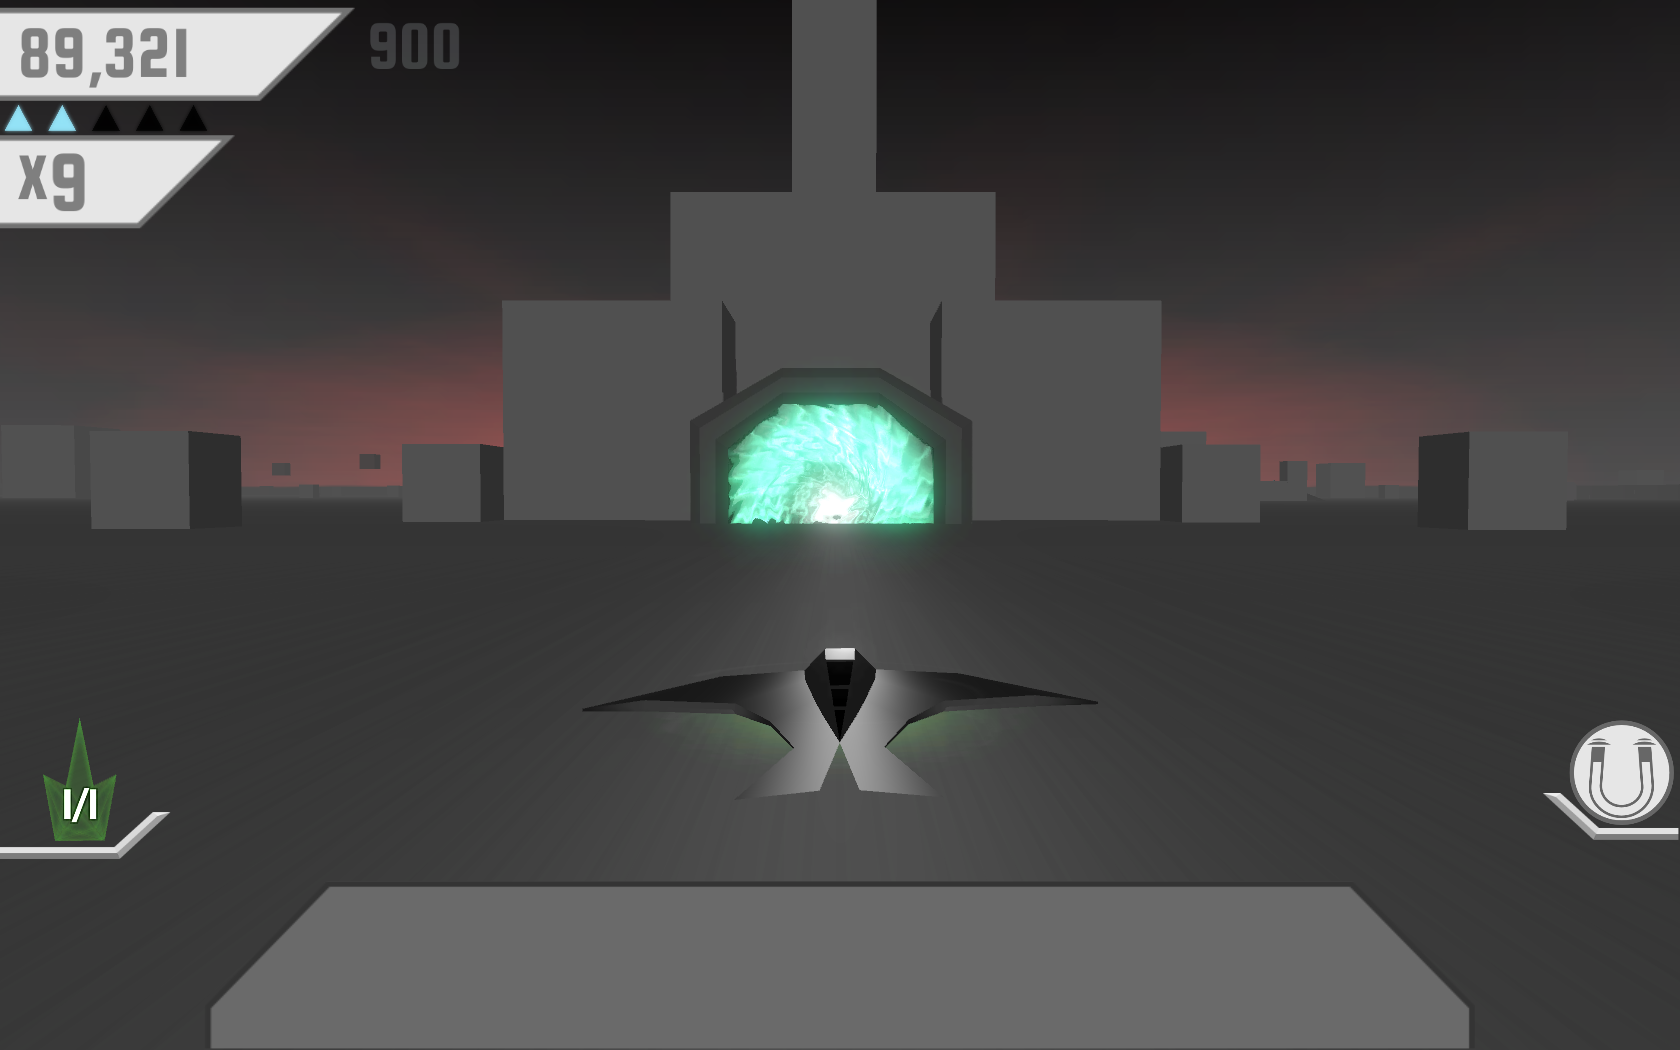
– Once you hit level 7 you’ll start seeing portals scattered around the world. Take one of these to travel to another world for a region. In there, it’s easier to survive and there’s tons of Tris. Look for one to get big scores.
– When you hit level 8 you will receive another attachment to carry 2 Jumps at once. You can only equip one attachment at a time though, so pick wisely for the objective you’re doing.
– Performing double jumps is very easy when you can carry two, but you can do it even without it.Simply jump just before a Jump pickup and collect it by the beacon.
– Enter a portal and you’ll end up flying through an Asteroid Field in space! Everything is pretty spacious so you’re not likely to hit anything and die, and there’s no need for sun here. Think of it as a bonus around with a ton of Tris, and an easier pass through a region.
– Hitting level 9 rewards you with another pickup scattered around the world, a shield.
If you crash while holding onto a Shield, an emergency portal will be created right in front of you, and you’ll fly out unharmed high above where you crashed. One time use, though.
– Level 10 will net you a third attachment, which allows you to last without light longer. At this point, you’ve pretty much got the basics of gameplay down.

Level 11 – 16
– Level 11 will unlock a new game mode, Apocalypse. Choose this from the main menu to try an even harder map. Do note that objectives can be completed in it.
– At this point in the campaign you’ll start to see repeats of objectives with slight variations or changed numbers, such as only turn right.
– You only get a 3x base multiplier when you hit level 12, but now you should have an objective to beat 1 round in Apocalypse mode, so let’s try that.
– Apocalypse is a much faster and more difficult version of normal play with nukes crashing all over the place. Fly into a while explosion to be blinded for a few precious seconds and likely crash.Surviving a single region in Apocalypse is quite the challenge.
– Level up to 13 though, and you’ll be able to equip multiple attachments, which is extremely helpful.
– Get through some more boring objectives like traveling an overall distance in air or collecting 4 boosters in one region and you’ll get a Decal for your ship. Apply it in Configure ship.
– At level 15 you’ll get an attachment to hold onto a second emergency portal if you wish to equip it. Each time you level up now, you’ll also get a Decal.
– A trick to chain lots of barrel rolls together: After turning out to do the barrel roll, turn back into the direction you have momentum in. Repeat this to perform barrel rolls almost instant one after the other. Be careful where you’re going though.
– Level 16 will start putting Region warp pickups around the world now. Run into one to be instantly taken to the end of the Region. A Cheap way to get perfect regions and lasting long distances, sometimes not so great for some objectives and score.
-Just as you unlock these region skips, you get an objective to skip two regions in 1 run. Fly right into the floating portal to instantly skip the region.
-Scoring a certain score with no attachments is as simple as it sounds. Remove any attachments you have, and try to reach the score.


Level 17 -25
– Level 17 will get you a new attachment.’Fast turning’ allows you to start turning faster, allowing you to react better to oncoming traffic.
– Level 18 only brings a starting multiplier boost to 4x though, so keep at it.
– After some more repeat and boring objectives like jump 15 times, you’ll level up to 19 and get the Max Jump Storage attachment. This replaces your old jump upgrade and allows you to carry 3.
– Level 20 will upgrade your Shield attachment to hold 3 as well.
– Finally following suit, level 21 will upgrade the pull of your magnet. Seem you’re all powered up.
– At this point you’ll notice how out of order the objectives are now that you’re getting really easy ones and how you get hard ones when you started.
– Level 22 allows you to put decals on both wings.
– Clear out some more objectives to hit level 23 and finally be able to equip 3 attachments at once!
– Nearly done, level 24 brings the base multiplier up to 5x.
– Once you hit level 25, you’ll get a better battery attachment, and have completed the game. Those last few objectives go away, and you’re now free to score attack with everything unlocked!
Please leave a like if you find this guide helpful ^^

