Ranked Weaves Bible
Introduction to this guide
- This collection of builds is based on my own experience and is not the only way to build your careers. These builds are also designed to help beginners find solid foundations to start grinding in this game mode. If you are already a weave veteran, you won't need this list at all.
- All these builds have been tested many times and can be used effectively in almost any situation.
- Weaves are all different with their own unique modifiers and "enemy bundles," so feel free to adapt these builds to your own needs.
- Level 5 talents (HP generation) should be chosen based on the melee weapon you are using. Do not always use my talent list as a reference. Generally, choose stagger for shields, cleave for other weapons, and melee kills for elite-focused builds (such as Grail Knight, Slayer, Shade, etc.) The further you progress in the rankeds, the more valuable the "melee kills THPs" talent becomes.
- I'm showcasing builds only for the careers that I consider useful in high weaves. If you don't see Mercenary, Unchained, etc., it's because they are not the best option. However, this doesn't mean you can't play them, of course.
- Power level is higher than what the campaign items can reach so you are much stronger specially in cata 1 and under. You can keep the same breakpoints than what you would run in campaign cata and it will be fine in most cases. As enemies bundles are pre-determined on each level, you can always adapt your breakpoints to reach some specific targets.
- I used the Natural Bond trait everywhere. The reason behind this is that in the last iteration of weaves (121-160), Natural Bond allows you to take one hit and leaves you at 1 HP instead of instantly downing you.
Essentially, if Natural Bond isn't active (meaning you are at full HP), you can't drop below 1 HP from a single hit. If you are playing on maps under 120's, just use your regular favorite trait! - Builds based on patch 6.8.0
Winds recap
There are a total of 8 different winds, each with their own modifiers. Here, I list the most important ones to know.

Armored enemies are superarmored. Killing armored enemies grants a buff that deals AoE damage & small stagger each tick. Armor damages are also slightly increased.
Tips :

Players can only see in a short radius around them. Unseen enemies take reduced damage (around -80%).

Killing an enemy spawns an orb that chases the killer and detonates on contact and leaving you at 1hp if you took too much of them.

A stacking buff is applied periodically that increases attack speed and decreases max HP. It CAN'T kill you.

Attacks applies a small fire DoT (works on your damages taken too).

Lightning periodically falls on players.

Bushes spawns on enemies once they die & on monsters when they take damages.

Totems apply a buff to enemies that reduce damage taken & stagger potentially also regen their hps.
Gold: Chamon
Description :Armored enemies are superarmored. Killing armored enemies grants a buff that deals AoE damage & small stagger each tick. Armor damages are also slightly increased.
Tips :
- Being able to deal with super armored specials is a keypoint to victory; some weapons are better than others for that like bolt staff, javelins, torpedo...
- take at least 2 good armored dps careers like shade, gk, slayer...
Grey: Ulgu
Description :Players can only see in a short radius around them. Unseen enemies take reduced damage (around -80%).
- -80% damages on unseen enemies means there is no point to shoot at them from afar (except for staggering them to interupt their attack sequence) try to use medium to close range weapons.
- Disablers are the most dangerous unit, stay grouped with your mates!
- your own damages are not reduced even if you don't see the enemie as soon as an ally sees him.
- to kill the range units faster, hide from them and let them come closer to you. If you show up they will start to shoot and you will loose a lot of time.
Amethyst: Shyish
Description :Killing an enemy spawns an orb that chases the killer and detonates on contact and leaving you at 1hp if you took too much of them.
- Thp generation is super nerfed, been in last chance (wounded) remove this debuff.
- Orbs can interupt a revive so avoid killing stuff on your downed ally.
- You gain bonus attack speed & bonus damages when your hps goes low( below ~30% green hp).
Light: Hysh
Description :A stacking buff is applied periodically that increases attack speed and decreases max HP. It CAN'T kill you.
- Be carefull with push / push attacks when you have a lot of bonus attk speed, it can break your defense !
- Even if you have full cursed HP bar, natural bond can still proc.
Bright: Aqshy
Description :Attacks applies a small fire DoT (works on your damages taken too).
- Care of the DoT on Zealot ults reset.
- You deal more damages but take more damage too, so play safely.
- range builds are kings!
Celestial: Azyr
Description :Lightning periodically falls on players.
- Never stay behind an ally when the lightning zone is spawning as you will probably kill him with it.
- You can use lightnings to damages enemies too.
Jade: Ghyran
Description :Bushes spawns on enemies once they die & on monsters when they take damages.
- To avoid walking in bushes, and this is particulary usefull for arena where you kite alot, walk like a crab so you see on all sides of your direction :D
- Zealot can use his ult to clear an area full of bushes.
Amber: Ghur
Description :Totems apply a buff to enemies that reduce damage taken & stagger potentially also regen their hps.
- Never fight near totems, they must be destroyed first. Totems needs 5 hits to be destroyed (multi shots weapons can 1 tap them).
Usefull ressources links
Steam guide
(Keep this one open at all time !)Socials groups
- Weaves Discord[discord.gg]
- Steam Group
Google Doc
- Weaves Datamine[docs.google.com]
Youtube Videos
- Bobely's monsters ledges spots
- Shogun's Guidebooks
- Plague's Solo Weaves
- Troll's Solo Weaves
- Bobely's Leaderboard Cheese strat
The Athanor (build system)
The build system of the Weaves works differently from the campaign.
Everything happens in the cauldron called "Athanor."
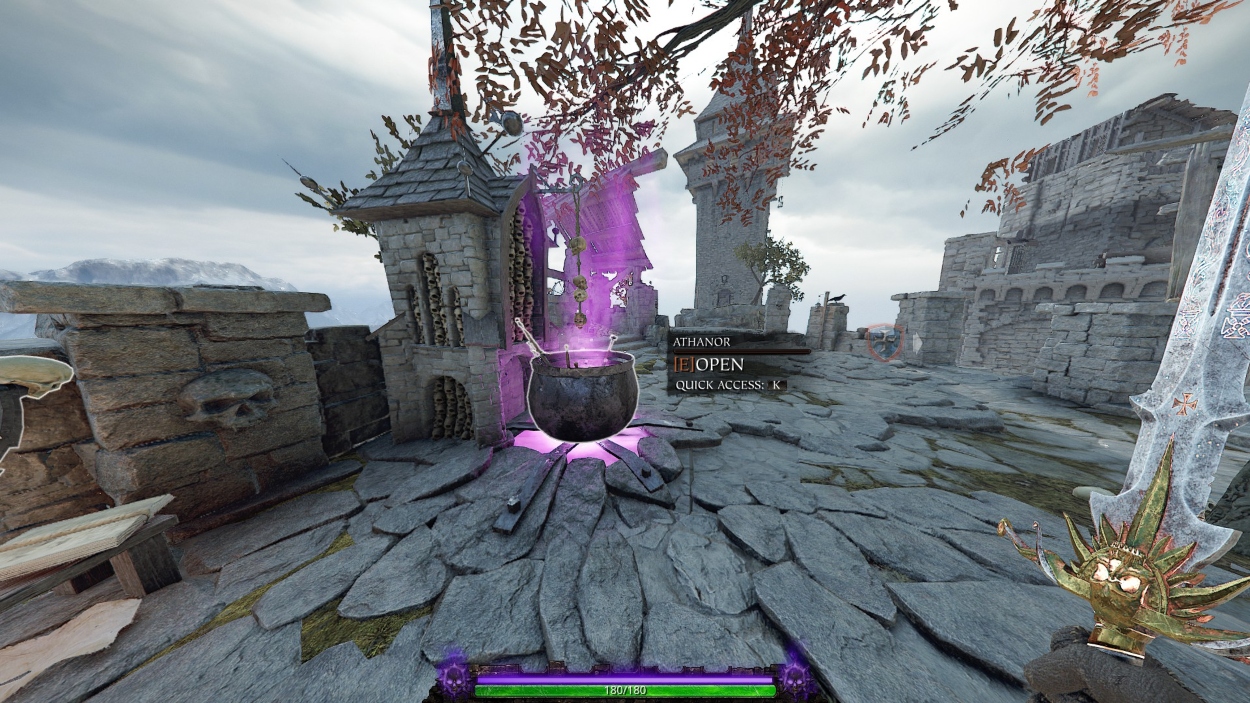
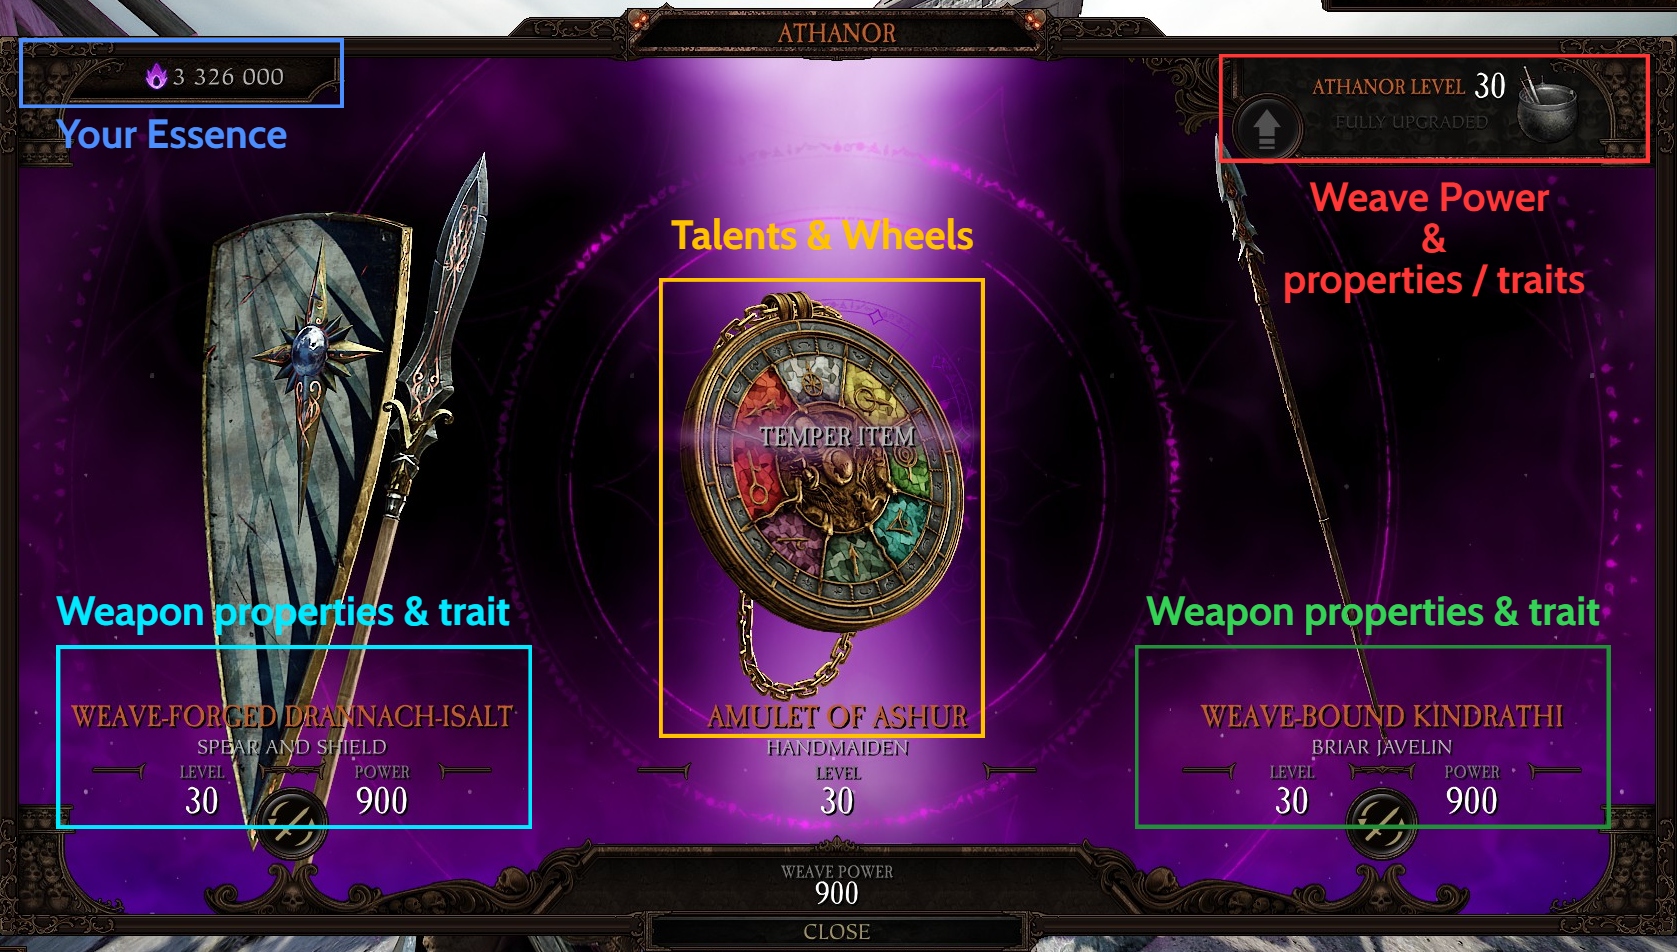 The Athanor is made up of 4 parts that you will need to upgrade using Essence.
Each of these parts has a maximum of 30 levels.
 Leveling up the Athanor does 2 things:
The remaining 5 levels to reach level 30 of the Athanor are therefore not necessary**.
**However, I still recommend upgrading everything to level 30. It is not impossible that your hero's power level keep increasing even after level 25 of the Athanor, and this information may not be provided.
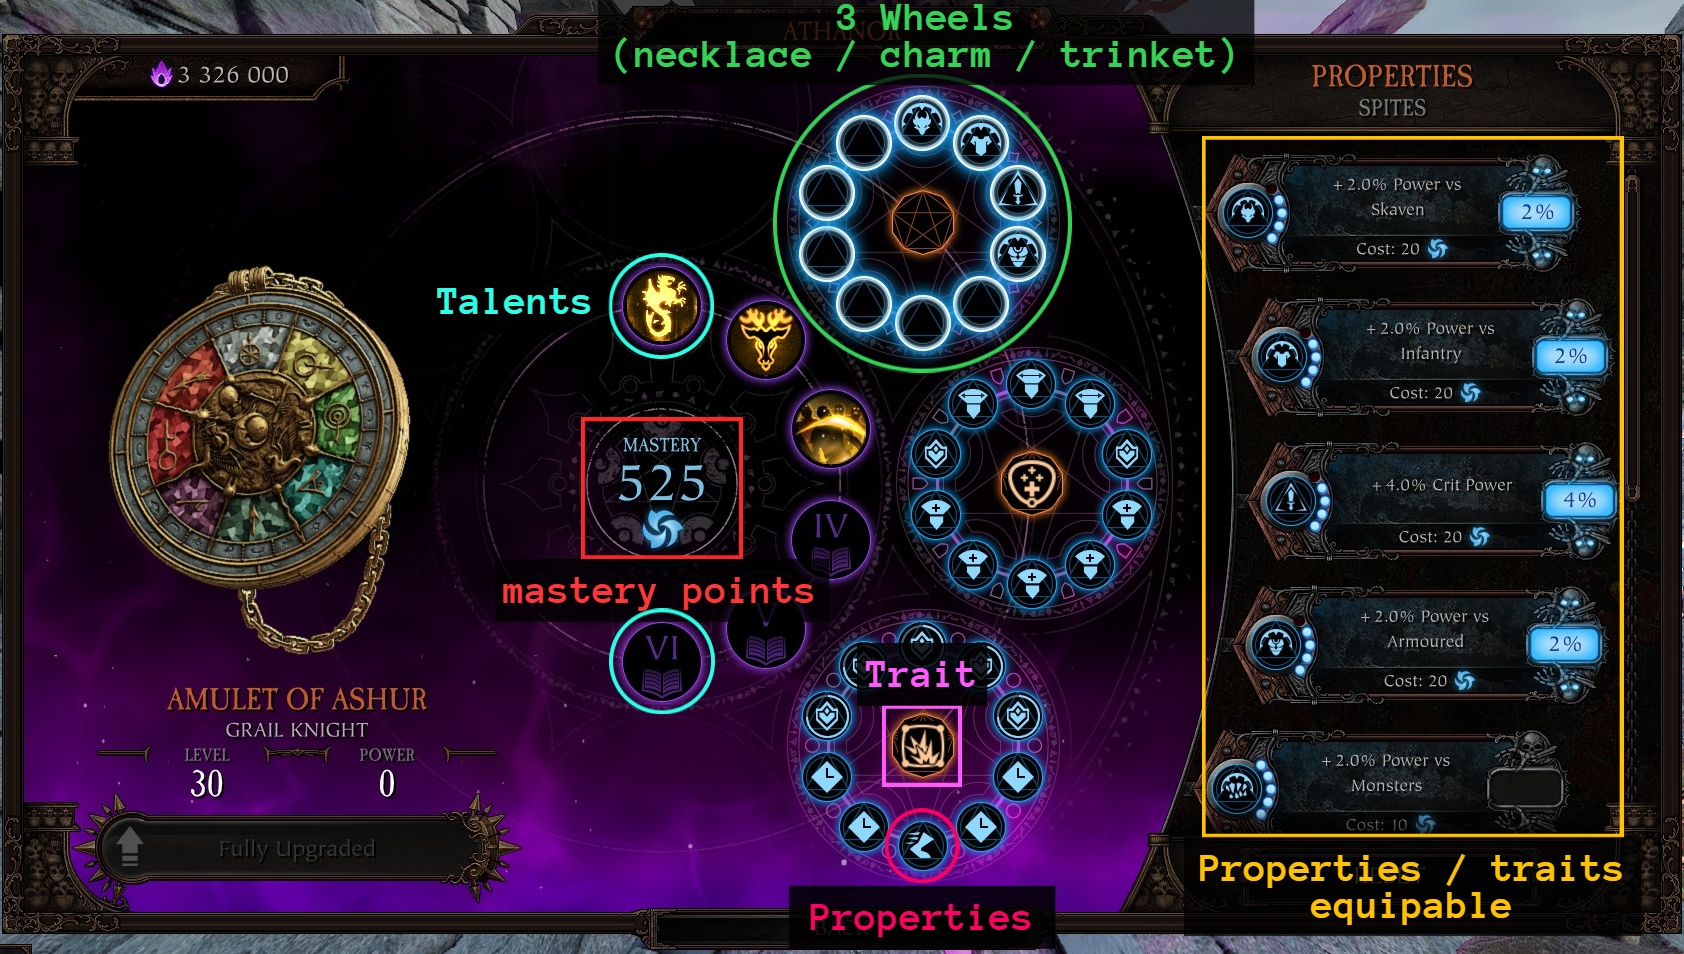
The amulet consists of 3 wheels (corresponding to the charm, necklace, and trinket in the campaign) as well as your character’s talent tree.
Upgrading the amulet unlocks new slots for traits and properties, as well as mastery points.
These mastery points are required to equip traits and properties.
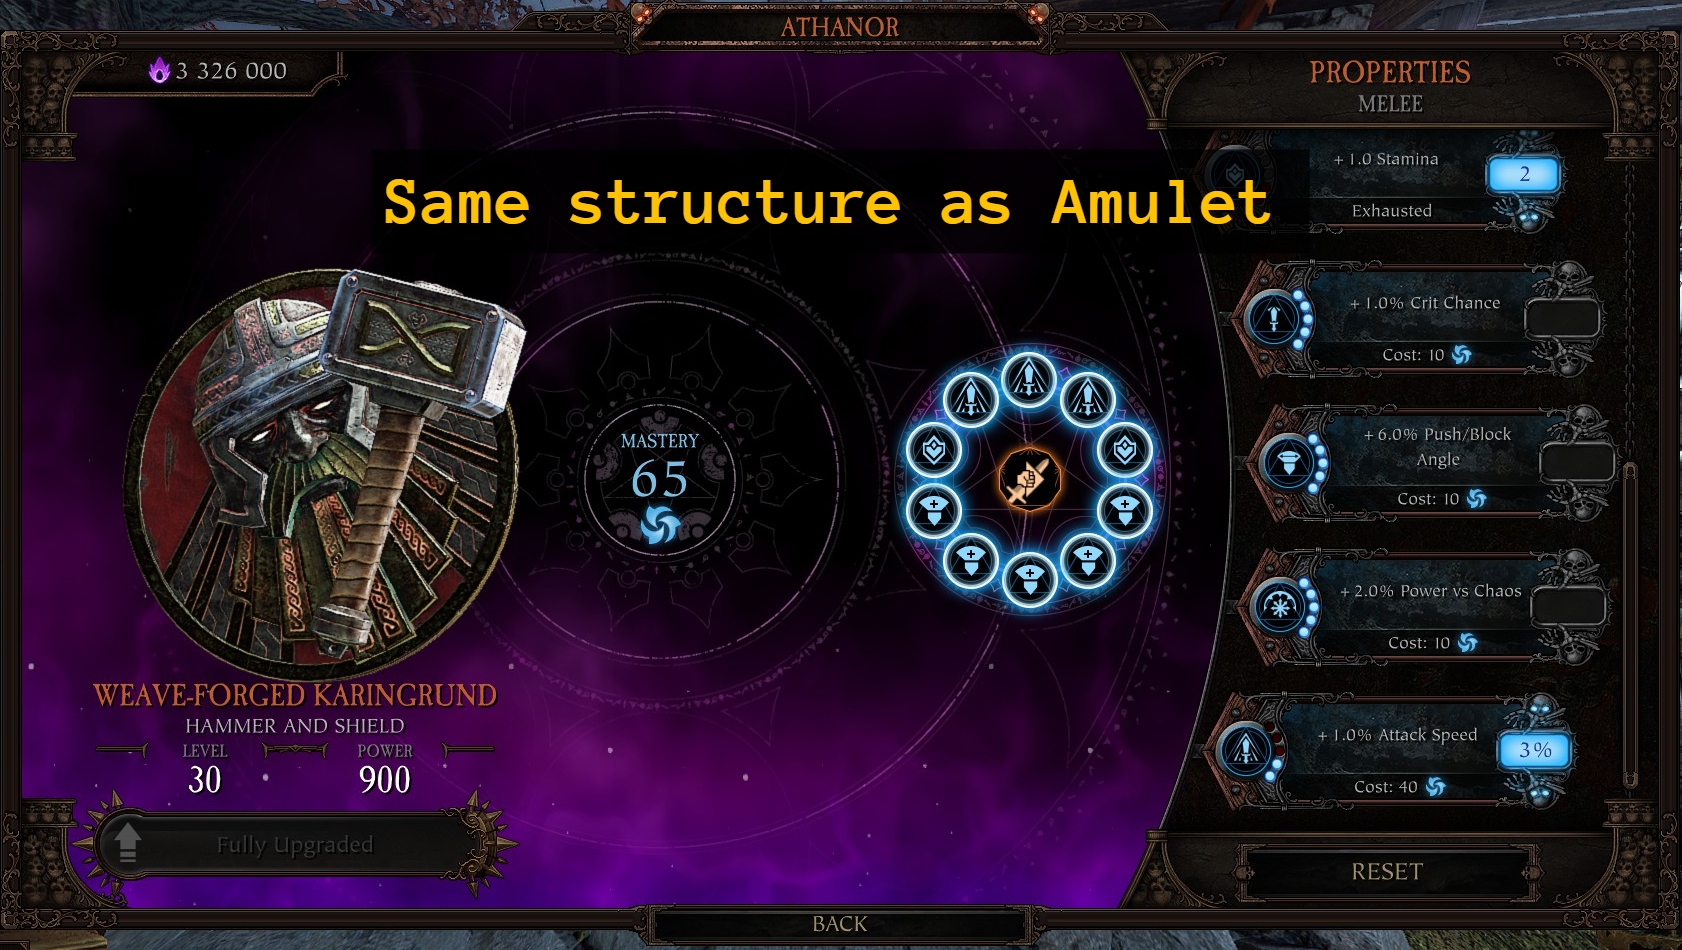
Your weapon consists of 2 parts:
Removing an element will fully refund your mastery points, so you can freely modify your equipment as many time as you want.
Leveling up your weapons allows you to unlock new slots for properties and traits, as well as increase the power level of your weapon (max 900).
Once this is done, you will earn Essence after each match (campaign, Weaves, and Chaos Waste). The amount depends on the difficulty level and the duration of the match.
To maximize the amount of Essence gained per match, you should complete the first 10 ranked matches (or a much higher-ranked match [40+]).
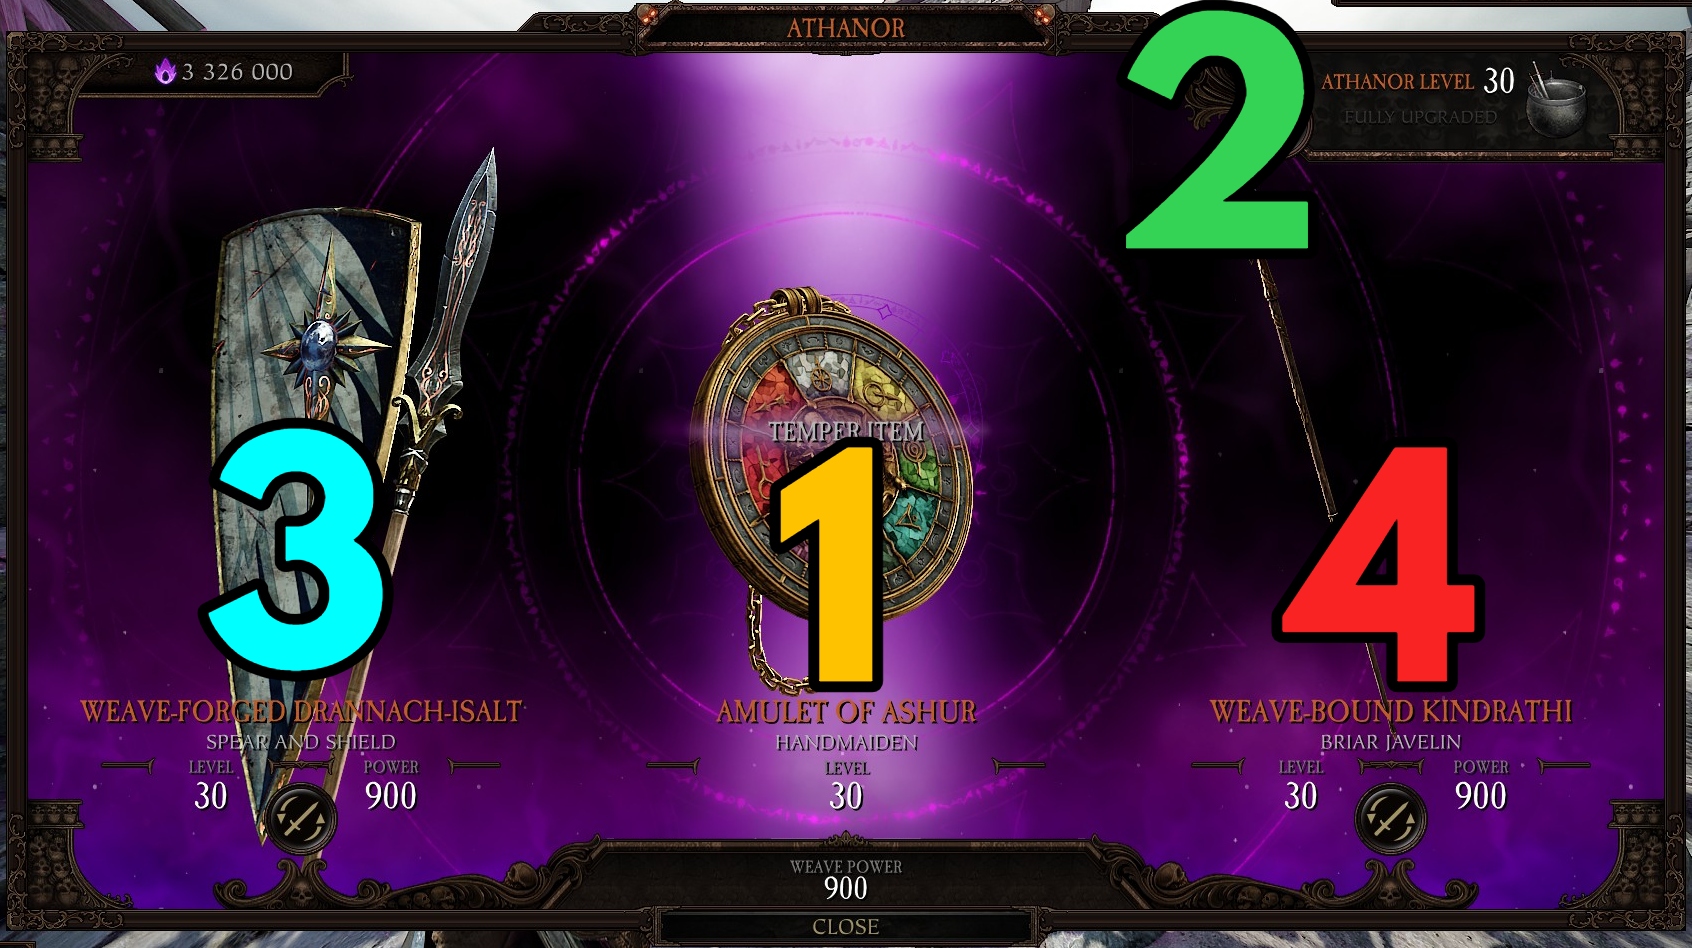 Your Athanor and amulet levels are shared across all your careers, so it is important to prioritize these elements when starting this game mode.
The optimal upgrade order is as follows:
Amulet -> Athanor -> Main weapon -> Secondary weapon.
However, I recommend upgrading your weapons occasionally to make your matches easier.
Feel free to refer to my builds later in this guide to avoid upgrading unnecessary weapons.
Everything happens in the cauldron called "Athanor."
Vocabulary point:
- Athanor = The cauldron in which you upgrade your equipment.
- Essence = Currency specific to the Weaves, required to upgrade your equipment.
- Mastery point = Points obtained by upgrading your equipment, necessary for equipping properties and traits on your weapons and amulets.
Composition of the Athanor:
The Athanor is made up of 4 parts that you will need to upgrade using Essence.Each of these parts has a maximum of 30 levels.
- The Athanor level
- The amulet
- The main weapon
- The secondary weapon
The Athanor:
Leveling up the Athanor does 2 things:- Unlocks properties and traits that can be equipped on your weapons and amulets.
- Increases your power level (max 900).
The remaining 5 levels to reach level 30 of the Athanor are therefore not necessary**.
**However, I still recommend upgrading everything to level 30. It is not impossible that your hero's power level keep increasing even after level 25 of the Athanor, and this information may not be provided.
The Amulet:
The amulet consists of 3 wheels (corresponding to the charm, necklace, and trinket in the campaign) as well as your character’s talent tree.
Upgrading the amulet unlocks new slots for traits and properties, as well as mastery points.
These mastery points are required to equip traits and properties.
Main & Secondary Weapons:
Your weapon consists of 2 parts:
- The trait in the center of the wheel
- The properties around the wheel
Removing an element will fully refund your mastery points, so you can freely modify your equipment as many time as you want.
Leveling up your weapons allows you to unlock new slots for properties and traits, as well as increase the power level of your weapon (max 900).
How to earn Essence?
To earn Essence, you must complete the first ranked Weave.Once this is done, you will earn Essence after each match (campaign, Weaves, and Chaos Waste). The amount depends on the difficulty level and the duration of the match.
To maximize the amount of Essence gained per match, you should complete the first 10 ranked matches (or a much higher-ranked match [40+]).
Wich upgrade order to follow?
Your Athanor and amulet levels are shared across all your careers, so it is important to prioritize these elements when starting this game mode.The optimal upgrade order is as follows:
Amulet -> Athanor -> Main weapon -> Secondary weapon.
However, I recommend upgrading your weapons occasionally to make your matches easier.
Which careers to upgrade?
Here are the careers and equipment I recommend prioritizing because they will quickly become indispensable:- Battle Wizard (Dagger + Conflagration Staff)
- Handmaiden (Spear & Shield + Longbow)
- Iron Breaker (Hammer & Shield + Torpedo)
Feel free to refer to my builds later in this guide to avoid upgrading unnecessary weapons.
Bots Setup
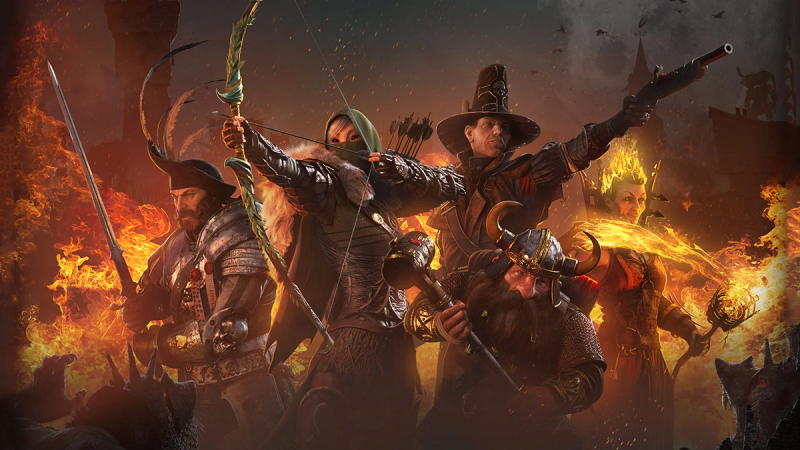
Bots are a quick and easy way to help you complete your ranked matches.
They are not particularly strong and don't scale with difficulty, so they will be most effective in the early stages (1-40), and maybe still a bit higher depending on how you use them.
Bots' attack patterns are mostly parries and light attacks, so my weapon choices are based on that.
! IMPORTANT NOTE !
If you have limited essences, I suggest using them for your own builds, not for your bots.
If you already have some weapons upgraded, just use them instead of upgrading something specifically for a few runs.
You can always refer to the Athanor section of this guide for which weapons to prioritize.
My perspective on bots is to use them as meat shields for disablers and as item generators.
In weaves, items are rare and extremely precious. A single potion can make the difference in a clutch move.
Here is my personal bot setup (in priority order):
- Outcast Engineer
Talents: 1-3-3-3-2-2
Weapons:- 2 stamina
- 30% bcr
- 6% skaven
opportunist- 10% infantry
- 10% chaos
conservative
The main purpose of the Engineer is to benefit from two free bombs.
He tends to use his ultimate quite often and has decent defense with the hammer.
Can be replaced by Ranger vet with skavenger (for heavy specials spawns maps) or IB if you want more of a tanky option... - 2 stamina
- Grail Knight
Talents: 1-1-2-3-1-1
Weapons:- 2 stamina
- 30% bcr
- 3% attk speed
opportunist- 2 stamina
- 30% bcr
- 3% attk speed
opportunist
I use GK for potion generation. For most of my runs, I use Concoction, so any strength potions he drops is very useful.
He can also deal good damage to large units. - 2 stamina
- Warrior Priest
Talents:1-3-3-1-3-2
Weapons:- 2 stamina
- 30% bcr
- 3% attk speed
opportunist- 2 stamina
- 30% bcr
- 3% attk speed
opportunist
You can benefit from his ult and his level 25 talent (monster damage or health).
Zealot can also be a good bot if you already have weapons upgraded for him (crossbow + hammer / falchion). - 2 stamina
- Necromancer
Talents:1-3-2-1-2-2
Weapons:- 2 stamina
- 30% bcr
- 3% attk speed
swift slaying- 10% infantry
- 10% chaos
thermal eq
Necro is a good all rounder bot, her skeletons aren't that bad and she has a good damage output. - 2 stamina
- Sister of the thorn
Talents: 1-2-3-3-2-3
Weapons:- 2 stamina
- 30% bcr
- 3% attk speed
swift slaying- 10% infantry
- 10% skaven
hunter
Sott is pretty tanky, can stagger with her ult, and uses the Moonbow often. The THP bonus is anecdotal, but still better than any other Kerillian career. - 2 stamina






About Cheese spots
I want to clarify a bit the cheese strats situation:
Since the release of the Winds of Magic DLC, many players have spread the rumor that ranked weaves are impossible to complete without using cheese spots.
/!\ This is completely false /!\
These players are hiding their lack of skill and/or patience behind this excuse, but 100% of the game is achievable without having to rely on these spots.
Feel free to choose how you want to play the game, there’s no need to debate who deserves the vanquisher title or not. Play for fun!
That being said, not everyone necessarily wants to use cheese spots, and it would be quite nice to mention this before starting the game so that everyone can choose.
This way, you avoid starting a match and losing the whole team because no one knew you were going to take shelter somewhere other than following the "regular path" of the map.
From my own experience, I've found that using cheese spots makes most matches harder than necessary because these spots create multiple issues:
Since the release of the Winds of Magic DLC, many players have spread the rumor that ranked weaves are impossible to complete without using cheese spots.
/!\ This is completely false /!\
These players are hiding their lack of skill and/or patience behind this excuse, but 100% of the game is achievable without having to rely on these spots.
Feel free to choose how you want to play the game, there’s no need to debate who deserves the vanquisher title or not. Play for fun!
That being said, not everyone necessarily wants to use cheese spots, and it would be quite nice to mention this before starting the game so that everyone can choose.
This way, you avoid starting a match and losing the whole team because no one knew you were going to take shelter somewhere other than following the "regular path" of the map.
Nothing beats a well-organized team, so decide together beforehand.
From my own experience, I've found that using cheese spots makes most matches harder than necessary because these spots create multiple issues:
- You abandon your teammates, making it more likely they’ll die.
- You don’t have the option to easily leave your spot to allow your allies to respawn nearby.
- You move out of bounds, meaning you won’t complete the objectives necessary for collecting essence. On top of that, you’ll likely lose aggro from most of the enemies on the map, meaning you won’t kill more or faster than if you stayed with your teammates.
- Relying entirely on cheese spots will also, as a result, prevent you from learning how to play in advanced difficulties. You won’t develop the necessary skill to complete the more complex levels, especially if you use cheese spots early in your grind.
Enjoy the game your own way but don't impose it to everybody... :)
Kerillian Handmaiden
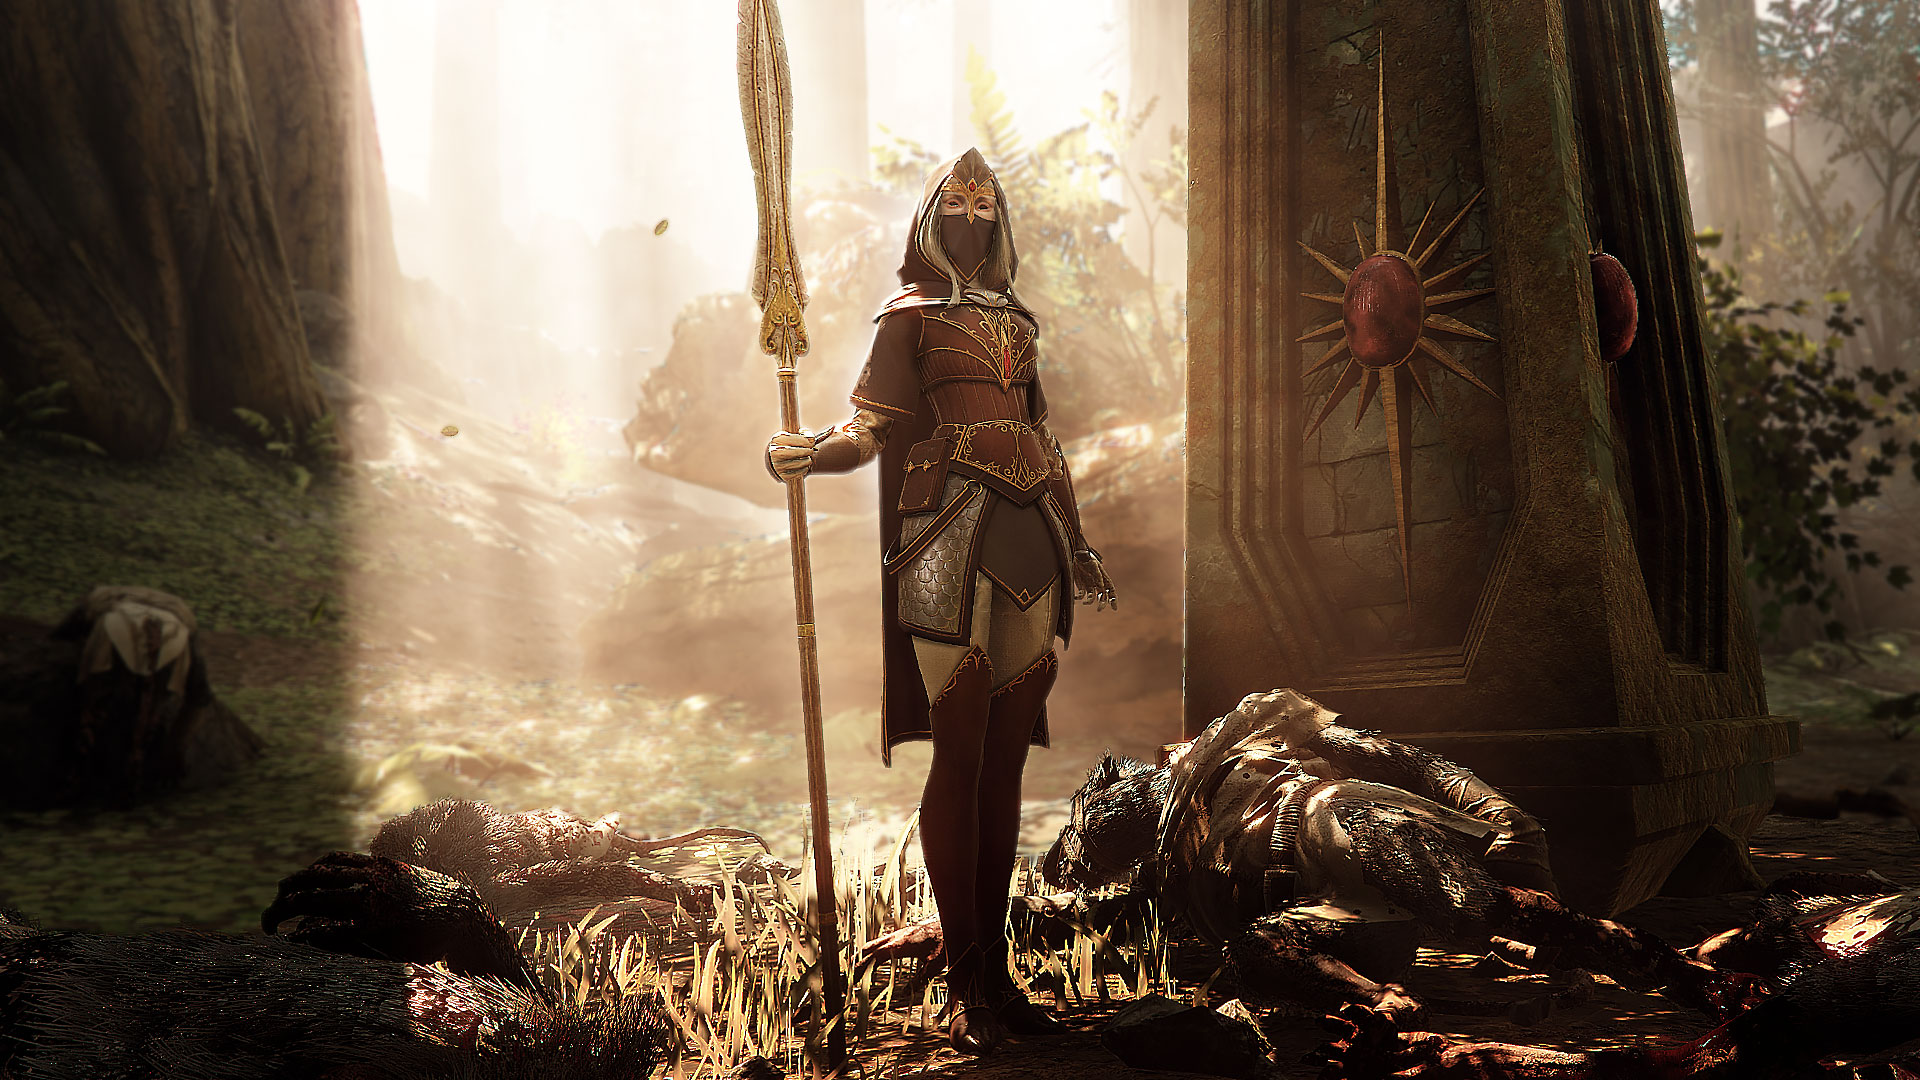 Roles :
- Obective maker / Map Triggers
- Special killer
- Frontliner / Reviver
Talents :
3-3-3-3-X-1"X" talent can be either Ammo or Bcr depending on your range weapon choice.
Consider taking Smite over Enhanced Power for ulgu & gold maps.
Melee weapon
Spear & Shield

Dual Daggers

- 2 stamina
- 30% bcr
- 3% attk speed
opportunist
- 2 stamina
- 30% bcr
- 3% attk speed
opportunist / parry
Range weapon
All range weapon from Kerillian can be a viable option within a certain context, longbow is still the strongest choice you can make.Longbow

Moonfire Bow

Swiftbow

- 10% skaven
- 10% infantry
conservative shooter
- 10% skaven
- 5% crit chance
hunter
- 10% skaven
- 5% crit chance
scrounger
Wheels
Wheel 1
Wheel 2
Wheel 3
- 5% attk speed
- 2% skaven
- 8% chaos
decanter
- 2 stamina
- 30% bcr
- 18% p/b angle
natural bond
- 5% move speed
- 30% stamina recovery
- 24% revive speed
grenadier
Spear & Shield attack patterns
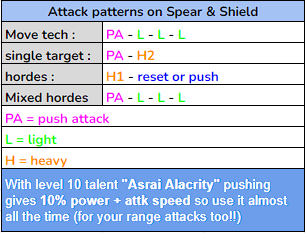
Off-Build
This build specializes in the breakpoint to one-shot body shot Ratlings & Warpfire, making it particularly useful on maps with a high concentration of them.
It requires not taking damage to benefit from the power bonus of Focused Spirit, making it quite difficult to master.
I particularly recommend it for map N°153.
Talents: 1-1-3-3-3-1
Range Weapon : Longbow (10%skaven + 10% armored)
Wheel 1 : 10% skaven + 4% armored + 3% attk speed
Kerillian Sister of the thorn
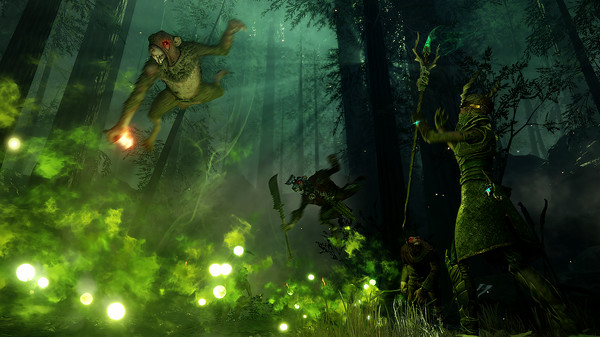 Roles :
- enemies debuff
- Crowd control
Talents :
all 3 level 25 talents are very good, choose what's feel the best for your playstyle. Dps: 1-2-1-2-1-2
Support: 1-2-1-2-3-2
Melee weapon
Sword & Dagger

- 30% bcr
- 5% crit chance
swift slaying
Range weapon
Deepwood Staff

- 10% skaven
- 10% Infantry
thermal eq or Barrage
Wheels
Wheel 1
Wheel 2
Wheel 3
- 5% attk speed
- 10% chaos
proxy
- 2 stamina
- 30% bcr
- 18% p/b angle
natural bond
- 5% move speed
- 30% stamina recovery
- 4% crit chance
grenadier
Why playing Sott?
This career has an extremely powerful weapon: the Deepwood Staff.It allows her to deal with all the problematic specials and elites (CW / Rotshield / Flag Bearer, etc.)
Her ultimate, on the other hand, helps manage even very dense hordes and works exceptionally well with classes that use AoE like OE & BW.
I use it a lot on maps like Gold and Ulgu for these few reasons:
- The staff allows you to target enemies even through the fog of Ulgu so you can handle any special with no problem.
- The lifting ability allows the team to close the gap with ranged enemies and take them out in melee.s
- You can 1 shot lifted enemies by placing a wall below them. See it Here
Kerillian Shade
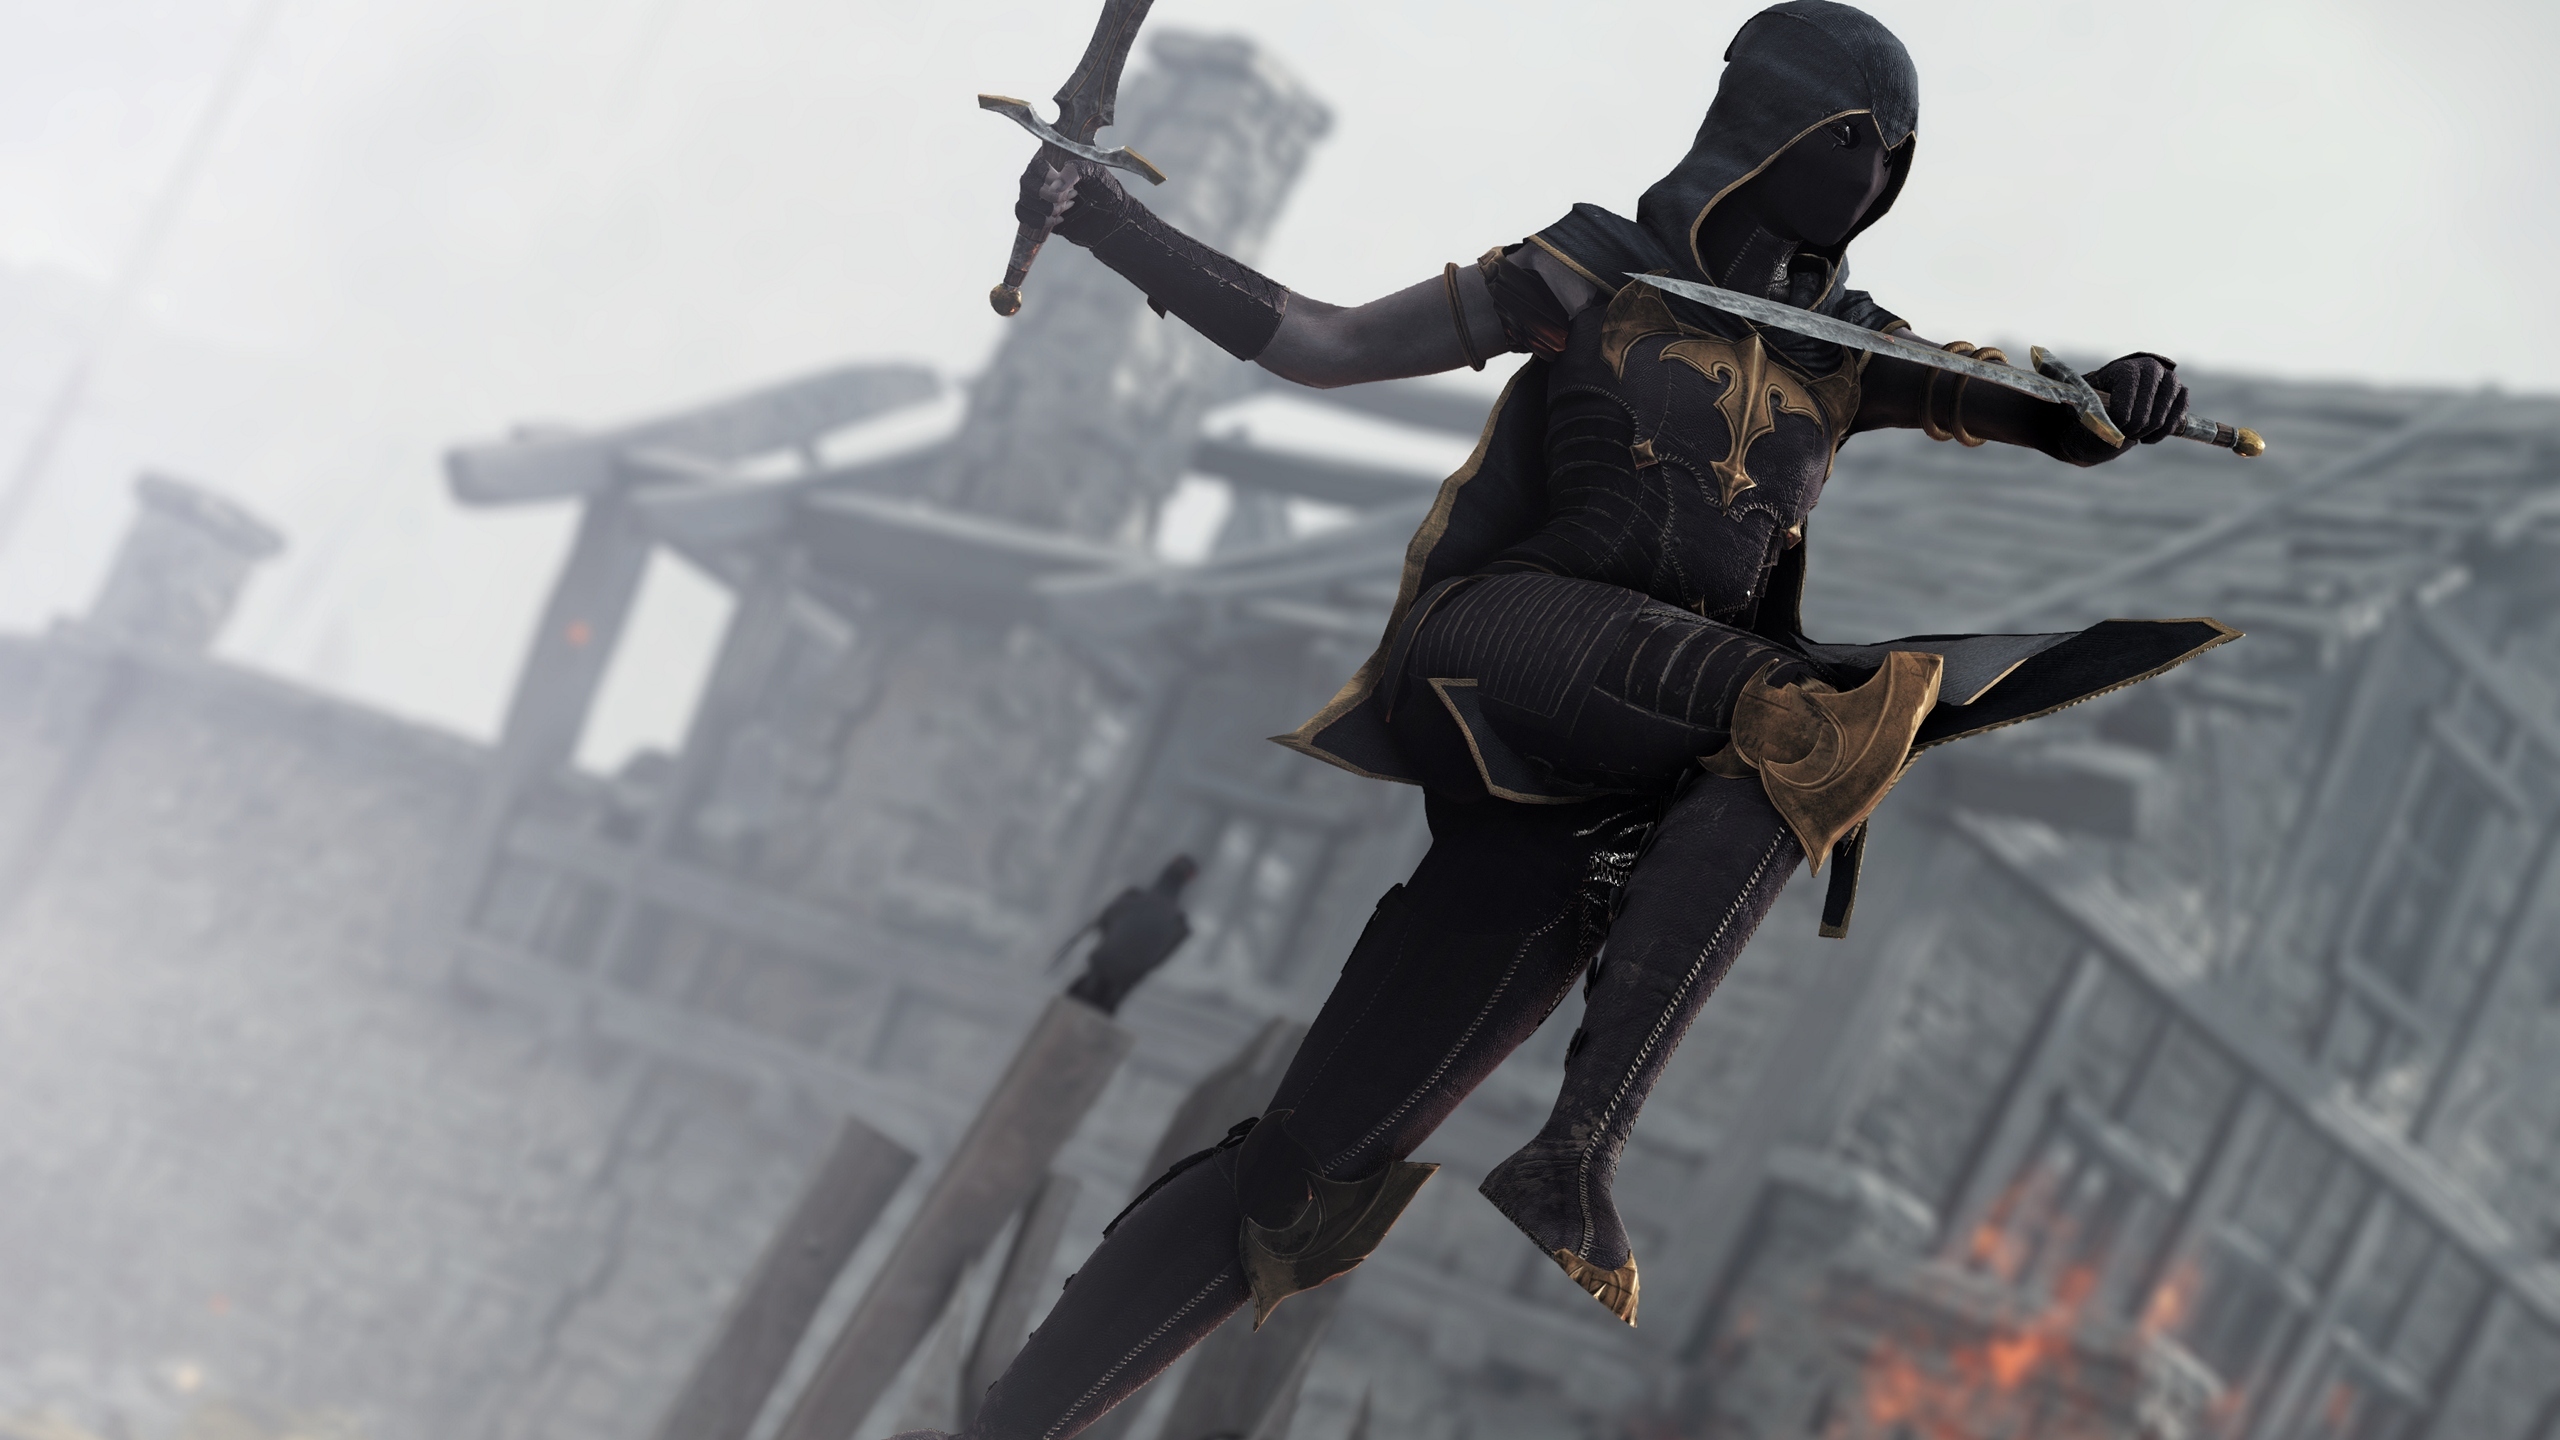 Roles :
- Obective maker
- Elite / Monster killer
Talents :
Polyvalent : 2-3-2-3-3-3Elite focus : 2-1-1-2-1-1
Melee weapon
Swod & Dagger
Dual Daggers
- 2 stamina
- 30% bcr
- 3% attk speed
swift slaying
- 2 stamina
- 30% bcr
- 3% attk speed
opportunist / parry
Range weapon
Longbow
Moonfire Bow
- 10% skaven
- 10% infantry
conservative shooter
- 10% skaven
- 10% infantry
hunter
Wheels
Wheel 1
Wheel 2
Wheel 3
- 10% skaven
- 10% chaos
concotion
- 2 stamina
- 30% bcr
- 18% p/b angle
natural bond
- 5% move speed
- 30% stamina recovery
- 8% cdr
shrapnel
Kerillian Waystalker
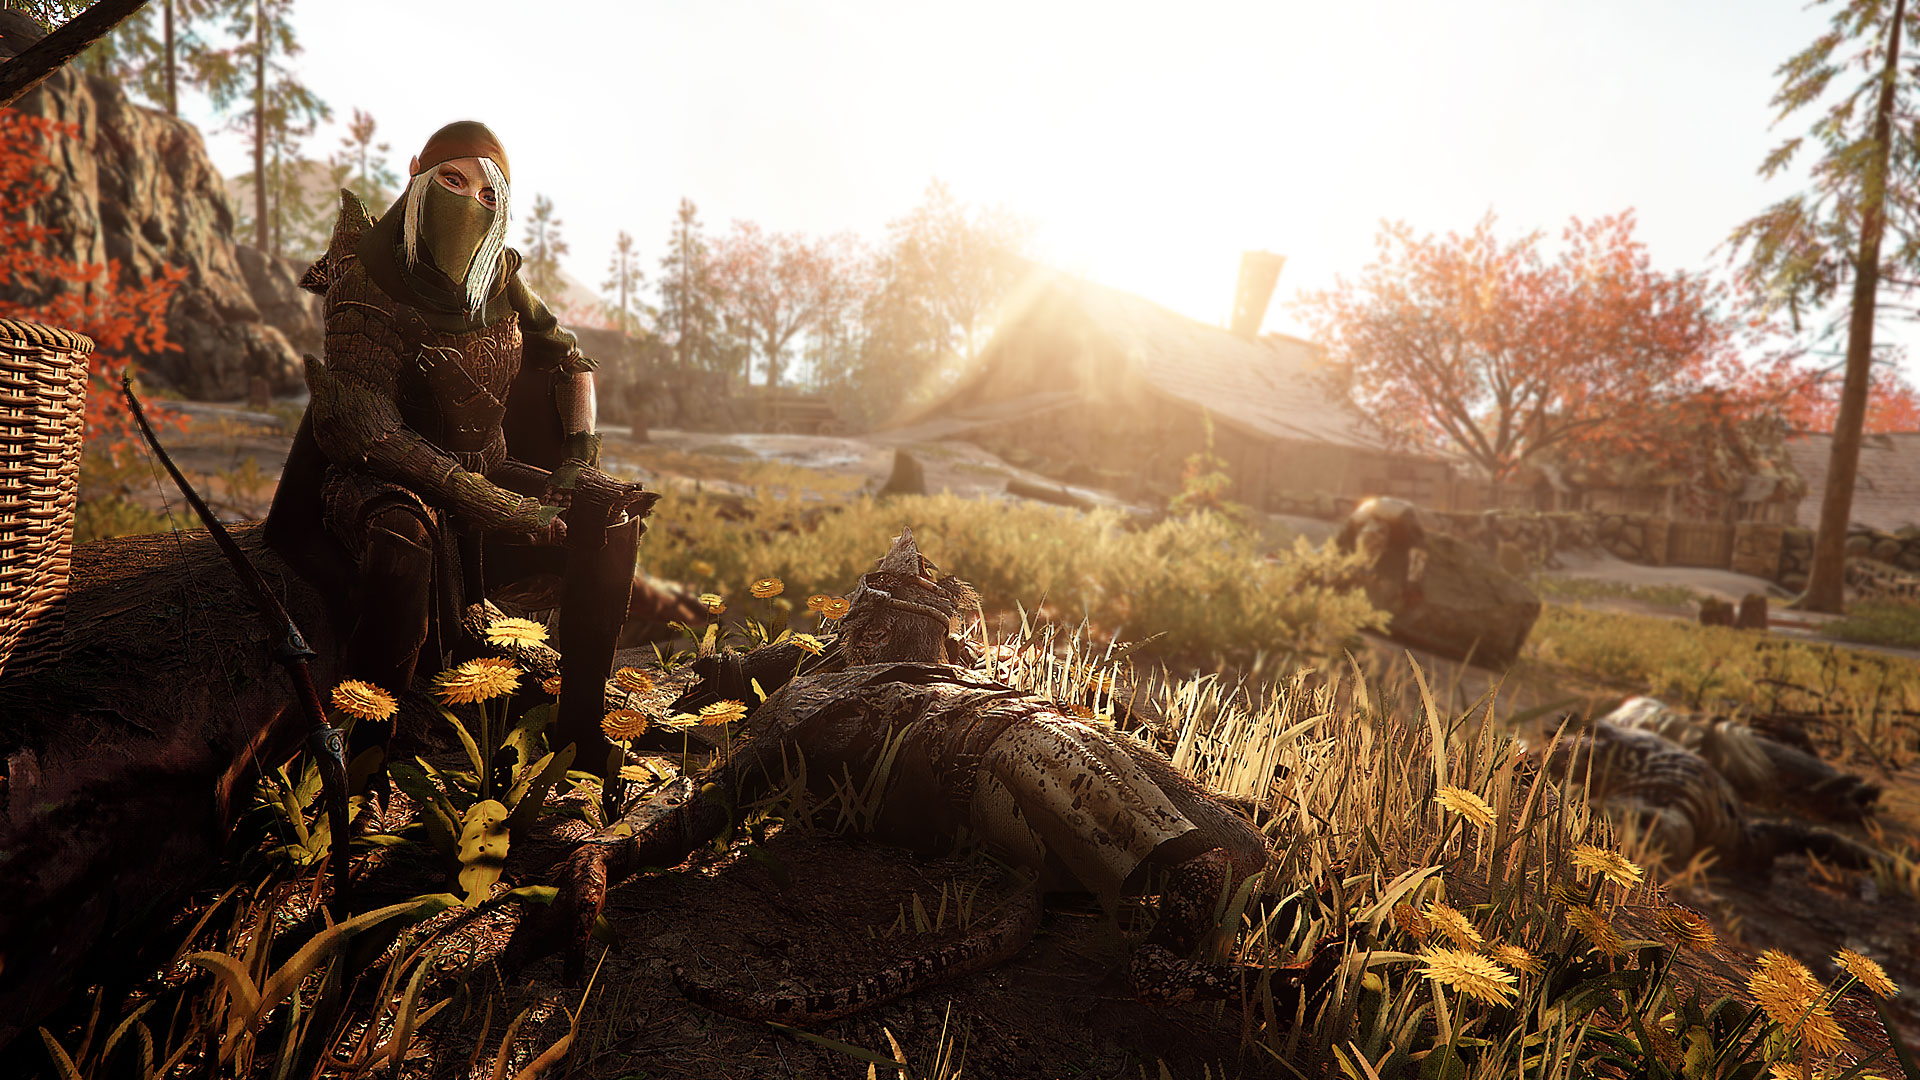 Roles :
- Special killer
- horde killer
- elite killer
Talents :
Hagbane : 2-1-2-2-3-3Longbow : 2-2-3-2-3-3
Melee weapon
Sword & Dagger
Sword

- 2 stamina
- 30% bcr
- 3% attk speed
swift slaying
- 2 stamina
- 30% bcr
- 3% attk speed
opportunist
Range weapon
Longbow
Hagbane Bow
- 10% skaven
- 10% infantry
conservative shooter
- 10% skaven
- 10% armored
barrage
Wheels
Wheel 1
Wheel 2
Wheel 3
- 10% infantry
- 10% chaos
concotion
- 2 stamina
- 30% bcr
- 18% p/b angle
natural bond
- 5% move speed
- 30% stamina recovery
- 8% cdr
grenadier
Sienna Battle Wizard
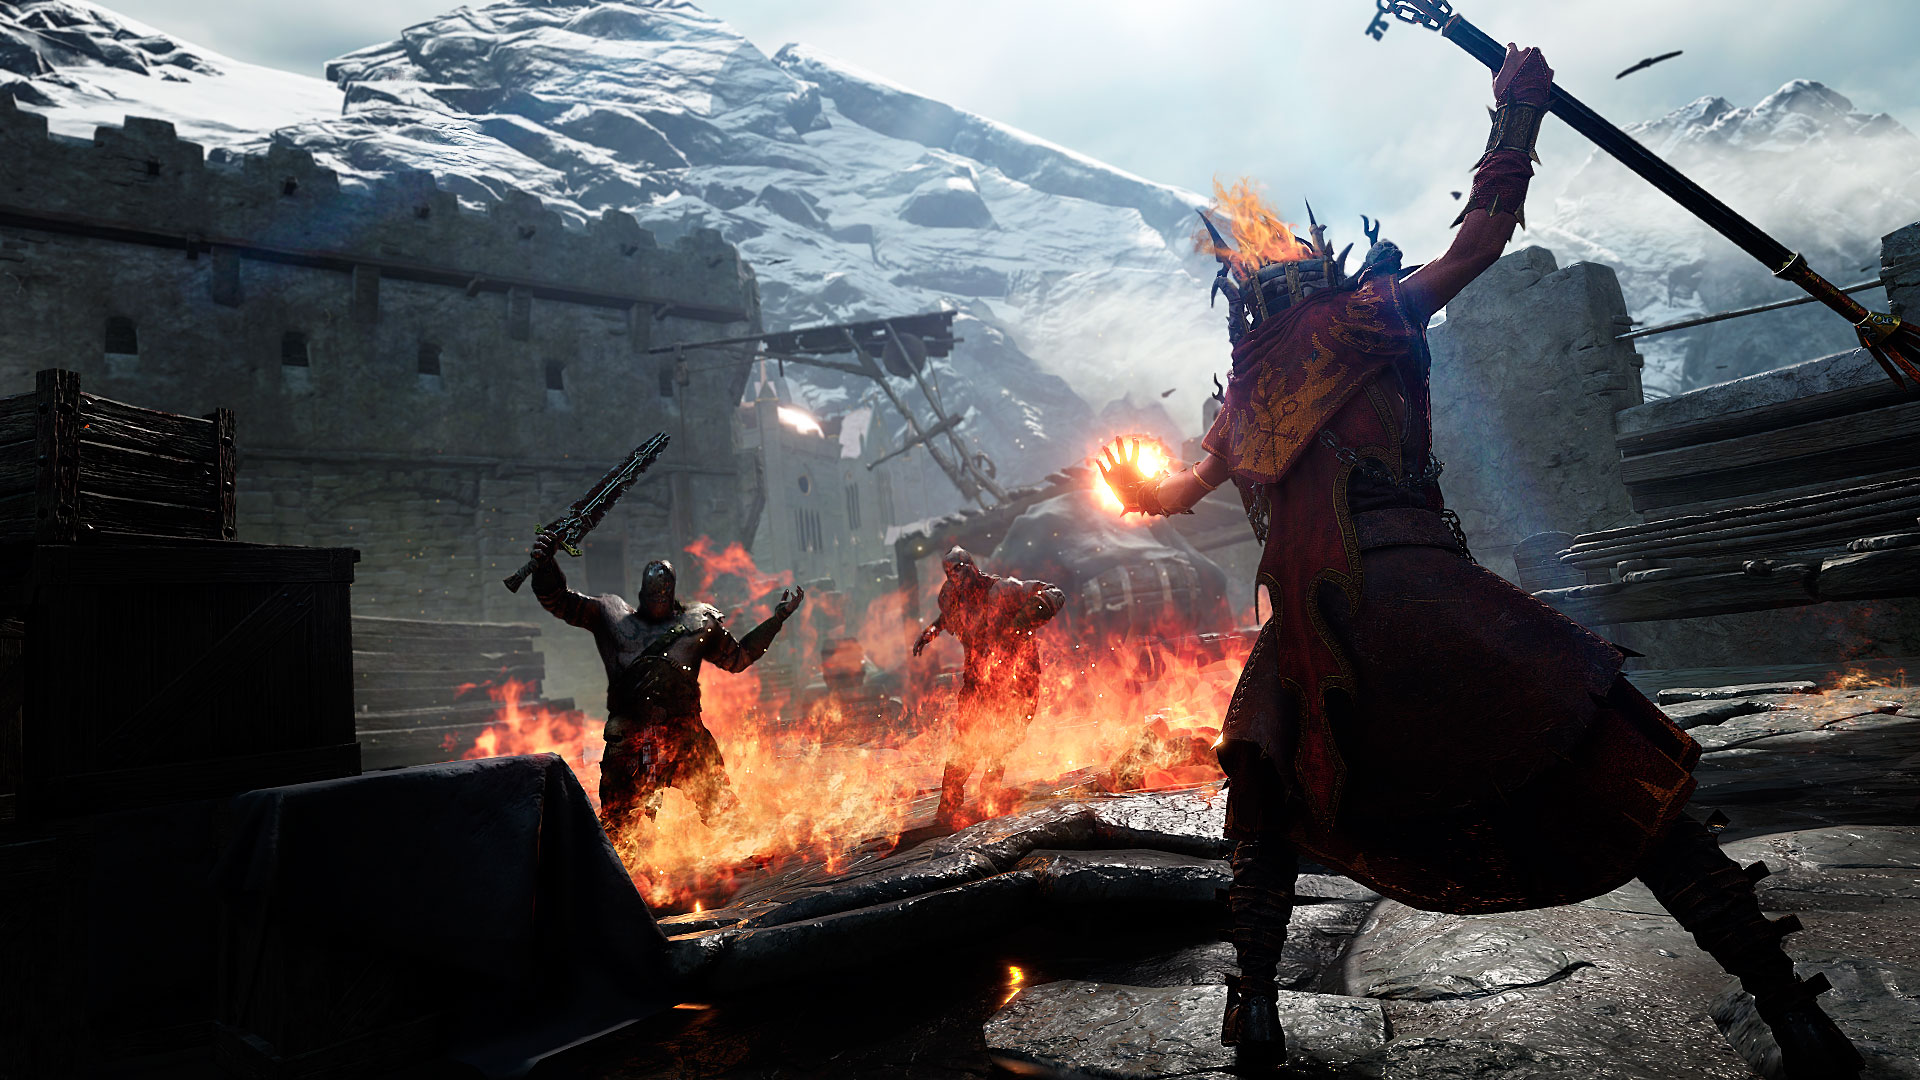 Roles :
- Obective maker / Map Trigger
- Hordes / Elite / Special killer
- Monster ledge
Talents :
Lingering : 1-3-3-1-2-3Volcanic ( gold wind ) : 1-1-3-2-2-3
Note about lingering :
DoT tickrate isnt the same for all weapons. The best is by far the Flamestorm staff then Beam staff
Those are harder to play than conflag but are way more powerfull dps wise.
Melee weapon
Dagger

Fire Sword

- 2 stamina
- 30% bcr
- 3% attk speed
opportunist
- 2 stamina
- 30% bcr
- 3% attk speed
swift slaying
Range weapon
conflagration staff

beam staff

bolt staff (volcanic build)

flamestorm staff

- 10% chaos
- 10% infantry
thermal equalizer
- 10% chaos
- 10% infantry
barrage
- 10% skaven
- 10% armored
thermal equalizer
- 10% skaven
- 10% armored
thermal equalizer
Wheels
(For volcanic build you will want 10% skaven on Wheel 1).Wheel 1
Wheel 2
Wheel 3
- 5% attk speed
- 10% chaos
concotion
- 2 stamina
- 30% bcr
- 18% p/b angle
natural bond
- 5% move speed
- 30% stamina recovery
- 8% cdr
grenadier
Sienna Necromancer
 Role :
- Elite / Special killer (shine in gold wind)
Cool features :
- Can target enemies in Ulgu weaves's fog with alt fire
- Venting with skeletons gives essences (0.37%)
Talents :
1-2-3-2-1-3Melee weapon
Dagger
Sword
- 2 stamina
- 30% bcr
- 3% attk speed
opportunist
- 2 stamina
- 30% bcr
- 3% attk speed
swift slaying
Range weapon
soulstealer staff

- 10% chaos
- 10% infantry
thermal equalizer
Wheels
Wheel 1
Wheel 2
Wheel 3
- 10% skaven
- 10% chaos
decanter / proxy
- 2 stamina
- 30% bcr
- 18% p/b angle
natural bond
- 5% move speed
- 30% stamina recovery
- 8% cdr
grenadier
Saltzpyre Zealot
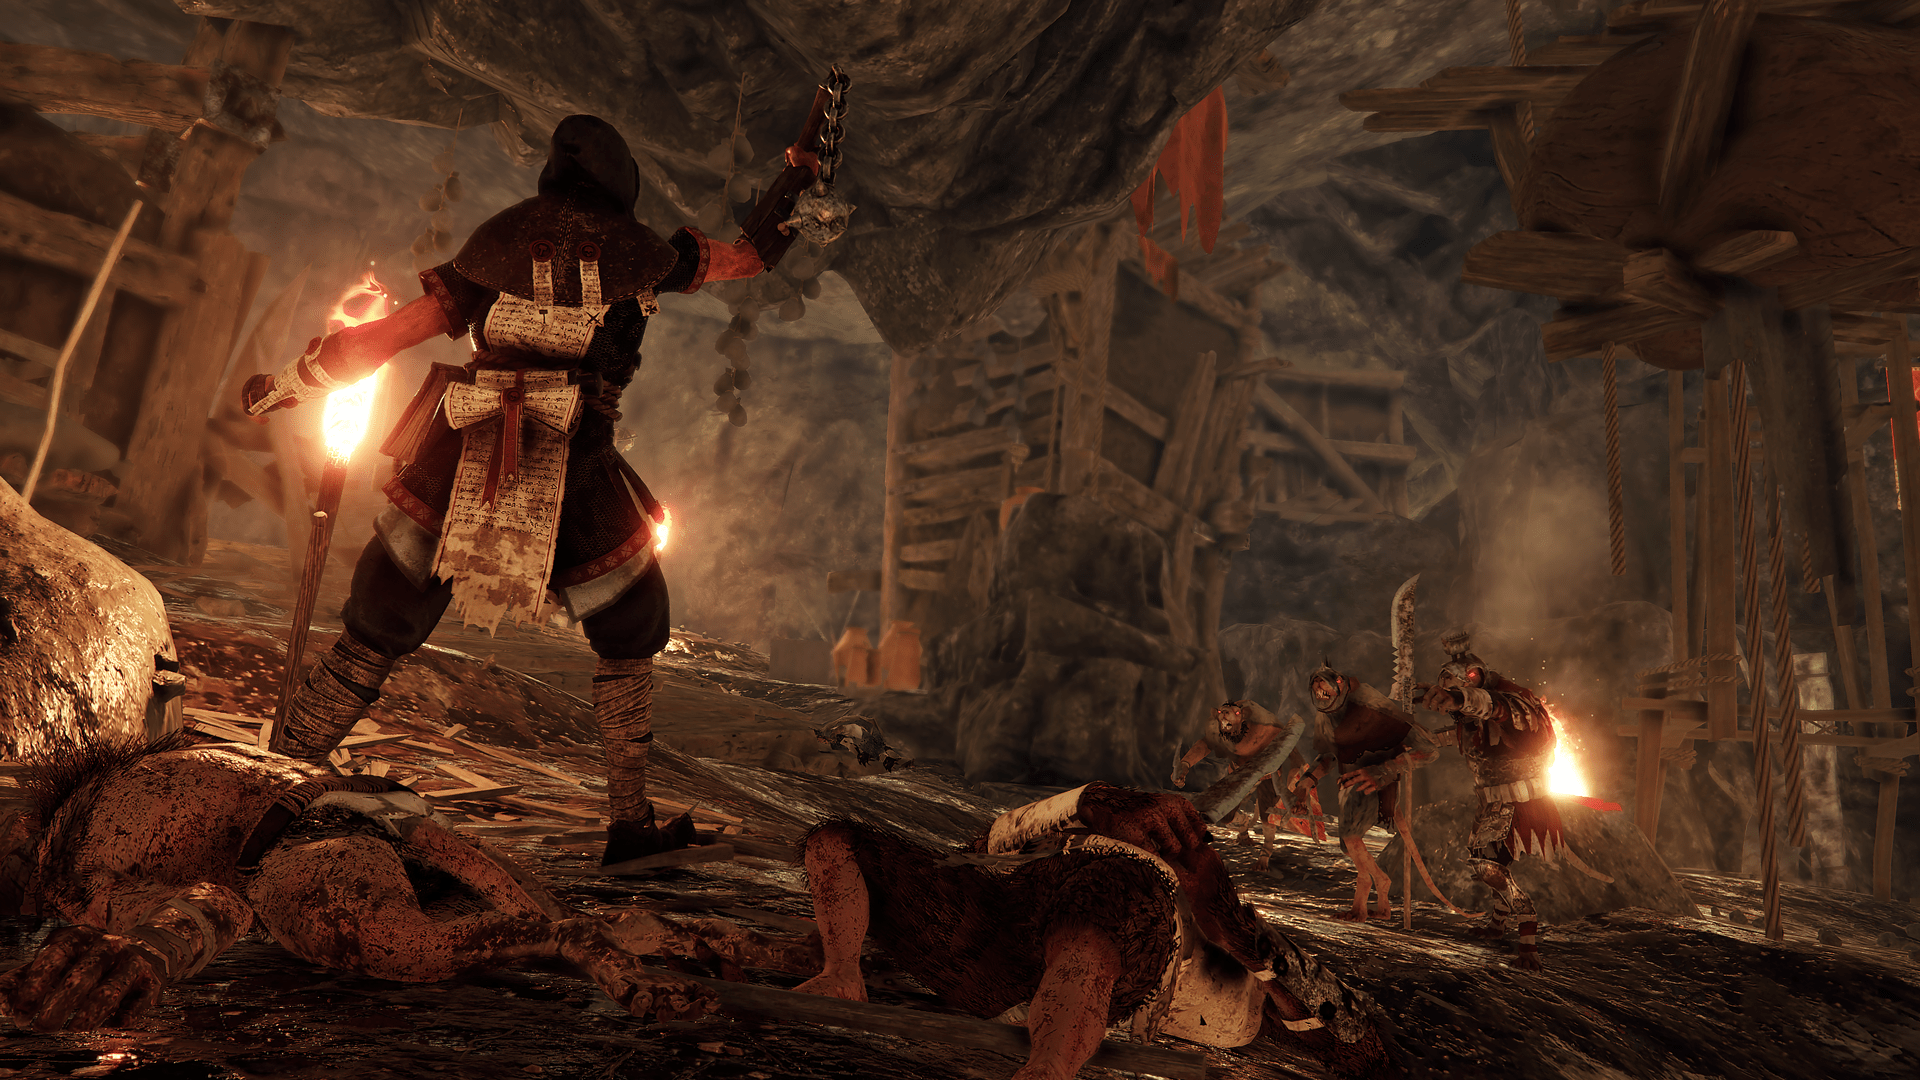 Roles :
- Can fit in any role exept special sniper in gold wind
Talents :
Range focus: 2-2-3-1-1-2Melee focus: 2-1-1-1-1-2
Melee weapon
Axe & Falchion (offensive)

Rapier (defensive)

Holy Great Hammer (chad)

- 30% bcr
- 10% chaos
swift slaying
- 2 stamina
- 30% bcr
- 3% attk speed
opportunist
- 30% bcr
- 5% attk speed
swift slaying
Range weapon
Volley Xbow

Griffon Foot

- 20% crit power
- 10% chaos
scrounger
- 5% crit chance
- 10% armored
scrounger
Wheels
Wheel 1
Wheel 2
Wheel 3
- 5% attk speed
- 10% chaos
concotion
- 30% bcr
- 20% hp
hand of shallya
- 5% move speed
- 30% stamina recovery
- 4% crit chance
grenadier
Ult Reset
The ability cooldown is based on 3 factors:- Time
- The number of enemies cleaved by each attack
- Damage taken
Given that the damage received is very high in weaves, it's easy to recover your capacity quickly by taking a few hits.
The technique for resetting your ult is as follows:
Use your ult in a group of enemies and let yourself get hit before you start attacking.
When the ult is about to end, block with your weapon and then repeat.
This is also very useful for reloading your range weapon!
Resets can be tricky on monsters and CWs.
Against monsters:
Monsters tend to push you, making it difficult to get a full reset.
Ideally, position yourself close to a wall or obstacle so the monster can attack you multiple times quickly.
Against Chaos Warriors:
The CW will regularly use a punch that doesn't deal much damage.
Simply avoid staying too close to him in melee and position yourself a little farther away so that he uses his standard attacks.
Saltzpyre Bounty Hunter
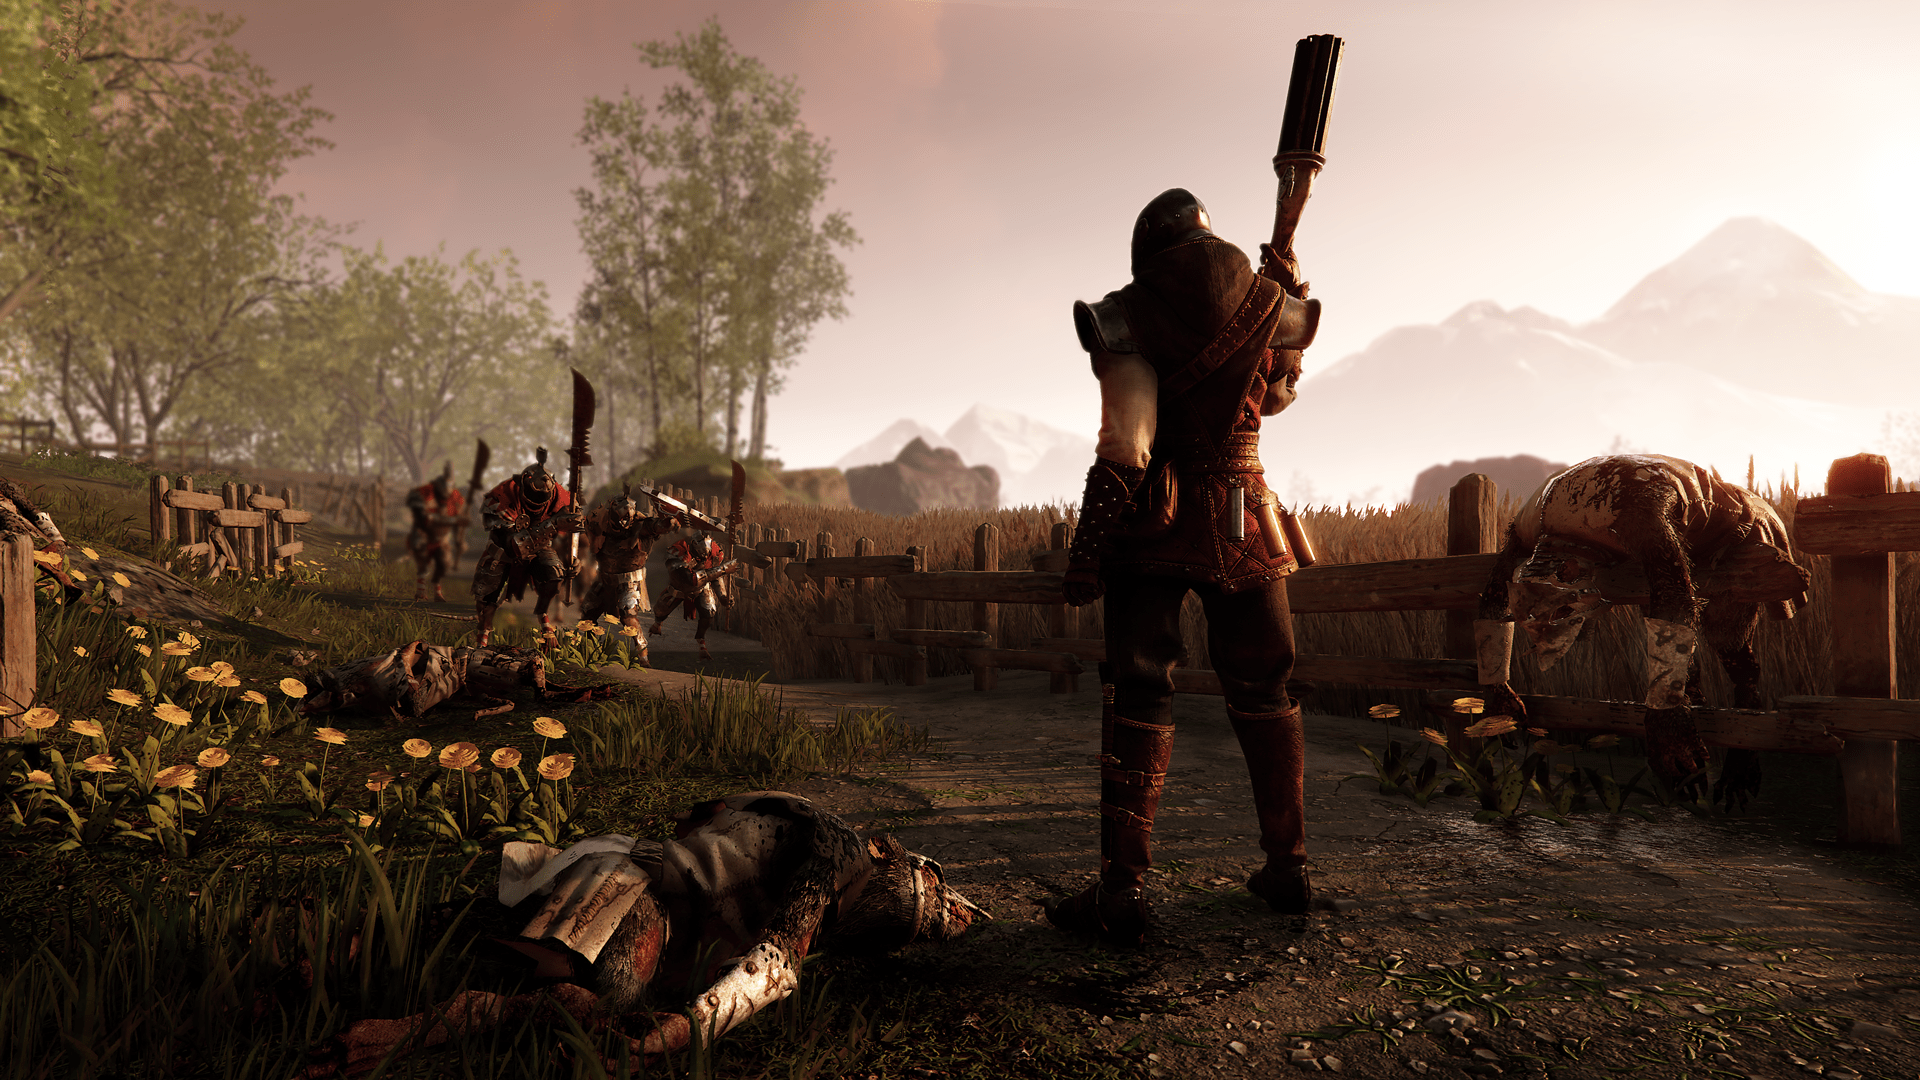 Roles :
- Monster / Elite / Special killer
- Horde deleter
Talents :
2-1-3-3-2-2Melee weapon
Rapier
- 2 stamina
- 30% bcr
- 3% attk speed
swift slaying
Range weapon
Crossbow

Griffon Foot
- 10% armored
- 10% skaven
conservative shooter
- 5% crit chance
- 10% armored
hunter
Wheels
Wheel 1
Wheel 2
Wheel 3
- 10% skaven
- 10% chaos
decanter
- 30% bcr
- 18% p/b angle
- 2 stamina
natural bond
- 5% move speed
- 30% stamina recovery
- 8% cdr
shrapnel
Saltzpyre Warrior Priest
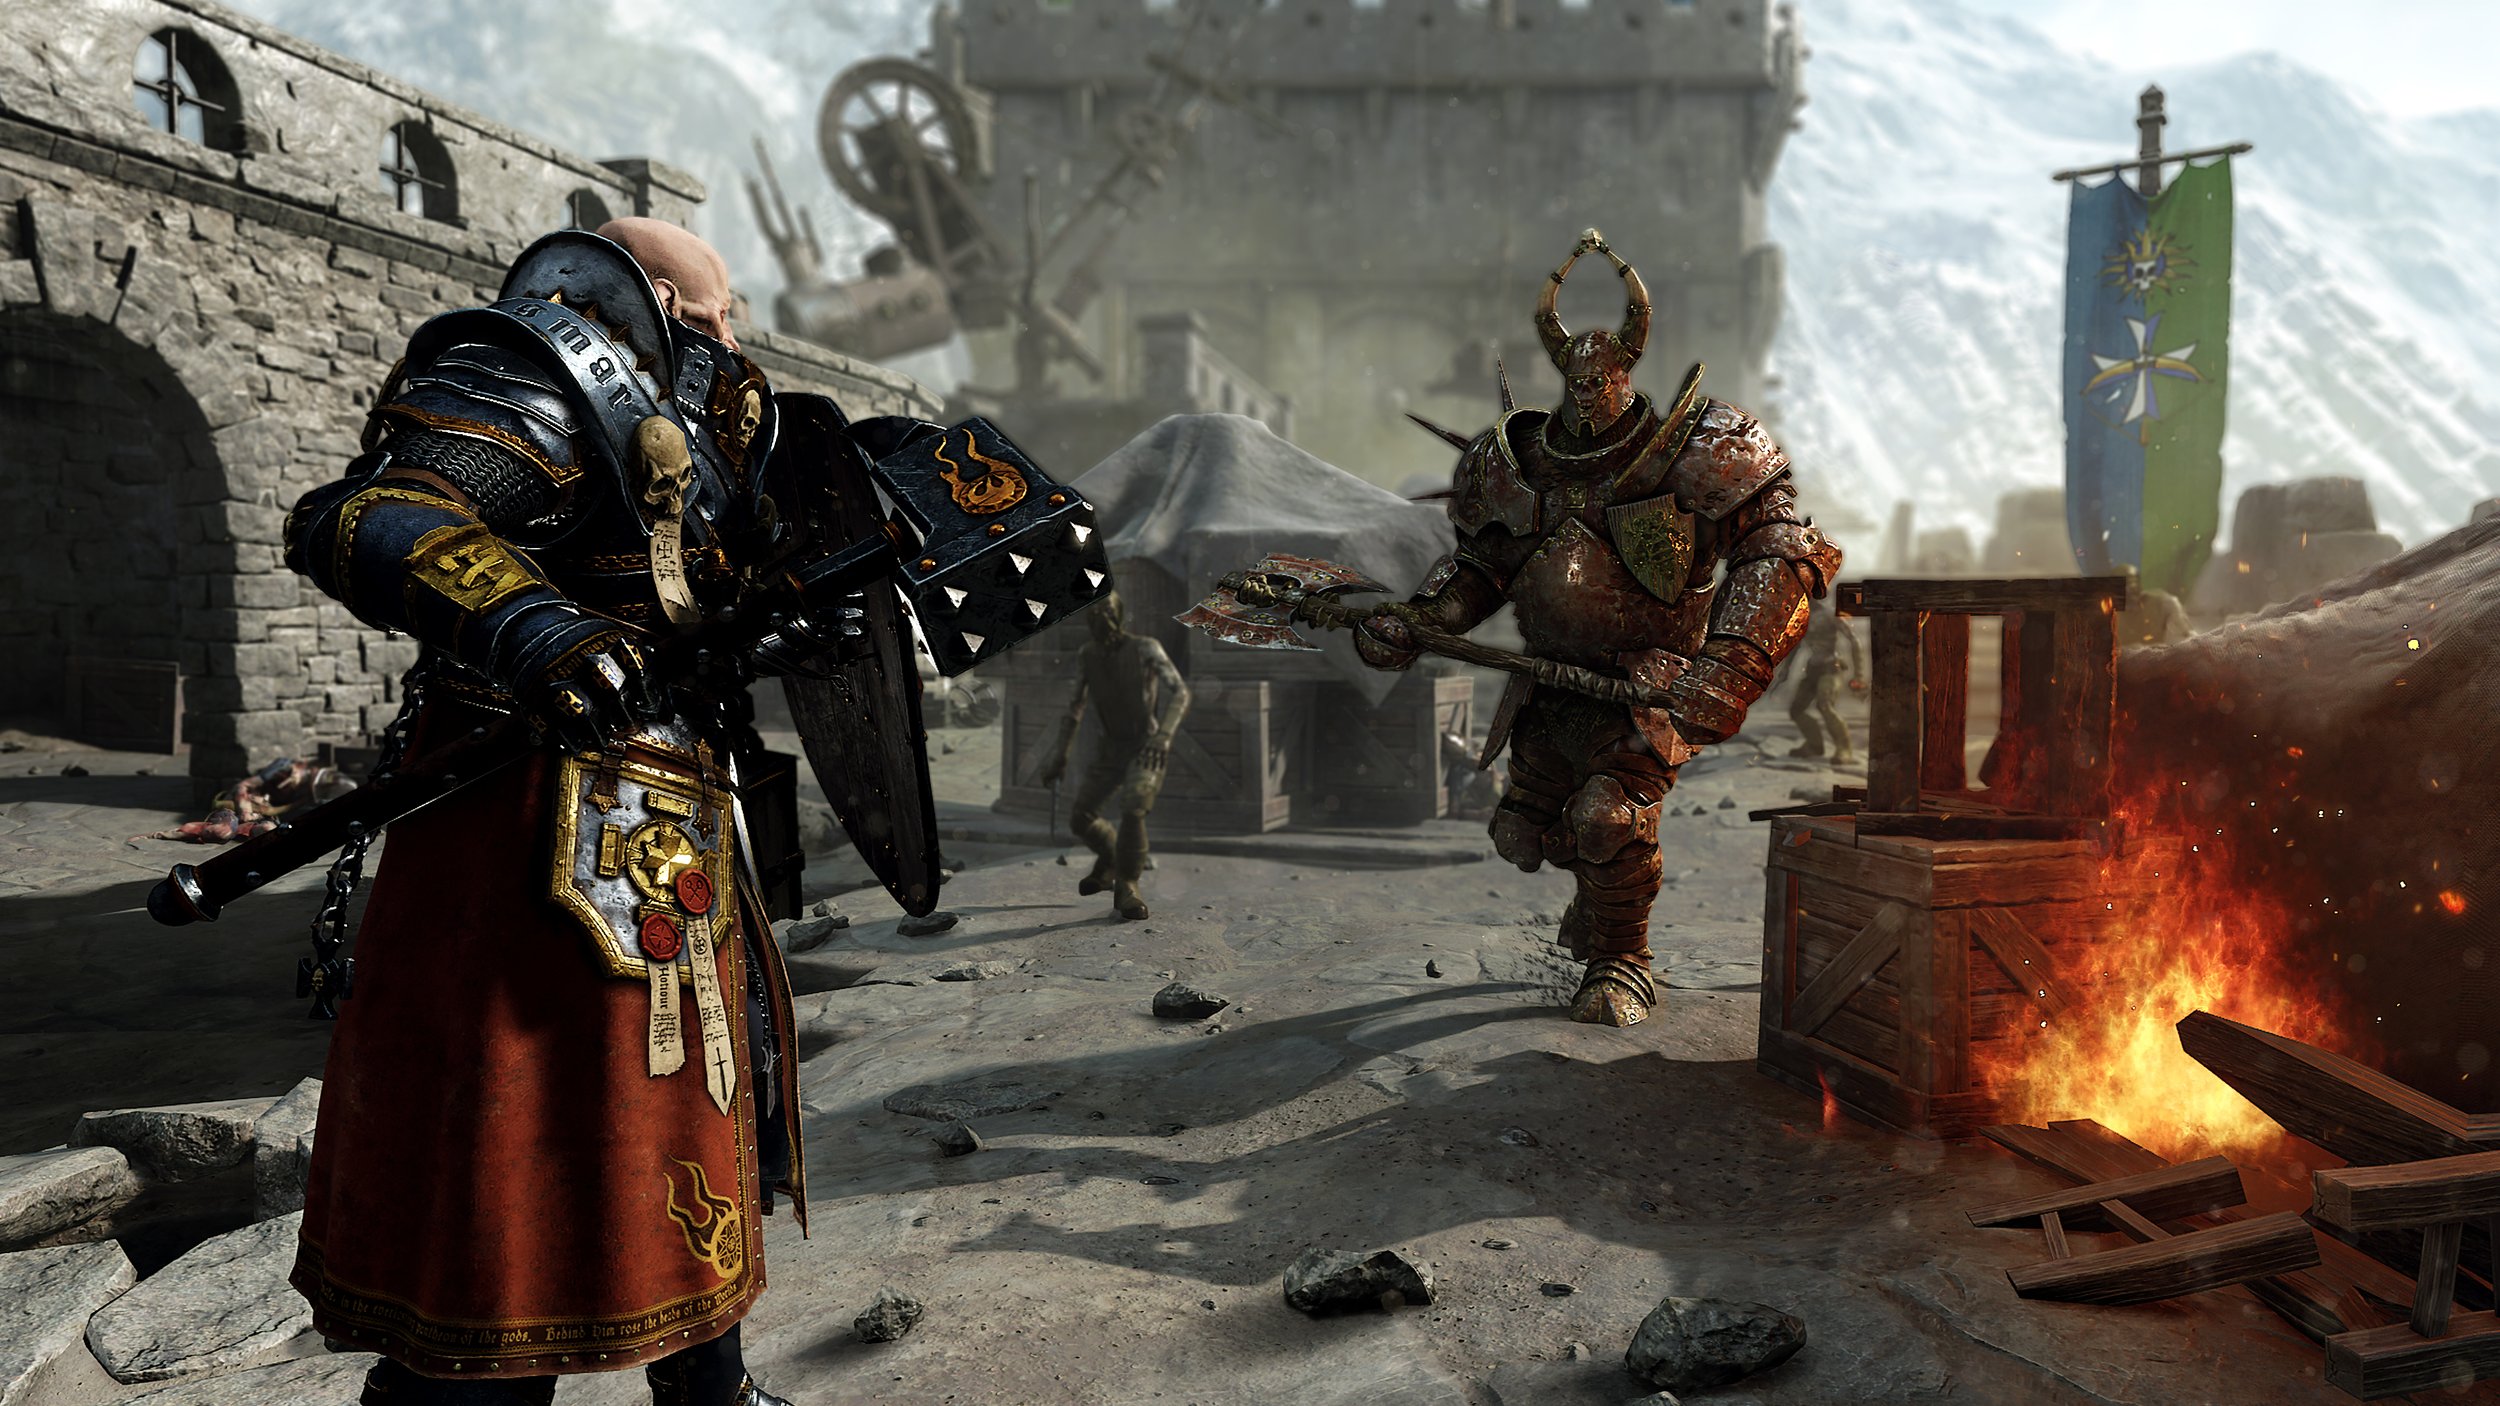 Roles :
- Frontliner
- Elite / Horder killer
Talents :
Offensive :2-2-3-1-1-1 (kit 1)Defensive : 1-3-3-1-1-2 (kit 2)
weapon kit 1
Flail & Shield

Holy Great Hammer
- 2 stamina
- 30% bcr
- 3% attk speed
opportunist
- 5% crit chance
- 5% attk speed
swift slaying
weapon kit 2
Hammer & Shield

Holy Great Hammer
- 2 stamina
- 30% bcr
- 3% attk speed
opportunist
- 5% crit chance
- 5% attk speed
swift slaying
Wheels
Wheel 1
Wheel 2
Wheel 3
- 5% attk speed
- 10% chaos
proxy
- 30% bcr
- 18% p/b angle
- 2 stamina
natural bond
- 5% move speed
- 30% stamina recovery
- 8% cdr
grenadier
Bardin Ranger Veteran
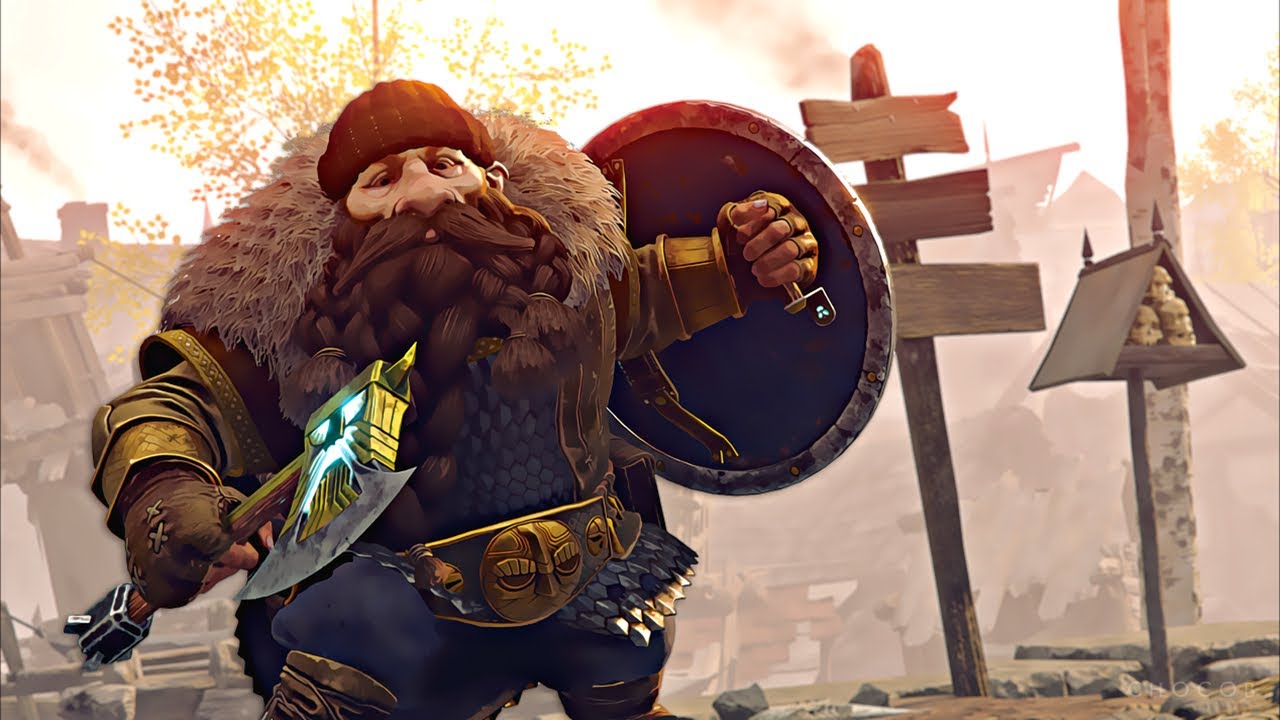 Roles :
- Potion / ammos generator
- all rounder enemies killer
Talents :
Ammo sustain :2-2-3-2-3-3Potions gen : 2-2-3-3-3-3
Melee weapon
Dual Hammers

Hammer & Shield

Hammer

- 2 stamina
- 30% bcr
- 3% attk speed
swift slaying
- 2 stamina
- 30% bcr
- 3% attk speed
opportunist
- 2 stamina
- 30% bcr
- 6% skaven
opportunist
Range weapon
Grudge-Raker

Masterwork Pistol

- 10% chaos
- 5% crit chance
scrounger
- 10% skaven
- 10% armored
barrage
Wheels
Wheel 1
Wheel 2
Wheel 3
- 10% infantry
- 10% chaos
concotion
- 30% bcr
- 18% p/b angle
- 2 stamina
natural bond
- 5% move speed
- 30% stamina recovery
- 8% cdr
explosive ordonance
Bardin Iron Breaker
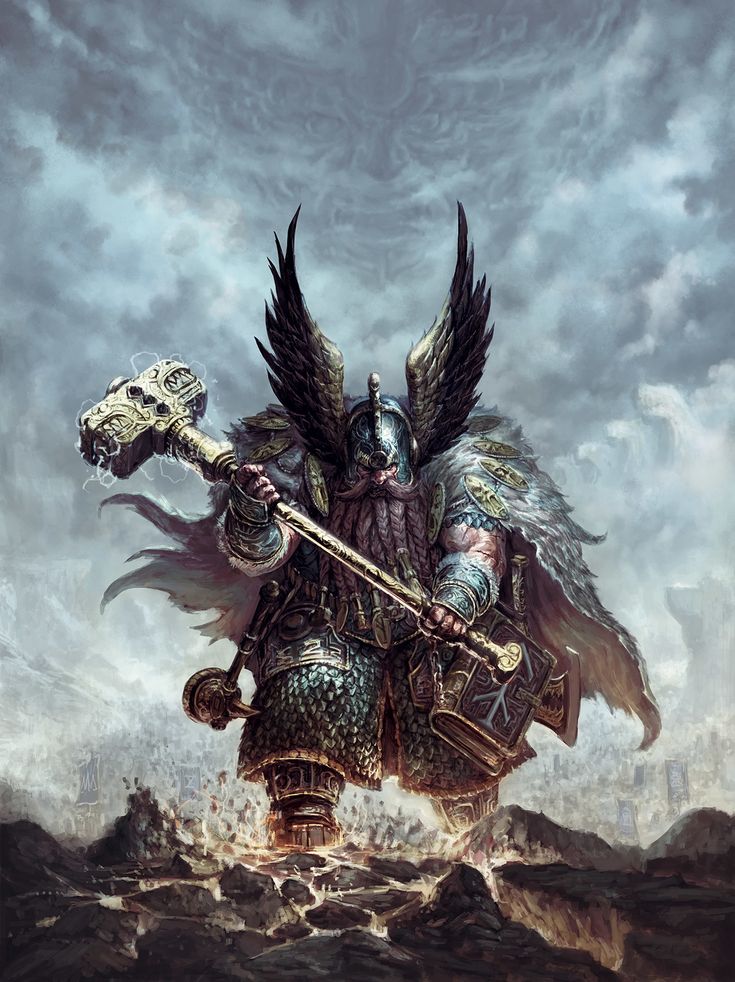
Roles :
- Frontliner
- Elite / Monster killer
Talents :
1-2-2-2-3-2Melee weapon
Hammer & Shield
- 2 stamina
- 30% bcr
- 3% attk speed
opportunist
Range weapon
Trollhammer Torpedo

- 10% chaos
- 10% monster
conservative shooter
Wheels
Wheel 1
Wheel 2
Wheel 3
- 5% attk speed
- 10% chaos
concotion
- 30% bcr
- 18% p/b angle
- 2 stamina
natural bond
- 5% move speed
- 30% stamina recovery
- 8% cdr
grenadier
Bardin Outcast Engineer
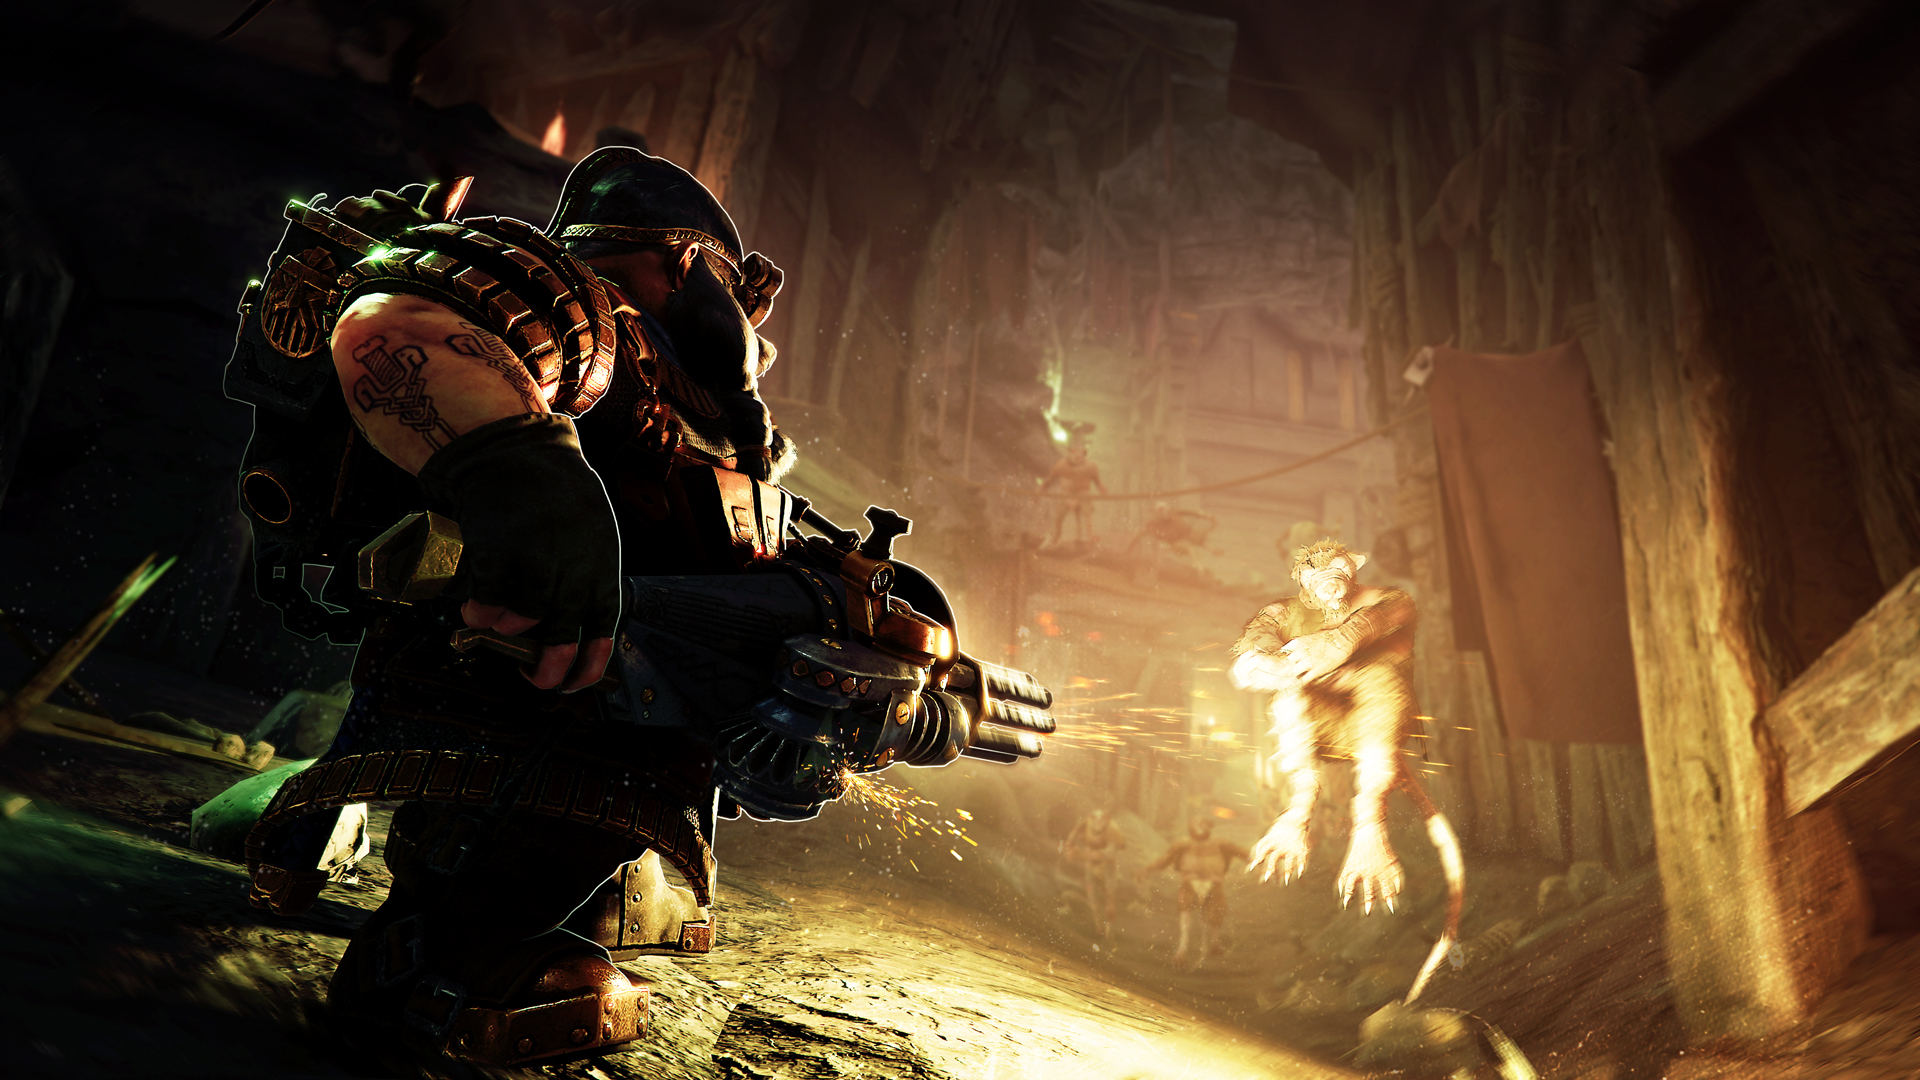 Role :
- Life eraser
Talents :
1-Y-3-3-2-XY = 2nd talent to maximize ult DPS, 3rd one otherwise
X = All ults are good, choose the one that fit the map you are doing...
Melee weapon
Hammer
Hammer & SHield
- 2 stamina
- 30% bcr
- 6% skaven
opportunist
- 2 stamina
- 30% bcr
- 3% attk speed
opportunist
Range weapon
Trollhammer Torpedo
- 10% chaos
- 10% monster
conservative shooter
Wheels
Wheel 1
Wheel 2
Wheel 3
- 5% attk speed
- 10% chaos
concotion
- 30% bcr
- 18% p/b angle
- 2 stamina
natural bond
- 5% move speed
- 30% stamina recovery
- 8% Cooldown
explosive ordonance (or grenadier if you are bad at headshots)
Bardin Slayer
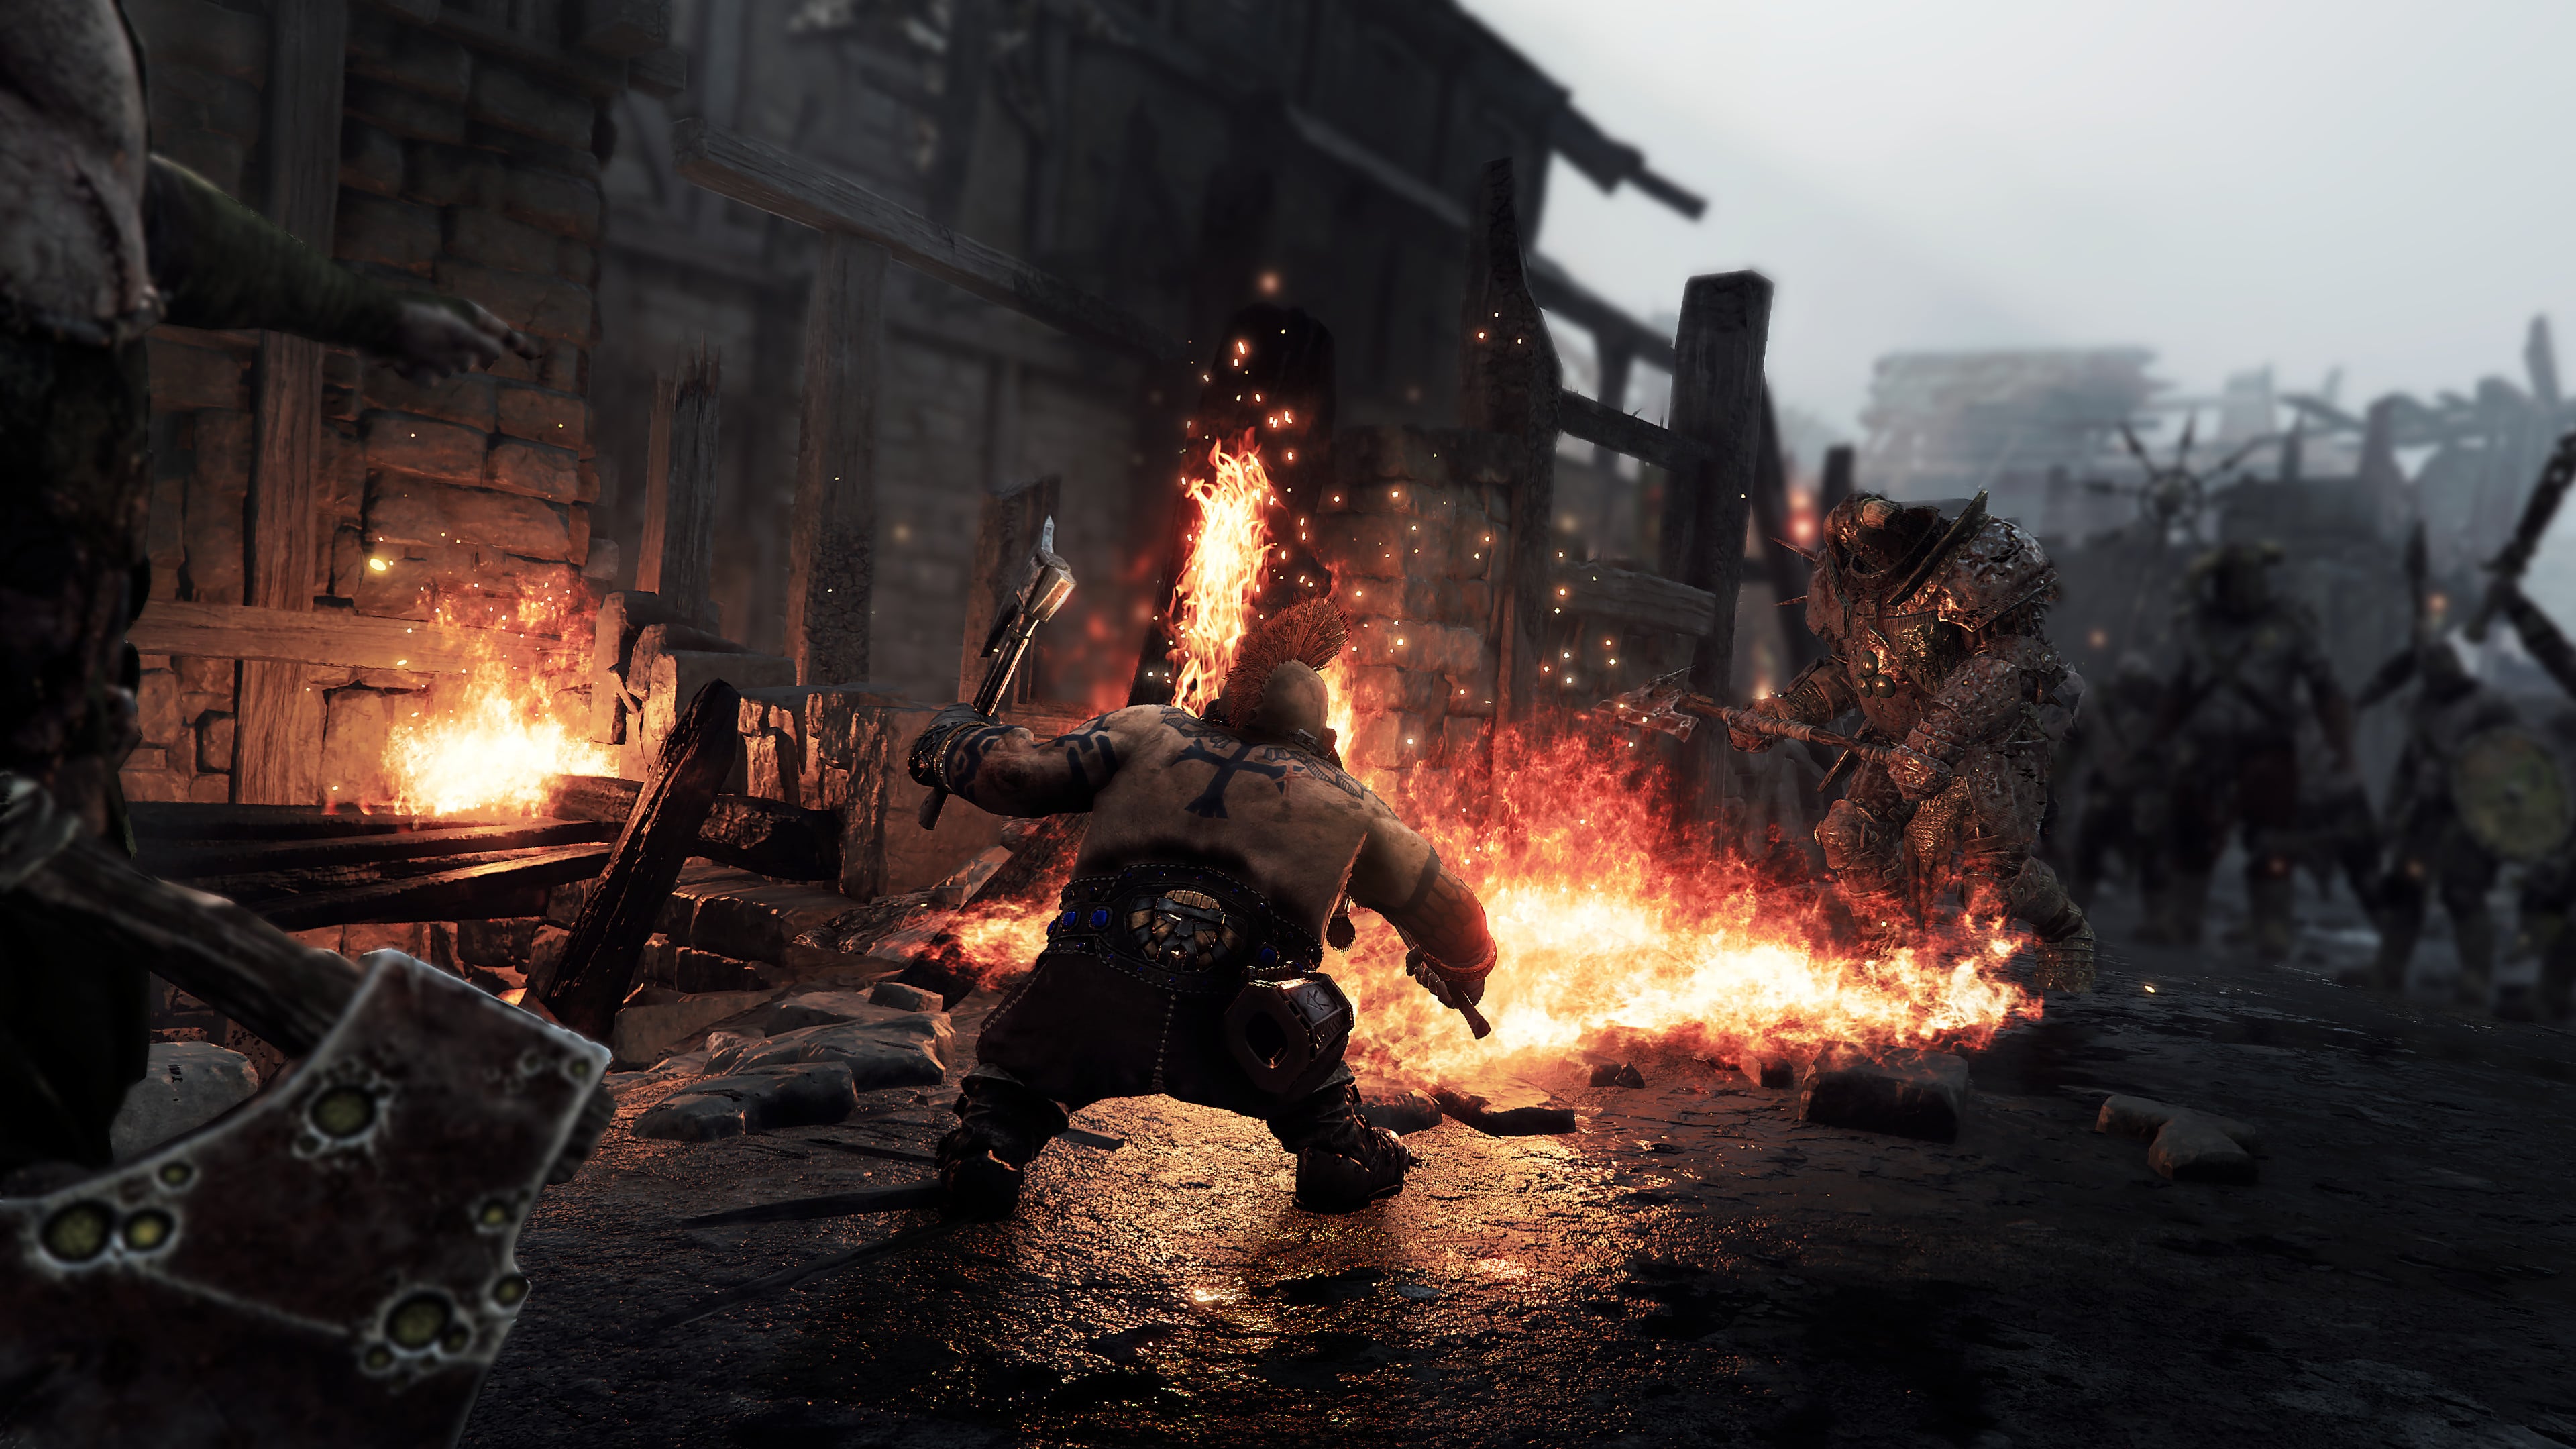
Roles :
- Frontliner
- Elite / Horde / monster killer
Talents :
2-3-1-3-1-1weapon kit 1
Dual Axes

Cog Hammer

- 2 stamina
- 30% bcr
- 3% attk speed
swift slaying
- 5% crit chance
- 5% attk speed
swift slaying
weapon kit 2
Dual Hammers
Great Hammer

- 2 stamina
- 30% bcr
- 3% attk speed
swift slaying
- 5% crit chance
- 5% attk speed
swift slaying
Wheels
Wheel 1
Wheel 2
Wheel 3
- 5% attk speed
- 10% armoured
concotion
- 30% bcr
- 18% p/b angle
- 2 stamina
natural bond
- 5% move speed
- 30% stamina recovery
- 8% cdr
shrapnel
Kruber Grail Knight
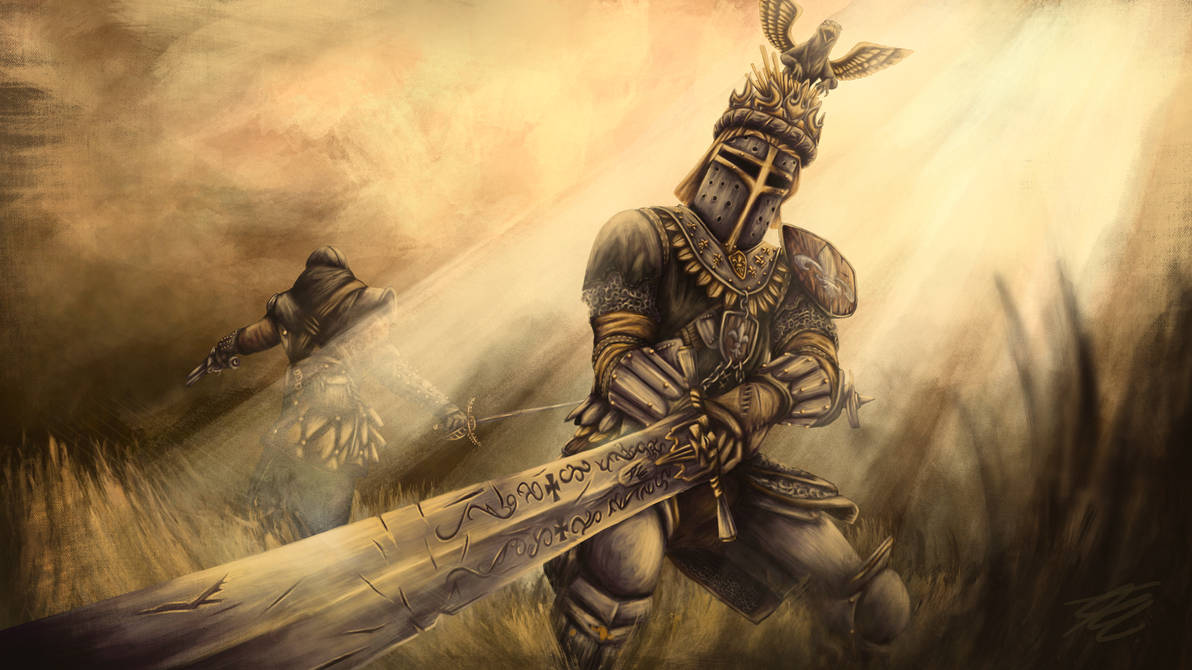 Roles :
- Frontliner
- Elite / Horde / monster killer
- Strenght potion generator
Talents :
Offensive :2-1-2-3-3-1 (kit 1)Defensive : 2-3-2-3-3-1 (kit 2)
(Cleave ult can also be taken if you are not facing monsters...)
weapon kit 1
Mace & Sword

Executioner Sword

- 2 stamina
- 30% bcr
- 3% attk speed
swift slaying
- 5% crit chance
- 5% attk speed
swift slaying
weapon kit 2
Any shield you like

Executioner Sword
- 2 stamina
- 30% bcr
- 3% attk speed
opportunist
- 5% crit chance
- 5% attk speed
swift slaying
Wheels
Wheel 1
Wheel 2
Wheel 3
- 5% attk speed
- 10% armoured
concotion
- 30% bcr
- 18% p/b angle
- 2 stamina
natural bond
- 5% move speed
- 30% stamina recovery
- 8% cdr
grenadier
Kruber Foot Knight
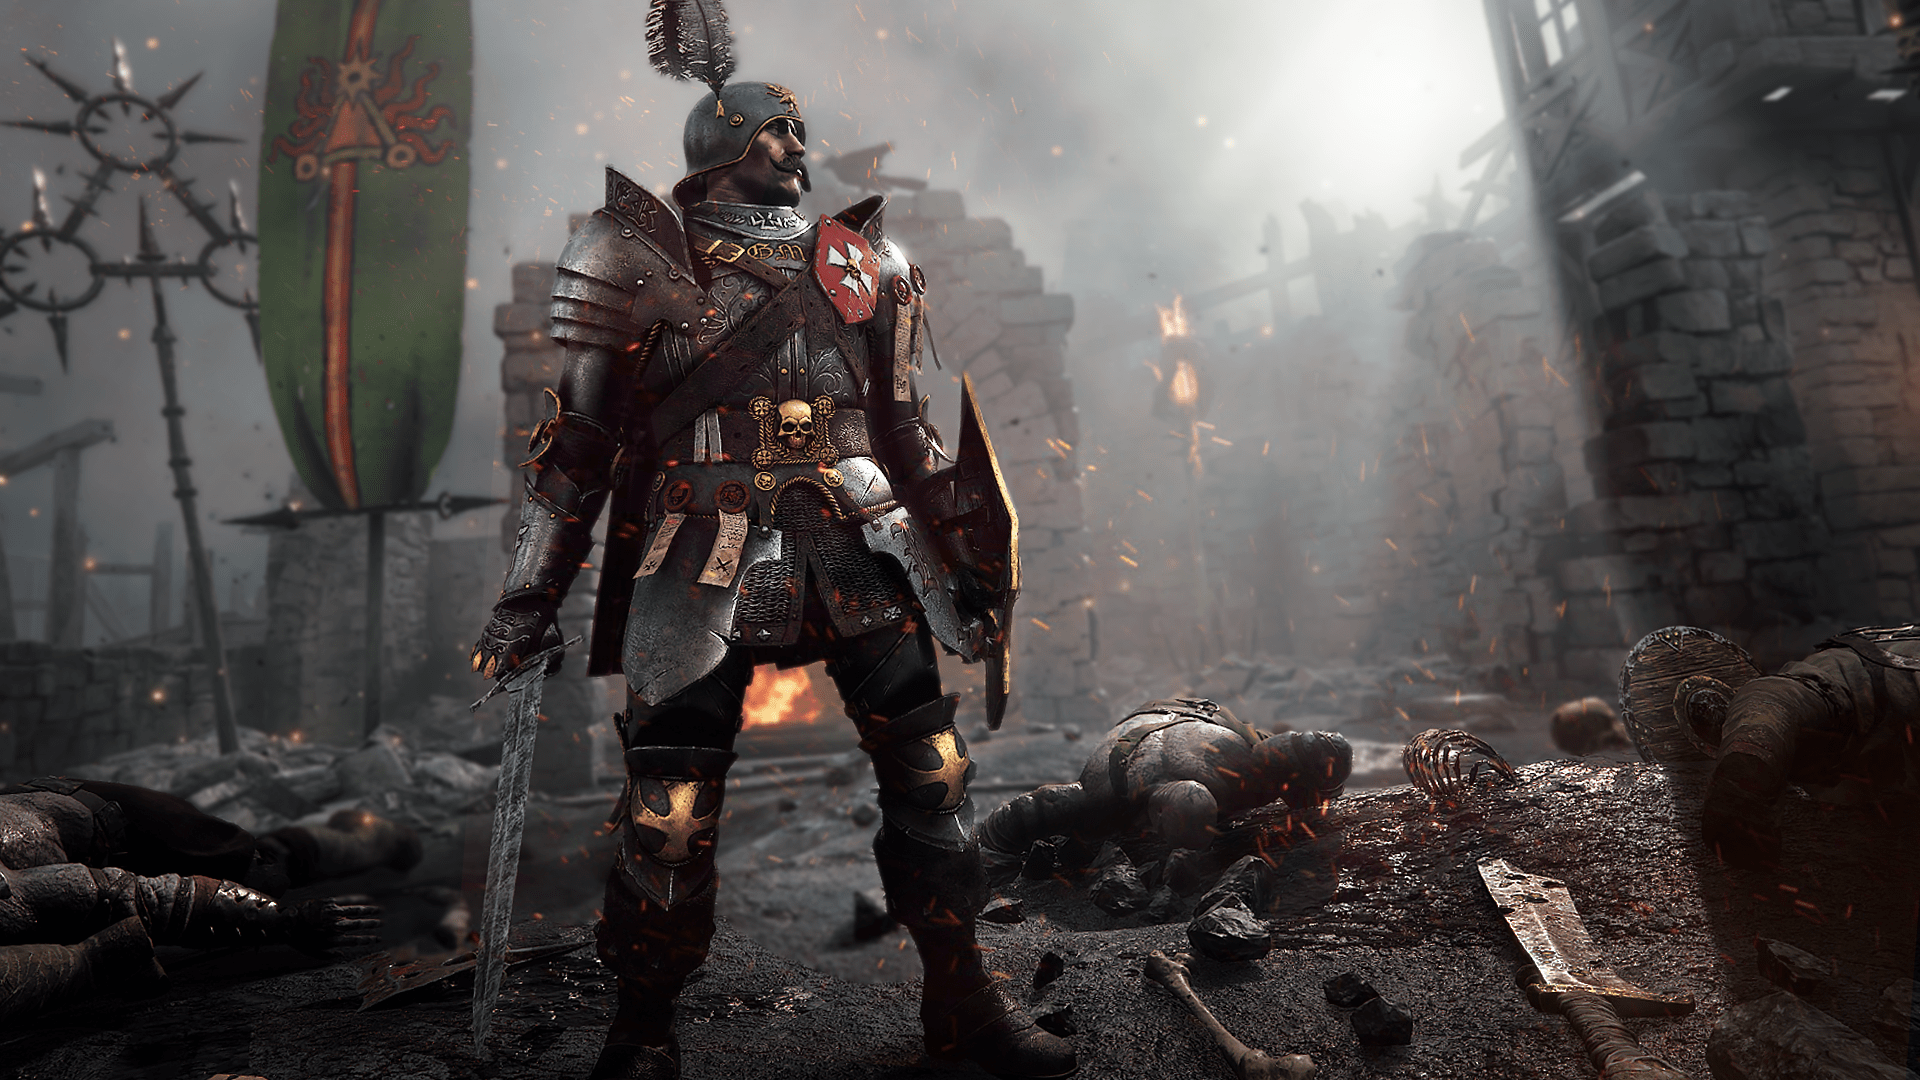 Roles :
- Frontliner
- Monster ledge
- disabled allies savior
Talents :
1-3-3-3-1-2Melee weapon
Mace & Sword
Any shield you like
- 2 stamina
- 30% bcr
- 3% attk speed
swift slaying
- 2 stamina
- 30% bcr
- 3% attk speed
opportunist
Range weapon
Handgun

- 10% chaos
- 10% infantry
conservative shooter
Wheels
Wheel 1
Wheel 2
Wheel 3
- 5% attk speed
- 10% infantry
proxy
- 30% bcr
- 18% p/b angle
- 2 stamina
natural bond
- 5% move speed
- 30% stamina recovery
- 24% respawn speed
grenadier
More Warhammer: Vermintide 2 guides
- 【Updated to Patch 6.10】【All Careers】Legend Builds Collection★ 5 (2.6k)99k views7.6k ♥87 minUpdated Mar 10
- 【Updated to Patch 6.10】【Cataclysm Builds】Kruber all careers★ 5 (1.8k)60k views5.7k ♥33 minUpdated Mar 10
- 【Updated to Patch 6.11】Optimal Melee Weapon Combo★ 5 (1.9k)58k views5.2k ♥26 minUpdated Jun 11
- 【Updated to Patch 6.10】【Cataclysm Builds】Saltzpyre all careers★ 5 (1.7k)57k views5.6k ♥36 minUpdated Mar 10
- 【Updated to Patch 6.10】【Cataclysm Builds】Bardin all careers★ 5 (1.8k)57k views5.6k ♥33 minUpdated May 12
- 【Updated to Patch 6.10】【Cataclysm Builds】Sienna all careers★ 5 (1.7k)57k views5.4k ♥37 minUpdated Mar 10



This guide was created by its original author on the Steam Community. Are you the author and want it removed? Request removal.