Overview
This guide is intended for people who have just purchased the software with no clue where to get started.
Installing and starting
Installing
Since your reading this, this section is really easy. Once you have bought your item the option to download and install it pops up select this. If you haven’t then no worries go to the library tab in steam and select software, select the item you wish to install and click the big install button.
Starting
Do you have an idea?
no?
Go get one. Anything easy to start. And by that I mean, can you describe your idea to someone in one sentence?
Now you have an idea. How do you get started building it?
As you can see below, there is a map box (lower left hand corner beneath the pictures) to make a new map right click in this area and select new map.
Now a box should pop up this is the map properties box. in here you can change the name of the area, the music (BGM) and the sound (BGS). More importantly you can change the map size and tileset. By default it is set to the smallest size. As a recomendation don’t build anything unnecessarily large. By that I mean don’t make a 1000 x 1000 map. You don’t need that much space. The tileset is the set of images you can use to create the game. You can edit the tilesets in the database (found the top tool bar), But Please DO NOT do anything you cannot undo! You can edit map properties at any time by pressing the space bar after selecting the map you wish to edit.


Basic level design
The bad begining
Please please please… Do not try and put everything in the first layer and wonder what the hell is going on when the textures collide and it looks rubbish.
Layers are very important, your only given three so think carefully what layer you put something on. You can find the layer control in the centre of the top tool bar. the orange slide between the blue slides indicates which layer you are working in.There is a blue block next to the layers. this lets you create events.
Events
Events are what you be spend a lot of your time editing and learning. They can be complex machines.
Or simple processes.
To create an event double click on the tile where you wish to place an event. To edit an event right click the event and select edit. Once the event menu is open you can then insert commands. to do this either right click and select insert (you may also use the right click function to edit a previously exisitng command by selecting edit after right clicking). Once you have chosen to insert a command you will notice an command box pop up, from this you can then chose what command to insert, there are three pages of commands.
Please note doors are not a tile set. they are an event. To make a door double click the graphic box and choose a door from the list of graphics. You will then need a transfer command. See second image for an example.


Switches and variables
Logic 101
A switch is an on off function which you can use to control events. You can use it in any number of ways the simplest is to make “if logic statements”.
For example:
@>Conditional Branch: [Feather] in inventory
@>Control Switches: [0024: letter lost] = ON
@>
: Else
@>Text: Go deliver the letter.
@>
: Branch End
@>
The above works as follows:
If feather is in player inventory. turn on switch 24. Otherwise. Say “Go deliver the letter.”
And that is that, switch 24 could do any number of useful things…
Regardles you should rember to carefully remebr when swtiches are turned on and off and how this will affect your game. I recomend naming your switches. When you imput a switch command double cliking the switch selection box will take you straight to the swtich list. To name it select the switch by clicking once, then input the name in the dialouge box clicking ok, applies and close the box Where as clicking apply only applies your input and does not close the box.
Variables function in a very similar manner but are more like dimmer sitches providing more than one outcome than simply on or off.
Publishing your game
Publishing your game is a simple process. In the file tab (in the top-most tool bar) find the “Compress Game Archive” and left click it. You can then distributed this compressed file to whom ever you desire.
That’s it if your feeling a tad lazy. Alternatively, you can and include the RTP files in your games files meaning the end user doesn’t need to do any legwork.
Things to be aware of:
– People playing the game might need a free RTP-installer to run the game (www.rpgmakerweb.com)
– Before compressing make sure you’ve found and fixed all the typo’s and bugs/glitches
– If you release your game to the public, bear in mind your representing the game making community. Don’t realese something half-arsed even if it is only made in RPG Maker XP.
Other helpful information
If you’re looking for something such as characters that walk around in a set path, shops, enemies, ETC look in the events menu, create a blank event and click edit in the blank code section. This should bring up a window with a several different event functions. An example of this is the shop function, which creates the shop code template which you can then add items to.
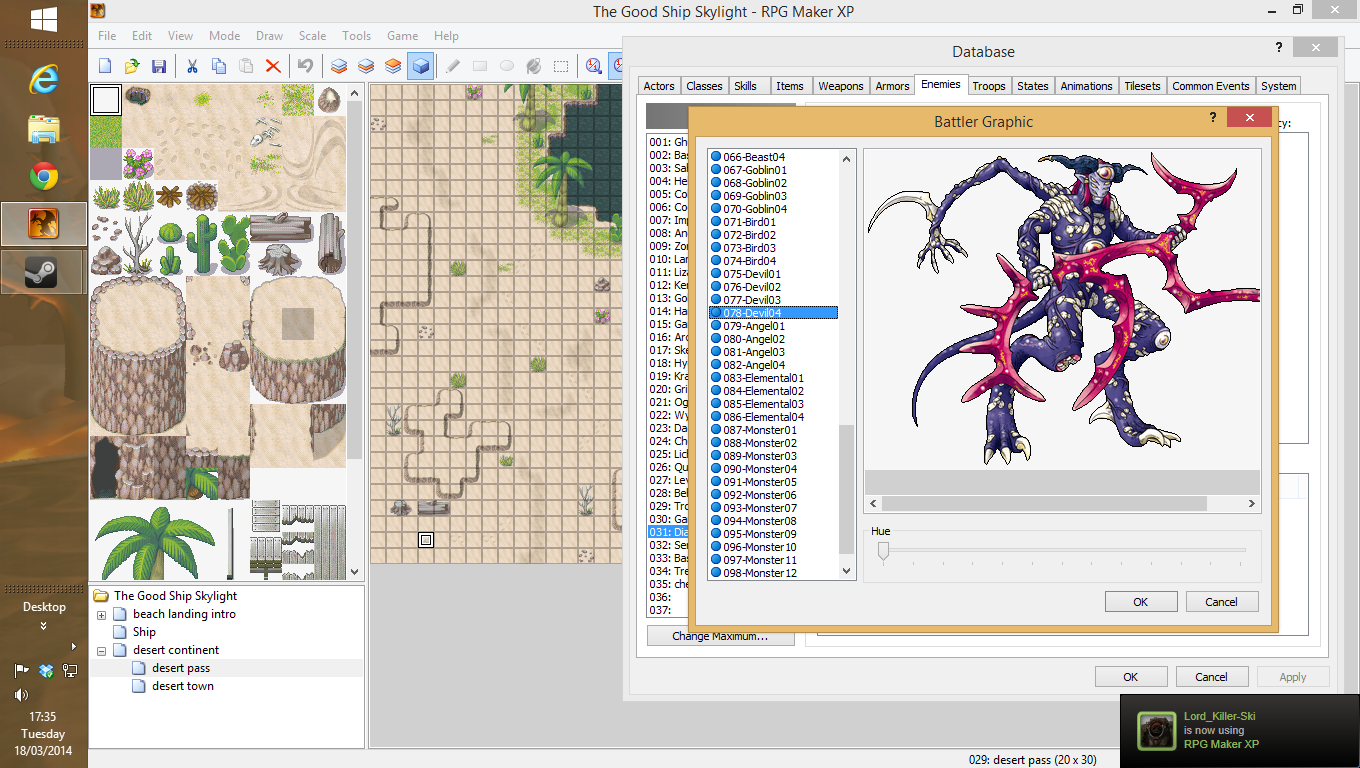
You can make new content for your game in the databse. The default settings are fairly balanced so I’d not recomend changing them too much if your a first time user.
Yes, you can sell your game. But before attempting to please look at the RPG Maker XP FAQ to ensure you have followed the terms and conditions when selling your game.
[link]Yes, you can distribute your game as Freeware to whom ever you wish.
Yes, you can add your own code as well as edit pre-exisiting code. But for the love of god don’t do anything you can’t reverse.
No, Your imagination isnt the limit. Your ability to continue to dedicate a lot of time and effort to your game is your limit.
Yes, there are many online help guides. But be warned they do not always refer to RPG Maker XP they tend to refer to RPG Maker VX ACE.
And finally, yes, it is worth the money.