Overview
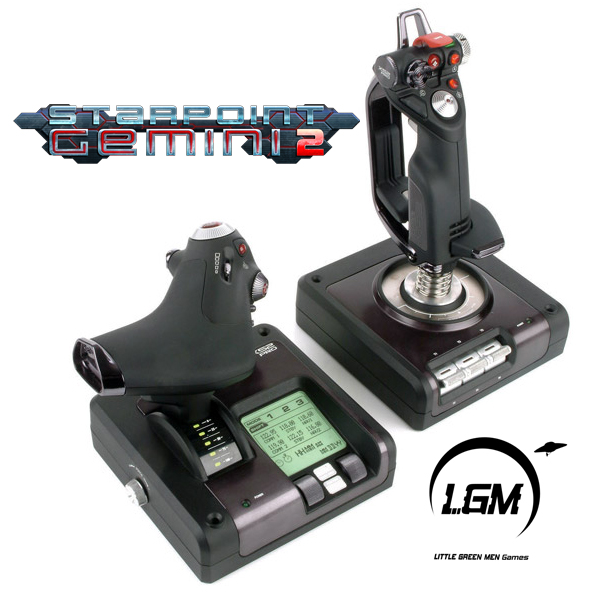
Short guide on setting up Saitek X-52 Pro HOTAS.*courtesy of vanceg123
Basic information
Alright, so you have Starpoint Gemini 2 and a Saitek X52 pro and you want to start flying. I’m here to help. The first thing you need to do is to make sure you have the actual Saitek software from their website, don’t bother with that dated garbage that came in the box. I used that for the initial install and then immediatly regretted it and downloaded the newest version from their website (www.saitek.com).

Setting up a profile
If you set up a profile before you can ignore this paragraph. If you have not, do not be intimidated by it! It’ll be a little frustrating for a minute but you’ll get the hang of it.
First lets assume you do not have the rudder set up. You need to open the software, in windows 8.1 it’s under Smart Technology on the app page listed as ‘Profile Editor”. Open that guy up and select X52 Pro flight control system. You’ll see a nice image of your HOTAS with three choices at the top. You are going to click on ‘programming’ . Now you see a list of all the controls with an image of the X52 pro to the left.
At any point you may click any button, twist any axis, or move any slider/dial and the program will immediatly highlight which one you are touching. This is nice when you are still getting familiar with the controls. Simply left click on any button box and it will begin recording what the input for the button will be designated as, remember, hitting ‘enter’ or ‘backspace’ will record those inputs. You need to click the little box with the check mark on it to save it.
If you need more help you can find tutorials on youtube pretty easily for the program or feel free to send me a message.
Button configuration
Ok, now I’m going to list what I have keyed every single button to on my profile. This should take around ten to twenty minutes to input. After it is finished make sure to save the profile and load it into the x52’s program. (simply click the up facing arrow in the bottom right of the windows 8 screen, left click on the saitek x52 pro image and select the profile you have made to load it)
IMPORTANT: This configuration uses the ‘clutch’ button. To enable that you must left click on the saitek x52 app image where you would load the profile and go into it’s control panel. There are a lot of neat things there like light controls but ignore all that and click on the MFD tab and uncheck the box labled “Enable Clutch Mode”. I know, it sounds like the opposite of what it’s doing, welcome to the X52 Pro.
Mode 1 (this is an easy set up and we will only be working with mode 1 and without the pinky shift command, if you do not know what I’m talking about then you don’t have to worry about what I just said)
Trigger – Right click. (As a note, you need to click the little mouse image under the X to the far right to record mouse commands, after clicking it simple right click in the open box.)
Trigger 2 – Right click.
Launch – X
Fire A – Z
Fire B – Left click
Fire C – Backspace
Pinkie – Ignore this.
Fire D – Tab
Fire E – C
Toggle 1 – F9 (Not a combination, the actual function key)
Toggle 2 – F1
Toggle 3 – F8
Toggle 4 – F (no I didn’t leave out the number, this is the letter F)
Toggle 5 – F7
Toggle 6 – Delete
Mouse Fire – B
Wheel Button – Right Click
Wheel Scroll Up – Z
Wheel Scroll Down – T
Clutch Button – P
Mode 1 – Ignore this
Mode 2 – Ignore this
Mode 3 – Ignore this
POV 1 – Turn this into an 8-way switch by click the little arrow facing right on the box and select Buttons and 8-way
POV 1 Up Arrow – 2
POV 1 Right/Up Arrow – 6
POV 1 Right Arrow- 3
POV 1 Right/Down Arrow – 7
POV 1 Down Arrow – 4
POV 1 Down/Left Arrow – 8
POV 1 Left Arrow – 1
POV 1 Up/Left arrow – 5
POV 2: Set this up as a 4 way switch instead of 8
POV 2 Up Arrow – NUM/ (as in the divide symbol on the num pad)
POV 2 Right Arrow – NUM0 (numpad 0)
POV 2 Down Arrow – NUM* (numpad multiply)
POV 2 Left Arrow – NUMDEL (Numpad decimel)
Throttle Hat – Turn this into an 8 way switch
Throttle Hat UP – M
Throttle Hat Right/UP – F2
Throttle Hat Right – Middle mouse click (mouse 3)
Throttle Hat Down/Right – F3
Throttle Hat Down – F4
Throttle Hat Down/Left – F5
Throttle Hat Left – NUM8 (numpad 8)
X-Axis – You need to click that arrow to the right again and change this into a band. For whatever reason banding works best with SPG2. At firs tthey will display three bars to the band, 0%-33%, 33%-66%, 66%-100%. By hitting “Edit Band” in the grayed out X-Axis box you may simple drag the boxes bigger or smaller to augment their respective percent. This is your actual stick control so the middle number will be your dead zone. I will label them in my prefered percent range.
X Axis 0%-45% – A
X Axis 45%-55% – Nothing. This is your dead zone.
X Axis 55%-100% – D
Y Axis – Same idea as X-Axis
Y Axis 0-45% – W
YAxis 45%-55% – Nothing. This is your dead zone.
Y Axis 55%-100% – S
Throttle – This should be set to direction Axis
Throttle + – mouse wheel down
Throttle – – mouse wheel up
Twist – Change twist to a band.
0%-33% Q
33%-67% Ignore
67%-100% E
That is all the key binding needed for using the Saitek X52 Pro System. You should be able to do anything in game during combat with that set up.
IMPORTANT: In game you will select: Use Keyboard and Mouse. Not the Joystick option that comes second!
IMPORTANT: You need to bind four keys actually in the game, the commands for All power Shields, All Power Speed, All Power Weapons, and All Power Neutral at the very bottom. I used the function keys you find on Toggle (F1, F9, F8, F7)
Saitek combat rudders for barrel rolls:
Simply make the toe breaks into bands.
Left Toe 0%-33% – Nothing
Left Toe 33%-67%- Q
Left Toe 67%-33%- Q
Right Toe 0%-33%- Nothing
Right Toe 33%-67% – E
Right Toe 67%-100 – E
Final Note: I know a lot of this was redudent and over explained but I wanted to make sure everyone and anyone could understand. Yes I realize there are quicker ways to do some of this but I choose the easiest path to get it done. Lastly, the throttle if left up when going through a gate or undocking will not automatically register the speed it shows, just crank it back real quick and it calibrates itself.