
Overview
How to do some decent lighting in Source Filmmaker.
Lets get started.
Before we begin, the map I’m using is black_void, it’s included with SFM by default. I’m using this map because it gives me the best control over my lighting. What map you use is entirely up to you.
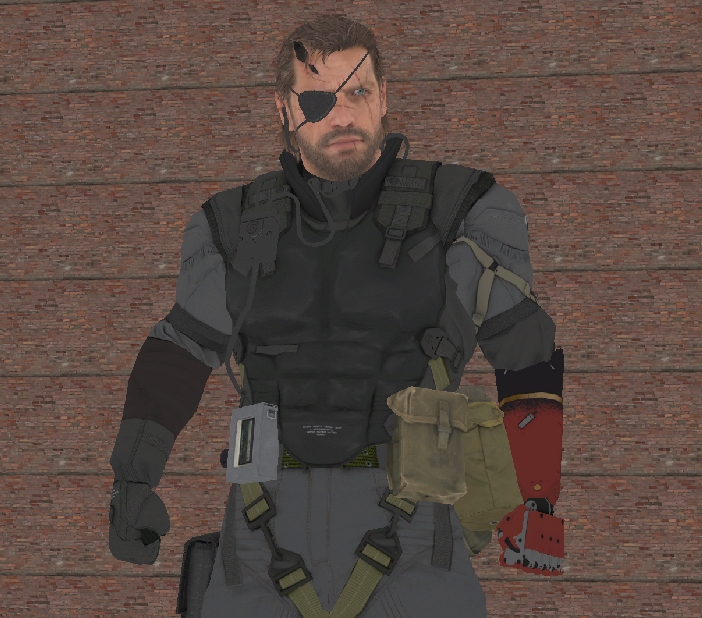
The model that I am using is one that I commonly use, the Venom Snake model from Ninja Nub, which can be found on the GMod Workshop.
Before we light anything, we’ll need something to light. So once you’ve completed a pose and feel like you’re ready to light it, we can get started. The pose I’ve set up here is extremely basic:
Fill lights (not required).
If you’re using a darkened map such as black_void, as soon as you enable lighting your scene will be completely dark. Now if you want very basic environment lighting to get a feel for the scene, you can use fill lights, with appropriate coloring for the lights, depending on the scene.
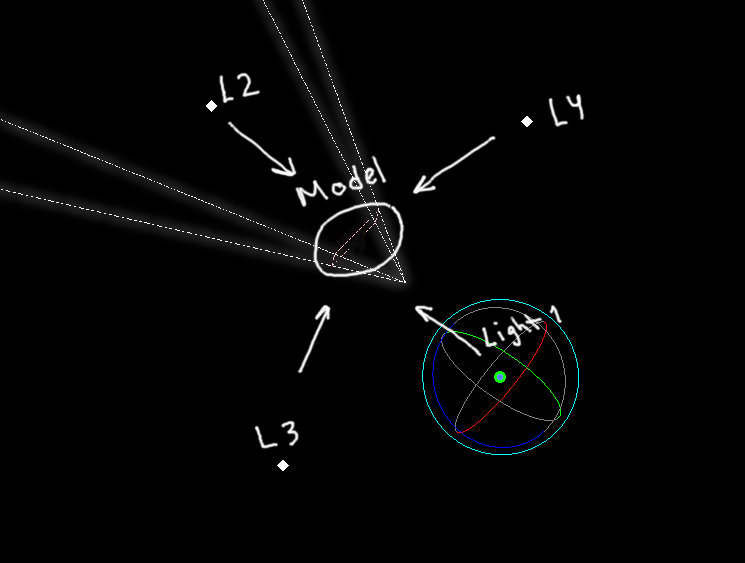
Fill lights should be 4 lights with disabled shadows, one placed in the front, back, left, and right.
Fill lights should also be dim, you don’t want the fill lights to overpower the rest of the lighting.
They should be set up like so:
And if you did it correctly, this should be the end result:

Rim Lights and shadow settings.
Now we’re gonna go a little bit more “advanced”, but still pretty basic; rim lights.
I’ve seen a lot of people use rim lights in their images, maybe a little bit too much rimlight.
Rim lights do not have to be extremely bright like I’ve seen in many images. Even I’ve kind of fallen in the category of those who used too much rim light.

Now if you want to set up nice rim lights, I’d definitely recommend tweaking your “shadowAtten” and “shadowFilterSize” settings, to get more genuine shadows from your lights.
These are the following settings I had for my rimlights.

If you slide the shadowFilterSize too far to the left, you’re much more likely to get pixelated shadows, like so:

Now rim lights, as implied by their name, are lights used around the rim of the model. Most of the time, rim lights are point towards the left and right sides of the model, here’s an example:
Another thing you should consider is the brightness of the lights, not all rim lights are intensely bright, so you should take in consideration of the brightness of the rims depending on how the environment of the scene you’re lighting is set up.
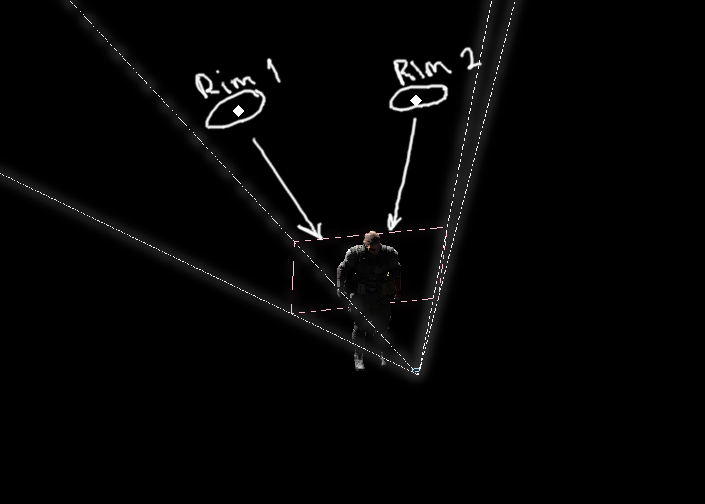
Once the brightness and shadows have been tweaked, this is the ending result of the rim lights:

Inbetween Lights
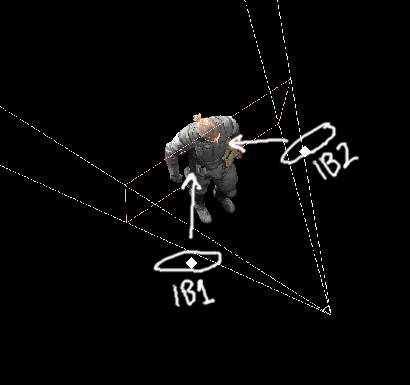
Once you’ve finished up your rim lights, it’s time to add lights infront of the model, inbetween the rim lights.
Now the inbetweens should be placed on the left and right side of the model, almost like with the rim lights, but infront.
The brightness of the inbetween light should depend on the brightness of the rim light on that side.
Brighter rim lights shouldn’t have bright inbetween lights, the inbetweens should be dimmer. Darker rim lights should have brighter inbetweens.
And just like with the rim lights, you should adjust your shadow settings.
Once you’ve adjusted your lights, you’re just about ready to go.
This is how mine looks:

Final adjustments.
A large issue I see in a lot of SFM artwork is AO. Most people neglect to edit their AO settings and sometimes it ends up uglying an image.
This is how the AO on Venom Snake looks without any adjustments to the camera’s AO settings:

Pretty ugly, right?
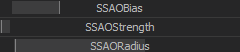
Well if you want to somewhat pretty it up, you can edit the SSAOBias, Strength, and Radius settings on the camera you’re using. You should slide the Bias more towards the right, and the radius towards the left. Also if you want to, you can lower the strength of the AO.
Here’s the cleaned up AO on Venom Snake:

Looks much better.
Once you’ve adjusted AO and everything else you see necessary, you should be ready to render and post your image.
You can proceed to post edit it, or whatever you guys do.

I hope this guide has been at least partially helpful to those who are looking to improve their light work in SFM. If you have any questions that I haven’t fully addressed in the guide, or didn’t even address at all, then please do let me know and I’ll try to answer them to the best of my ability.
Happy lighting, and God bless.