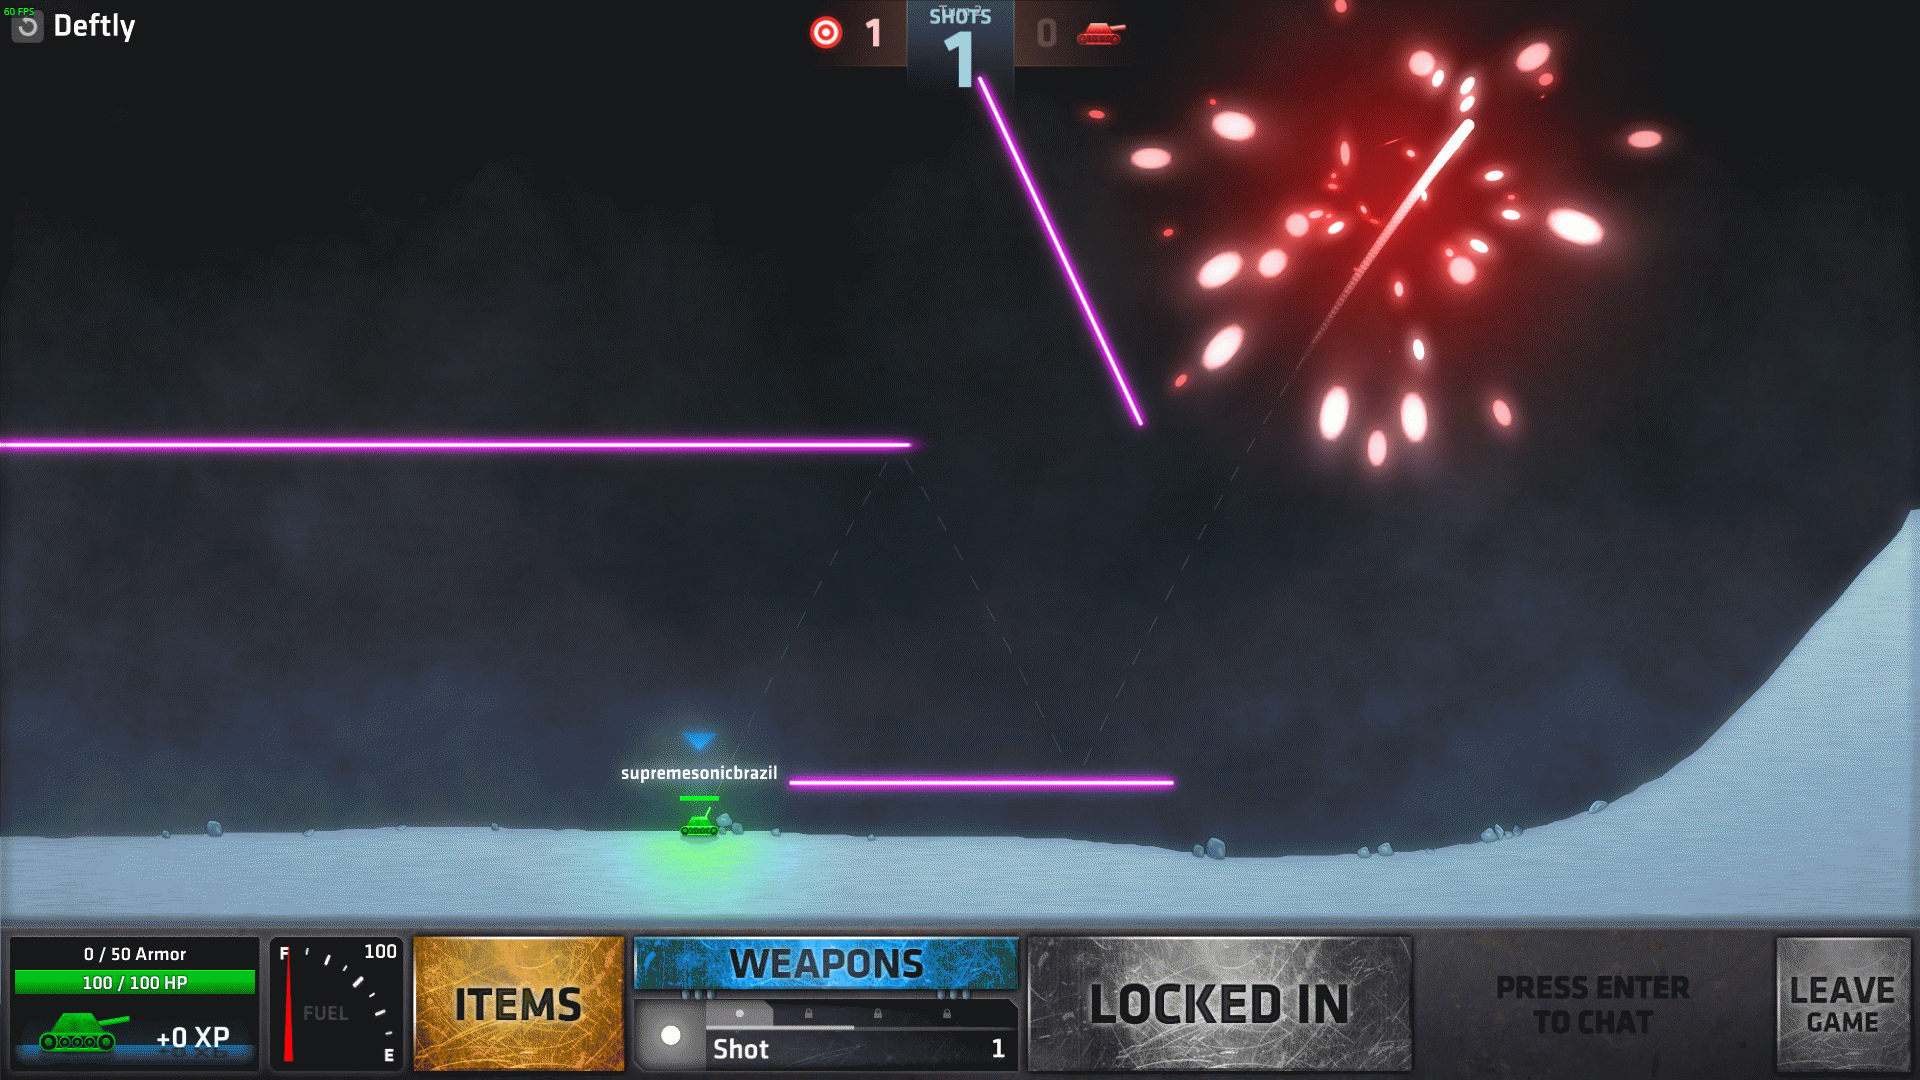
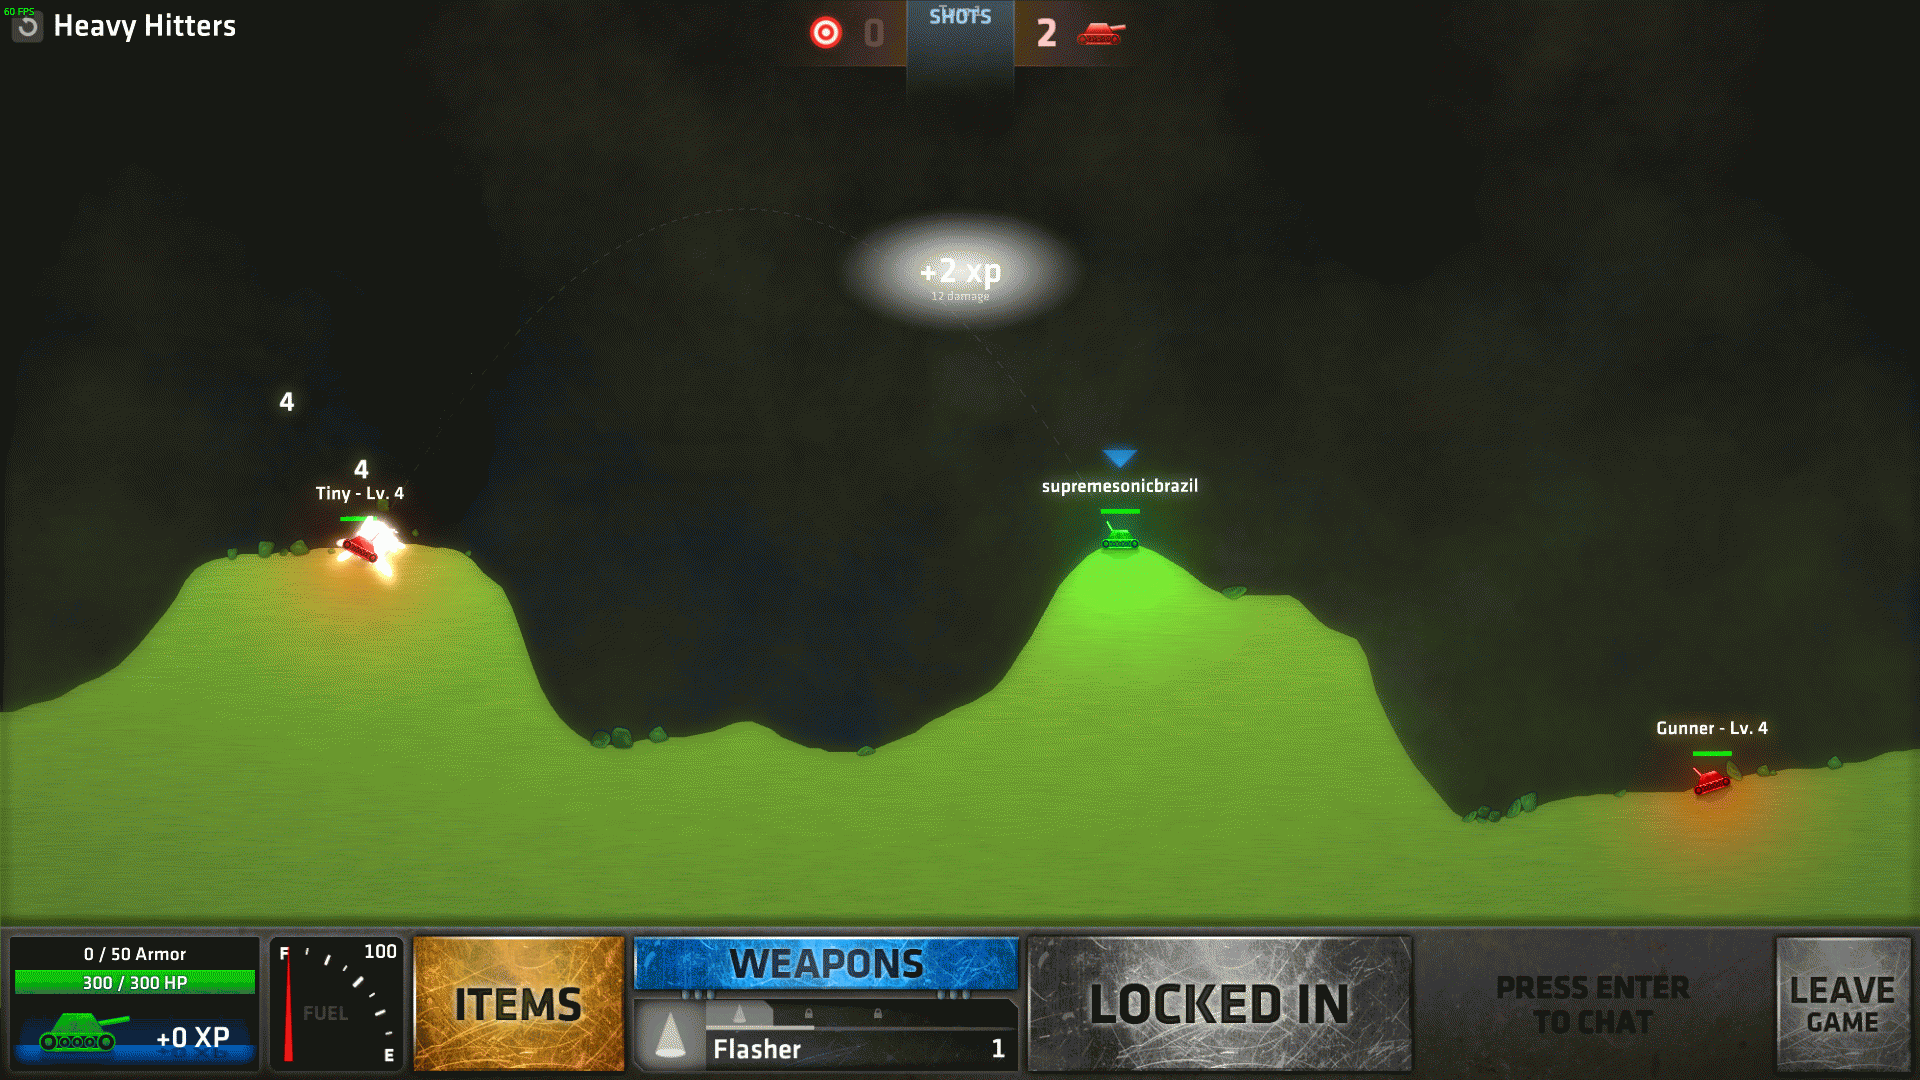
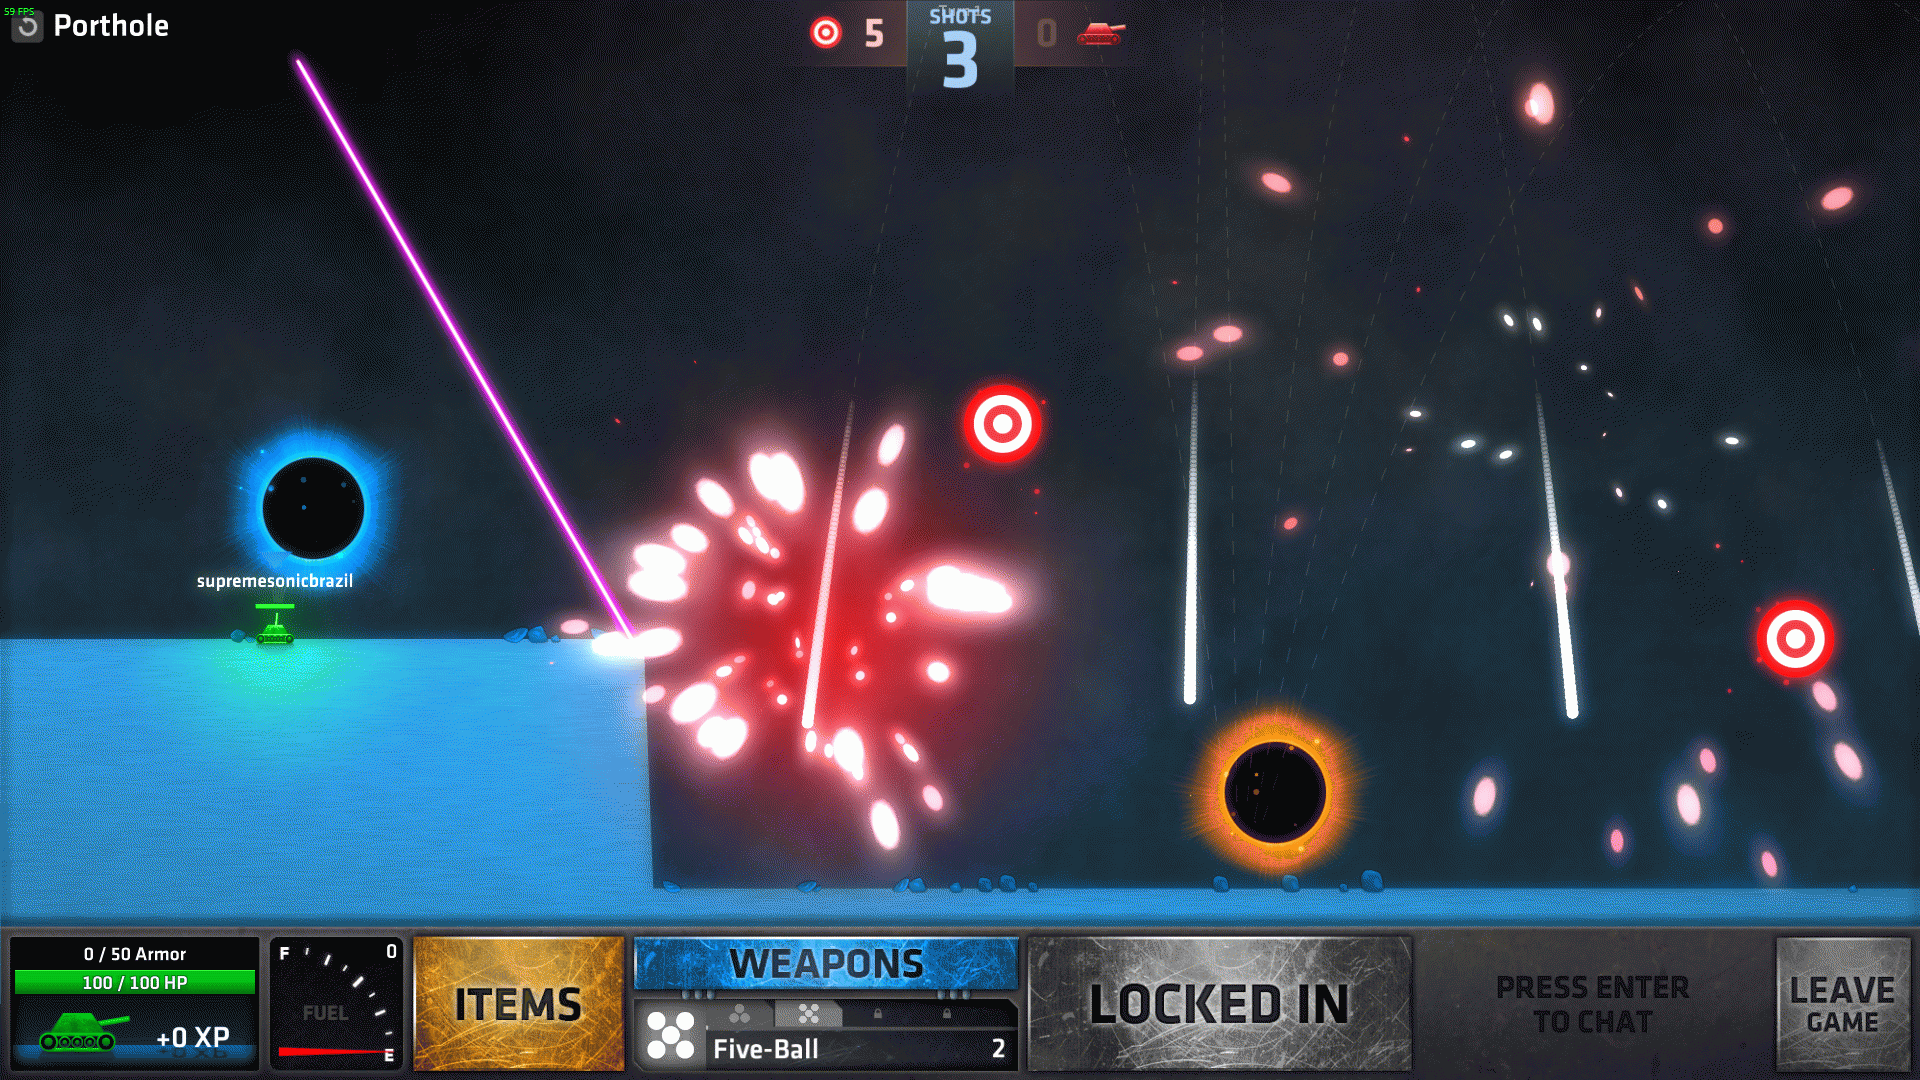
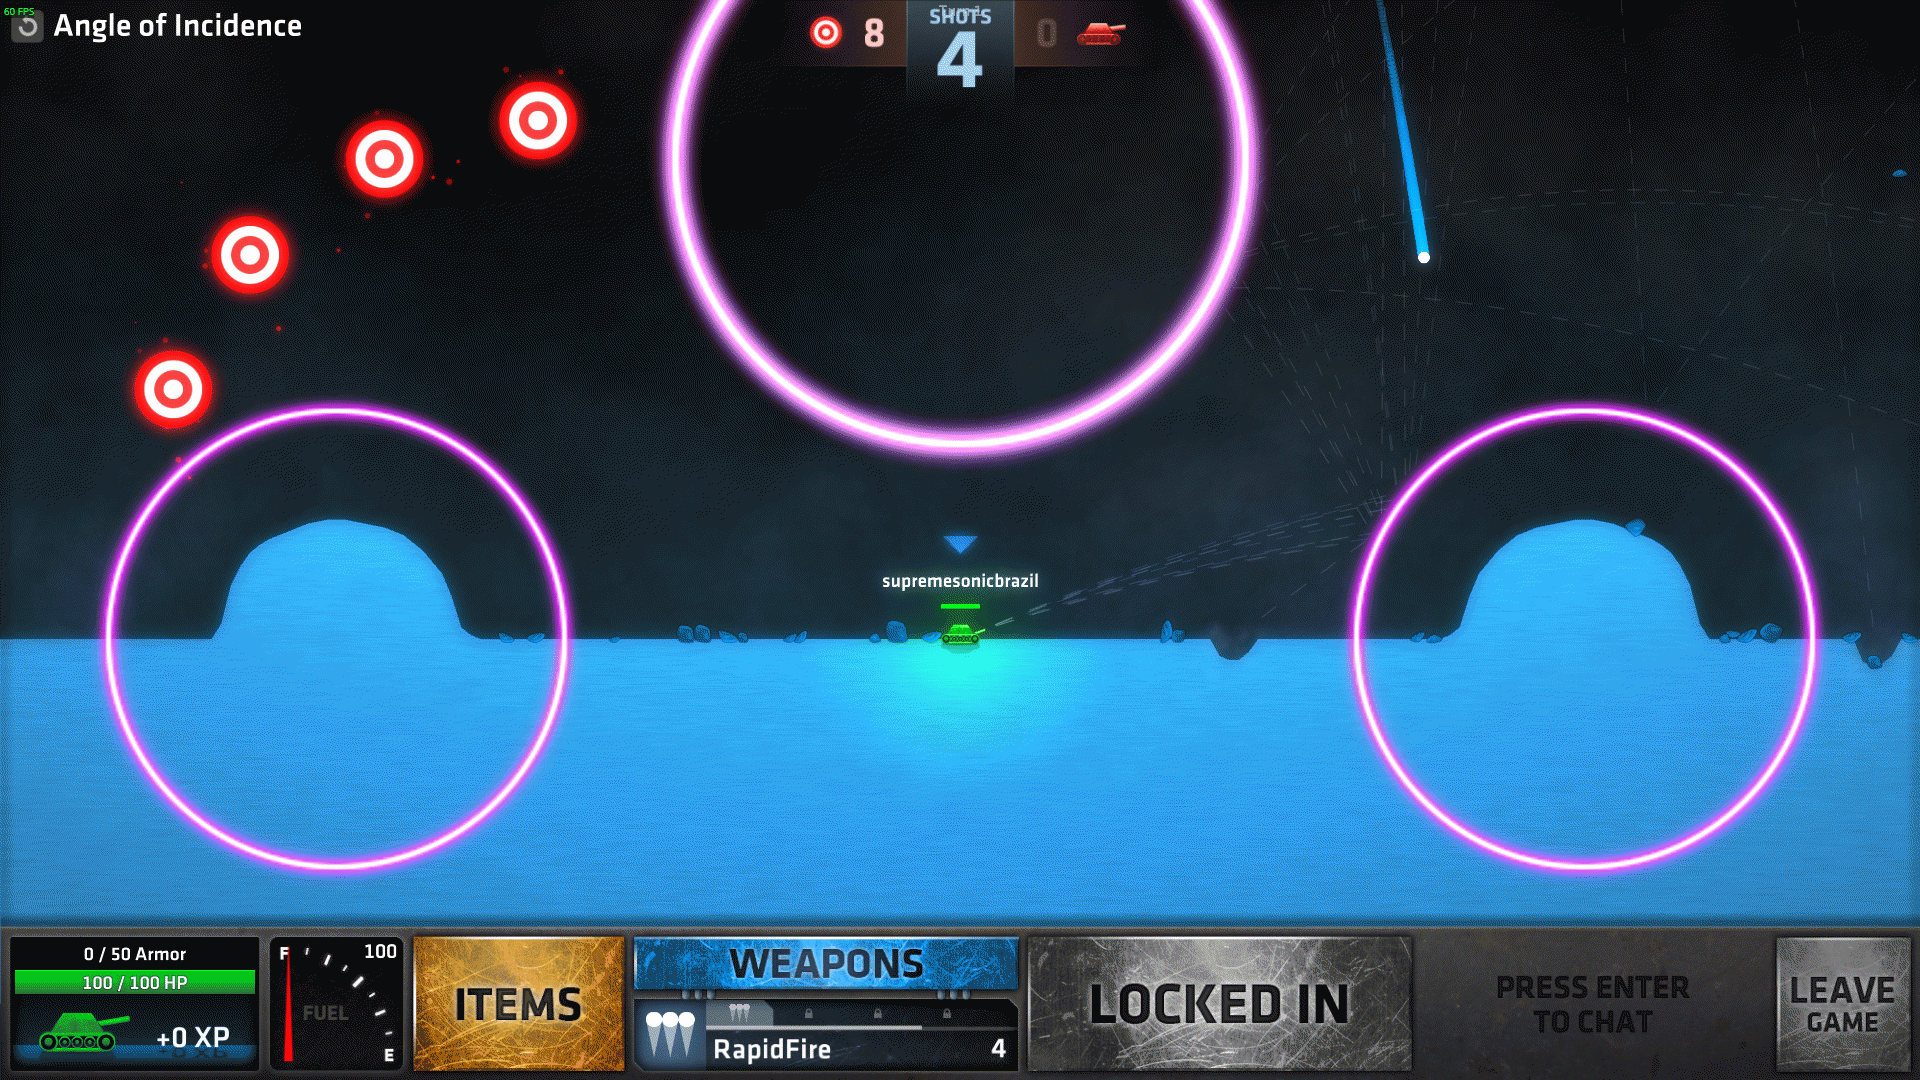
Overview
This is a simple guide on how to pass every mission on the Singleplayer part of ShellShock Live.
Intro
ShellShock Live is truly an amazing game. I used to play with my dad for hours and hours, we loved it. Once I saw it on Steam, I couldn’t help but buy a 4-pack and give it to him, along with a couple of friends who also love “Worms-like” strategy games. This time kChamp added a cool single-player mode consisting of missions, and I’m here to guide you through this massive list of sometimes awesome, sometimes frustrating, and sometimes random missions.
NOTE: I heard somewhere that kChamp plans to add new missions after the beta, I’ll do those ones too but I’ll need some time since I’m doing this guide with almost all missions pre-done.
NOTE²: If you have any weapon unlocked (suck as Creek), they might have a chance of appearing on the missions too, that way I’m only listing the low-tier ones so you get the idea of what to expect.
The Basics/Expression Guide
Before starting this, I’ll teach some expressions most veteran players use, like “ticks”. If you know this already, feel free to skip this.
Only newbies left? Good.
If you played the Tutorial I hope you’re already used to the game’s basic commands. If not, go play the Tutorial right now and come back later.
Got the hang of it? Good.
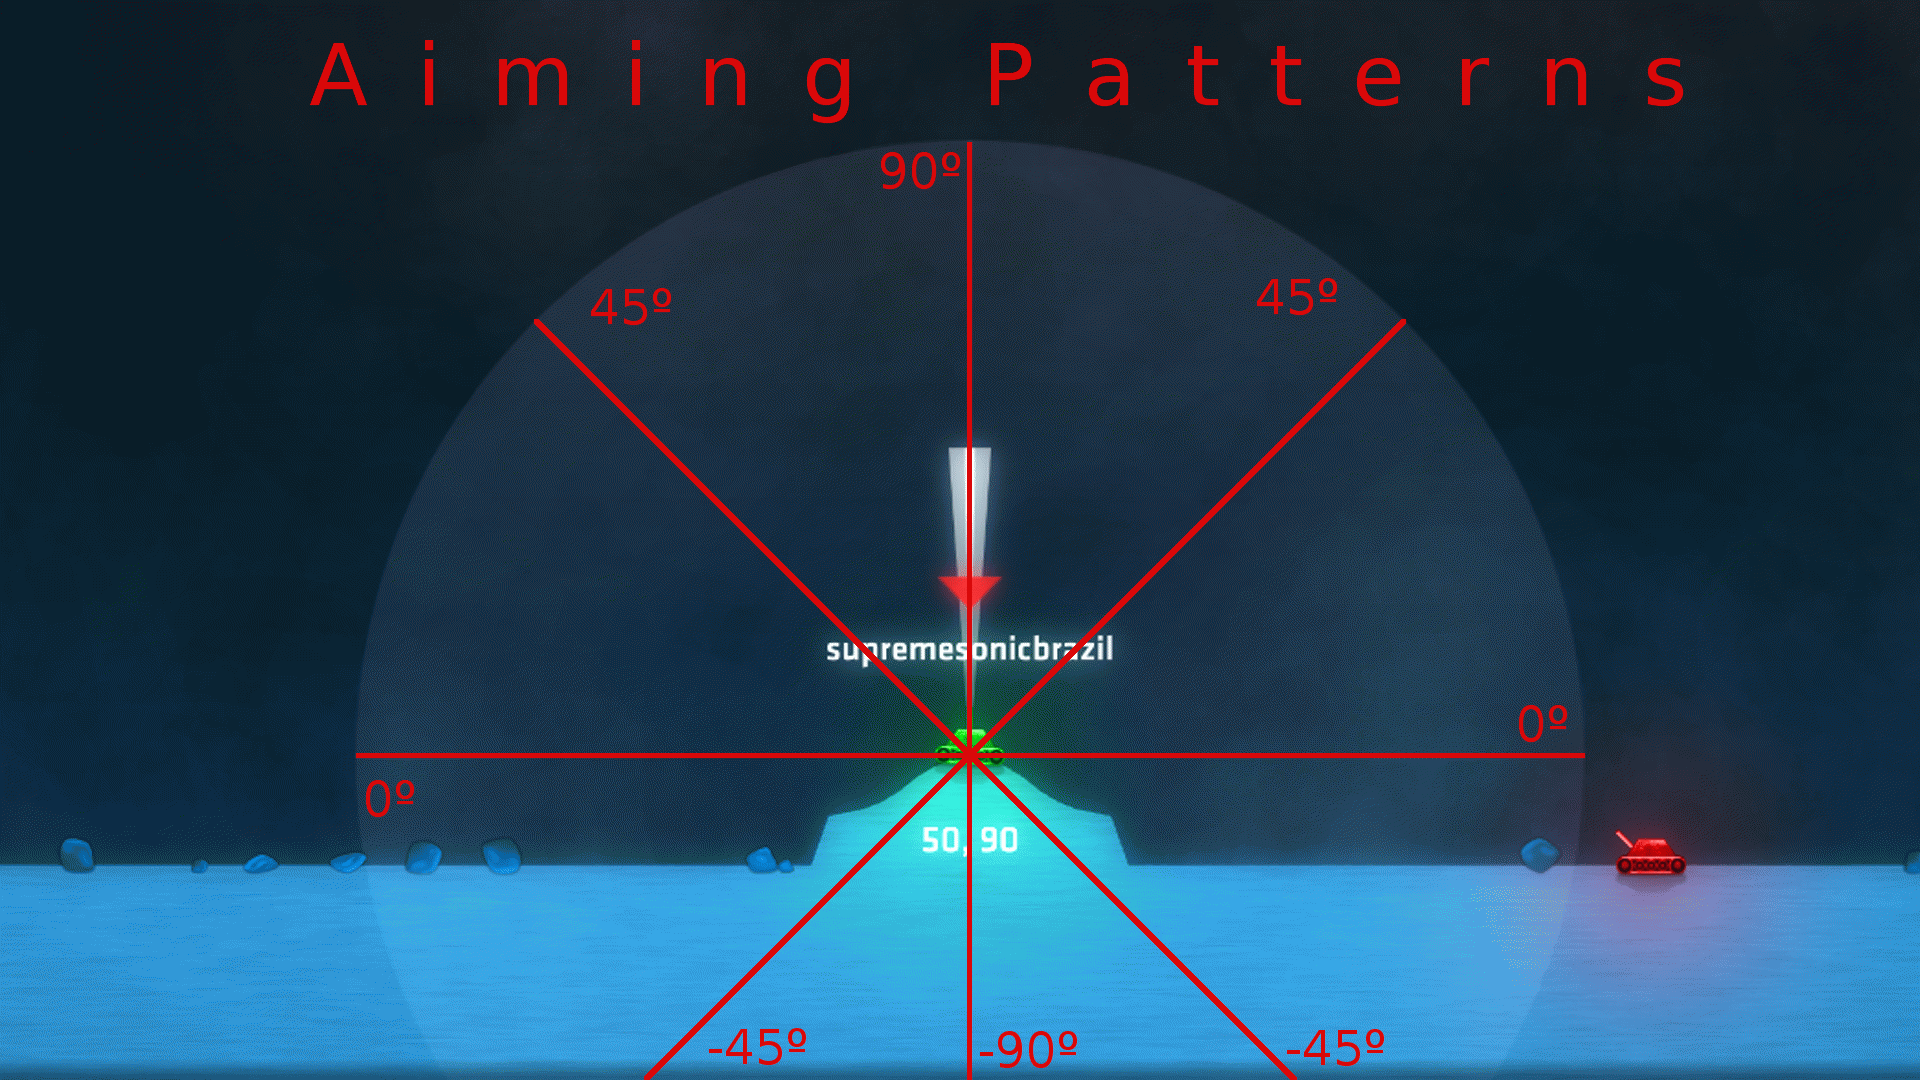
If you used the keyboard arrows to play you may have noticed each time you press one of the keys, you hear a “tick” sound. Ticks are often used to make shots more accurate, since you have a 360º angle to fire. Eack “tick” means 1º. So if you aim straight up (90º) and you go, let’s say, 10 ticks right, you have pressed the right arrow key 10 times and are now aiming at a 80º angle. This also applies to the shot’s force. You have a 360º angle, plus a force from 0 to 100, so that means:
-1 tick left = 1º left
-1 tick right = 1º right
-1 tick up = +1 force
-1 tick down = -1 force
Also:
-aim straight up = 90º up, max force (100)
-aim straight left = 0º left, max force (100)
etc.
Here’s a screenshot to make it easier for you to get the hang of aiming, along with the most common degrees.
Sure, you can aim with the mouse too, it’s your playstyle after all, but keep in mind using the arrows is way more accurate and they may help you when you want to snipe that little tank fella.
I may also aid you whether you’ll have to move or not, along with how much fuel you have in the mission (or whether there’s not fuel at all), and if you have pre-set weapons or not. If you see the expression “move all the way right”, for example, it means “go right until your fuel goes to 0”. Keep that in mind, as it can change the outcome of your mission (shots may miss if you’re not in an exact position).
Ok, you’re all prepped up, let’s do some missions. Each set has 10 missions.
Oh, and a word of advice: this guide was made with the following in mind: RESET YOUR UPGRADES TO DO THE MISSIONS. Upgrading tracks can (and will) make missions like Thinking with Portals NOT work (bot battles are fine though, you can do as you wish but think twice and be sure to reset before trying missions like these).
Set 1: Tank Up
Shots: Limited (10 Shot)
Items: No
Fuel: 100
Enemies: 1 (10 HP)
Targets: 0
Do I need to move?: No
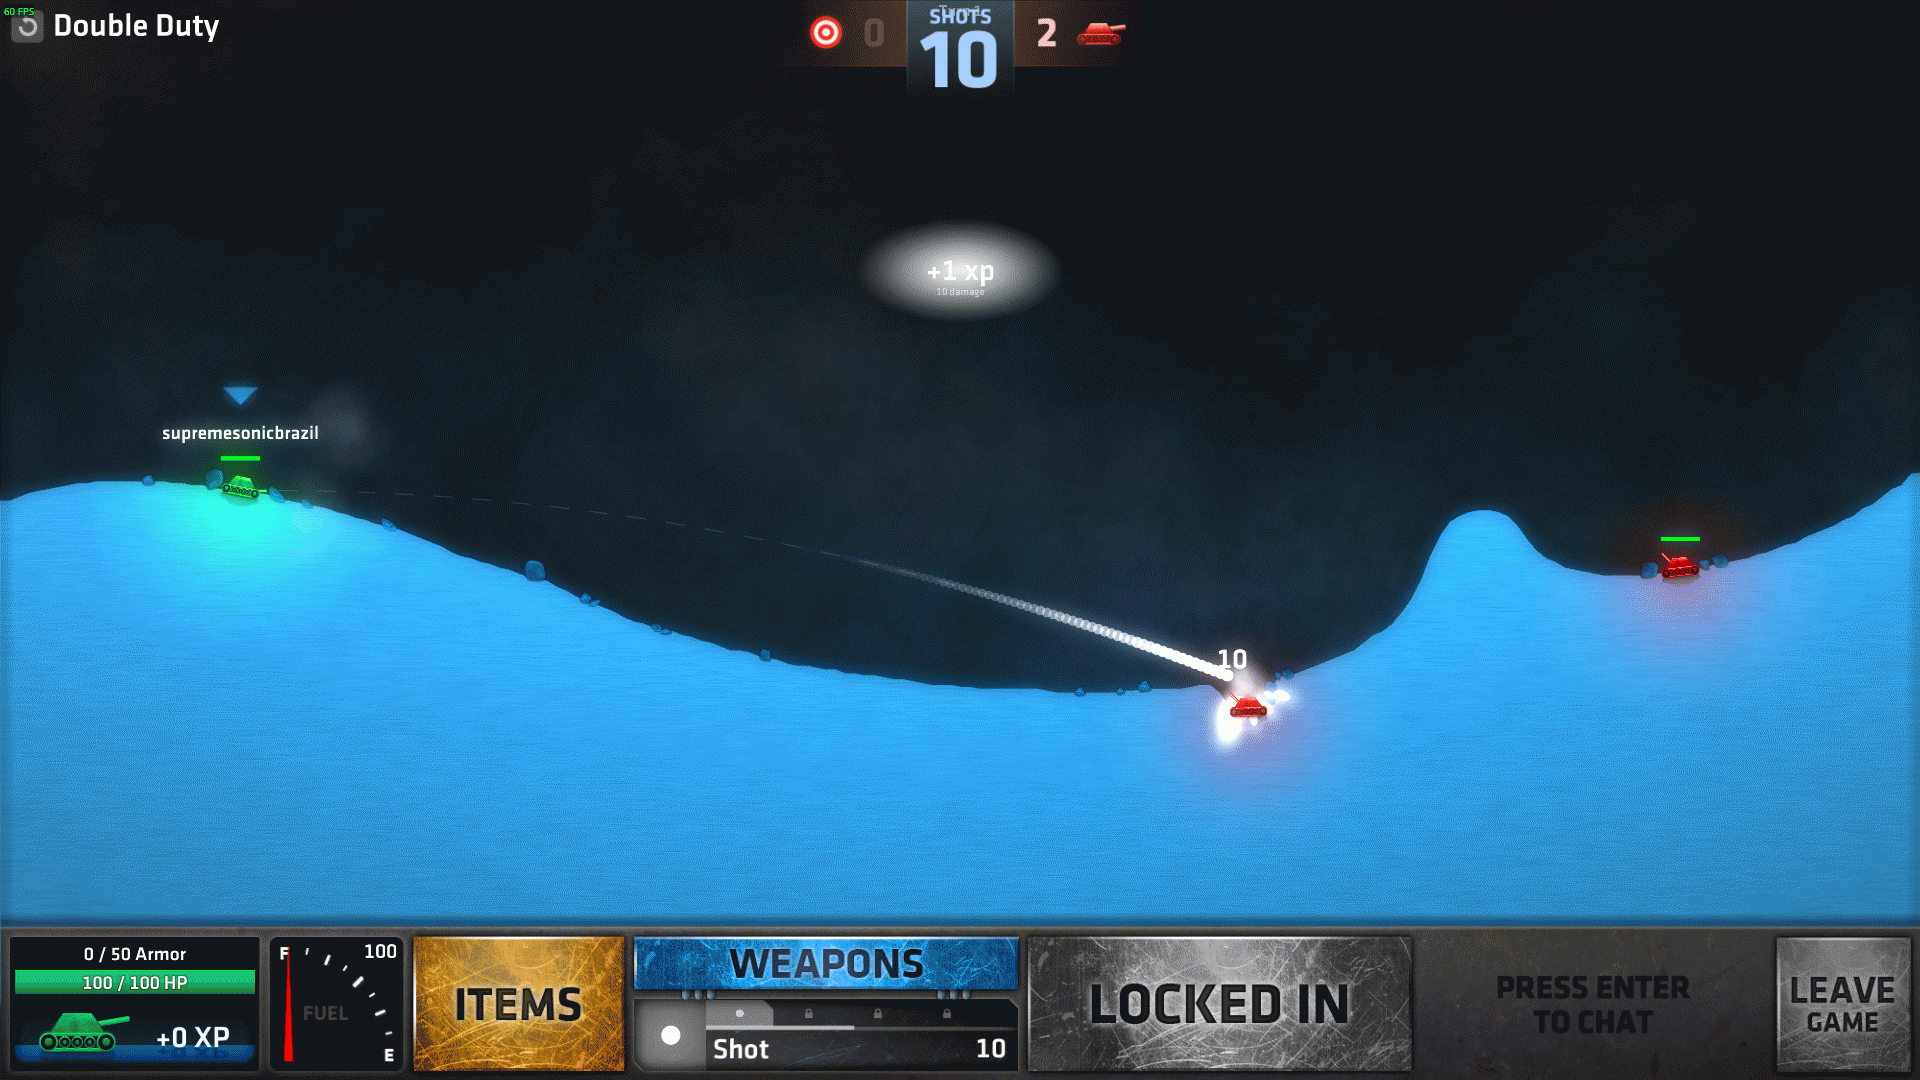
This one is pretty easy: defeat the enemy tank. Don’t worry though, the ones named “AI” don’t react , they’re just there for you to launch Hell upon them.
All you need is one shot: 45º right, 70 force (you can aim at full force and then count 30 ticks down since some missions don’t show you your coordinates), you’ll hit it right in the head.

Shots: Limited (10 Shot)
Items: No
Fuel: 100
Enemies: 2 (10 HP each)
Targets: 0
Do I need to move?: No
Ok, now there’s two of them. Don’t panic, you have enough shots.
The one on the left can be killed by aiming straight left.
Then, aim at 45º right, 75 force, then count 2 ticks down and fire to hit the one on the right. If you don’t count those two ticks you’ll hit to the right side of the AI, leaving it intact.
Shots: Limited (4 Splitter)
Items: No
Fuel: 100
Enemies: 2 (10 HP each)
Targets: 0
Do I need to move?: No
The trick here is aiming at the little hill, so the shot splits hitting both at the same time.
Aim straight up, go 15 ticks right and 5 ticks down, then fire.

Shots: Limited (3 Shot)
Items: No
Fuel: 100
Enemies: 0
Targets: 1
Do I need to move?: No
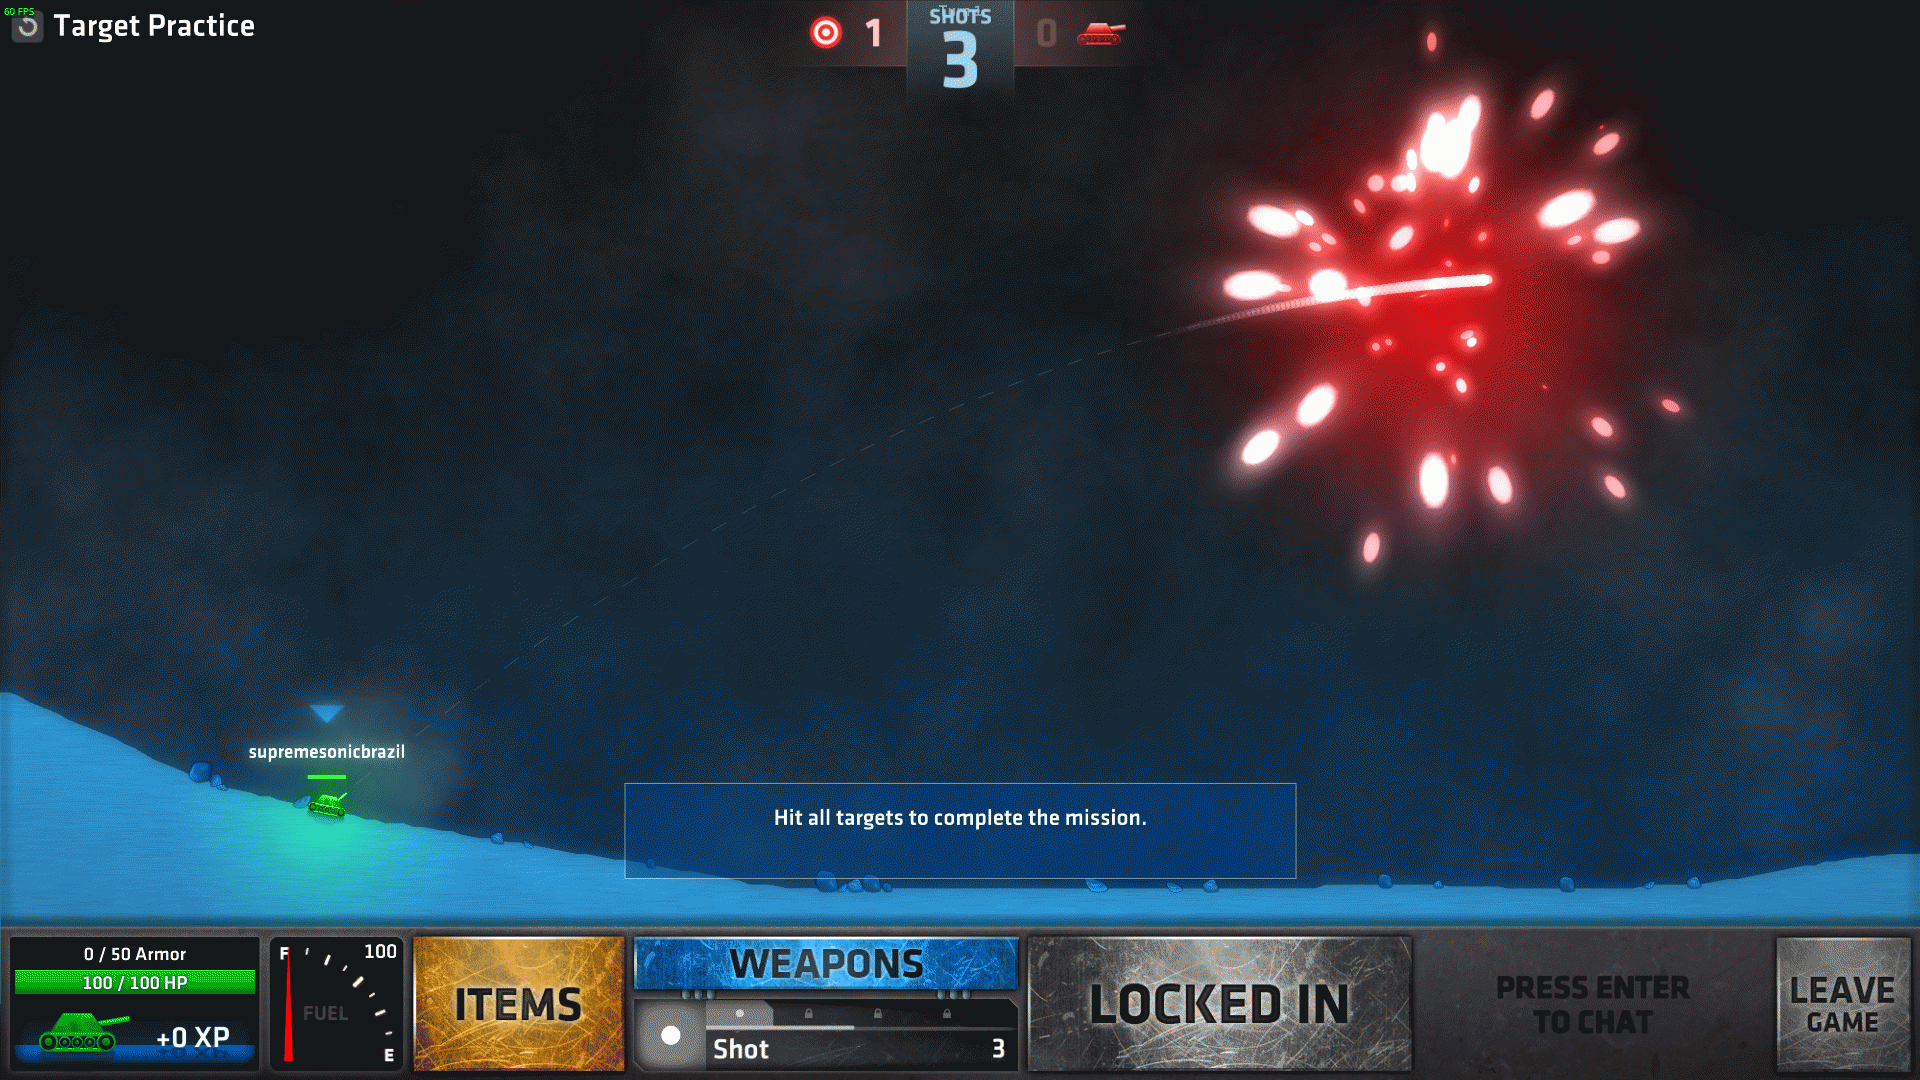
Sometimes other than enemies, you’ll have to hit those red targets too. All of them. You just need to make your shot touch it and that’s it. Size and location of targets may vary later.
This one is easy though: aim at 45º right, max force, count 5 ticks right and fire. The target will go “pop” and you’re done.
————————————————————————————————————————–
Shots: Limited (2 Shot)
Items: No
Fuel: 100
Enemies: 0
Targets: 2
Do I need to move?: No
Now we have two targets. Easy enough.
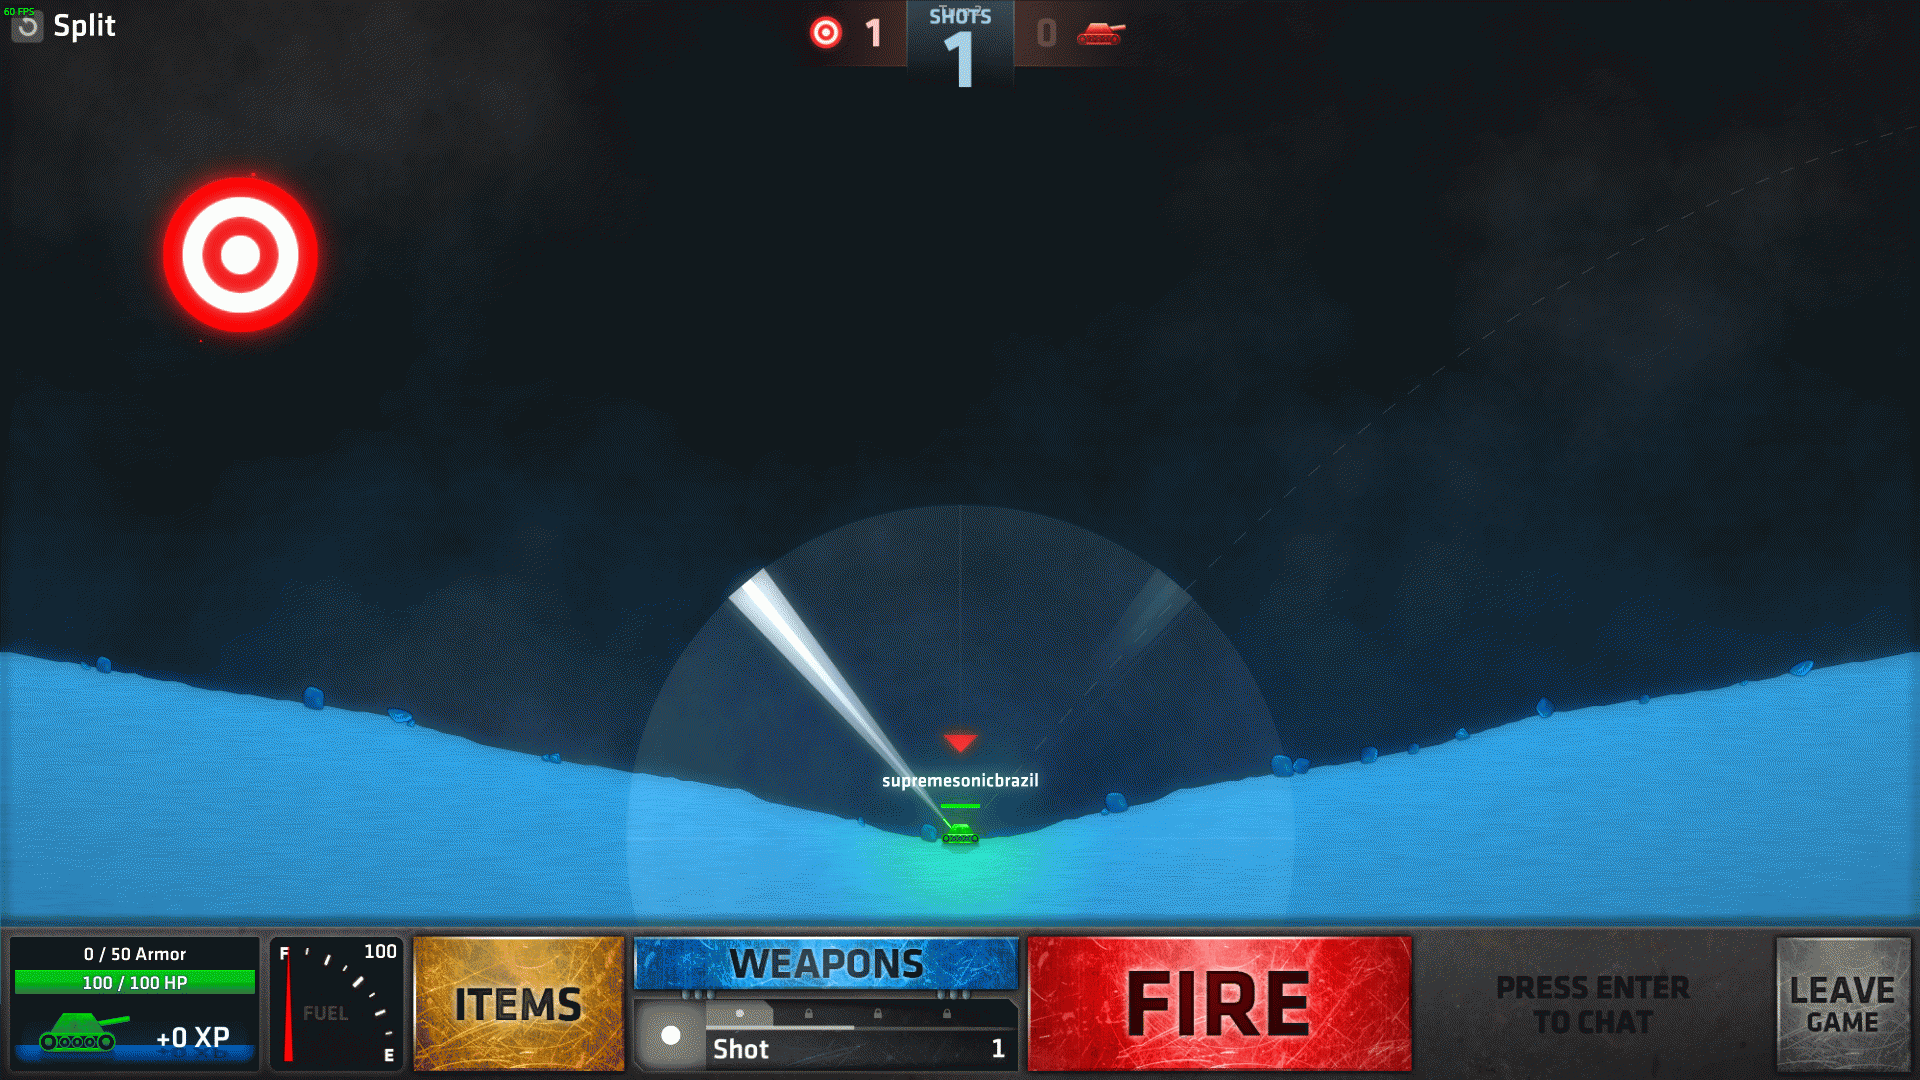
You can choose either one to start, but I’ll start with the right one. Aim at 45º right, max force, then count 5 ticks left (50º) and fire. Now you just need to “mirror” the shot and it’ll hit. You can count the ticks until you hit the middle, then repeat the ticks. Should look like this.
————————————————————————————————————————–
Shots: Limited (4 Stream)
Items: No
Fuel: 100
Enemies: 1 (10 HP)
Targets: 2
Do I need to move?: No
The own mission says what I would be saying now.
Stream and Creek are tricky ones IMO, they now do a sine-wave pattern when firing, while SSL2 didn’t done that.
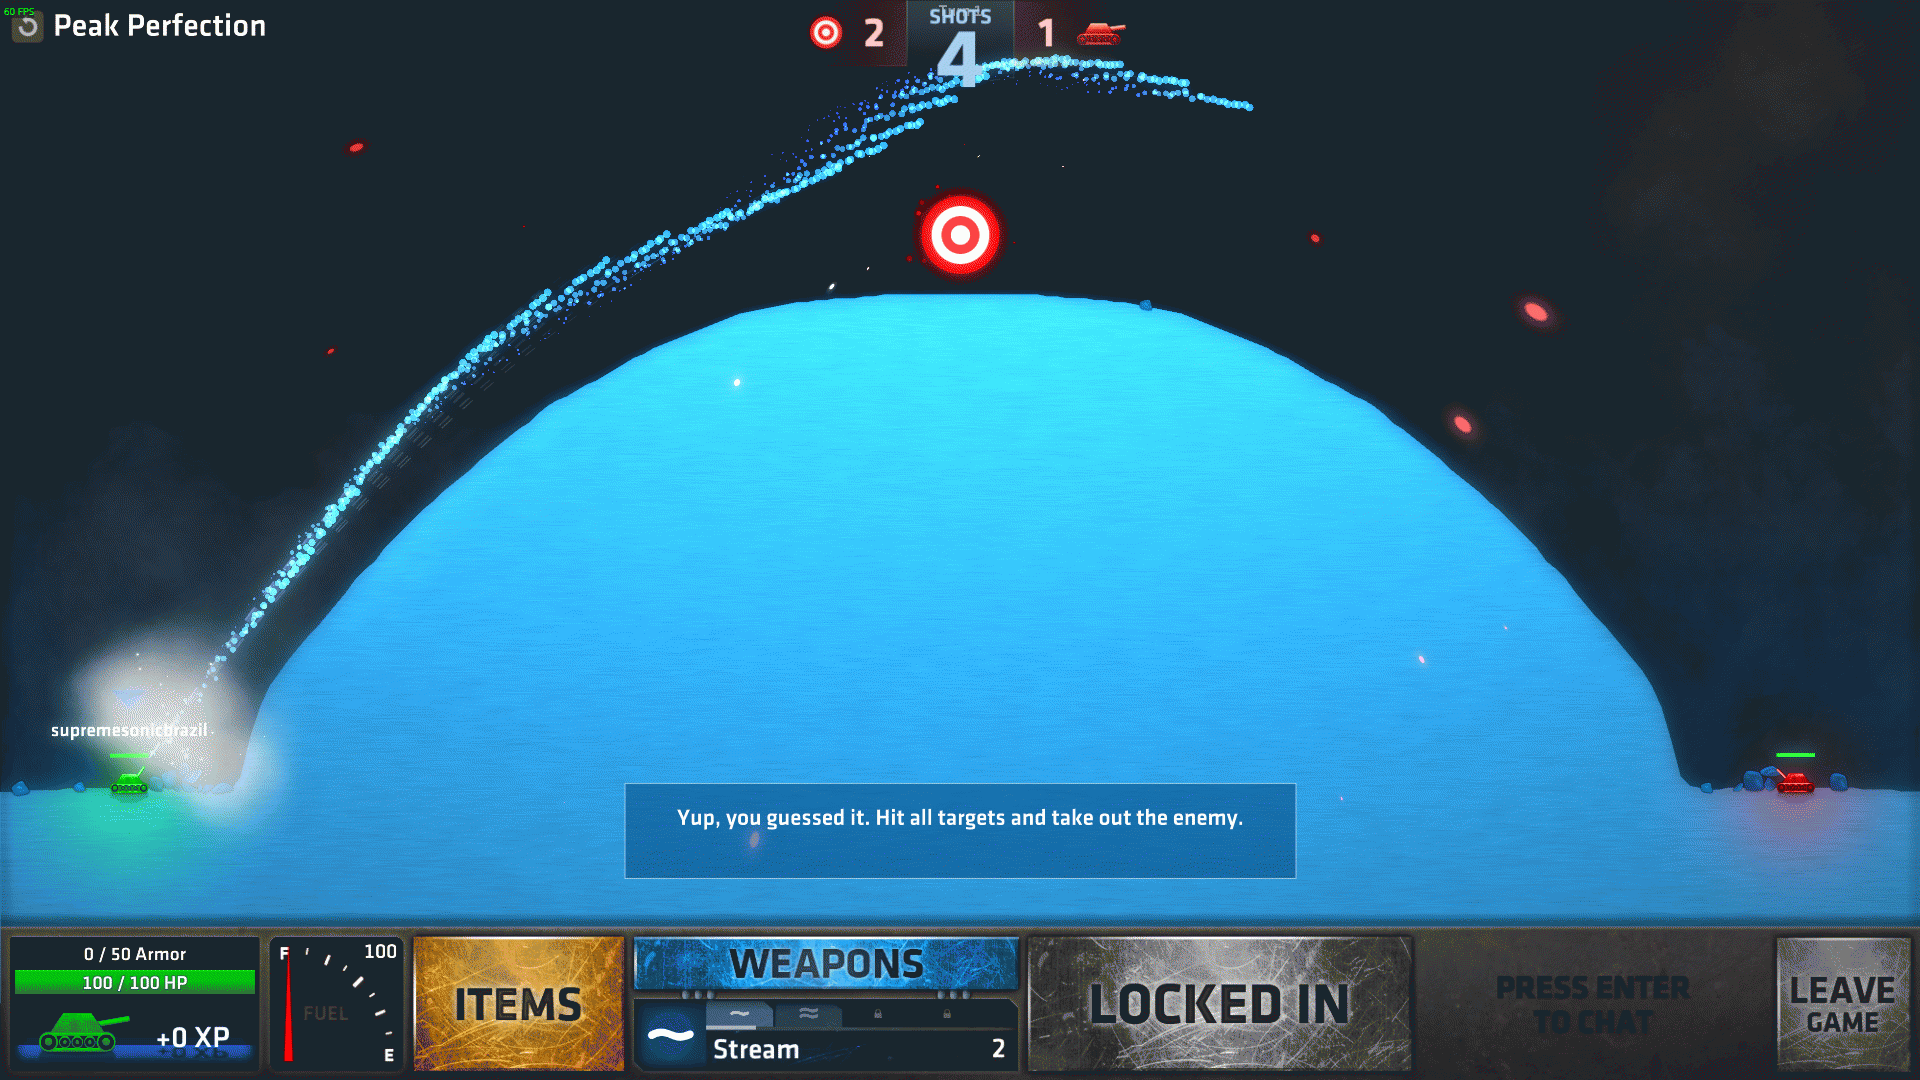
If you have Creek unlocked, equip it, aim 45º right, max force, then count 10 ticks left and 10 ticks down and fire. You’ll hit both targets and most of the shots will bounce off the bumper and hit the AI. Because Stream has smaller shots and a smaller sine-wave pattern you’ll end up missing the target below. In that case just aim a few ticks right and fire again.

————————————————————————————————————————–
Shots: Unlimited (Random)
Items: No
Fuel: 100
Enemies: 1 (100 HP)
Targets: 0
Do I need to move?: Yes, if you don’t want to be hit
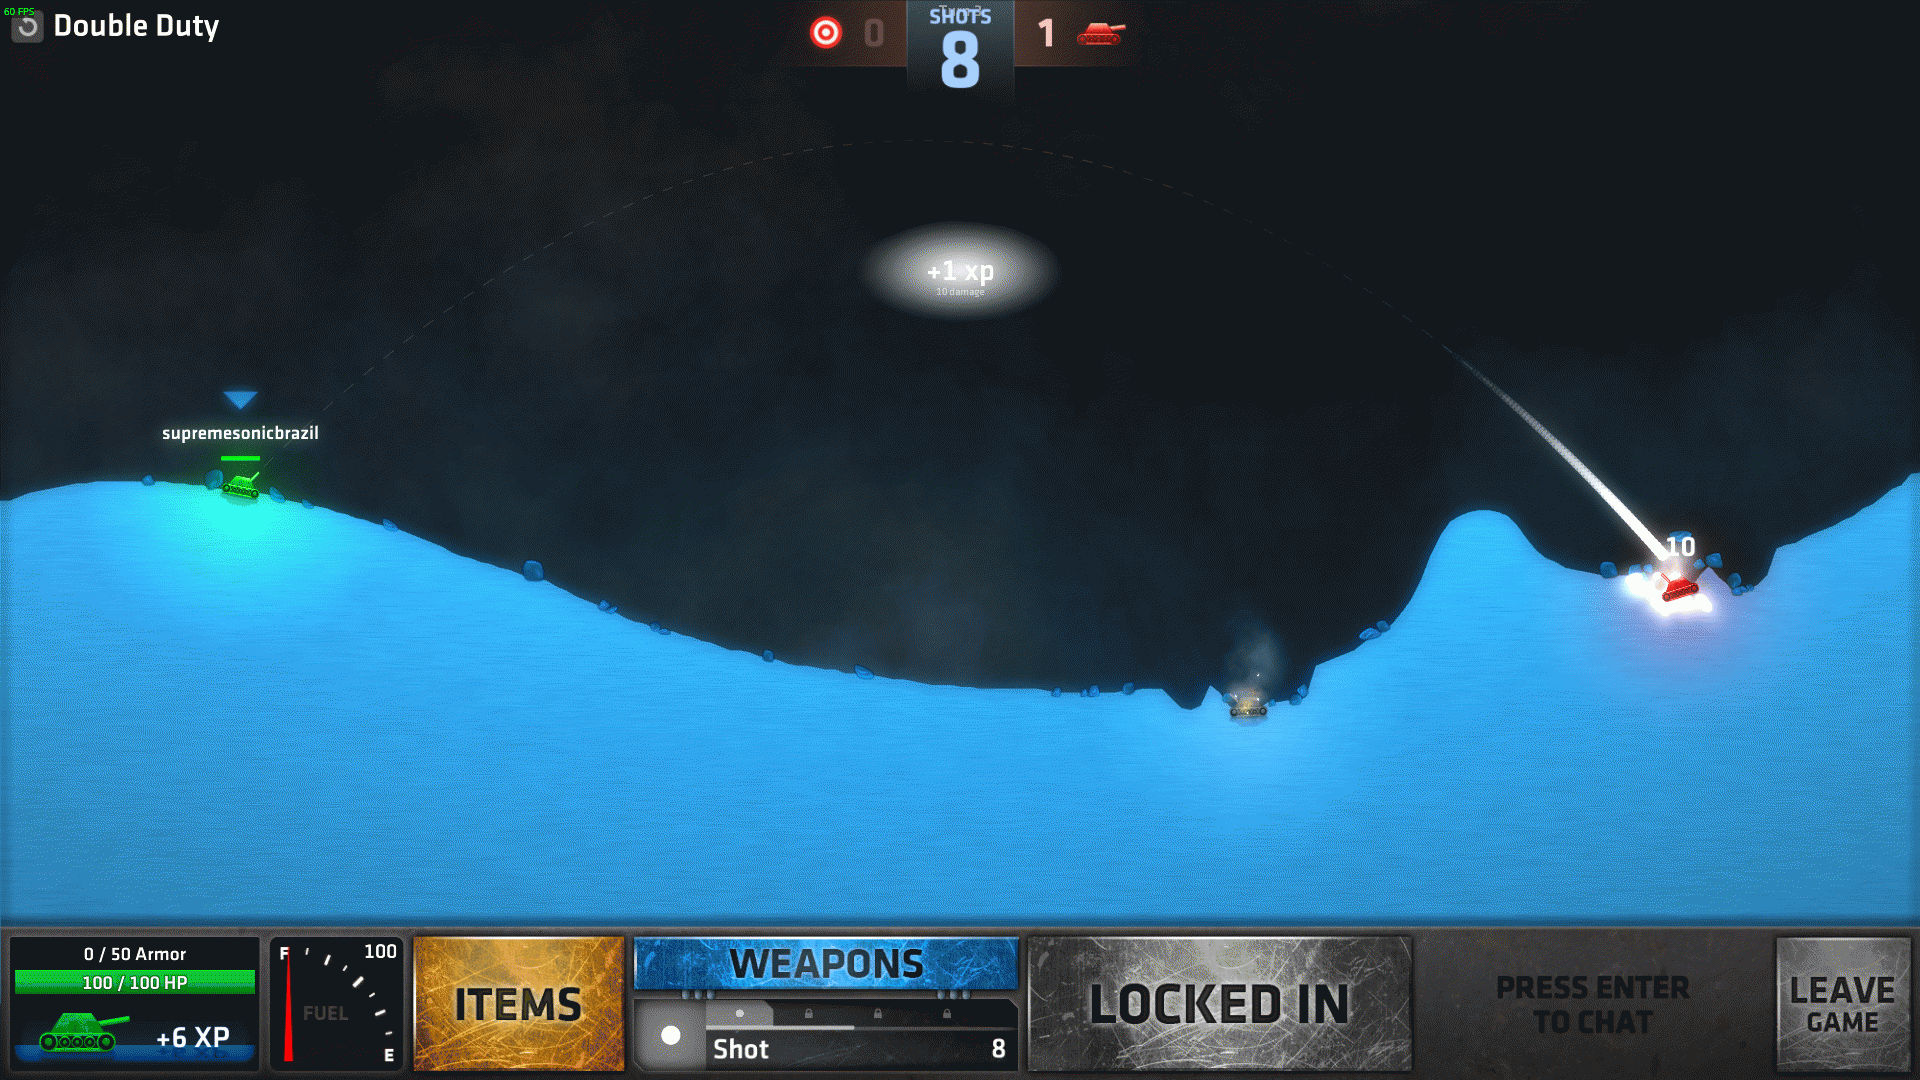
Oh look, now they have names! And this one is called Ralph! And just because they have a name, now they shoot too like a normal bot. Hell, they even have a level!
Luckily, missions like this show your coordinates so it gets easier. Just kill it like if it was a normal match. A good angle for the starting position is (75,45) right, then you can use that as a base to make more precise shots along with the tracer. Go get ’em, buddy.

————————————————————————————————————————–
Shots: Unlimited (Random)
Items: No
Fuel: 100
Enemies: 2 (50 HP each)
Targets: 0
Do I need to move?: It’s up to your strategy
AI doesn’t like you anymore and called his friend. What a poor choice for names though, guess it’s just for the humour.
If you want a head start you can aim (60,60) at both sides, assuming you didn’t moved from the starting position.

Shots: Limited (1 Shot, 1 Digger, 1 Rapidfire)
Items: No
Fuel: 100
Enemies: 1 (10 HP)
Targets: 1
Do I need to move?: No
So you have a target and a bot. I suggest going after the bot first so it doesn’t get you out of your position. Aim at 45º left, max force, then count 50 ticks down. Choose any weapon you want and fire.
After that, aim at 45º right, max force, then count 5 ticks right and fire, hitting the target.

Shots: Unlimited (Random)
Items: No
Fuel: 100
Enemies: 1 (200 HP)
Targets: 0
Do I need to move?: Yes, if you don’t want to be hit
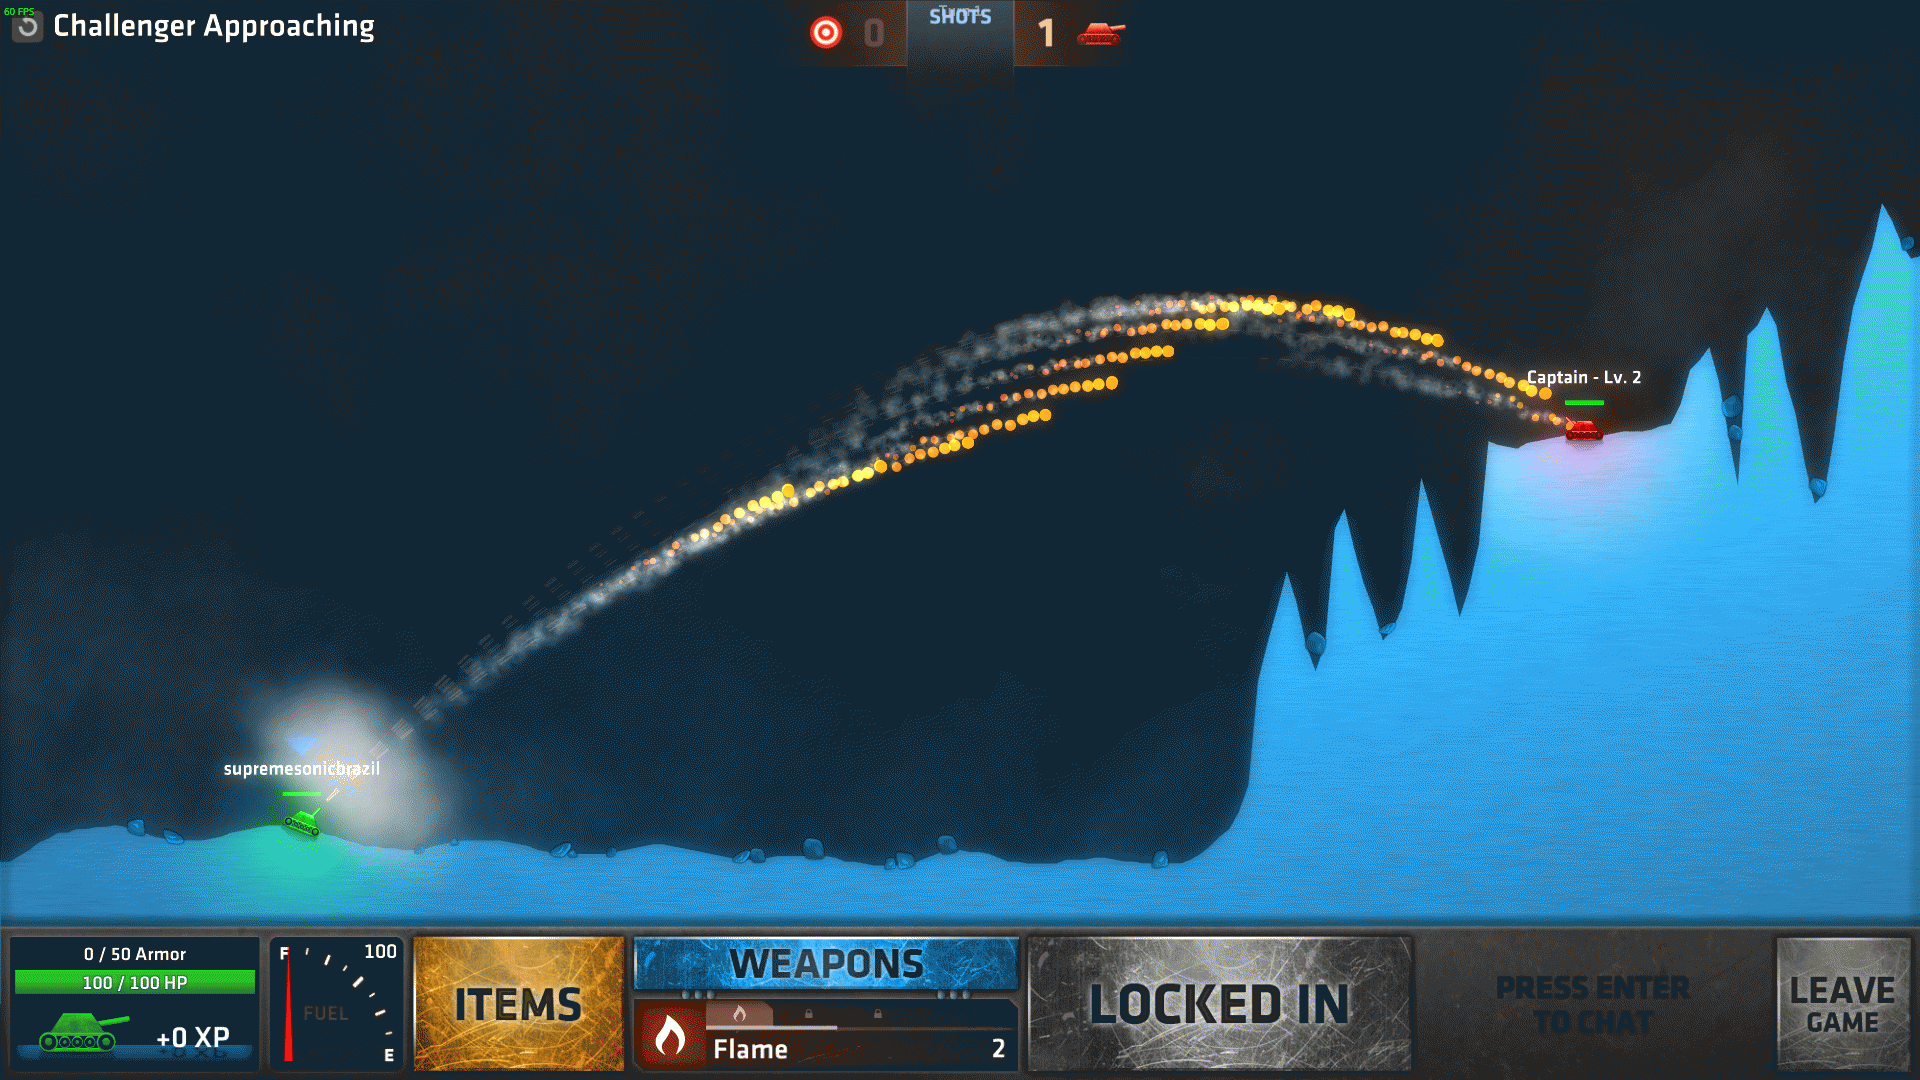
Here’s your first big boss. Calls himself “Captain”, although that doesn’t look like a ship.
Do it just like you did They Shoot, best starting angle is (85,45) right. Good luck friendo.
Set 2: War Games
Shots: Limited (3 Shot)
Items: No
Fuel: 10
Enemies: 0
Targets: 1
Do I need to move?: No
Things start to get a bit challenging. We have a target all the way back there and how to hit it? Let’s use bumpers. Aim at 45º left, max force, and shoot.

————————————————————————————————————————–
Shots: Unlimited (Random)
Items: No
Fuel: 20
Enemies: 3 (50 HP each)
Targets: 0
Do I need to move?: No, unless you want to try moving with so little fuel
Bots have one core weakness: if you put them on a hole, they’ll shoot themselves. Why haven’t I told this earlier? I dunno, maybe because it didn’t had to be applied until now. This will help you a lot in later levels if you manage to fire a Digger right at your opponent’s face.
From starting position:
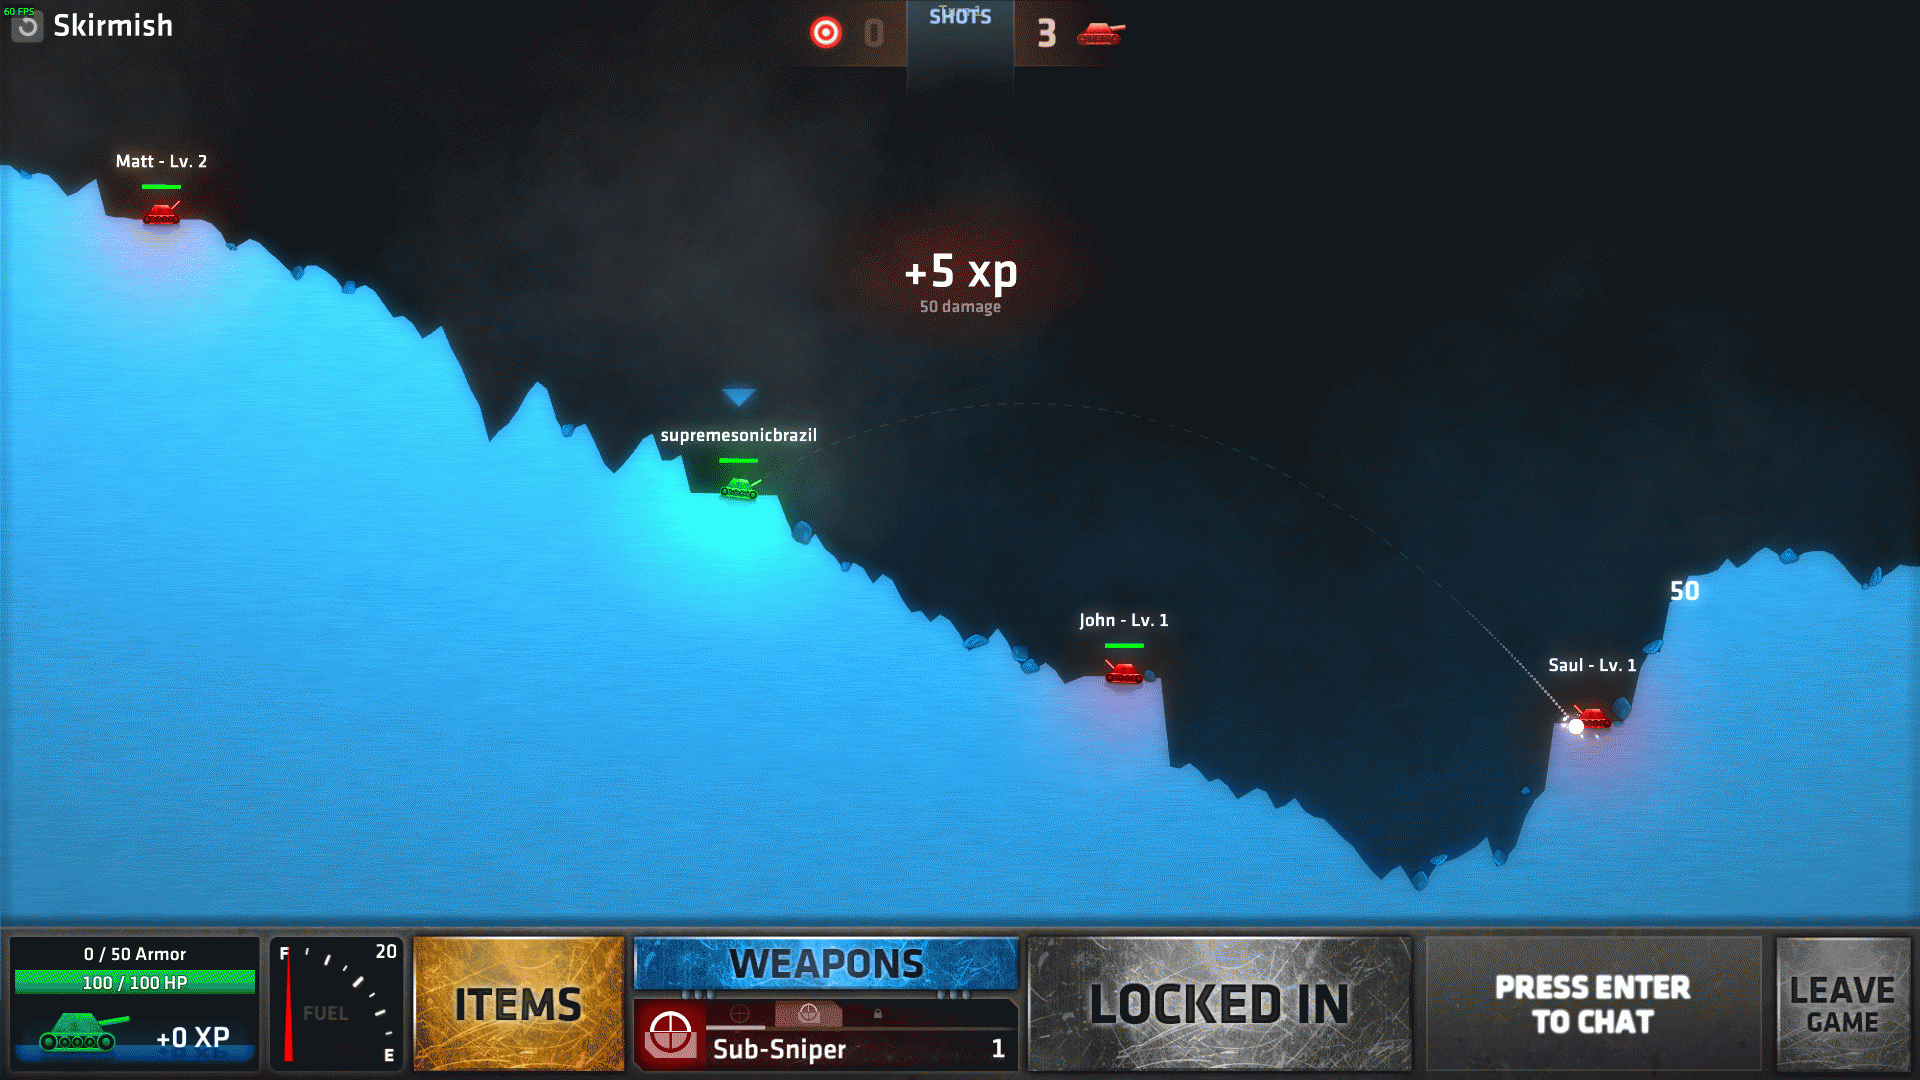
-Matt’s angle: (65,70) left
-John’s angle: (30,25) right
-Saul’s angle (don’t call him): (50,30) right
Shots: Limited (8 – Sinkhole, Cactus, Digger, Shot – quantity may vary)
Items: No
Fuel: 100
Enemies: 2 (50 HP each)
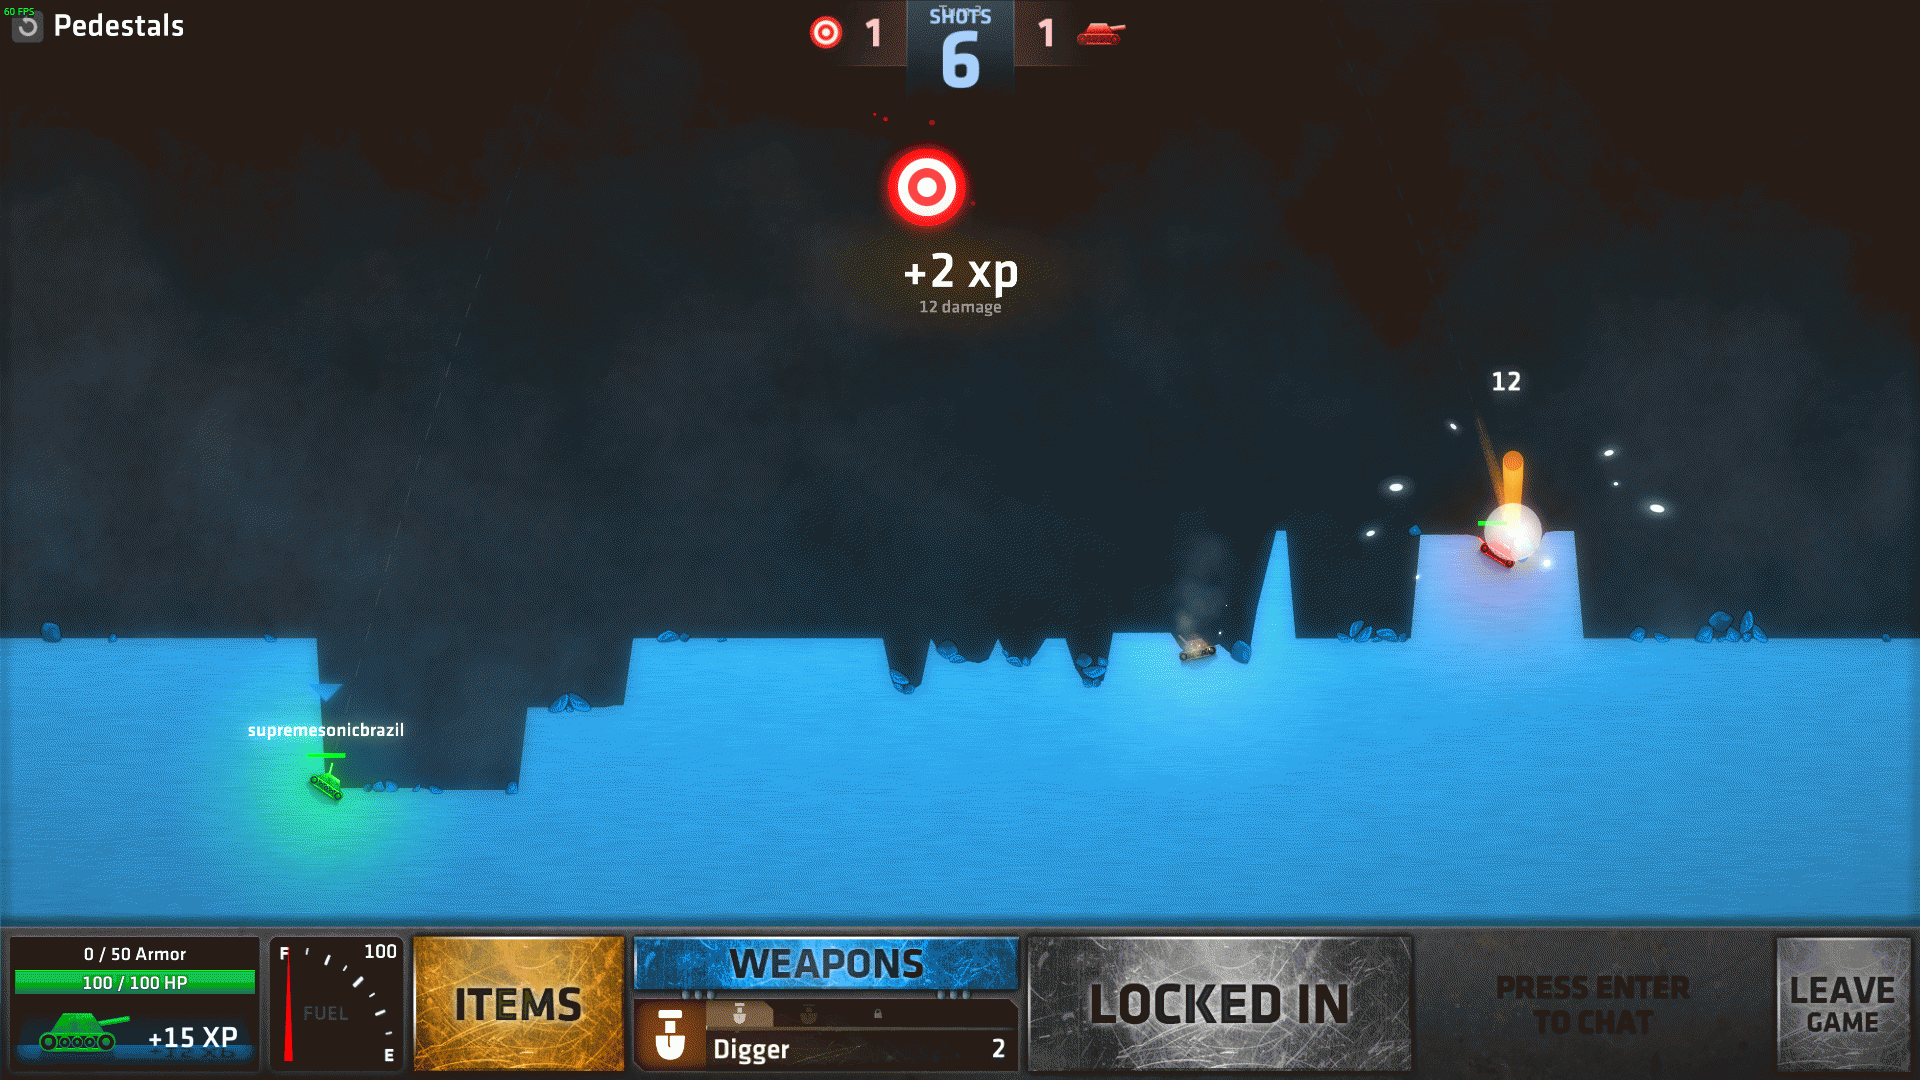
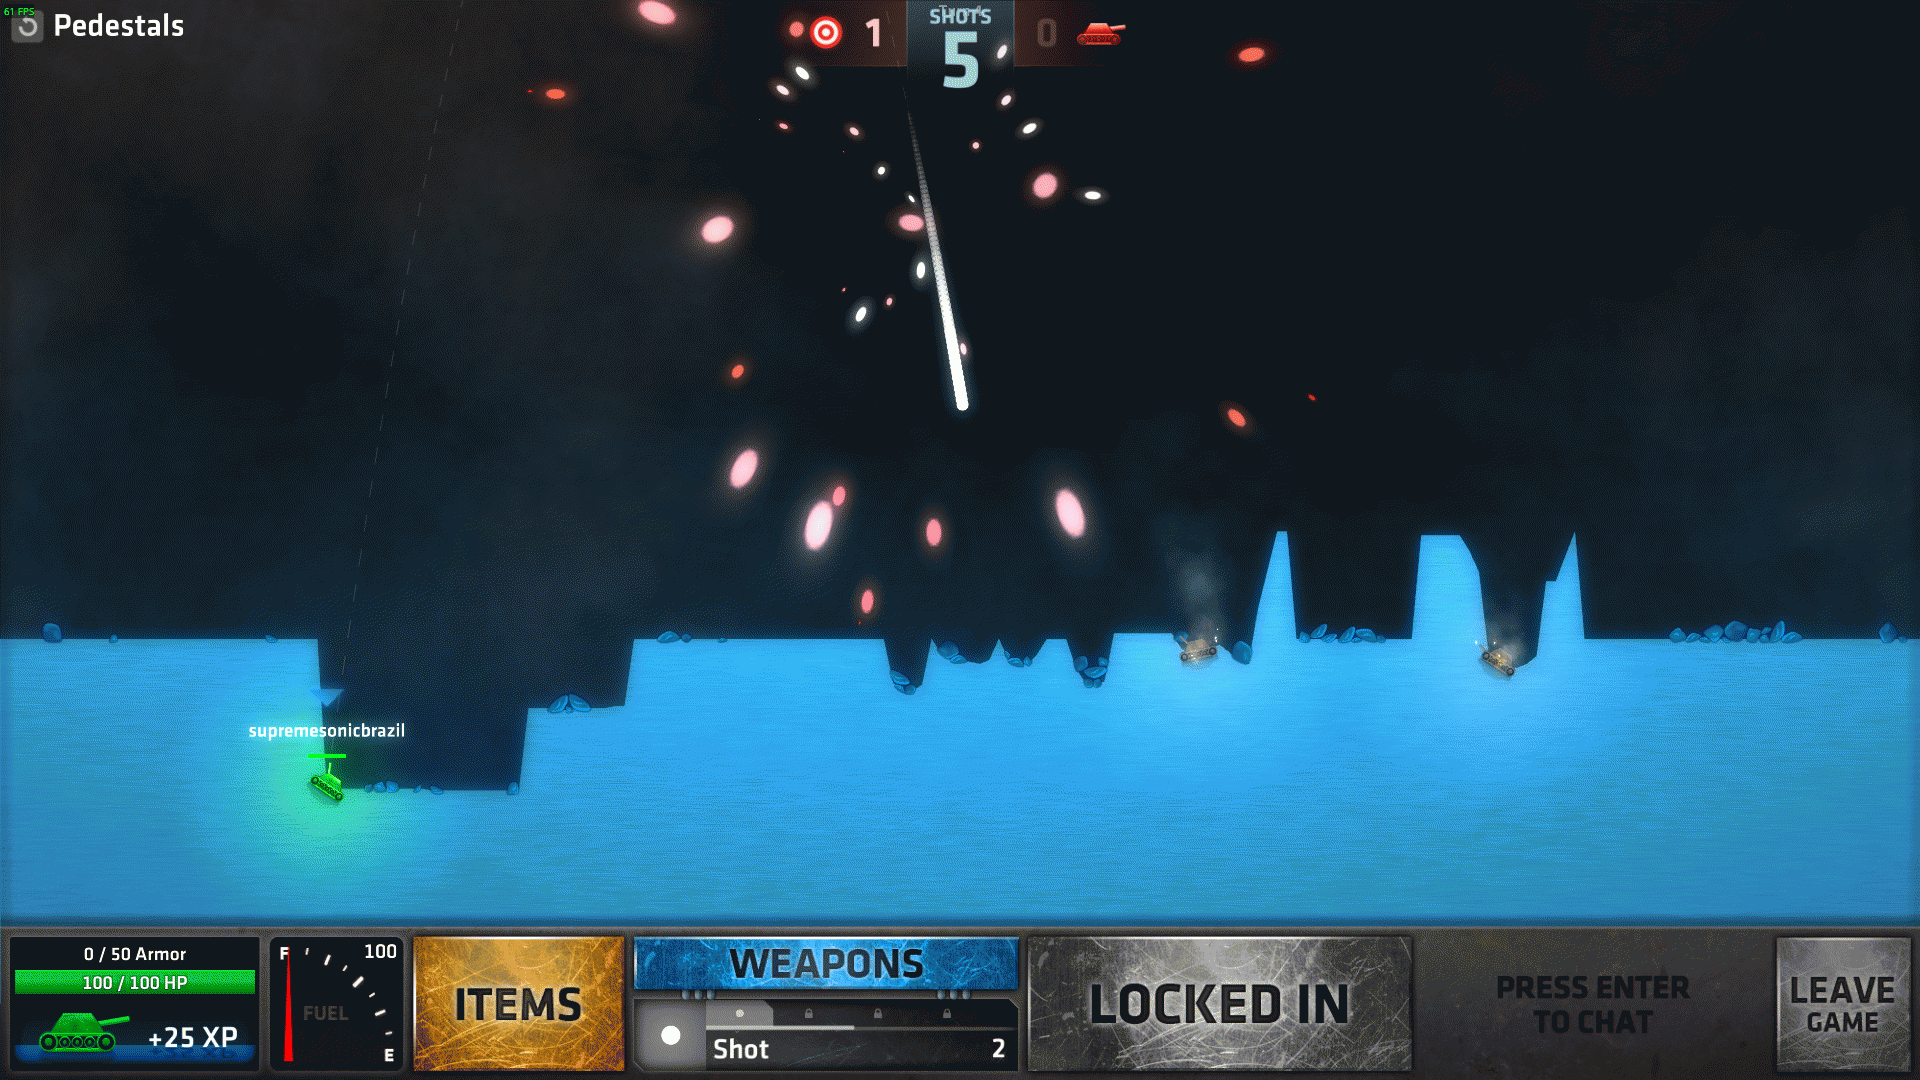
Targets: 4
Do I need to move?: Yes
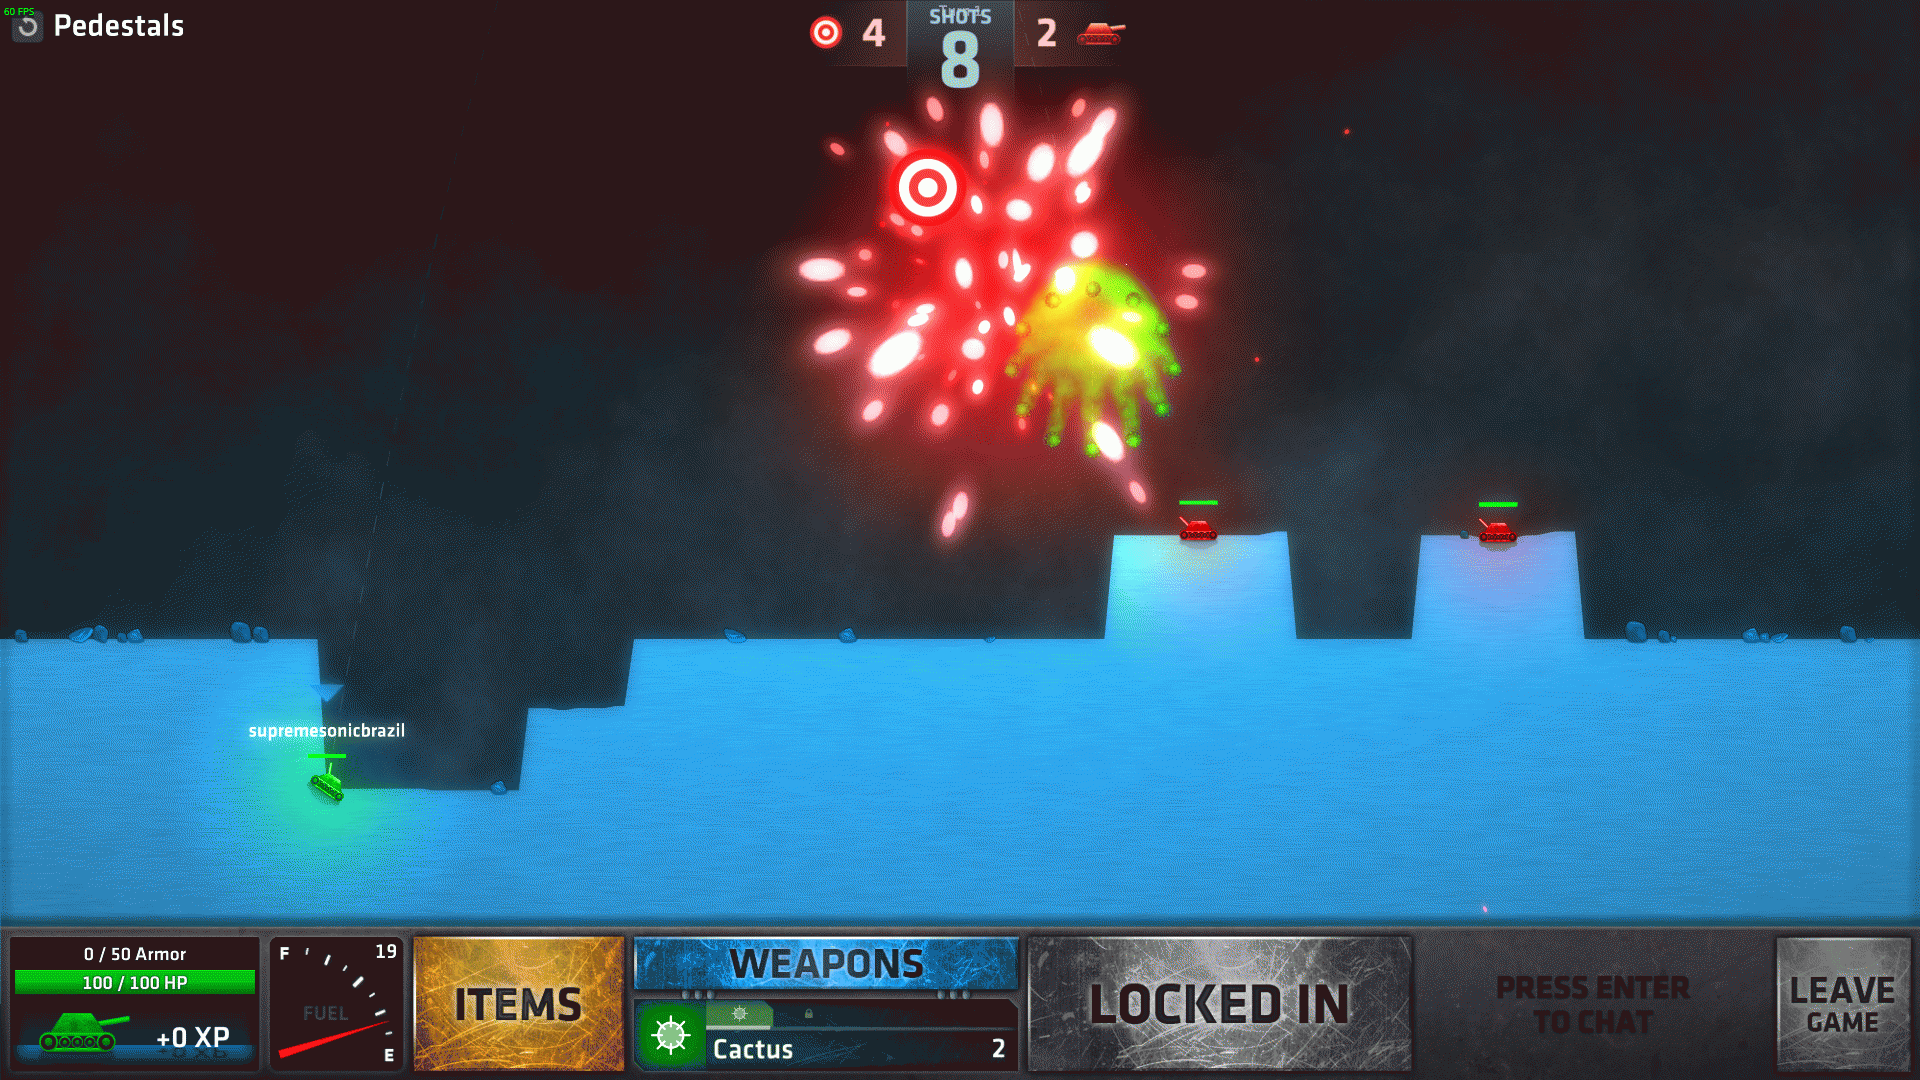
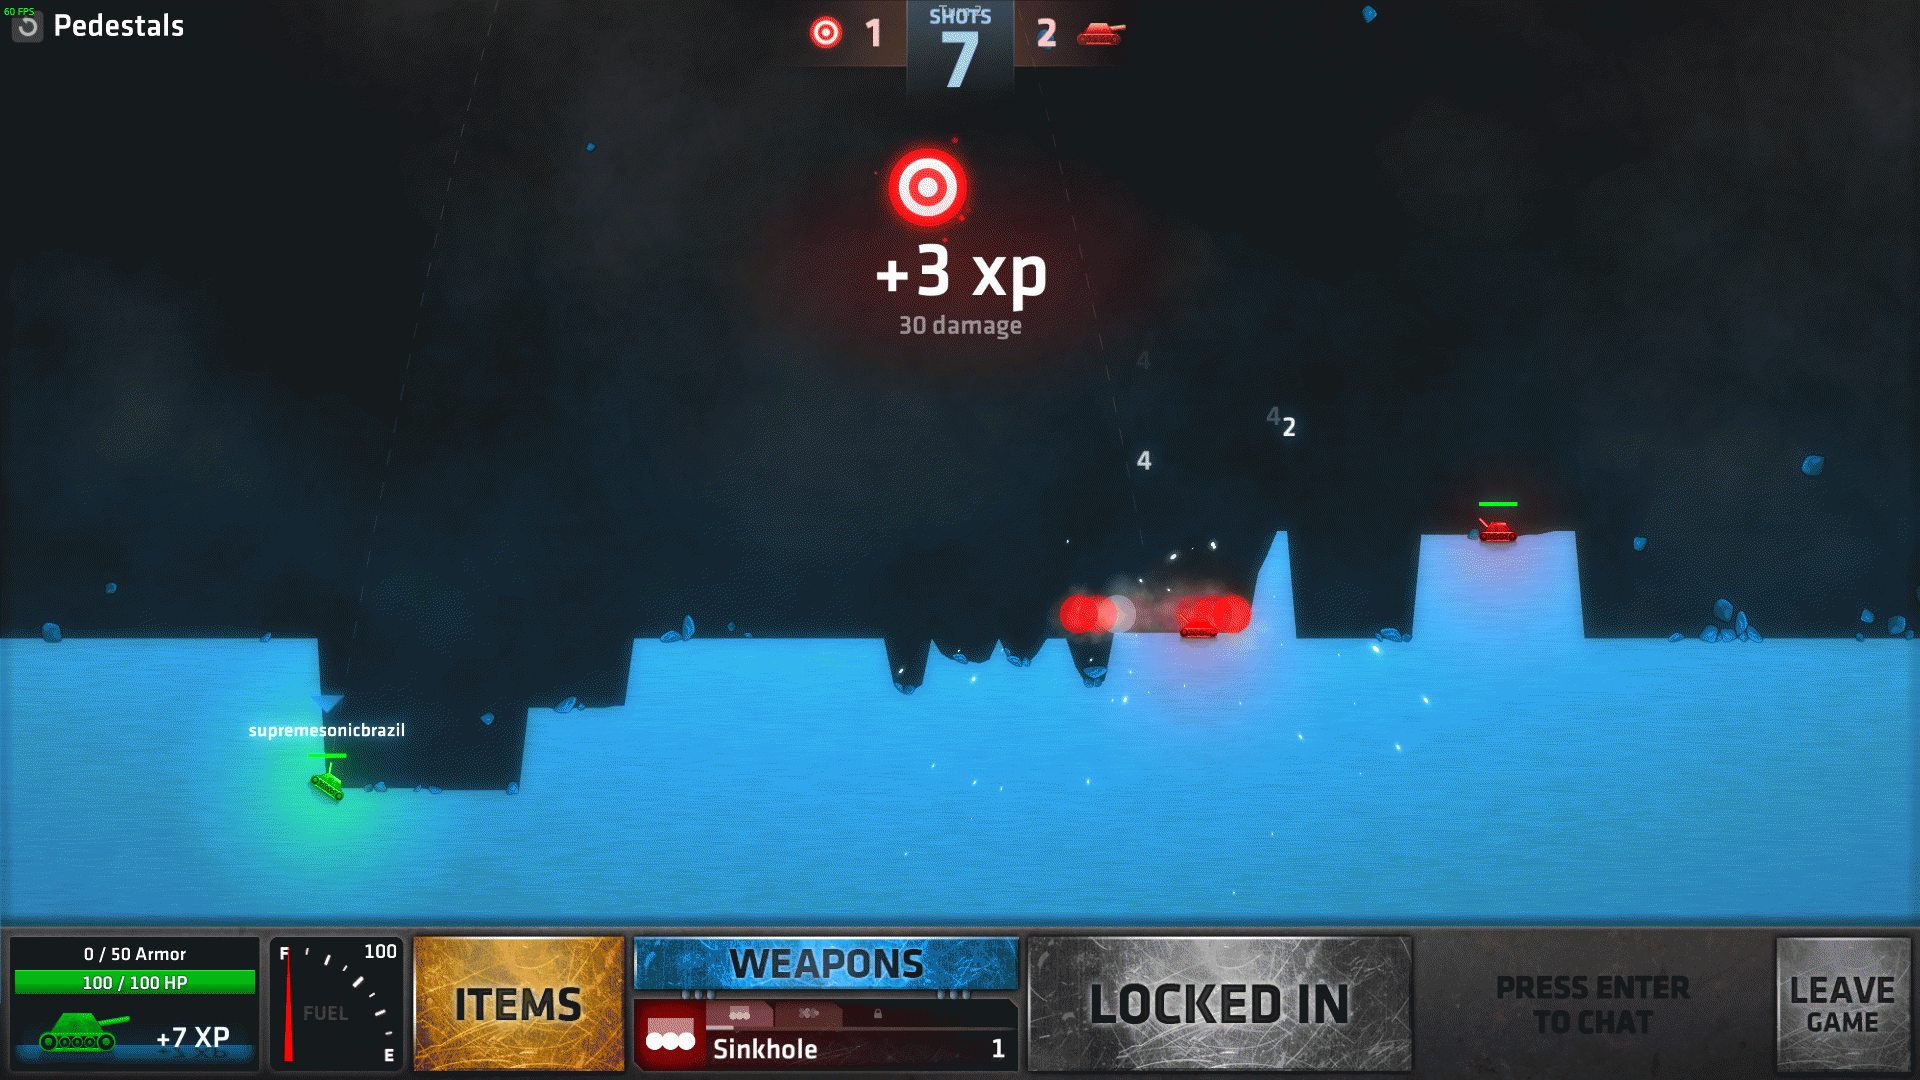
First, move all the way to the left until you hit the wall so that hill doesn’t get in your shots’ way.
Equip Cactus, aim straight up, count 10 ticks right and fire. You’ll hit 3 of the targets and deal a bit of damage to the left-most AI.
Shots: Limited (3 Bounsplode)
Items: No
Fuel: 100
Enemies: 3 (50 HP each)
Targets: 0
Do I need to move?: No
This one will require a bit of luck since Bounsplode is a bit “erratic”. Best method I found was aiming straight up, then going 10 ticks left and 10 ticks down.
I’ve tested this several times and sometimes you may be lucky enough to save one shot, but all of them ended up the same: all three dead.

Shots: Unlimited (Random)
Items: No
Fuel: 100
Enemies: 1 (150 HP)
Targets: 3
Do I need to move?: It’s up to your strategy
This one is pretty much trial and error, you can choose to hit the targets first and then the bot later, or vice-versa since you have unlimited shots.
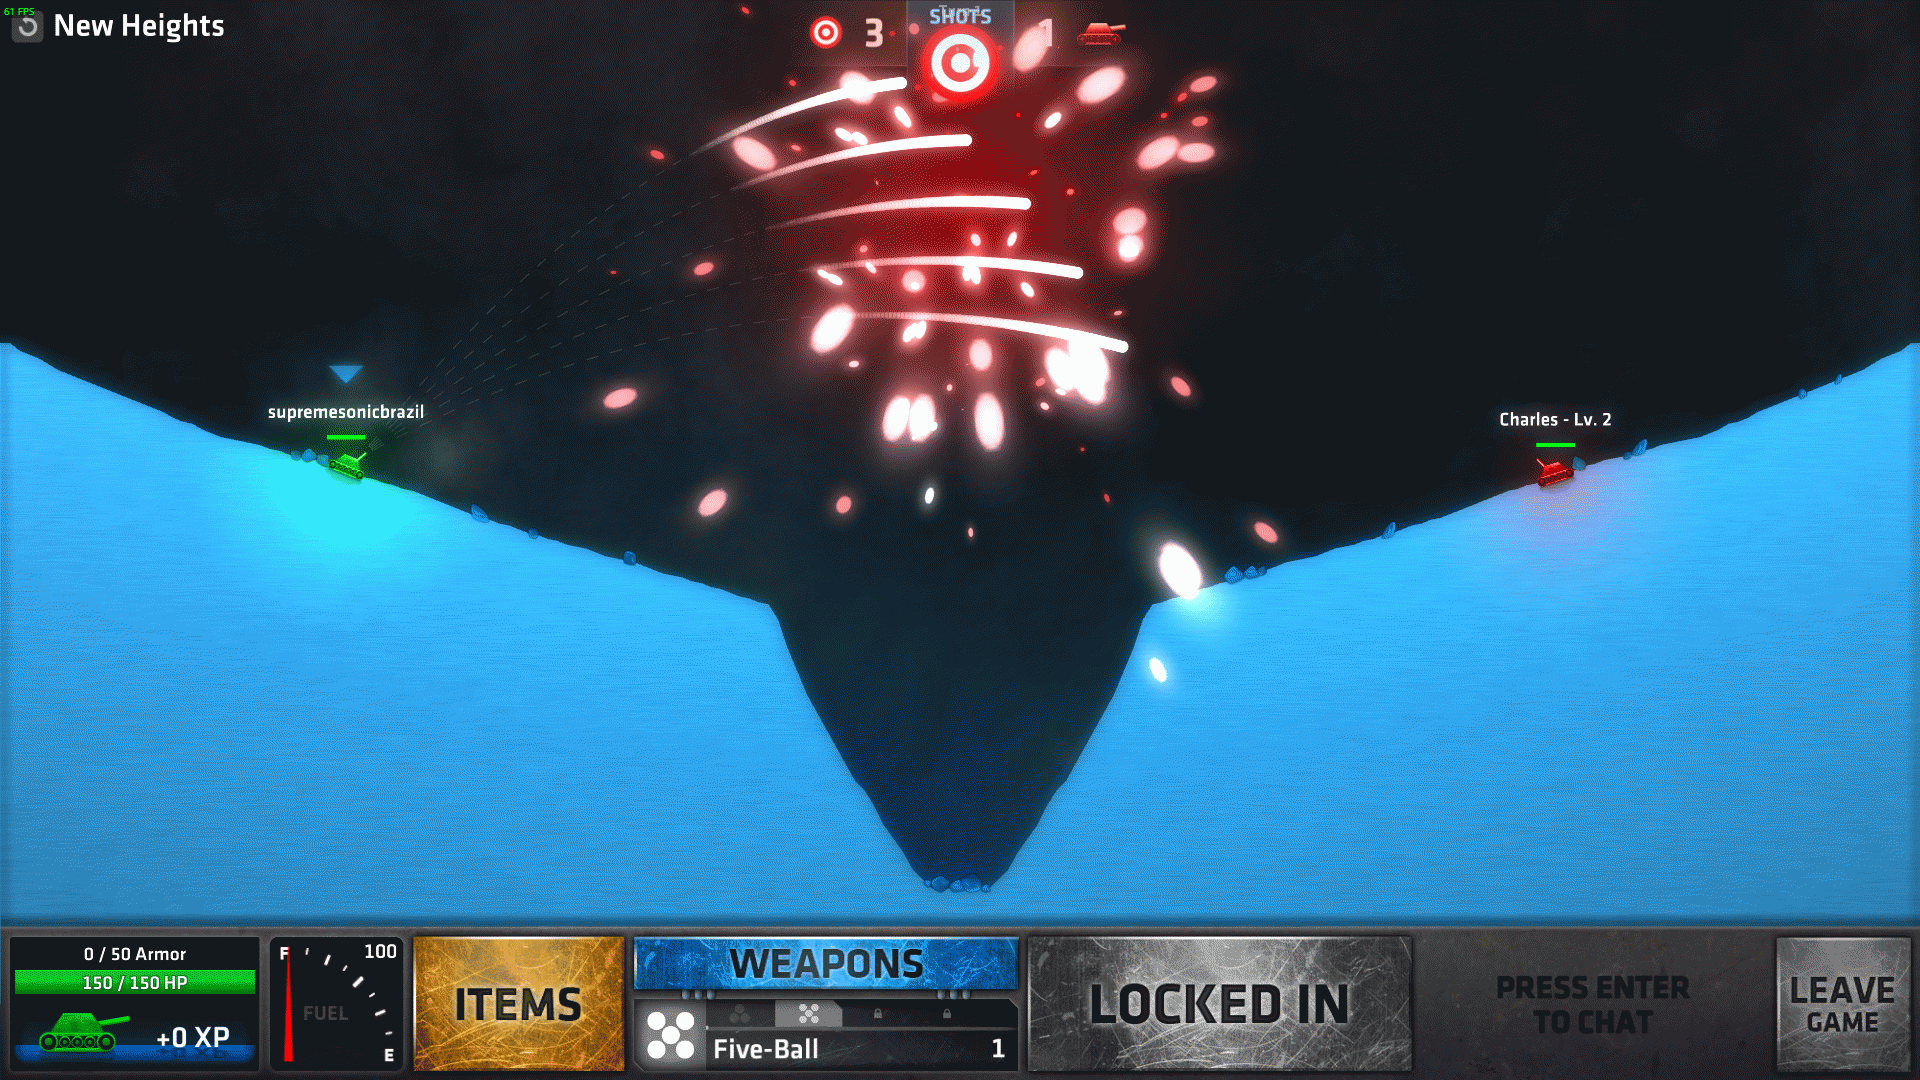
From starting position, Charles’ angle is (70,40) right. If you are lucky enough to get a Five-Ball, firing at this angle will hit all three targets at once while damaging the bot, saving you some time.
Shots: Limited (2 Roller)
Items: No
Fuel: 10
Enemies: 2 (10 HP each)
Targets: No
Do I need to move?: No
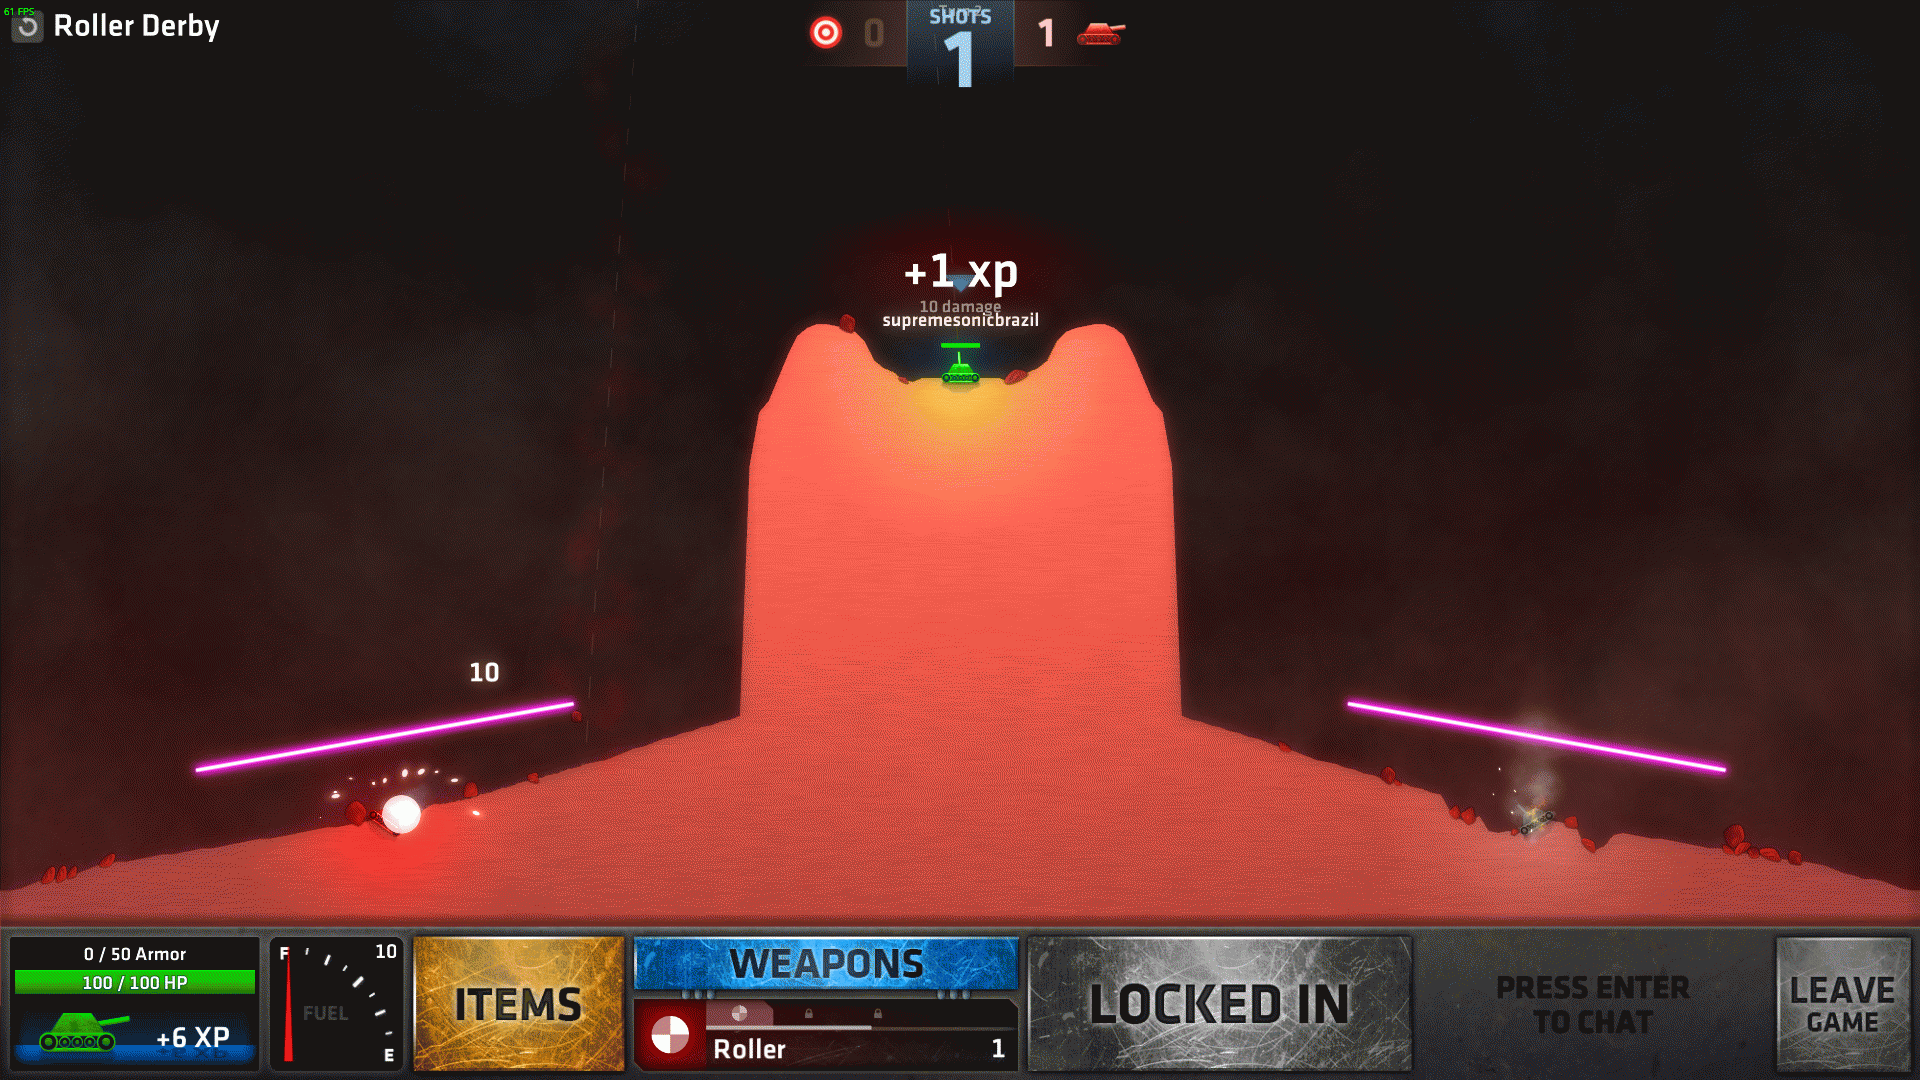
This one has lots of ways to do, but I’ll tell the quickest one to set up: aim straight up, count 3 ticks right from the center and fire (do this on the other side too).
————————————————————————————————————————–
Shots: Unlimited (Random)
Items: No
Fuel: 100
Enemies: 4 (50 HP each)
Targets: 0
Do I need to move?: Recommended, since you can get trapped in a hole
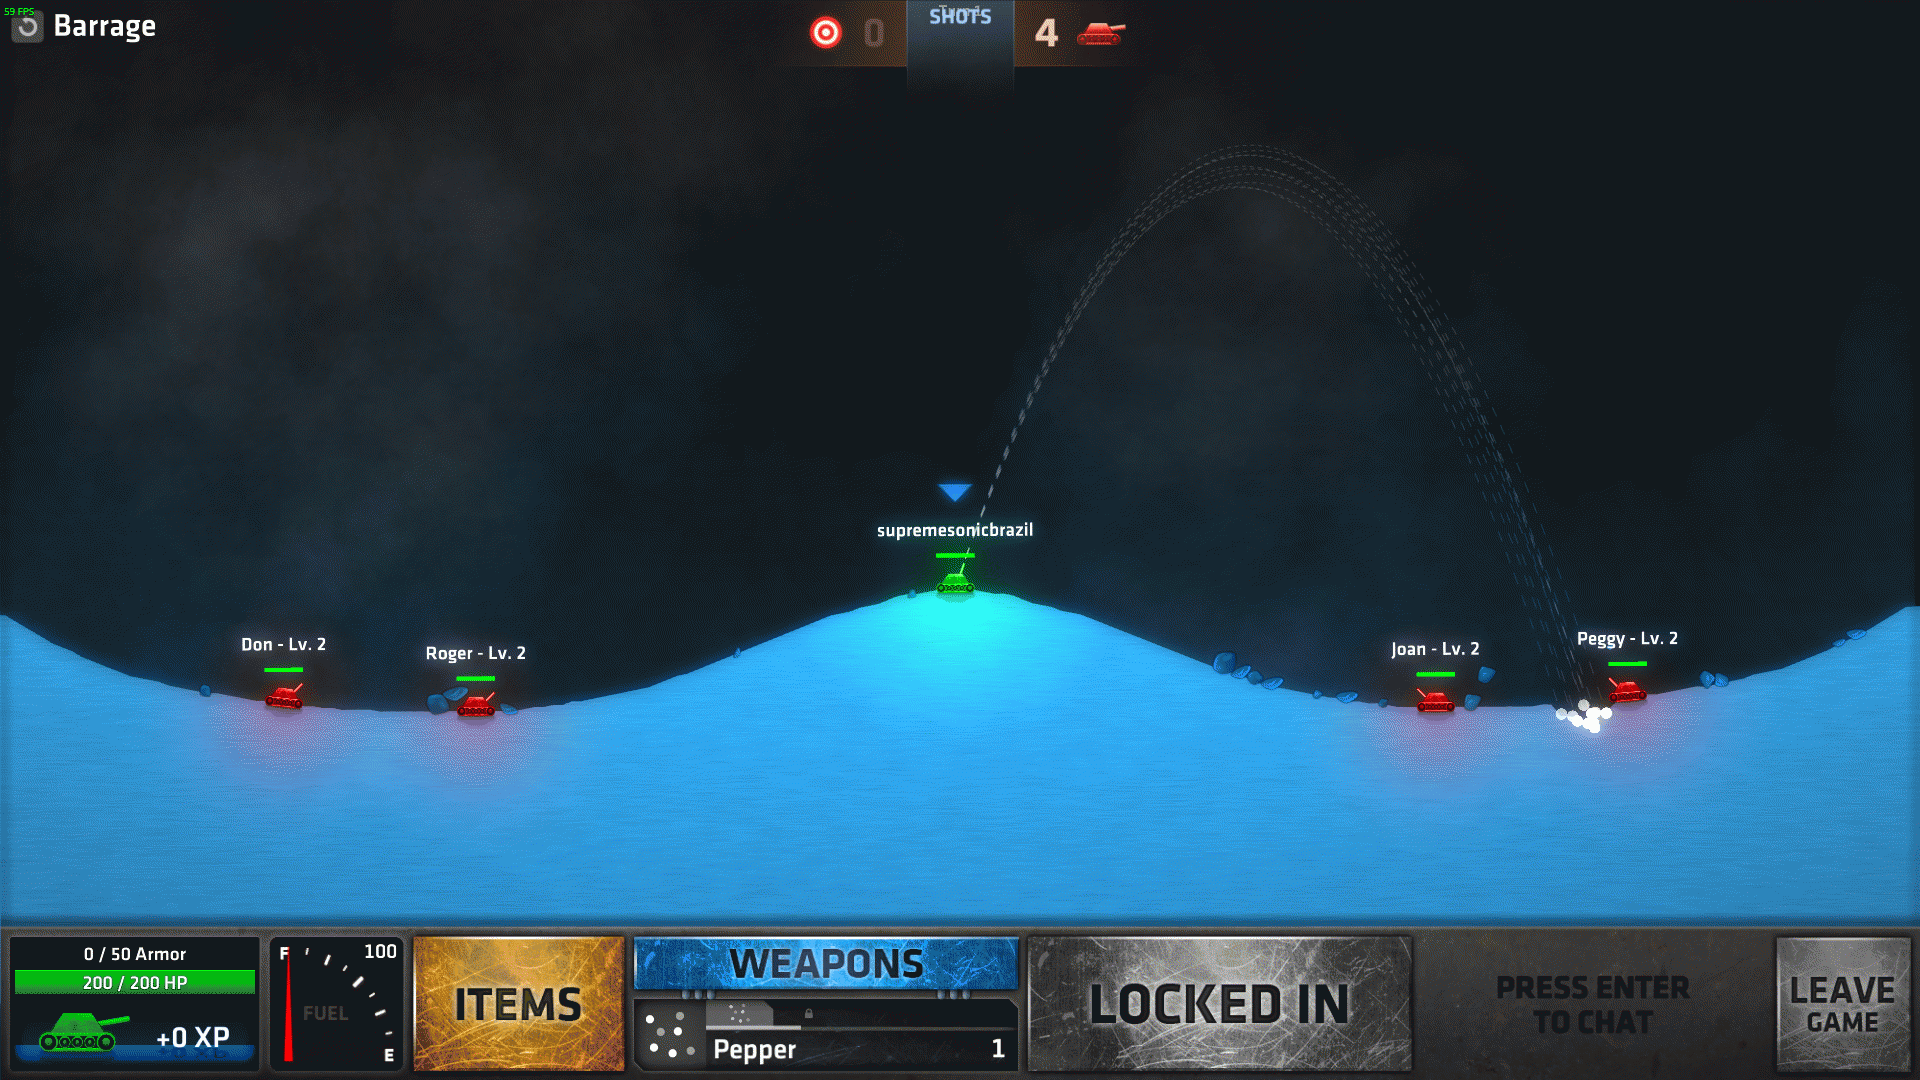
Pretty straight up, kill everyone. In case you decide not to move, this will be helpful (approx. angles):
-Don’s angle: ~(60,70) left
-Roger’s angle: ~(50,70) left
-Joan’s angle: ~(50,70) right
-Peggy’s angle: ~(60,70) right
————————————————————————————————————————–
Shots: Limited (1 Sniper)
Items: No
Fuel: 100
Enemies: 0
Targets: 4
Do I need to move?: Don’t move!
Ooh boy. This one was pretty unexpected when I first played it. It requires a totally precise aiming skill. Good thing I’m here to spoil it for you, lol.
DON’T move by any means. If you do move by accident, restart. Aim at 45º right, max force, count 7 ticks right, fire and watch your newly acquired ninja skillz.

————————————————————————————————————————–
Shots: Unlimited (Random)
Items: No
Fuel: 100
Enemies: 1 (300 HP)
Targets: 0
Do I need to move?: Yes, if you don’t want to be hit
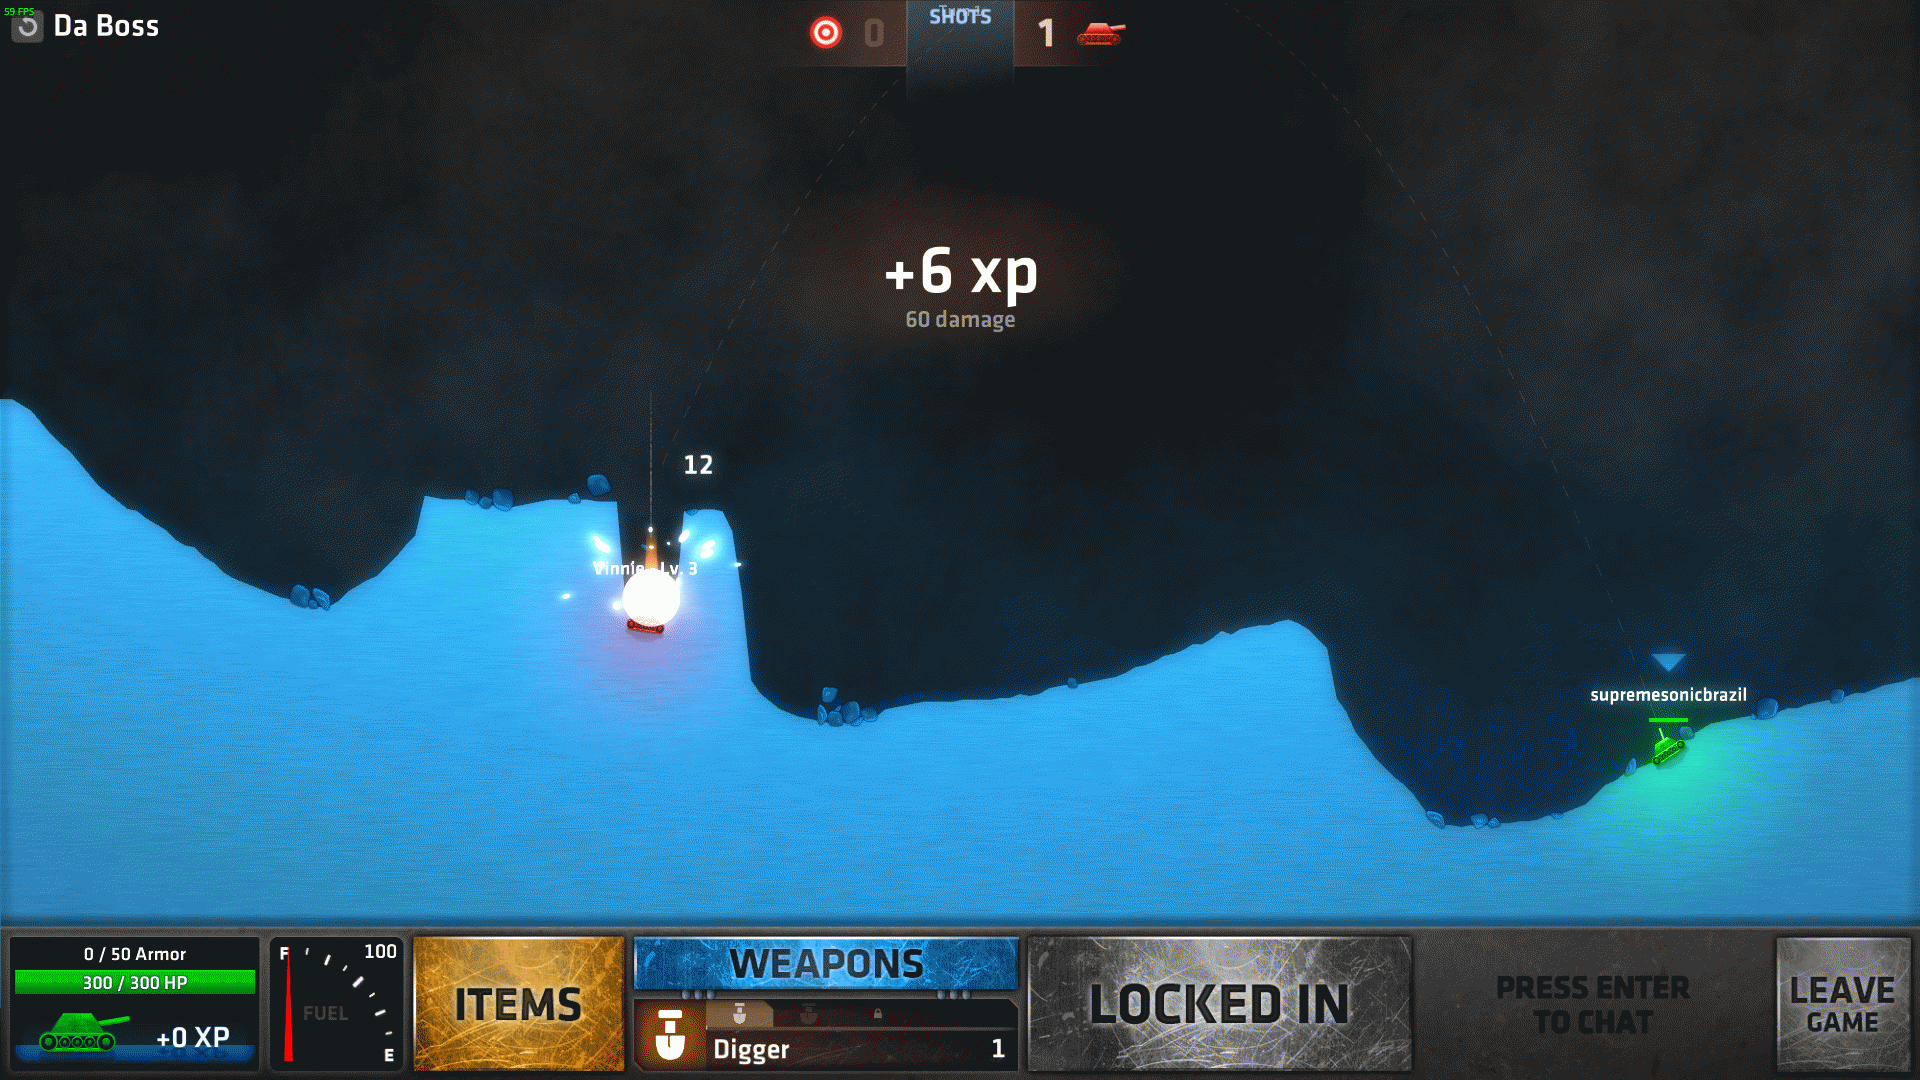
Suddenly this starts feeing a bit less fair. Both you and “Vinnie” have 300 HP so it’s your classical “mano-a-mano”.
The game is practically forcing me to give not-rounded coordinates, sorry. (83,70) left from the starting position.
————————————————————————————————————————–
Shots: Limited (2 Shot)
Items: No
Fuel: 100
Enemies: 0
Targets: 2
Do I need to move?: Yes
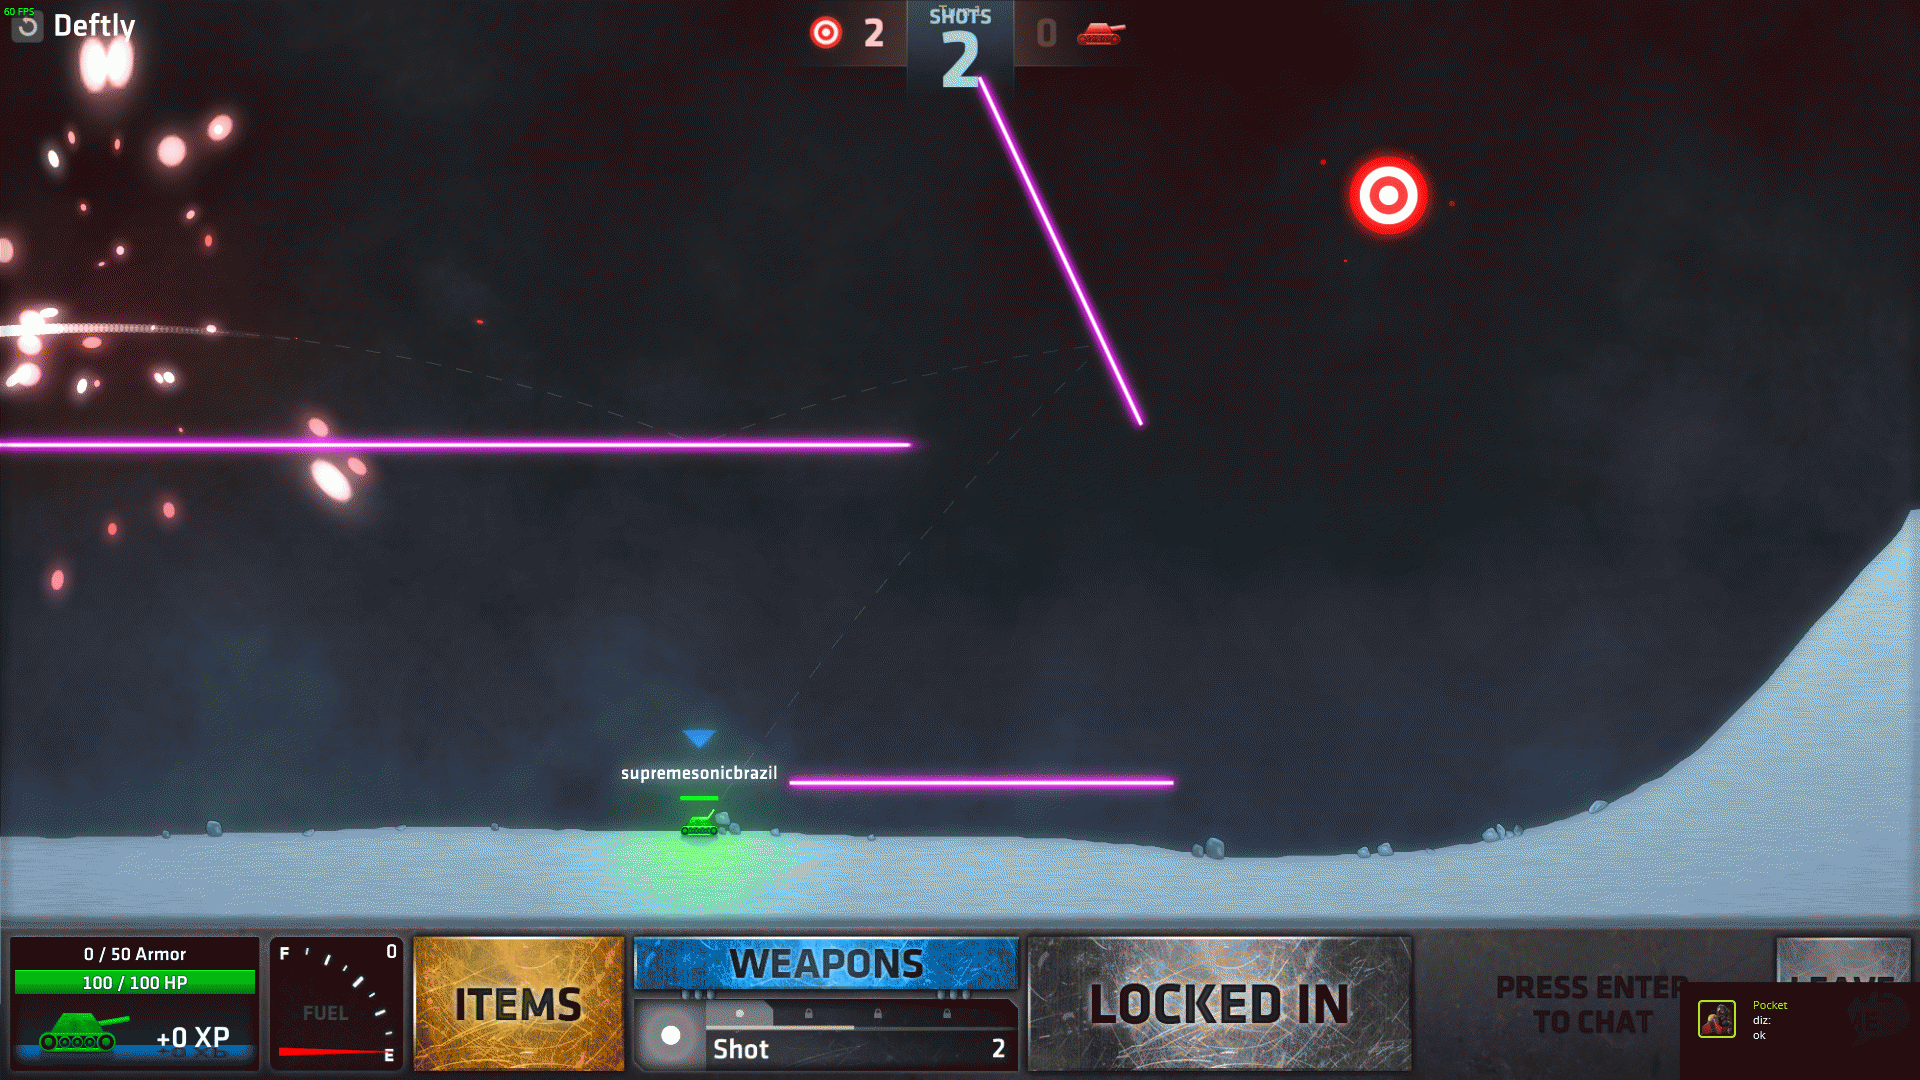
Sometimes the last mission of a set isn’t a boss, but a rather “tough-looking” target challenge.
Move all the way to the right until you stop, then aim 45º right, max force, count 10 ticks left and fire, hitting the top-left target.
Set 3: Shell or Be Shelled
Shots: Unlimited (Random)
Items: No
Fuel: 50
Enemies: 2 (100 HP each)
Targets: 0
Do I need to move?: It’s up to your strategy
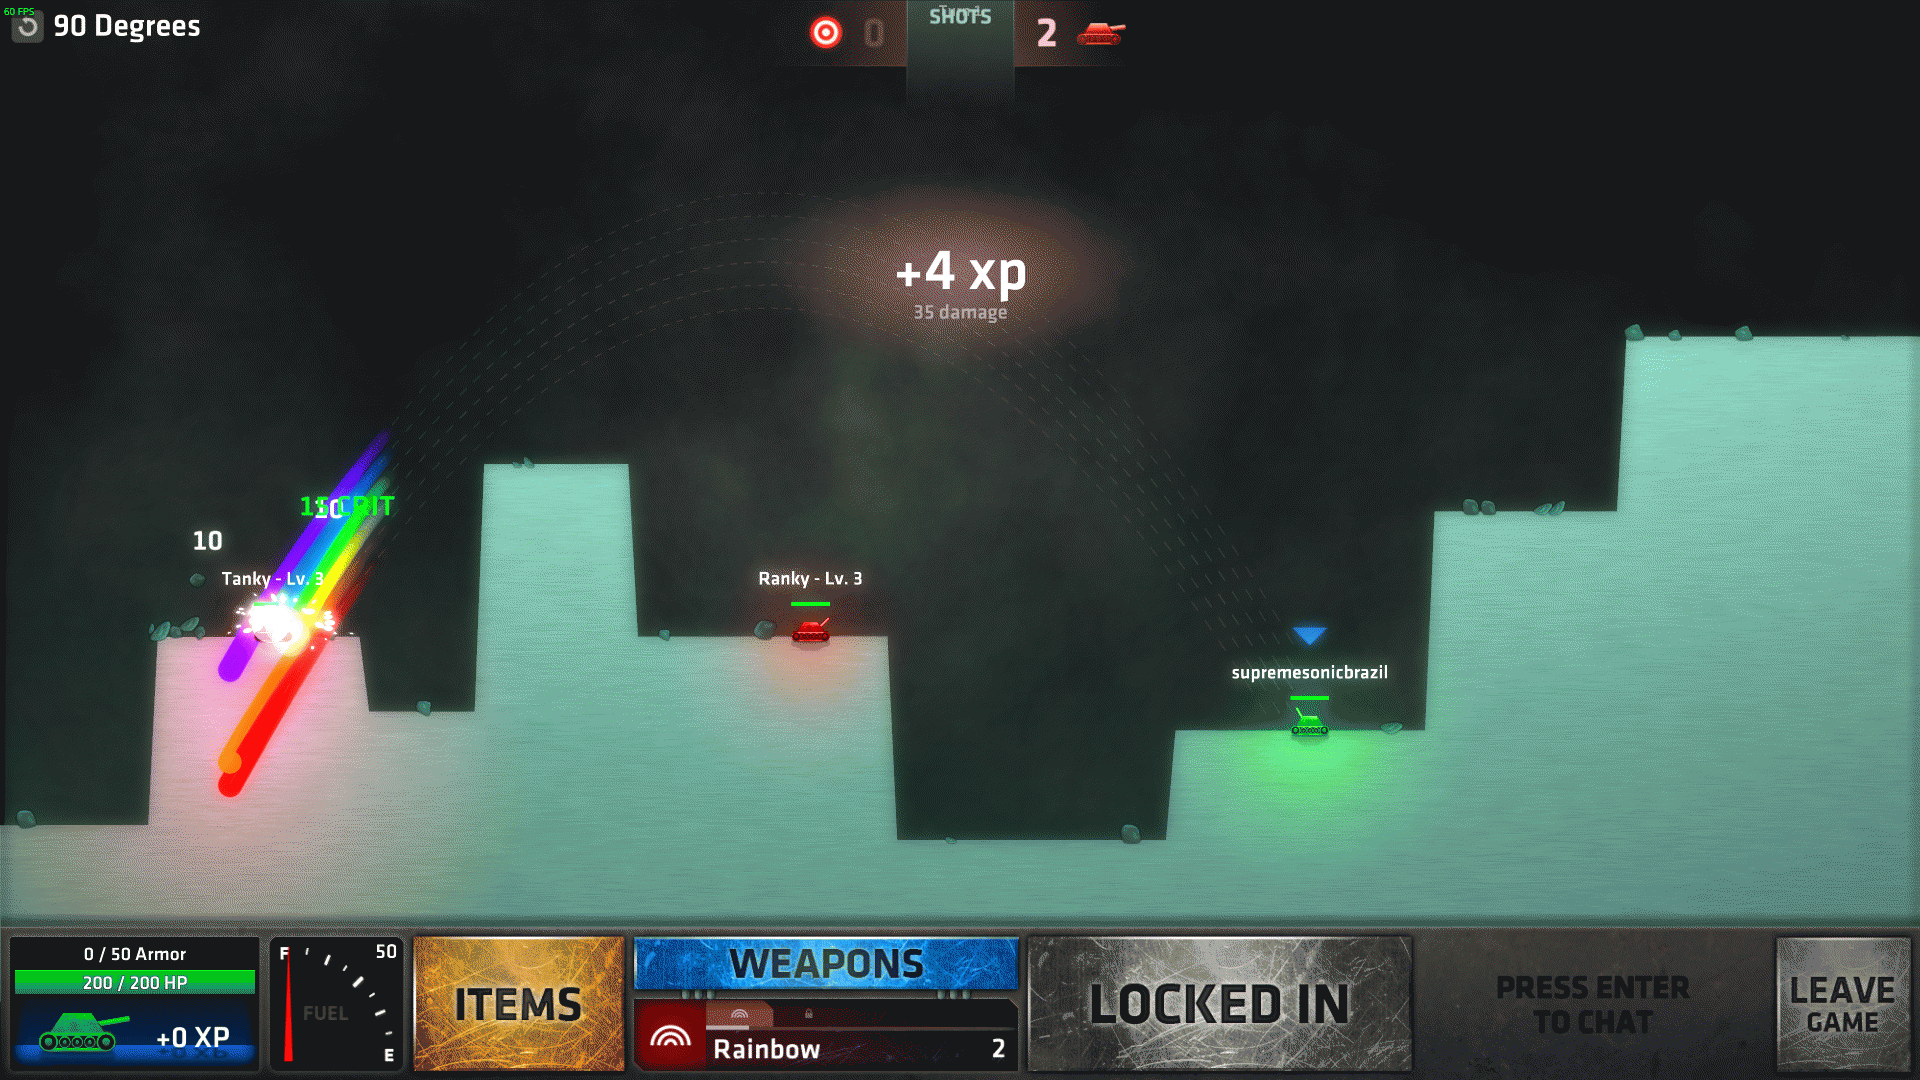
Another bot-killing mission with unlimited shots. You have little movement space and halved fuel but it’s not that hard.
From starting position:
-Tanky’s angle: (70,60) left
-Ranky’s angle: (50,60) left
Shots: Limited (3 Rain)
Items: No
Fuel: 100
Enemies: 4 (30 HP each)
Targets: 0
Do I need to move?: No
Coincidentally this mission has the same name as one of my jungle tracks[thesupremistofficial.bandcamp.com]. Lol.
For this one you have to basically fire the rain flare near yourself so the cloud appears above and the “rain” reflects in the bumper hitting the bots. You can do this by firing weakly a bit to your right, but I found a way to hit all of the bots at once. Aim 45º right, max force, count 15 ticks right and fire.
That left-most bot may make you fire all your shots, but it will eventually kill it.

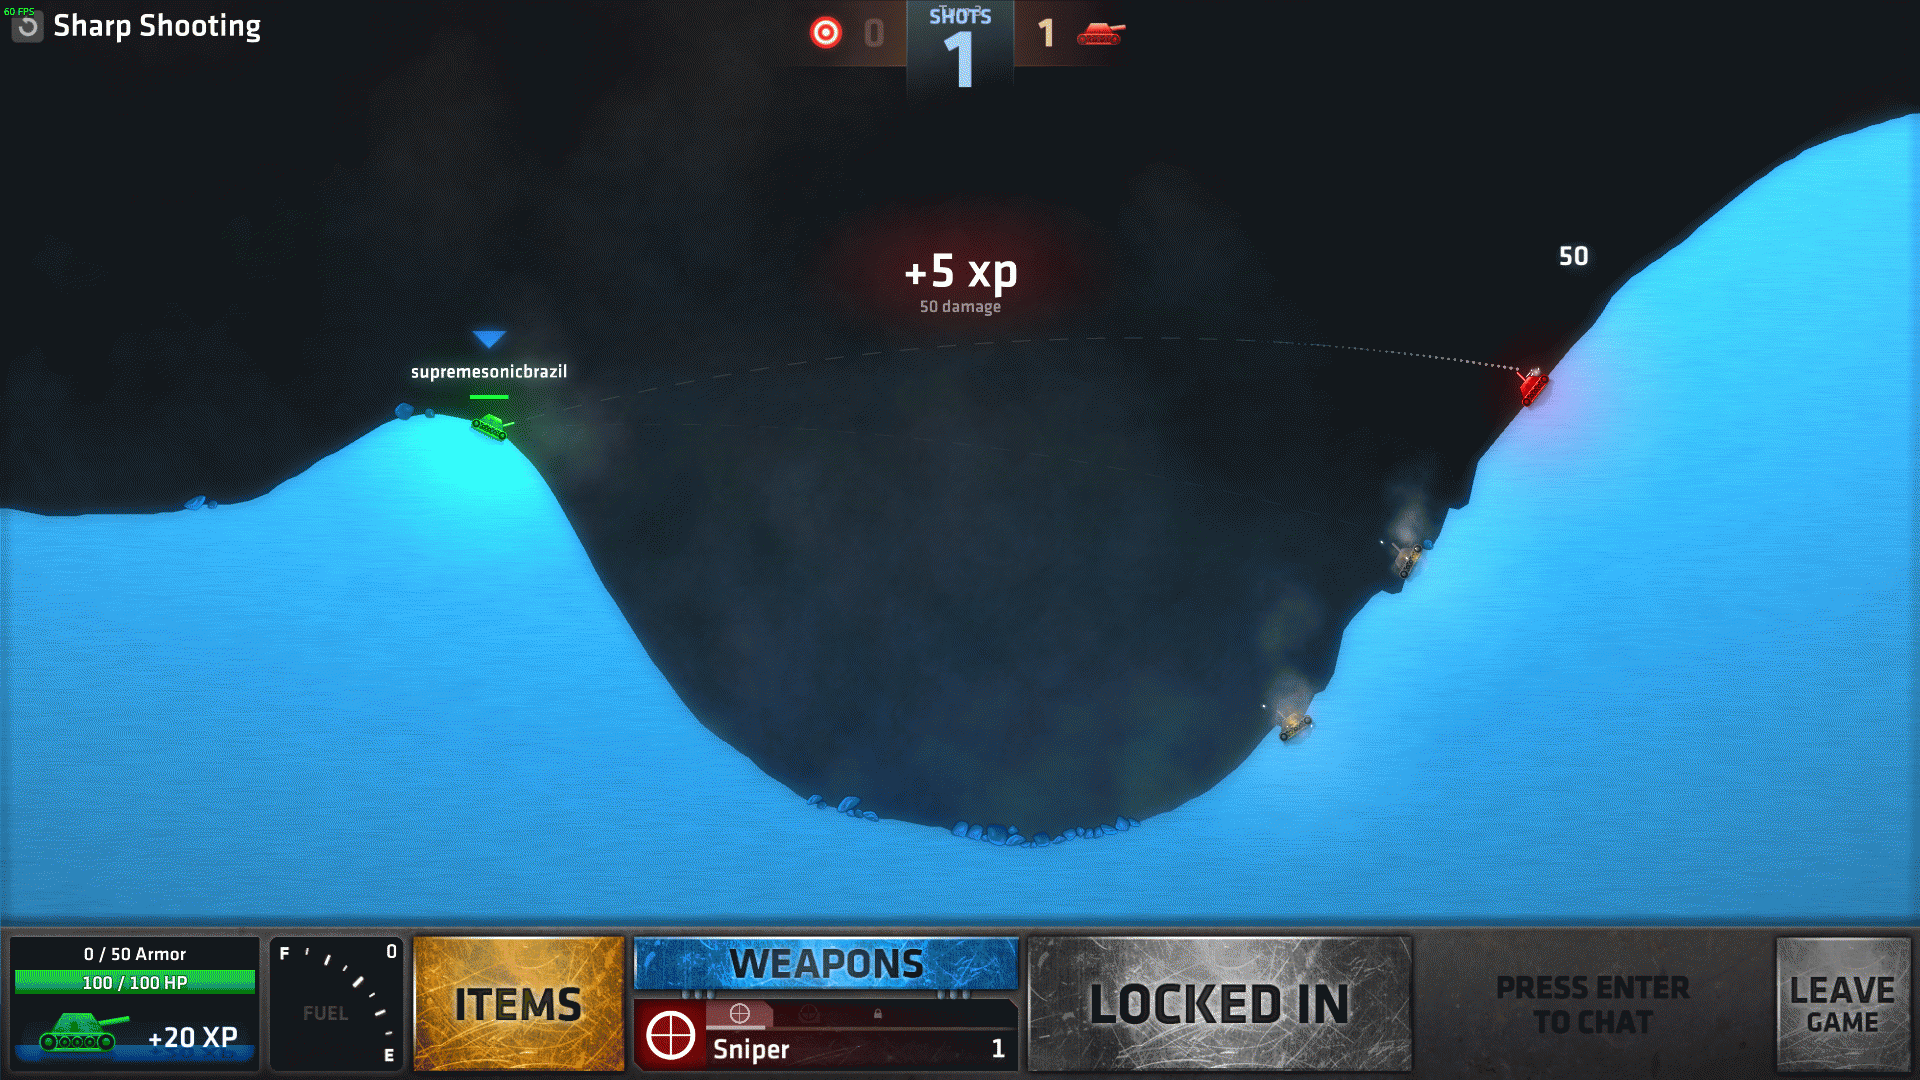
Shots: Limited (3 Sniper)
Items: No
Fuel: 0
Enemies: 3 (50 HP each)
Targets: 0
Do I need to move?: There’s no way to move
I love being a sniper. High-precision and deadly shots, your victim won’t even know what hit it. Thing is, in this game specifically it can be a bit frustrating.
You can do the following at any order:
-Aim 0º right, max force, count 10 ticks right and fire. There goes the first one.
-Get back to 0º, count 3 ticks left and fire. There goes the second one.
-Get back again to 0º, count 15 ticks left and fire. There goes the last one.
————————————————————————————————————————–
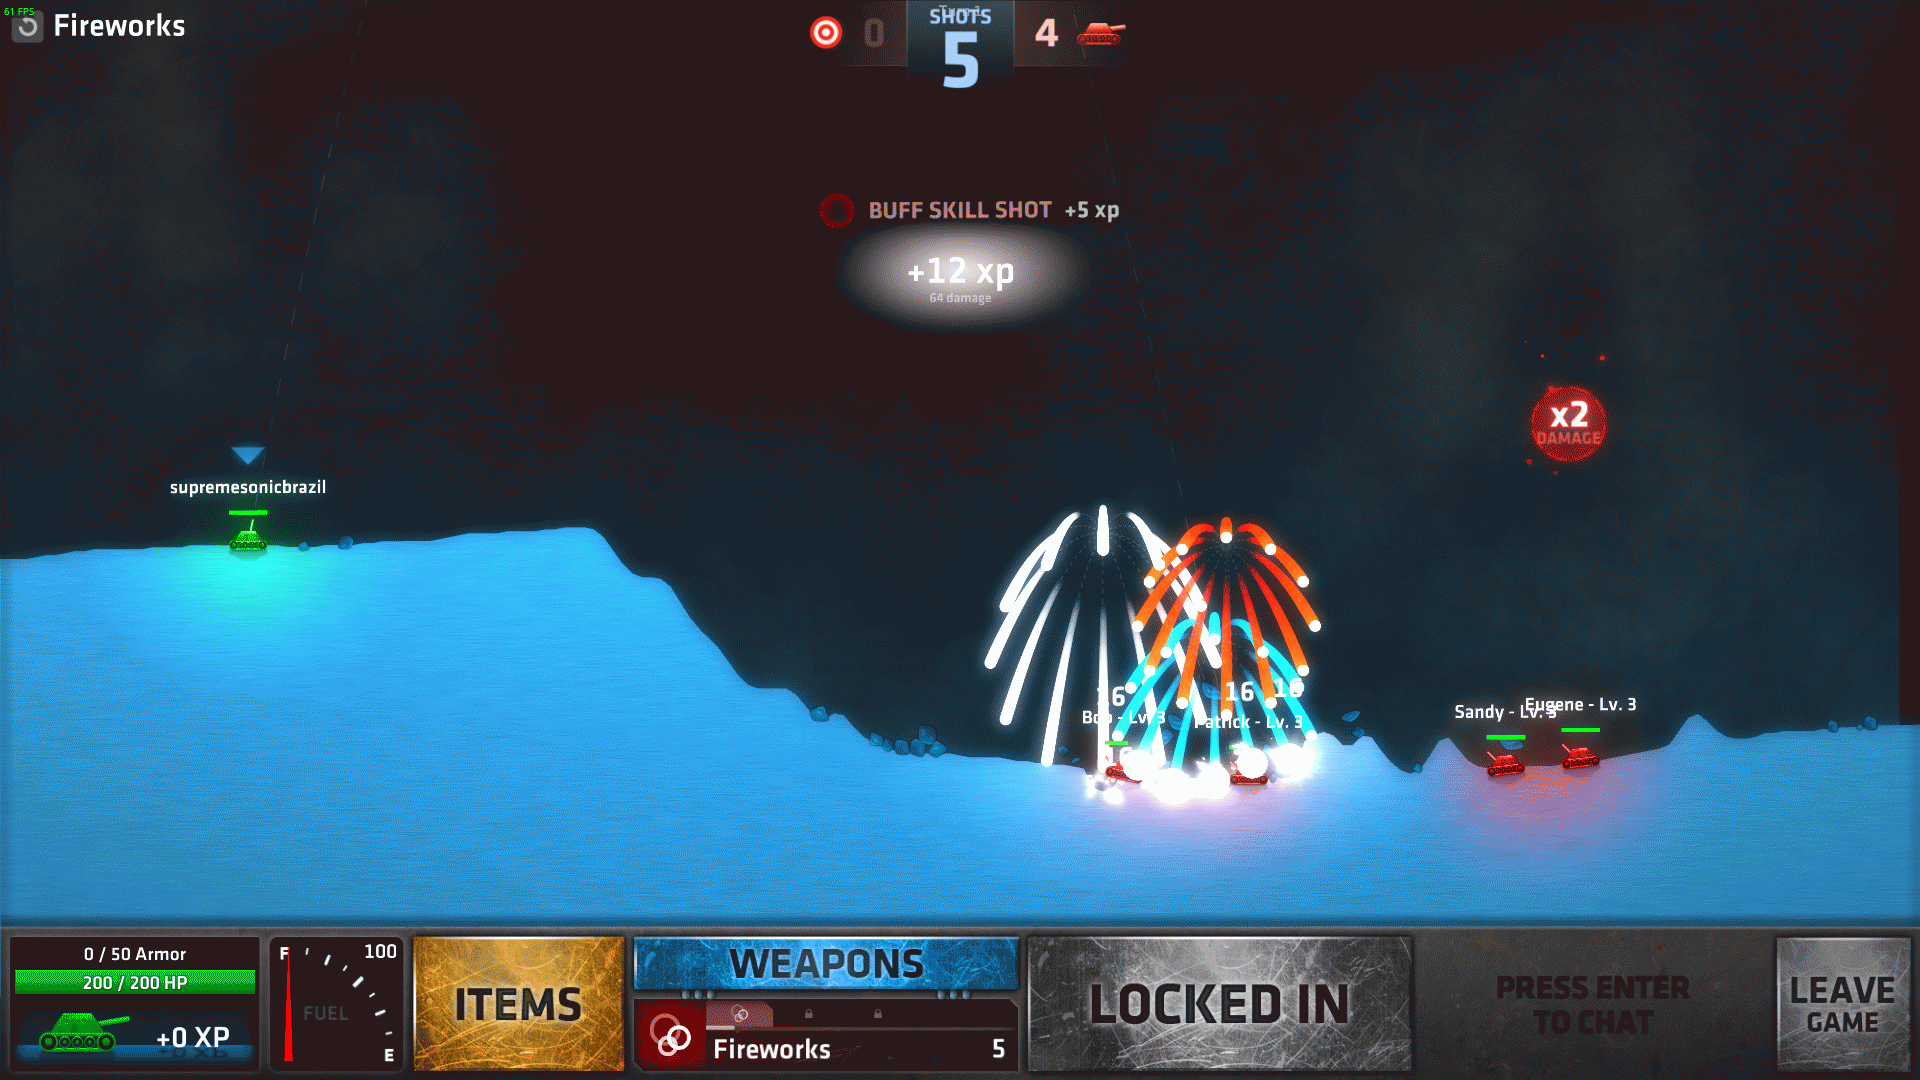
Shots: Limited (5 Fireworks)
Items: No
Fuel: 100
Enemies: 4 (80 HP each)
Targets: 0
Do I need to move?: No
Oh God that Spongebob references. I love this game. Still, you have to kill them.
It’s possible to do this one without moving, first aim straight up, max force, count 11 ticks right and fire, this is a guaranteed way to grab the x2 DMG before hitting the ground. If one of them resists after the firework assault, restart.
If nobody hit you, count 5 more ticks right and fire, then watch your childhood get burned for eternity. (ok that was dramatic)
It might be possible to do this one moving to the edge of the cliff but it gets a bit more complicated.
Shots: Limited (5 – 1 Breaker, 1 Horizon, 1 Digger, 1 Shot, 1 Twinkler)
Items: No
Fuel: 0
Enemies: 0
Targets: 1
Do I need to move?: There’s no way to move
“Oh noes, there’s a bumper right above me and if I aim straight up and fire I’ll get killed because I have 5 HP somebody plz halp me!!!!”
Use Breaker. That’s it 🙂
Boy this one was short. Here’s the usual screenshot so it doesn’t feel too short.

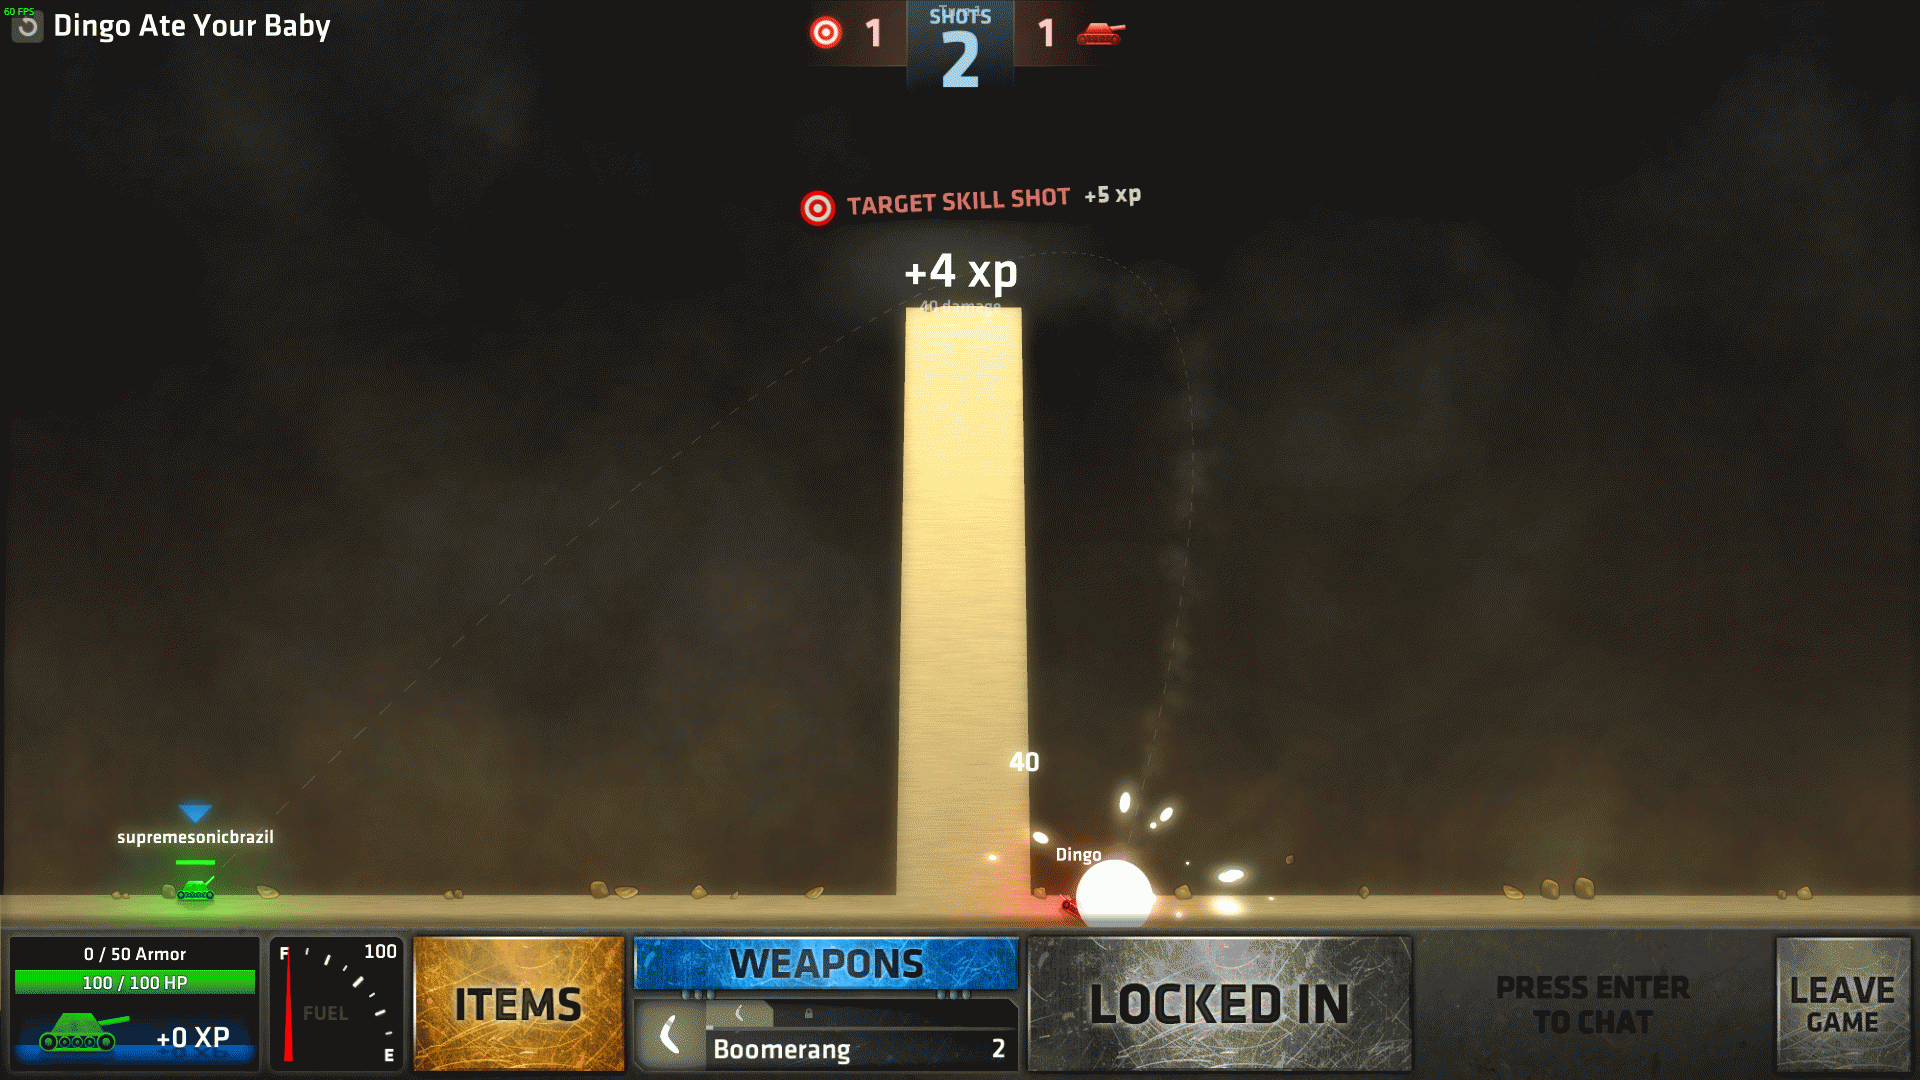
Shots: Limited (2 Boomerang)
Items: No
Fuel: 100
Enemies: 1 (80 HP)
Targets: 1
Do I need to move?: No, it will only make it worse
Why have you done that Dingo? I’ll have to kill you now to avenge my non-existant child!
Boomerang is another tricky one, people usually hate it but this one’s so easy that even I got surprised once I found out how to do it.
Just aim 45º right max force and fire. The boomerang will do a slick curve hitting both the target and the malevolent child-abusing Dingo killing it once and for all.
————————————————————————————————————————–
Shots: Limited (6 – 1 Breaker, 1 Horizon, 3 Shot, 1 Splitter)
Items: No
Fuel: 100
Enemies: 2 (20 HP each)
Targets: 2
Do I need to move?: Yes
Here the game introduces portals to us. Besides being a very obvious reference, they’re very helpful, especially when you’re in a hole and they spawn right above you (considering it’s your turn and nobody else’s).
Move all the way right, aim 45º right, max force, count 2 ticks right and fire a normal Shot to hit the bigger target.
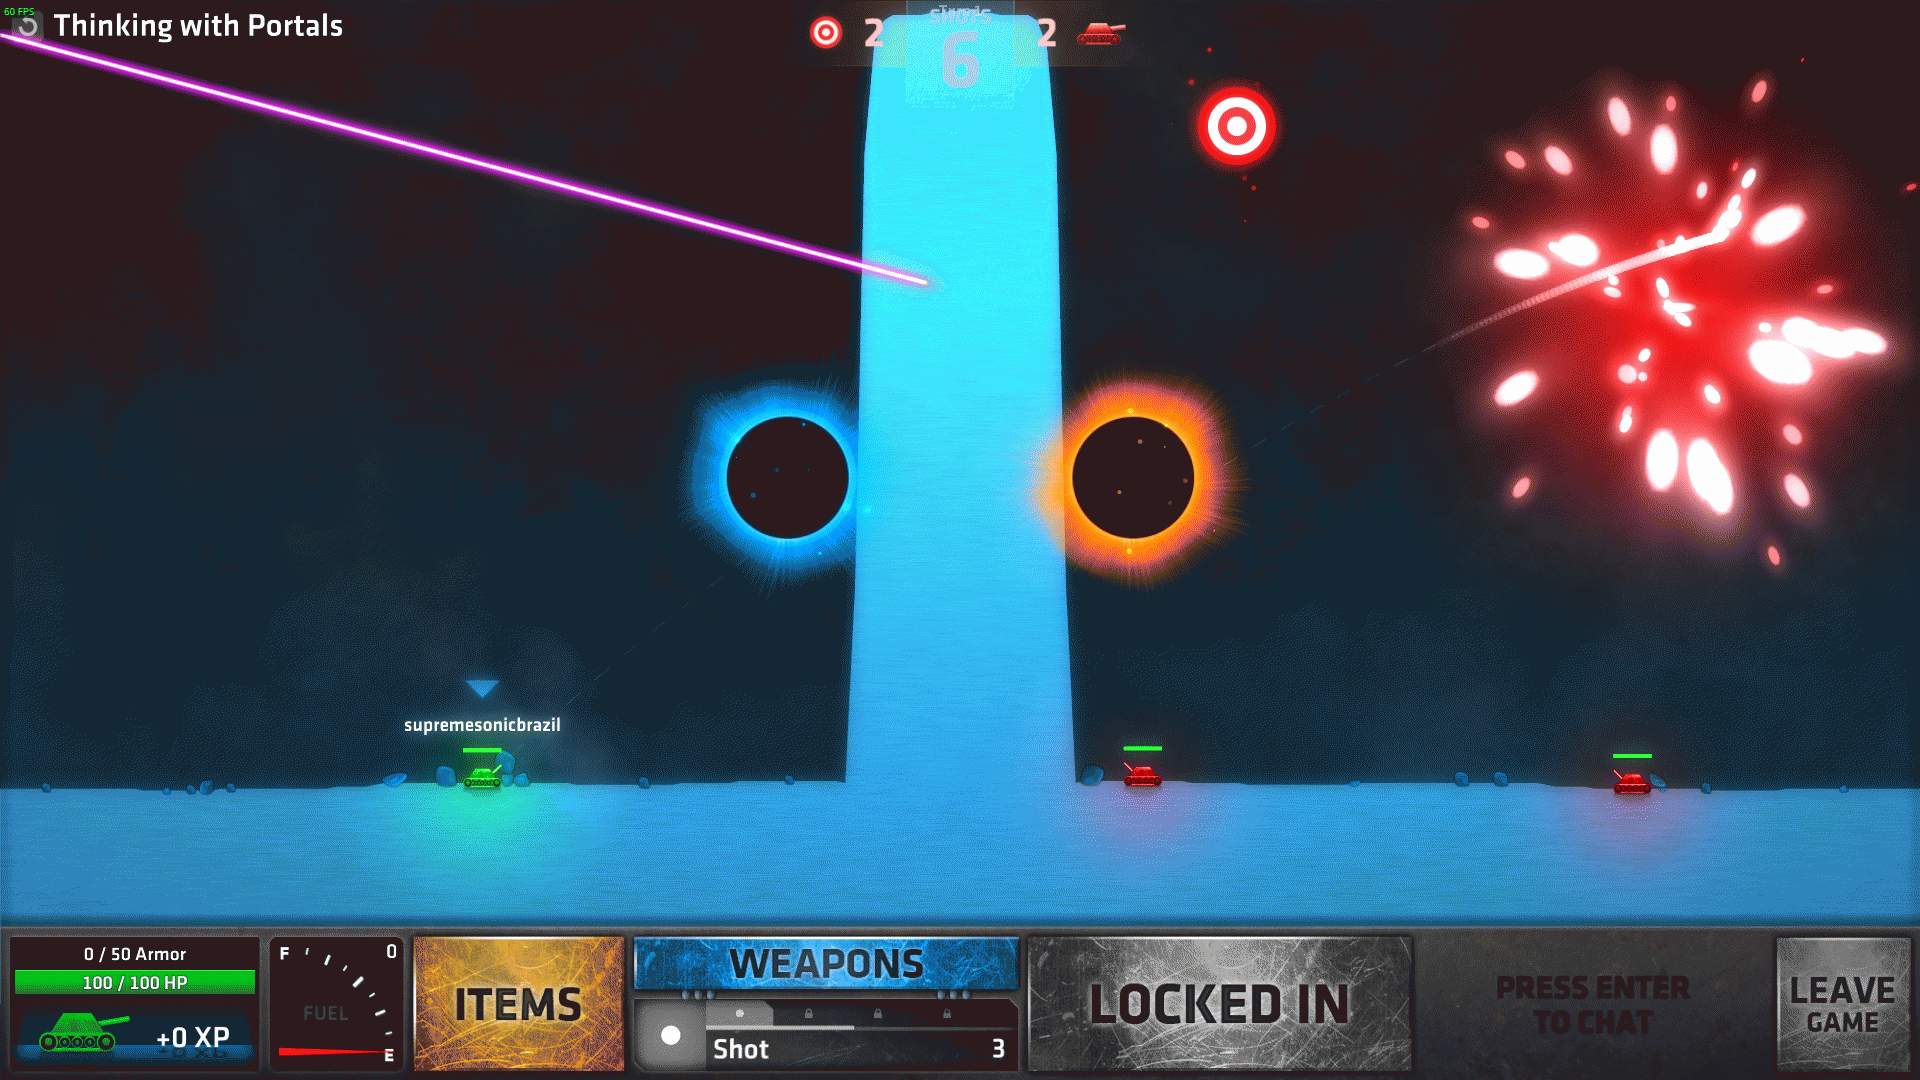
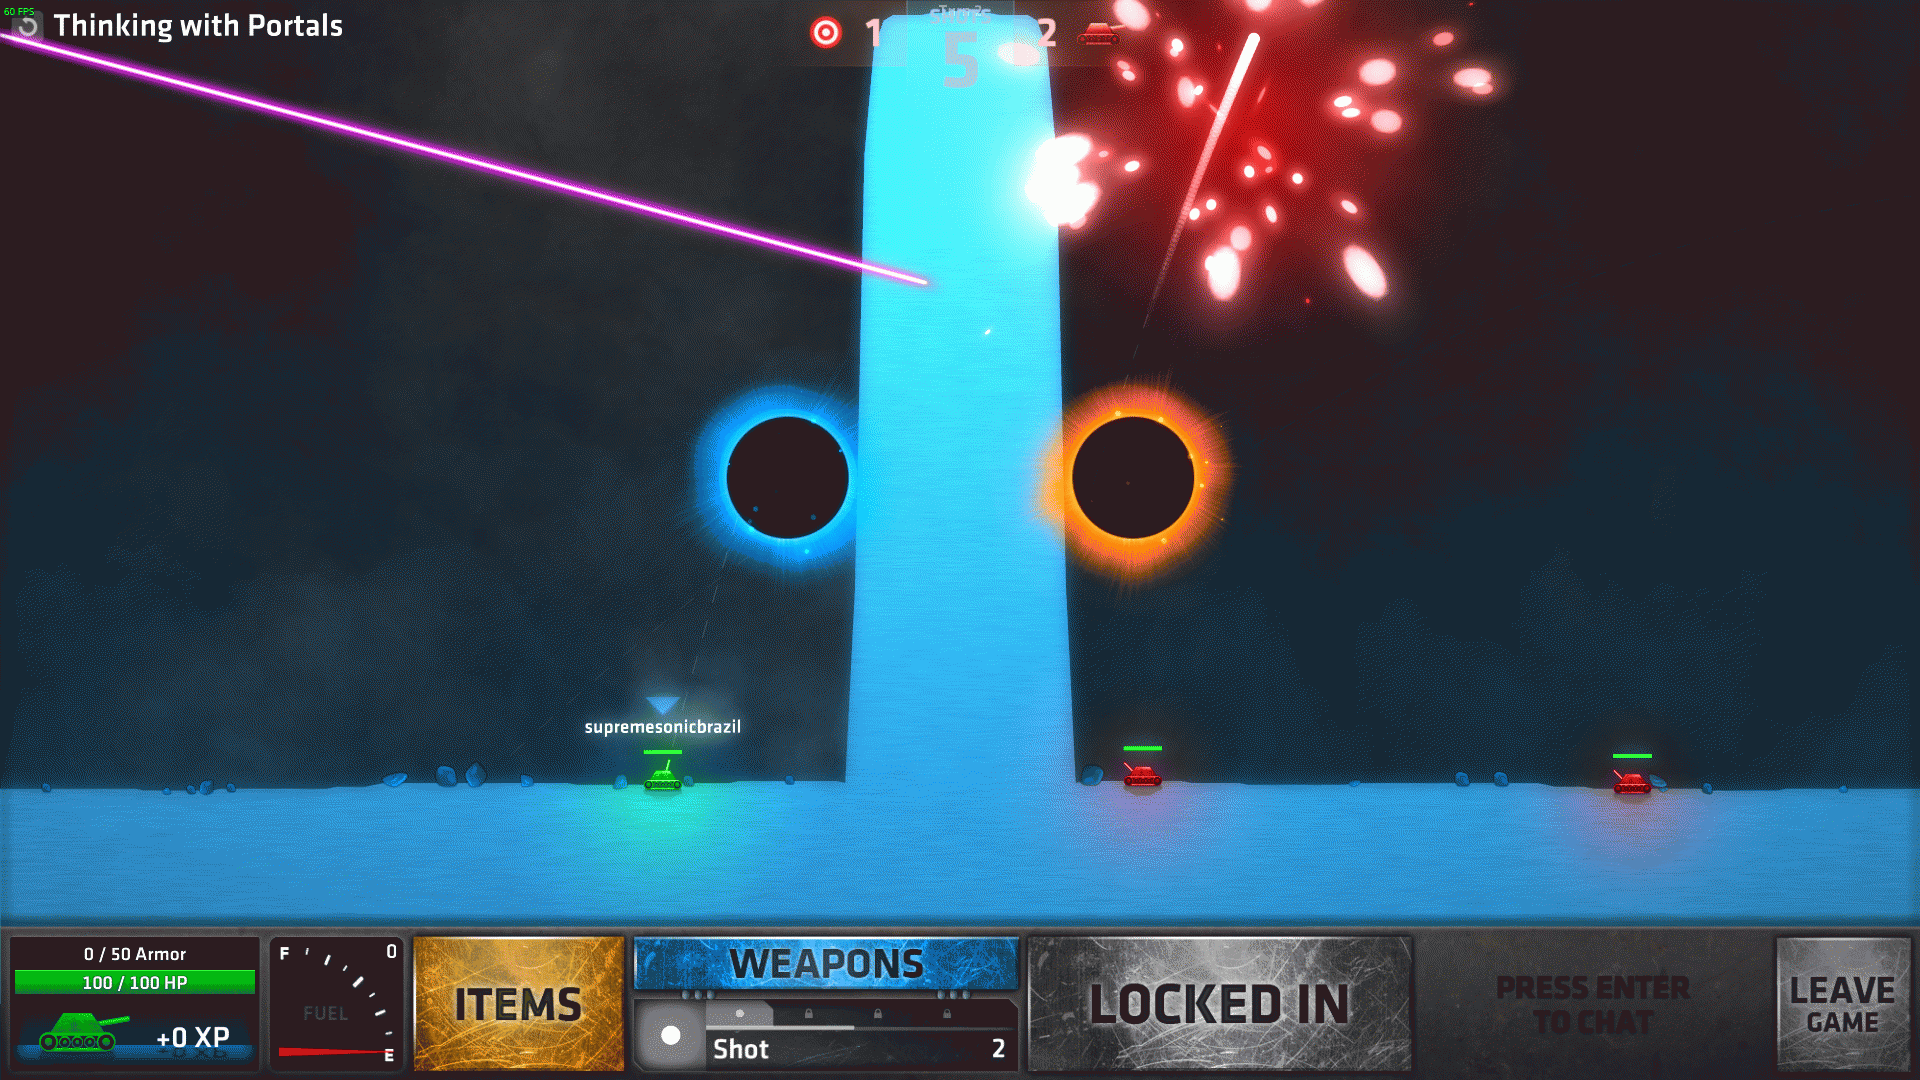
For the last AI (still keep yourself in place), aim 45º right, max force, count 15 ticks left and 45 ticks down, then fire the strongest thing you’ve got there.
————————————————————————————————————————–
Shots: Unlimited (Random)
Items: No
Fuel: 100
Enemies: 2 (150 HP each)
Targets: 0
Do I need to move?: It’s up to your strategy
I’m not THAT oldschool but I know these names are also a reference to a point-and-click game I
never played.
Angles for both bots are (from starting position):
-Sam’s angle: (86,60) left
-Max’s angle: (77,60) left

Shots: Limited (6 One-Bounce)
Items: No
Fuel: 0
Enemies: 2 (40 HP each)
Targets: 2
Do I need to move?: There’s no way to move
Aim at -45º right (45º but downwards) max force and fire two One-Bounces to kill the top AI and hit the top target. If this doesn’t happen, reset.
For the other AI, count 25 ticks left and fire. After the first shot you may have to tweak the aim so it actually hits the bot instead of hitting right above it.
If you have luck, killing the bots may also hit the targets so you don’t have to deal with them anymore. In case one of them is still there, adjust a bit your aim also using your tracer as a base to hit the remaining targets.

————————————————————————————————————————–
Shots: Unlimited (Random)
Items: No
Fuel: 100
Enemies: 2 (200 HP each)
Targets: 0
Do I need to move?: It’s up to your strategy
At the last mission of this set we have a dynamic duo! They’ll be down soon by the way.
From starting angle, and assuming they don’t get you out of position:
-Tiny’s angle: (58,60) left
-Gunner’s angle: (46,60) right
Set 4: Battle Royale (Part 1)
(Had to split this one because it’s pretty big)
Shots: Unlimited (Random)
Items: No
Fuel: 100
Enemies: 2 (200 HP each)
Targets: 0
Do I need to move?: It’s up to your strategy
Now that’s what I call a “friendo”. Such a shame he’s as dumb as the others (don’t tell this to him, he might get depressed) and sometimes your allies can end up killing you too (they don’t mean it, they’re just dumb and they need love too!).
From now on, you may have a chance of not firing first, but don’t give up. From the starting position (and assuming you are firing first):
-Stinky’s angle: (78,45) right
-Meanie’s angle: (74,45) right

Shots: Limited (1 Ghost Bomb)
Items: No
Fuel: 100
Enemies: 1 (20 HP)
Targets: 3
Do I need to move?: Don’t move!
*snort* What a silly name. *ahem*
You may think this is as easy as aiming straight up. Yeah, it ain’t, and yeah, you’ll miss the AI. Instead, aim straight up and count 5 ticks down, this way the explosion will hit the AI while hitting all the targets. Something like this.

Shots: Limited (10 – 5 Flame, 5 Napalm)
Items: No
Fuel: 100
Enemies: 2 (150 HP each)
Targets: 0
Do I need to move?: Yes
Ooh this one. I know people HATE this one. It’s difficul, it’s boring, and it will burn your patience out (pun not intended).
My fellow suggestion is, try to get close to them so these weapons get more effective, especially because of Flame’s sine-wave pattern and Napalm’s “shotgun” effect. The closer, the better.
Using Napalm, I’ve gone all the way left at the first turn and fired Napalm at a 45º angle (left)
max force, counting somewhere between 45-50 ticks down.
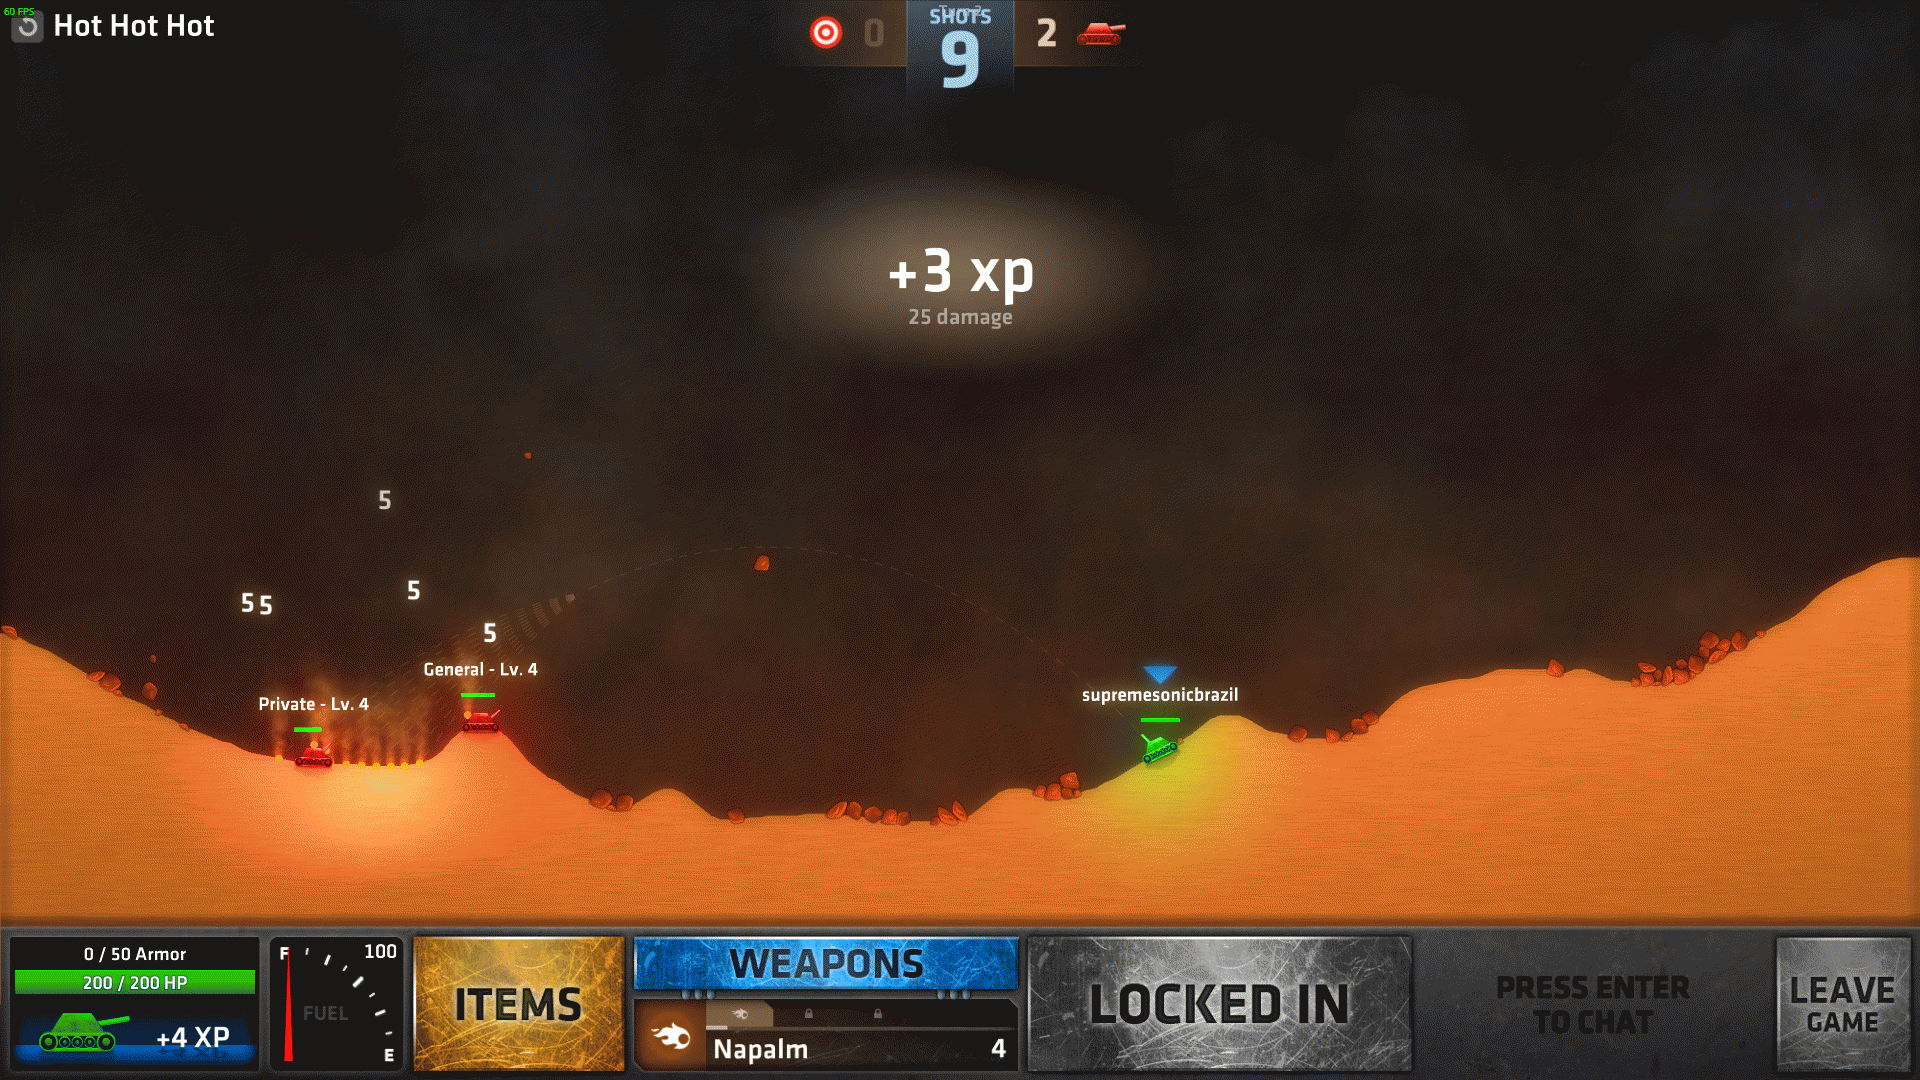
engulf the General in flames. 4 ticks up from that hits the Private.

From here on it’s just plain luck and hope they don’t fire those giant comets. Should they do that, adjust the aim and keep going.
————————————————————————————————————————–
Shots: Limited (2 Snowball)
Items: No
Fuel: 100
Enemies: 2 (20 HP each)
Targets: 2
Do I need to move?: The mountains are too steep, plus you don’t have to move
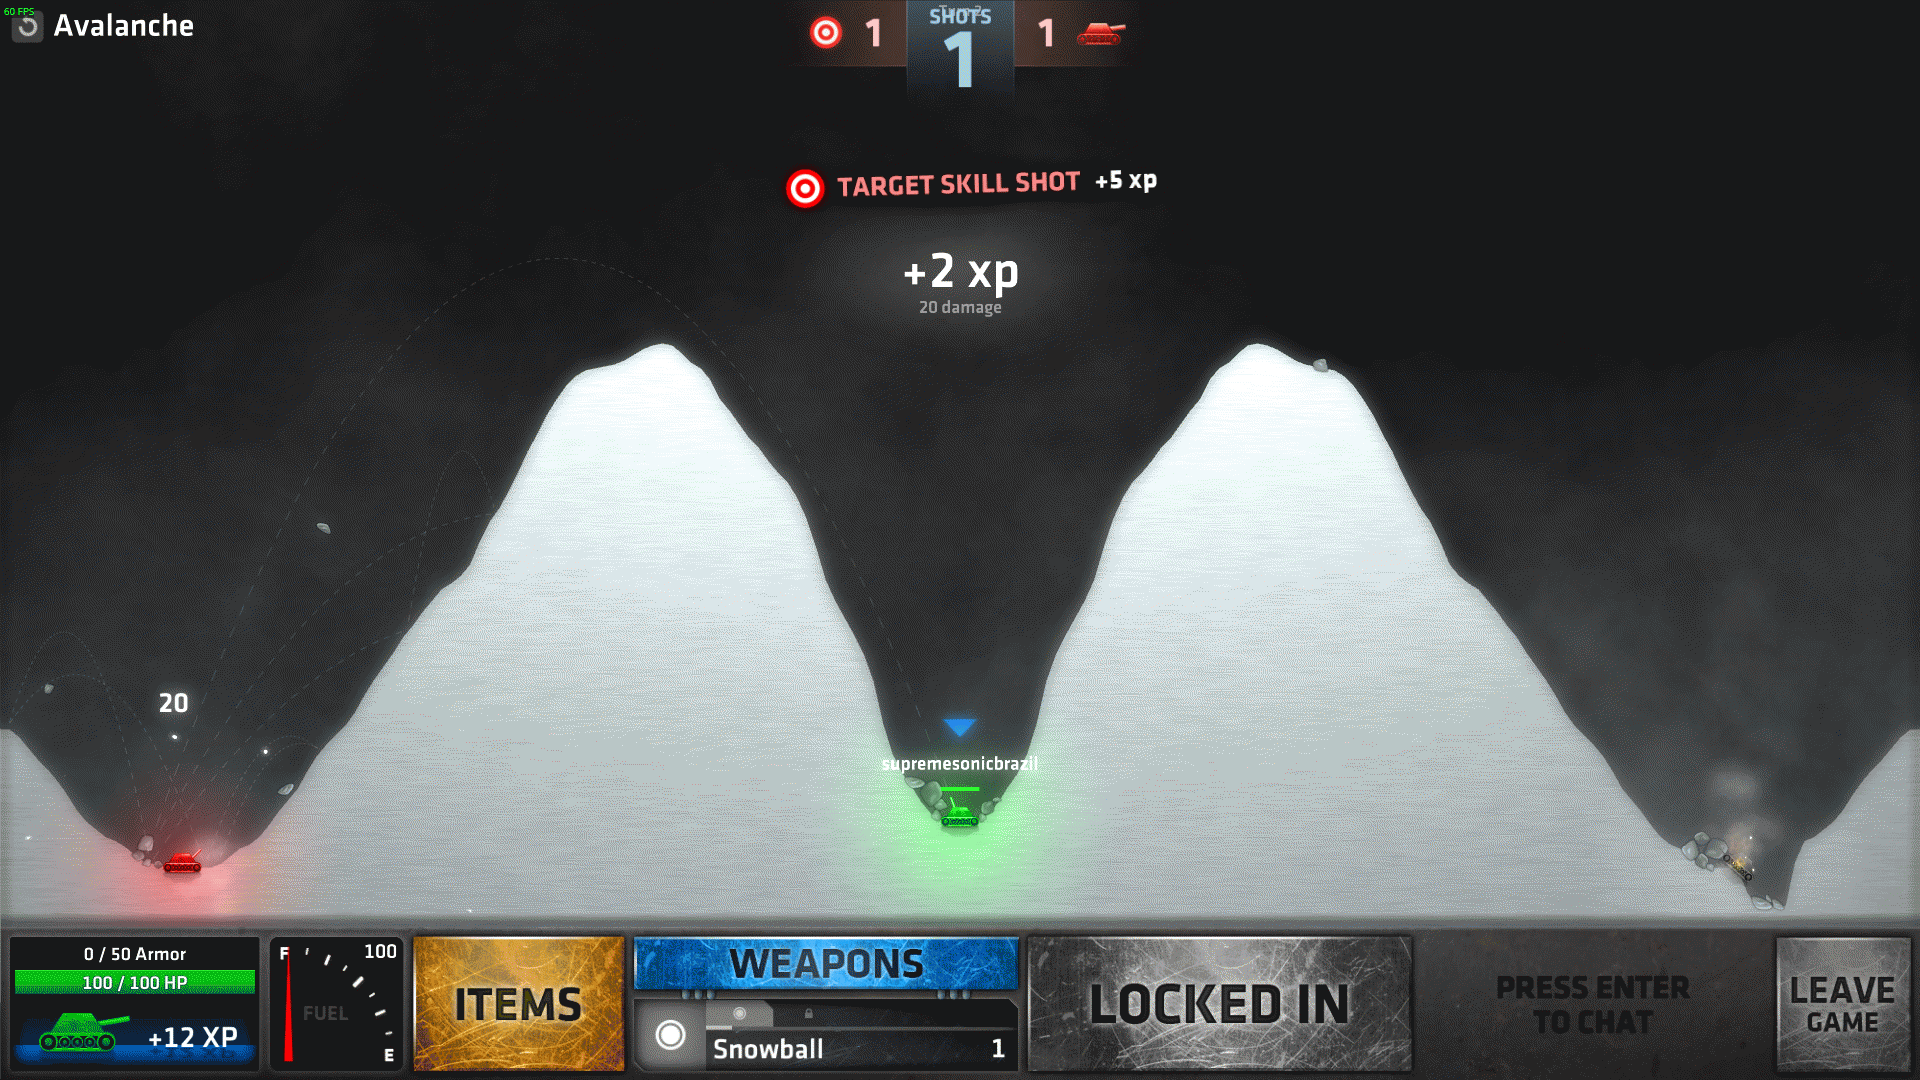
Out of the frying pan and directly into the freezer.
Another case of trial and error. First, aim straight up, then count 20 ticks right (or left) and 30 ticks down.
After you hit one, mirror the aim and hit the other one. You’re done with this one.
Shots: Limited (3 Shot)
Items: 2 Jet Pack
Fuel: 200
Enemies: 0
Targets: 2
Do I need to move?: Yes
The game now introduces items for us. Items can be used during your turn only, and they can only be acquired by those crates that drop in multiplayer or when the mission gives you a bunch, which is the situation here. Also they have limited uses, so use with caution. (good thing is, they level up too, just like weapons)
Move right until you get something around 40-50 fuel left, then use a Jet Pack to get up the cliff, then use the remaining fuel to get to the right just to be sure.
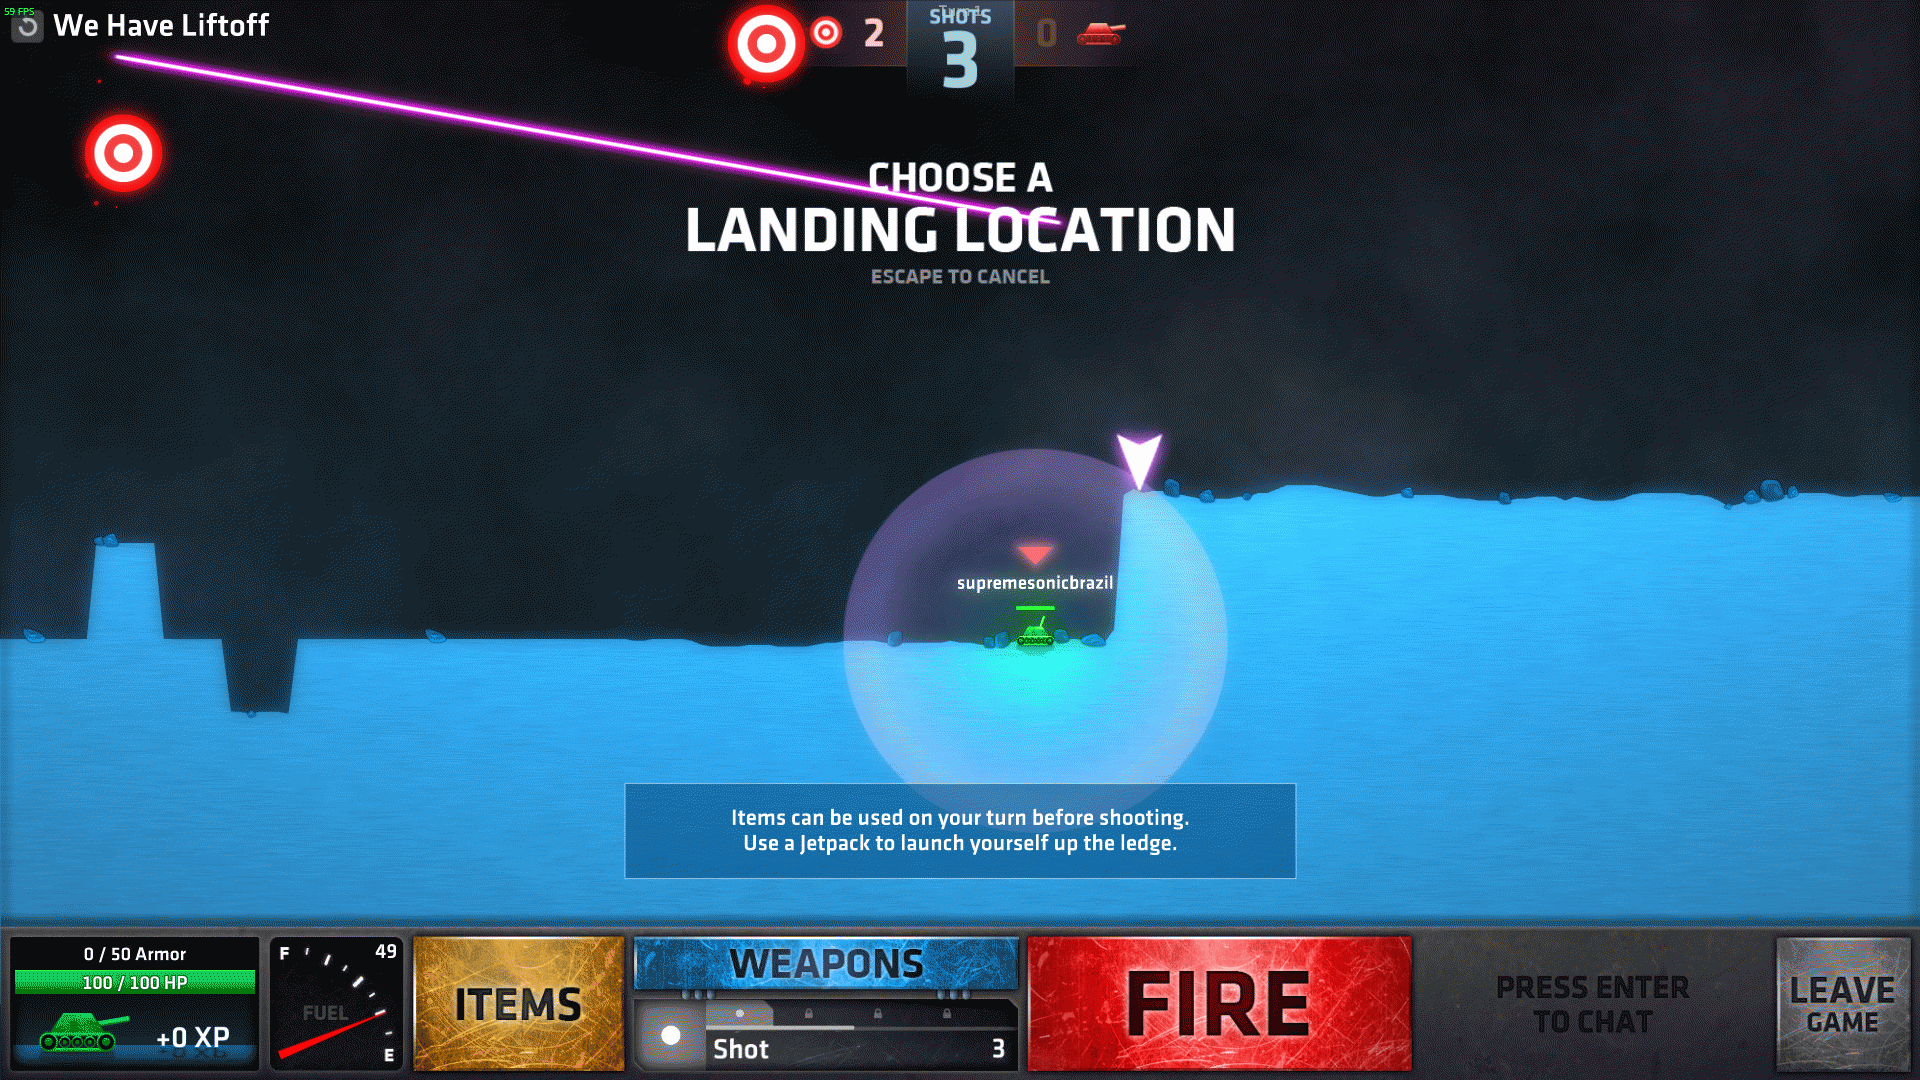
If you miss, adjust the aim slightly since wherever you land can make a bit of a difference.
Move all the way to the right again, aim 45º left max force, count 5 ticks left and fire to hit the last target.
Set 4: Battle Royale (Part 2)
(Had to split this one because it’s pretty big)
Shots: Unlimited (Random)
Items: No
Fuel: 100
Enemies: 1 (600 HP)
Targets: 0
Do I need to move?: It’s up to your strategy
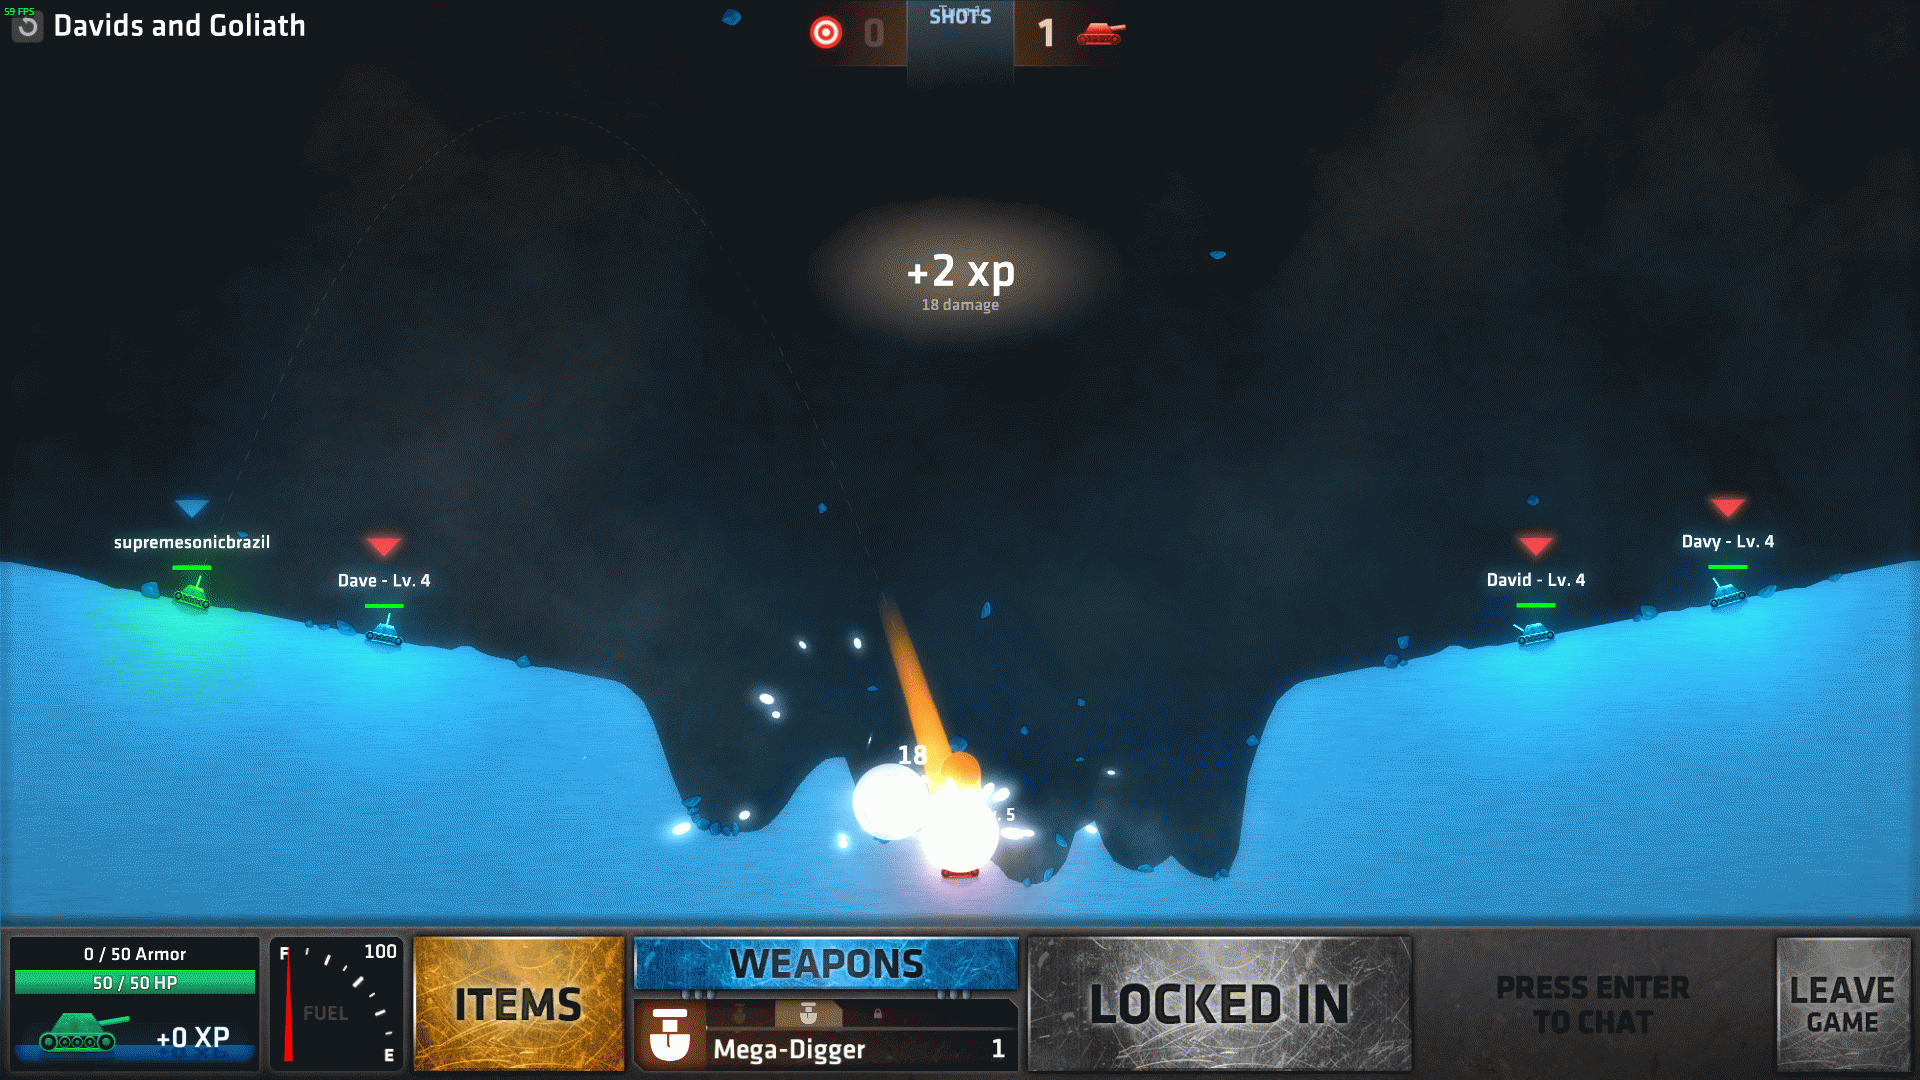
I disagree with this one. Goliath should be bigger because, you know, he’s a giant. Although that would be too gamebreaking so I understand. Either way, this one’s a tough guy to kill, so tough you had to call out lots of Davids to kill him.
This mission is set up to have Team shots, meaning your entire team will shoot at once, then the other team will do the same. (trust me, this is going to get worse)
From the starting position, Goliath’s angle is (65,70) right. Now pray that your shot gets there before anyone else’s, and have fun defeating a midget giant. *snort*
Shots: Limited (8 Stream)
Items: No
Fuel: 100
Enemies: 4 (40 HP each)
Targets: 3
Do I need to move?: Yes
EDIT: I acknowledge people are saying sometimes they can’t hit the targets, but keep in mind this level was entirely done using Stream, NOT it’s upgrades. Creek and River have a larger sine, that’s why few shots actually hit, so you might depend a bit on luck here (keep refreshing the mission until you have more Streams than Creeks/Rivers). Some instructions may work with Creek/River if you tweak the aim a tick or two, but I haven’t tested.
God, I personally hate this one. It shows you how much of a troll Stream and it’s upgrades can be. Although Creek may work too, I’m using Stream as a template.
Move all the way to the right, aim 45º right, count 15 ticks right and 40 ticks down to hit the first AI.
Count 5 ticks up to hit the left-most target.
Count 3 ticks up to kill the second AI.
Count 2 ticks up to hit the middle target.
Count 4 ticks up to kill the third AI.
Count 3 ticks up to hit the right-most target.
Finally, count 3 ticks up to kill the last bot.

Shots: Unlimited (Random)
Items: No
Fuel: 0
Enemies: 3 (50 HP each)
Targets: 0
Do I need to move?: There’s no way to move
Somebody here is a Breaking Bad fan. No, not me, the dev. I still haven’t found time to watch this one.
The trick here is: use the bumpers to your advantage (and to get more XP because why not?), especially if you have weapons that spread into multiple shots. If you’re lucky they might kill themselves in the process.
Enemies’ angles are:
-Walt’s angle: (60,75) right
-Gus’ angle: (97,75) right
-Jesse’s angle: I couldn’t find a good angle, but the closest I got was firing through the small hole right next to you at (100,8) right, it might help if you get high-range weapons.

Shots: Limited (4 – 3 Flattener, 1 Shot)
Items: No
Fuel: 100
Enemies: 0
Targets: 1
Do I need to move?: No
Was I the only one who thought about Pink Floyd?
Aim 0º right, max force (level the aim using the ground since the actual aim isn’t really visible), count 2 ticks left and fire a Flattener so the wall completely
disappears. Next, count 3 ticks left and fire another Flattener to get rid of the second wall. Count 3 more ticks left and fire the last Flattener to make the last wall
go away. Now it’s pretty easy. Count 20-22 more ticks left and fire your last Shot to hit the target.

Shots: Unlimited (Random)
Items: No
Fuel: 100
Enemies: 1 (500 HP)
Targets: 0
Do I need to move?: Definitely yes
Here’s another boss, and this one will be quite a pain in the neck. He’s smarter than other bots since he can teleport at will. Well, good luck again friendo.
To get a head start, Houdini’s angle is (57,45) right. Move if necessary and battle ’til there’s only one left (hope it’s you).
Set 5: Armored Fury
Shots: Limited (3 Digger)
Items: No
Fuel: 100
Enemies: 0
Targets: 3
Do I need to move?: No
Ah, this one is famous among the players, lots of trial and error, and no loot. Shame. Having Mega-Diggers at this point may help, use them if available.
You can do the following in any order you want:
-Left target: aim straight up, count 7 ticks left and 2 ticks down, then fire
-Middle target: aim straight up, count 6 ticks right and 2 ticks down, then fire
-Right target: aim straight up, count 9 ticks right and fire

Shots: Limited (3 Three-Ball)
Items: No
Fuel: 20
Enemies: 0
Targets: 5
Do I need to move?: No
This one can be pretty tricky due to Three-Ball’s upgrades, so I’ll say different ways to finish this one.
Assuming you have all shots as Three-Balls:
Aim straight up, go 5 ticks right and 10 ticks down, then fire to hit two targets. Go 3 ticks right and fire again to hit the right target that got left alone. Then, aim straight up again, go 15 ticks left and 20 ticks down, then fire to hit the remaining targets.
Here’s a technique that uses 2 Five-Balls:
Do the same first shot from Three-Ball stated above. You’ll end up hitting 3 of the targets. Then, go 9 ticks left and fire again.


Shots: Unlimited (Random)
Items: No
Fuel: 0
Enemies: 2 (200 HP each)
Targets: 0
Do I need to move?: There’s no way to move
Do I smell a Lion King reference? Maybe I’m getting crazy, who knows…
Enemies’ angles are:
-Scar’s angle: (77,75) left
-Bruise’s angle: (77,75) right

Shots: Unlimited (Random)
Items: No
Fuel: 100
Enemies: 3 (200 HP each)
Targets: 0
Do I need to move?: It’s up to your strategy
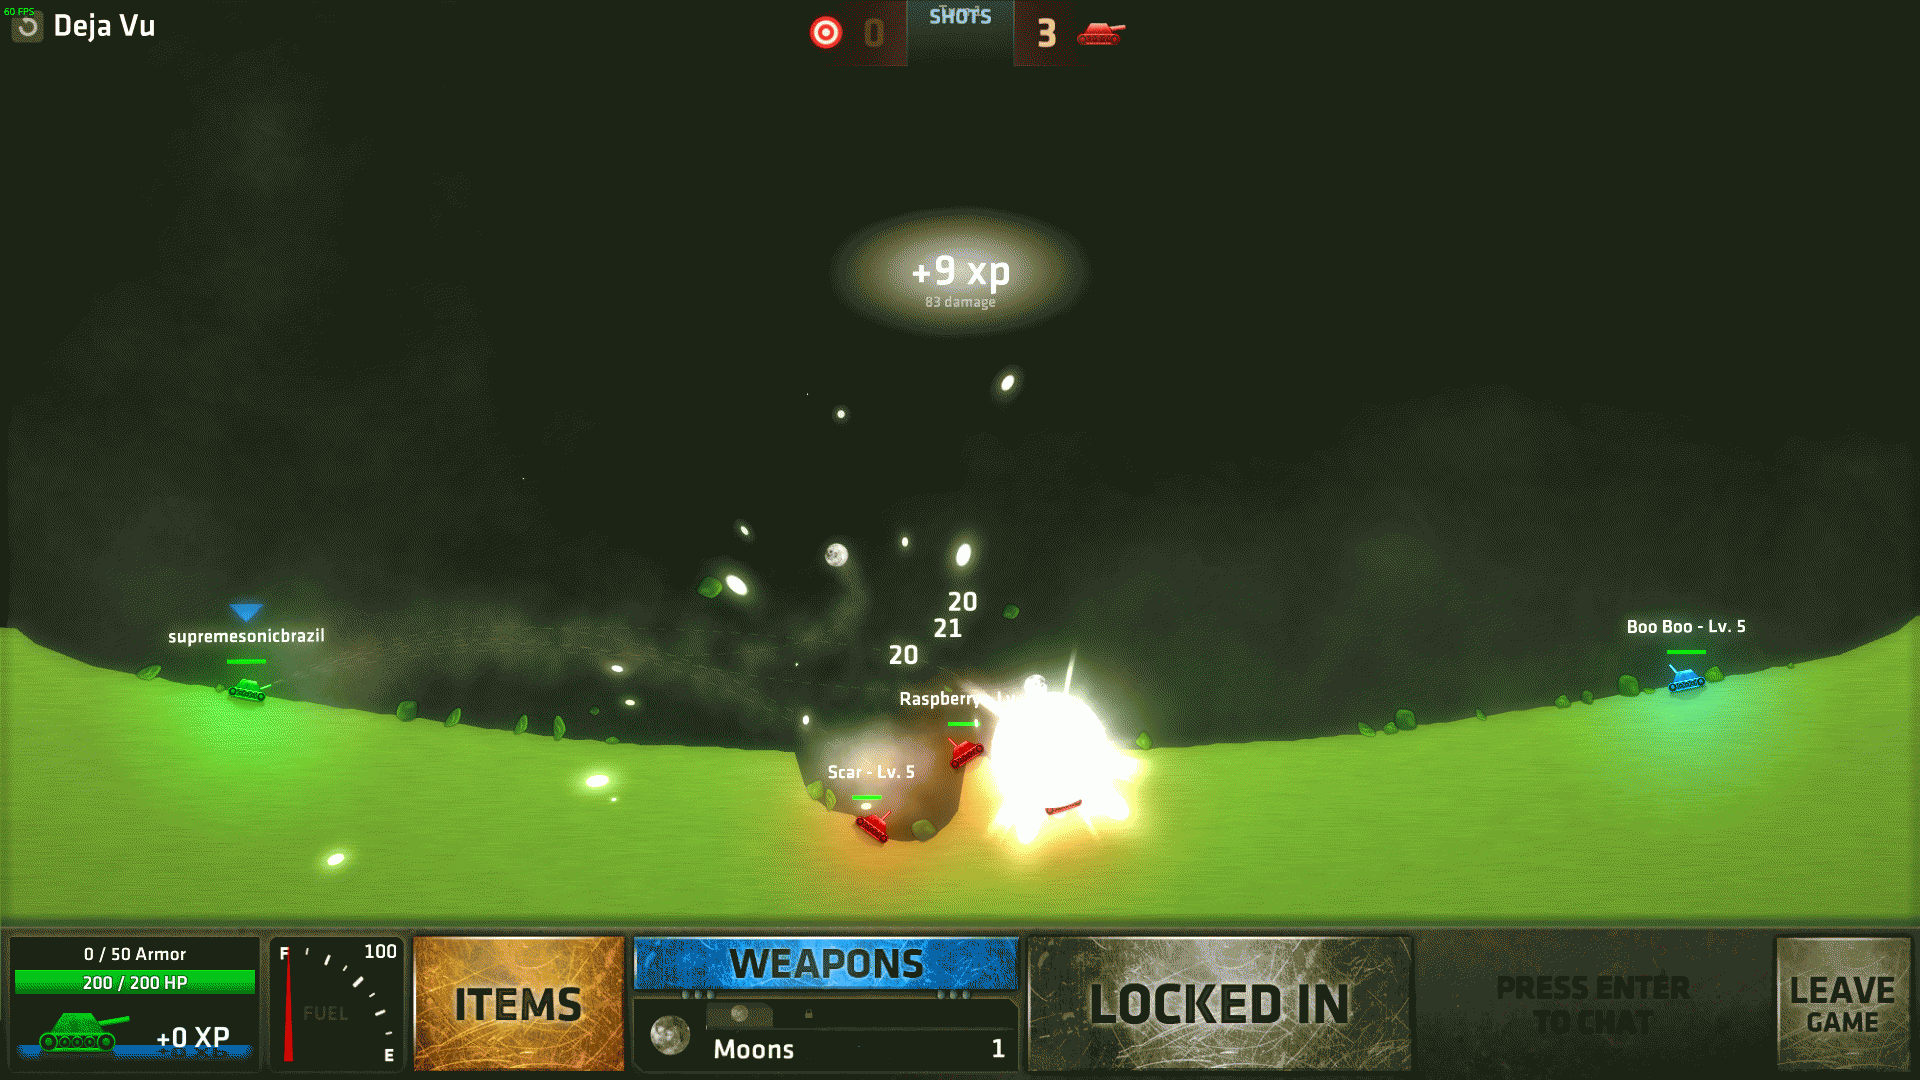
Deja vu indeed. Except for that Raspberry wannabe. Well at least you can move now.
Enemies’ angles are:
-Scar’s angle: (48,30) right
-Raspberry’s angle: (52,30) right
-Bruise’s angle: (56,30) right
Shots: Limited (4 Twinkler)
Items: No
Fuel: 100
Enemies: 2 (20 HP each)
Targets: 2
Do I need to move?: No
I personally don’t like this weapon very much but depending on the right angle it helps a bit.
First we’ll get the two targets. Aim at 45º right (or left), max force, count 5 ticks right (or left) and fire. Then mirror the shot to get the other target.
Now to the AIs. Aim straight up, count 3 ticks right (or left) and fire, then mirror the shot.

————————————————————————————————————————–
Shots: Unlimited (Random)
Items: No
Fuel: 100
Enemies: 1 (400 HP)
Targets: 0
Do I need to move?: No
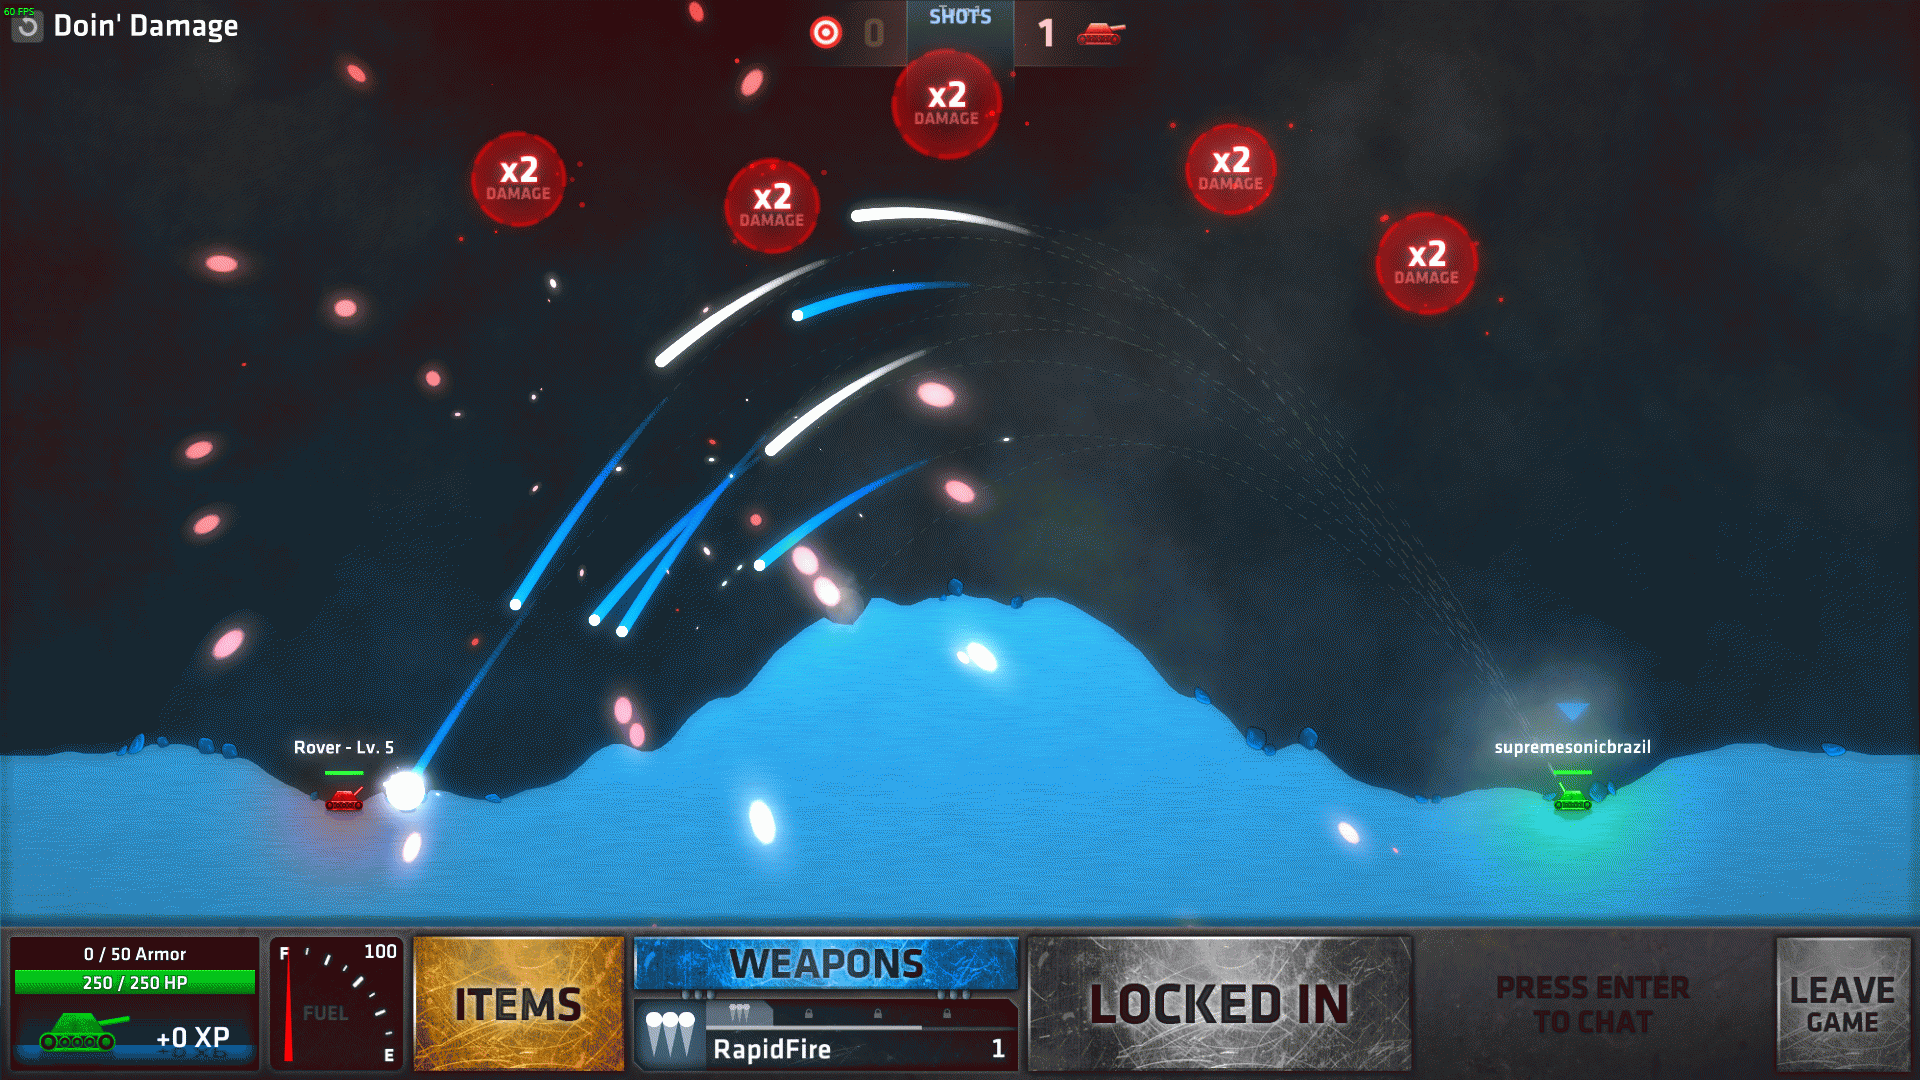
So many x2 circles… it’s beautiful. Don’t worry and go full trial and error ahead, some good coordinates (all to the left of course) are:
-90,70 (grabs 2 circles but has to be a high-range weapon instead it’ll miss, depending on the weapon you may get 3 or 4 or even more)
-75,60 (up to a x6 Sniper if you manage to get one at the start)
-70,45 (gets x4 but Sniper will surely miss, use this with Shot or something bigger)
————————————————————————————————————————–
Shots: Limited (5 Tunneler)
Items: No
Fuel: 50
Enemies: 50
Targets: 2
Do I need to move?: No
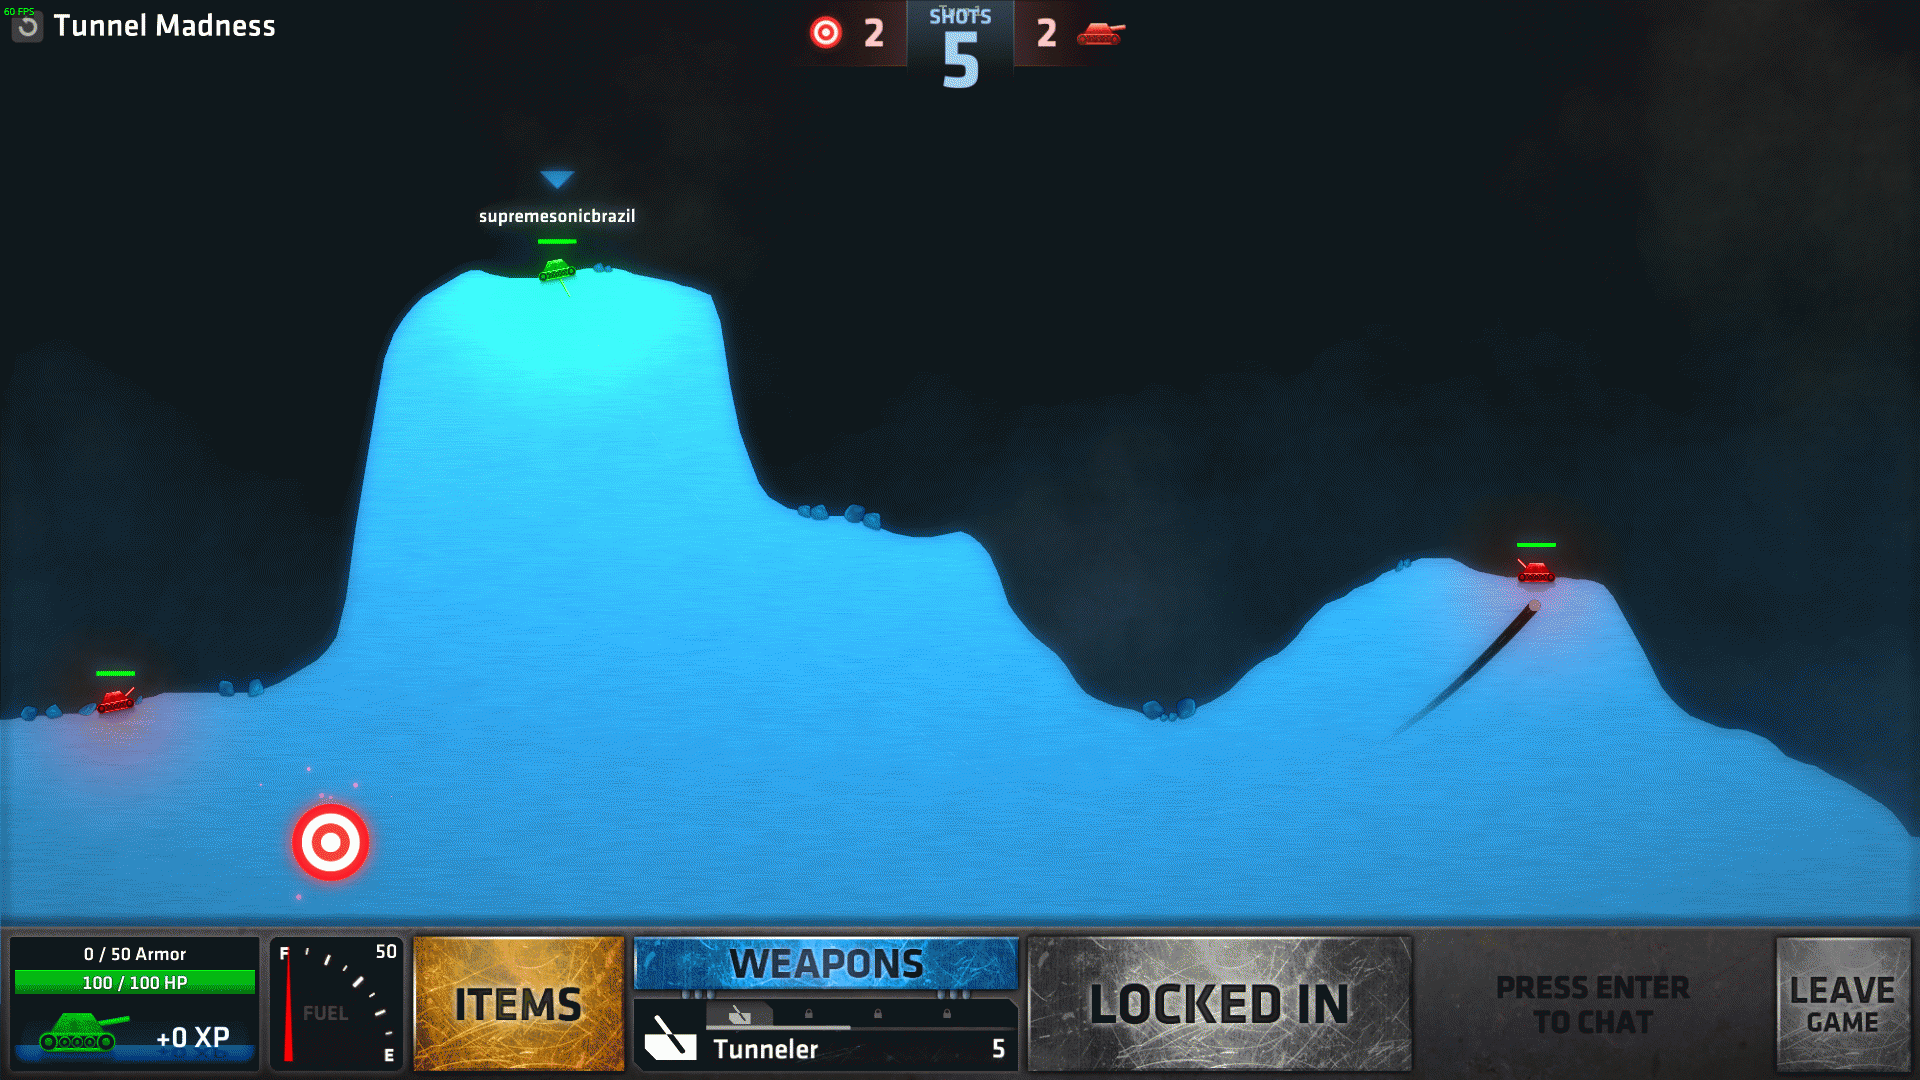
This is another one which will make you use angles that you almost never use.
Going from left to right, aim straight down, go 15 ticks right (which will make the aim go LEFT) and 35 ticks down, you’ll hit the left target and deal damage to the left AI. Add 5 ticks up to finish him.
Aim straight down again, go 30 ticks left (which will make the aim go RIGHT) and 27 ticks down to hit the right target and the right AI. Fire twice to finish him.
————————————————————————————————————————–
Shots: Unlimited (Random)
Items: 1 Shield
Fuel: 100
Enemies: 4 (100 HP each)
Targets: 0
Do I need to move?: It’s up to your strategy
Here we are again. Random bots, kill them all, you know the drill. This time you’ve got a Shield on your item list, use it if you’re near death or however you prefer.
It’ll block shots completely for some time.
Enemies’ angles are:
-Harvey’s angle: (65,70) left
-Wally’s angle: (38,45) left
-Joey’s angle: (60,75) right
-Ronnie’s angle: (65,60) right

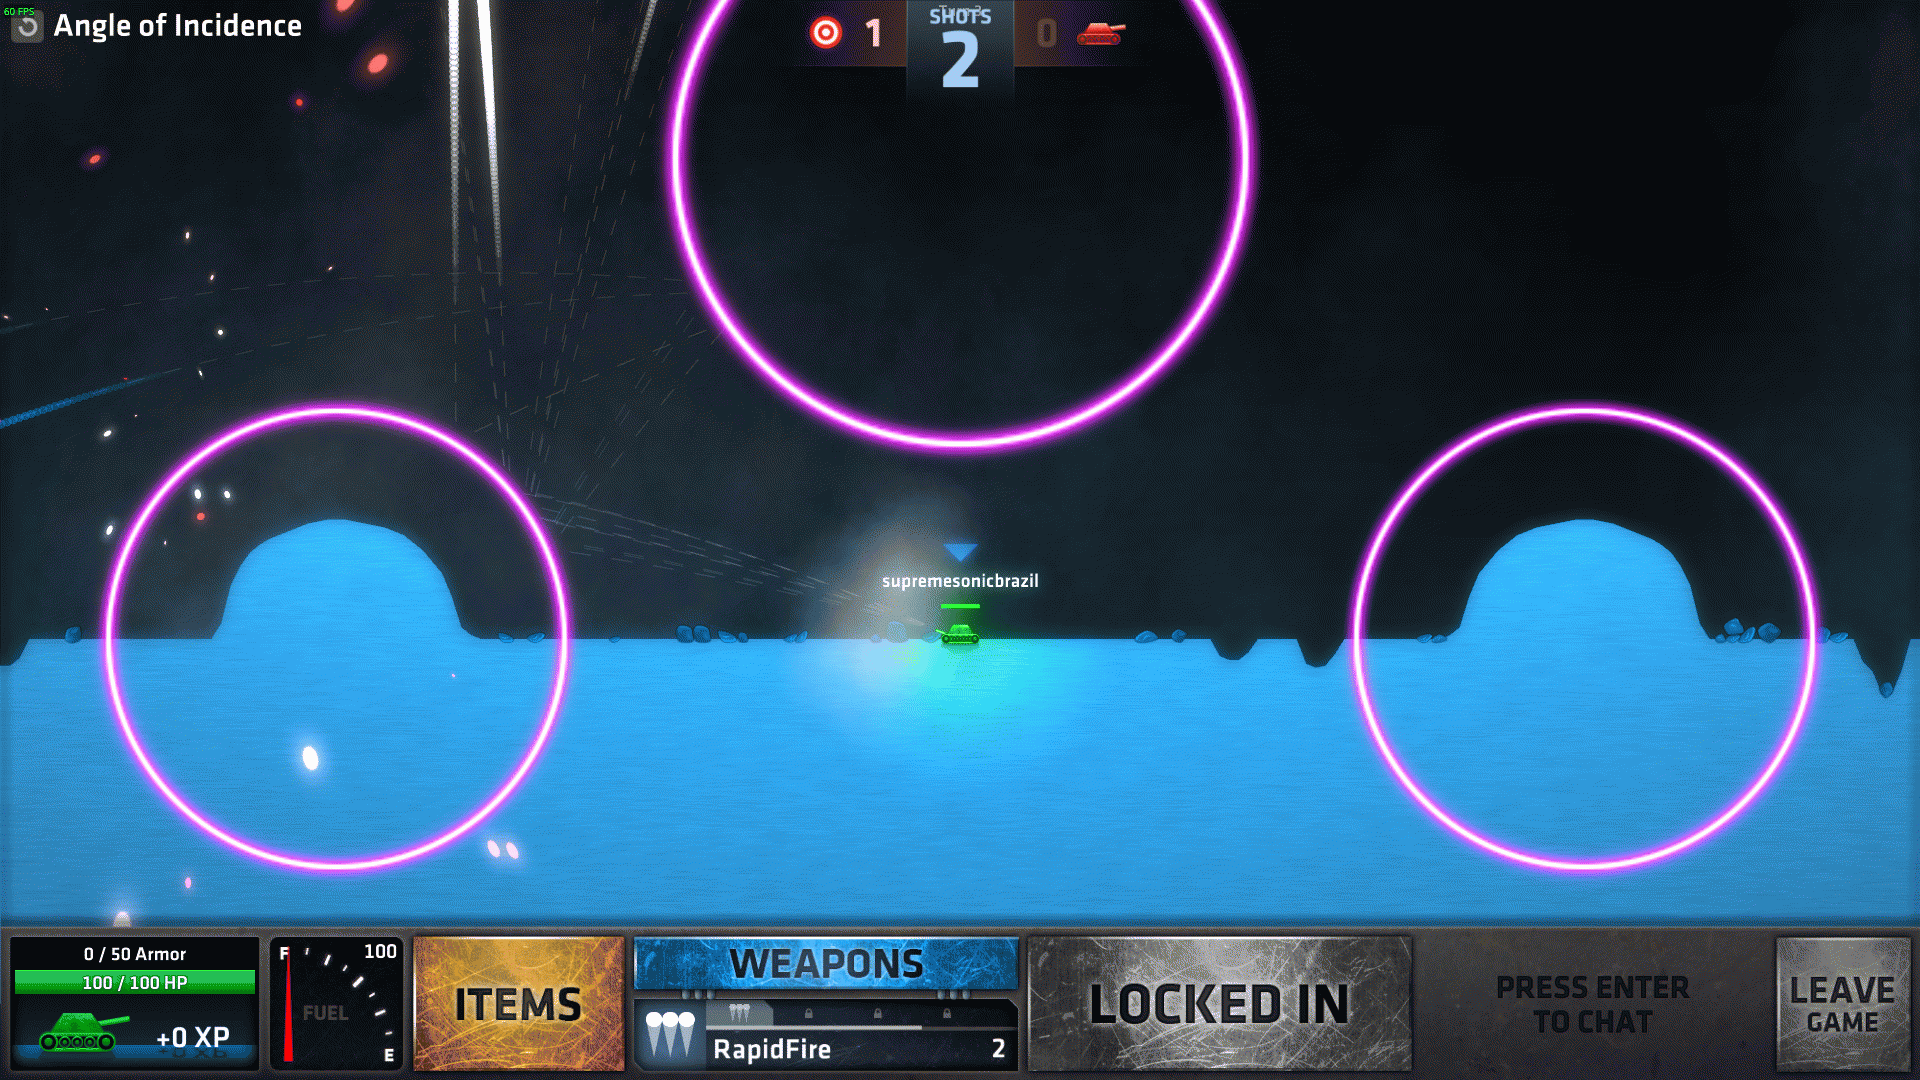
Shots: Limited (4 Rapidfire)
Items: No
Fuel: 100
Enemies: 0
Targets: 4
Do I need to move?: No
This one nedds a bit of luck since Rapidfire has a bit of randomness in each shot, so the angles are never exact.
I find it easier doing it without moving by aiming straight right, then going 20 ticks left and firing until all the targets are clear at one side, then mirroring the shot later.
————————————————————————————————————————–
Shots: Unlimited (Random)
Items: No
Fuel: 100
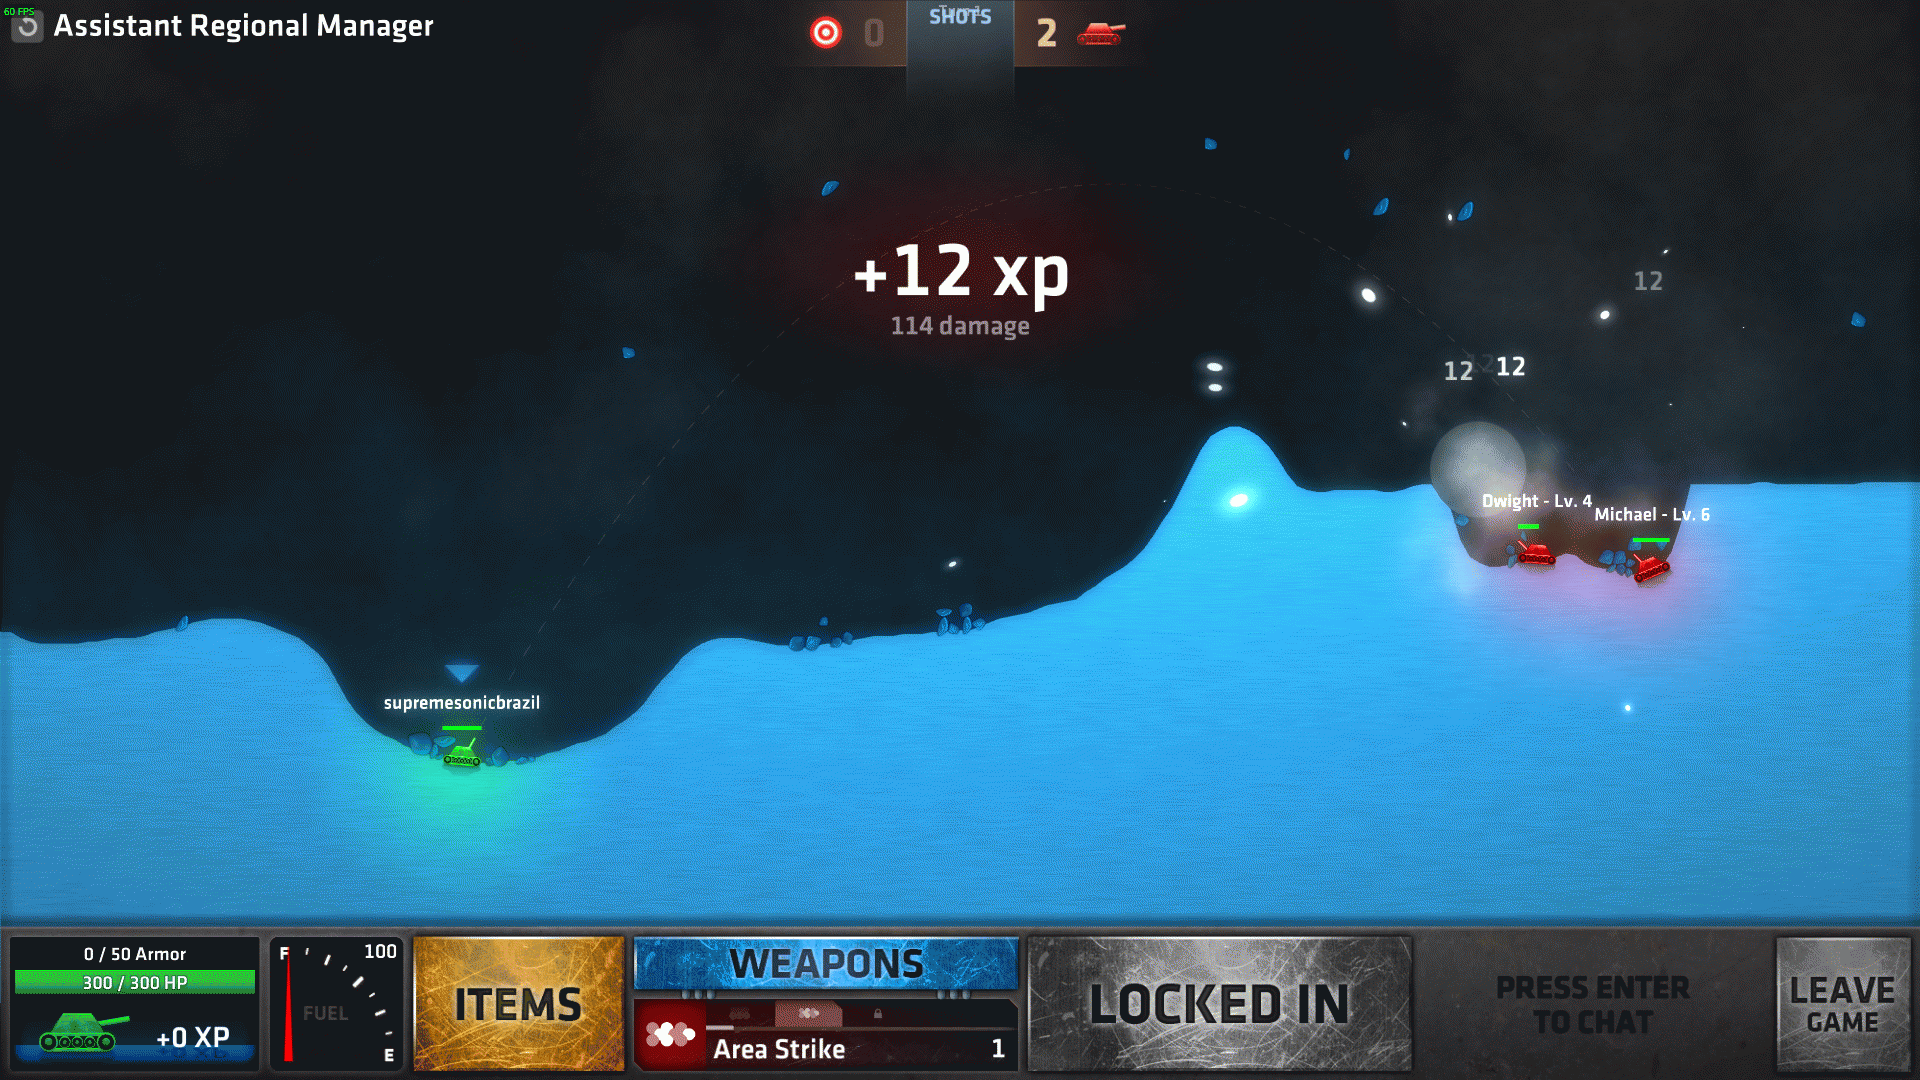
Enemies: 2 (Dwight – 200 HP, Michael – 400 HP)
Targets: 0
Do I need to move?: It’s up to your strategy
I’d like to understand that title, but I can’t. And I swear I’ve tried.
EDIT: It’s a reference to the show The Office as people said in the comments, however I don’t watch it.
Enemies’ angles are:
-Dwight’s angle: (76,60) right
-Michael’s angle (79,60) right
Set 6: Lone Wolf
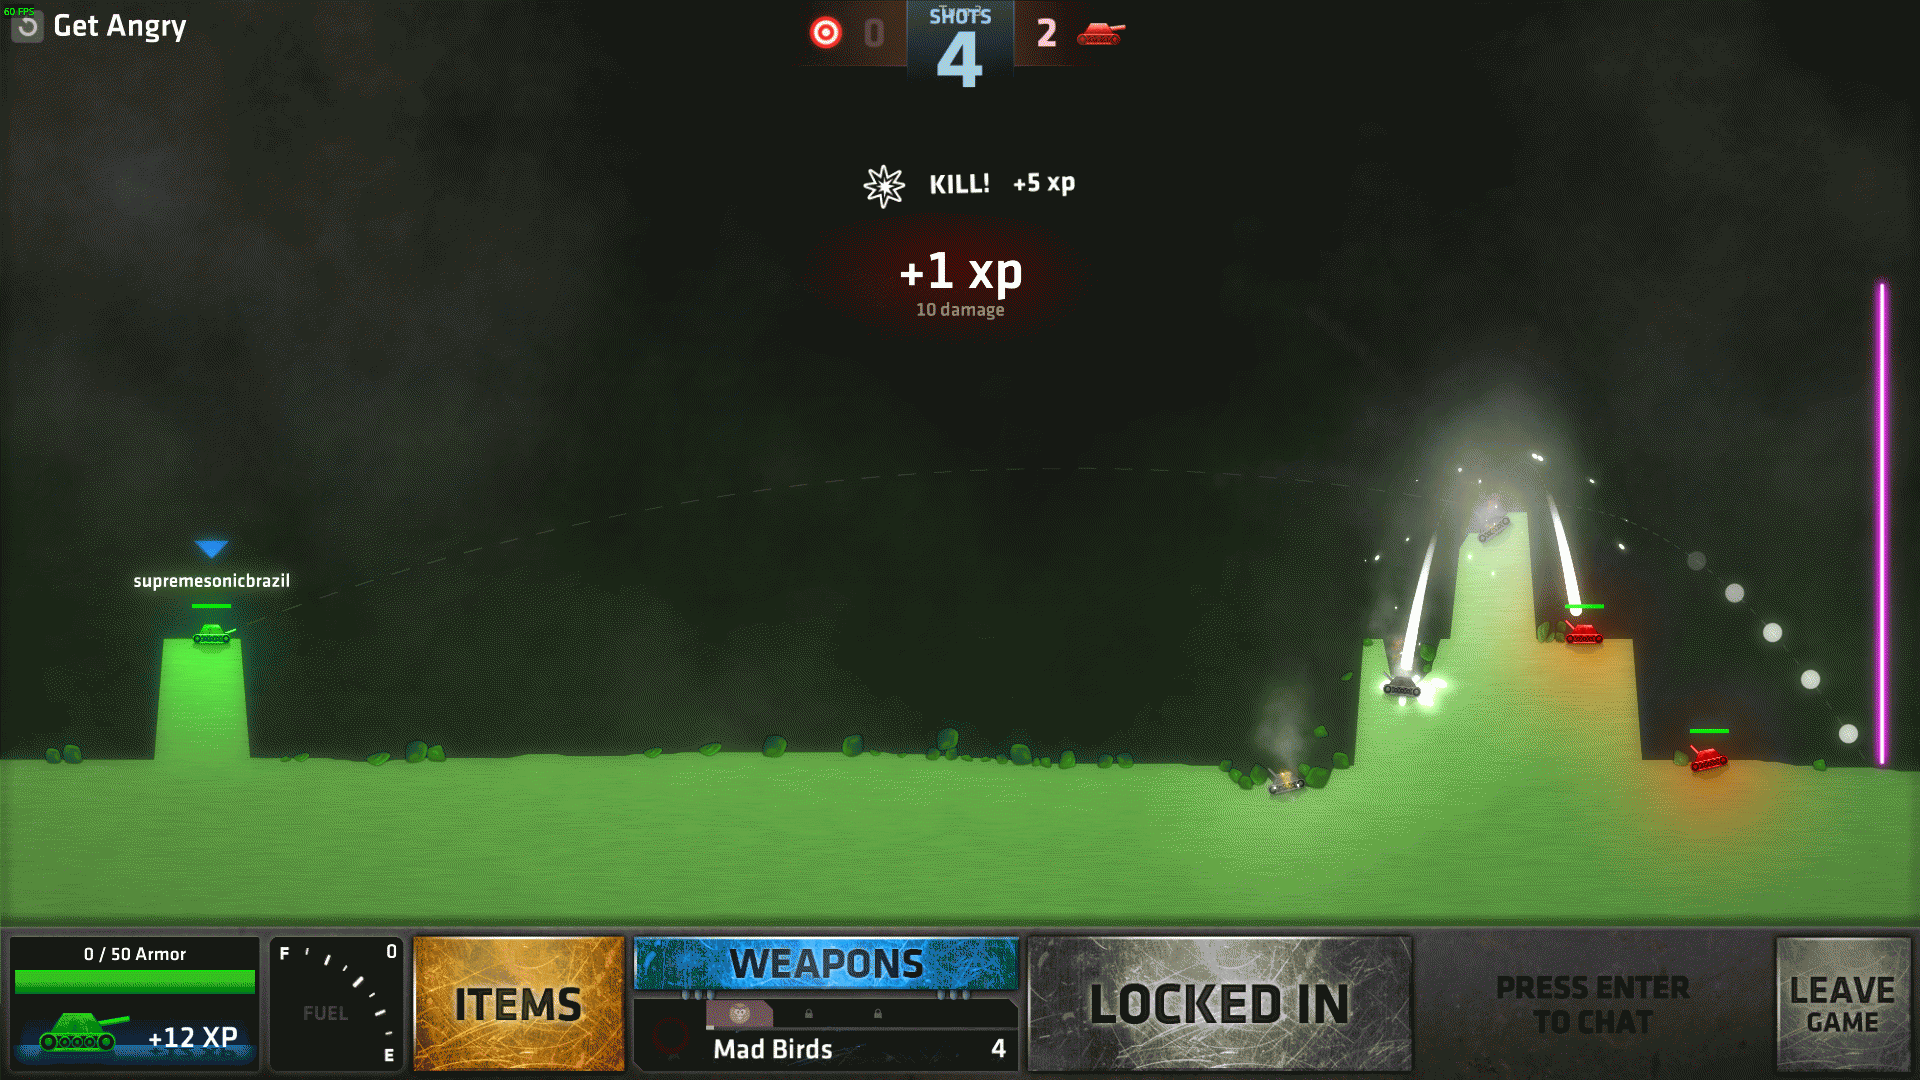
Shots: Limited (6 Mad Birds)
Items: No
Fuel: 0
Enemies: 5 (10 HP each)
Targets: 0
Do I need to move?: There’s no way to move
Oh haha, nice one. Don’t remember this in SSL2 though.
Aim straight right, go 5 ticks left and fire to knock the first one out.
Go 9 ticks left to hit the second one, then 7 more ticks left for the third one. Here if you get lucky the shots from the top one will kill the lower ones.
For the last 2 ones (if they haven’t been hit) we’ll be using the bumpers. 5 ticks left to hit the fourth one, then you go 10 ticks DOWN to hit the last one.
————————————————————————————————————————–
Shots: Limited (3 Ghost Bomb)
Items: No
Fuel: 100
Enemies: 4 (20 HP each)
Targets: 0
Do I need to move?: No
Ghost Bomb is one of my favorites, and here it is, ready to be used. Since it’s range is massive it gets way easier, but I’ll spot the exact points anyway.
You can aim straight up and go 9 ticks left, the bomb will hit exactly in the middle of both AIs and deal a double kill. Then get straight up again and go 6 ticks right to deal another double kill.

Shots: Unlimited (Random)
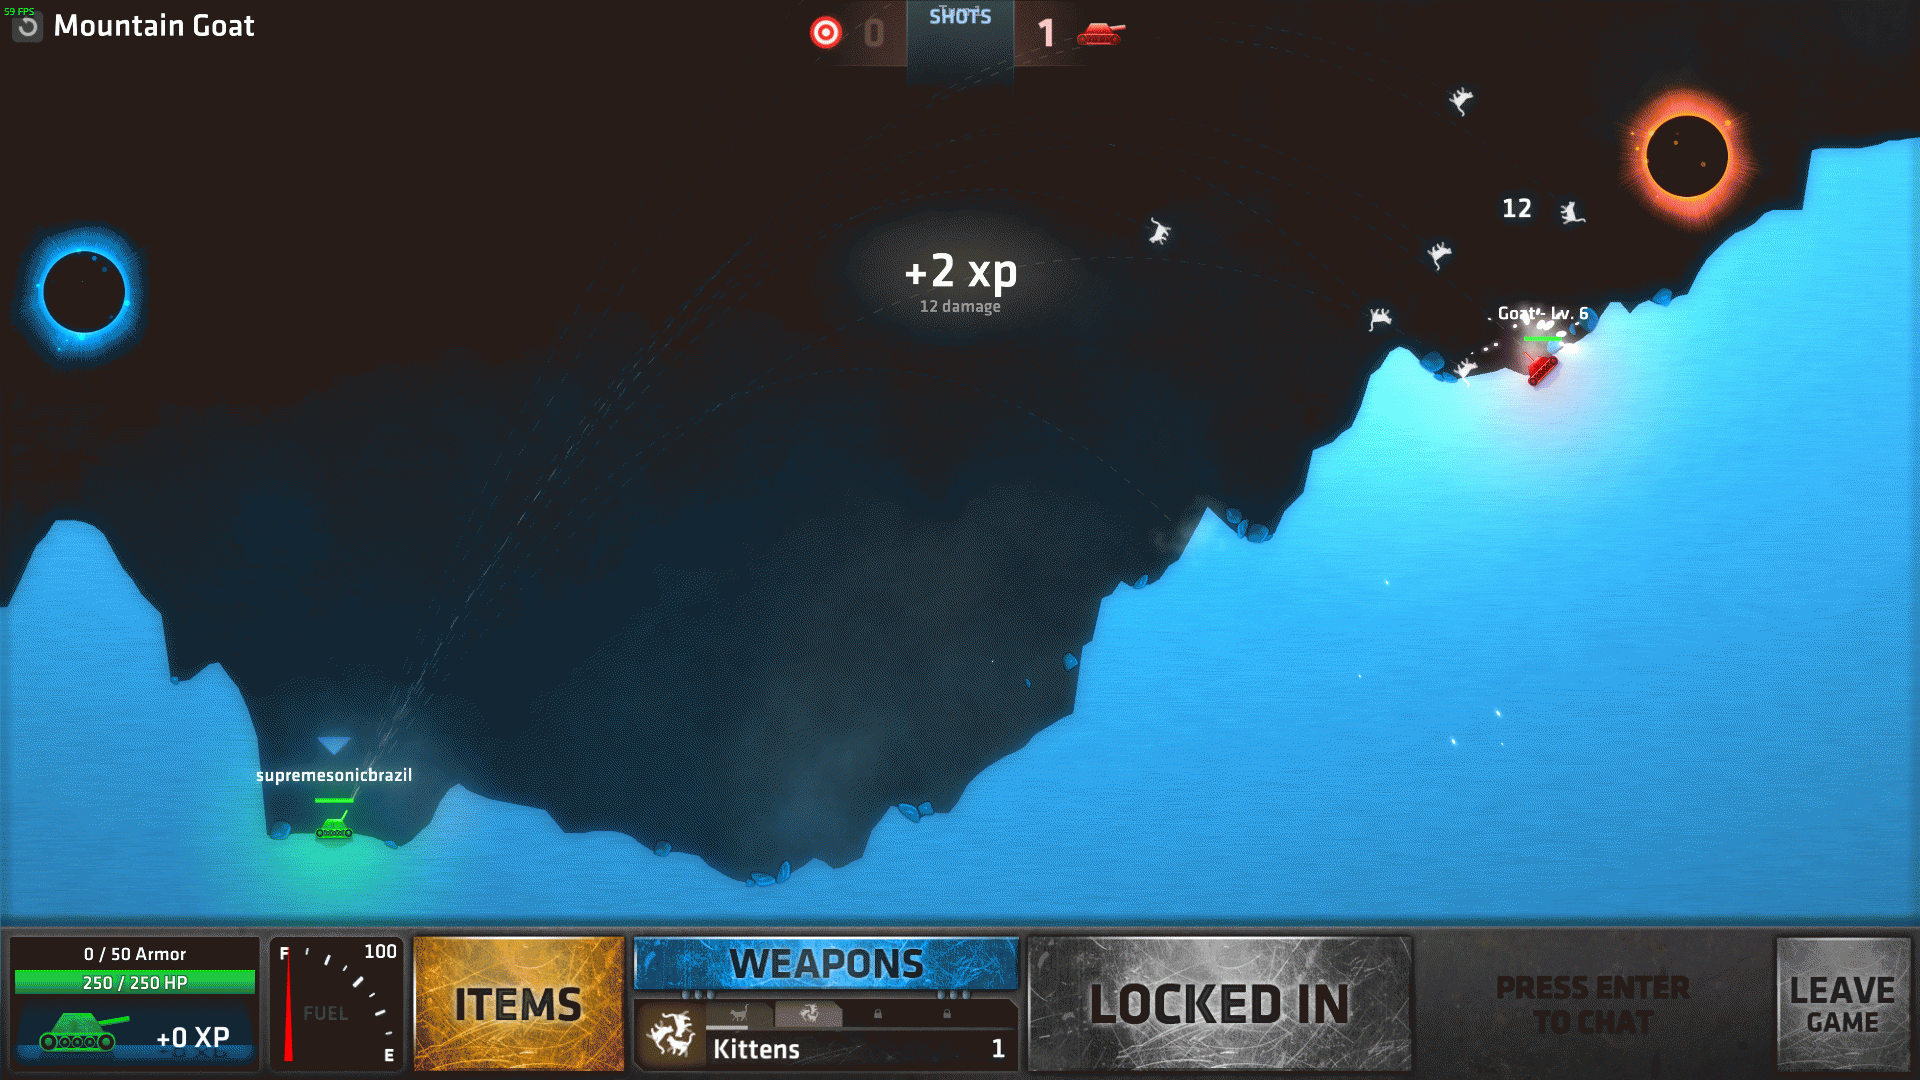
Items: No
Fuel: 100
Enemies: 1 (350 HP)
Targets: 0
Do I need to move?: It’s up to your strategy
Who knew goats could also be arseholes in a tank fight?
The “goat”‘s exact angle is (84,60) right (originally was 85,60 but Sniper-sized shots will miss if set that way), so fire at will and make a barbecue out of it.
————————————————————————————————————————–
Shots: Limited (2 Tunneler)
Items: No
Fuel: 100
Enemies: 2 (20 HP each)
Targets: 0
Do I need to move?: No
You’ll have to make a “perfect” sinewave using those Tunnelers. Aim straight up, then go 5 ticks right (or left) and 5 ticks down, then fire and watch it go high and low, then killing your target. Mirror the shot (go 10 ticks to the other side, or aim straight up and go 5 ticks in the opposite direction) after that and you’re done.

————————————————————————————————————————–
Shots: Unlimited (Random)
Items: No
Fuel: 100
Enemies: 1 (220 HP)
Targets: 0
Do I need to move?: Recommended, since you can get on a hole
We have a skilled guy here, he can use shields at will to reflect your shots.
To get a head start, aim at (80,70) right. If you have a Sniper it will be way easier during the match. Move at will too, you might get trapped and that’s no good.

————————————————————————————————————————–
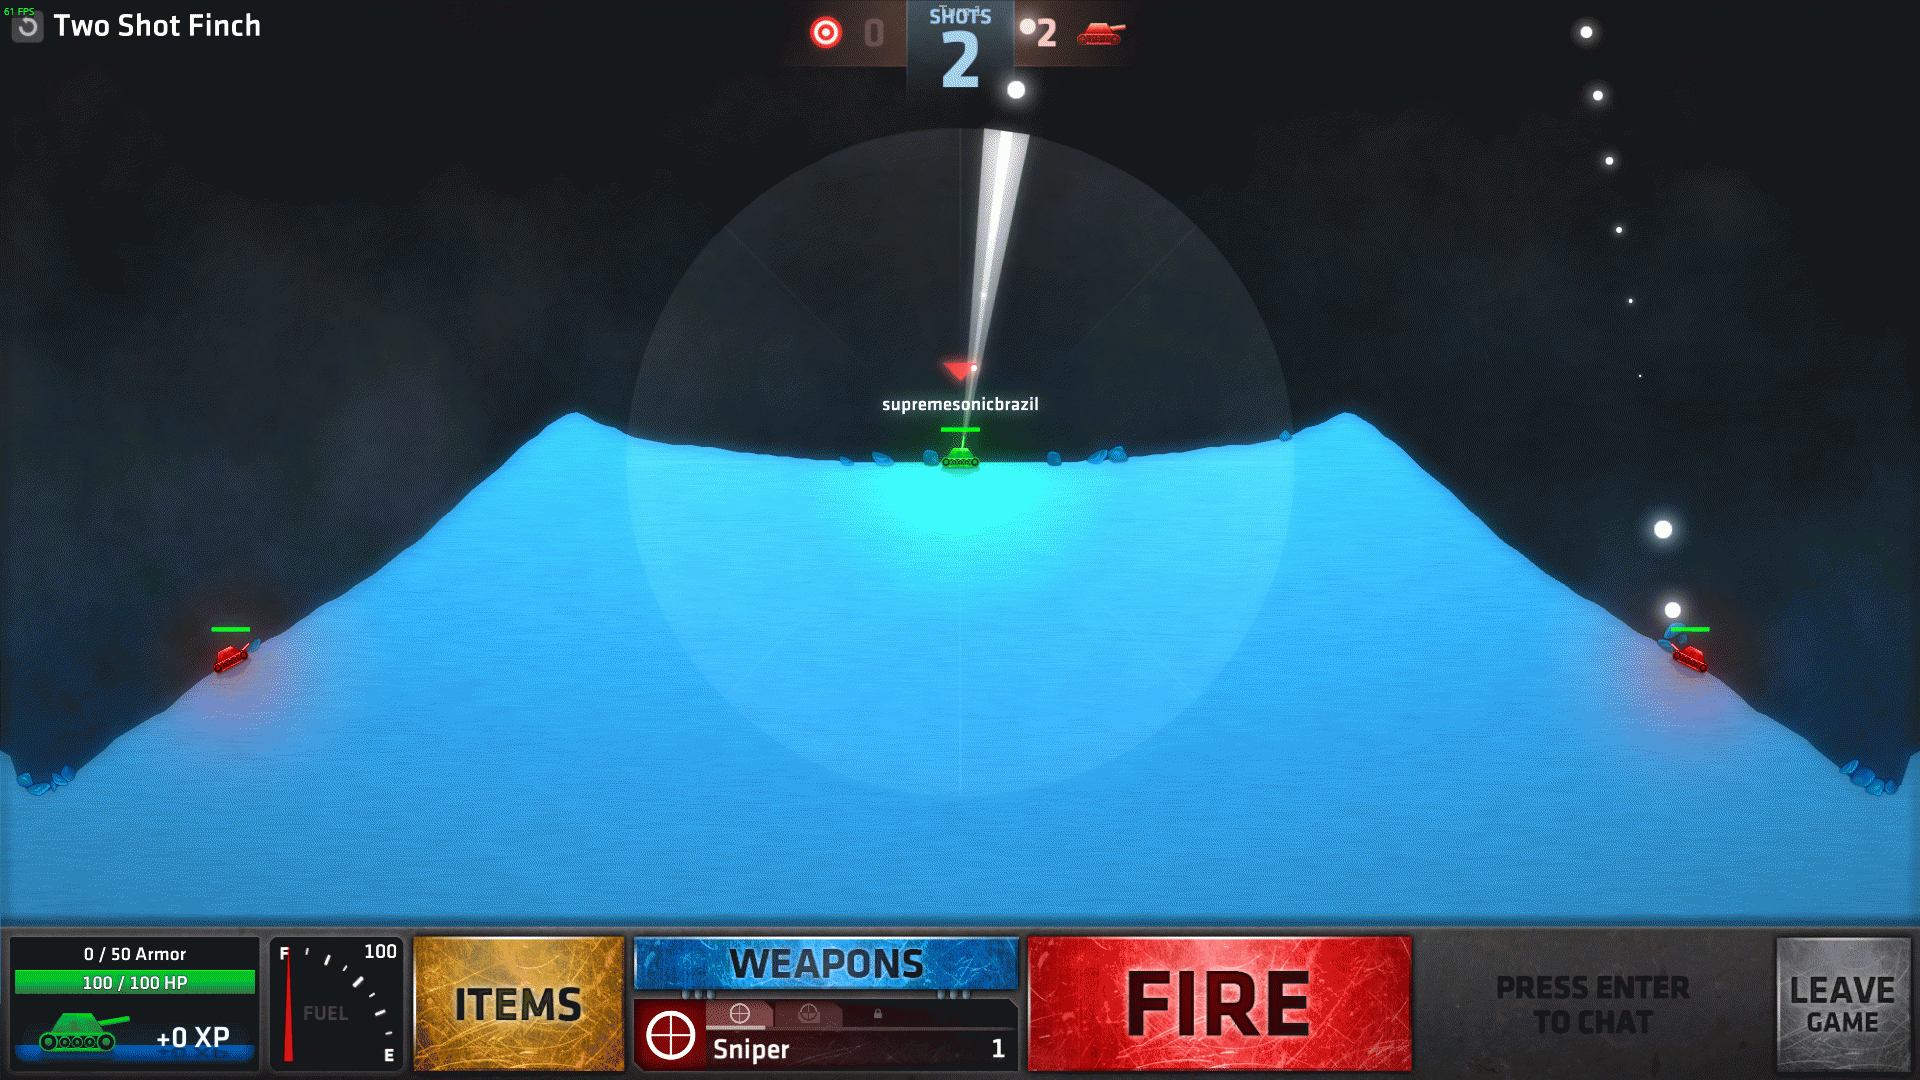
Shots: Limited (2 Sniper)
Items: 2 Tracer
Fuel: 100
Enemies: 2 (50 HP each)
Targets: 0
Do I need to move?: Don’t move!
Luckily the game gave you two Tracers so it gets easier to aim and predict where it will land, but even then you won’t be able to move the predicted trace: where you aim is where it shows up.
Ain straight up, go 8 ticks to the right (or left) and fire with all your might. Any doubts? Check with the Tracer! 🙂
Shots: Limited (6 Shot)
Items: 6 Teleport
Fuel: 100
Enemies: 0
Targets: 4
Do I need to move?: No, unless you’re lucky enough to not land in the right spots
This one is easy as cake (which is not a lie in this case I assure you), you have lots of Teleports, the only downside is you don’t get to choose WHERE you go.
You don’t even need coordinates! Just aim with the mouse until you overlap the targets and fire at will! Then use Teleport to reach the other ones and you’ll be done in no time! (well, in case your Teleports run out, just reset and repeat)

Shots: Unlimited (Random)
Items: No
Fuel: 100
Enemies: 1 (300 HP)
Targets: 0
Do I need to move?: Yes, in case you don’t want to get trapped
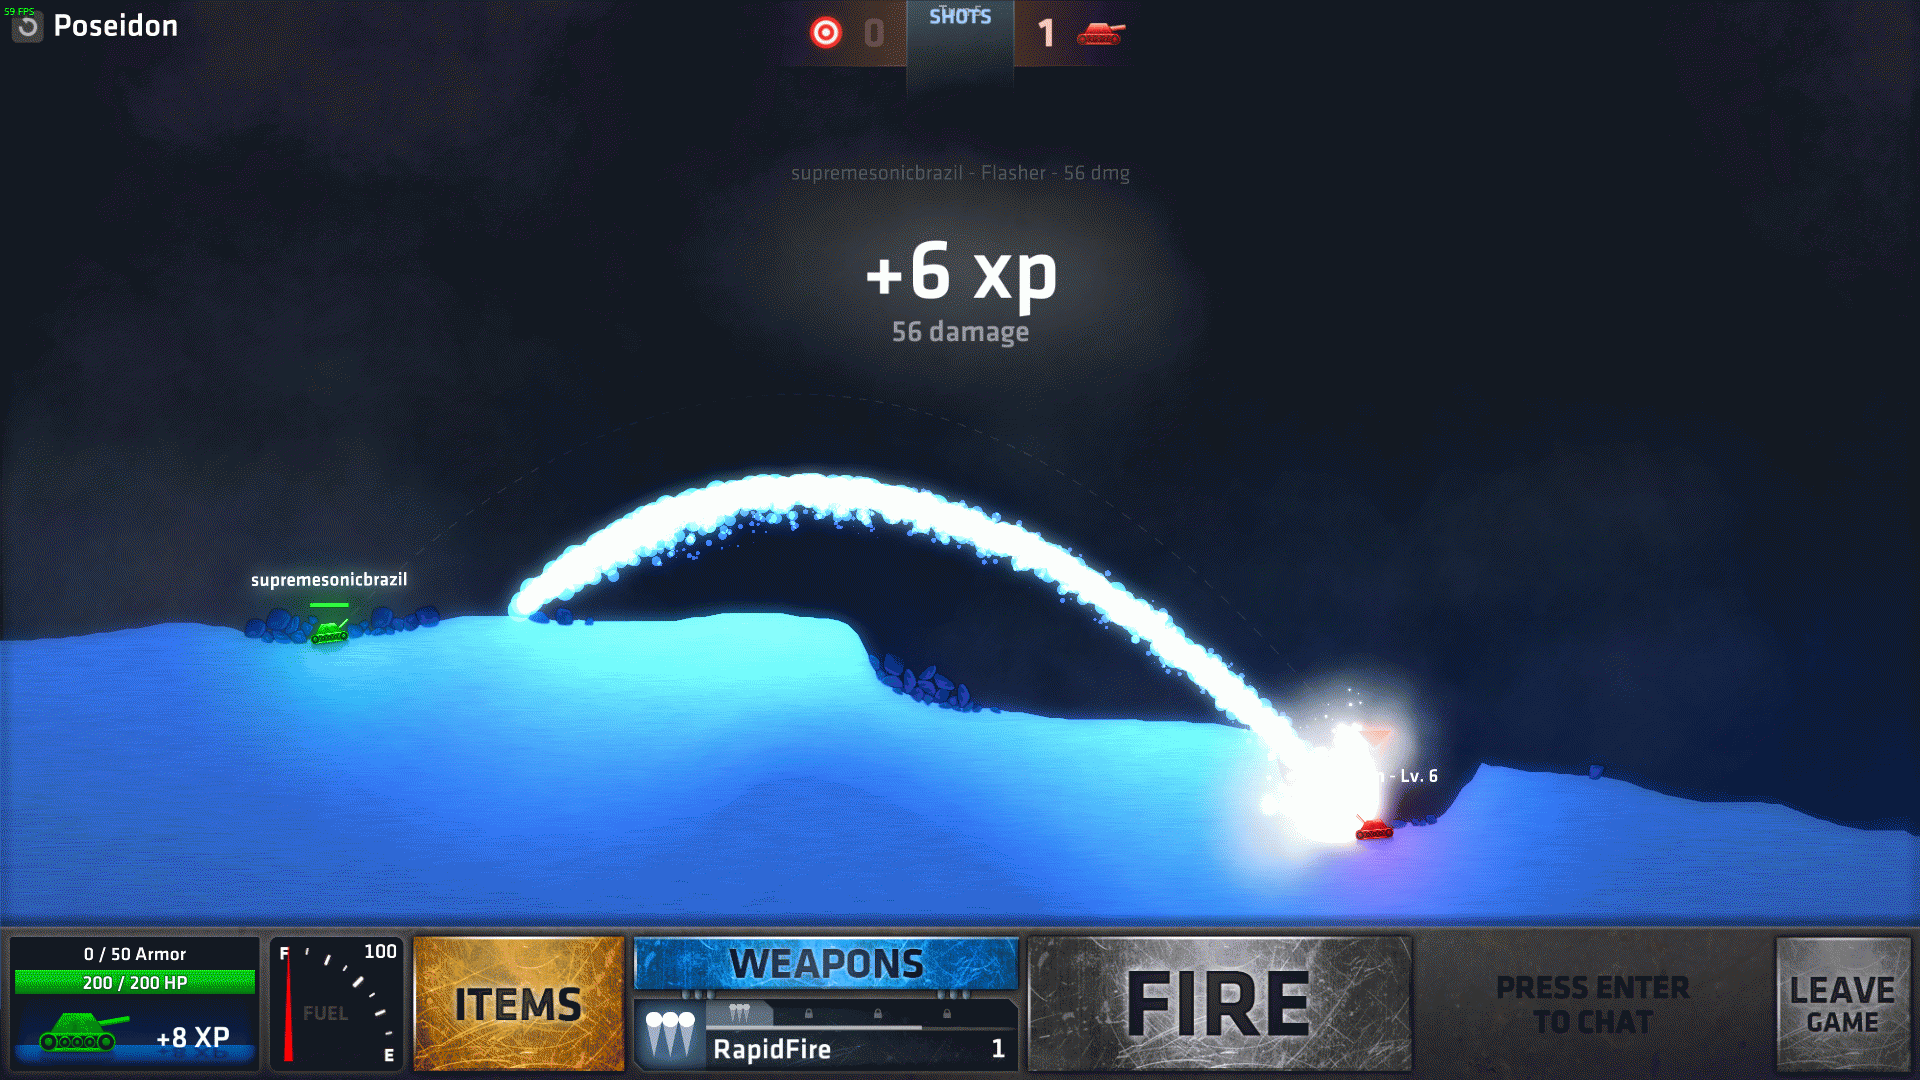
Who also knew the king of seas could fit a tank? His attacks are all water based, that means Stream, Creek, Tsunami and things like that.
Poseidon’s angle is (60,45) right.
Shots: Unlimited (Random)
Items: No
Fuel: 100
Enemies: 1 (300 HP)
Targets: 0
Do I need to move?: It’s up to your strategy
Then, as a counterpart, we get the king of Hell (is he a kinge? I dunno, I don’t read about mythology at all). All of his attacks are fire based, that means Flame, Napalm and others.
Hades’ angle is (52,45) left.

Shots: Unlimited (Random)
Items: No
Fuel: 100
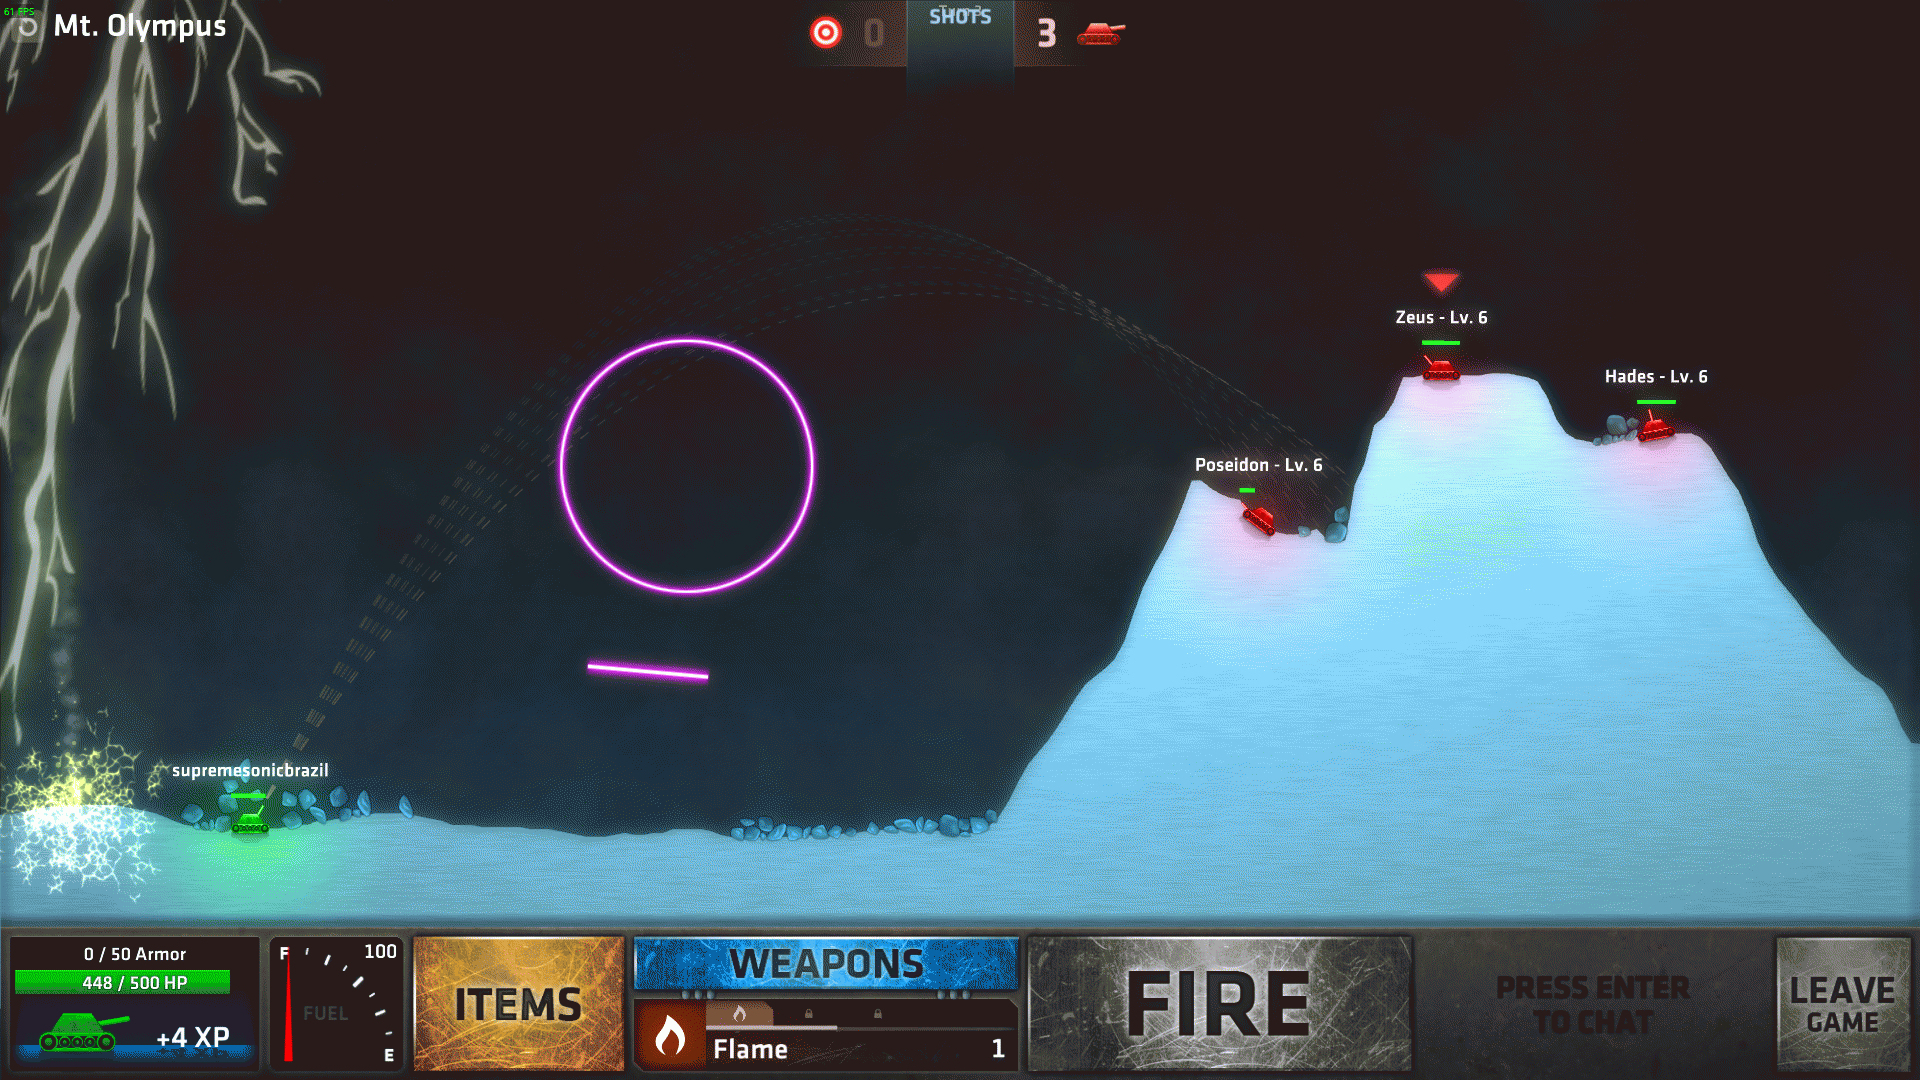
Enemies: 3 (Poseidon/Hades – 200 HP, Zeus – 300 HP)
Targets: 0
Do I need to move?: Recommended, they cam spam you a lot
Ok, now I call cheating. Even Zeus is here, the hell is this?
Zeus will always attack with earth based weapons like Bolt and some others I probably haven’t unlocked yet.
Enemies’ angles from starting position are:
-Poseidon’s angle: (77,60) right
-Zeus’s angle: (83,60) right
-Hades’ angle: (98,70) right
Set 7: Penultimate (Part 1)
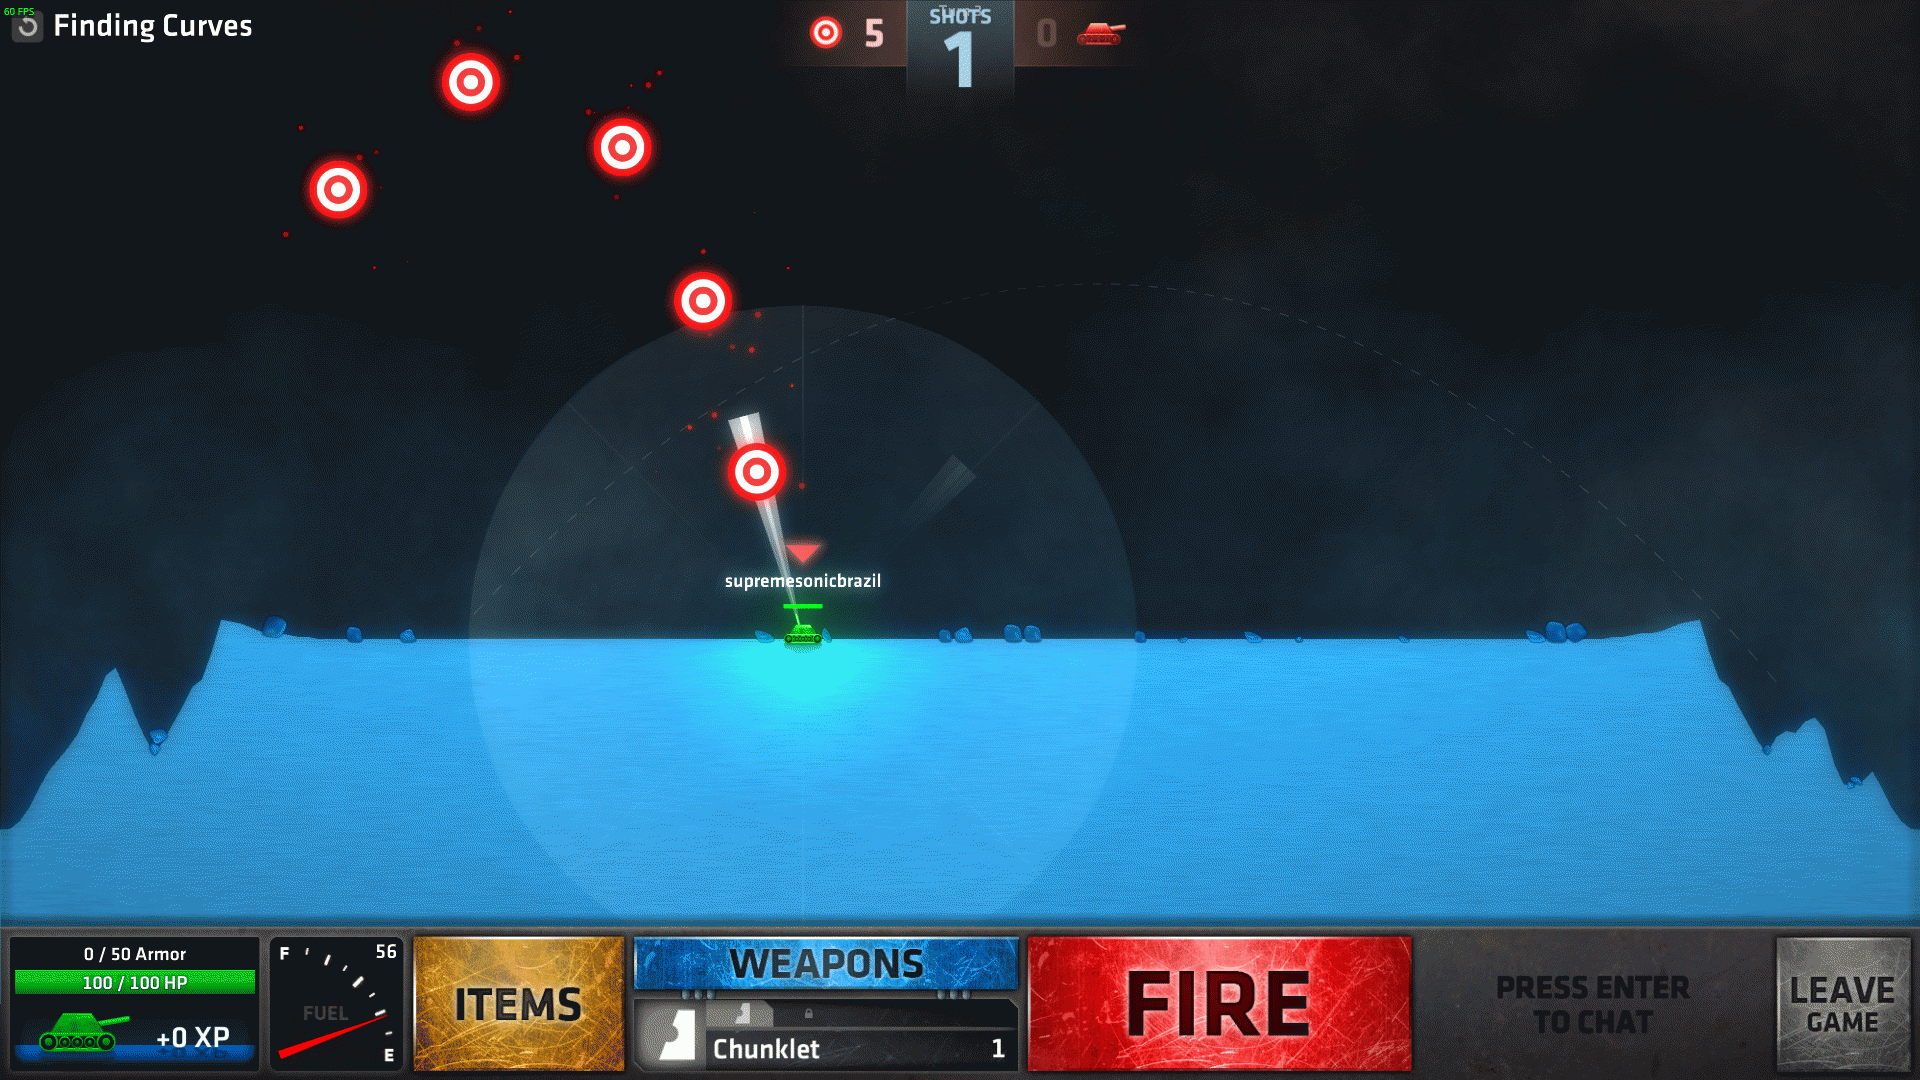
Shots: Limited (3 Chunklet)
Items: No
Fuel: 250
Enemies: 0
Targets: 10
Do I need to move?: Yes
This one will require good arc knowledge or a handy coordinate guide like this one.
Don’t move yet, first you should aim 45º right, max force, count 25 ticks down and fire to hit the first 4 targets.
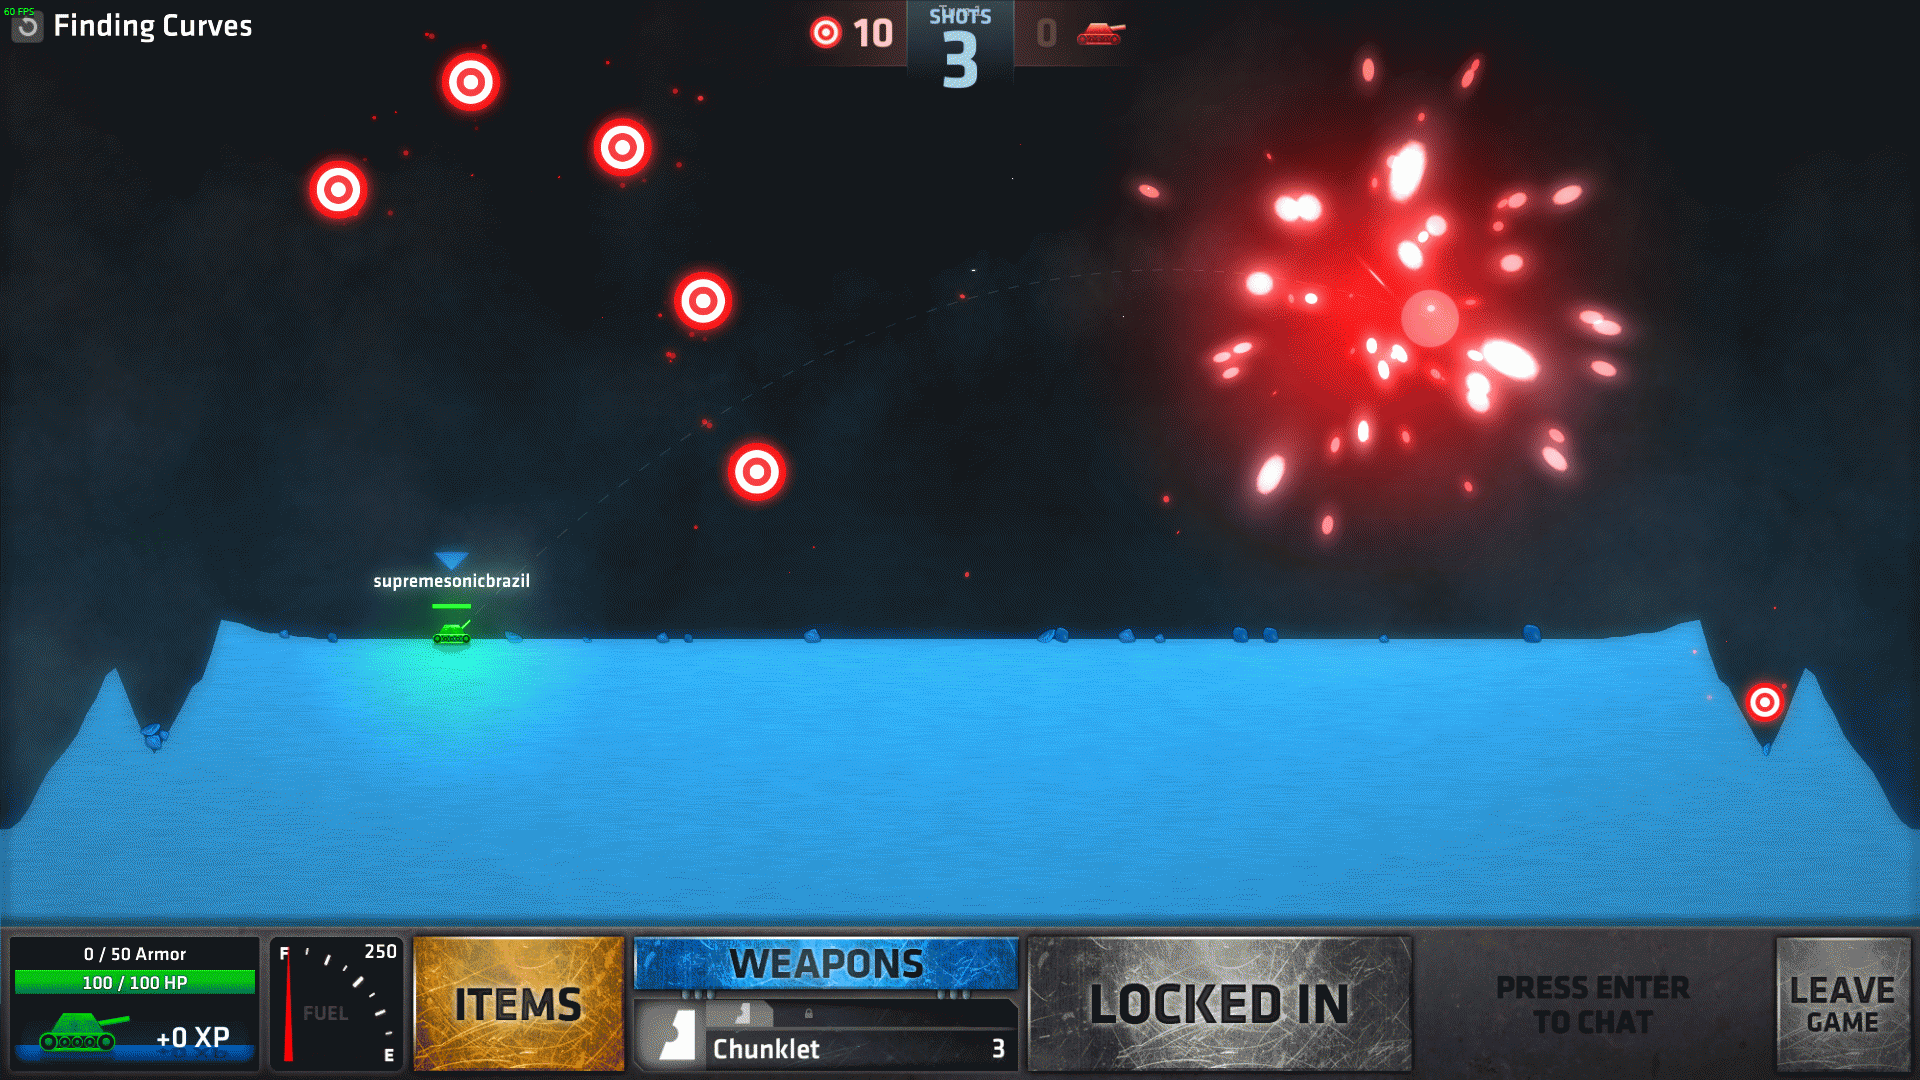
EDIT: A user named LitmusSteve found a way to hit these 5 targets in one shot! Quoting him, “Stay where you start and go full power at 45 degrees, go 3 ticks left and 29 down and you’ll get them in one shot!”. I tested it and it works with both Chunklet and Chunker in case you have any doubts. Thanks a lot buddy!
Move right until you get around 40 fuel left, aim straight up and count 15 ticks left so your aim’s white space align with the target’s center above you (if it doesn’t, move a bit so it lines up), then count 31 ticks down and fire to hit the rest of the targets (this might be a bit tricky since Chunklet’s actual hitbox is smaller than you think).

Shots: Limited (4 – 1 Three-Ball, 1 Digger, 1 Rapidfire, 1 Shot)
Items: No
Fuel: 100
Enemies: 0
Targets: 4
Do I need to move?: No
Let’s go slowly on this one. There’s lots of targets here.
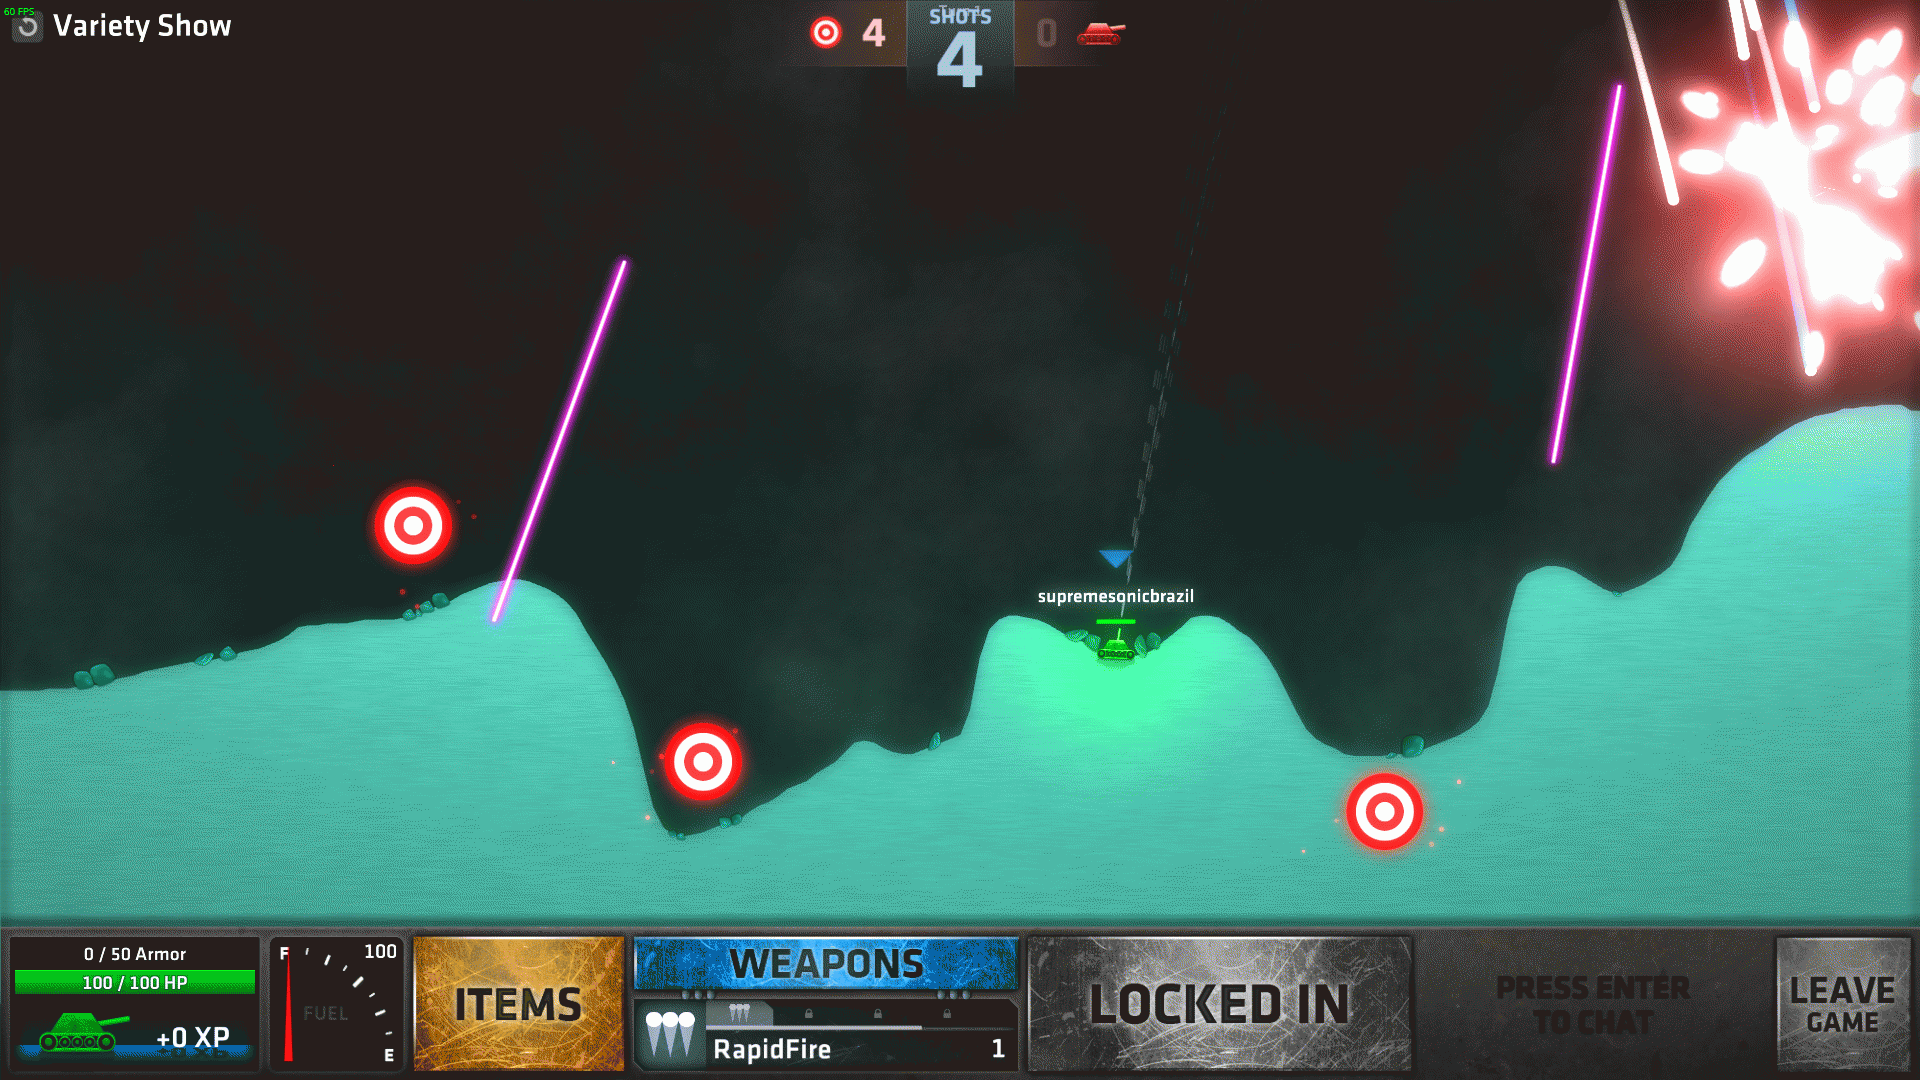
First, the one on the ground: aim straight up, count 3 ticks right and fire a Digger.
Next, the one to your left before the bumper: aim straight up, count 5 ticks left and fire a Shot.
Now, the one on the other side of the bumper: aim straight up, count 8 ticks left and fire a Three-Ball.
Then, the last one standing: aim straight up, count 9 ticks right and fire a Rapidfire.
You can choose any weapon you want after you fire the Digger, I chose these ones when testing. You can also do these in any order you want.
Shots: Unlimited (Random)
Items: No
Fuel: 100
Enemies: 2 (100 HP each)
Targets: 0
Do I need to move?: No
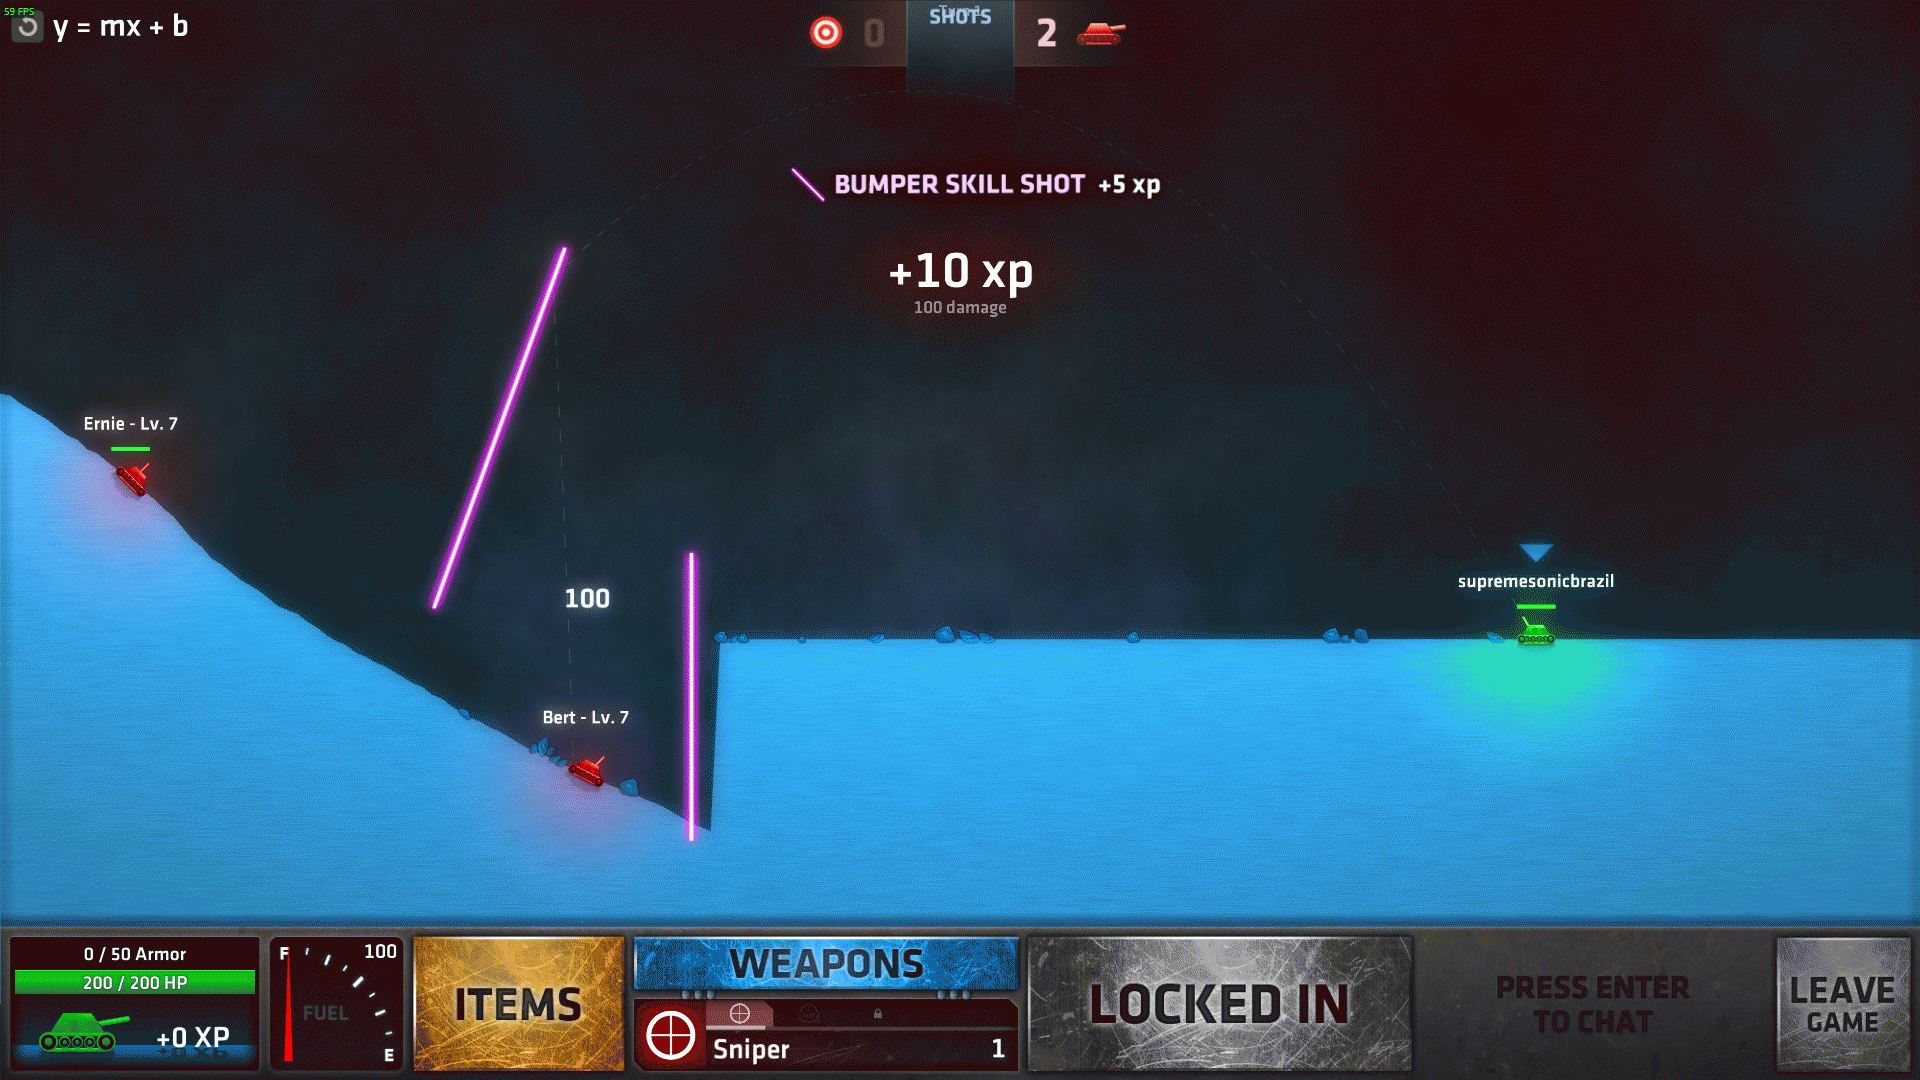
People who hate maths: stay away from this. Dat Sesame Street reference though.
Enemies’ angles are:
-Ernie’s angle: (83,60) left
-Bert’s angle: (75,70) left, or (75,60) left if you want extra XP from bumpers
Shots: Unlimited (Random)
Items: No
Fuel: 100
Enemies: 3 (250 HP each)
Targets: 0
Do I need to move?: It’s up to your strategy
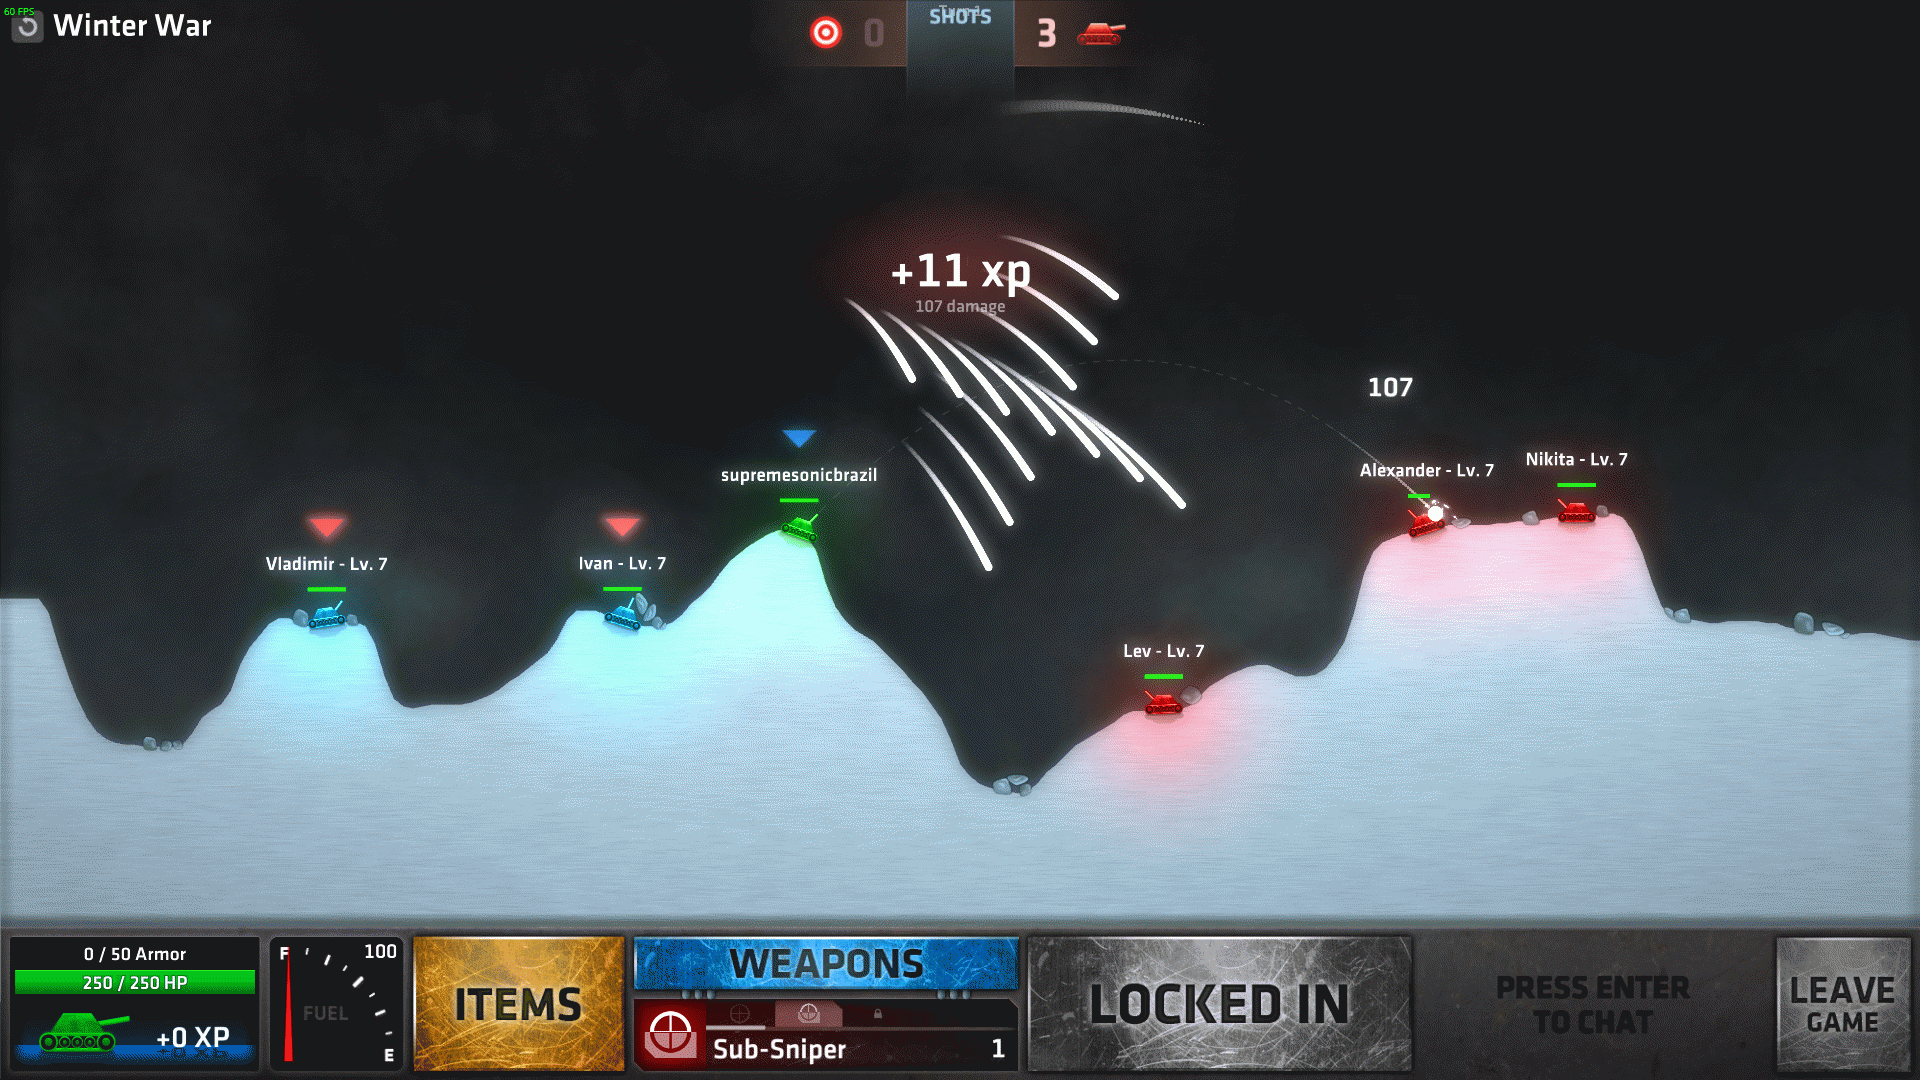
“Remember, no Russian.” Also watch out for your allies, since they’re lower than you they can somewhat backfire against you (it’s set to Team shot btw).
Although it’s hard to see the coordinates on this one, enemies’ angles are:
-Lev’s angle: (30,45) right
-Alexander’s angle: (50,45) right, although I suggest going a tick or two down for better accuracy
-Nikita’s angle: (55,45) right
Shots: Limited (6 Clover)
Items: No
Fuel: 100
Enemies: 2 (40 HP each)
Targets: 0
Do I need to move?: No
The title says it all. This is literally pure luck since Clover can (and will) be a pain. Luckily, one critical hit is enough to kill.
Either way, to ease up your situation, aim straight up, and from here, 7 ticks left to hit the left AI, or 8-9 ticks right to hit near the right AI.

Set 7: Penultimate (Part 2)
Shots: Limited (1 Shot)
Items: No
Fuel: 0
Enemies: 0
Targets: 2
Do I need to move?: There’s no way to move
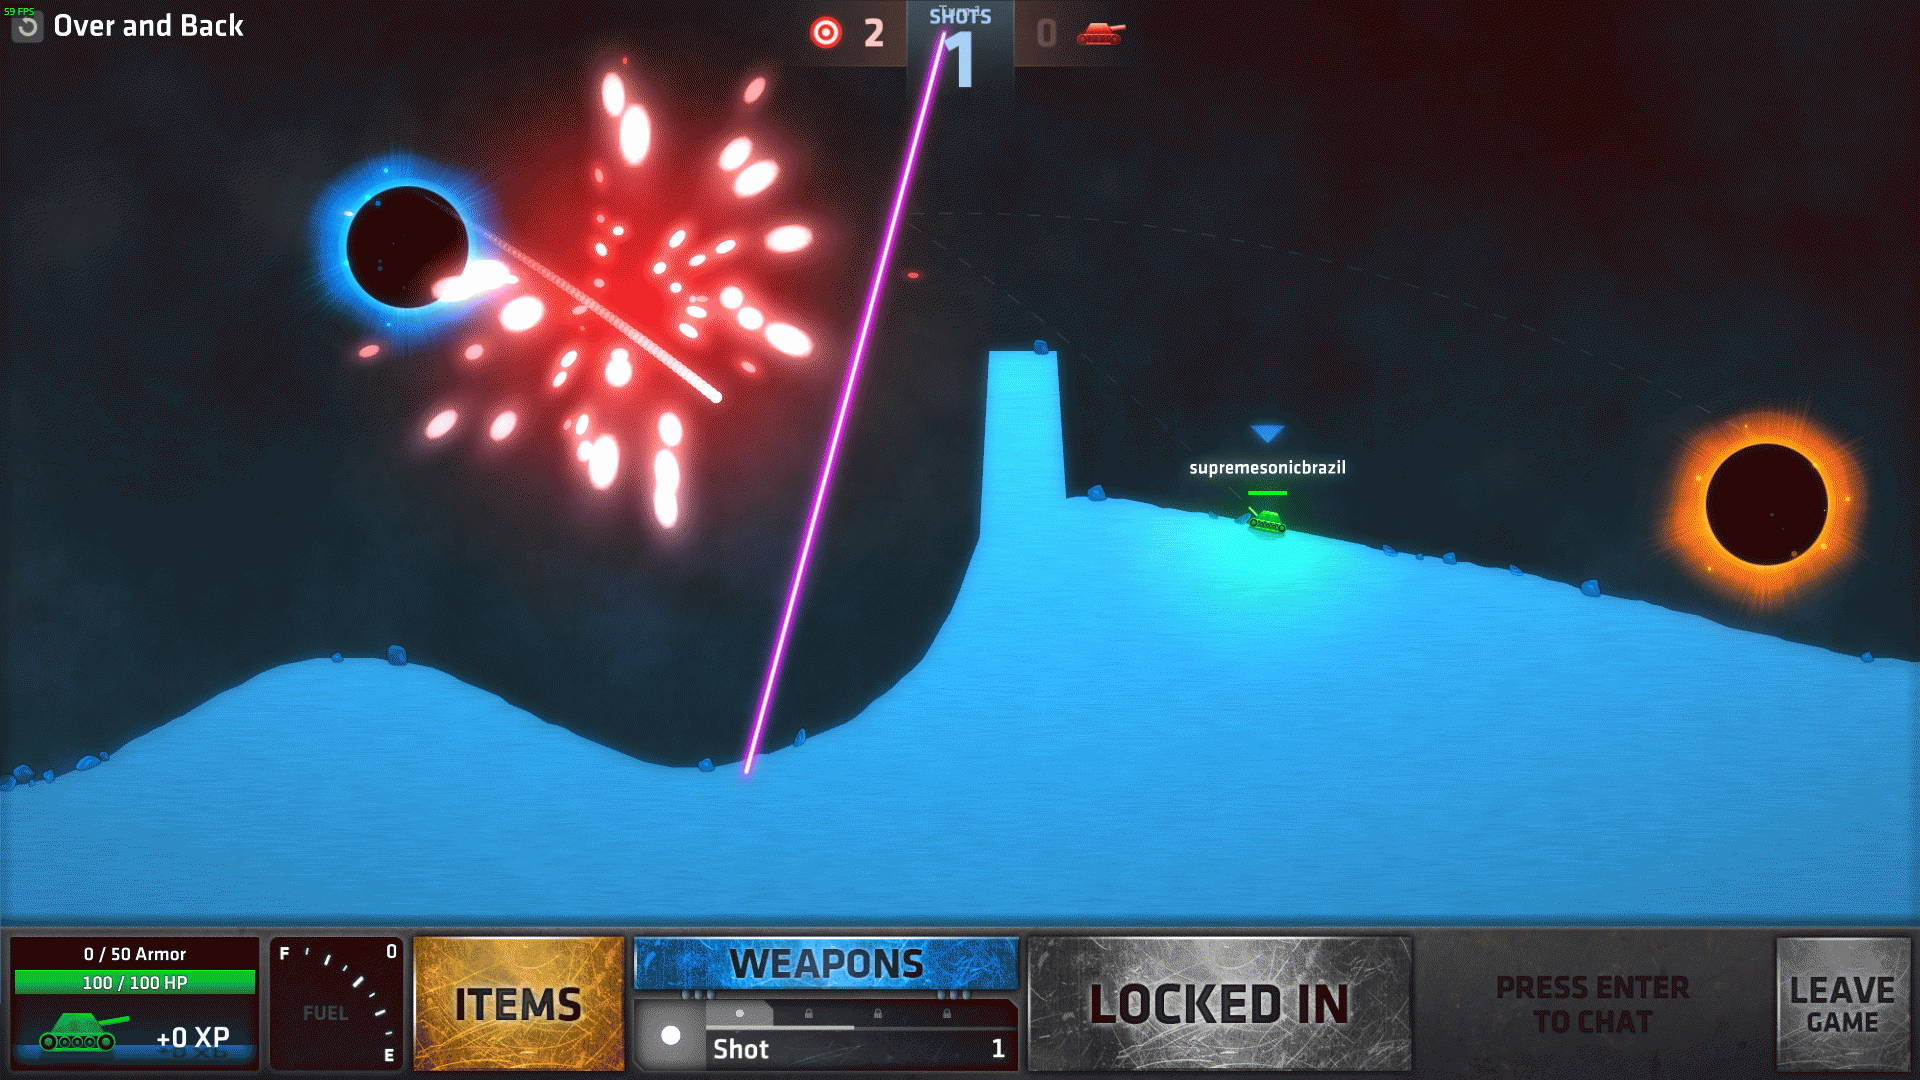
This one is quite the troll. I took some time to understand how to do it, and it doesn’t involve a direct shot.
Aim 45º left, count 10 ticks down and fire. Instead of going through the portal to hit the left target and come back to hit the second one (which never happens no matter what you do), the shot will get the target right next to you while bouncing by the bumper, going through the portal and hitting the other target.
————————————————————————————————————————–
Shots: Unlimited (Random)
Items: No
Fuel: 100
Enemies: 4 (200 HP each)
Targets: 0
Do I need to move?: It’s up to your strategy
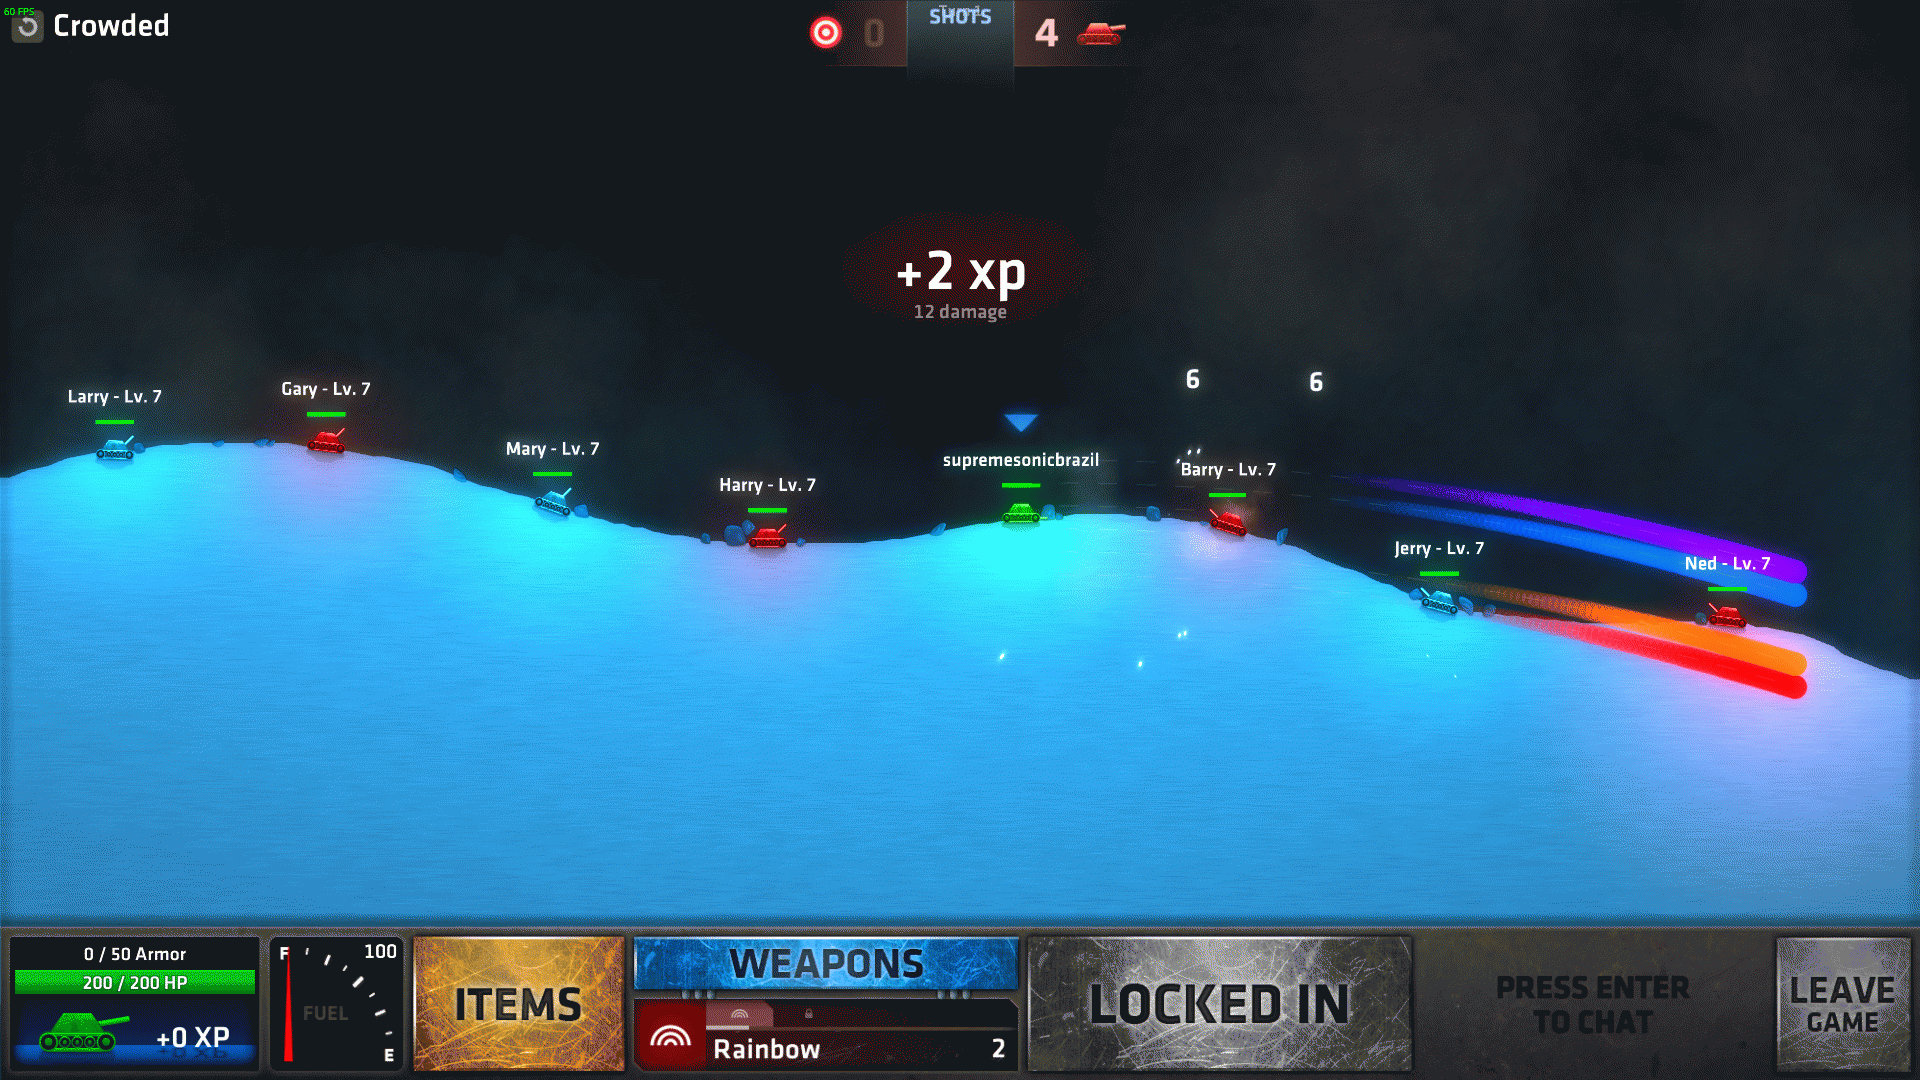
There’s not too much to do here, it’s your usual “kill the team” mission set to Single shot. Think like it’s your casual multiplayer party, but with dumb “people”.
————————————————————————————————————————–
Shots: Unlimited (Random)
Items: No
Fuel: 100
Enemies: 4 (250 HP each)
Targets: 0
Do I need to move?: Recommended, you can get trapped
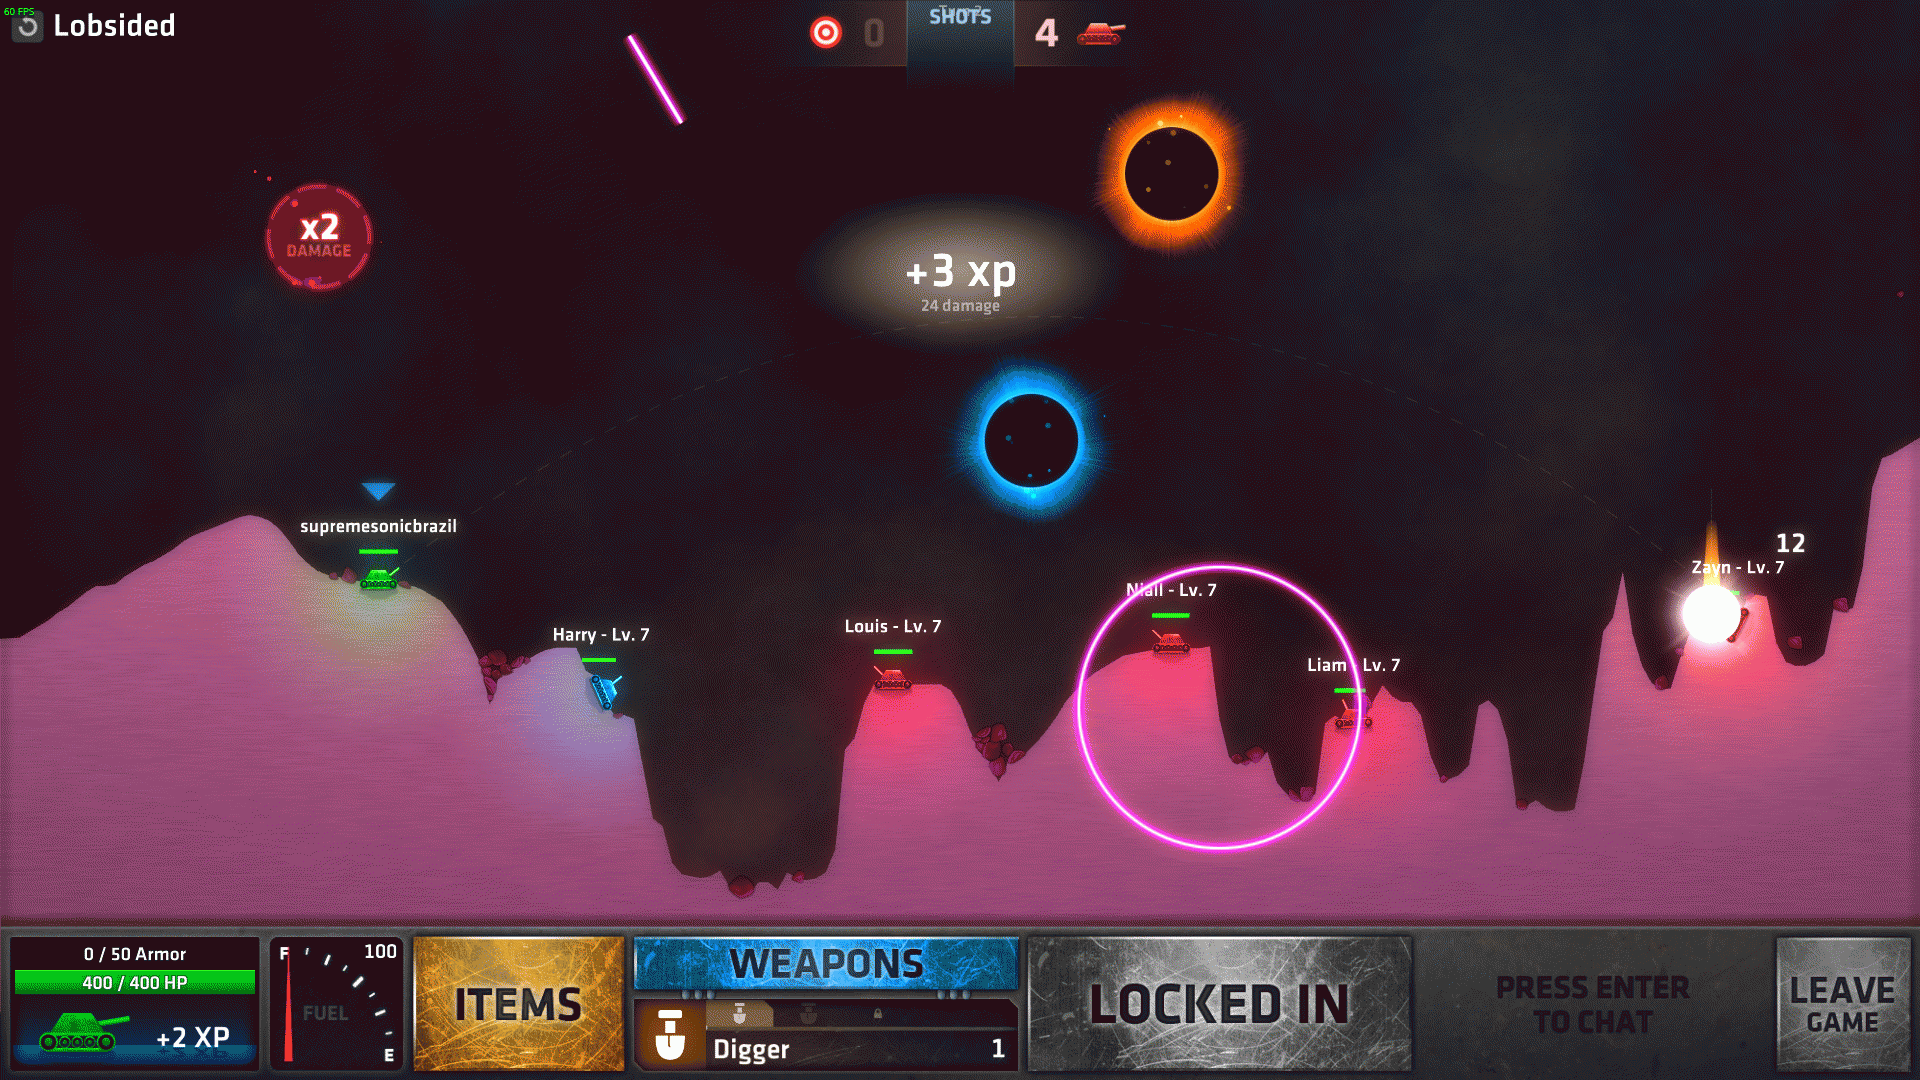
Same thing here. Play like you normally would, but keep in mind those bots now are high level, meaning they can trap you easily. Especially Zayn. I don’t like him.
If you are lucky enough, bumpers may spawn on their way and make them backfire.
EDIT: People have been asking for coordinates, and thanks to one of you (Jiraya, is it? Steam lets us change our names in a dime so hope I got it right), here they are:
(55,8) for Louis,
(54,34) for Niall,
(66,29) for Liam, and
(75,45) for Zayn.
Shots: Limited (4 Hover-Ball)
Items: No
Fuel: 100
Enemies: 1 (20 HP)
Targets: 9
Do I need to move?: No
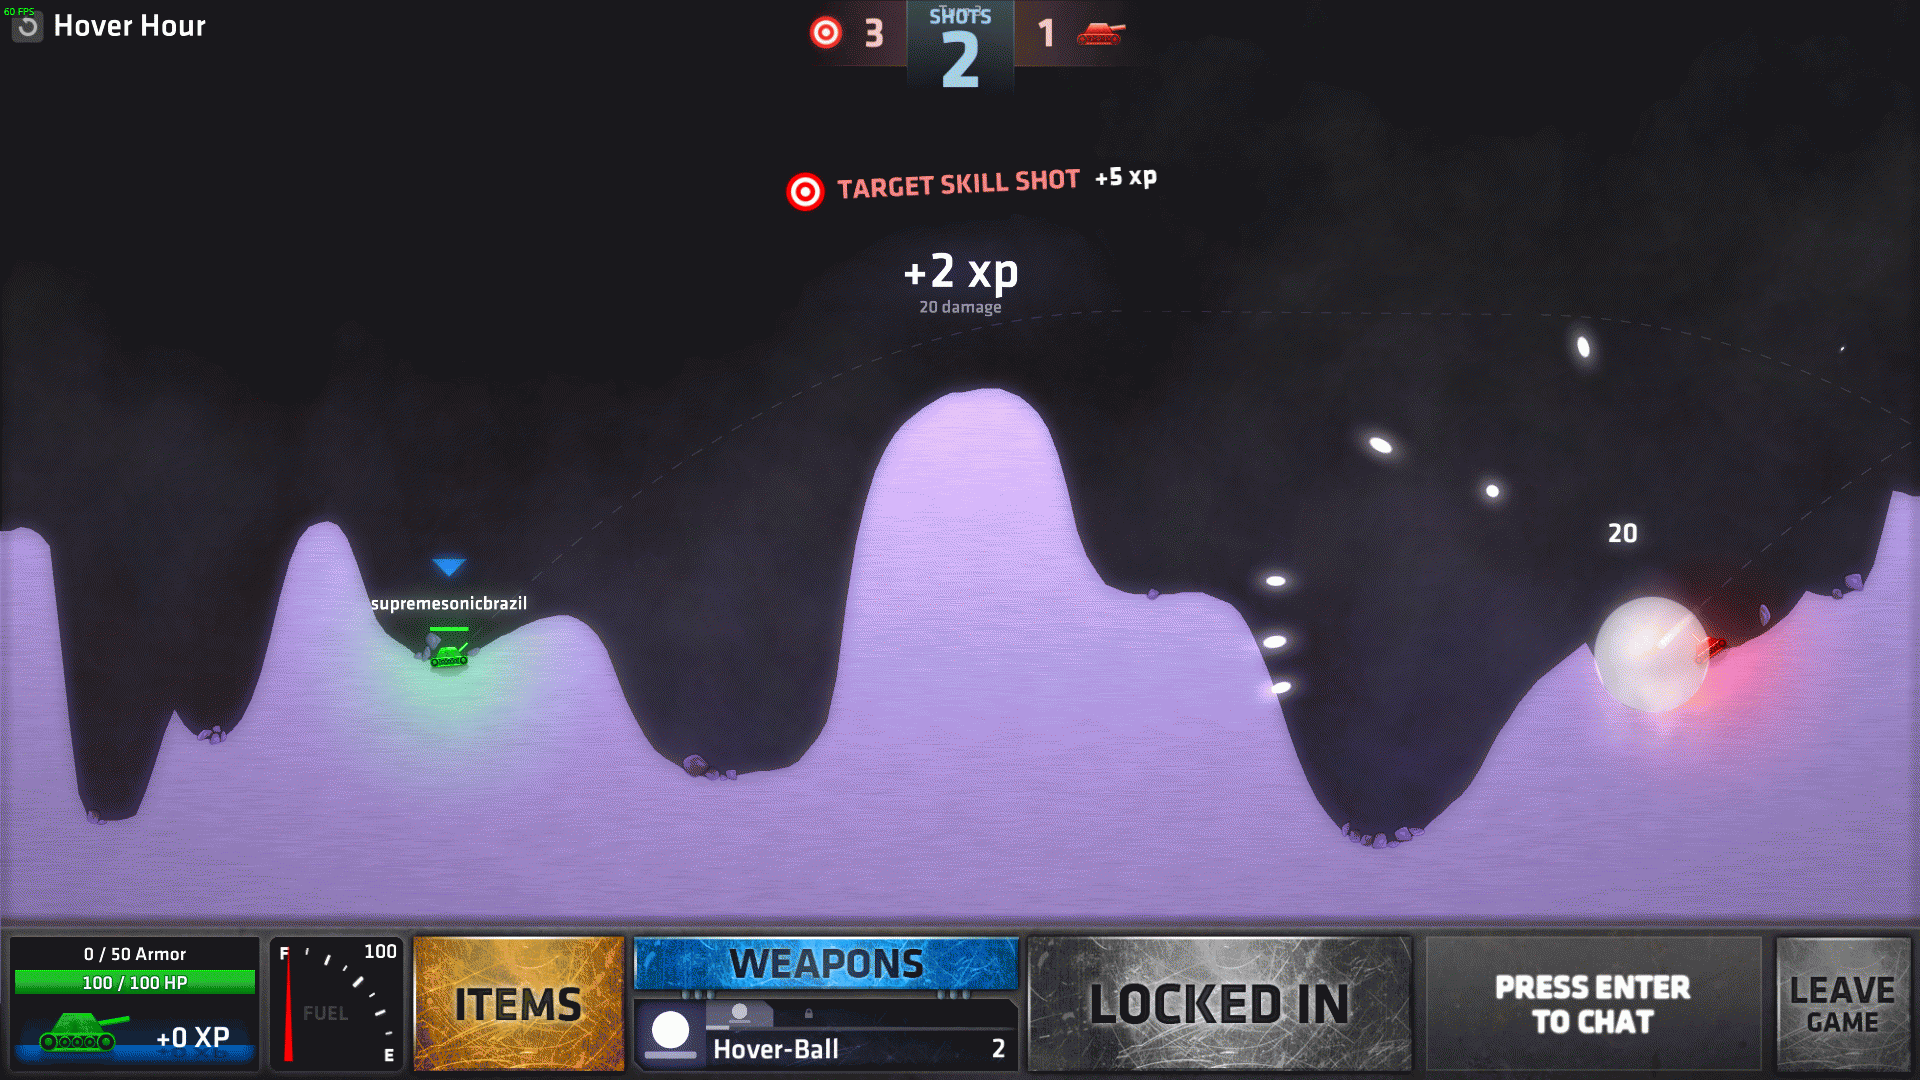
Hover-Ball is a pretty cool weapon IMO, if you know how to use it. Once it hits the peak, it goes in a straight line for a second and then drops.
Going to the left target line first, aim straight up, count 15 ticks left and 43 ticks down, then fire.
For the next two lines, aim 45º right, go 15 ticks left and 27 ticks down to hit the top line. After that, go back to 45º. Now, the bottom line will differ depending on your weapo of choice here. In case you have a normal Hover-Ball, just fire without changing the force to hit both the bottom line and the AI.
————————————————————————————————————————–
Shots: Limited (16 Sniper)
Items: 5 Jet Pack, 3 Shield, 15 Tracer
Fuel: 100
Enemies: 1 (1000 HP)
Targets: 0
Do I need to move?: Recommended, but it’s up to your strategy
Now that’s cheating already. 1000 HP! Guess Buzz Lightyear wasn’t enough for him and he decided to pin it all on you.
Since you have lots of Tracers and you don’t have coordinates here, you can go trial and error until you get the right angle.
Or if you’re just too lazy (that’s why you’re here, right? No?), aim straight up and count 8 ticks left to get a head start (no pun intended).
Watch out though, he can teleport and easily get you. Use your Shields and/or Jet Packs if you feel you’ll need them, because you will.
Set 8: Showdown (Part 1)
(This one also got pretty big)
Shots: Limited (2 Rainbow, hence the title)
Items: No
Fuel: 100
Enemies: 2 (40 HP each)
Targets: 2
Do I need to move?: Don’t move!
Anybody else remembered Reimagine: The Game? No? Okay then, carry on.
Aim straight up, go 20 ticks right (or left), 27 ticks down and fire, then mirror the shot to clear the other side.

Shots: Limited (20 – 10 Stream, 10 Fountain)
Items: No
Fuel: 100
Enemies: 2 (400 HP each)
Targets: 0
Do I need to move?: It’s up to your strategy
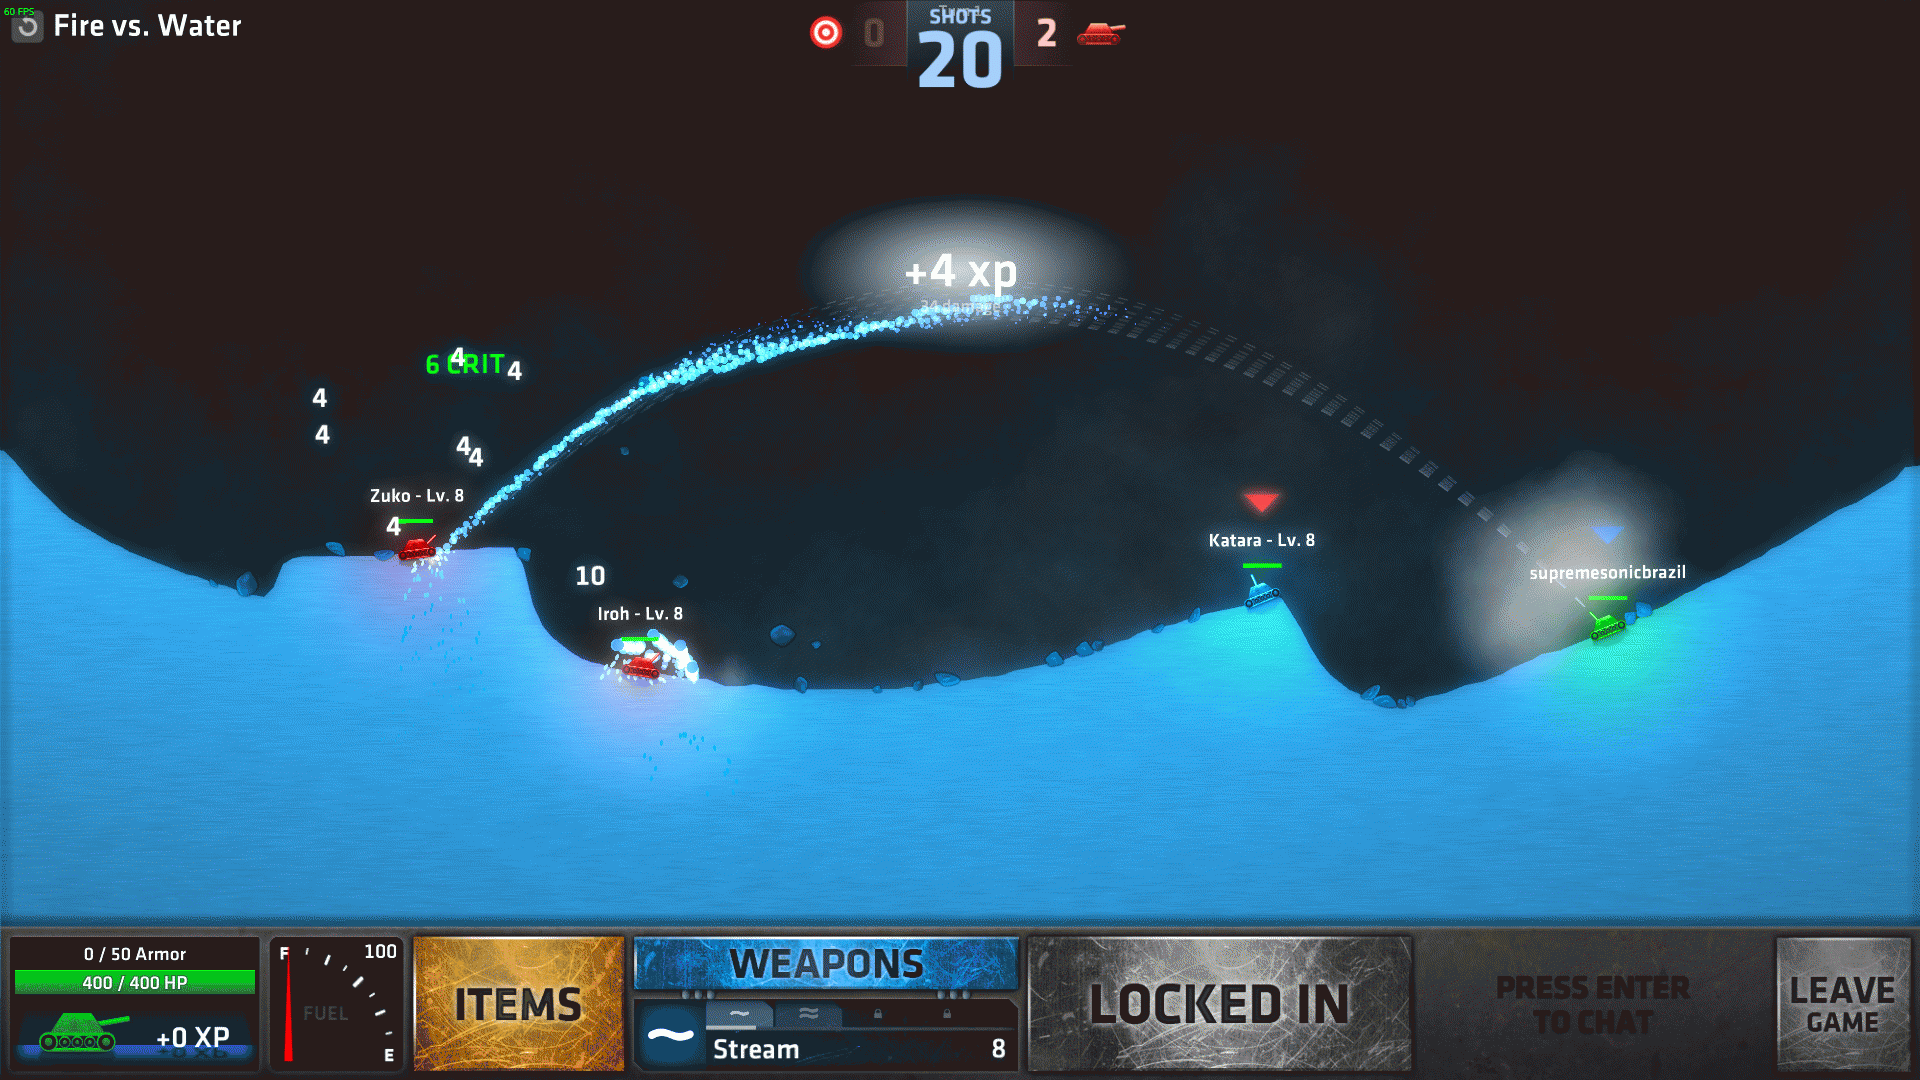
Ah, elemental battles. Such classic ones. You don’t need to move since elemental shots don’t destroy the terrain (except those comet-based ones, and yes they have that), but do as you please.
The mission is set to Team shot, but unfortunately there’s no coordinates here too. I suggest not going full force because of, you know, Stream’s sinewave pattern, but you can do it with Fountain, and in case you do that, aiming straight up and going 15 ticks left can reach Zuko, and 11 ticks are enough for Iroh.
Shots: Limited (3 Fighter Jet)
Items: No
Fuel: 50
Enemies: 3 (40 HP each)
Targets: 3
Do I need to move?: Don’t move!
You can use Hover-Ball’s strategy with these ones, since they stop at the peak and go straight forward. Don’t worry about the small shots, they will always hit.
Aim 45º right, go 20 ticks left and 30 ticks down to hit the top target and AI.
Go back to 45º without changing force, go 1 tick left and fire to hit the middle target and AI. At this point you might have already killed the last AI due to the small shots.
Back to 45º again, go 15 ticks right to get the last target.

Shots: Limited (20 Pinata)
Items: No
Fuel: 100
Enemies: 3 (200 HP each)
Targets: 0
Do I need to move?: Highly recommended
Oh God this one. This one is my most hated one. I spent ONE WHOLE WEEK on this one.
All you have is those stupid Pinatas and their random patterns. Surely, you’ll just need luck here. A LOT.
The most effective way I found is, manage to make a big hole at the enemy’s side and fire the flares there, the Pinata always stops a bit above the ground, and you may have bigger chances if hitting them that way. (like in the screenshot)

Stay strong! And use those x2 circles as much as you can!
————————————————————————————————————————–
Shots: Limited (10 Baby Seagull)
Items: No
Fuel: 100
Enemies: 4 (100 HP each)
Targets: 0
Do I need to move?: No
What a lame beach, there’s not even a sea! …unless we’re talking about POOP SEA!
There’s a way to hit all of the enemies in a shot and you just have to keep firing until they’re dead: don’t move, aim 45º right max force and count 6 ticks left.
You’ll hit both targets and all of the AIs will receive damage, notice the tracers on the screenshot. (if my calculations based on one shot are correct, the second one from left to right will be the first one to die)
Now you just keep firing! You’ll end up using all your shots because of the left-most AI but it’s guaranteed you’ll kill them all.

Set 8: Showdown (Part 2)
(This one also got pretty big)
Shots: Limited (30 Stone, thanks title)
Items: No
Fuel: 100
Enemies: 2 (500 HP each)
Targets: 0
Do I need to move?: It’s up to your strategy
I’d suggest not firing at max force here since Stone can bounce off walls and ground, and always keep your tracer in mind.
If you DO want an angle to start, you can aim 45º right, count 15 ticks left and 15 ticks down so you’ll get x4 damage, but will only hit Jack in the last bounce.
If the middle x2 circles are big enough though, you can count 20 ticks down instead of 15 and you can hit him twice, but with a x2 instead. It’s all up to you!

————————————————————————————————————————–
Shots: Limited (2 Three-Ball)
Items: No
Fuel: 100
Enemies: 0
Targets: 5
Do I need to move?: Don’t move!
Ready to hit the jackpot?
Although the bumper reflections may seem a bit “erratic”, you can aim straight up, go 10 ticks right and fire to hit three targets, leaving only the ones by the sides.
(either Three-Ball or Five-Ball at this point may deal the same result)


Shots: Unlimited (Random)
Items: No
Fuel: 100
Enemies: 4 (600 HP each)
Targets: 0
Do I need to move?: Definitely yes (you have 10 seconds though)
It’s the nerd conference of the century! First, keep two things in mind:
1 – In this mission you have 10 seconds to move only, after that you can only shoot. Stay sharp.
2 – The mission is set to All shot, meaning this will be a real chaos once you click that “Fire” button (thanks again title).
If you wish, you can stick to rounded coordinates like (50,45), (50,60), (60,30) or whichever ones you like. High precision here is nullyfied since it’s All shot, and you WILL feel the ground crumble a LOT. If you can (or are lucky), use high-range weapons liek Rapidfire, Ghost Bomb, or anything that can hit more than one enemy at once. ALWAYS keep on the move if you don’t want to die fast.

————————————————————————————————————————–
Shots: Limited (6 – 1 Breaker, 1 Hover-Ball, 1 Digger, 1 Roller, 1 Grenade, 1 Tunneler)
Items: No
Fuel: 10
Enemies: 3 (10 HP each)
Targets: 8
Do I need to move?: There’s so little fuel it’s pointless
This one will have a bit more screenshots. I suggest you do it in this order so each weapon don’t get in the way of any other (like Grenade getting in Tunneler’s hole or something like that), plus it can get misleading if you do it out of the order (e.g. Tunneler and Digger):
-Target line: aim straight up, go 20 ticks right and 30 ticks down, fire a Grenade (I suggest using Grenade instead of Hover-Ball here because it will roll down and touch the two targets near the AI, which will be less time-consuming).
-AI on the right: with the same force as the above, go 45º right, 10 ticks down and fire a Hover-Ball
-Ground target on the right: go 15 ticks left and 10 ticks down, fire a Tunneler
-Target on the hole right next to you: fire a Roller down there, it will hit anyway
-AI couple on the hill: aim straight up, go 4 ticks left and fire a Breaker, the right one will bounce on the bumper and hit the AI while hitting the left one too
-Lastly, the grounded target on the left: if you haven’t changed your aim, go 5 ticks left (or aim straight up and go 9 ticks instead) and fire the Digger.
Now, I haven’t tested this but one of you (Captain Miao) suggested a more efficient way for this, I’ll leave it here anyways:
“If you have a torpedo, fire 54 degrees right from the horizontal 34 degrees down and it should hit 3 targets and a tank. This method saves you from using the hoverball. Then fire the grenade with the instructions you described. It will get you the top 3 targets as well as the one right next to you. saves you a roller as well.”
————————————————————————————————————————–
Shots: Unlimited (Random)
Items: 1 Teleport, 1 Supply Drop, 1 Jet Pack, 1 Shield, 1 Tracer
Fuel: 100
Enemies: 3 (Minions – 200 HP, Master Tank – 2000 HP)
Targets: 0
Do I need to move?: Recommended
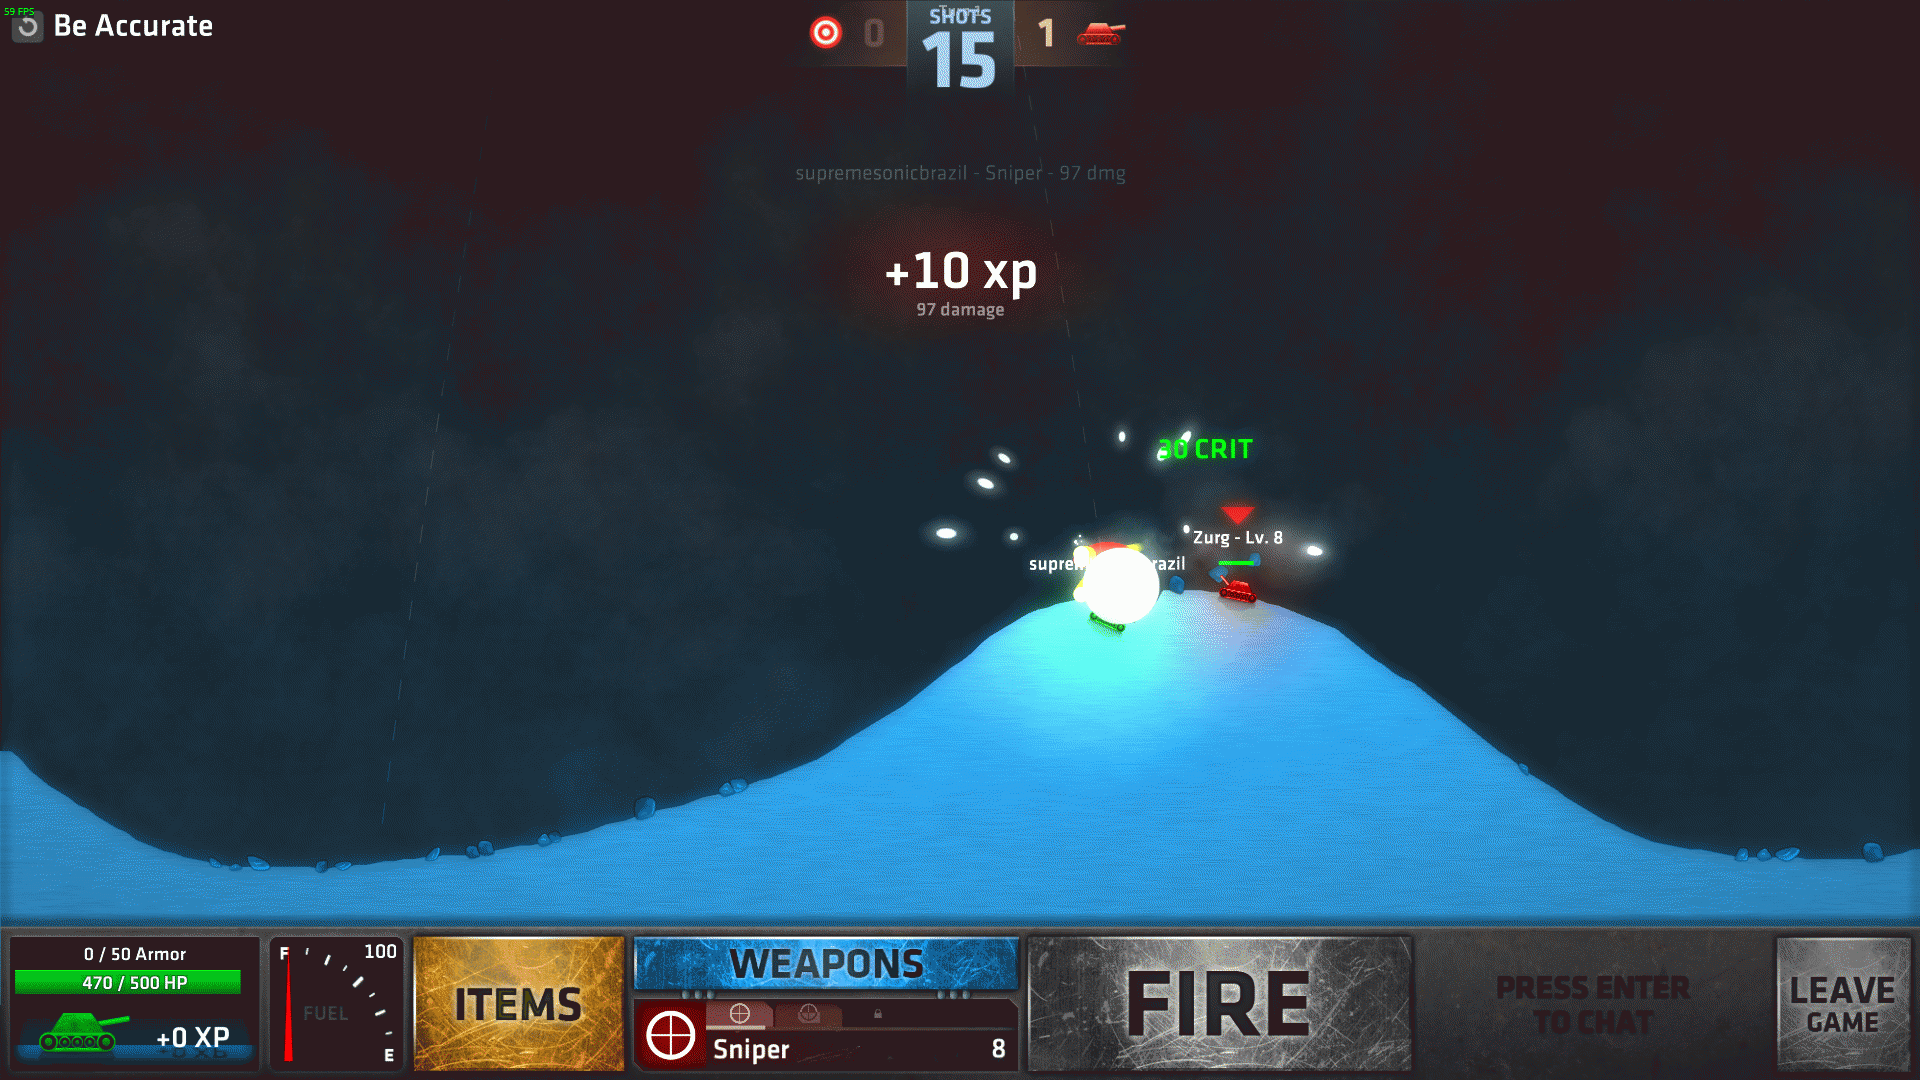
Ok, this is it. Your final test to prove you’re a real tank master. (2000 HP? You’re kidding me right? Well at least you’ve got 1500 HP so it counters. Also sorry Zurg)
Put up all you have learned through the game to the max and give ’em a good beating. If you DO want to talk angles though…
Minions are so close you don’t need high precision. Master Tank’s coordinates from starting position are (85,70) right, although I recommend you using your Teleport as soon as he teleports down the cliff so you basically switch places with him, getting out of his range. Use your items wisely and save the Shield as your last resort (or not). Tracer here is kinda unnecessary, but if you feel you need to use it, then use it. Careful, as Master Tank can use Shields too.
Use your tactics against bots too, they still count (like trapping them in a hole so they shoot themselves).

Aftermath
That’s it, this was the (so far) ShellShock Live Mission Guide! I loved making this guide because I didn’t see anything regarding this game on the internet, only some levels had tips scattered at the forums, but I’m glad that I’ve done something that can help a lot of people now 🙂
I also want to thank you all at the comments for your feedback, this guide is only constantly improving and I’ve been finding new techniques with other weapons, all thanks to you! 😀
Feel free to rate, comment and leave some feedback as well. Happy gaming!
This was a guide made by supremesonicbrazil, AKA TheSupremist, or just Supremist if you prefer. I make oldschool dubstep, jungle and possibly some DnB and whatever more I manage to lay my eyes on and replicate.
Bandcamp: [link]
Soundcloud: [link]


