Skip startup logos, unlock frame rate, widen field of view and other tweaks [Updated 2024]
Preliminary step
Start the game and configure your video options, so that some config files are generated.
Skip Startup Logos
Right click Batman™: Arkham Knight in your Steam library and click on Properties.
Locate the Launch Options section at the bottom of the General tab.
Write -nologo in the underlying string.
Locate the Launch Options section at the bottom of the General tab.
Write -nologo in the underlying string.
Unlock frame rate
Support for 60 and 90 fps was added after this guide was originally published.
You might need to do this all over again in case you change some graphic options
- Navigate to
...\your Steam folder\SteamApps\common\Batman Arkham Knight\BMGame\Config - open this file in your favorite text editor (i.e. Notepad)
making a backup copy of it before editing is advisable
BmSystemSettings.ini - search for this text string
MaxFPS=XX.XXXXXX
X = ingame fps setting (default = 30.000000)
and change it to whatever value you wish the FPS to be capped
e.g.
MaxFPS=120.000000
MaxFPS=144.000000
MaxFPS=200.000000 - save the file and exit the text editor
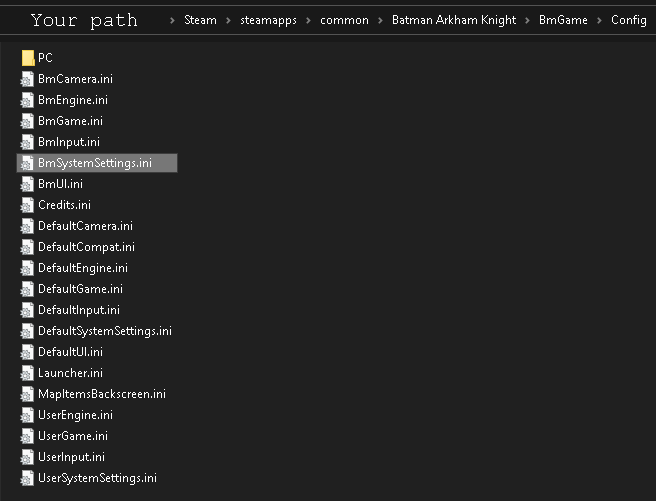
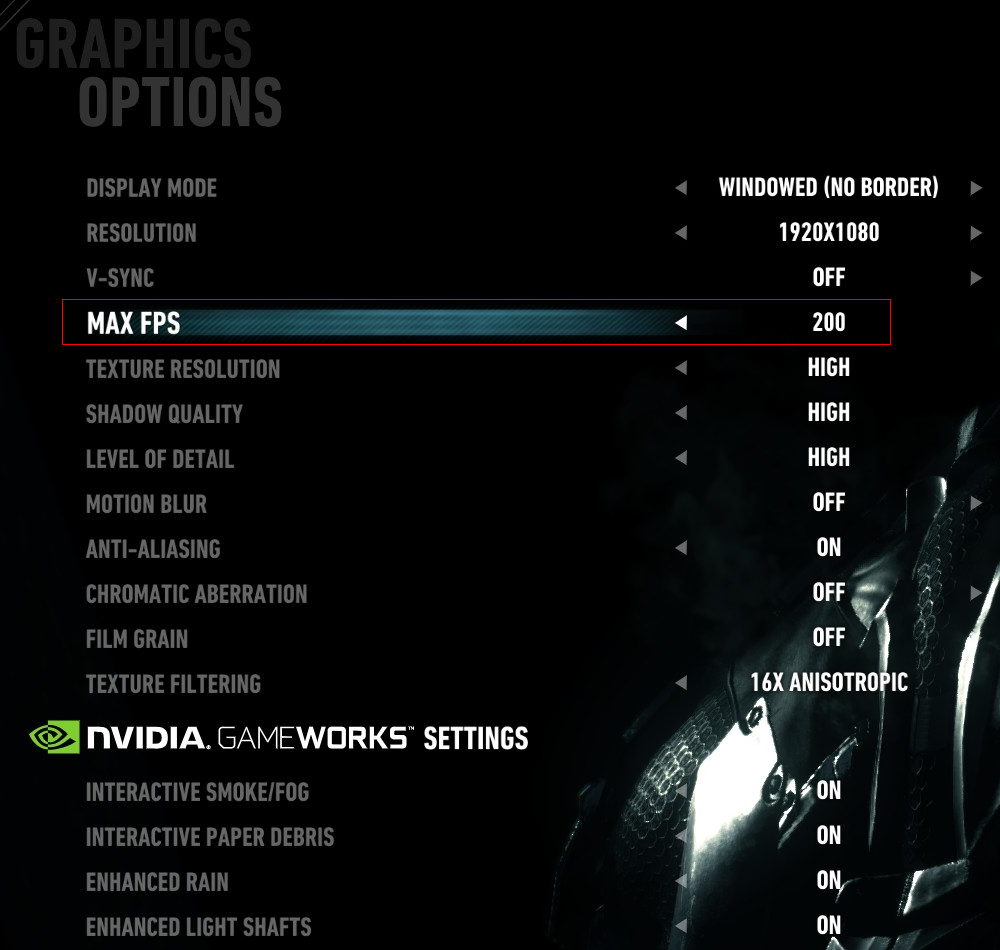
You might need to do this all over again in case you change some graphic options
Widen Field Of View
- Navigate to
...\your Steam folder\SteamApps\common\Batman Arkham Knight\BMGame\Config - open this file in your favorite text editor (i.e. Notepad)
making a backup copy of it before editing is advisable
BmInput.ini - Locate this section
[Engine.PlayerInput]
copy all text strings starting with Bindings - Locate this section
[BmGame.RPlayerInput]
paste the text strings starting with Bindings at the end of this section - add the following lines at the bottom of what you've just pastedBindings=(Name="NumPadOne",Command="FOV 80") Bindings=(Name="NumPadTwo",Command="FOV 85") Bindings=(Name="NumPadThree",Command="FOV 90") Bindings=(Name="NumPadFour",Command="FOV 95") Bindings=(Name="NumPadFive",Command="FOV 100") Bindings=(Name="NumPadSix",Command="FOV 105") Bindings=(Name="NumPadSeven",Command="FOV 110") Bindings=(Name="NumPadEight",Command="FOV 115") Bindings=(Name="NumPadNine",Command="FOV 120")
- save the file and exit the text editor
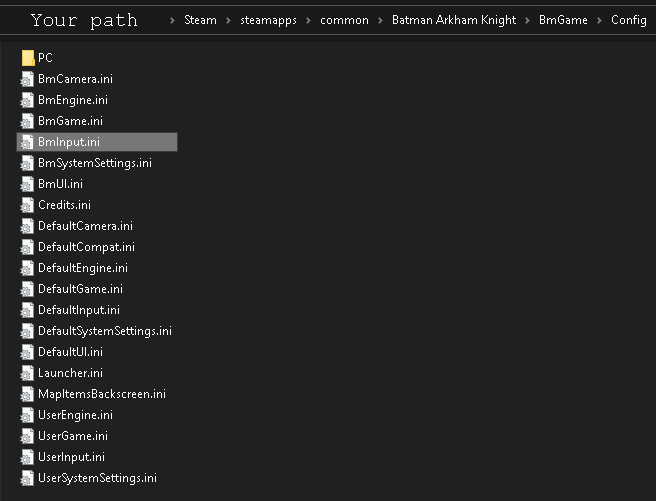
Now you should be able to change the FOV ingame with your numpad keys. Make sure your Num Lock is ON.
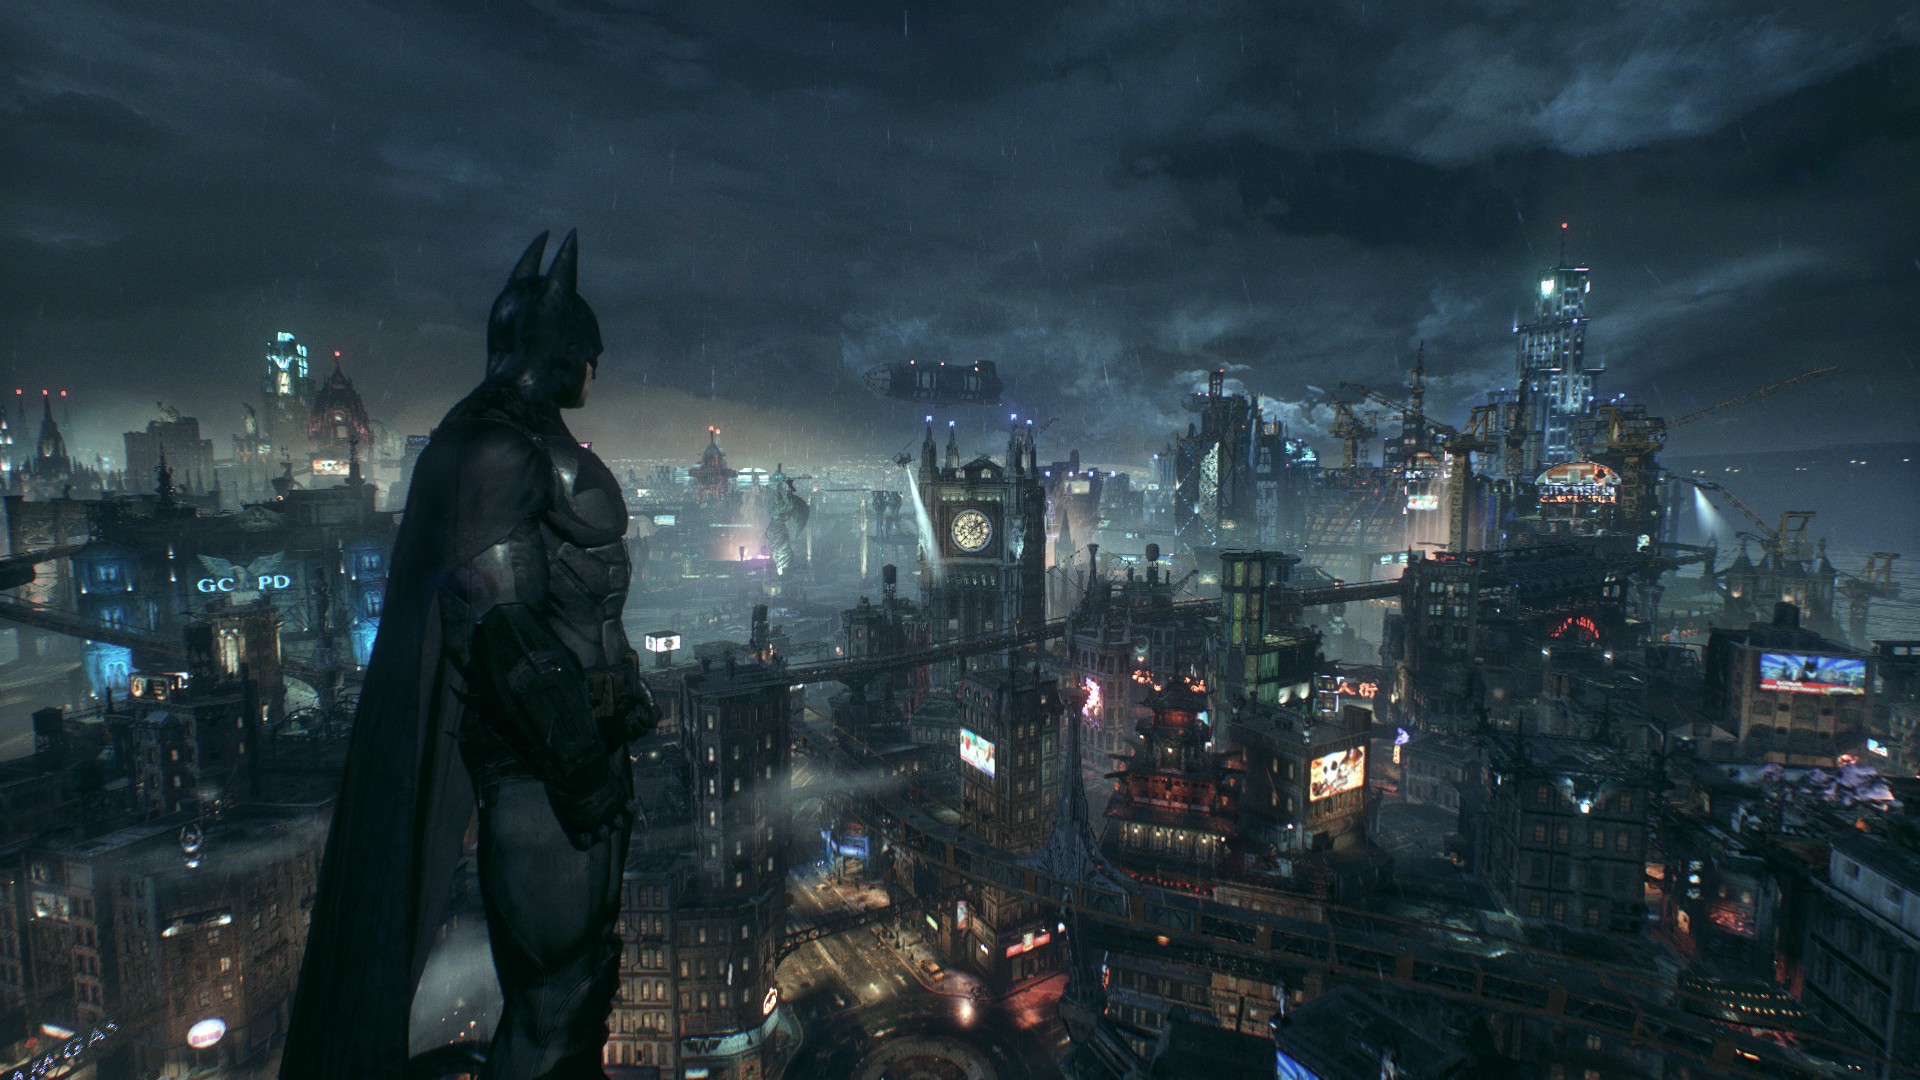 FOV 100
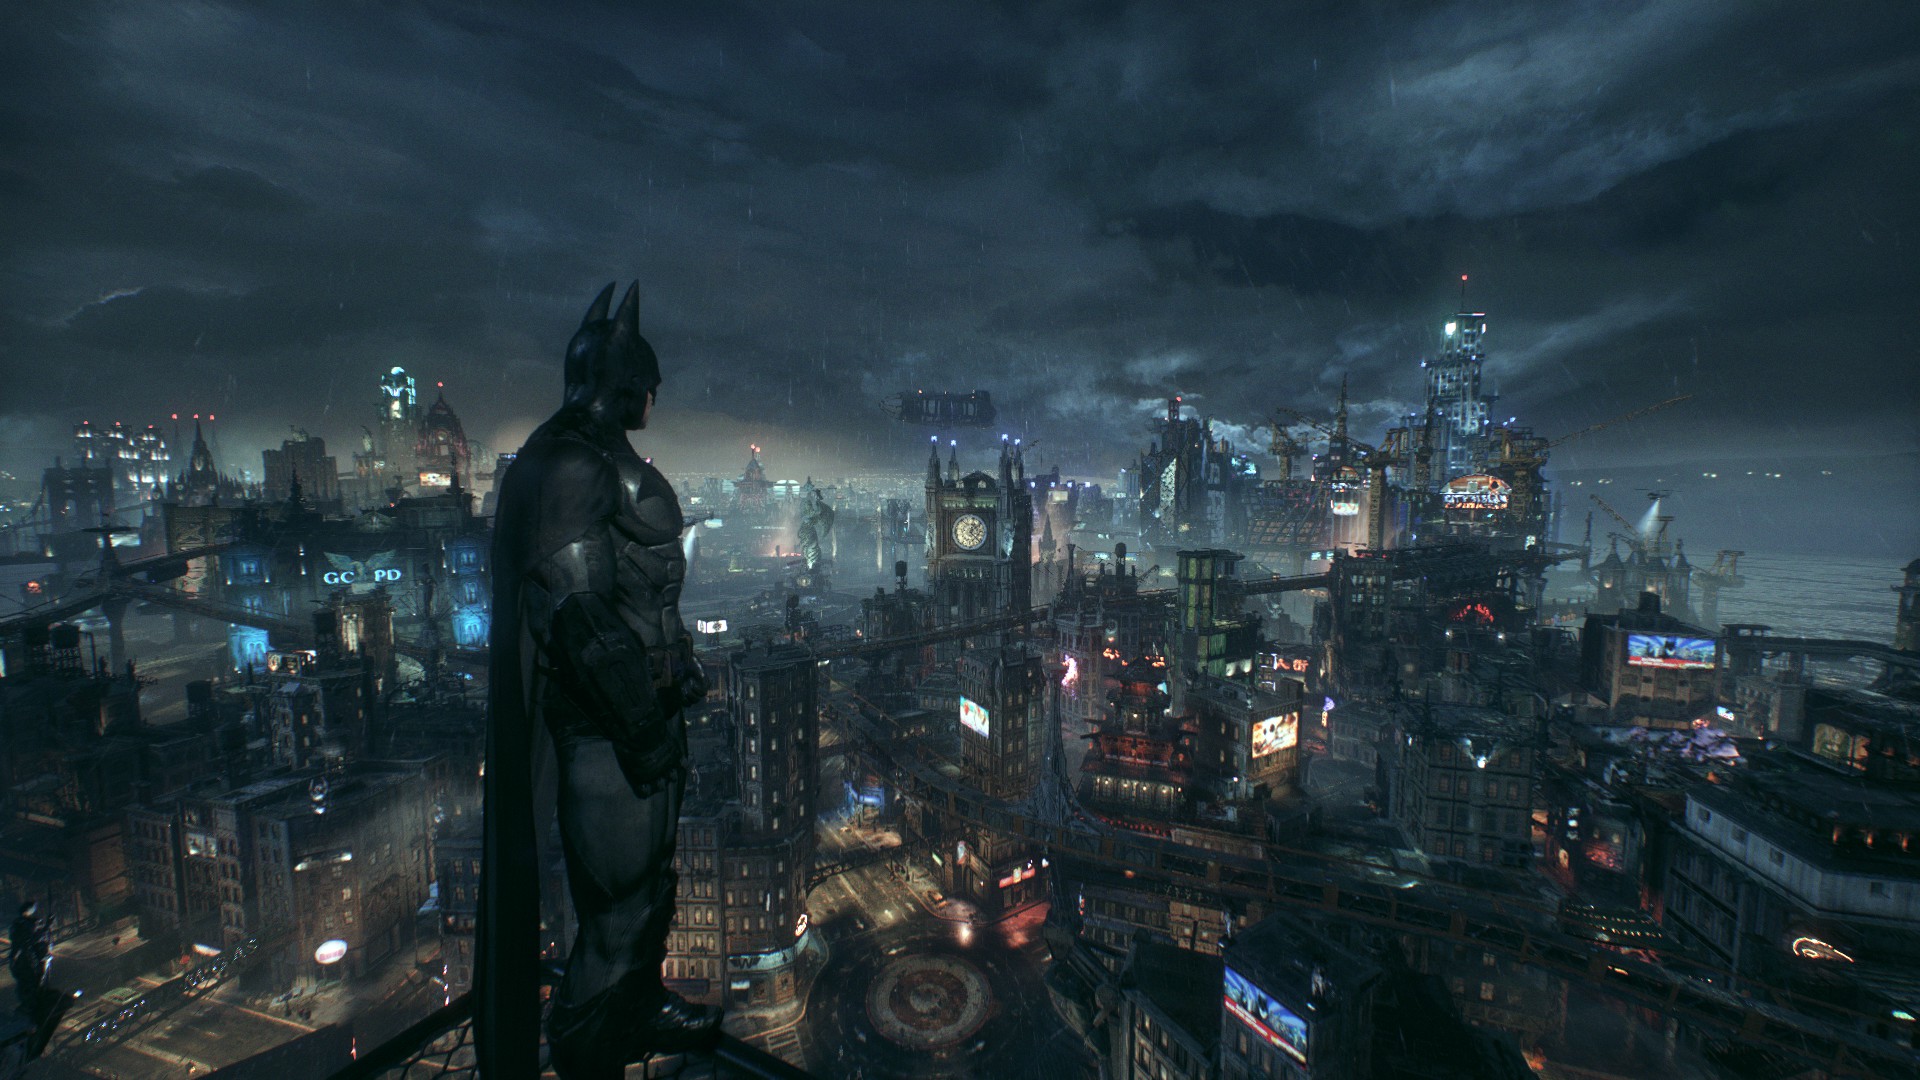 FOV 110
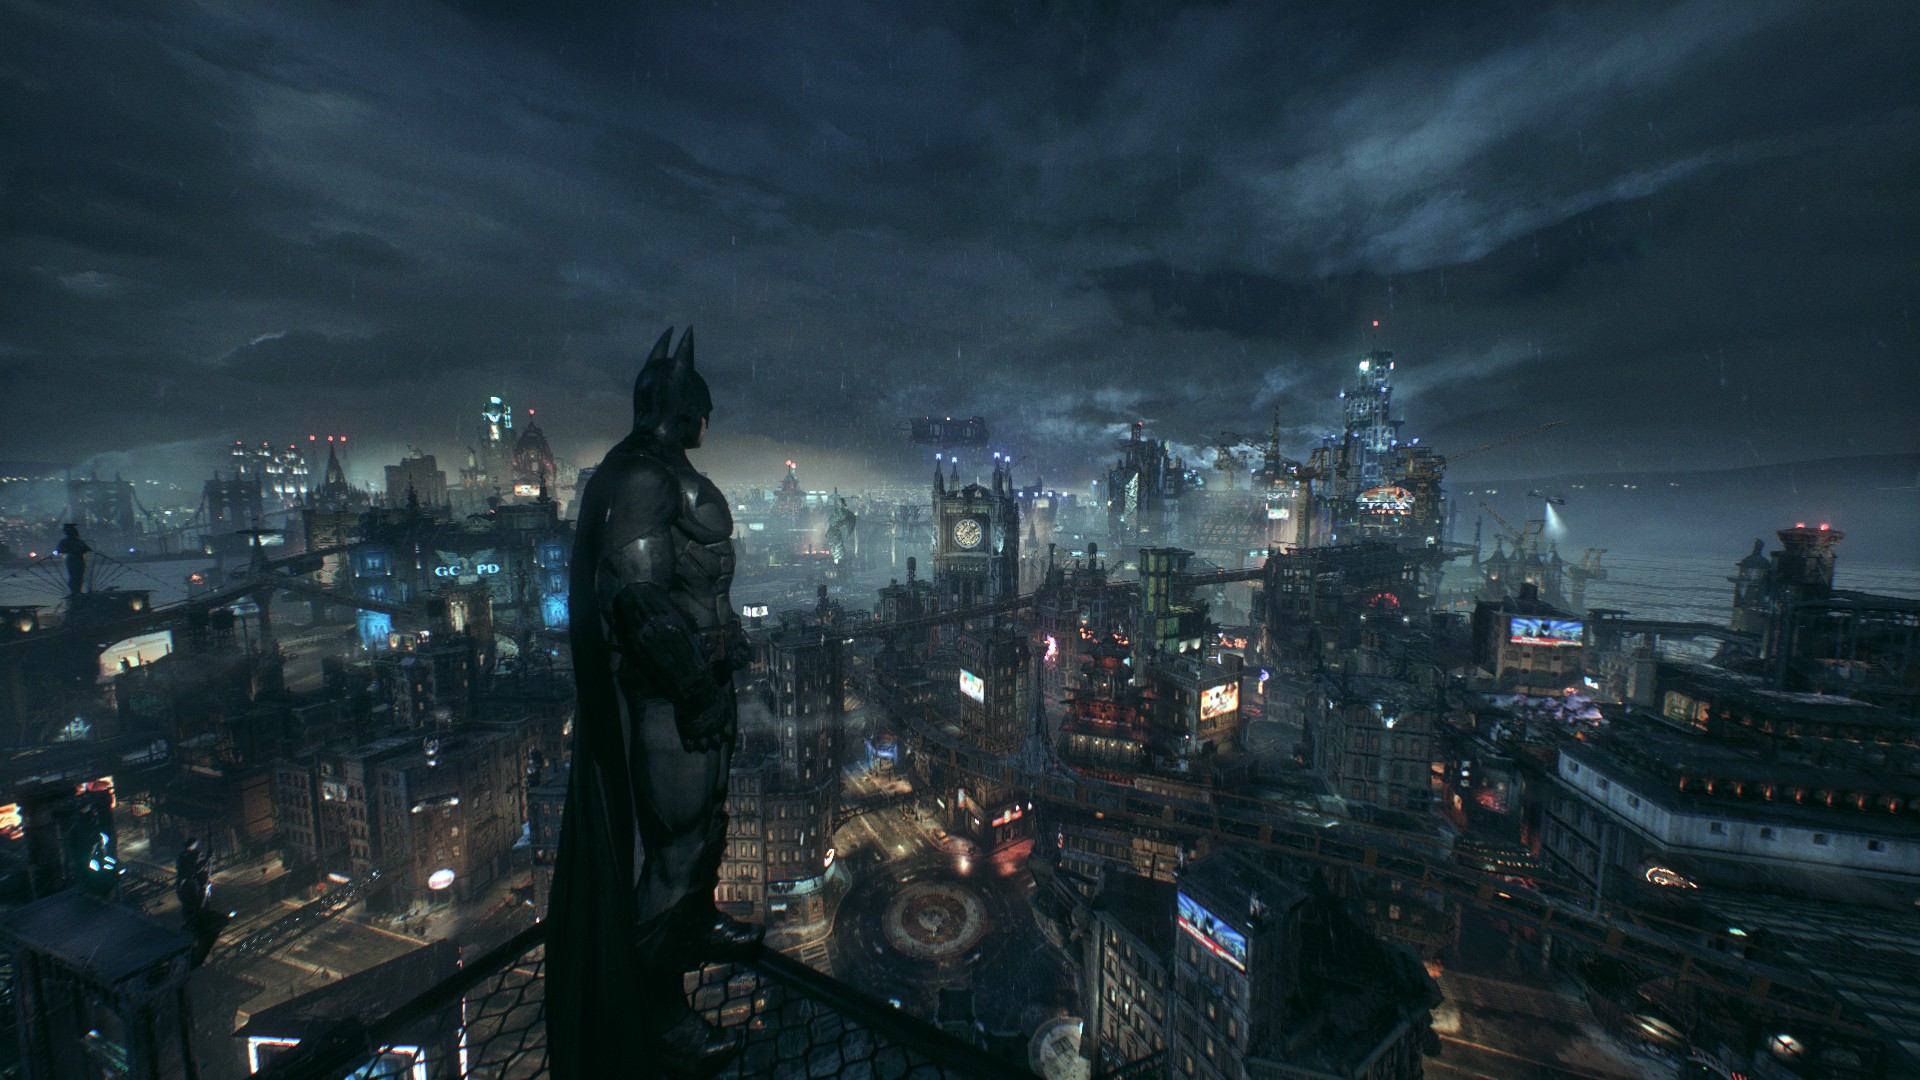 FOV 120
You can manually modify the document further and personalize which key modifes FOV to which value.
Be aware that different FOV values alter aiming in first person perspective and other mechanics.
NOTE: I just applied the same fix described HERE[pcgamingwiki.com]: all credit goes to PCGamingWiki.
Additional Tweaks
Show / Hide the HUD
You may want to hide the HUD to take screenshots like the ones above- open this file in your favorite text editor
BmInput.ini - Add this line just after the portion of text you added to set the numpads as FOV keys
Bindings=(Name="NumPadZero",Command="ToggleHUD")
Now the Numpad 0 key shows and hides the HUD.
Mouse sensitivity and smoothing
- open this file in your favorite text editor
BmInput.ini - edit these lines to your liking
MouseSensitivity=XX.X { i.e. 10.0 or 50.0 }
bEnableMouseSmoothing=False to disable smoothing
Disable Motion Blur
Now available in video options- open this file in your favorite text editor
BmSystemSettings.ini - edit these lines as follows
MotionBlur=False
MotionBlurPause=False
MotionBlurSkinning=1
I noticed that ingame AntiAliasing no longer works after disabling Motion Blur, could be my issue.
Disable Depth of Field
Now available in video options- open this file in your favorite text editor
BmSystemSettings.ini - edit this line as follows
DepthOfField=False
Turning off DoF also disables gamma correction (negatively afftecting the whole scene lighting) and film grain.
16x Anisotropic Filter
Now available in video options- open this file in your favorite text editor
BmSystemSettings.ini - edit this line as follows
MaxAnisotropy=16
Not confirmed to work, you may need to force it through NVIDIA Inspector / ATI Catalyst.
I hope this guide was useful to you.
Enjoy the game!
Enjoy the game!
More Batman™: Arkham Knight guides
- Riddler Trophies, Riddles, Breakable Objects, and Riot Bombers (Strategy Guide)★ 5 (1.4k)58k views2.2k ♥1 minBulgarianUpdated Oct 25, 2021
- Batman™: Arkham Knight全汉化【已更新蝙蝠侠起源汉化包】★ 5 (1.5k)38k views937 ♥1 minSimplified ChineseUpdated Mar 26, 2025
- Загадки Загадочника (СКРИНШОТЫ)★ 5 (1k)36k views2.1k ♥5 minRussianUpdated Jun 26, 2020
- Batman™: Arkham Knight - Гайд по достижениям★ 5 (1.2k)27k views1.8k ♥11 minRussianUpdated Jan 13, 2021
- The Line of Duty [Locations]★ 5 (347)25k views694 ♥3 minUpdated Dec 24, 2023
- Полный гайд по всем достижениям, и длс.★ 5 (1k)24k views1.4k ♥8 minRussianUpdated Feb 8, 2016




This guide was created by its original author on the Steam Community. Are you the author and want it removed? Request removal.