Overview
An introduction to the basics of Space Haven.
Basics
Here are some basics that might help you.
– Build Mode
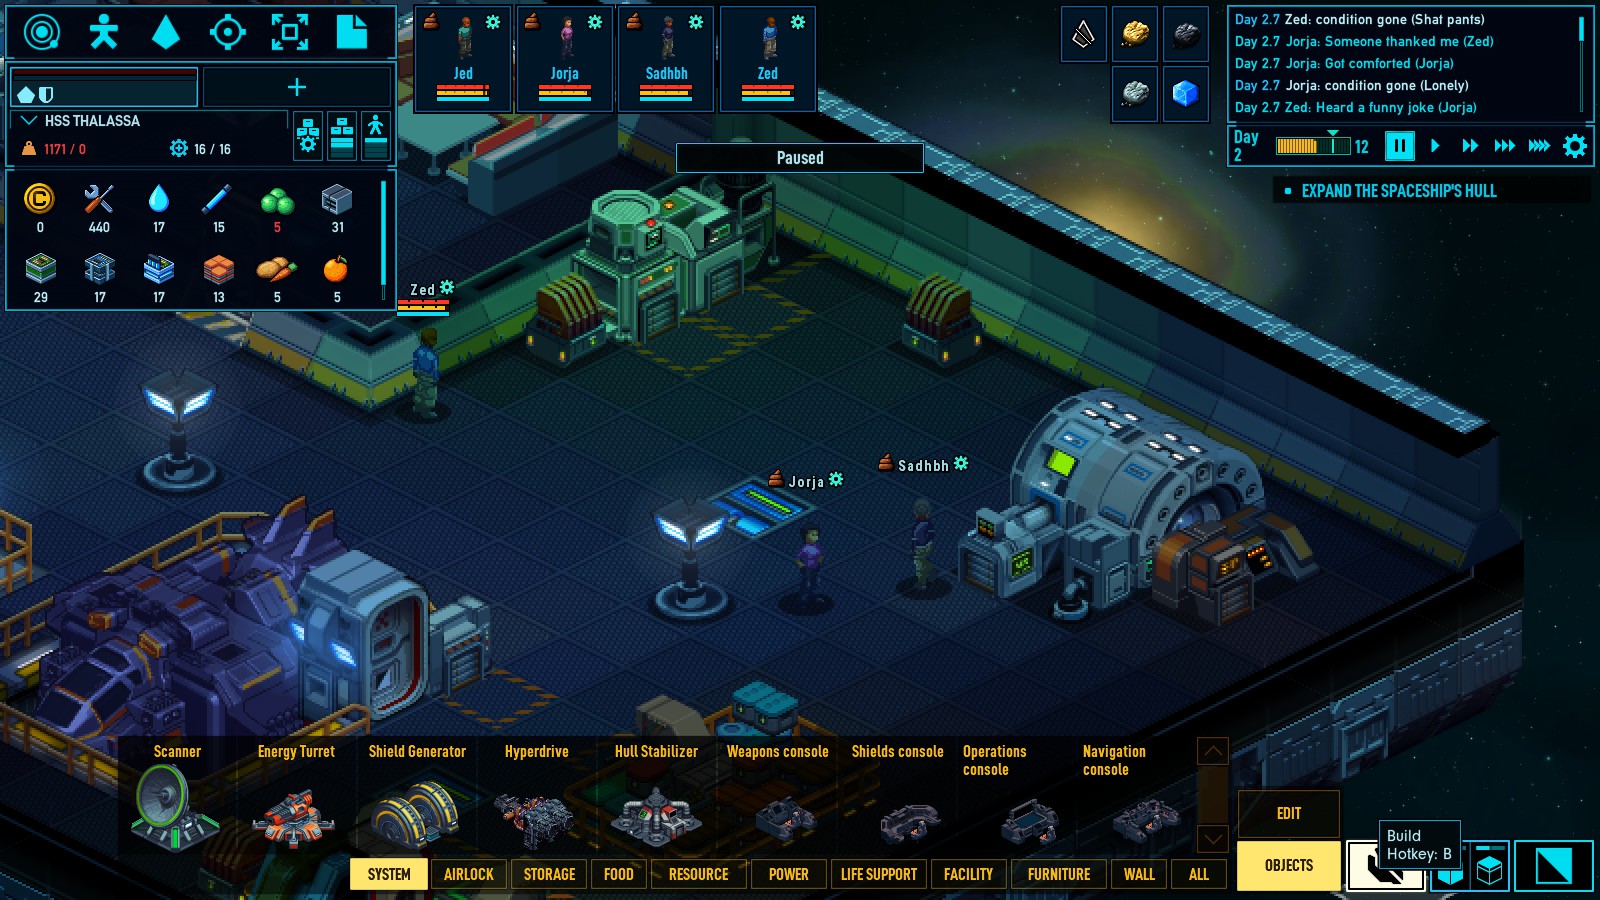
All of your building options are in the yellow box in the bottom right of the screen.
– Adjust wall view
This will allow you to lower or raise the height of the wall. This can help when a wall is blocking your view, or if you prefer the walls hidden or at full height.
– Toggle Roof View
This will allow you to see the roof of your station/ship.
– View Mode
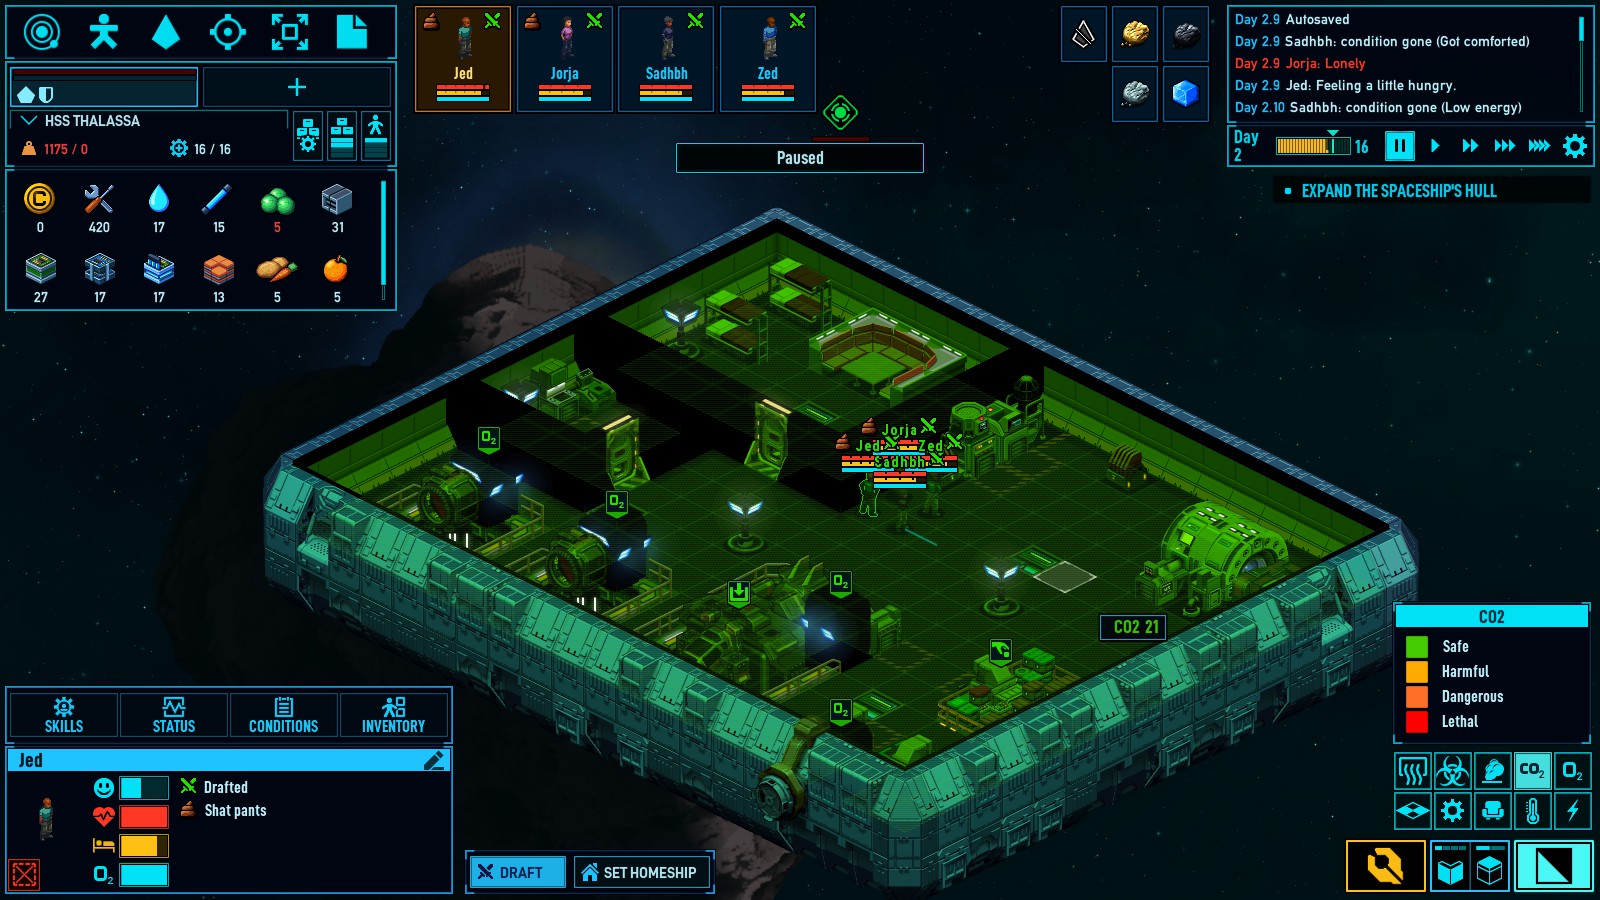
Get used to accessing the view mode by either the R key or the button in the bottom right of the screen. This opens up the view mode, which allows you to see different views of your ship, including: O2, CO2, Comfort, etc.


UI
User interface guide.
Starmap
This shows your current location, as well as the whole system when you zoom out.


Crew Managment
View Systems

Attack Systems. You can “turn on” the turrets in the view system tabs.
Here you can see the turrets are manned and ready to shoot.
Tactical Map is used to see your ship/station’s immediate area, and combined with the Attack systems tab, you will be able to attack in this area.
The turret has a few options available
Repair, Continuous fire, stop charging, remove target, select target. In that order, left to right.
Here you can see that I targeted the direlect ship.

IMPACT!
Data Logs
This is where your data logs will be stored. Nice.
Characters
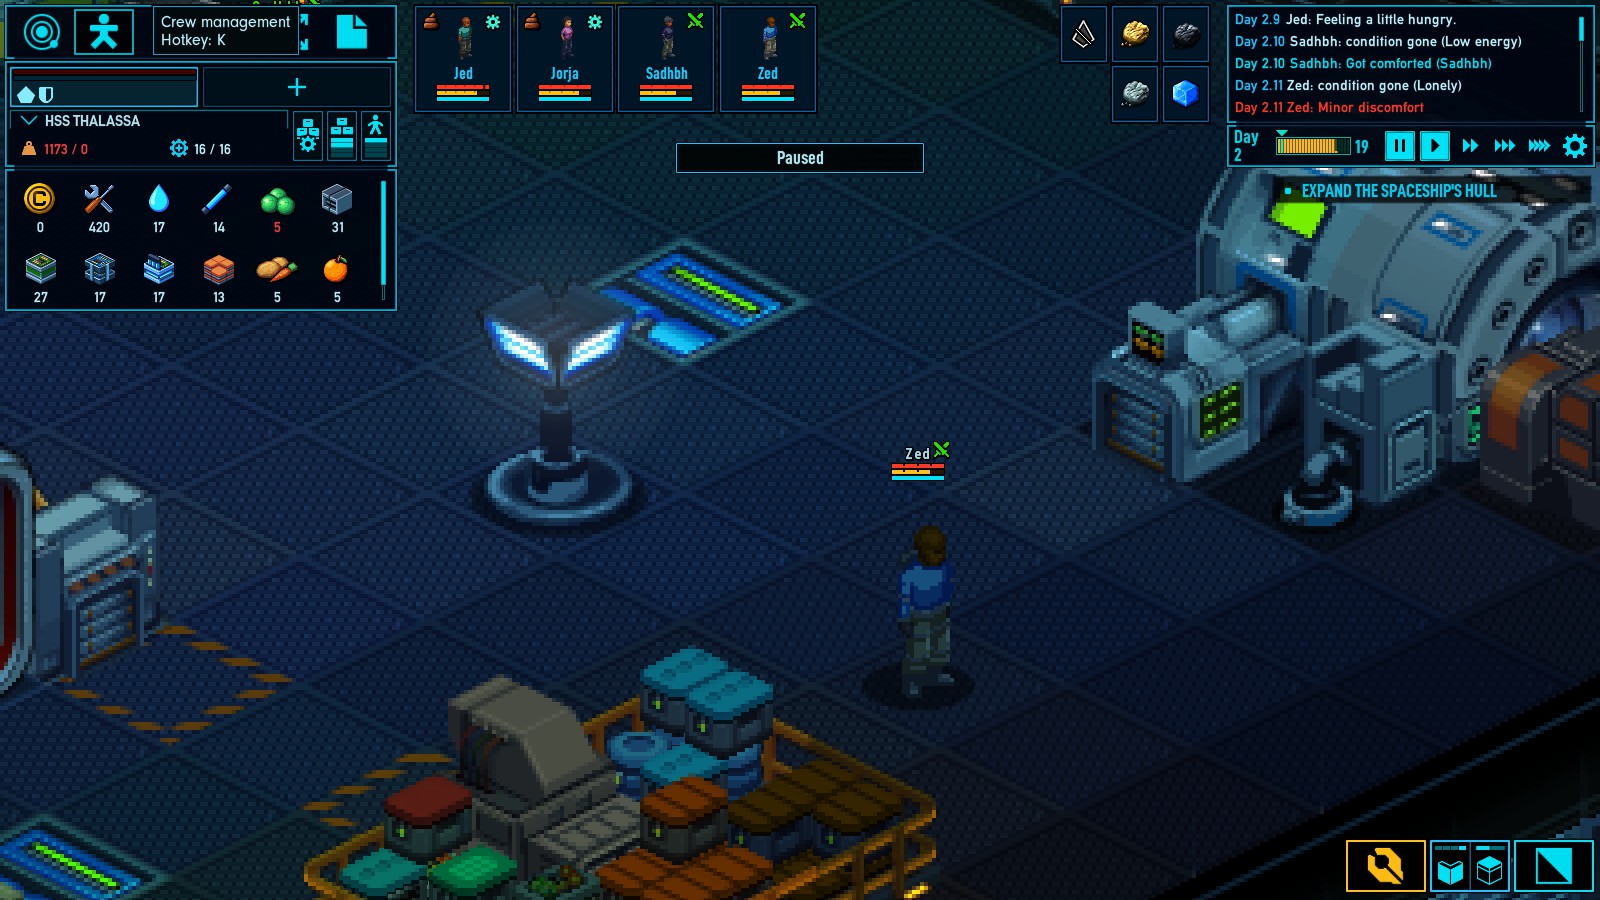
This is a overview of your characters (top middle), selecting them with left click will open their menu up. Which will allow you to draft and access their other menus.
Sytem Resources
This area shows the resources in your system (top right). Selecting any of them will open a small interaction menu in the bottom right.
Game Dialogue Menu
This menu is in the top right and shows the game dialogue as events happen.
Time and Time control
Here you can see current time and have the controls to pause or speed up time.
View Modes
Simple guide for the view modes.
– Electricity
Power availability is color coded. Green being high availability, and red being no power.
– Temperature
Temperature is important in space, where the base temp is absolute zero.
Here we can see that the temperature can be anywhere from very hot to absolute zero.
This station is currently in the green, with a temperature of 19 Celcius.
– Comfort
Here you can see that most of this station is very negative comfort, with my barracks having slightly better conditions. It appears that the toilet adds a negative score to the room. Lets move that and try to improve room comfort.

– Atmosphere
This has multiple view option in one area.
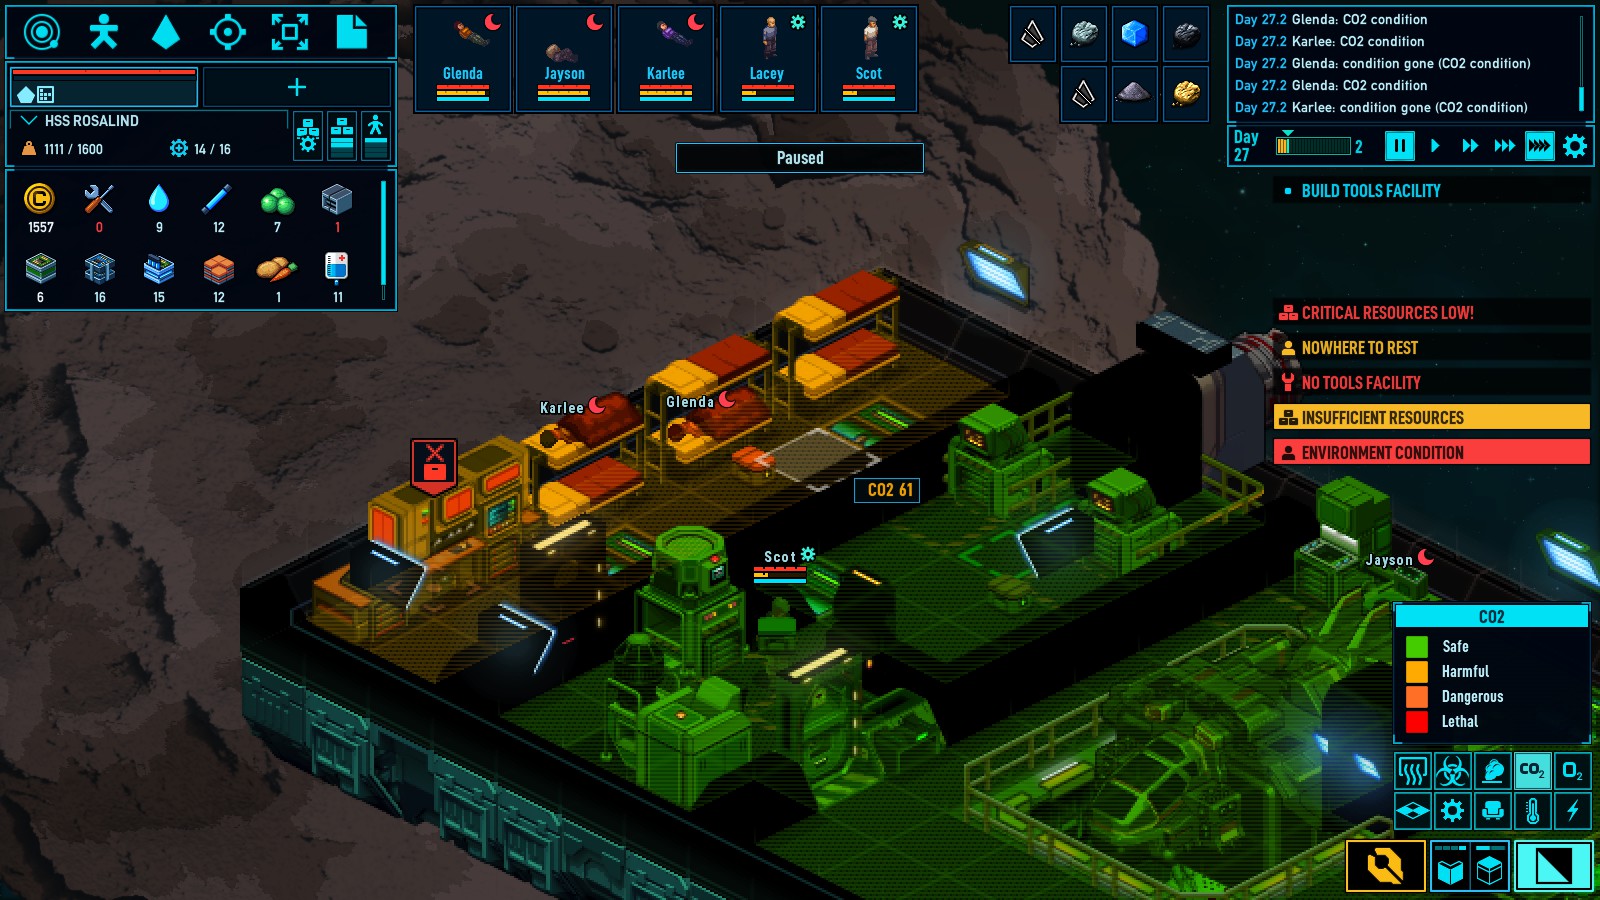
O2 is essential for their survival. A high O2 is optimal with no O2 being in the void of space.
CO2 is for growing plant matterial, so a slightly higher CO2 level would be beneficial in a grow room. But higher CO2 can also be dangerous.
Smoke & Hazardous Gasses have ranges from safe to dangerous.
Character Menus
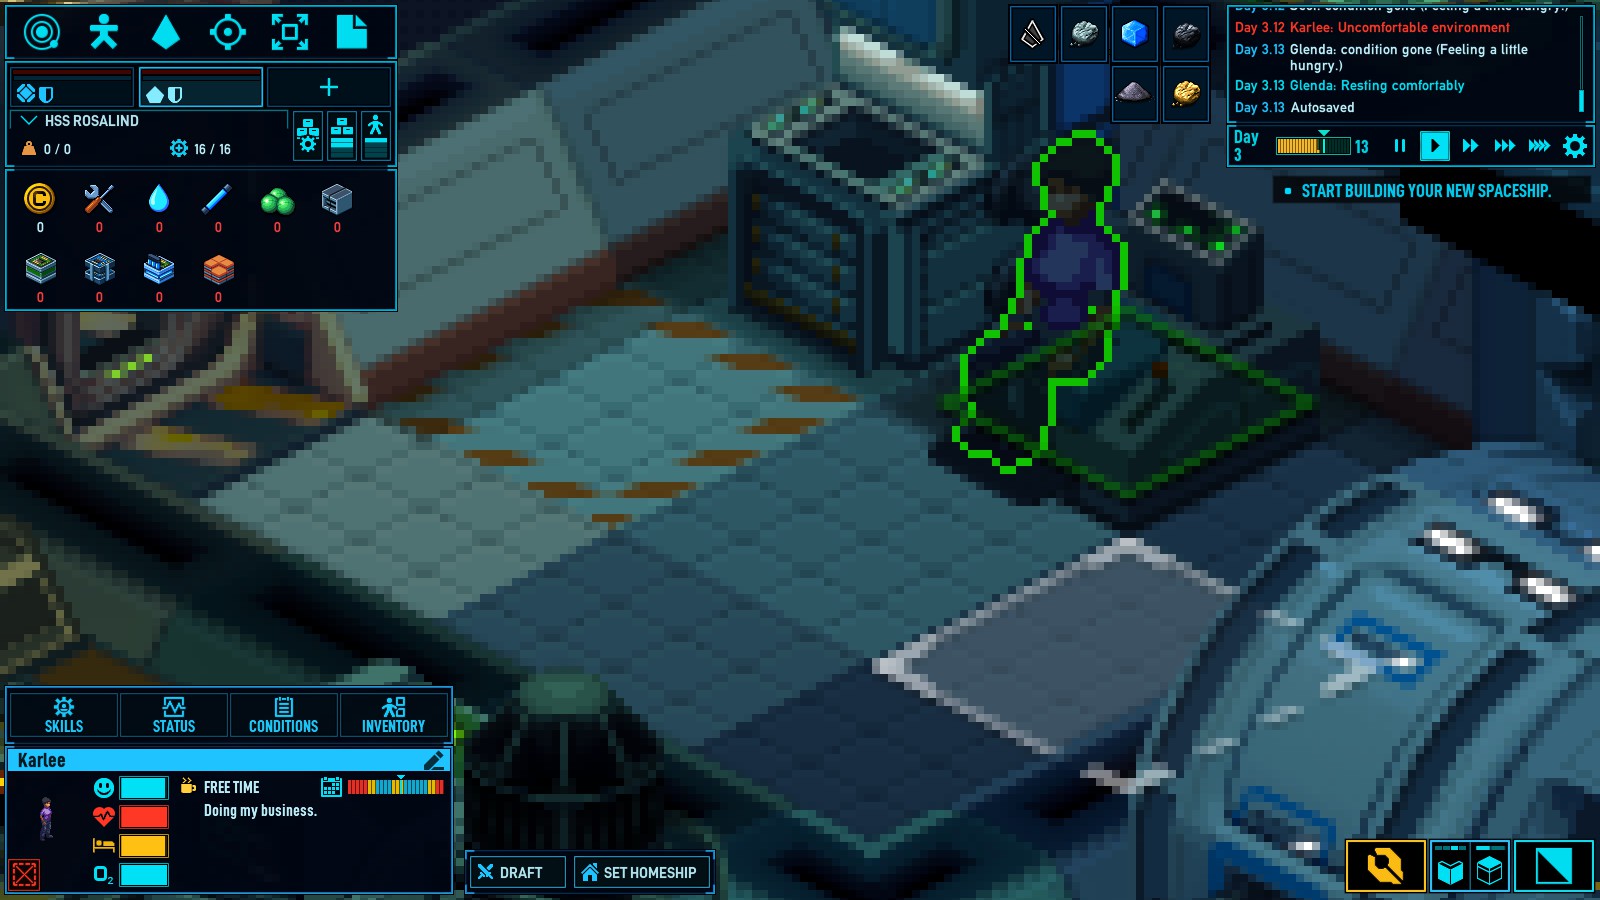
There are four menus for each character.
Skills, Status, Conditions, and Inventory.
Skills tell you about the stats of a specific person. Things like occupation, skills, attributes…
Status menu is going to hold the real time needs/emotions of the person. Here we can see this person is feeling a little hungry and is experiencing major discomfort.
Conditions menu has the detailed buffs/debuffs of any status, as well as medical issues.
Inventory is simply the inventory of the person. Equipped items will be found here.
Combat/Boarding
Drafting is the first step to controlling your survivors.
All you have to do is select a person and then select the draft option.

You can make them walk by right clicking the tile you want them to go to.


You have to first draft a person, then right click a storage device and select the grab option.
After this you can see the contents of the storage device. Simply drag and drop into your inventory.
Ship/Station Boarding
Make sure you have your space suit on! You can do this by selecting a space suit door, or a docking door on a hanger.
Enter your ship
Fly to your location by right clicking.

Exit the craft and float into the ship.

Hostile Ship Boarding
You defeated your first pirate ship, Congrats!
Now onto the next step, board the ship and deal with them.


Alright! After docking at the first thing I see is one dead pirate, and a pirate walking away from my crew. They instantly shot at him and he surrendered.

Accepting the offer gives you whatever they offer, and declining takes them prisoner, and leaves their ship derelict.

Prisoners
After you win a fight, you still have humans on the ship to deal with.
If you board and have a shootout, they usually surrender. If you fight with your ships cannons, you still have to board and fight. Sometimes it’s better to just board first.
So you’re on their ship, and they are surrendered. What can can you do.
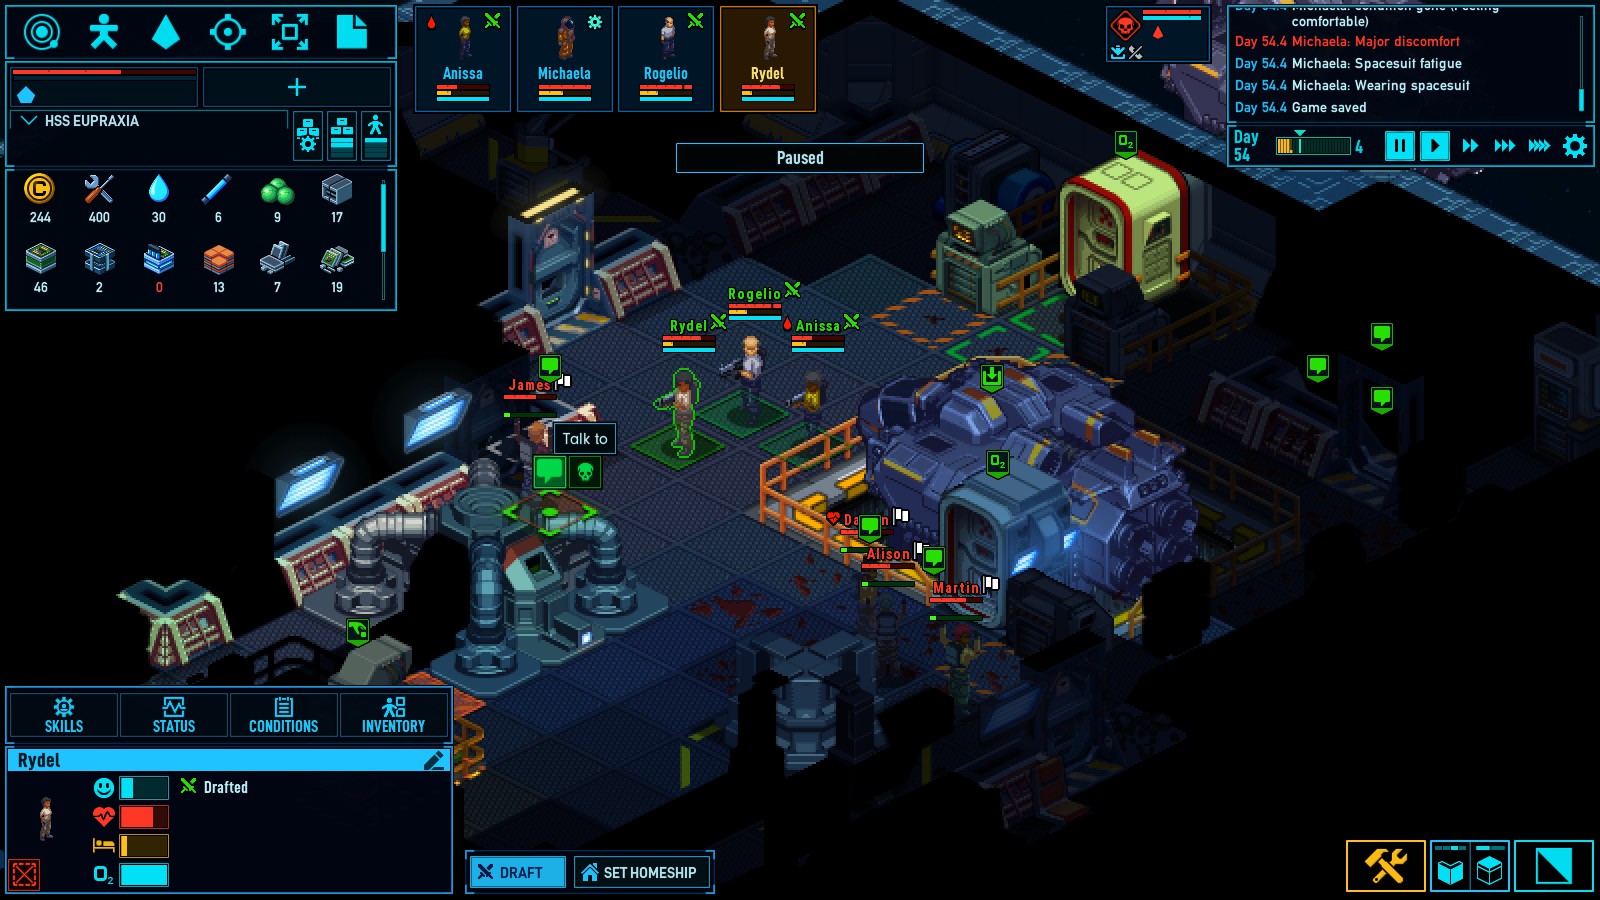
Right click one of them while you have your recruited crew selected. You will be given two options.
Select talk to them, and this menu should appear.
You have two choices here.

Right click your prisoners and select follow me.

Take them back to your ship. Make sure they have a prisoner area set. This can be done by going to the build menu and selecting the select prisoner area.
Now getting them to join you seems to take a while. I see that they have very low recruit chances, and higher revolt chance. They were .3% and 10.0% respectively.
It also seems that prisoners need access to a kitchen.
I’m certain that with a better prisoner room, and time, that they will eventually be recruited.
Ship to Ship Combat
Your ship’s health is the red bar at the top right.

If a hostile ship appears, make sure there is a person on at least the shield and turret terminals. Target the hostile ship within the attack system menu.

Make sure you have someone able to resupply the guns on your ship because they do run out of ammo.
I then encountered another pirate while there was two other friendly ships in the sector. One of them took the gun fire, and my ship and the other guy destroyed him. So clearly that more ships in your fleet (or in the area to help), the better off you will be.
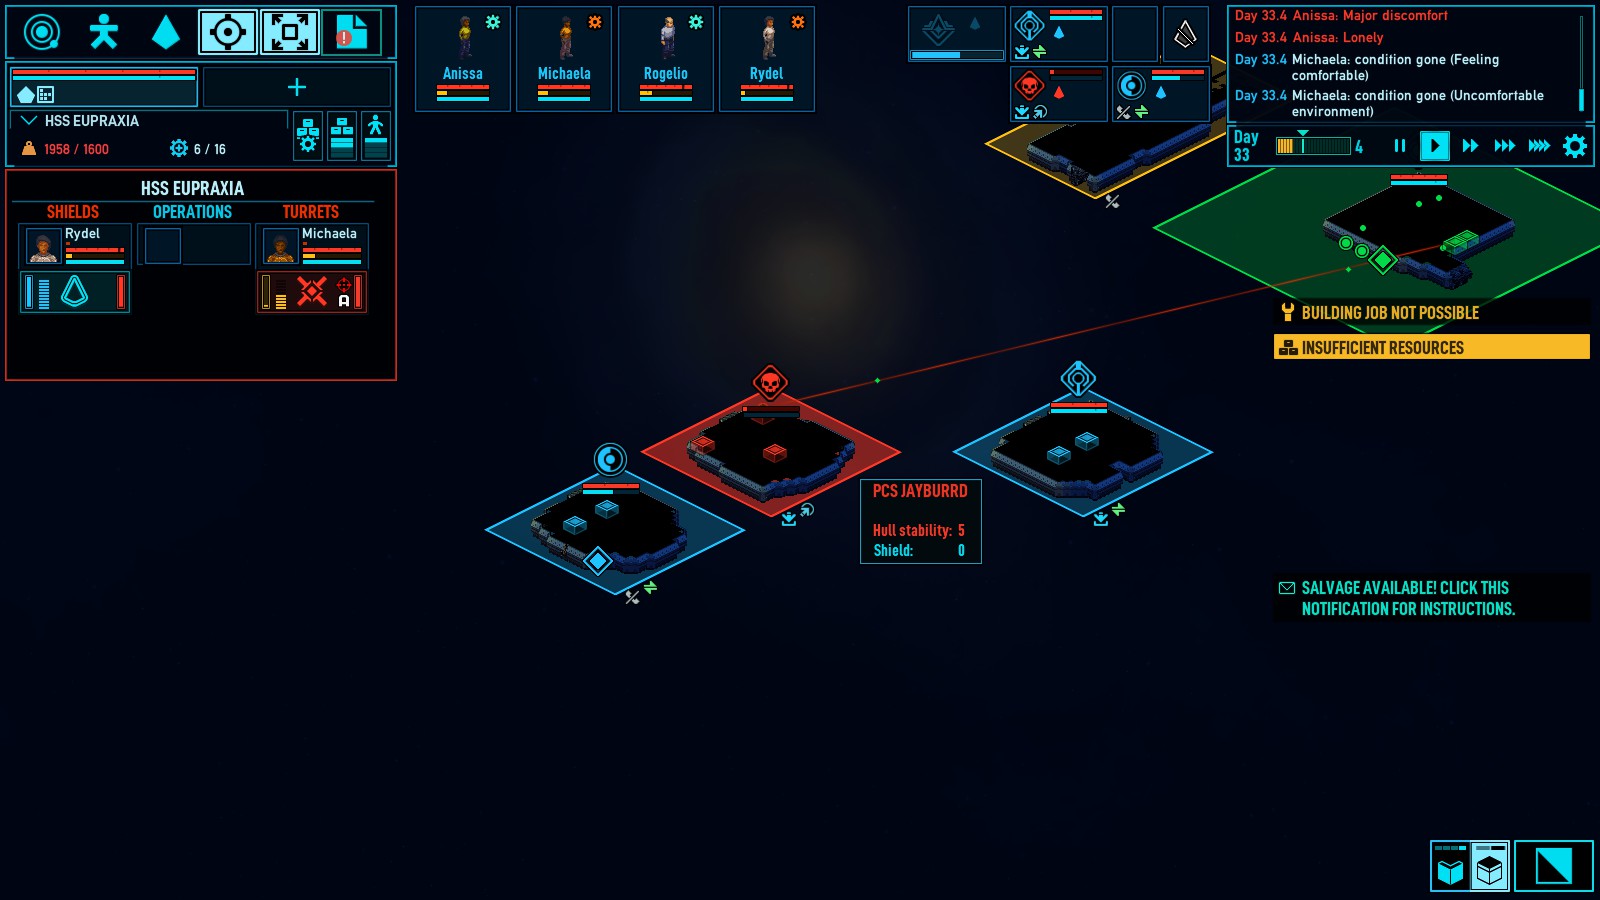


PS. You can watch them steal your loot 🙂
Salvage Time
After you clear a ship it’s time to get to work. Salvage is an easy way to obtain resources.
Select the ship you want to salvage from the tactical map. Then select the salvage button in the bottom right menu.


Crafting Resources
The resource tab is where all of your machine blueprints exist.

Produces refined chemicals. Hazardous gasses and Noisy.

Transforms energy crystals into energy rods and raw hyperium into hyperfuel. Hazardous gasses and noisy.

Produces basic construction components. Soft blocks, hull blocks, infrablocks.

Creates fabric from fibers.

Turns carbon and base metals into steel plates. Heat and noisy.

Creates various items and weapons.

Turn scrap materials into usable resources. Heat and noisy.

Turn ice into water.

Builds tools.

Produces high tech construction components (tech blocks and energy blocks).

Produces optronic (electronics and light) components.

Turns noble metals and base metals to electronic parts. Hazardous gasses and noisy.

Uses electronic components and energy rods to create energy cells.
Ship Building
This is left to you, so there won’t be much here.
I’m moving this tip to the top because it could save your life. Remove extra hull if you run out of hull blocks.
Wanting to make a perfectly symmetrical ship is totally understandable. However, until you can afford to get fancy, all that really matters are the crew’s needs. Keep living quarters comfortable and quiet.
Select the build button


If you want to remove the hull of your ship watch out for this icon. I think it means there would be a hull breach.

After removing the two wall blocks you can re-remove the hull, and all should work.
Running out of supplies!
If you run out of supplies it doesn’t hurt to remove non-essential items that are made of those resources. In the image below I am missing some items for my hyperdrive.

This wall power node only powers a small farm, which currently has no water to grow anyways. I’ll dismantle the whole grow room until my jumpdrive is made.


Ship Flying (First Time Leaving Abandoned Mining Station)
After the jumpdrive and navigation console are built on your ship, you’re ready for travel!

1. Make sure everyone is on the ship that is going to jump. For some reason they die if you leave them on the abandoned station (Scenario).
2. Get all ships and mining units back where they belong.
A good tip here would be to relocate the shuttle (and mining unit) from the abandoned station to your new ship. This is useful for when you need to leave the ship, or board a derelict ship, etc.

Next enter the view system menu.


Select where you want to place your ship by dragging and dropping the icon. After you pick the area select deploy. You are now in a new area.
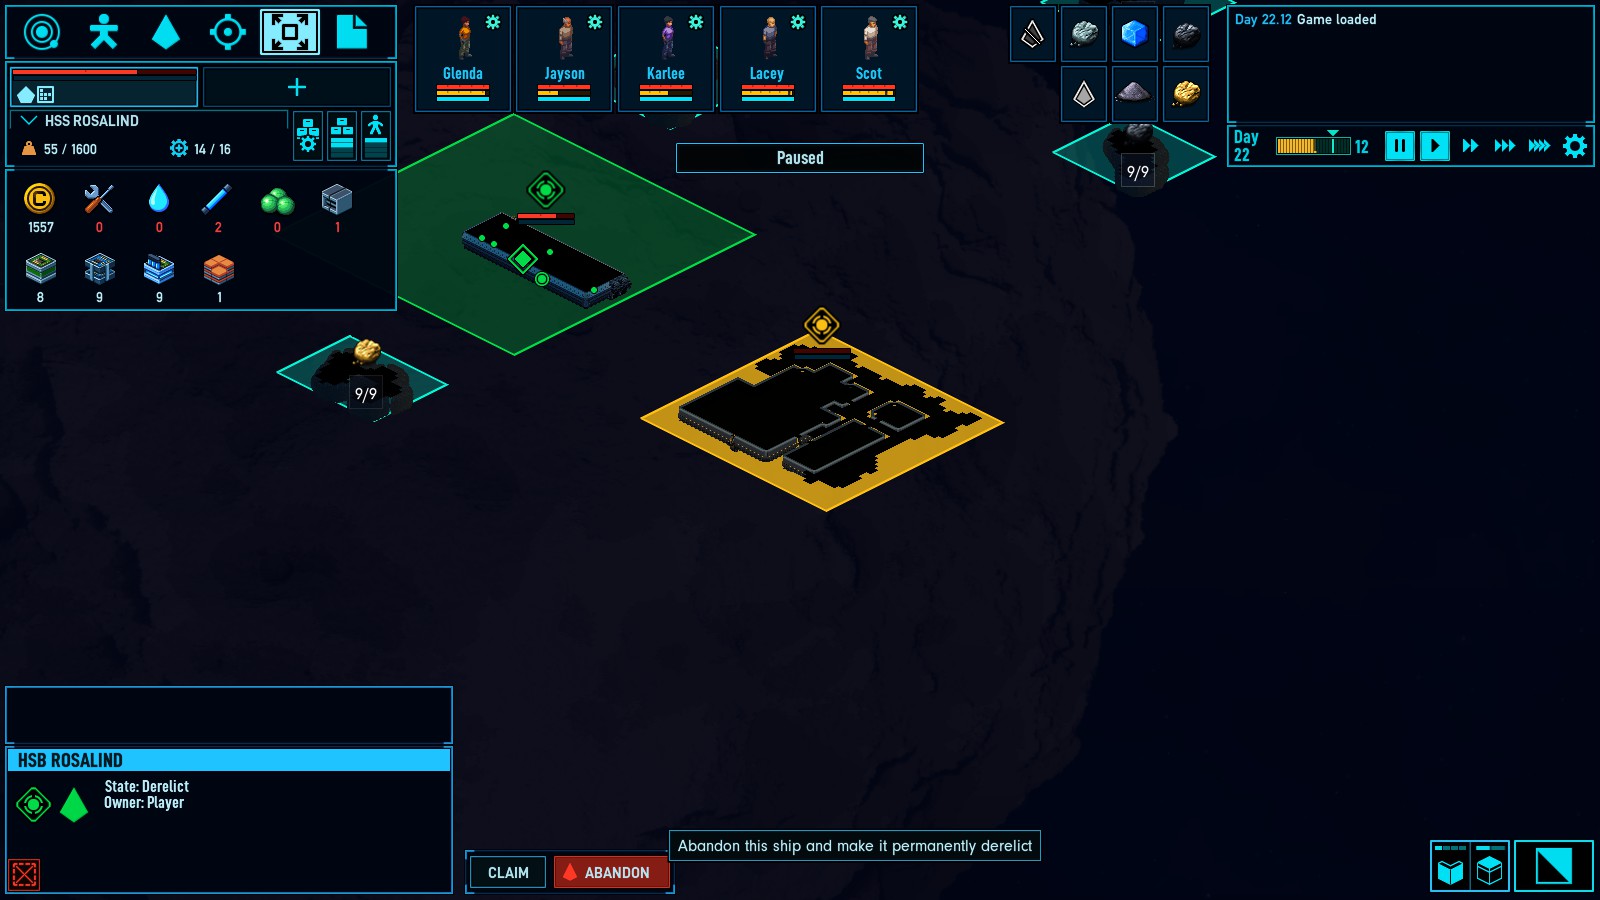
If you return to your original station area you will see that the mining station can now be claimed or abandoned. If you claim it, it will go back to being a station you can use (same as before you left).

Ship to Ship Interactions (Non-Combat)
You can communicate with ships in some form or another.
Simply scroll out to tactical view, or select the tactical view menu.
Select the ship and press the hail option in the bottom right area of your screen.


You can negotiate with them to see the interior of the ship, or ask for permission to board. These have a percentage of success. Increasing their relationship with a gift should help.
Offer
This is where you can offer them a gift in order to increase relationships.
Declare War
It’s obvious what this button does. There is a confirmation question at the next tab to prevent accidental wars. I guess this could be used for pirates, you could just ask for permission to board them, then open fire when you get on board. This still declares war if you attack them.
Trading.


When you are fighting a pirate ship, you can always surrender, or ask for cease fire.
Logistics
Logistics start with the crew members and their skills. If your station ship is running out of materials or no one seems to be doing anything specific, it may be a logistics issue.
Index:
Priorities
Scheduling
Ships
Priorities
As we can see here each person has twelve skills, and these skills assist with the eleven different jobs in the crew management tab.

As you look through the jobs it may seem daunting, but it’s actually quite simple when you figure it out.
I will set a more strict job system up. Where only one or two people can do a job. And for the four red jobs (Navigate, shield, guns, operations) I will set one.


Here is what it would look like after.

It’s smart to keep someone as backup for a specific job, for instance medical.
Scheduling
This is where you control when crew members do what they do. There are three different options: sleep, work and leisure. Their names are self explanatory.

In order to change this schedule click on one of the three tasks and select the hours.
Here you can see a modified schedule.

Here is an example of night work.

Ships
This tab gives you control over how your crew uses the ships in your control.

You can set where they sleep, eat and work. You can increase and decrease the locations with left and right clicks.
Jobs (Time to Work!)
Crew members will go about their day completing tasks on the ship, as well as any other workable areas.
You can force crew to do a specific job.
Select the job you want to be completed. For this example I wanted a lamp built.
 If you click on this lamp blueprint we can see the menu open.
Select the jobs button and then select the assign option for the job.
 All you have to do now is select someone to build it.

If your crew is focusing on one job, and forgetting others, there are a few solutions.
Custom Logistics Priorities
You can change the importance of a specific job. Power generators, water purifiers, and O2 generators are high importance jobs.
This is how you can control this.
Select the job you want to change. Then select overview, and then custom logistics priorities.


IF you still have crew focusing on one job, and need them to stop. I would recommend turning off the job.
Transferring items from a derelict ship can take a long time. All you have to do is stop transferring items by going into the ship and lowering the transfer amount. This should stop it. Same for the salvaging of a ship. Simply disable the salvaging of resources.
Recap:
1. Custom logistics priorities.
2. Assign workers to job.
3. Cancel other jobs, then do above steps.
Jump Fuel and Energy Rods
Running out of energy rods is not a fun situation.
Mining energium and refining it at a energy refiner is the only way to make energy rods (Confirmed?)
Mining hyperium and refining it at a energy refiner is the only way to make energy rods (Confirmed?).
Recycling
The recycler is a very useful tool if you can get one on your ship/station. I highly recommend getting one.


I have the list of processes from most important to less (what I consider important).
Hull scrap > Infra scrap > Tech scrap > Energy scrap > Soft scrap

Food
Food is a necessity on a ship/station.
At first I tried filling my grow beds up to make as much food as I could. But now on my second attempt I realize I need to conserve water as much as possible. Try to find what works best for your needs. Balancing between conserving water, and using water to grow food.
So here are the foods you can grow.

With this info fruit and root vegetables would be the most effecient source of food, albeit the least nutritious.
Water
Water is so important I give it a whole section.
Water can be found in a few places. Mining, Loot, HUMAN WASTE.
The obvious one is mining the asteroids of their ice.
The second method is looting derelict ships after you clear them. This could give some water, apparently not always.

The third method is from HUMAN WASTE. When your crew member uses the toilet it slowly adds up and eventually can be transformed into water. YUM.

Electricity
Electricity is essential for survival.
Your electricity comes from the power generator.


You first select the node you wish to connect. You should see a green square near another node, or power generator.


If one node breaks everything down the line goes. It could save someones life. (It appears floor nodes can have three connections.)

Oxygen
I’m adding this section because I have died to asphyxiation. And it was a process to get it solved.
First make sure you have water stored somewhere you can access it.

If you no longer have water, get ice as soon as possible.
Here you can see I have no ship oxygen 🙁


We will live another day!

CO2
CO2 can be a silent killer if you’re not paying attention.
Here it seems everything is going well. 
Here you can see that the CO2 content in this bedroom is in the harmful range.
Now I planned for this to happen, but it can happen when you aren’t planning on it.
A way this can be fixed is:
1. Make sure the room’s door vent is open (an open hole at the bottom of the door).
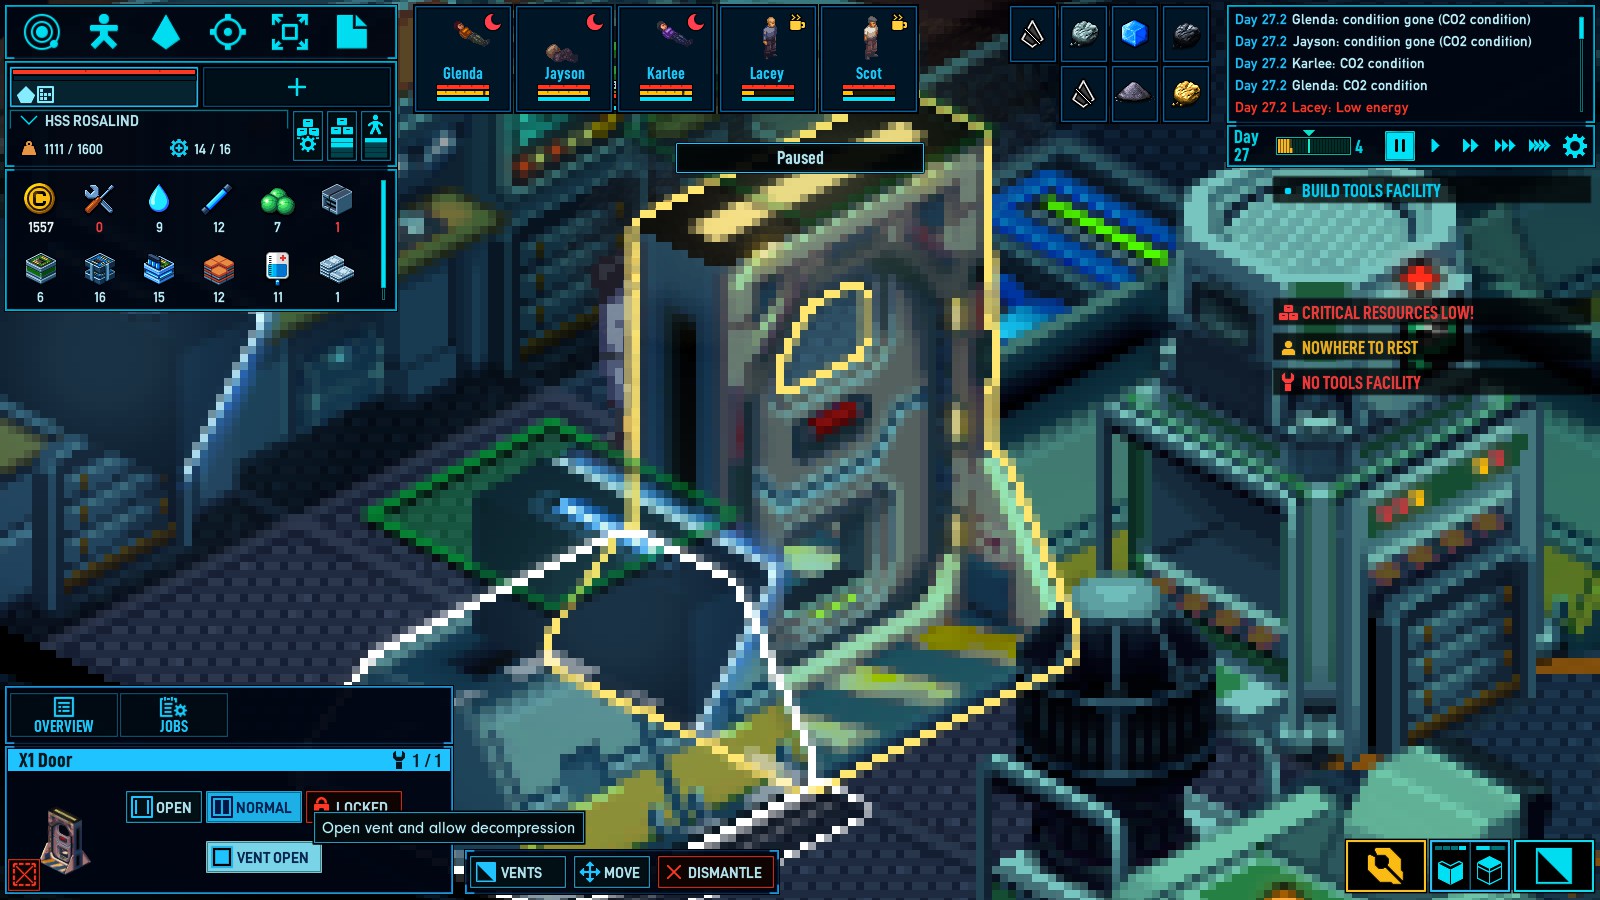


FIRE!
So it’s bound to happen. Someone is gonna slip up and something is gonna go up in flames. Can you deal with it? Can you clean up the damages?
One small fire…
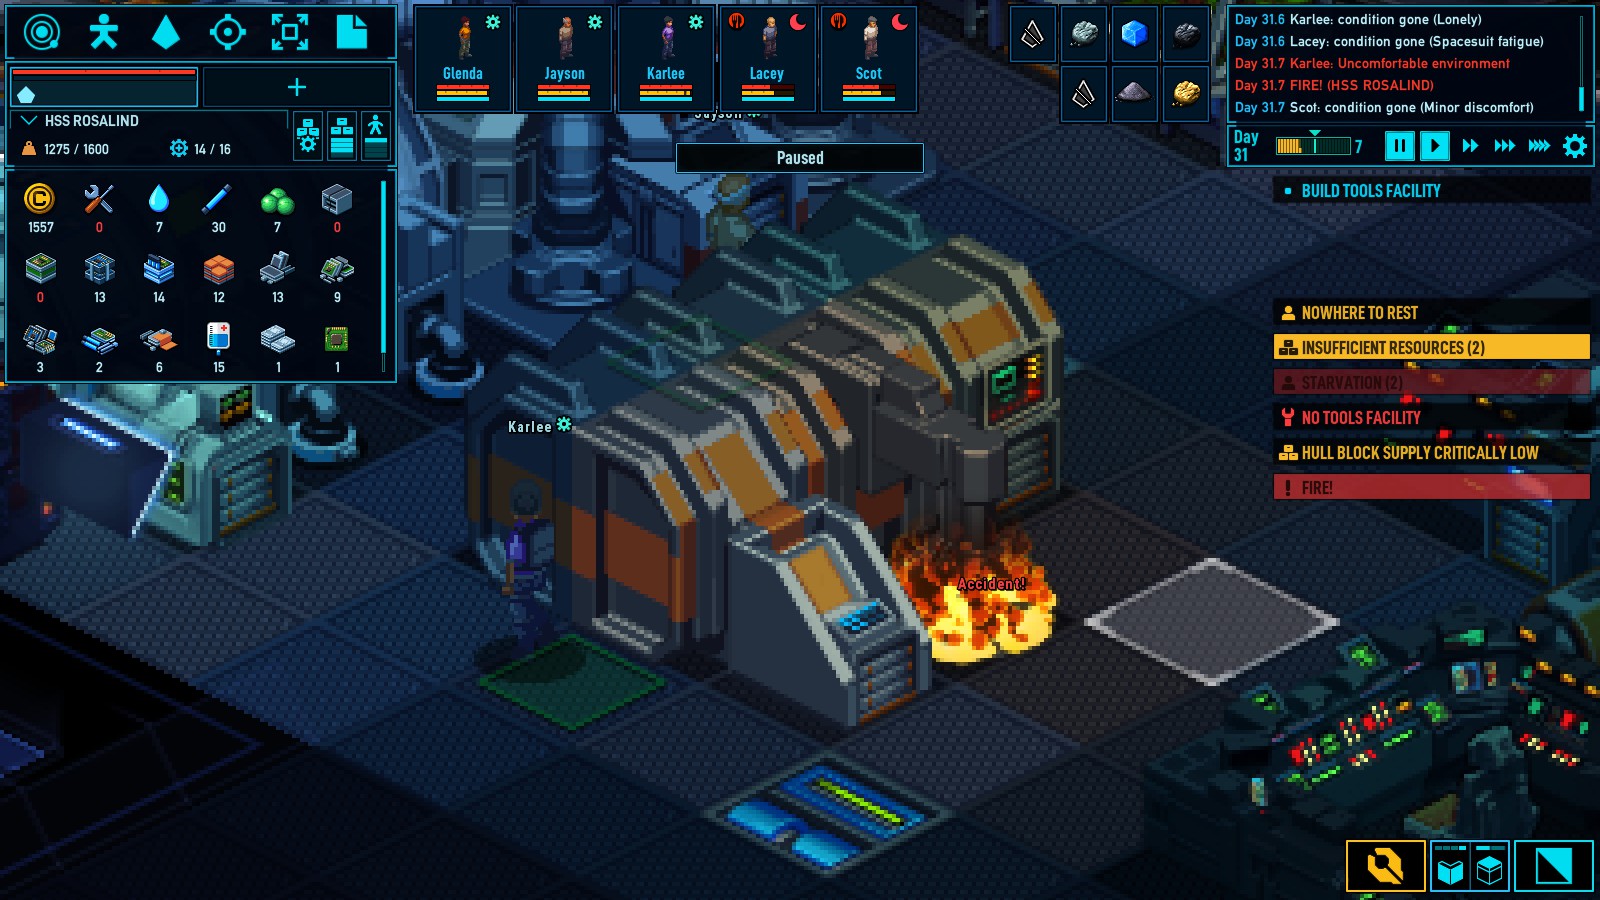

Here you can see a very high temperature (600 F)…


You might want to move a gas scrubber close to where the fire happened.

Extra Tips/Other/Undefined Category
Free shuttles?
If you are unable to build a shuttle, you can always relocate it from a station with a shuttle.
Simply click the relocate button, then select a hangar.


Finding Time for Work.
WIP
The Inevitability
You’ve done all that you could, but people still died in the process. No matter what was lost, you can go again. You can do better the second time around. Take what you learned, and apply it to your next game. Or reload and do it again.
How to deal with dead bodies.
Scroll out to the tactical map view (or select that view menu).


