Overview
go fast or go home, I mean it
General Information
- Timer
One can enable a timer somewhere in the options. I don’t remember it being there when I started this guide, but it’s convenient not to have to check a stop watch while attempting this.
- Vocab
I use a lot of Dungeon Keeper terms. If I say warlock it means cultist, for example. Everything should be obvious from the respective context.
- Space Bar
The space bar is your best friend for going fast since it skips dialogue and many objectives are only activated once the dialogue has played. Skip the intro, skip anything your advisor says, skip hero monologues and skip their final words. Should no dialogue play when you start a level the game bugged out and you have to quit to desktop and restart so you can skip it.
- Imps
Before level 3 you’re unable to create any imps beyond the initial 5. It’s generally advisable to have 25 of them whenever you’re not casting spells or building defenses. Once you need to cast spells or build defenses, pick them up and throw them into your dungeon heart until you have a comfortable amount left.
If you have nothing urgent to do, always slap and micro manage your imps.
- Microing Combat
Lure enemies onto your territory and zap them with lightning, if you’re pushing the final objective always be ready to heal weak minions or be ready to lose them. Heal fleeing minions so they join the fight again and always keep in mind that you can use slap to push them in a specific direction.
Level 1 – Valedictorian – 4 minutes
This is the tutorial level, found on the left side on the campaign map, right next to your home realm. Skip the intro, start digging to the entrance to the east and excavating 3 3×3 rooms, skip everything your advisor says and claim the entrance since that is the first objective. Keep slapping all your imps and prioritize claiming one 3×3 room completely and build a barracks.
Your advisor will introduce you to the gnarling that spawned, skip this with space bar, then claim the other 2 rooms and build a lair and slaughter pen in them, respectively. Mining the 1 tile of gold adjacent to your room in the north is sufficient to build everything you need. You might even be able to omit that by building a lair smaller than 3×3, haven’t tried that.
Don’t go for the keeper achievement and a speed run in the same attempt.
As soon as you have 3 gnarlings, rally them to your entrance. Don’t wait until the enemies come in. If you skipped all the dialogue they should appear right as your minions finished gathering at the flag. Proceed to the island that is automatically revealed, dismiss the flag as soon as all spirits are dead and cast recall on the minion that seems to want to stay. If in doubt, cast it on all minions. Skip dialogue like a madman and you’re golden.
gg ez not even trying
Level 2 – Burnt Face Man – 9 minutes
Bear with me, for this initial setup is slightly complicated – start by claiming the entrance east, mine 5×4 north for your lair, mine 3×3 south for your archive which you’ll expand to 5×5, mine 3×3 west for your slaughter pen, attach a 5×5 barracks to the south and a 3×5 tavern to the west (thankfully there are a few empty tiles so this doesn’t take as long as it could) and always slap your imps. First you’ll want to claim a 3×3 area in the south for an archive, then at least 1 tile in the north for a lair and then a 3×3 slaughter pen in the west. If your imps bug out and stare at walls without mining like they just did for me, restart.
Don’t bother mining gold in addition to that which you’re getting due to your rooms anyway.
As soon as you have him, drop your cultist in your 3×3 archive, slap him and work on expanding it to 3×5 next while building a 3×3 slaughter pen west, a few tiles of lair in the north (depends on how much you’ve claimed) and a barracks south of the slaughter pen to attract gnarlings with which you’ll rush the hero keep later. Feel free to expand the slaughter pen to 3×5, though you won’t really need that.
Dig a tunnel towards the hero keep to speed up the dwarven break-through as soon as it happens. At this point your cultists should still be in the process of researching a second sin and you should expand it to 5×5 to accomodate your 3 or so cultists. Build a 3×5 tavern once they’re finally done researching.
A payday should hit and after that the hero will finally attack. Rally your minions towards the enemy dungeon and just keep going until you kill the crystal and the hero. I had 5 cultists and 3 gnarlings at the point of writing this and they mosh through the enemy forces easily, just be ready to heal them if enemies team up on a single minion. Usually a few templars get through, just zap them with lightning or let them attack your dungeon heart; it’s not like they could kill it in time.
Try to get all your minions to attack one door so it goes down faster, this is tricky especially in the treasury. Once all your minions have reached the crystal, dismiss the rally flag since that is an objective. Skip all dialogue and you’re done once it’s destroyed.
Level 3 – Portal Gems – 13 minutes
This one is actually a lot less tricky than the previous 2 since you can finally create imps. Do so immediately and mine out more or less everything around you with your 25 imps. Build a foundry first because you have to create 1 lotus, bombard and door each.
At the very beginning you have to unlock the foundry before you can do anything else at all. The game is also going to bug you about unlocking the lotus.
Mine out enough space for a barracks and an archive, 5×5 each at least and have your chunders work in the foundry while mining towards the hero with your imps. Feel free to build basic rooms, but you will hardly actually need them.
Make sure you finish building the traps and the door you need to finish the level before you attack or at least have enough parts in your foundry.
As soon as you feel comfortable with your army composition, just charge forward.
2 chunders, 5 gnarlings and 3 cultists was more than sufficient for me. If you’re lucky your imps may draw out some enemies onto your territory where you can zap them.
Keep pushing forward while healing your troops. If you didn’t do so yet, toss 20 of your 25 imps into your dungeon heart to free up mana. You can also sell your traps, but that’s not necessary.
This is how I placed my rooms, including the unnecessary lair, slaughter pen and tavern. You have 13 minutes to kill pretty boy and his crystal for the achievement and I did it in 8 in this attempt, so if you take it slow those rooms might be convenient. There’s also an artefact that increases happiness for all your minions, so if you do take it slow and research it you can also use that for your rush. Just don’t take it too slow.
Level 4 – 50 Shades – 14 minutes
Obviously start off by spending your sin on the underminer, then spawn 20 imps and mine everything around you while connecting the islands with bridges. Double check whether you’ve marked the hero fortress for mining so your imps don’t waste time. Your first goal is to expand the beast den to span the entire island, then build a 5×5 archive, training room and foundry so you attract proper units. Around this time your beasts are probably engaging forces from the fortress close to you. Keep them alive. Try to draw out the juggernaut especially so you can zap him and easily retreat injured monsters.
To finish this level quickly you have to balance farming xp and rushing by taking out one of the hero fortresses on the way. This also prevents stragglers from flanking you or parts of your army getting bogged down.
Gold is pretty spread out in this level. Capture the gold shrine near your dungeon heart and build a treasury next to it as soon as your other rooms are sorted out so you don’t have to micro manage acquiring funds. You’ll probably lose a few imps here and there, try to keep track of that.
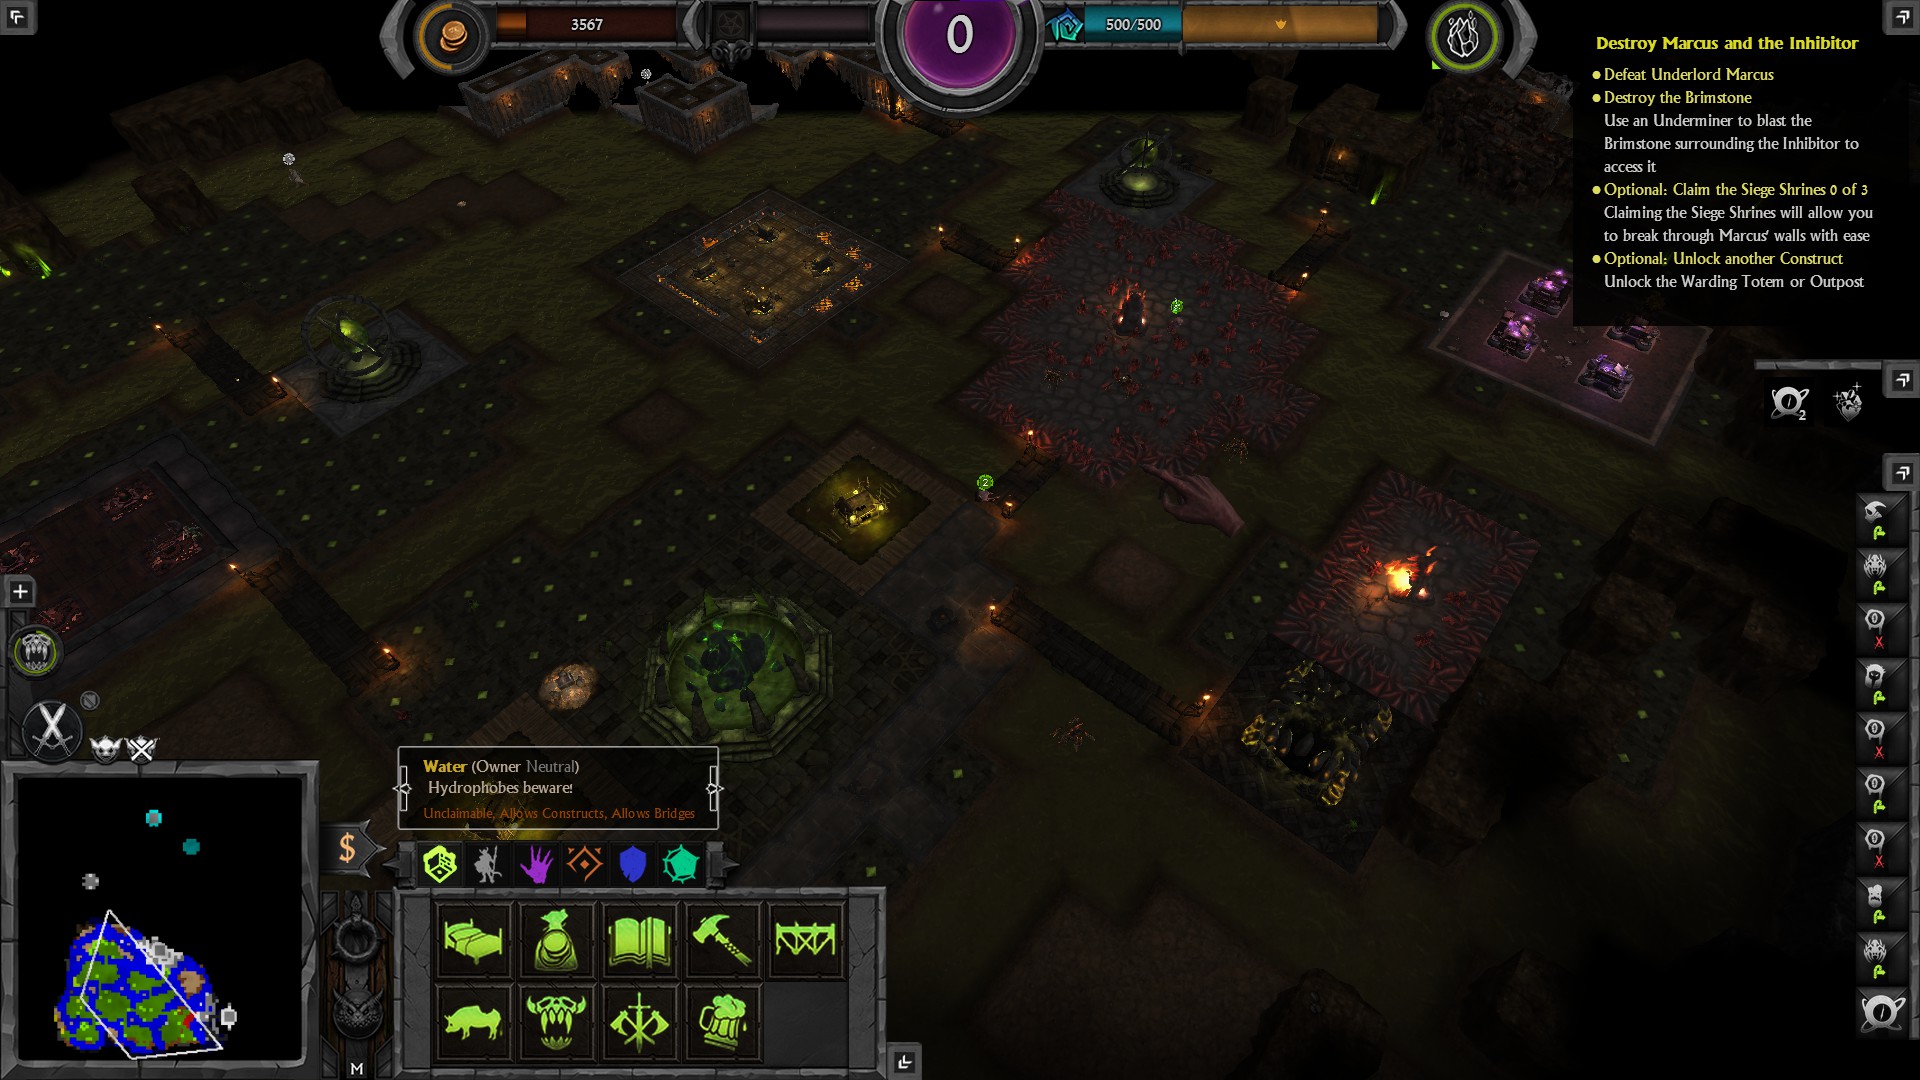
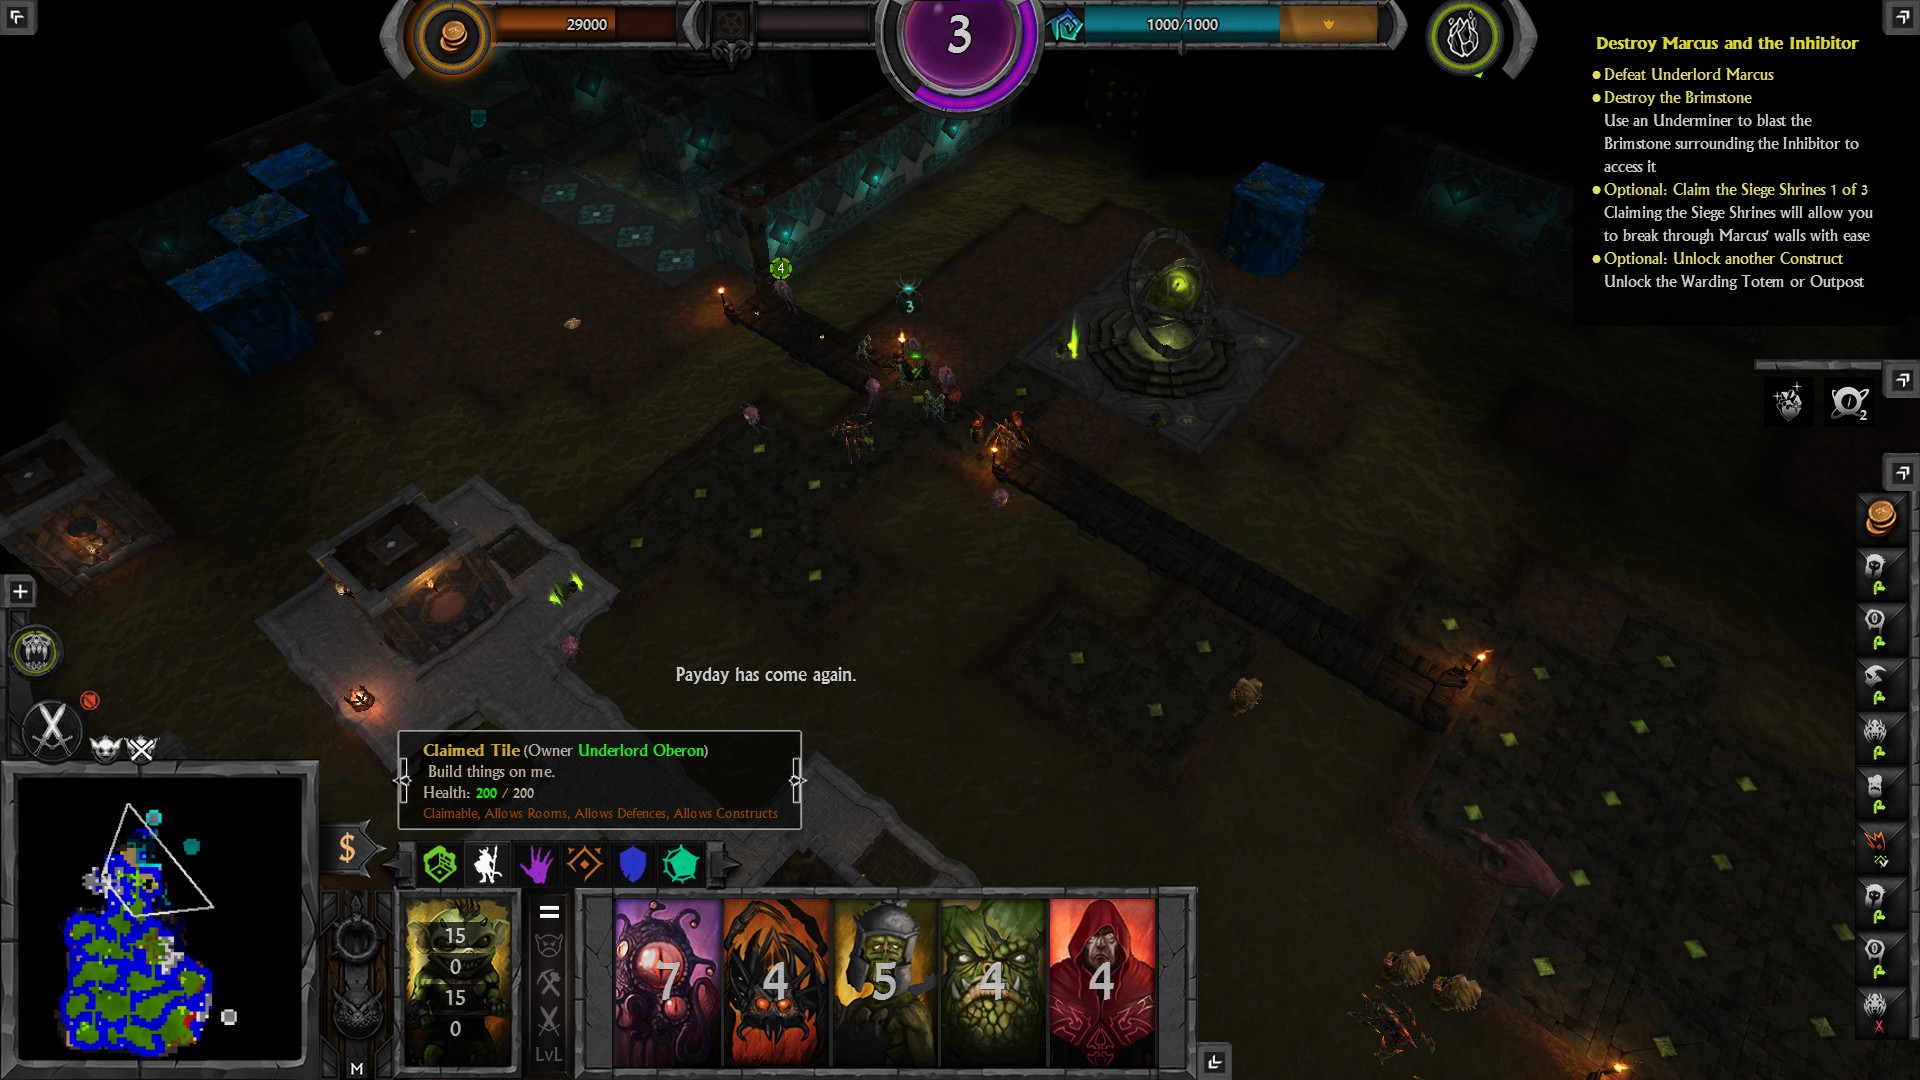
Push into the first fortress with your beasts only and clear it out. At the same time cast prophecy at the spot where you want to break into the enemy dungeon and place an underminer. I didn’t go for the brimstone but the corner closest to his heart. Keep building bridges and mining all the islands towards that spot.
Toss out unnecessary imps at this point (that’s almost all of them) and push your entire force, which has hopefully gained a bit of experience, towards the breach. If you’re lucky Marcus will push out and you can zap his minions. He did place his rally flag in this attempt, I got impatient though. Keep healing your minions, he seems to be fond of sniping weak creatures.
Try to force your troops towards his dungeon heart. It’s likely that at least some of them will wander off and attack the bombards and your force will split up to attack several lotuses, but with a slightly leveled force this shouldn’t be too much of a problem.
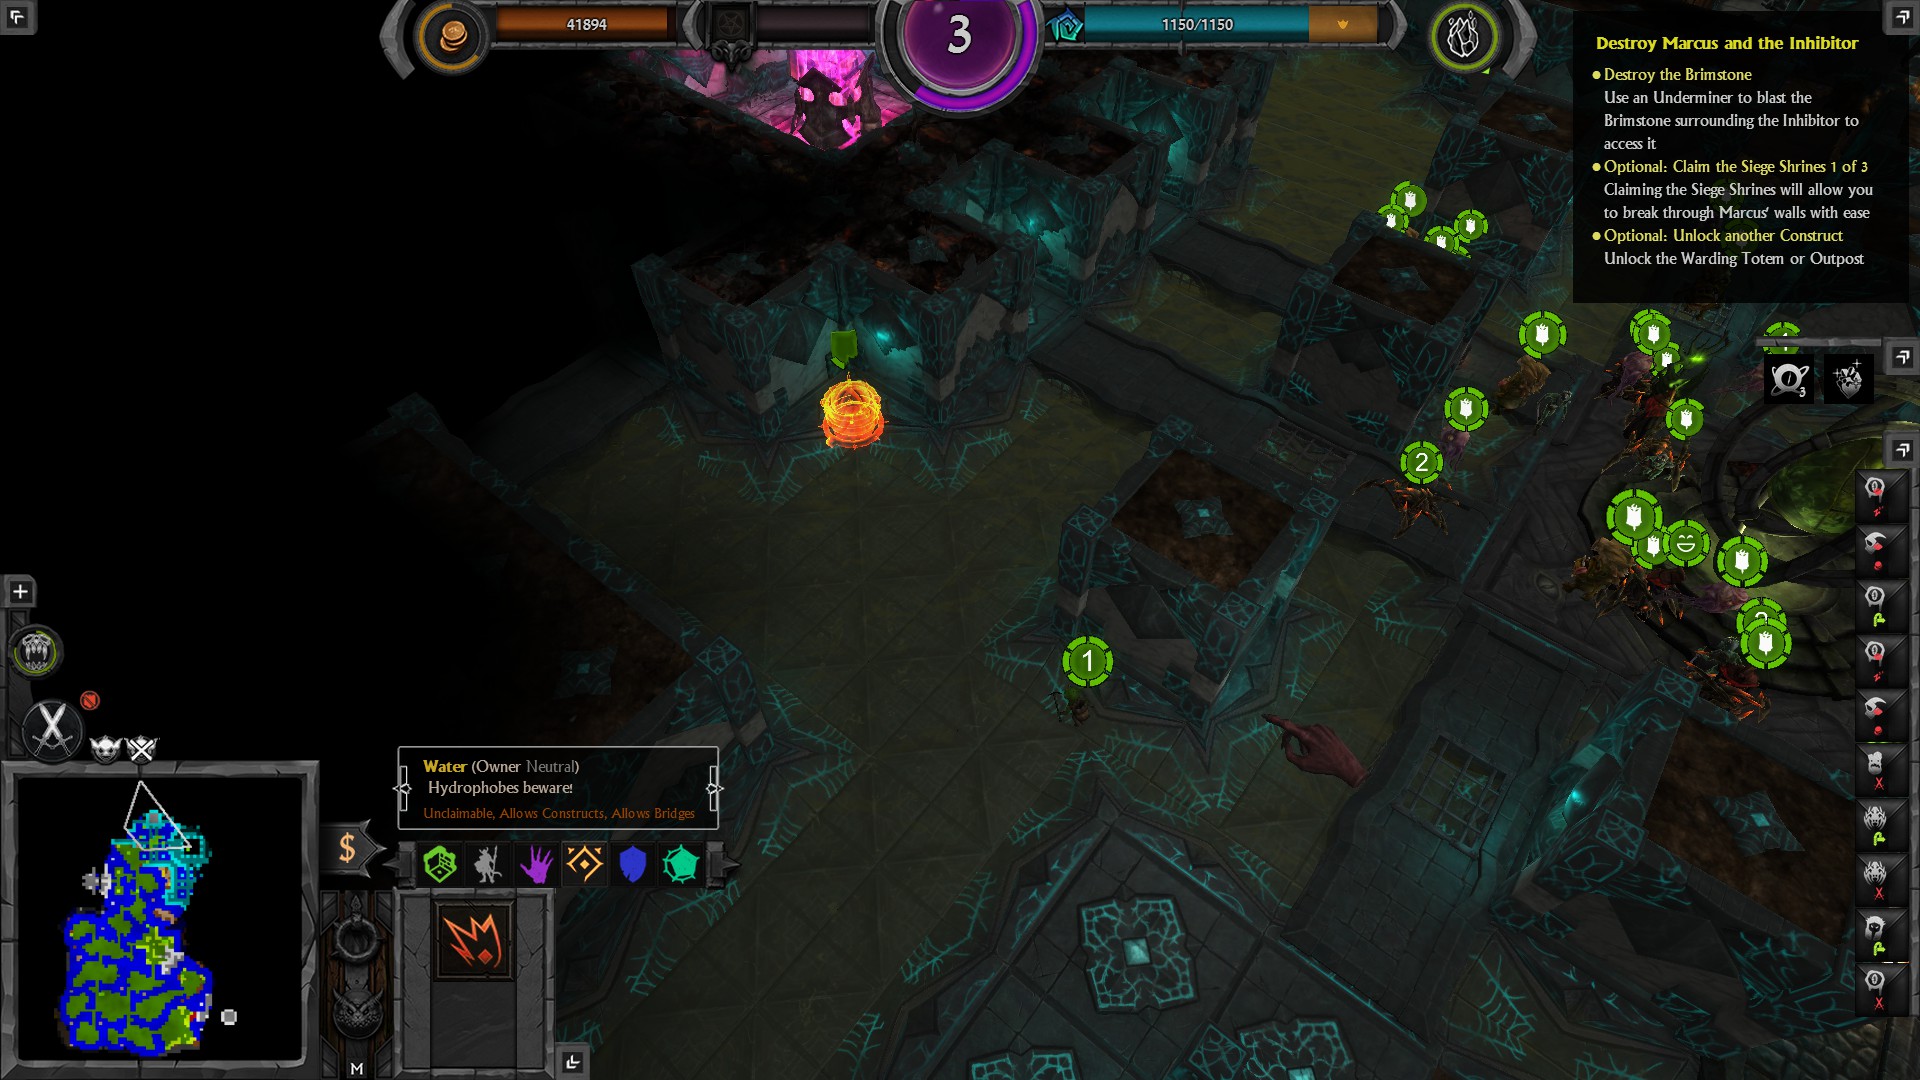
Instead of waiting until your imps claim the destroyed dungeon heart you can place an underminer in the water which luckily counts as neutral territory. Blow it up, kill the crystal and gg no re.
Level 5 – Short Joke – 18 minutes, formerly 29 minutes
The ritual was changed and so was the achievement, my method no longer applied. Luckily, a commenter stepped in:
Originally posted by Speed-Dial:If you build a second sanctuary and surround it with fortified walls, you’ll be able to get it done a lot faster and thus net the Short Joke achievement. Just make a large complex of food, a lair, the sanctuary and money for the cultists to use, lock them inside and use work-a-lot on them regularly.
My guide for this level was mostly regarding how to defend yourself, you can still use that. Especially the advice that you should build a bridge around your entire island while having it walled off. That way you can sell a piece of bridge whenever heros place an underminer on it.
I consider this one clear enough to omit a precise walkthrough.
Mine out the area around your dungeon heart with your 25 imps so you can have a 5×5 archive a bit earlier.
Don’t ever go for a static defense in the form of concentrated traps, this takes more time and resources than you have, instead mosh any intruders using your army and spells.
Keep your cultists in the sanctuary and provide sleep and food for them right next to it, also keep casting the obey spell on them. Mine out the lone earth tiles spread around the sanctuary and replace them with lair tiles.
Claim all the larger islands on the outside and mine the earth on them so you can zap hostiles that cross them. Send out a force if you feel like it to kill portals, though that shouldn’t really be necessary. Keep walling off breaches, you should have the gold for it.
At some point the enemy will start placing underminers. You can prevent them from making a huge dent in your defense by building a bridge around the entirety of your landmass. Even already placed underminers disappear if you build a bridge where they are.
Don’t use the freeze potion when your advisor tells you to, it’s just 2 miners that die to a single zap each and a templar which gets your minions valuable experience.
Either don’t use rally flags or create warbands so you never keep your cultists from preparing the ritual.
Level 6 – Prison Architect – 15 minutes
This one was by far the trickiest one for me so far since it took me about 3 attempts.
Create 5 imps instead of the usual 20, mine out this area and immediately breach into the prison, start building a beast den on either or even both sides of the river once you have claimed a 3×3 area. The 2 enemies patrolling the prison will either attack you or they might have already left. Should they attack you, just zap them.
If you have only 10 imps that leaves you with 1250 mana which is enough for 5 heals or 6 zaps.Try to get the timing right so you can heal 5 times and then let your mana recharge instead of healing, waiting and healing again which interrupts the recharge.
Clean out the first outpost using your beasts and newly acquired minions and make sure all of them stay alive. If your beast den is large you’ve probably already run out of money. Sell the prison, you won’t need it. Also the fence around it is a barrier your beasts have to go around when you attack the outpost and you want it gone for that reason. Luckily even if you acquire any prisoners before you sell it selling a prison with live prisoners inside will just kill them. Sell the lair while digging out the sand north and east, then continue into the next outpost. The mana shrine north bugged out for me every attempt and took off 0% of the mana cost, sadly.
Just keep pushing, prioritize claiming the prison and the eastern torture chamber because that is where the succubi and a chunder are. Dismiss all rally flags, convert the bard and let your imps do some work for a change in the form of claiming neutral territory.
This outpost is entirely worthless to you except for experience. Since the doors are so close to the way onward you don’t really want to funnel your army past it and get bogged down.
That’s why you claim this territory and build a beast den here in case you need any reinforcements. Sell the ones near your dungeon heart now and get rid of any redundant imps you have left.
Place a rally flag and move all your creatures past the outpost you’ve left alone by picking them up, then push into the hero keep from the east. Claiming the territory around it and the last outpost in that area would be useful because you could zap enemies easily but sadly there’s no time for that. Place your rally flags in such a way that your army does not engage the last outpost below the east entrance. If any of your creatures stray, slap them away from it.
This is the point where the first and only payday should hit. If not, you’re late. Or very, very early. Also a large amount of level 4 dwarves will come down that corridor to slap your ♥♥♥♥. Keep healing your creatures and you should do fine.
Only the hero and his bodyguard remain between you and the portal. If you place your rally flag like I did your ranged fighters should be able to shoot both the enemies and the portal without them retaliating much because they are very fond of sticking to that portal. Destroy it when most or all enemies are dead. If you’re lucky it has only half health left at this point because your ranged units didn’t just hit units but also the portal.
Level 7 – Saving Private Rhaskos – 30 minutes (not really, though)
This one is incredibly easy. I mean it. I held off on completing a guide for it because I thought I’d have to play through it 3 or so times for slightly less than half an hour to gather screenshots and figure out approaches, but I finished it in 15 minutes easily without even figuring out a plan.
Basically just build all rooms that attract units. I built every available room and mined the gold shrine a bit in my attempt. Don’t. Just attract as many units as fast as possible and then rush through this entrance with all of them, Preferably slightly before the empire starts the assault.
Disappointing.
Level 8 – Grave Robber – 12 minutes (if you play with one hand only)
I’m starting to question the necessity of this guide. This level is even easier than the one before.
Start by claiming all the crypts arranged in a circle around your starting area, then head straight north and kill everything in your path. Heal your ghouls and cast enrage on your necromancers whenever it seems necessary. Don’t bother enraging ghouls. Enrage increases damage dealt and damage taken. Your necromancers are unlikely to receive damage while being able to deal the most. Claim the hero crypt in your path.
Since you’ll probably be unable to keep your minions from doing so, wipe out this side room and claim the crypts inside, then press on.
Priestesses are really weak. Only the Hand of Kira can do a lot of damage. Swarm and kill her, don’t neglect enraging your necromancers. Press on.
You probably don’t even have to kill them all, just enough to get through to the tomb of the emperor. I took out about half of the guards and then just finished the level. If your necromancers refuse to raise the emperor they likely have too many followers and you have to slap a ghoul to death.
Why anyone would be unable to complete this in even less time is beyond me.
Level 9 – Tower Defence – 38 minutes
I’m not entirely sure whether I’ve got this one figured out since getting the achievement was pretty close and I’ll probably revisit it later or at least confirm my strategy.
Start by mining basically everything around you besides a small corridor through which you’ll funnel all enemies initially. Build all rooms besides the sanctuary. Maybe make some haste potions.
This is how you’ll fortify the corridor. Also claim the gold shrine and build a treasury in the corridors near it.
The thing with a prison in this level is that it gets you powerful minions and fast gold, but it requires succubi to pay off. I went with it in this attempt and converted 7 prisoners, turned a bunch into gold and threw some into the crypt.
Build an underminer and some cannons to support it here. Don’t bother with any other approaches. The one through the brimstone takes way too long and breaking into the part closer to the portal turned out badly for me every time I tried it. Get rid of some imps since you only need them for the gold shrine and moving bodies at this point. Also you should have spirit workers from an artefact. I think I kept 10 or so.
Take the garrison as soon as you feel comfortable with your force that hopefully includes a few dwarves and many ghouls. Your cultists have probably managed to research all your artefacts by now, there’s a level up among them. Use it now. The initial engagement against buffed traps and forces that trickle in will take a while, try to lure enemies onto your territory or at least close to your cannons.
Keep building cannons if you consider it necessary.
Push at least this far before you give your minions a break. They’ll want their pay, sleep and food now. You can build defenses on the bridge and hold out for a bit using the repair spell.
I allowed them to pause after taking the final outpost, though a lot of them were very unhappy at this point. The defenses also couldn’t hold against a few juggernauts for long.
It worked, though.
Level 10 – Bejeweled – 25 minutes
So I haven’t touched this in months, but like the mad ♥♥♥♥ that I am I’ll work out this section as I play it.
Your part of the map has precisely one connection to the hero fortress, that is the bridge directly north of your dungeon heart. There is one entrance to the west and another one a fair bit further to the west and like three tiles north plus another one far east. There is a gold shrine close by to the south-east and one south-west and a mana shrine across a bridge to the far east. There are also 4 artefacts close to the impenetrable walls. One gives spirit workers, one is a level increase, one gives you a sin and one fortifies walls. The level increase is in the western half. This is the only one you’ll ever need. Start by claiming all three entrances and making all rooms to attract creatures. Because your priority is to claim the three entrances make sure the maximum amount of imps is busy doing that. Usually that’s 3 diggers plus one to claim. If you’re a sly mofo you tunnel past the first entrance (touching it with your corridor) and go right for the next one. That means 3 imps can claim the first entrance at the same time and one can claim behind the diggers. So that’s 7 busy with just this one bloody tunnel plus 4 working on the other one. The first room you’ll always want to make is the beast den because it’s essentially another entrance. Make your library 5×5 for the express purpose of researching the artefacts quicker, after that you can expand it if you really feel like using ♥♥♥♥♥♥ warlocks.
Do not build a vault until you’ve mined as far as your heart desires. Going back and forth slows down your imps, you don’t want that. Don’t build everything as fast as you can for the same reason. Build enough to constantly attract units, then help fill up the vault around your dungeon heart and only when you’re more or less done mining spend all your gold. Proceed with the standard stuff like putting your lair up front right before the bridge.
When you’ve mined out enough for a comfy dungeon it’s time to break through and send your minions against the three or so traps. This is because at this point you can toss five imps out without it hurting too badly so you can conveniently heal your minions while they are in combat and take zero losses. You don’t want to wait around for more troops when you’re short on time.
Start your proper attack slightly after the ten minute mark. You should have the mana shrine, level artefact and enough units at this point (see screenshot for my force composition). Keep a maximum of five to ten imps, you will need to heal your forces a lot. The obelisk should be under attack at the 13 minute mark tops. Each payday takes ten minutes to hit, this is why I’m hovering over the payday indicator in some screenshots: To give you a sense of time.
After this is a good time to take down your creature rally flag for a few seconds and have your necromancers raise ghouls. Send your beasts forward and micro your creatures so they aren’t completely useless during this.
Push east or west, whichever you prefer. I went west. If you use the prophecy spell to reveal shrouded areas you can place rally flags in the fog of war. This is useful for sending flying units over the chasm to engage hero patrols or even sneak in some damage on the obelisks.
Either way it’s likely that your main force will have to bash in all the doors and kill 50 cannons on the way there to kill it. 17 minutes. This means you have eight left for the last obelisk. Easy.
Repeat what you just did for the last obelisk. Watch your flyers. Mine took a direct route and I had to heal them a lot to keep them alive.
20 minute mark. Rally towards the Kenos after it’s dead.
The cutscene spazzed out for me, I don’t know if that shaved off a few seconds or not. Just keep hitting space to skip stuff.
Level 11 – Mondrian + Mira Mi Poder – 10 minutes/<10 minions
I did this more or less accidentally on my first attempt and just had to recreate it for the guide.
First of all give your imps something to do so they don’t fortify the walls you want to dig through while you make more imps. Then immediately make 20 imps. The very first thing you have to reach is the entrance to the south. Dig around the gold, not through it. Mine the gold later when you need it. The second task you’ll give your imps is to mine out a large area to the west of your dungeon heart for a beast den. Next go for the second entrance to the west, through the gold vein.
After that just build 5×5 rooms that attract creatures until you’re close to Mira or just break through like I did. Prioritize creatures that benefit your prefered style of combat. I like melee creatures supported by flying shooters, so after the beast den I went for barracks, forge and garrison first. Keep in mind a 5×5 garrison costs more than 16000 so you probably have to pick up some gold to speed up the process.
If you haven’t met Mira yet, make an open area where she’s likely to break through or where you’ll break through yourself. You want the engagement to happen on your territory so you can zap enemies. This is vital for getting the Mira Mi Poder achievement. Also pick up injured creatures if you’re out of mana, especially beasts since they die instantly if they run out of health.
Kill off your imps so you free up mana now if you haven’t already.
Once you feel like you’re getting the upper hand, push forward into her dungeon while paying attention to the health of your units.
You’ll have to stop every once in a while to defeat creatures she has managed to heal up, no biggie.
Level 12 – Over 9000 + Fair Play – 25 minutes/no Kenos
Since this level necessitates a disproportional amount of micro compared to the macro management I’ll just lay out some guidelines and embed a youtube video.
The best order to attack the enemy keepers is as follows:
North-west
South
East
This is because North-west plays aggressively, he even builds a beast den on your island if you let him in the first two minutes or so.
Since the female plays defensively she’s not an immediate threat. You’re better off skirmishing with her while you attack north-west than attacking her and defending against him.
The enemy across the magma lake or river or whatever takes a while to build a bridge across and it seems to happen in the same spot every time. Just place defenses there or don’t, it’s not really much of a threat.
Not in the video: If they build a bridge across cap it and sell every second tile. This is a very old trick that worked in the original Dungeon Keeper. I’m actually surprised the AI in this game can’t handle that same ruse. Or maybe I just didn’t wait long enough and it merely slows them down.
Rush titan research asap. I went with the archon since it gets stronger as an engagement goes on and I find that rather appealing. Take care not to starve your necromancers of ghouls if you also pick the archon.
Try to get the level and potion artefacts, their locations are in the video.
Your mana regenerates incredibly fast. It’s hugely beneficial to fight the enemy on your own territory, much more so than in previous levels. You can also outheal the enemy lightning strikes.
The enemy seems to be fond of using behemoths. It’s a good idea to not get bogged down and instead focus on the dungeon hearts while you outheal the damage their titans do.
Level 13 – A Quick Death + Leeeeeroooy – 25 minutes/no optional objectives
This is pretty straight forward. You have a lot of nice stuff to jump start your attack in your half, specifically three incantation, two level, one worker and one alchemy artefacts. Also two gold shrines. Use the one that is close to you, ignore the other one. Rush all four entrances in the beginning, they are hard to miss.
While you grab the artefacts dig out a large area between you and the main entrance, this is where you’ll place your rooms. Force composition here is a thing of personal preference except for necromancers. There is not enough to kill if you rush so it’s pointless to have them. Also I went for the behemoth for this reason. Make your alchemy lab gigantic. I dropped 24 wisdom potions on my army before the attack.
Attack at the ten minute mark. Your minions should make it to the winches largely unmolested.
You’ll be in trouble if you haven’t finished the level by 18:30 or so, the attack from the north-western fortress starts at 17:00. If you’re late for the kill try the mana buff ritual which you can instantly charge thanks to your artefacts, that way you could weaken the attack while your minions take care of the emperor. You shouldn’t have to resort to this, though.
I had all the artefact locations labeled with which artefact it is, sadly steam spazzed out. Thus I present to you locations without identifications: