Overview
Expansive guide of stability mods, and slight texture improvements, each section is kept as concise as possible.
Tweaks Link:
I have created my own file for the StewieTweaks ini file below
Klyde21’s StewieTweaks Preset[www.nexusmods.com]
Quick Tips (Read before Uninstalling / Installing):
1: Before uninstalling New Vegas, go into your Vortex application (If applicable), and uninstall all your mods. Removing them from the list is not needed.
Note: To uninstall multiple mods quickly, click on the name of the top mod, then scroll down, hold shift, and click the bottom mod. This will select all of your mods at once. The bar at the bottom will turn white, and select the “Uninstall” button. NOT the “Remove” button, which will take all of them off of your list entirely.
2: If you have previously installed FNV, make sure to *DELETE ALL FOLDERS AND FILES* relevant to the previous install:
“C:Users**Insert Username here**DocumentsMy GamesFalloutNV”
As well as your game folder
.
“…SteamLibrarysteamappscommonFallout New Vegas”
To find Steam’s Library, open the client, right click on Fallout New Vegas, and highlight “Manage” Under that, there should be a “browse local files” option. Make sure to delete everything in that folder, as well as the folder itself if you are uninstalling.
3: NEVER LET THE GAME INSTALL IN “PROGRAM FILES”.
ALWAYS install to a seperate drive, and if any Mod Manager asks you to place a mod folder, simply make sure it is on the same drive somewhere. (not inside the game folder directly.)
Example: My D:/ Drive contains 3 folders:
SteamLibrary, Vortex Mods, and Vortex Setup.
Right click Steam. Go to settings. On the left, select downloads.
Click the “Steam Library Folders”, button, and make a library on D:/ . Right click that library and select “Make default folder”.
4. If you have inserted, or taken out a mod from your list, your save is now glitched. Even changing certain .ini values can be a risk to your save file. If you make a change to your mods, always make a new game, so be sure you have the mods you really want before embarking on a big campaign.
This also means that testing things frequently requires making many new saves, and walking around to test the feeling of what you have changed. I recommend making a new game, walking around during the day to see the graphics, then walking at night to test the lighting changes.
5: BEFORE YOU MOD ANYTHING, go to the STEAM client, and run the game through there. This will cause the game to create it’s .ini files, so everything works properly.
If it will not install DirectX: Please use the following page instead.
[link]Click the button, then scroll down to Requirements. Click the link labelled “DirectX Runtime Libraries”.
Click DirectX.June.2010.7z
Extract the file
run DXSETUP.exe.
When the setup finishes, try to run New Vegas again. Go to Options in the New Vegas launcher, and begin the next step.
6: The graphics options should be set automatically by your game, but for the purposes of this guide, we are setting it to “Ultra High.
Deselect the “Vertical Sync” checkbox.
Select “Windowed Mode”
Set your resolution properly.
(IF THE PROPER RESOLUTION DOES NOT APPEAR: we will fix that shortly. Simply set it as 1920 x 1080, and move on.)
Open the DATA FILES option in the Launcher. Select all boxes that appear, and click okay. Close the launcher.
7: Backups. This step is optional, but will reduce the amount of time you spend downloading New Vegas, or even make downloading it again unnecessary.
Right click on New Vegas in your Steam application’s library. In the list there should be an option to backup your game. Do so immediately after base installation. It will ask you CD, or DVD options for backup files. The CD option is smaller, and takes longer to extract. The DVD option is larger and installs rather quickly. Either method should be substantially faster than another download.
Keep in mind that the base New Vegas game takes around 9 gigabytes, and the DVD “compressed” backup is still 7.66 gigabytes, and while I have not tried the CD option, it’s backup could be as large as 5 gigabytes without surprising me.
This means that low-space hard drives should not use this option.
8: BEFORE YOU INSTALL ANY VORTEX MODS:
Make sure that all items in the “Plugins” section are set to enabled. IF you have missed this step, and installed mods anyway, uninstall all the Vortex mods, but not the manual mods. Reinstall them.
When you install a mod via Vortex, it might say “Multiple plugins need to be activated”
Always activate all plugins for any of the mods listed in this guide.
Manually Installed Mods:
These are mods you must install manually. The order does not always matter, but as a rule of thumb, following the order in this list is a good idea. Do not use Mod Managers to download these mods. Download them manually, and I will explain their installs.
1. XNVSE
2. 4GB Patch
3. BSA Decompressor
4. New Vegas Heap Replacer
5. LOOT
6. Vortex
XNVSE
[link]
The latest version of New Vegas Script Extender, XNVSE does all the same things as NVSE, but better. Any mod requiring NVSE will have it’s needs fulfilled by this mod.
Download the .7z file. Extract it. (Note: you will need the program “7zip”)
Place all files you extracted in your game folder directly. You do not need to run anything.
4GB Patch
[link]
This Website is called NexusMods. Make a free account, (if you don’t already have one) and note the “Requirements” tab on the page provided.
ALWAYS CHECK THE REQUIREMENTS FOR EACH MOD.
For this mod, we will note the VC++ x86 Runtime requirement. Download and install. If it gives you the option to repair a previous install, you may as well do it.
Extract the file. Move everything you extracted into the game folder. Run FalloutNVpatch.exe as Administrator. A black window should appear, telling you about the success of the patch. Click spacebar to close it
BSA Decompressor
[link]
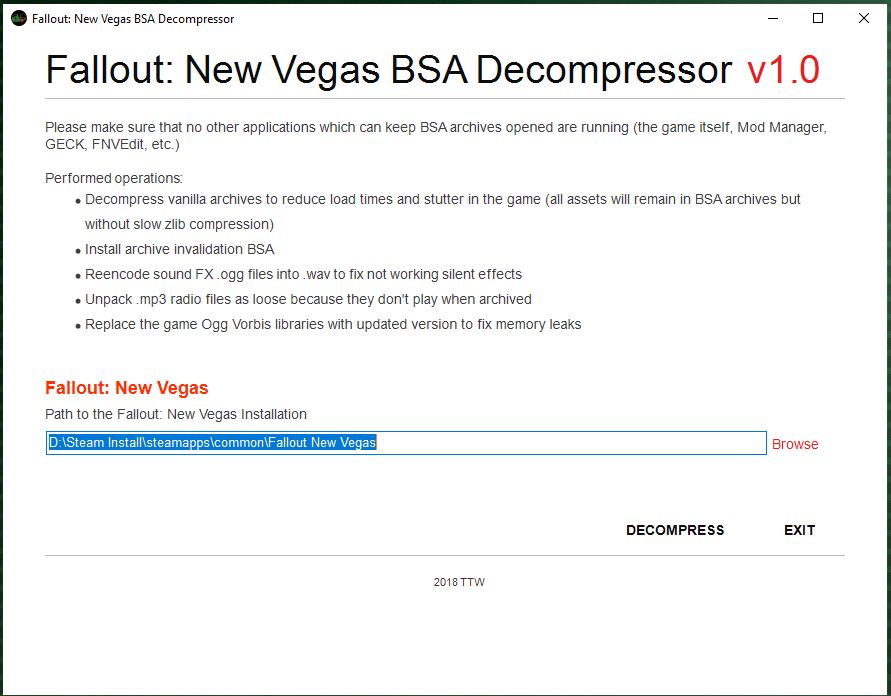
Download the file, and extract it anywhere. If you have any programs such as Vortex, Mod Manager, Mod Manager 2, FNVEdit, Wrye Bash, or LOOT open, close them now.
Run FNV BSA Decompressor.exe, it should detect it already if you have run the Launcher in Steam. Close anything intensive, (Chrome, etc.) and start the process. Maybe get a snack.
Once it finishes, it will have short instructions for you, that basically say “make sure there are no leftover files” Detailed instructions are on the final page of the Exe, but I’ve never had any files to delete, so if you find none, do not panic, simply move on.
New Vegas Heap Replacer
[link]
To install, place. d3dx9_38.dll in the folder where New Vegas was installed.
You may also optionally place d3dx9_38.tmp, which will cause a bunch of data to pass by quickly in a window, before New Vegas runs. This does not affect anything in game.
LOOT
[link]
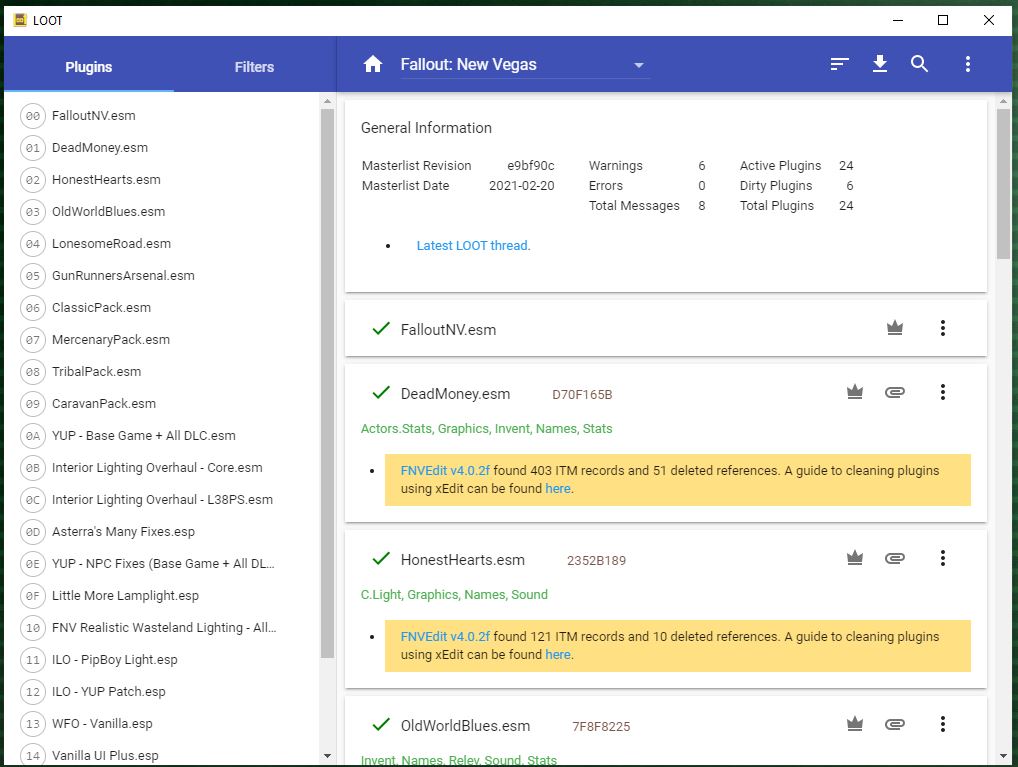
Note: LOOT does not appear needed for this list, but has been included for educational purposes. Download Loot to your New Vegas folder to make finding it easier. More on this later.
Vortex
[link]
This application is going to do the heavy lifting for us for most of the guide. Download the latest version, and set it up to the same drive, as your Steam Library. (But not in Steam’s Folder)
I highly recommend watching the following guide if Vortex confuses you, until at LEAST “Dependencies and Conflicts”.
MAKE SURE EVERYTHING IN THE PLUGINS SECTION IS ENABLED AT THIS TIME.
Many experienced modders do not use Vortex, but an application called “Mod Organizer 2”. There are others as well, but those are the big two contenders. Mod Organizer 2 is wonderful, but I have decided to use the application that would catch the attention of those most in need.
Vortex Mods Part 1: Stability
These are mods easily installed through Vortex. Free accounts can take a while to download, so I recommend downloading them ALL, using the “Manual Download” button before installing anything.
Collect the Vortex mods in a folder, and don’t extract them. Instead, drag the archives into the Drag and Drop zone at the bottom of the Vortex application’s New Vegas section
Q: Can’t I just Download via my Vortex app?
A: Yes, but I have heard that the auto-installing files can SOMETIMES cause them to be missing things, so it’s better to do this manually.
It’s best to install the following in order, and if any conflicts come up,
DO WHAT IS SUGGESTED BY VORTEX UNLESS OTHERWISE STATED.
Once the mods are added to your list, hit enable in the order provided below.
OneTweak
[link]
OneTweak allows you to run the game in Windowed mode, so that the game does not crash when swapping out of the game.
New Vegas Anti Crash (NVAC)
[link]
Does what it says on the tin. Download the main file, NOT the Beta.
New Vegas Tick Fix (NVTF)
[link]
Tweaks below. Under “Requirements”, “DirectX End User Runtime” does not have a working link, and I would try installing it with the links provided under Quick Tip #5 at the start of this guide.
Unofficial Patch NVSE Plus
[link]
More bugfixes. A new mod consisting of both “Unofficial Patch NVSE” and “Unofficial Patch Plus”. Any mod that needs either of those, should work with UP NVSE Plus instead.
JohnnyGuitar NVSE
[link]
Yet another nebulous mod that also comes with many bugfixes. Not much else to say, it’s a great mod, and a standard install.
JIP LN NVSE
[link]
JIP is one of those nebulous mods that offers so many things, that basically all boil down to stability for the basic user.
If you REALLY wanted to, you could look up all the different functions it offers, but to be honest the only new console command I use is “search”, and I’m not even sure what extension offers it. (Perhaps JIP, or perhaps xNVSE)
Example of use: I need 10mm ammo
~ key to open console
type in Search “10mm” with quotations, and you would get numerous entires like:
Weap 0000434F 10MM PISTOL
Ammo 00140aa8 10MM, JHP (HAND LOAD)
Ammo 00004241 10MM ROUND
In this case, WEAP is obviously the pistol, the first ammo slot is taken up by a special 10mm ammo, and the last one is the basic ammo that we need. Keeping in mind it’s almost never so obvious which is which, so the tags (WEAP, AMMO, ALCH, etc.) are important.
Tweaks below.
FNV Mod Limit Fix
[link]
This plugin fixes the low number of total mods New Vegas was capable of allowing. It also may increase FPS and remove stuttering, though to quote the author:
“The increase in fps, stutter removal and decreased loading times seems to affect everyone to a different extent.” More info is located on the page itself.
Yukichigai Unofficial Patch (Y.U.P.)
[link]
Nebulous mod, yadda yadda, bug fixes, yadda.
No, but seriously, Y.U.P. Is a series of fixes that provides a strong base for other mods to build on.
Download the main file. (YUP – Base Game and All DLC)
LStewieAL’s Tweaks
[link]
This mod has bug fixes, but also has lots of non-vanilla features you can enable if you read the webpage. For vanilla experience, Download the main file “Stewie Tweaks” and the optional file “Stewie Tweaks INI” once installed, vanilla experience is done.
Highly recommended Optional:
Tweaks below.
The Mod Configuration Menu (MCM)
[link]
I’m not even sure if this build needs this mod, but it’s so handy to have.
Certain mods require that settings be changed IN-GAME. This provides a Mod Menu within the game to change them. Main file is all that is needed.
User Interface Organizer – UIO
[link]
The guy who designed the User Interface for basic New Vegas must have been on drugs. Lots of bugs in the code that never got fixed. You won’t SEE this mod, but it’s needed for the next one.
[Continued in Vortex Mods Part 2]
Vortex Mods Part 2: Optionals
Vanilla UI Plus
[link]
Highly recommended. This file needs to be downloaded manually, and dropped into the Vortex application.
Personally, I actually like the standard User Interface, but it needs some tweaks. This makes some small changes, and some big. Download the file called “Vanilla UI Plus (New Vegas) 8.62” OR current version number. I personally go with the standard fonts, and the optional plugin, with no WASD option. When the file encounter’s conflicts it should win all of them. (put it AFTER)
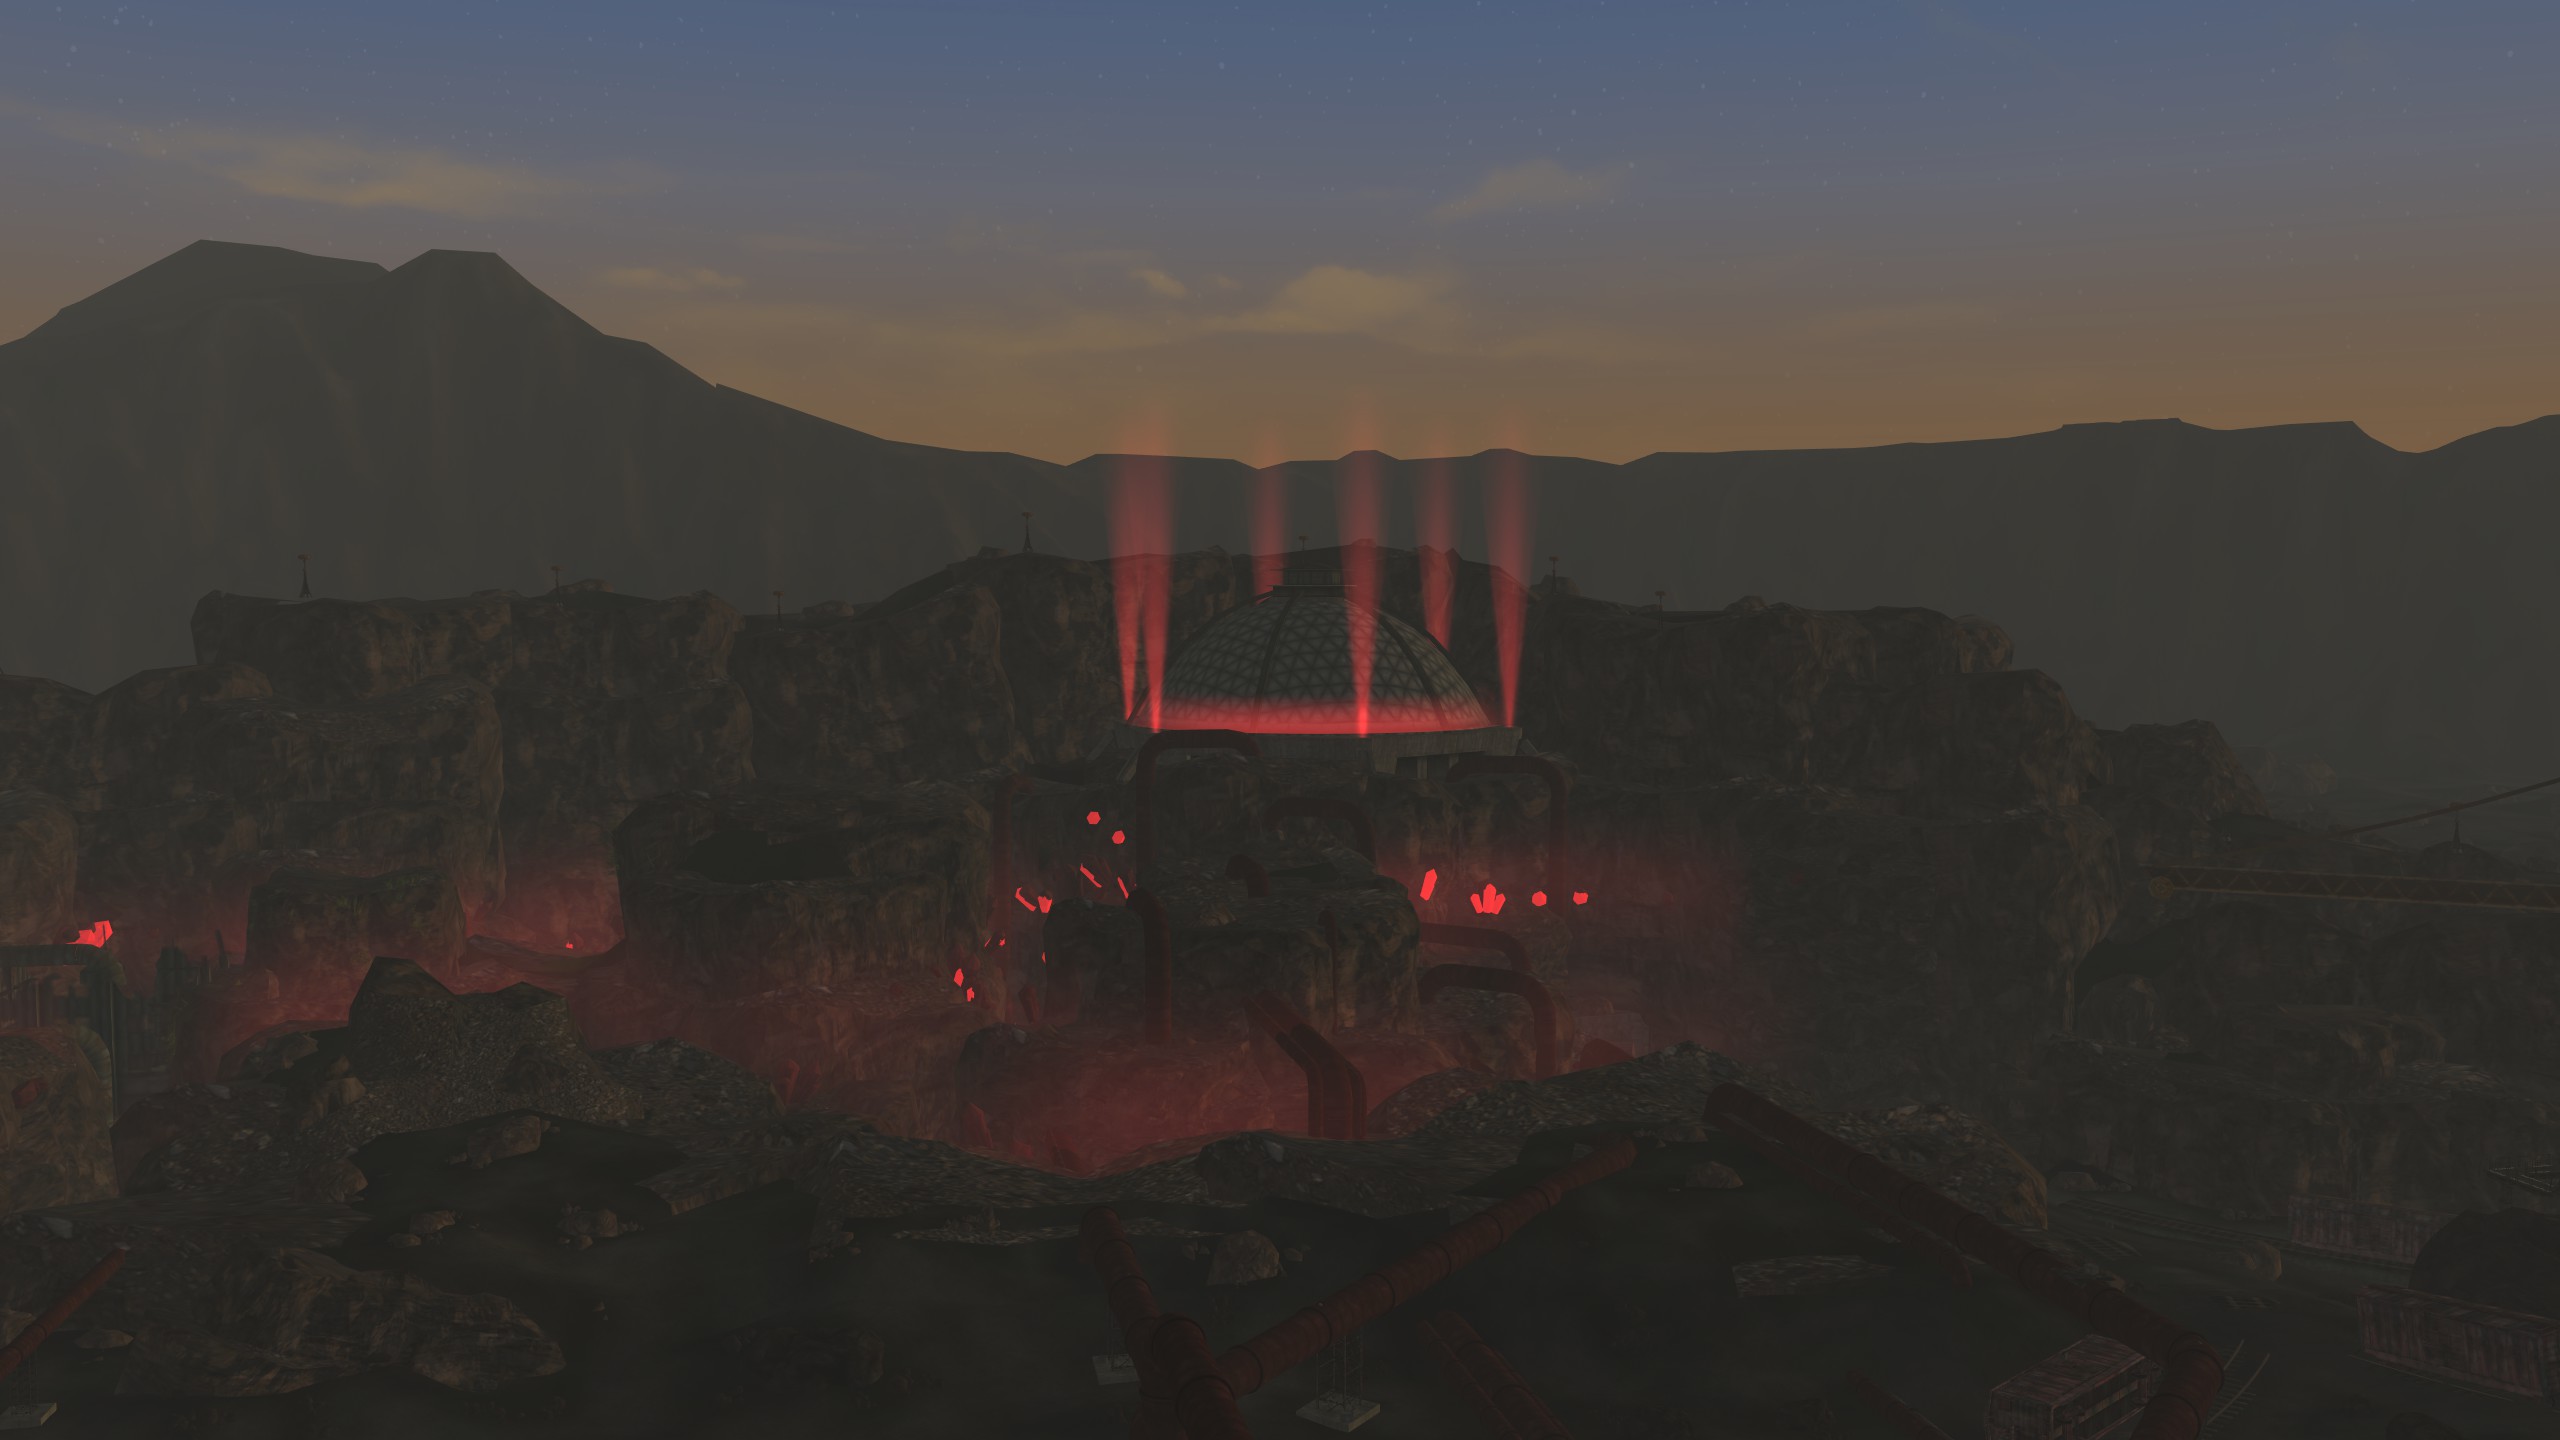
Improved Lighting Shaders
[link]
Optional. Tweaks below. This mod improves the lighting aspect of the game in specific ways. More info is located on their page, along with photos to show the actual changes.
Once this is installed, you will need to tweak it’s .ini to make it work properly.
Skip to the .ini section on this mod, before installing the next one.
Improved LOD Noise Texture
Highly recommended. Download the main file to Vortex. (Not the modfusion install)
This decreases the ugliness of textures overall by smoothing out the noise texture to look more modern.
Effect teXtures Enhanced (EXE)
[link]
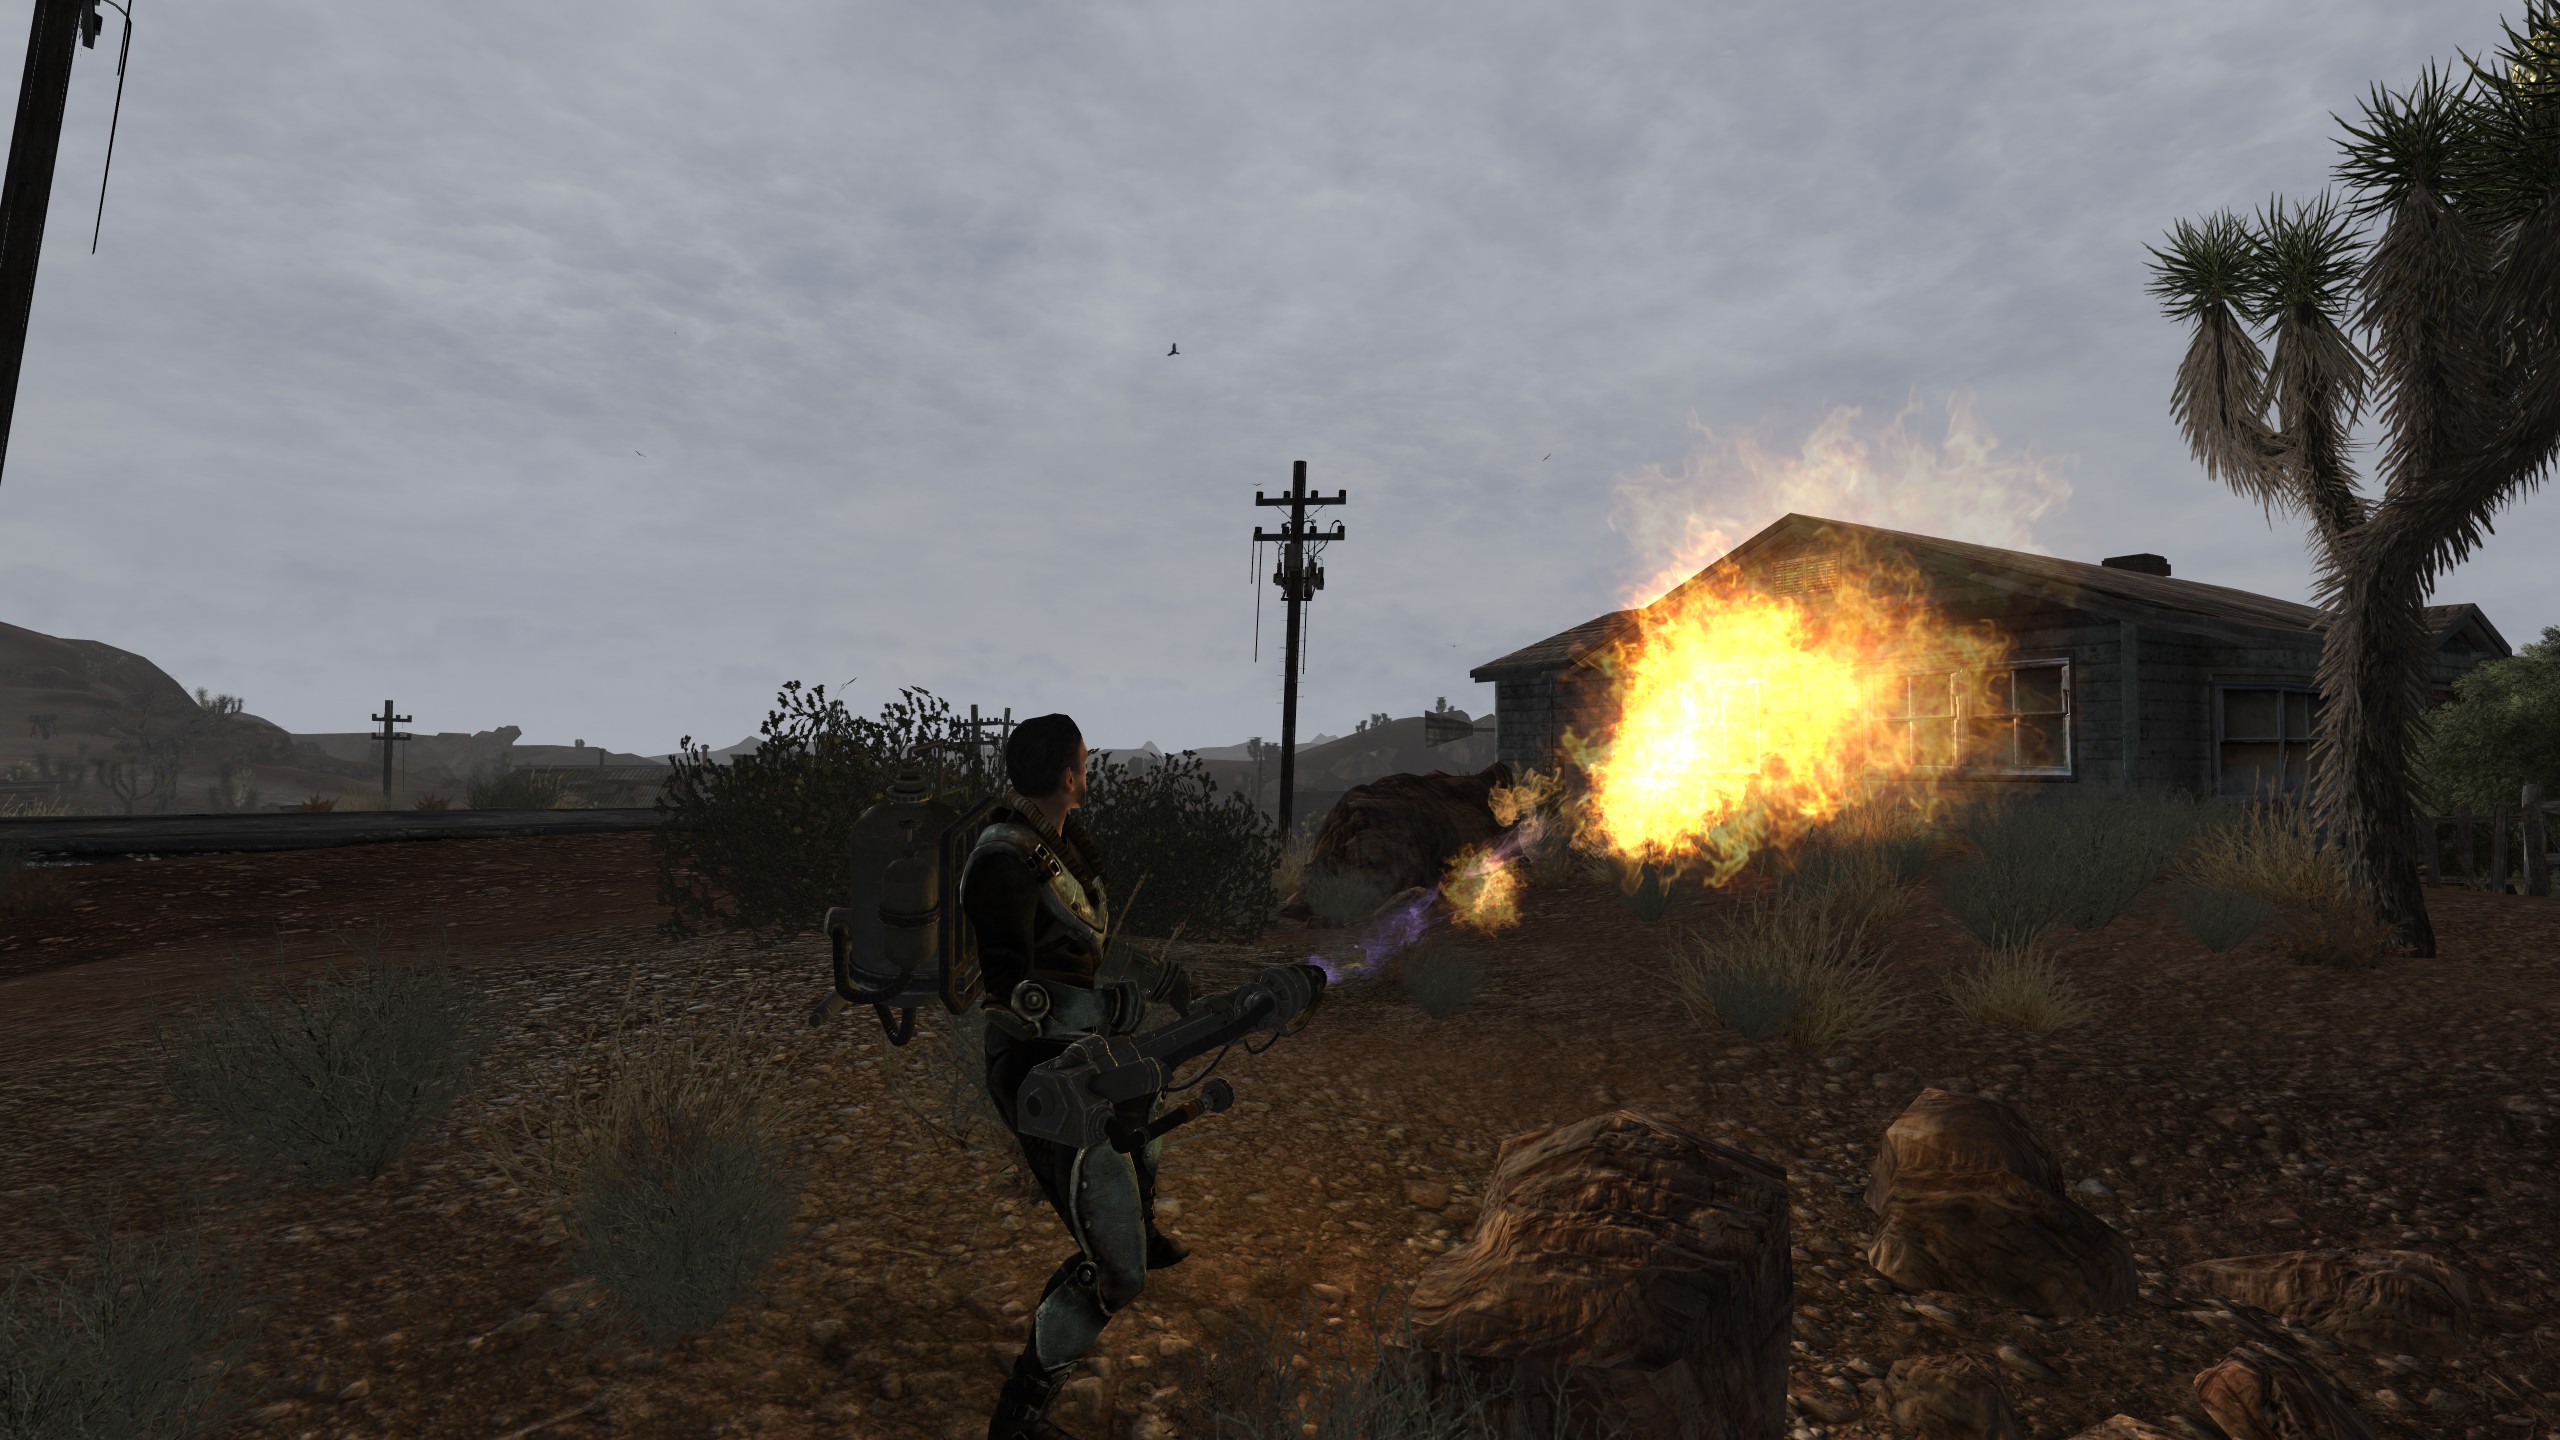
Optional. Takes effects like lasers and fire, and improves them with minimal conflicts. This mod goes after anything it conflicts with.
AMIDIANBORN NV Book of Water
[link]
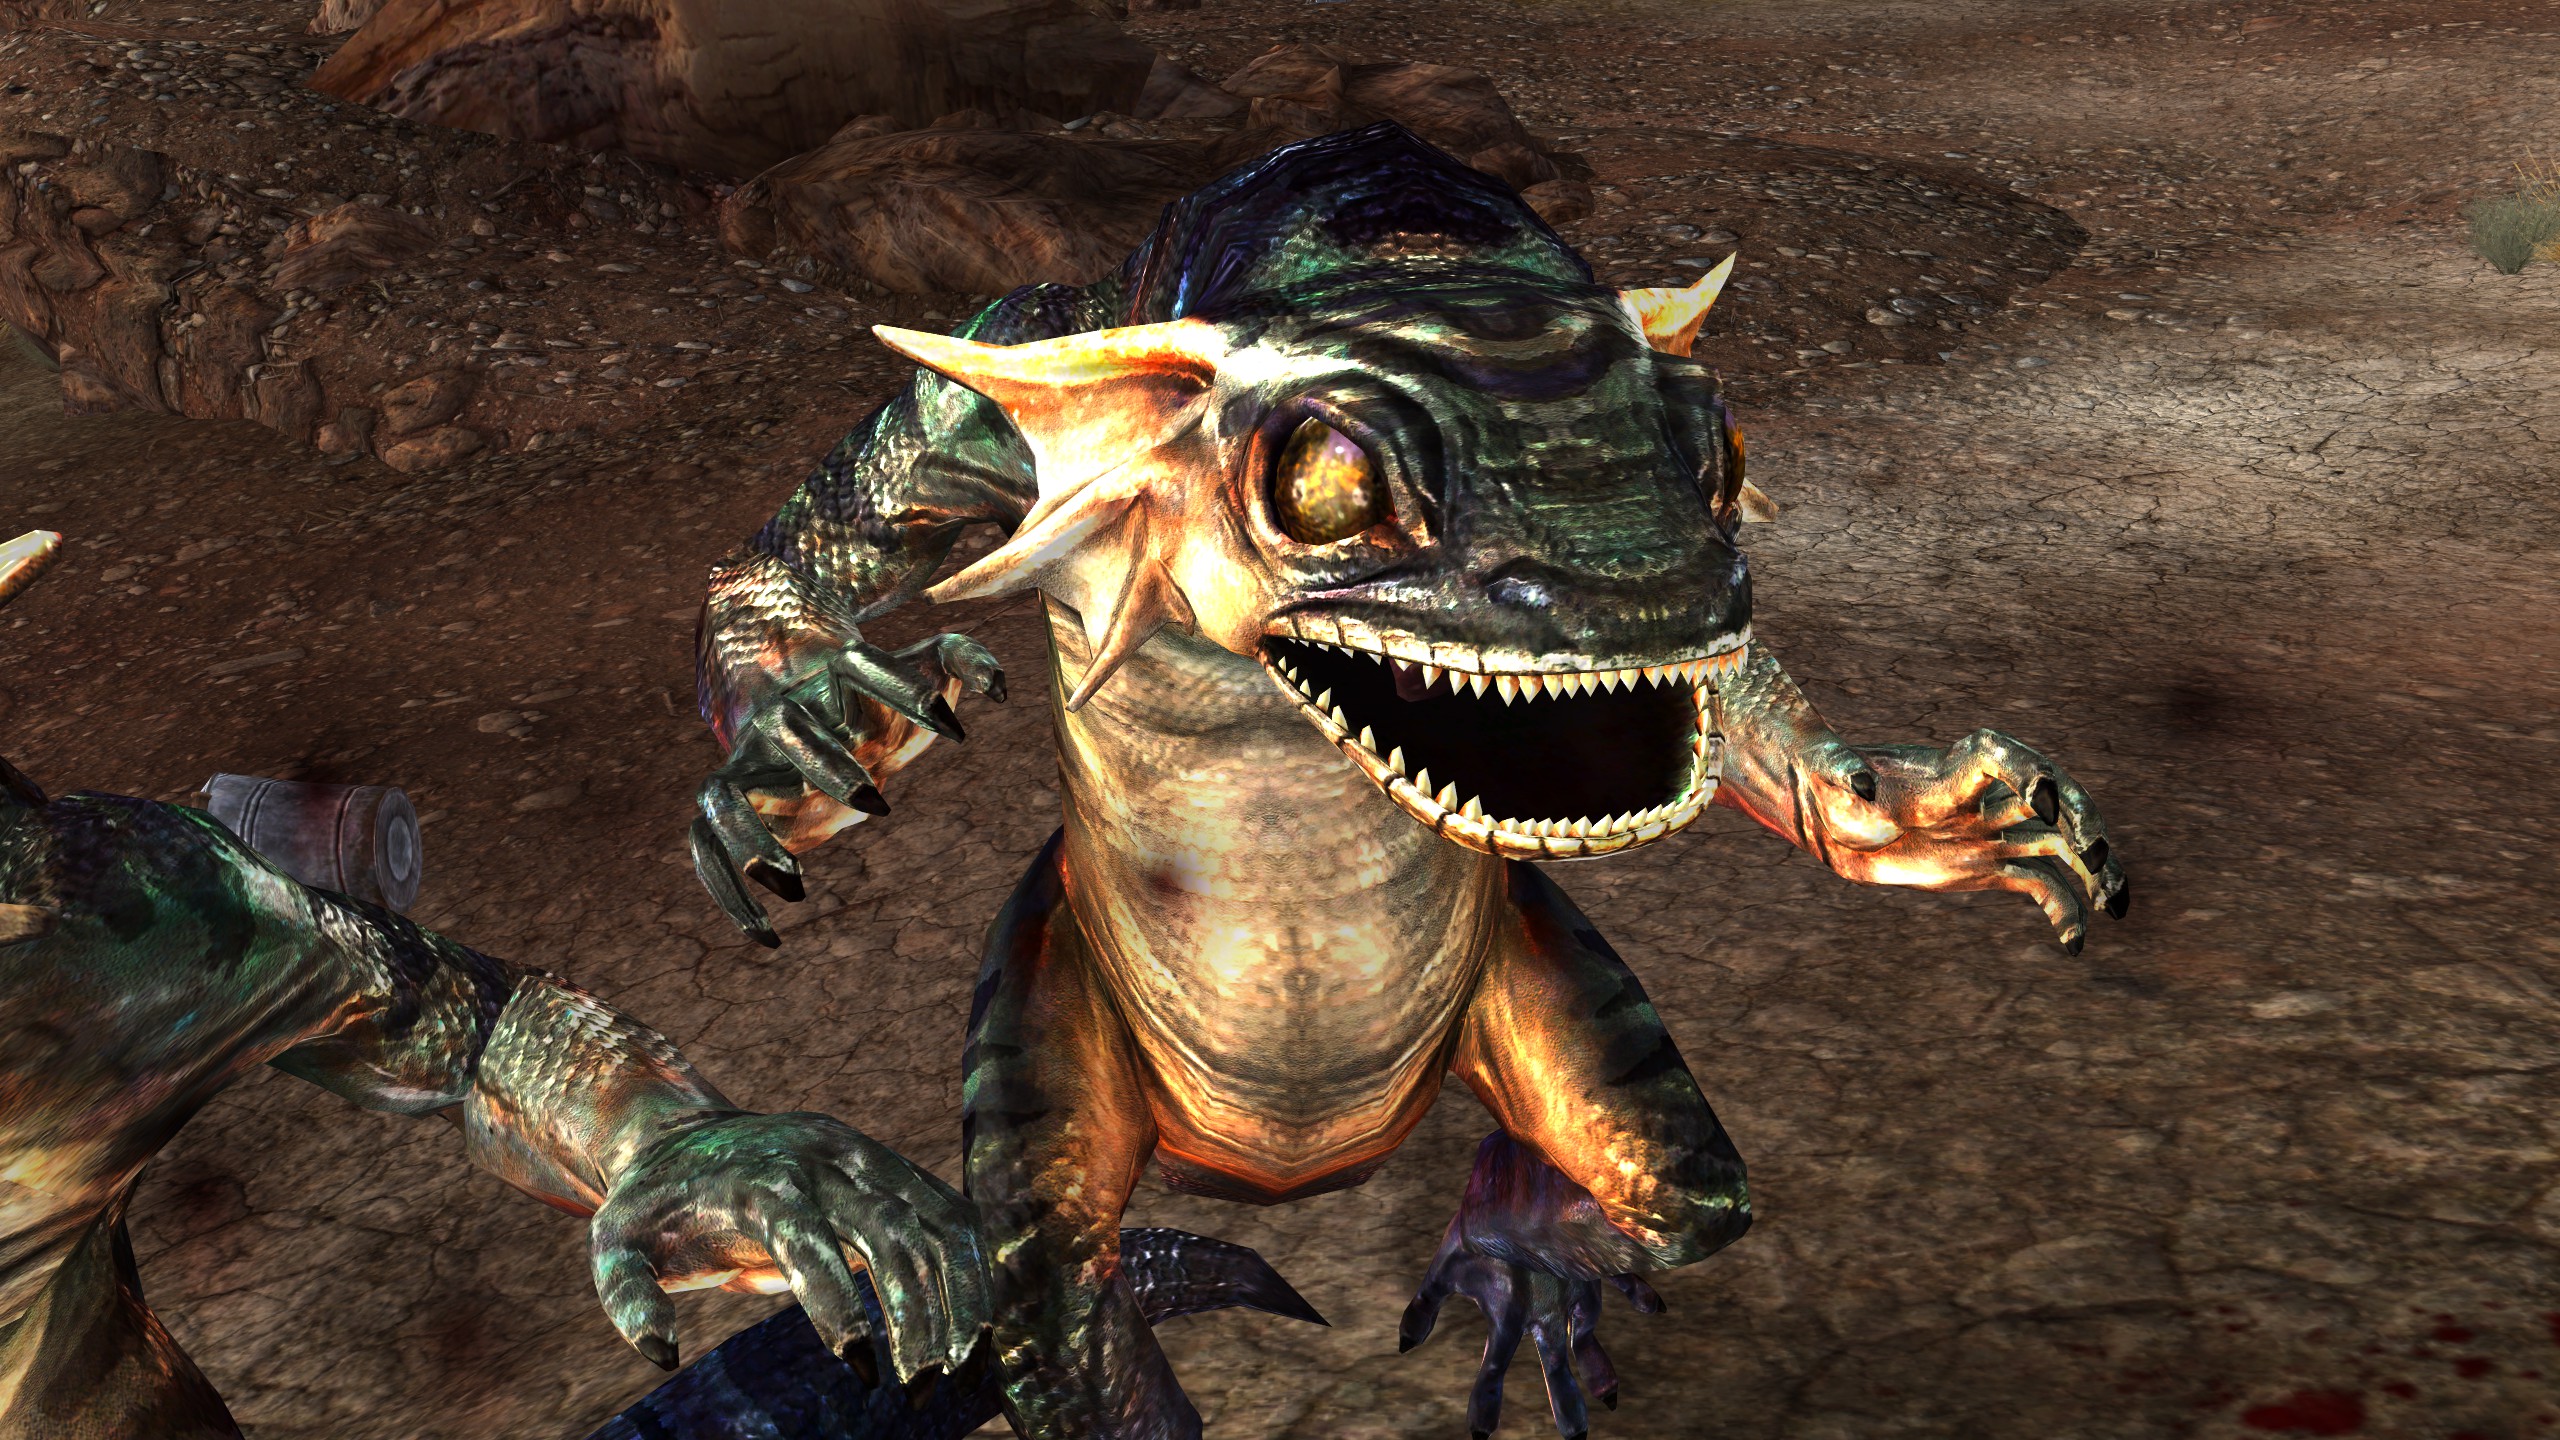
Optional. This mod replaces the textures of creatures to be way better looking.
Under files, install
BOA NV The Book Of Flesh.
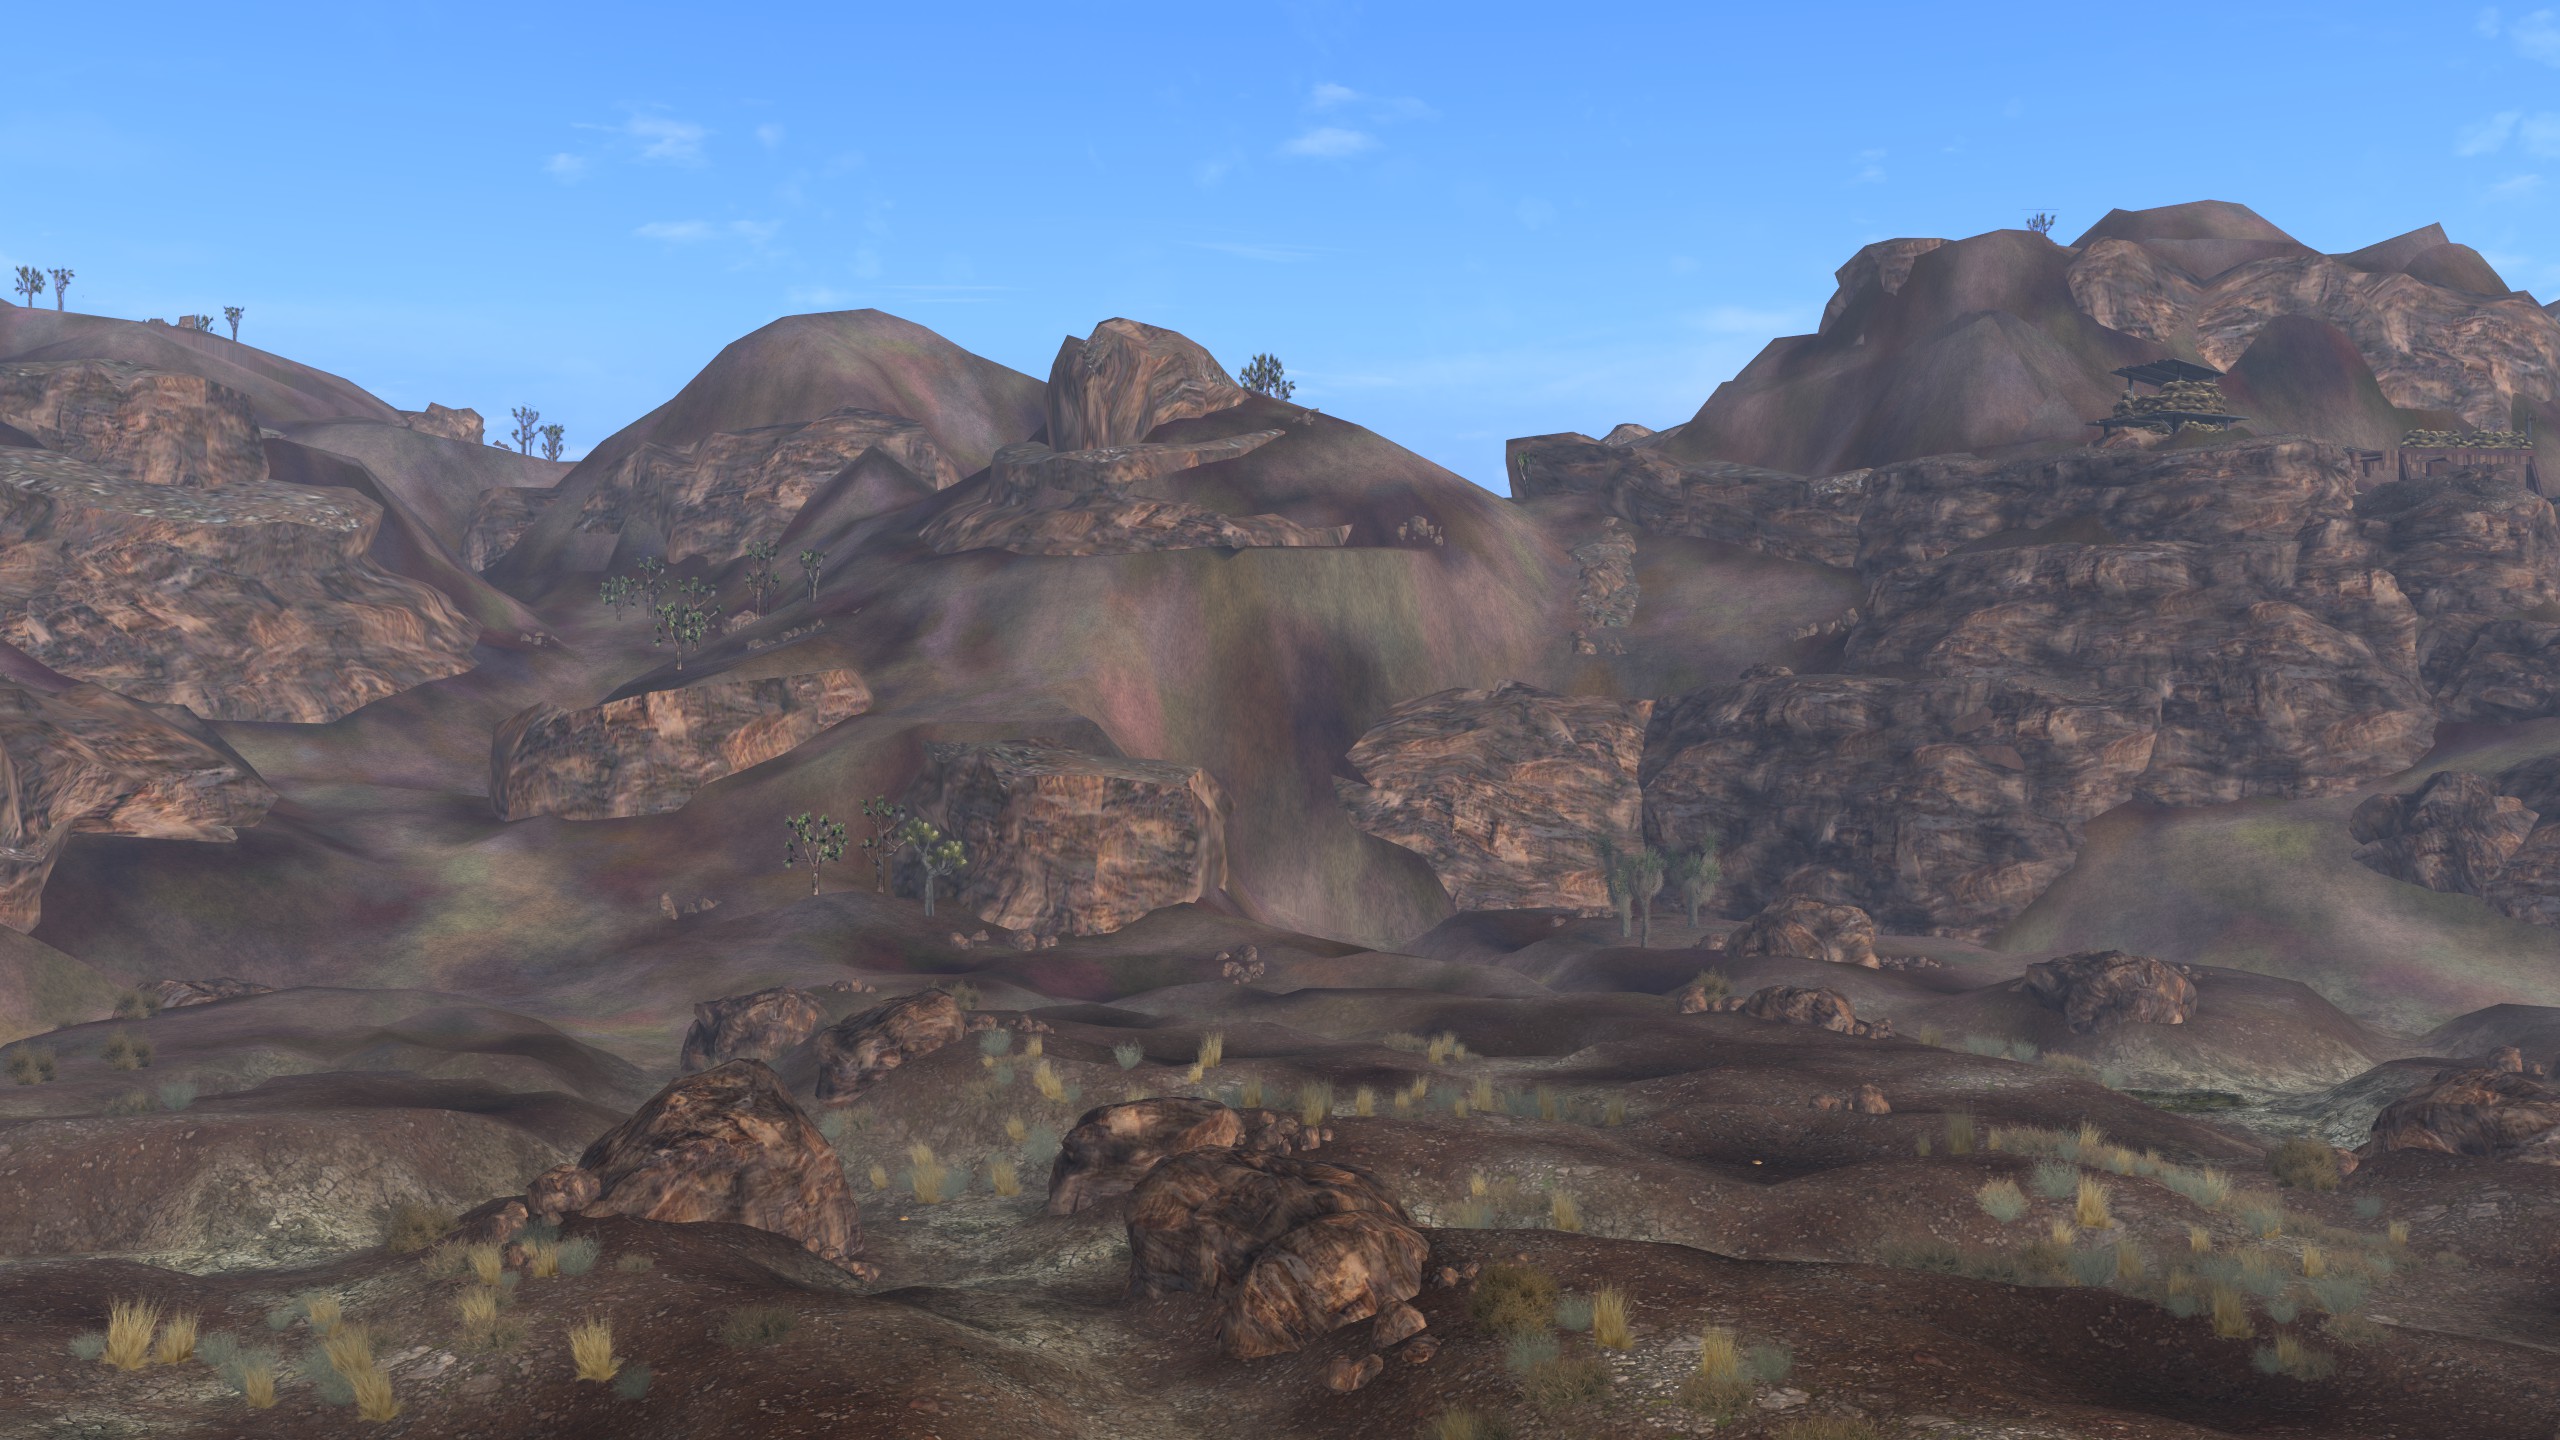
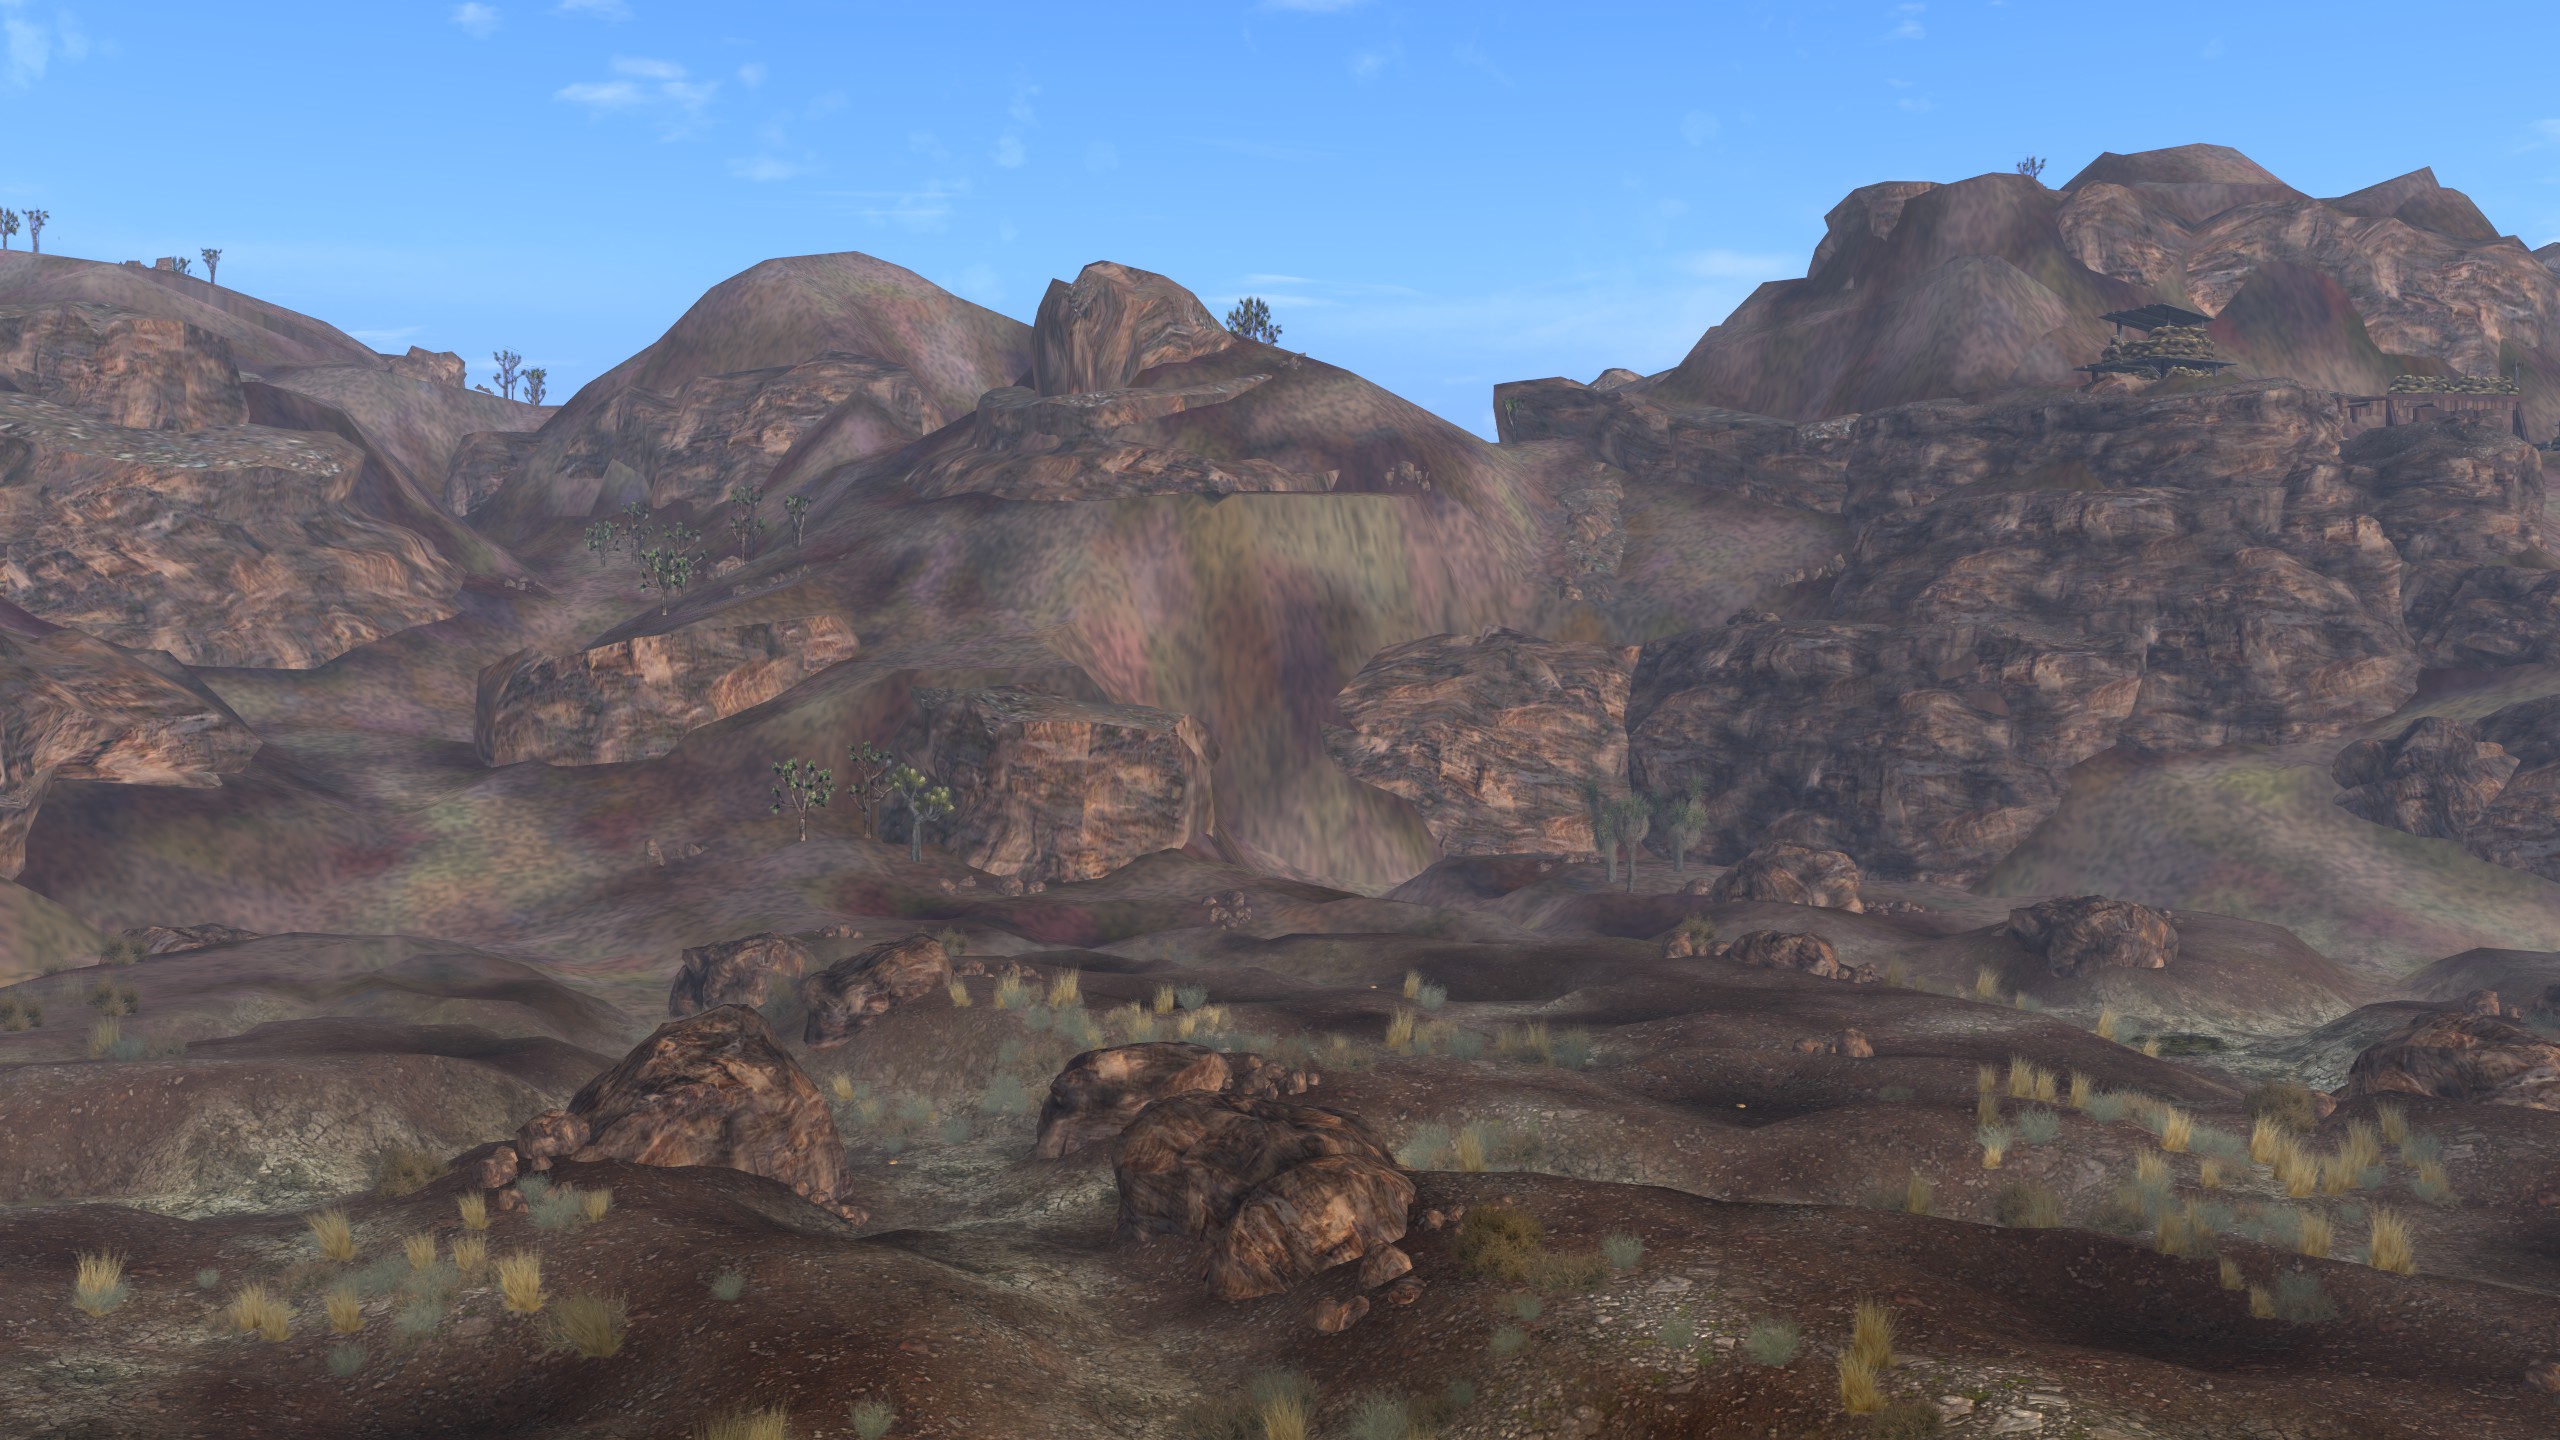
Wasteland Flora and Terrain Overhaul
[link]

Optional. This guy decided to redo the plants of the wasteland. Some terrain also. Download
“Wasteland Flora Overhaul – Vanilla tree replacer with LOD”
FNV Realistic Wasteland Lighting
This is the game’s base lighting. The lighting in this mod can be seen in the last picture.
[link]
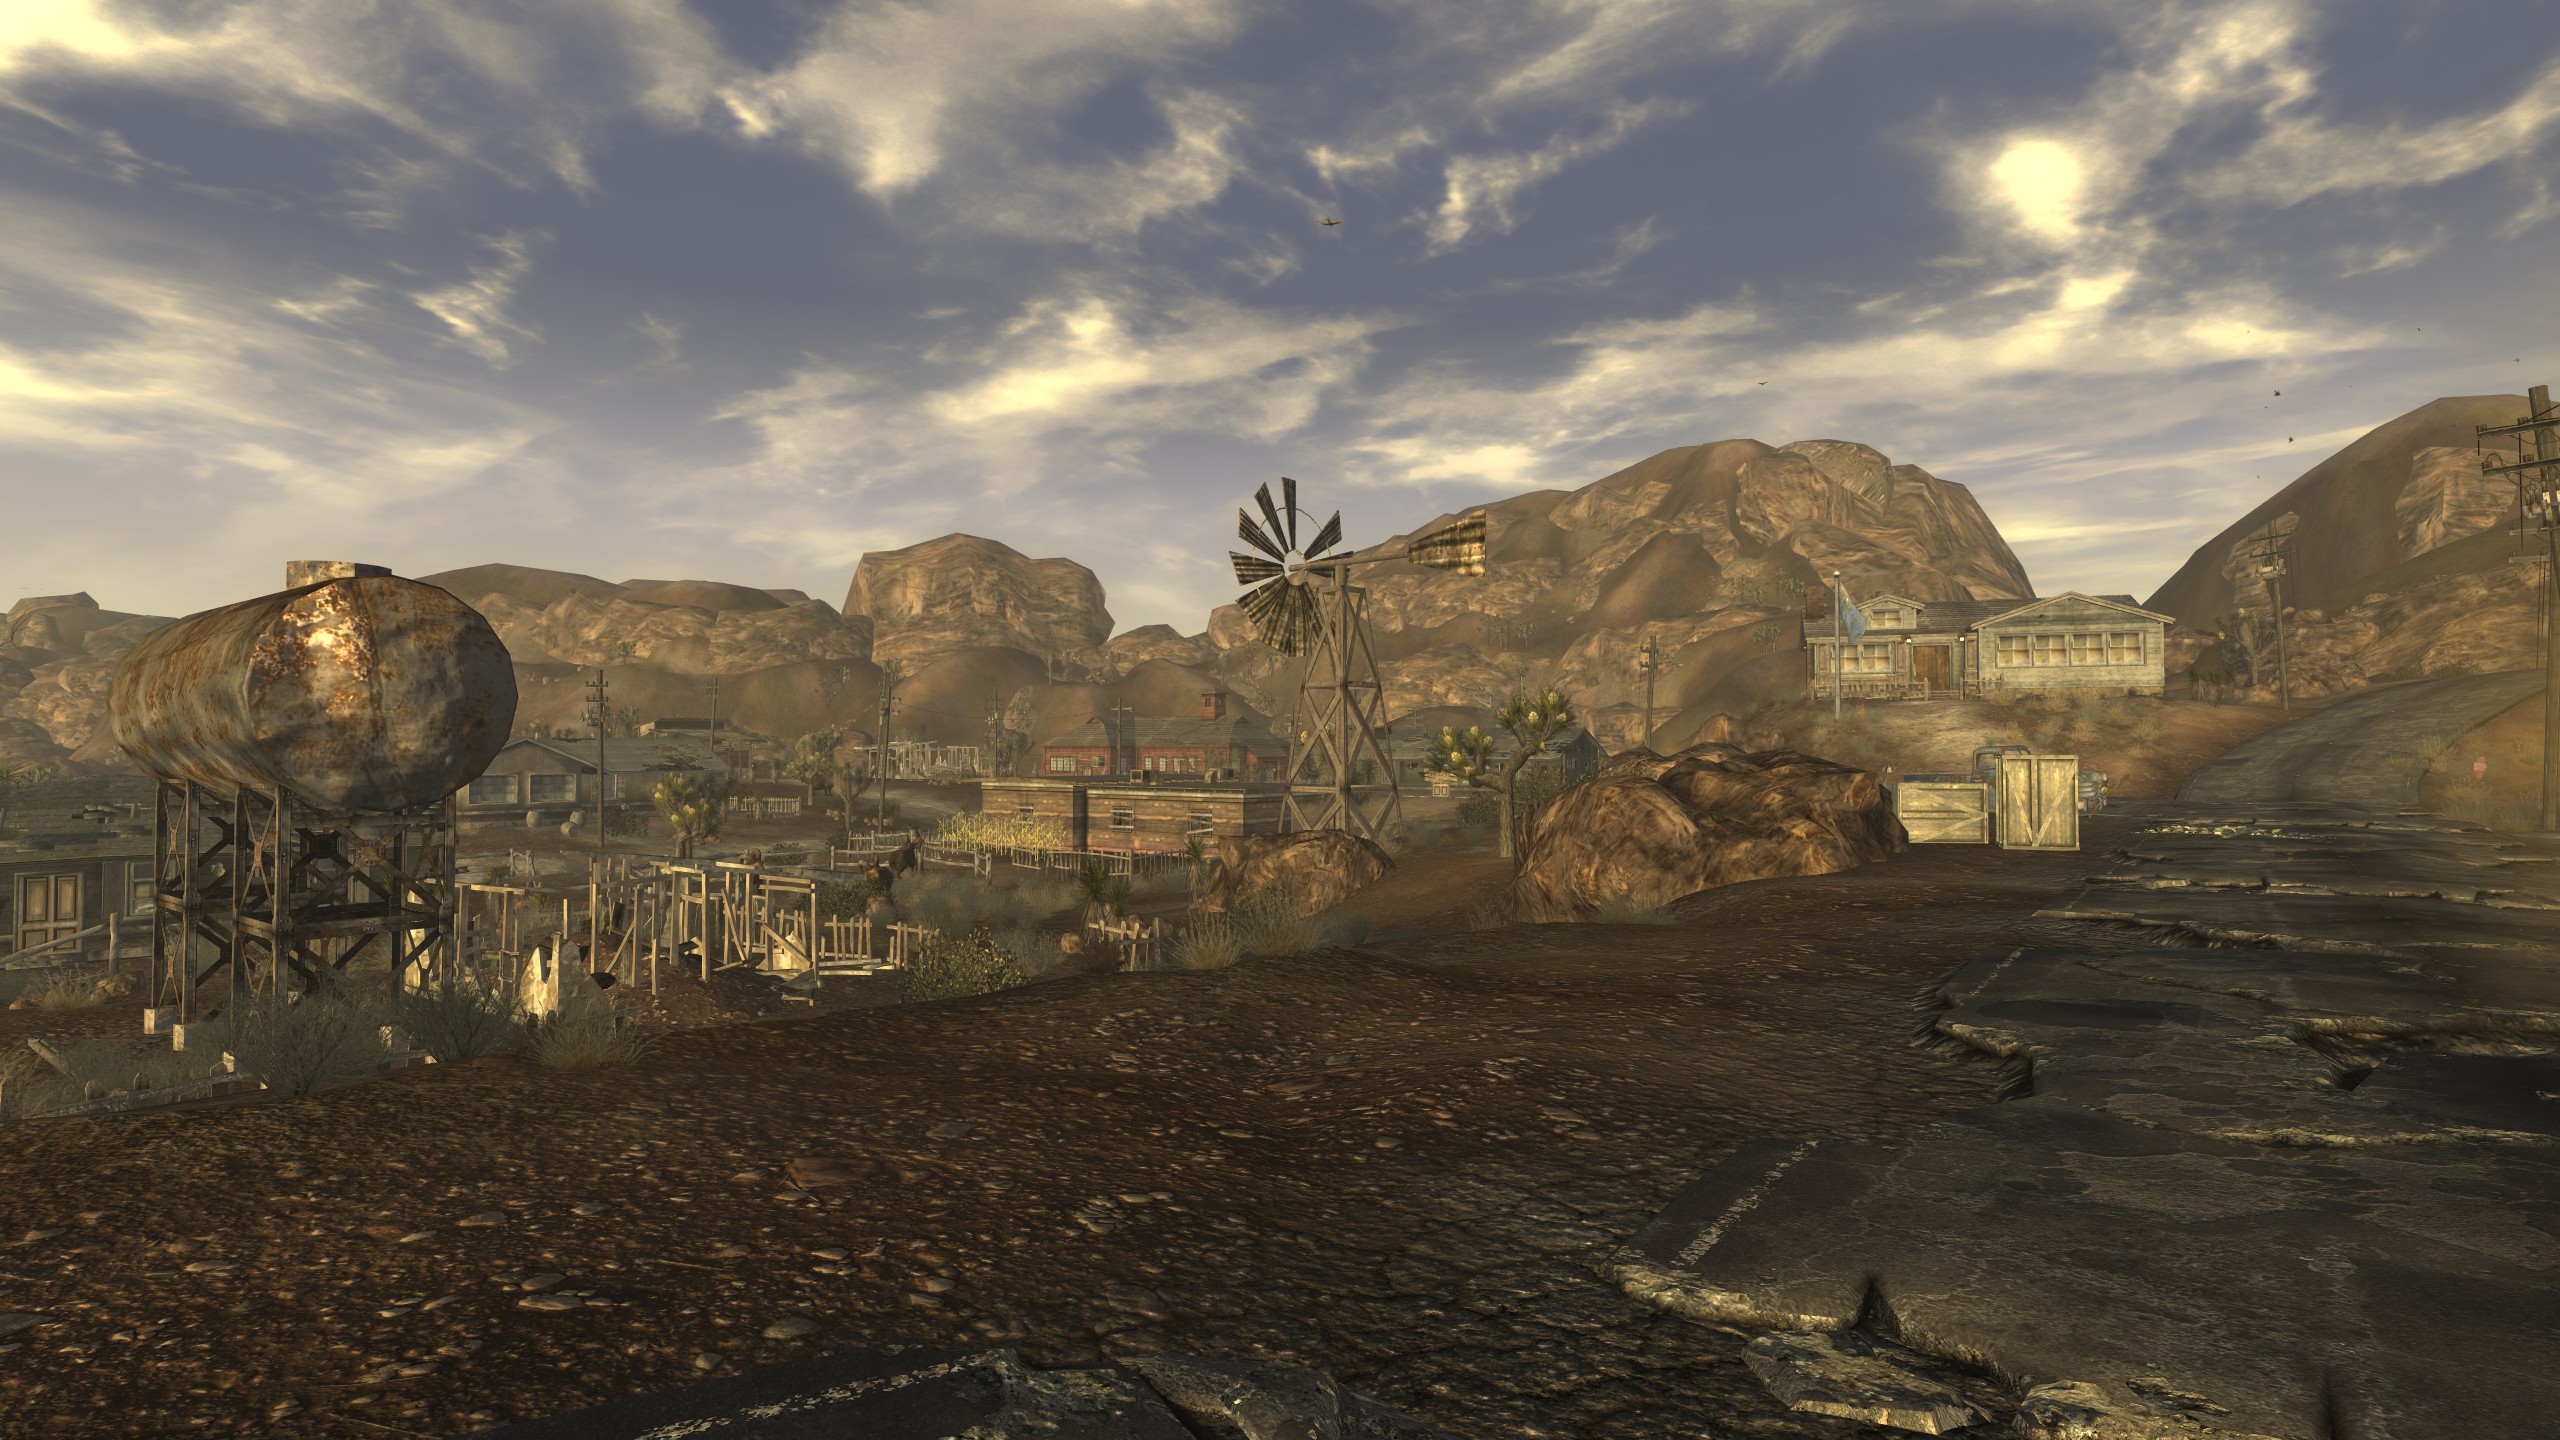
Optional. This mod makes darker nights, and takes away the ugly tinge that basic New Vegas had.
Interior Lighting Overhaul
[link]
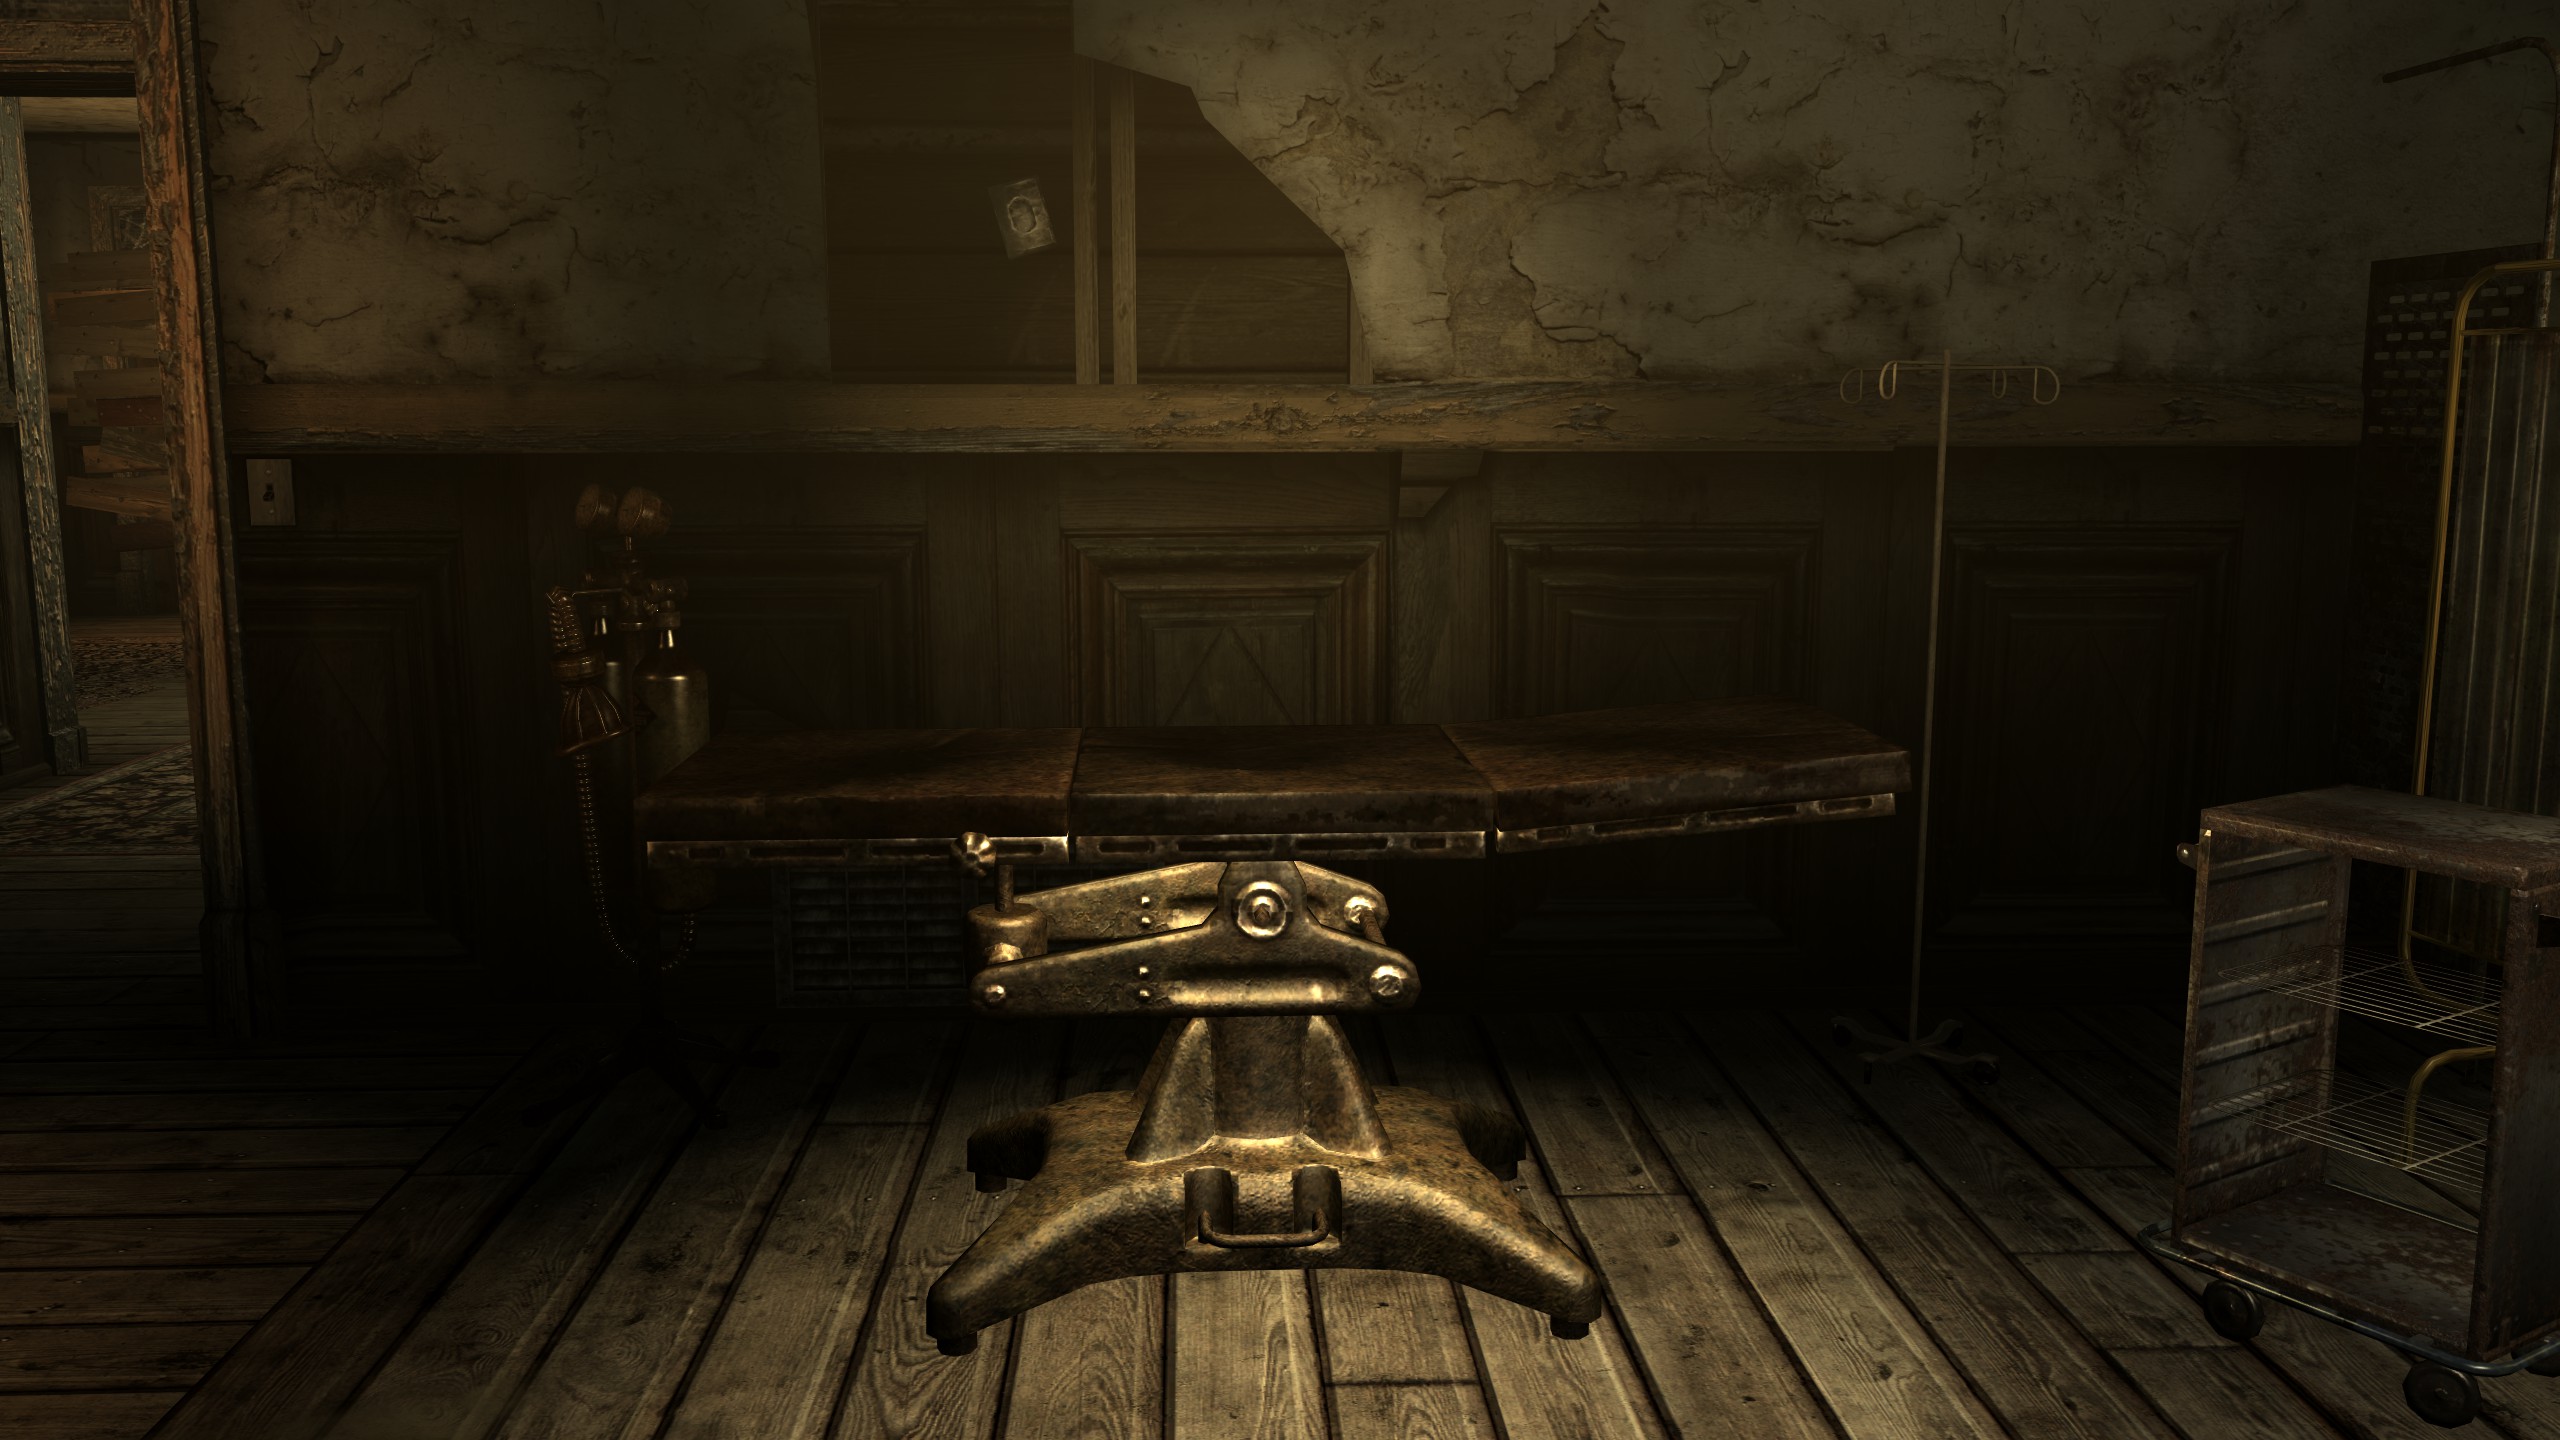
Optional. Same as what the other lighting mod did, but this one does it for interiors. It also enhances our Pipboy light.
Check the following boxes:
Ultimate Edition
ILO – Pipboy Light and Lucky 38 Suite
Nothing on this page
Yukichigai Unofficial Patch – YUP
ini Tweaks:
1. NVTF.ini
Go to Vortex and right click on NVTF. Open in File Manager. Locate NVTF.ini, and make a copy, in case you need to undo this step. Open the file. Press Ctrl + F and find the following lines.
bModifyDirectXBehavior = 1
iMaxFPSTolerance = **Insert your max FPS + 60 Into this slot**
Example: My screen is 144hz. 144 + 60 = 204
The bModifyDirectXBehavior setting appears to cost me a few frames, thought makes the game more stable if New Vegas Heap Replacer is present, as heap replacer has major conflicts with that line if it is set to 0
Heap Replacer also has notes about bSpinCriticalSections, but these aren’t relevant anymore.
2. nvse_Stewie_Tweaks.ini
Stewie’s Tweaks is a mod that adds large amounts of functionality to the game in big, and small ways. For the purposes of this guide, we will be aiming for a more convenient, but still vanilla experience. If you wish to make further edits, or have question about the edits I have made, I recommend that you read the ini, as it has explanations of almost every value.
Open the Vortex application. Find the “Stewie Tweaks INI” mod, and right click on it. Select “Open in File Manager”. Open the nvse folder, and then the plugins folder. Replace the installed tweaks ini file with the one I have provided .
If you want a more vanilla experience, but still want maximum stability, mod the original file you downloaded with one change only. Set bInlineVanillaFunctions = 1
3. FalloutCustom.ini
FalloutCustom.ini is not file that the base game would recognize, but thatnks to JIP, we now have a plugin of our own, to change some of the stupid settings that New Vegas seems to insist on. Go to your Documents/My Games/FalloutNV folder, and create a text file. Rename it to FalloutCustom.ini The entire file should look something like this:
[General]
bUseThreadedAI=1
iNumHWThreads=2
BpreemptivelyUnloadCells=1
bSelectivePurgeUnusedOnFastTravel=1
[Display]
iSize W=This should be your monitor’s first resolution value. Example: iSizeW=1920
iSize H=This should be your monitor’s second resolution value. Example: iSizeH=1080
Save the file and keep it in C:Users**Insert Username here**DocumentsMy GamesFalloutNV.
Note: These settings are assuming a maxed out experience for stability and visual performance. CPUs with 1 core and 1 thread will need to delete the first two lines under [General]
4. ImprovedLightingShaders.ini
This file may require a small bit of tweaking to use without lag or stuttering. I will explain the steps.
Go to vortex, and find the Improved Lighting Shaders mod. Right click on it, and select Open in File Manager. Open NVSE. Open Plugins. Open the ini.
We now have three settings we can change:
iMaxLightCount:
The maximum number of light sources that a Terrain Cell can use.
bPrioritisePipLight:
Prioritising Pipboy light over other sources of light. Very likely not needed with an iMaxLightCount of greater than 4.
bIncreaseLightBuffers:
This setting applies more than a hundred patches to the game in order to use larger buffers for light data, and may be needed for higher iMaxLightCount values.
To start tweaking, I recommend changing the setting you find as follows.
iMaxLightCount = 4
bPrioritisePipLight = 0
bIncreaseLightBuffers = 0
These are close to the game’s base settings, and should not lag. If it does lag, set bIncreaseLightBuffers to 1, and test it again.
If you experience texture issues while using this mod, also try setting bIncreaseLightBuffers to 1
Once you have decided on a setting for bIncreaseLightBuffers, increase the iMaxLightCount by 2, and test the game. If it is stuttering or lagging, try reducing by 1. If increasing it by 2 points was stable, try increasing it another 2, then reduce it by 1 if it lags or stutters.
It is not recommended to go past a setting of 8.
The plugin can not go above 10 without changing bIncreaseLightBuffers to 1
With bIncreaseLightBuffers set to 1, the max setting for iMaxLightCount is 13, but going above 8 is still not recommended
Below I have listed the changes I personally made to get it working without any sort of lag or stuttering. Your values may vary.
iMaxLightCount = 8
bPrioritisePipLight = 0
bIncreaseLightBuffers = 0
If you have tinkered with the file, and can not stop the game from lagging, you may need to uninstall the mod.
Now that you have finished editing this file. Scroll up and return to the Vortex Mods section.
Or, if you have finished installing Vortex mods, move on to the next section.
Confirmation of Installs:
After everything has been installed, go into Fallout New Vegas, and open the console with the tilde key (~), directly under the escape button. Enter the following values.
GetNVSEVersion
[The game will show you your version number if NVSE is installed properly.
It may now show the decimal version, only “Version 6” for 6.0.6]
GetisLAA
[If the console’s answer to that question is 2, you have installed 4GB Patch and JIP sucessfully.
A value of 0 means the 4GB Patch did not install correctly.
A value of 1 should not happen, but means that you need to run something as Admin. Try reinstalling the 4GB Patch by running as Admin.
If you get an error message, JIP has not been installed correctly. Try to reinstall it using Vortex.
IsDLLLoaded NVTF
A value of 1 means NVTF has been installed correctly.
IsDLLLoaded d3dx9_38
A value of 1 means Heap Replacer has been installed correctly.
IsDLLLoaded NVAC
A value of 1 means NVAC has been installed correctly.
IsDLLLoaded OneTweak
A value of 1 means OneTweak has been installed correctly.
IsDLLLoaded mod_limit_fix
A value of 1 means The Mod Limit Fix has been installed correctly.
Backup your Files:
New Vegas has a bad habit of overwriting needed files if the launcher, or the game’s .exe is run. This can break the game and force a person to reinstall unless files are backed up, and replaced. Navigate to your
C:Users**Insert Username here**DocumentsMy GamesFalloutNV
folder.
Copy both Fallout.ini, and FalloutPrefs.ini, and save them somewhere that you will remember. Saving FalloutCustom.ini is not needed, because it is a JIP plugin and will not be overwritten.
From now on, if you run the launcher, or Fallout.exe and accidentally break the game, replace those two files with your backed up copies. This should correct the issue.
Always run Fallout by opening Vortex, and selecting the play button beside New Vegas Script Extender, or the play button at the top left, beside the game title.
Please Read:
Special Mentions:
Thank you to all modders who participate in restoring Fallout New Vegas, and a special mention to those who have assisted me in growing my modding knowledge!
Many thanks to WaysidePacer for always pointing out when I need to tweak something!
Many thanks to DubiousIntent for clarifying my many questions!
I would also like to thank anyone who has read this all the way through. Your support means a lot to me.
Please check out the following YouTubers, and their many guides.
Dirty Weasel Media
GamerPoets
Gopher
More Guides:
Is my Guide not quite your taste? Do you like it, but want to know more? Here are some other guides that you should check out!
FNV General Mod Use Advice[wiki.nexusmods.com]
Fallout NV Mod Conflict Troubleshootng[wiki.nexusmods.com]
S.T.E.P. “Fear and Loathing” Guide[stepmodifications.org]
Viva New Vegas[vivanewvegas.github.io]
A note from the Author:
If you own Fallout 3 as well as New Vegas, and are looking for a fun, easy-to-install experience that blends the two, please check out one of my favourite mod projects ever:
A Tale of Two Wastelands[taleoftwowastelands.com]
And if you do, remember friends: NVTF has replaced NVSR for most Windows 10 users.
GamerPoets’ video titled “TTW Performance Guide” may instruct you to install NVSR for use with TTW, but NVTF may work better for you. It is best to test both options yourself.
Conclusion:
The last step is to enjoy New Vegas,
and like Democracy, it’s non negotiable.
And if you like this Guide, give me an endorsement on NexusMods!