![How to redeem '3rd Echelon' map - [DEPRECATED; GAMESPOT REMOVED THE PAGE] for Tom Clancy's Splinter Cell: Conviction](https://steamsolo.com/wp-content/uploads/2021/07/how-to-redeem-3rd-echelon-map-deprecated-gamespot-removed-the-page-tom-clancy-s-splinter-cell-conviction.jpg)
Overview
In this guide, I demonstrate some features, patterns, and tips of each seven levels.Sorry if I missed some patterns..
Introduction
(There might be some missing patterns or wrong informations in this guide. Comment if you discovered something wrong.)
In Super Hexagon, a lot of “patterns” appear. Knowing these patterns is quite important to clear levels in Super Hexagon, because when you see some patterns you know, you can predict what will come next.
Knowing patterns may not be significant in Hexagon and Hexagoner (because they are quite slow and you can see the whole thing; you may remember some tricky patterns and beat the levels), but it is significant in Hexagonest and becomes very important in Hyper Hexagonest.
First, before begin the guide, I will define some words.
The Pointer is the thing you’re controlling.
A Part is a part of sides of a hexagon(, pentagon, or square) which you should avoid through it’s hole(s).
A Pattern is a collection of parts (or a whirlpool) which appears many times.
A C-shaped part is most abundant part in Super Hexagon. It’s the shape which only one sides of polygon is not blocked.
1 unit is the amount how much you rotate to move the pointer from a side to a neighboring side.
I considered using “ortho”, “meta”, and “para” to describe 1, 2, and 3 units.
R = 1 unit CW, and L = 1 unit CCW. M is either R or L.
2R = 2 unit CW, where RR is two 1 unit CW movement.
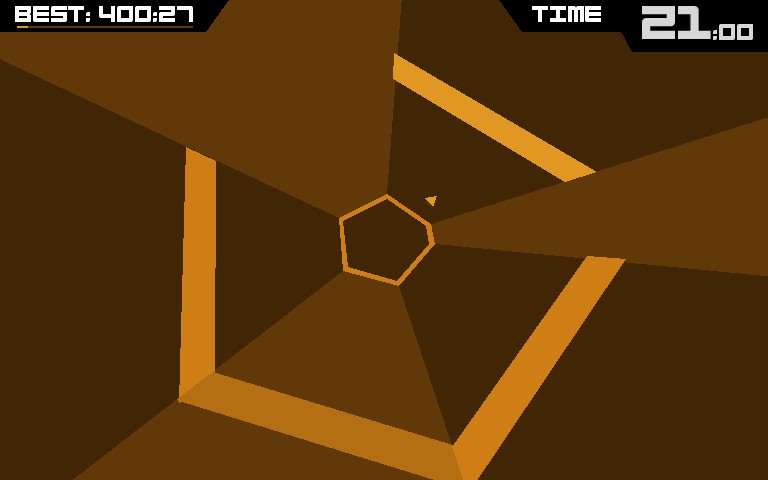
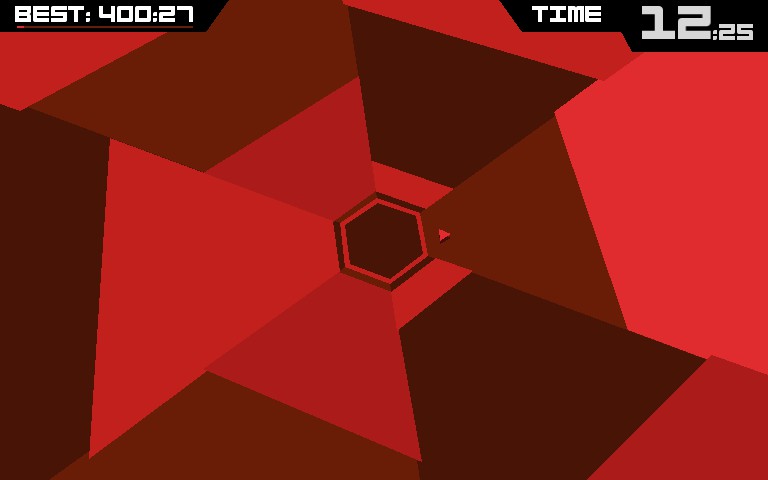
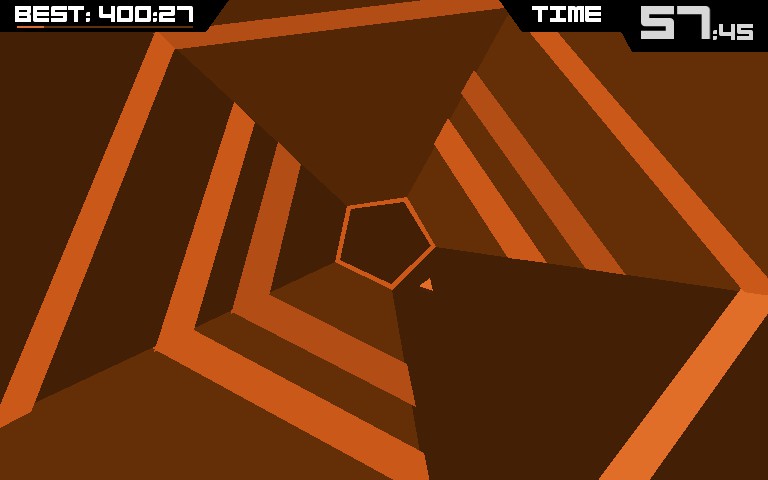
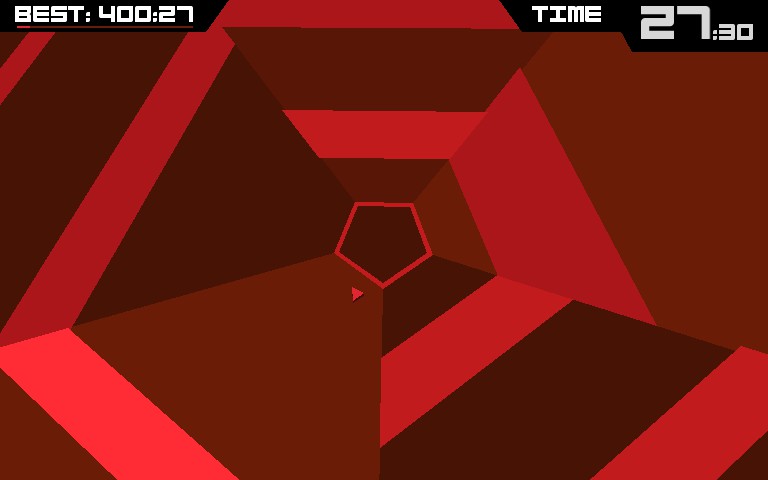
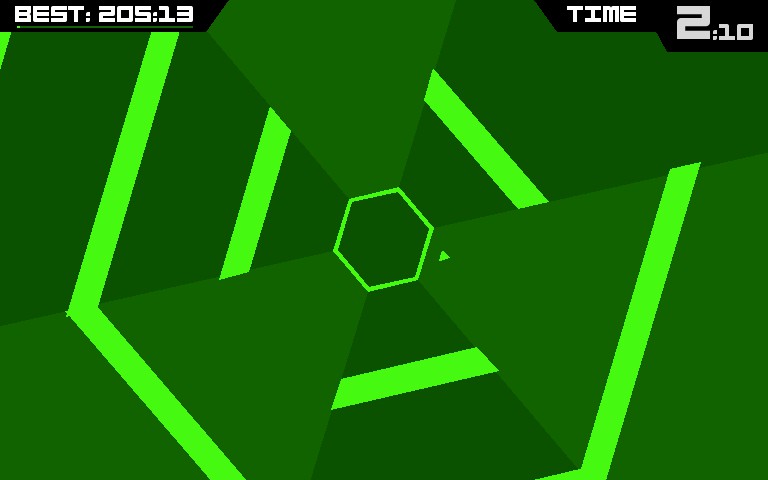
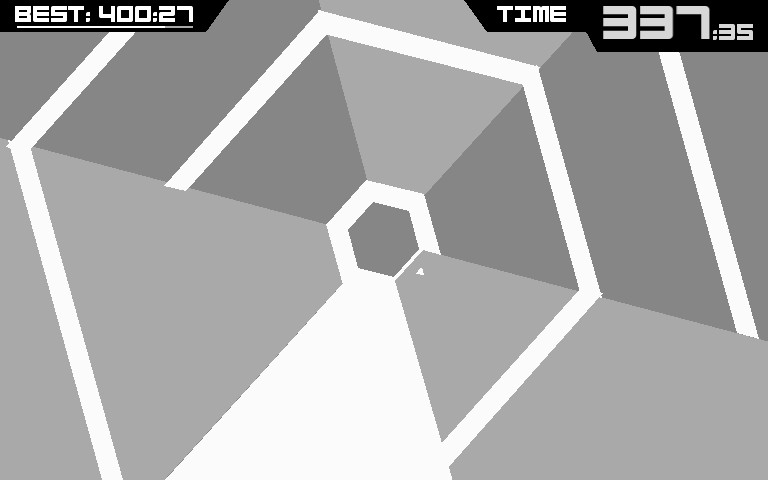
There are three basic levels, Hexagon, Hexagoner, and Hexagonest, which difficulties are (resp.) Hard, Harder, and Hardest.
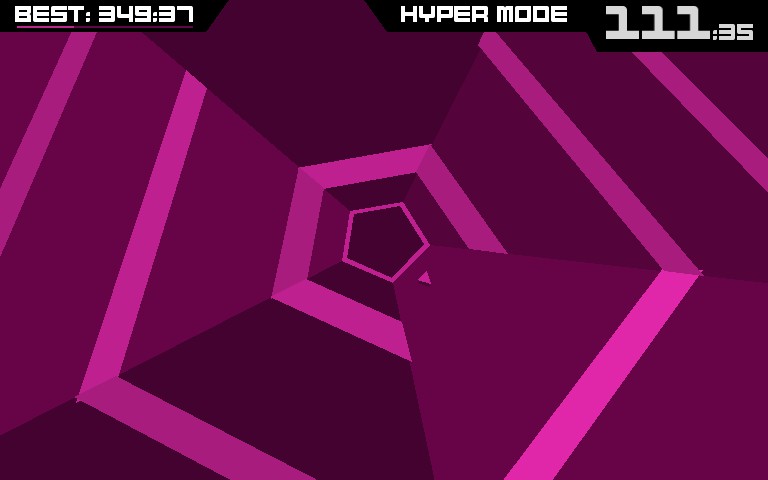
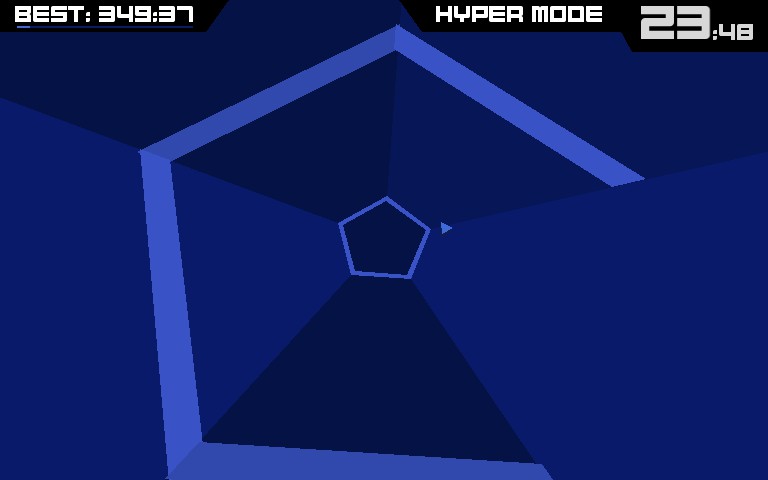
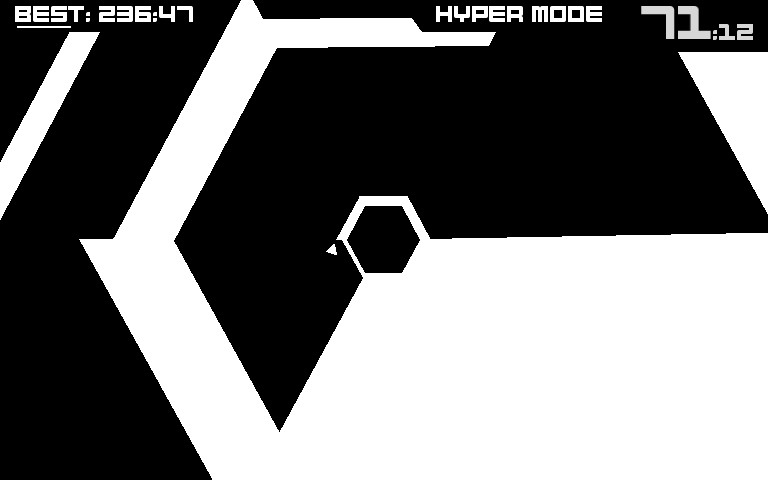
Every basic levels last 60 seconds, and after 60 seconds, game continues on Hyper mode.
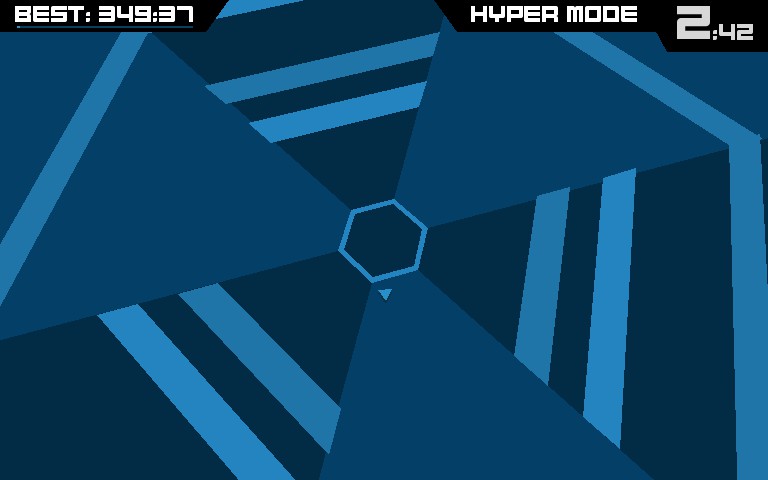
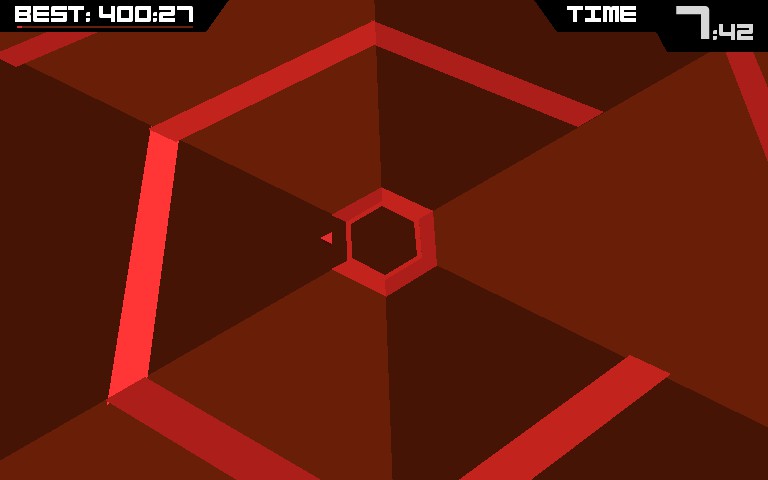
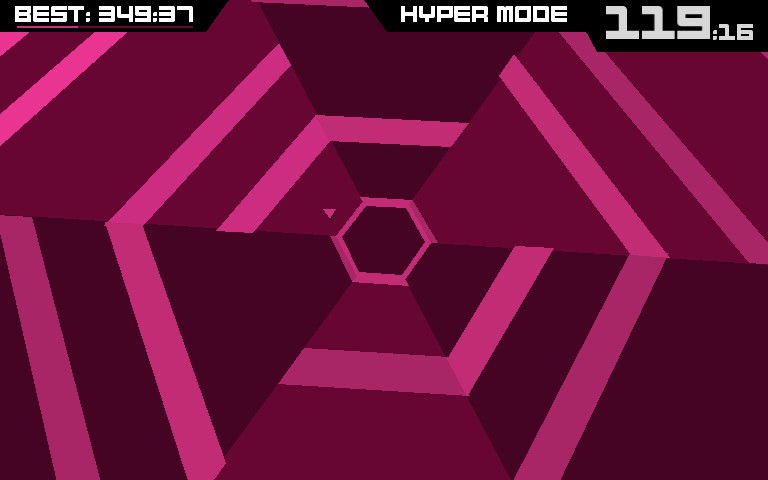
A hyper mode lasts 120 seconds (except Hyper Hexagonest). In Hyper Hexagon, after 60 seconds, background turns from blue to red (everything else are same), and after 120 seconds, game continues on Hyper Hexagoner. In Hyper Hexagoner, after 60 seconds, colors are reversed (also everything else are same), and after 120 seconds, game continues on Hyper Hexagonest. In Hyper Hexagonest, after 60 seconds, the black-white mode appears, which is very different from Hyper Hexagonest, and lasts forever (I played it for over two minutes and nothing changed).
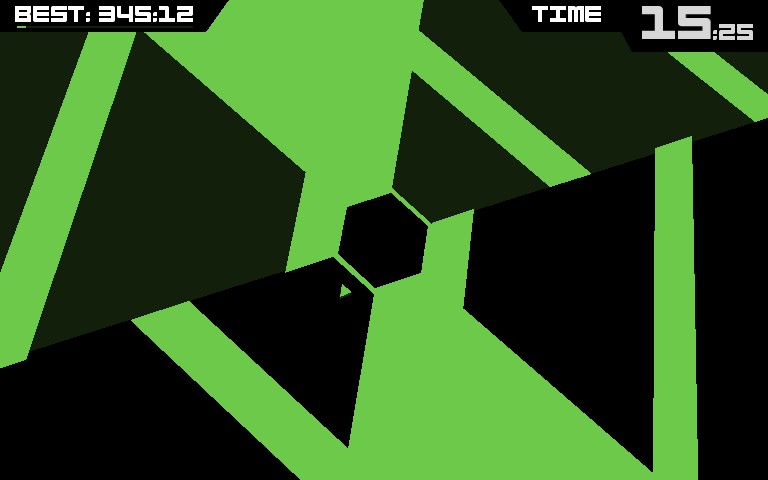
Let’s look at Hexagon first.
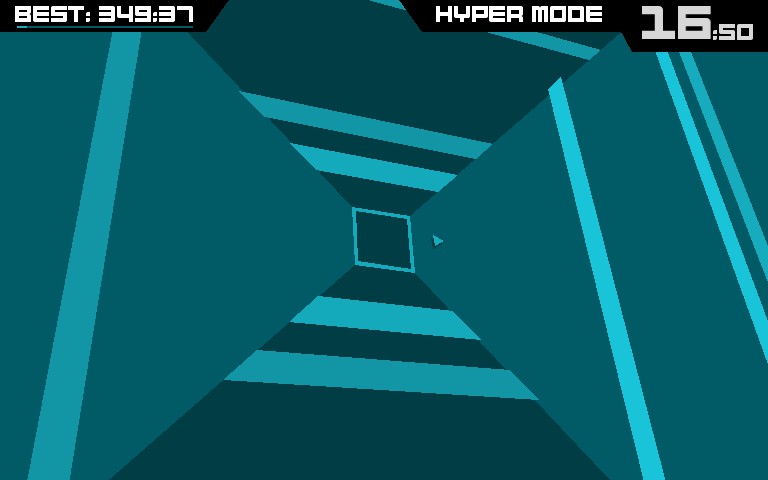
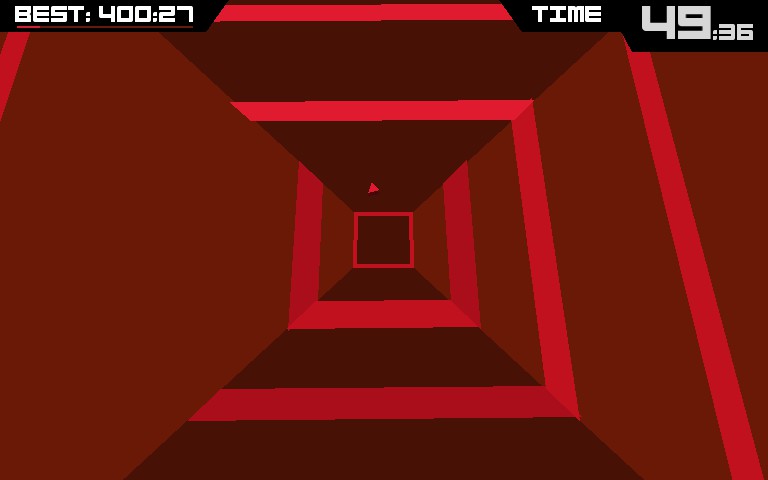
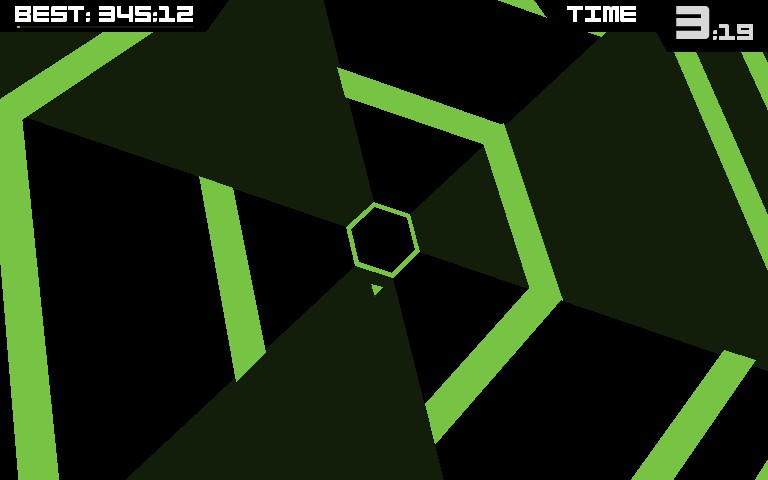
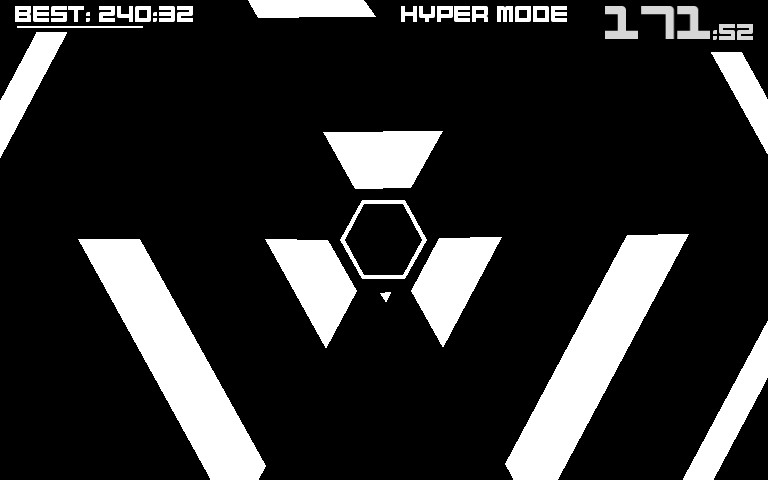
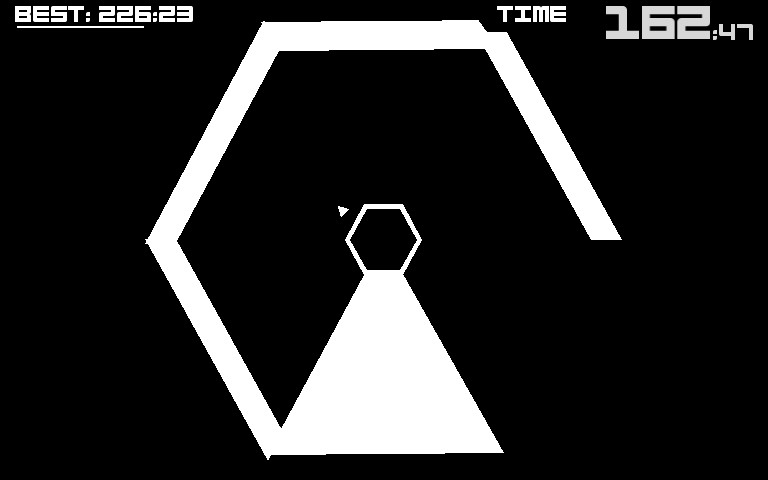
Patterns in (Hyper) Hexagon
After that, after some patterns appear, either a C-shape appear and turns pentagon into square, or striped pentagon appear and turns into C-shaped striped hexagon. The duration of each polygon mode is not unique (sometimes short, sometimes long, but not very much).
When in the hexagon mode, these patterns appear.
Some single bodies with one, two, or three holes, with or without stripes.
Watch out for Solo followed by 3-unit turn. Turn a bit earlier.
Three C-shaped parts, which adjacent parts’ holes are 3 units apart. (It seems that it’s not just three Soloes.)
Because of this pattern, it is quite common to rotate 3 units twice. However, you should not assume that every two opposite C-shaped parts are part of this pattern. Some are just two Soloes, and there might be third Solo in other direction.
A whirlpool in either (CW or CCW) direction.
A two-way pattern.
Press three times (MMM rather than 3M) is recommended.

A zig-zag pattern.
(Only in hyper mode)
Several parts having 3-unit distance holes, and each parts’ holes are 1 unit apart.
Be get used to this pattern by knowing when and how much to rotate.
(Only in hyper mode)
M-shaped pattern where you have to move 3, 2, then 1 unit.
You should move as early as possible, but (of course) not too early.
It is recommended to do 3M then 2M in different orientation than do 3M then 2M in same orientation.
The pattern I described earlier.
It takes “some” time to close one hole. However, you should not expect this delay for every 2-holed parts.
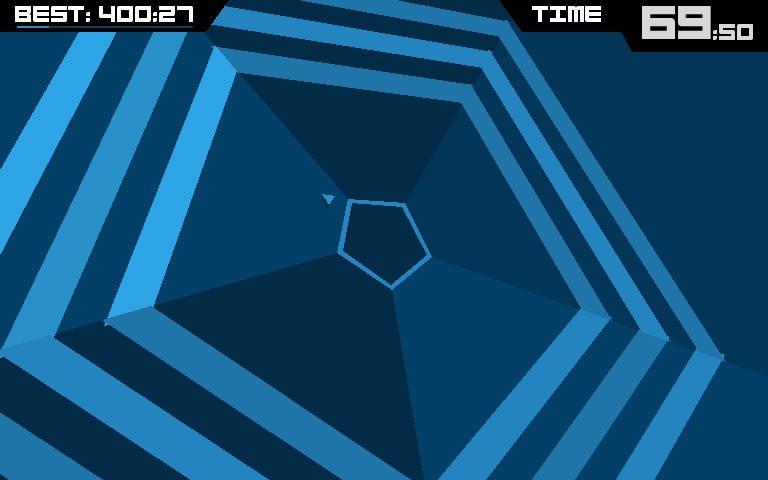
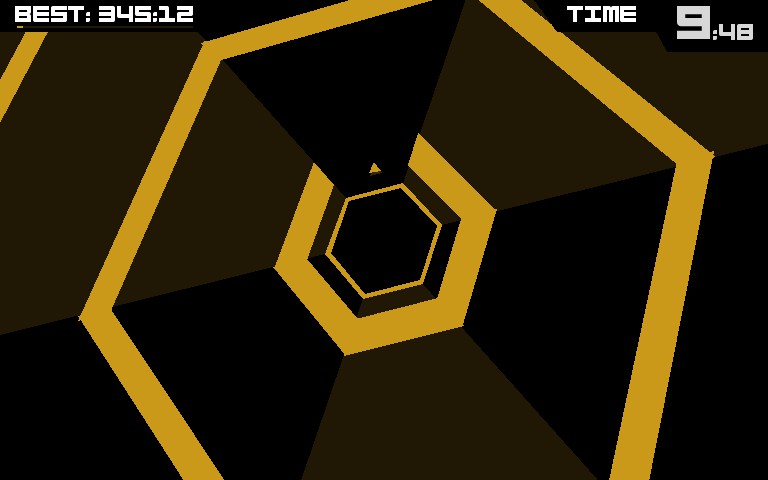
When in the pentagon mode, similar patterns appear.
The pattern that changes mode from pentagon to hexagon.
Three C-shaped parts appear which adjacent parts’ holes are 2 units apart (in staggered direction).
You should watch carefully (especially when several Triple-Cs and Soloes are mixed) what direction the pattern is staggered.
The pattern that changes mode from pentagon to square.
A very important fact of the pentagon mode is this: in the hexagon mode, 3R = 3L, however, in the pentagon mode, 2R ≠ 2L. This makes the pentagon mode quite tricky, because the direction of rotationg also matters.
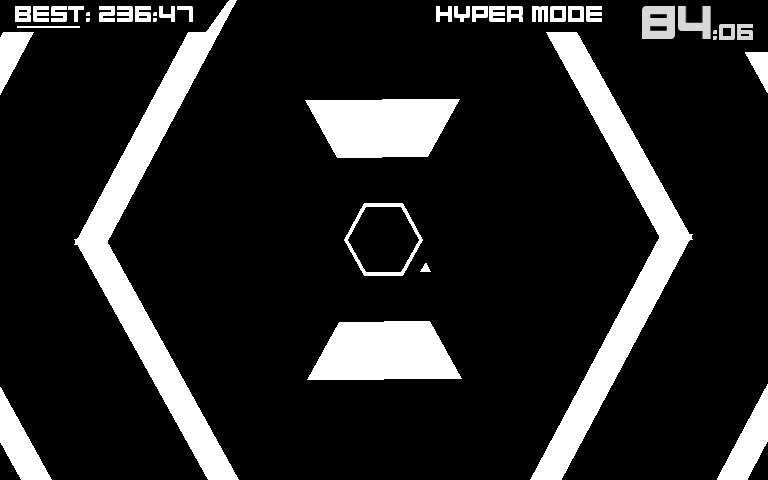
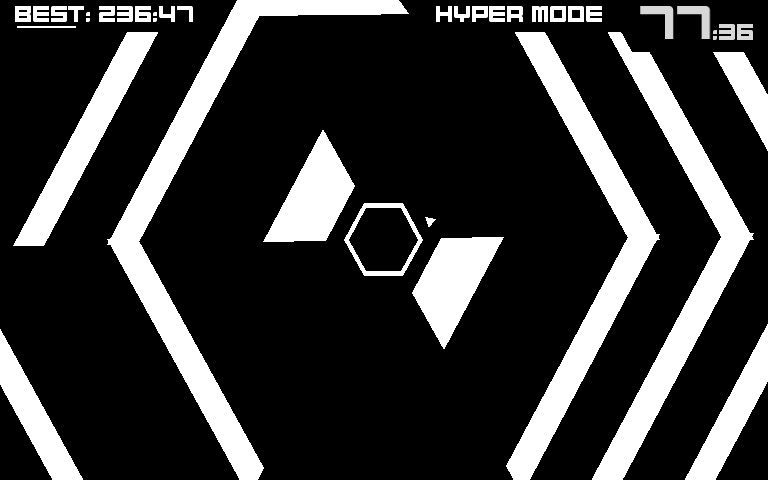
When in the square mode, following patterns appear.

The pattern that changes mode from square to pentagon.
Two C-shaped parts with holes 1 unit apart.
(Quintuple C? I don’t know)
A C-shaped part following by a bar blocking the C-shaped part’s hole.
At first time, these patterns may confuse you (especially the whirlpool). You may spend some time to be get used to these patterns.
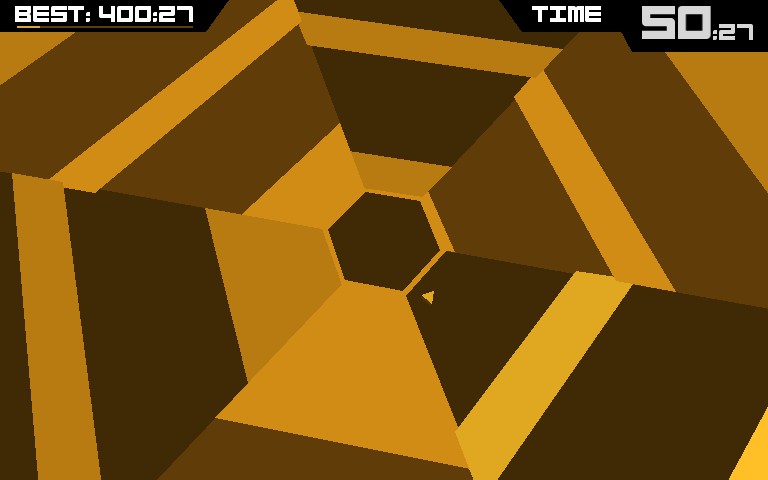
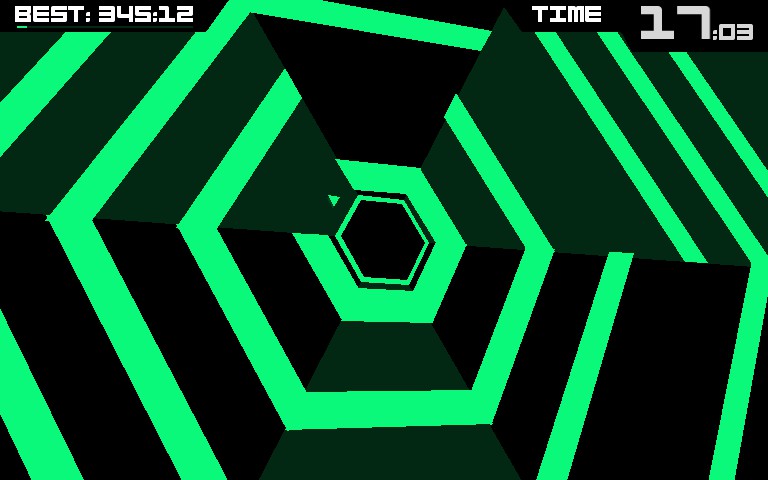
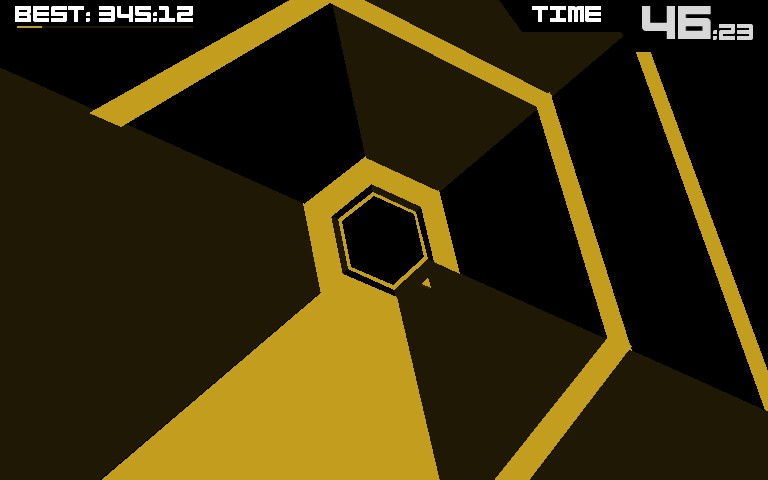
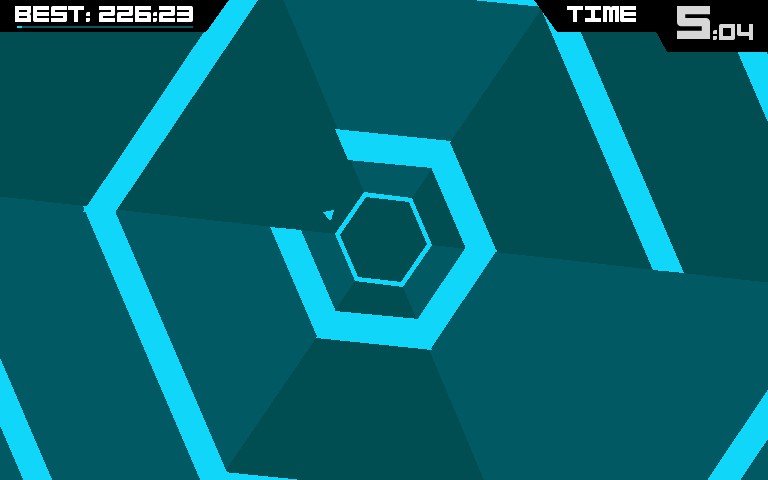
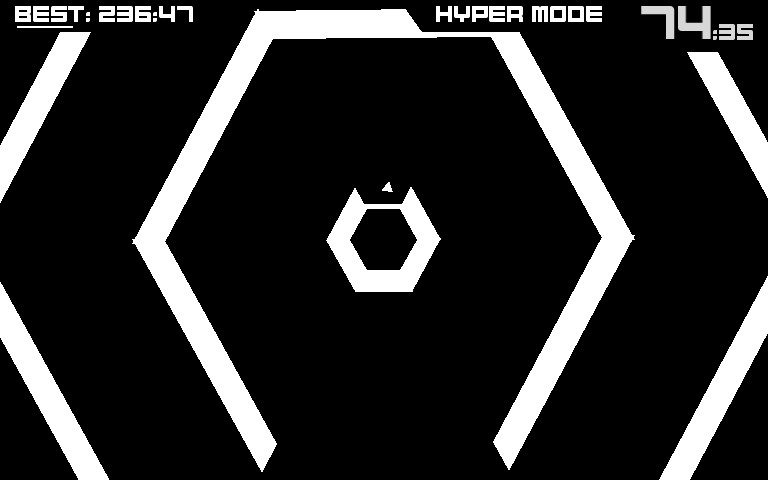
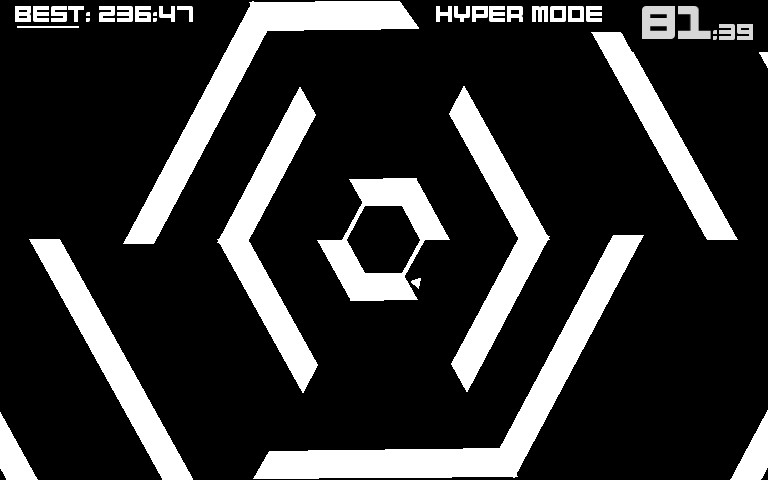
Patterns in (Hyper) Hexagoner
In Hexagoner level, there’s no extraordinary features. However, some patterns may begin to annoy you.
I personally think that Hexagoner is actually the easiest level in the Super Hexagon.
There are two patterns which appear in the basic mode but not in the Hyper mode. These patterns sometimes appear in the Hyper mode when you play the basic mode and the mode turns into Hyper, even in 90s. However, I have never seen these patterns after a pattern only in the Hyper mode appears, when I begin in the Hyper mode, or continue from the Hyper Hexagon mode.

The pattern where you should MMMMM in one direction.
Similar to Stair 1, but you can begin in only one direction.
Same tip in Stair 1 applies.

(Only in hyper mode)
Whirlpool in both side, either in CW or CCW direction.
Do not lost where your pointer is.


(Only in basic mode)
The pattern where you should move 2L 2R 2L… repeatedly.
You should move (and change direction) quite fastly.
And, this can be confused with 4-Spin (which is described below). Watch carefully to determine whether a pattern is 2-Spin or 4-Spin.

(Only in hyper mode)
A hole from left, then 3R, 3L, 3R, then 3L.
(Only in basic mode)
A hole from right, then 4L, then 4R.
Do not confuse. (It looks like that it’s easy, but this sometimes confused me… :/)
The pattern with several parts with three holes, and a cap (3-unit separated big things).
You should look at where your pointer is, because sometimes(1/3) the cap may kill you.
LRLR(or RLRL) is recommended.
(Is there Stair 1 or a single whirlpool? I haven’t screenshot them)
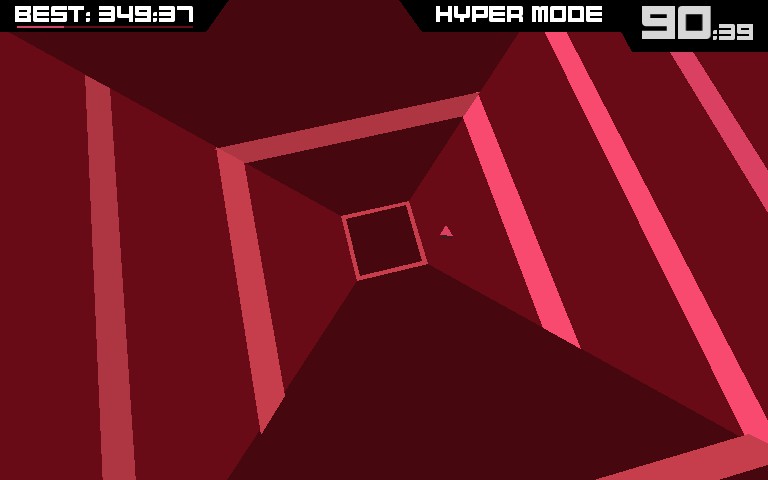
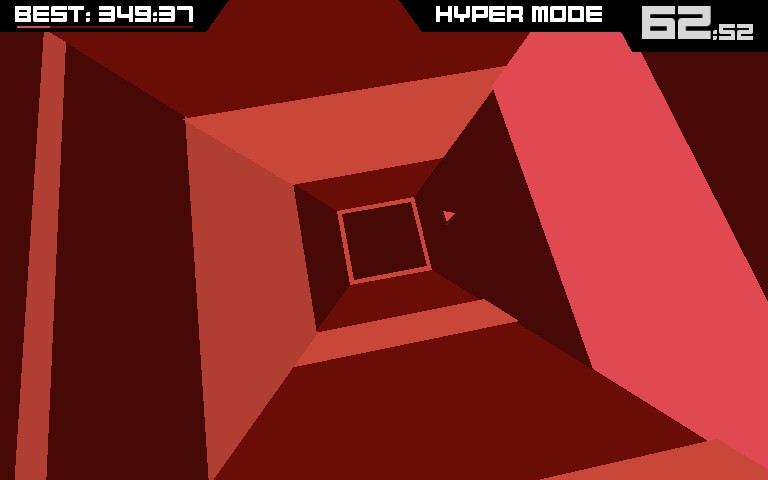
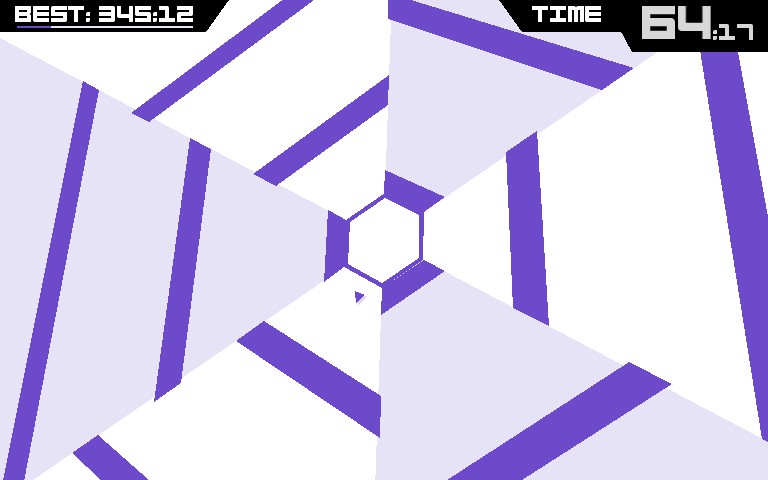
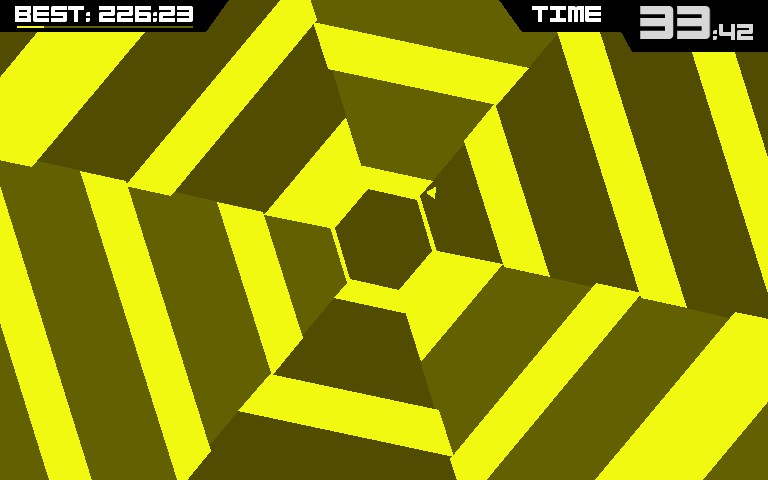
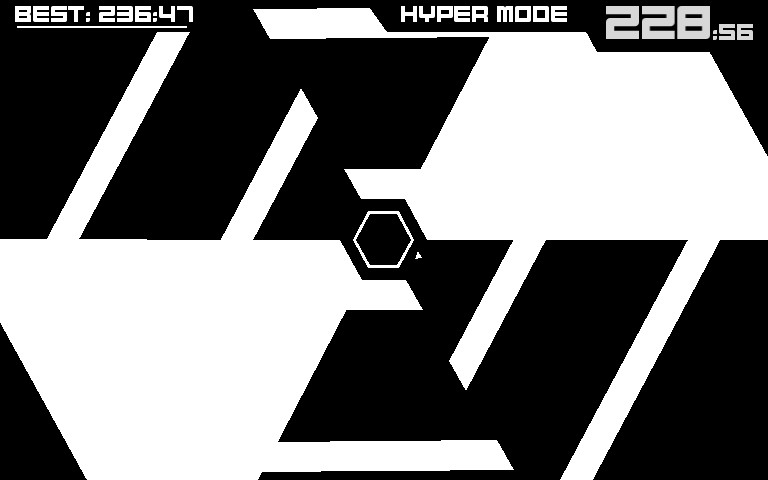
Patterns in (Hyper) Hexagonest
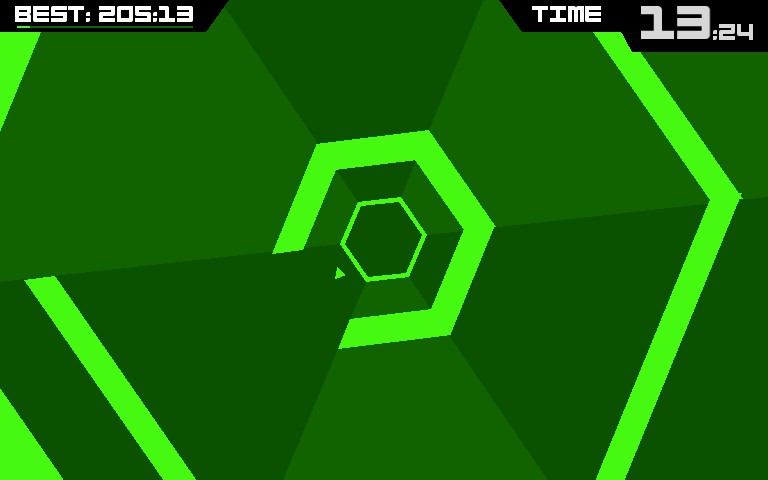
Unlike Hexagon and Hexagoner, the speed of pointer in Hexagonest is quite faster, therefore you may spend a lot of time to be used to this level.
In the basic Hexagonest level, occationally the whole things rotate in very high speed, makes the level harder. You may have to memorize the “feeling” how much you should move in each patterns.
In the Hyper Hexagonest level, there’s no random spin, but the whole thing now rotates in high speed, makes you thinking “It’s just impossible to beat this”. However, with a lot of practice to recognize where your pointer is and what the pattern you’re encountering, and, like the basic level did, knowing how much you should move in each pattern, you will beat the Hyper Hexagonest level and thus beat the Super Hexagon.
(To be completed. Some patterns may not exist.)
(Only in hyper mode)
A pattern similar to Stair 1, but it’s RRLLL!
This pattern will train you how much you should move when rotating a unit.
Start moving when your pointer is located inside a part of the pattern.


(Is there a Bat or a Ladder? I haven’t screenshot them)
- There’s a bug that you can pass through wall one time in a Double Whrilpool, by rotating opposite direction.
- Stair 2 can be done by RR and a long R spin. It’s quite confusing to look but not hard to do. (You can do a long L spin instead of RR, but it is a bit harder.)
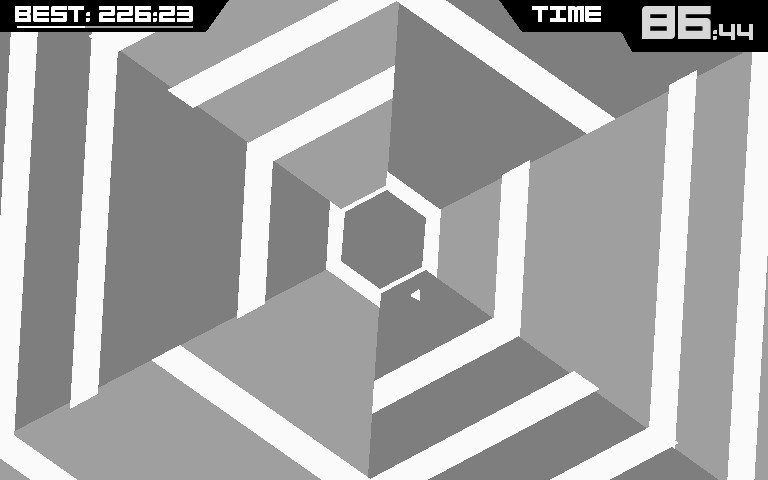
Patterns in Black-White mode
Unlike other two Hyper modes, after 60 seconds of Hyper Hexagonest, this black-white mode appears. It is different from Hyper Hexagonest, because
- First of all, it is not rotating (except some occational spins), which makes it harder.
- Patterns in Hyper Hexagoner mode also appears in Hyper Hexagonest mode.
(and, why patterns are important)
You may think that the fact that there’s no rotation makes it easier. However, it isn’t, because you can’t check top and bottom sides of a part until it comes close to you. This makes preparing for patterns very important, and makes black-white mode requiring a lot of different strategies from other Super Hexagon levels.
- C-shaped parts with a hole at the top or the bottom
- Beginning of 321, either (top or bottom) direction
- Stair-1 (RRRRR only)
- Stair-2
- … and Multi-C, begins from the top or the bottom, either L (CCW) or R (CW).
This is why patterns become very important in the Black-White mode, because if you don’t consider all the cases, you may die. (ex. Confusing Stair-1 and Stair-2, or Confusing Stair-1 and Multi-C)
I will re-write tips from other levels, because some of those ‘trivial’ tips now become quite important. All texts are tips.
Watch out for Solo followed by 3-unit turn. Turn a bit earlier. Go to middle as much as possible.
Because of this pattern, it is quite common to rotate 3 units twice. However, you should not assume that every two opposite C-shaped parts are part of this pattern. Some are just two Soloes, and there might be third Solo in other direction.
If you don’t know where the hole is, go to middle and wait.

(Yes, I died right after I took this screenshot)
Be get used to this pattern (and Stair 1) by knowing when and how much to rotate.
Again, wait if you don’t know where the hole is.

Do not lost where your pointer is.
Try goint to the (near) middle right after exiting this pattern, if feasible.
RRRRR only.
This pattern and Stair 2 can be distinguished by watching carefully when you do RR.
Assuming that a Stair is Stair 1 and find that it’s actually Stair 2 is easier than the opposite.

(Read the tip at Stair 1)

You should move as early as possible, but (of course) not too early.
It is recommended to do 3M then 2M in different orientation than do 3M then 2M in same orientation.
Just remember that top and bottom are not a good place to stay.
Every 3-Spin patterns starts with a hole at left. This means, if you see a 3-Spin with big white parts at right but can’t determine whether the hole is at the top or at the bottom, the hole will be always at the bottom. This will help you a lot.
The direction of the first hole is opposite from that of a 3-Spin.

You should look at where your pointer is, because sometimes(1/3) the cap may kill you.
Again, top and bottom are not a good place to stay. Since it is always possible to move to middle, do that.
Always track where your pointer is, what the next pattern is, and where the hole is relative to your pointer when (you’re, or the whole thing is) rotating.
If you want know more about the black-white mode, you can read my little guide about black-white mode.
Congratulation! Now you became a part of the vicious cycle of score-inflation!
Conclusion
So, these are (hopefully) all patterns that appear in Super Hexagon.
Have fun!