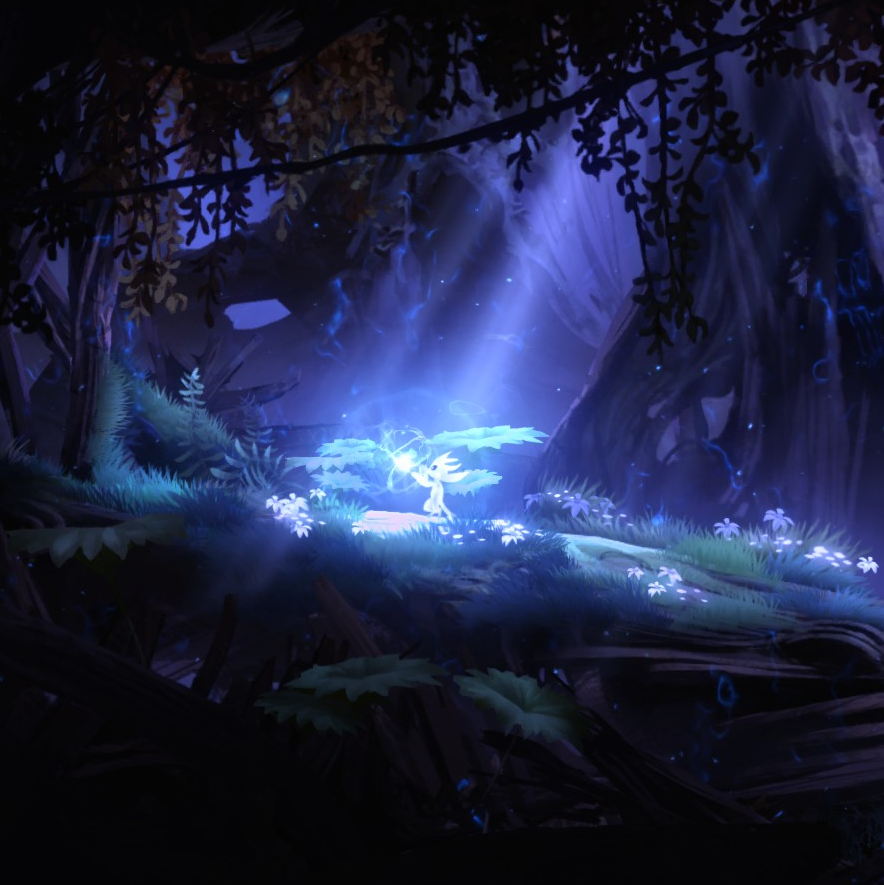
Overview
This guide offers some basic tips if you’re going for either the Supersonic or Elite achievement, or both, as well as my route for completing the game in under 3 hours.
Welcome
This was supposed to be a guide about some basic tips for the game. As I learned most of this by doing the Supersonic and Elite achievements in both the original game and the Definitive Edition, this turned out to become a guide mostly for those achievements. I hope you find some of it useful!
If you have any suggestions to make this guide better just leave a comment below. 🙂
Basic Tips
ENERGY
- If you tend to be short on energy to save your game or going for Elite: If you want to save and there’s a crystal nearby, save BEFORE getting those energy shards.
- Go for all the Energy Cells you can easily collect on your way. The more often you can save, the less you’ll have to do again if you die.
- Don’t use Charge Flame if you don’t have to.
HEALTH
- Go for all the Life Cells you can easily collect on your way. The more you have the safer you are. Obviously.
- When going for Supersonic, don’t collect life pickups if you don’t need them – I tend to jump on all those life pickup things on the floor even if I am on full health and it’s completely useless – who would have thought.
BASH
- Reflect enemy projectiles back to them to deal more damage than with spirit flame (especially helpful and also timesaving with frogs)
- If there are spikes nearby, bash enemies into spikes. Same goes for water or even other enemies.
- When going for Supersonic and/or not being too reliant on Xp, bash off enemies instead of fighting them to save time.
STOMP
- Use Stomp in combat to stun enemies and deal more damage than with spirit flame.
- ABSOLUTELY use Stomp around those purple, blue and orange enemies that throw spikey blobs at and around you – it does not only save time, it’s also much safer and you’ll probably never die from them again.
- You can open some doors with Stomp instead of bashing rammers into them!
(Note: I usually use this on my way to Forlorn Ruins, as mentioned later, and sometimes towards Mount Horu. It usually works fine when I’m playing on Easy. On Normal it can take a few tries, or sometimes not work at all, in my experience at least. So keep that in mind when you’re not playing on Easy.)
DASH AND LIGHT BURST
You absolutely don’t need those to complete the game, so especially when you’re going for Supersonic and do not in some way rely on them because you’re so used to them, don’t acquire them. However, If you don’t want to do without Dash and know that you can get it relatively fast – go for it. It can probably save you some time in other areas, though I’ve never tried it so that’s just a guess.
Achievement Specific Advice
ELITE
- Be aware that you cannot spend a single ability point. That also means that you won’t be able to rekindle soul links, to heal yourself by creating a soul link or to upgrade your spirit flame.
- Think carefully about when and where to create your soul links.
- You can’t spend any ability points for the achievement but it’s still good to go for Xp – all energy and health will be filled to the maximum as soon you earn an ability point other than by getting an Ability Cell.
- If you’re skilled enough you’ll easily be able to combine going for this achievement with going for Supersonic, especially when playing on Easy. However, if you’re not or unsure, I’d suggest doing them in different playthroughs and taking your time with this one.
SUPERSONIC
- This one is obvious: Don’t waste any time!
- Skip cutscenes in the pause menu. Shorter ones cannot be skipped.
- If possible, save your game after unskippable cutscenes, not before them. Otherwise, if you die, you’ll have to watch them again.
- Collect only what you really need to collect.
- Only kill enemies when you absolutely need to. Otherwise run past or bash off them.
- When needing several attempts for the escape sequences, quit to the main menu and reload your save before respawning after death. This way only the time for the successful attempt will count.
- You should know your way around the forest and not rely on restoring map stones.
Supersonic Route
First of all, I am by no means a professional speedrunner. I did this for the achievement and not to break any records. You need to finish the game in under 3 hours, I completed most of my fastest runs so far in around 2 hours to 2 hours and 15 minutes, in the original game as well as in the Definitive Edition (it’s basically the same in the original game except that you cannot fast travel and you can collect an additional Energy Cell in Misty Woods).
While it’s not super fast, there’s still enough time left to not get stressed in the end if all goes well. I just went for the most direct route I could figure out, no fancy tricks needed. For me, the beginning is always the longest part, so don’t worry if you feel like you’re taking too long there – that’s not necessarily the case. So if you need some guidance or want to spoil it for yourself, here’s how I did it:
- Go pick up Sein.
- Go collect the keystones, continue towards Spirit Caverns.
- Collect a Life Cell on the way.


- Acquire Wall Jump, get the Energy Cell to the left and then head to Hollow Grove.
- Walk right, acquire Charge Flame.
- Continue to where the spiders are.
- Collect a Life Cell.


- Collect an Energy Cell.

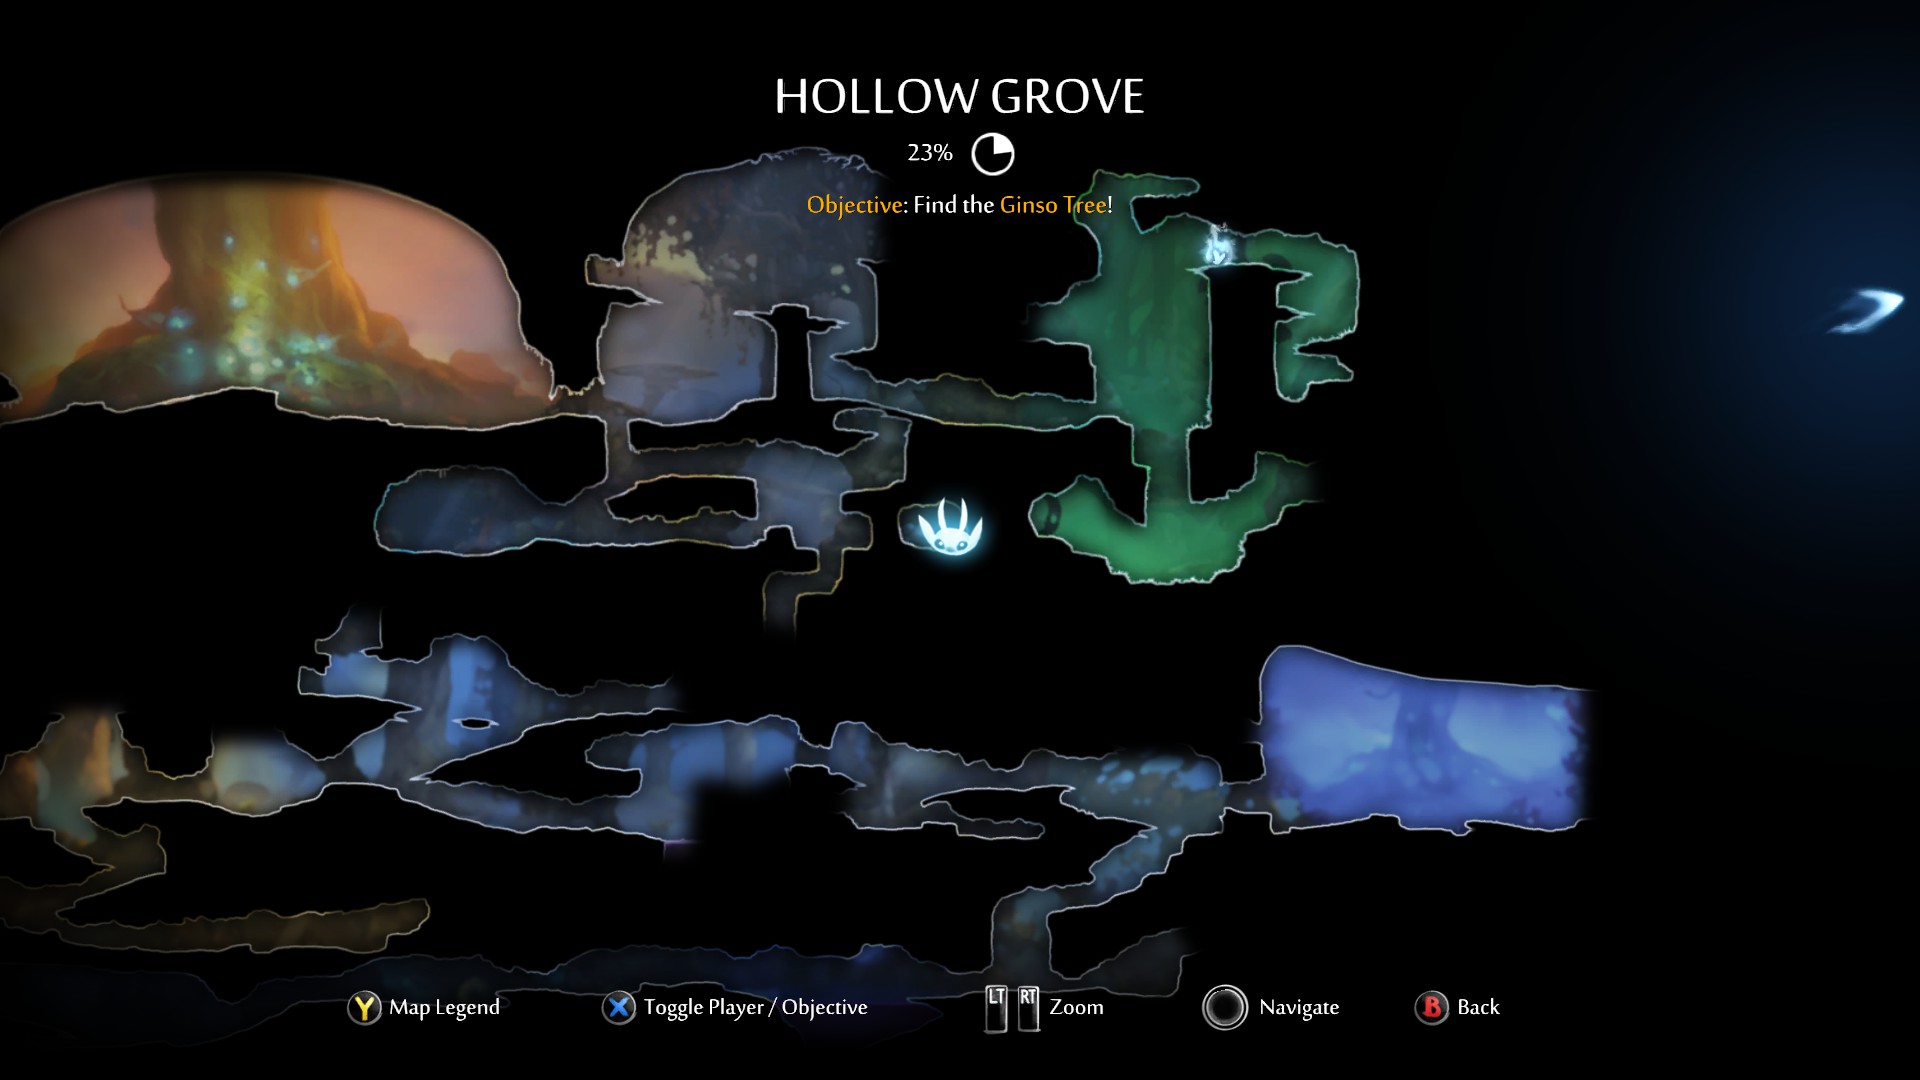
- Continue to the right, jump up and straight to the right. To the left there’s only a map marker that you shouldn’t need to collect.
- Follow Gumo into Moon Grotto (Save before the lasers!)
- Take the (almost) direct way to follow him, you might want to collect an Energy Cell on the way.


- After your fall, jump over the spikes to the right and then straight down instead of further to the right. This part can be a bit tricky because of the frog, better save.
- Kill the enemy and get the keystone.
- Head back up and now further to the right to get the other keystone and open the spirit gate. Follow the obvious path to acquire Double Jump.
- Collect another Energy Cell on your way back.


- Go back to where your fall ended and double jump your way to the left.
- Near the spider, enter to the left, follow the obvious path and be careful with those spikes.
- After obtaining the Water Vein, go back to where the lasers are and double jump your way out to the left. Or be smarter than me and use the spirit well in Moon Grotto to warp to the one in Thornfelt Swamp if you’ve discovered it already.
- Go to the Ginso Tree and enter.
- Find an Energy Cell.


- Complete the Ginso Tree. I usually leave the Ginso Tree at about 45 to 50 minutes now, but up to 1 hour and a few minutes when I was less used to it and it still worked out fine. So if you’re around there you’re good to go.
- Dive into the water, go to the room to the left to let the water drain, then collect the key stones further below. (You’re probably not going to have the underwater breath ability, so be careful!)
- Return to the surface, enter the spirit gate and go to the right to acquire Stomp.
- Leave the swamp to the left.
- Use the spirit well in Moon Grotto to warp to Hollow Grove for the fastest way. However, if you don’t, you can collect the third Life Cell on your way back to Hollow Grove by using Bash on the spider and its projectiles. If you don’t think you need it (yet), you can still collect it later when approaching Mount Horu.


- From Hollow Grove, continue to the Valley of the Wind and make your way to the Misty Woods (Go straight up to where you can reach the rock to distract Kuro instead of going where the spirit well is first).

- Complete Misty Woods and leave. Mostly I left at about 1hour 15 minutes. In my best run it was a bit faster, but if you take a bit longer it should be fine too.
- Glide down, as far to the right as possible to avoid having to deal with the frogs and go to the right.
- Bash your way to the bottom left in the room where the birds are to continue to Forlorn Ruins.
- A tip that might save you some time later: If you don’t use the lever to open the door on the way to the ruins but instead destroy it by using Stomp, it is already open when you flee Kuro later. This is useful as it can sometimes be quite tricky to get the right angle when trying to bash the enemy at it.
- Complete Forlorn Ruins and flee Kuro.
- Go back the exact same way that you came and use the winds to get up to Sorrow Pass.
- Collect the four keystones.
- If you feel like skipping parts of the spikey part that comes afterwards, don’t use the keystones on that spirit gate!
Instead, bash the frog’s projectile upwards here and you can keep your keystones for later.


- You can collect another Energy Cell at Sorrow Pass.


- Acquire Charge Jump.
- Complete Sorrow Pass and get the Sunstone.
- Head back to the spirit well in the Valley of the Wind, or just go back to the spirit well at Sorrow Pass and warp from there. However, it can be a bit tricky with the spikes coming from this side.
- Warp to either Hollow Grove if you still need or want to collect the Life Cell near the spiders, or to Thornfelt Swamp for the fastest way.
- Continue towards Mount Horu.
- You can collect another Life Cell here.


- Make your way to Mount Horu and enter. I mostly arrived at about 1 hour 50 minutes to 2 hours. Assuming you’re only doing this achievement when you already know how to solve all the puzzle rooms, maybe even arriving a bit later than that should still be no problem and leave you with more than enough time to complete the game without pressure.
- You can collect another Energy Cell here.


- Complete Mount Horu.