Overview
Tired of leveling in the same place, using the same dull route, all the time?Want a legit way to be rich, get whatever gear you want, and stomp your way through Vegas as a lowbie?Then read on.
Introduction
Welcome to my first ever guide, where I will take you through a journey in order to not only get to the New Vegas area early, but also be swimming in caps, should you want to. This is to provide you a different way of starting the game, where you could be leveling up in the Vegas surrounding areas, which are packed full of enemies and loot, but usually too weak to pose a threat by the time you normally properly get to this area.
It is not a guide for new players, as I’ll be skipping over parts of the plot. This is only for those who want a legitimate alternate start, with money to get whatever gear they’d like.
It was made with the Ultimate Edition in mind, so to fully make use of this guide I’ll expect you to have all the DLC.
Enjoy!
Character Creation
Note: If you just want to get to New Vegas and don’t care about the caps, skip this step and go straight to section “The Trip”.
You can create your character whichever way you’d like, but you will need (at the minimum) to do three things in order to get this working properly: 10 Luck, the Skilled trait, and Speech skill 50 by the time you hit level 2.

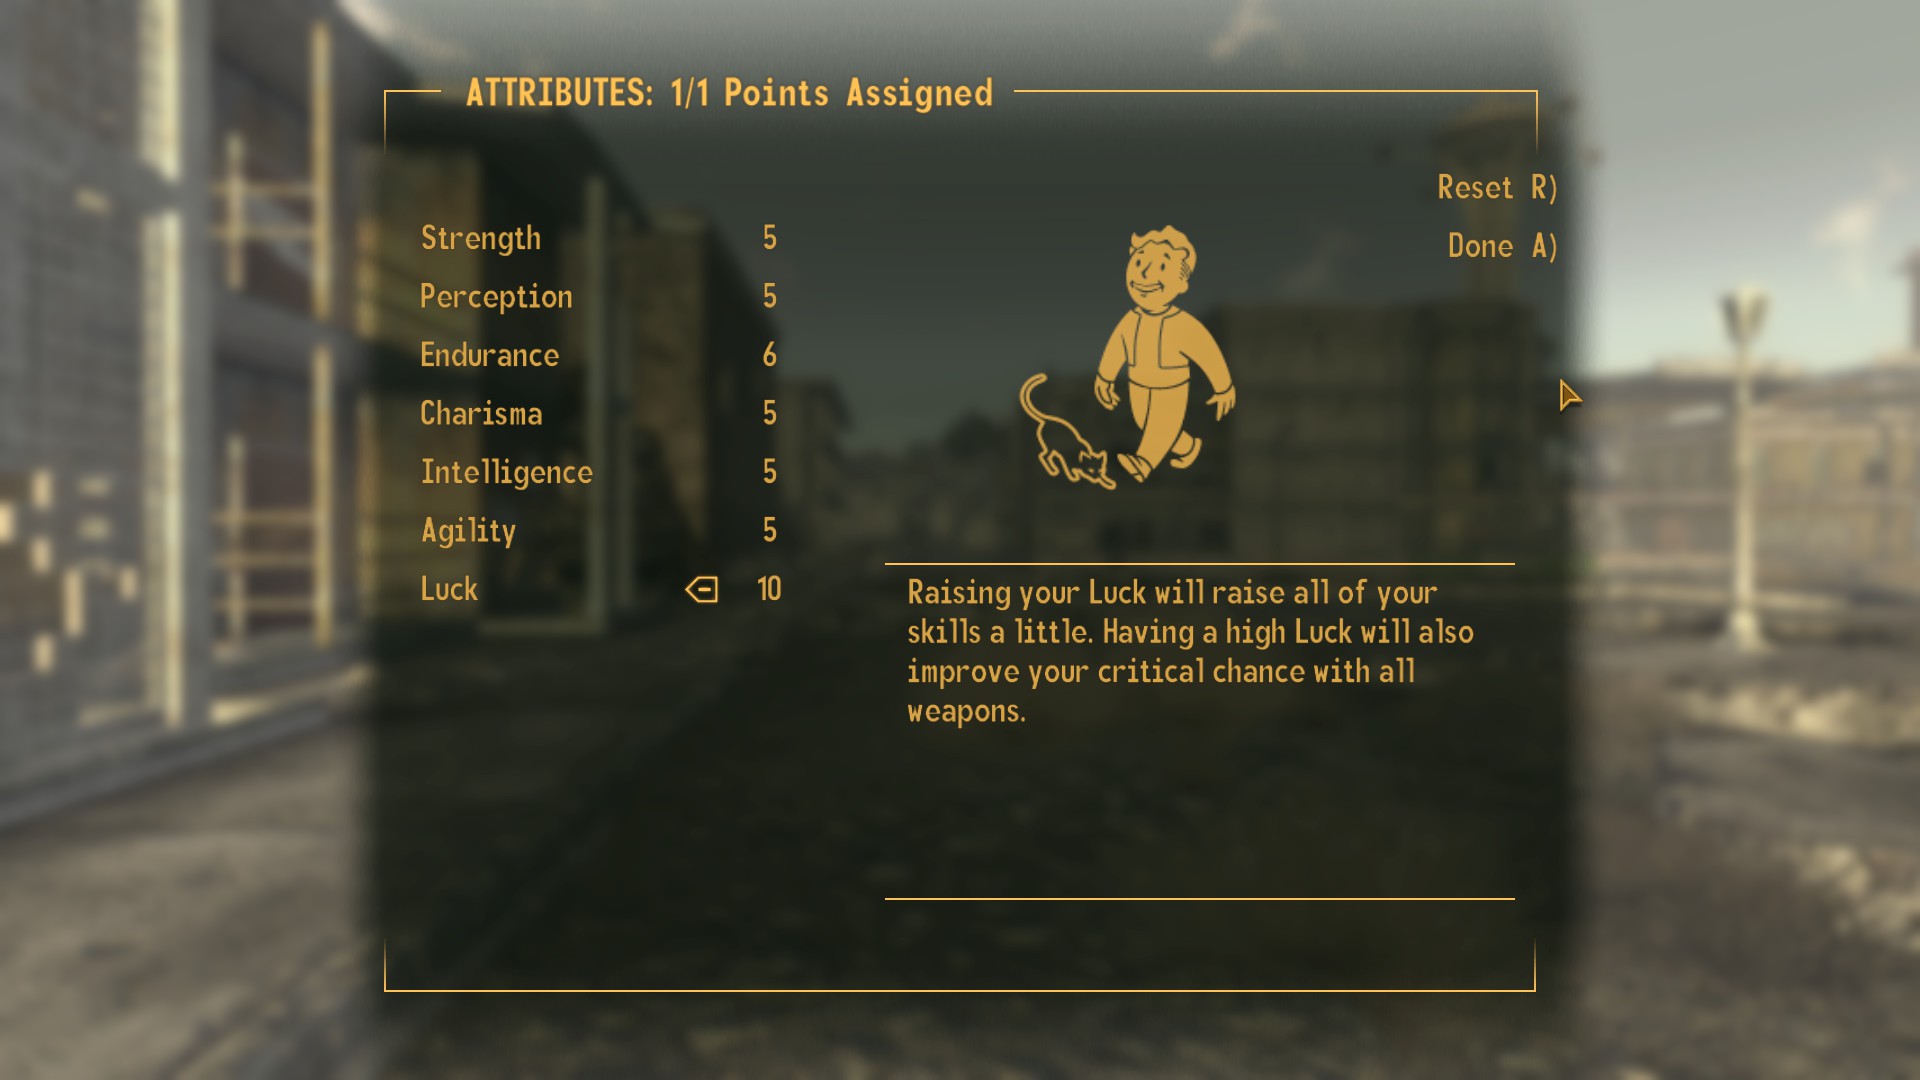
In the stats, you’ll want either 9 Luck (as the screenshot above shows), or just straight 10. We do want 10 eventually, so if you do go with 9, you’ll have to pick the Intense Training Perk to bump it up to 10. Otherwise, go with 10 to have more perk freedom. I’m aware that you’ll miss out on the Luck implant, but in order to make sure you get rich, 10 Luck straight up is the way to go.
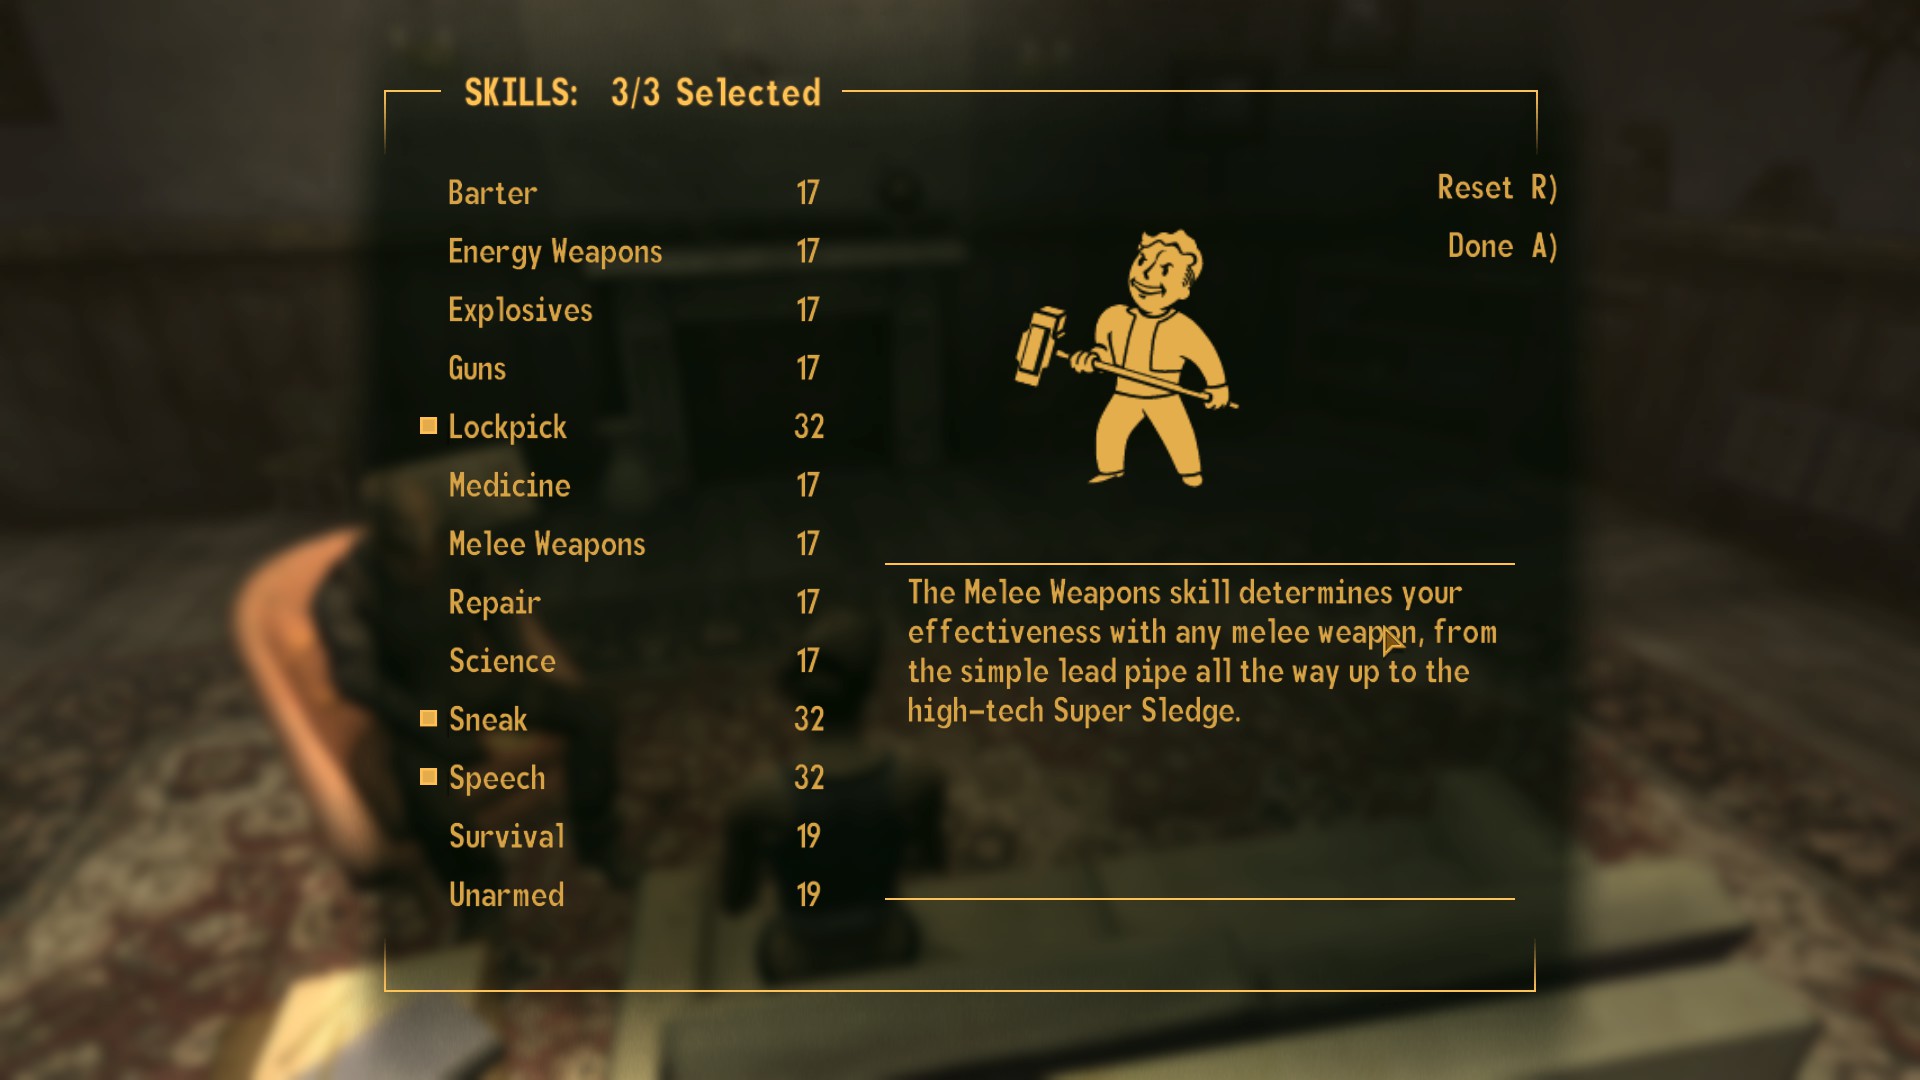
For your tagged skills, the only one that’s truly needed is Speech. I like going with Sneak and Lockpick as they can come in handy during the trip to Vegas, but they’re optional.
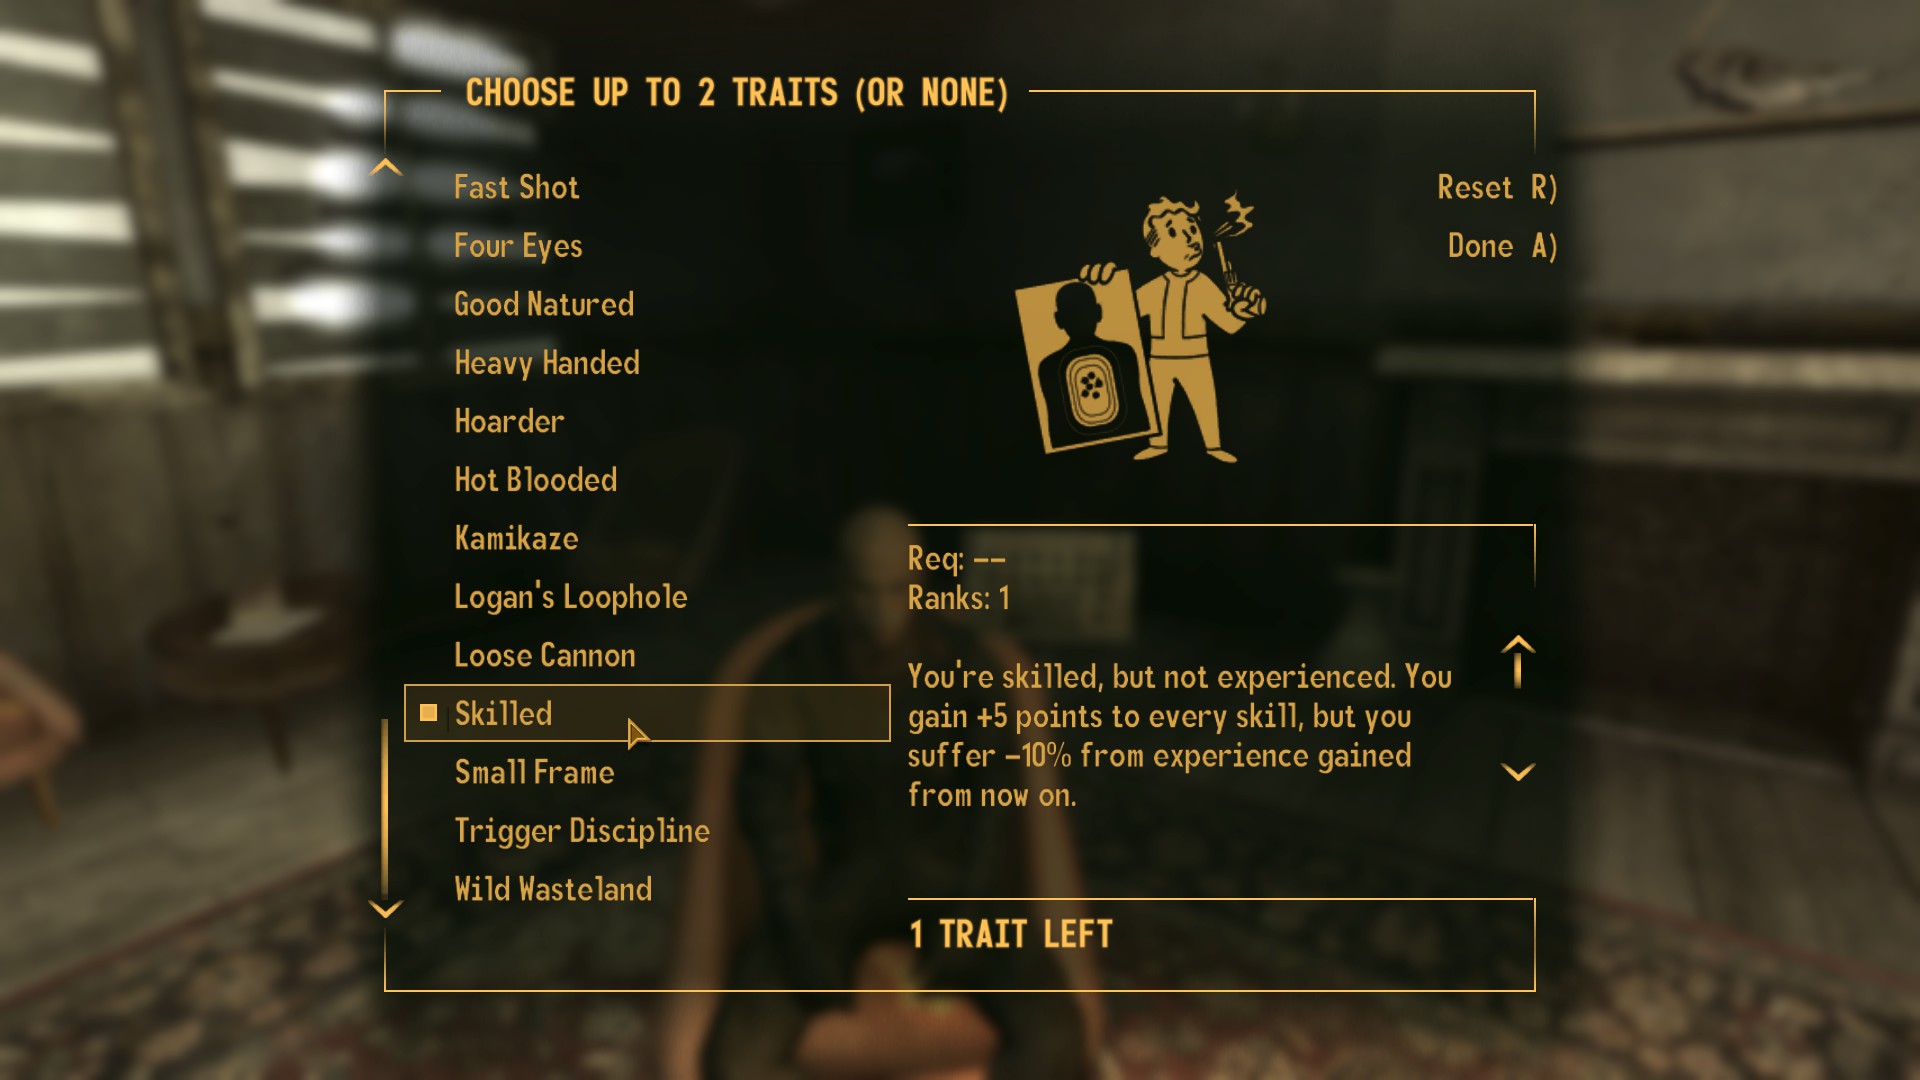
Finally, the one trait you do want to pick up is Skilled. You can pick anything else, it’s irrelevant.
Optional: Stealth Boy (Tagged Lockpick at start)
There is one item that may help out in a pinch if any strong monster threatens to kill you while you’re heading to Vegas, and that’s a Stealth Boy. Luckily, one can be found right in Goodsprings.
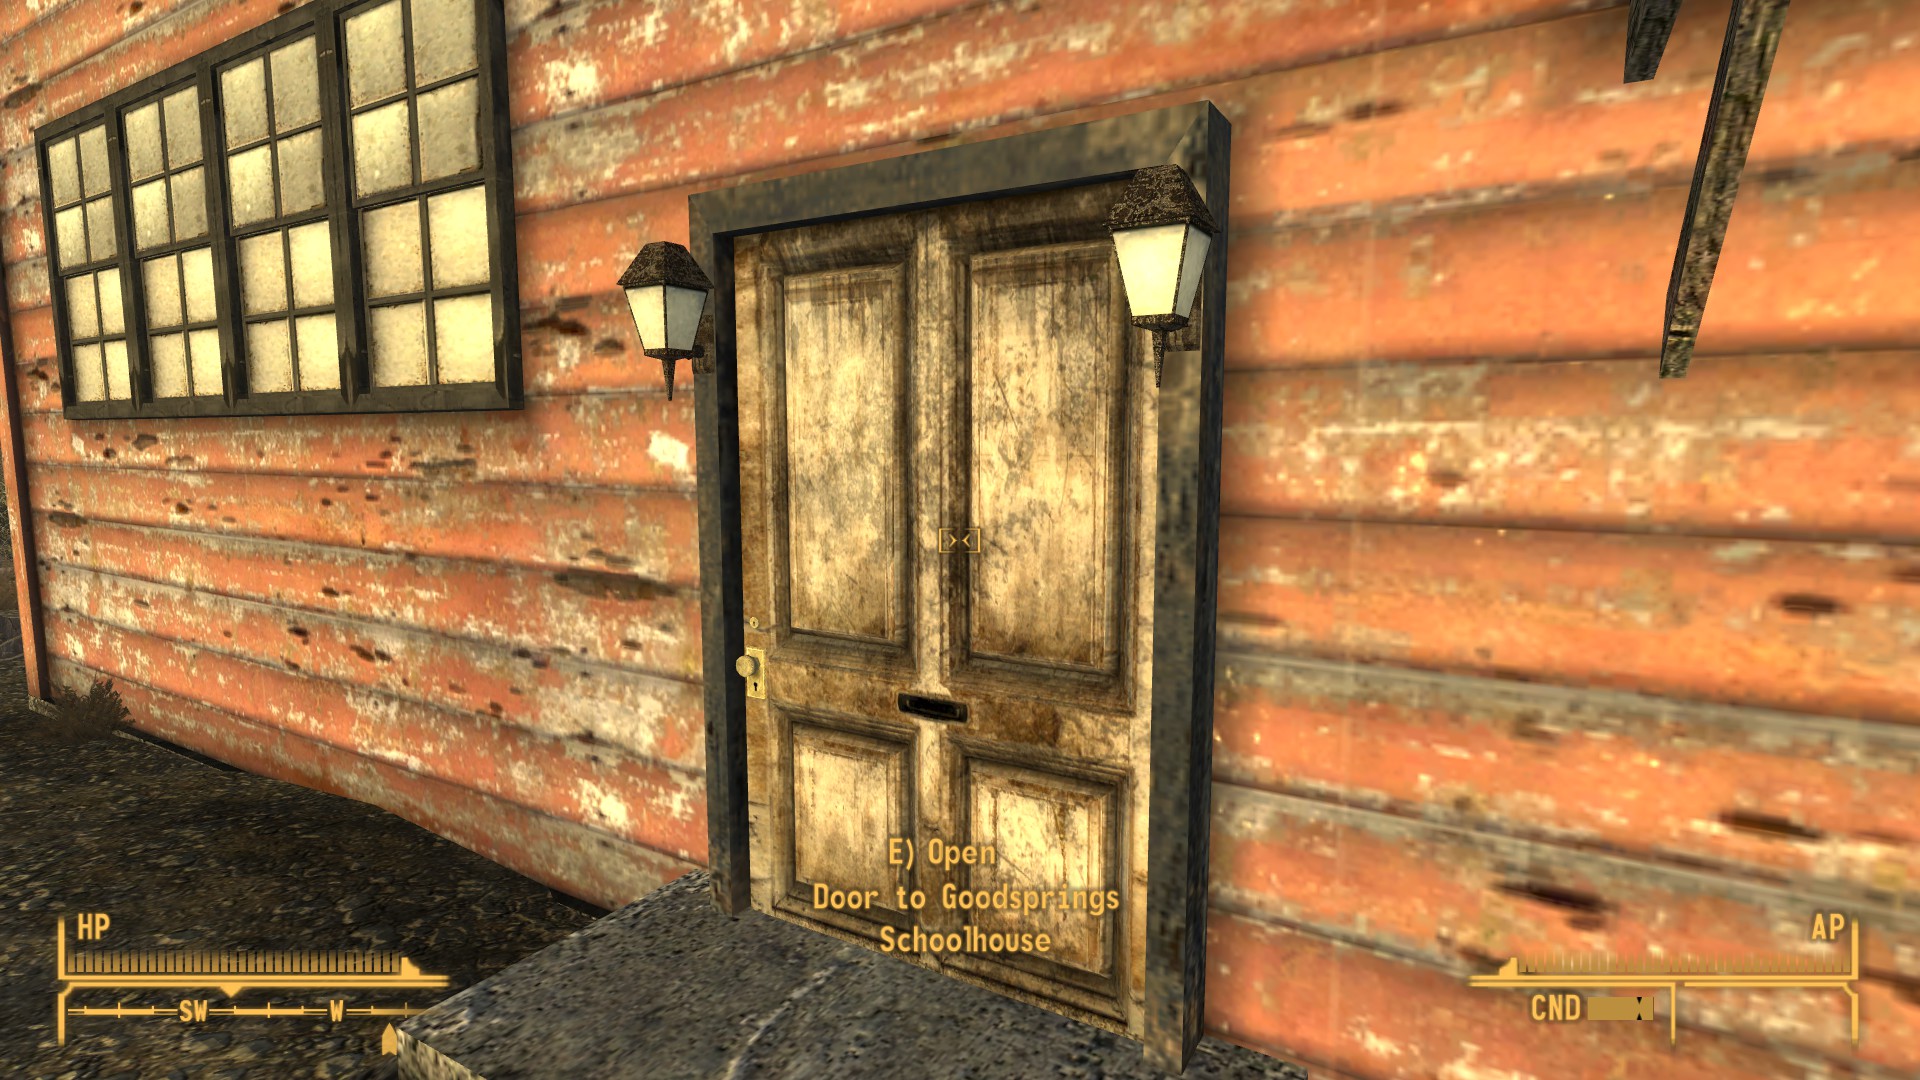
The schoolhouse in town has weak mobs that won’t trouble you at all, even in level 1.
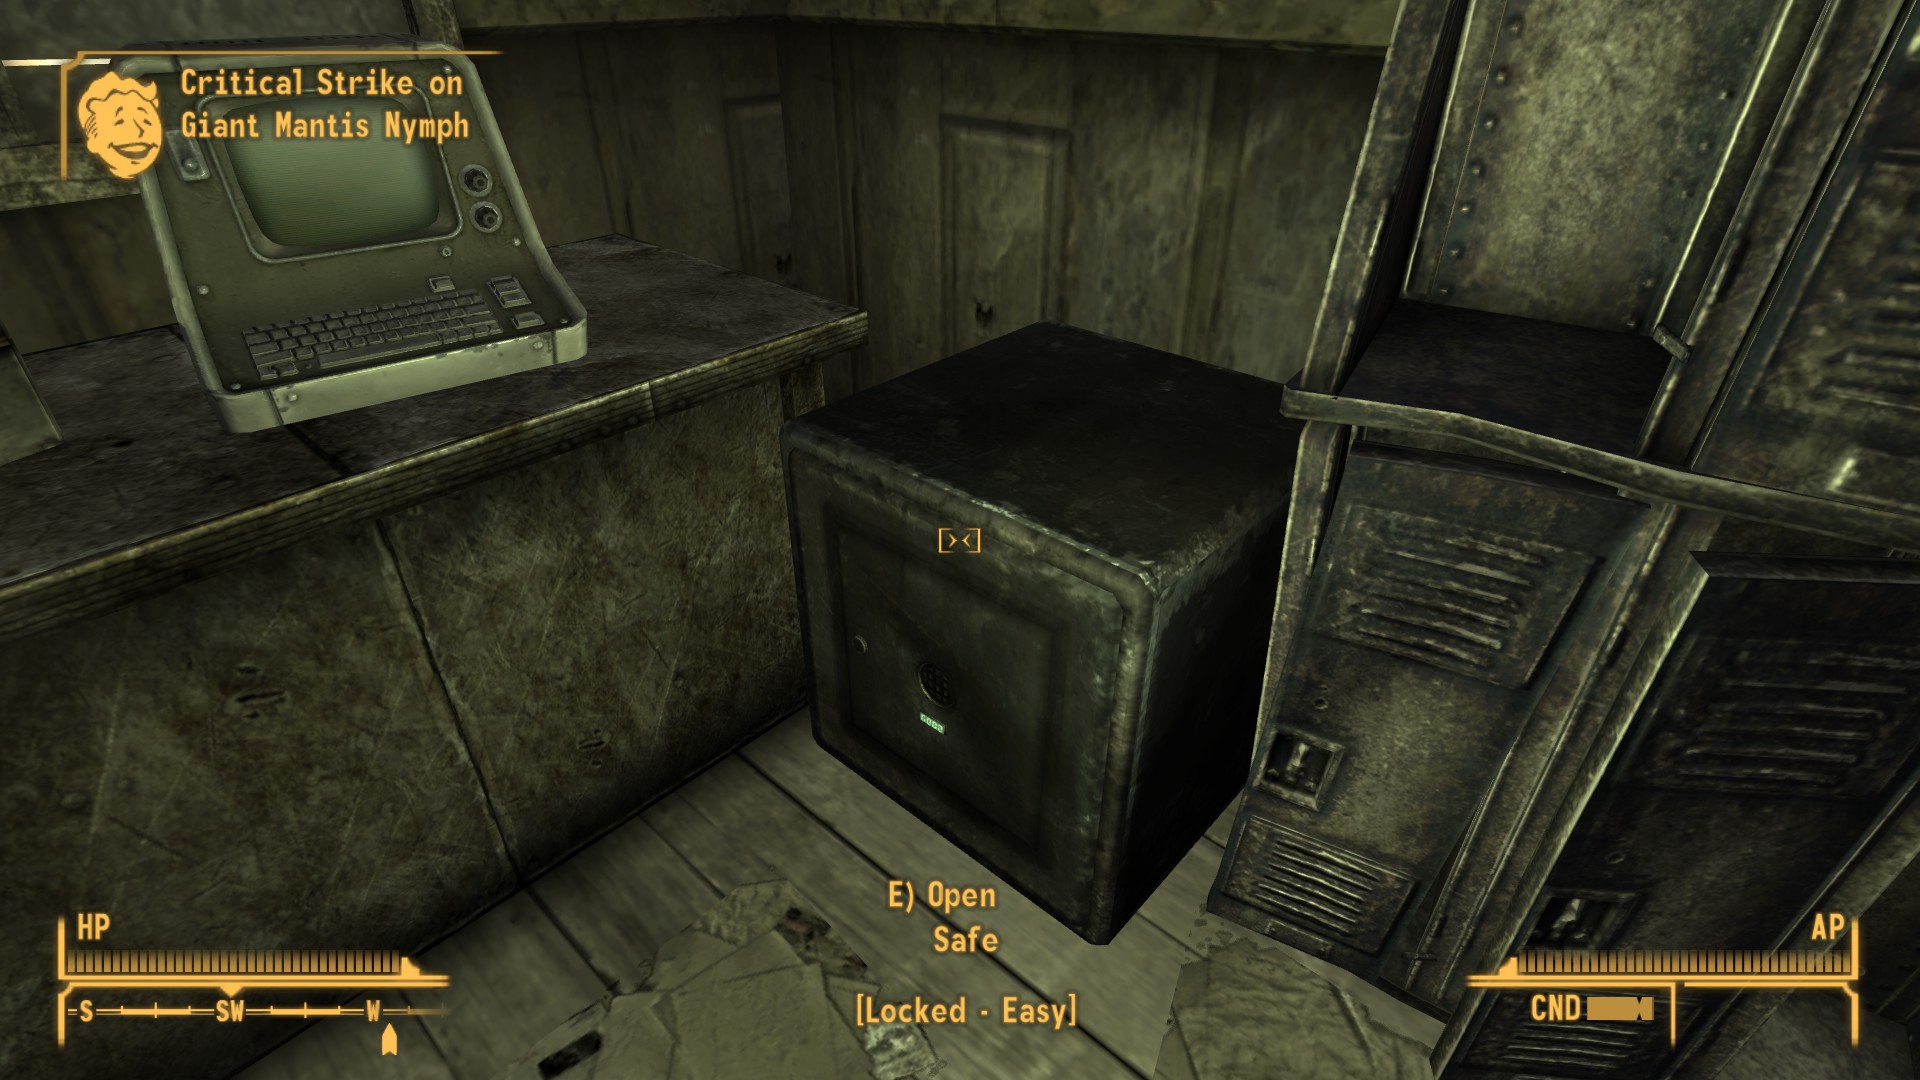
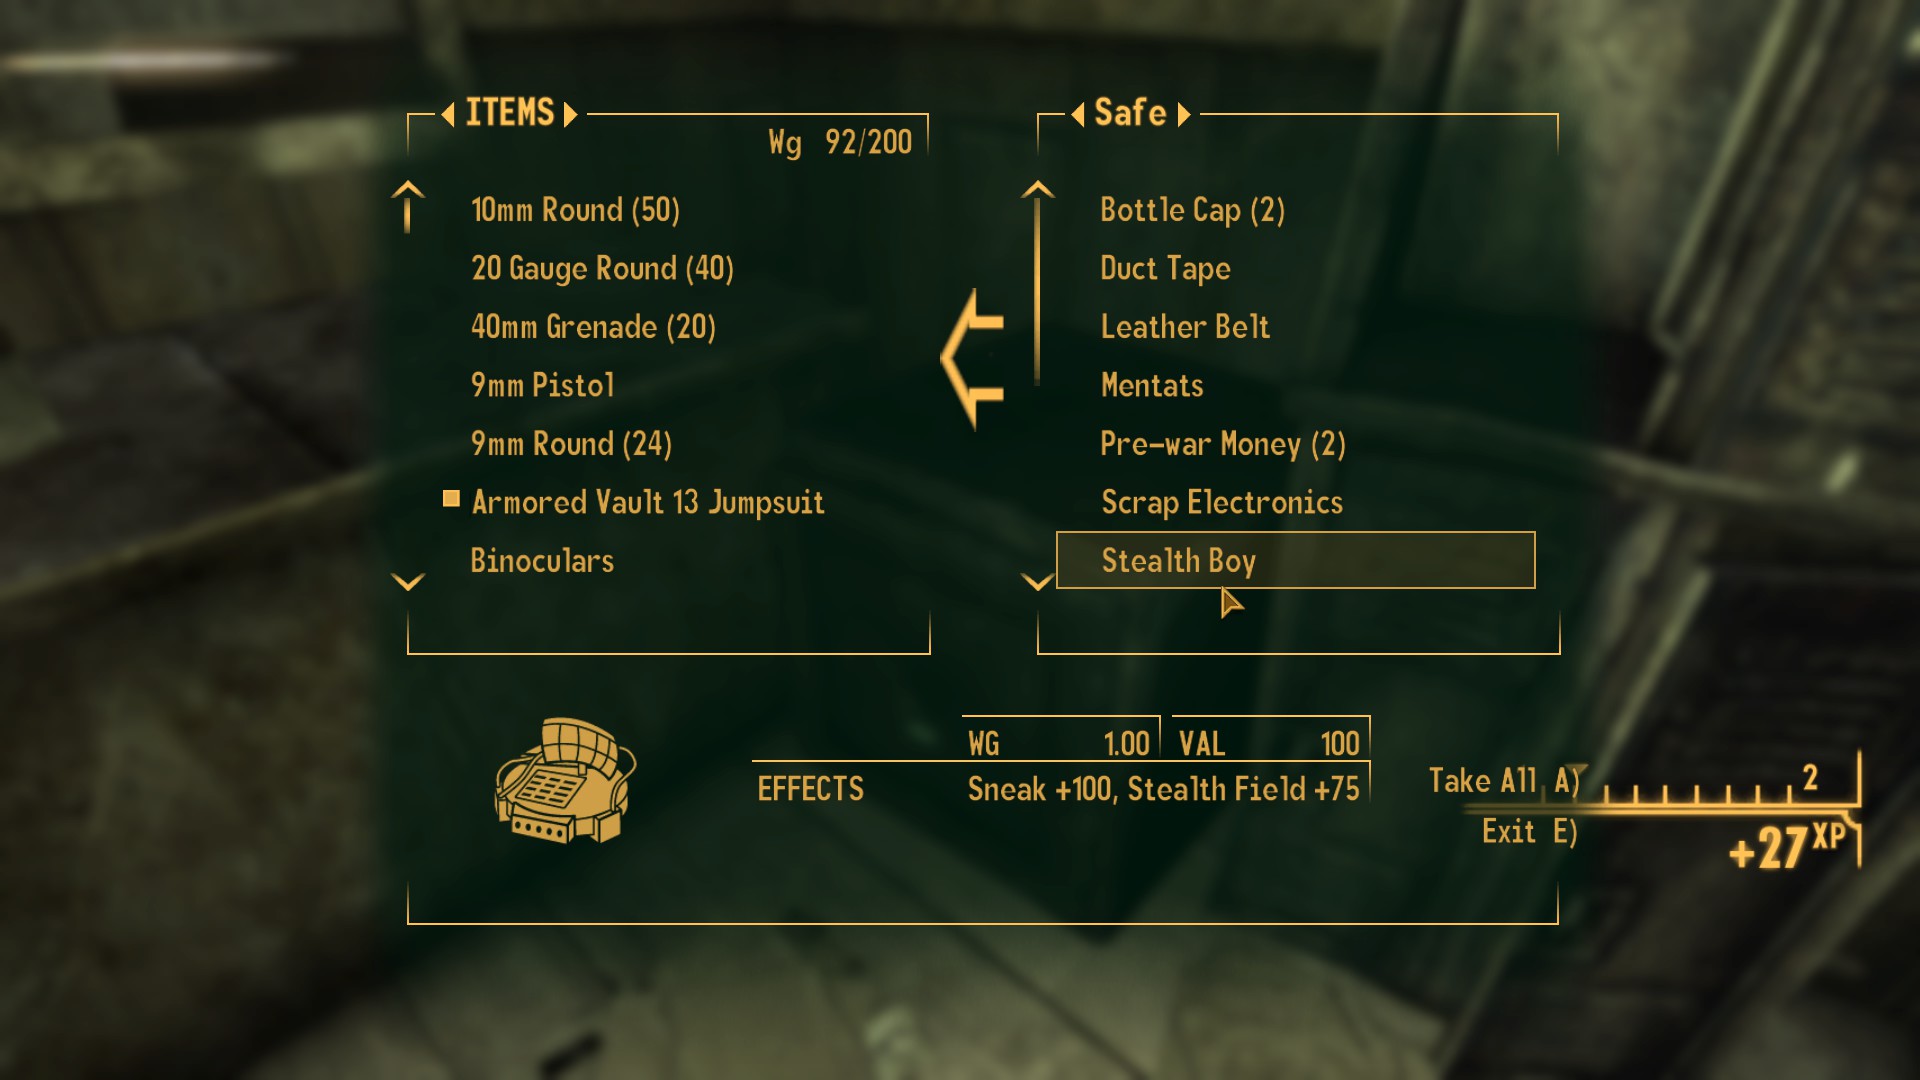
The Easy difficulty requires 25 Lockpick, which is why I recommended you take Lockpick as one of the skills.
The Trip
Now you’re all ready to just start setting out.
That is roughly the path I took. You want to head east into the Yangtze Memorial, southeast, avoiding the Powder Gangers in the road in order to reach Hidden Valley. Now you head north and east, avoiding the Scorpions. You’ll get the warning that it isn’t safe here by the friendly Super Mutant. Now you’re going to want to stick to the high cliffs and try to stay off the main road. Even if a Super Mutant spots you, in both of my runs I’ve only had melee Mutants try to chase me, and with my Light armor, they simply couldn’t get to me. If needed, use that Stealth Boy.
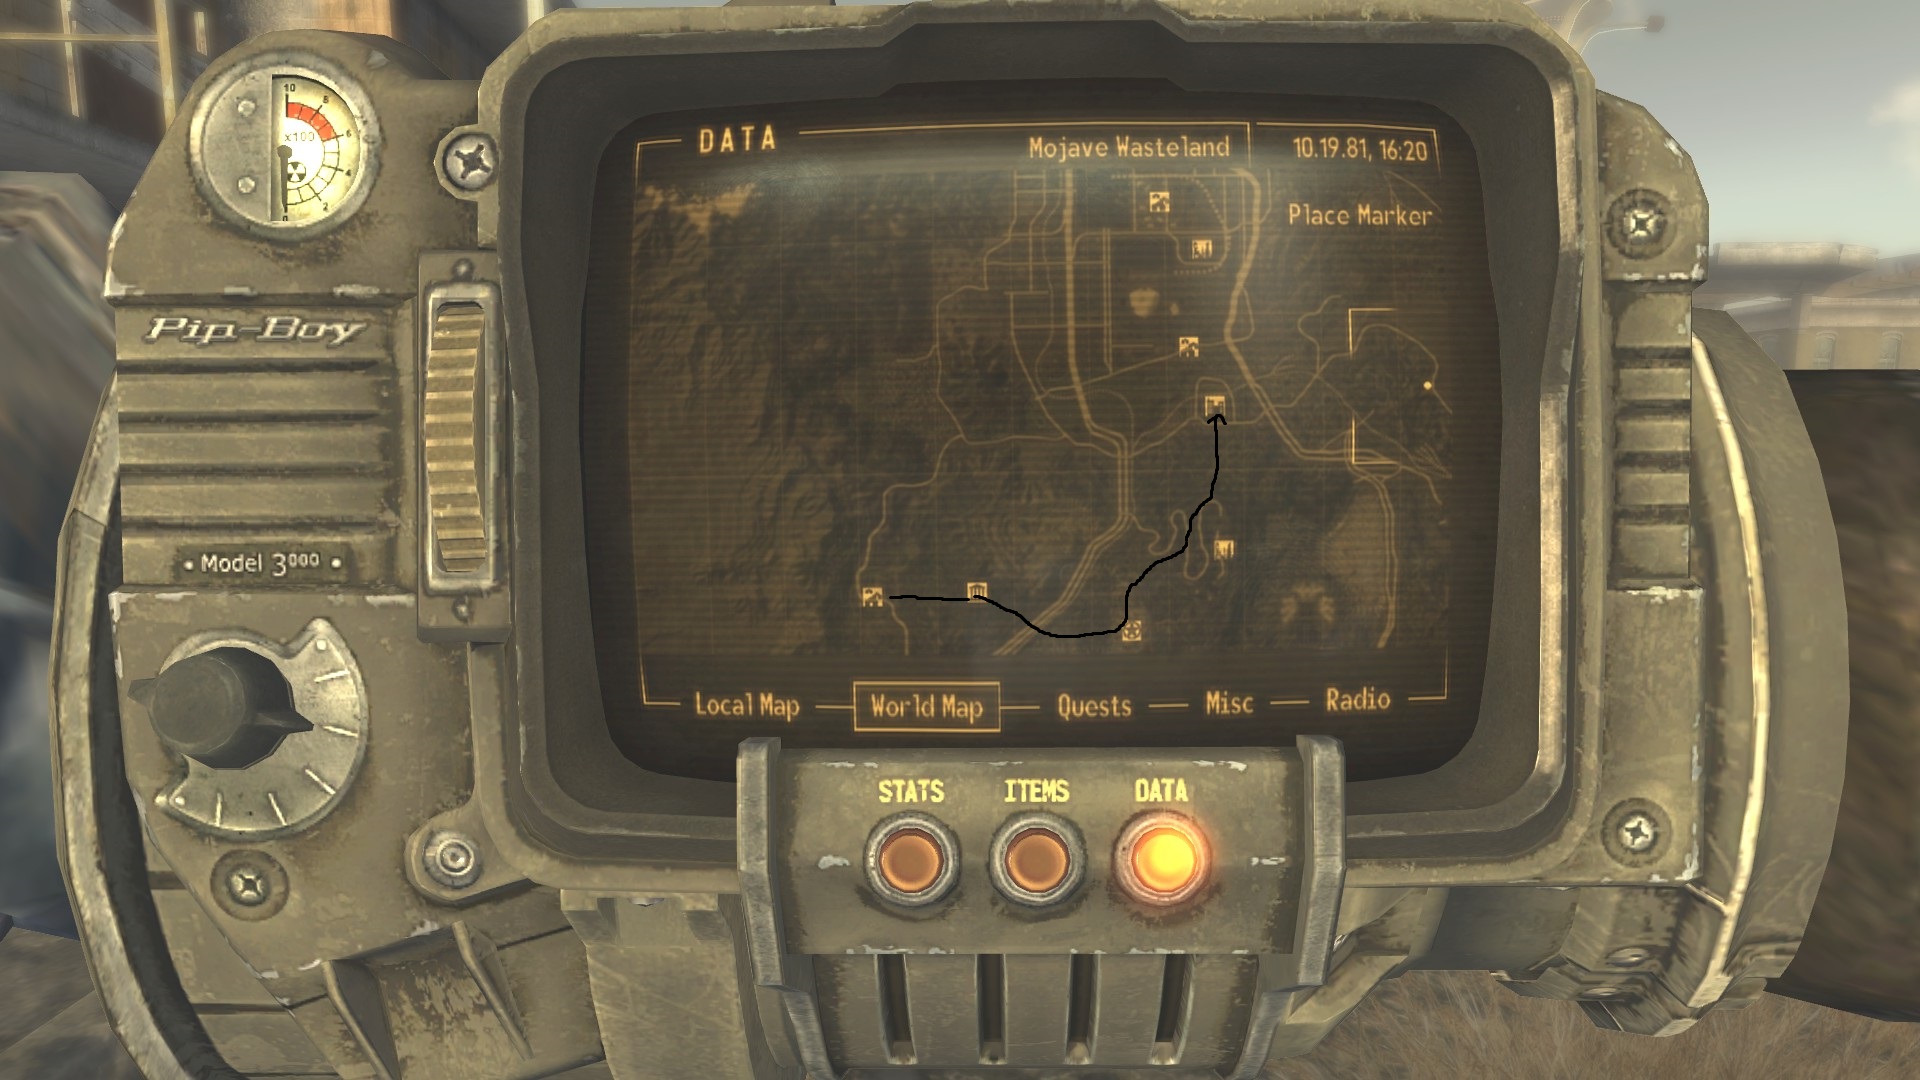
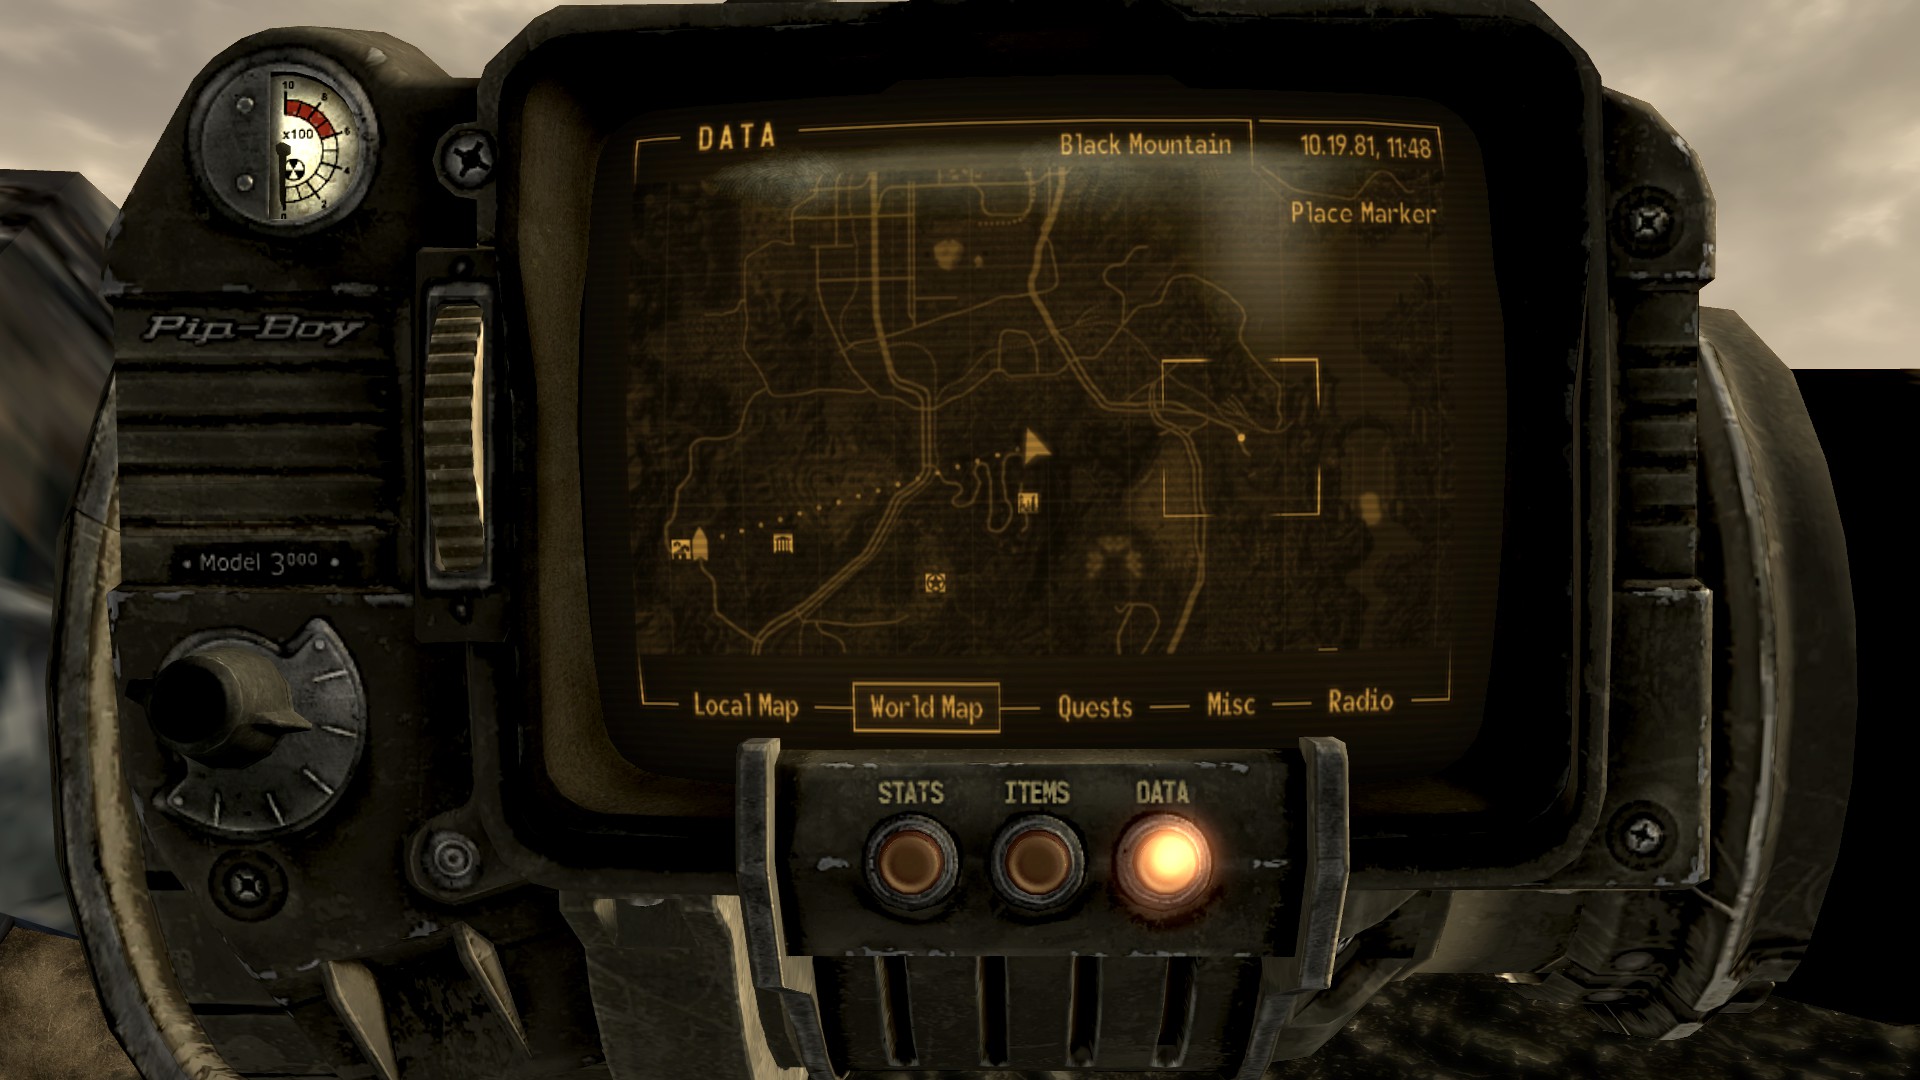
Everything goes well, you should be standing right here. Notice that I haven’t mentioned either Cazadores or Deathclaws. This is because while they were put into place to the north of Goodsprings to deter new players from reaching Vegas, this specific route completely circumvents both species. I didn’t see either.
Now just head on north and you’re into the area of New Vegas in relative safety. If all you’ve wanted to do was get here, minus the caps, you’re done with this guide. You could even create your character any way you want to.
Leveling up
Now that you’re in the area of Vegas, you’ll want to get to the Strip, which is where all of the casinos are located, and consequently, with your high Luck, where all the money is. But first we’ll need to level up.
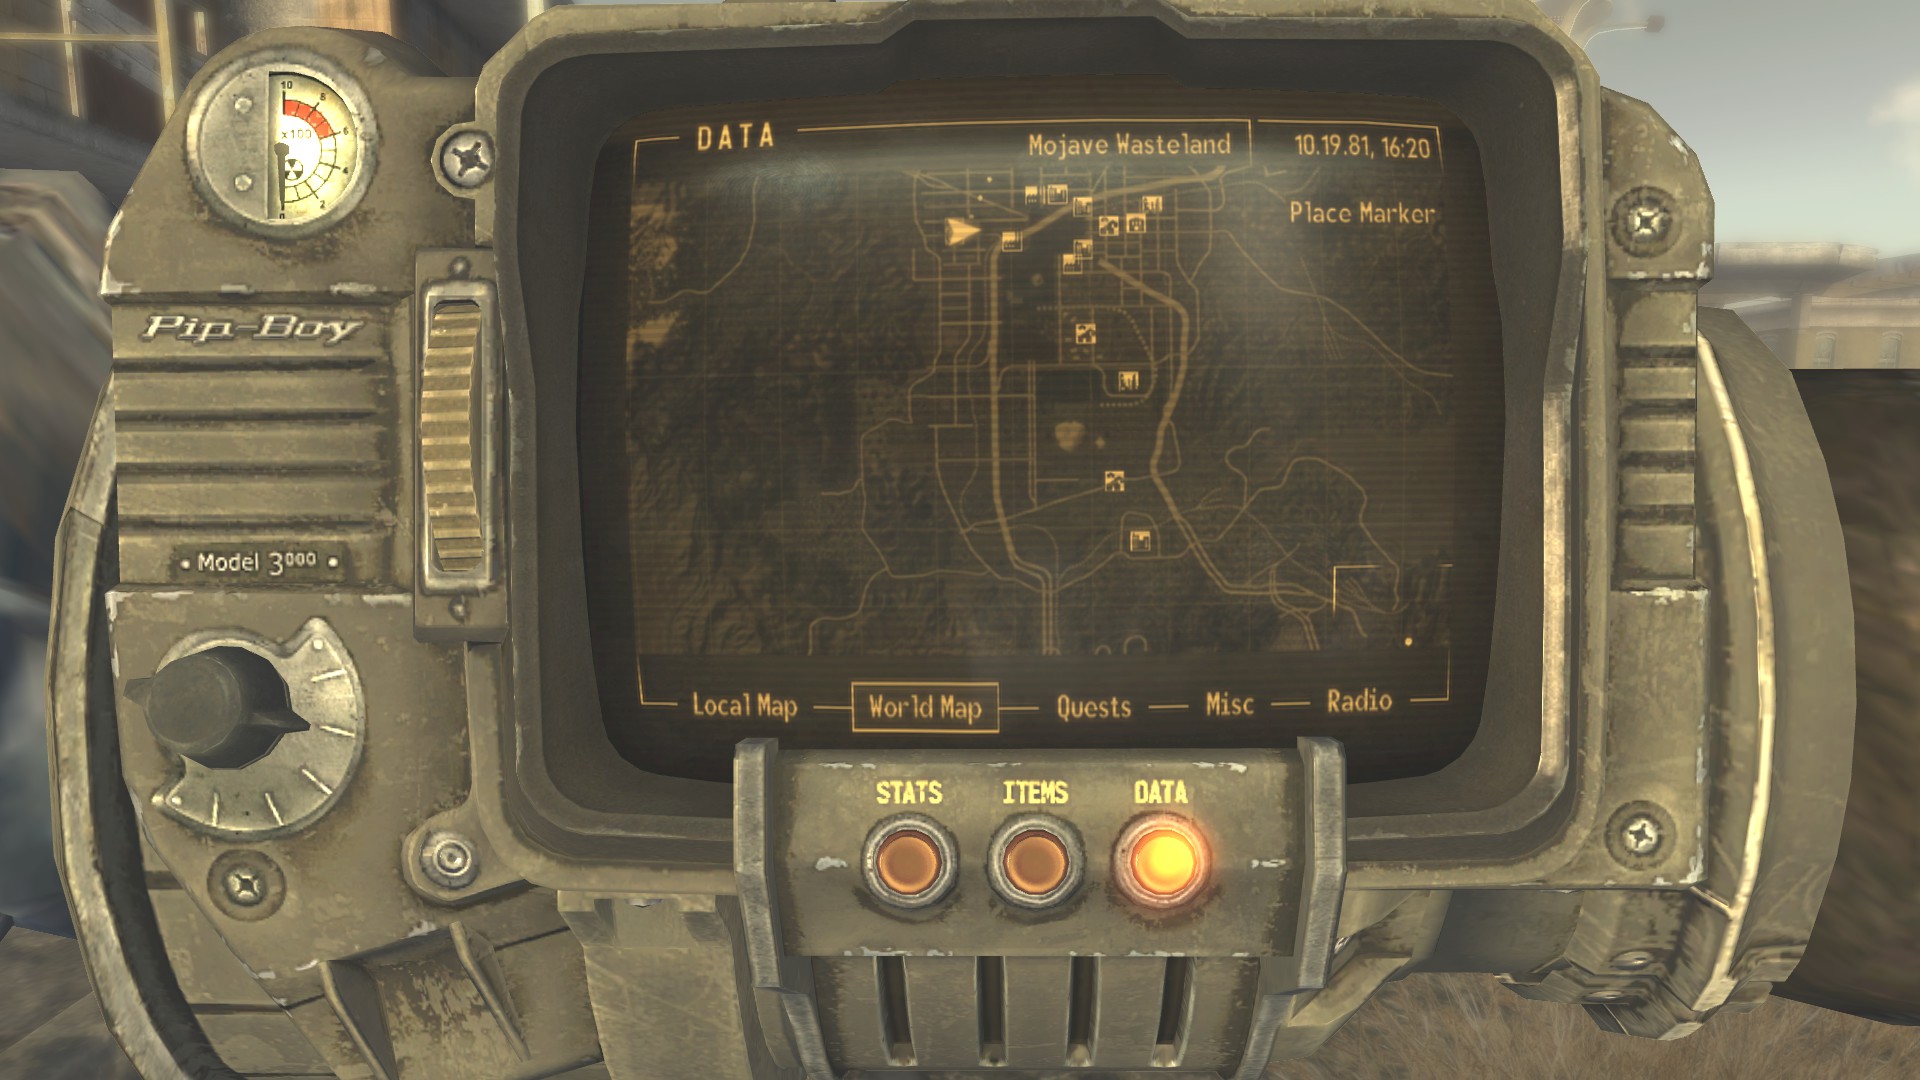
Since you have the Skilled trait, your mileage may vary into how long it’ll take until you reach level 2. You may have killed a few coyotes on your way, a powder ganger or two, but this screenshot shows the locations I’ve discovered to finally get me to level 2. Just head north from where you’ve started, hitting Freeside, going north and west around the North Vegas Square, and into Westside. I leveled up once I found The Thorn.
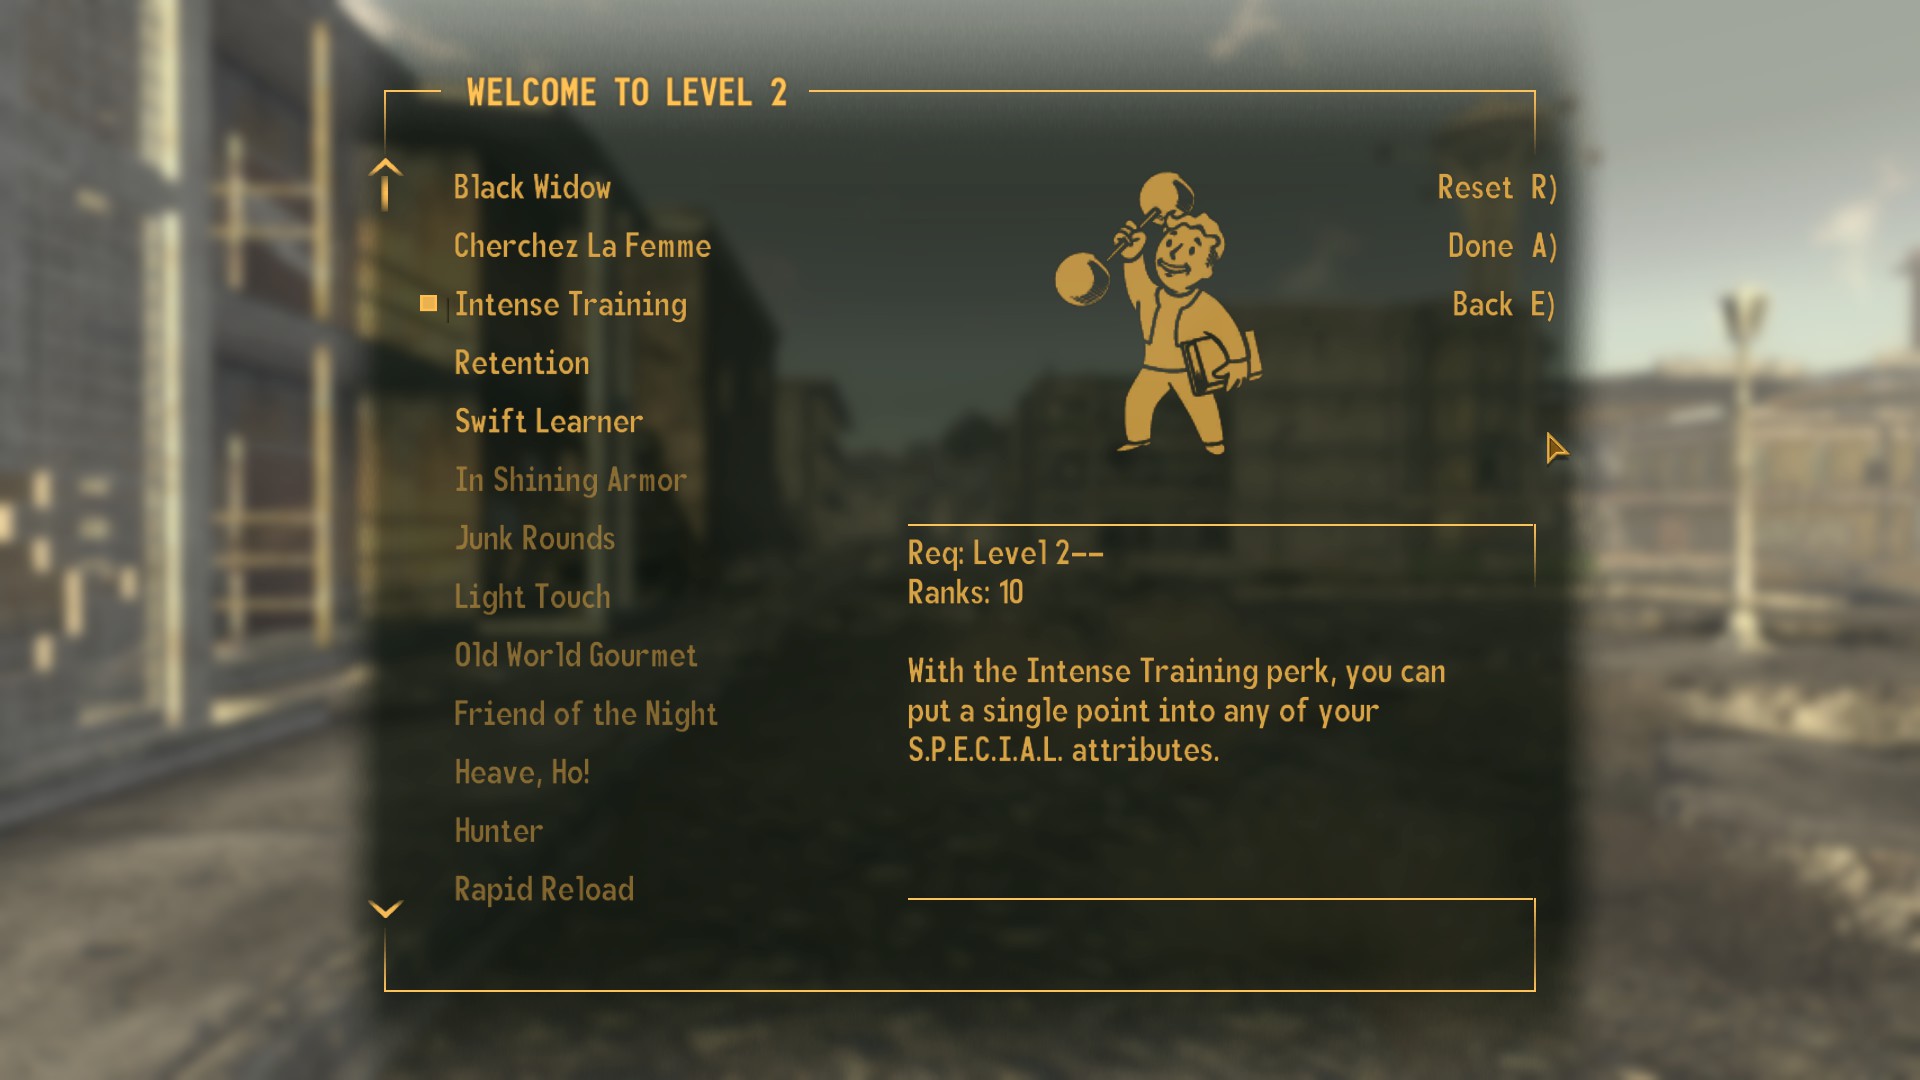
Assuming you’ve gone with 9 Luck, this is the perk you’ll need to pick.
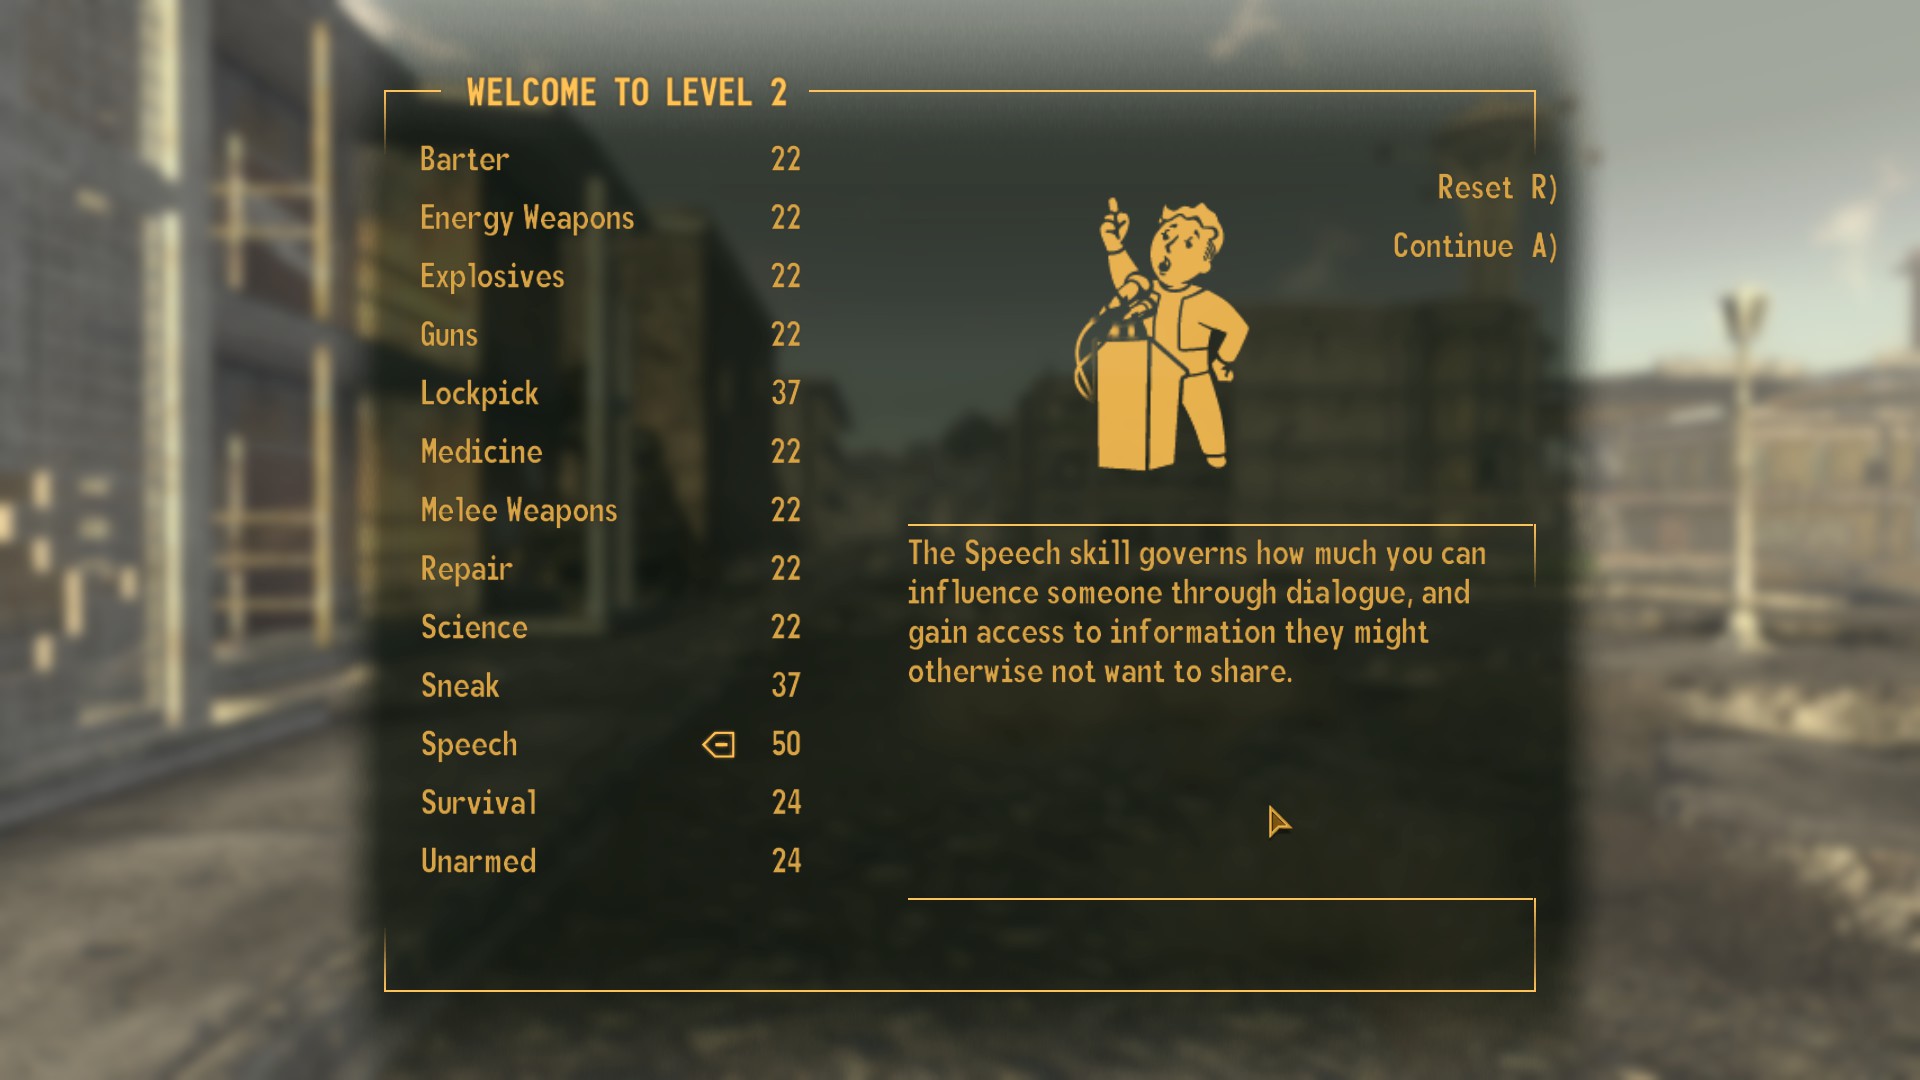
With 5 Intelligence and the Skilled Trait, all the points you spend upon reaching Level 2 reaches up to exactly 50 Speech, which is good, since that’s what we’ll need for the next step.
Getting into the Strip
Once you’re level 2, you’ll want to head to the Gun Runners, a location you most likely have found on your way heading up to Freeside. You most likely don’t have a lot of money as is, and we’ll need 500 caps.
Sell one of the weapons you’re given as part of the pack DLCs, and you’ll have enough.
Note: If you don’t have the weapon DLC an alternative is killing Fiends to the west of New Vegas and selling their gear, of course I can’t guarantee that you’ll reach level 2 upon doing so. (thanks Prolack for the tip)
Next, let’s enter Freeside.
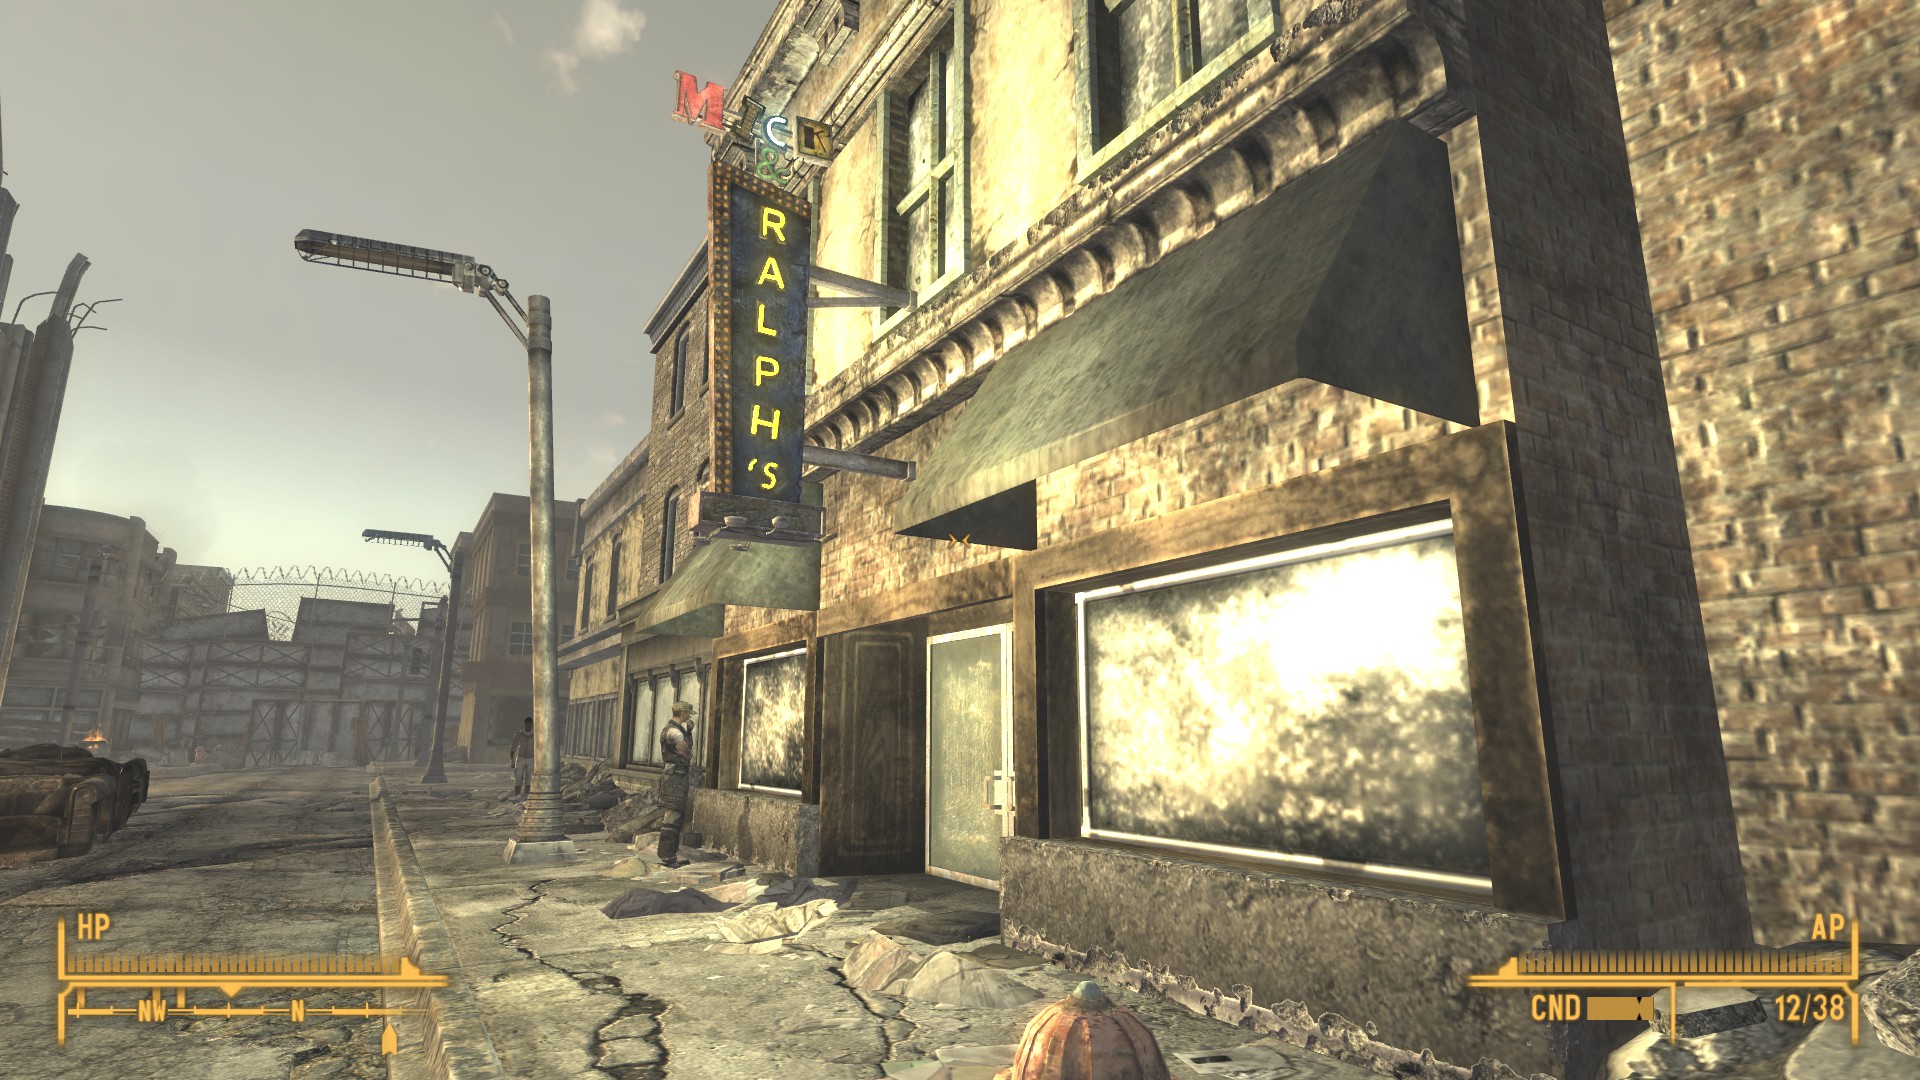
We want to go directly to Mick and Ralph’s.
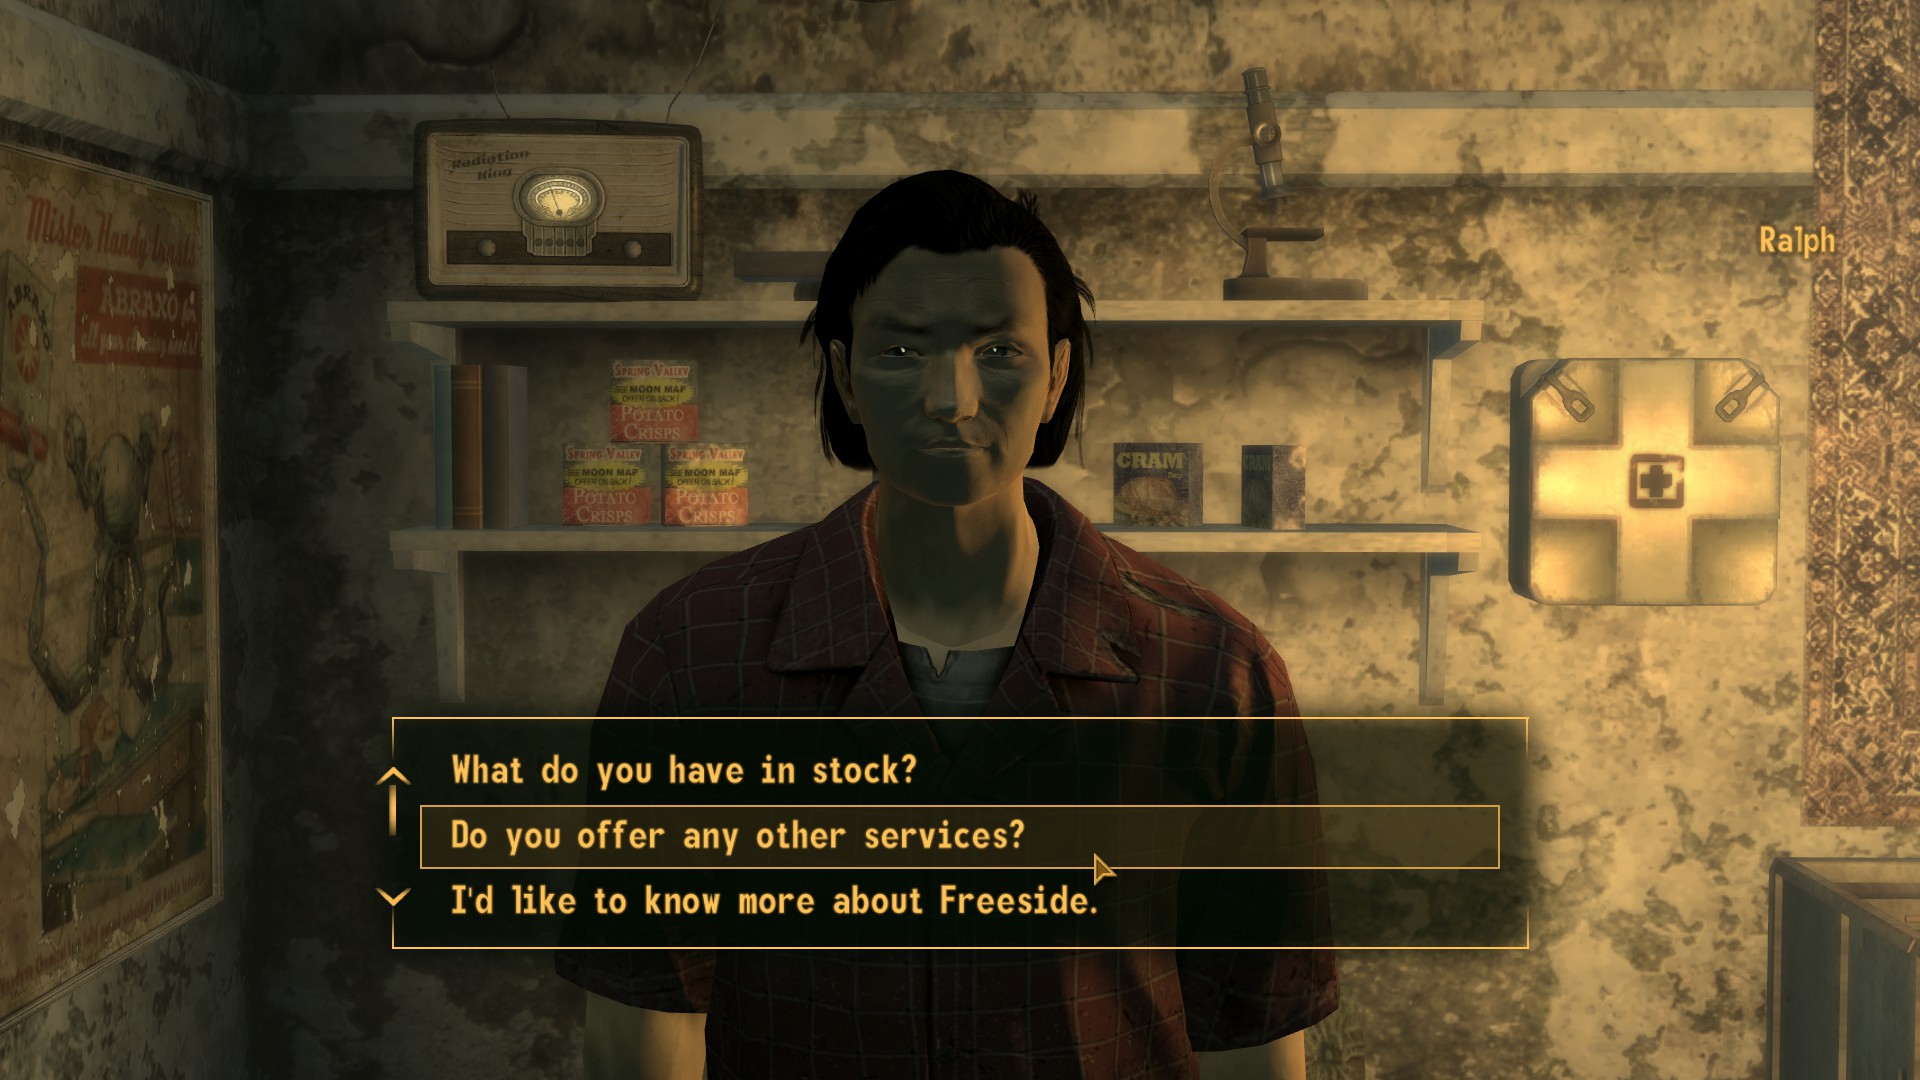
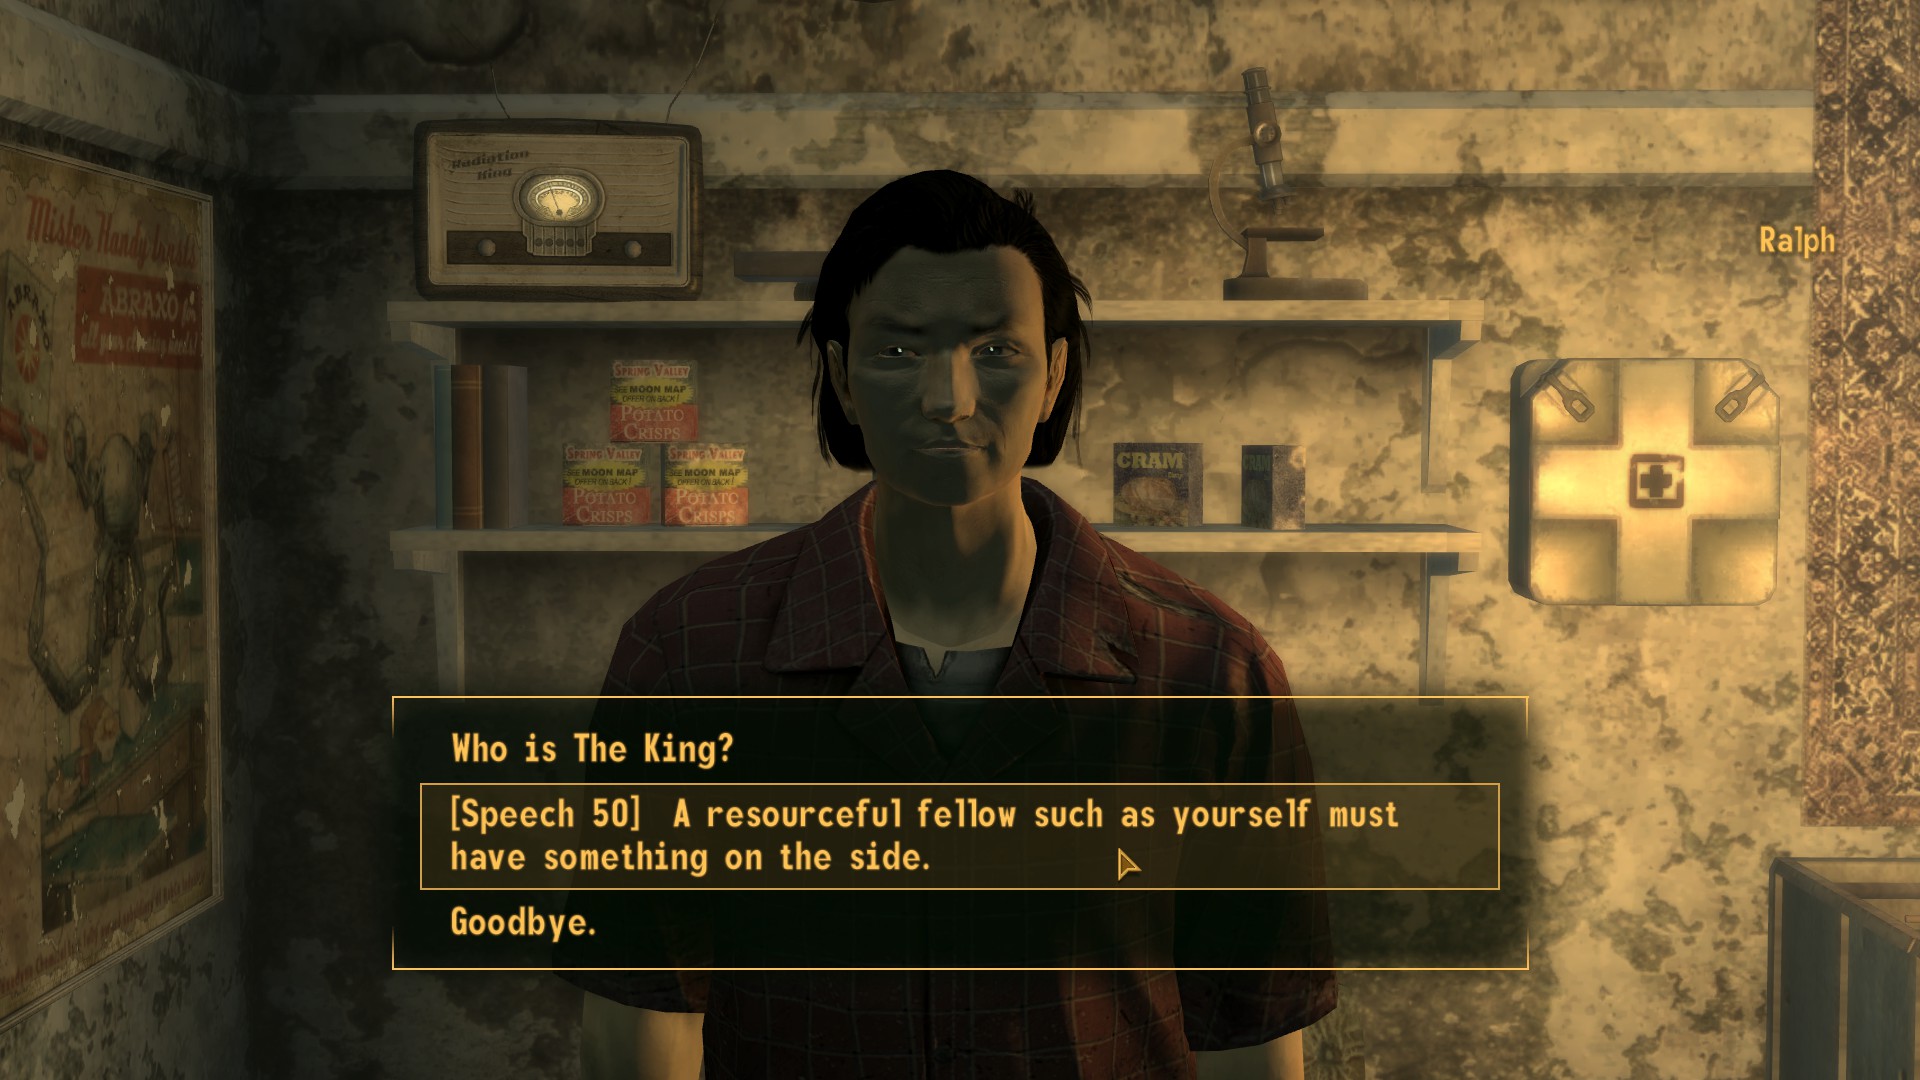
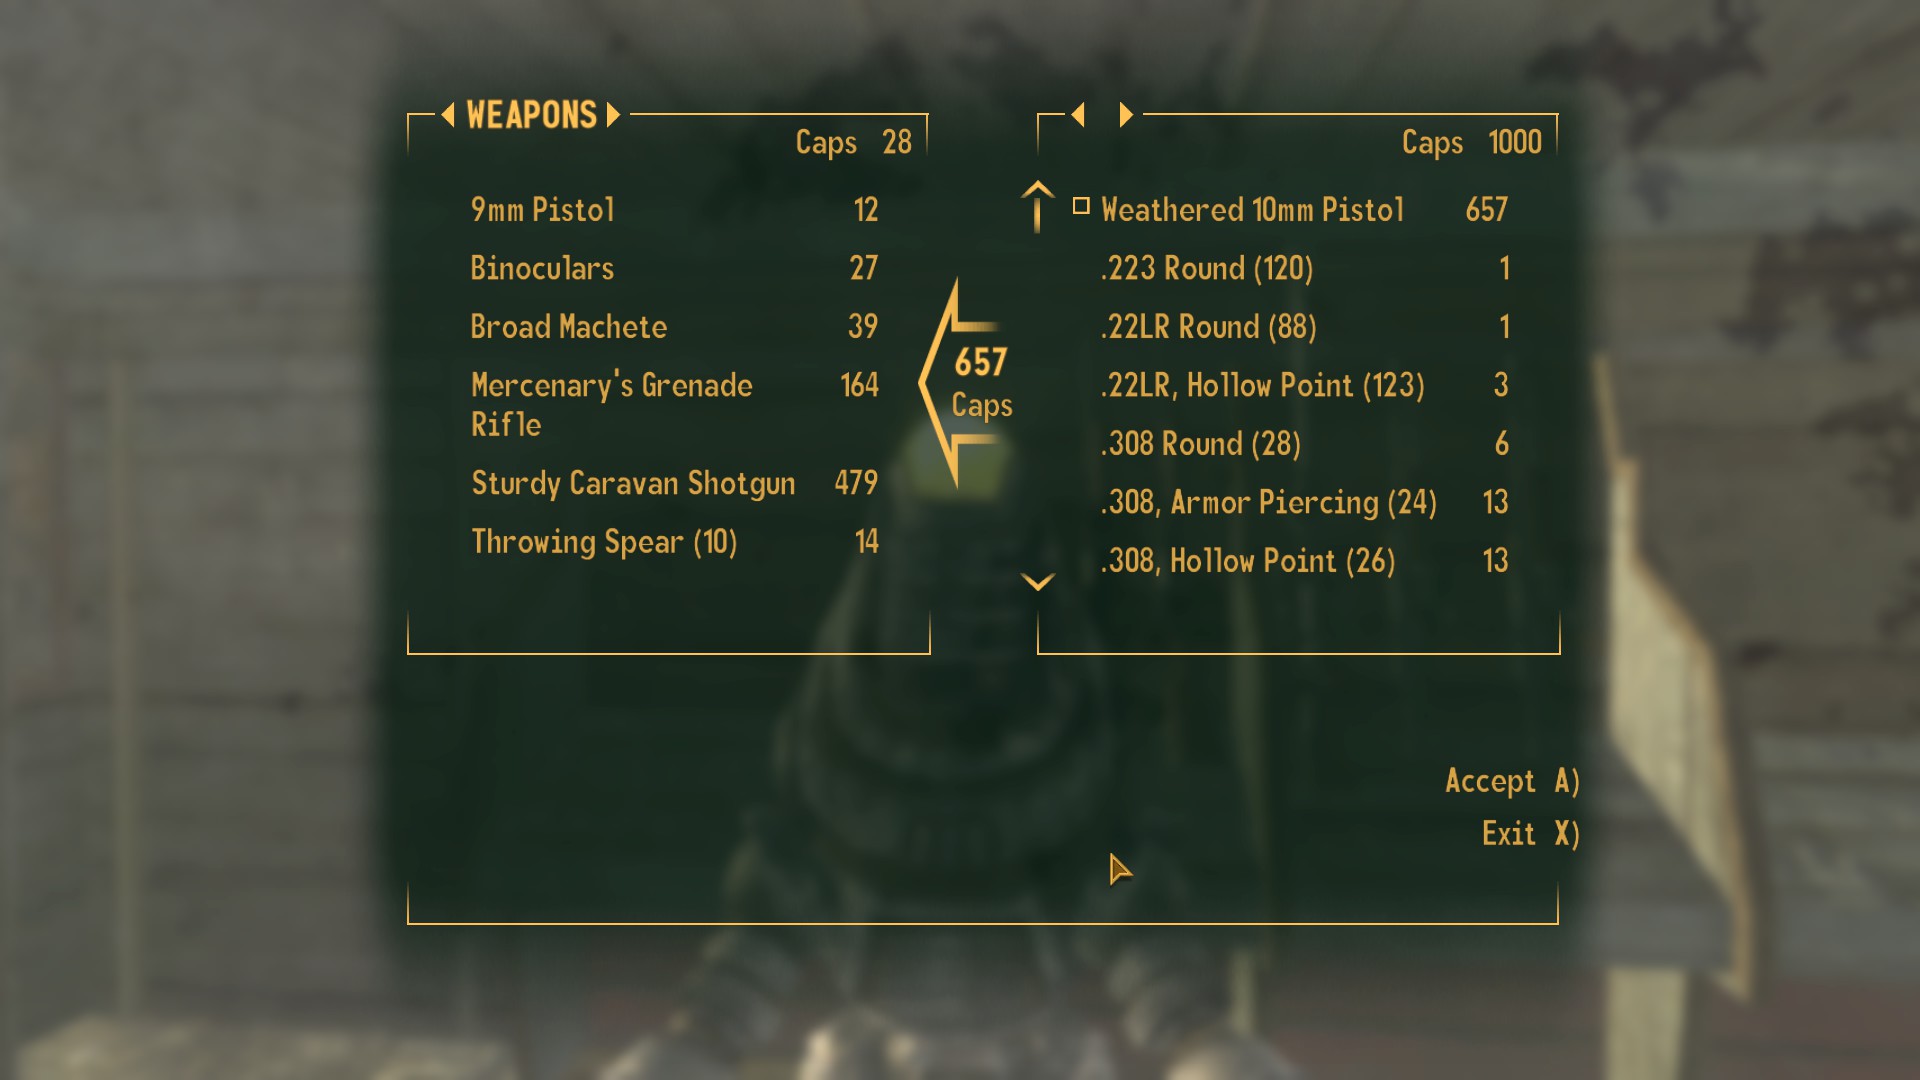
Thanks to that Speech skill you’ve got, you can convince Ralph to sell you a passport into the Strip for the measly sum of 500 caps.
Congrats, you’ve got the Strip unlocked! Head on over there, we’re almost done.
Profit
Once in the Strip, and after Victor’s conversation, enter Gomorrah.
Turn in those 100 caps of yours into chips. That’s all you’ll need.
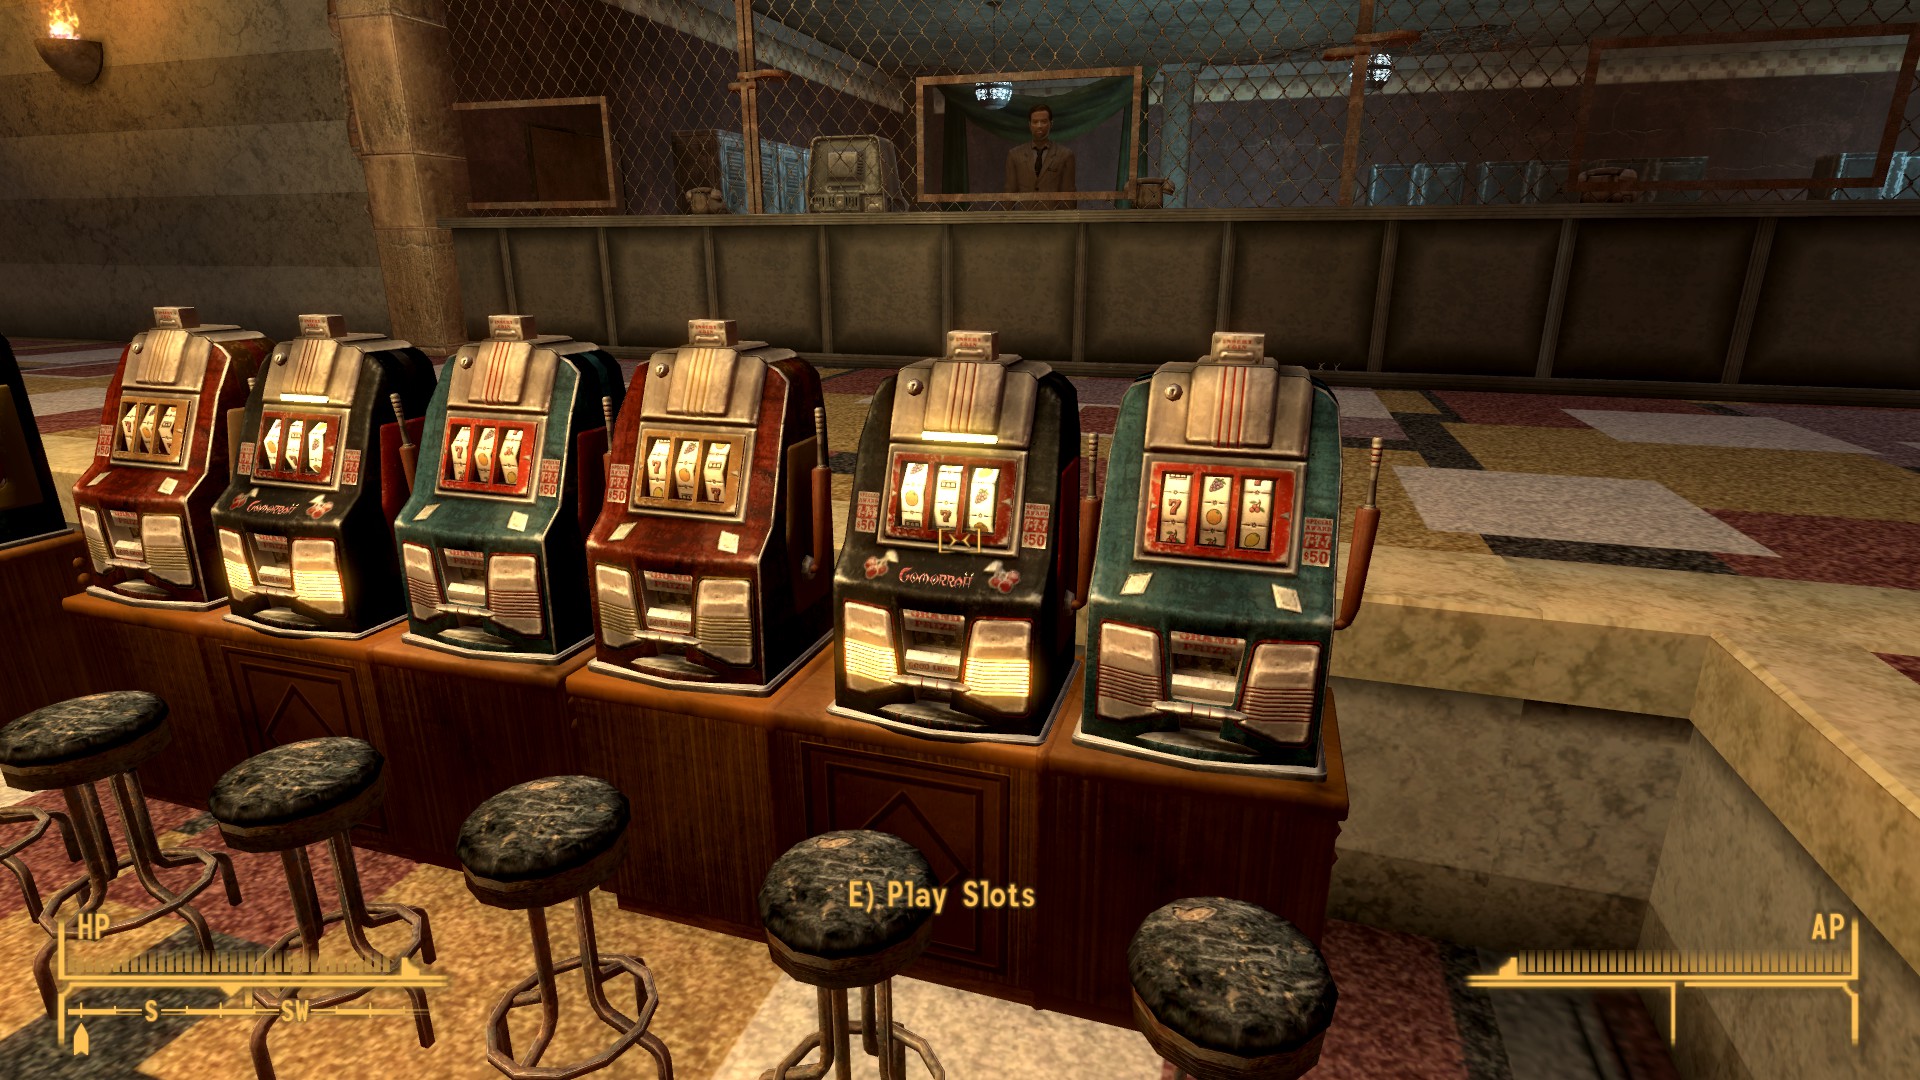
With 10 Luck you should have no problem at all profiting from the Slots in Gomorrah until you’re banned from it. The Ultra-Luxe will require you to play Blackjack, but that’s also ridiculously easy: Double down whenever your hand is below 19, and stay when it is 19 to 21. You may lose a couple of times, but “luck” is truly on your side. I advise against going to the Tops because that WILL level you up to 4, which is fine, but the guide did advertise for a level 2 rich start. You’ll get around 15-19k caps from both casinos, more than enough to buy most gear you may need/want, except the entire Gun Runners inventory.
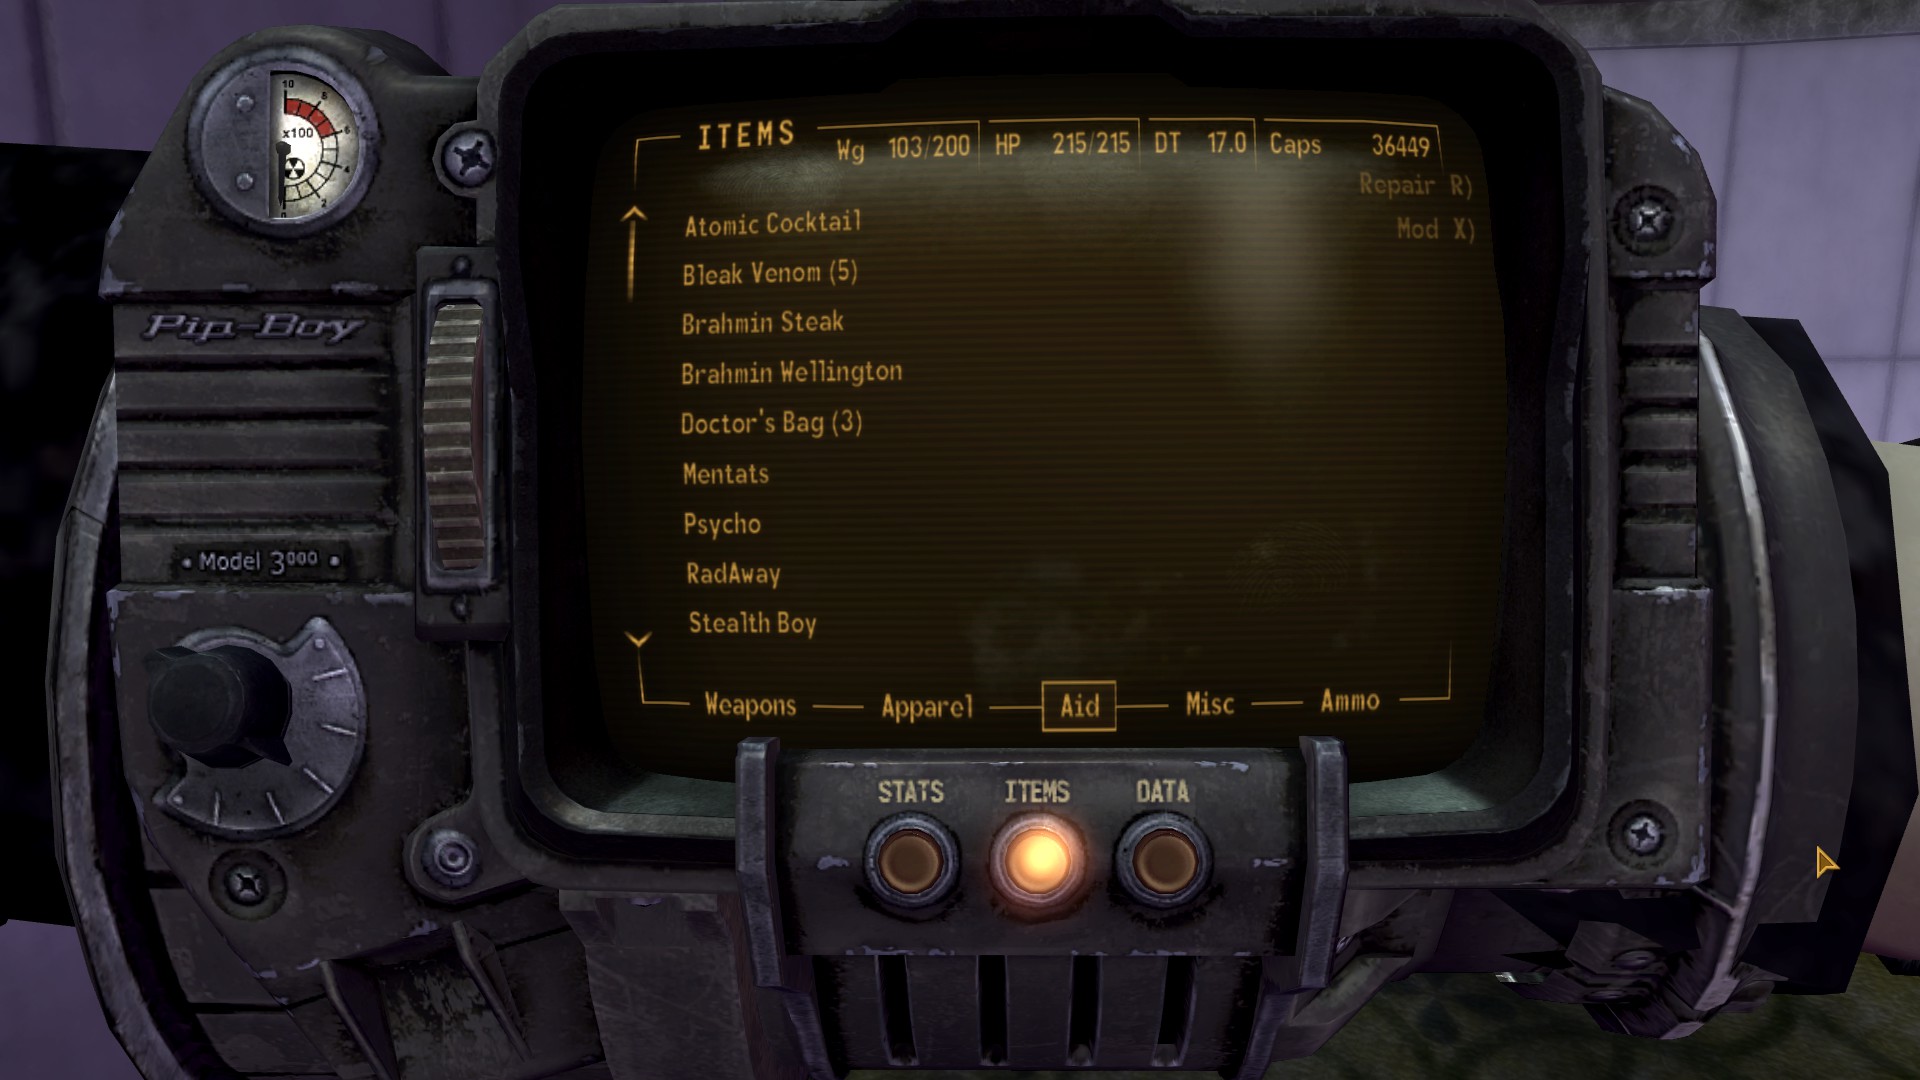
Here’s what you’re getting if you do get caps from all 3 casinos, at level 4.
Ending
With the caps, and a low level, you’re free to explore New Vegas and level up in an alternate section of the map and save Primm, Nipton, Novac for much, much later than expected in the game and have a relatively challenging New Vegas leveling section, since the gangs are too easy once you normally arrive here.
The guide also provides an easy way to get the “Courier who Broke the Bank” achievement, as you’re mostly getting your starter money from the casinos, which is what you need to get this achievement in the first place.
I hope you’ve enjoyed the guide! Now go scavenge some Vaults.