
Overview
A walkthrough for people who get stuck. It only covers the things that are absolutely essential for making it through the game.
Introduction
System Shock is a fairly complex game. Even after having completed it several times I still get lost from time to time. The guides I found online where fairly confusing. Because of this I have made this walkthrough.
However, System Shock is a game about exploration. I won’t spoil anything and won’t give any hints when it comes to fights, secrets and loot. The point of this guide is to look up what to do when you have explored everything and still do not know how to proceed. Therefore it only covers things that are absolutely needed to complete the game.
For Starters
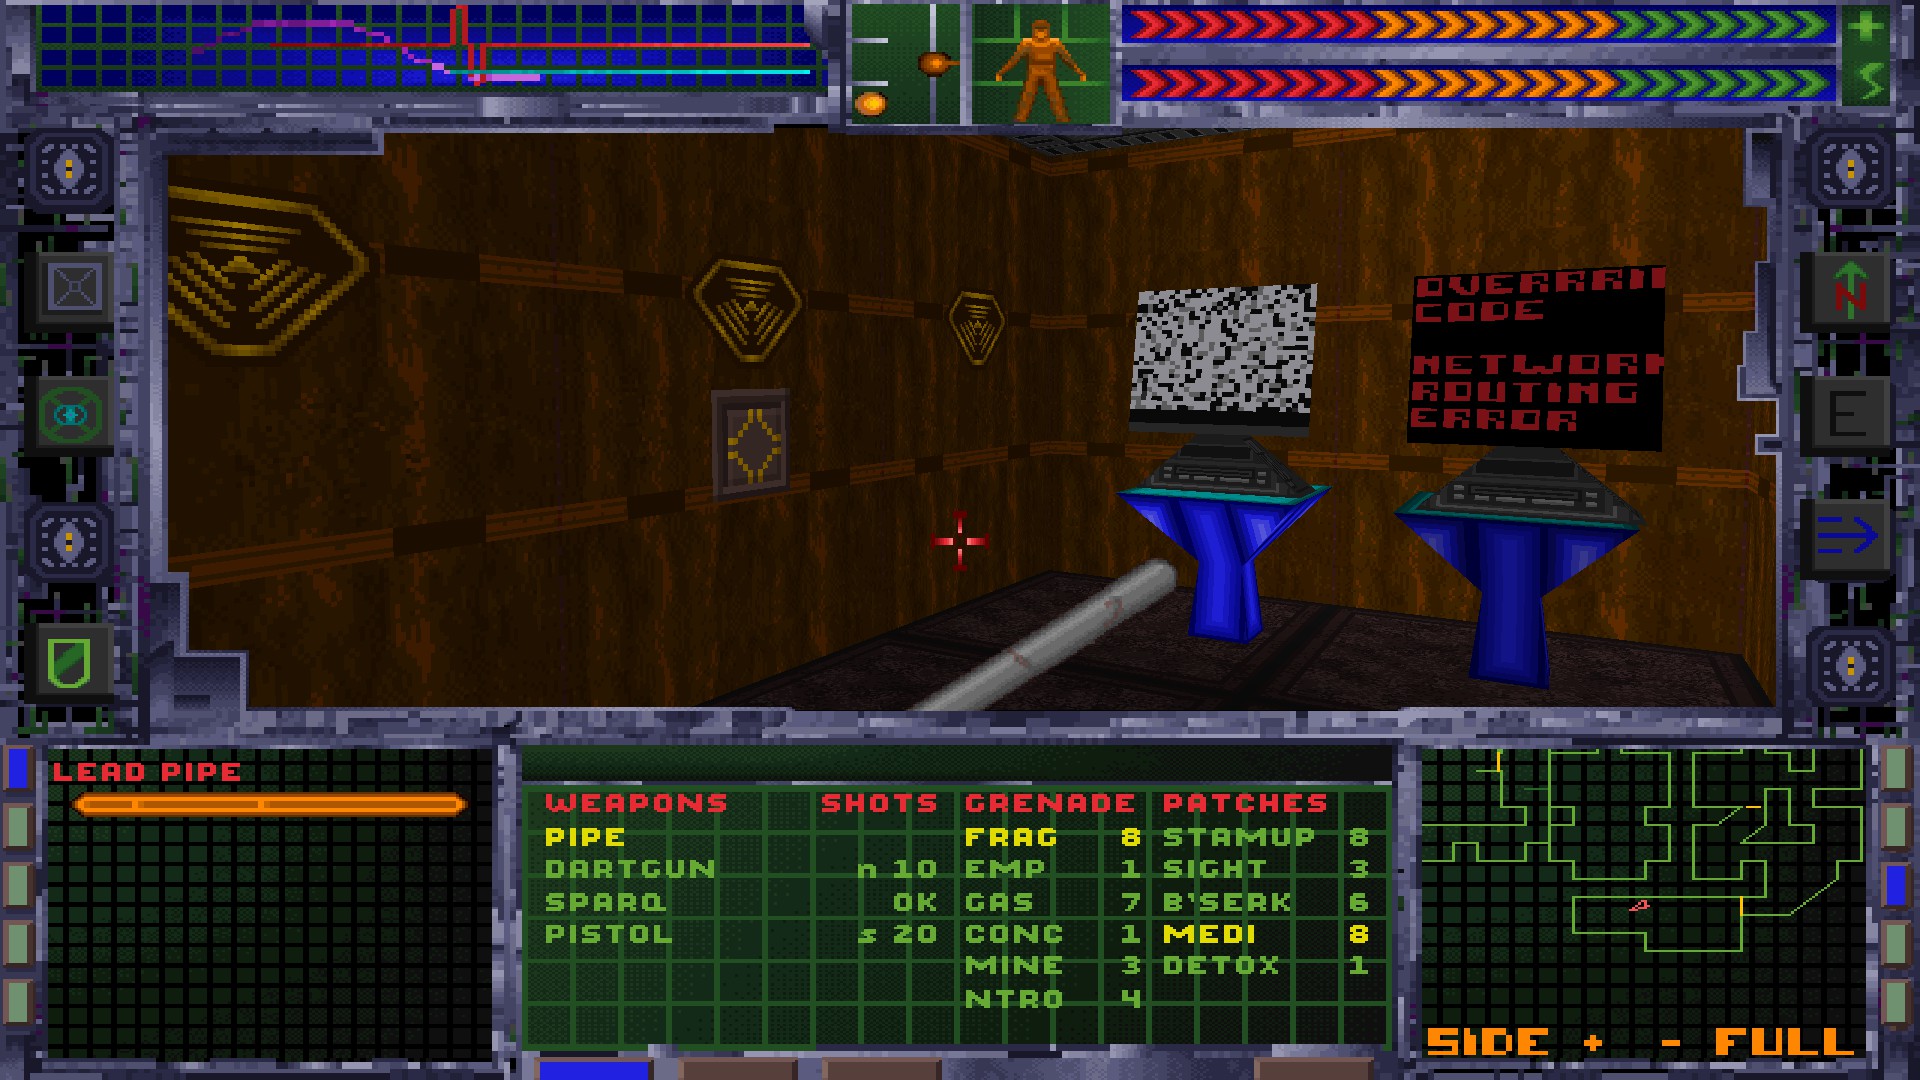
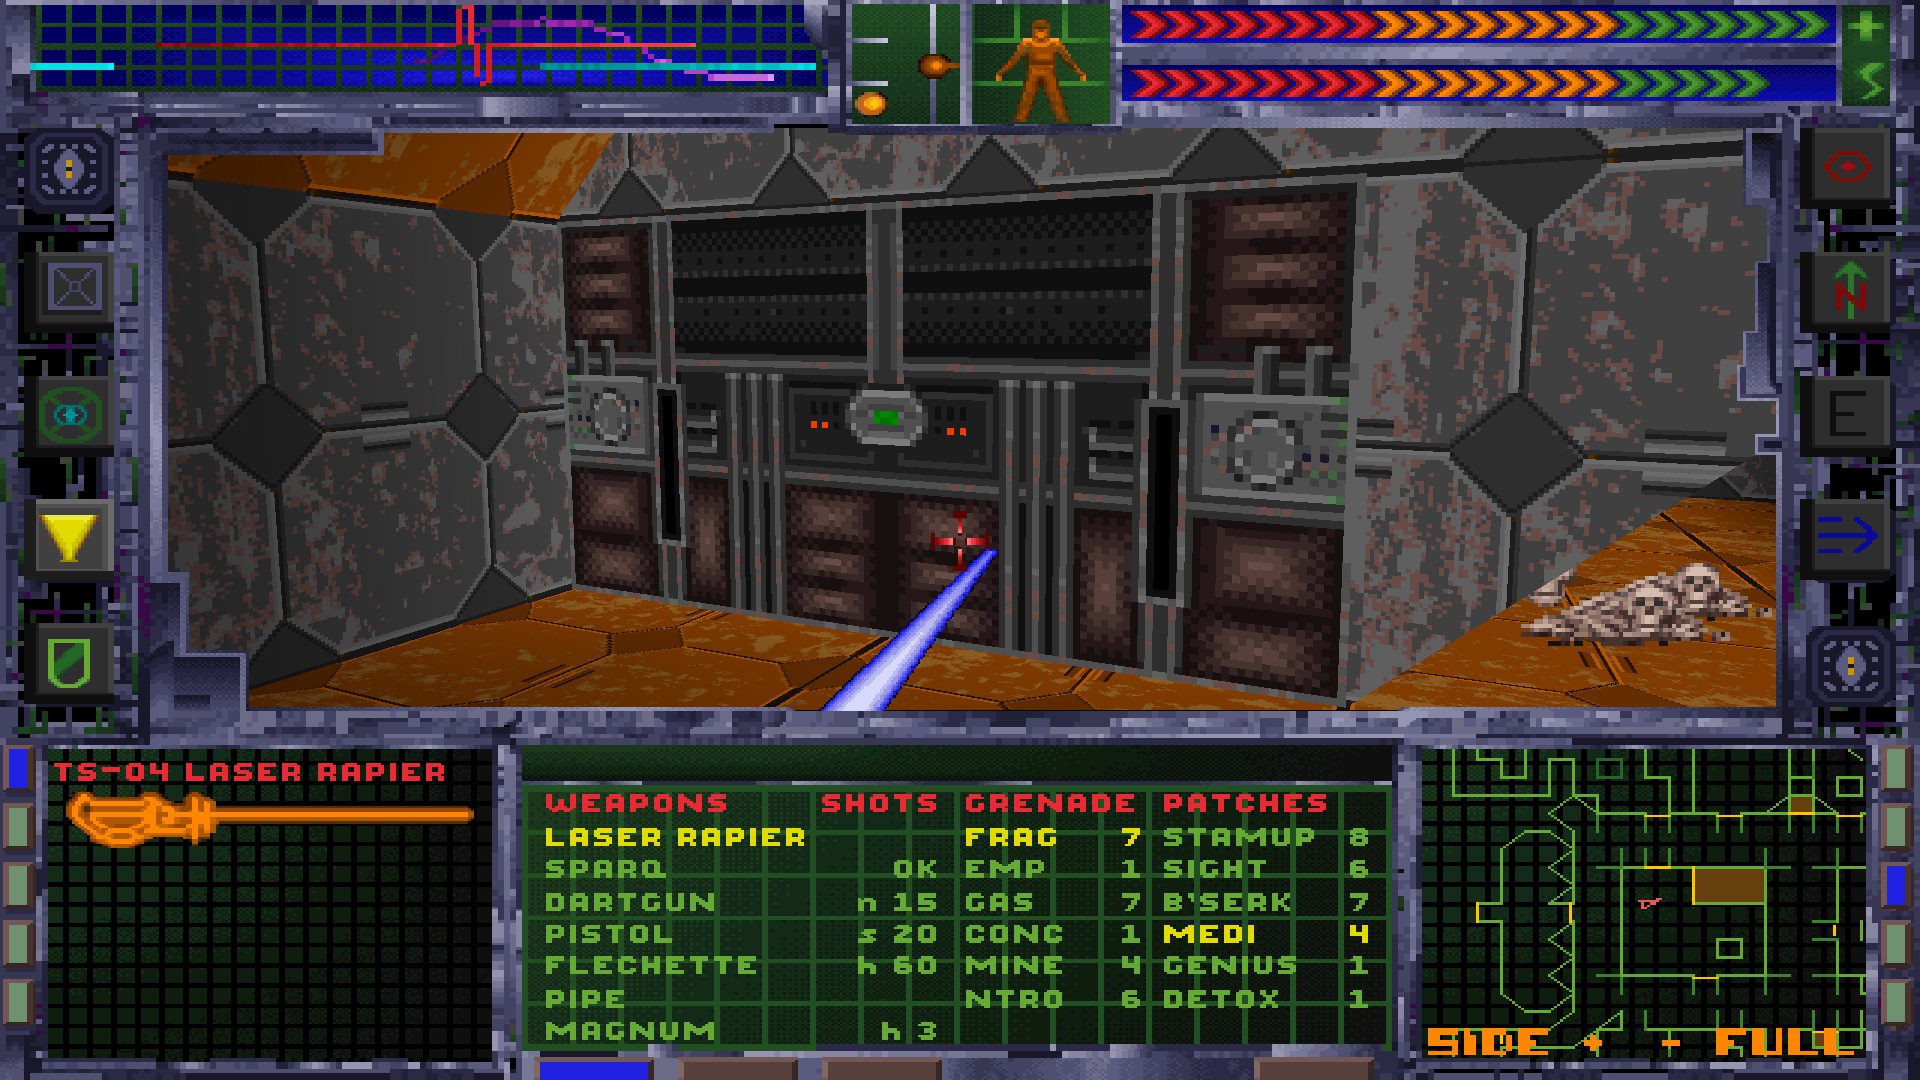
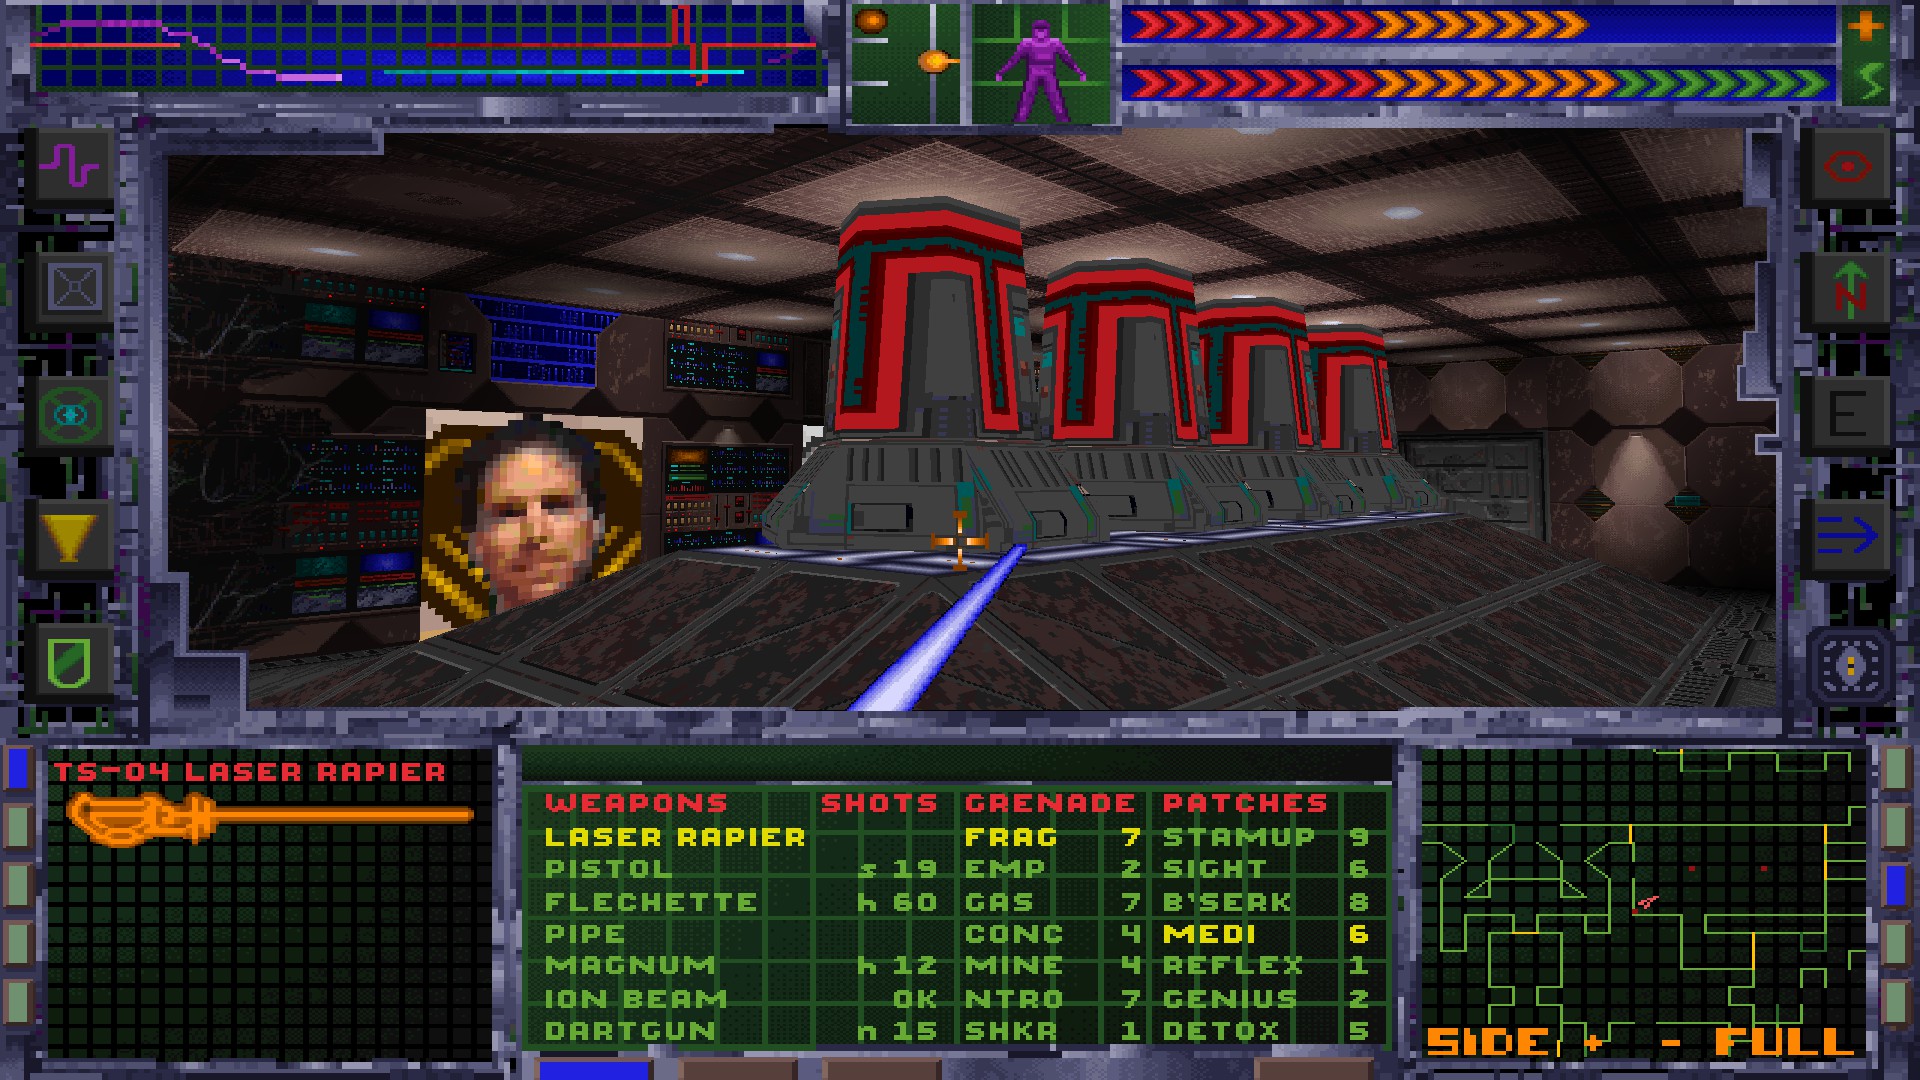
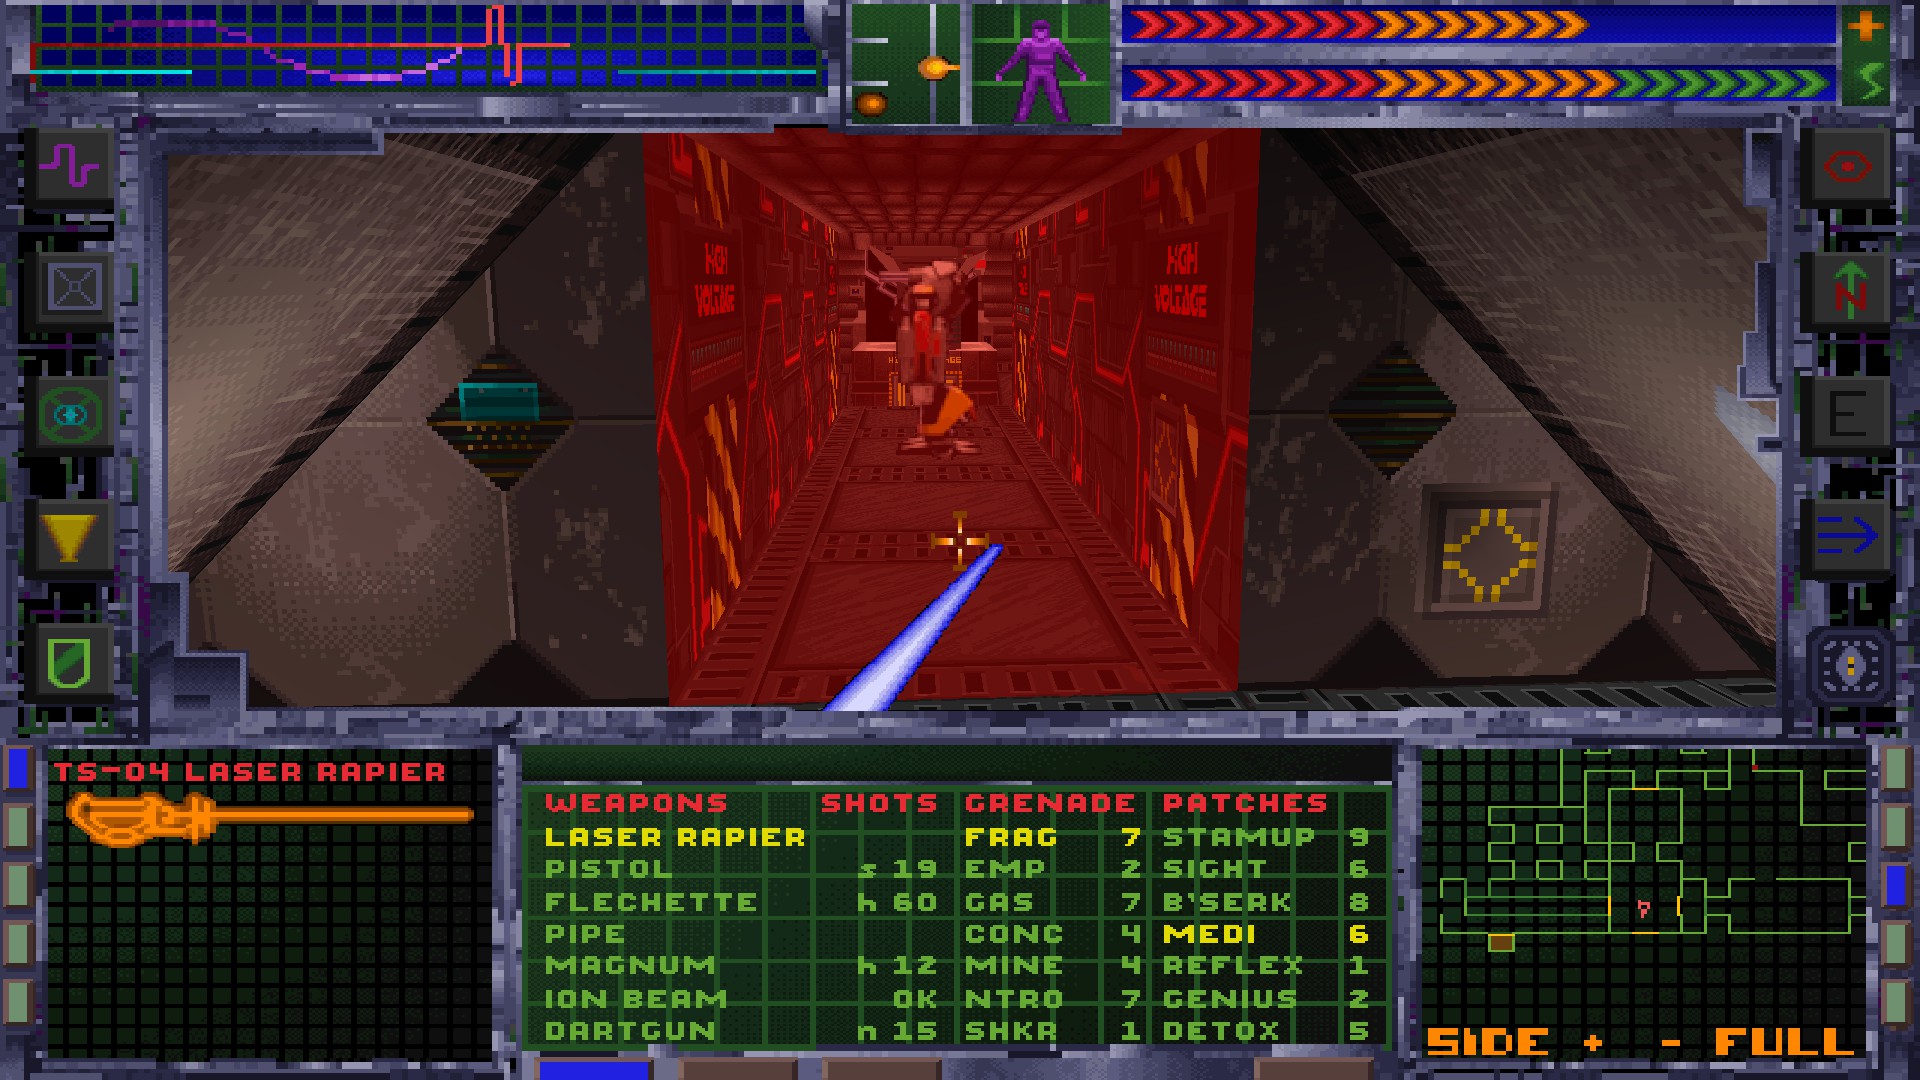
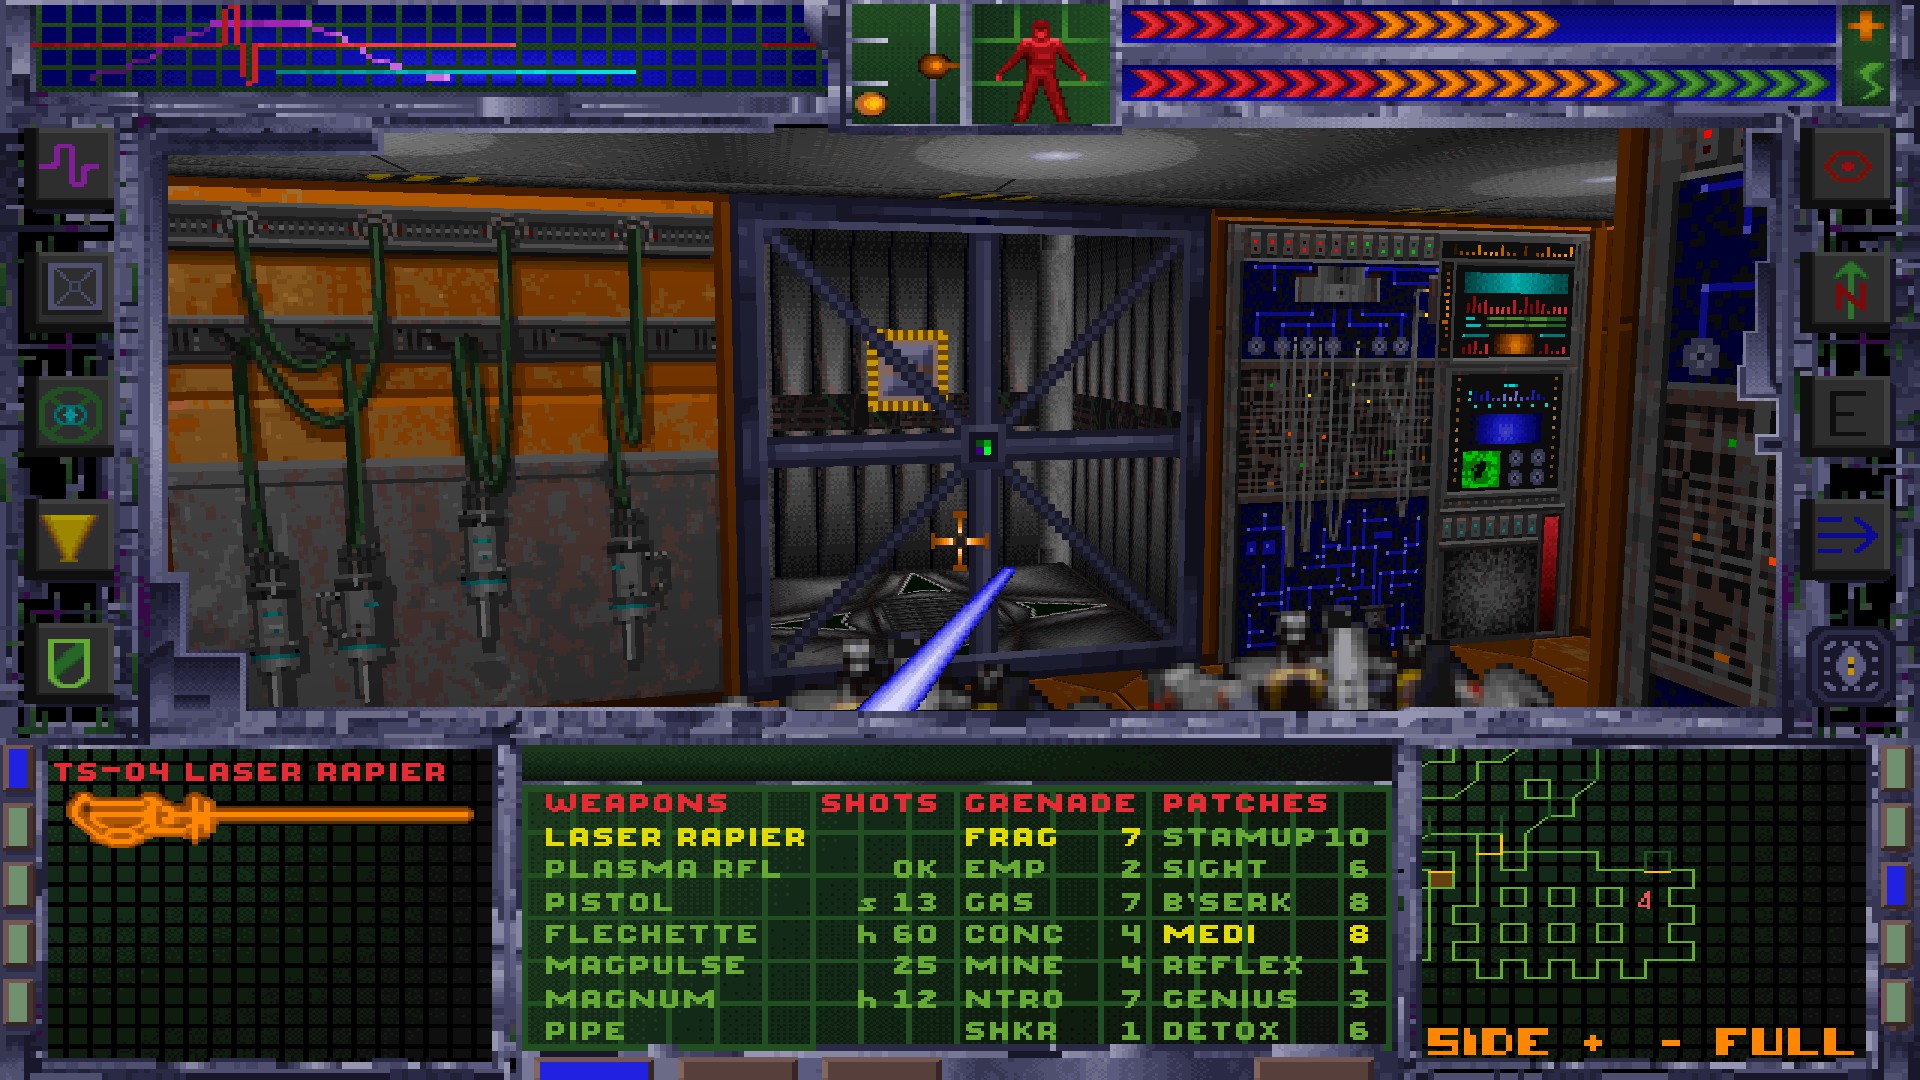
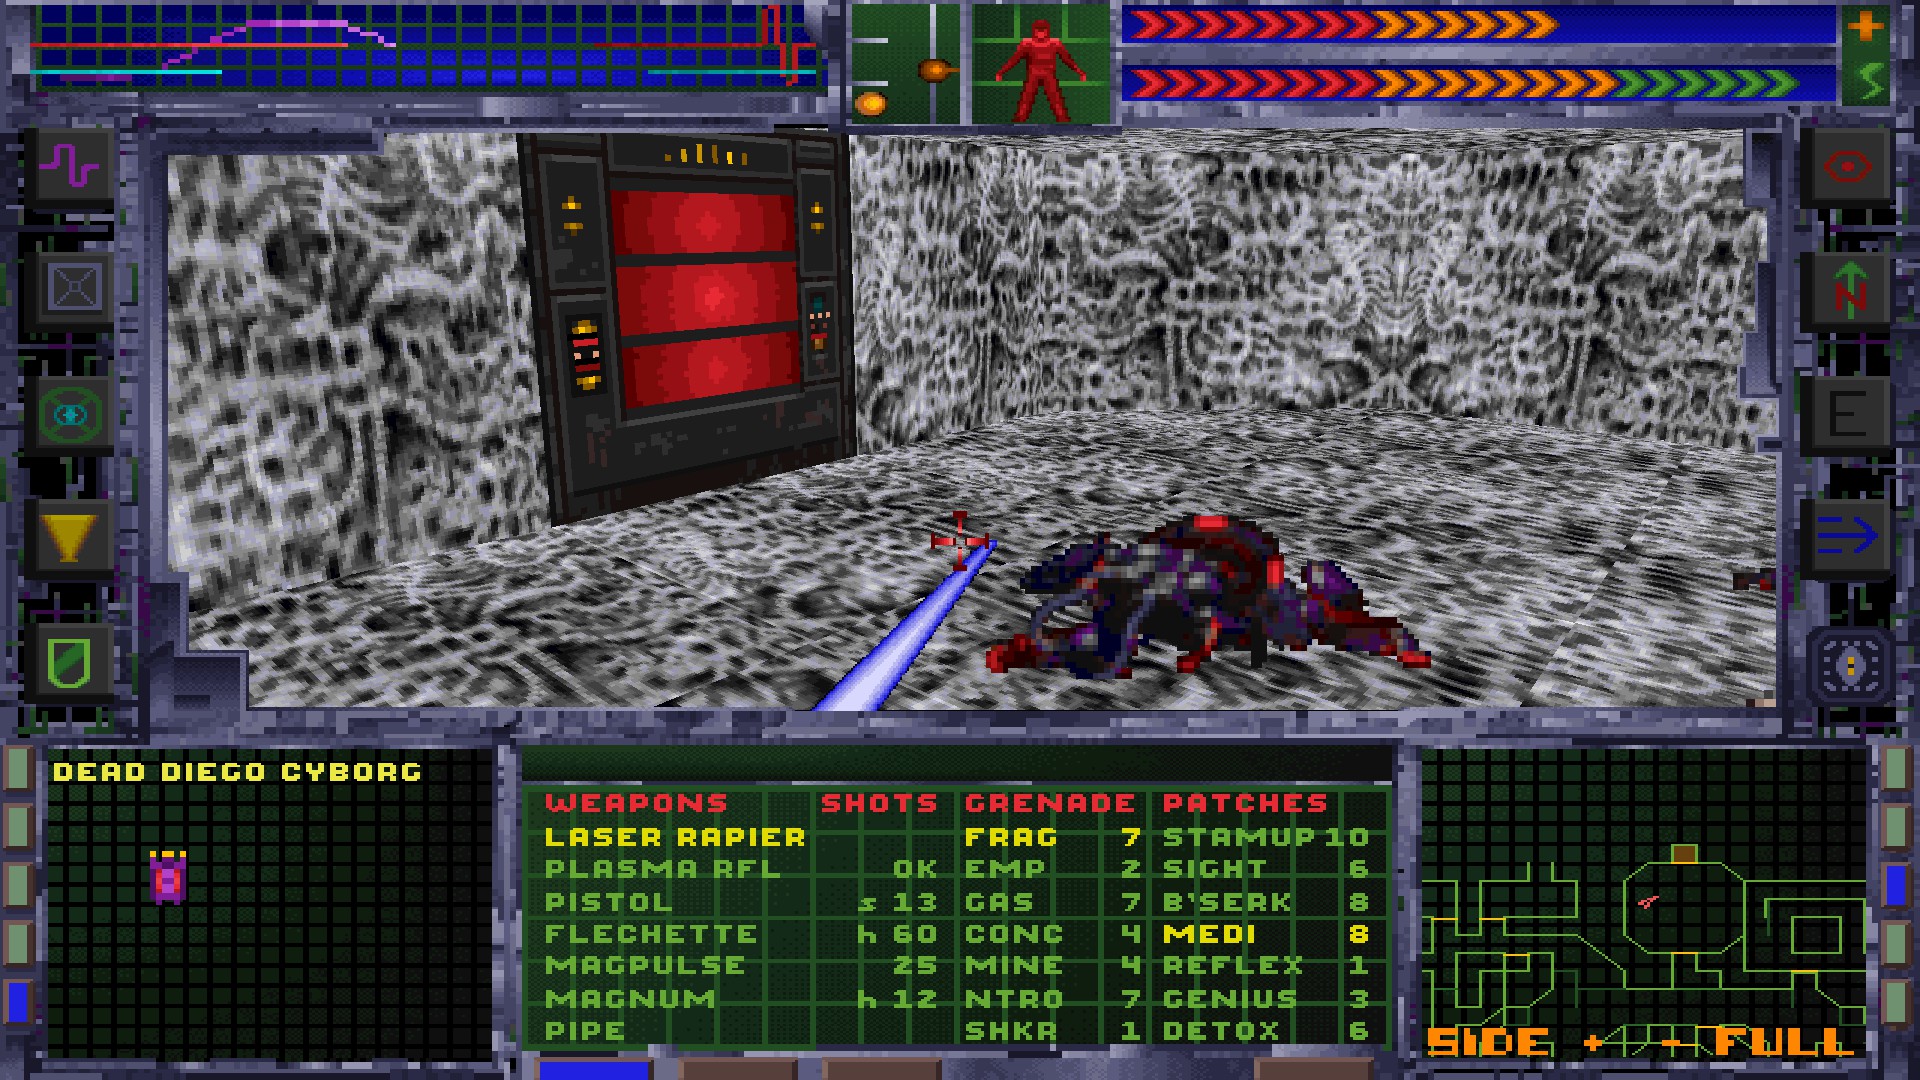
Destroy all the security cameras and computer nodes you come across. Doing that lowers Shodan’s control of the level and is at times absolutely necessary to proceed. Even when it is not, it often opens shortcuts or places that contain loot. Security cameras and computer nodes are shown as red dots on your map. On level 1 to 6 you will see a red number on a nearby screen after destroying the computer nodes. Make sure to write those numbers down in the order of the levels where you got them from 1 to 6. This six number code is absolutely essential to complete the game.
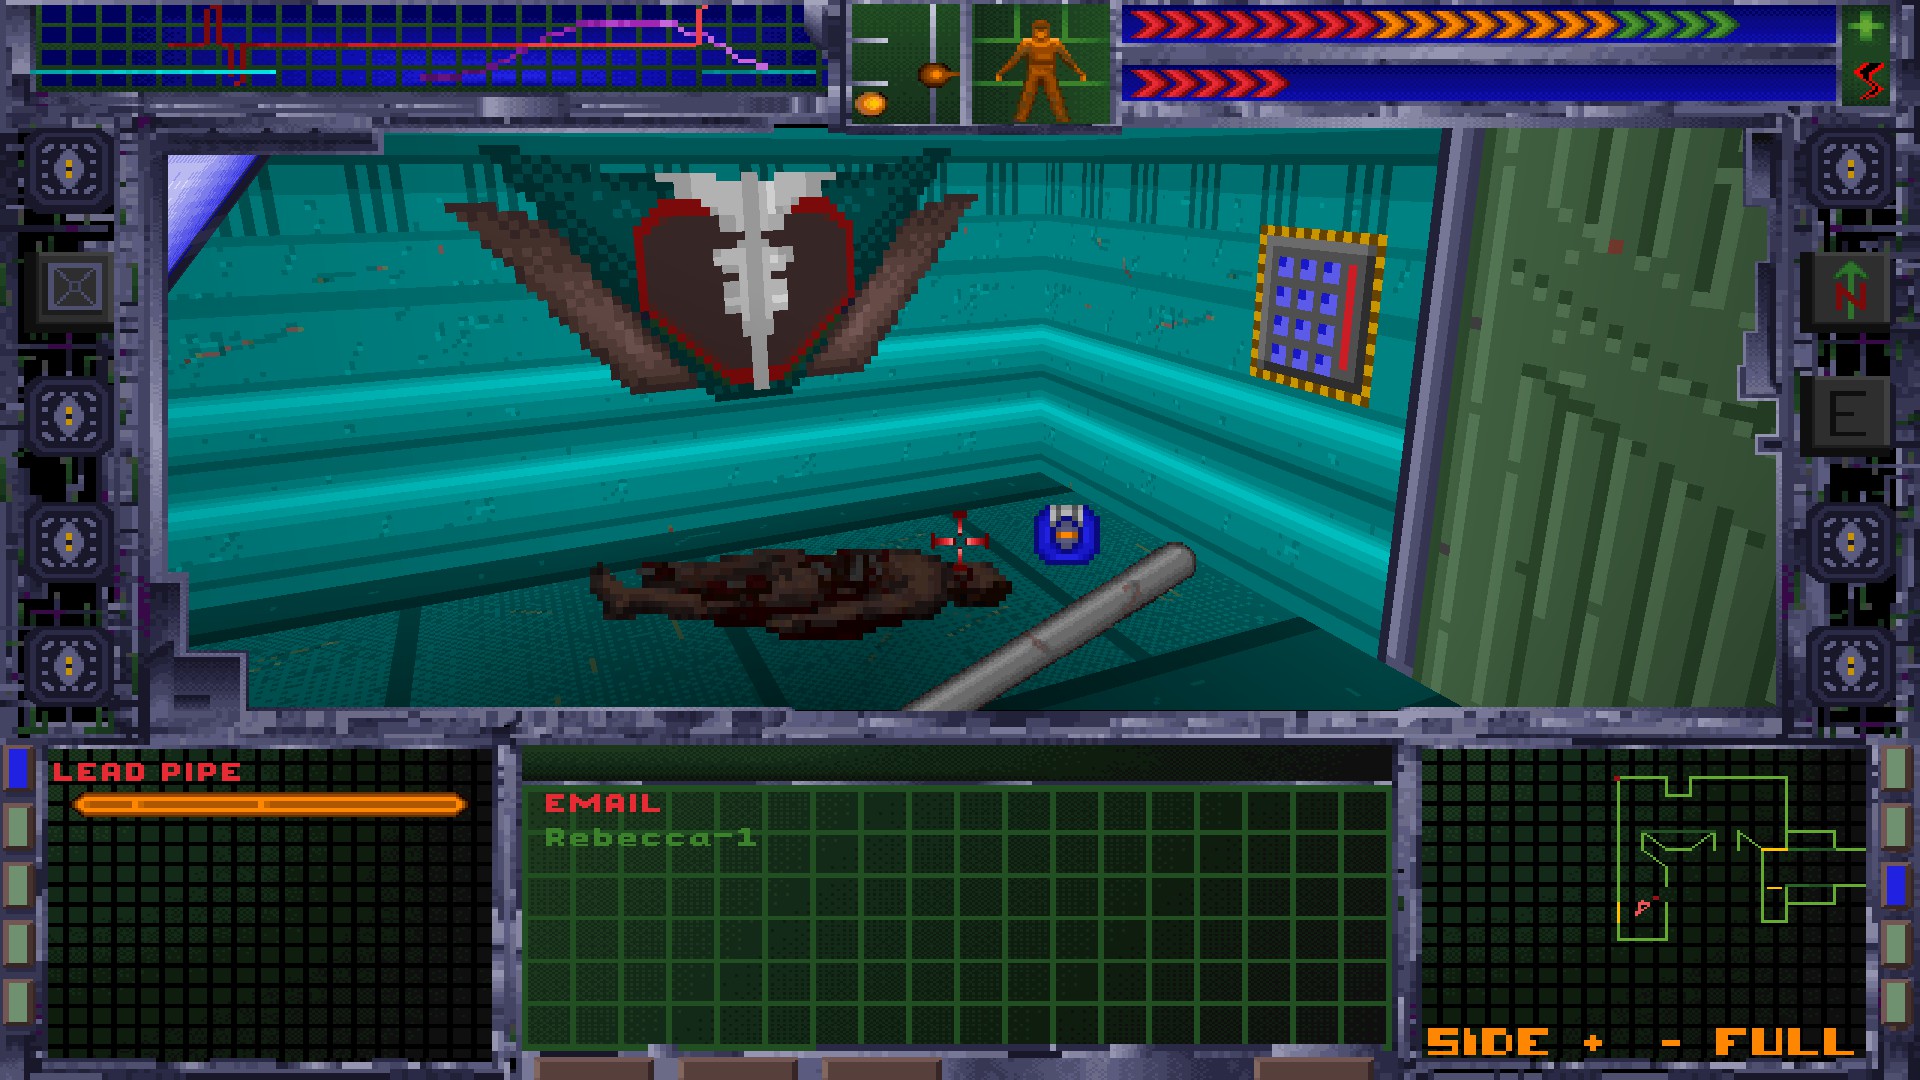
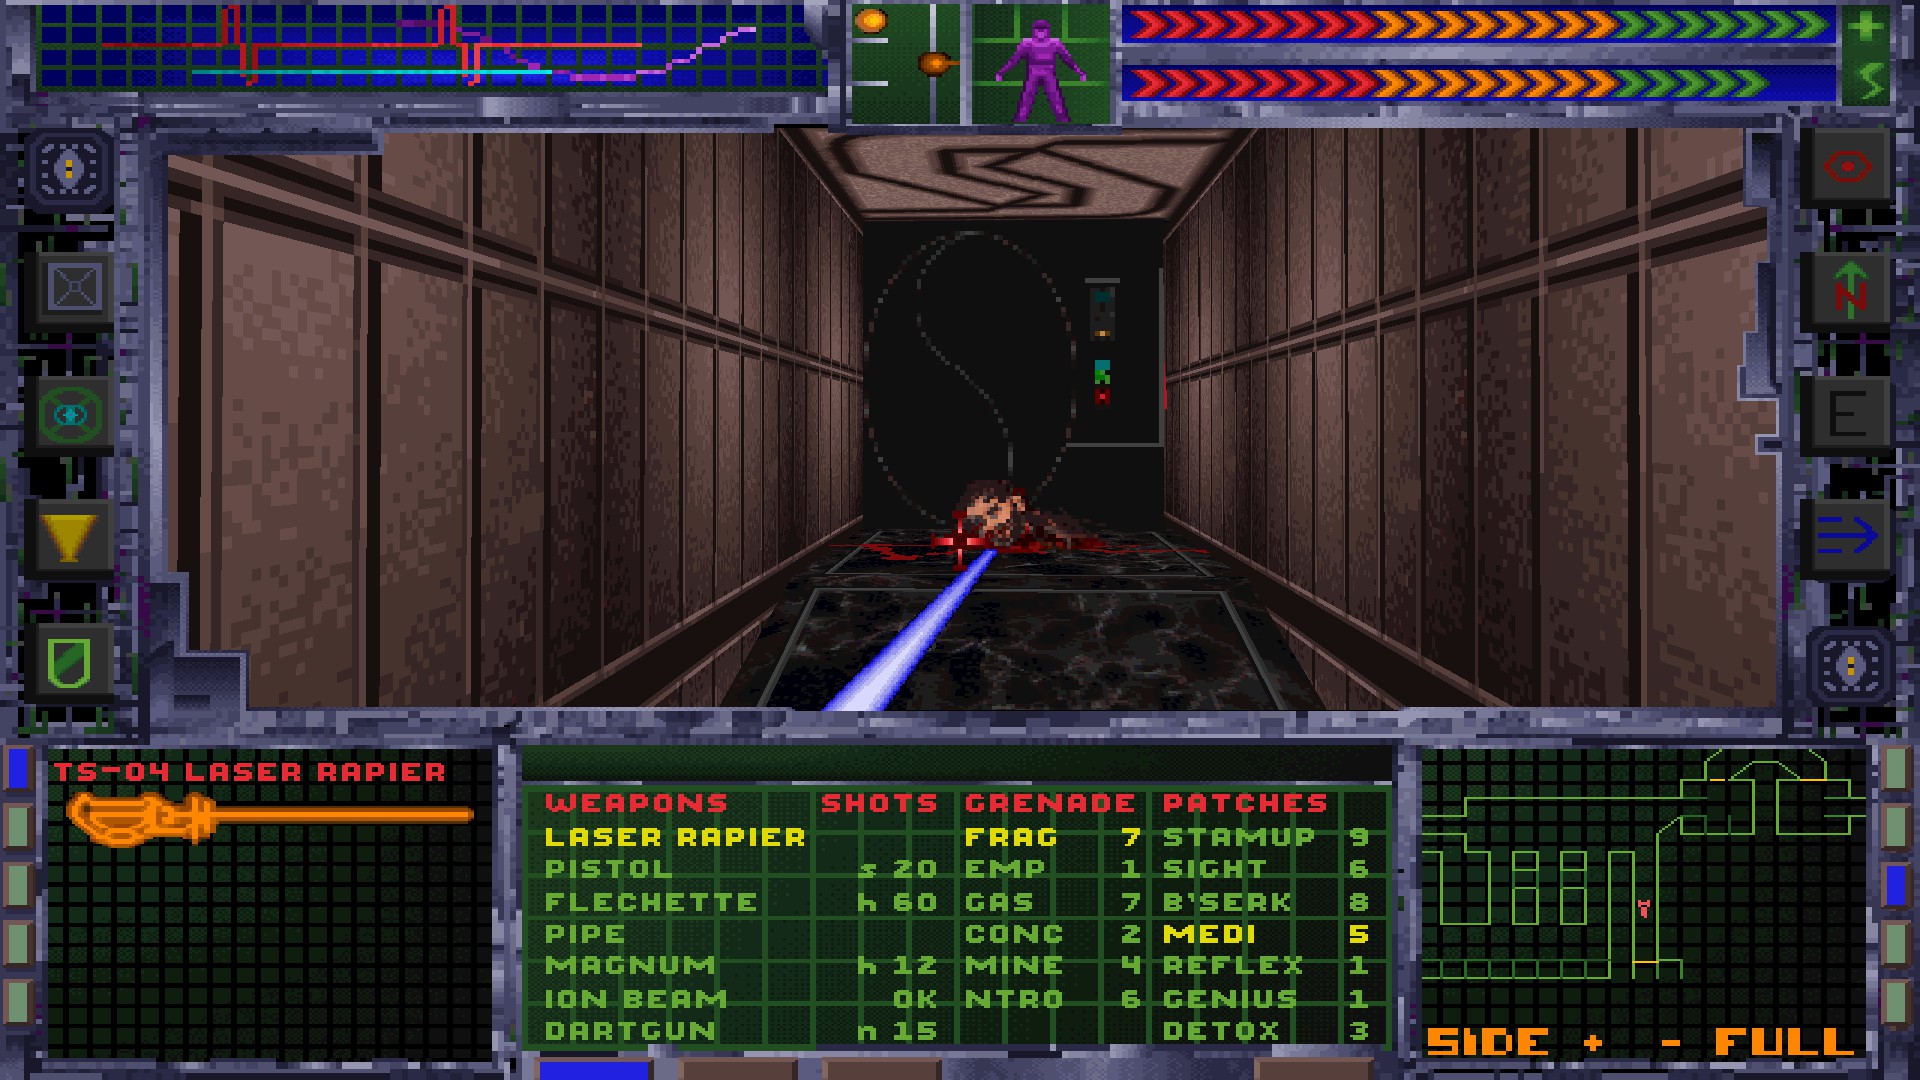
Level 1 – Medical
The audio log contains the code to open the door. It’s 451.
After you have opened the door, grab the Group Access Card from the room at the opposite site of the corridor.
Use the Group Access Card to open this door.
Solve the puzzle to extend the energy bridge.
Pull the lever to extend the second energy bridge.
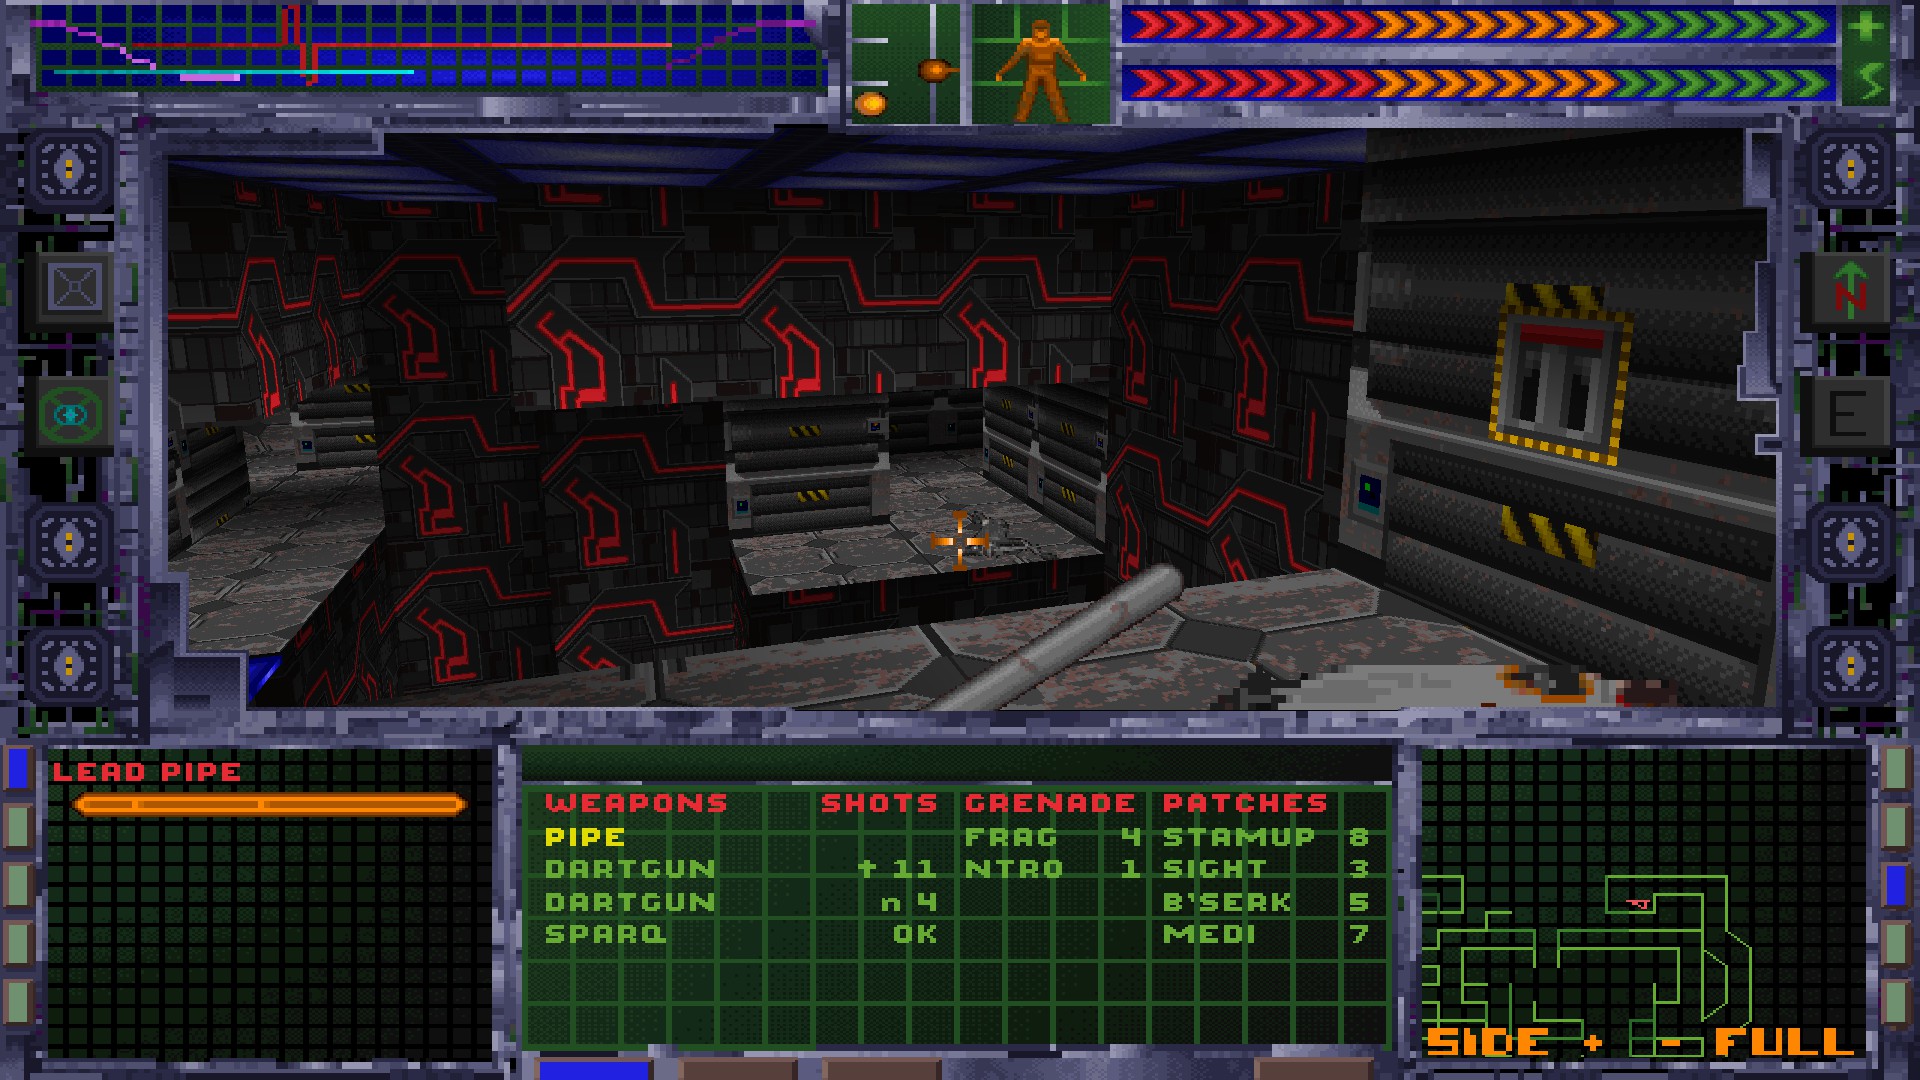
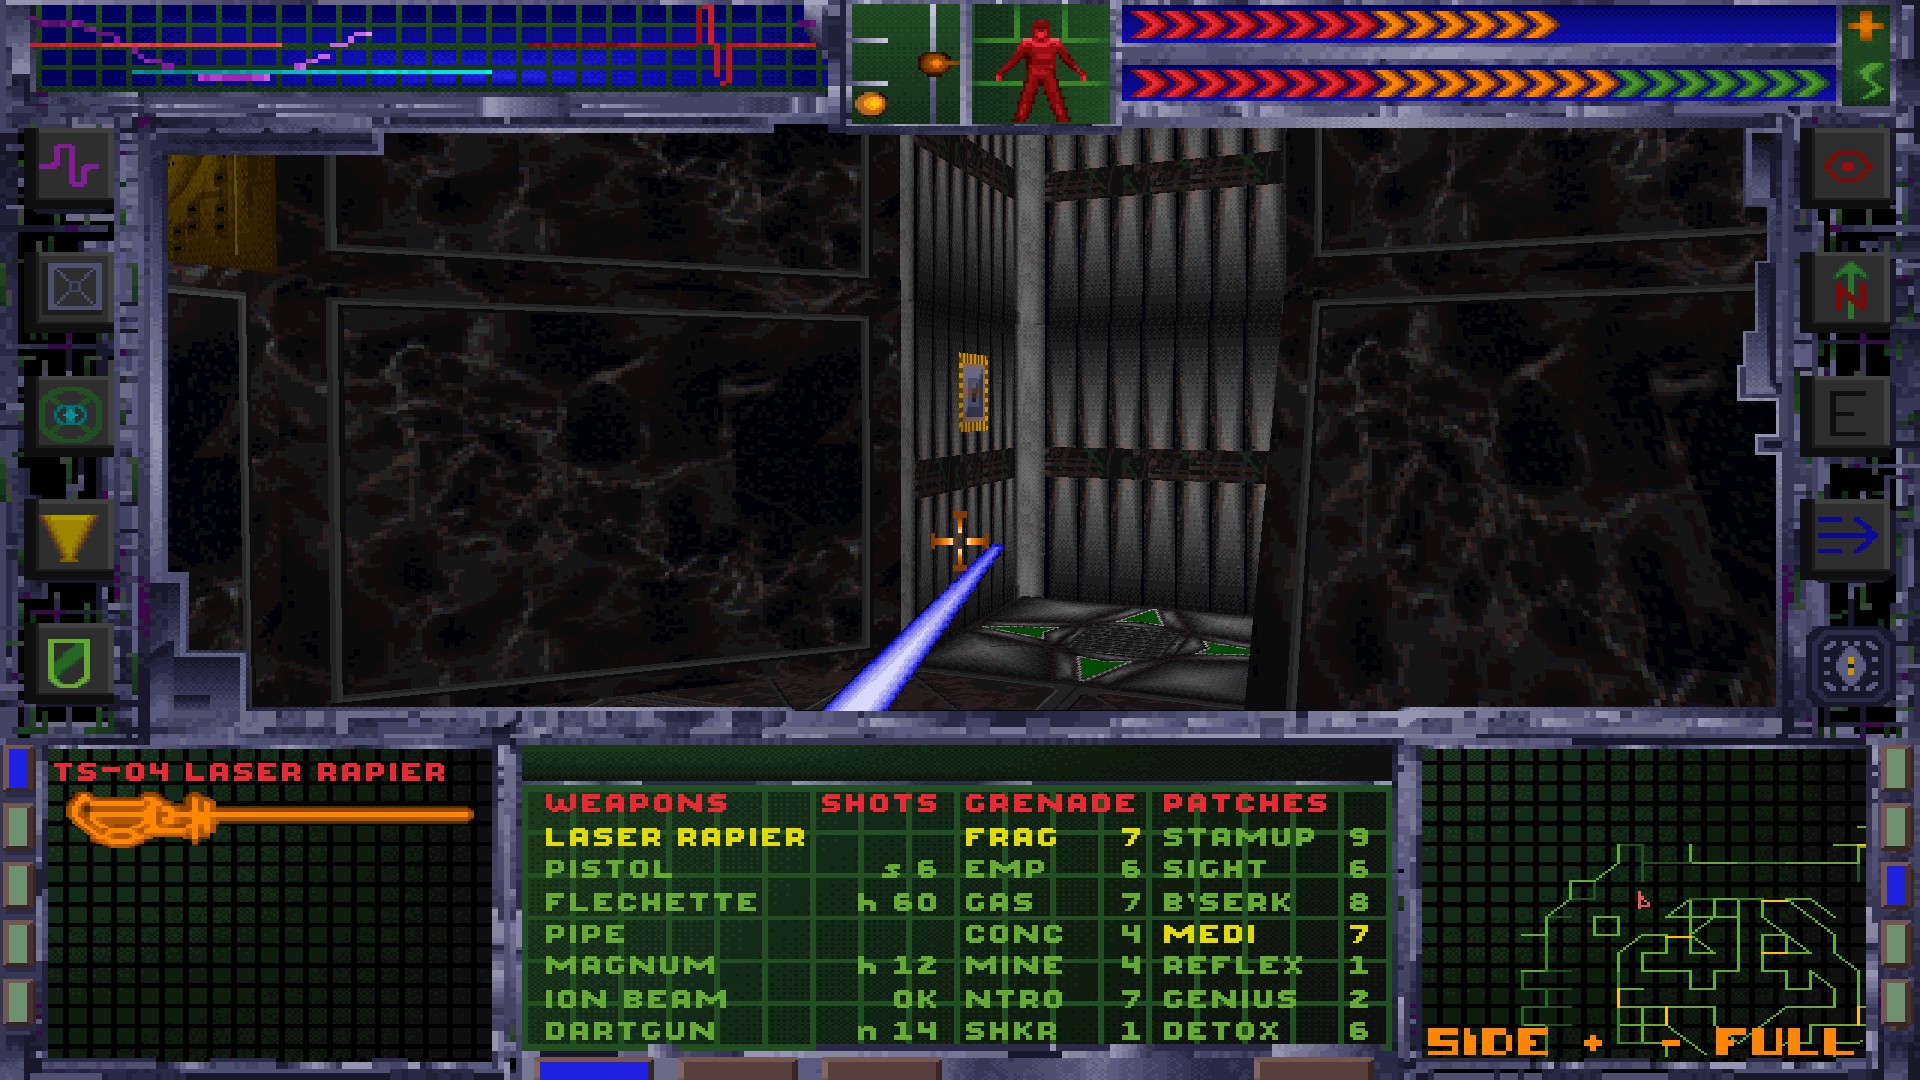
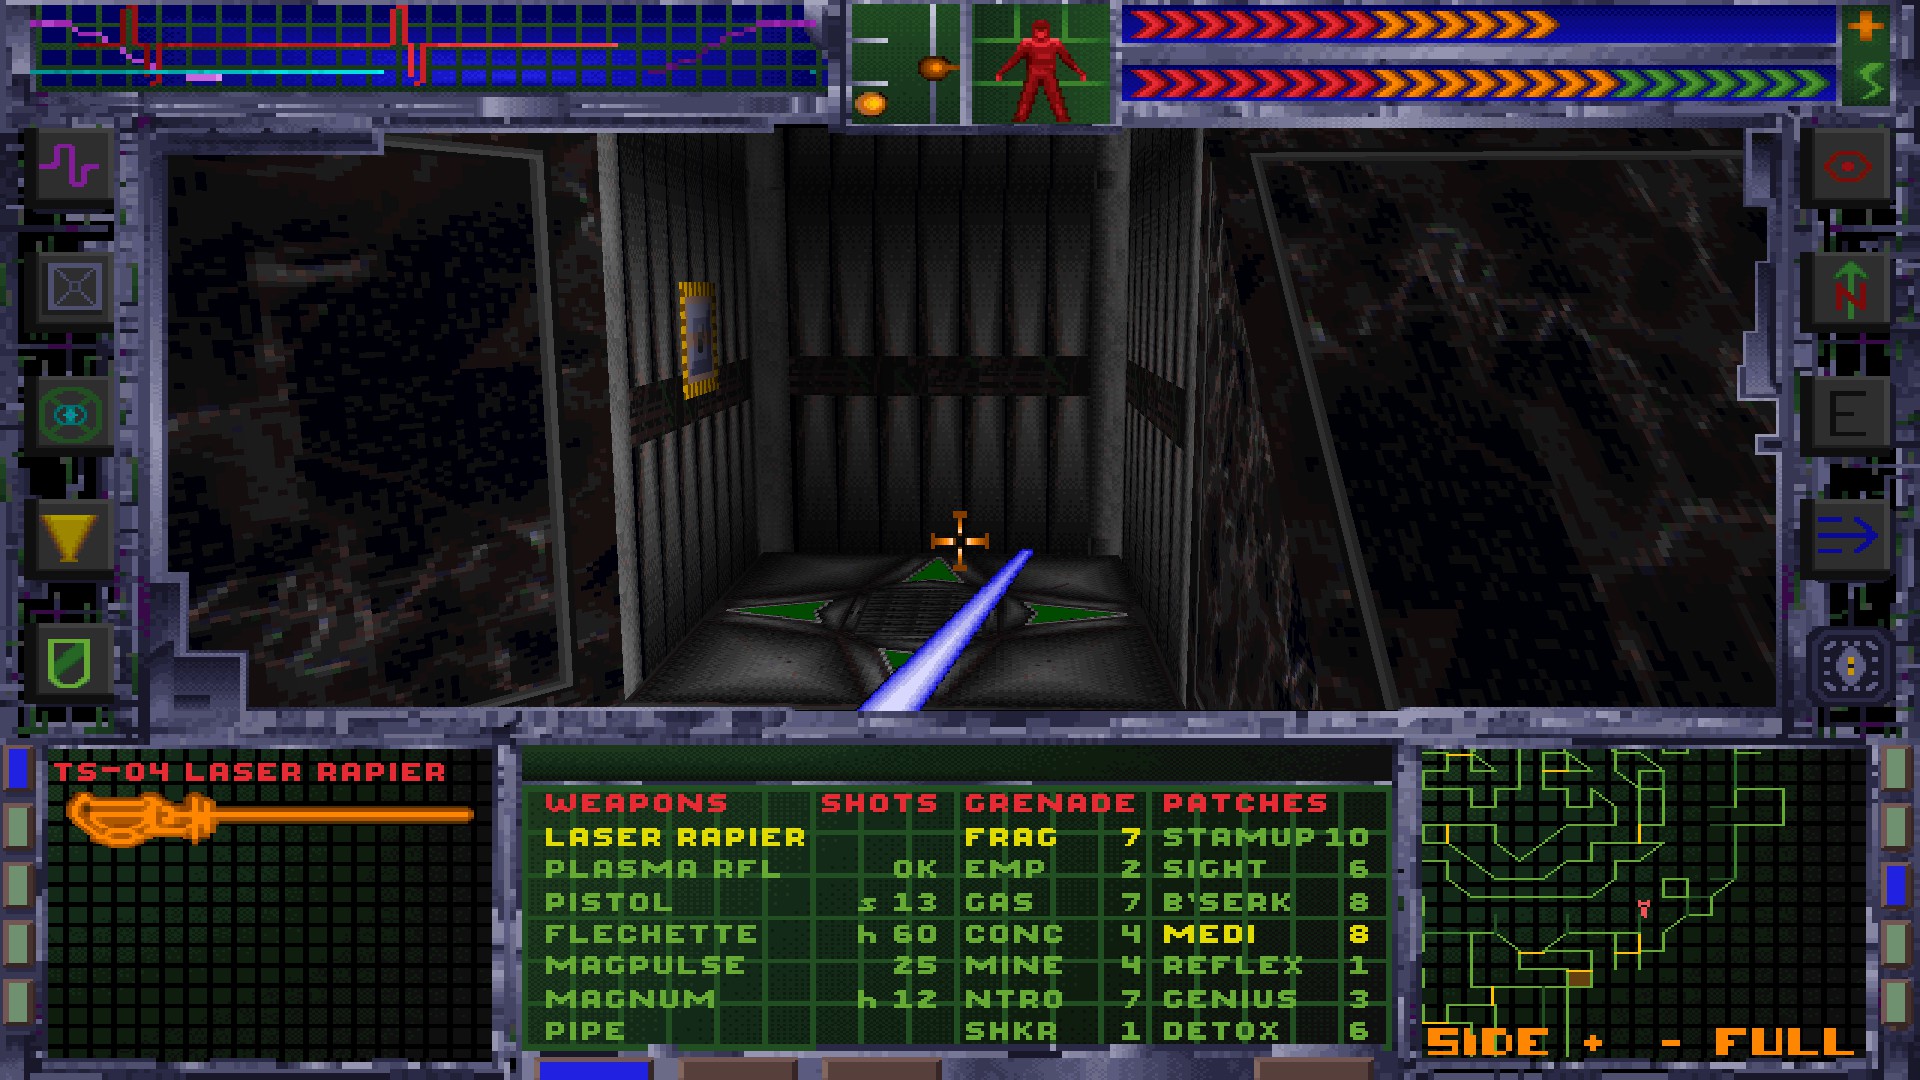
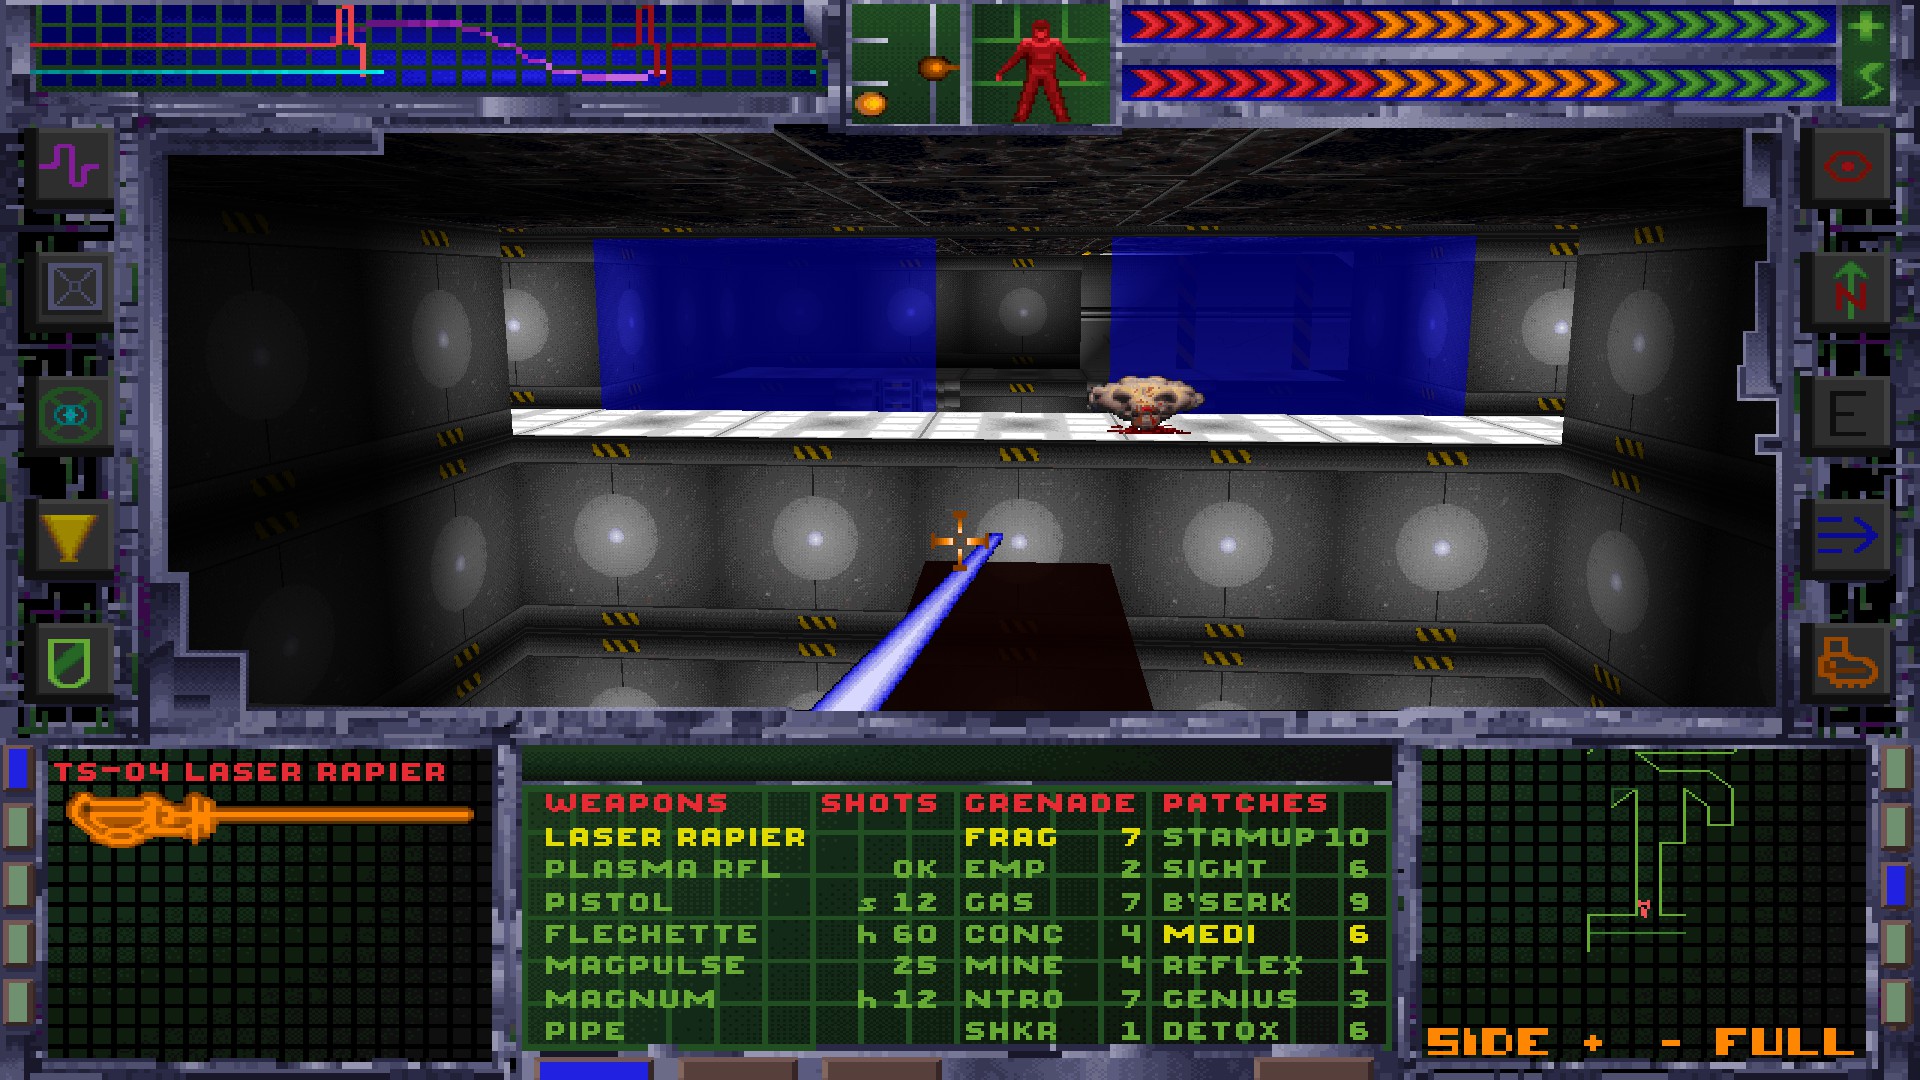
Destroy the computer nodes. Don’t forget to write down the red number on the screen afterwards.
Push this button to get down to the elevator. Take the elevator up to Level 2.

Level 2 – Research Labs
Flip the right circuit breaker lever in Alpha. This will put the lights in the pitch black section back on.
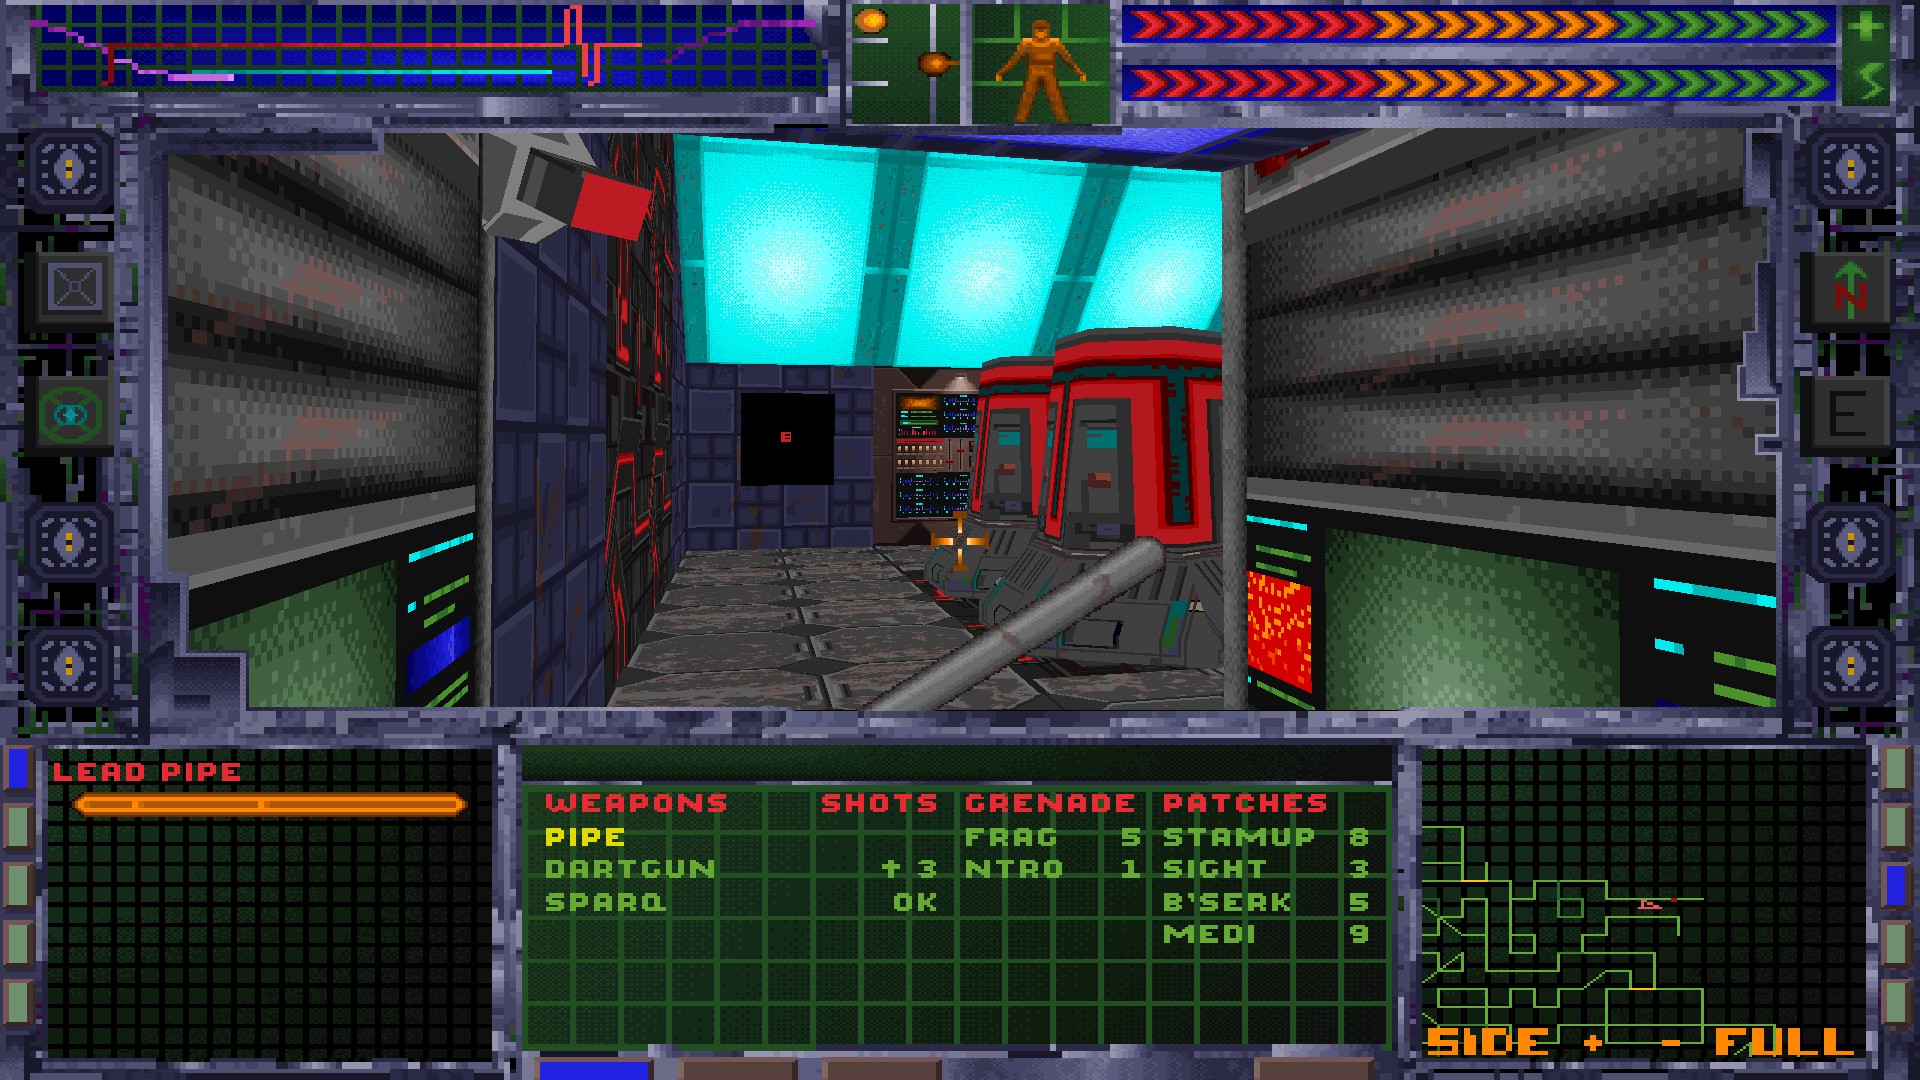
Use the cyberspace terminal in Admin Security to gain SCI Access.
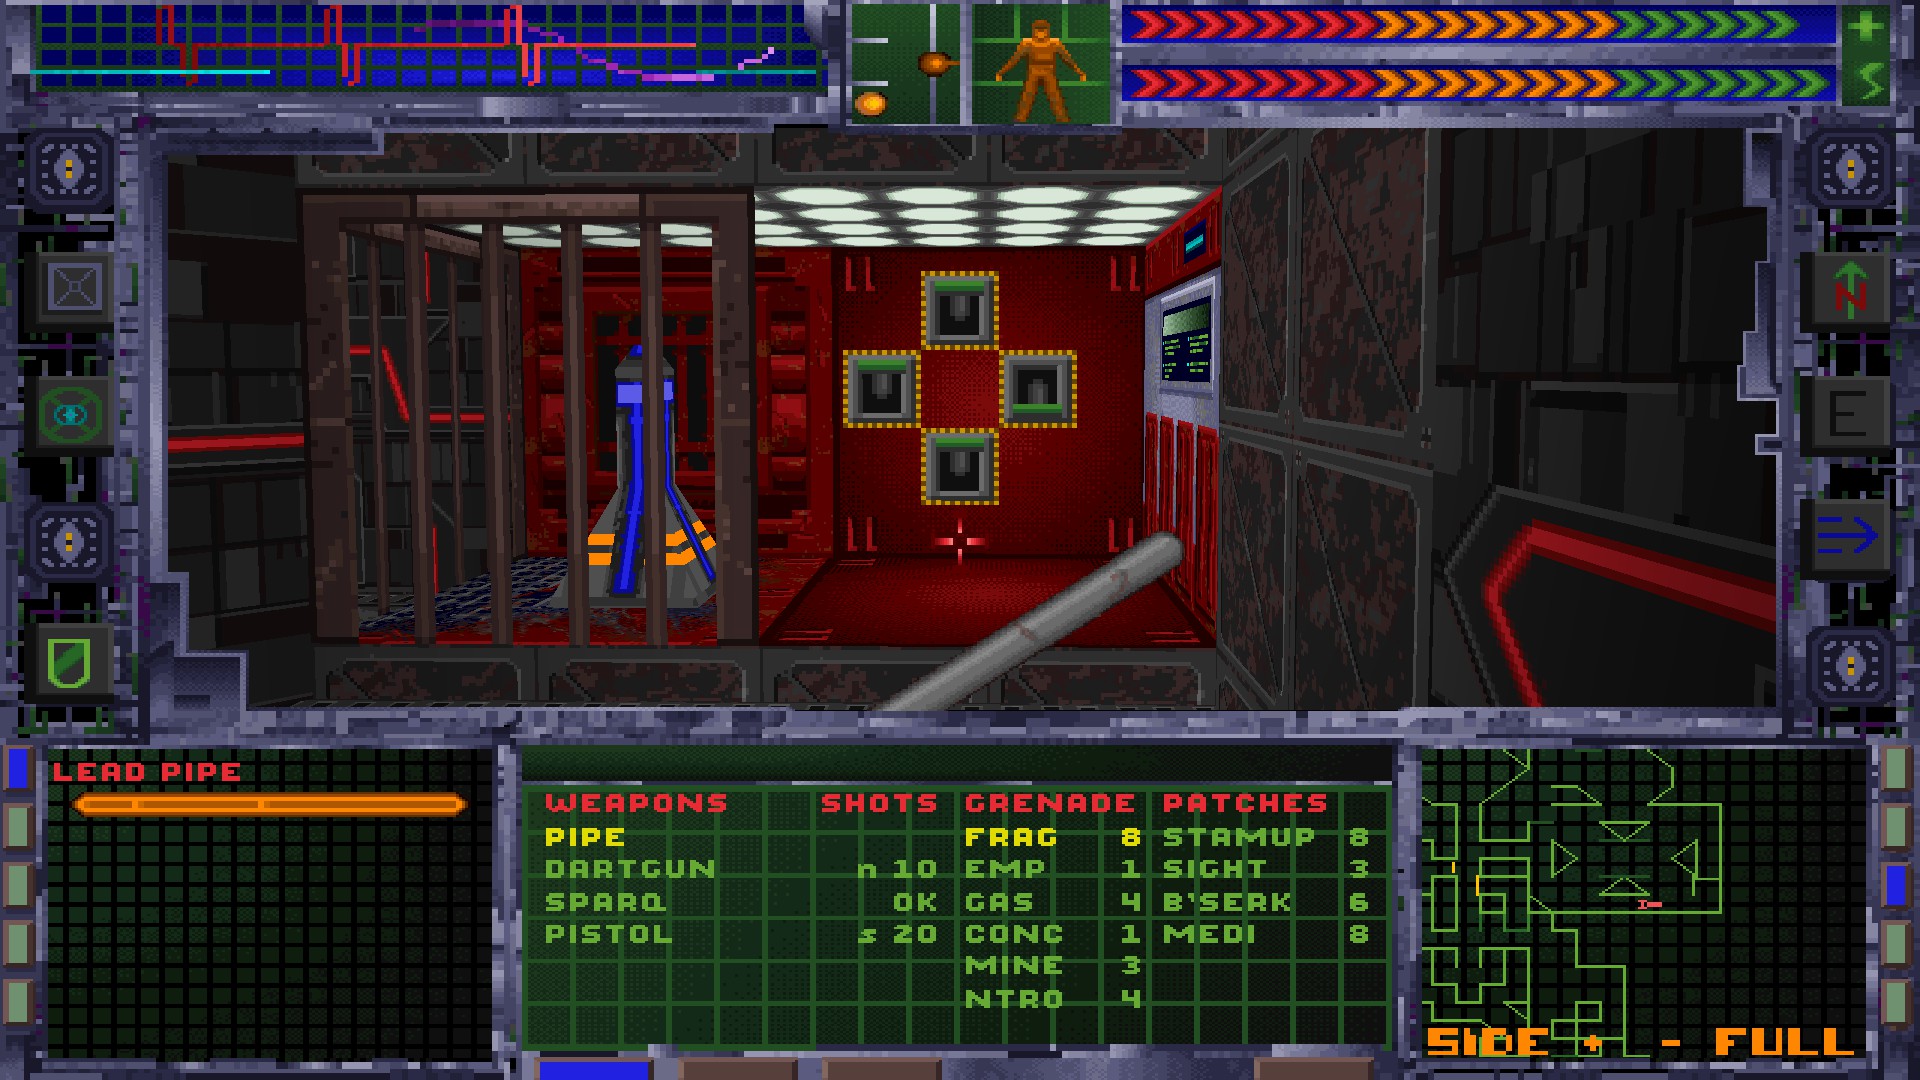
Use your SCI Access to open the Library. Solve the puzzle to display the Laser Safety Override Code. It’s 199.
Go to Gamma. Open the Radioactive Storage, disable the force field by pressing the button on the back wall and grab Chemical Isotope X-22.
Destroy the computer nodes. Remember to write the number down. Take the nearby elevator to Level R.

Level R – Reactor
Solve the puzzle to open the door.
Go to the Radiation Shield Reactor, put Chemical Isotope X-22 into the isotope x receptacle and pull the shield generator control lever.
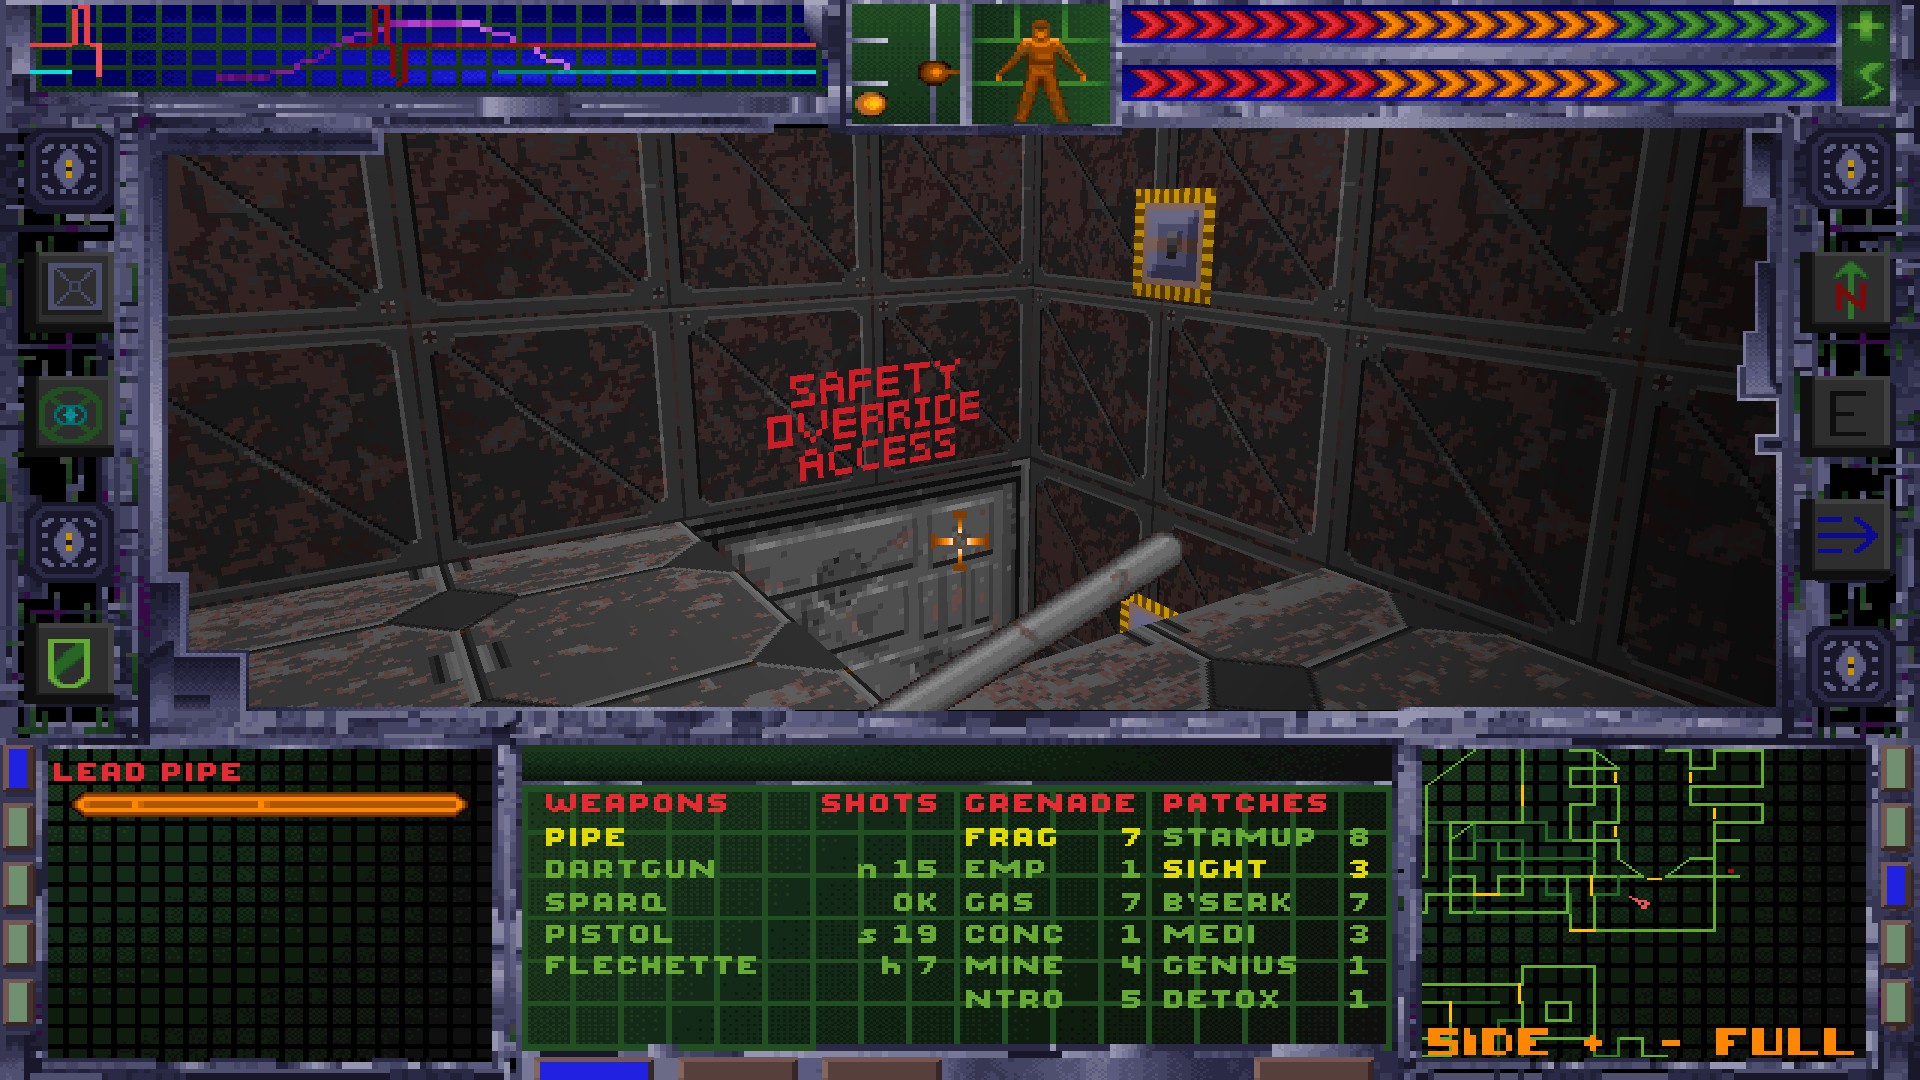
Enter the Safety Override Access.
Turn right, take the repulsor lift upwards, enter the safety override code (199) and flip the laser override control lever. Go back to Level 2.
Firing The Laser
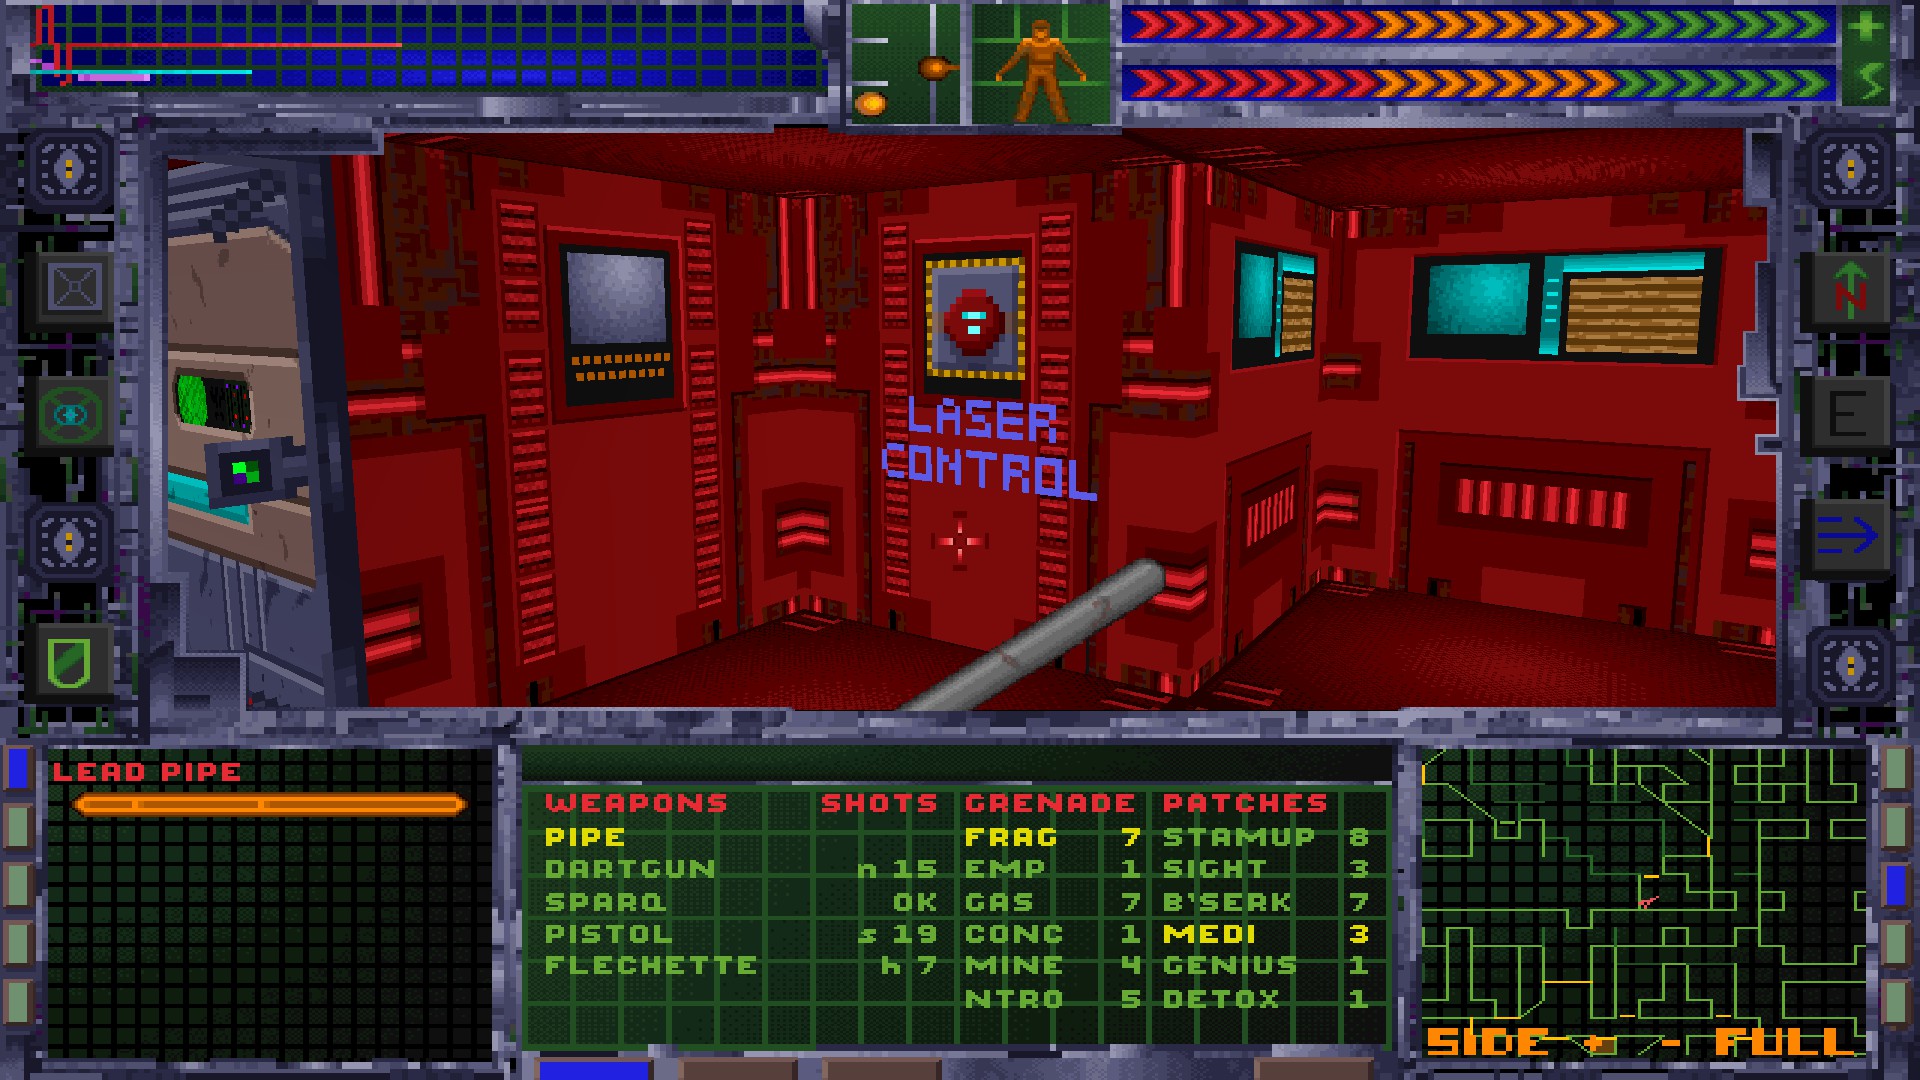
Go to the center of Level 2 and use the particle beam activation control. Afterwards use the elevator to go up to Level 3.
Level 3 – Maintenance
Destroy the computer node. Don’t forget to write the number down.
Take the freight elevator to Level 4.
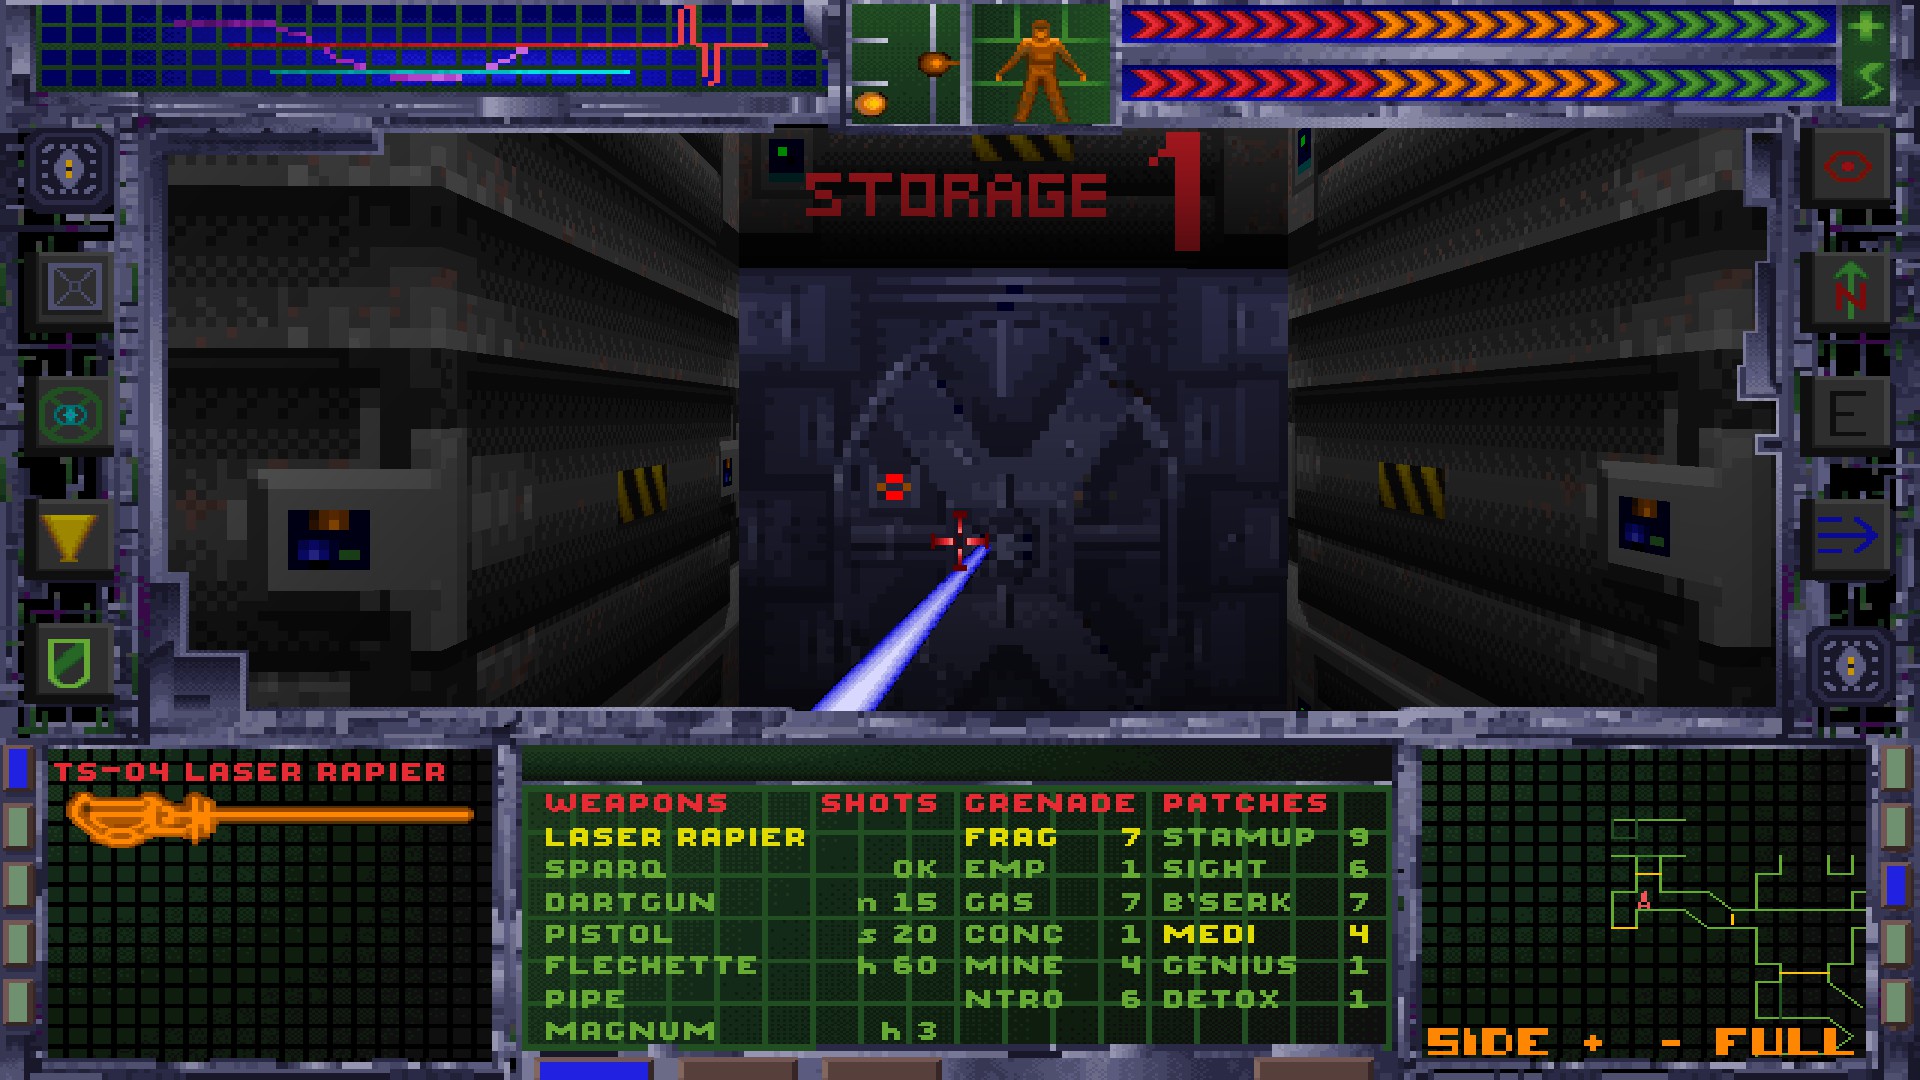
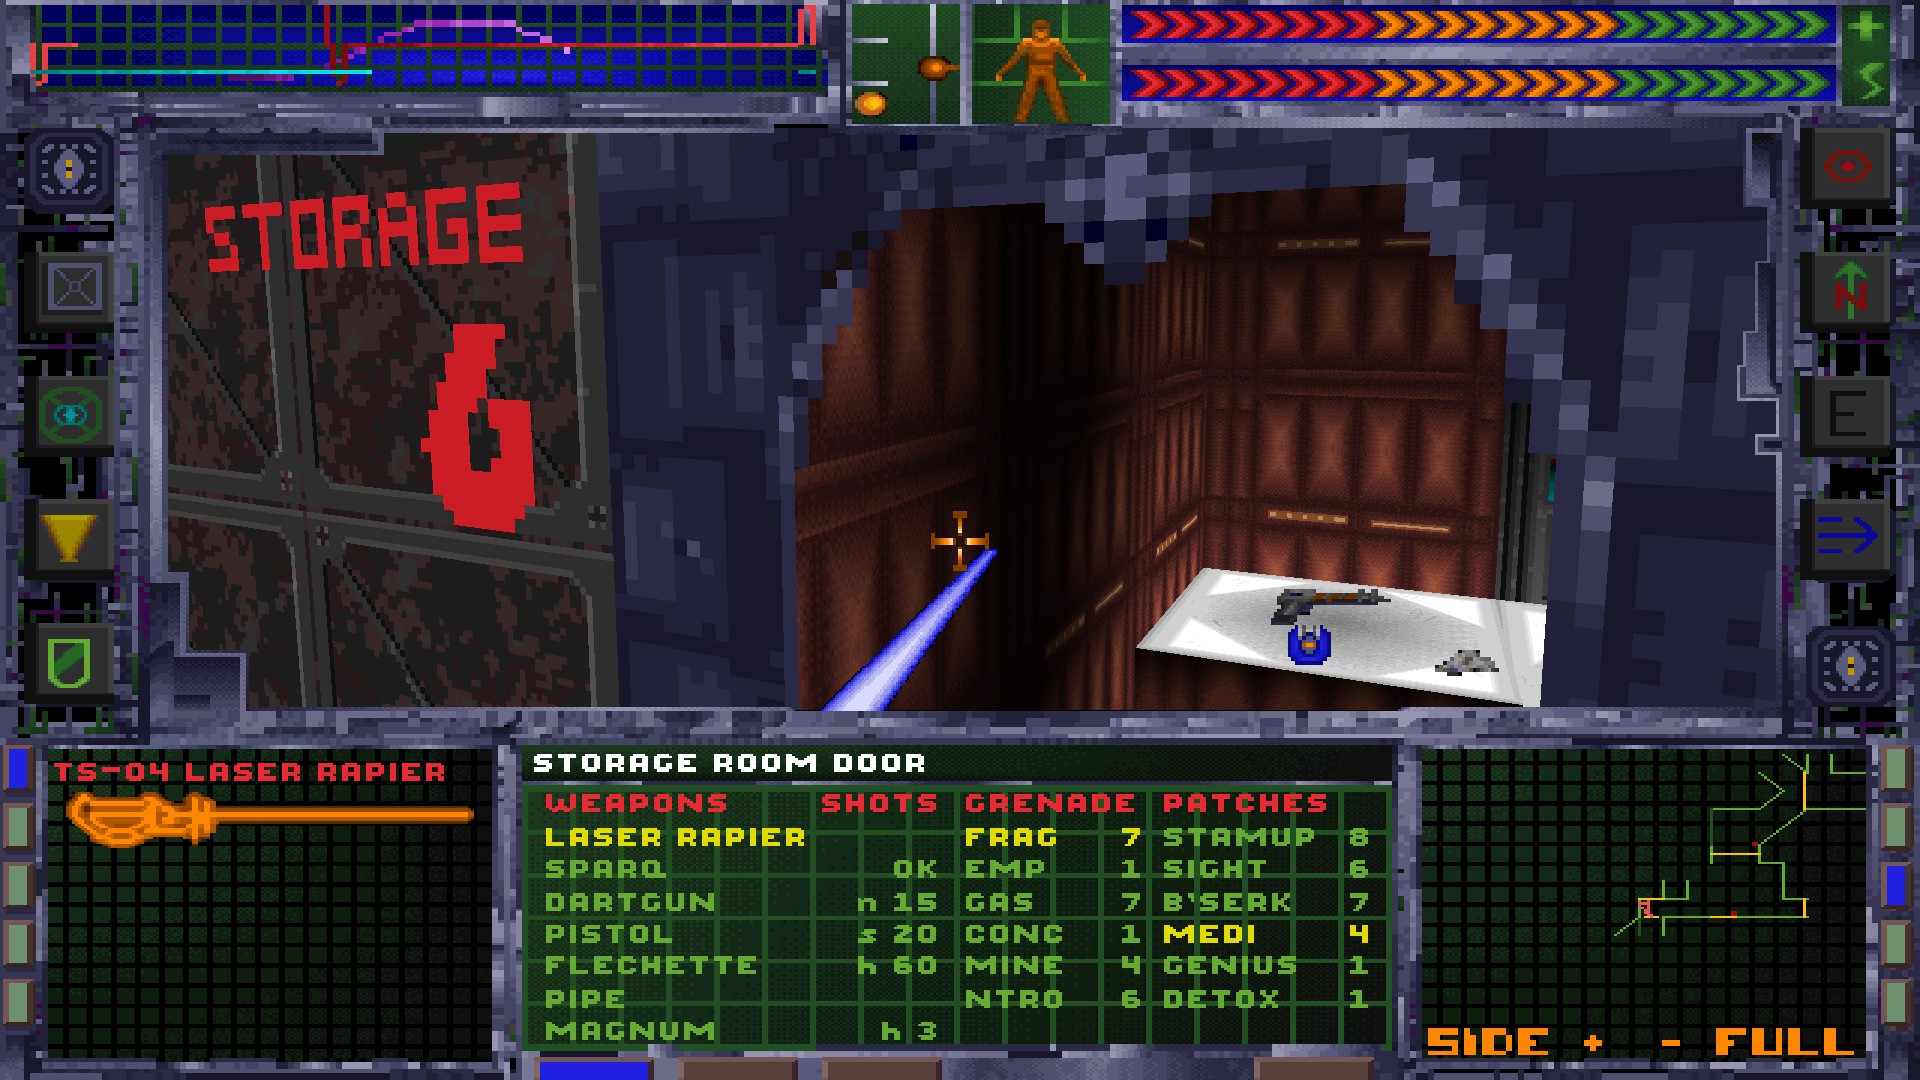
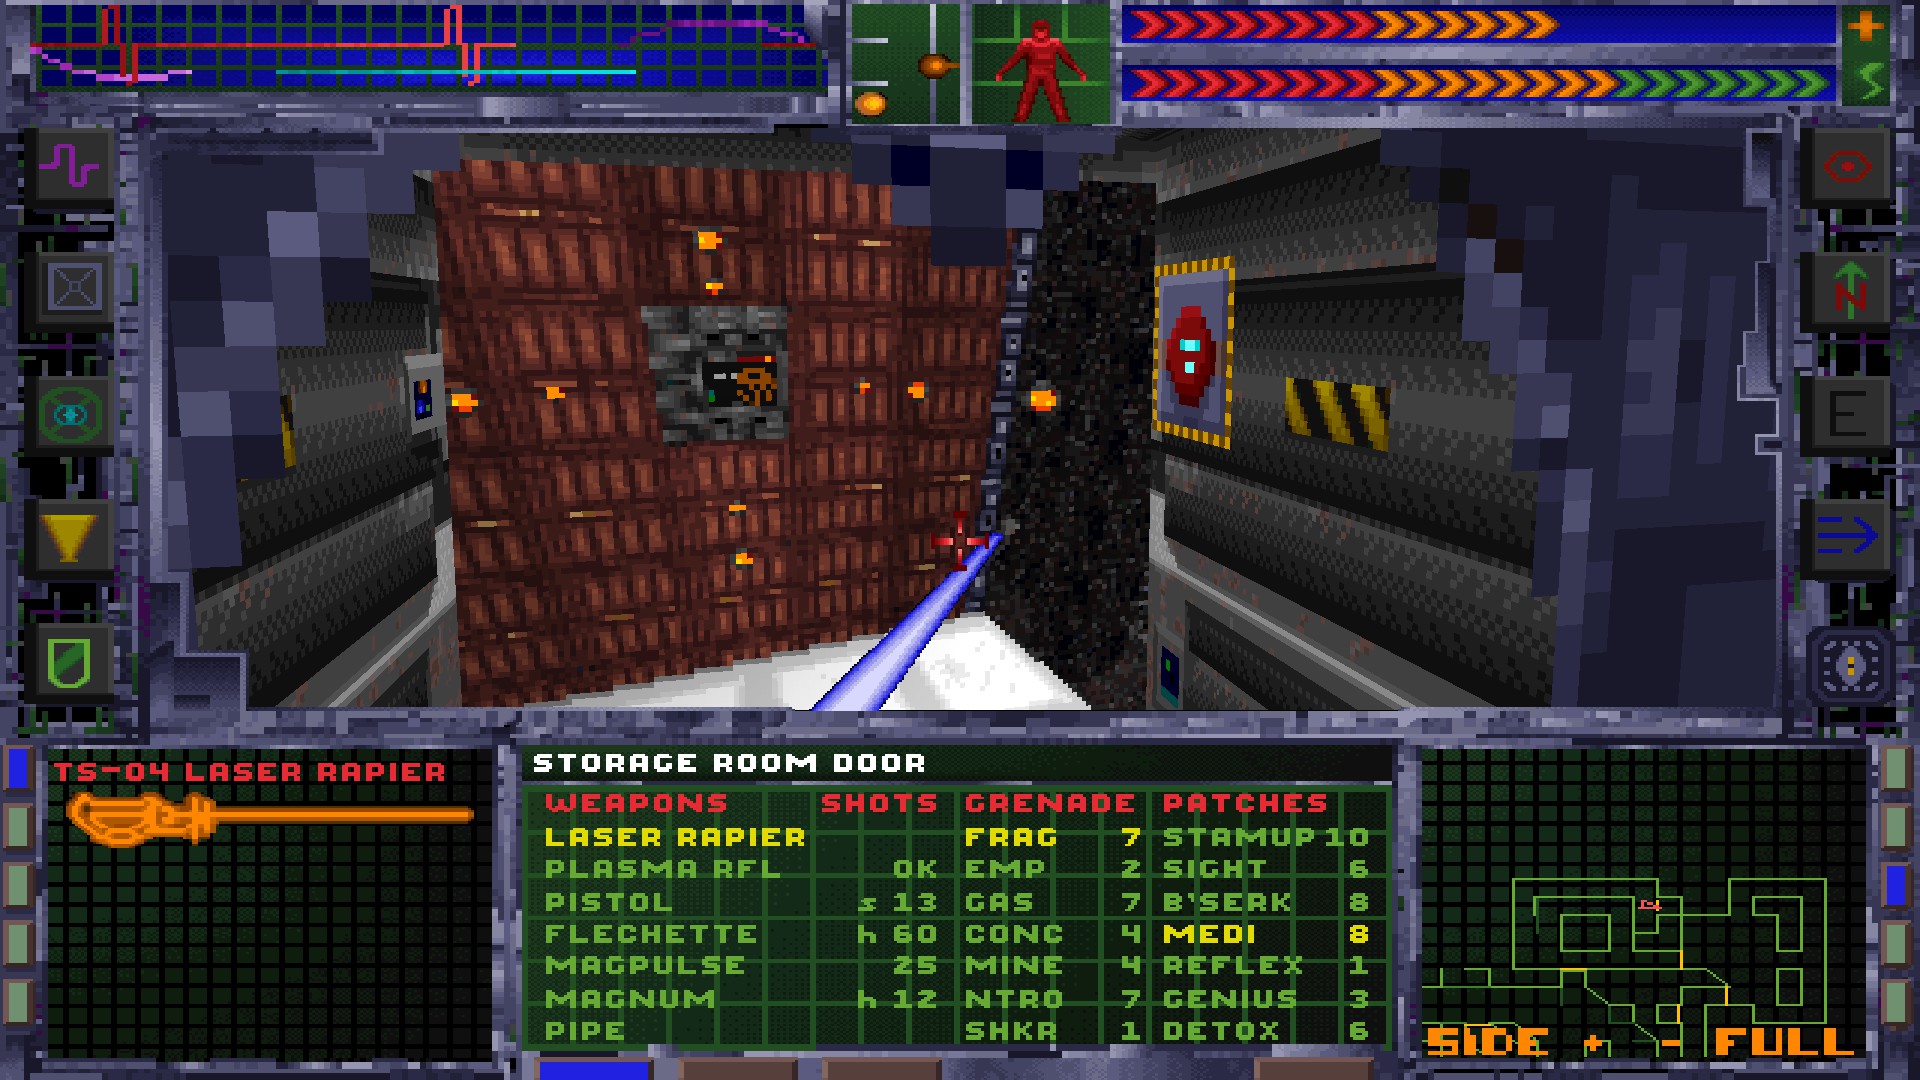
Level 4 – Storage
Destroy the computer nodes. Don’t forget the number.
Go to Storage 1.
Jump down and press the button that’s hidden under a crate.
Ride the repulsor lift back up, make your way across the platforms and get four units of Z-44 Plastique (TM).
Grab the audiolog in Storage 6. It tells you that the last number of the code to open the storage cell is 8.
Go to Storage 7. Pull the lever to activate the repulsor lift. Use the lift to get up on the bridge and cross it.
Get the audiolog. It tells you that the first number of the code top open the storage cell is 8.
Open the storage cell using the code 838 and grab the Environmental Protection Suit. Take the elevator to Level 5.

Level 5 – Flight Deck
Solve the puzzle to extend the energy bridge.
Go up the ladder and follow the corridor.
Destroy the computer node. You know what to do. After that, take the elevator back to Level 3 and the elevator to Level 6 from there.
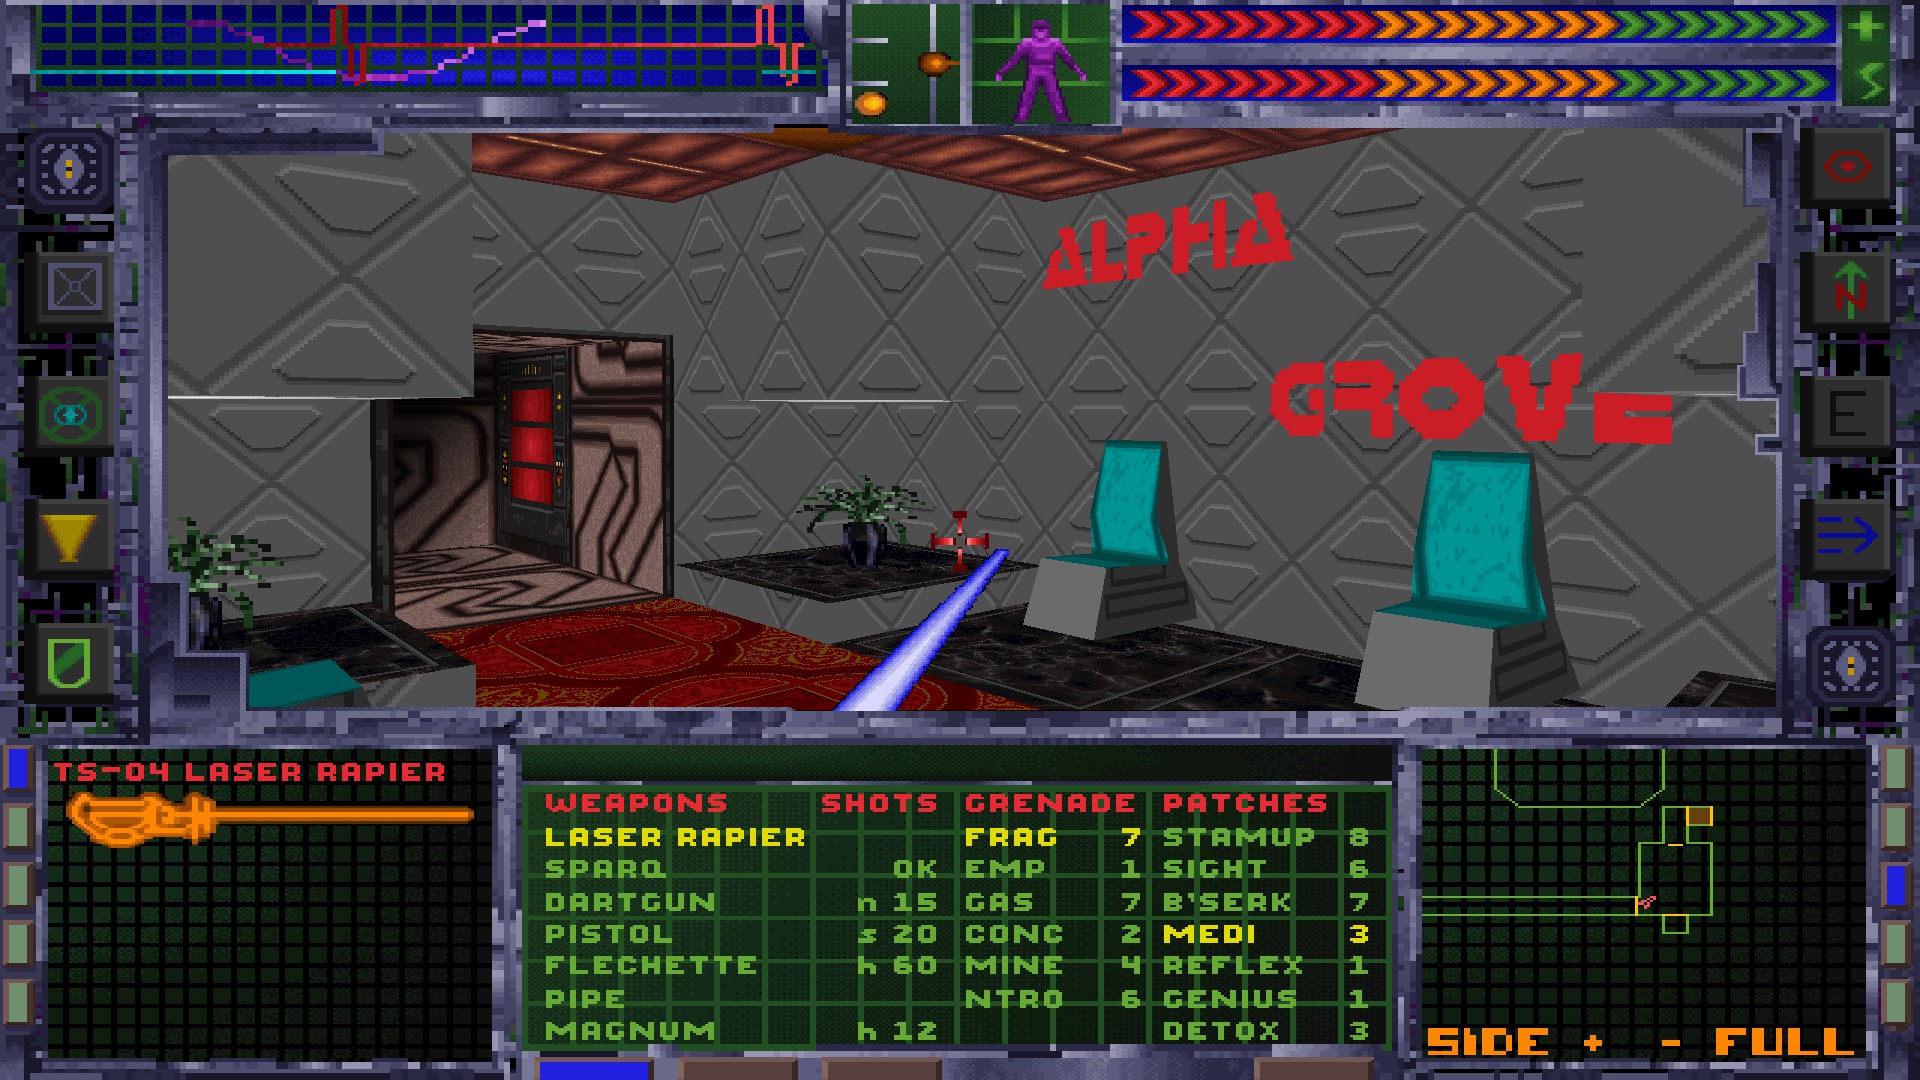
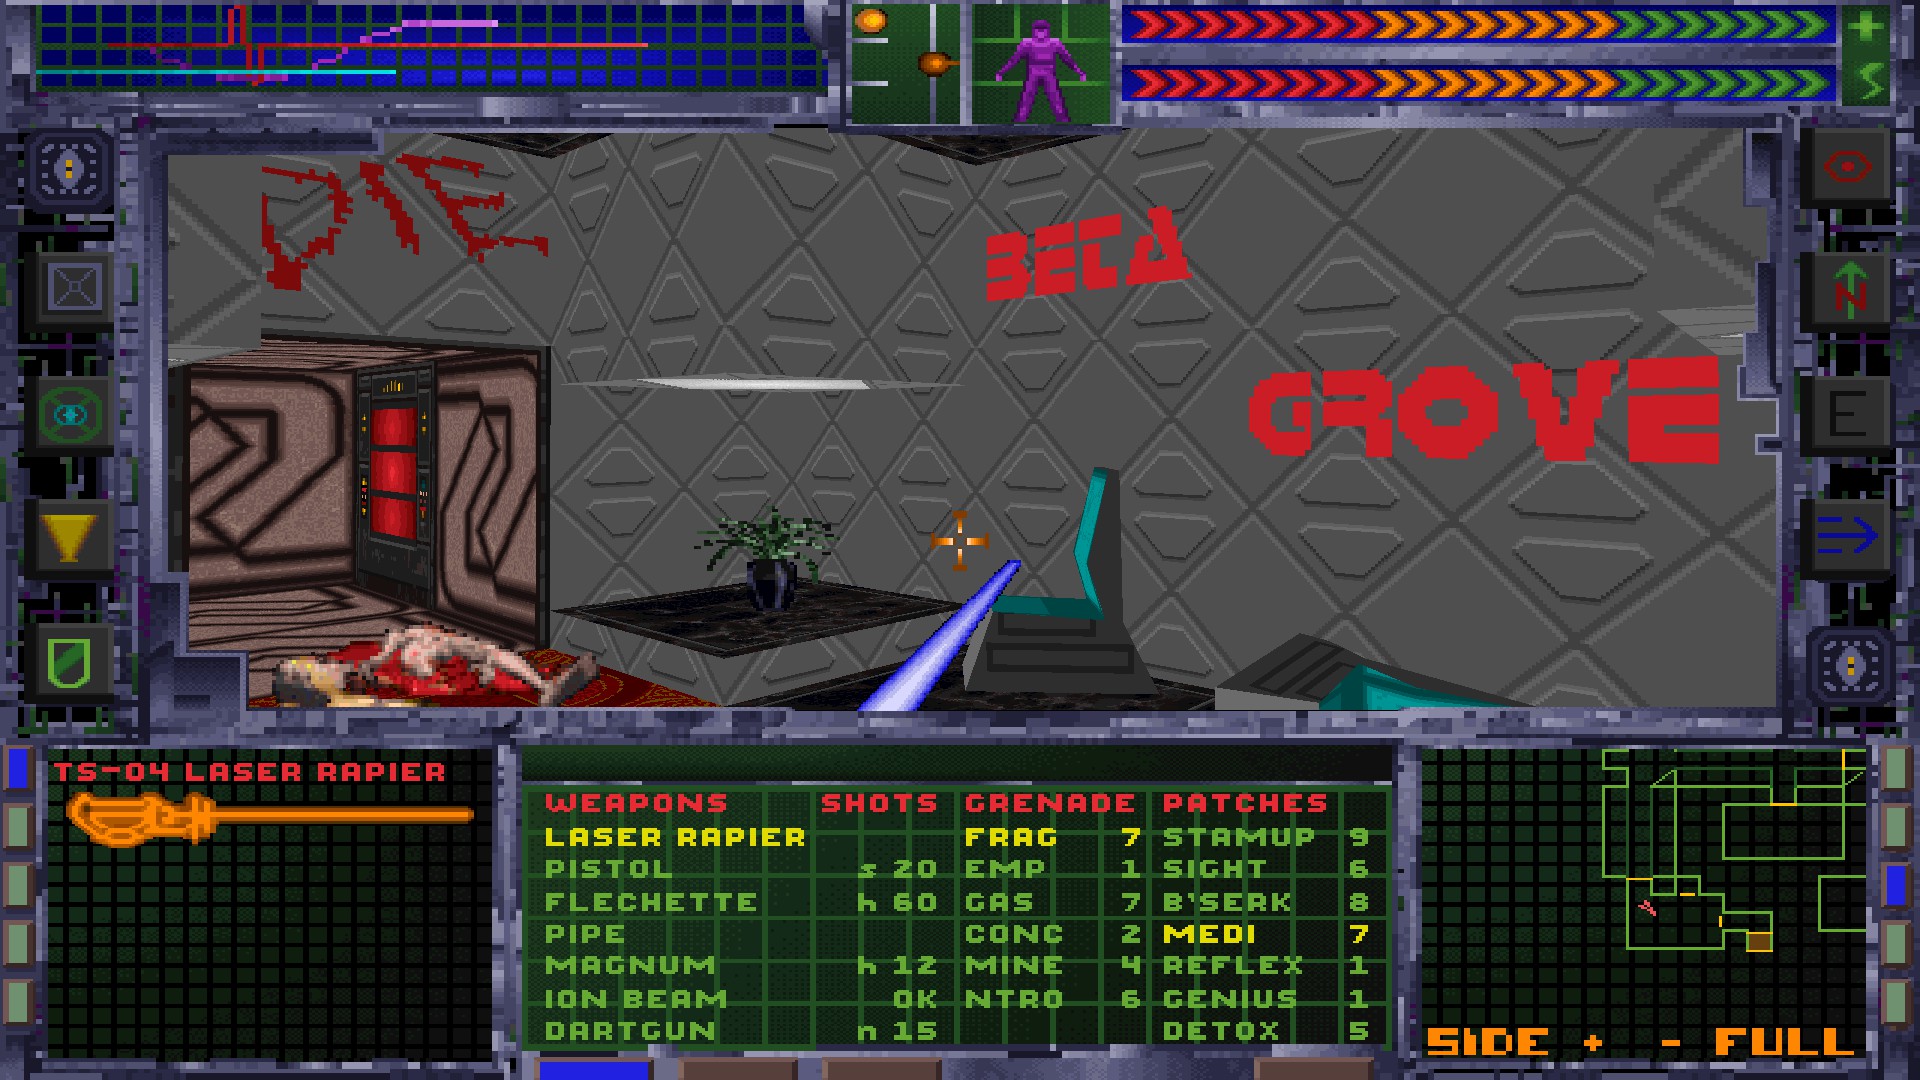
Level 6 – Executive
Enter Alpha Grove.
Disable Alpha Grove Safety Interlocks.
Enter Delta Grove.
Disable Delta Grove Safety Interlocks.
Use the cyberspace terminal to unlock the Beta Grove Elevator and grab a data object that tells you the code to open the Executive Maintenance Crawlway. It’s 711.
Grab the Adminstrative Access Card.
Use the Administrative Access Card to open this door.
Enter Beta Grove.
Open both doors and drop through the second one.
Disable Beta Grove Safety Interlocks.
Open the Executive Maintenance Crawlway using the code 711.
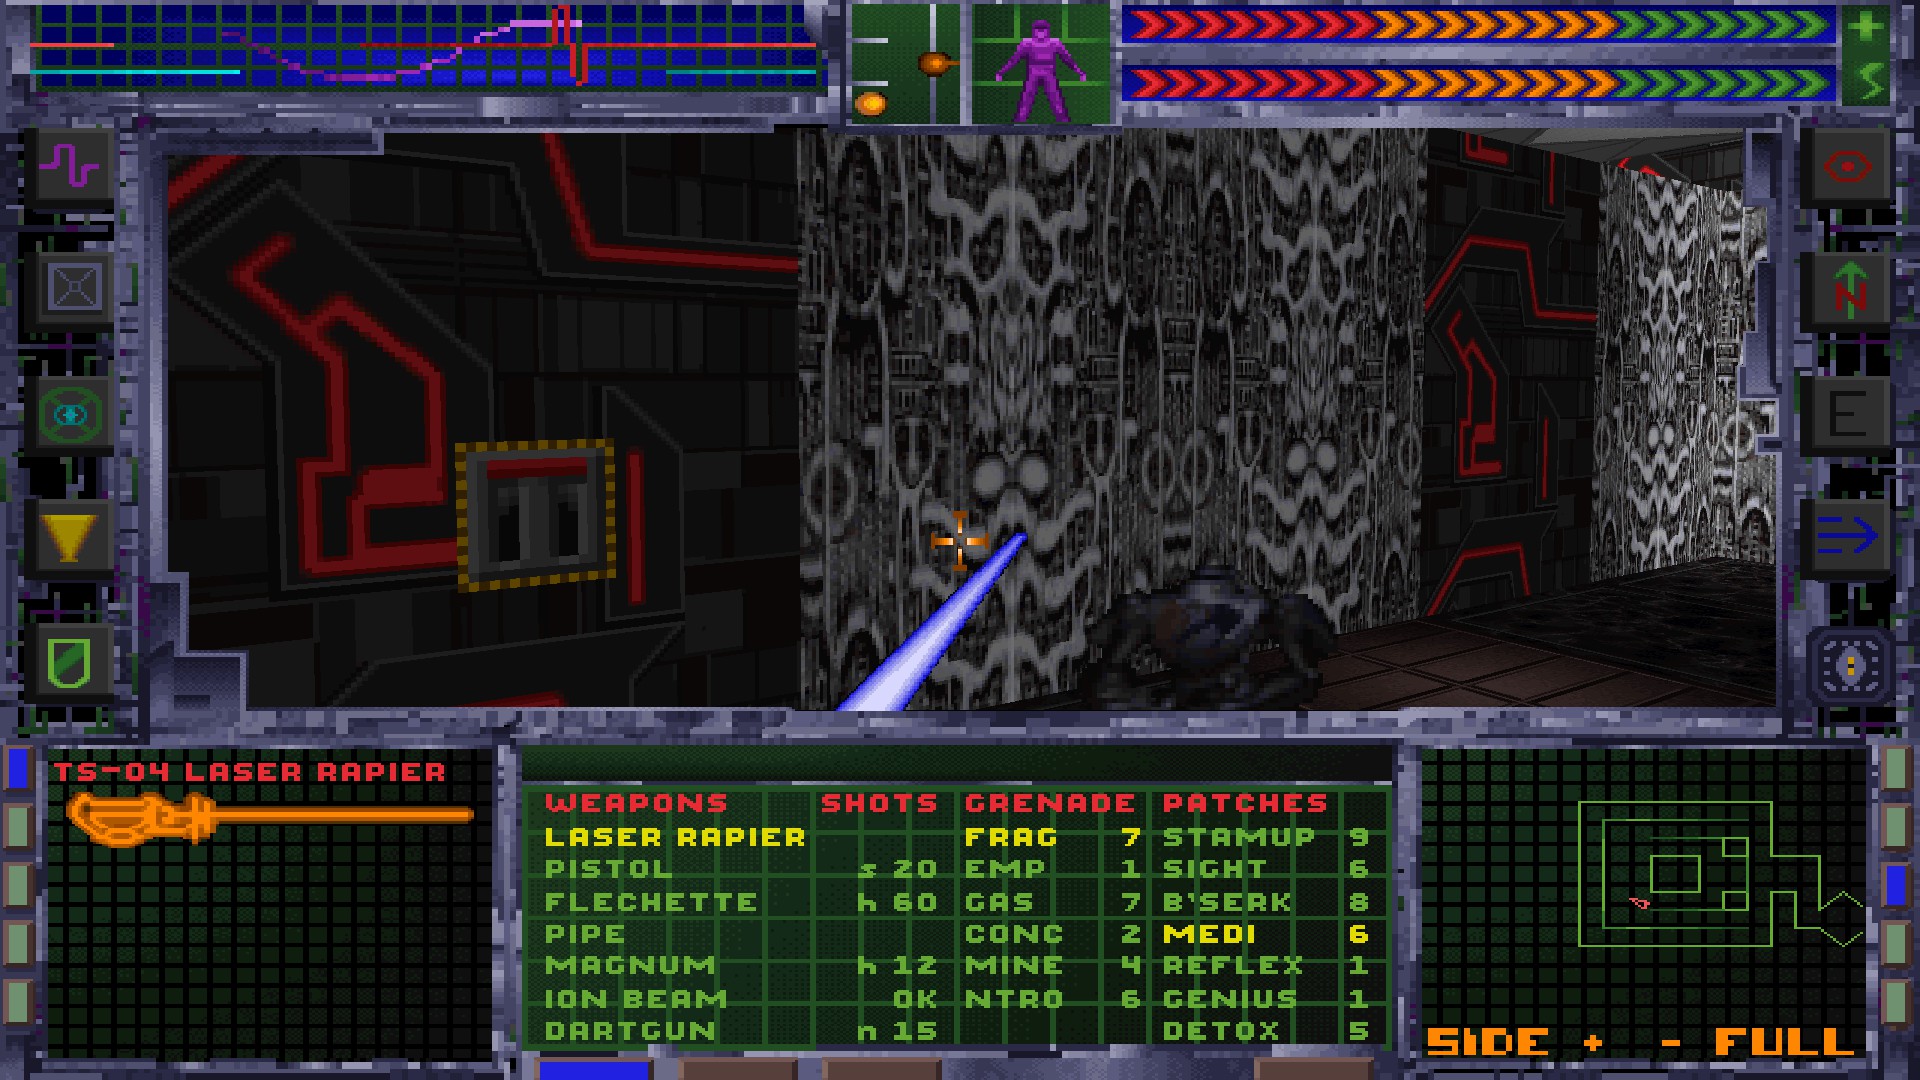
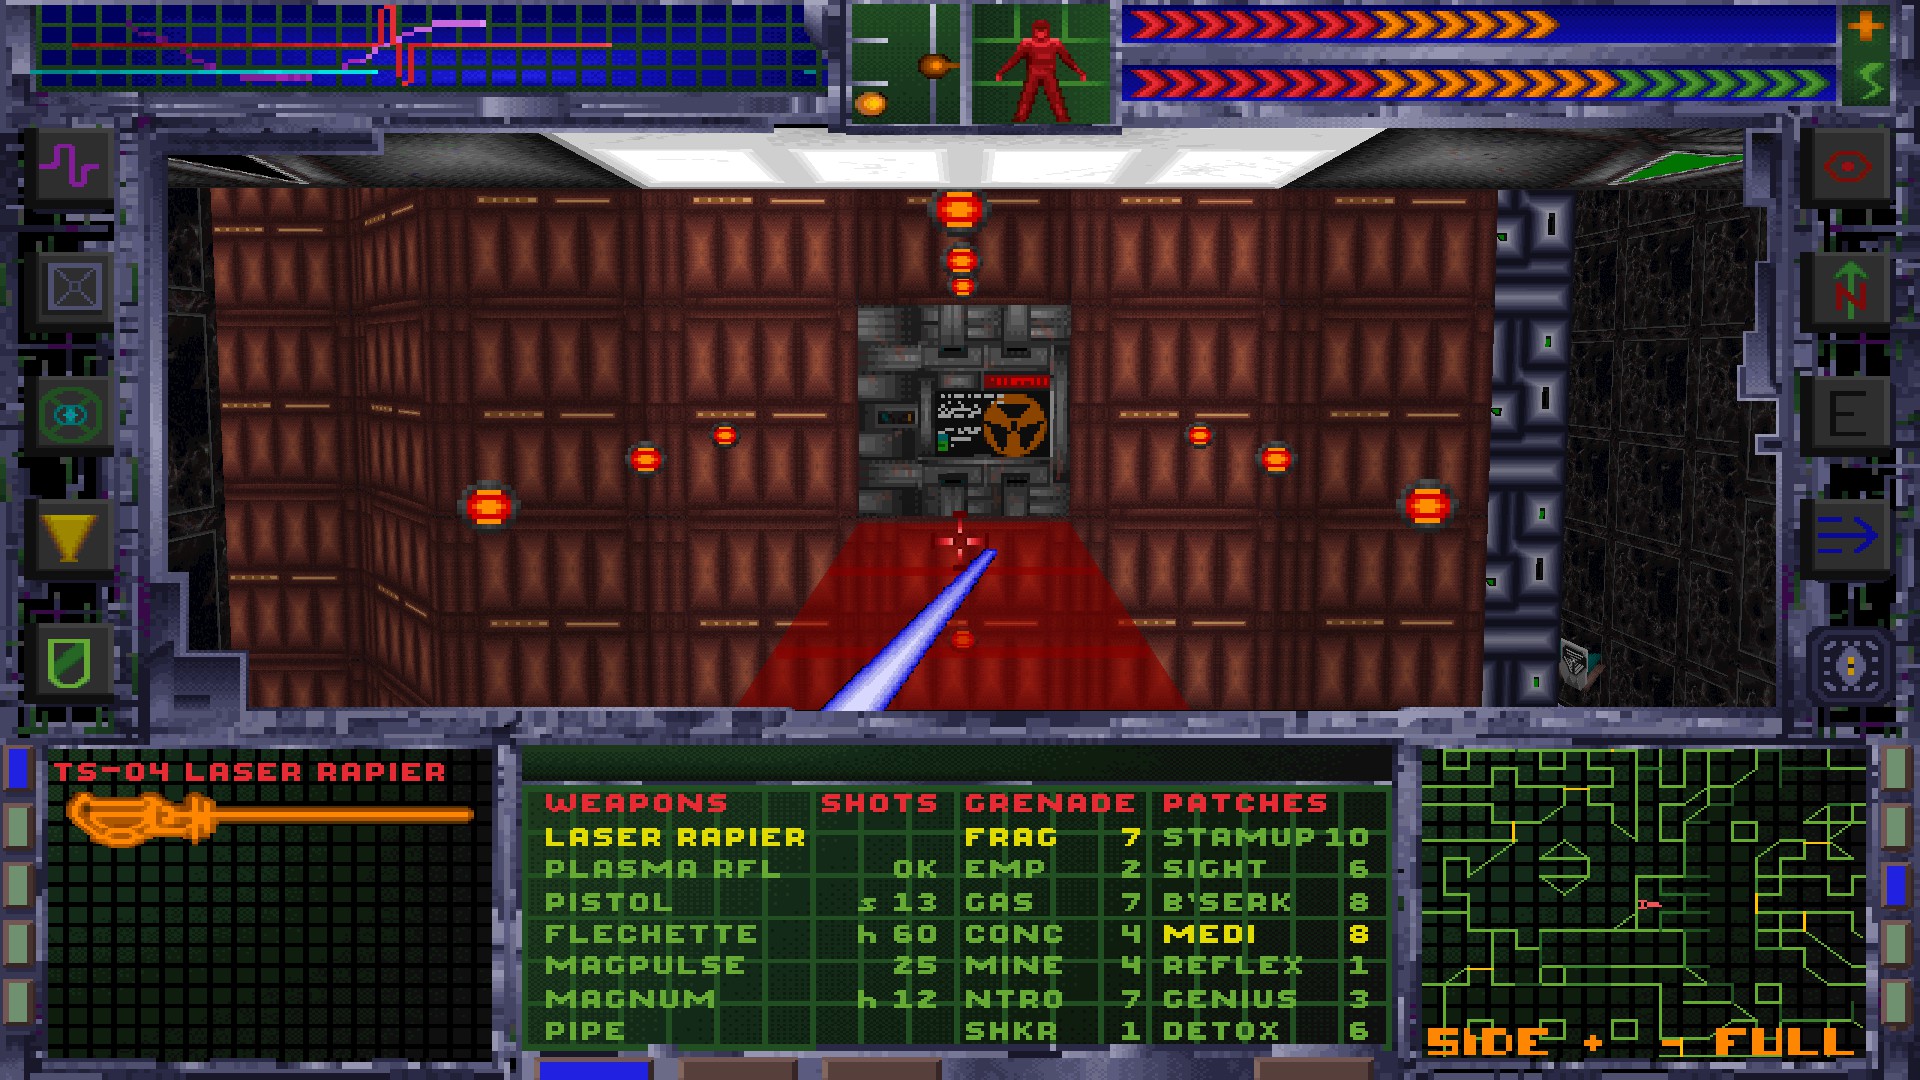
Destroy the computer nodes and write the number down.
Pull the lever.
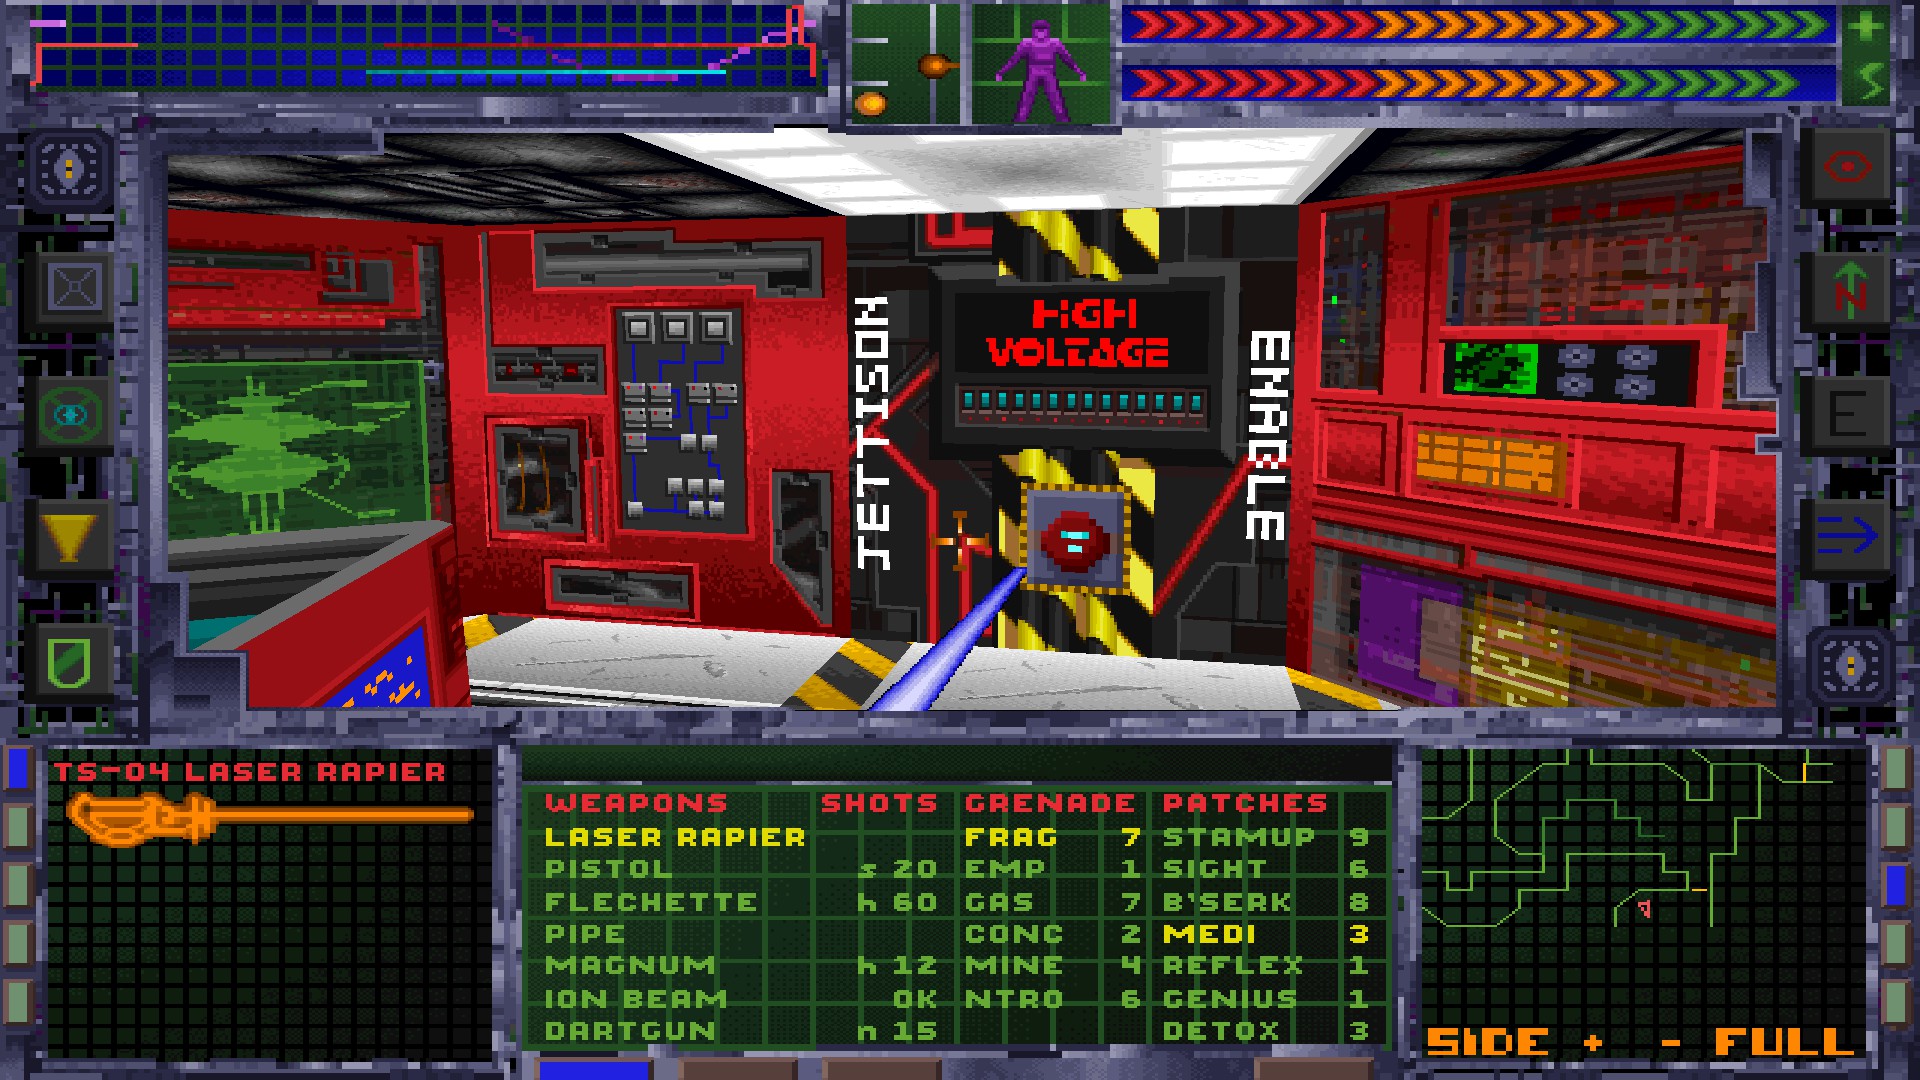
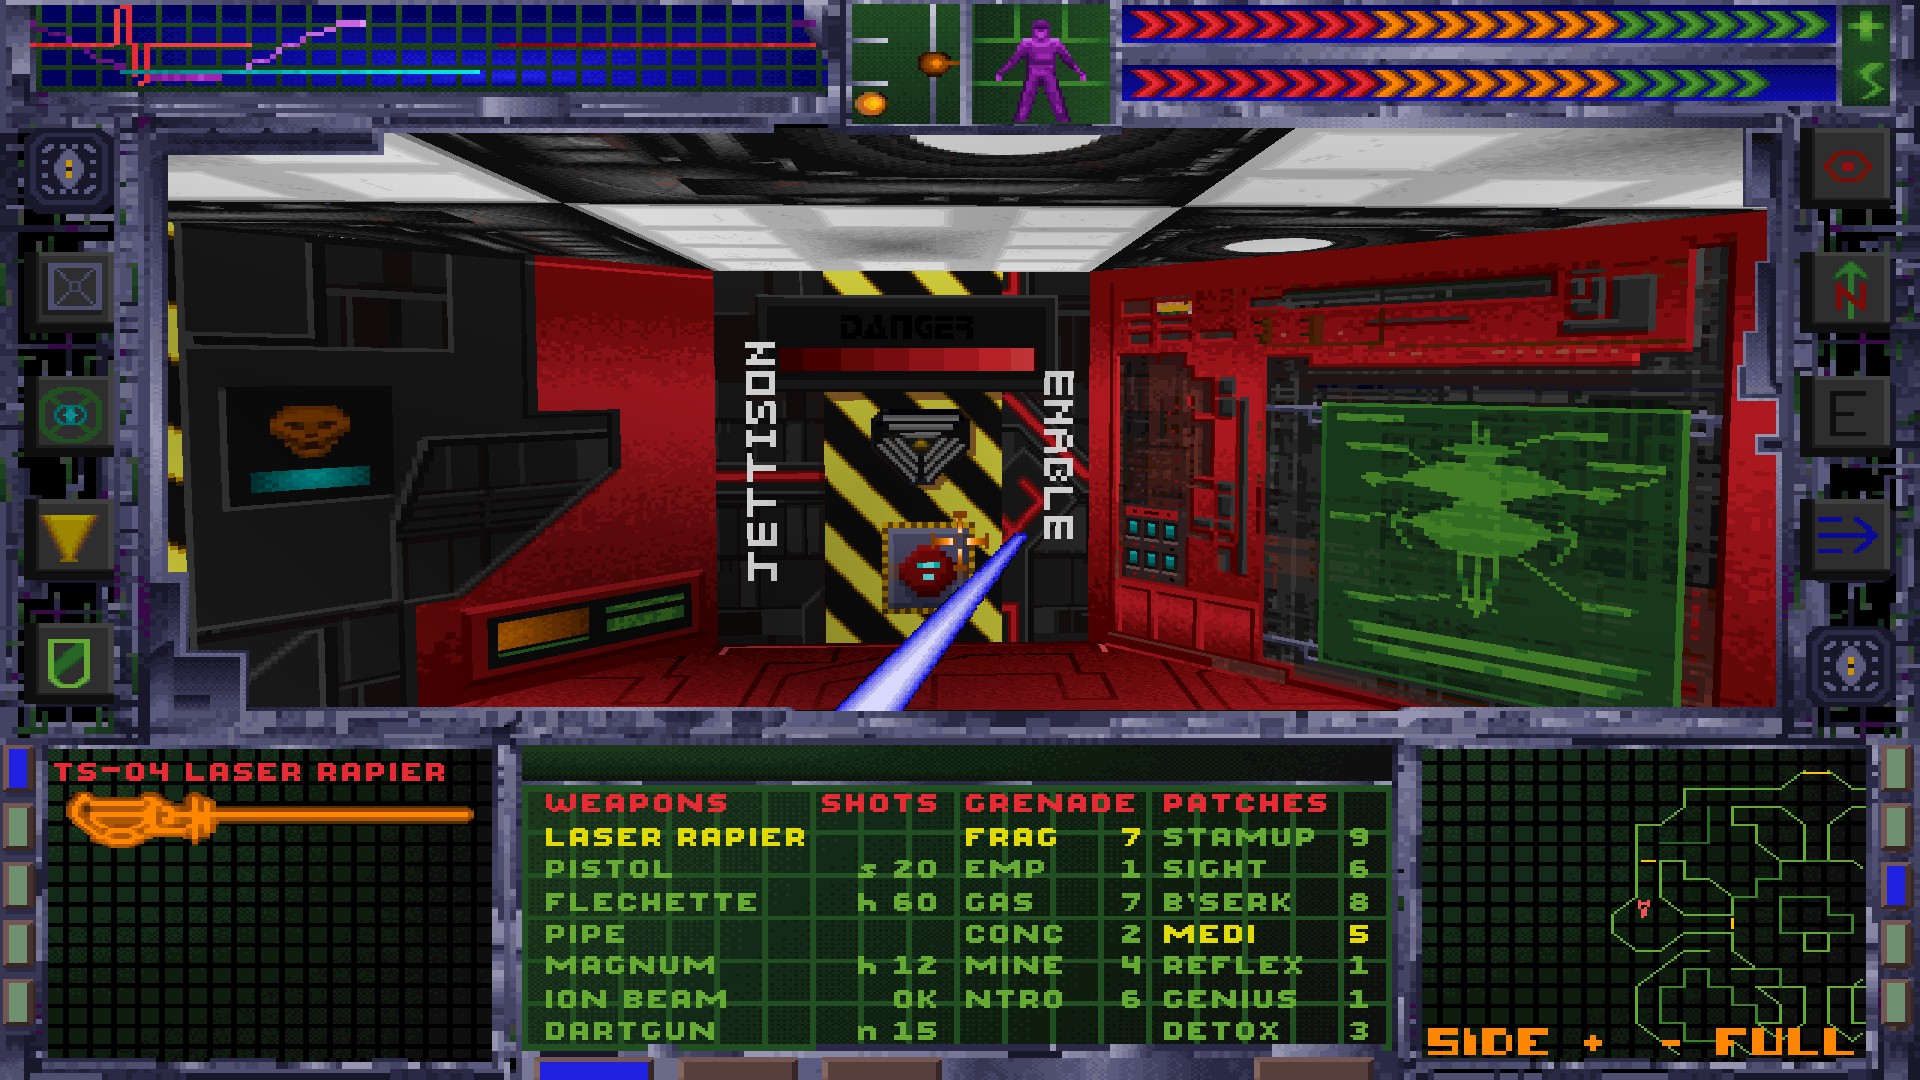
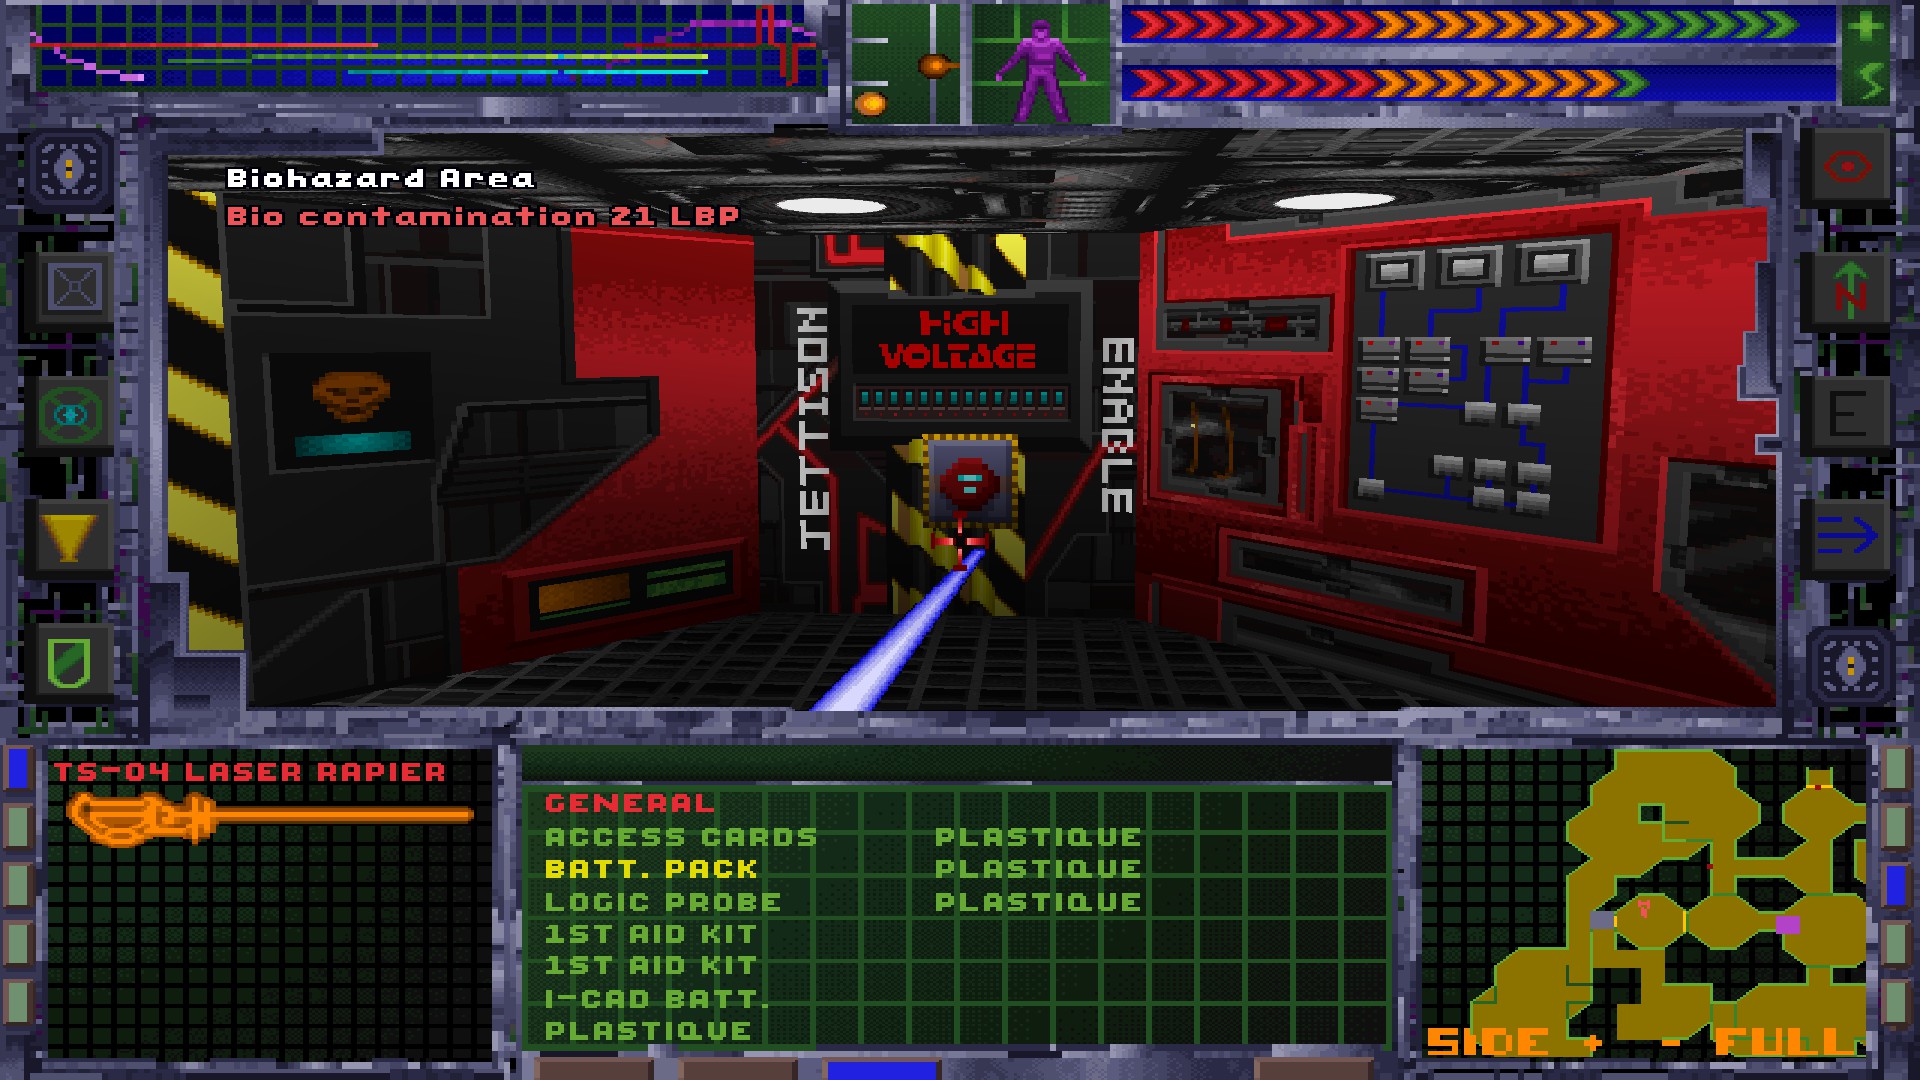
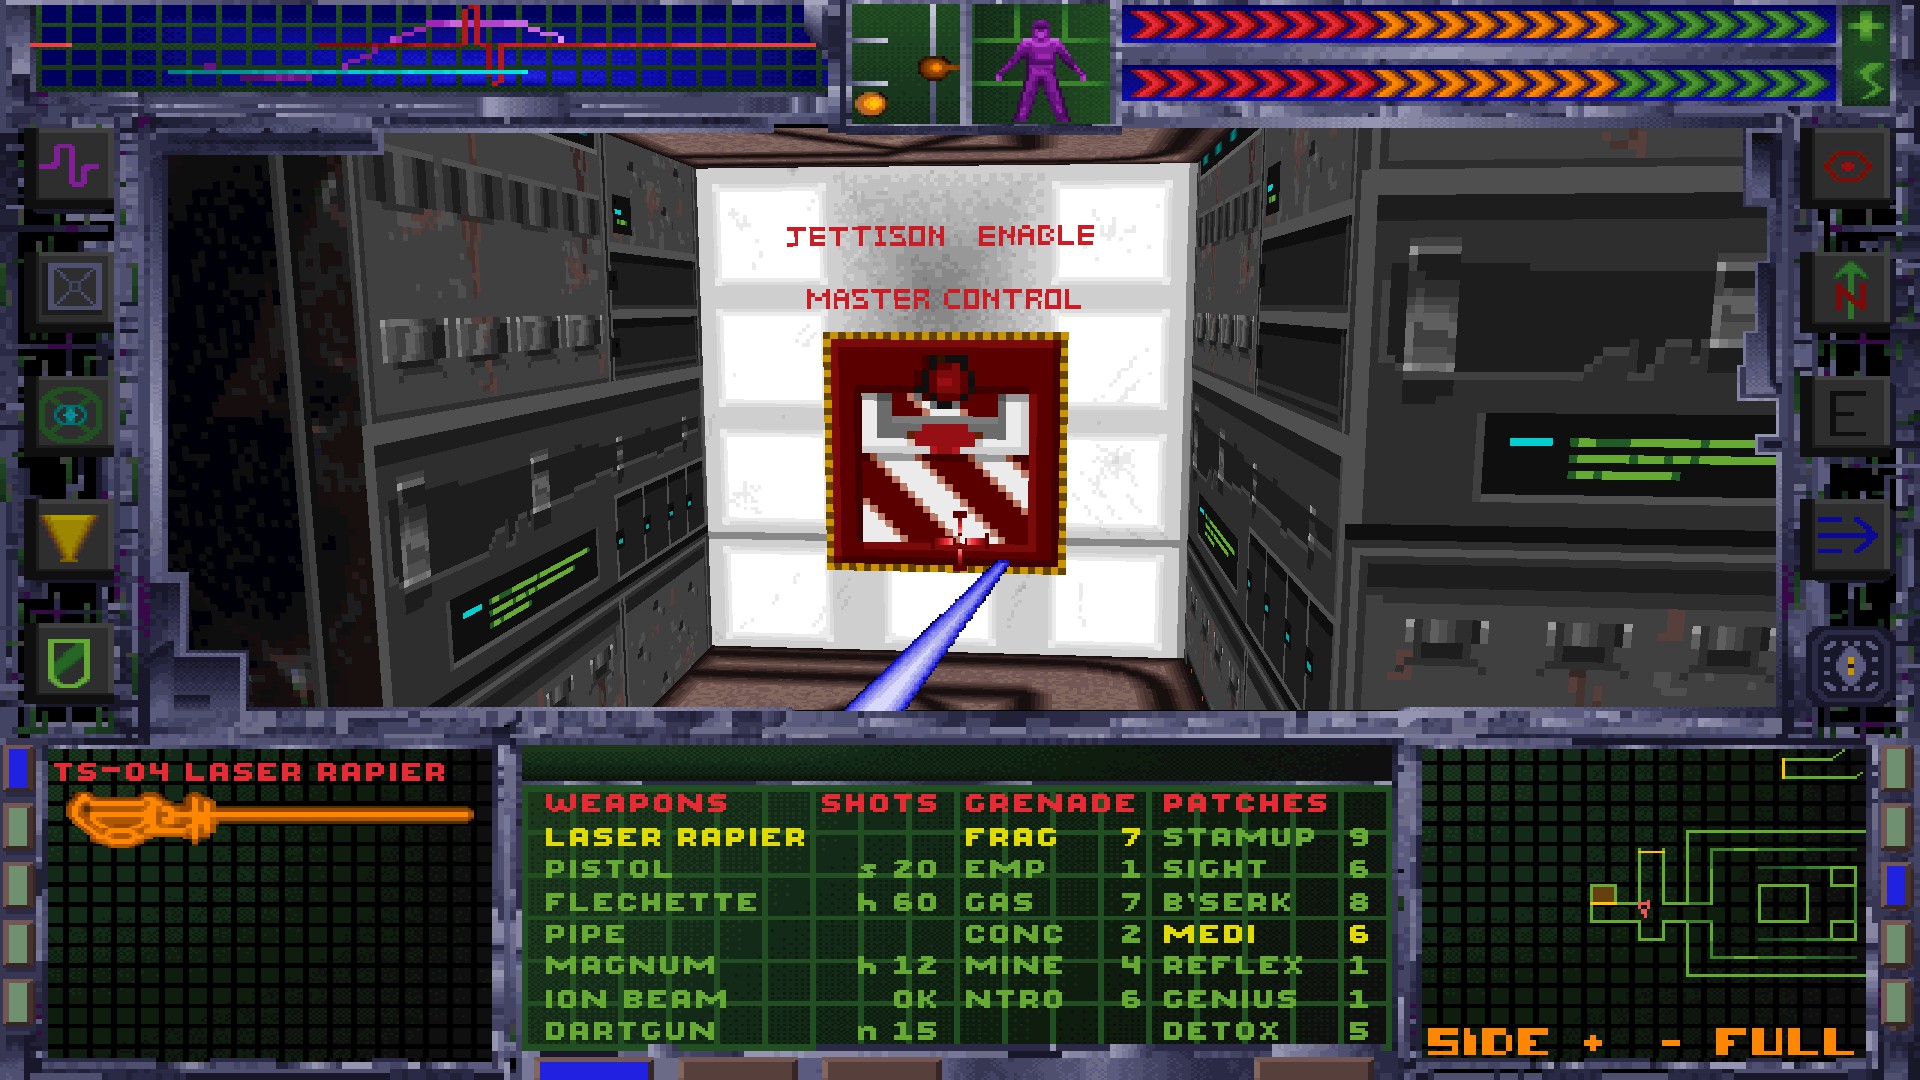
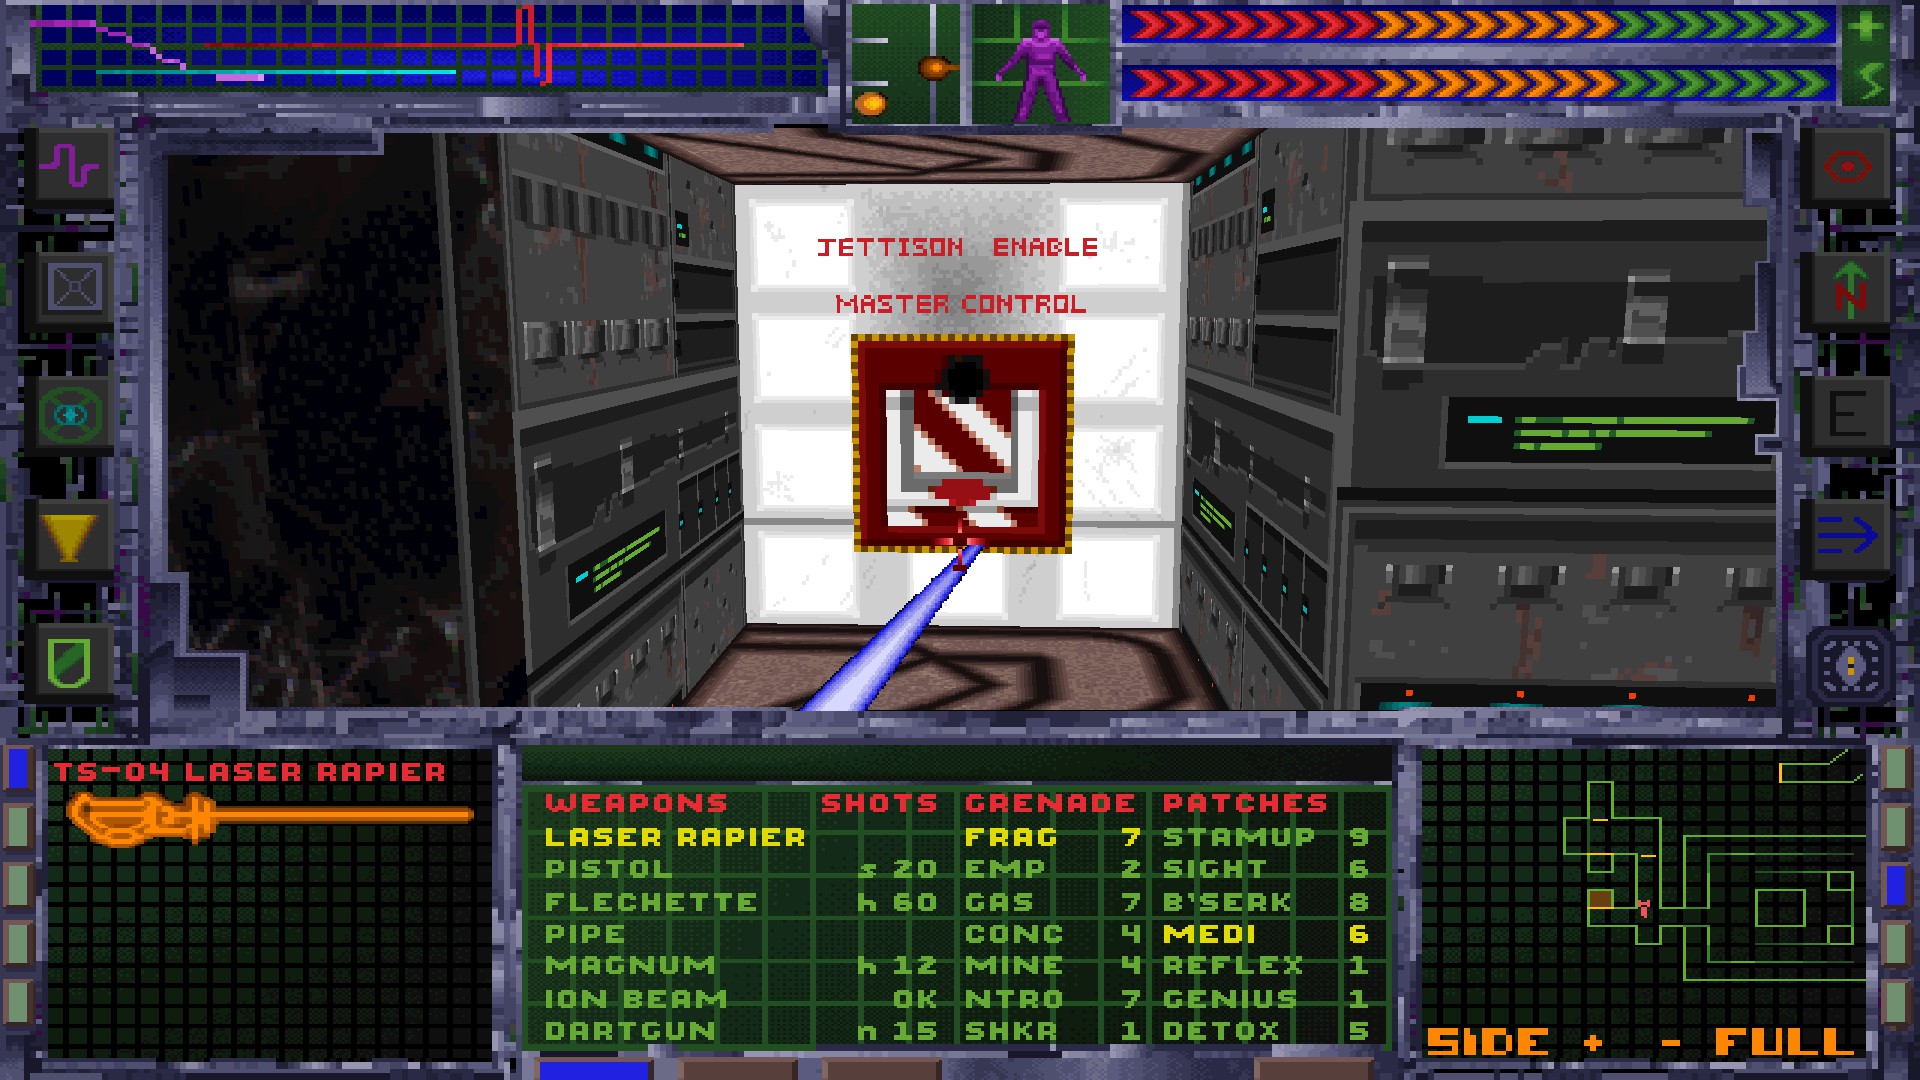
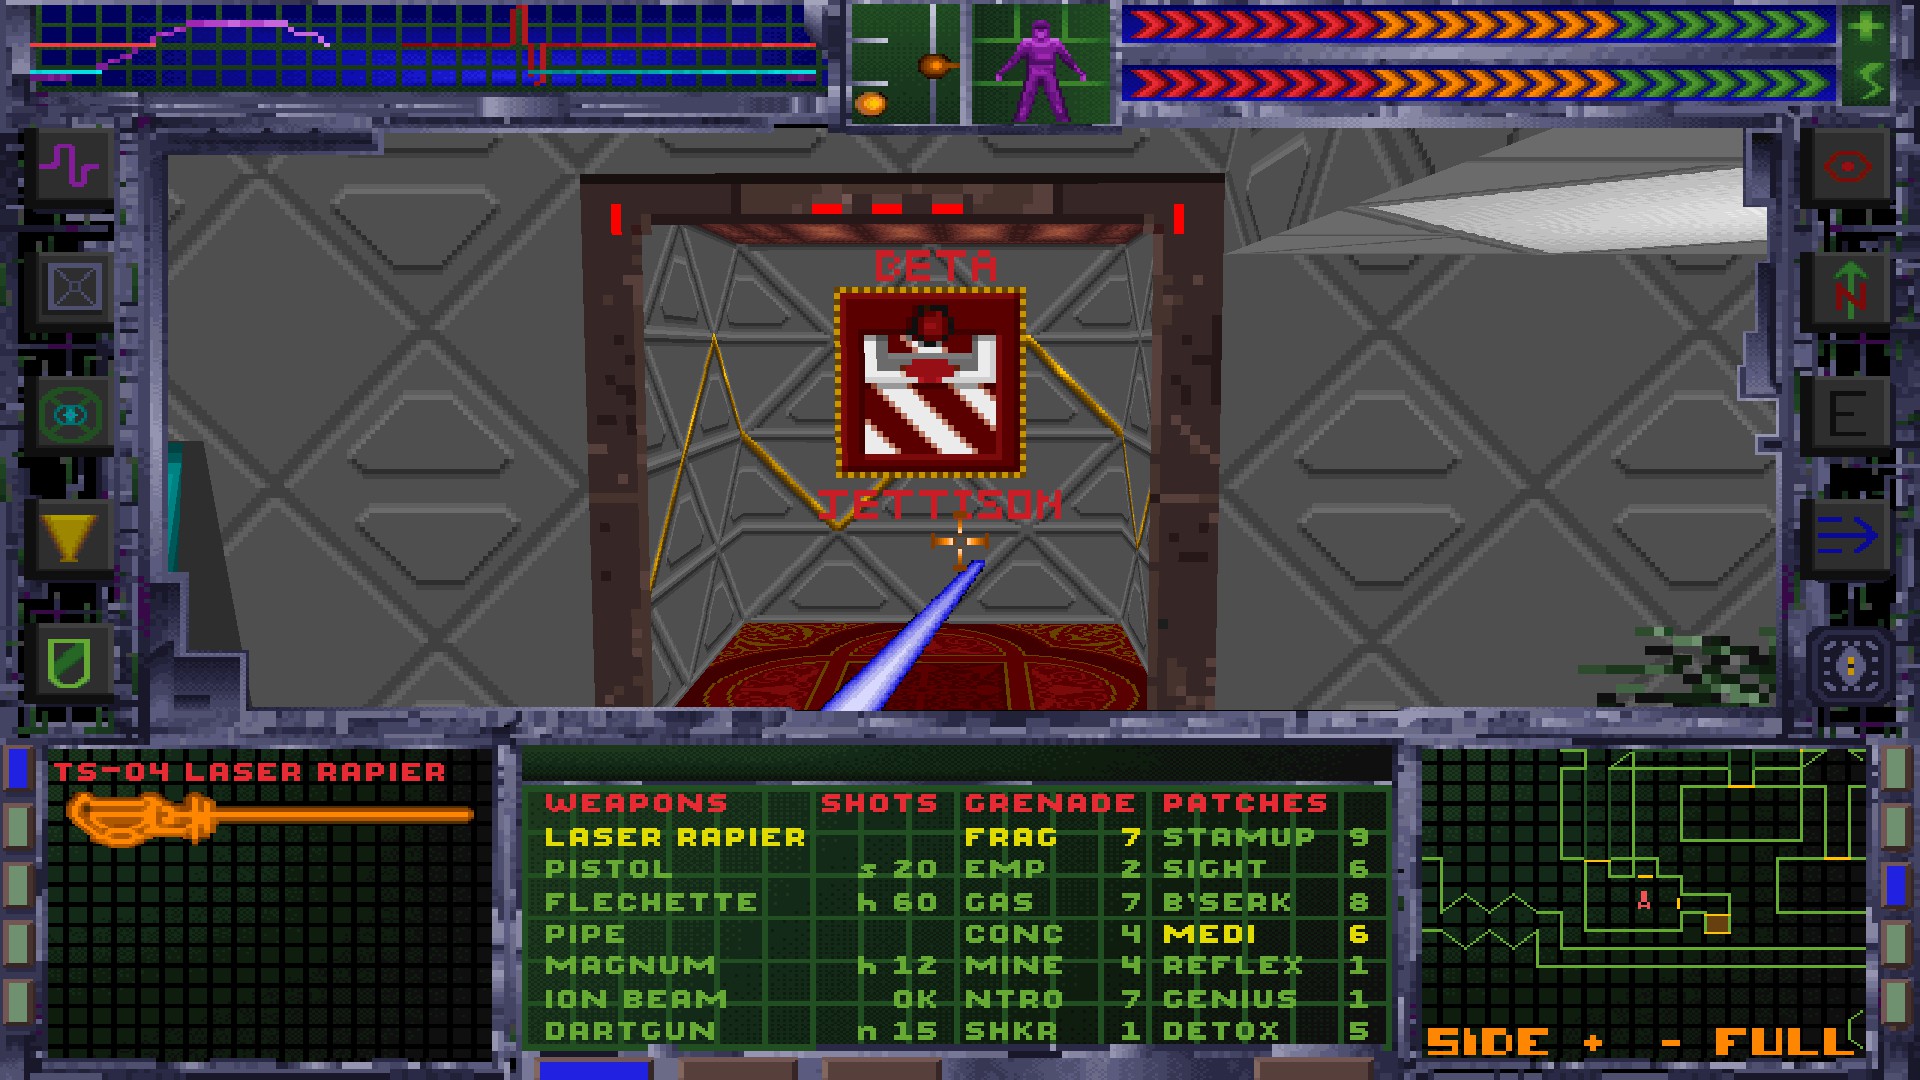
Flip the Jettison Enable Master Control Lever. Go back to Level 3.


Launching the Grove
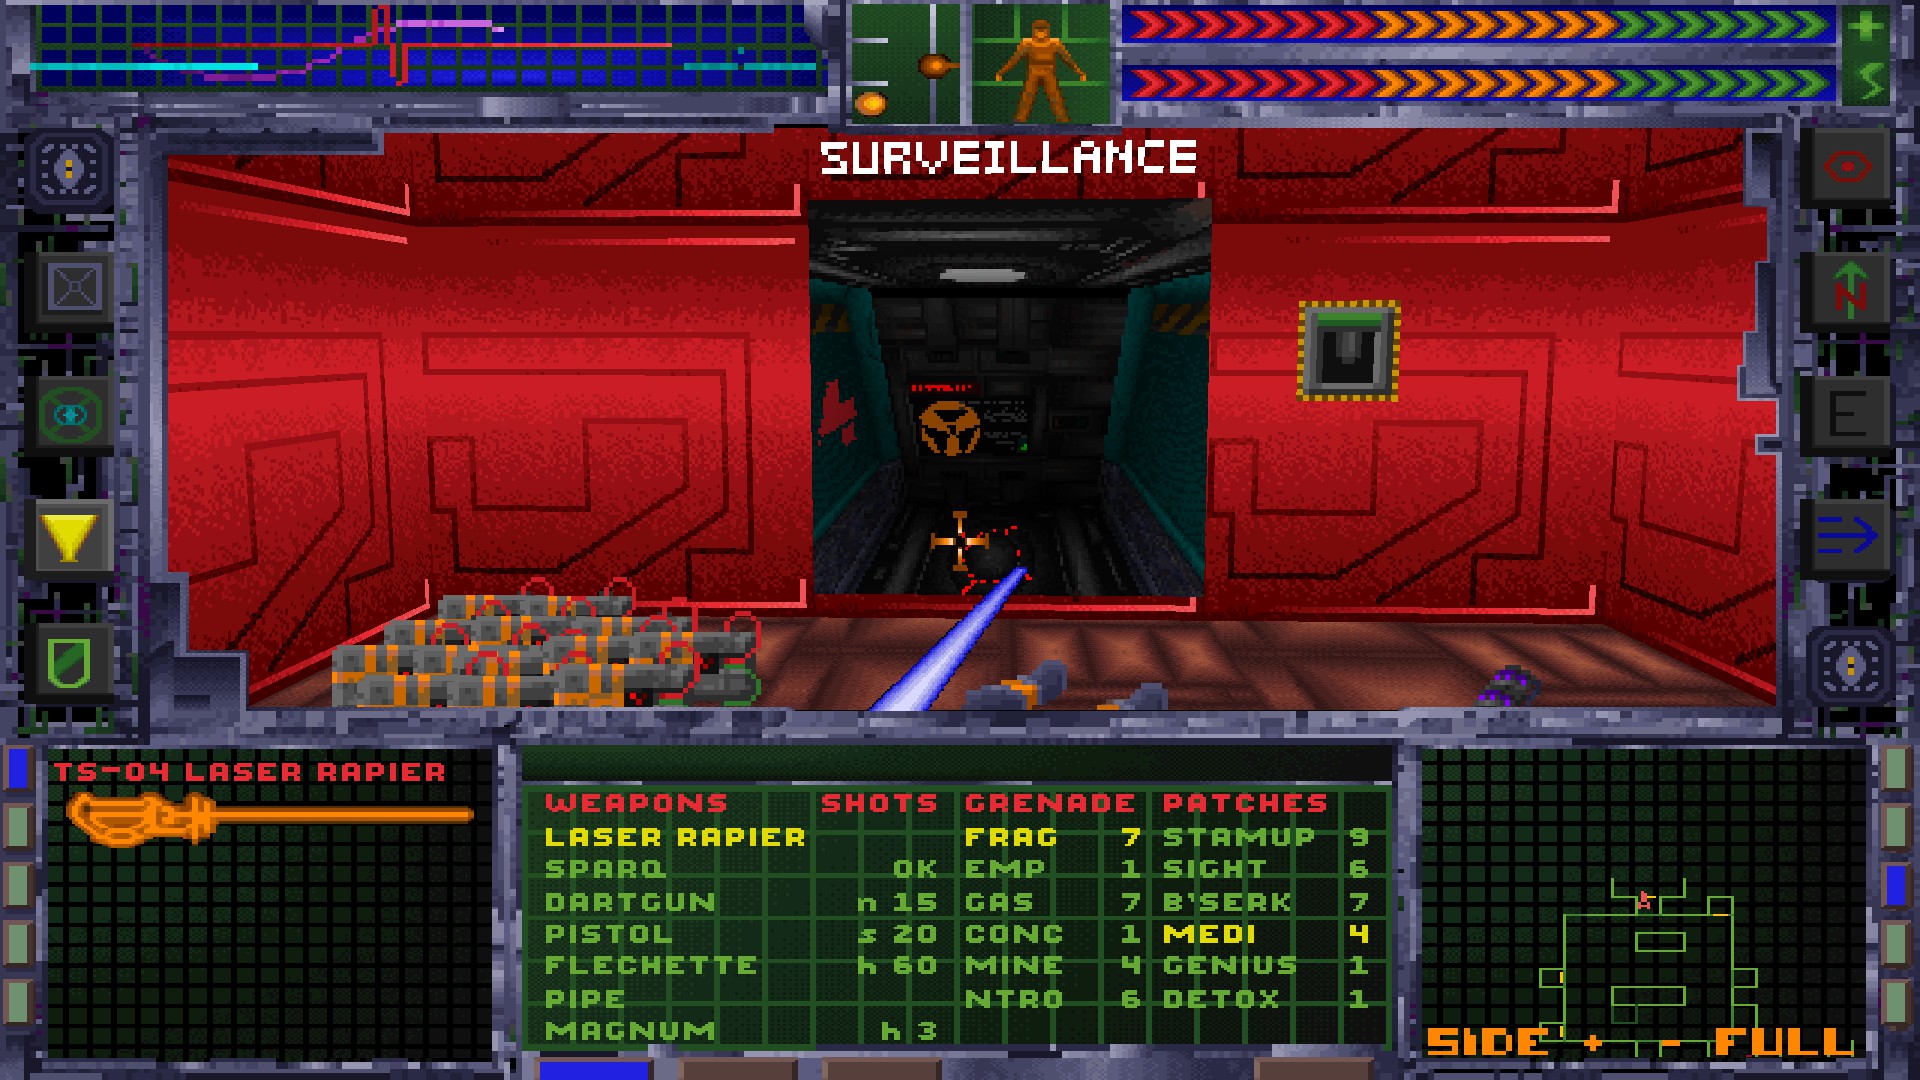
Grab the Diagnostic Log on Level 3 to learn that Relay 428 needs to be repaired.
Solve the puzzle to open the door, push the button to activate the repulsor lift, ride it to the top and grab one Interface Demodulator.
Go to Delta Maint and use the Interface Demodulator on Relay 428. Go back to Level 6.
Once again, flip the Jettison Enable Master Control Lever.
Flip the Beta Jettison Lever.
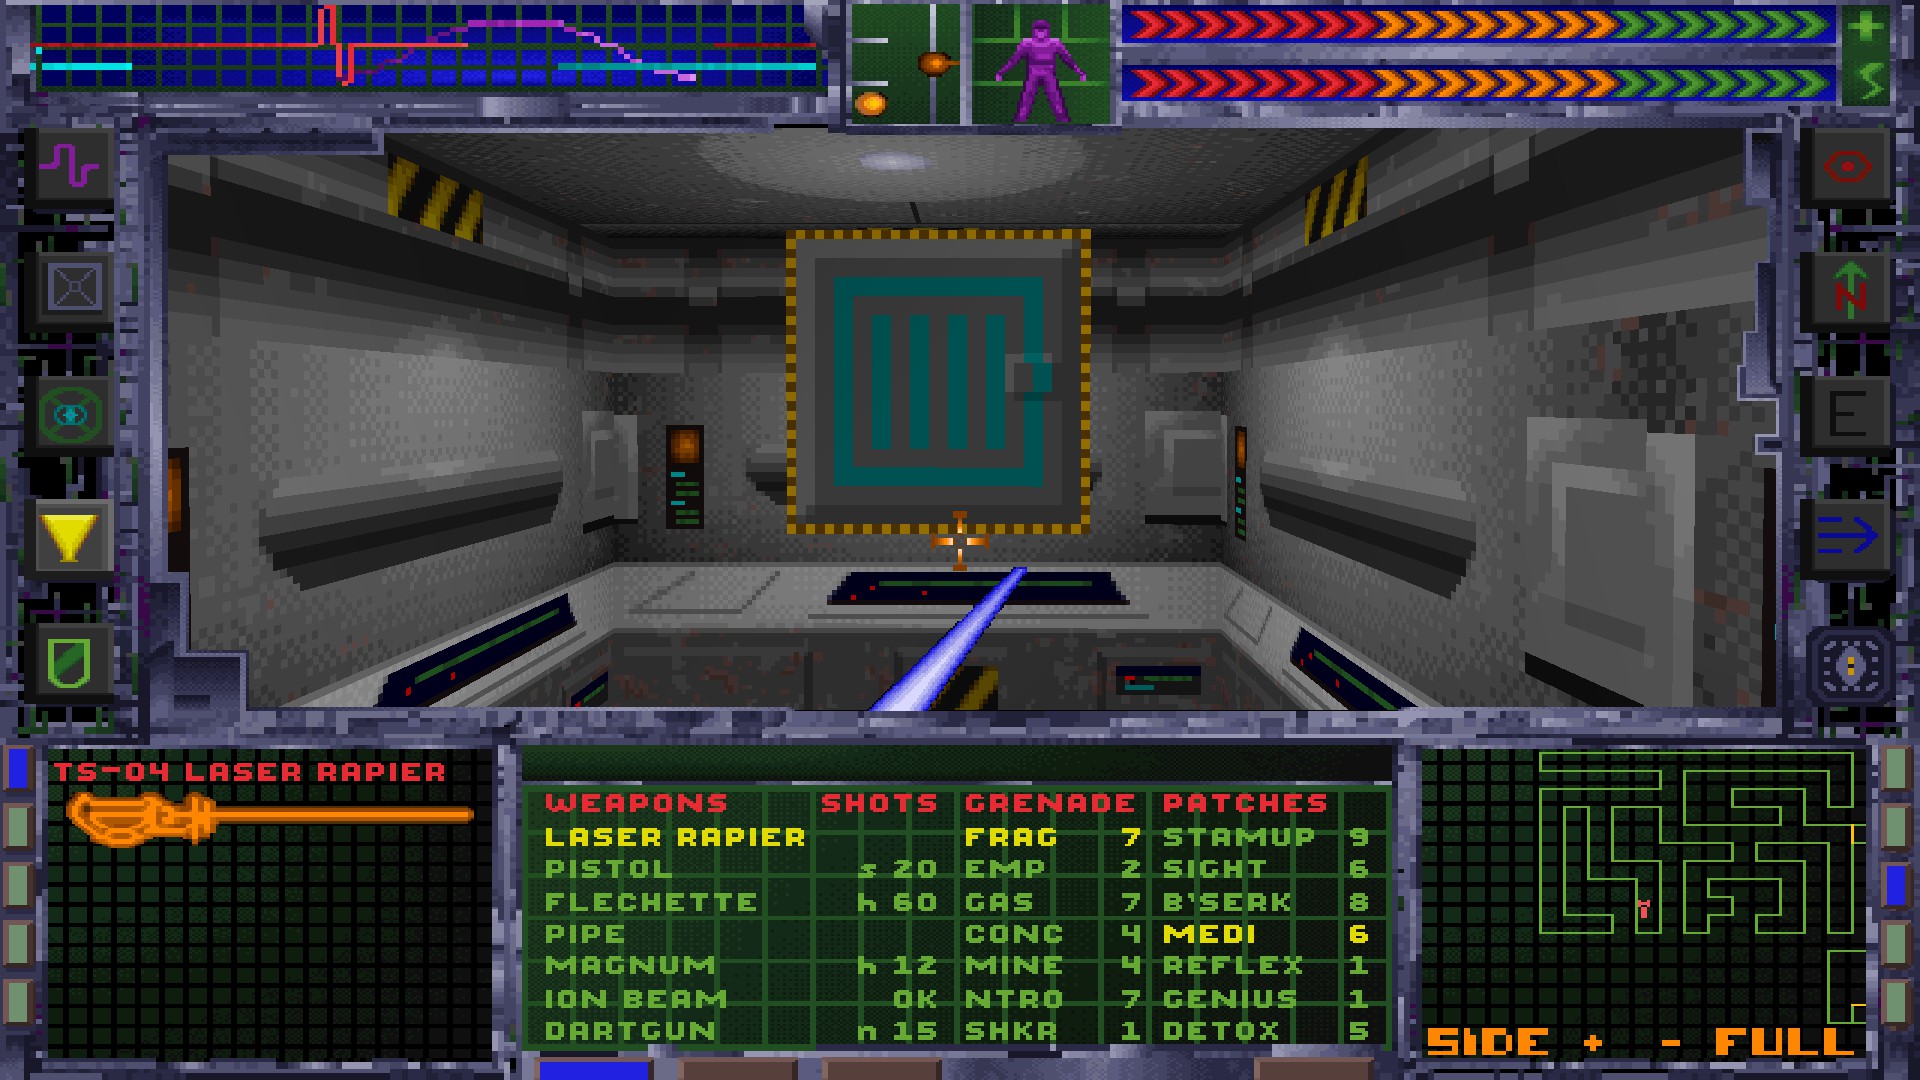
Go back to where the Jettison Enable Master Control lever is and take the elevator to Level 7.


Level 7 – Systems Engineering
Get to Alpha. Crawl in here and grab the Engineering Access Card.
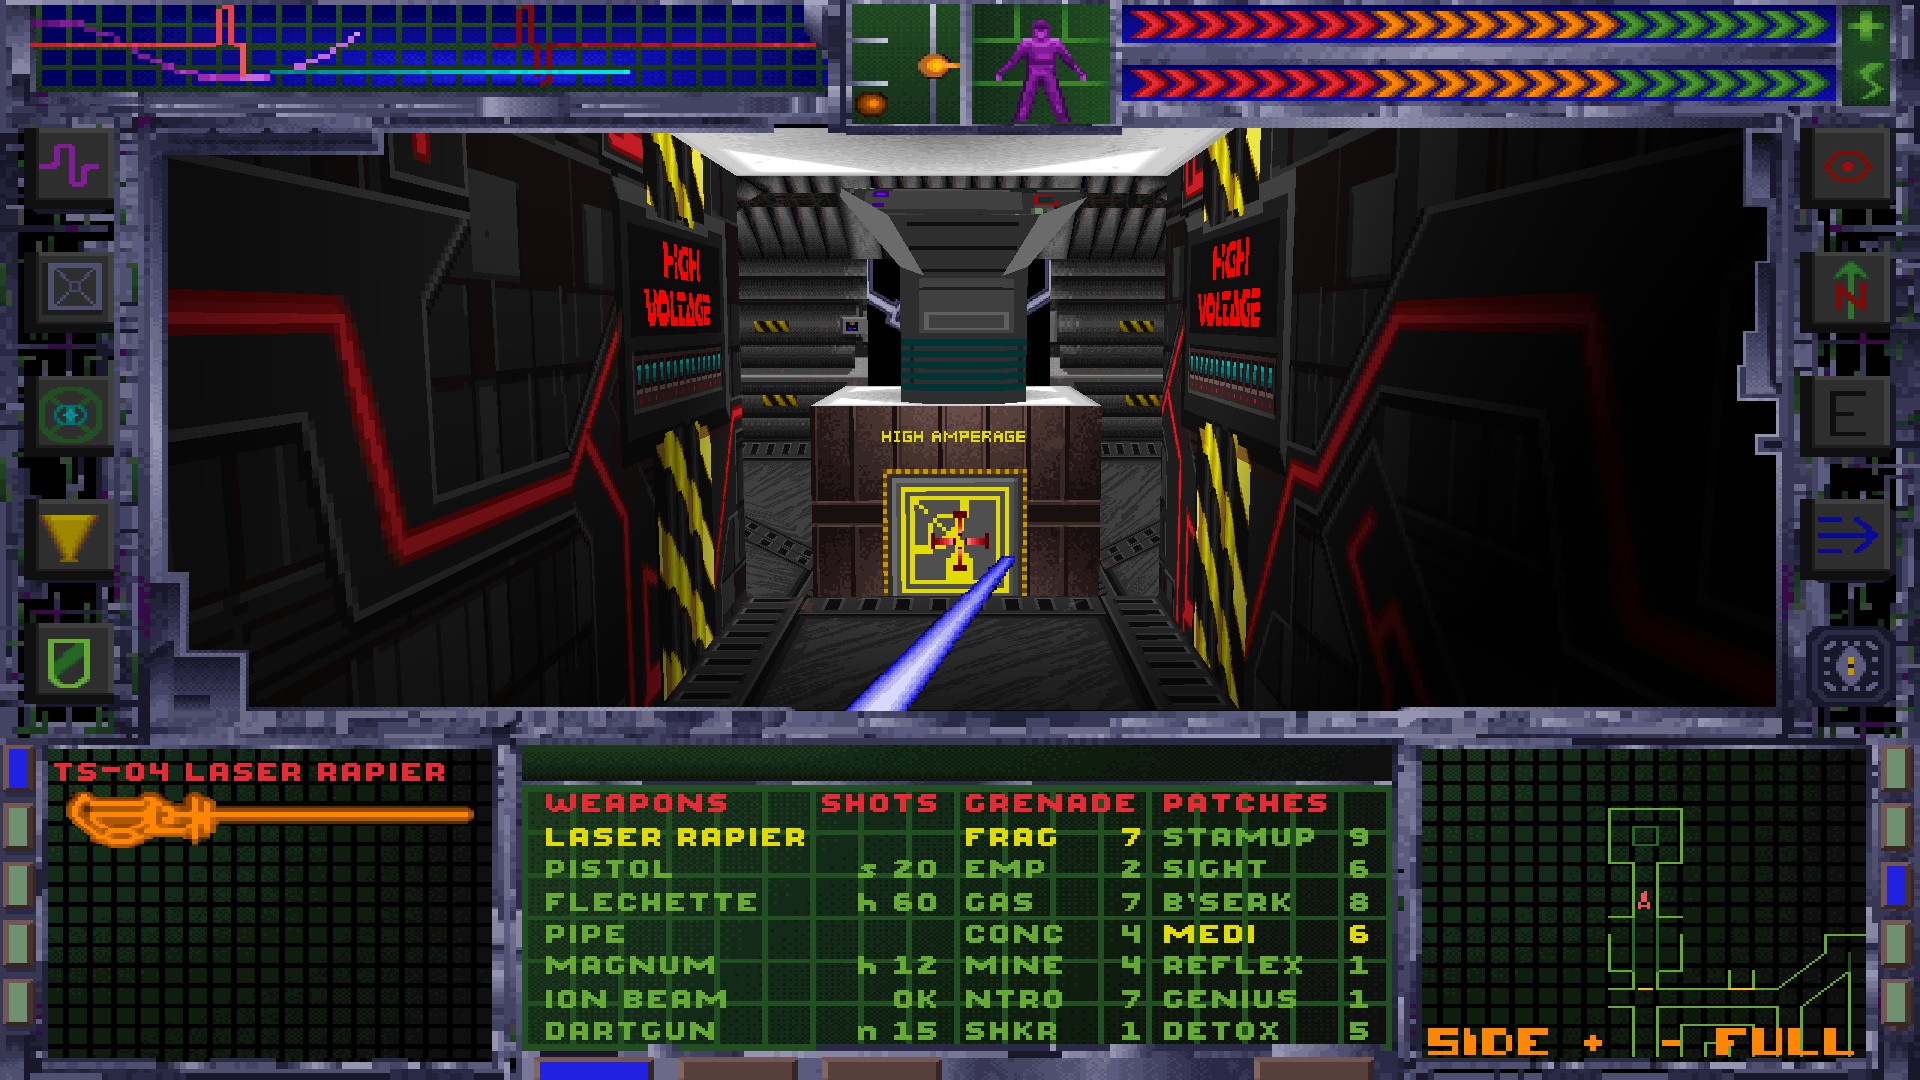
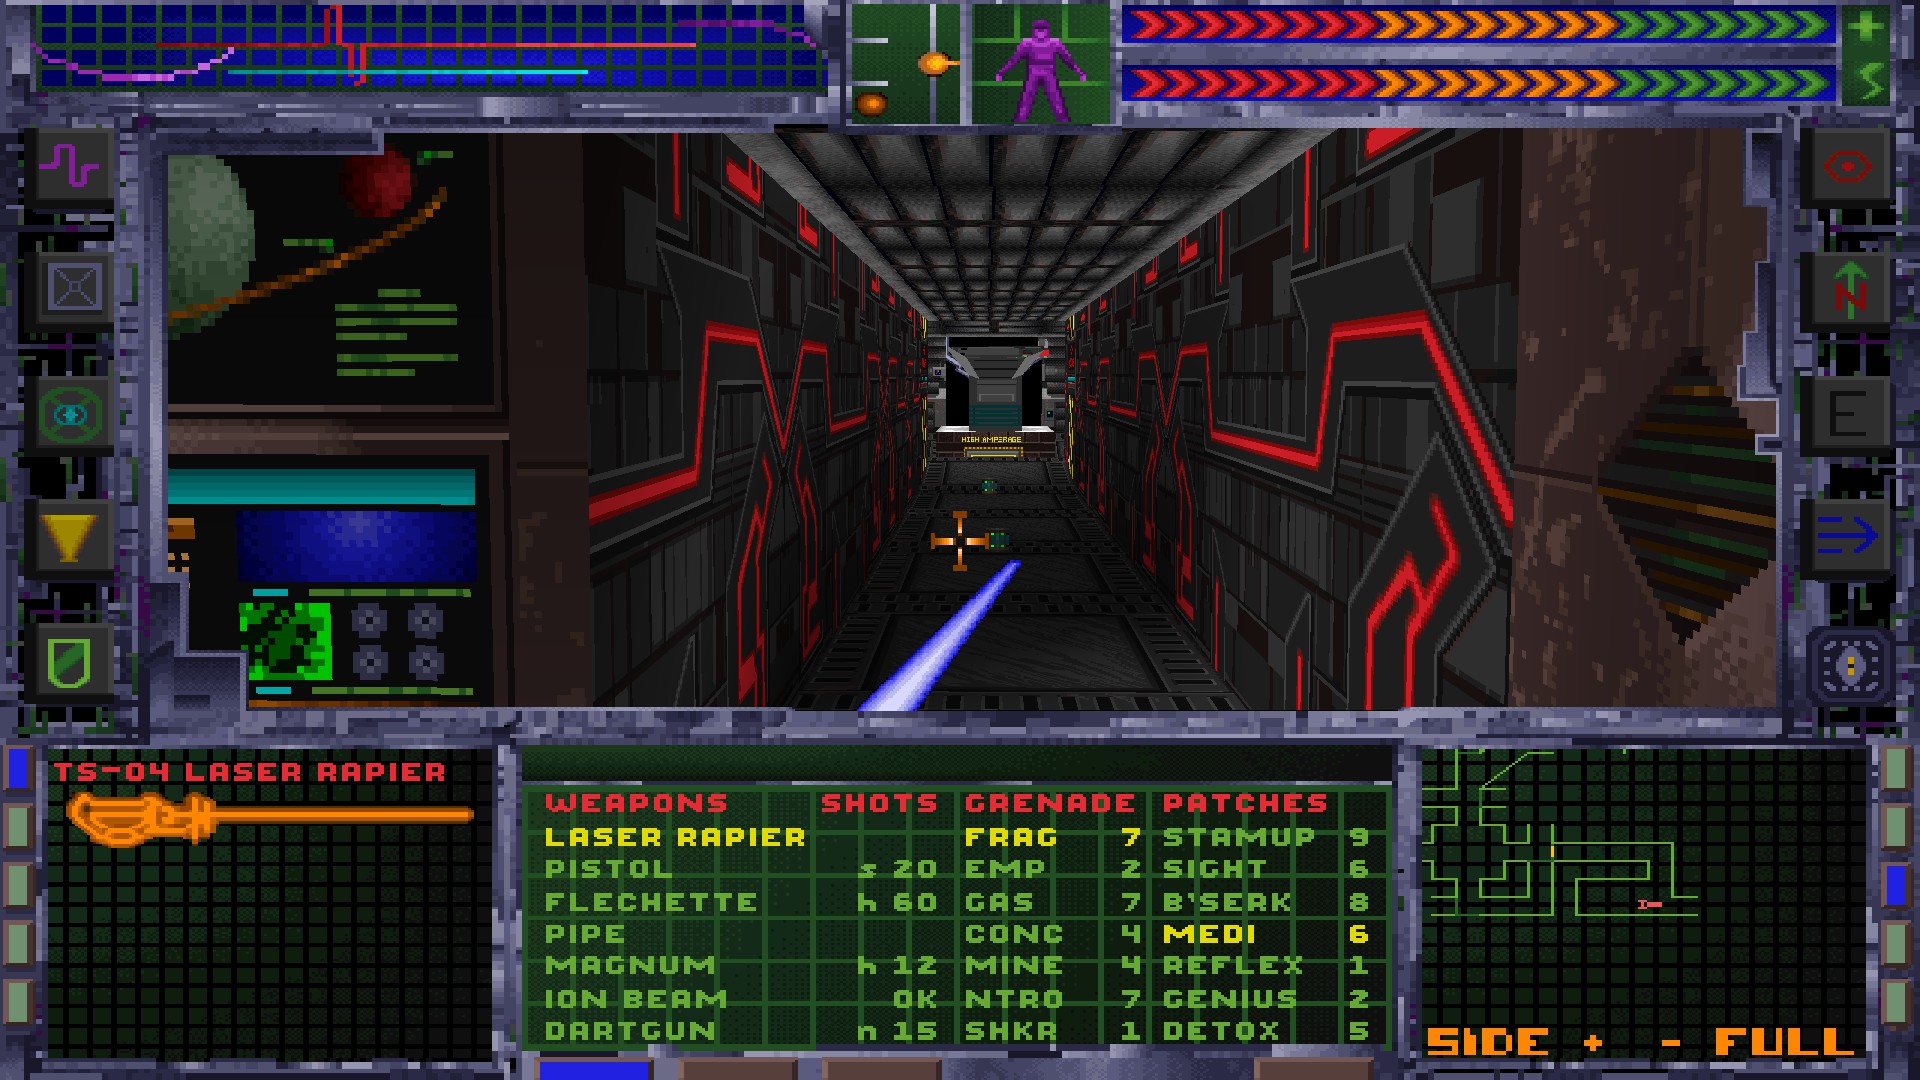
Open the Antenna Relay Panel and use the Z-44 Plastique (TM) on it. Remember when you picked that up way back on Deck 4?
Get to the next Antenna Relay Panel and repeat the process.
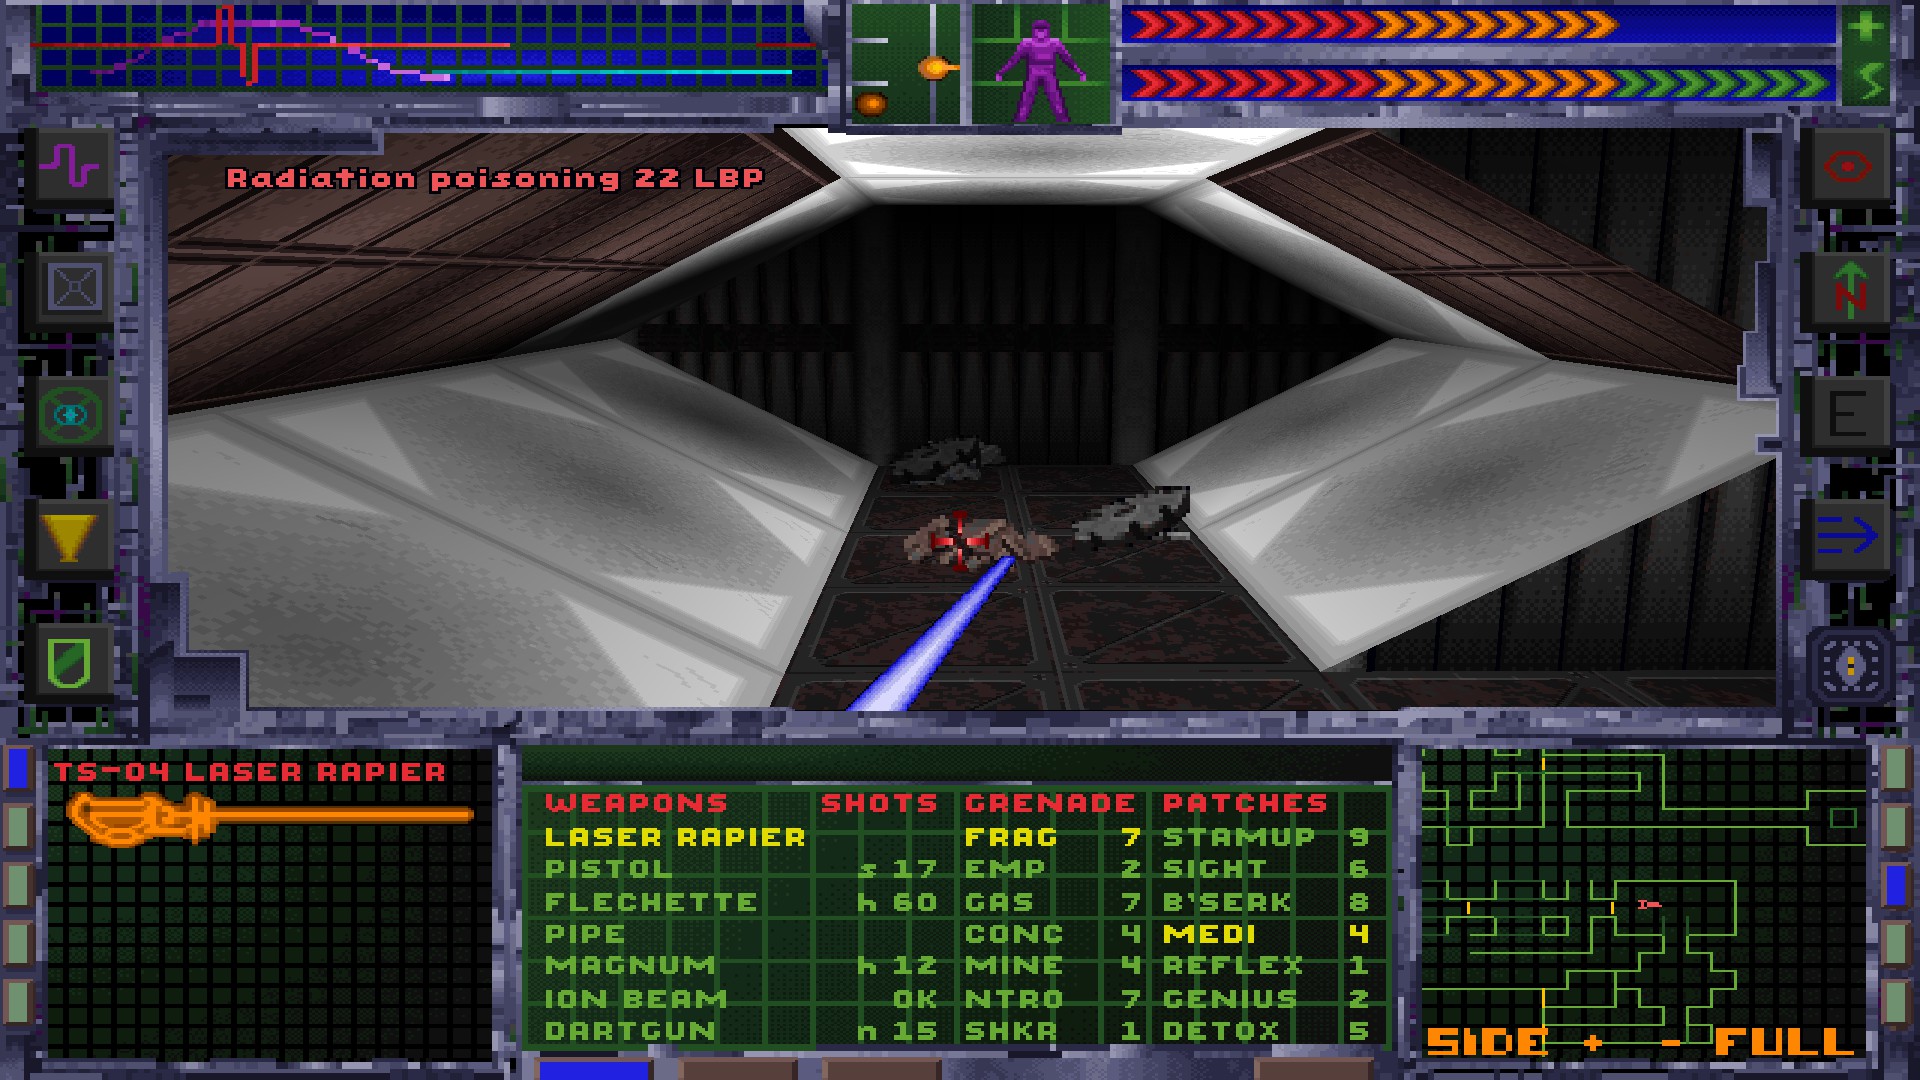
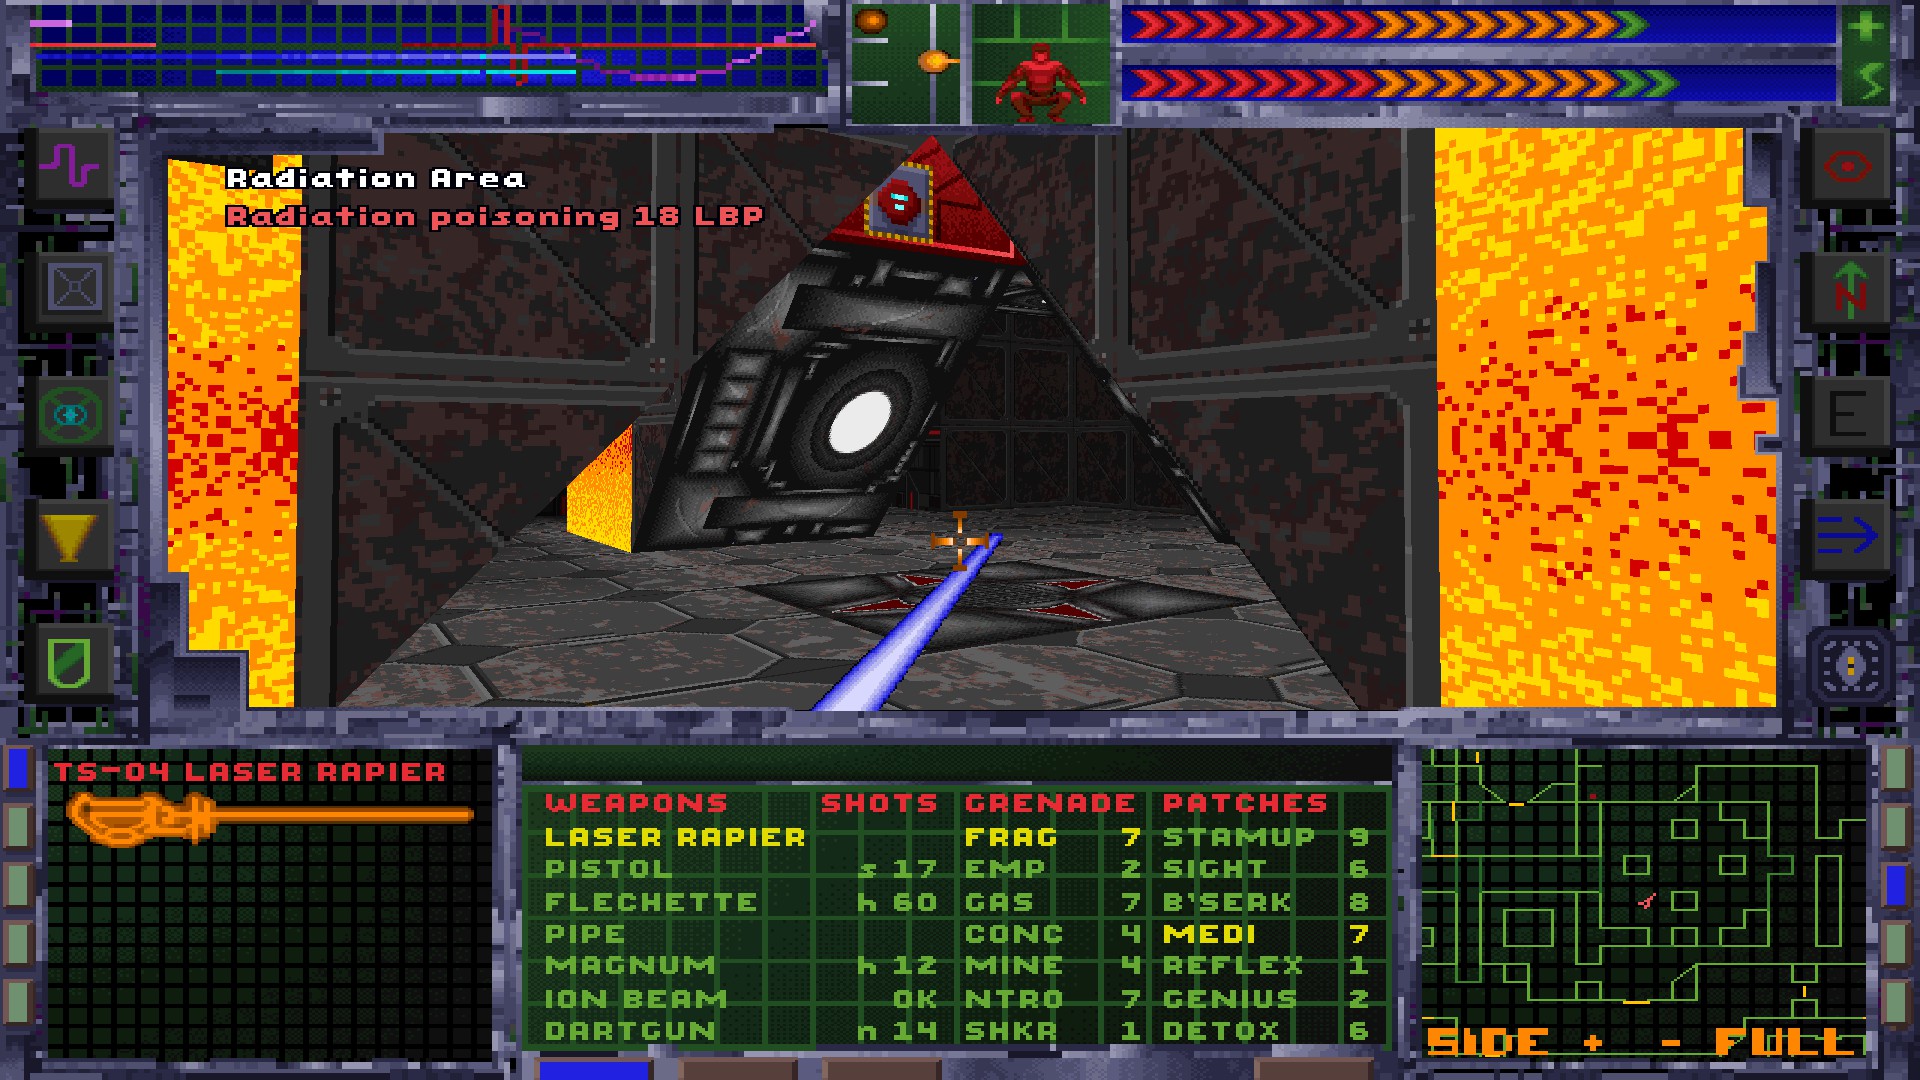
Go through the radiation zone in Beta. Right past the radiation zone there is a Level 3 Enviro-Suit hidden under some clothes.
Destroy the computer nodes.
Solve the puzzle to gain access to the next Antenna Relay Panel and blow it up.
Flip the switch to open the door. While destroying the computer nodes and opening this door is optional it is greatly helpful.
Get to the last Antenna Relay Panel and destroy it. Now go back to the Reactor Level.


Escalation
Get into the Reactor. In the middle step on the repulsor lift and push the button above you to activate it. Once you are up there enter the six number code you got from destroying the computer nodes. After you have entered the code, pull the lever. Make your way to Level 5.
Solve the puzzle to open the door and drop down into the left hangar.
Access the Escape Pods using the code 001. Enter one of the pods. It does not matter which one. Pull the Emergency Lever.
Solve the puzzle to open the iris door.
Take the Elevator to Level 6 and go to Level 7 from there.
At Level 7 take the elevator up to Level 8.

Level 8 – Security
Take this repulsor lift up.
Flip the switch to deactive the force field and take the repulsor lift up.
Grab the Command Access Card and go back down.
Take this lift up and use the Command Access Card to open the energy grating. Take the lift up.
Take the lift up.
Go down this lift.
Use the Central Core Force Bridge Control to activate the bridge.
Cross the bridge and climb up the ladder.
Defeat the enemy, grab his Personal Access Card and take the elevator up to Level 9.
Level 9 – Bridge
Push the button to remove part of the force field and drop down into the labyrinth.
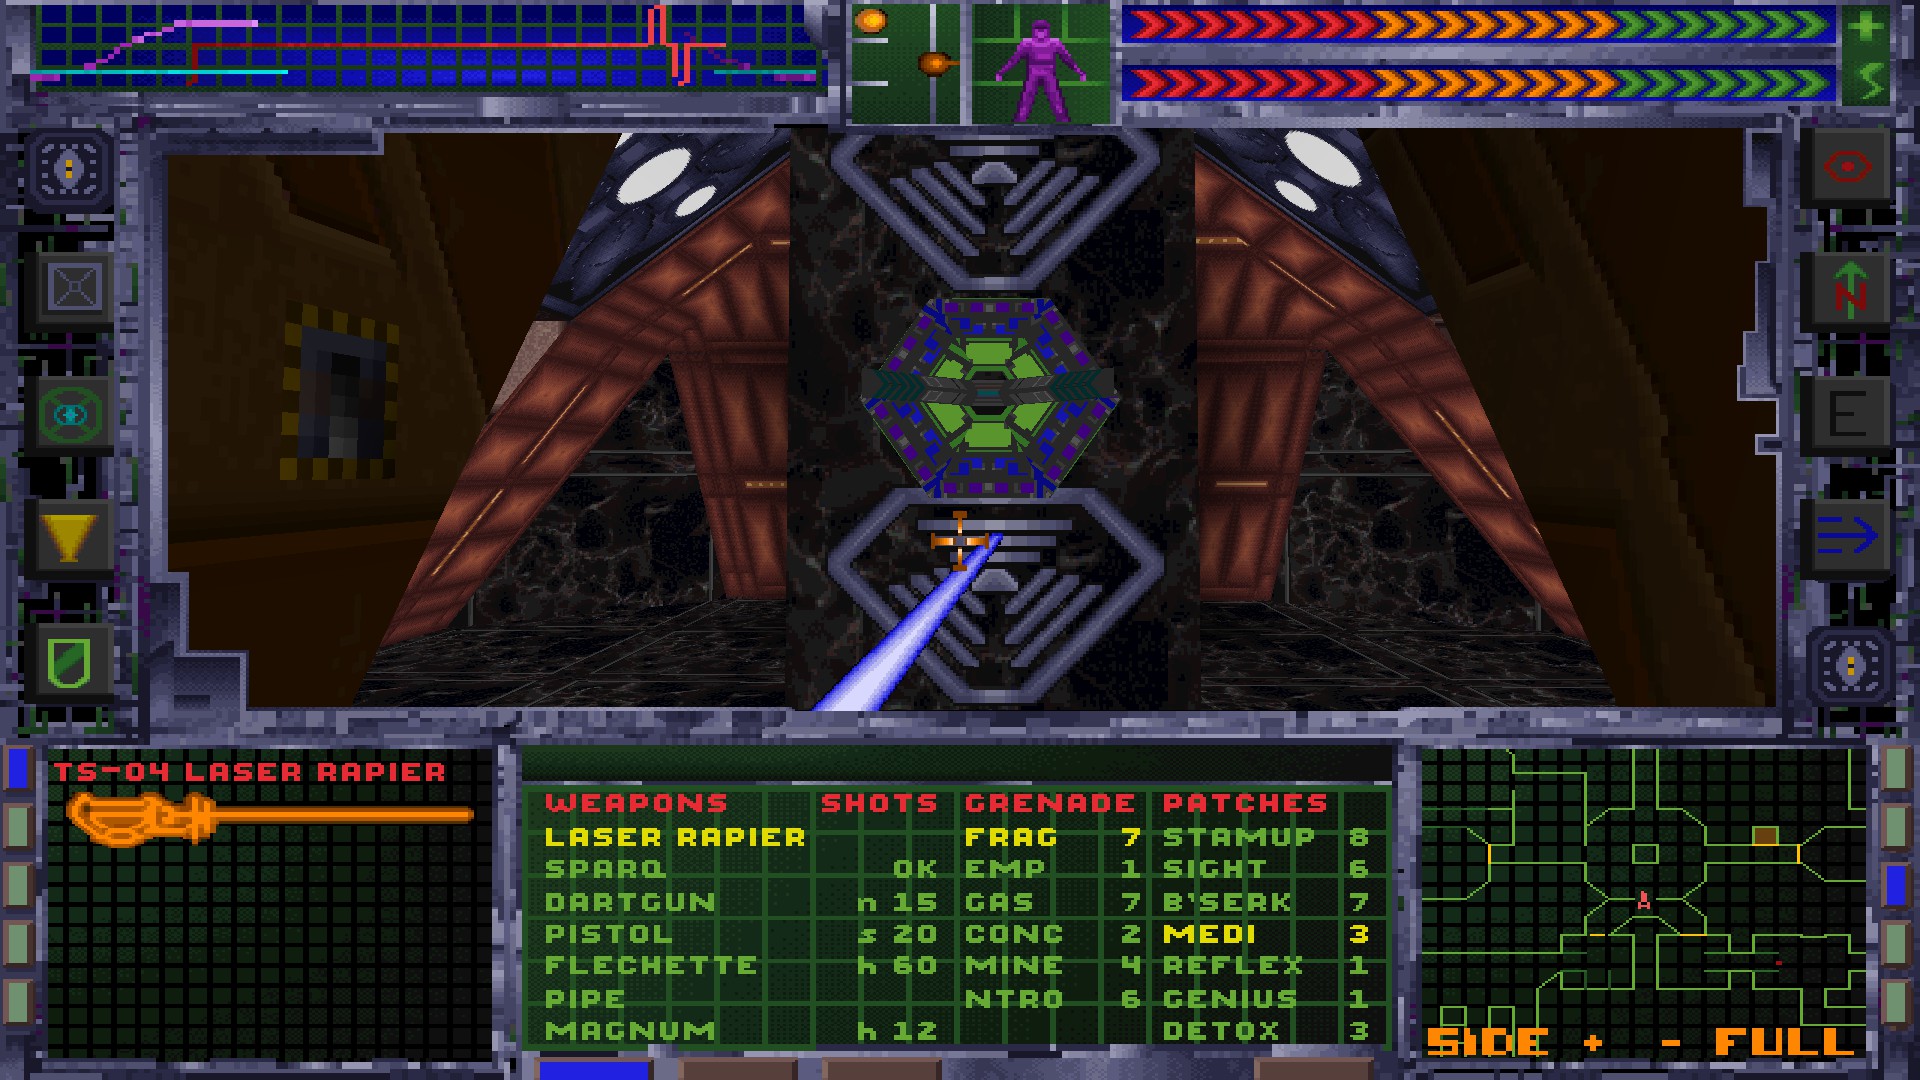
Find the puzzle and solve it to remove one of the force doors.
Push the button to teleport into the cage, grab the Isolinear Chipset and press the button inside the cage to get out again.
Either drop down and crawl into the vent to your right or use your jump jets to get over the gap. The green force field blocking the way only deactivates when the enemy is passing through, so you need to kill it while it’s in that position. Either way you end up in a labyrinth of corridors.
Solve the puzzle to open the next force door. Since you don’t have much time here, having a Disposable Logic probe on you is helpful.
Get into this room and look for a button to push. Pushing it will open another alcove with another button and so on.
The last button will activate a force bridge to the middle and open up the puzzle. Solve the puzzle to open the last force door.
Get into the room that was previously blocked off by the force doors.
Use the Isolinear Chipset on the Circuit Board Slot.
Get back to the now open middle section of the level. Use the Cyberspace Terminal. Once inside cyberspace, you know what to do.
The End
Well, that’s it. Have fun playing the game and please tell me if I missed anything vital to progress or if I included something that’s actually not needed (other than the one exception I made for Level 7).