Overview
This is a Truck template model, for who doesn’t have 3D graphic software.You can paint it, or paste photos by yourself !! You can download source files from following URL, Repaint and share it.Please feel free to use this.(Google Translate, Japanes -> English)
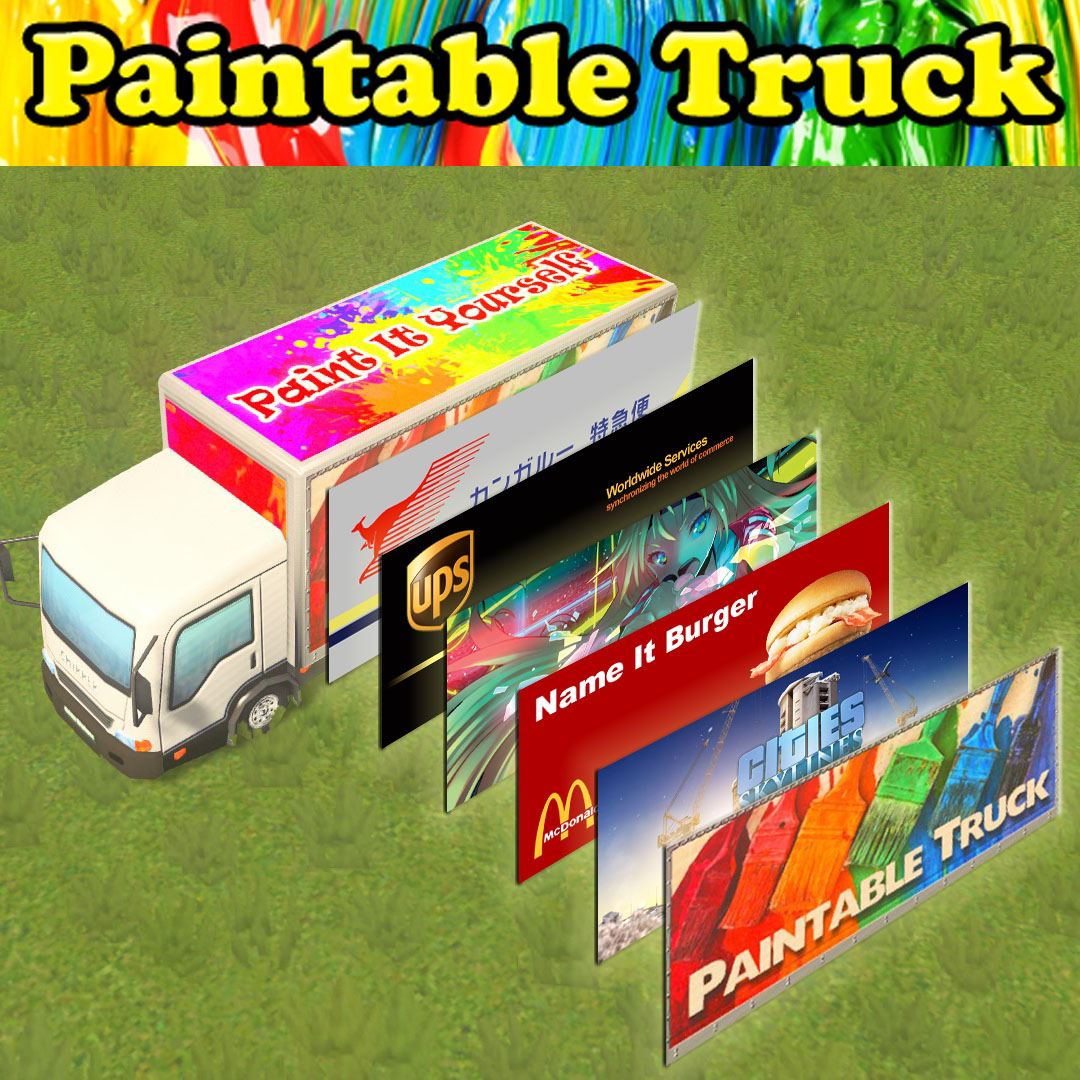
Paint It Yourself

Easy 3 steps.
- Download template files.
- Edit “Lorry_d.png” and “Lorry_lod_d.png”.
- Use Cities: Skylines Asset Importer.
Share your asset!
4th step
Click Subscribe , Rate up, Favorite -> [link]
Example of use


Basic guide for create assets
Japanese language version 日本語版[link]
Download

Refer: [link]
“*.fbx” – 3D Polygon model file. *required*
- Lorry.fbx — Main model of Truck
- Lorry_lod.fbx — LOD model


The material for Buildings supports up to 6 textures, each needs to use the same filename as the FBX file with a texture type suffix.
All main model textures have to have the same resolution.
- “_d” suffix stands for the diffuse texture (RGB)
– 3 color channels texture defining the albedo. *required* - “_a” suffix stands for the alpha texture (Mask)
– 1 color channel mask specifying per pixel transparency. *not use* - “_c” suffix stands for the color texture (Mask)
– 1 color channel mask specifying per pixel where the color variations can be applied. - “_i” suffix stands for the illumination texture (Mask)
– 1 color channel mask specifying per pixel if the diffuse color should be considered emissive. *required*- This has a unique usage for vehicles: 0.5 (50% gray) is the neutral color. 0 (Black) is used for turning signals and 1 (White) is used for braking signals and headlights.
- “_n” suffix stands for the normal map texture (RGB)
– 3 color channels tangent space normal map. - “_s” suffix stands for the specular texture (Mask)
– 1 color channel mask to specifying per pixel specularity.
You may notice your custom models sometimes gets very distorted when viewed from far away : that’s because the game automatically generates a low poly version (LOD) of your model and your texture in order to save resources.
To solve this problem, you need to provide your own low poly version of the model (the fewest polys the better) and name it yourModelName_lod.fbx


For example
Main model name : ‘Truck-Unity.fbx’
LOD model : ‘Truck-Unity_lod.fbx’
Main diffuse texture : ‘Truck-Unity_d.png’
LOD diffuse texture : ‘Truck-Unity_lod_d.png’
and other textures, ‘Truck-Unity_c.png’ , ‘Truck-Unity_lod_c.png’ , ‘Truck-Unity_s.png’ , etc.
Samples for reference.
You don’t need to Import those files.
Repaint, Edit
You can edit all files freely.
First, Edit only diffuse textures. (Lorry_d.png & Lorry_lod_d.png)
Before

after (easy sample, paint white area.)
↓


You can use a optinal UV map image for repaint the other places. (e.g. tyre, number plates, lights,)
Use Layer.
(When You save it, turning off the UV layer)


Remember, needs to use the same filename as the FBX file with a texture type suffix.
Tips of Edit
↓
↓


If you want to change the Logo or Number plates, edit other files.
- Logo (CHIRPER)
- Lorry_c.png , Lorry_s.png , Lorry_n.png
- Number Plates (Cities:Skylines)
- Lorry_n.png

Import and Save
- Copy all files (*.fbx , *.png) to the Import folder.
- Main menu > TOOLS > ASSET EDITOR > NEW
- Select Theme > (Temperate) > SELECT
- Asset importer > Vehicle
- Select template > Lorry > Continue
- Select the fbx file.
Scale=1, Bottom-Center Pivot=OFF.
- Edit Lights position.
- Menu (ESC key) > Save asset
- Input save asset file name, asset name(ingame).
- You can change the snapshot image.
- Click small folder icon.
- Replace snapshot.png (use same resolution) .
- Save


Main menu > CONTENT MANAGER > ASSET > on/off checkbox
Share and Publish
- Main menu > CONTENT MANAGER > ASSET
- Select the your asset > SHARE


If you want to change the default preview Workshop will display, simply edit or replace the snapshot.png. More than one picture can be put in the folder, and one chosen before publishing. The new image will reload automatically in the Steam Workshop game panel. When you are ready to upload, click the Publish button. An indicator showing the upload progress appears, and the panel closes once the upload is complete.
By publishing items to the workshop, you agrees to the Workshop terms of service.
[link]
Click the small folder icon
Replace the image file, same resolution.


—————————————————–
YourAssetFileName.crp is the packed asset file.
[link]

Link
==================================================
——————————————————————————————-
stmSantana Paintable Collection
——————————————————————————————-
——————————————————————————————-
——————————————————————————————-
==================================================