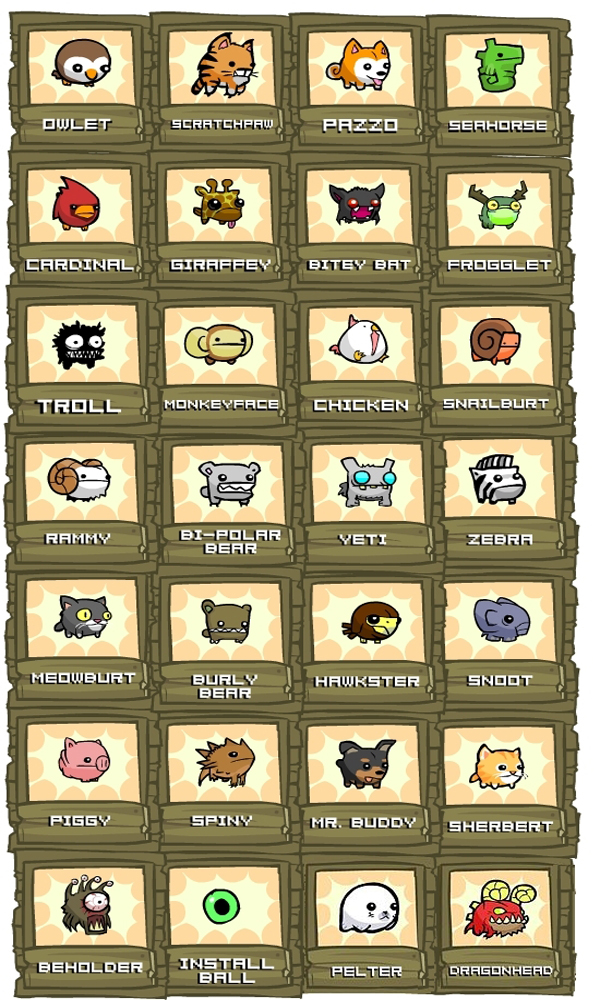
The Complete Animal Orbs Guide
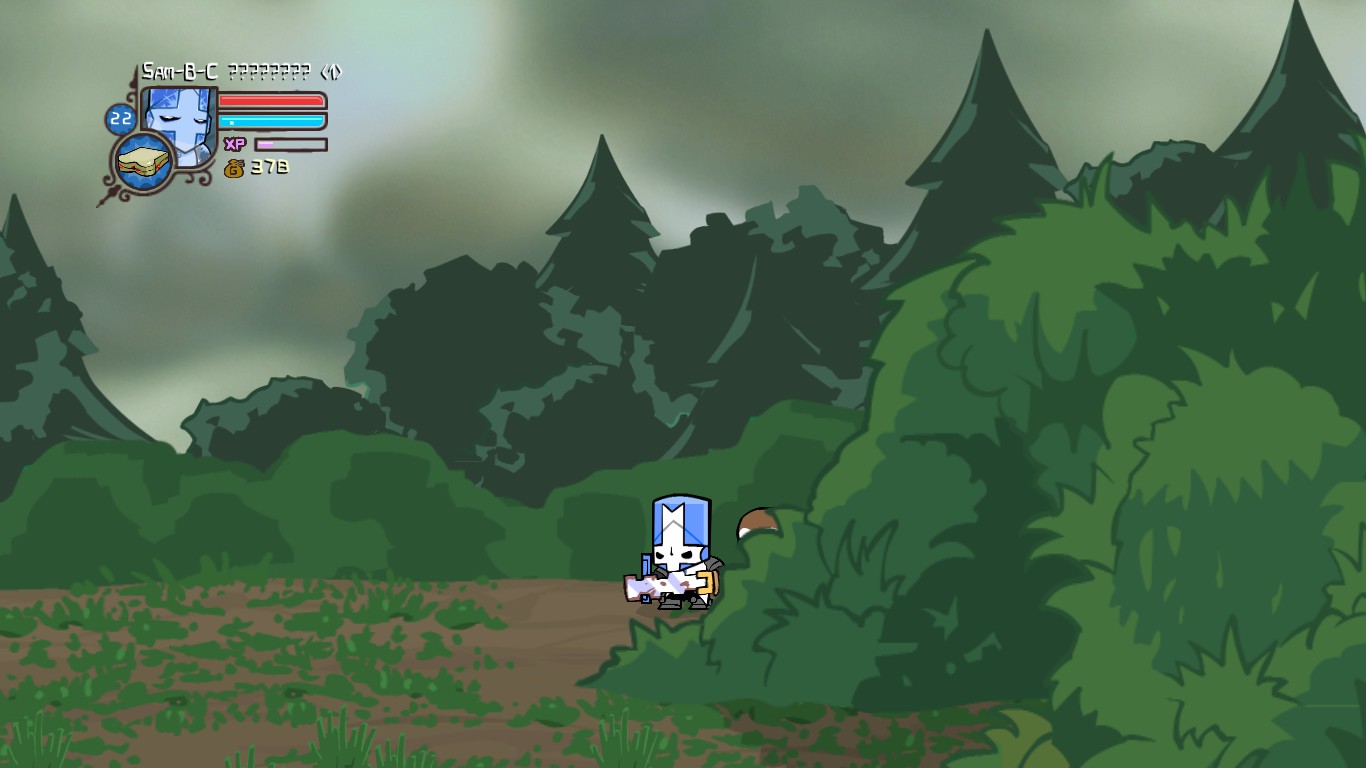
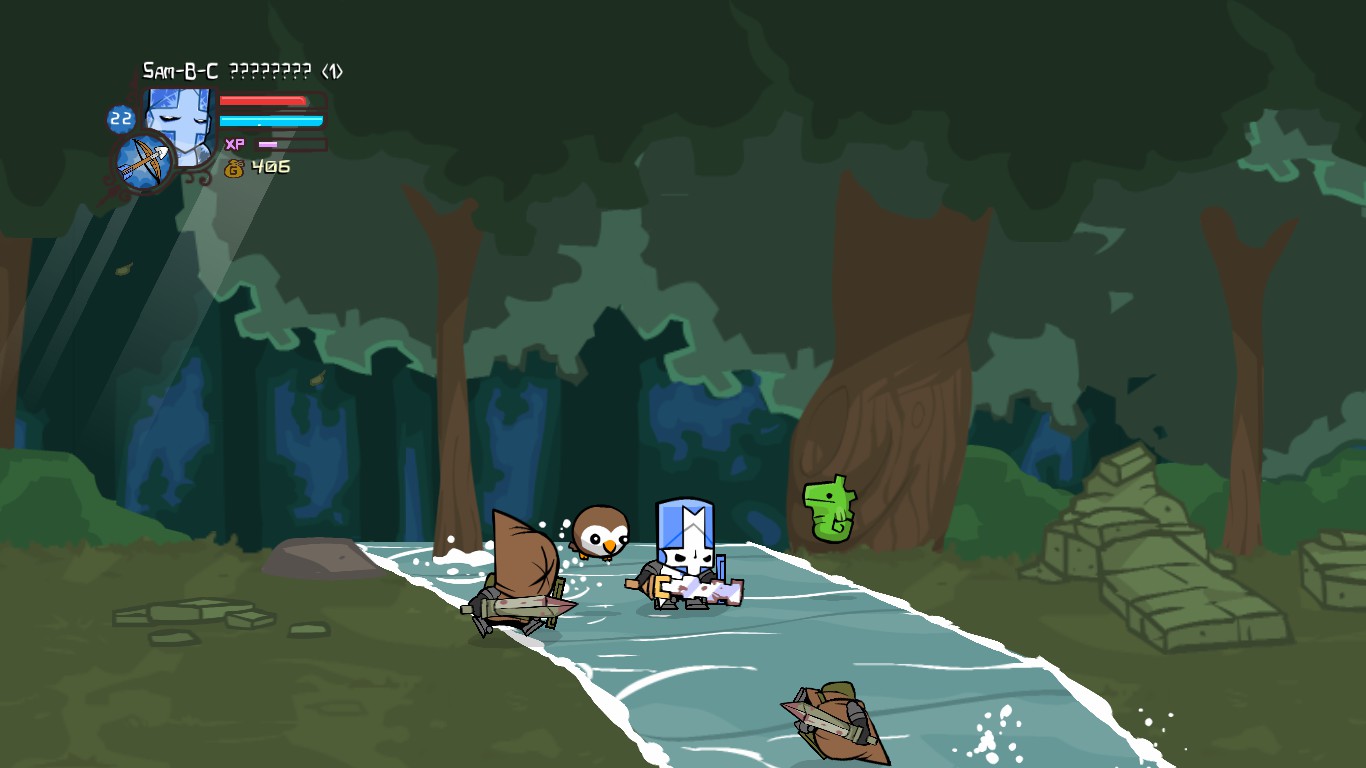
1st - Owlet

Effect: Finds food hidden in trees.
Location - Forest Entrance: Before you actually enter the forest, in the section where you have the opportunity to ride the crocodile, look for musical notes coming from behind a group of bushes at the end of the area. Walk around the bushes to find Owlet.
2nd - Seahorse

Effect: Allows you to move through water faster.
Location - Thieves Forest: A fairly easy-to-find animal orb, Seahorse is floating over the small stream after the pooping deer.
3rd - Troll

Effect: 1% increase of health regeneration.
Location - Thieves' Forest: Once you have encountered the first four Trolls, you will see the Troll orb peeking out of a hole in the wall. Place 3 bombs near the crack to break it open.
Required: 3+ Bombs

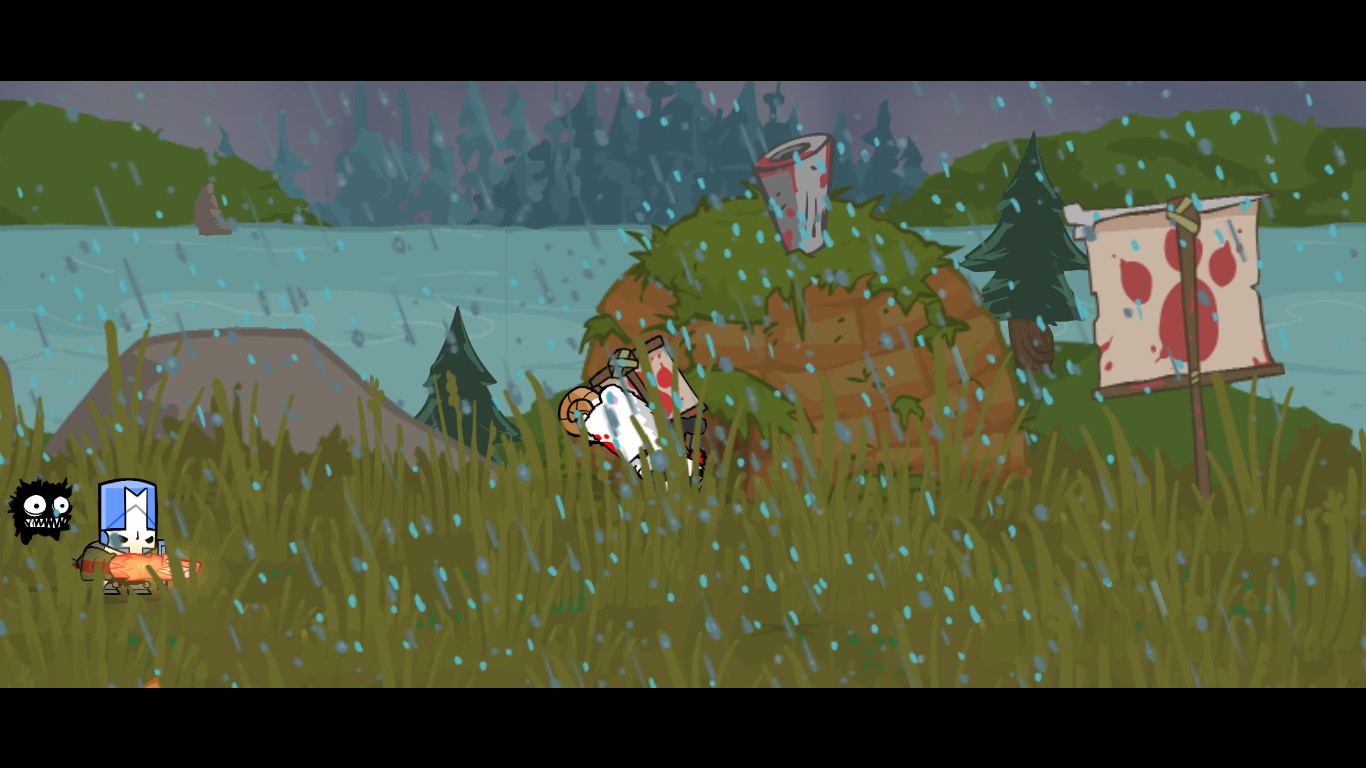
4th - Rammy

Effect: Knocks down enemies randomly. (Or friends when competeing to kiss the princess)
Location - Tall Grass Field: Defeat the Bear Boss with the banner on its back. Rammy should be floating around the bear, and will attack you until you defeat the bear.
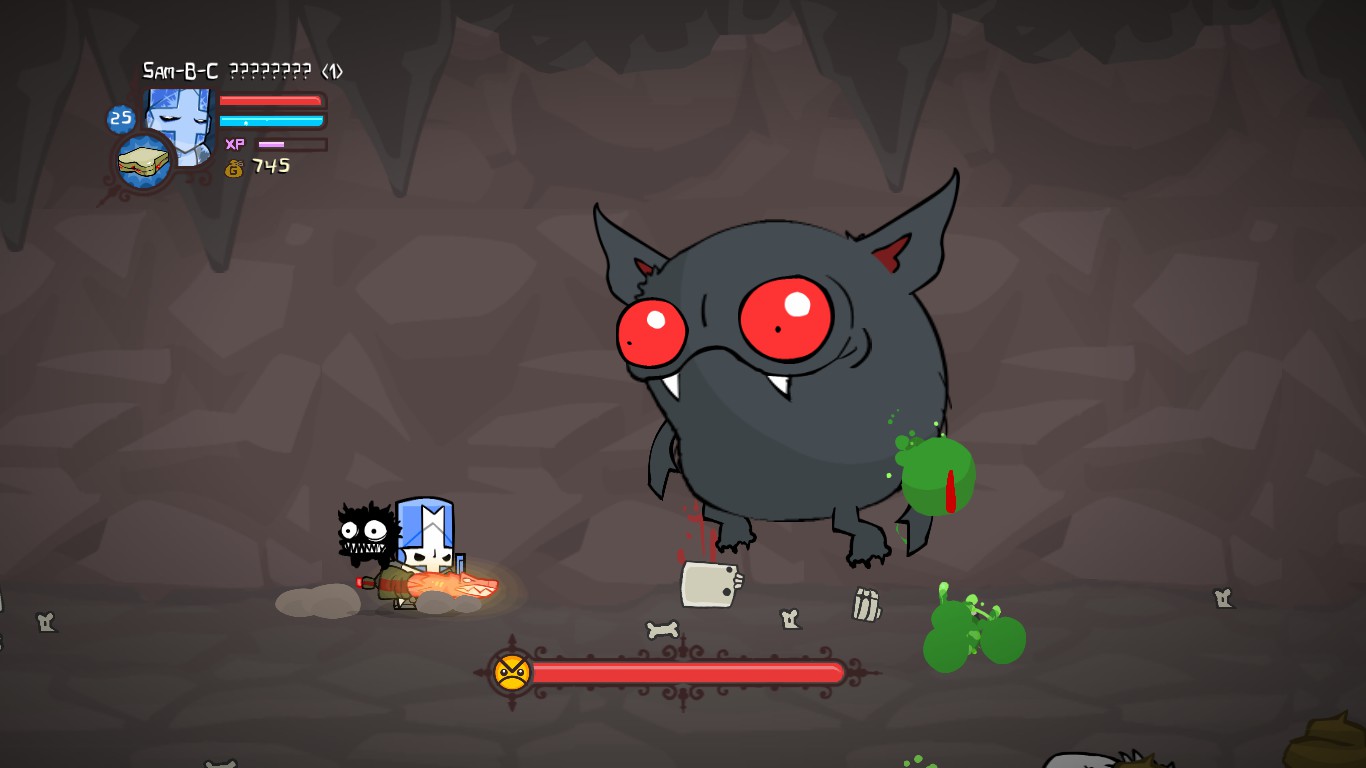
5th - Bitey Bat

Effect: Hovers over the head of an enemy randomly and holds him in place while slightly damaging him.
Location - Pipistrello's Cave: Defeat the Giant Bat Boss, Pipistrello. When you kill Pipistrello, it will turn into Bitey Bat.
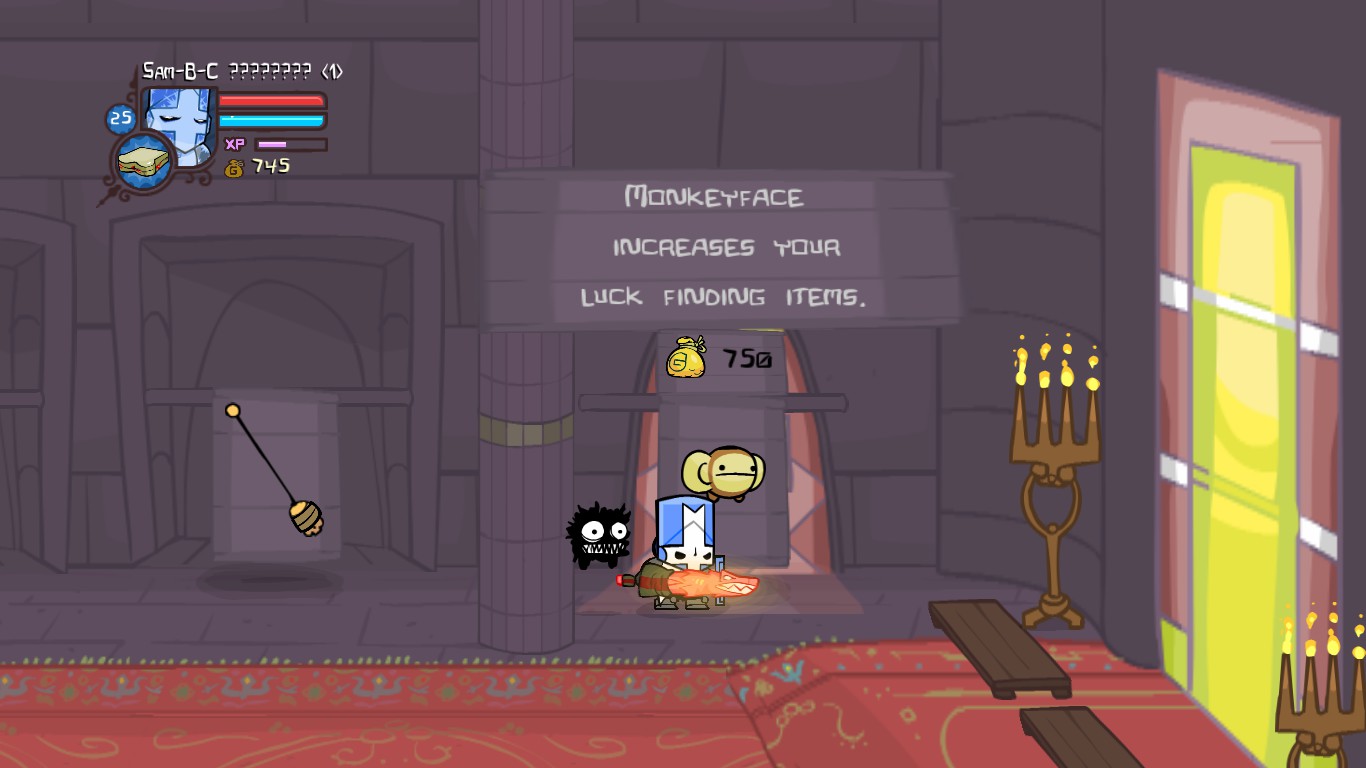
6th - Monkeyface

Effect: Increases chance of finding items.
Location - Church Store: Can be purchased for 750 Gold.
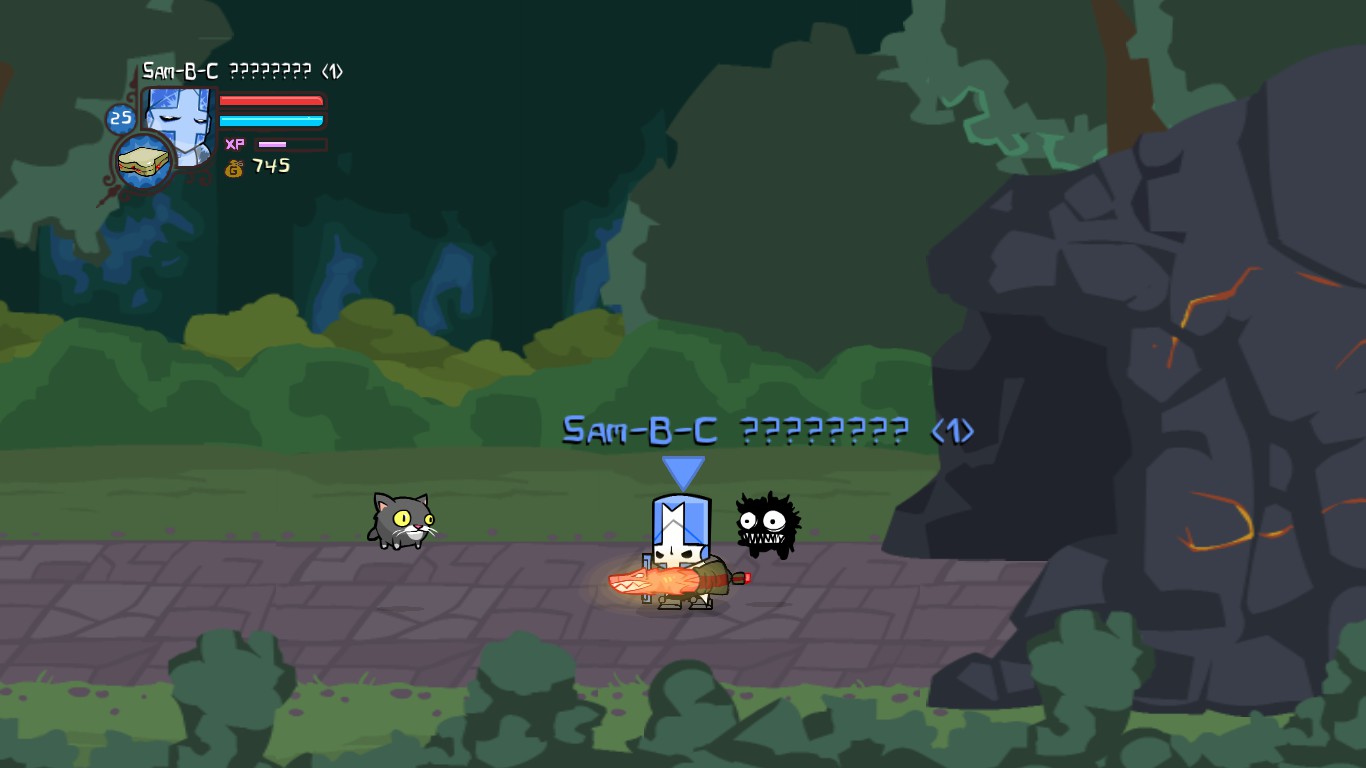
7th - Meowburt

Effect: Agility +3
Location - Parade: after the characters hit their heads on the wall in the chase scene go into the cave come back out and meowburt should be right outside.
8th - Snoot

Effect: Strength +2
Location - Cyclops' Fortress: Place 2 bombs near the cracked enclave in the wall (after the portrait of Cyclops) to reveal Snoot. Bomb projectile magic (this includes foes' magic) can also break open the crack.
Required: 2+ Bombs
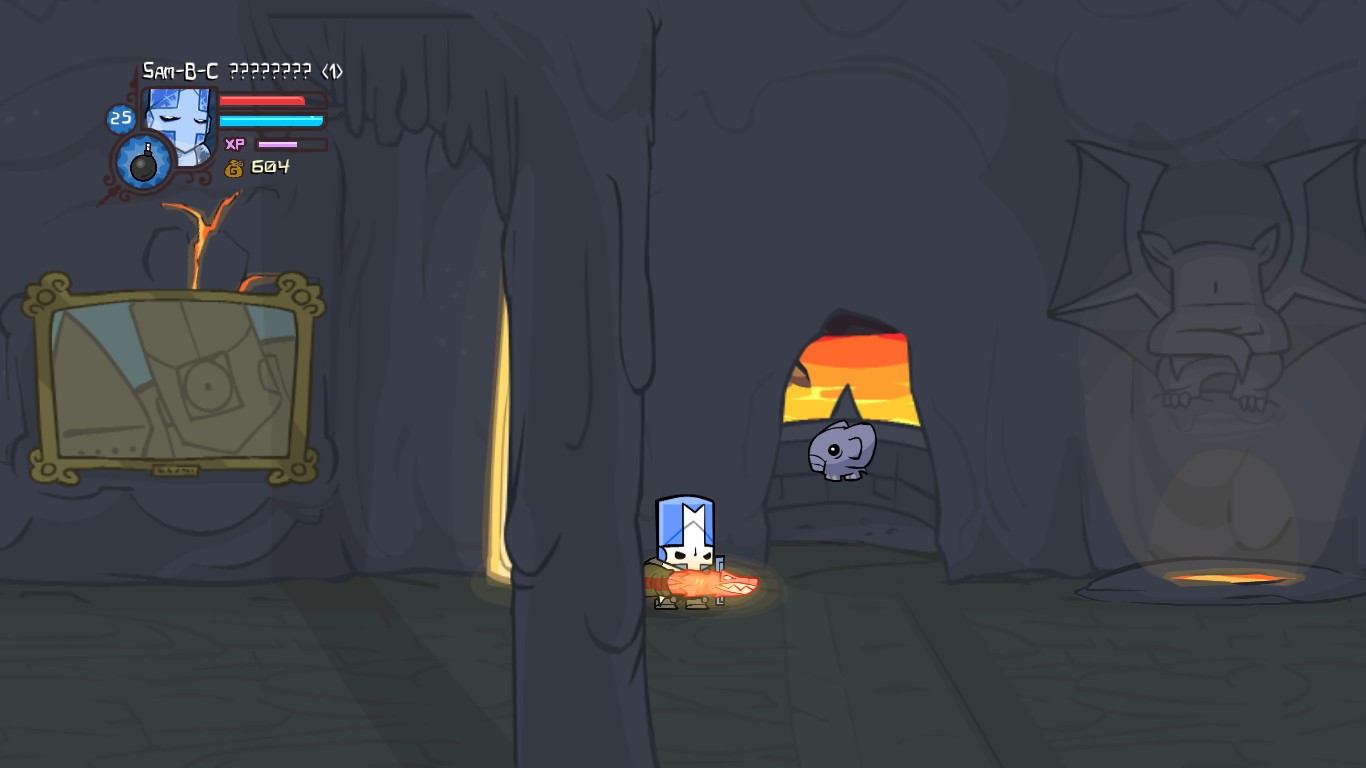
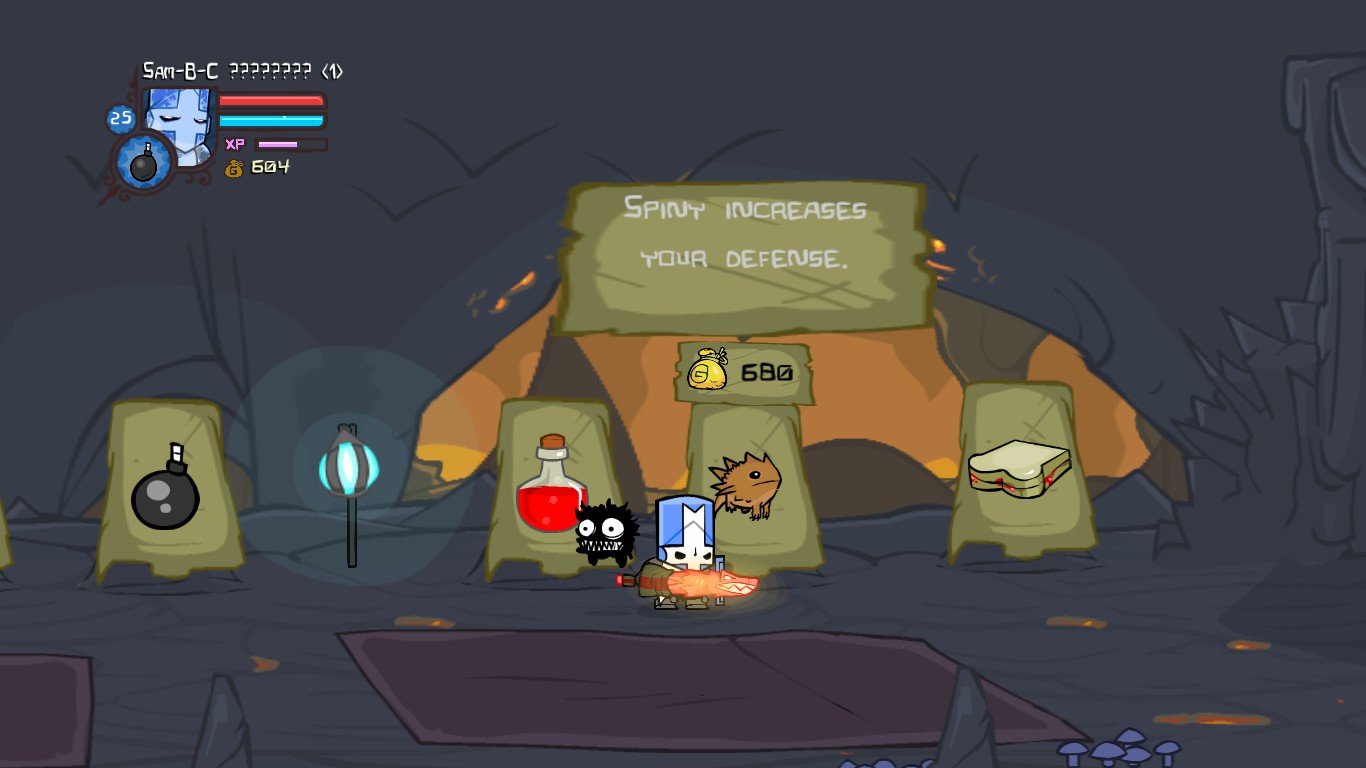
9th - Spiney

Effect: Defense +2
Location - Volcano Store: Purchased for 680 gold
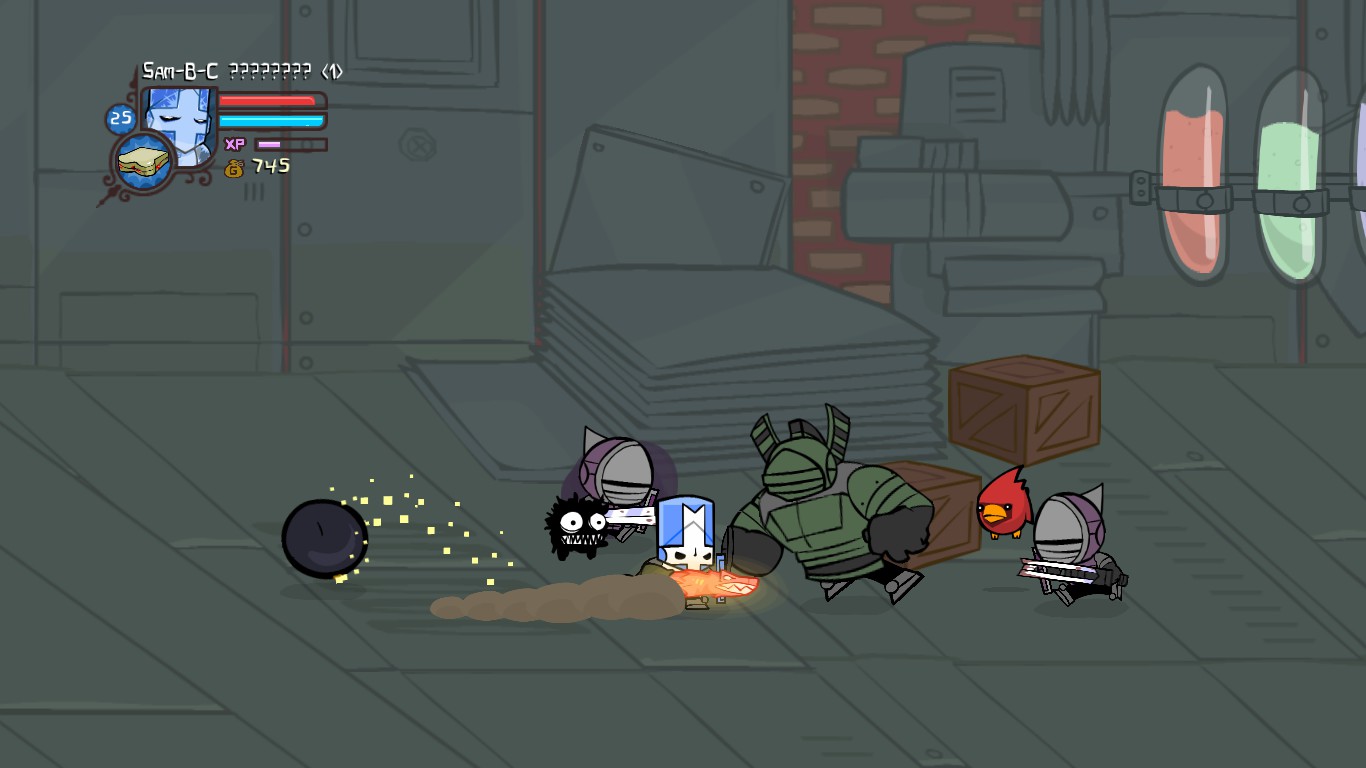
10th - Cardinal

Effect: Brings you secret items.
Location - Industrial Castle: Defeat the beefy Brute to obtain.
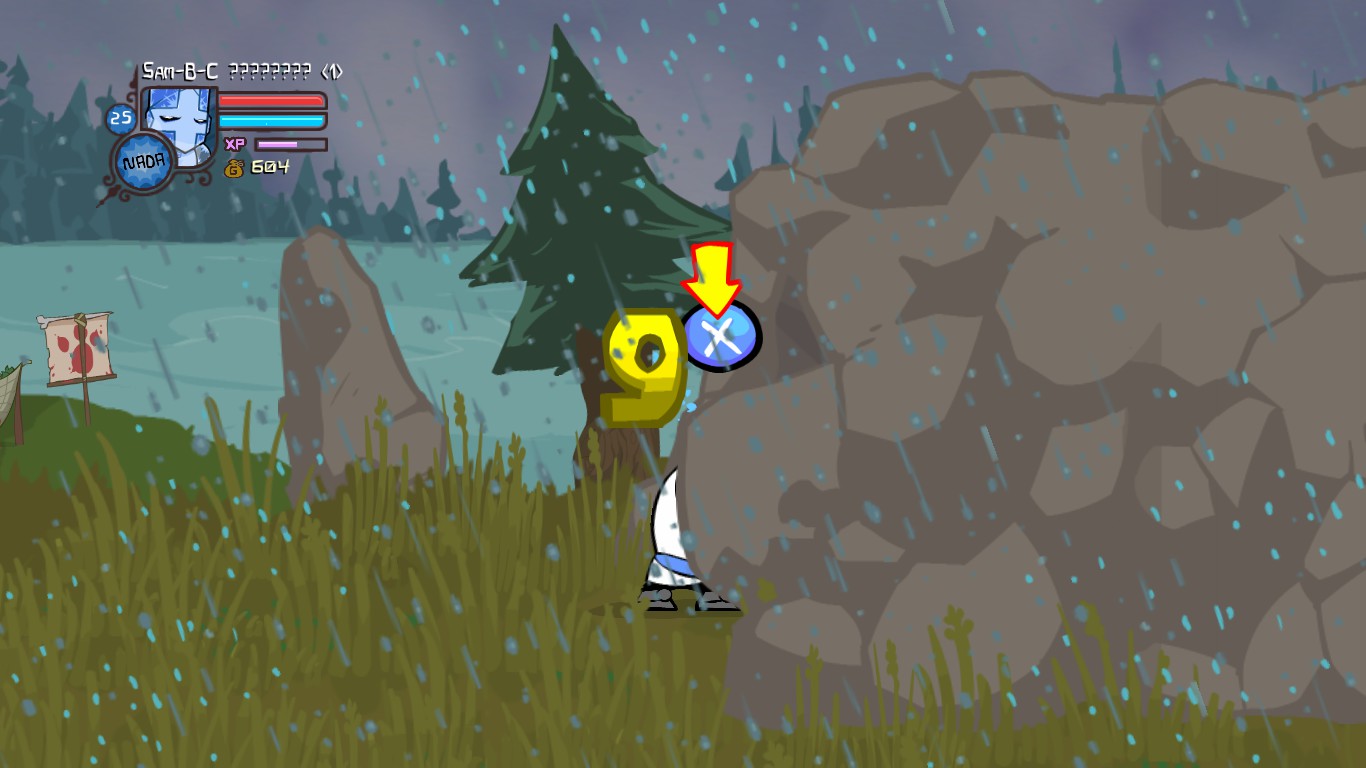
11th - Burley Bear

Effect: Strength +2
Location - Tall Grass Field: Near the end of the level before climbing the grass patches and meeting the Ice Prince and Cyclops, there will be a cleverly disguised cave with a giant boulder blocking the entrance. Use the sandwich to remove the boulder and head inside. Use bombs to break the cracked wall inside the cave revealing Burly Bear.
Required: Sandwich and Bombs
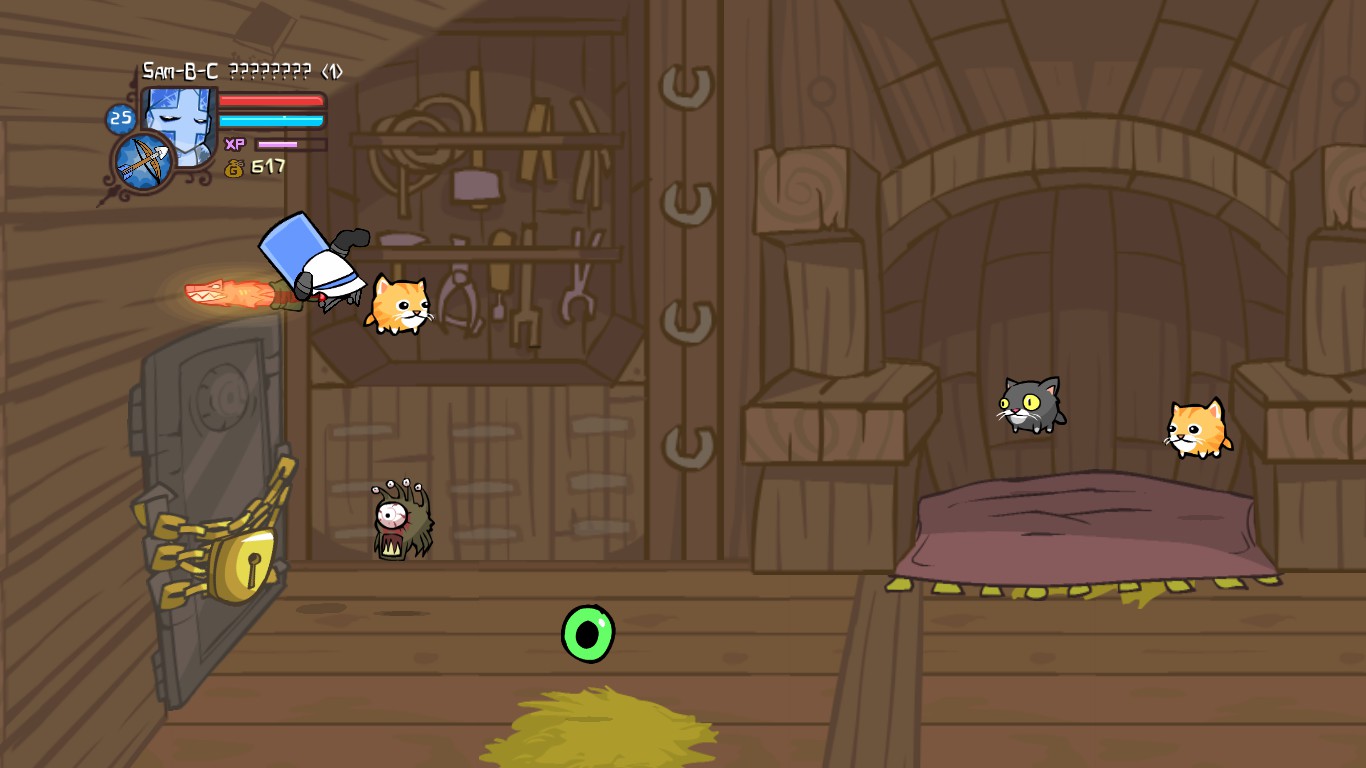
12th - Sherbert

Effect: Allows you to jump higher.
Location - Animal Ark: Go into the Animal Ark on the Blacksmith stage and run to the left. Once you reach the end of the ship, use your magic jump to reach Sherbert. He is located on a ledge and is partially hidden by your character status. You can also reach him by jumping and pressing X, X, Y over and over while facing the locked door. Soon your character will hit himself high enough in order to reach Sherbert.
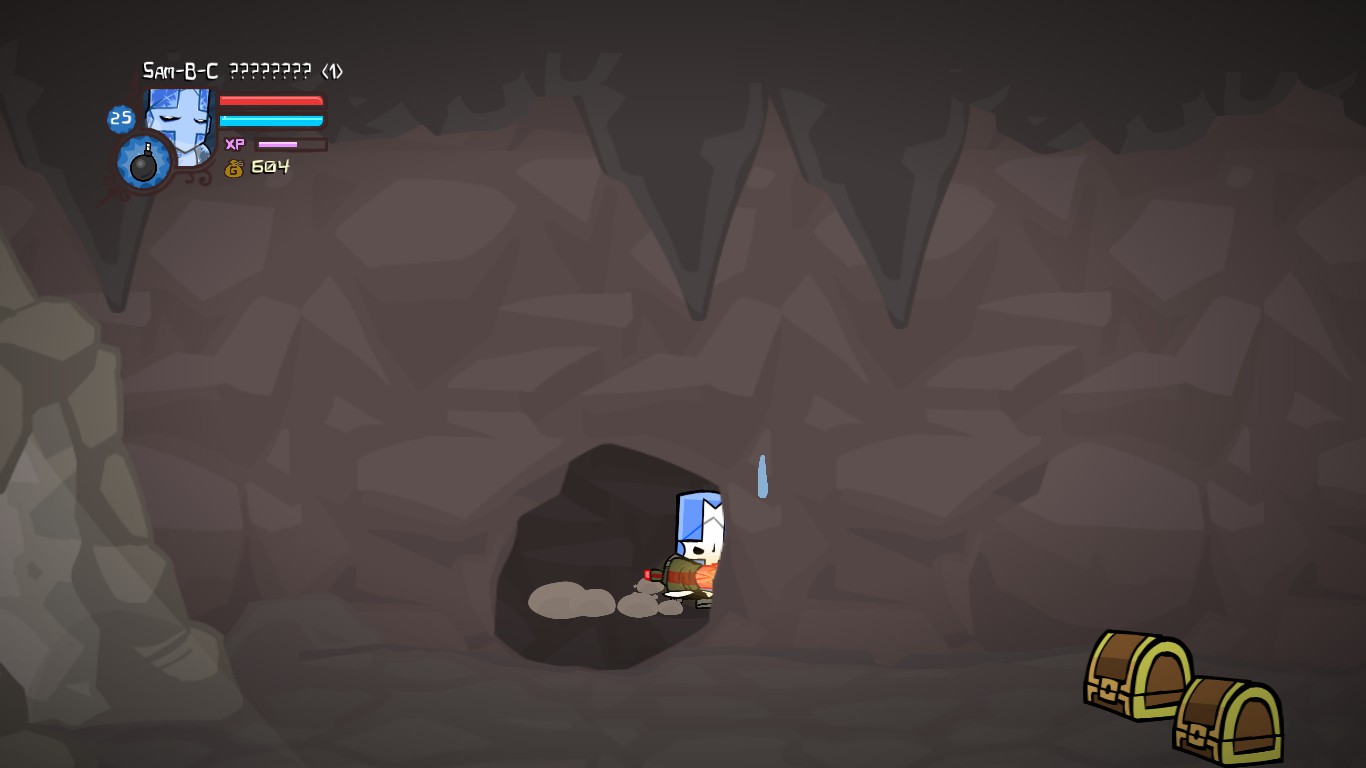
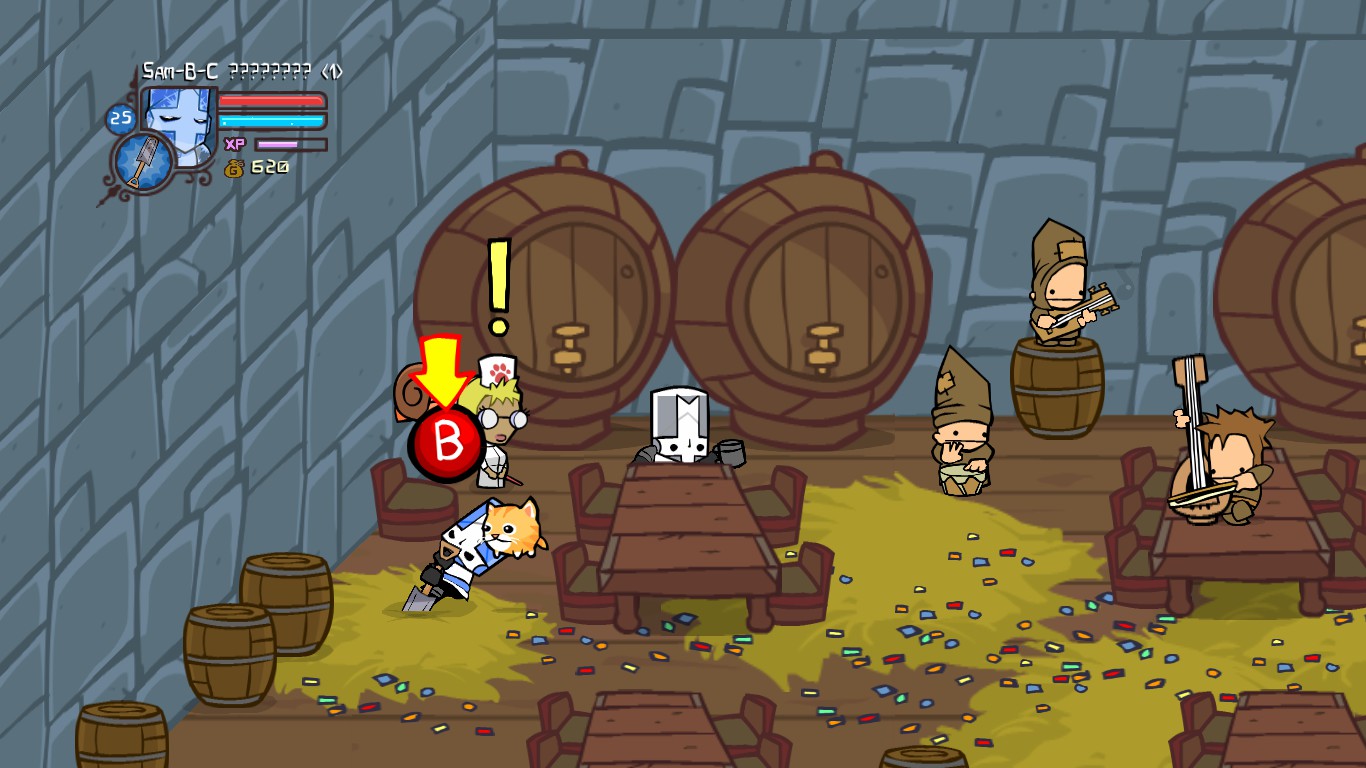
13th - Mr. Buddy

Effect: Allows you to dig faster.
Location - Home Castle: In the very first room of the game, with the three tutorial characters, locate the one in medical clothing, at the far left of the room. There is an X in the hay under the character in medical clothing. Pazzo can help to locate this. Dig to reveal Mr. Buddy.
Required: Shovel
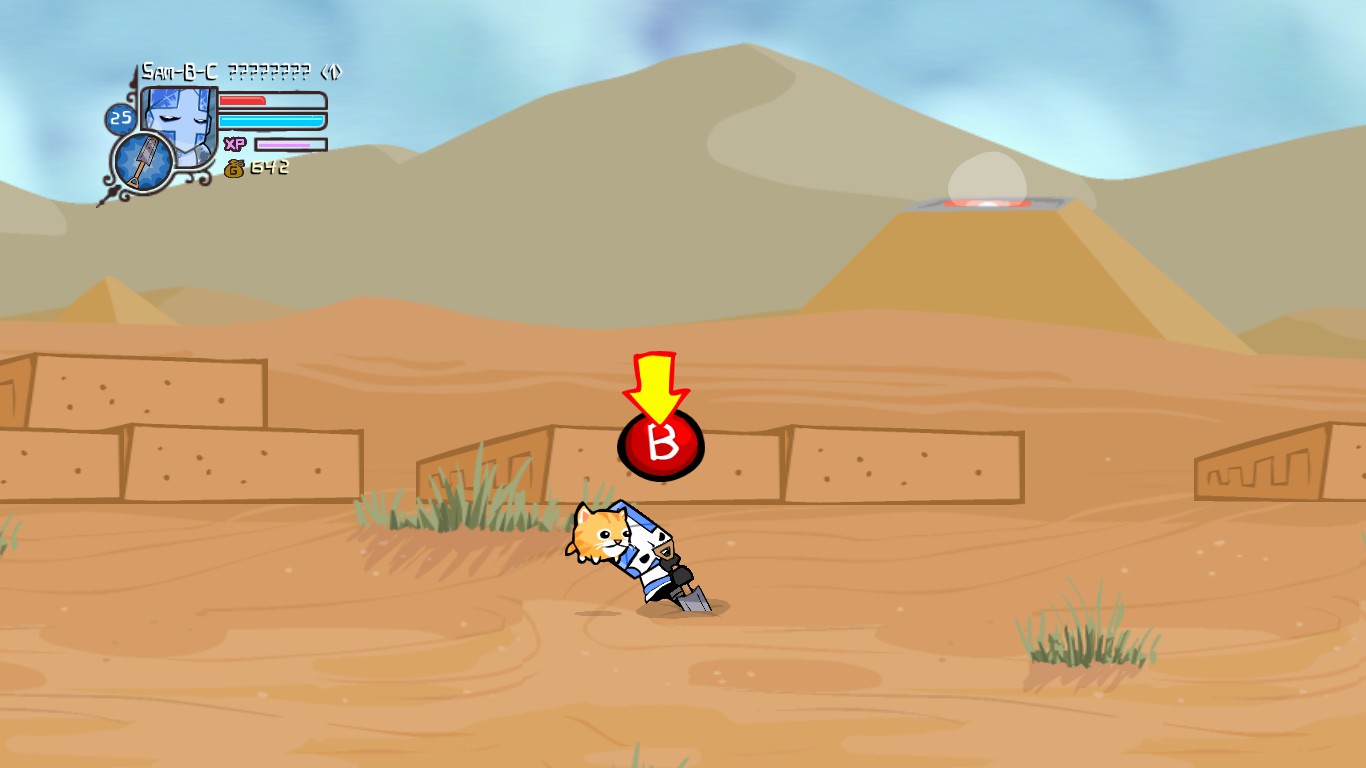
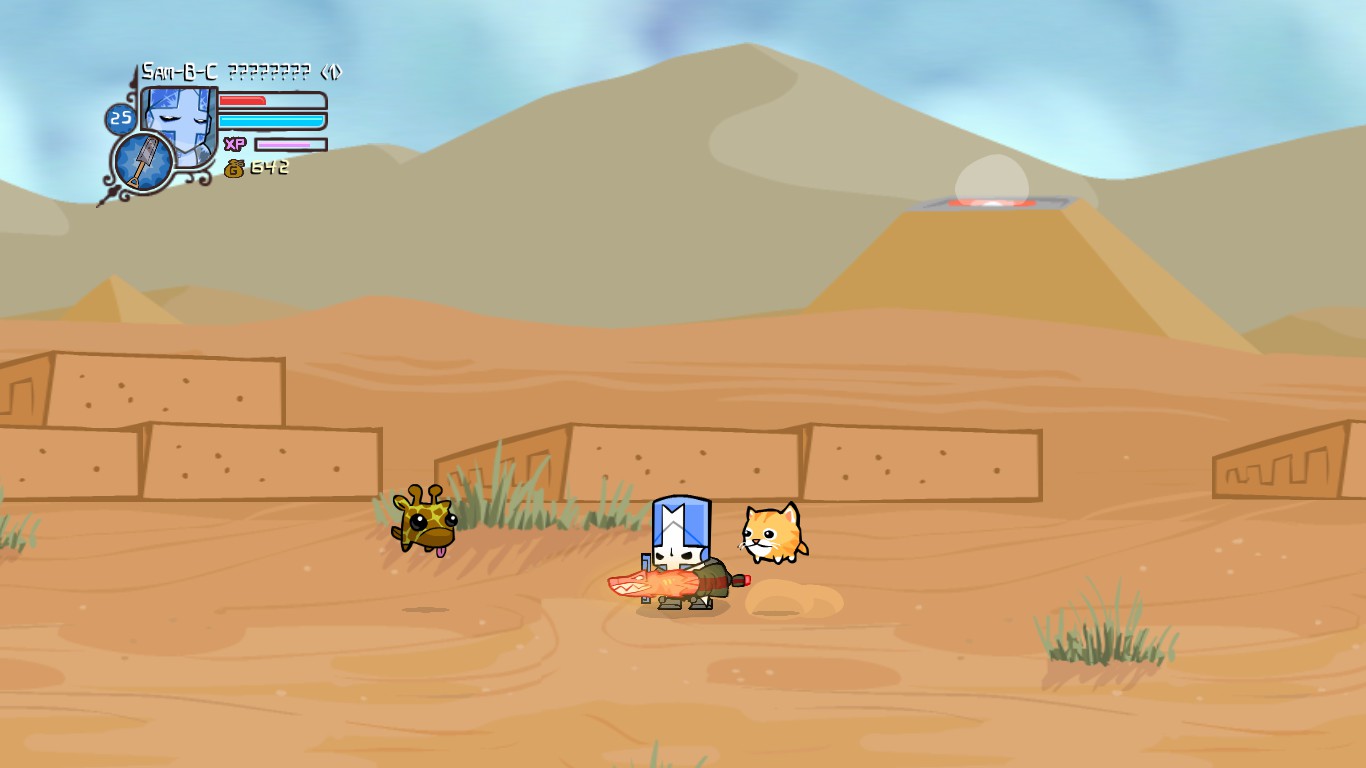
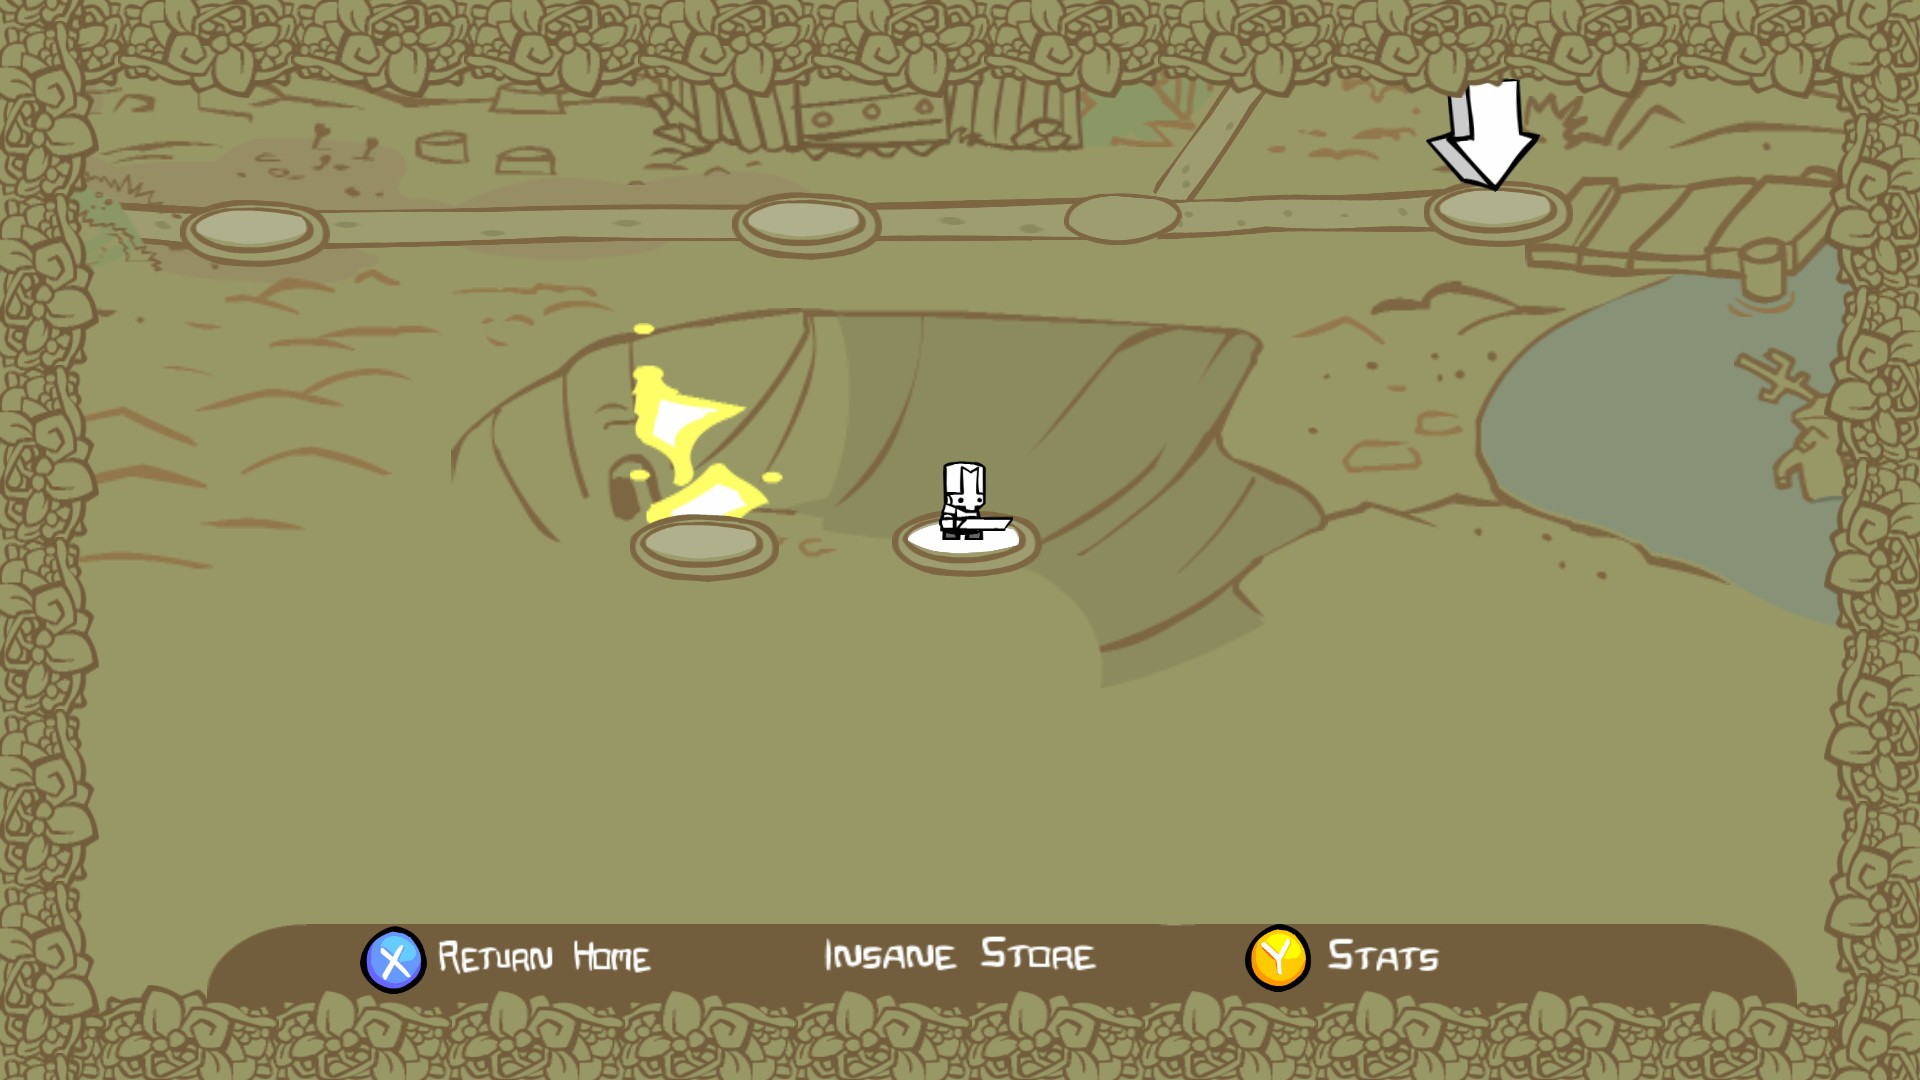
14th - Giraffey

Effect: Increases XP gain by 10%
Location - Desert (Requires the Shovel, Pazzo is highly recommended): Continue through the level digging up every X in the sand. Giraffey is towards the end of the level, hidden underground.his digging spot is the last one. Pazzo will help locate every underground item (and Giraffey). The dig spot is in front of some platforms, similar to the ones that the alien ship drops later in the level.
Required: Shovel
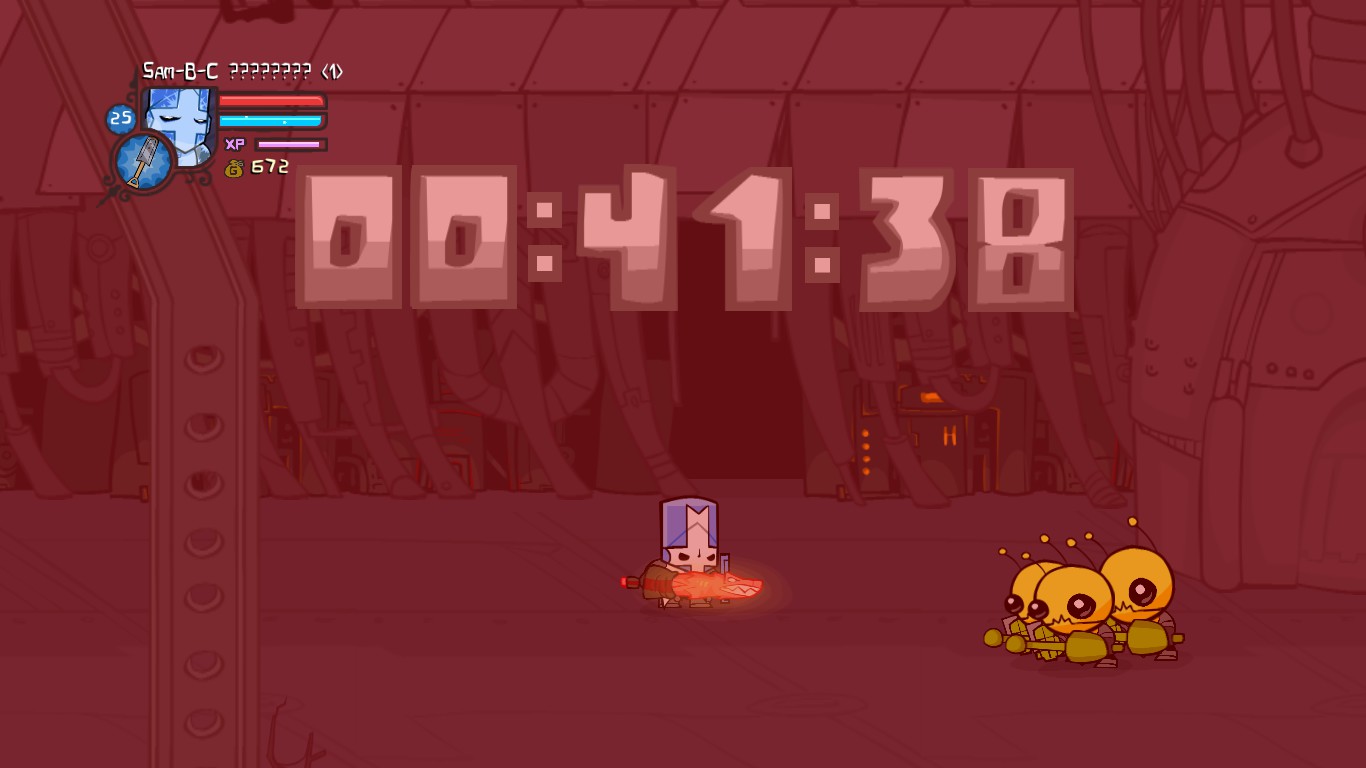
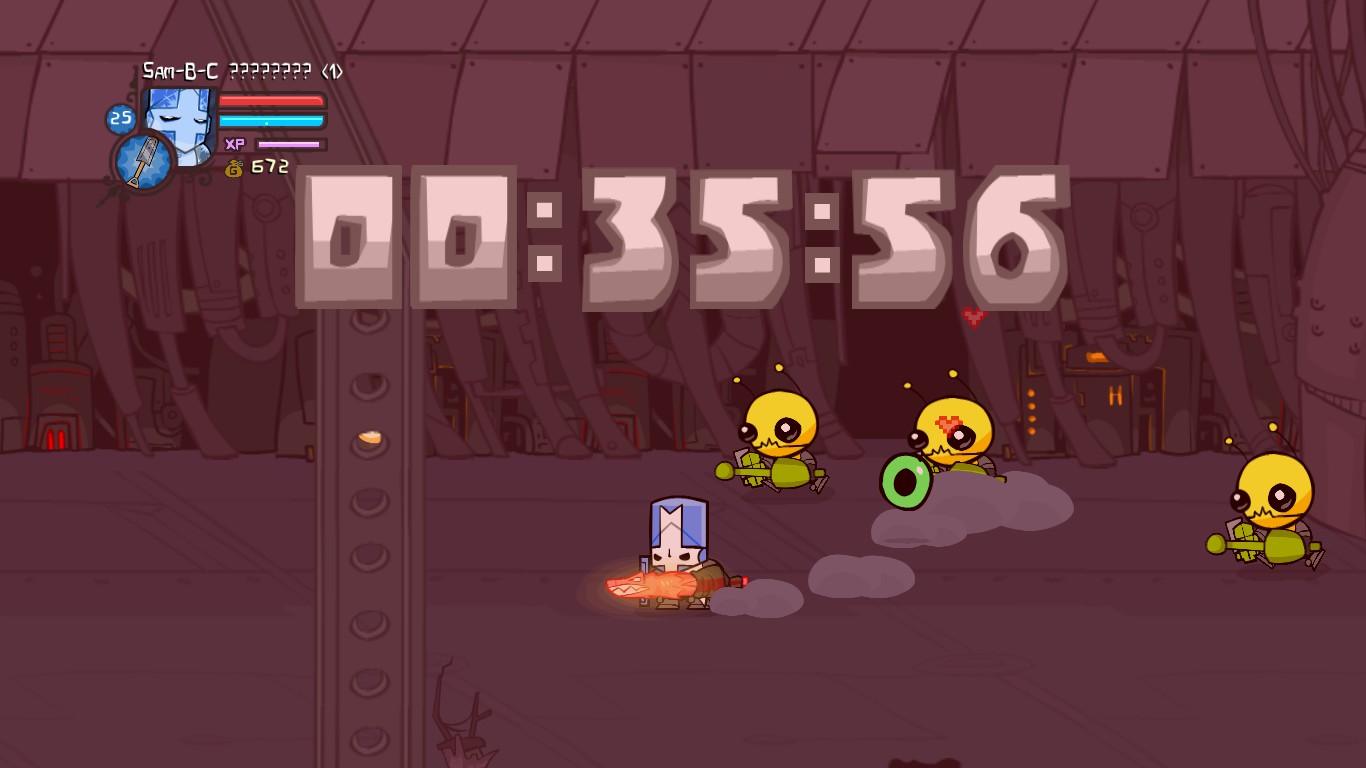
15th - Install ball

Effect: Shoots enemies with a purple colored plasma ball.
Location - Alien Ship: After the big alien starts the countdown, blow up the energy beam console and go up to the top of the screen. There should a be a fairly hard to see doorway with Install Ball to the right once you enter the door.
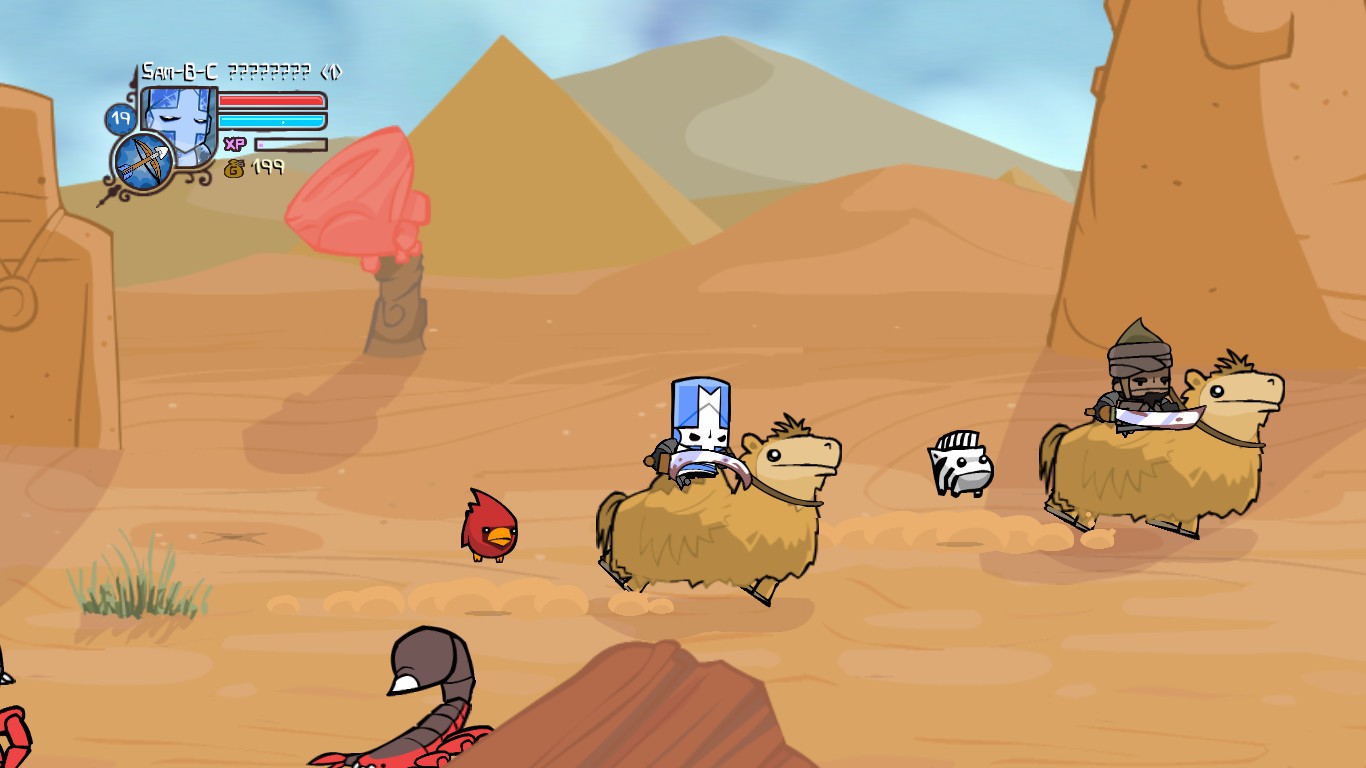
16th - Zebra

Effect: Helps find food in grass patches.
Location - Desert Chase: After you escape the alien ship, you will see a bandit on a Camel. Kill the bandit and take his Camel, or you can just run if you have invested in speed enough, and proceed with the level until you see another bandit on a Camel with a Zebra orb, follow him quickly and avoid the scorpions and quicksand. Once you reach him, kill the bandit and you can now pick up the Zebra orb.
Required: Camel or very high Agility
17th - Scratchpaw

Effect: Strength +1, Agility +2
Location - Sand Castle Interior: Scratchpaw is very easy to find, as soon as you enter the level you'll see it behind the wall looking at you through a window. Blow up the crack in the wall with 2 bombs and you'll be able to walk behind the wall to get it.
Required:2+ Bombs

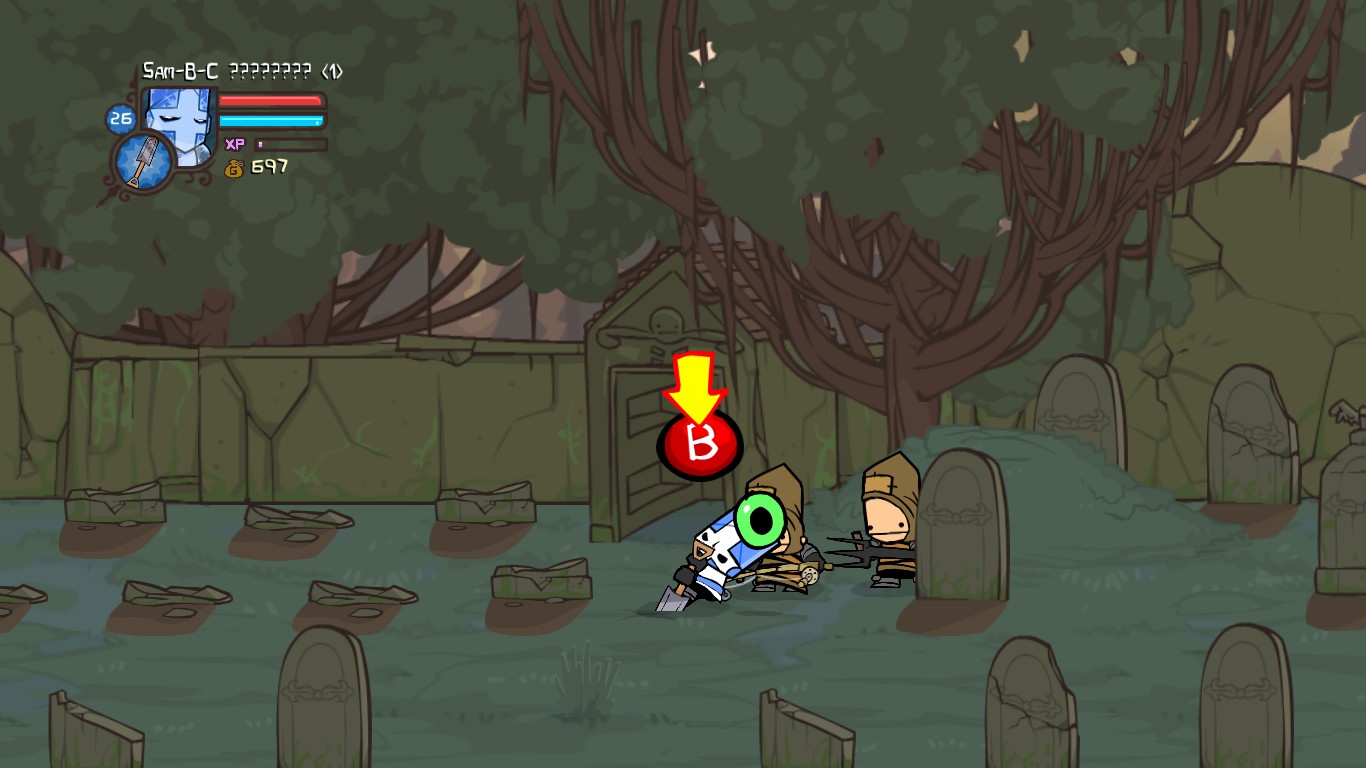
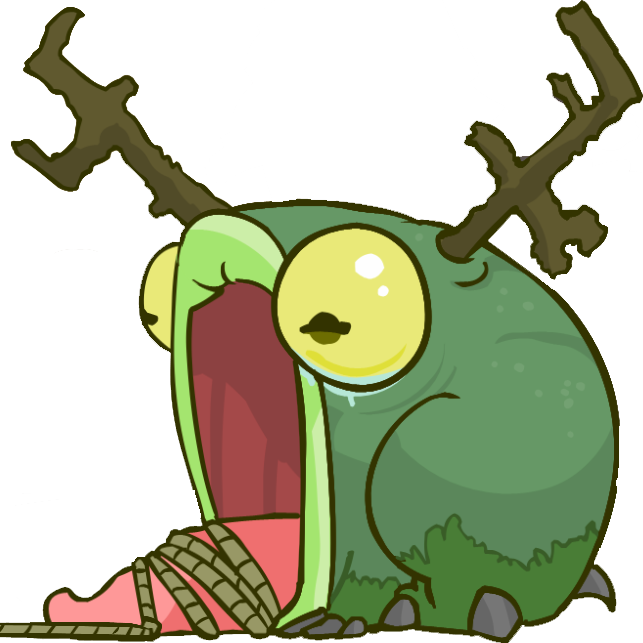
18th - Frogglet

Effect: Picks up items with his tongue.
Location - Marsh: (Pazzo is recommended): After the first graveyard fight, there should be a second fight, followed by the character going through a gate and into a cut scene. In the area of the second graveyard fight, there should be an X on the ground amongst the upper row of headstones (it's right under a mausoleum). Pazzo can help you find this. Dig in this spot to get Frogglet.
Required: Shovel
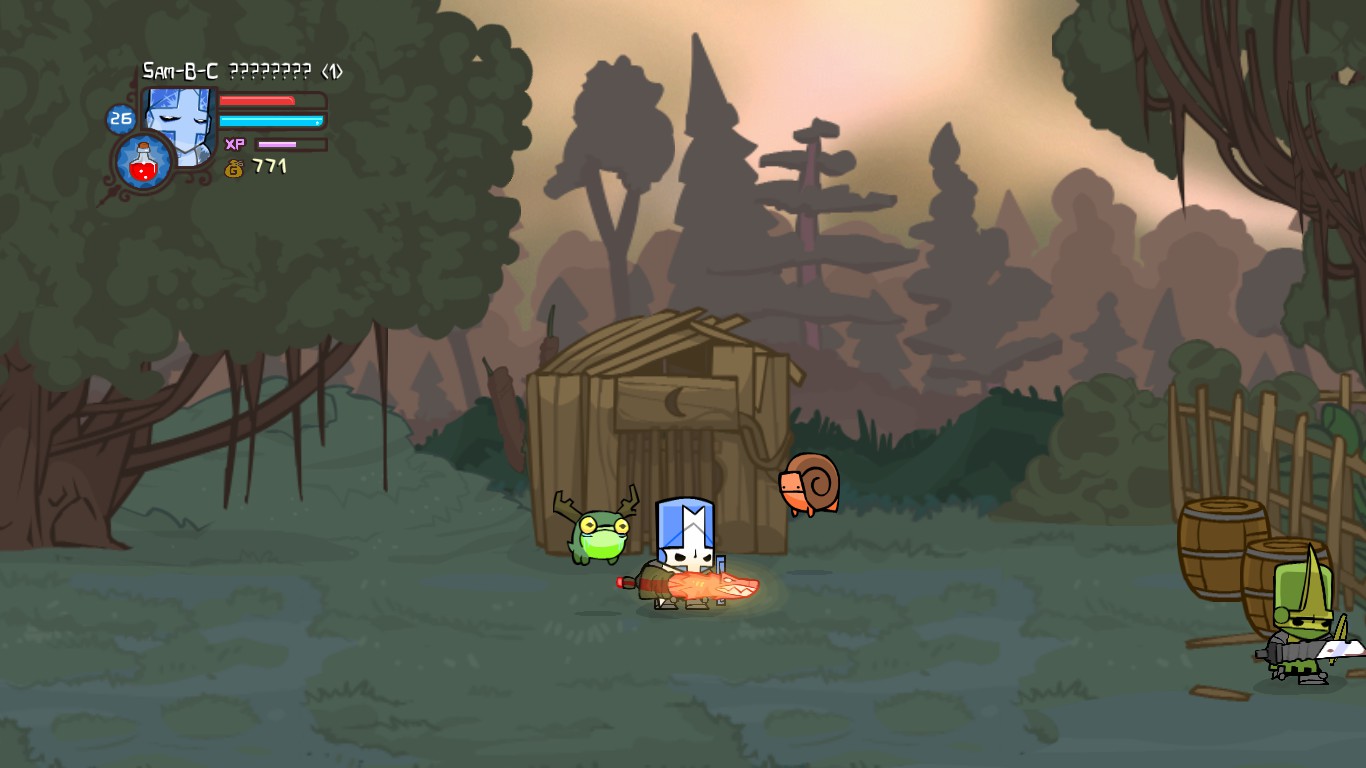
19th - Snailburt

Effect: Defense +5, Agility -5
Location - Marsh: Near the end of the level. This Animal Orb is fairly out in the open and easy to locate next to one of the huts.
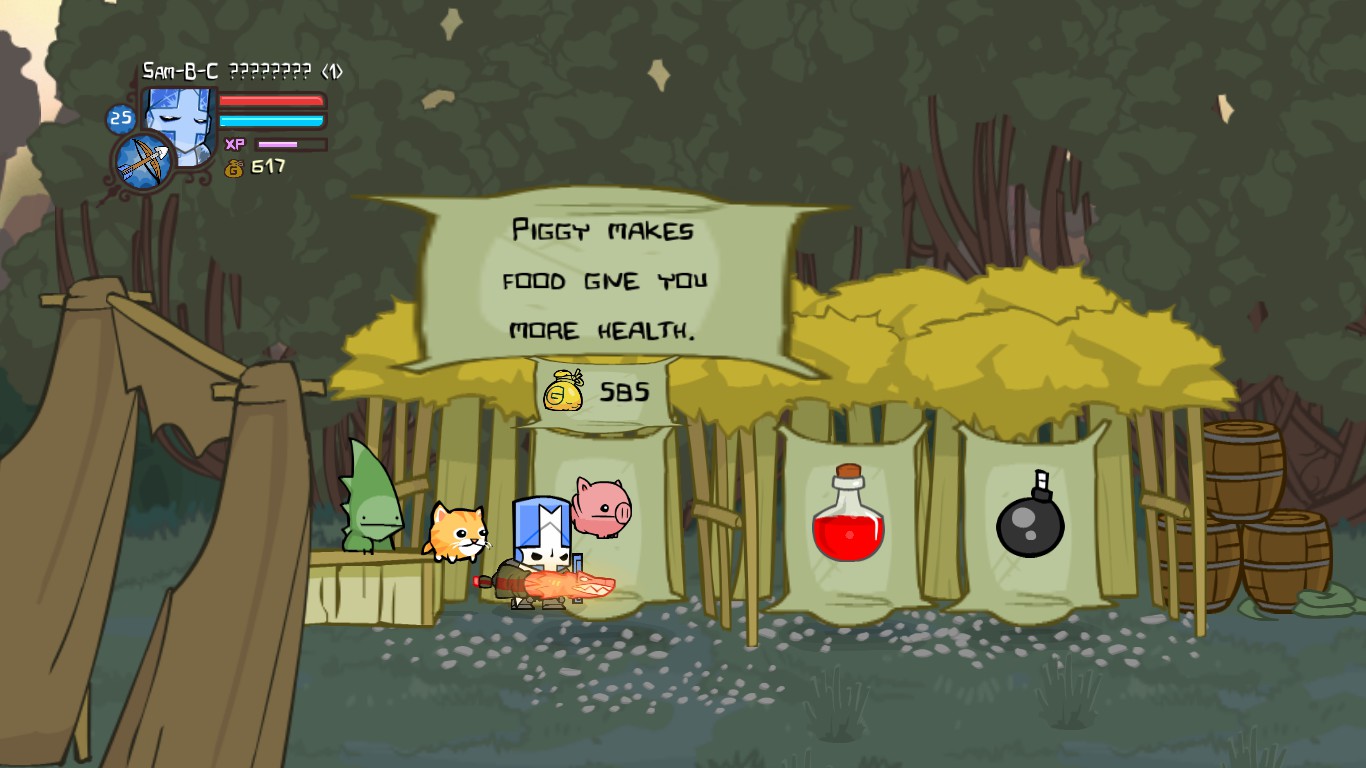
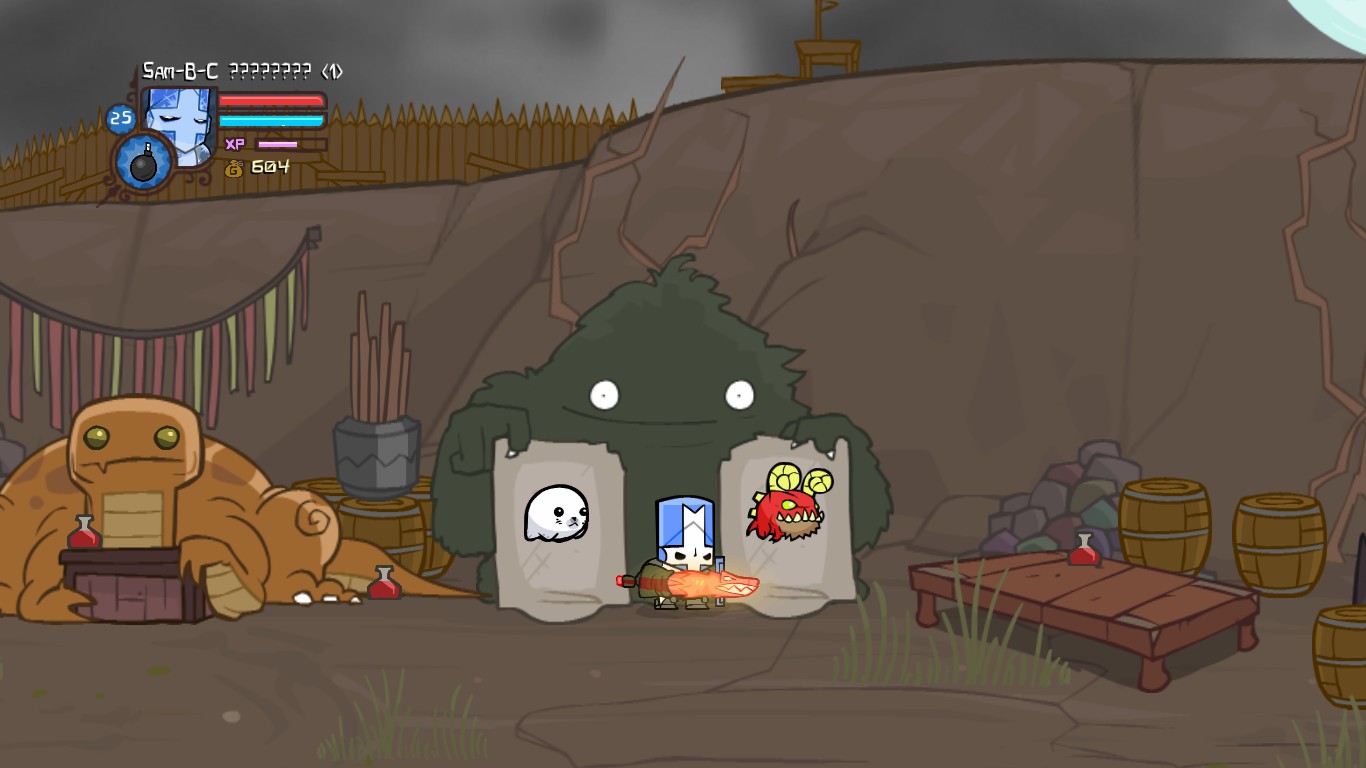
20th - Piggy

Effect: Increases the amount of health you regain from food you pick up.
Location - Swamp Village Store: Can be purchased for 585 Gold.
21st - Hawkster

Effect: Attacks downed enemies and will recover fruit from any enemy that is killed if he sees them die. Can only have one piece of fruit at a time. If multiple enemies die at once he will only grab fruit from one of them. The in-game description fails to mention this very useful attribute. If playing multiplayer, your friends can recieve the fruit from Hawkster by running into the fruit before Hawster flies back to you.
Location - Tall Grass Field (Requires the Horn): After fighting the first group of enemies, look for the hut with a Horn sign in front of it. Blow the horn in front of the hut to make Hawkster come out. If you meet the Bear Boss, you've gone too far. The hut and horn sign can be seen in the first cut scene of the level.
Required: Horn

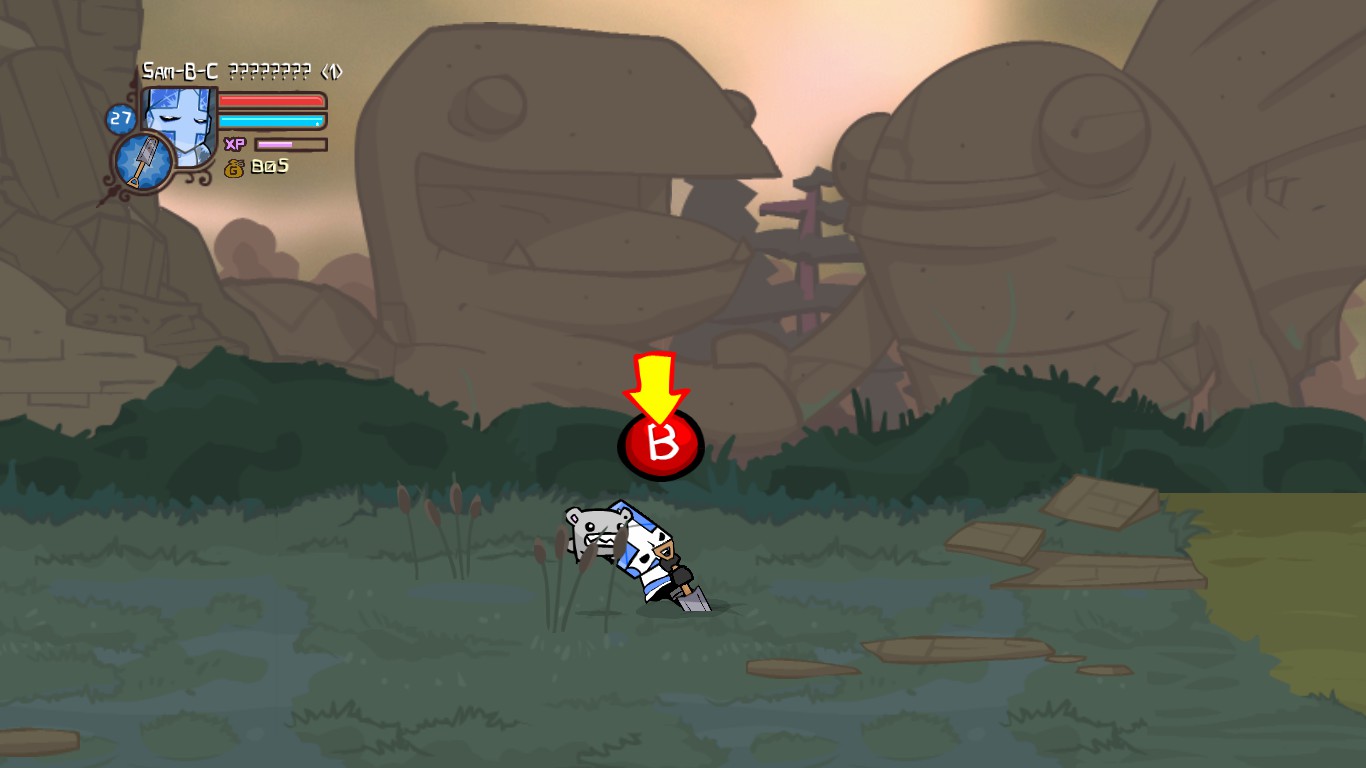
22nd - Chicken

Effect: Strength +1, Defense +1, Agility +1
Location - Medusa's Lair: Located just past the cattails at the beginning of the level. There is a faint X that marks the spot, but Pazzo can help to locate the spot. There are two large statues in the background that can help locate the X, the X is between the statues.
Required: Shovel
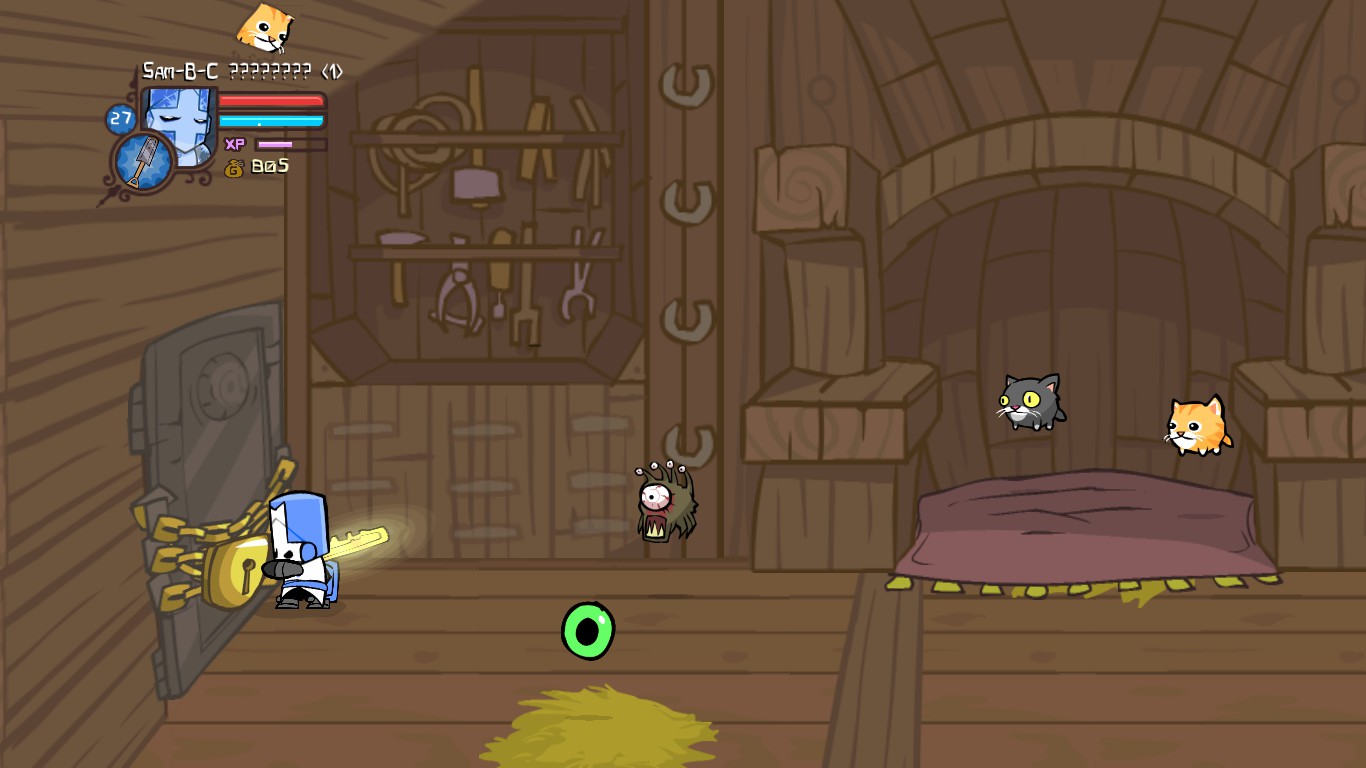
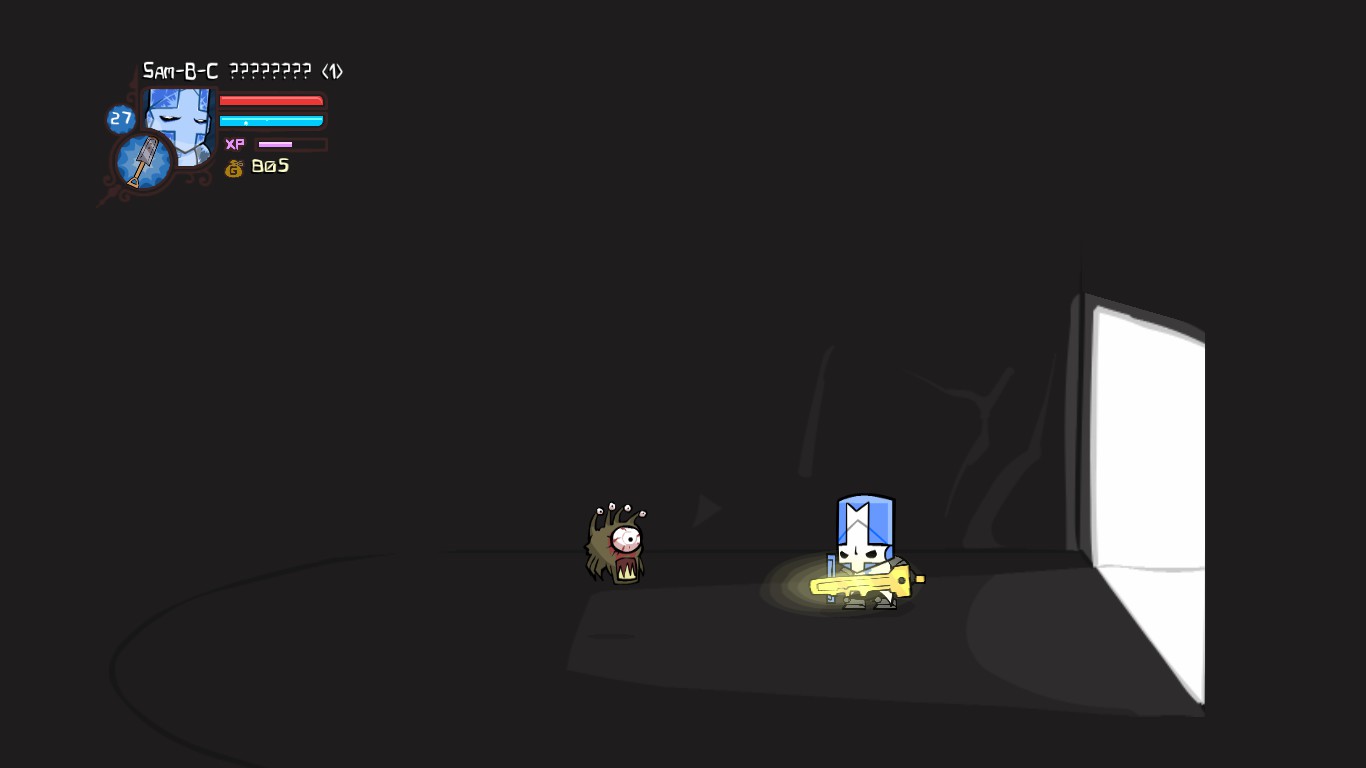
23rd - Beholder

Effect: Magic +2
Location: Enter the Full Moon level with the Cardinal and it will retrieve the Key Weapon from the second shack on the mountain for you. You can take this new weapon back to the Animal Ark and use it to open the locked door to the far left. Inside you'll find the Beholder Animal Orb.
Required: Golden Key (weapon).
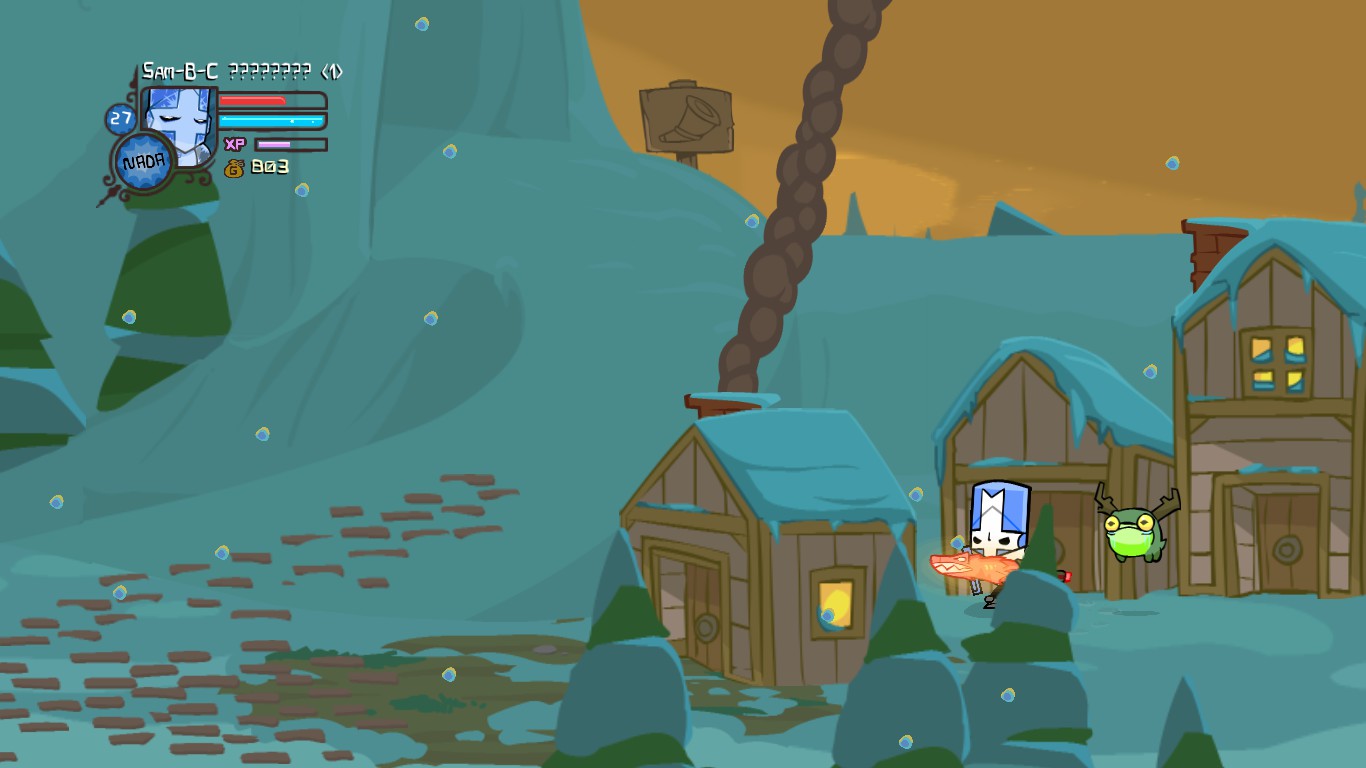
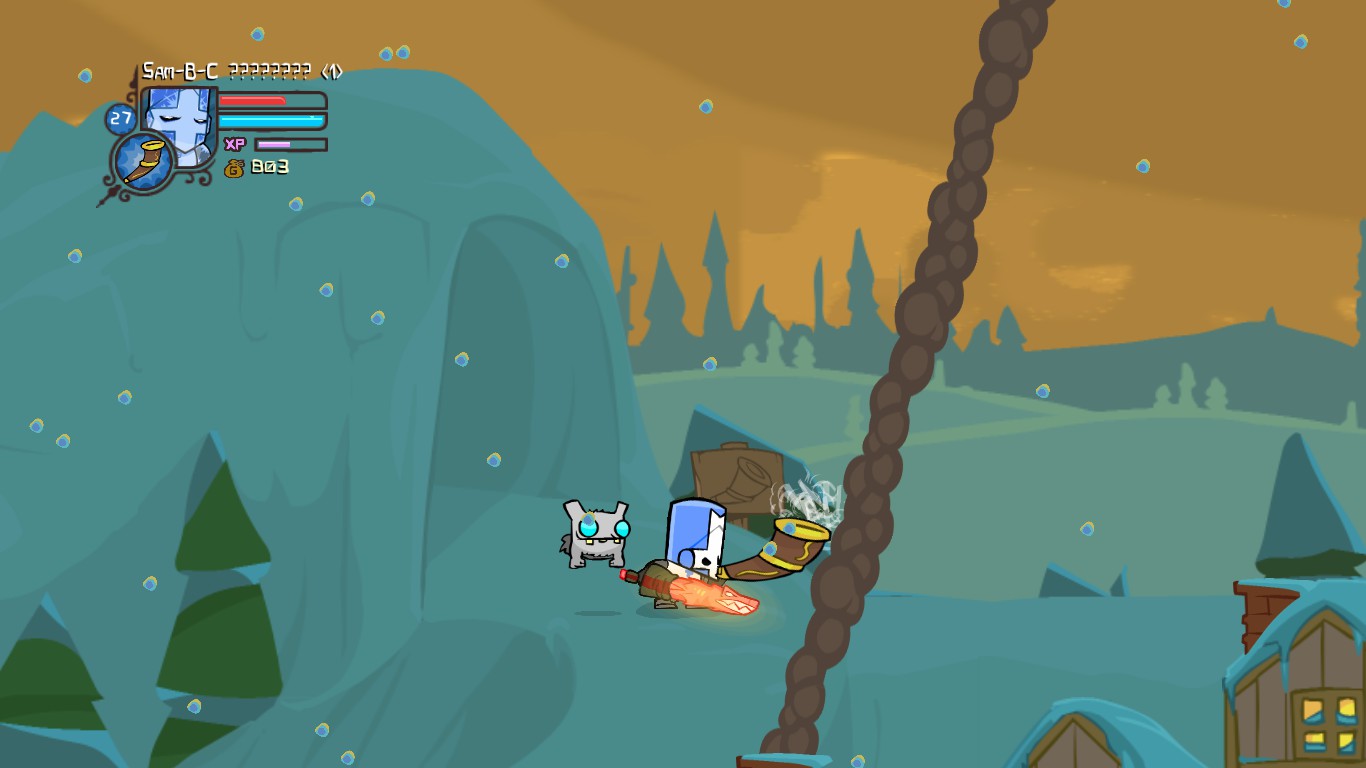
24th - Yeti

Effect: Prevents player from being frozen by ice-based attacks.
Location - Snow World: At the end of the level, before proceeding uphill to the ice cave entrance, the Yeti is found behind the shack with the smoking chimney and side window lights on.
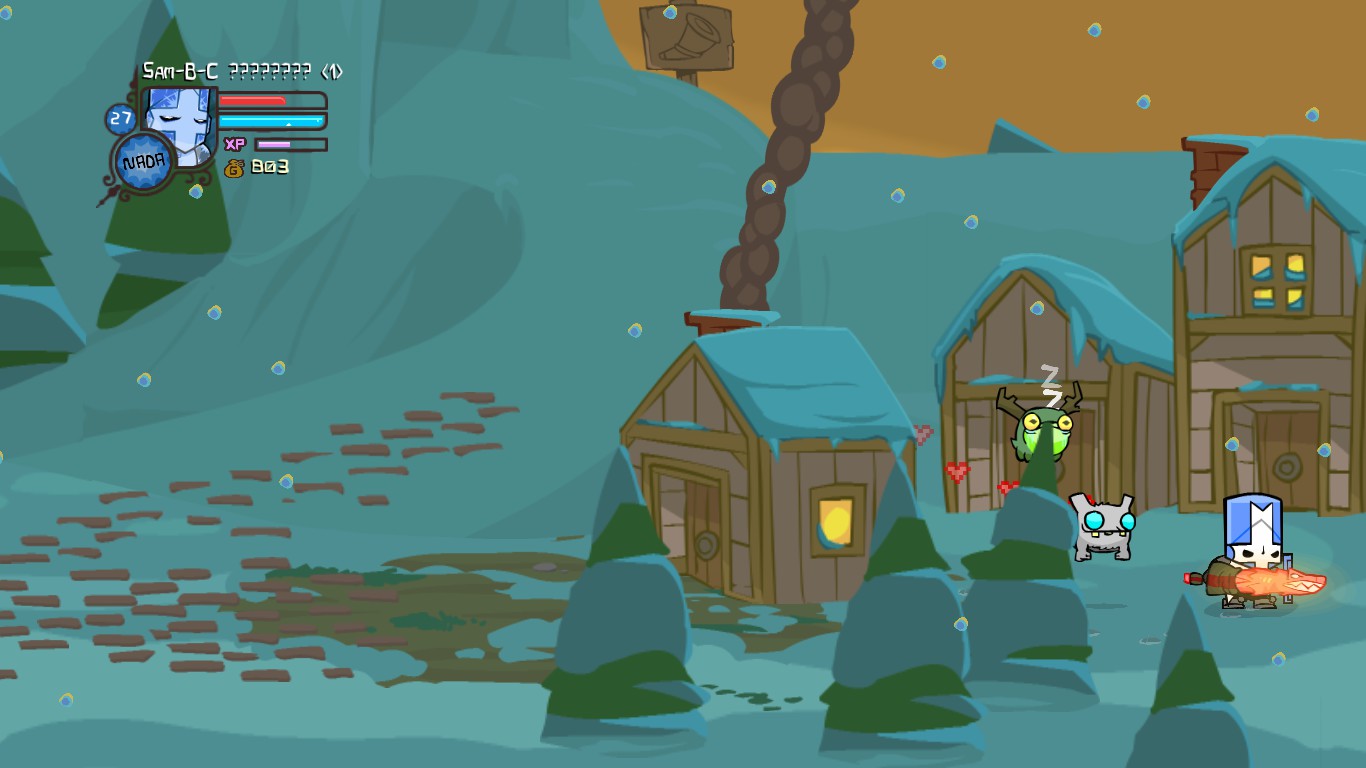
25th - BiPolar Bear

Effect: Mauls Enemies <and friends> Who are near Death
Location - Snow World: the animal orb is at the cave at the very end of the Snow World level. Blow the horn near the horn sign and he should appear out of the cave. (DO NOT go into the cave until you have both of the animal orbs)
Required: Horn.
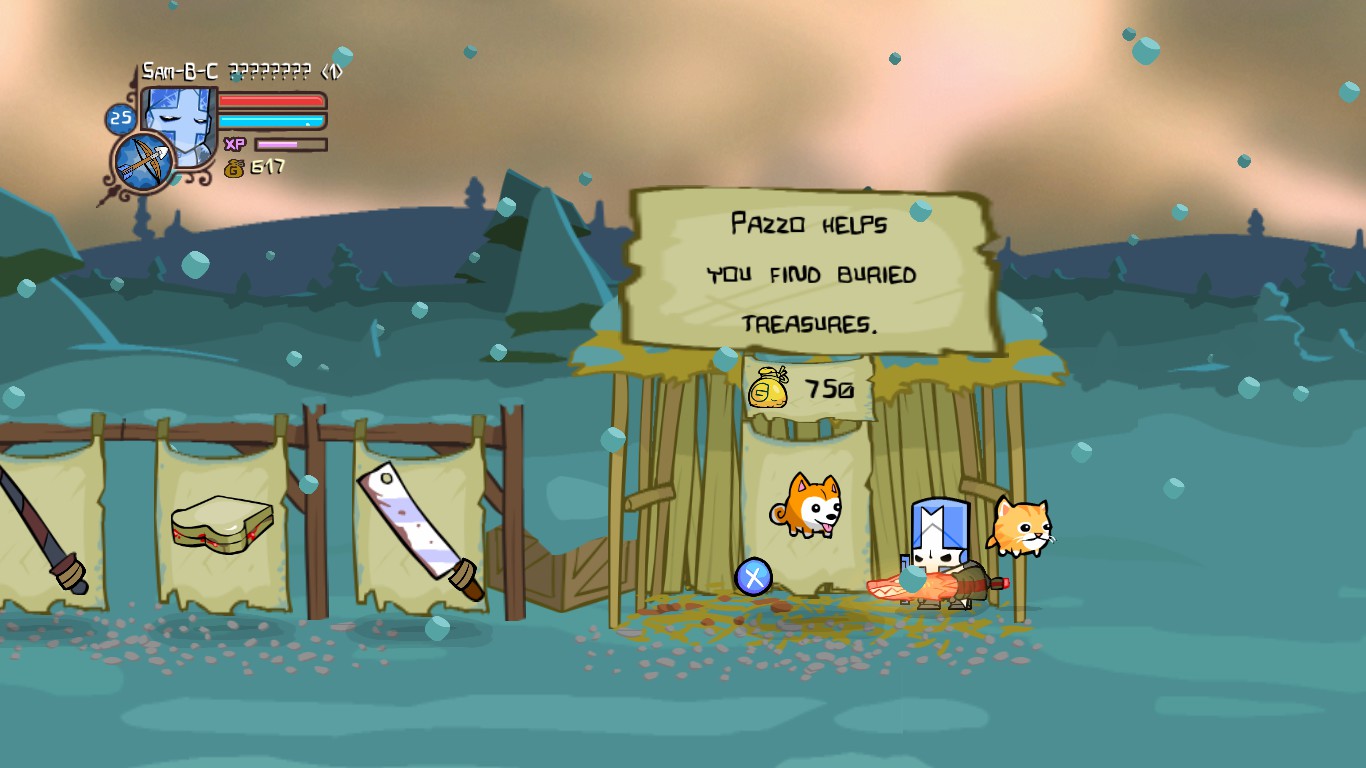
26th - Pazzo

Effect: When a buried item is onscreen, Pazzo will hover over above and scratch at the ground where the item is. Dig with your shovel to recover the item.
Location - Snow Store: Can be purchased for 750 Gold.
27th - Dragonhead & Pelter
 Effect: Occasionally shoots fireballs at enemies.
 Effect: Occasionally throws snow balls at enemies.
Location - Insane Shop: Can be purchased for 1100 Gold each
29th - Golden whale

Effect:Drops one piece of gold every thirty seconds.
Location : Own BattleBlock Theater on Steam
End
Thank you for viewing
More Castle Crashers guides
- How to unlock all characters in Castle Crashers★ 5 (815)51k views1.5k ♥2 minUpdated Apr 18, 2021
- The Ultimate Guide To Castle Crashers★ 5 (1.2k)50k views2.3k ♥79 minUpdated Jul 6, 2024
- Character Unlock Guide★ 5 (753)39k views1.3k ♥2 minUpdated Aug 8, 2025
- Castle Crashers - персонажи★ 5 (1.2k)37k views1.6k ♥4 minRussianUpdated Oct 1, 2018
- How to Unlock All Castle Crashers Characters★ 5 (861)34k views1.4k ♥1 minUpdated Aug 11, 2025
- Weapon list (Remastered)★ 5 (685)31k views1.2k ♥17 minUpdated Aug 24, 2022


This guide was created by its original author on the Steam Community. Are you the author and want it removed? Request removal.