Overview
This guide is intended to guide you through the Great Sovereign Temple, showing you the locations of the 5 vanity items and 4 codexes. It is also intended to provide the solutions to the puzzles and some advice on which path to take.
Quick Index for Loot
Vanity Items
- Bunny Mask–Path 2B
- Phoenix Circlet–Path 3
- Stargazer Acolyte Wings–Path 2A
- Tribal Feathers–Path 3
- Valkyrie Helm–Path 1
Codexes
- A Desert Expedition–Kluex Avatar (Loot chest)
- Caretaker Guidelines–Path 2B
- The Gift–Path 1
- The Great Temples–Path 2A
Before You Deploy
Armor: You probably have Durasteel armor or better. If not, get yourself some. I recommend Tier 5 armor (Aegisalt, Ferozium, Violium) of whichever type fits your playstyle.
Weapons: This is dependent on your playstyle. If you found it on a Frozen planet, it should be good enough. I prefer ranged weapons, but you can use whatever you like.
Healing: You need bandages. A lot of bandages.
Techs: You don’t really need the spike tech, but Morphball in some form is still required to get some of the loot. Jump techs are always useful, and may be required for some puzzles. You’ll need an upgraded form of the dash tech for it to be useful.
Other stuff: A shield is useful if you bring a one-handed weapon. (Or if you pair it with your bandages.) Burn Spray will make one path slightly easier. An EPP will help with the other.
The Entrance
 If you go left from the teleporter, you’ll find a pool. Follow it to find a room with two jars and a healing altar. If you want more jars, you can climb the face of the temple and get behind the bird formation. When you go right, you’ll be greeted by Tonauac. Bear with him until he opens the door at the end of the passage. You’ll have to go around to get to the console for the next door. This is also your introduction to Avian pressure platforms. Unlike other hatchs, these open a short time after you step on them, and they cannot be opened from below.
Path 1
 The first area contains five patforms and a large pool of water. The odd-numbered platforms will drop you if you stay on them too long.
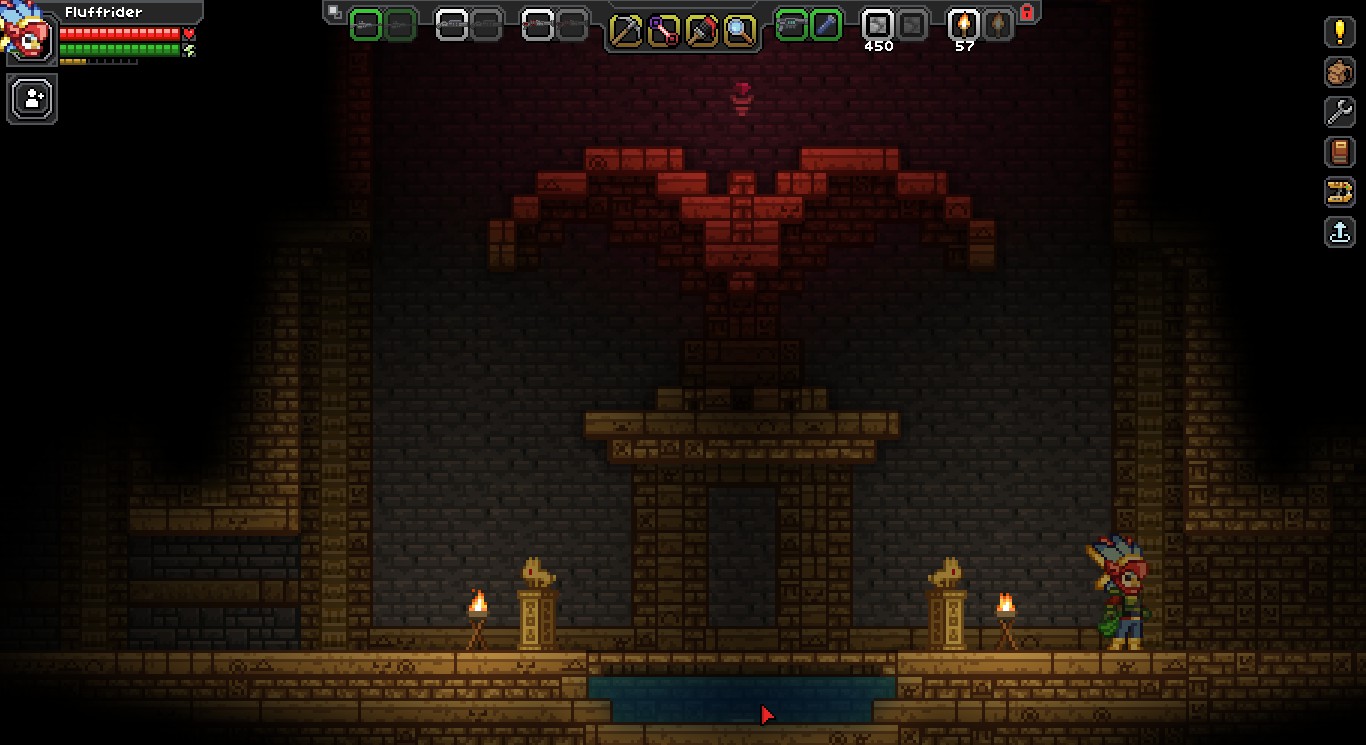
 This path is tantalizing, but this is the exit.
 Since there is no choice but to go down, you’ll need to dodge these laser beams. They operate on timers, so you’ll want to pass them one at a time. Each hit deals 40 damage.
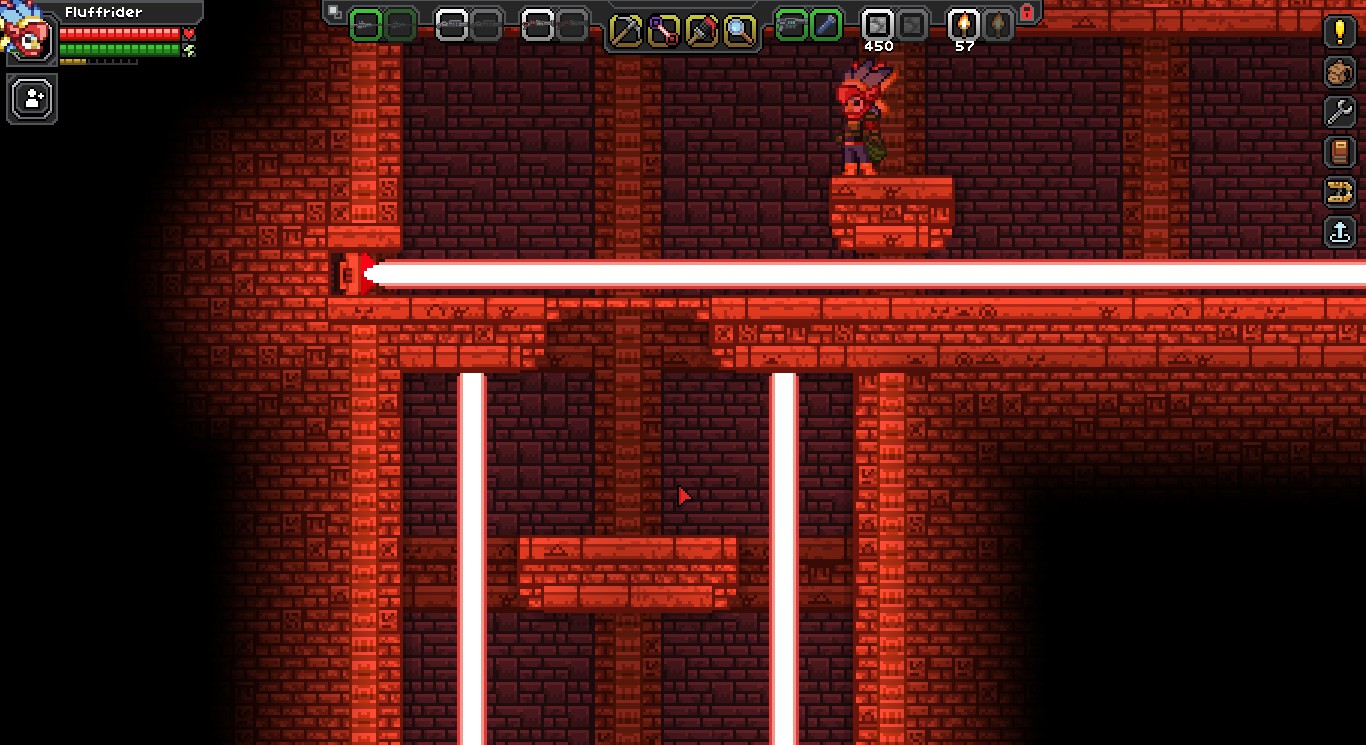 There are six lasers total.
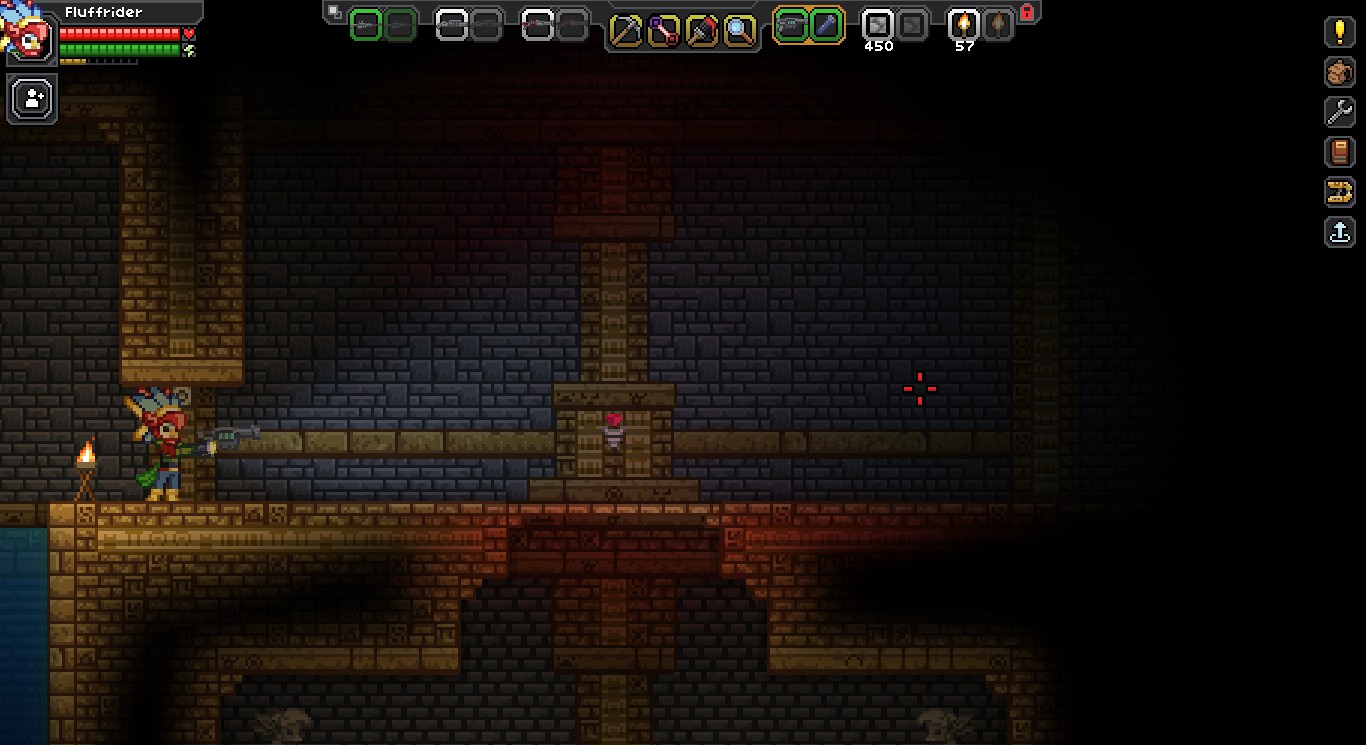
 After dropping down, you’ll be greeted by a Kluex Sentry with a missile attack. Take him out and go right. Use the small pillar to defend yourself if necessary.
 The button to open this passage is in the middle of the pool. The path beyond has water, but the only things in that are one shark and one harmless fish. After you climb up and activate the console, you’ll want to open the Lavish Avian Tomb, grab The Gift, and keep going left before the Swarpions start spawning. Once you get back out, you’ll have to go through the lasers again.
 Shoot the spikes to clear the floor. There is one more Kluex Sentry, and it can be a problem if it notices you before you get past the spikes.
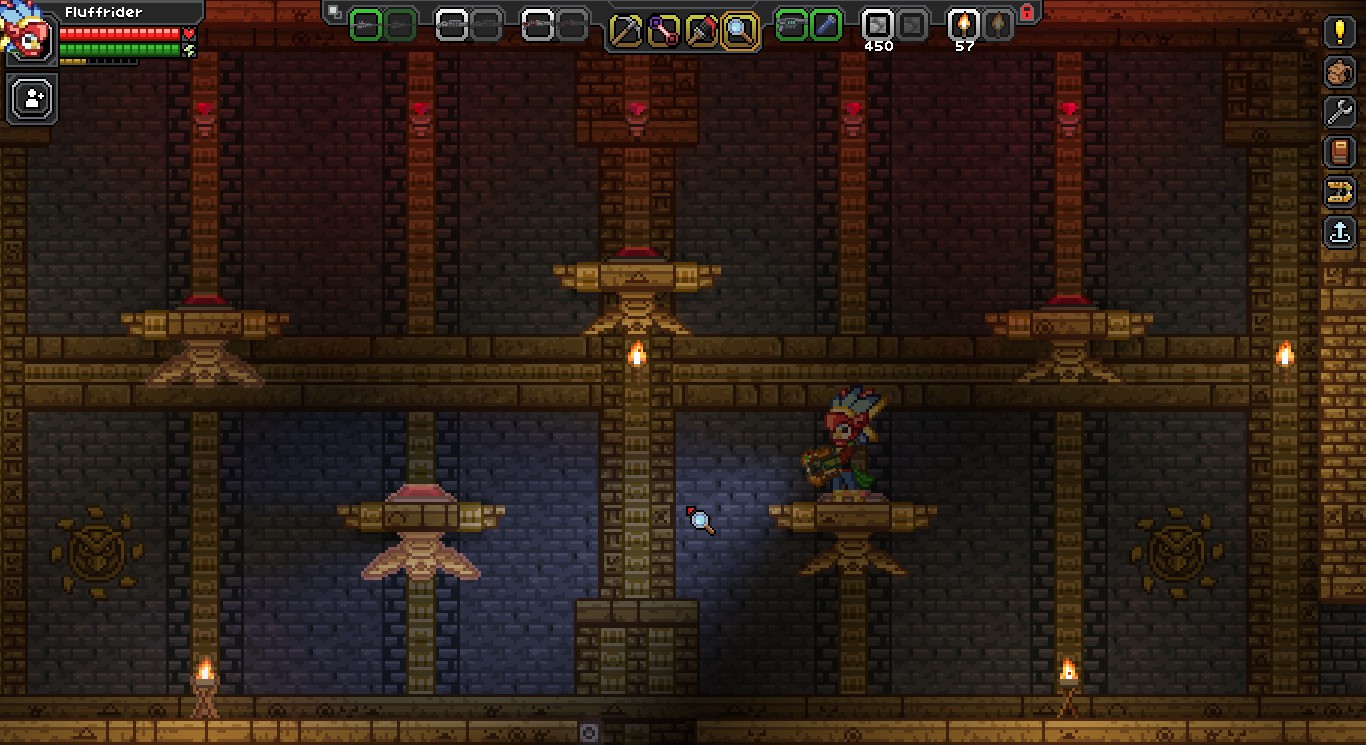 If you go left through the door, you’ll find this puzzle. You’ll need to step on all the buttons before any of them turn off. This is far easier with friends, and otherwise nearly impossible without a jump tech. The Large Decorative Chest contains the Valkyrie Helm.
Choosing a Path
 You must now make a choice. Both paths have morphball tunnels.
The Left Path
This offers water, sharks, and spikes. An EPP will make this easier. It offers The Great Temples and the Stargazer Acolyte Wings. This path is better for geared-up players with less finess.
The Right Path
This offers flame traps, coals, and lasers. Burn Spray will make this easier. It offers the Caretaker Guidelines and the Bunny Mask. This path is better for those who like to get by on the lowest-tier gear possible, since they probably have the finess to dodge the fire.
Path 2A (Water)
 After dropping down for quite a ways, you will enter a pool with two sharks. Kill the sharks, then hit the pressure plates on the left to open a passage (with another shark in it). The Open Stone Tomb has The Great Temples in it. The Decorative Chest has some variable loot.
 At the end of the spike-lined water passage, you’ll find this room. The spikes can be destroyed if you want to be sure you avoid them. The pressure plate turns on the lights.
 After swimming through another spiky water passage, you’ll have a choice. If you have morphball or a replacement, you can take the tunnel. If not, you’ll have to take the door and drop into the pool beyond.
 The chest contains the Stargazer Acolyte Wings. The exit tunnel takes you to the pool that you could have jumped in from the door.
 Once you go through this door, it will close behind you. The two paths meet again here.
Path 2B (Fire)
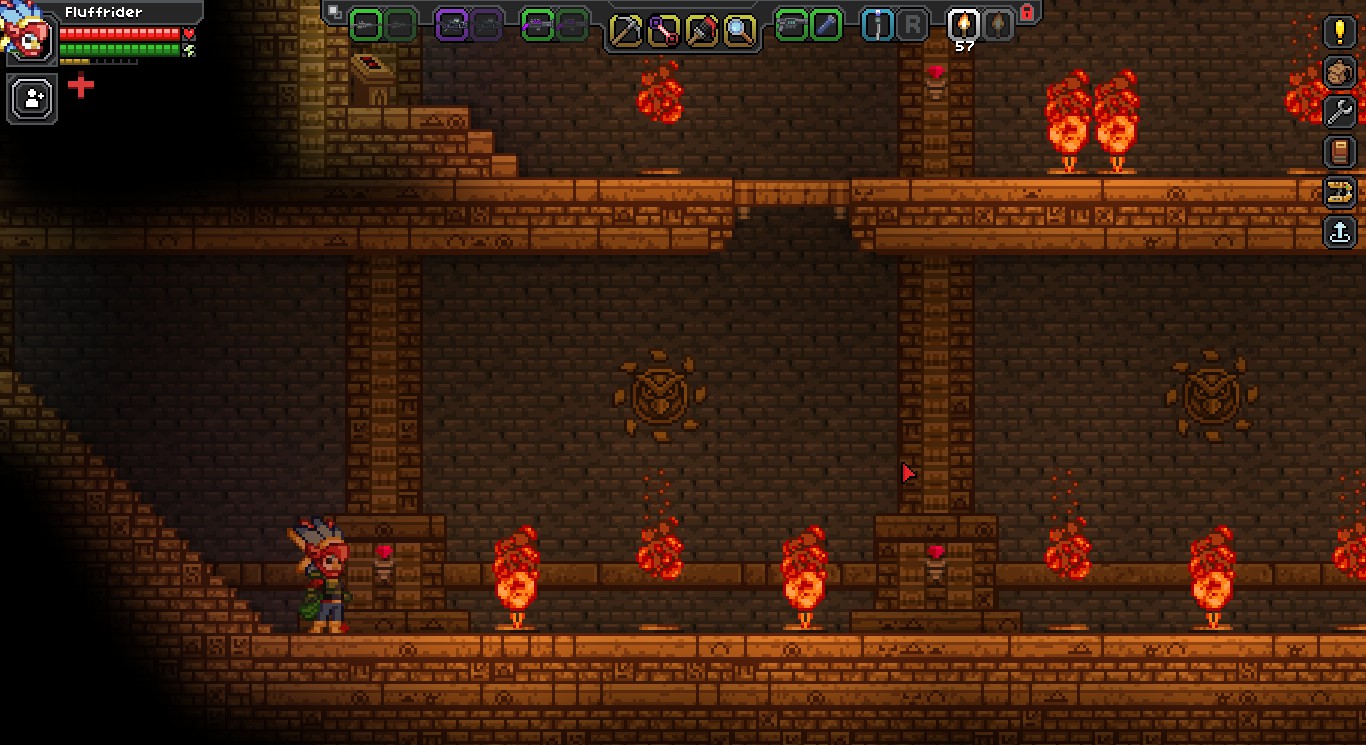 If you brought Burn Spray, now is the time to use it. (It only lessens the damage you take, so it isn’t really necessary.) You can jump over the fire where the ceiling is high, but otherwise you have to time it. The console above turns off these flames.
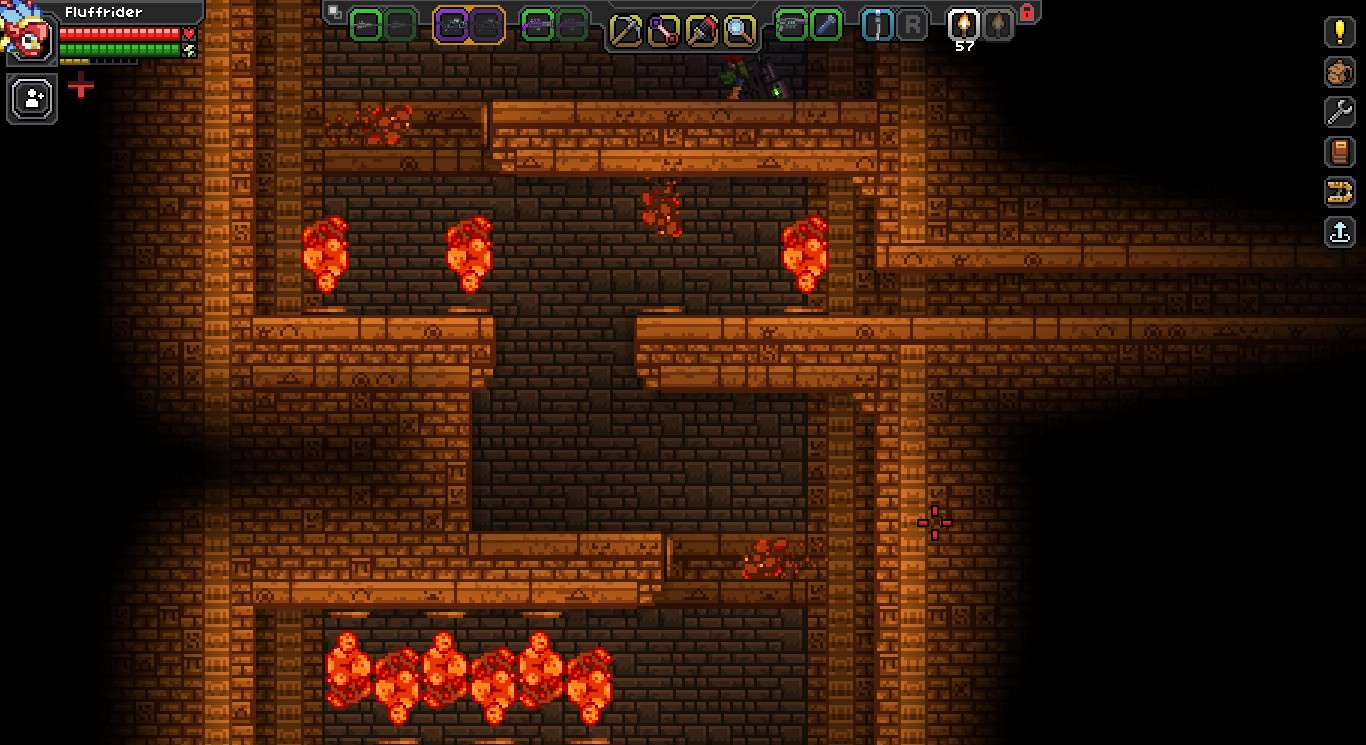
 You’ll need to run through here without stopping. The coals are more dangerous than spikes, primarily because they can’t be destroyed.
 If you want the Caretaker Guidelines, you’ll need to step on the plate below the flames. (And probably stay on it.) The chamber is up to the right.
 You can skip most of the flames by taking the morphball tunnel, but you must actually have tech (or some quick move that I don’t know about) to get through the tunnel alive.
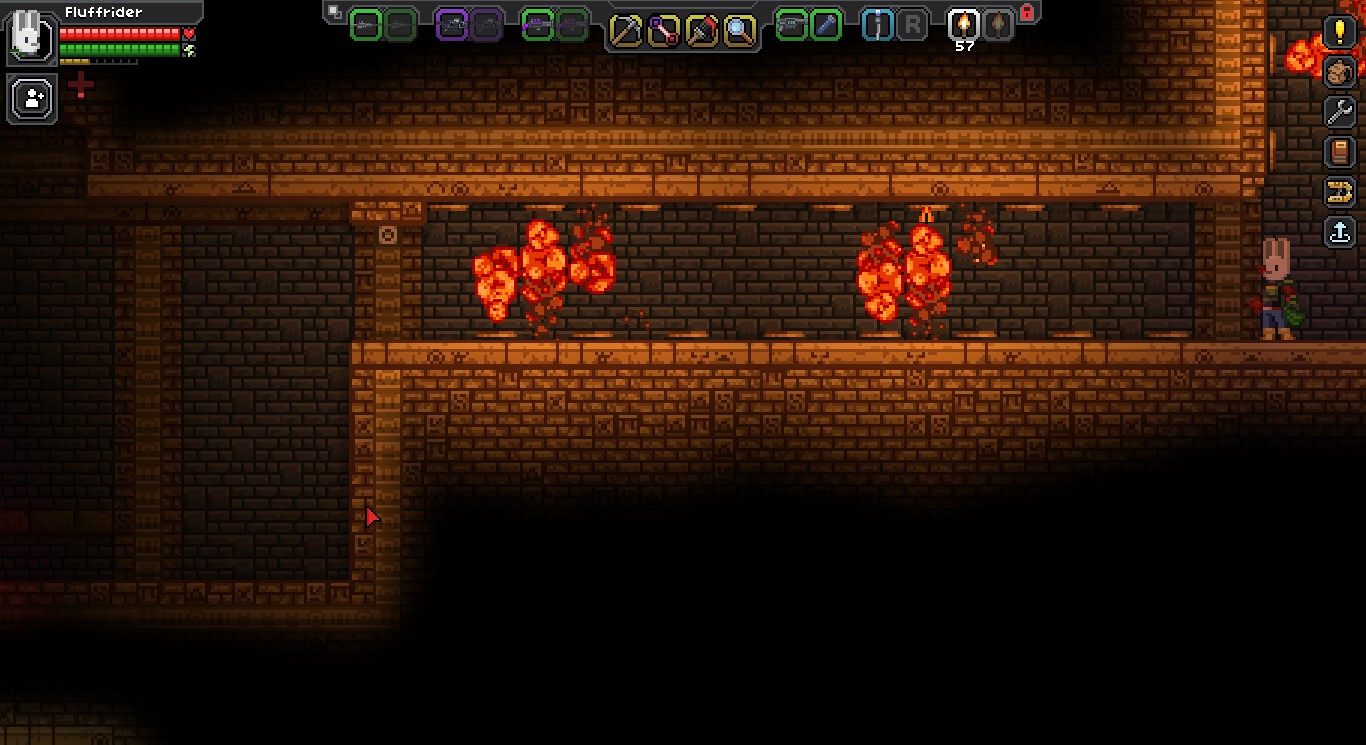
 This is the chamber. You will have a few seconds between the top laser firing and each of the lower lasers firing. Don’t stop to ask what’s in the chest, just hit Take All and get out of there. I found the Bunny Mask both times that I managed to check the chest.
 You will have to take your time in here. The door beyond leads to Path 3.
Path 3
 After killing the Kluex Sentry, step on the switch on the far left and then grab the Tribal Feathers out of this chest.
 Once through this door, you cannot return. (Not that there is much to do above you.)
 After dropping past two stable platforms and one that isn’t, you’ll have to fight a Kluex Totem and two sets of Swarpions.The Totem acts like an upgraded sentry that doesn’t move. Tonauac will drop down when the Totem is gone. The passage beyond has a few Batong spawners. You can use them to farm for Raw Poultry.
 The room beyond the two doors that shut behind you has two Kluex Sentries (and a healing altar), but the path down has lasers and the Kluex Sentries generally spawned in it for me. If you stand above them, the lasers will kill the Sentries for you.
 The door on the left prior to that path has another puzzle. Counting this as three, step on three, one, four, and two in that order. If you step on the wrong plate, the lights will turn off. The Engraved Avian Tomb has the Phoenix Circlet. The chest has random loot. (It may include the Ex Machina, but I think that is rare.) There appears to be a way to open the hatches above to release lasers. If you follow instructions, that shouldn’t happen.
 This is the checkpoint. There are two Cultists below.
 After you kill the two cultists, you can cook any Raw Meat or Raw Poultry that dropped. Although your hunger bar pauses, you can still get a healing buff from food. Note that the Full Belly status effect will still drain like normal.
Kluex Avatar
 As usual, you will want to get your hotbar in order before entering the chamber. Kluex Avatar (who will now be referred to as simply Kluex) has two stages. In the first stage, he has two primary attack: spawning missiles (like a Totem, but with more), and bringing up some ice. When he turns red, you’ll want to get ready to dodge the missiles. When he turns blue, you’ll want to watch for the ice. This stage has about 1500-1600 HP.
In the second stage, Kluex has three attacks: (colors in parentheses denote his warning color)
- (Blue) Bring much more ice up from the floor.
- (Red) Suck you into the middle and send saw blades across the floor.
- (Yellow) Raise four pillars, turn the floor into lava, and destroy three pillars.
For the first attack, you will get a warning as the ice begins to appear. Jump for the empty space. For the second attack, you will want to resist the suction and jump the saw blades. If you prefer, you can keep jumping over Kluex instead of resisting the suction. For the third attack, you’ll need to hop on a pillar as soon as they appear, then jump to a new pillar when Kluex picks yours. This stage has about 2900-3000 HP
 After Tonauac finishes speaking, you’ll need to activate the stand (regardless of whether the Artifact is on it) to get him to go open the next door for you. The chest has A Desert Expedition and the usual random loot.