Overview
This guide will have a very in-depth look at the very simplistic yet advanced game play found in Mini-Metro. With this guide you will learn not only how to play, as well as the basics, but advanced strategies and calculations I’ve come up with myself.
Introduction to the Guide and Mini-Metro
So you just bought this funny little minimalistic game, launched it, got into the game and now you have NO idea what the hell is going on. Well luckily for you, this guide will have a very in-depth look at the very simplistic yet advanced game play found in Mini-Metro. With this guide you will learn not only how to play, the controls, as well as the basics, but advanced strategies and calculations I’ve come up with myself.
The world of Mini-Metro consists of a perpetually expanding city with population and hubs quite literally popping up out of nowhere, and a council that refuses to fund public transportation despite the abnormal growth of population who don’t have their licenses.
And you’re the manager of the entire city. Luckily you have time manipulation powers, and the ability to create and destroy matter (As long as it’s a train track. It’s probably why you got the job.)
In no way am I record or high-score holder, nor a creator. But I have taken quite an extensive look at the game, well past the surface core mechanics, which at a glance seem simplistic. To maximize score, you can’t just create lines and hope for the best. Despite its very simple mechanics I could teach a child, the amount of depth the game has is incredible which made me fall in love with it.
Getting higher scores involves varying amounts of observation, decision-making, calculations as well as a little bit of luck. In this guide I’ll go through the various strategies I’ve come up with myself, that you may have already also. Feedback is also appreciated, as I’m not a genius engineer and I could have easily missed something basic or more advanced.
Anyway, enough about that. Lets get started on designing train lines for our not-very-picky citizens.
Main Menu, Options and Game Modes
After launching the game you’ll be greeted with a nice little Main Menu with little trains in the background. The options menu is pretty standard with some nice features added.
- Resolution – Standard Resolution changing as par with any (good) PC game.
- Fullscreen Toggle
- Language Selection – Currently the game has 21(!) supported languages, a list is available on the store page.
- Night Mode – This changes the white background to black, and also changes the very bright colour palette to a darker one. I actually recommend using this if you’re in a dark room as it causes less strain on your eyes.
- Colourblind mode – Pretty straight forward. I’m no doctor but it adjusts the colours of the train-lines to be more suitable for the colourblind.
- Skip Transitions – Will skip the transition between pages after every click on the main menu.
- Audio – Not yet implemented properly.
- Accelerated Start – Speeds up the rather slow / dull early game. On by default.
- Save to Steam Cloud – Saves your highscores(?) and future save games to the Steam Cloud, allowing you to access them anywhere you login. On by default.
Now, onto the game.
Hitting Play will bring up 3 game modes, two of which are available as of now.
- Commuter (Classic)- This is where majority of my game play has been. The guide will be mostly based off this game mode also. It has a losing state, high scores and total scores.
- Scenic (Zen) – In Scenic mode you cannot lose. No station will reach more than 6 passengers, and the score is not based on how many passengers moved, but rather the most passengers moved in a day, based off a rolling weekly average. Once you reach week 14 you do not get budget upgrades.
- Rush Hour (Extreme) – Not yet implemented.
After picking your game mode, you will have a selection of levels. In each level, the game play is exactly the same (As determined by the game mode you selected). The difference between the levels can be seen in their respective preview – that is, it changes the layout of the water, as well as the colours of the train lines (No effect to the gameplay). You may also view the leaderboards on each respective level.
Currently four levels are playable:
- London
- Paris
- New York City
- Saint Petersburg
And another four that we may see a teaser preview, but not actually play.
- São Paulo
- Hong Kong
- Cairo
- Auckland
For all the screenshots of my guide, I will be using London as it is the simplest, and also my favourite.
Now, onto the actual gameplay.
The Basics & The Game Rules
After you choose your level (I do recommend London, as it is rather simplistic in the design), you’ll be greeted with this screen.

I’ve marked out the various important parts of the game screen. Note I recommend clicking the little dot at the bottom, and then the lock next to it.
1 – The in-game clock. This is very important to the game play, which I’ll get into in a minute.
2 – Back button. Can let you restart, go to the menu or quit to desktop. Also accessed by pressing Escape.
3 – Water. Another key game play mechanic which I’ll get into later.
4, 5, 6 – These are stations. Your objective is to get people from one station to their preferred station as efficiently as possible.
7 – Pause / Play. This will pause the current time, while still allowing you to adjust your train lines or do anything that you could normally. You can also press spacebar.
8 – Your Locomotives remaining. This is a count of your locomotives / trains left in your inventory. One will automatically be used when you create a new track. You can also click and drag from the button to place one manually.
9 – Your Carriages remaining. This is a count of carriages left in your inventory. You can drag from this button to a train track to add a carriage to one train. This expands the amount of people that can sit on the train by 6.
10 – Your tracks. A large circle will indicate the track has been placed, whereas a small one means it is available to be placed. Gray circles are tracks you can unlock later. By clicking a circle and then the x, you can delete an entire track.
11 – Your Brides / Tunnels. A count of how many bridges or tunnels you have left over. We’ll go over this later.
This is where my love for the game falls. You only have one objective to keep in mind – You must transit people from one station to their respective station indicated by their shape. That’s all there is to it. Pretty simple right?
Well at first it is.
But before getting into that, you should know the failure state. If one station has 7 or more people in it for a total of approximately 45 seconds, the game ends. Mind you, if you reduce the amount to 5 30 seconds in, it does not remove the timer completely. It ticks away slowly, rather than in an instant.
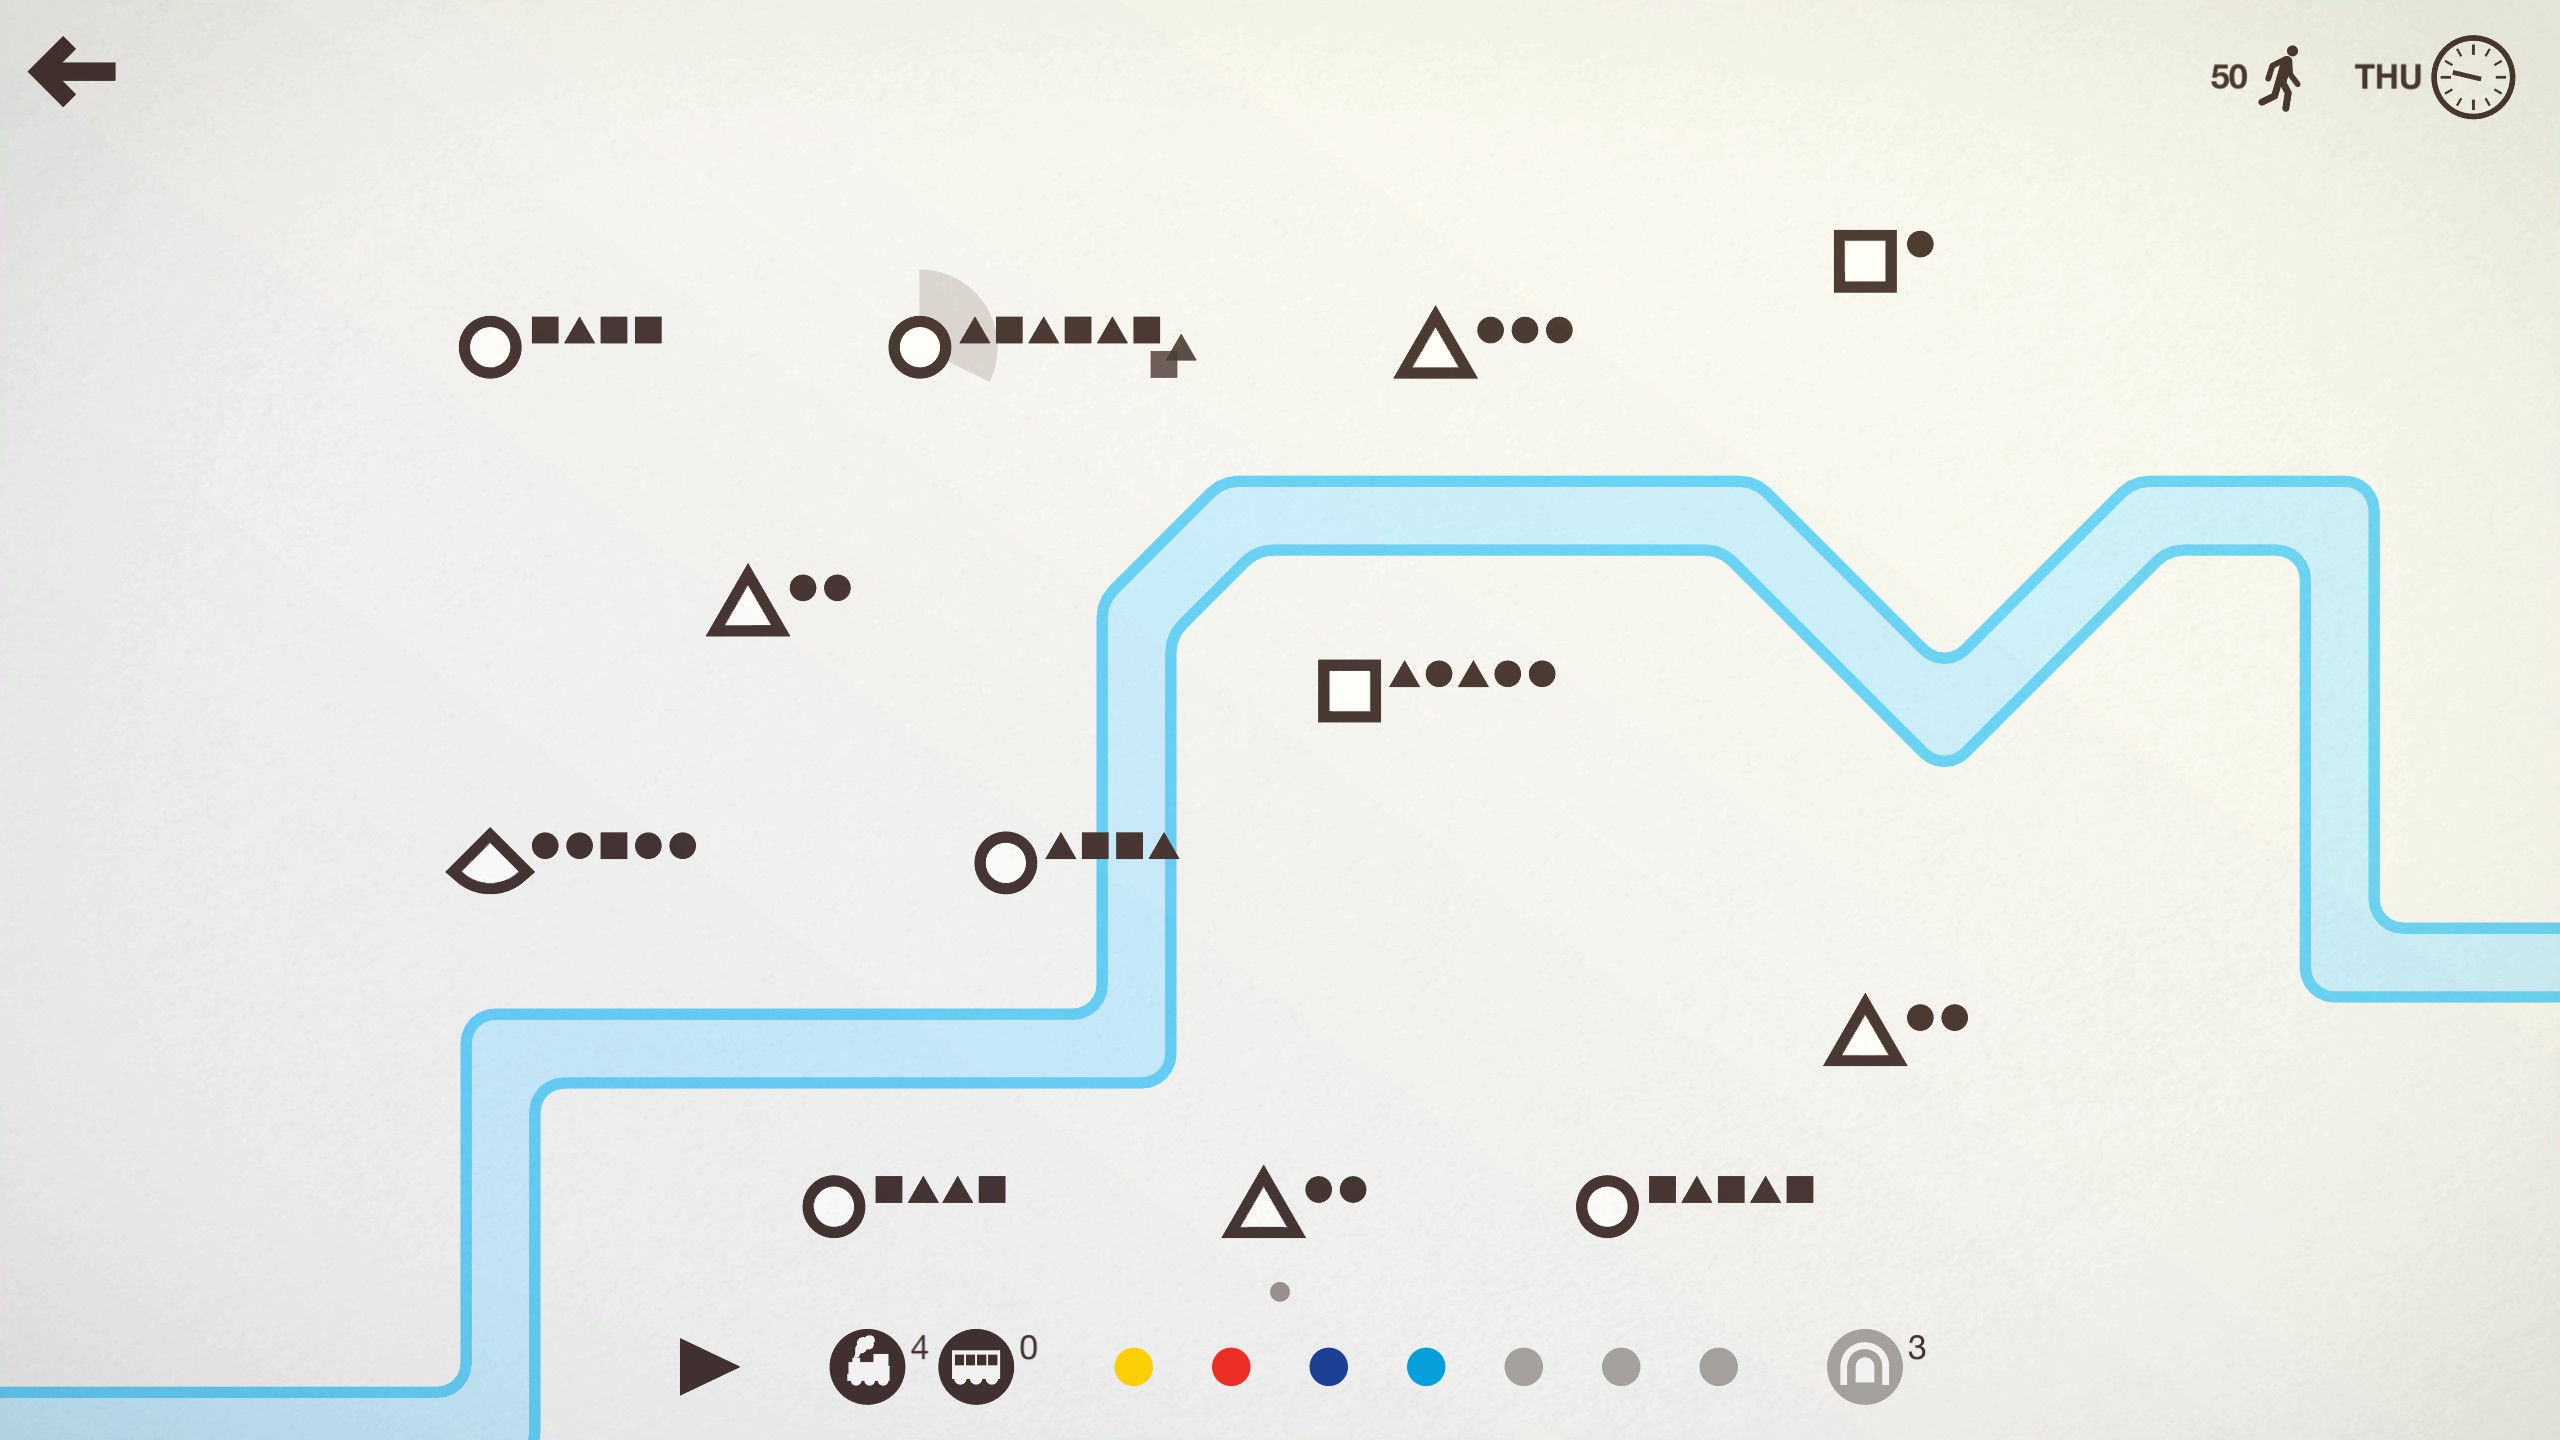
As time goes on, stations pop up everywhere. Rather quickly, too. All of these stations will spawn people of a different shape to the one they’re spawning at. The shape indicates the station they wish to transit to. There are four types of stations that spawn. From what I have noticed, all shapes spawn the same amount of people at the same rate. The only difference is the rarity of the station itself.
- Circle. This is the most common station in the game. You will almost never have an issue getting people to a circle station.
- Triangle. Second most common station. You shouldn’t have an issue getting a triangle in every one of your lines.
- Square. Second Rarest station. With some bad luck it can cause problems.
- Unique. These stations are transformed from a circle / triangle / square station. They consist of various shapes, such as a star, pentagon, diamond etc. It will usually take a transfer or two to get people to these stations.
In the above picture you can see 5 Circles, 4 Triangles, 2 squares and 1 unique station. Also note the circle at the top has over 6 people so the timer has started for losing.
This is also pretty basic early on. But of course later on your level is going to look like an absolute mess.
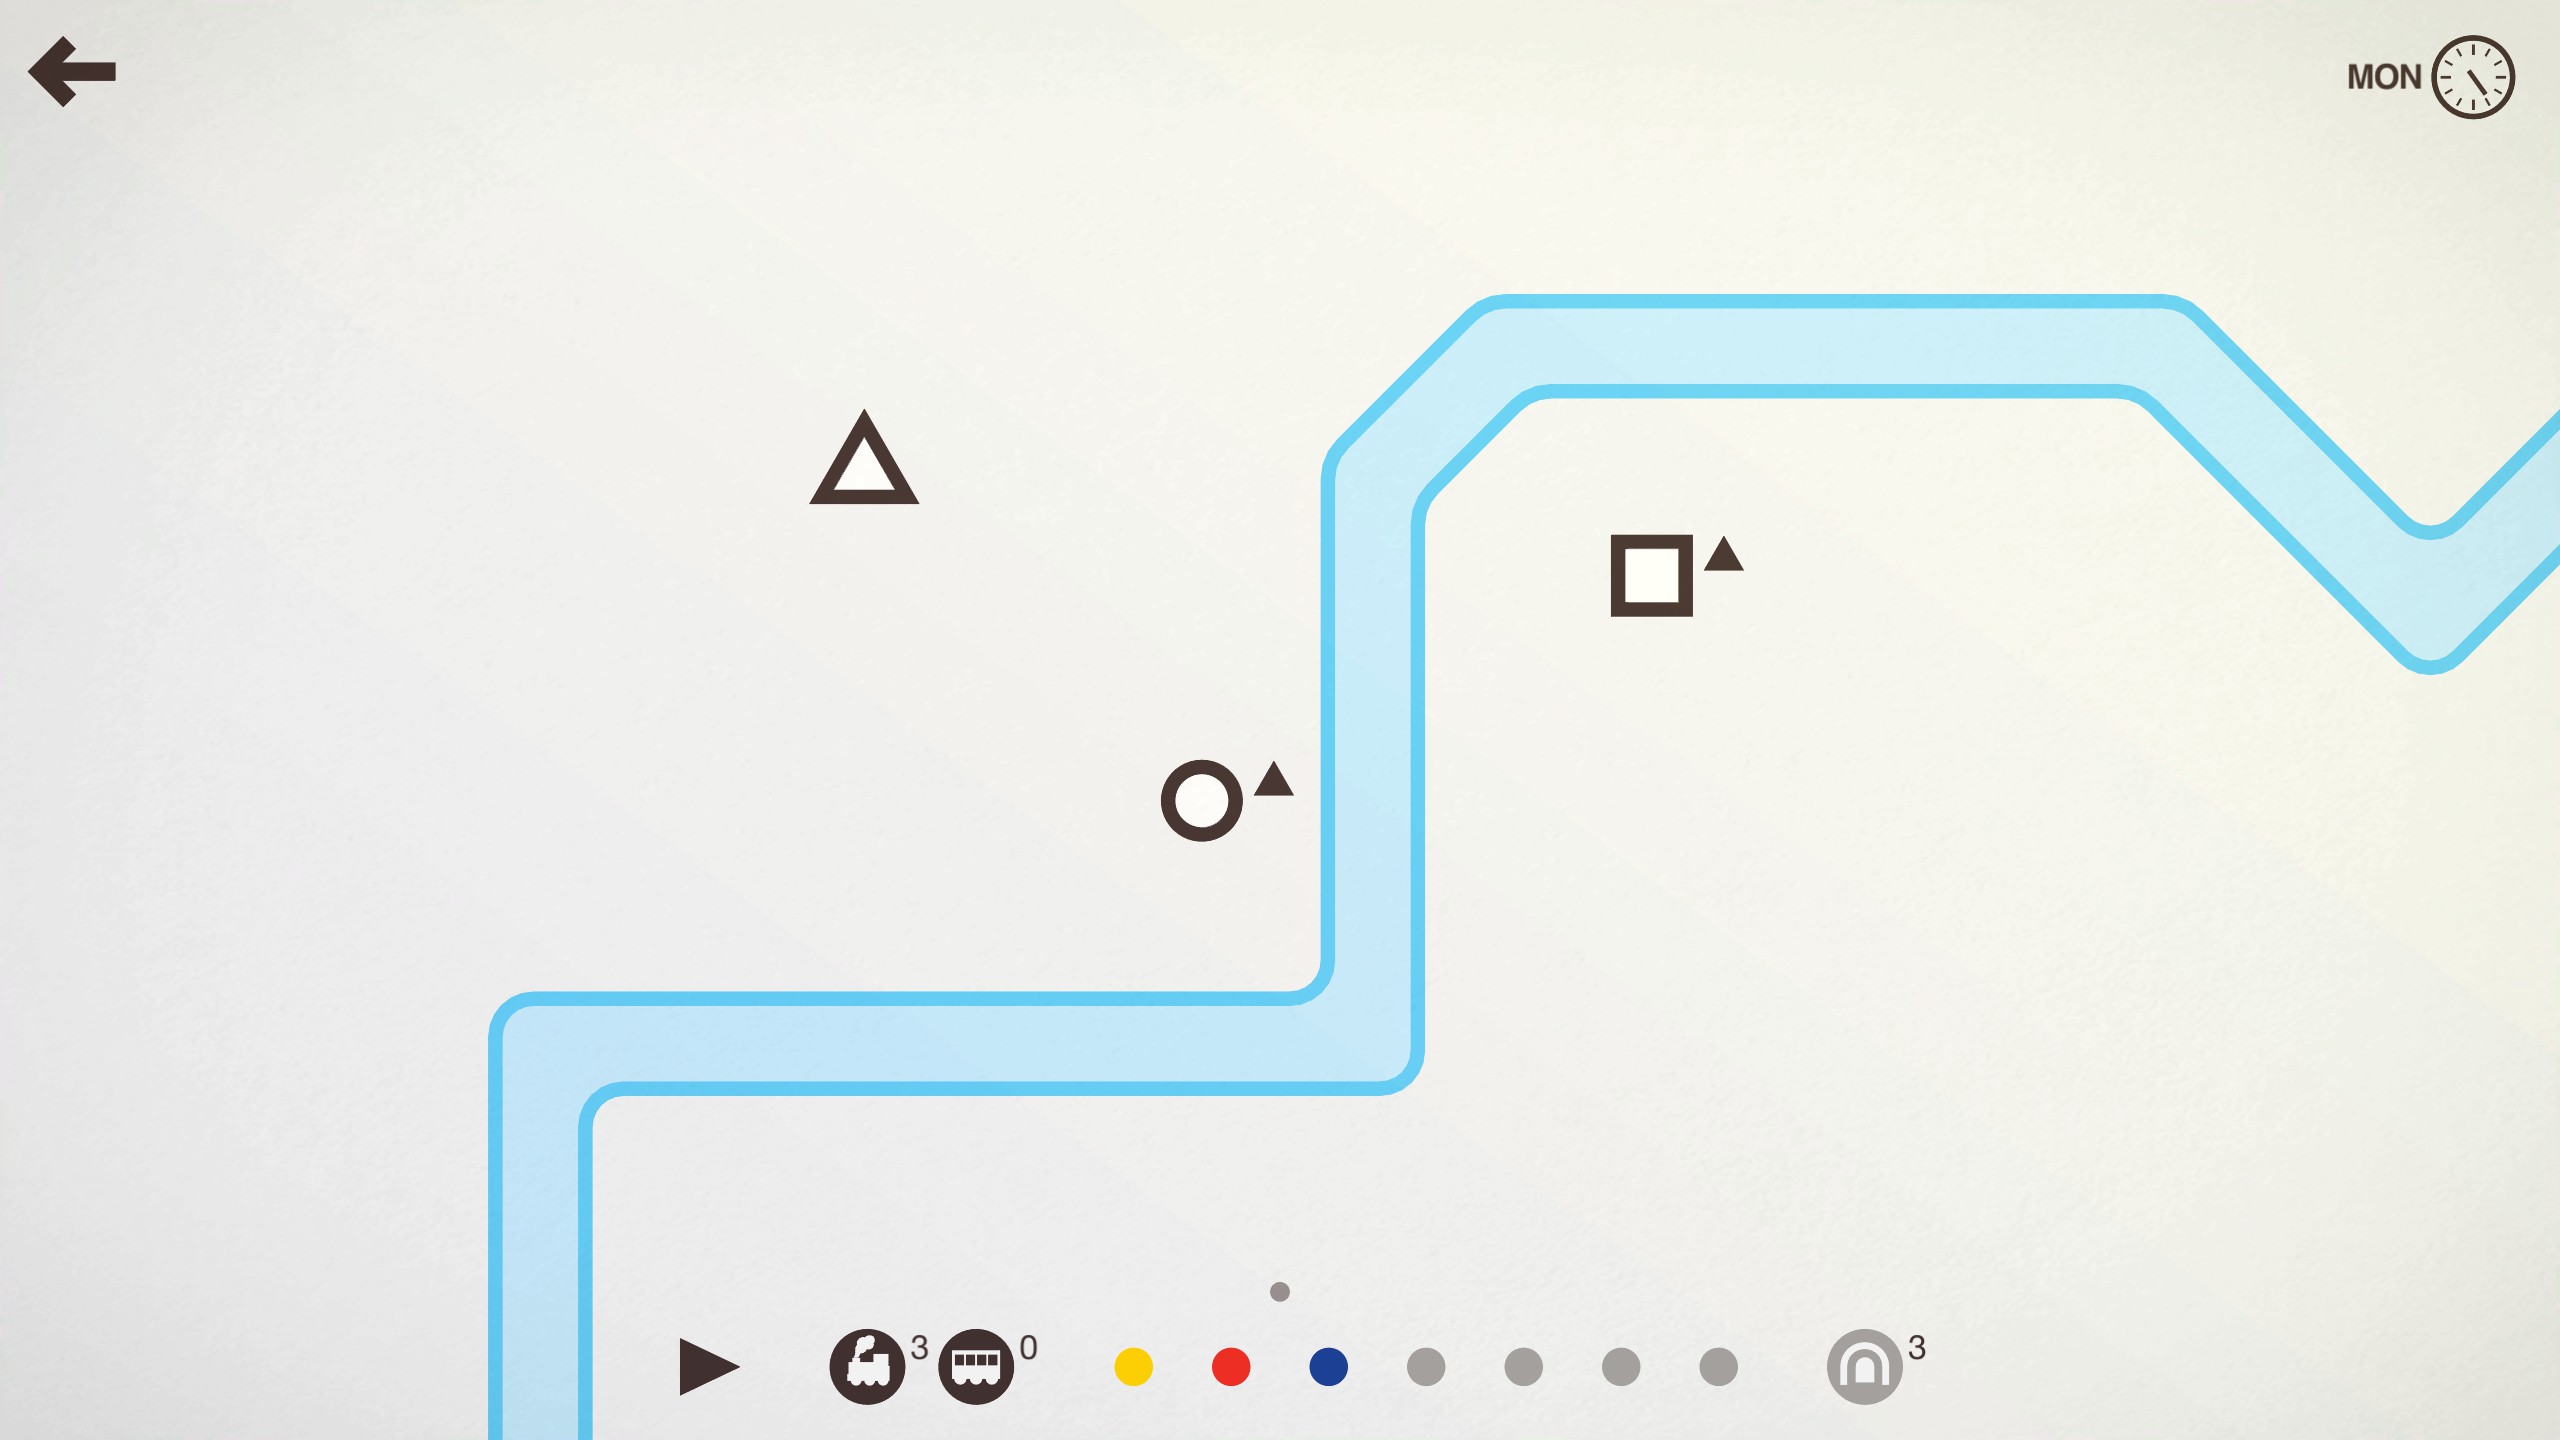
In the above screenshot you can see I have three stations, Circle, Square and Triangle. In the corner above Circle and Square, you can see a triangle. This indicates 1 person who wants to go to any triangle station. The people of Mini-Metro are not very picky, apparently.
To achieve this, it’s pretty simple. All you need to do is click and drag from one station, to the next.
And that’s all there is to it. The trains of the new yellow line will automatically travel along its track, transporting people according to quite smart AI. Other than adjusting the tracks, you cannot actually control the train itself.
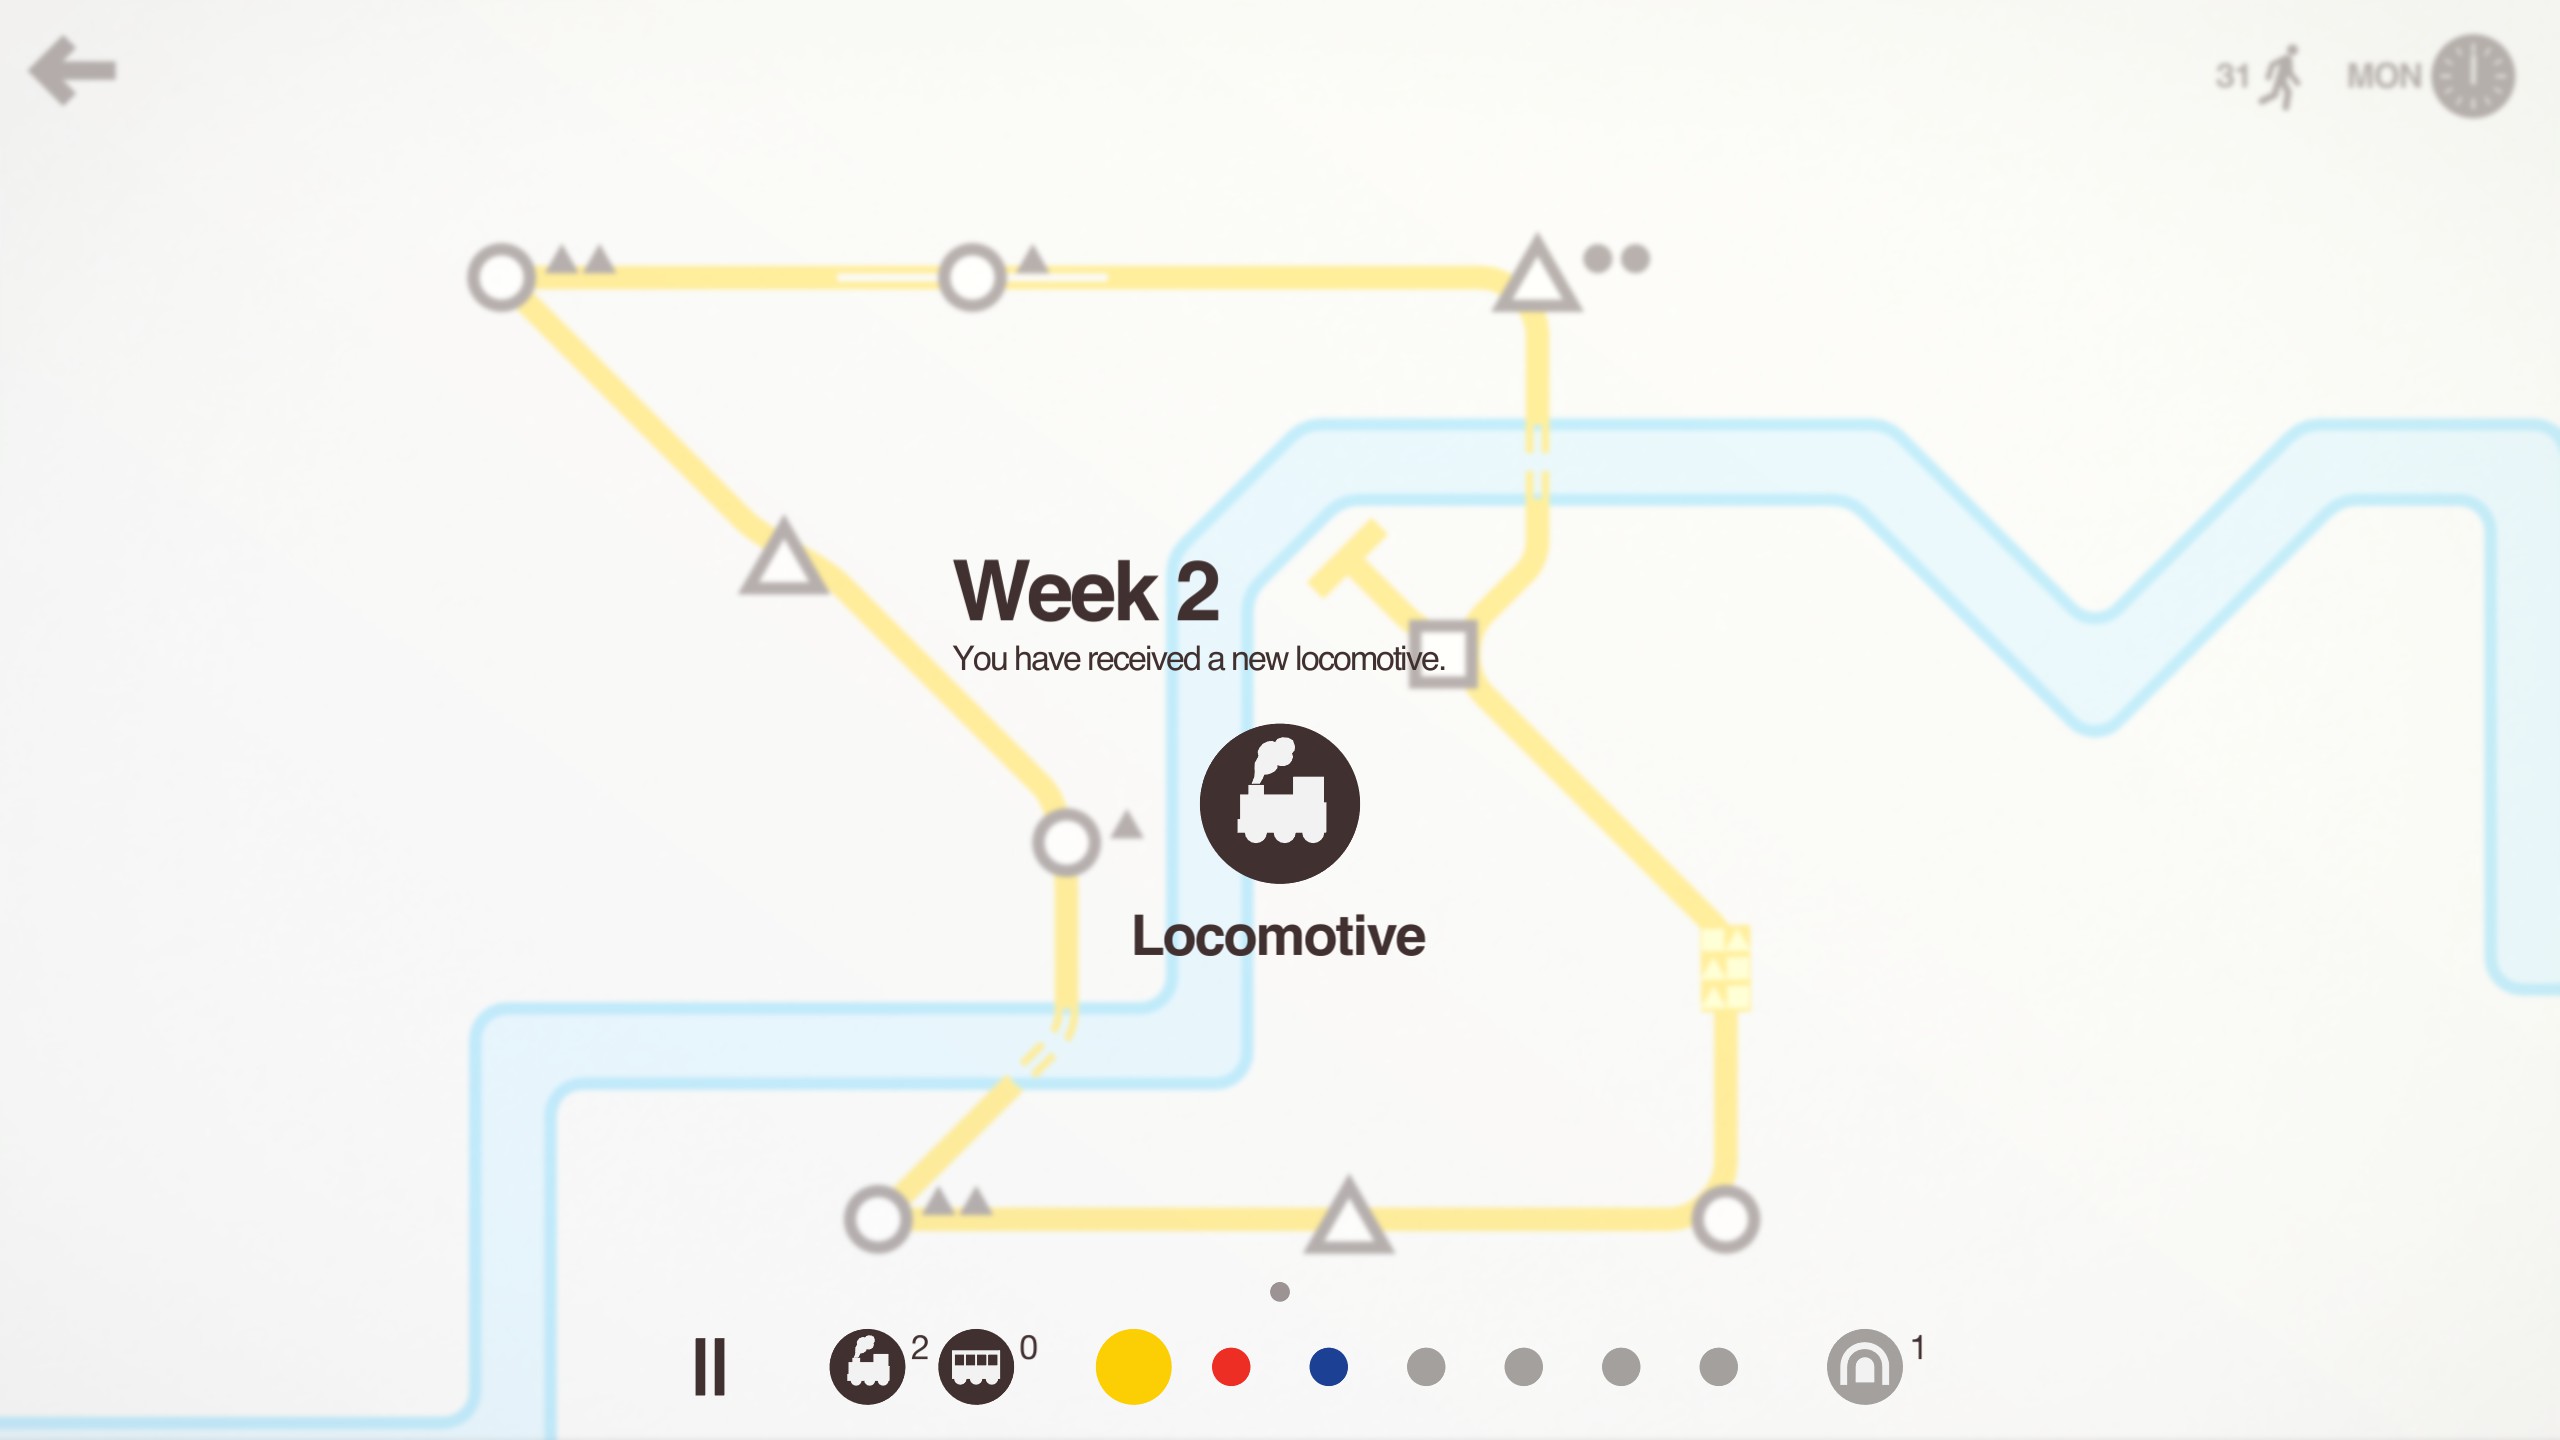
Once a week the council decides to actually help you out and toss a locomotive your way, as well as enough budget to choose between two of three of the following at random:
- 1 Track (Up until you’ve unlocked all 7.)
- 1 Carriage
- 2 Tunnels / Bridges
You will have to use the best of your own judgement to decide with what to pick. Since you only get a choice weekly, it has quite a large effect on how your game will go.
This is just a quick reference spot for the in-game times.
- The clock is white when it is from 6am-6pm.
- The clock is dark when it is from 6pm-6am.
- The first Monday of the game starts at 12pm
- The day ticks at 12am.
- You get a budget update every week, at the end of Sunday.
- One full day takes 20 seconds. 12 hours takes 10 seconds.
- From Monday, one full week takes 2 minutes and 20 seconds.
Everything on Tracks
Here’s a simple outline on the rules for the tracks that you make.
- You always start with 3 tracks.
- You may have only up to 7 tracks at any given time.
- A track may have up to 4 trains, no matter the length of the track.
- Each train may have 2(?) carriages.
- A track’s distance determines how long it takes for a train to get to each station. You should take this into account when designing.
Earlier I showed you the basic way of making a new track, that is clicking and dragging from one station to another. But controlling them can be a little tricky to figure out. Nevertheless, there are many ways you can design your track nice and quickly.
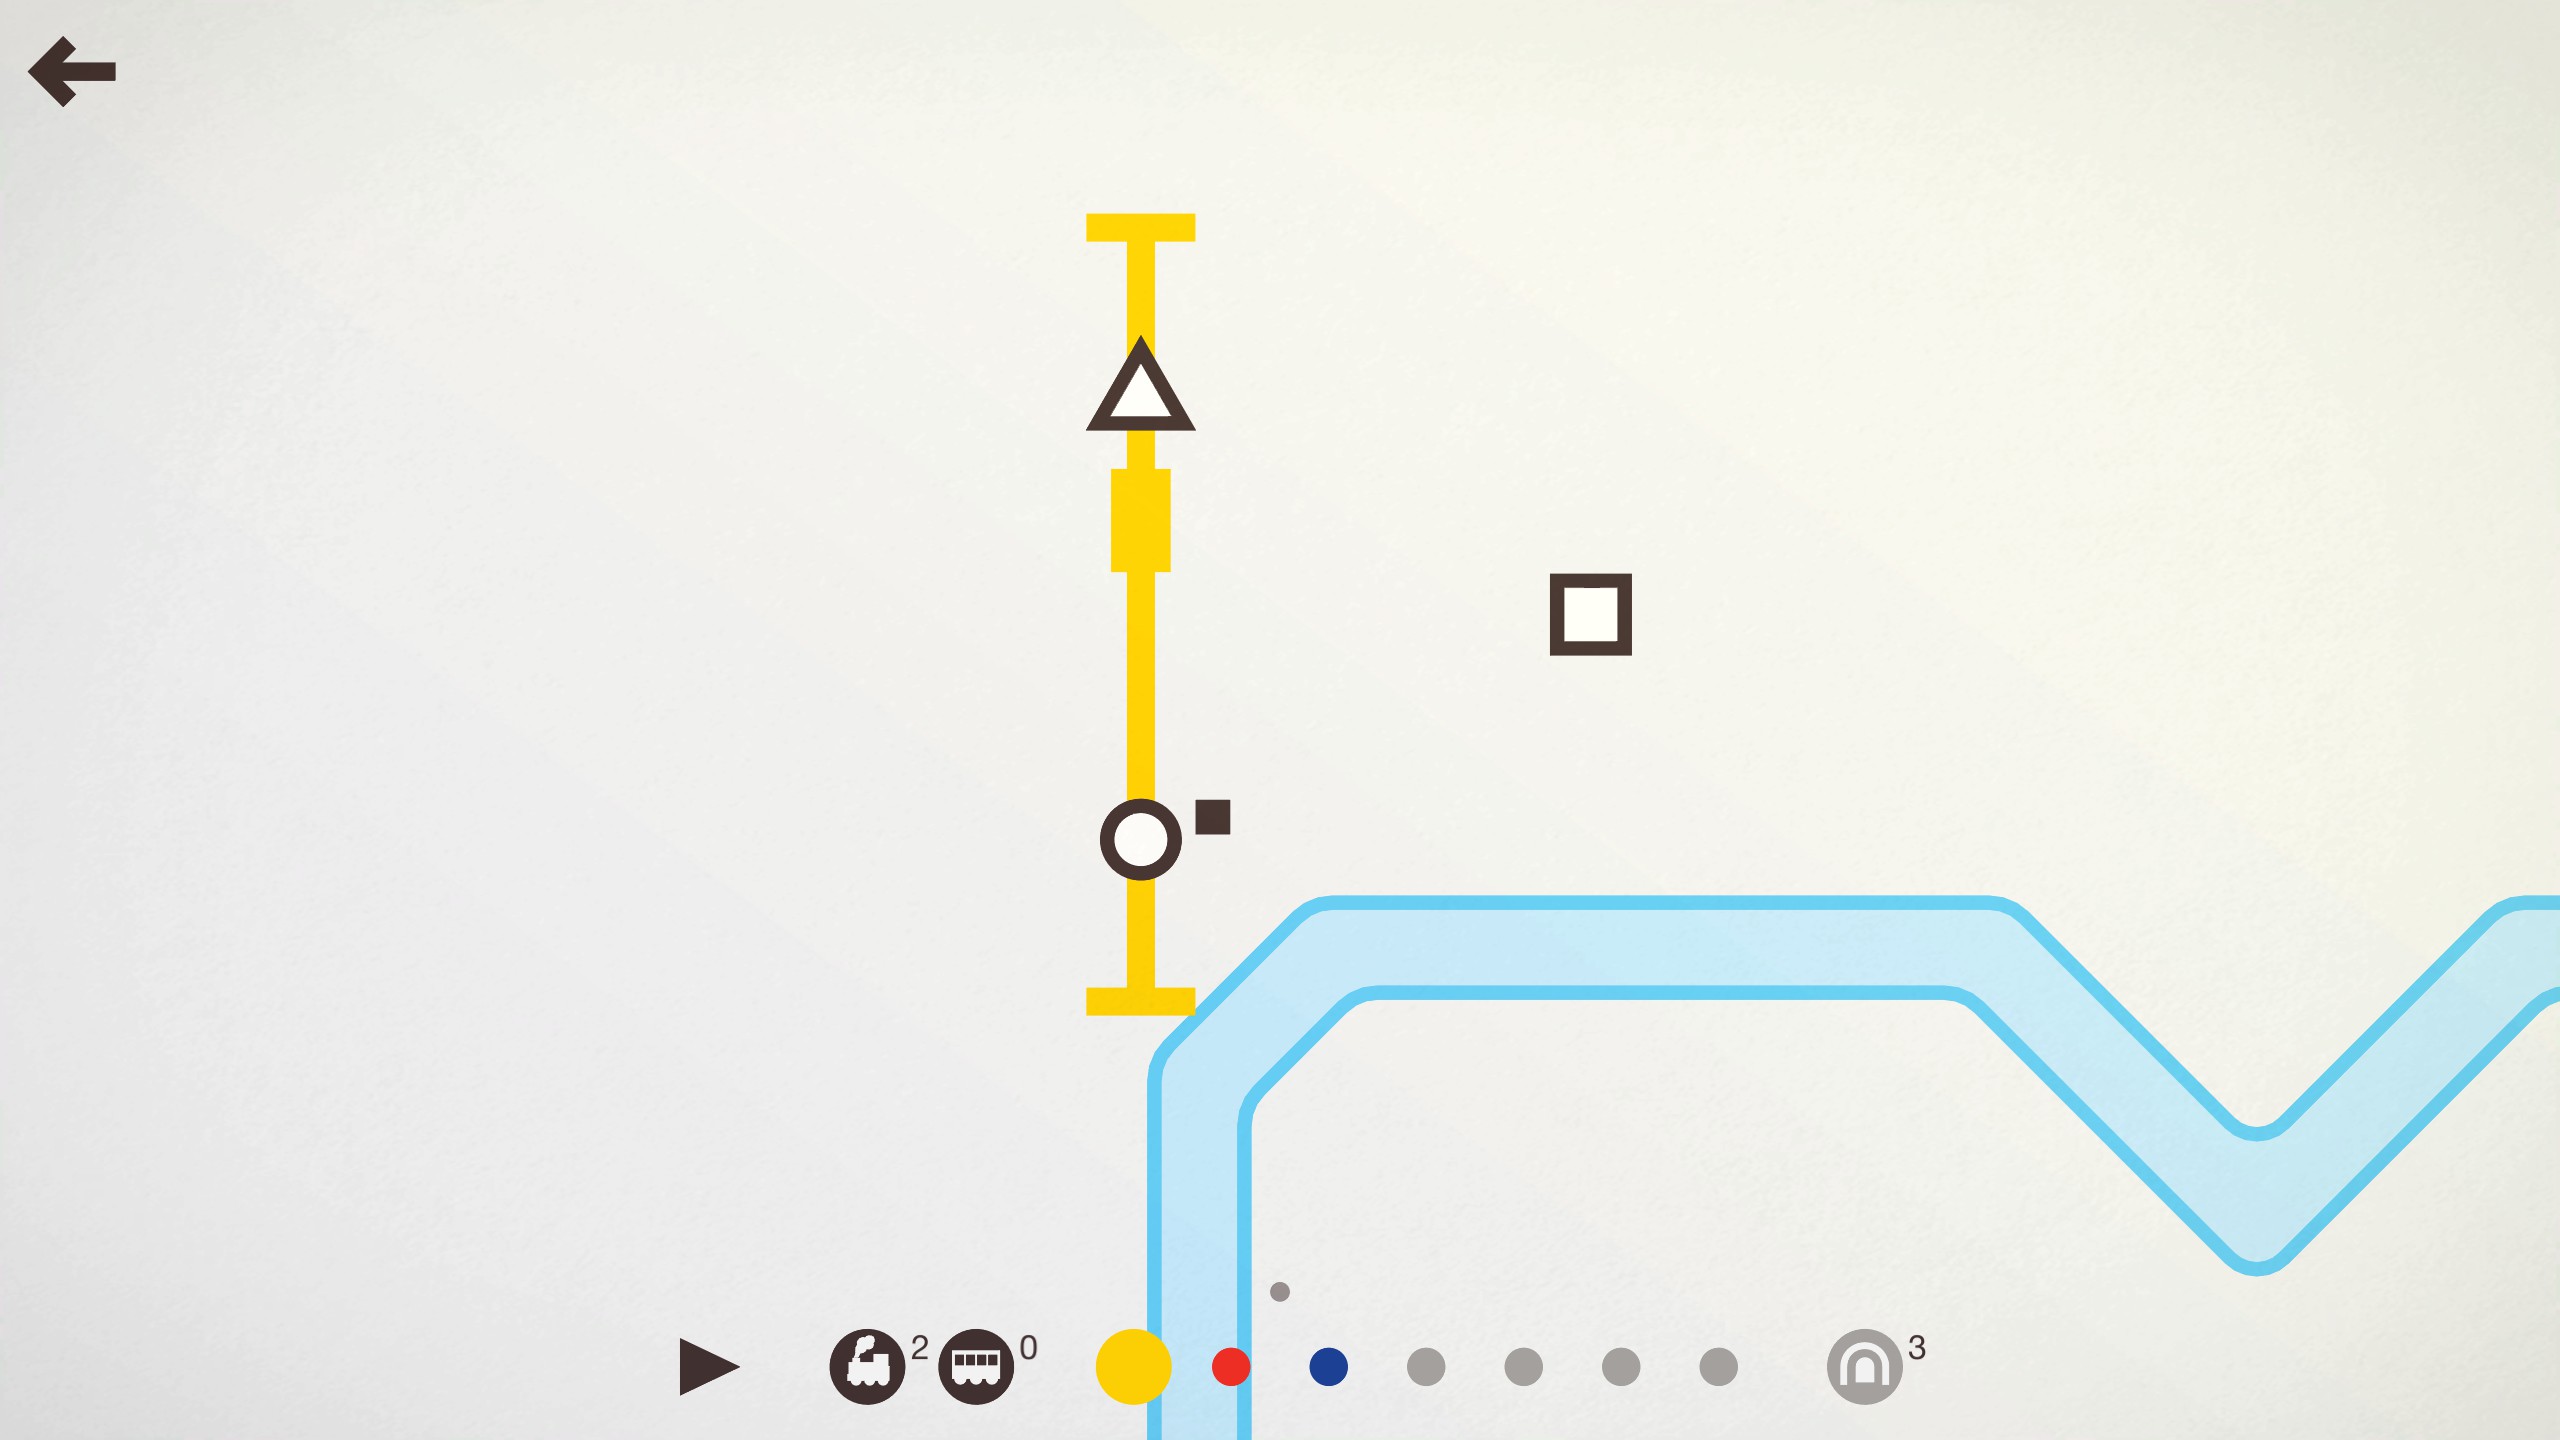
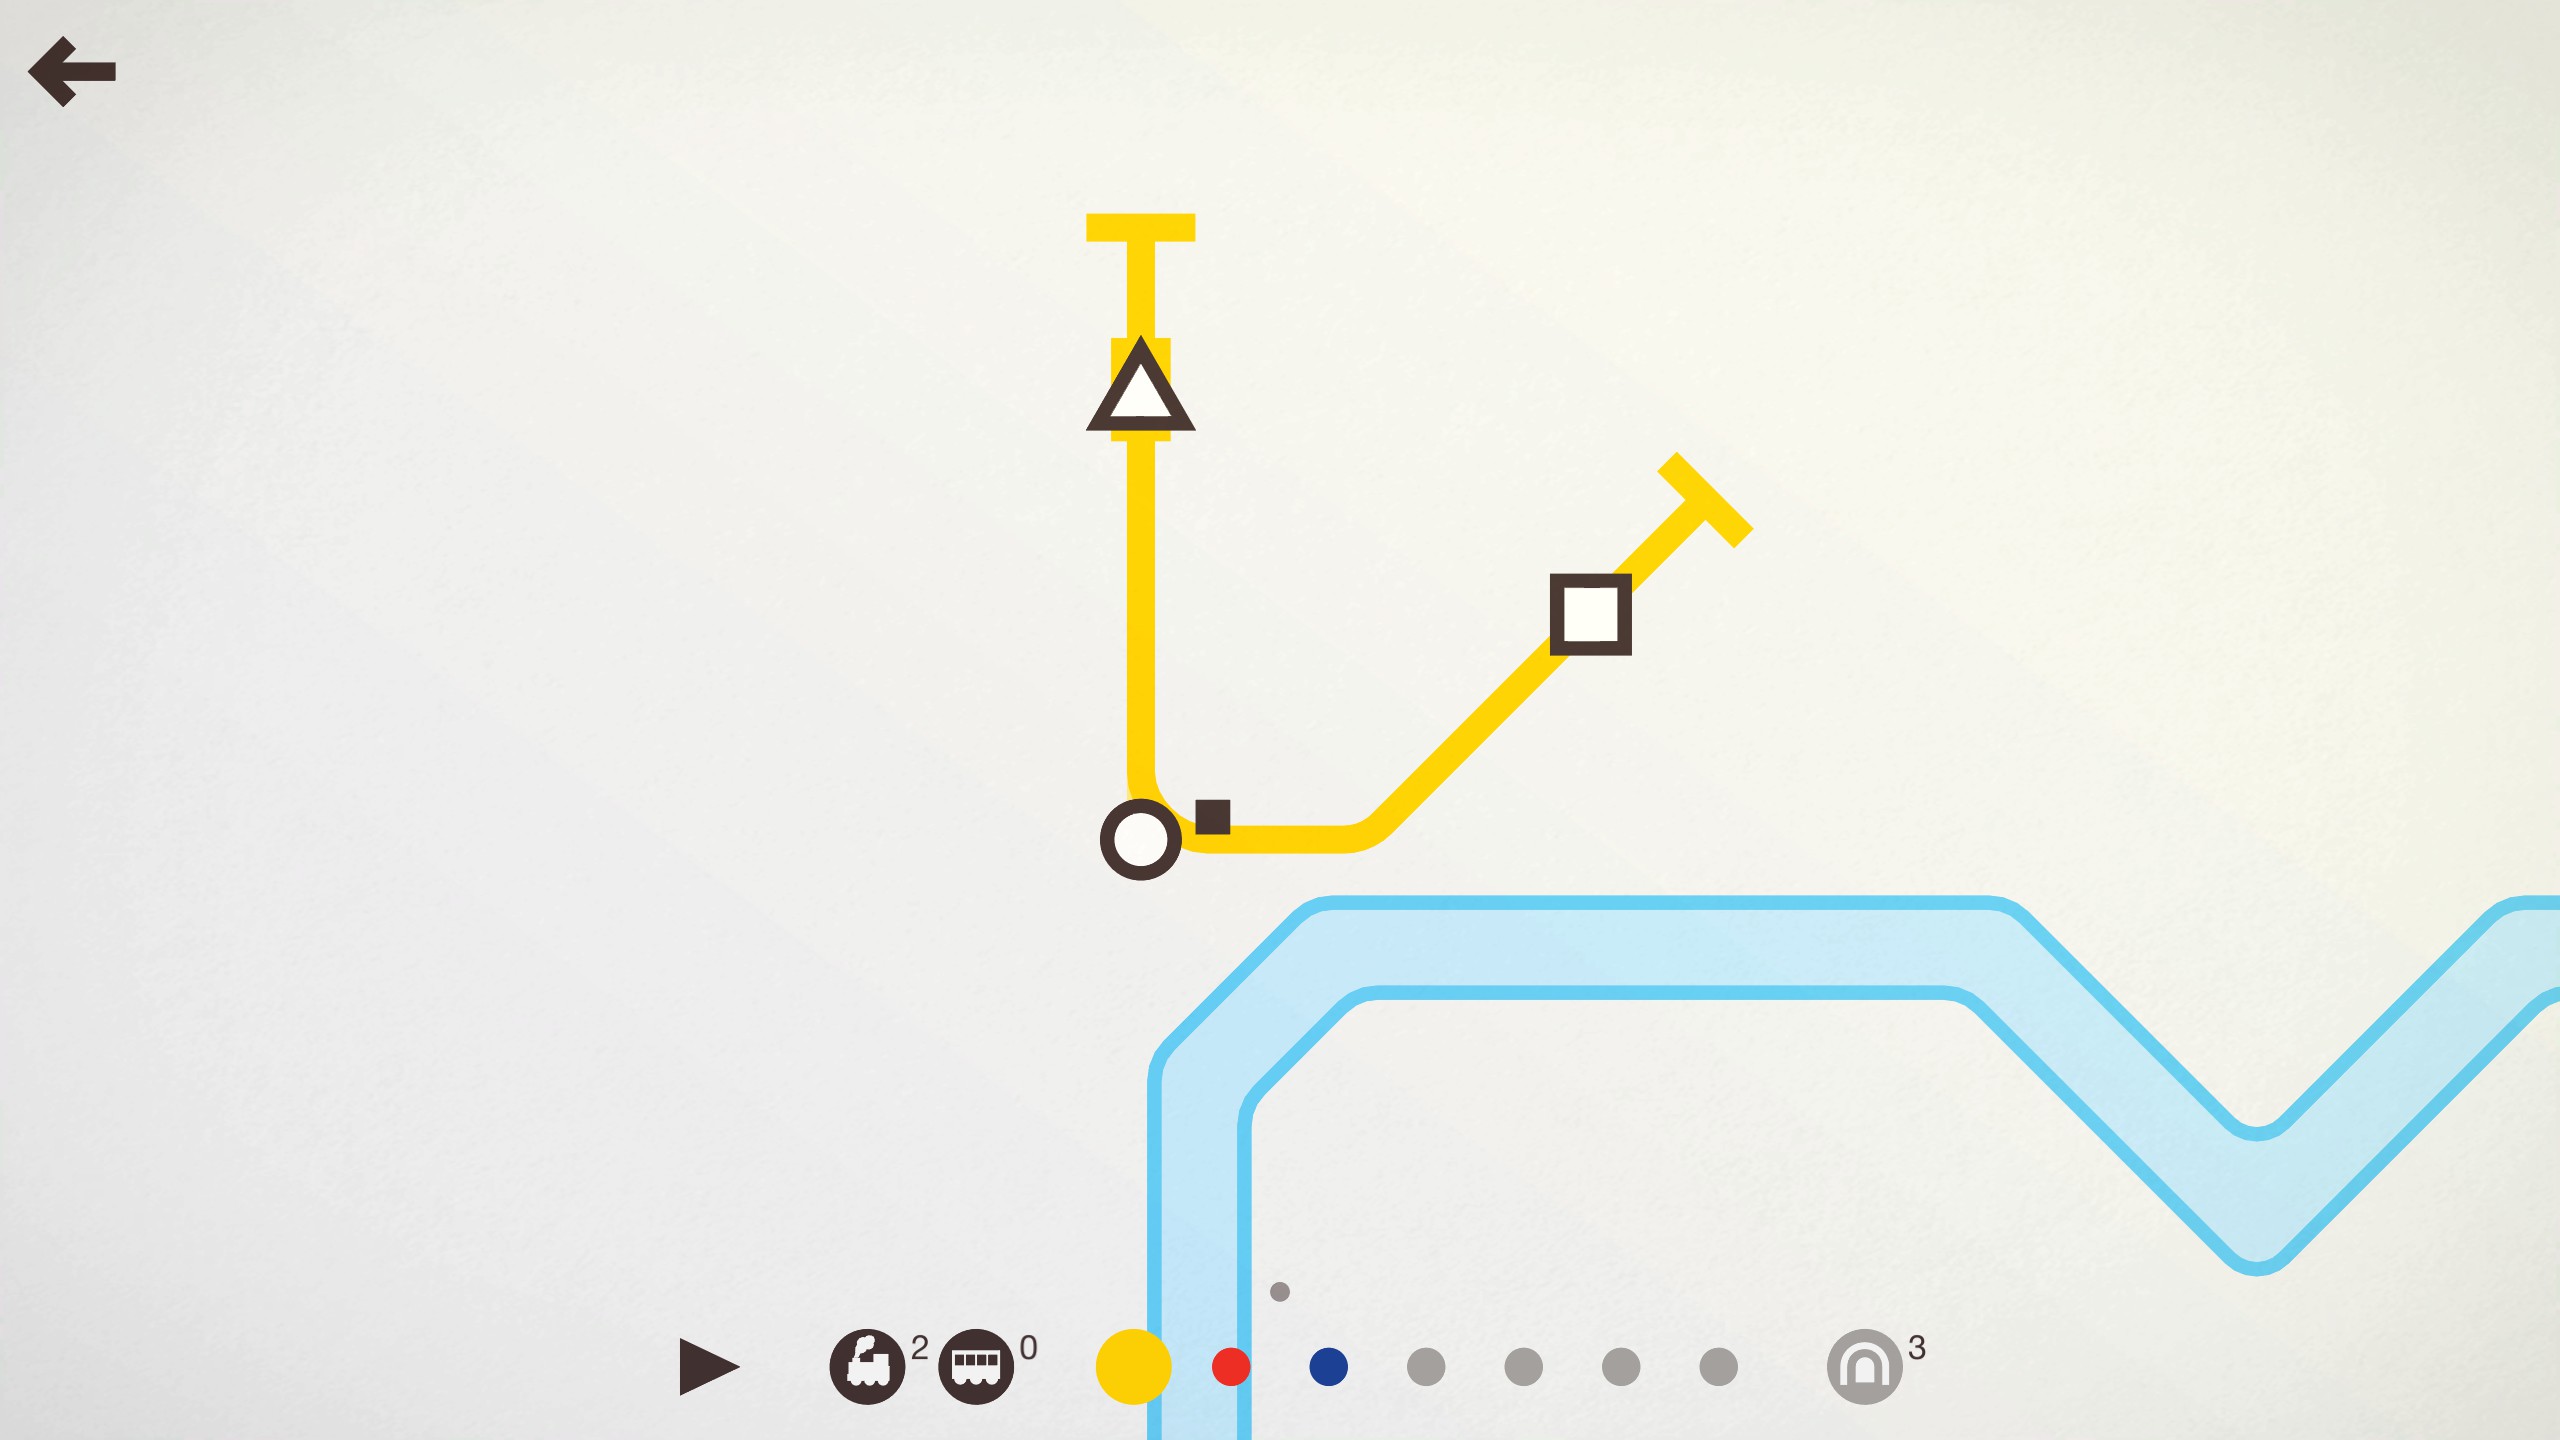
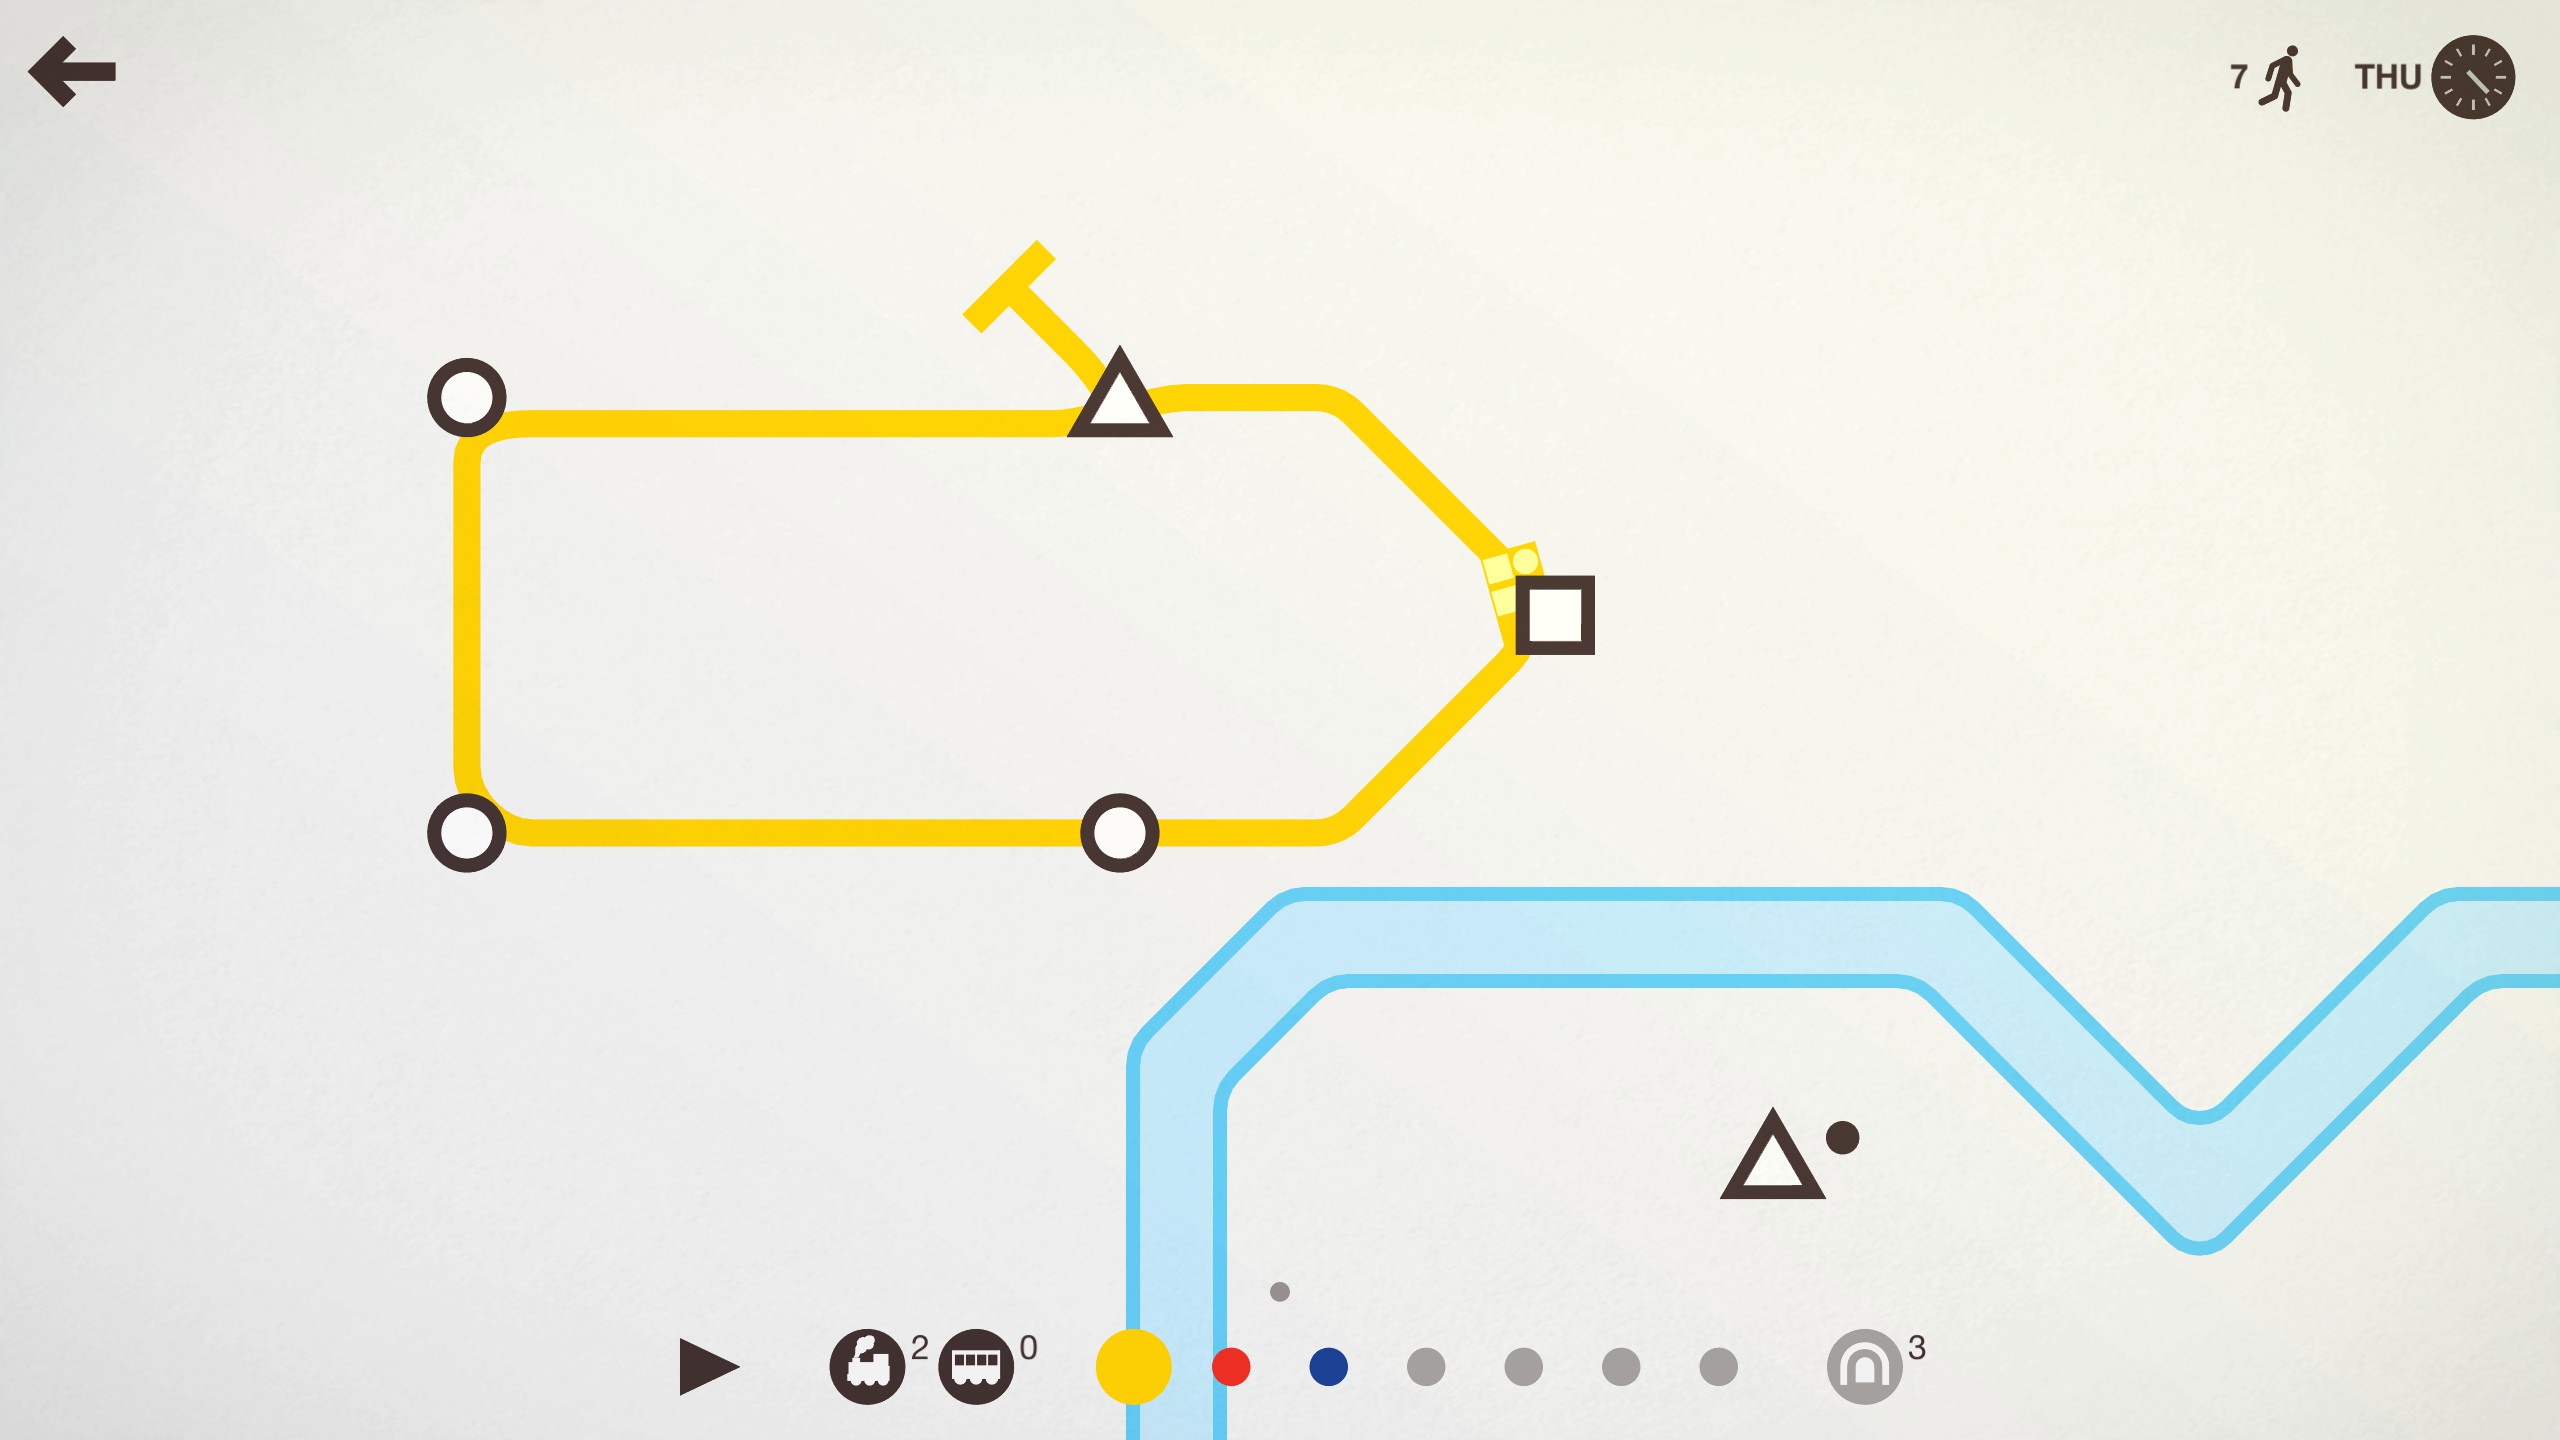
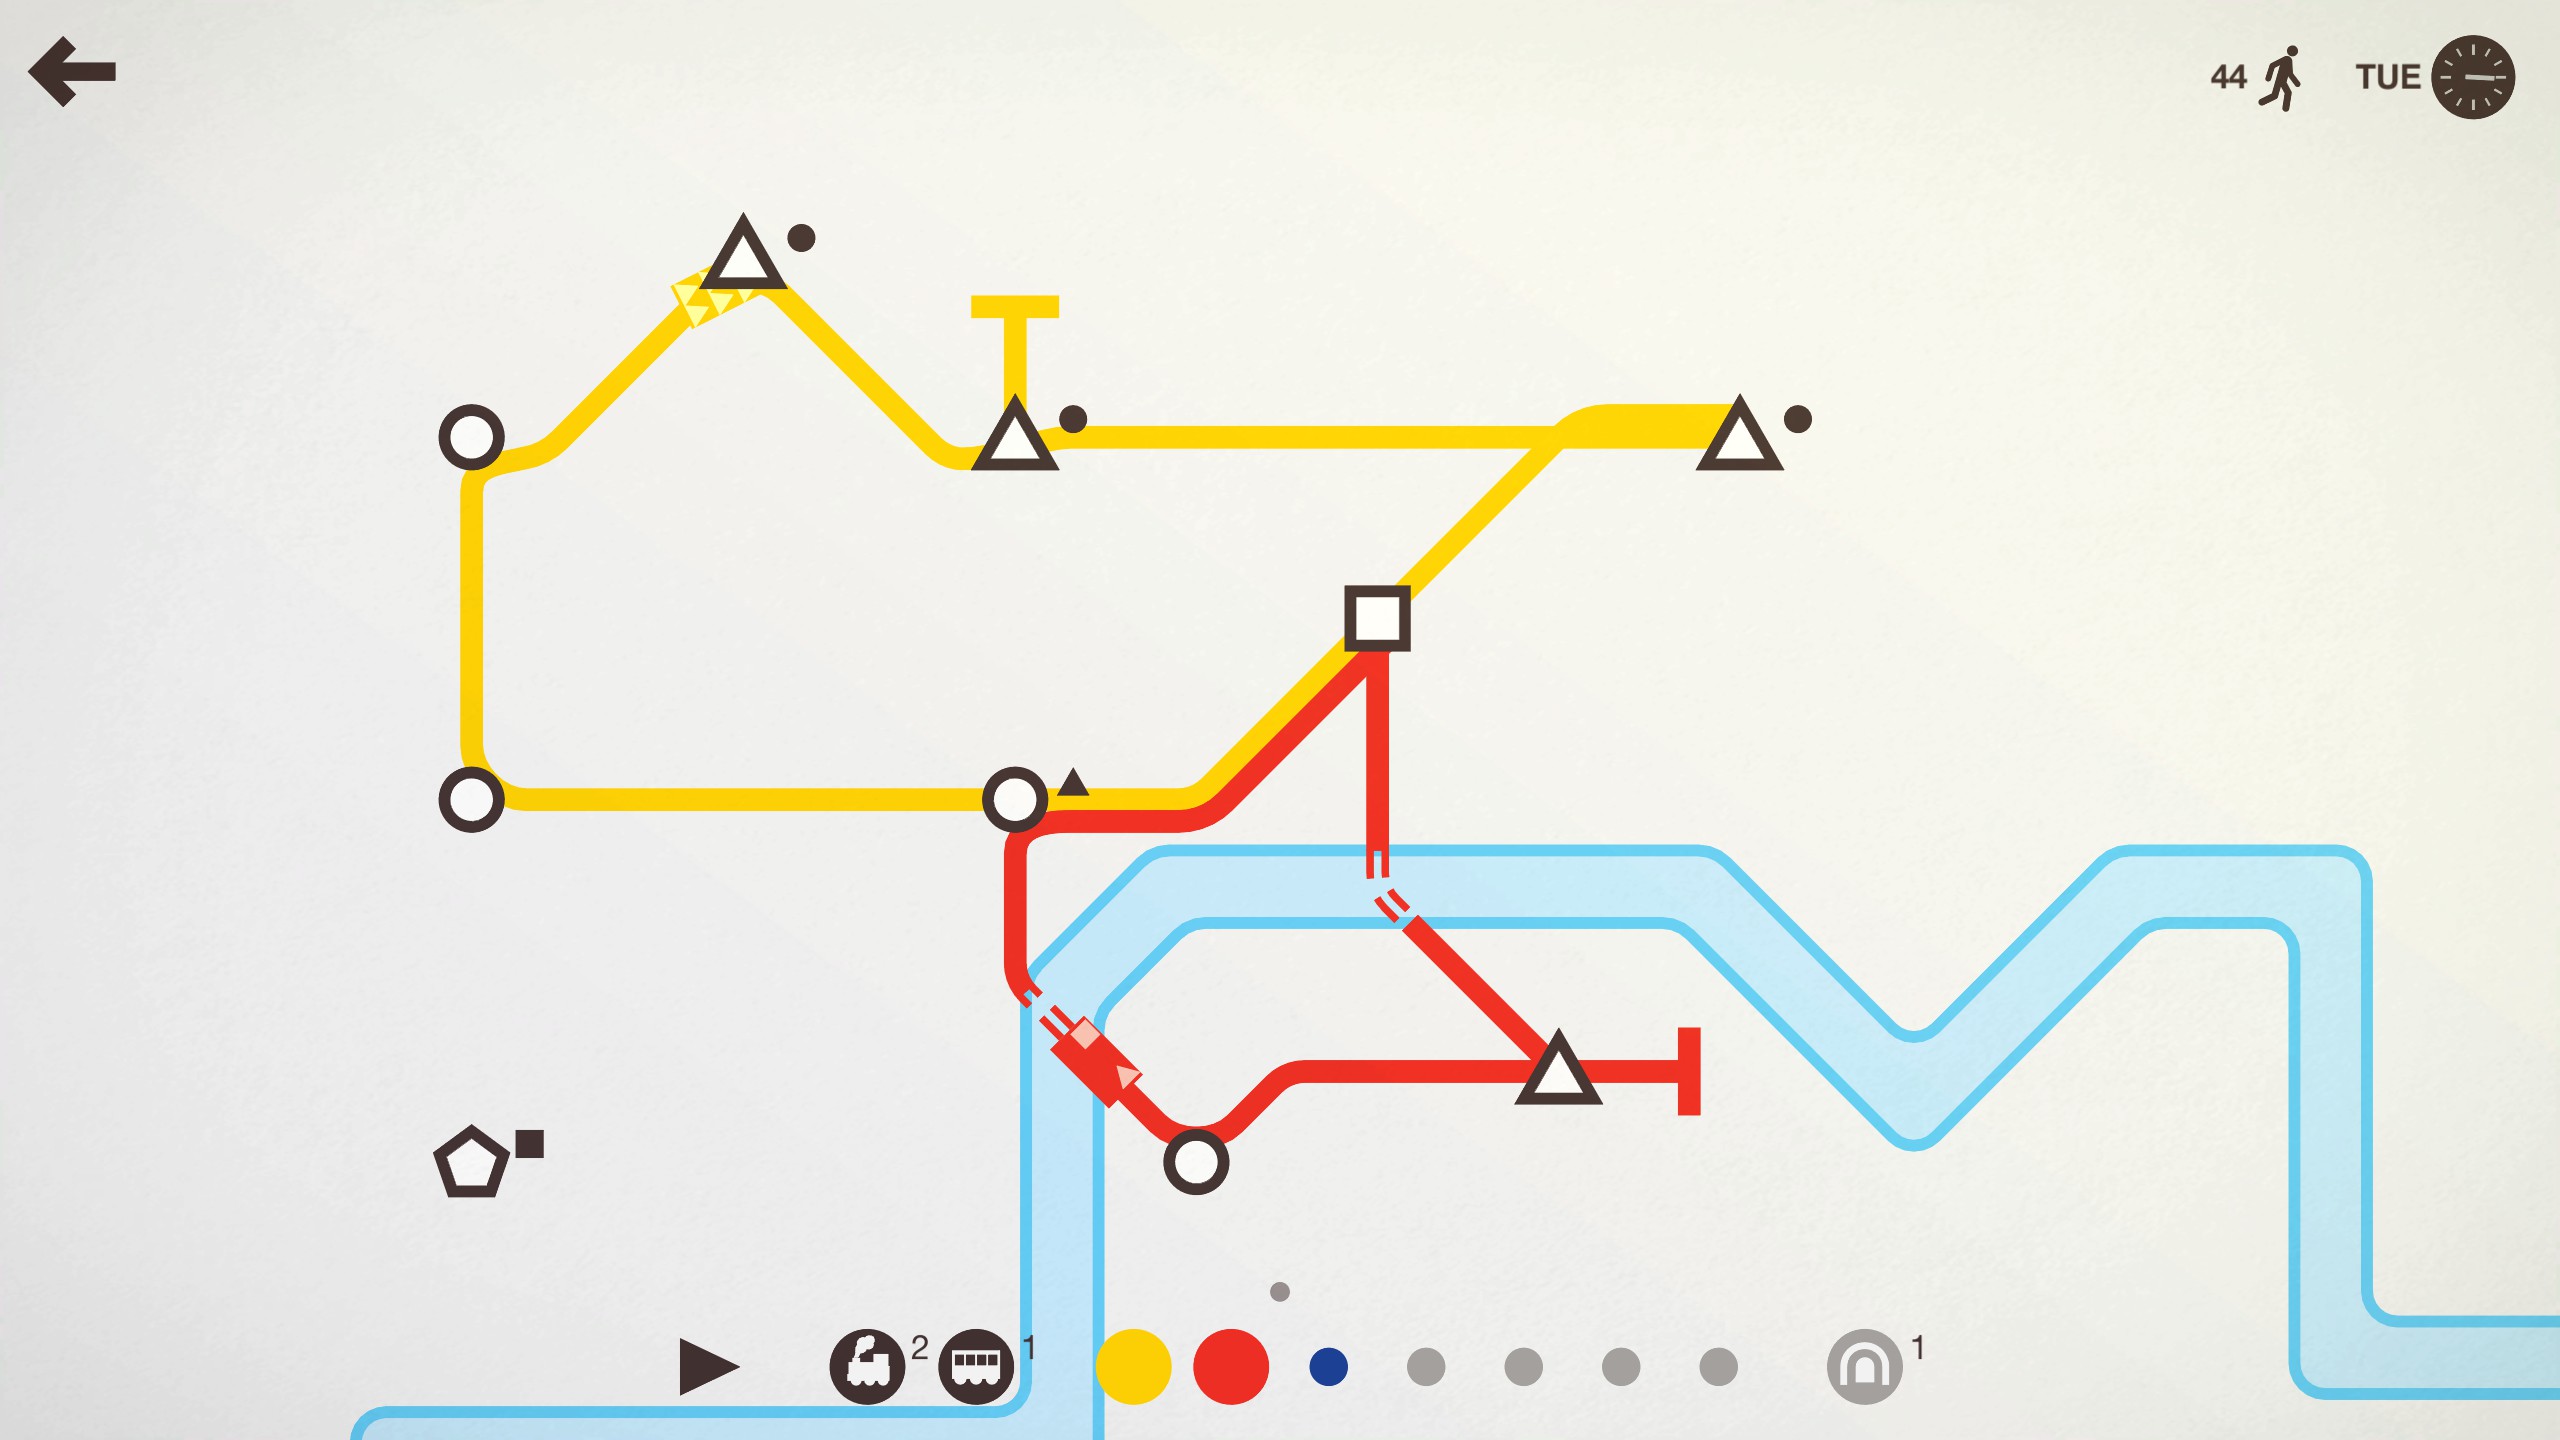
Above you can see we have a track going from Triangle to Circle. If we were to use the control showed before, it would just create a new track. So what we want to do is extend the yellow track. There are two ways to do this, which are appropriate for different situations. First of all we can click and drag the T indicating the end of the track, to the square. That will result in this:
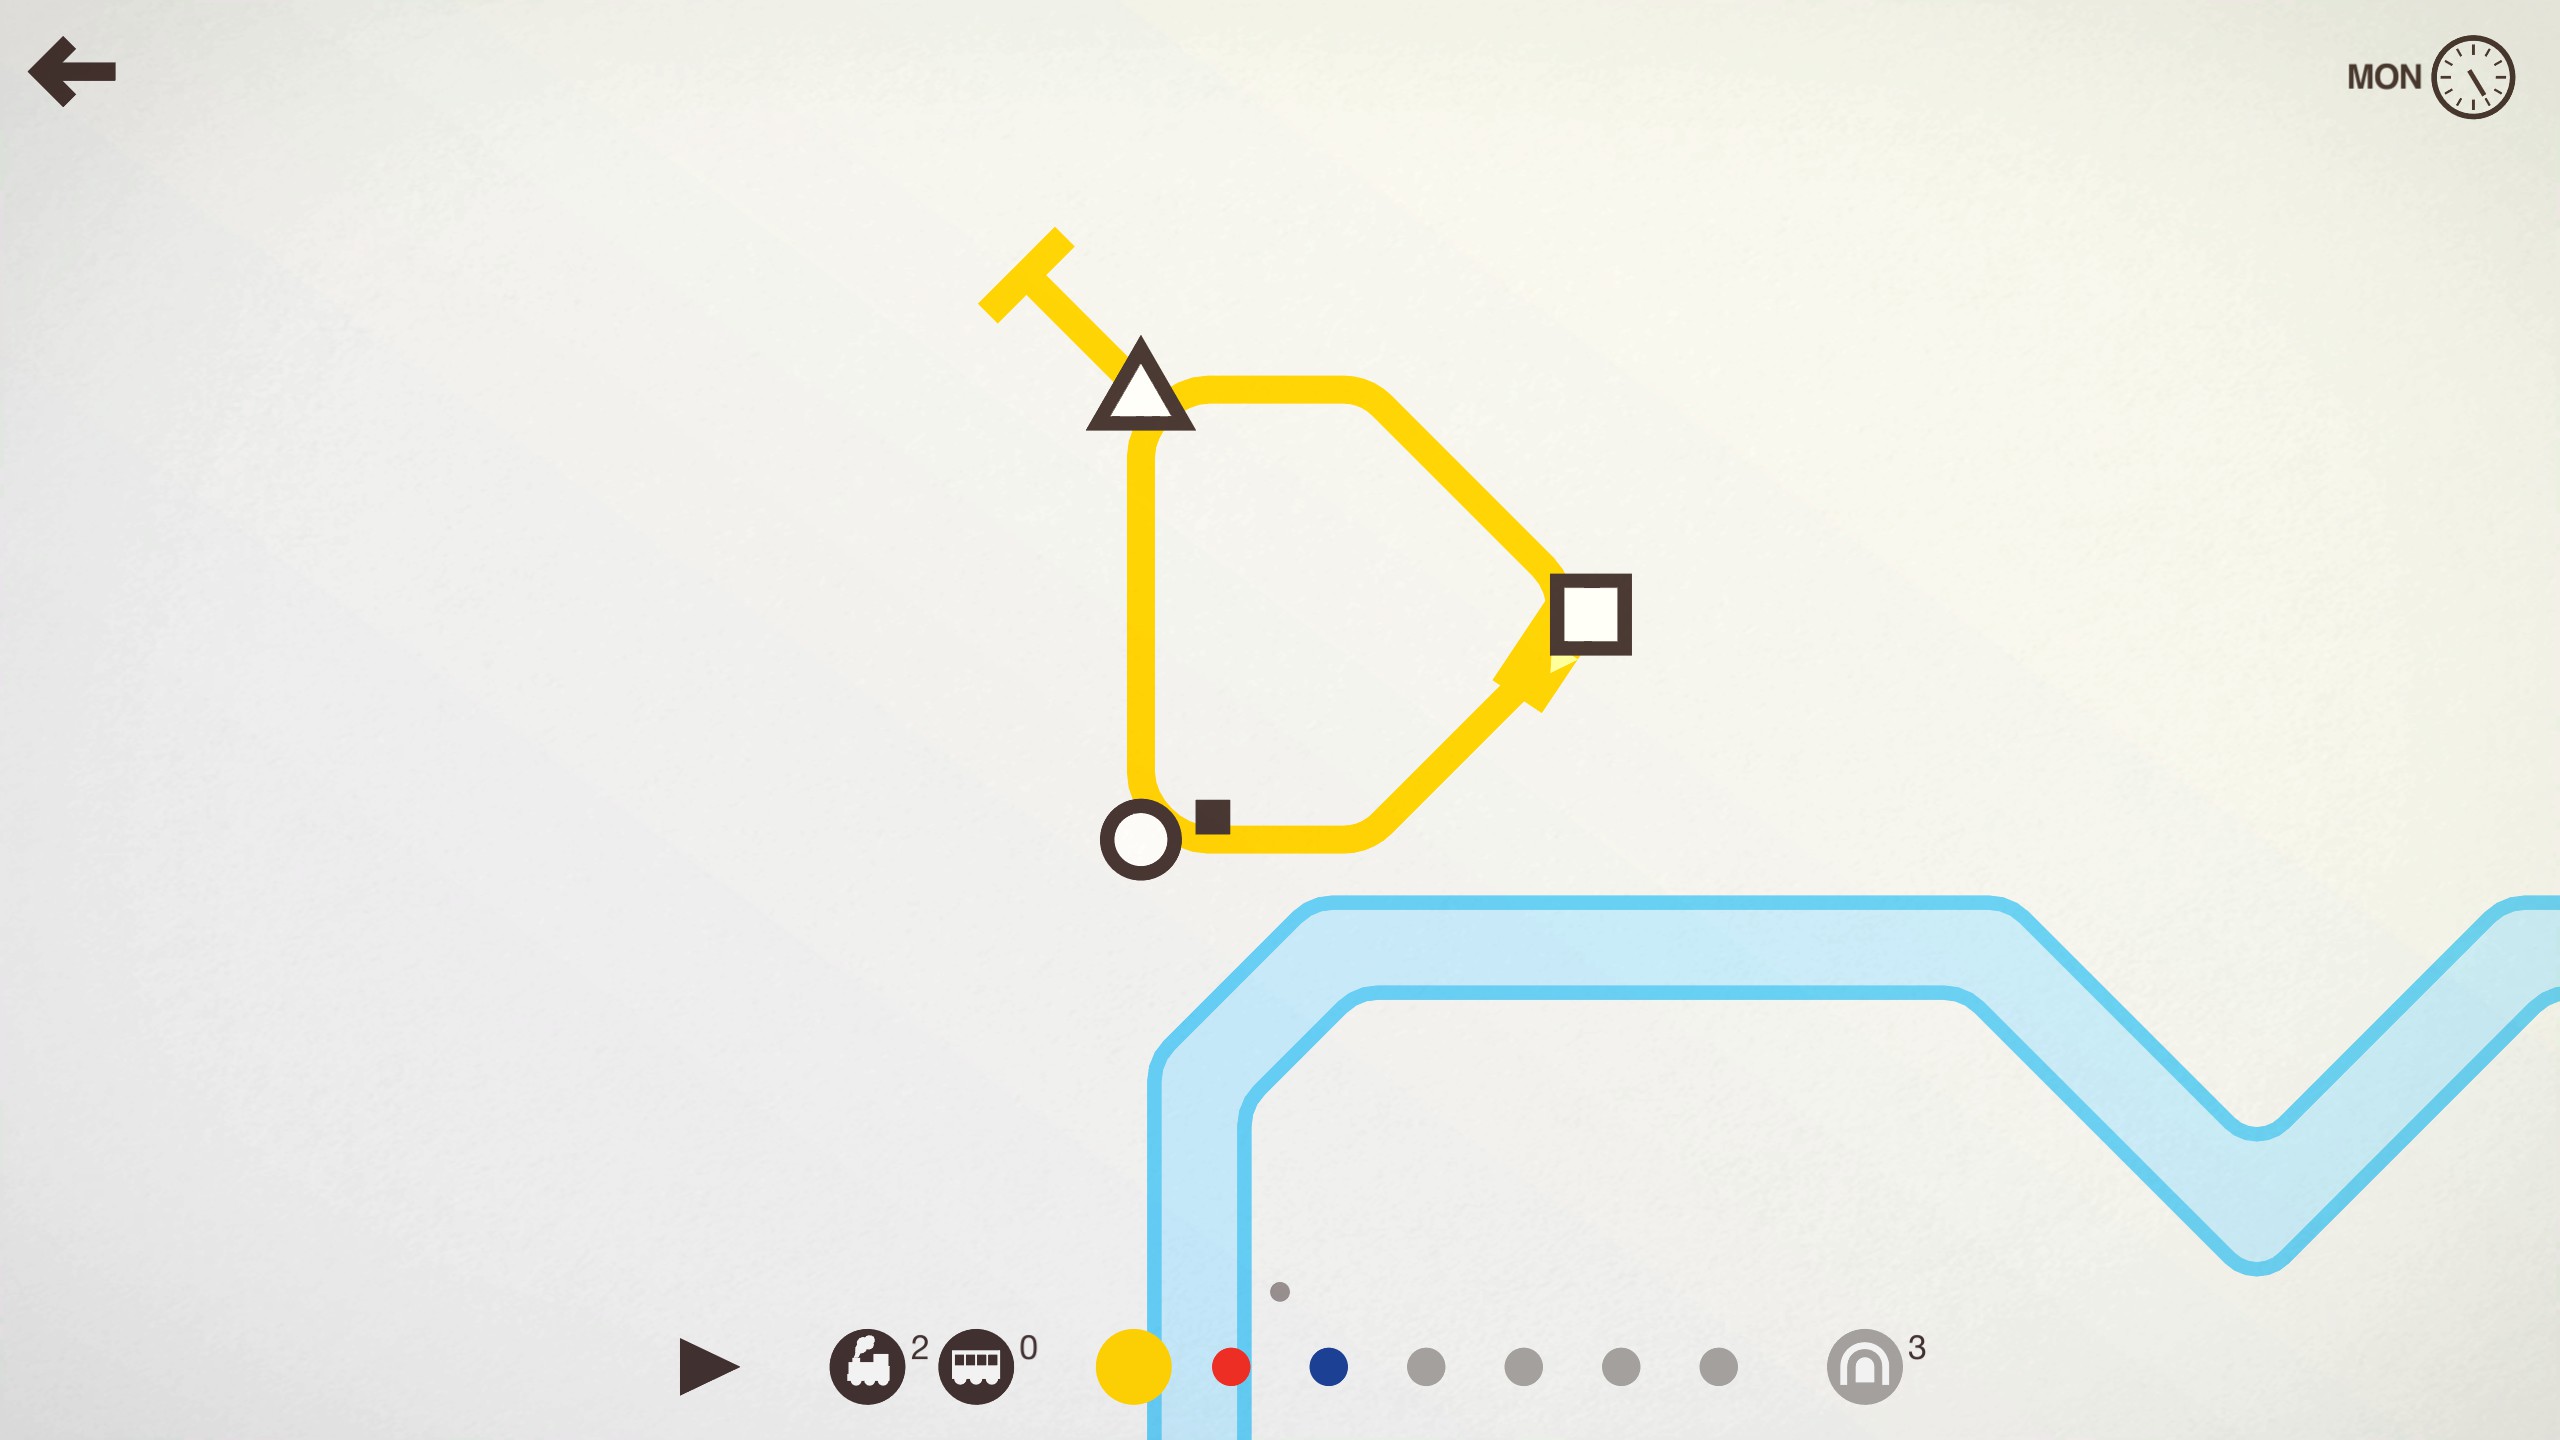
From there we can drag the T from the square to the triangle (You can also do this in one action) to complete the circuit.
This will mean instead of reaching the end of the track and heading back, it will go around the circuit. It usually is, but this is not necessarily better in every scenario, that is up to your own judgement.
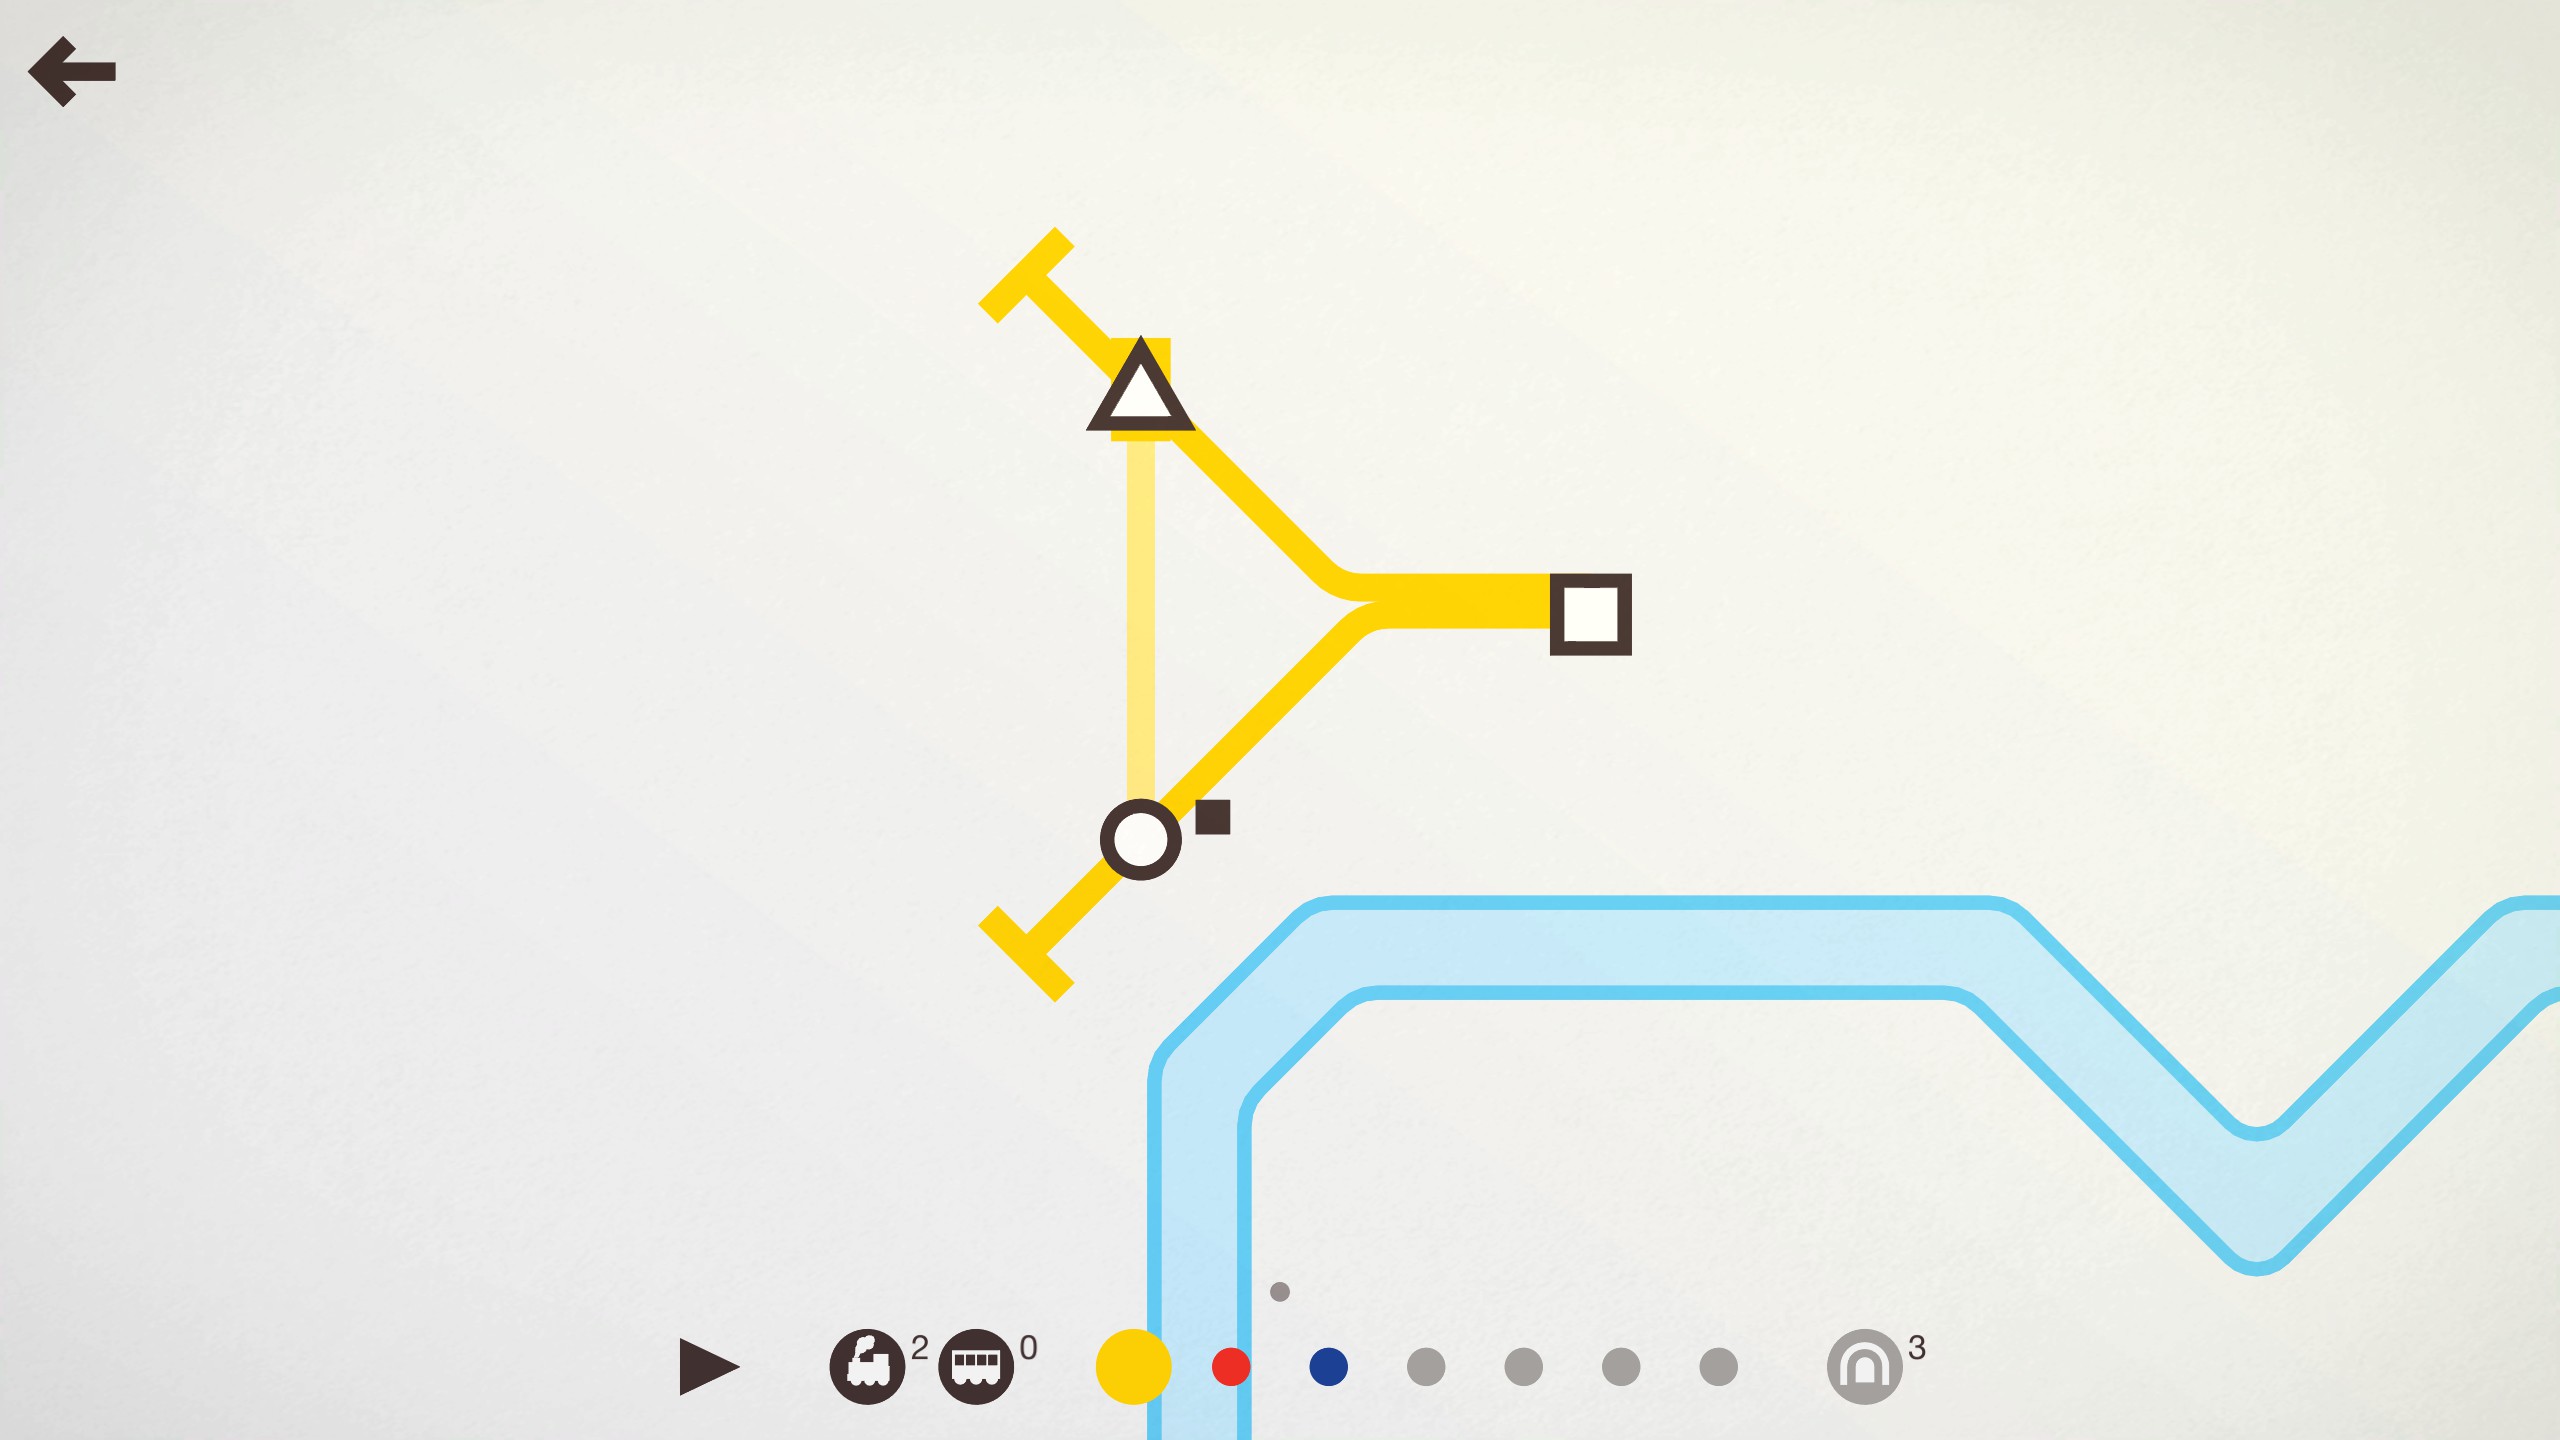
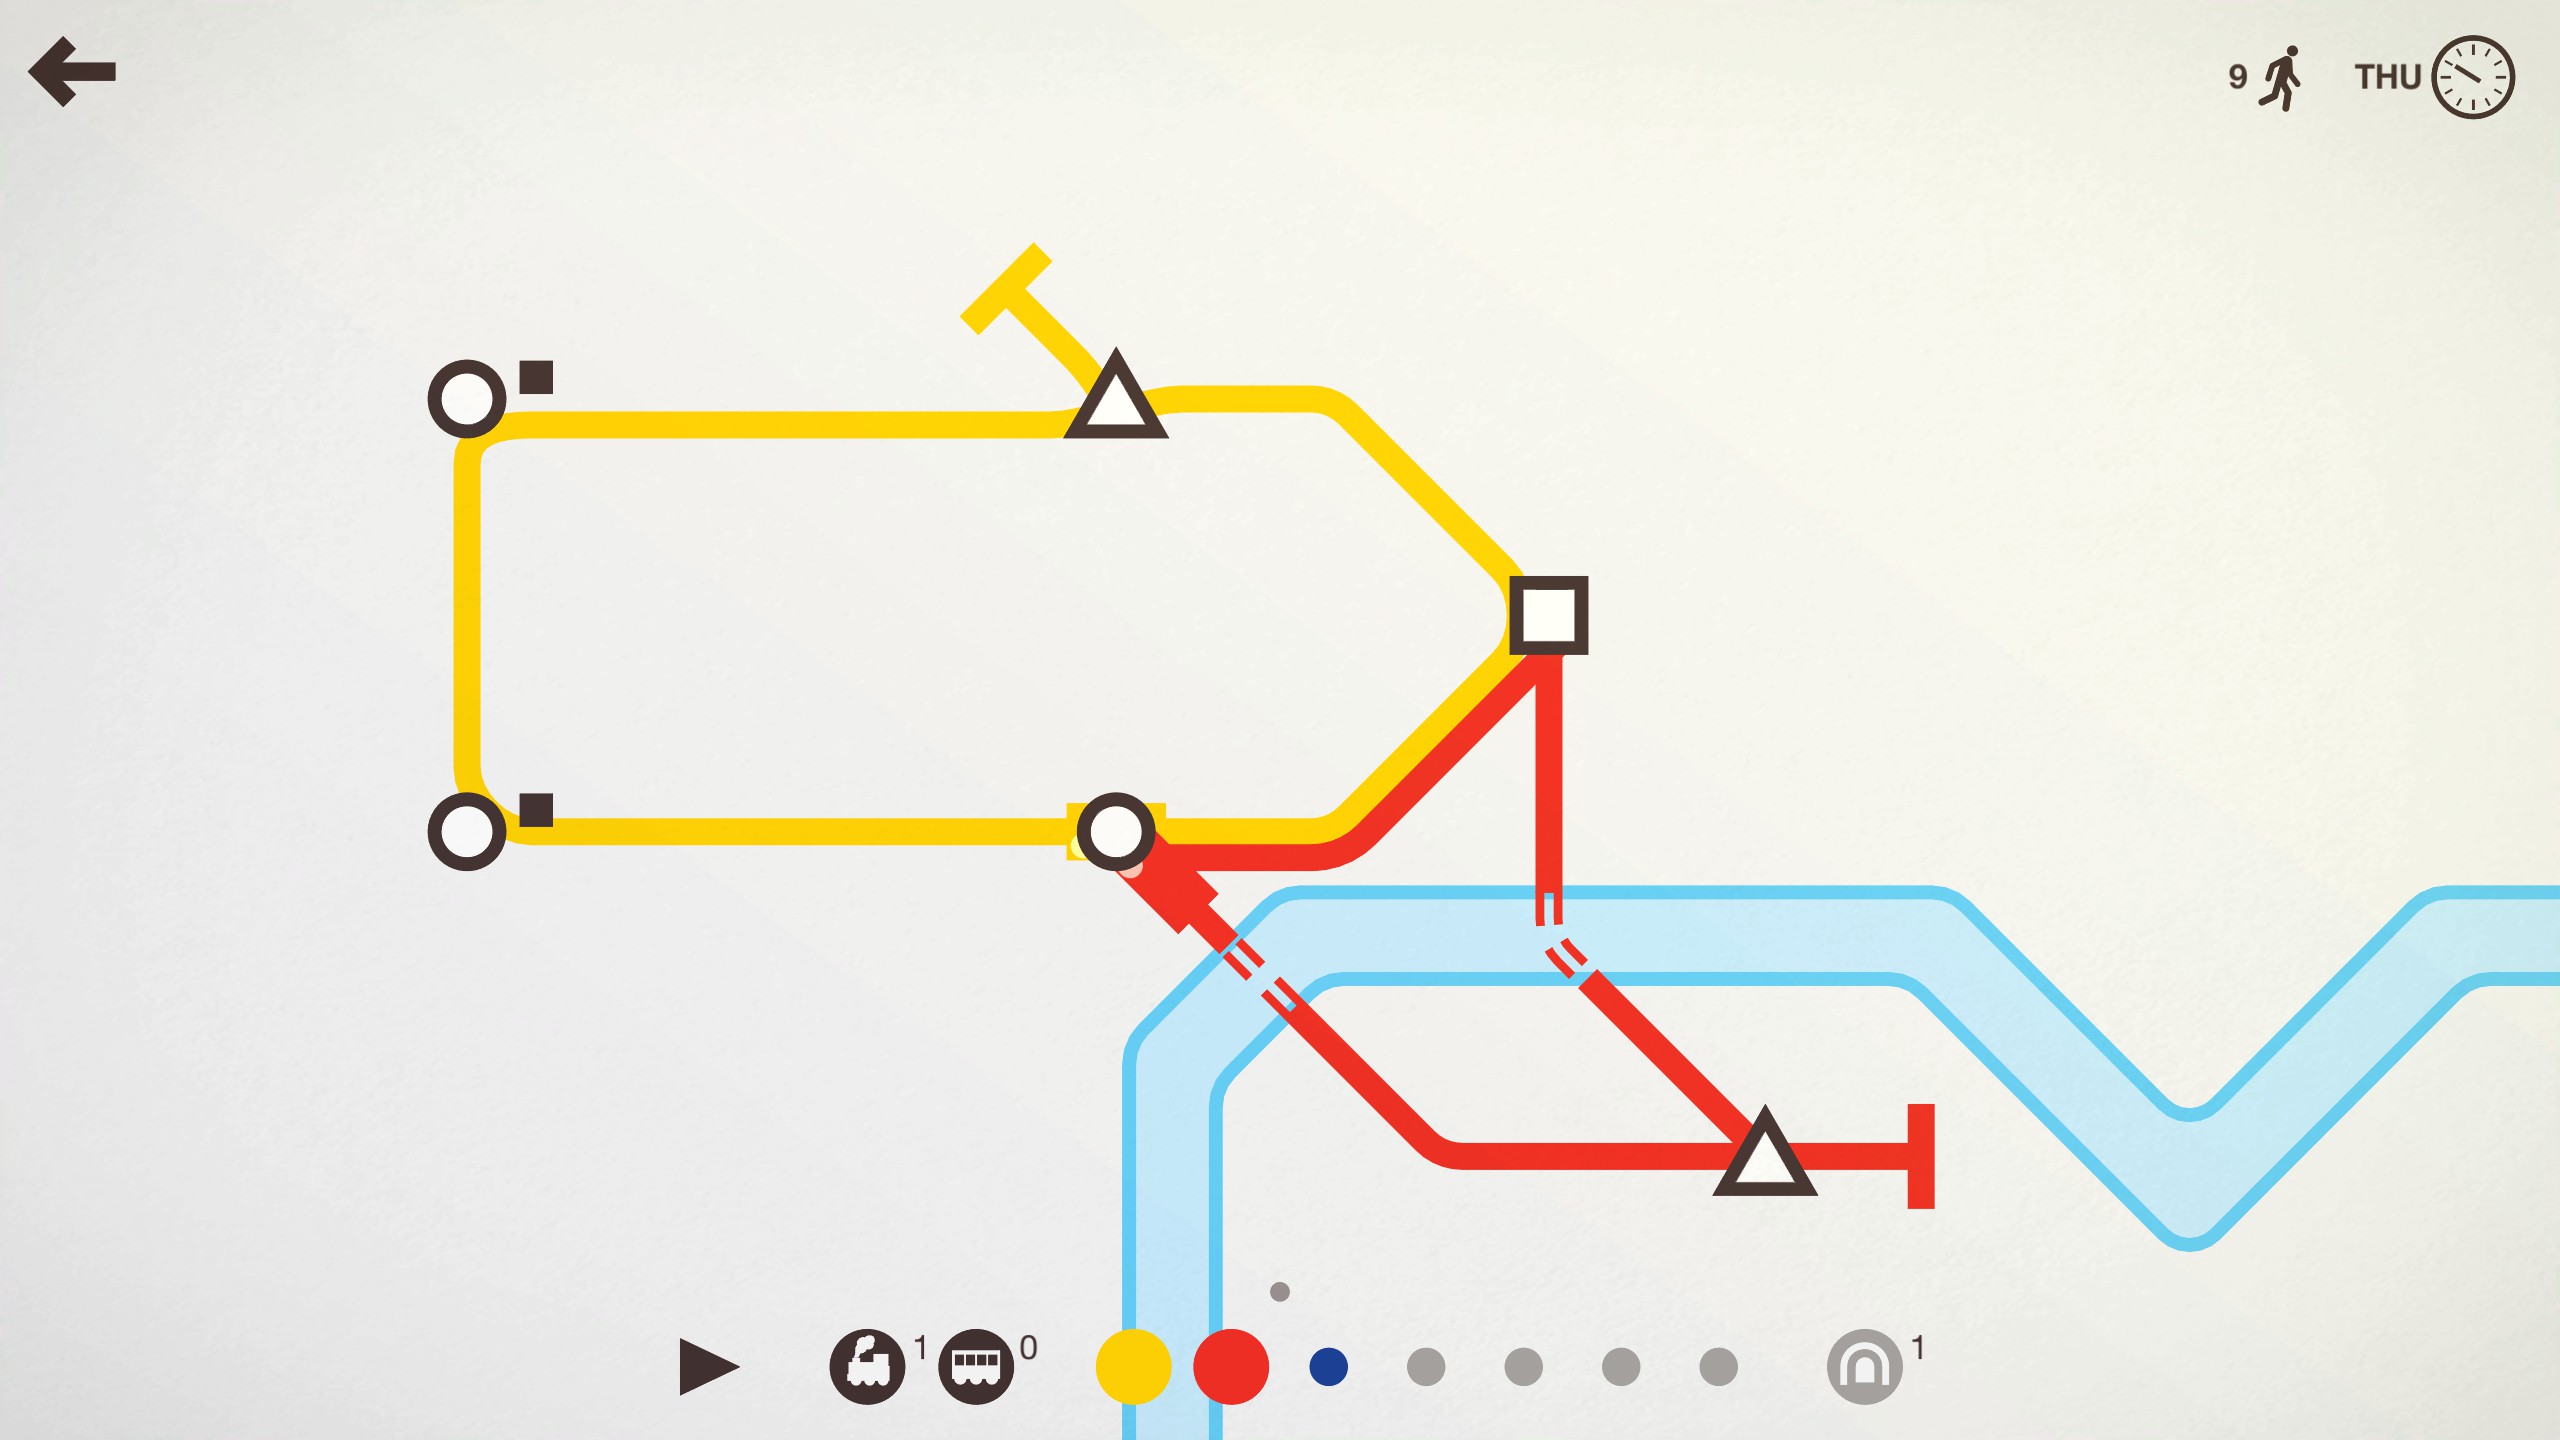
The second way to do this, is to click the track in between the triangle and the circle, and drag it to the square. That will result in a different looking track.
Which when completed looks like this:
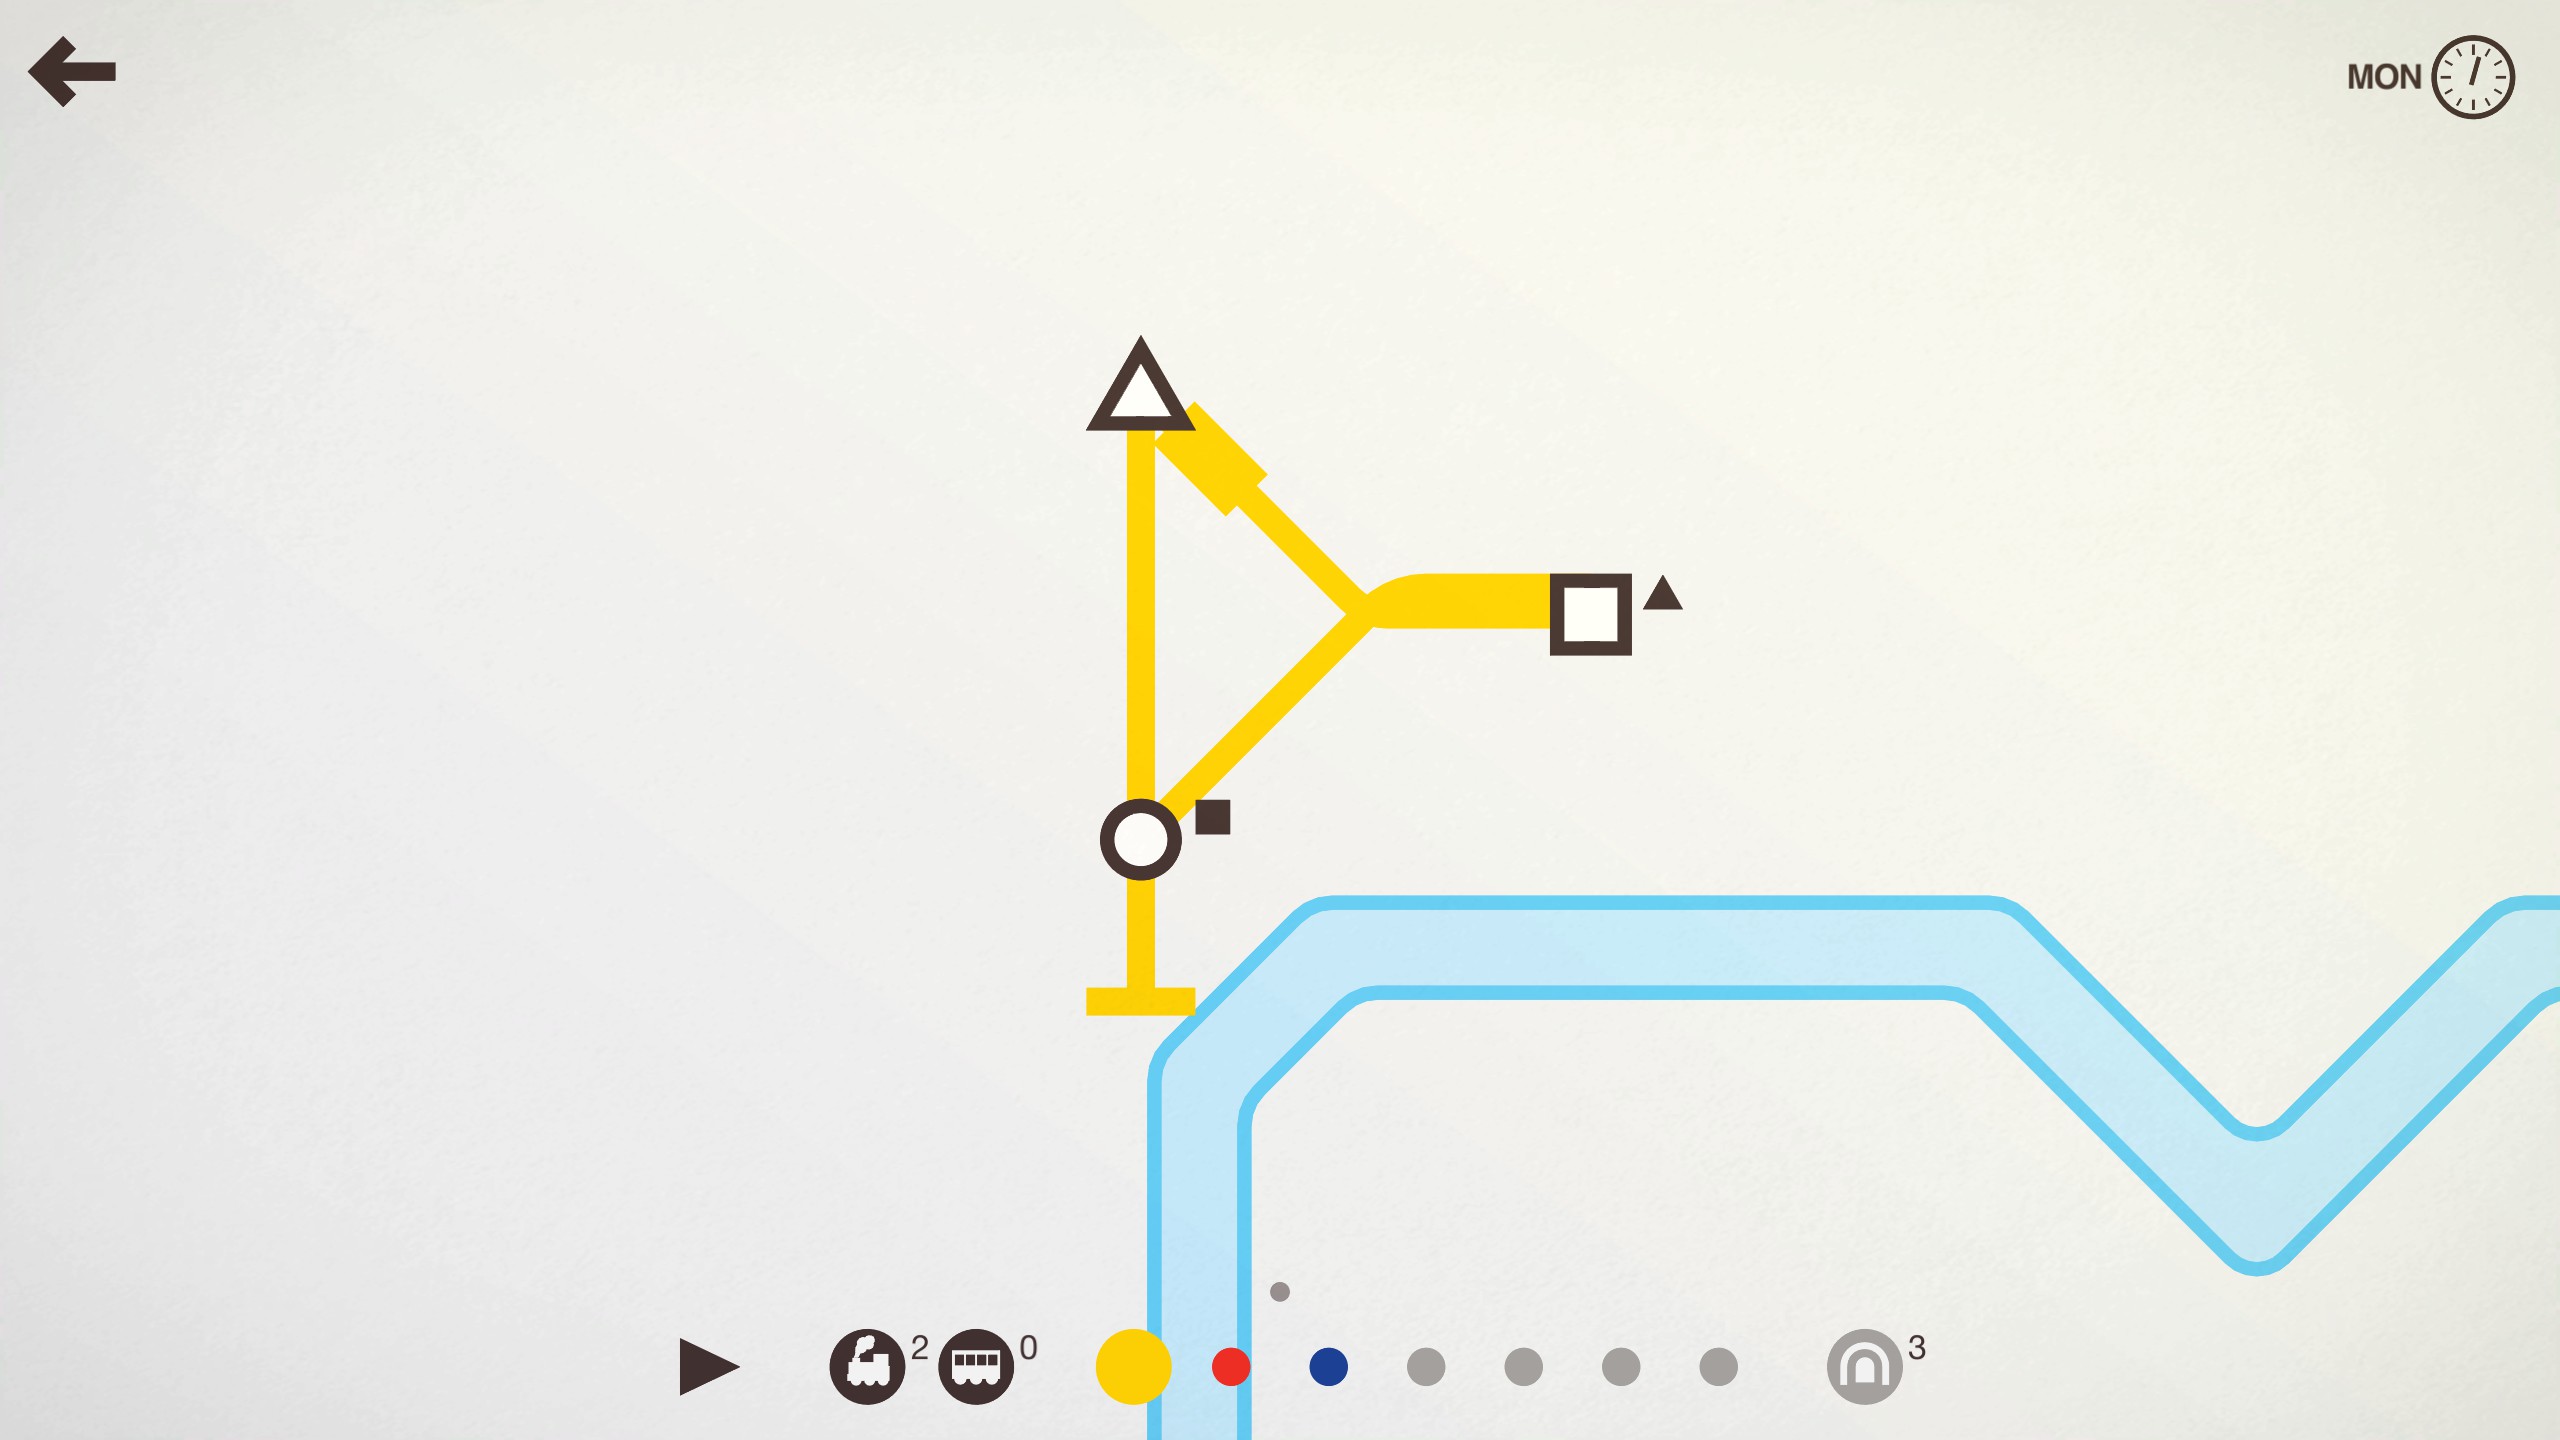
In this scenario, it is better to drag from the T’s, but pretty much majority of the time you’ll be extending the track by dragging an edge.
For example, in this image I had a completed circuit, and a triangle spawned to the right. I simply dragged the track and added the triangle to the circuit.
Since the level is constantly expanding, and new stations are being added, there is no doubt you may want to, for example, remove a station off a line and create a new line entirely. One way to go about this is to use the menu at the bottom to delete the entire track (Which I refer to as Nuking.) However, since you may only want to remove one station, this doesn’t seem very practical.
The easiest way to remove a station is quite simple. First click on the nearby edge of the track, and start dragging it.
Move your mouse over the station(s) you want to remove. The station will no longer have the track’s outline around it.
Then simply let go. The track will re-adjust itself automatically, and now you may create tracks as you like.
Another core game mechanic is the water in the level. Water cannot be crossed by a track without a tunnel / bridge depending on the level (The only difference is their name. I will be using tunnel from now on.)
You start the game with tunnels according to the level you’re playing, and tunnels have a few mechanics tied to them that everybody should understand.
- Crossing any distance of water will use one tunnel.
- If the track curves in any way it will still only use one tunnel.
- If the track crosses two bodies of water without meeting a station it will still only use one tunnel.
- Even in a straight line, if the track stops at a station it will use more tunnels to cross more water.
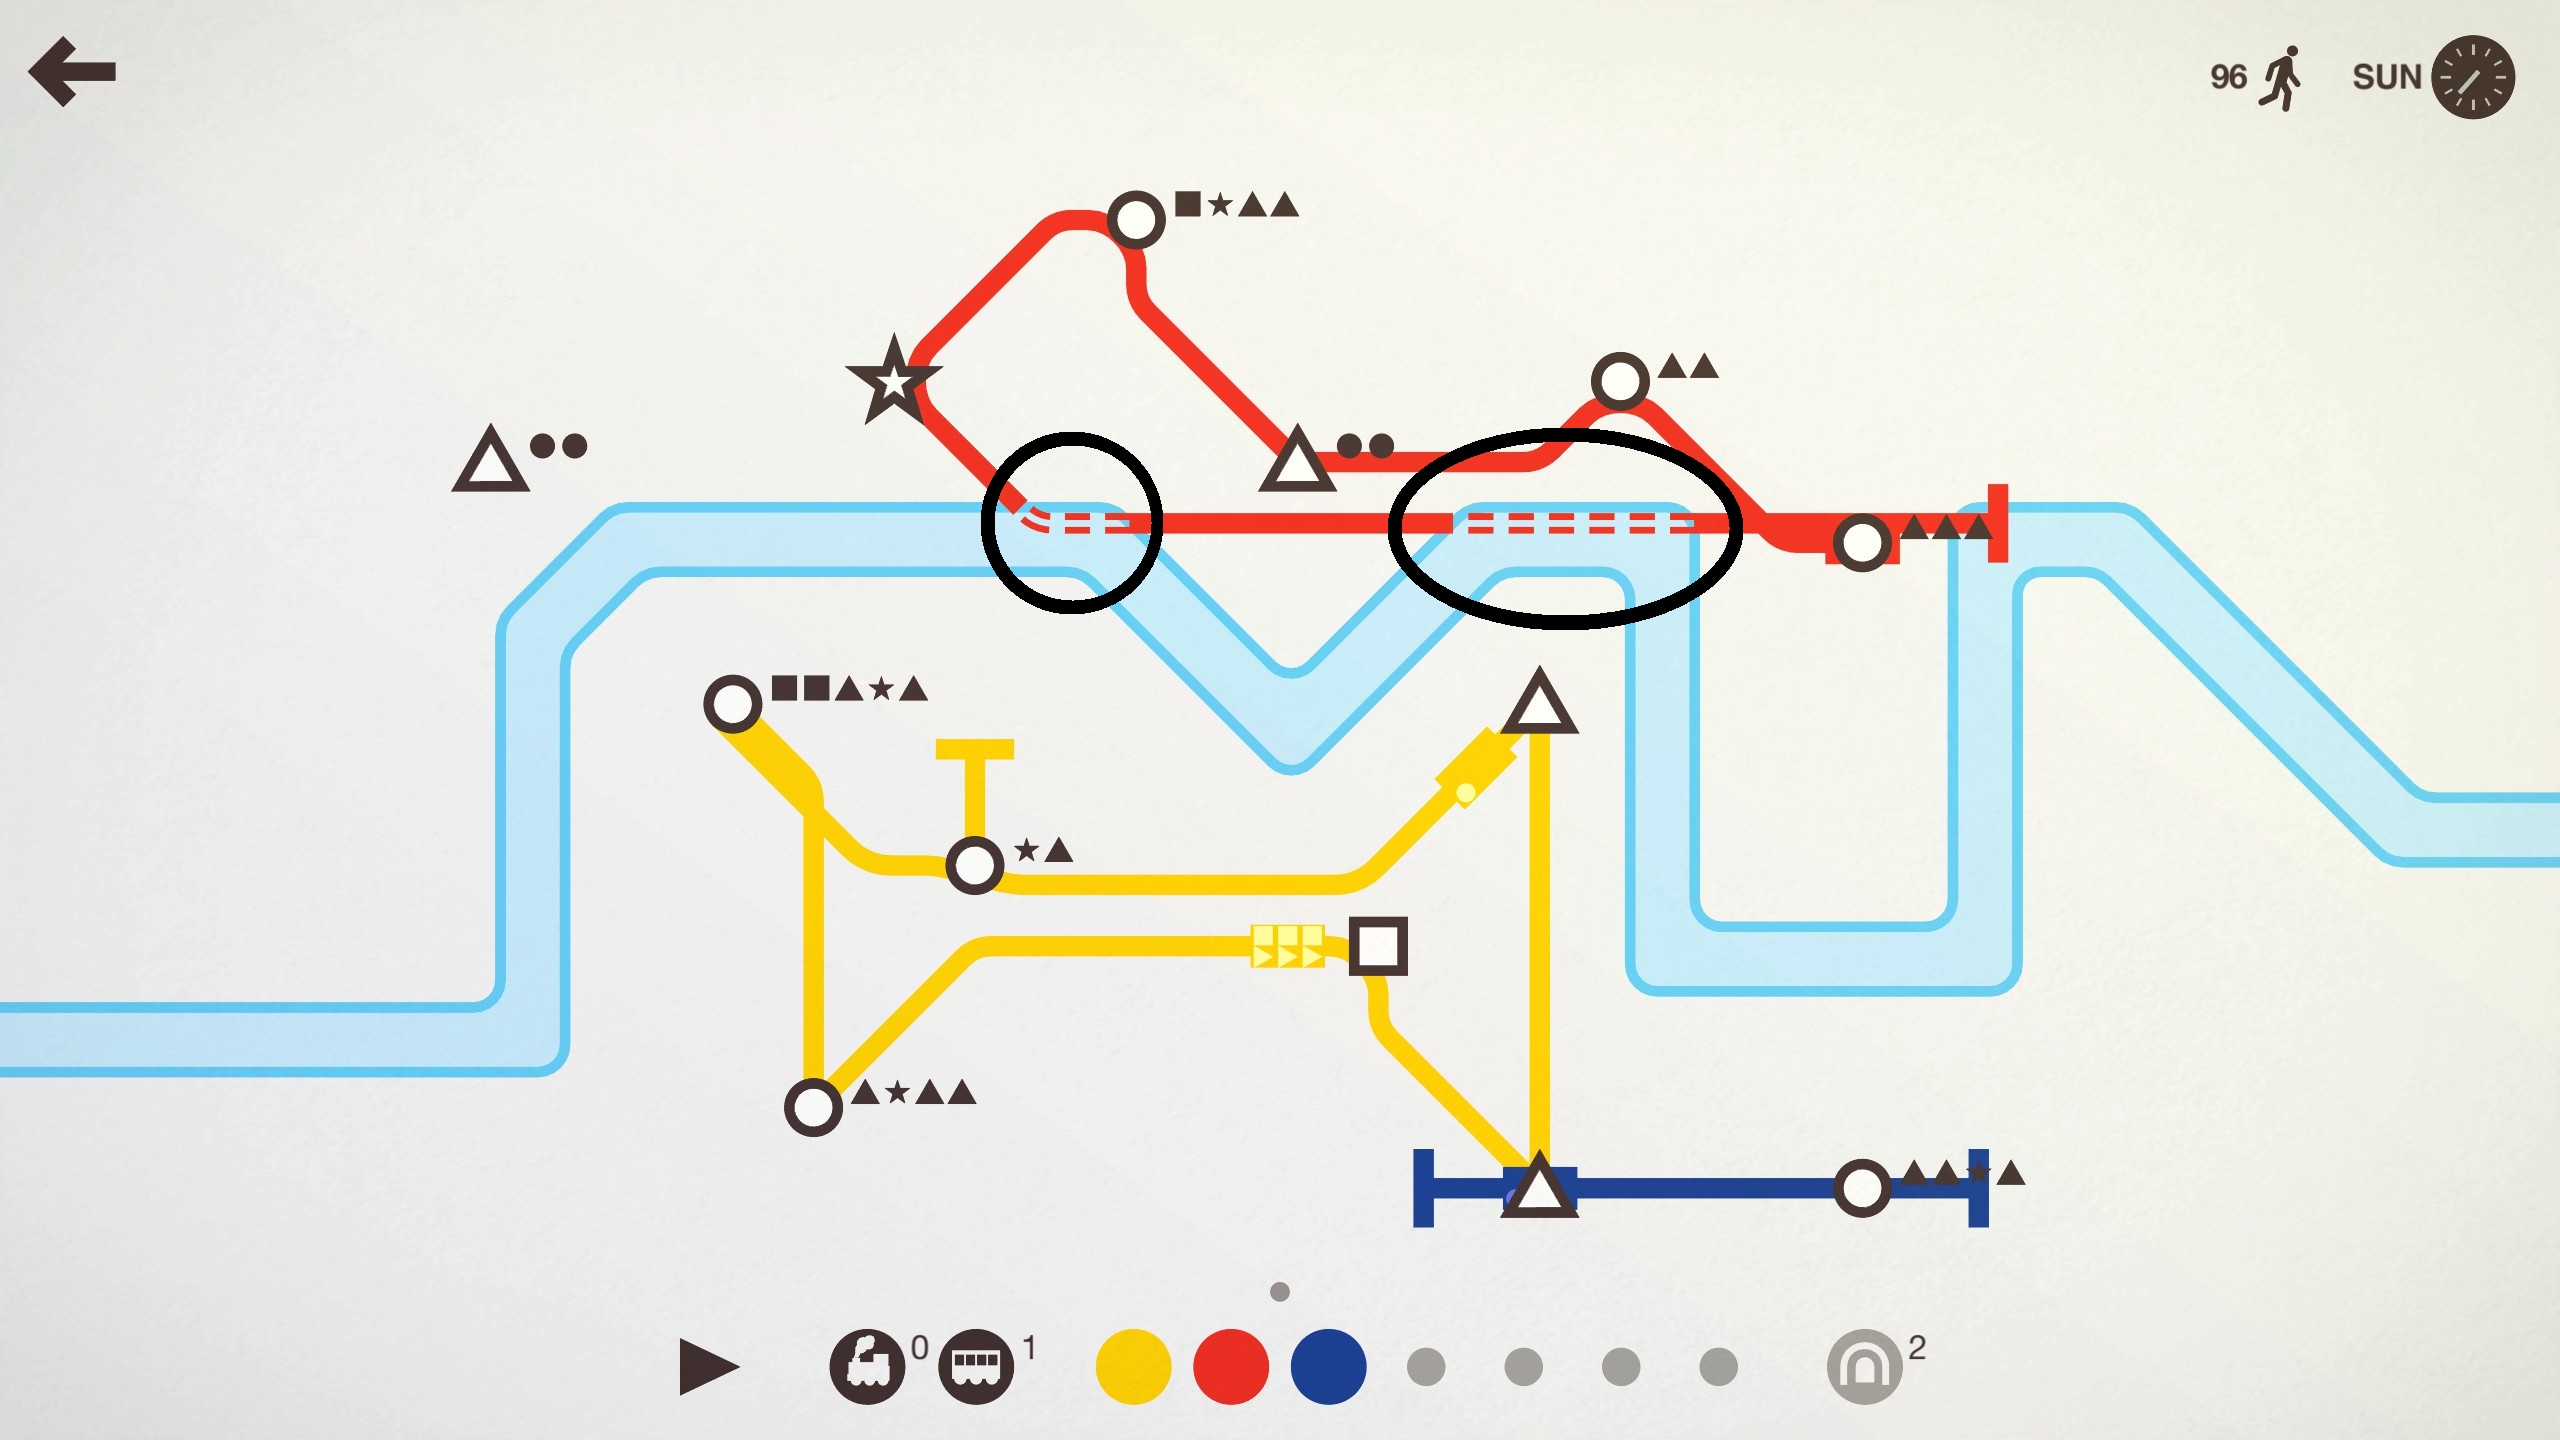
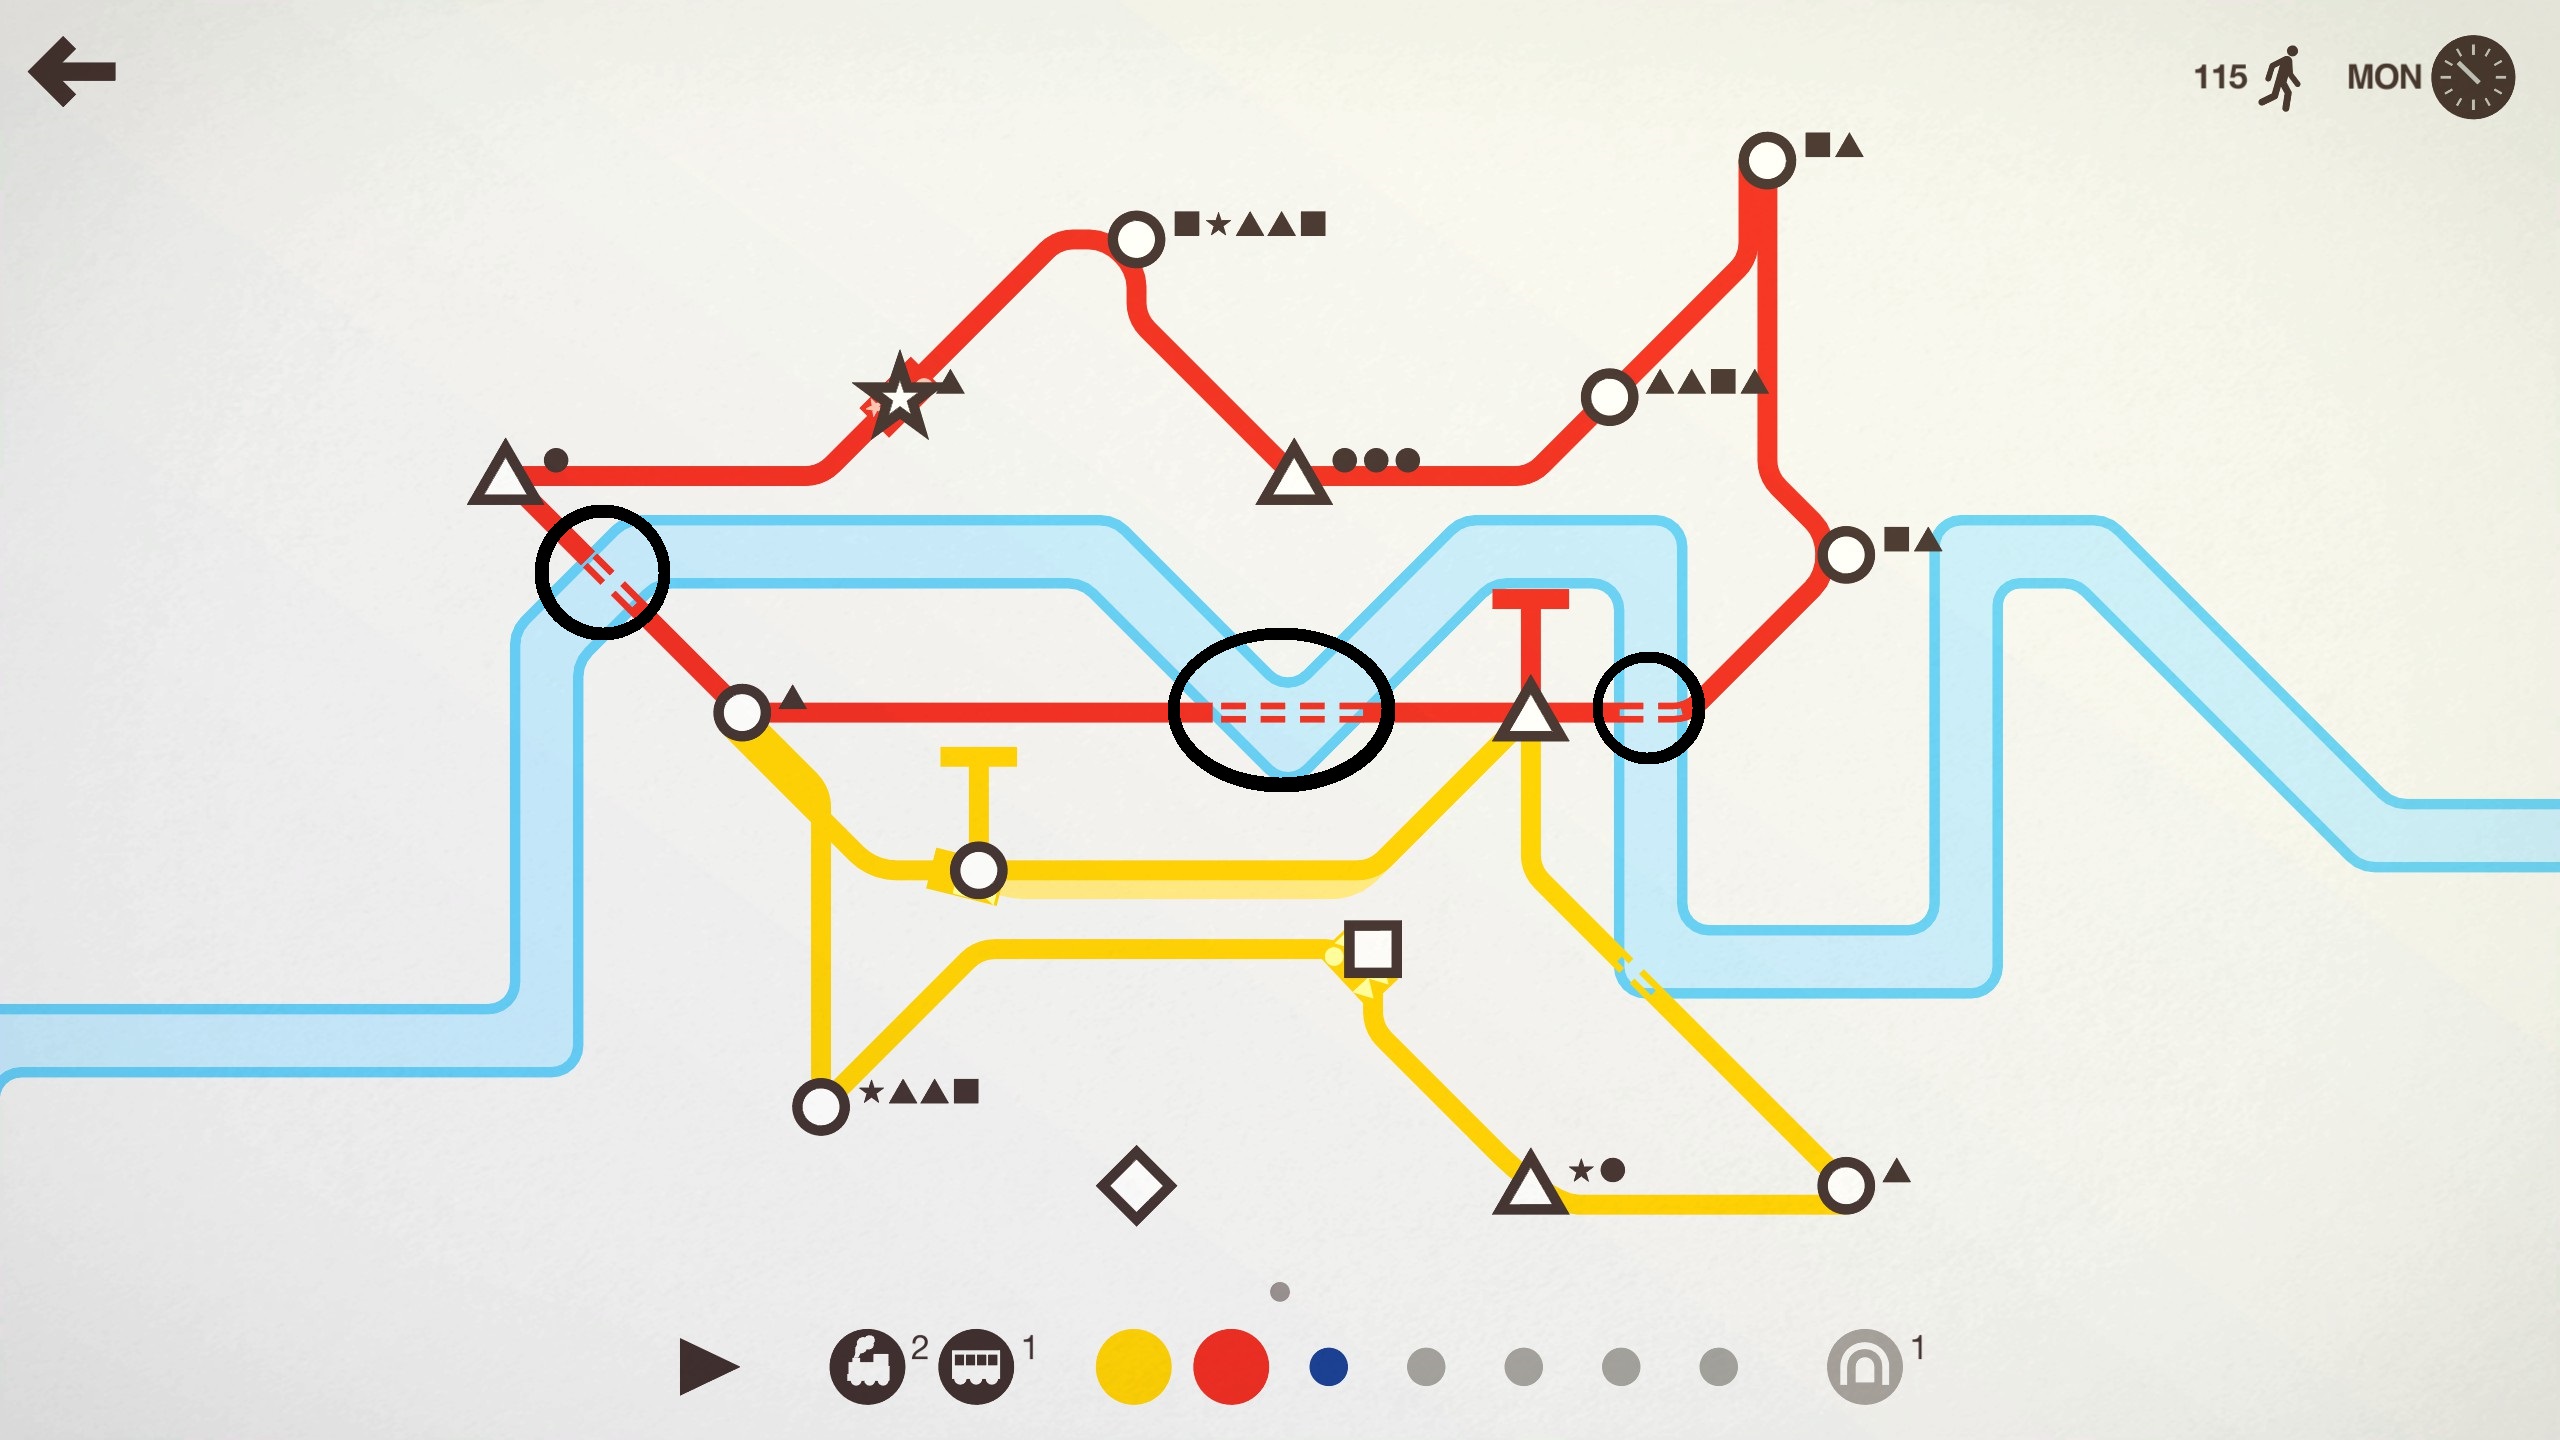
Examples. (Look at the red track.)
This uses one tunnel:
This uses one tunnel:
This uses one tunnel:
This uses three tunnels:
Tunnel management is especially important because being one tunnel short because of poor track placement or poor budgeting could be the difference between surviving another week or reaching the end of your game.
This section will go over the various stations you’ll encounter in detail, and the decisions you’ll make around them. First of all, as I covered earlier, there are three basic stations that will constantly be spawning of different rarities, and unique stations which spawn or can also be transformed from the three common ones. So you have:
- Circle (Common)
- Triangle (Uncommon)
- Square (Rare)
- Unique (Very Rare)
Note that despite I have put ‘rarities’, these will ALWAYS spawn, EVERY game. It’s just the rate of them that are affected.
An important factor to keep in mind is to have every track you have, if viable (Not if you have to use tunnels, travel long distances etc.) connected to all three basic types. At the VERY least, it should be connected to a circle and a triangle of some sort. Doing this will remove stress from all stations along the line. If you have a line consisting of nothing but multiple circles, the track is essentially useless. Of course this is to your own judgement, and how the game is going.
If a person on one line cannot reach their station, usually a unique, they will have to transfer. This is usually the more viable option. Here’s an example.
In this game, the first unique spawned at the bottom left, by the yellow line.
I needed to connect to it in some way, so I had three viable possibilities:
- Create an entire new track for it.
- Use the yellow track.
- Use the red track.
By dragging from the edge of the yellow track I could see that, despite it may affect the line, it still had some flow to it.
I also dragged the red to it and saw the much larger distance change, and decided it would be better to keep yellow.
Now this brings up the question of what will happen if a pentagon person spawns on the red track. Quite simply, the train will pick the person up, and drop them off where both the red, and the yellow connect to the same station. A yellow train will pick them up from there.
Using transfers you can develop strategies that work for you, and the level you’re playing on. A common one that works quite well and I have a lot of fun doing is making a central station which all lines connect to. Even if it’s not the 100% best way to play, it’s fun.
Advanced Observation & Designs
As I mentioned earlier, Mini-Metro can get pretty intense when it comes to deciding how you’re going to stop that one station from overpopulating. The rest of the guide will be divided into these two parts:
- Observation – This will cover watching the actual map and noticing what’s going on around the level, and optimizing your design to adjust.
- Designs – This will go over some final level designs that got a good score, as well as cover why they worked well, and maybe spark discussion. It will also cover different train lines that you can make (In terms of their design.)
Despite tying in quite closely with eachother, each will be covered extensively, and simply feature game-play screenshots and scenarios, provided by myself and the community. My aim is to have this last section improve these skills, not only in the game but outside of it too.
If you wish to contribute to these sections, post a comment saying so and I’ll add you on Steam and chat with you there. Please don’t randomly add me, however.
Observation
You should always be careful of this, and commonly isn’t thought about. This can be the difference between a very successful line and one that is constantly struggling very easily, and once you see it and realise why, it’s very obvious.
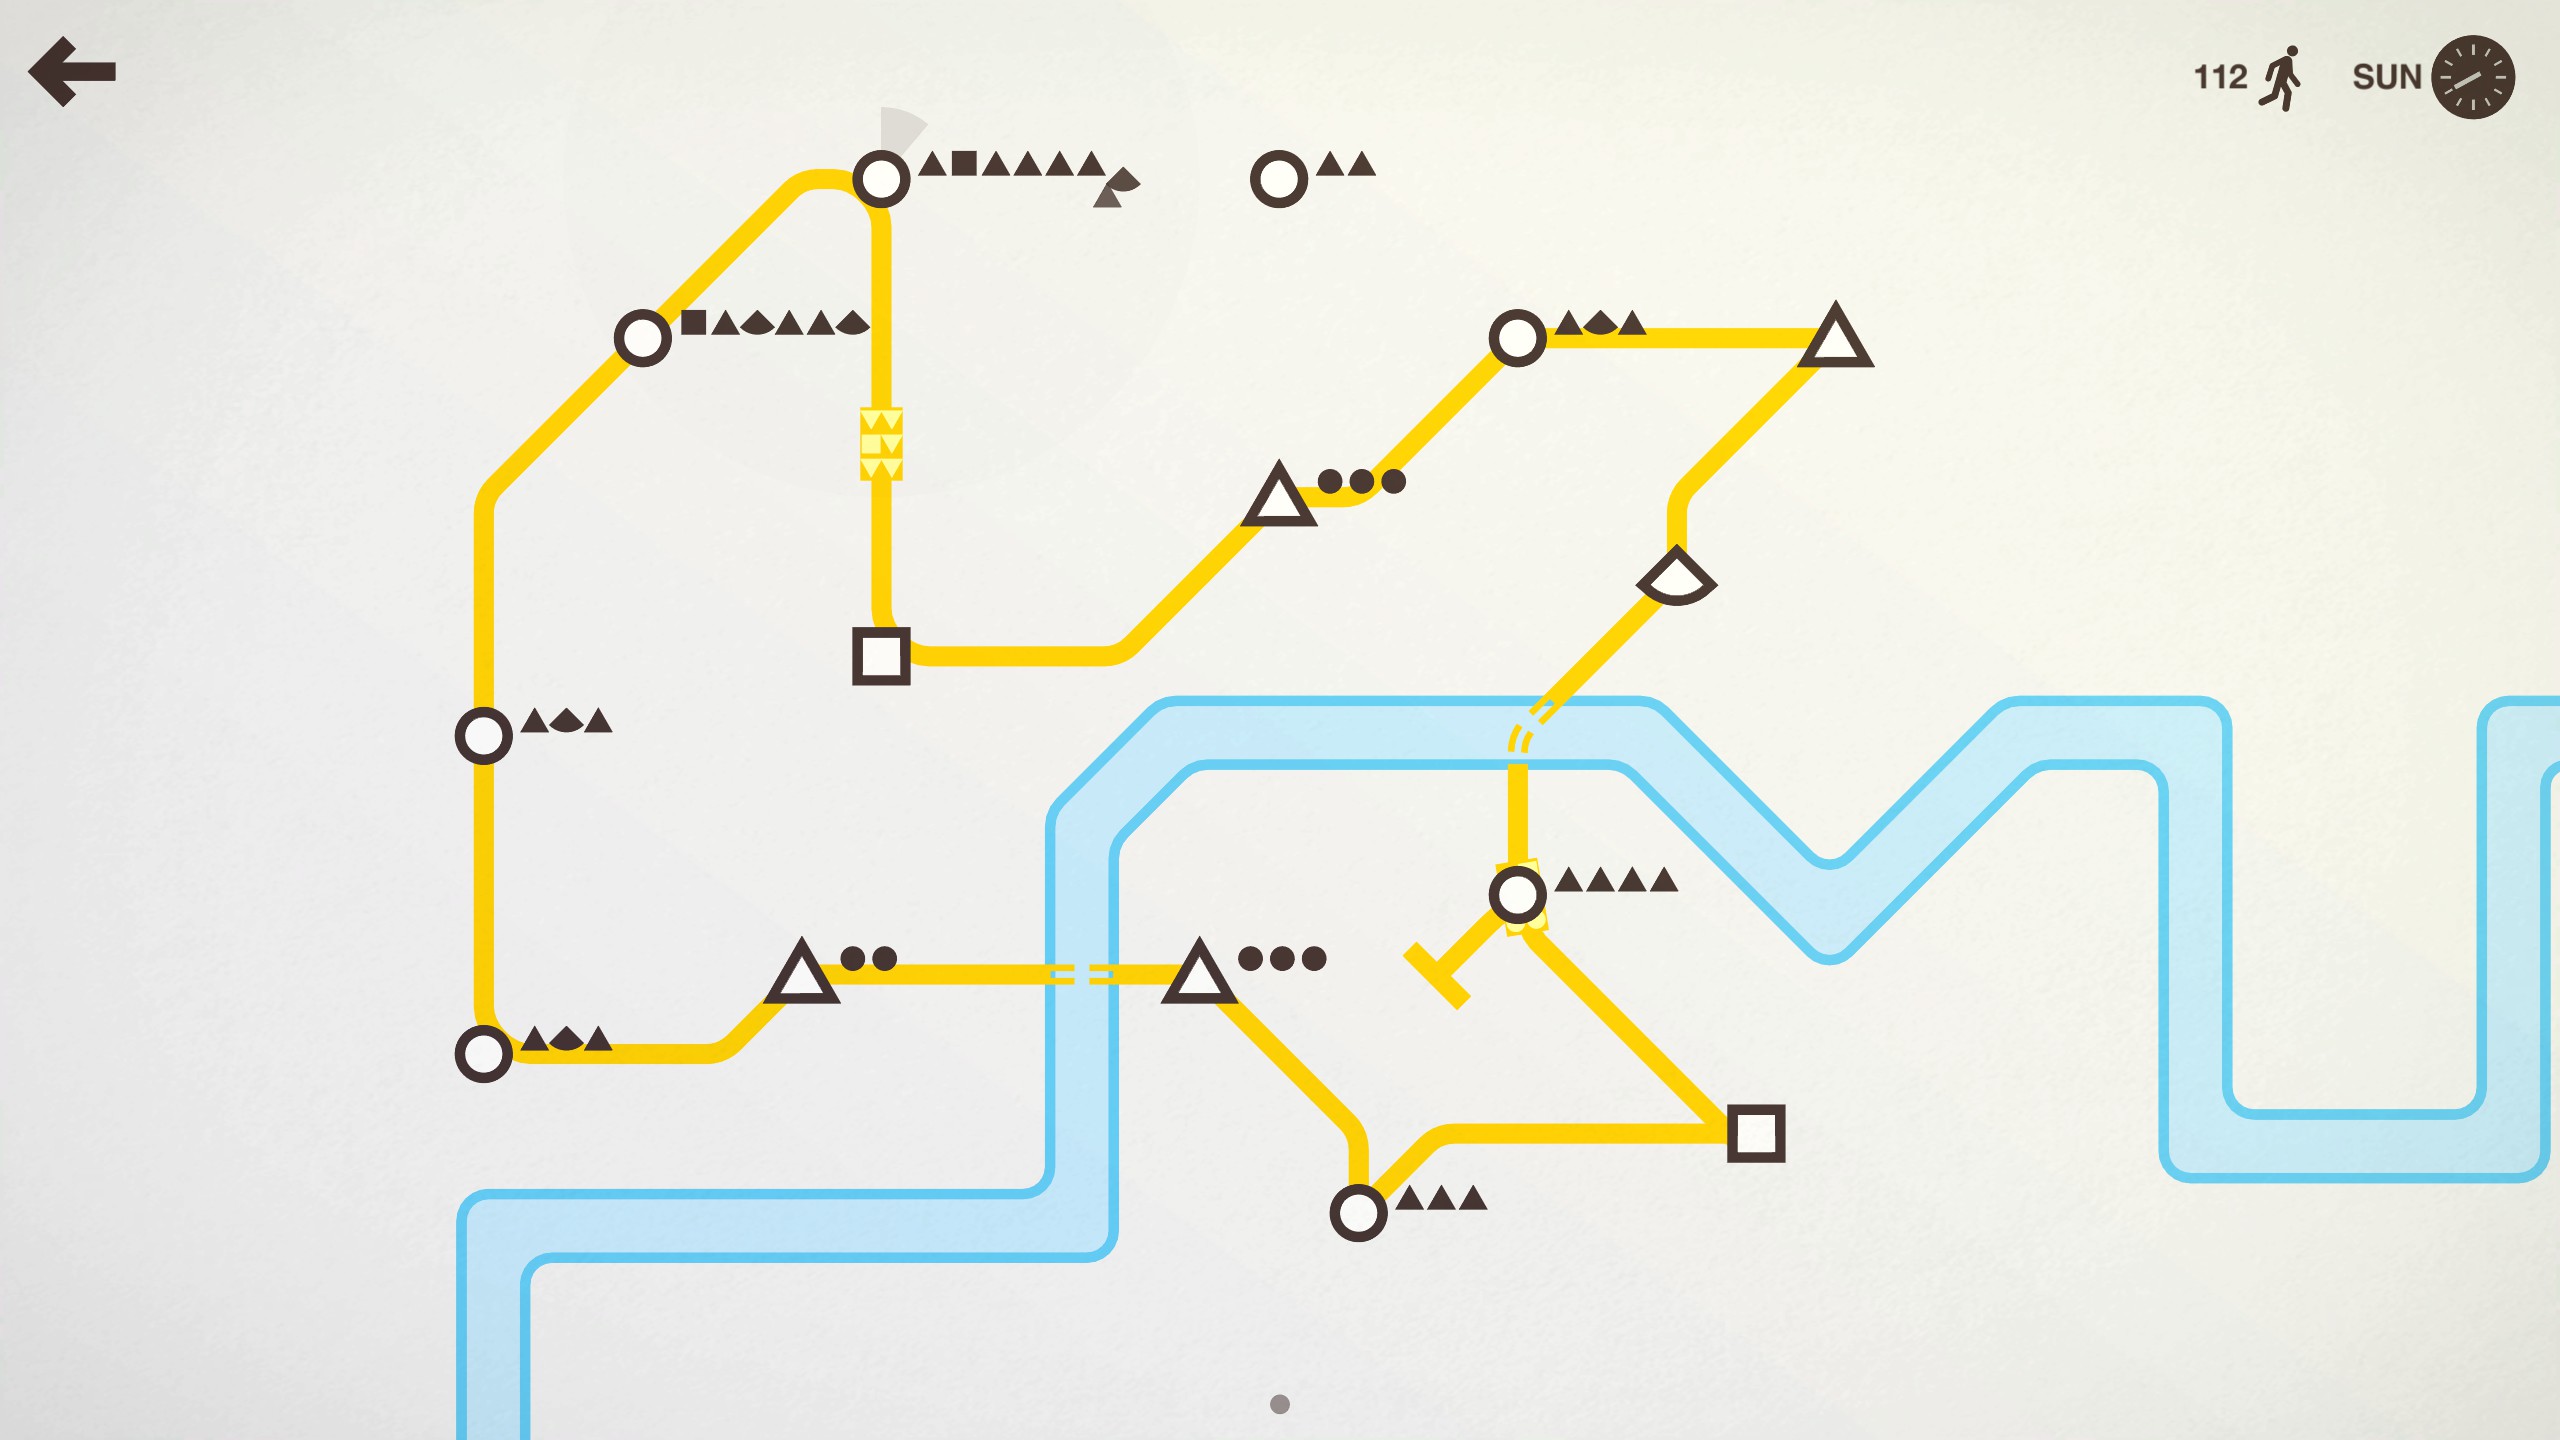
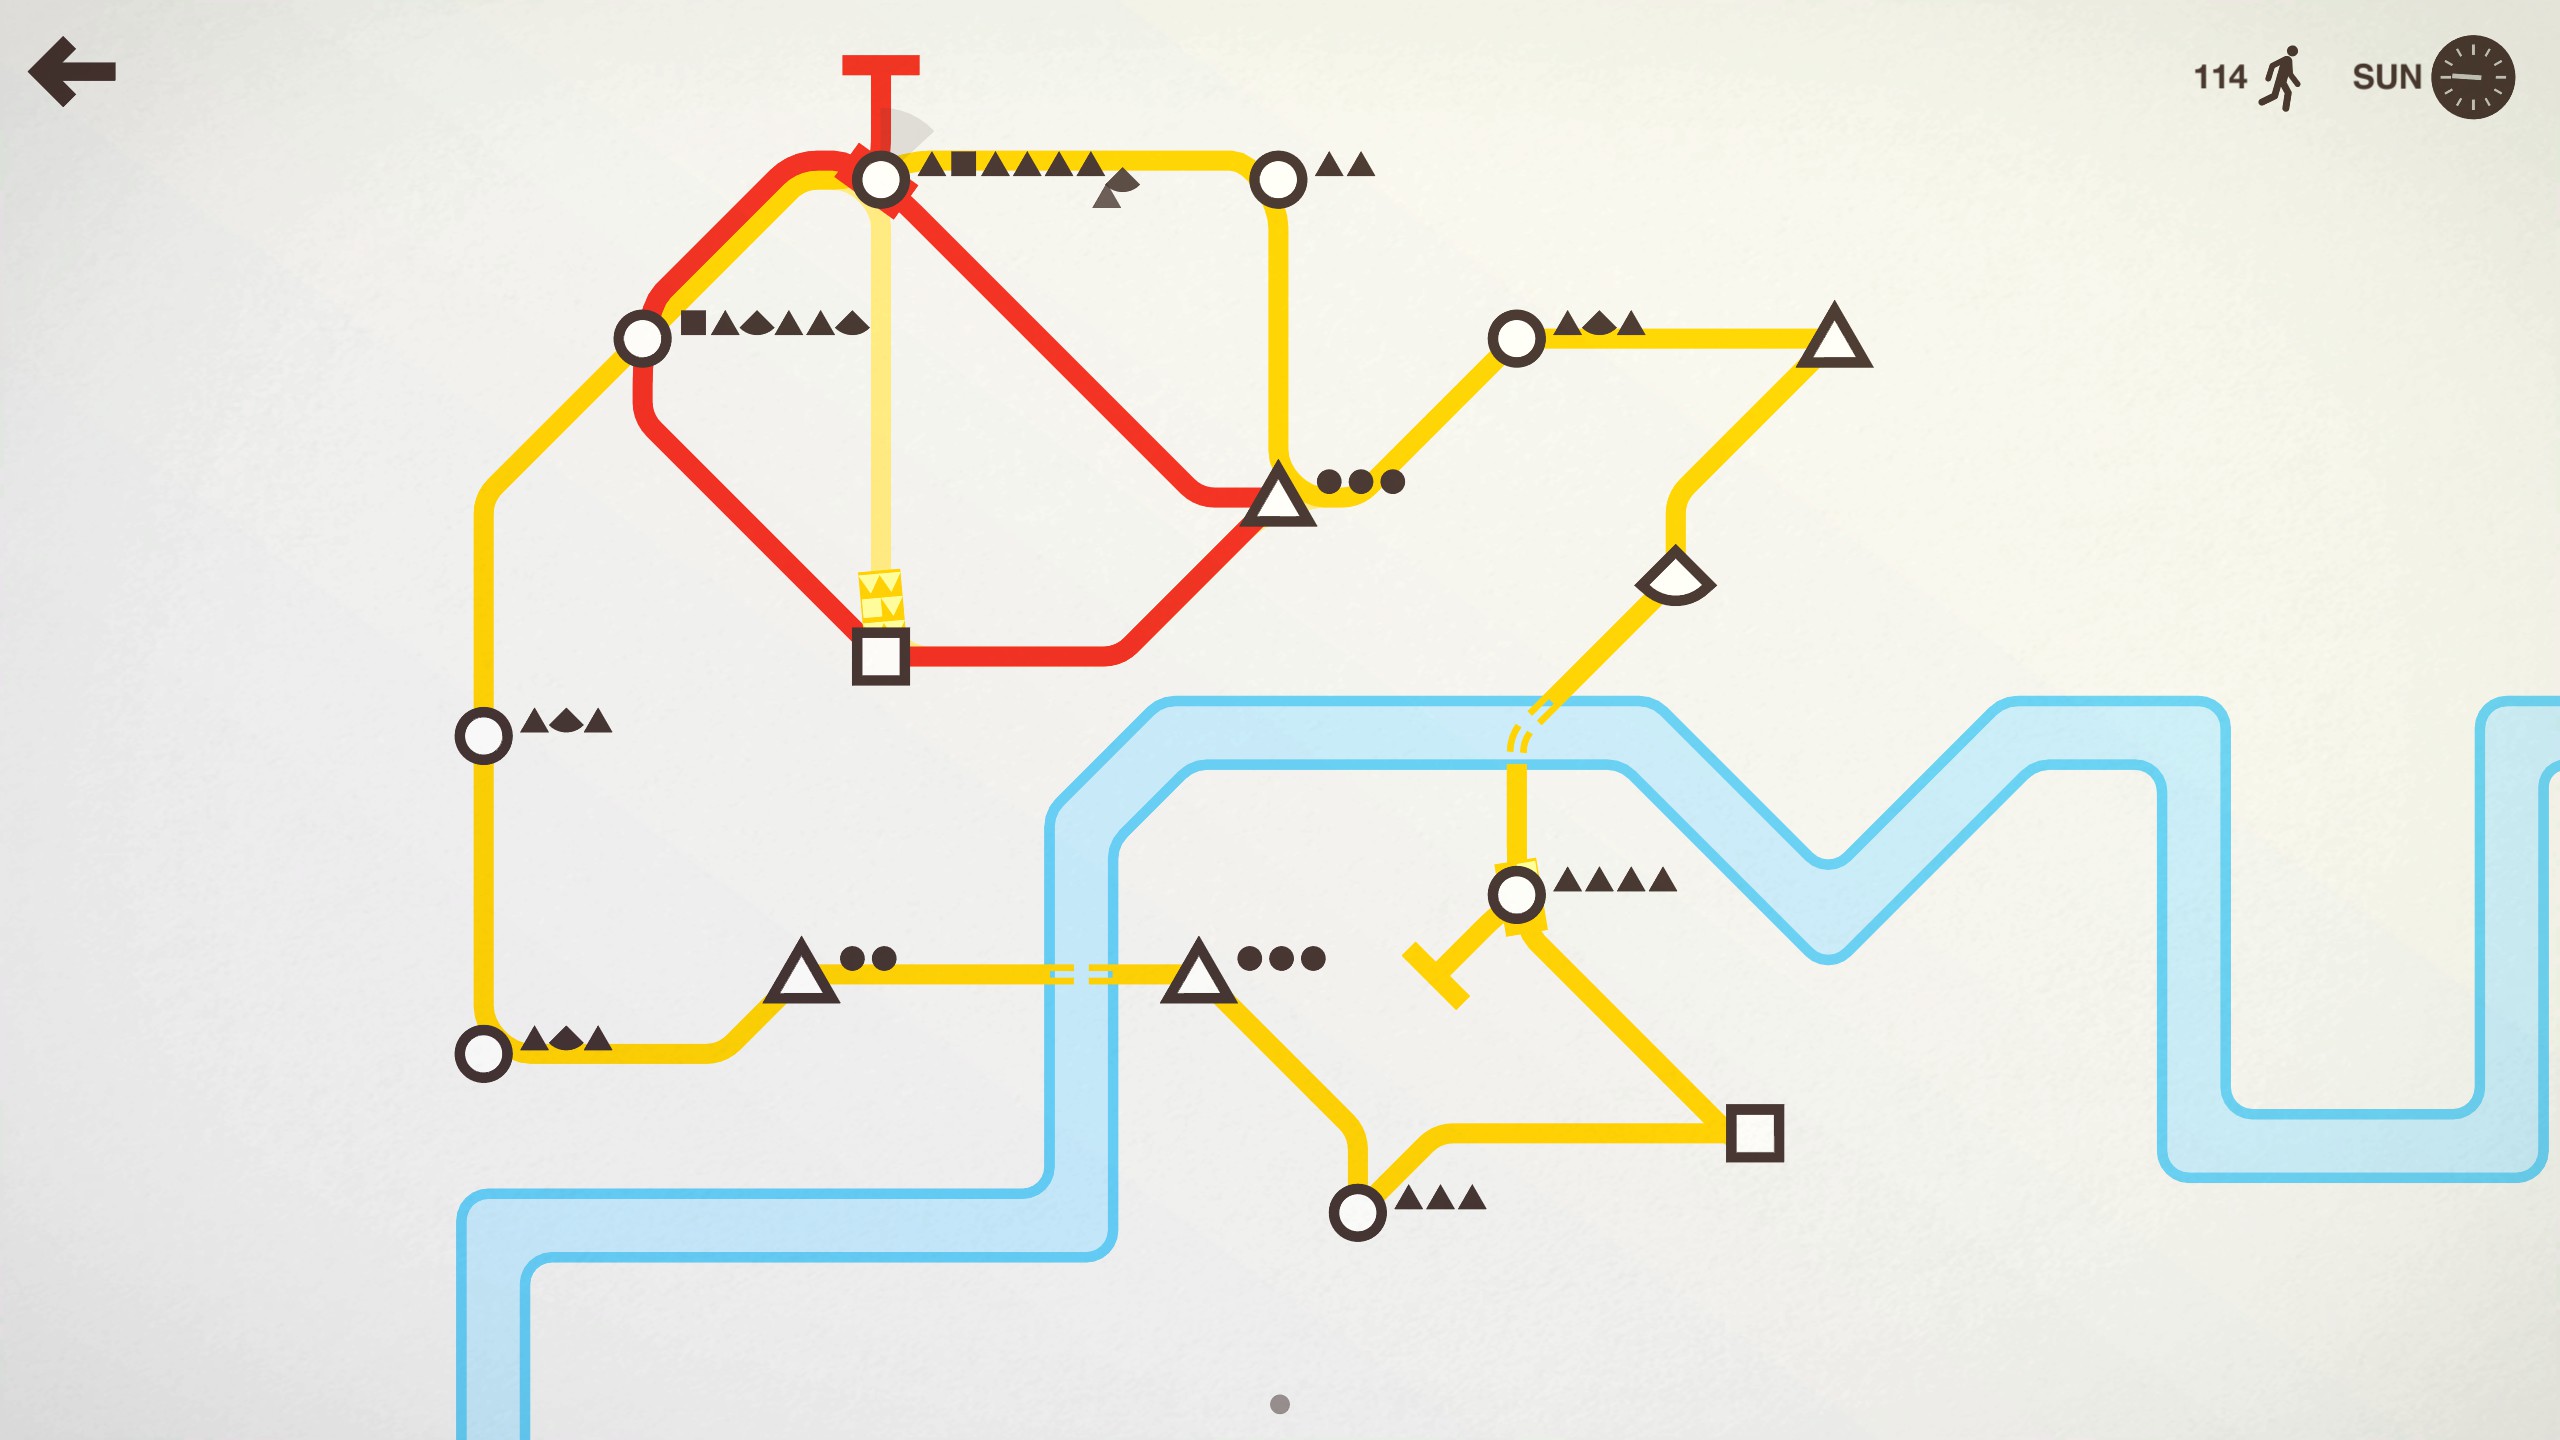
As you can see in the above screenshot, I’m using the interstate line design (Which will be covered in the Design section), and the top right corner, despite a train having just gone through it, is struggling. This could be seen as a lack of trains or carriages, or maybe the line is getting too long, but it’s quite simple.
There are four circle stations in a row.
The reason this causes so much of an issue is because a train travelling between these circle stations will never be able to drop off anyone after the first, and they will never pick up anyone that wants to go to a circle station, for obvious reasons. So the train is completely full by the time it reaches the third or fourth station onward.
The easiest and my favourite way of removing the issue is simply adding a support line.
Designs
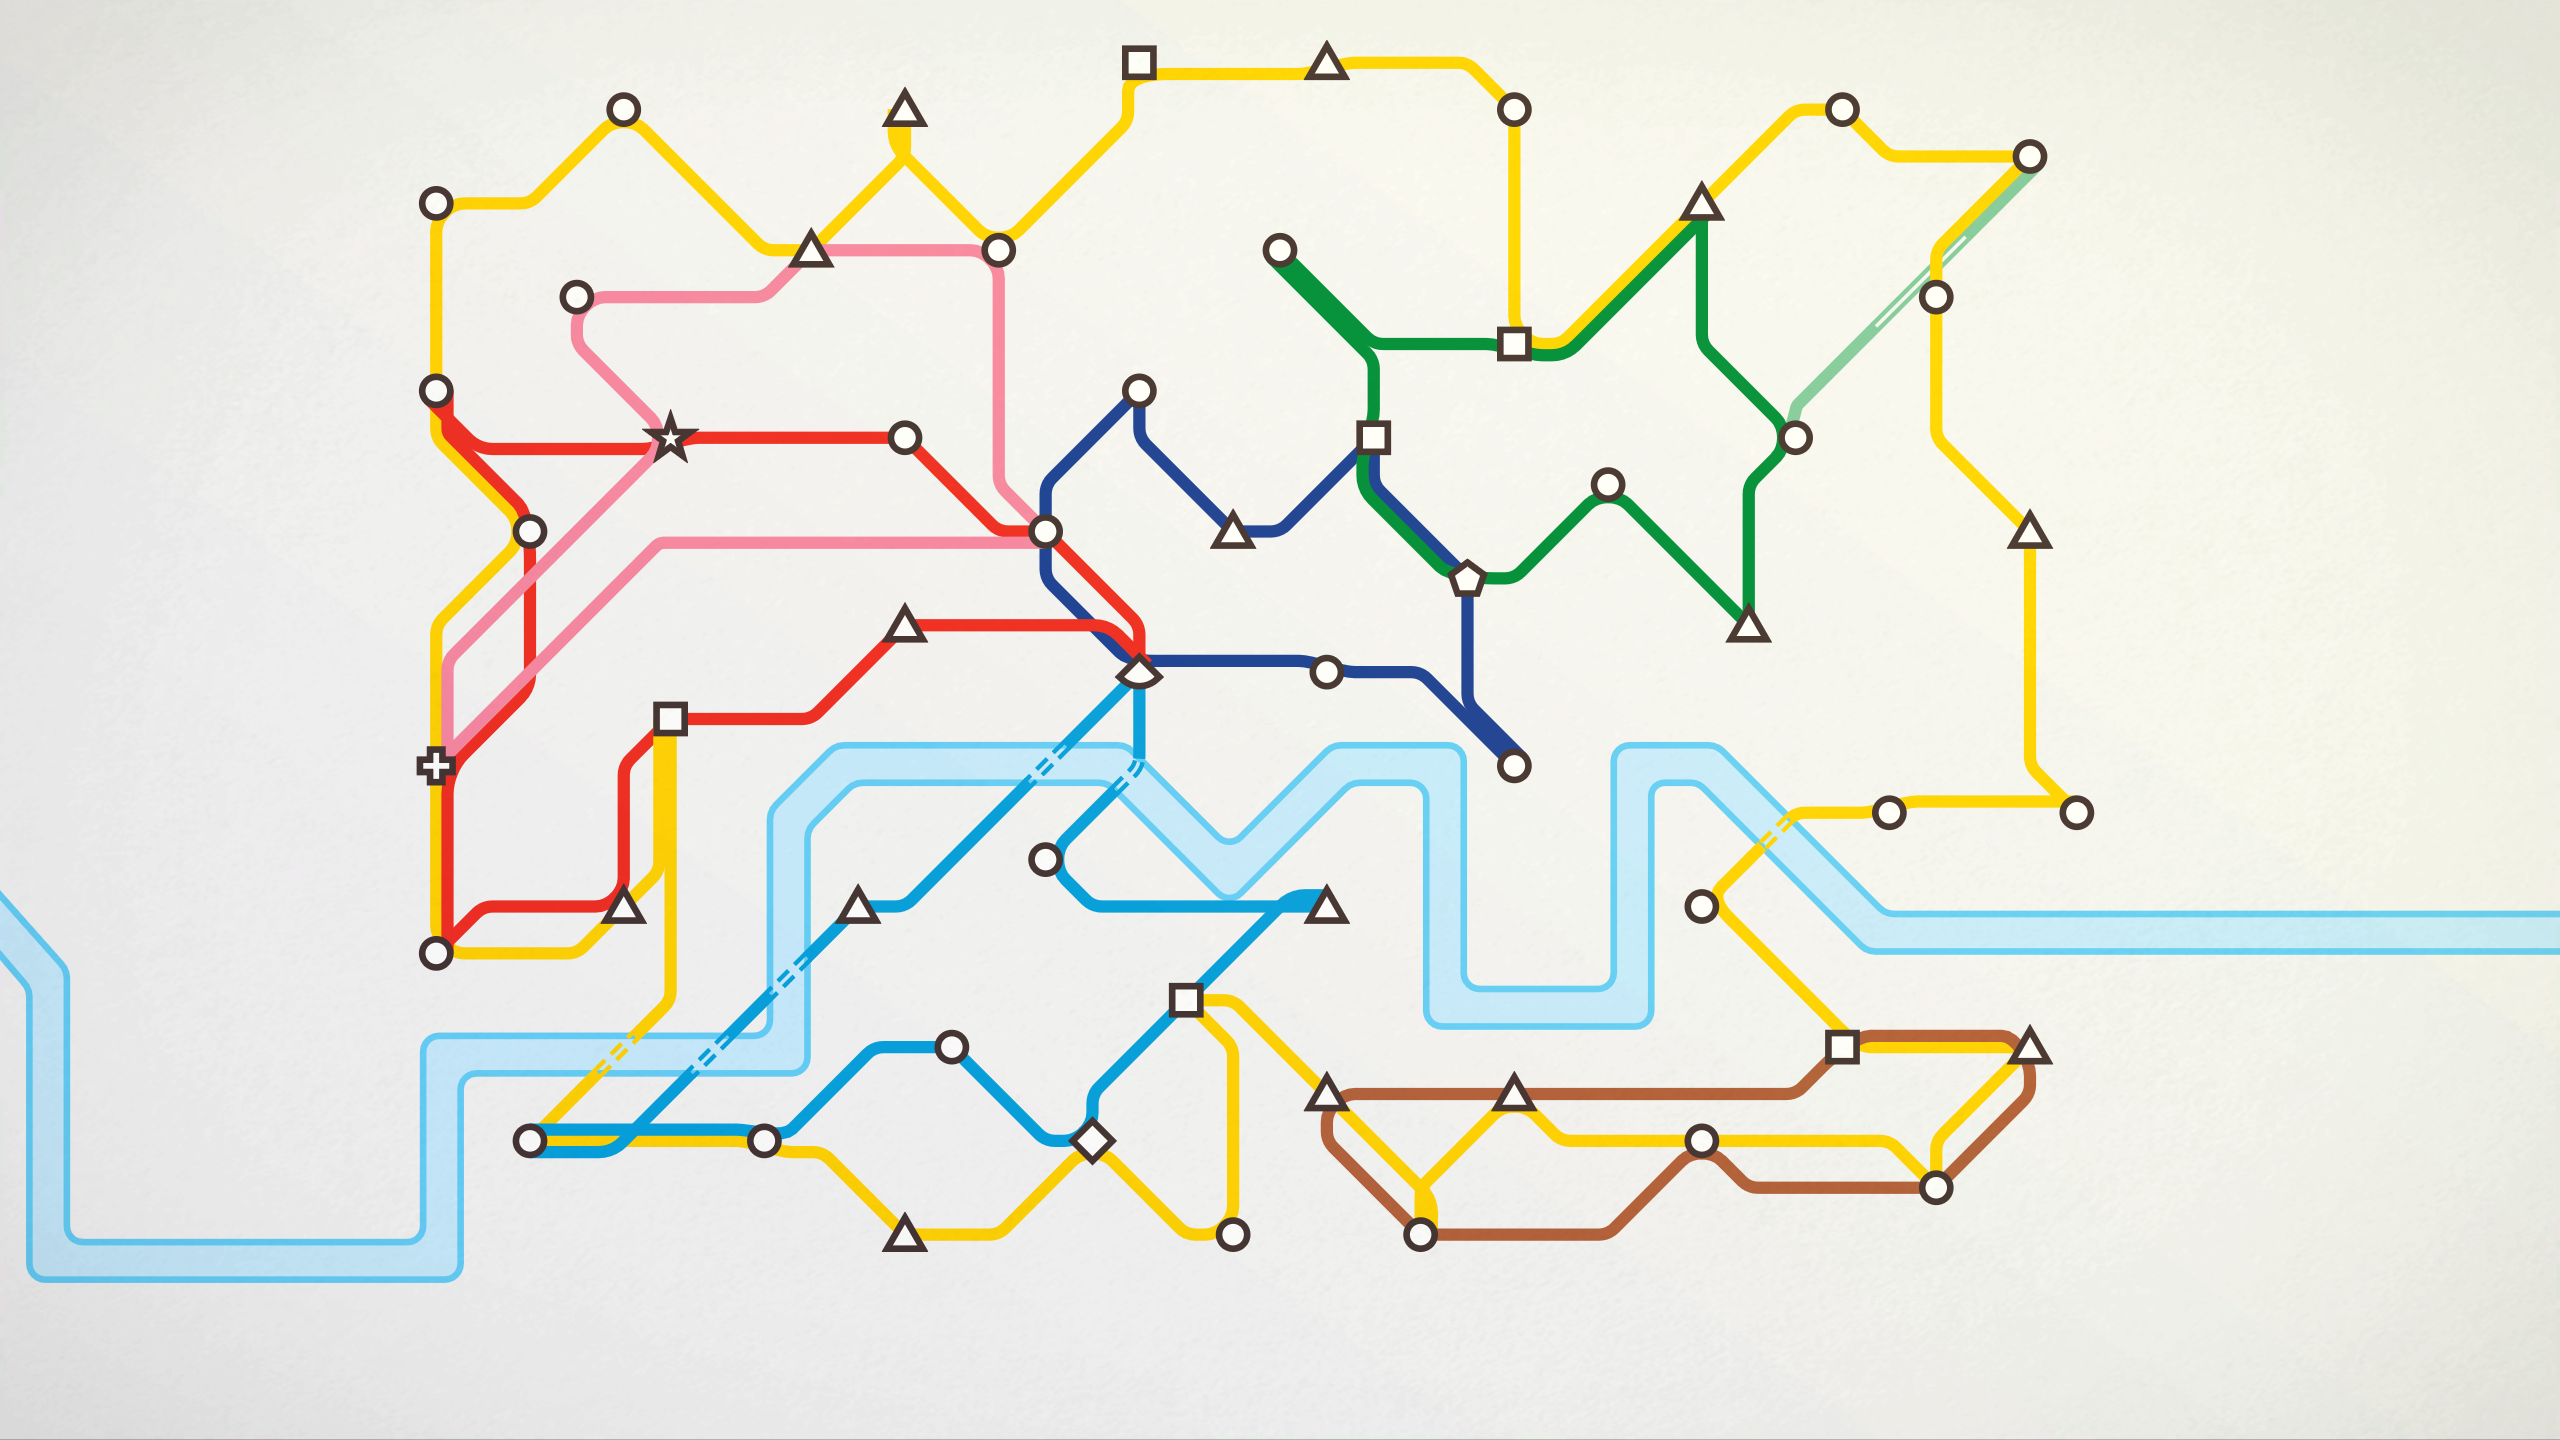
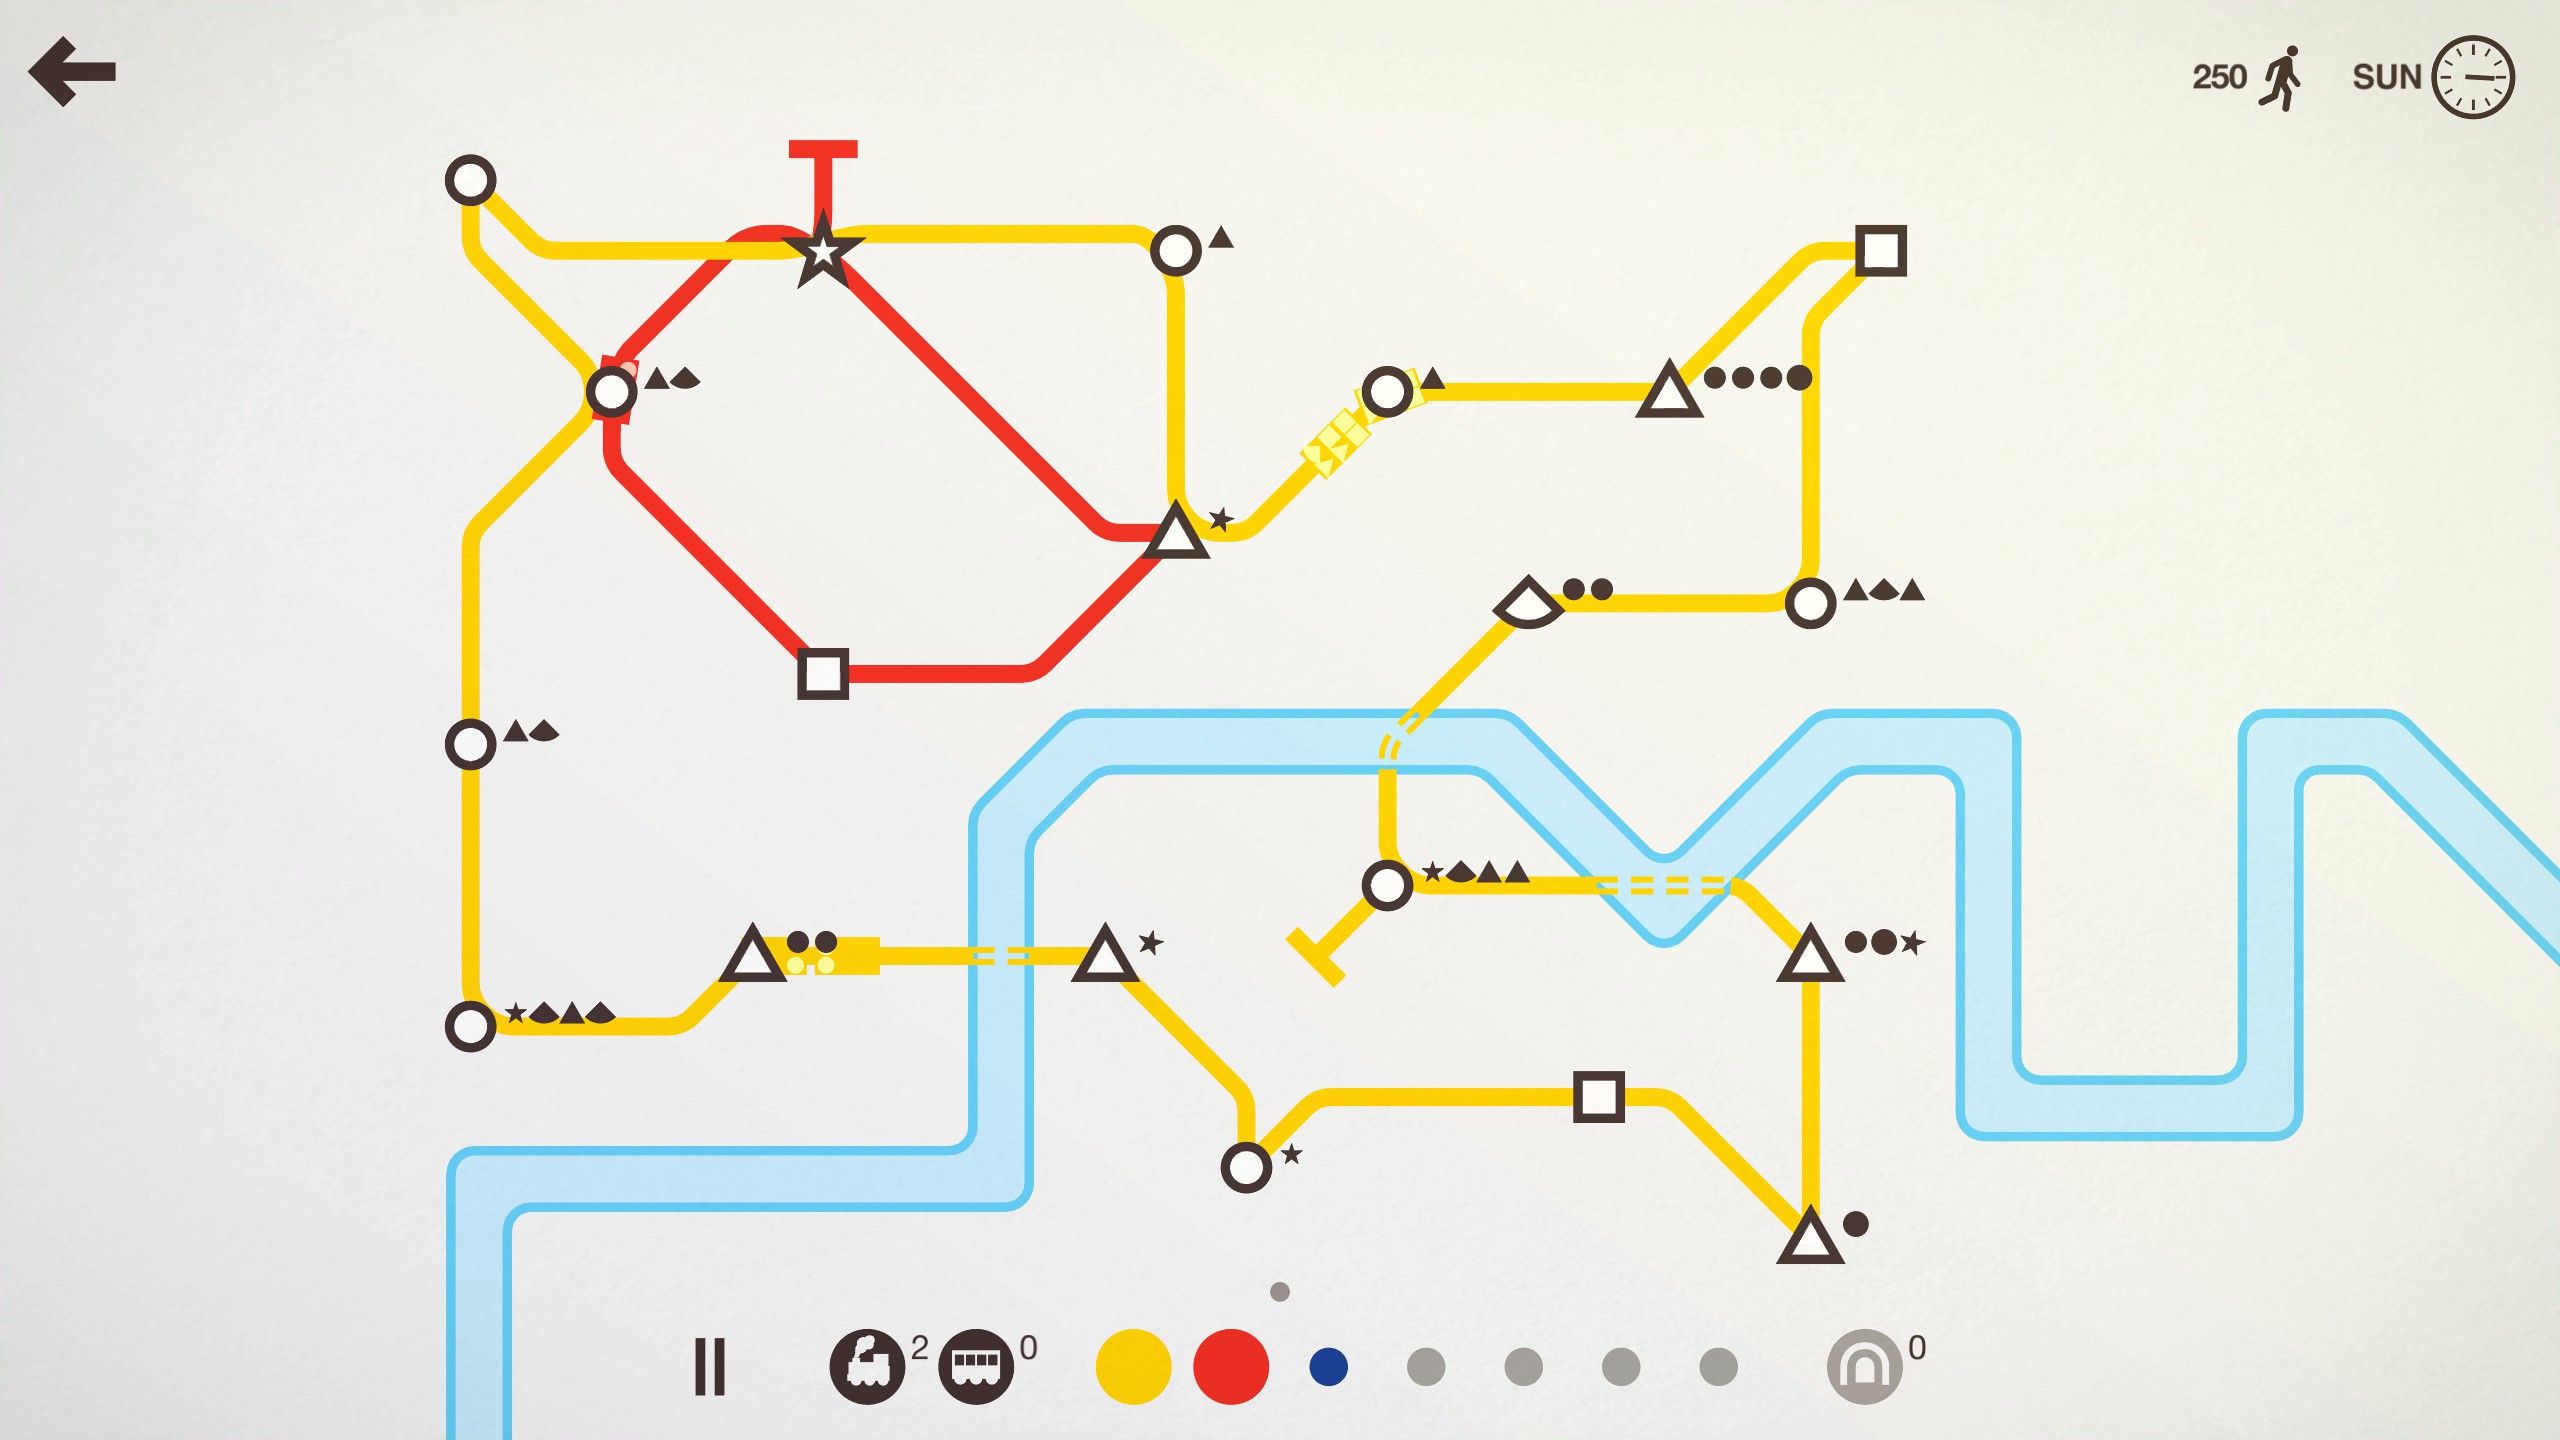
This line covers the entire outer part of the city’s stations. Not very effective later on, it can be made effective with a couple of support lines. The yellow line is the interstate line.
Pros:
- Simple strategy everyone can use
- Covers a large area with only one line
- Effective early game
- Usually covers a lot of specials
- Acts as a transfer line for other lines that can’t reach specials
- Using a second track covering the same area you can have up to 8 trains along the line
Cons:
- May use a lot of trains and carriages to sustain itself
- Essentially requires support lines
- Depending on Station spawns, may not be as effective end game as it is early
Support lines are usually commonly used in combination with an interstate line, or any large line. I find myself creating support lines most of the time at least once in my games. Support lines are always short, survive with few trains, and get the job done very well. A good support line will hit any uniques in the area, as well as at least one circle, one triangle and one square.
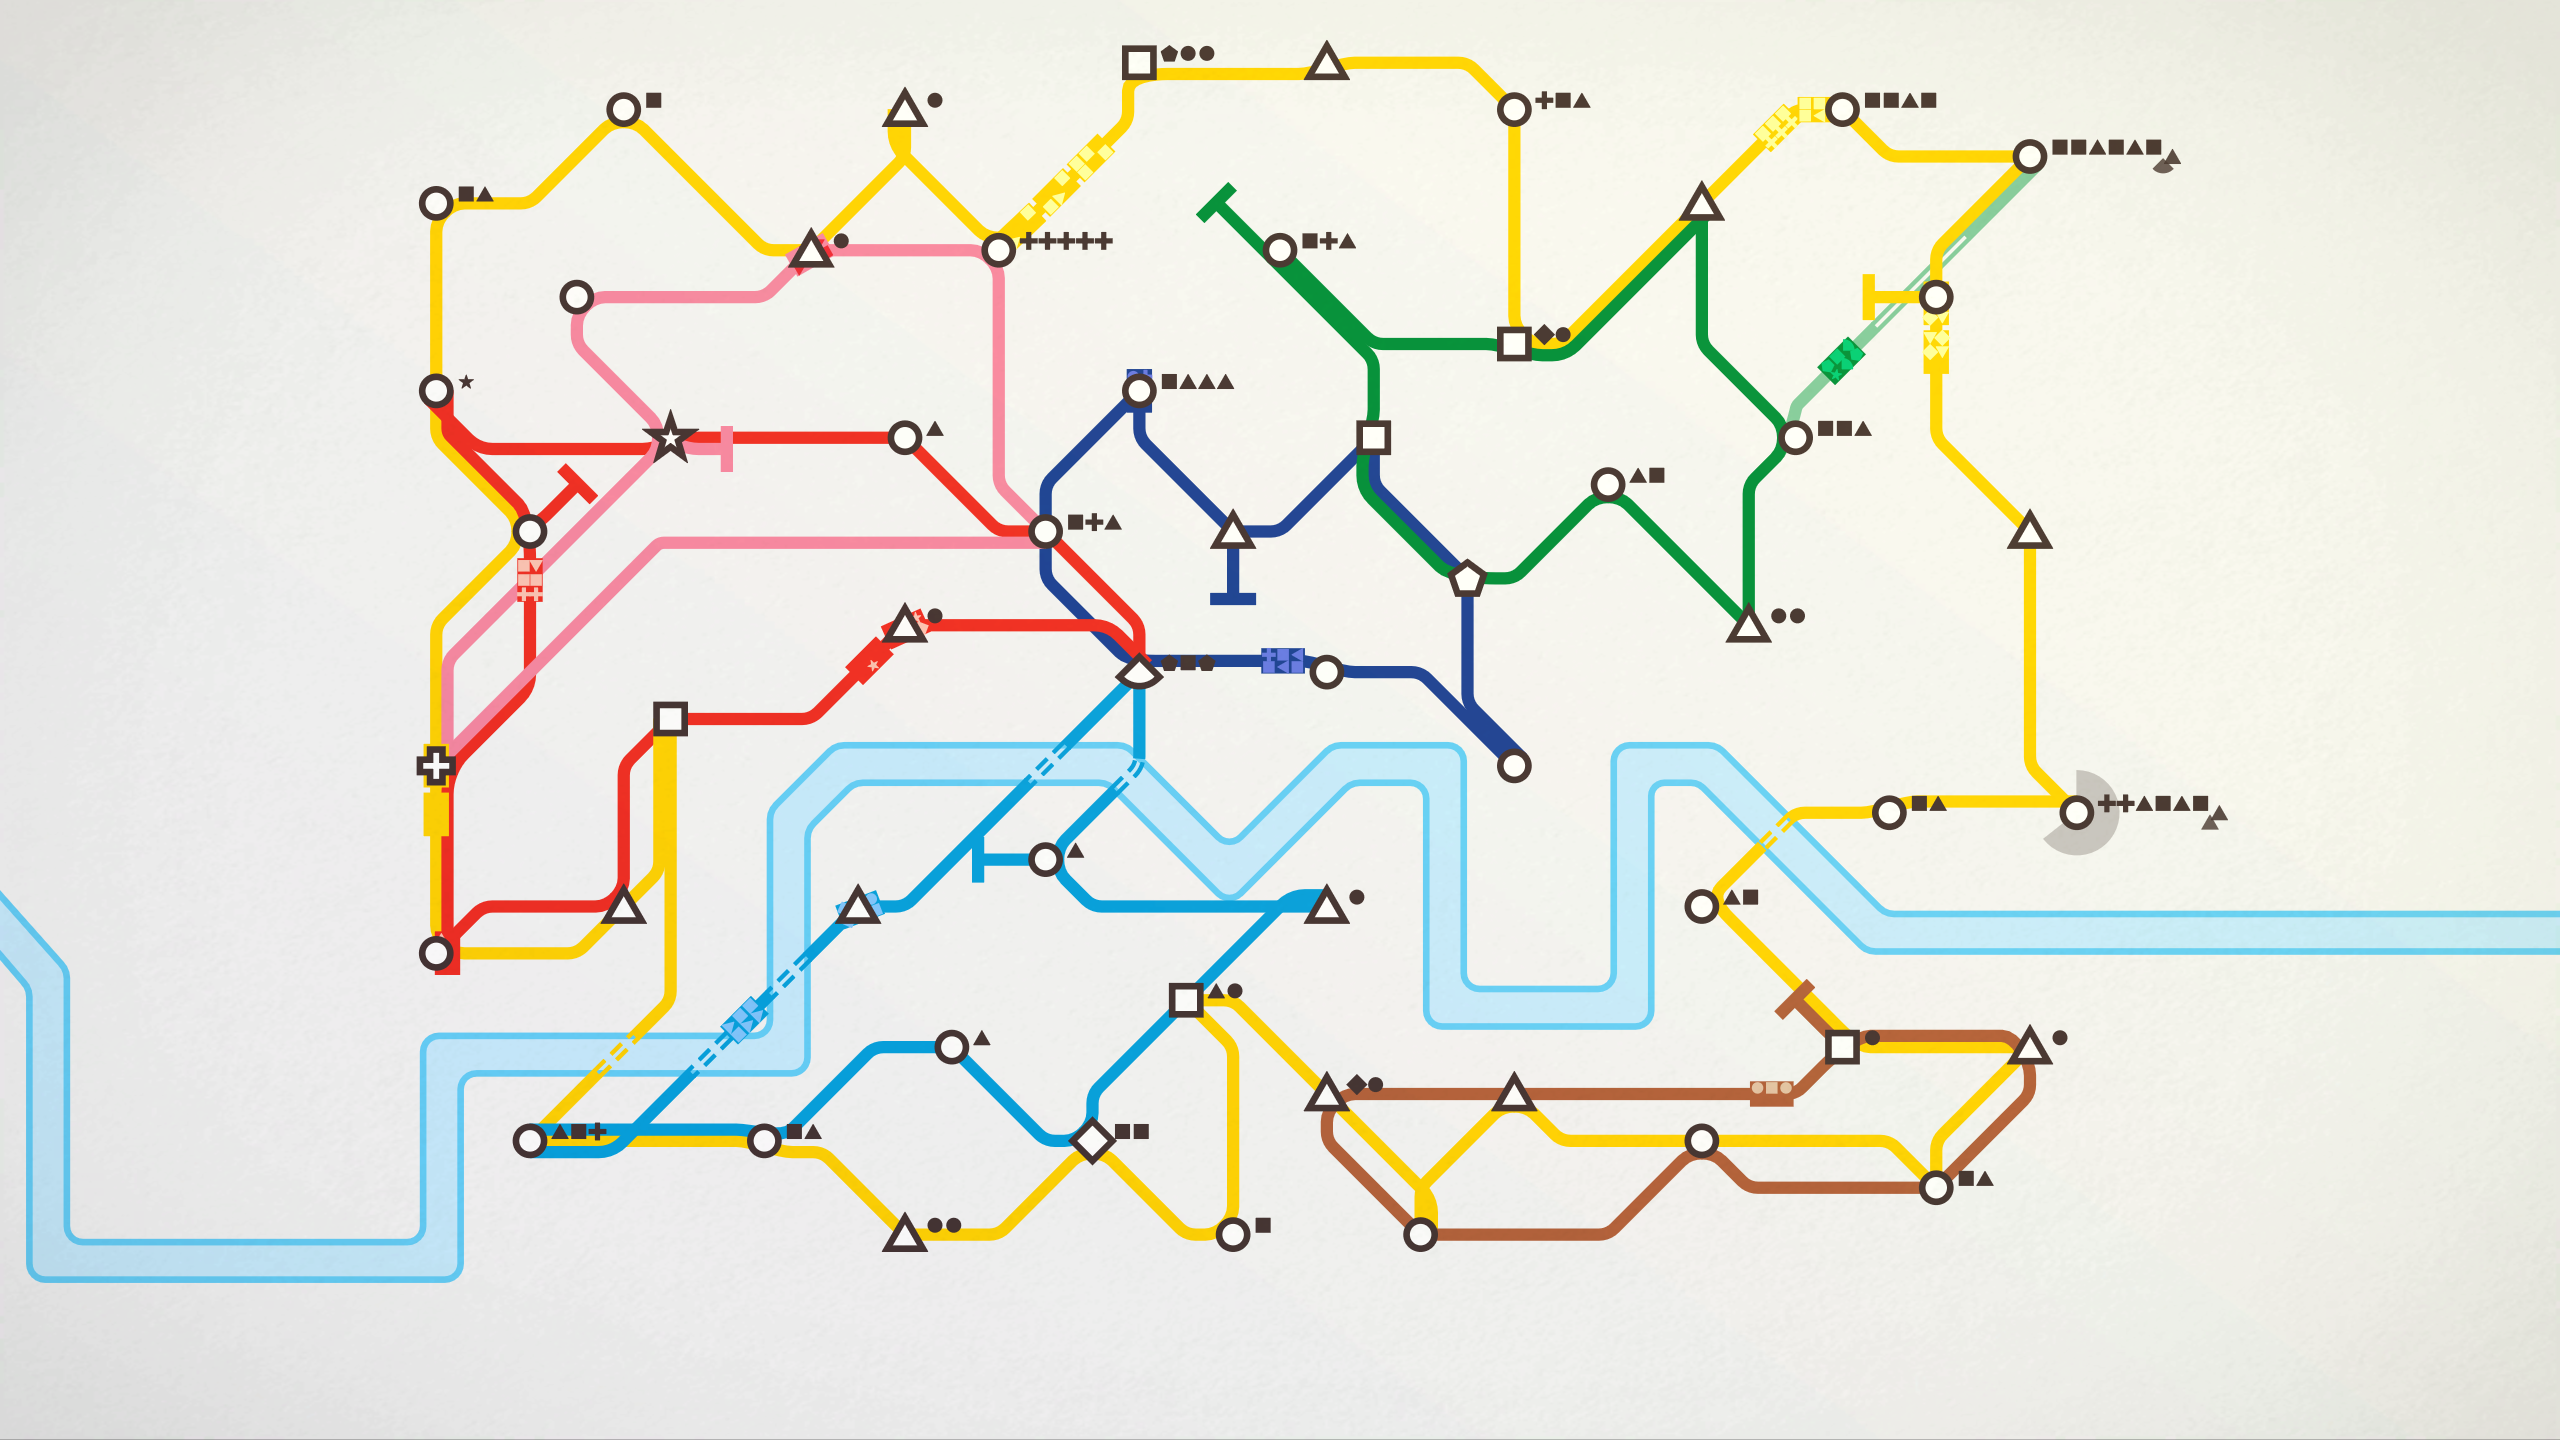
Here is the end of the game design I got, using one global interstate line, with support lines at key high-density areas. The final score was 3079 passengers, and the losing point was at the top right.
Notice how all the areas with support lines don’t have that many passengers waiting, compared to the right side where I lost, everything was overpopulating.
Pros:
- A small that can make the difference between winning and losing
- Depending on the size, can be extremely effective all the while only using one – two trains, or one train + one carriage
- Removes stress at a concentrated area almost completely
Cons:
- Tracks get eaten up like hotcakes
- To be at their best the design needs to meet the requirements (Concise, hitting all three common station types)
- By design, only cover small areas.


