Overview
Do you want the ULTIMATE increase in performance for Rocket League?Well, I’m here to help YOU, with LOTS of tweaks to Windows and Rocket League!
Introduction
I originally wanted to make a comment on a thread with someone not being able to run DX11 very well, but it looks like I’ve said so much in here that I’m going to make a guide I guess.
I’ll explain everything that I’ve done to improve performance on both, Windows and Rocket League.
My Specifications
I’m currently on a Lenovo B590 Model 20206 with an Intel Celeron 1000M, Intel HD Graphics 2500 and 12GB RAM (upgraded from 4GB) on Windows 7 Ultimate x64.
Rocket League runs pretty well, in freeplay averaging from 60-70 FPS on DX11, and in 3s I get around 30 FPS.
Ok, let’s get into it.
Editing the configuration file
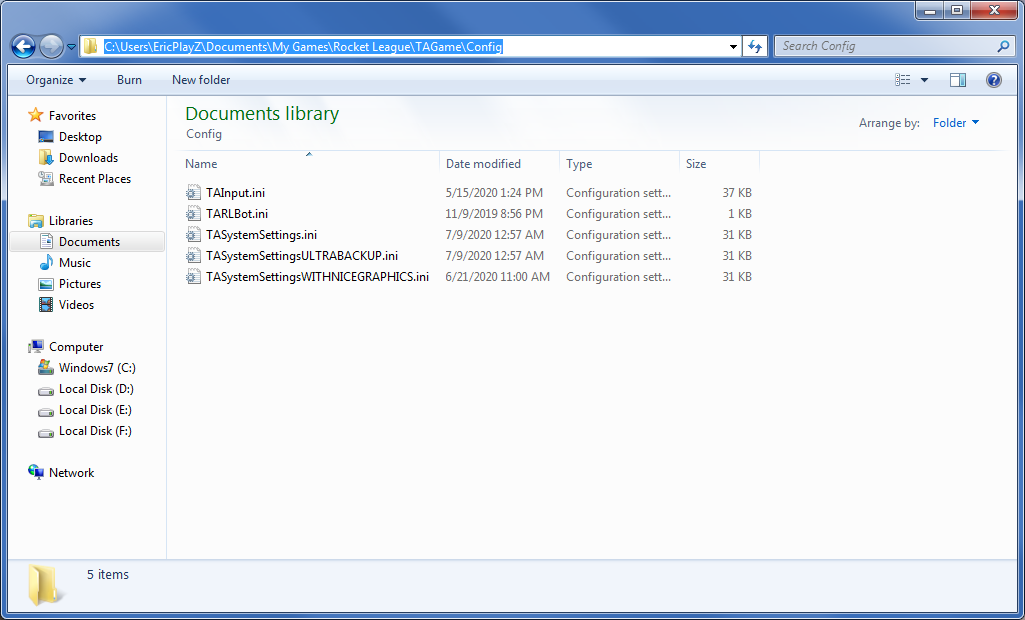
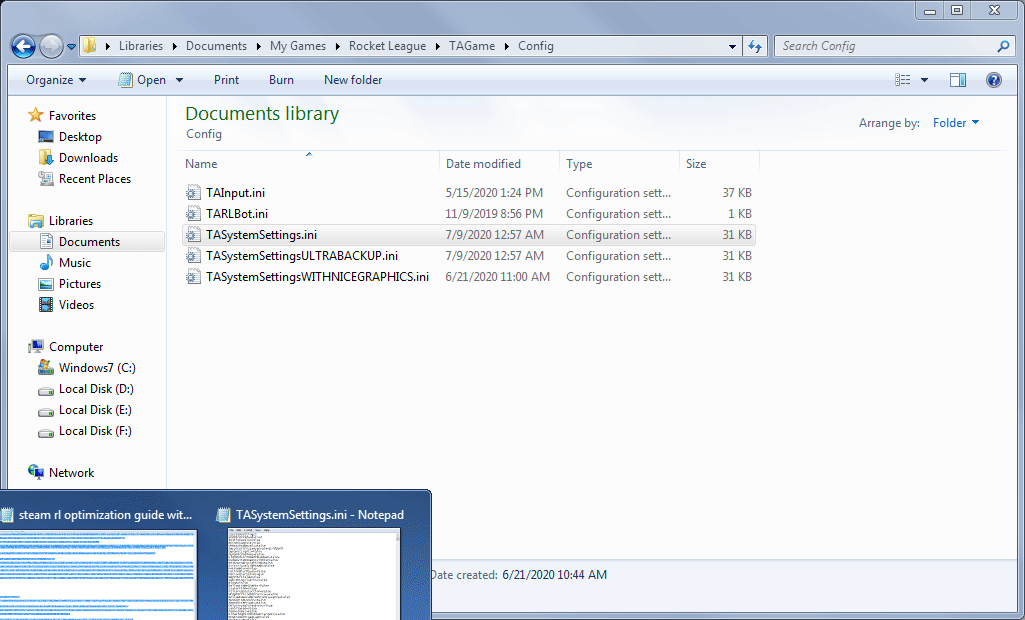
If you didn’t know, Rocket League stores a few configuration files inside “DocumentsMy GamesRocket LeagueTAGameConfig“, but what we’re looking for is “TASystemSettings.ini“.
I’ve edited a lot of the config file and it’s kinda a lot to go through, this would probably be 10 KM long if I would, so instead, I’m just going to give you my config[pastebin.com] (if the link is somehow down, please don’t hesitate to message me on Discord: EricPlayZ#7355 or on Steam) and I’m gonna try to rougly explain what I’ve changed which boosts your framerate.
Before that though, if you don’t know what to do with that text, just copy it all, delete the text inside your “TASystemSettings.ini“ config (backup your config before doing this if you want to, or you could just delete it and launch RL which will regenerate the config with the default settings) and paste in the text you just copied, save the file and go to the Properties of the file and check Read-only. Watch the GIF below if you still don’t know what to do.
is pretty much the display resolution of the game scaled down to 640 by 400640 by 360.
For some reason, Rocket League likes to lock your aspect ratio to the closest in-game resolution setting which is also closest to your config resolution, which sucks, at least to me.
I would’ve lowered it even more but the game has no other 8:5 aspect ratio resolution lower than that so it will force a 4:3 aspect ratio instead which in turn makes you lose a lot of FOV, which I’m assuming you wouldn’t want in a competitive game. So, well, the 640 by 400 resolution is the almost perfect one for 16:9 aspect ratio displays.
Apparently, if you add a custom resolution from your GPU’s control panel, it doesn’t do that anymore so you’ll be able to use a 16:9 resolution that is LOWER than 640×400! Yay!
I’m currently using 640×360 with an internal resolution of 70%. It runs pretty well.
I’ve also updated the configuration file and have modified the pastebin link with the new config! Make sure to check the custom resolution the config file and add it to your GPU’s control panel!
If you don’t know how to add a custom resolution using your GPU’s control panel, Google is your friend 🙂
In order to add custom resolutions that have weird aspect ratios or measurements on an old gen Intel iGPU, you’ll need to install MODDED DRIVERS (which may or may not give you the ability to do that, depending on the modded driver, mine does though)! Check the modded drivers section for more information.
manages the resolution of the rendered 3D environment, which is basically the game without the UI. Although you are able to set the resolution to something like 720p or 1080p and scale the internal resolution down by a lot (which would in turn give you nice readable UI), you won’t gain as much FPS unlike doing vice-versa. Why? Because you’re still rendering 1 to 2 million pixels which is kinda heavy, unlike rendering 256k pixels. If you want more than 60 fps, just stick with this or get an upgrade if you seriously can’t play like this.
“Normally when you start a new level or reach a new area in a game, the game engine will load all texures used in this level/area into GPU memory. This is a good approach if the GPU has enough memory to keep all the textures, however, if the texture quality is too high and there is not enough GPU memory, FPS will drop. Texture streaming is a different approach. Textures are loaded into GPU memory as needed. Objects in the level will have some placeholder blurry low resolution textures. Then, as the objects come into your view, the game will load high resolution textures for them. This is a good approach when the GPU doesn’t have much memory to work with.”
If you have a GPU with 1-2 or more GB of memory, then you can safely disable this without any framerate drops.
Although I would’ve liked to make the game run even BETTER by changing the config, I’m kinda clueless on what else I could possibly change (and it’s also time consuming to keep launching the game to test the config).
The problem with Rocket League currently is, on it’s original maps, it has a LOT of useless textures outside the stadium which are just there so the maps look more beautiful.
I’ve tested a workshop map with basically just a big stadium and no textures outside and it ran at a whopping 130 FPS on DX9. So, if we would be able to turn down the LOD (Level of Detail) of the textures, we would get another 10-20 FPS boost, but Rocket League had an update a few years ago which broke editing texture parameters from the configuration.
Unfortunately, no one, including myself has found a way to bypass that.
Installing another OS
Now, you will probably most likely think this wouldn’t change your framerate, but oh boy, you’re very wrong. If you’re on Windows 10 and you’re on 4GB RAM (or 6) and have a pretty crap CPU, then I HIGHLY recommend you do this as it will give you a small performance boost, and also get rid of (micro) stuttering.

Why? Well, first of all, Windows 10 has become one of the MOST bloated operating systems on Earth that most people use.
It has TONS and TONS of unnecessary services and apps running in the background, it has unnecessary games and apps installed by default, has a lot more telemetry and has the WORST memory management of all time.
Although, while Windows 7 still has some unnecessary stuff installed and running and also still has some telemetry, it’s a lot better than Windows 10 + you can read the third step to unbloat Windows 7 even MORE so you get the ULTIMATE experience.
If you don’t want to use Windows 7, you want to keep Windows 10 or just simply want to keep your data and applications installed, well, it never hurts trying something, that’s what life is about!
Plus, you can just dual-boot Windows 7 and Windows 10 by making another partition on your Drive and install Windows 7 there, and then it will automatically install something called Windows Boot Manager which lets you boot into multiple Windows partitions, so you’ll still keep Windows 10!
If you don’t know how to do that, search for a tutorial on YouTube, there’s plenty for you to look at!
An alternative would be a Linux-based distro, like Ubuntu. Since Psyonix/Epic Games pulled support from the game for Linux, you can still use Proton from Steam to play the game on Linux. I’m not sure how it performs though, haven’t tested it yet.
Modifying your Windows installation
Now, this may be tricky if you’re not experienced with modifying Windows, but it’s pretty easy once you get the hang of it.

The preset I’m going to give you is ONLY FOR WINDOWS 7 ULTIMATE!
There’s no point in debloating Windows 10 as there’s still stuff like bad memory management and Windows 10 probably also uses your GPU to render the graphics for the system, which will decrease your framerate in-game, while on Windows 7 you can switch to the Classic or Basic theme which both use the CPU to render the graphics for the system, which in return gives you more FPS in-game.
Also, if you use this preset on Windows 10, you MAY cause damage to your installation, so don’t use this on Windows 10!
Modifying Windows 10 is hell, as I’ve done exactly that which caused damage to my Windows 10 installation, which is why I installed Windows 7 next to Windows 10, so I could try out the OS and use it instead of Windows 10 until I’m not lazy and will reinstall Windows 10 lol.
Also, don’t use this preset on any other version of Windows 7. I mean, I guess, you could try them on other versions but I don’t recommend doing that if you don’t know what you’re doing!
Anyway, here’s my preset[picteon.dev] (if the link is somehow down, please don’t hesitate to message me on Discord: EricPlayZ#7355 or on Steam).
To use it, simply open up NTLite, go on the Toolbar and select the Preset tab and click the Import button, then simply browse to my preset file and select it.
Next, go to Live install, select your current Windows 7 installation directory (most likely it’s C:Windows), expand it, then expand Operating system, hit Windows 7 Ultimate, right click on it and press Load an then wait for it to load (BE VERY AWARE OF WHAT YOU ARE DOING!)
Then go on the right where the presets are located, select my preset, right click on it -> Load -> Overwrite. Then, simply go on the Apply tab on the left and hit Process and I hope you haven’t done anything wrong 😀 (watch the GIF below if you didn’t understand!)
Now, simply wait for it to finish and then reboot.

BE AWARE, this MAY remove services, features or components that you may need and I’ve only removed what I usually don’t need or don’t use, but I still kept most of the day-to-day things that most people use!
Optimizing Windows
This is probably pretty straight forward and will be seen in mostly EVERY single video for optimizing Windows.
- First thing I would do is go in the taskbar, right click the battery icon and select Power Options, then select “Show additional plans” and select High performance. This is so your Laptop or Desktop can use more power for more performance.
- Next thing you can do is go into the Start Menu and search for “performance” and select “Adjust the appearance and performance of Windows“ then you can pretty much untick everything in there except things like Smooth edges of screen fonts, Show window contents while dragging, etc.
- Another thing you can do is go into the Start Menu and search for “msconfig”, press Enter and then go to the Startup tab and untick everything, so there will be no program that starts at startup (and also, in General, select “Selective startup“ and only tick “Load system services“).
- For Windows 7, if you want the Aero theme after using NTLite on your installation, go into the Start Menu and search for “Services” and press Enter, then search for the service called “Themes“, right click on it, go to Properties, then change it from Disabled to Automatic, hit Apply and then Start and then you can use the Aero theme.
- Next, go to the Rocket League folder inside “Steamsteamappscommon“ and go inside “BinariesWin64“, select “RocketLeague.exe”, right click and go to Properties, then go to the Compatibility tab, click on the “Change settings for all users” button and tick the following:
- Disable visual themes (Windows 7 only!)
- Disable desktop composition (Windows 7 only!)
- Disable display scaling on high DPI settings
- Run this program as an administrator
Then hit Apply and close everything out.


Can’t think of anything else out of my head, but this is probably enough.
Steam Launch Options
We also have some arguments for Steam Launch Options:
“-NOSPLASH“ and “-nomovie“ completely removes the loading screens which results in a tiny difference in loading times and “-high“ sets Rocket League’s application priority to High (equivalent to right clicking the RocketLeague.exe process in Task Manager then selecting Set Priority -> High)

Modded Drivers for your iGPU
If you have an older generation of iGPUs from Intel (from 1st to 4th gen), then you can use modded drivers to improve the performance of your iGPU! A trusted source for modded drivers is PHDGD, although they canceled development for old gen iGPUs in 2016 and their website is down, you can still get them, and they work better than original drivers from Intel! Although the modded drivers are a bit older than the current original drivers from Intel, they still work better than the ones from Intel (they might perform worse in some games/situations as Intel have updated drivers for some iGPUs even this year, so they perform better sometimes as they’ve done more optimization).
Unfortunately, I’m not sure if I can provide the download links to the drivers yet. Anyone moderating this, tell me if I can or not 😀
Update your Graphics Driver
If you just installed Windows, chances are it’s using the default Microsoft Basic Adapter driver, which SUCKS! It’s slow and VERY old. Install the newest driver according to your GPU/iGPU.
Upgrade your PC specs
I mean, come on, you can get a better CPU or GPU second-hand from eBay or some other second-hand store for very cheap. I’m actually upgrading my CPU next month hopefully to an i7 3630QM, a BIG upgrade from Intel Celeron 1000M! If you got enough money, don’t hesitate!
Thanks for checking out my guide!
P.S. If you got anything else to add here, please tell me in the comments!
Guide Changelog
- Modified the “The Resolution” sub-section inside the “Editing the configuration file” section
- Modified the game configuration file link with a new link
- Same things as in the previous edit