Overview
A couple of tweaks that may improve your experience with the PC version of the DOOM Classic Unity ports.
Introduction
The classic Doom games has seen a myriad of ports over the years, each of them had their strengths and (mostly) weaknesses from one version from another compared to the original MS-DOS release, however, none was as controversial as of Doom and Doom II by Nerve Software for PlayStation 4, Xbox One, Switch, and mobile devices. This new official port received massive backlash for not only the poor quality of the ports themselves, but also the implementation of an always-online DRM on a game that had its engine released as open-source and has been DRM free since its original MS-DOS iteration from 1993. After the backlash and widespread ridicule of these ports, Nerve Software and Bethesda to the criticism to heart and has since removed the reviled online DRM and eventually went on to addressed the issues plaguing these ports. , however, as the team has continued to work on updating the new official port and giving it quality-of-life improvements, making them almost comparable to playing Doom on a source port, especially for console players. Around early 2020, the new ports made their way onto PC as DOOM Classic and DOOM II Classic respectively, but only for Bethesda.net at the time. Fast-forward to September 3, all Steam owners of The Ultimate Doom and Doom II: Hell on Earth finally received the new Unity port as a free update with even further improvements, all while retaining the original MS-DOS versions of these games. Thanks to the new update, it’s possible to tweak things further ourselves.
Disclosure
To clear the air of misconceptions and lies being spread about the new Unity ports ever since they arrived onto Steam with the new update…
- These new Unity ports are DRM free!
The always-online DRM was already removed from the console versions and has been DRM free on PC since they appeared on Bethesda.net. You also do NOT need a Bethesda.net account to actually play these games; the account creation prompt can be skipped like in the official 2020 Doom 64 re-release, however, it is needed to download the official add-ons unless you get them elsewhere. - The original MS-DOS versions are untouched for the Steam version!
Unlike the Bethesda.net version of the MS-DOS Doom and Doom II IWADs included with the new Unity ports, which has changes similar to the BFG Edition and is apparently less compatible with source ports, the Steam versions of the MS-DOS Doom and Doom II IWADs however are unaltered and the IWADs are the same as they have been. Only the change was a slight update to DOSBox (with the same broken settings and missing SETUP.EXE executables). If you’re really that paranoid about losing the original Doom IWADs on Steam, you can always back them up. - These ports are using the id Tech 1 engine!
Although these new ports are using the Unity engine, it’s purpose serves as a shell/wrapper for the underlying code of the original id Tech 1 engine of these games, so you are getting is essentially something alone the lines of the original MS-DOS version of these games with some modern quality-of-life improvements, slightly more legroom for vanilla-compatible and DeHackEd mods, and some new features. If you’re expecting something like GZDoom with this new official port, then you’re only setting yourself up for disappointment and at worse making this version of Doom up to be something it’s not. - The new Unity ports are entirely optional!
If for whatever reason you don’t like this new port of Doom and Doom II, you can still use your original Doom files and play them on a source port and nothing is stopping you from doing so. The Steam version has the option to launch the original MS-DOS version as well. That said, this Steam Guide is made for the new Unity ports and how to tweak them. I’ve made other guides in the past for fixing the original MS-DOS version of these games on Steam by updating DOSBox and how to use source ports like GZDoom or Chocolate Doom.
Intro Skip Mod
For clarification, the intro videos that plays when you launch DOOM Classic and DOOM II Classic are entirely skipable by pressing the A/✕ buttons with a controller or the Space bar on keyboard, however, I made this mod to make so that it skips them without any input and boot instantly to the title screen like in the original games. These are just simple blank *.mp4 files made with OBS that replaces respective intro video files while leaving the original credits video intact. Simply copy the blank *.mp4 files and paste them into the “StreamingAssets” folder inside of the DOOM Classic and DOOM II Classic installation folder.
- Download Intro Skip Mod for DOOM Classic[drive.google.com]
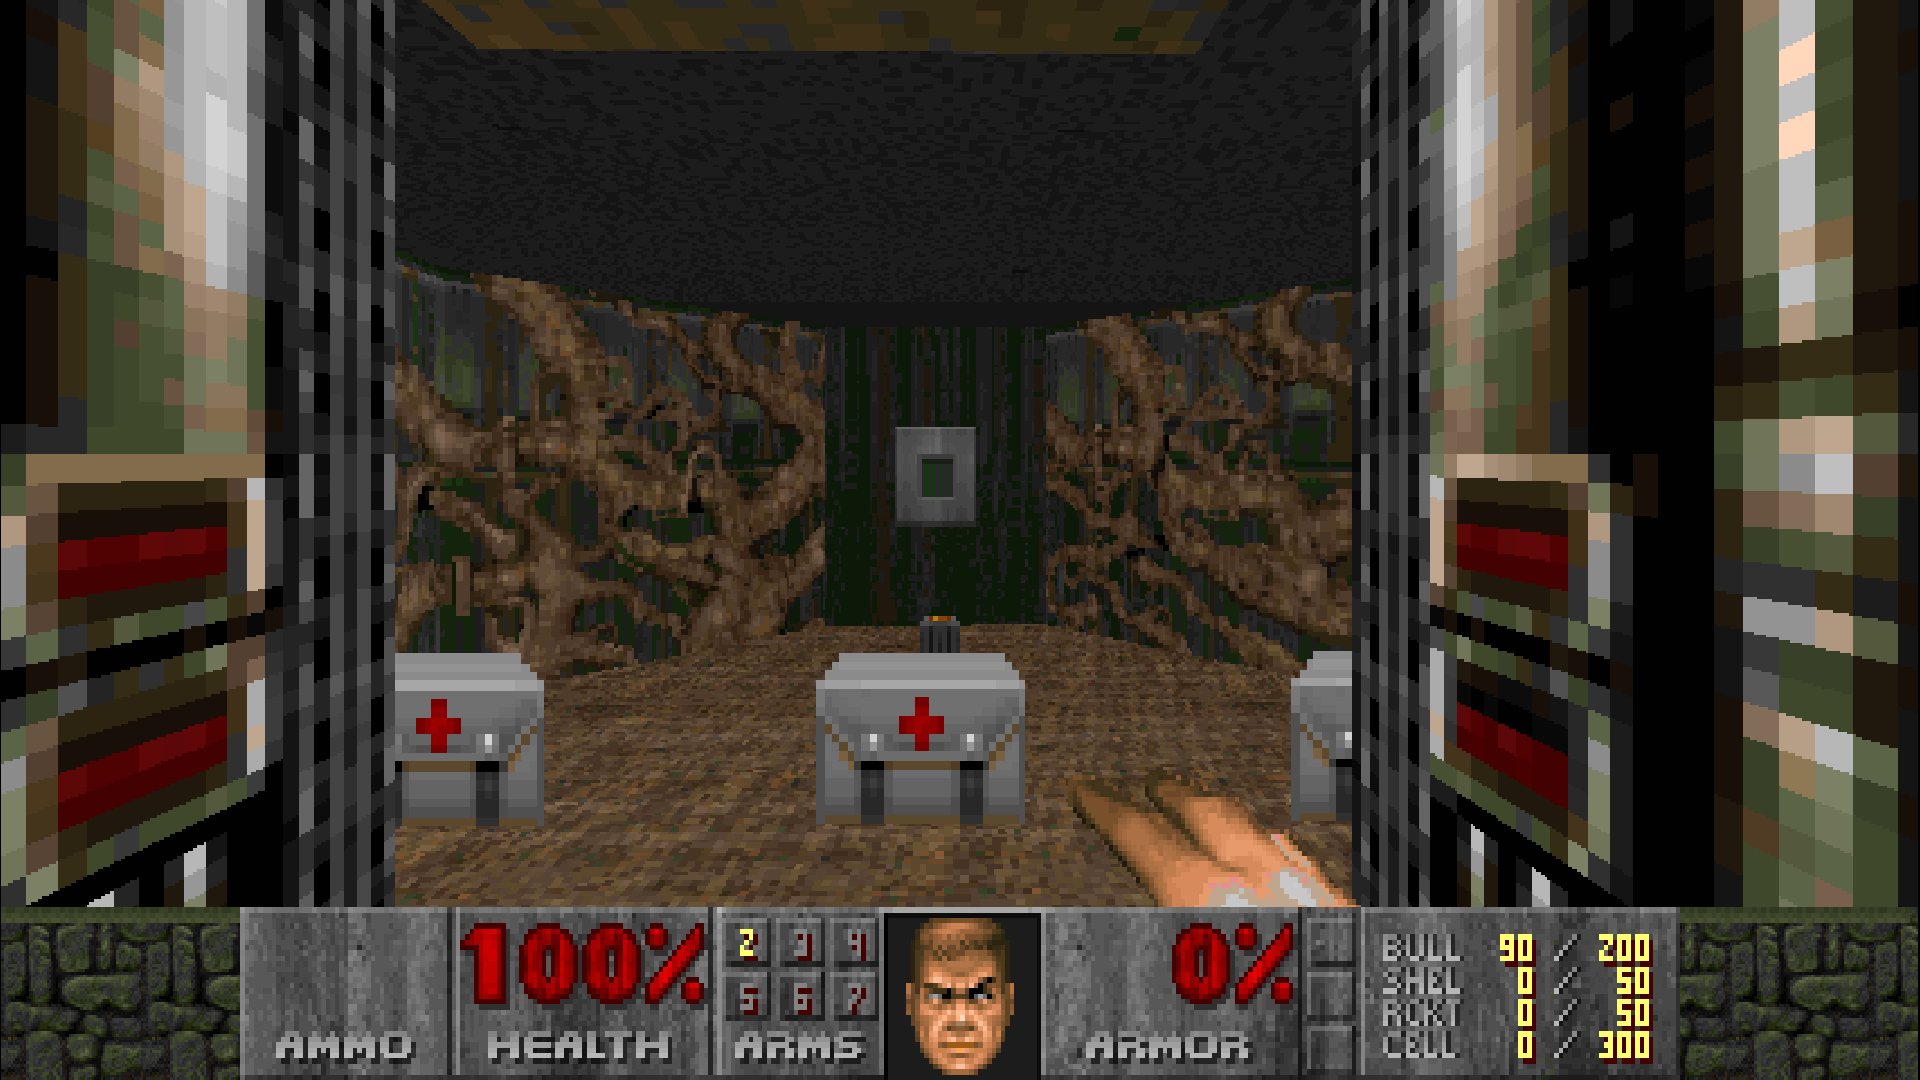
Restoring the red medical crosses in the Unity port’s I/PWADs
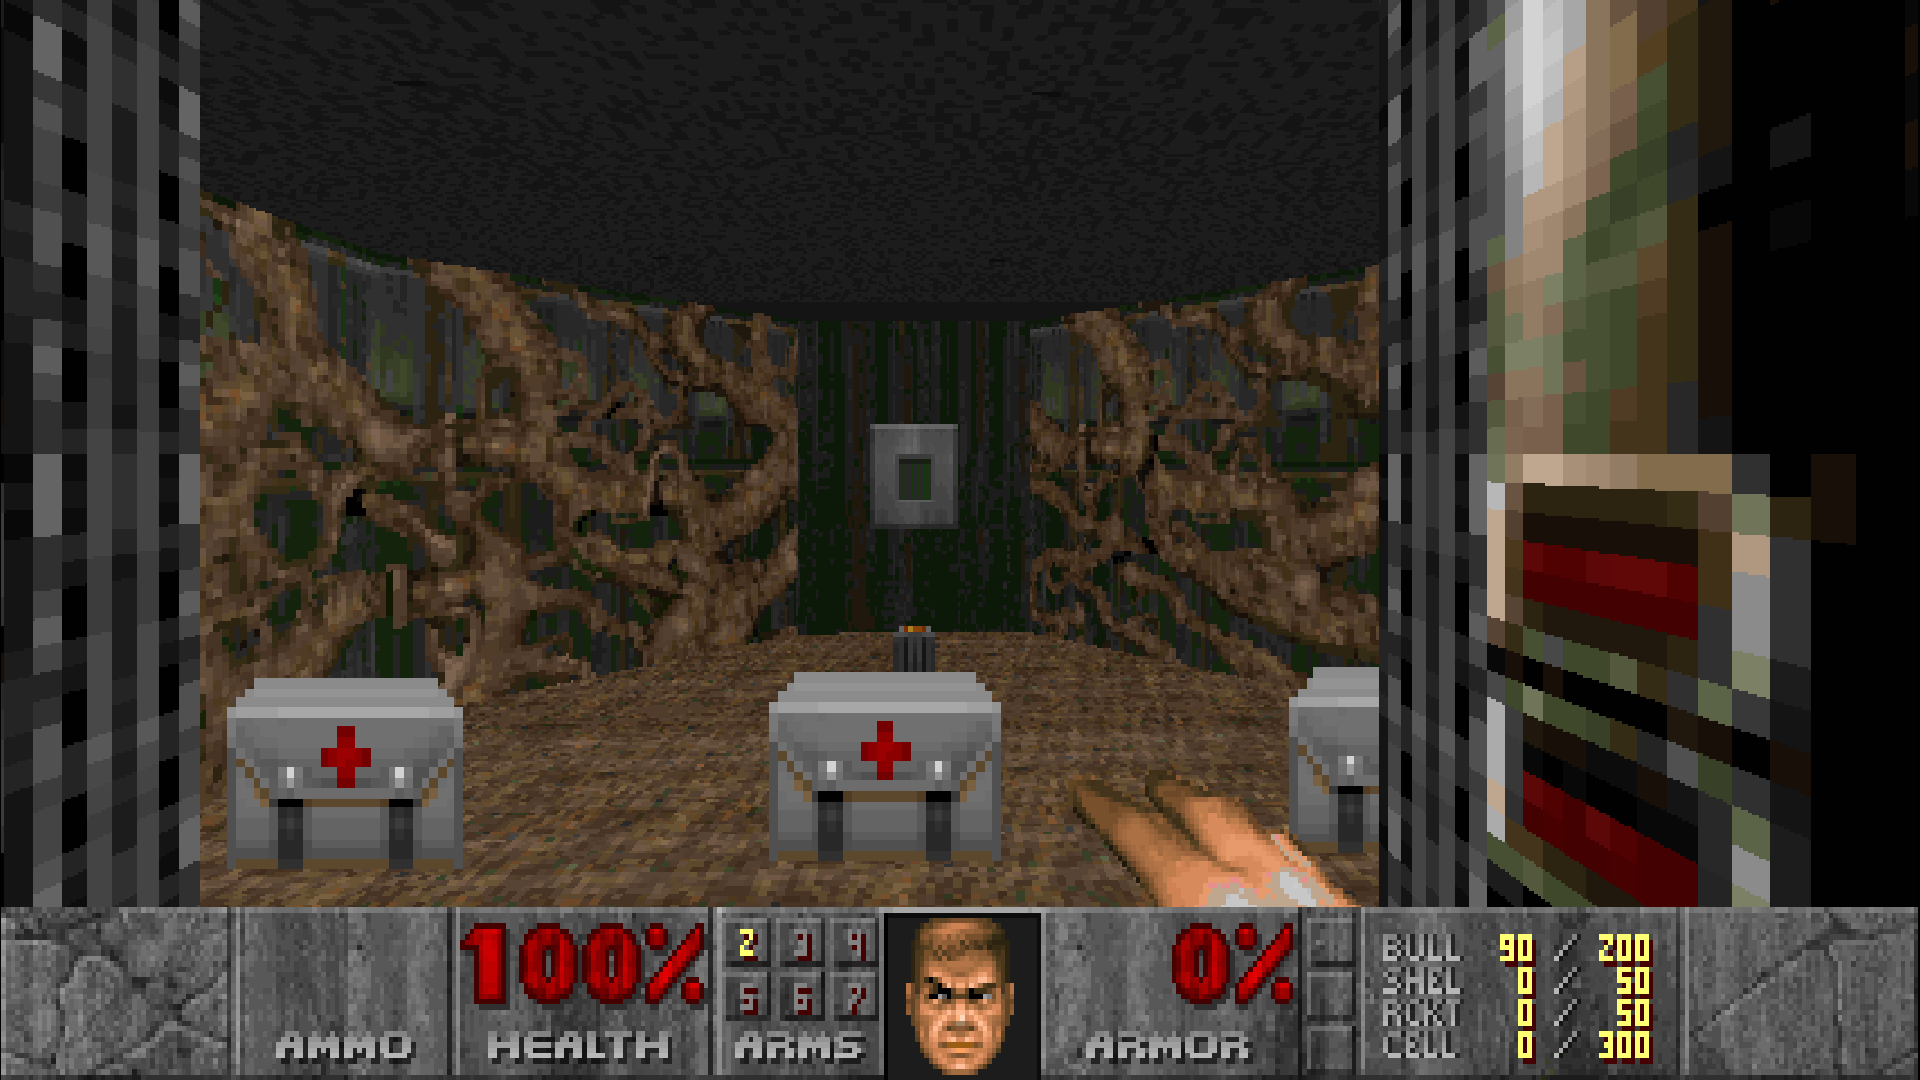
The red medical crosses on medkits in the original games were altered in the Unity port thanks to the Red Cross stopping people from using said red medical cross in video games, thus they were changed to a green cross instead, however, this is nowhere as egregious as the pill icons from the 7th generation console ports and the BFG Edition version of the classic Doom game included with it. Although you can simply replace the IWAD of the new Unity ports with the original versions, there is however a caveat with this method…
The new widescreen art and HUD won’t be the shown since the original MS-DOS IWADs were never made for widescreen in mind. Some add-ons such as BTSX also have the replaced medical crosses. For those that prefer having the widescreen additions intact with the new Unity port, it is possible to port over the original medkit sprites over with SLADE.
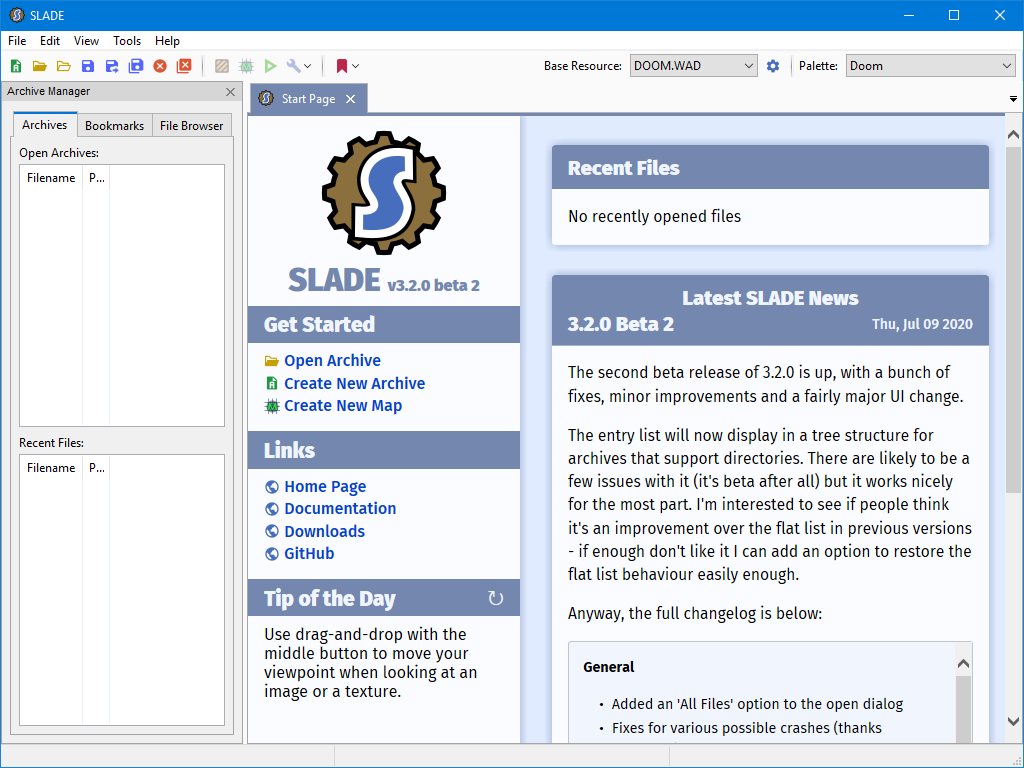
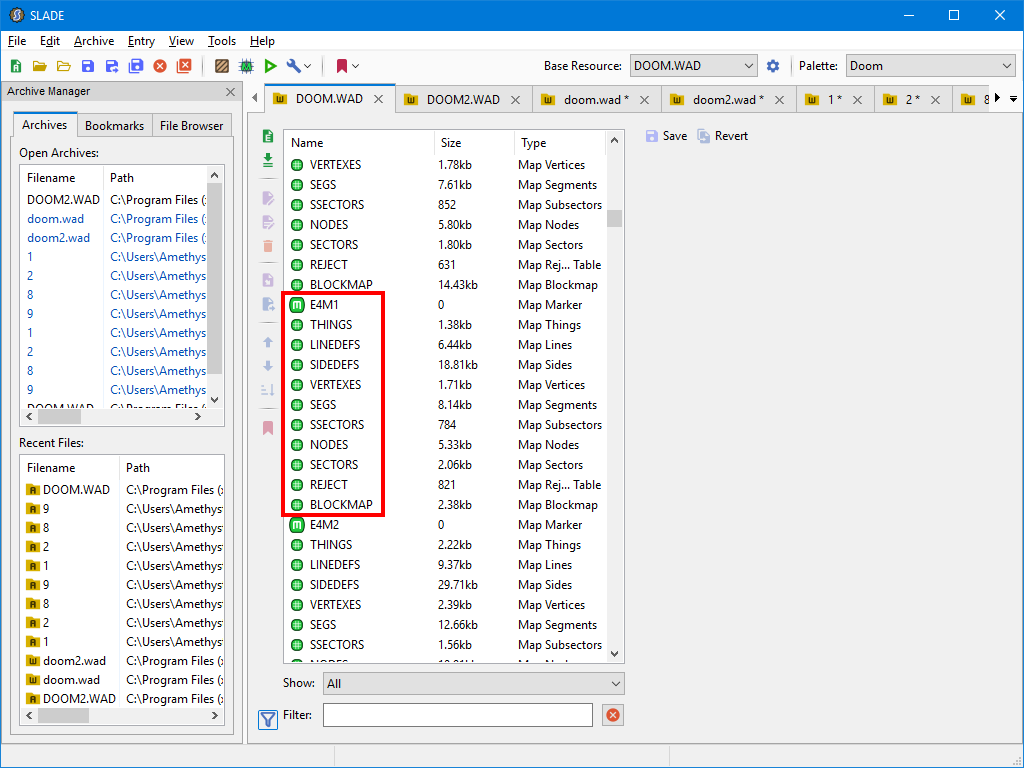
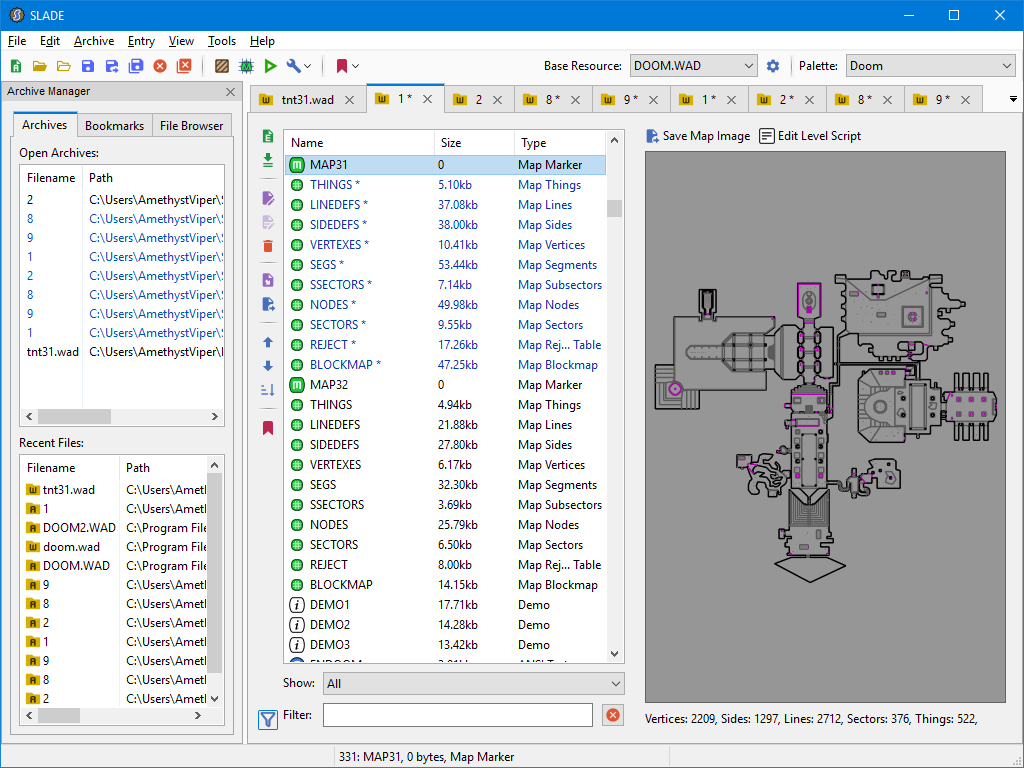
- Download and install SLADE here[slade.mancubus.net]. Grab the one that matches with architecture/bits of your operating system. Either the installer (.exe) or binaries (.7z) package will do. Once you have SLADE installed, you should be greeted with something like this after skipping through the resources for installed Doom IWADs:
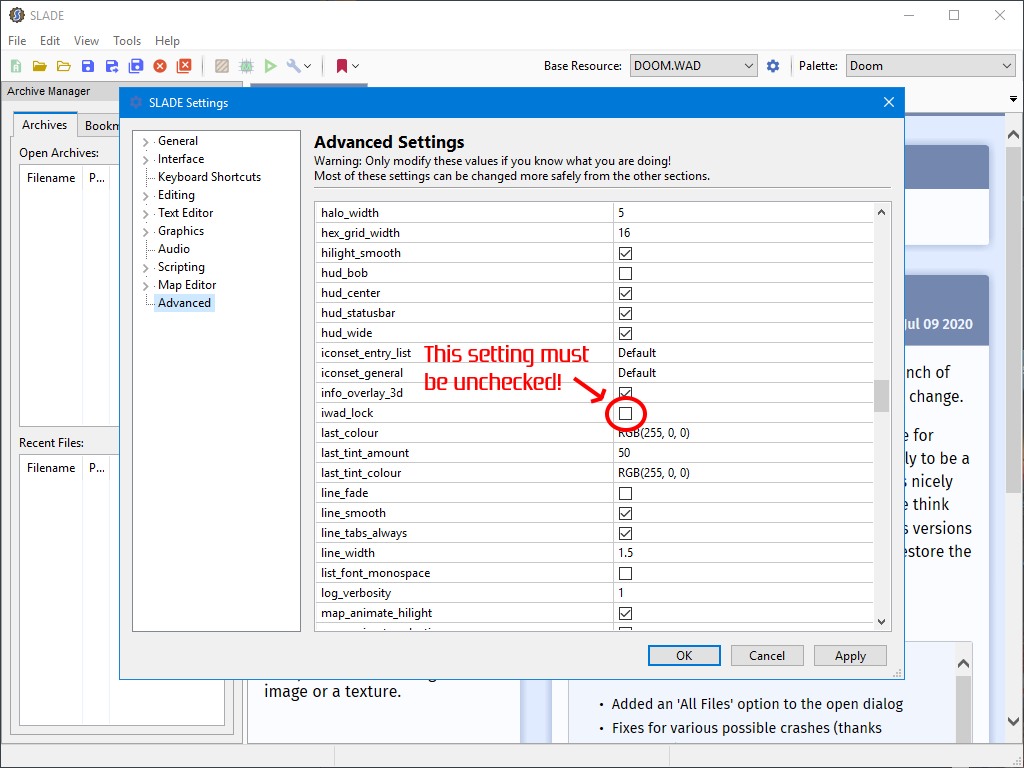
- Go to Edit → Preferences, and go to the Advanced section, and look for the setting iwad_lock and turn it off in order to make changes to DOOM Classic WAD files. Similarly to modifying the DOOM64.WAD file from the Doom 64‘s 2020 re-release, this needs to be off otherwise you can’t make or save any changes to the IWADs.
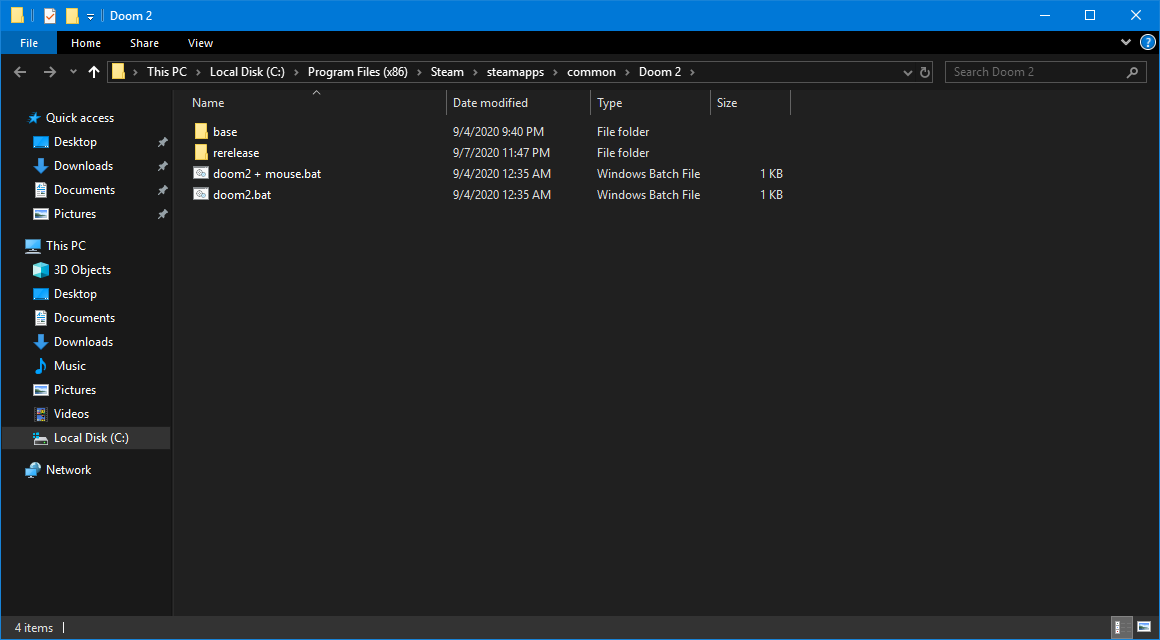
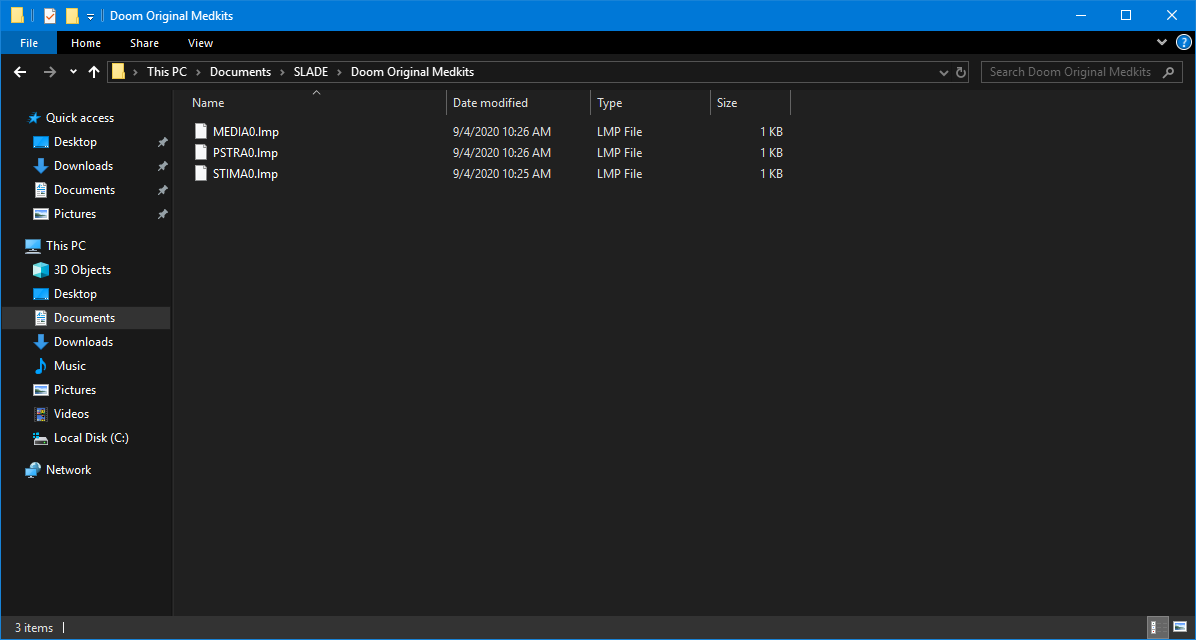
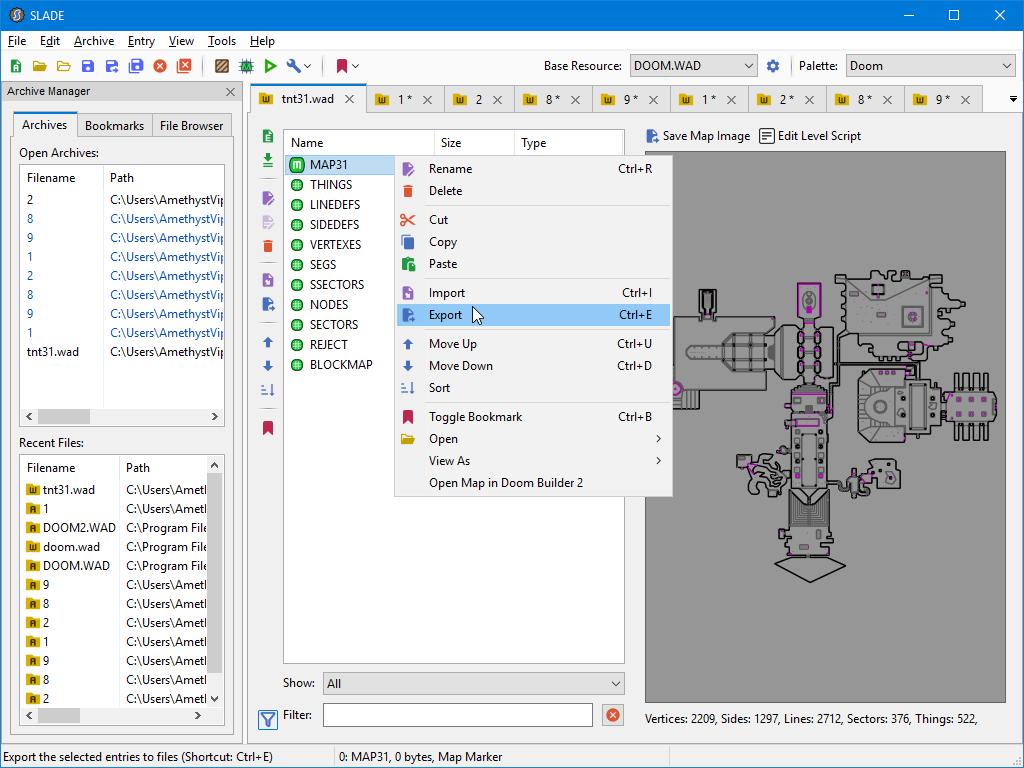
- After making that change in SLADE, now we can take our Unity ports WAD files and then drag-and-drop them into the SLADE window. To quickly your DOOM Classic installation folder, if you’re on Steam, you can quickly access the folder by simply right-clicking the game from your Steam Library, go to Manage → Browse local files. Here is an example with Doom II:
You will see these two folders: “base” is the MS-DOS version and where the DOOM2.WAD is found in that folder, while “rerelease” is the new Unity version and the doom2.wad for the Unity version is found in the <doom-classic>_DataStreamingAssets folder. Do the same if you also have The Ultimate Doom and its Unity port installed (and vice-versa). If you downloaded the Final Doom IWADs from Bethesda.net, you’ll need to go to these locations:%USERPROFILE%Saved Gamesid SoftwareDOOM Classic %USERPROFILE%Saved Gamesid SoftwareDOOM 2You can type or copy/paste each of these locations on your File Explorer’s address or by using Win+R to bring up the Run command and enter them that way as well.
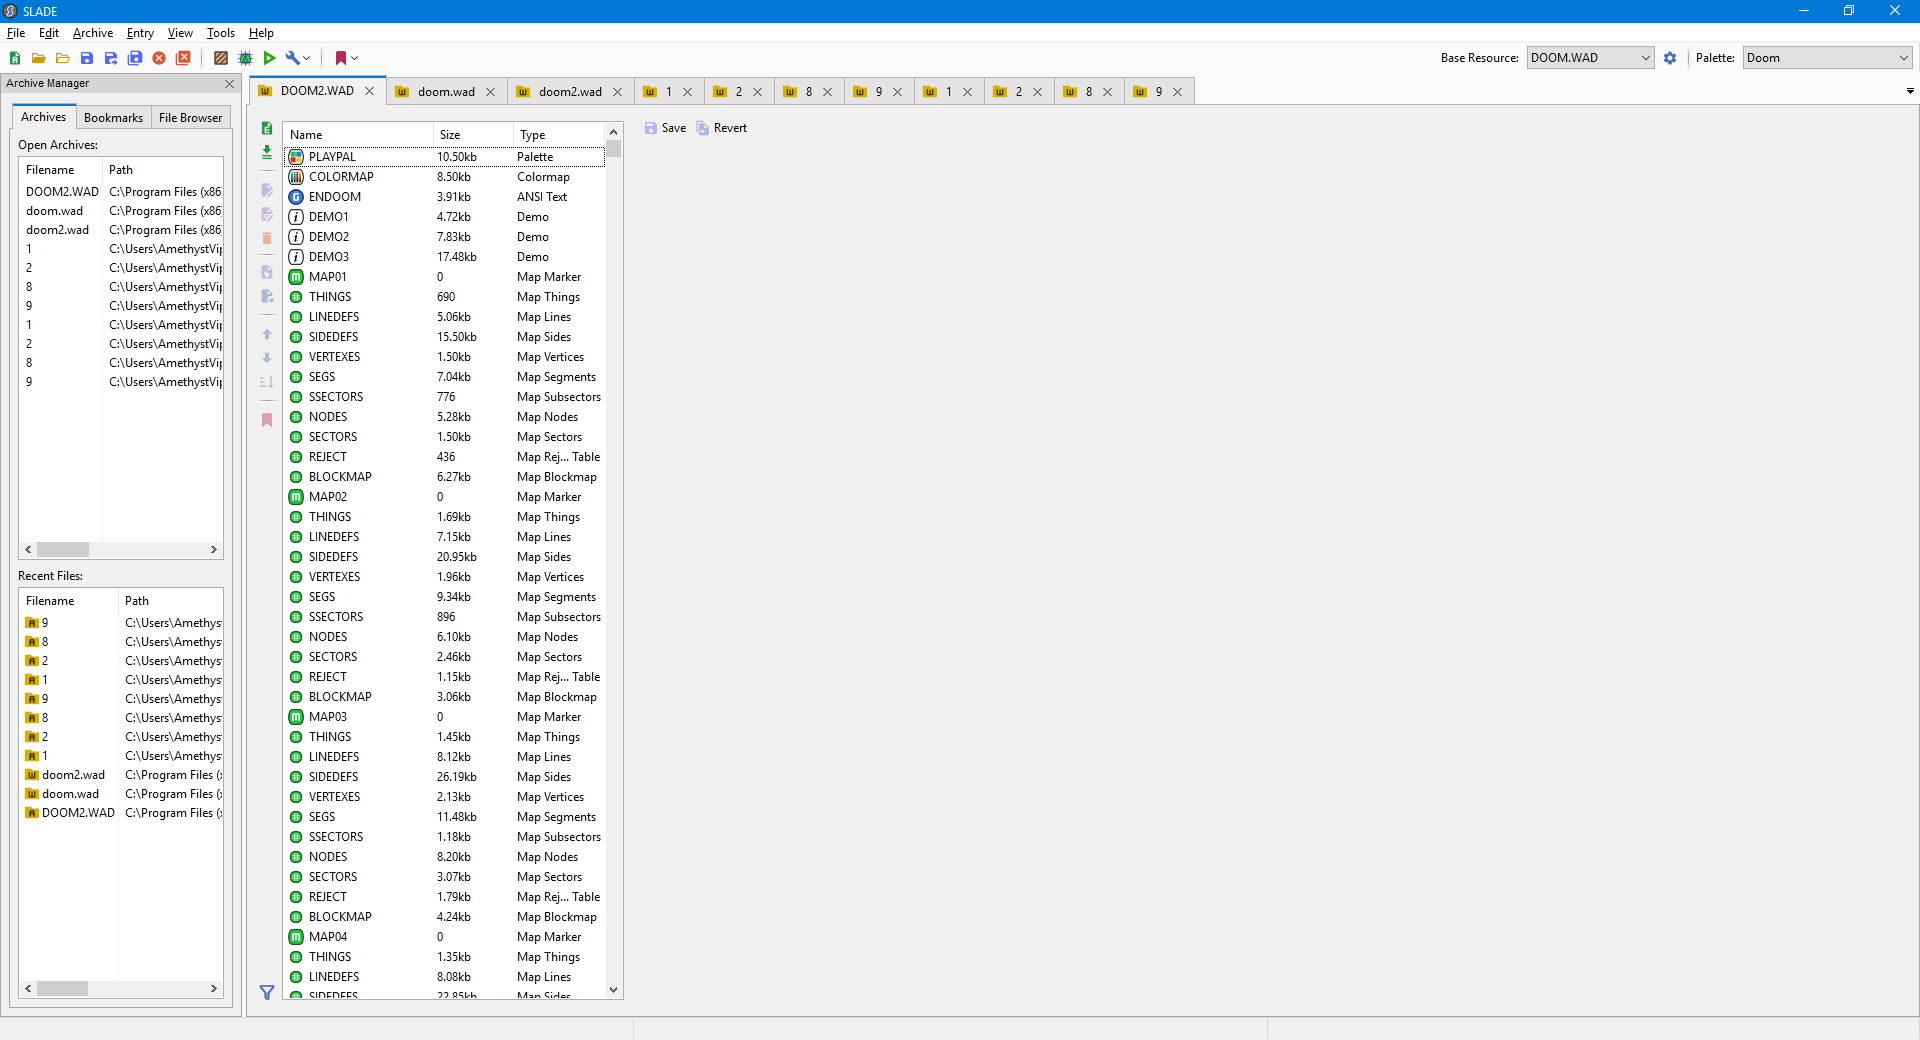
- After loading all of the Unity port’s WAD files, you’ll see something like in SLADE:
For the sake of simplicity, from left-to-right the first tab in all caps is the original MS-DOS IWAD, the second and third WADs in lower case is the Unity port’s IWAD, and the rest of the WAD files with a number but no *.WAD extension are the Unity port’s TNT: Evilution, The Plutonia Experiment, and the BTSX WADs for both games respectively.
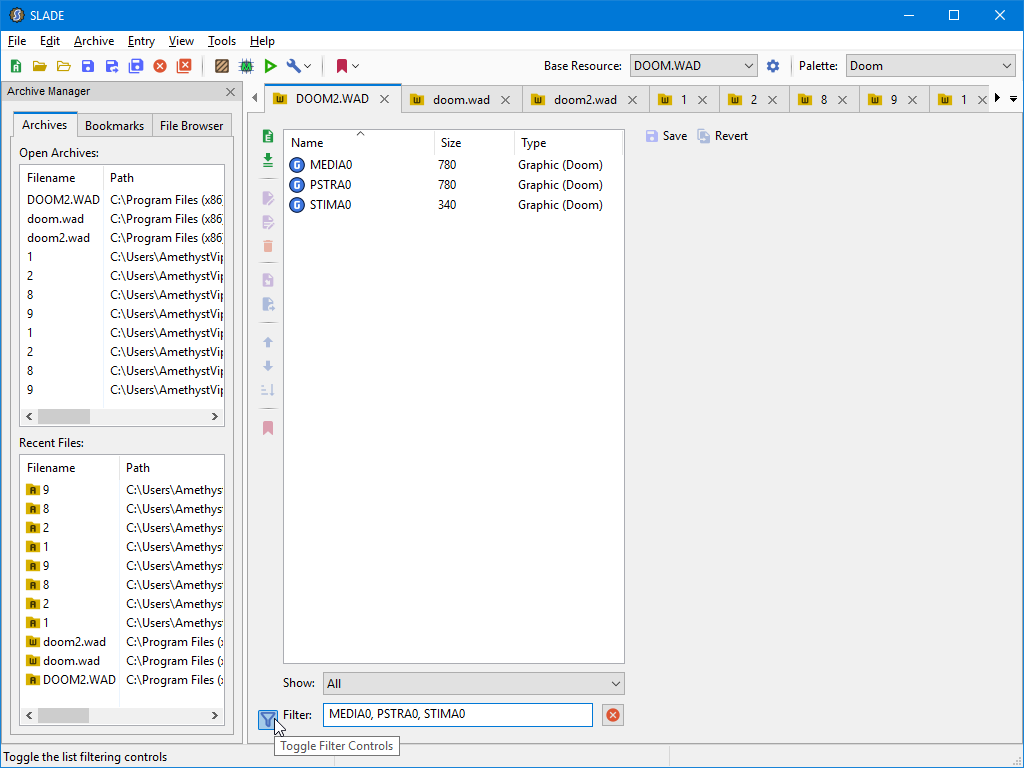
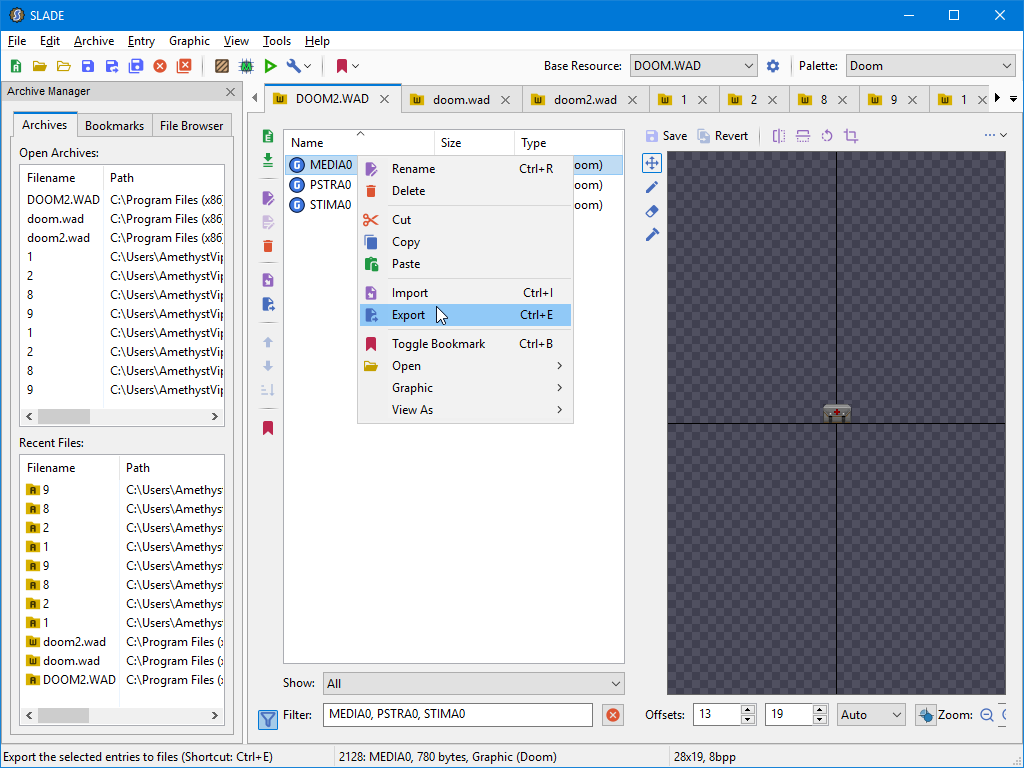
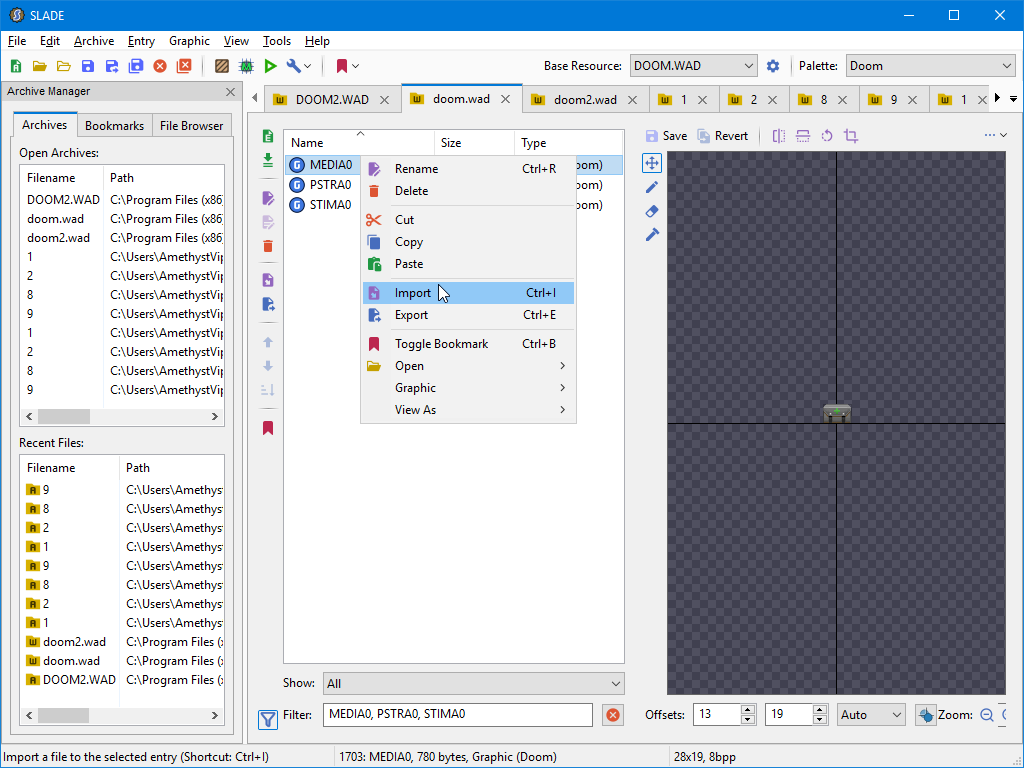
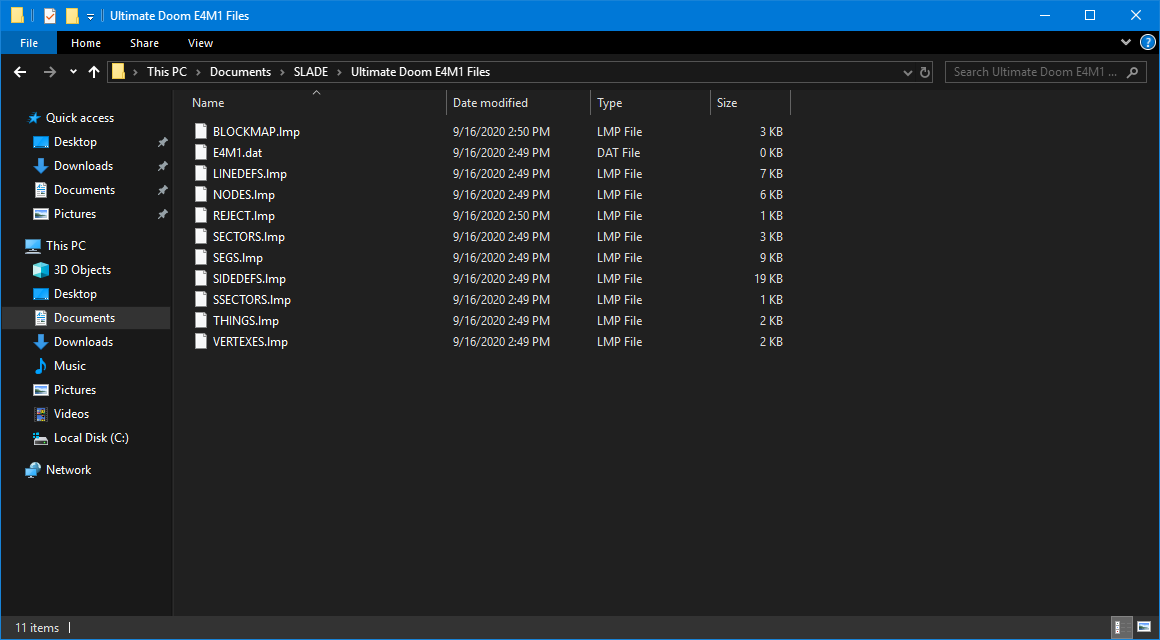
To find the medikit sprites in the original MS-DOS IWAD, type in the following in the filter search bar in SLADE: MEDIA0, PSTRA0, STIMA0. If you don’t see the search bar, click the little icon shown in the image. - Starting from MEDIA0.lmp, right-click the file in SLADE → click Export (or use Ctrl+E) and export the file as a *.lmp file to a convenient location on your computer (e.g. Documents).
Do NOT just rip the *.png graphic from the MS-DOS version and import it back the Unity port’s IWAD in a later step, it will crash the game if done this way. Repeat this process for the other two files and you should have these three *.lmp files: - Now switch over the Unity port’s IWAD tab in SLADE (it’s the one in lower-case), then search for the same terms just like in Step 4, right-click the file starting from MEDIA0, and now this time we’re going click Import.
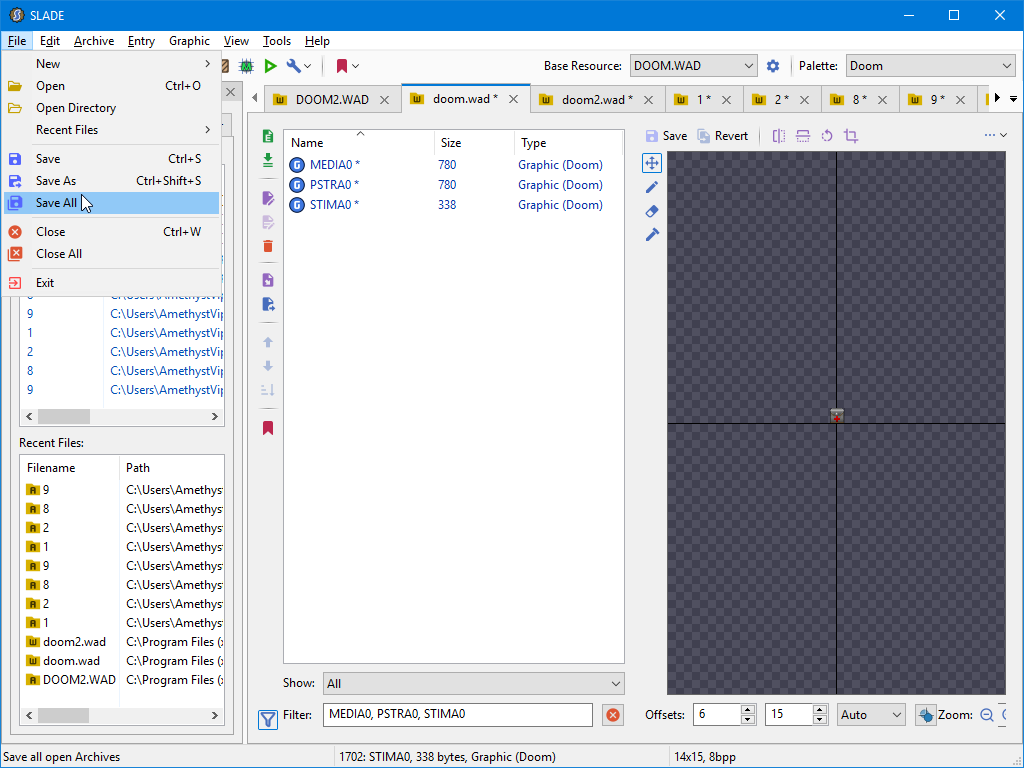
Browse to where you exported the original medkit files from the MS-DOS version and click the *.lmp file that matches with MEDIA0. With the PSTRA0 and STIMA0. If you get a warning about offset conflicts when importing the original medkit files into the Unity port’s IWAD, just click “Yes” in this particular case and it will correct the offset changes for you unless you want to make the changes manually. The offsets for the medkit sprites are the following.- MEDIA0 and PSTRA0: X-13 Y-19
- STIMA0: X-6 Y-15
- After making the changes, now you can click to File → Save or use Ctrl+S or click Save All on SLADE to save the changes to the Unity port’s IWAD file for the game. If you made any mistakes in the process, SLADE does save a back-up of the unedited IWAD file just in case so you don’t have to re-install the entire game or re-validate the files through Steam.
Use the same procedure as shown to restore the medkit sprites for the other Doom Unity port’s IWAD, both of their respective Final Doom IWADs, and BTSX WADs.
If you followed these instructions carefully, you should be able to enjoy DOOM Classic with the best of both worlds by having the new widescreen assets and the original red medical crosses restored.
Restoring the NIИ logo in the Unity port’s The Ultimate Doom IWAD
In the original release of The Ultimate Doom, there was a reference to the band industrial rock Nine Inch Nails in E4M1 in a particular secret within the level that featured the band’s logo embedded on the ground and ceiling. Understandably this reference was removed in the Unity port likely to avoid trademark infringement with the band. It is possible however to restore this reference to the Unity port’s IWAD.
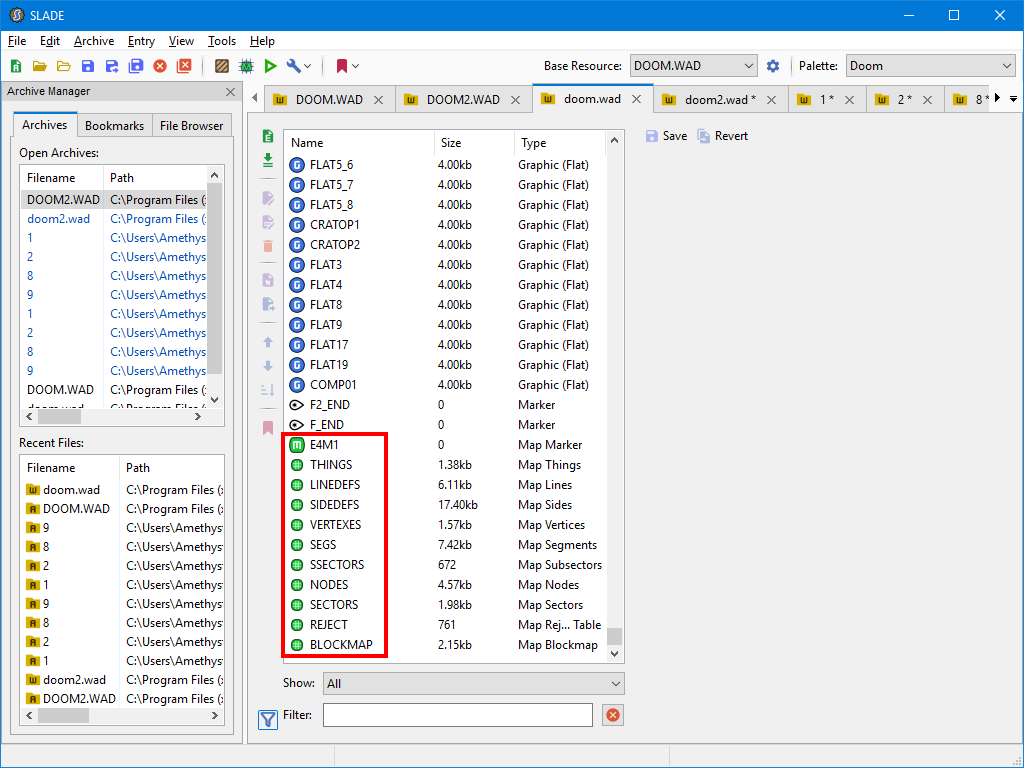
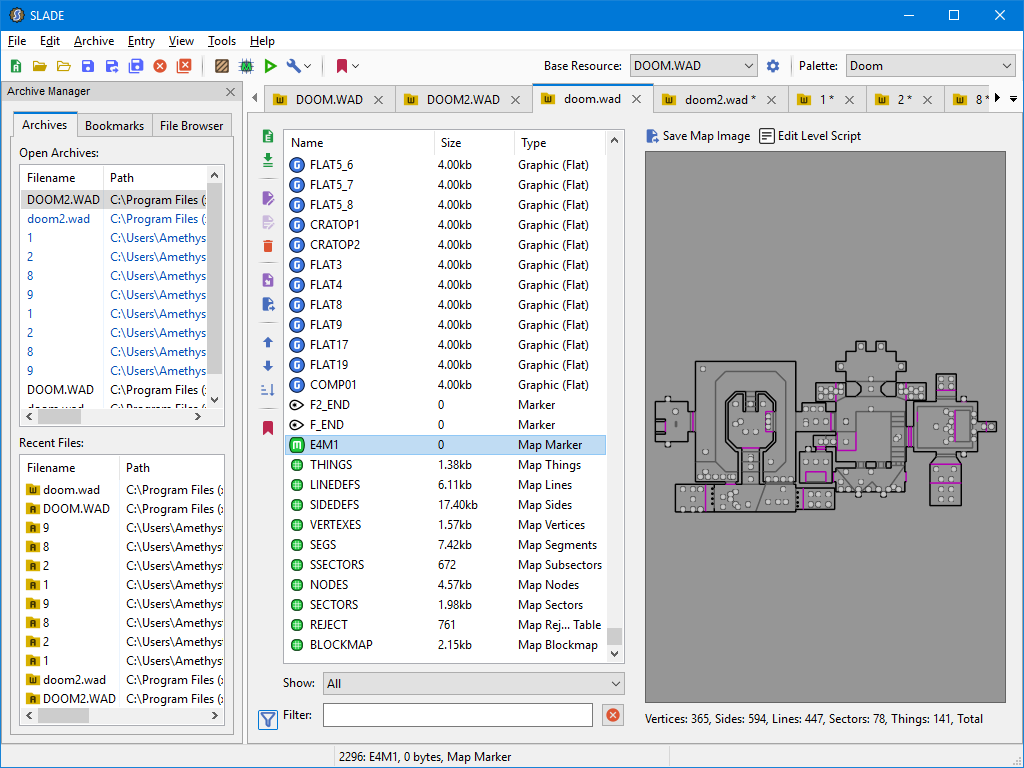
- Look through the original MS-DOS The Ultimate Doom IWAD file until you see E4M1 files in SLADE. It should be around 1/8 mark of the files in the IWAD.
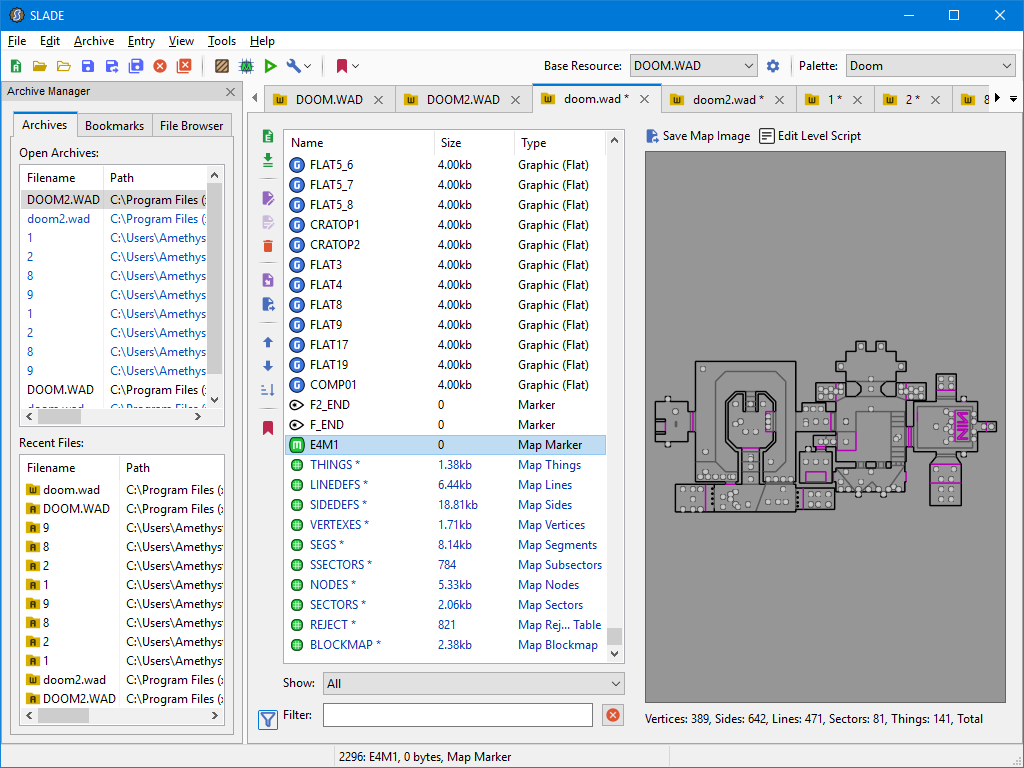
The files you need to export from the original MS-DOS version’s IWAD are the ones highlighted in this screenshot. You will need to right-click each of these files → click Export, and export them to someplace convenient on your computer. You should have these files exported from the original MS-DOS version’s E4M1 files: - Now switch the Unity port’s The Ultimate Doom IWAD file in SLADE, scroll to the bottom and you should see it’s E4M1 files. If you used any of the sorting fields and can’t find the E4M1 files at the bottom of the list of entries, close the Unity’s The Ultimate Doom IWAD tab and re-open the file then scroll down to the bottom again.
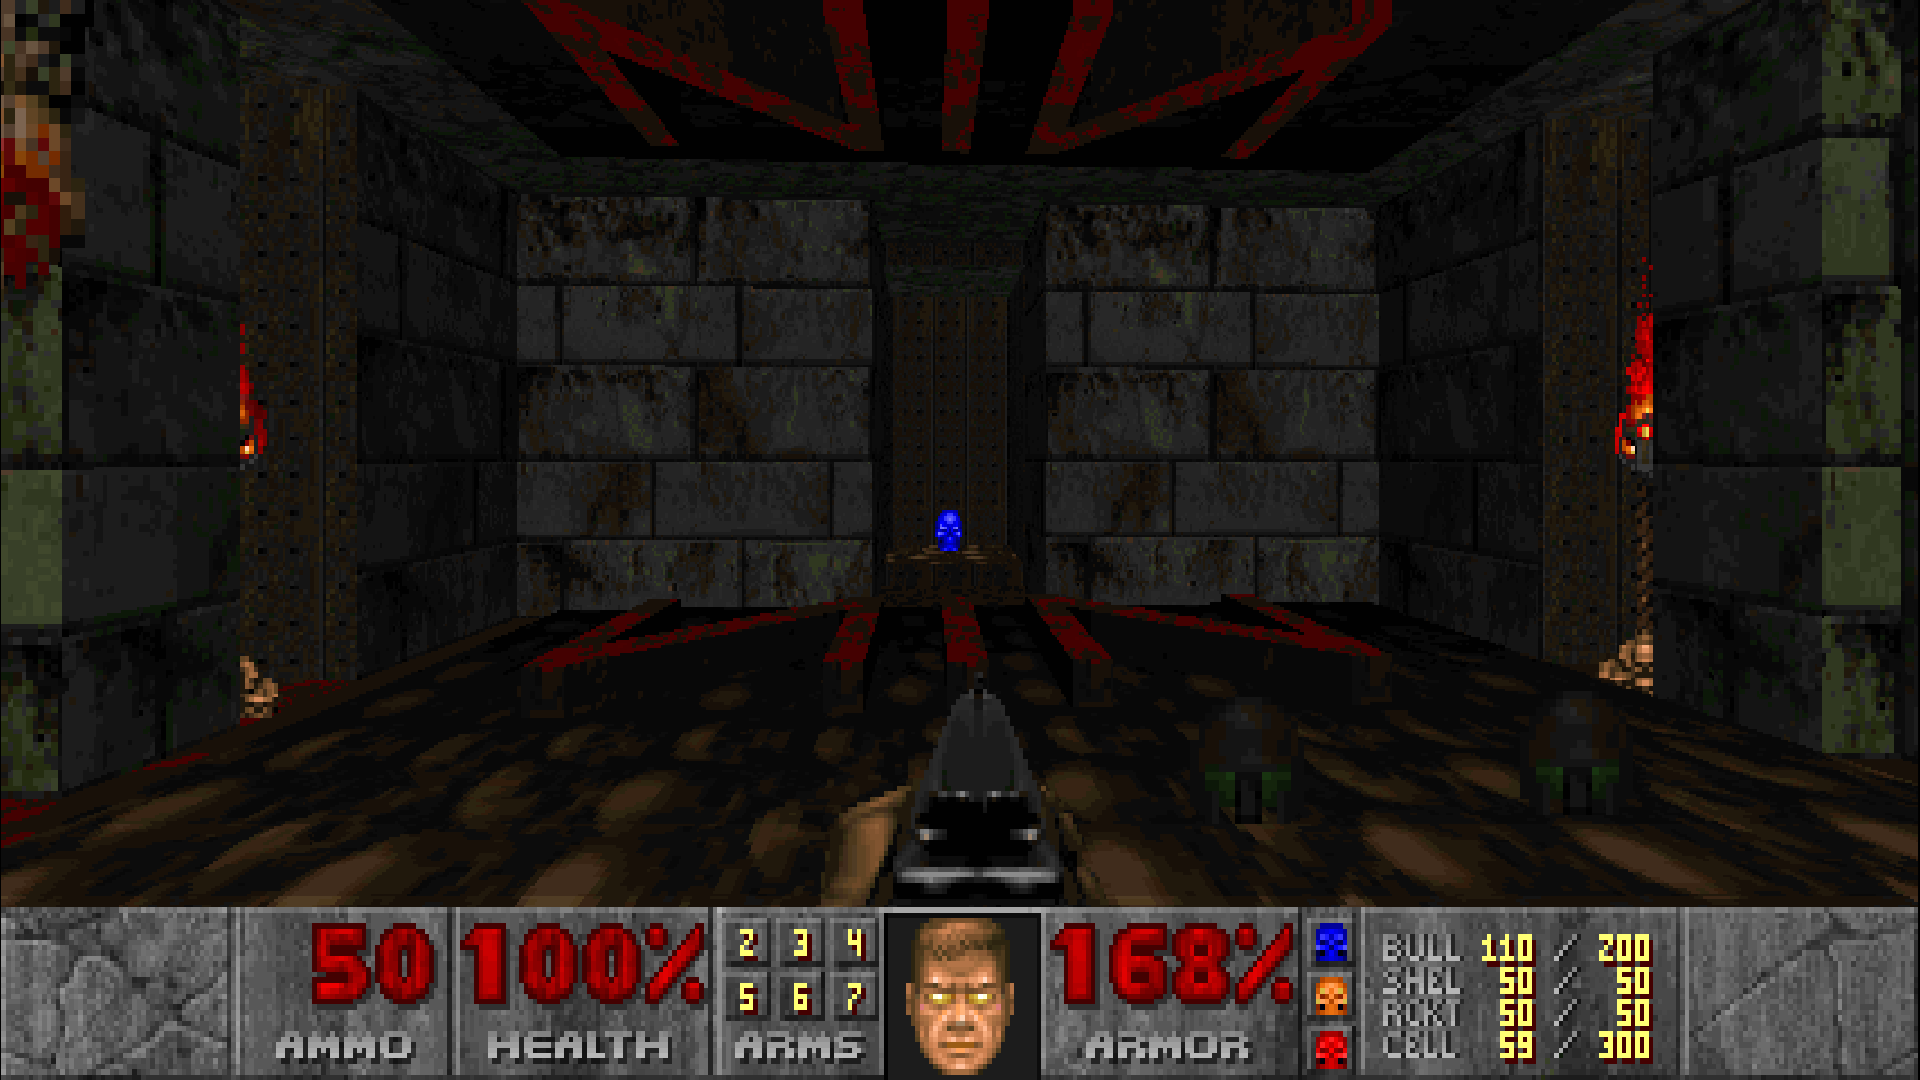
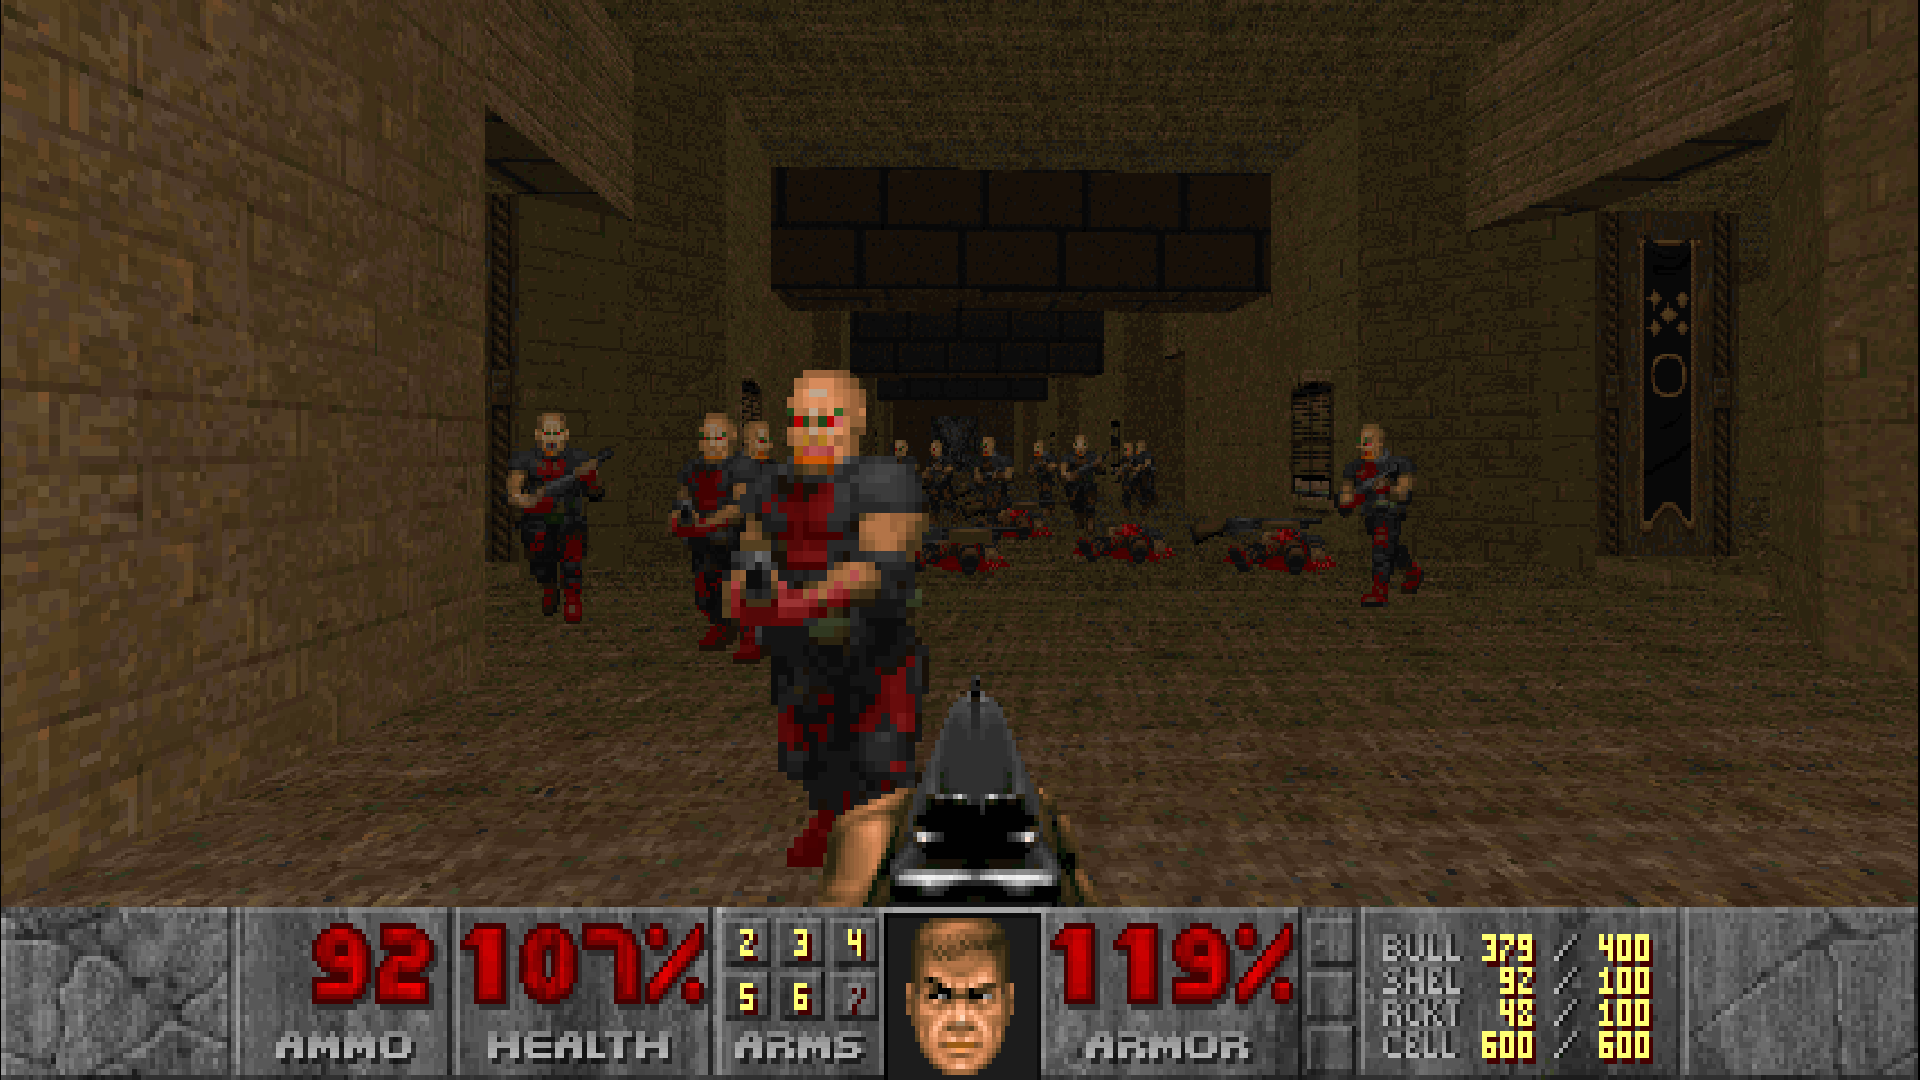
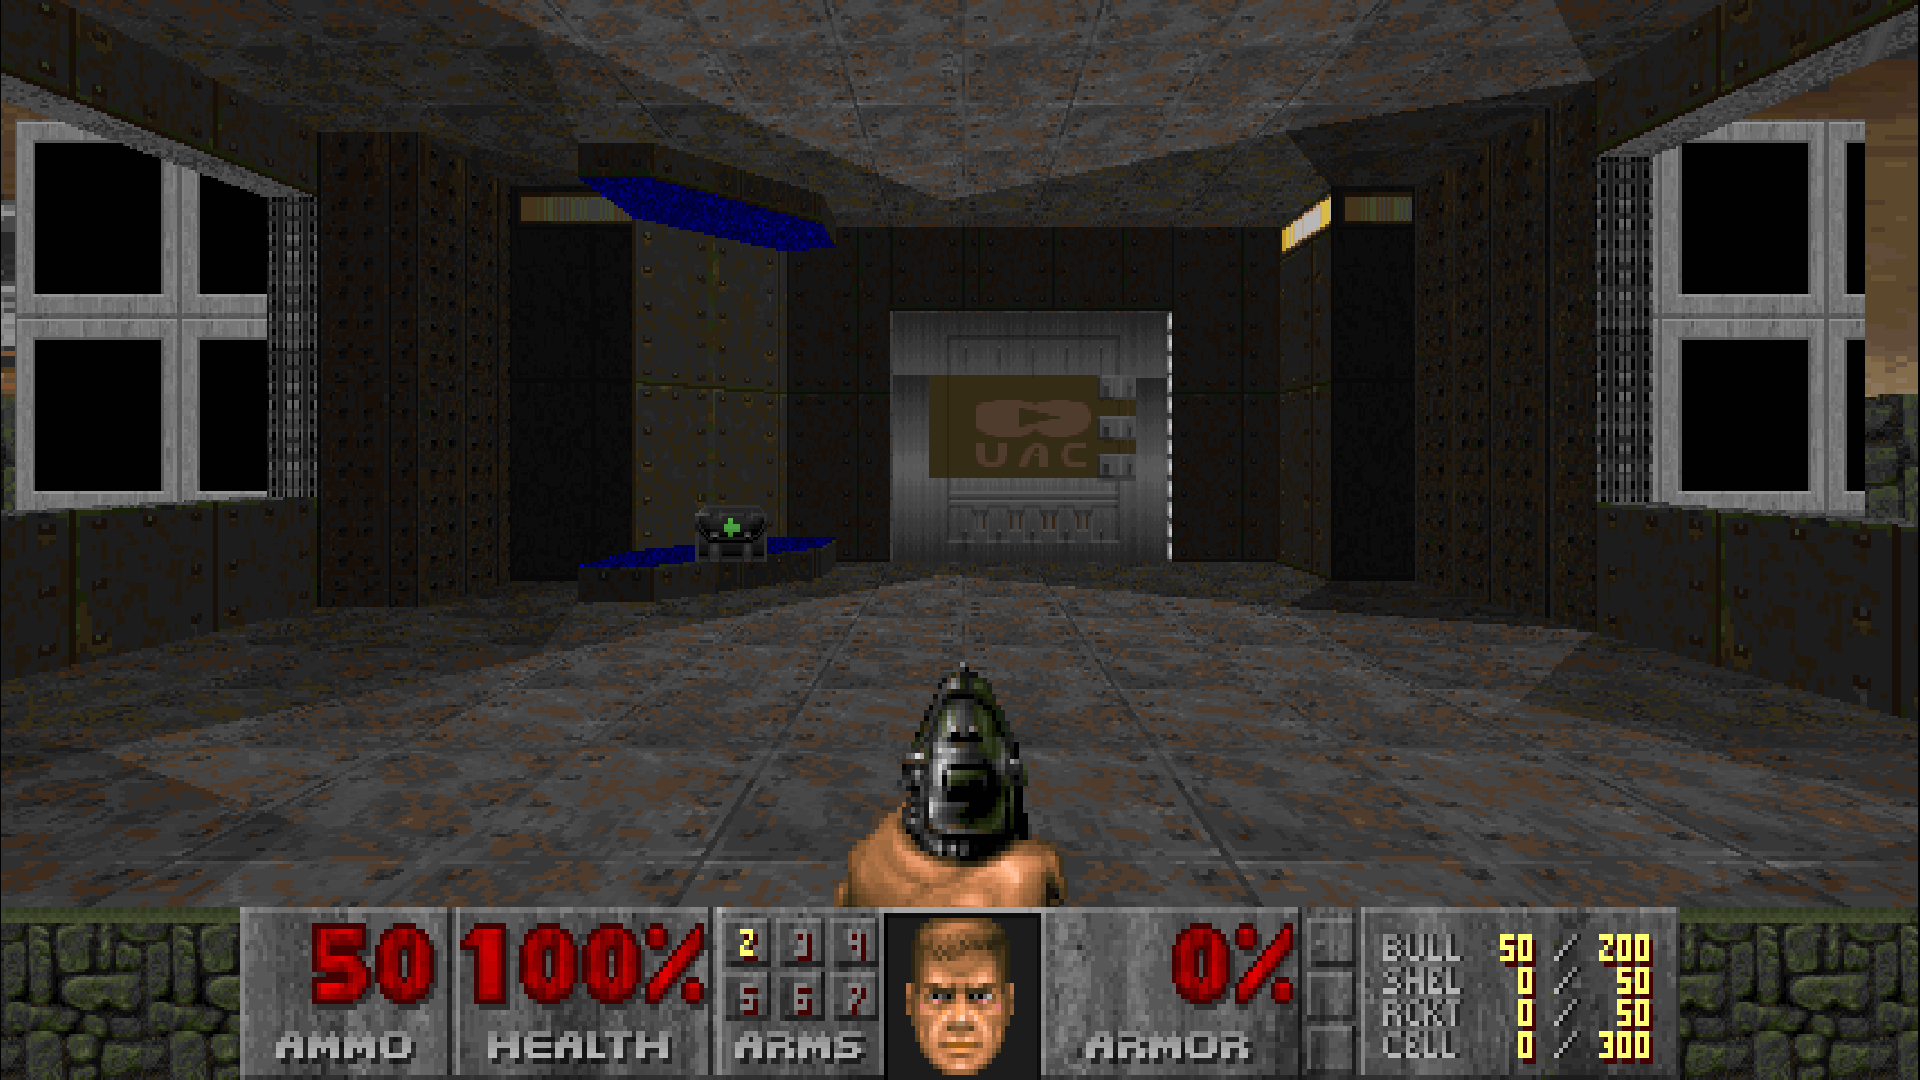
Right-click each of these highlighted entries in SLADE → click Import, then import the matching files from the original MS-DOS version’s IWAD into the Unity’s port.Before:
After:
- After importing the original MS-DOS version’s E4M1 files into the Unity port’s IWAD, you can now click File → Save and save the changes.
If you followed these instructions carefully, you should now see the NIИ reference restored in Doom Classic‘s Thy Flesh Consumed episode.
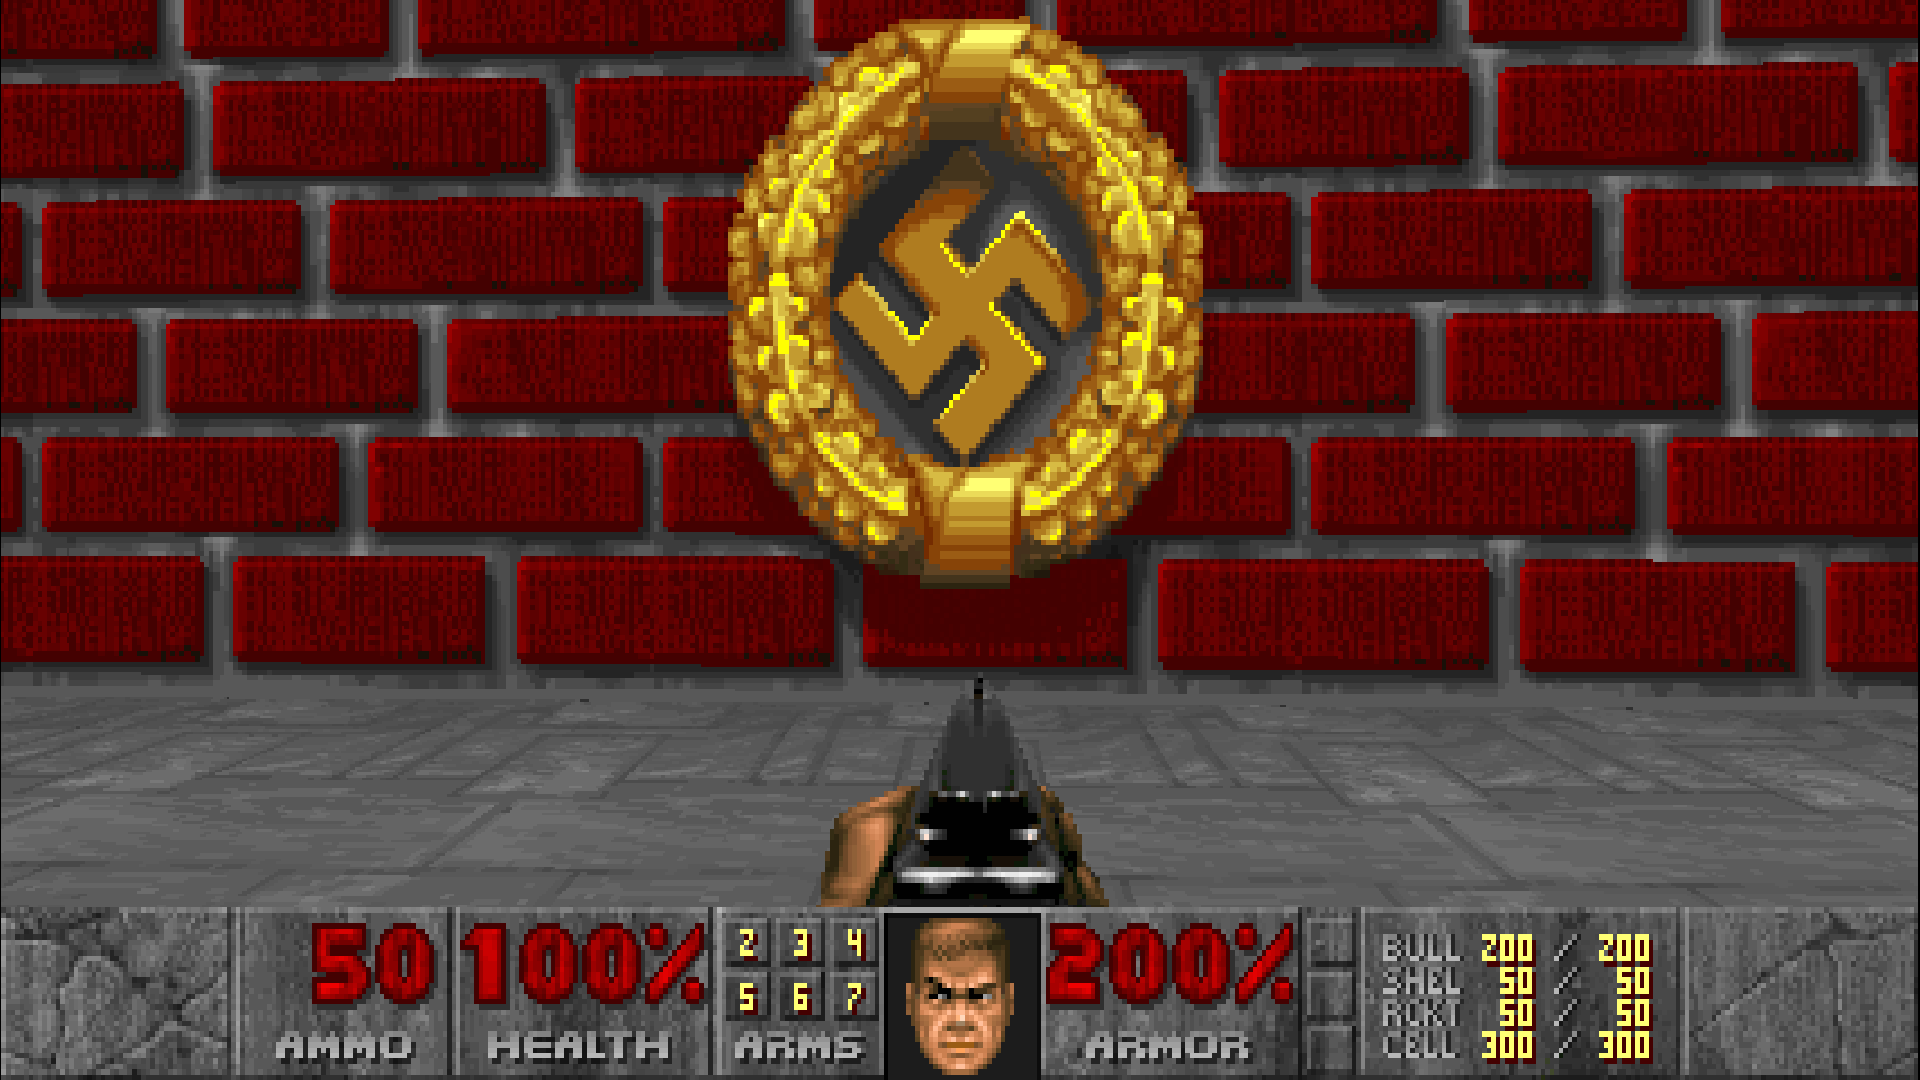
Restoring the Wolfenstein levels in the Unity port’s Doom II IWAD
The new Unity port of Doom II has altered the Wolfenstein levels by removing all Nazi imagery and modified the Adolf Hitler cameos, though the changes aren’t as extreme as the BFG Edition version as it does retain the SS goons from Wolfenstein (but with an altered voice-over line), the original music and level names. Just like with the red medical crosses on the recovery items, they can also be restored into the Unity port via SLADE.
Disclaimer: I absolutely DO NOT condone or encouraging anything pertaining to real-world Nazism. All I am doing here is showing how to restore an original feature of Doom II into the Unity port. If you are sensitive to such content, then please do not follow these instructions.
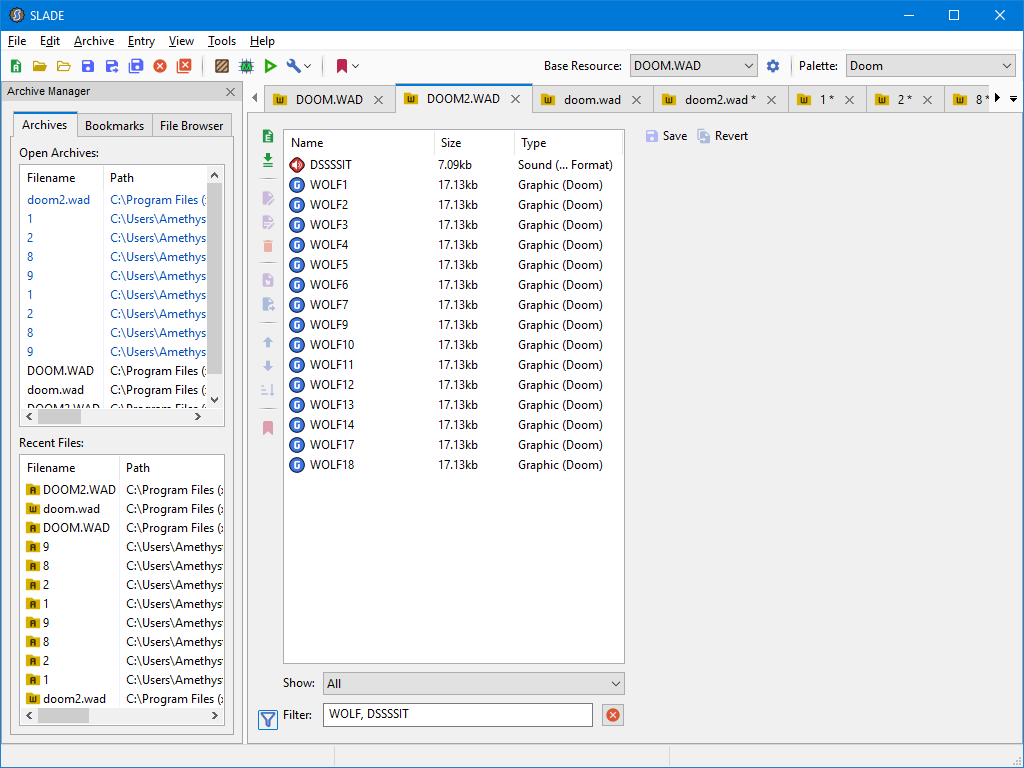
- Do what you did for restoring the red medical crosses up to Step 4 with the Doom II‘s IWAD files, but this time we’re going to search for the following terms in the original MS-DOS version of Doom II‘s IWAD tab on SLADE: WOLF, DSSSSIT. You should get these results:
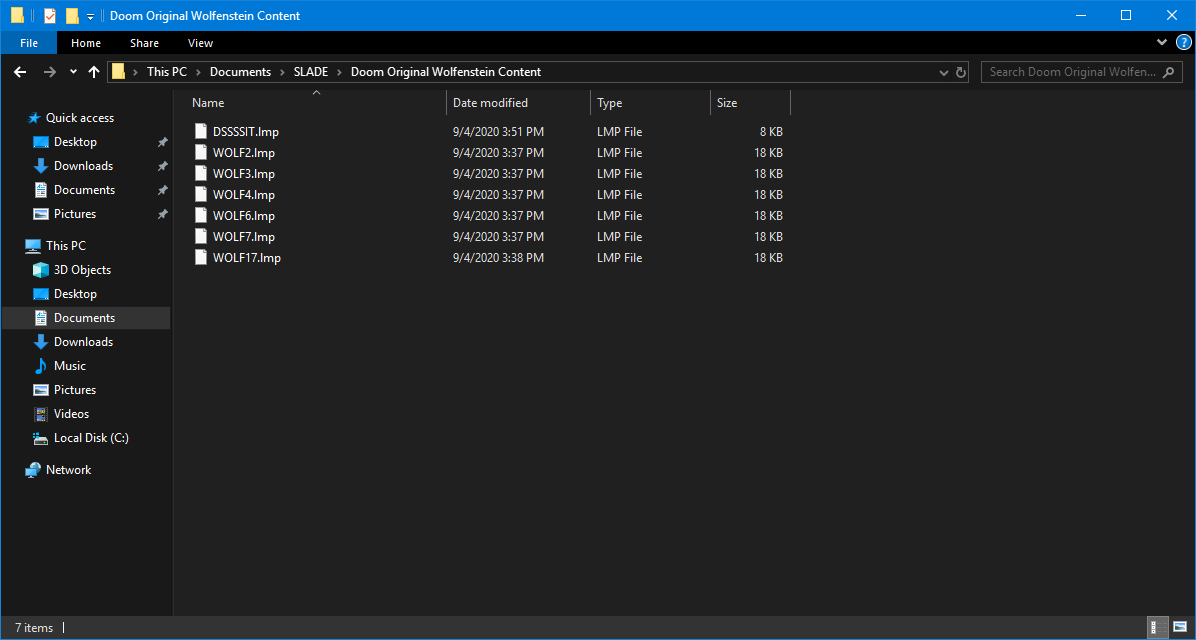
- For the files with the name “WOLF” in them, export the following files to a convenient location on your computer: WOLF2.lmp, WOLF3.lmp, WOLF4.lmp, WOLF6.lmp, WOLF7.lmp, and WOLF17.lmp. Do the same when exporting DSSSSIT.lmp file and you should have these files:
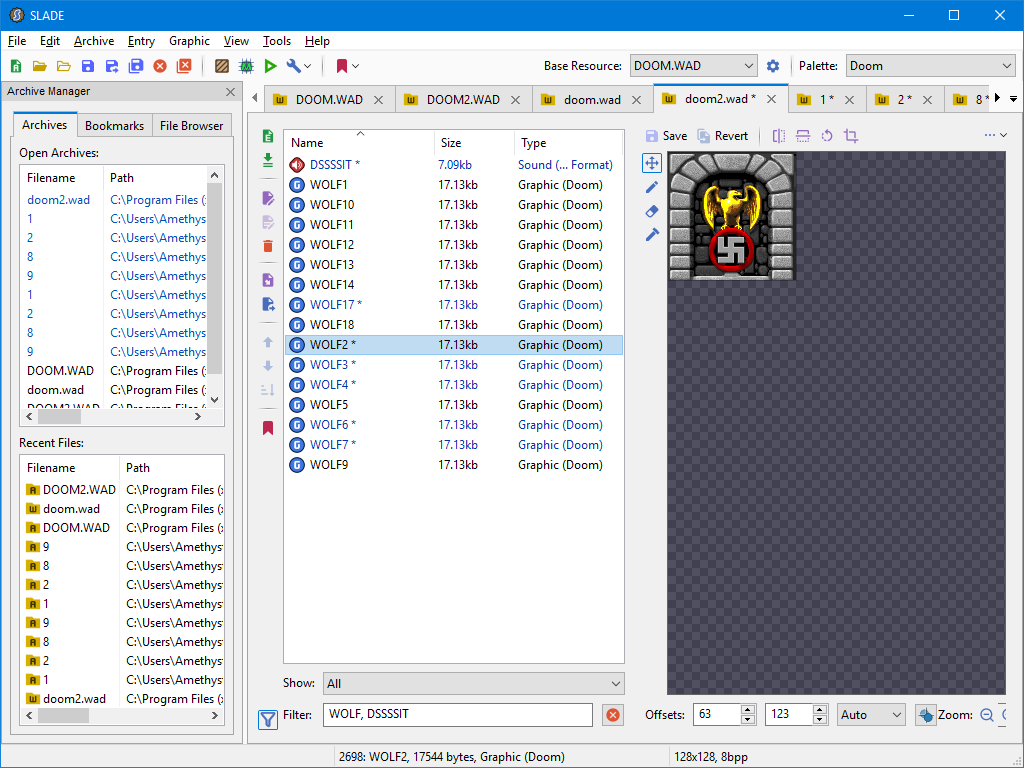
- Now go to the Unity port’s IWAD tab on SLADE, search for the same terms from Step 1, then import the original MS-DOS version’s *.lmp files that you exported earlier with their matching files. Do the same with the DSSSSIT.lmp file.
Before:
After:
- After making the changes, now you can click to File → Save or use Ctrl+S on SLADE to save the changes to the Unity port’s IWAD file for the game.

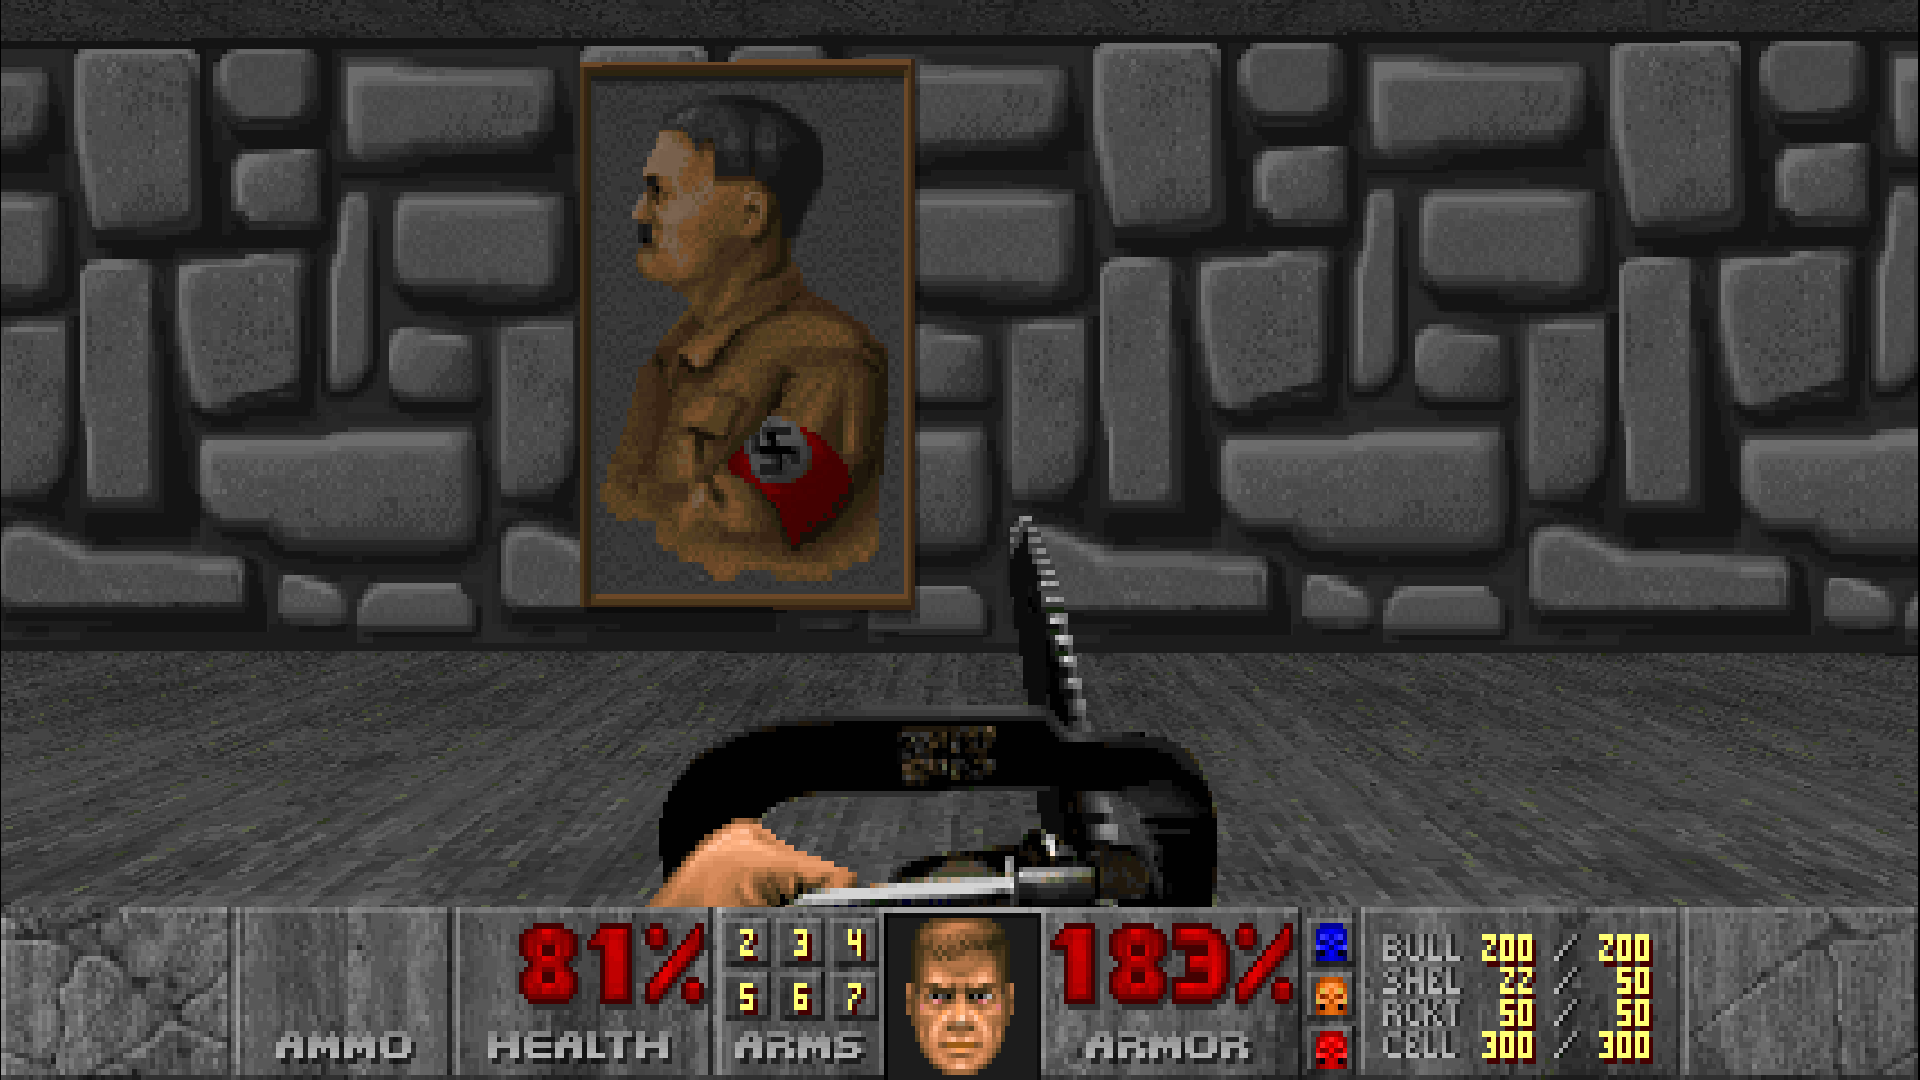
If you followed these instructions correctly, then congrats, Kung Fu Hitler and his Pinwheel of Friendship Intolerance are successfully restored in DOOM II Classic.
Applying the official TNT31 patch into the Unity port’s Final Doom IWAD

Although the Unity port’s Final DOOM IWADs appear to be based off the rare bugfixed id Anthology re-release, unfortunately it also introduced a bug in MAP31 of TNT: Evilution which caused the shotgun guys to bug out from spawning in the final area of the level, which was truly fixed in the downloadable TNT31.WAD patch and in the PlayStation 3 DOOM: Classic Complete compilation. Thankfully we can patch the TNT: Evilution IWAD for the Unity port.
- Download the official TNT31.WAD patch from Doomworld here: (link)[www.doomworld.com]
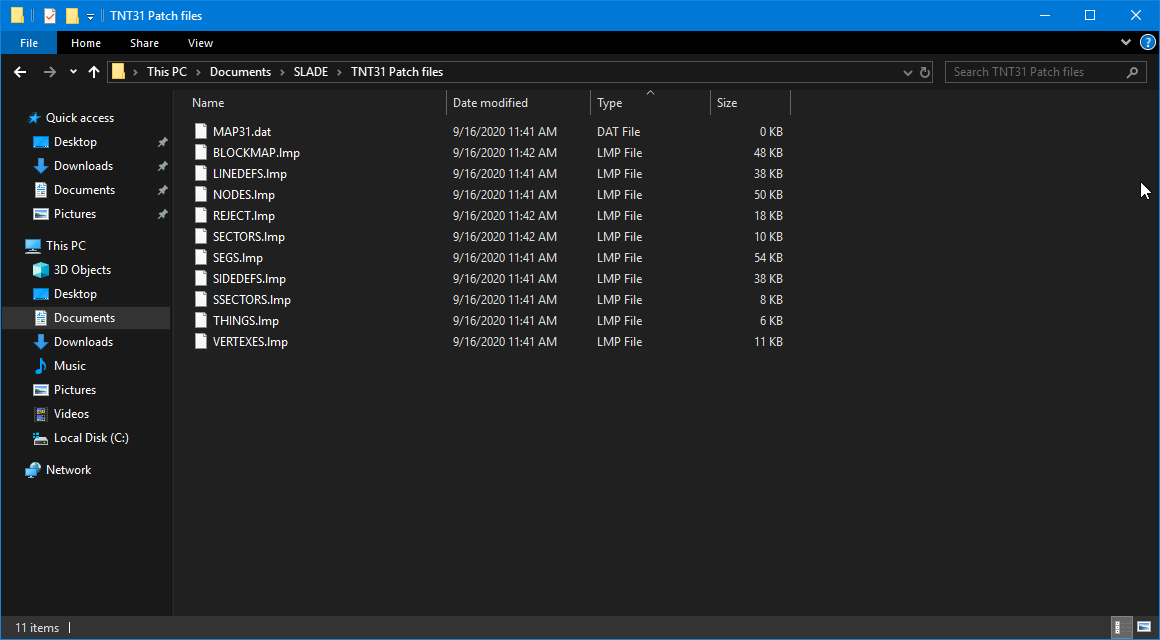
After downloading it, extract the contents of the zip archive to its own folder with 7zip or WinRAR and place it somewhere convenient on your computer. You should see these files extracted from the archive: - Now take the tnt31.wad file and drag-and-drop it onto the SLADE window, and then begin exporting all these files to some place convenient on your computer.
After exporting the patch’s files, you should have the following the following files: - Now switch over the the Unity port’s TNT: Evilution IWAD in SLADE, and now look for its MAP31 files. The highlighted files are shown here:
Right-click each of the MAP31 files in the Unity port’s TNT: Evilution IWAD → click Import, then begin replacing the files with the matching ones from the official TNT31.WAD patch.
You should see the files for MAP31 changed in SLADE. - Finally go to File → Save and save the changes in the Unity port’s TNT: Evilution IWAD. You will need to do this for both Unity ports of Doom and Doom II if have both games and their add-ons installed.

If you ported the patched MAP31 files correctly from the official TNT31 patch into the Unity port’s TNT: Evilution IWAD files, the shotgun guys’ ambush should now work as intended in MAP31.
Adding the widescreen HUD to the Final DOOM IWADs
For some reason, despite having the new widescreen art implemented for the Unity port’s version of the Final DOOM IWADs, they lack the new widescreen HUD that Doom and Doom II has (probably an oversight). This is thankfully easy enough to fix though.
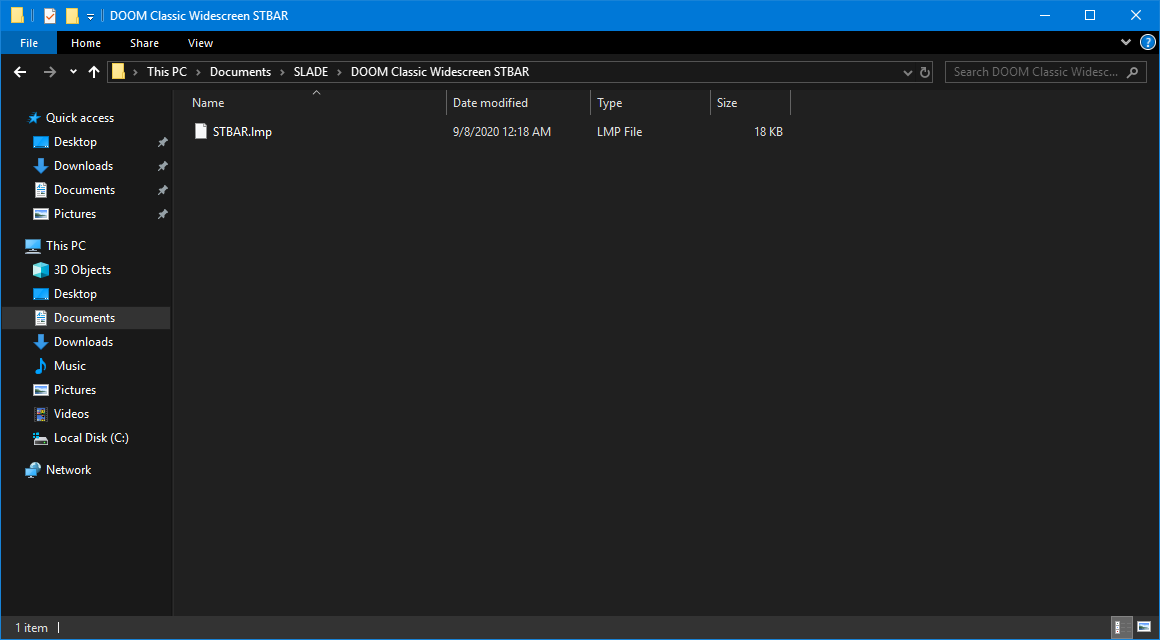
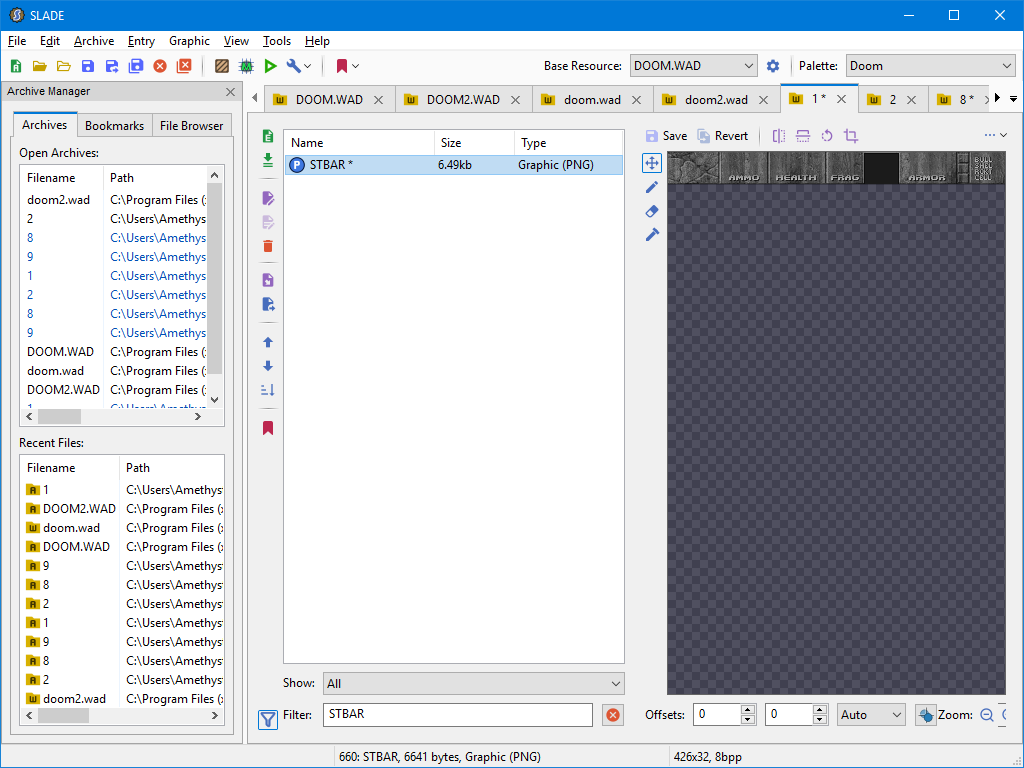
- Do what you did for restoring the red medical crosses up to Step 4 with the Unity port’s Doom or Doom II IWAD file, either one works, but this time we’re looking for a file simply named STBAR inside the Unity port’s IWAD (using TNT: Evilution‘s as an example).
- Export the STBAR from they Unity port’s IWAD to a convenient location on your computer like in the previous instructions.
- Now switch over one of the Final DOOM IWAD tabs from both in SLADE. If you haven’t had the prepared already, go ahead and drag-and-drop them into the SLADE window. See the restoring the red medical crosses instructions above if you need a reminder of where the Unity port’s downloadable WAD files for both games. Search for STBAR in Unity port’s Final DOOM IWADs, right-click the file and click Import, then select the STBAR.lmp file that you exported from the Unity port’s Doom or Doom II IWAD file to replace the old one.
You should see the HUD graphic extend to the sides after importing the Unity port’s Doom or Doom II widescreen HUD into the Final DOOM IWAD (using TNT: Evilution as an example). Repeat this for rest of the IWAD files for both games. After importing the widescreen HUD graphic into the Final DOOM IWADs, now you can click to File → Save or use Ctrl+S on SLADE to save the changes.

If you followed these instructions carefully, you can now enjoy a consistent widescreen experience in DOOM Classic‘s Final DOOM add-ons.
Alternative Steam Library UI assets
While some of the default Steam Library UI assets are not bad, I think we can give these games’ respective Steam Library UI look something more comparable to the recent Unity re-release or change them or something more faithful to the original artworks while working with the constraints that the Library UI allows. I put together this pack of images from editing some official Doom artworks and others from SteamGridDB. View the included readme file on how to install these files onto your local Steam Library UI cache. Although some of these images I’ve edited with GIMP and Paint.net, I do not take credit for these images and credit should be given to the respective creators of said images.
- Download Classic Doom Steam Library UI Pack[drive.google.com]
Credits and closing remarks
I hope this helps those looking to try out the new Unity ports of Doom and Doom II enjoy these games with some of their original features restored. I want to thank the respective authors below for the tools used in making these tweaks possible for new ports of Doom, without them this guide wouldn’t be possible.
SlayeR – Author of the SLADE editing tool which helped restoring the original medkits and Wolfenstein textures into Doom Classic and Doom II Classic.
Hugh “Jim” Bailey – The original author of OBS which was used to make the Intro Skip Mod.
General Plastro – For showing how the original medkits can be restored in the official Doom 64 re-release, which helped with importing/exporting the files into WAD files for these Unity ports.
Garret from PC Gaming Wiki – For giving me the idea for the Intro Skip mod for Doom Classic and Doom II Classic with his Fable: The Lost Chapters Intro Skip mod.
[link] [link] [link]
More DOOG.
Source: hinghoi – [link]