Overview
Signal Simulator is a uniquely crafted yet very complicated game, which currently lacks an in-depth community guide or Wiki. So, that’s what this is for! Any and all help is greatly appreciated, so if you’d like to contribute please leave a comment down below. (Please be aware that, since the game is in early access, this guide may not be 100% accurate all the time. I will be making edits whenever possible though, so keep a look out!)
Foreword
Hello everyone! This will soon be the first community guide/wiki for Signal Simulator, but it’ll take a while to get everything together. So while you wait, why not leave some comments about tips, tricks, and secrets you’ve found out while playing? Thanks a lot!
(Special shoutout to IGP, the https://www.youtube.com/channel/UCBGbTTcgn8AVEsEWdT3tI3Q! I wouldn’t have found this awesome game without you, and please keep up the amazingly unique content! If anyone wants to watch his latest and greatest Signal Simulator gameplay, then here you go! Sit back, relax, and enjoy!)
Understanding Your Workspace!
-
Misc. Information Monitor
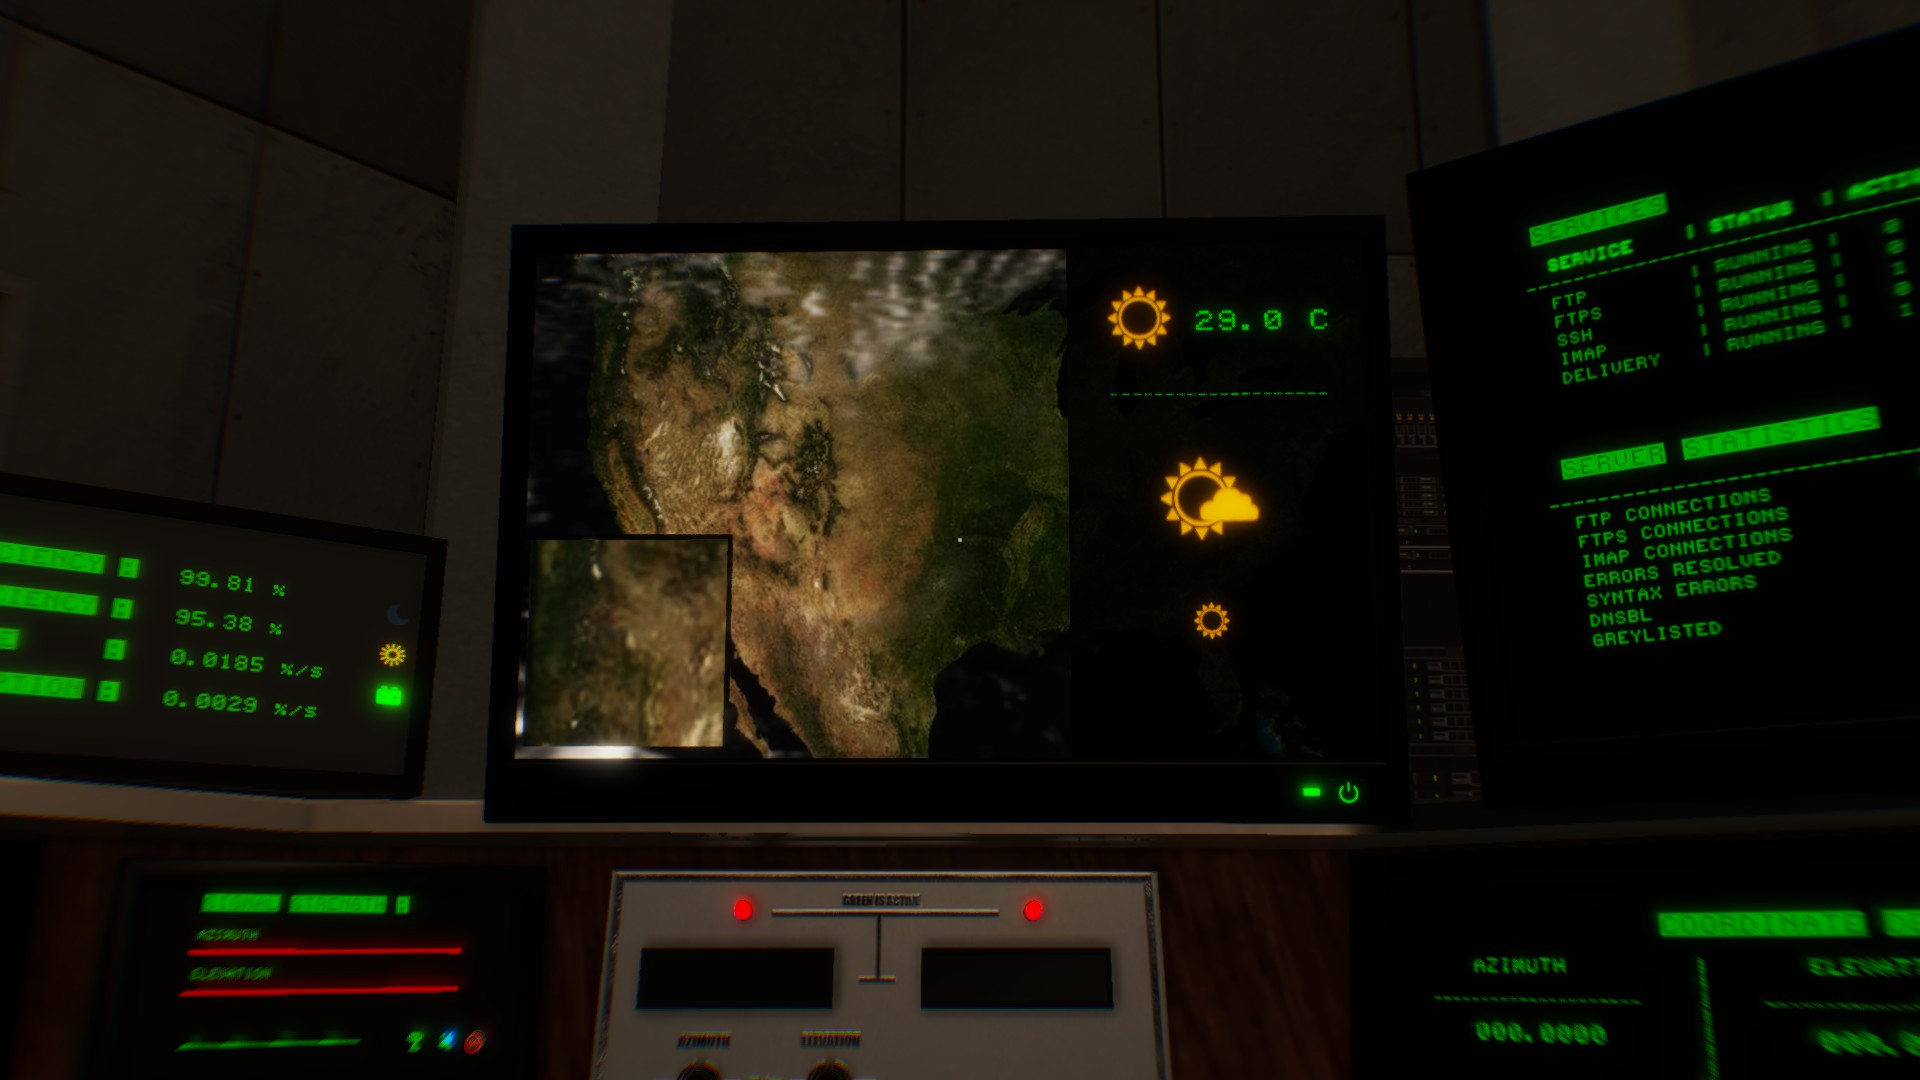
Despite its placement in the “Minor Systems, Screens, and Devices” section, the Misc. Information Monitor (hereafter referred to as the MIM) is located in the exact center of your workstation and contains info on ALL of your systems. Everything from your energy, server temperature, signal download speed, and more! If you want to know if something is going awry in your systems, check the MIM!

-
The Laptop
Possibly one of the most important parts of your workstation, the Laptop contains a multitude of various functions which will be explained in detail in a later section. For now, however, it is important to note that the Laptop contains your ever-important the sky scanner (the first step in detecting new signals)! The Laptop is located to the left of the MIM, and is easily distinguishable from everything else with its logo of a red UFO on the top.

-
Signal Detection System (Frequency)
This device is the next step in detecting signals, as well as the easiest step. Each signal will have a unique and randomized frequency which can only be found by increasing/decreasing the current frequency with the “Manual Mode” dial or by pressing the button labeled “Tracking” (which does your job for you if you have electronics). The frequency can be anything from 1000 MHz to 9999 MHz, and the easiest way to find the frequency of your signal is to continuously increase/decrease it until the light labeled “Coordinates Detected” turns green.

-
Signal Detection System (Coordinate Detection)
The Coordinate Detection system is located to the right of the MIM, and will provide you with the Azimuth and Elevation needed to start downloading your signal. The system does have a margin of errora, while also providing a calculation of the highest/lowest number in each set plus the average between the two. While the accuracy does eventually get better as you upgrade your system, it is recommended to try doing the math yourself. A very simple and effective website created by a fellow player is available here[dcay.github.io], and can make your job MUCH easier.

-
Signal Detection System (Antenna Rotation)
This panel, located to the right of the MIM, is where you input the average Azimuth and Elevation you’ve acquired from the Coordinate Detection system, using the “10 deg”, “5 deg”, “1 deg”, “0.1 deg”, and “0.01 deg” to increase and decrease the Azimuth/Elevation. Once you have your coordinates where you want them, push the “Start Rotation” button and the antennas will begin moving. (Note: This process can take a very long time depending on the distance the antennas need to travel, so be prepared to have some downtime.) Once they are in position, don’t be surprised if you don’t instantly get the signal. You will need to fine-tune your coordinates to pick it up, so be sure to use your Signal Strength device to hunt down the exact coordinates!

-
Signal Detection System (Signal Strength)
This small device is located between the Coordinate Panel and your Coordinate Detection system, and can be used to see how close you are to the correct coordinates. You will know you have one set of coordinates correct when moving the other set does not decrease the strength. Also, it displays whatever modules you currently have installed via colored icons in the bottom right. How convenient!

-
Signal Detection System (Signal Download)
This screen is located to your far left while sitting at your workstation, and will only activate when you have found the correct coordinates for the signal. Your signal will be slowly but surely downloaded to the database from here, and once completed the signal will be turned to binary and decoded. Usually you will only get a random array of numbers and letters, but sometimes you may get something… Unique.

-
Signal Information Monitor
The Signal Information Monitor contains (as the name suggests) various information about the signal you just detected from the stars. Information provided includes signal status, radio telescope status, star/planet/object of signal origin, star/planet type, and signal type. This information may seem random at first, but veteran players know that this screen can potentially give you an early warning of this signal’s importance. When combined with signal audio, you can potentially separate a random signal from something important with nothing more than this screen and the audio from the signal itself.
-
Power Overview Screen
Located directly up from your default position at the workstation, this screen displays extremely helpful information on everything you need to know about your systems. Your system efficiency (AKA your power), your charge efficiency, your current rate of charge, and your current power usage. System efficiency can be increased by keeping your charge rate in the positives, while your charge efficiency can be increased by cleaning your solar panels (will be explained later).

-
Weather Screen
This screen, located up and to the right of the System Information Monitor, provides a detailed view of current and upcoming weather conditions. While not necessarily as important as the System Information Monitor, it’s still a good tool for knowing when is a good time to clean up the solar panels and when is a good time to fire up that generator!
-
Coffee Cup
While not necessarily a system, screen, or device, this item is still a (surprisingly) interactable component of your workspace! I personally have not found an in-game function for this cup of piping-hot cofee, as the resting mechanic does not appear to be anything more than an optional means of changing the in-game time, but when interacted with your character will take this cup and take a swig. That’s about it. When your mug is empty, you may refill it with the coffee machine located in the Kitchen.

-
The Radio
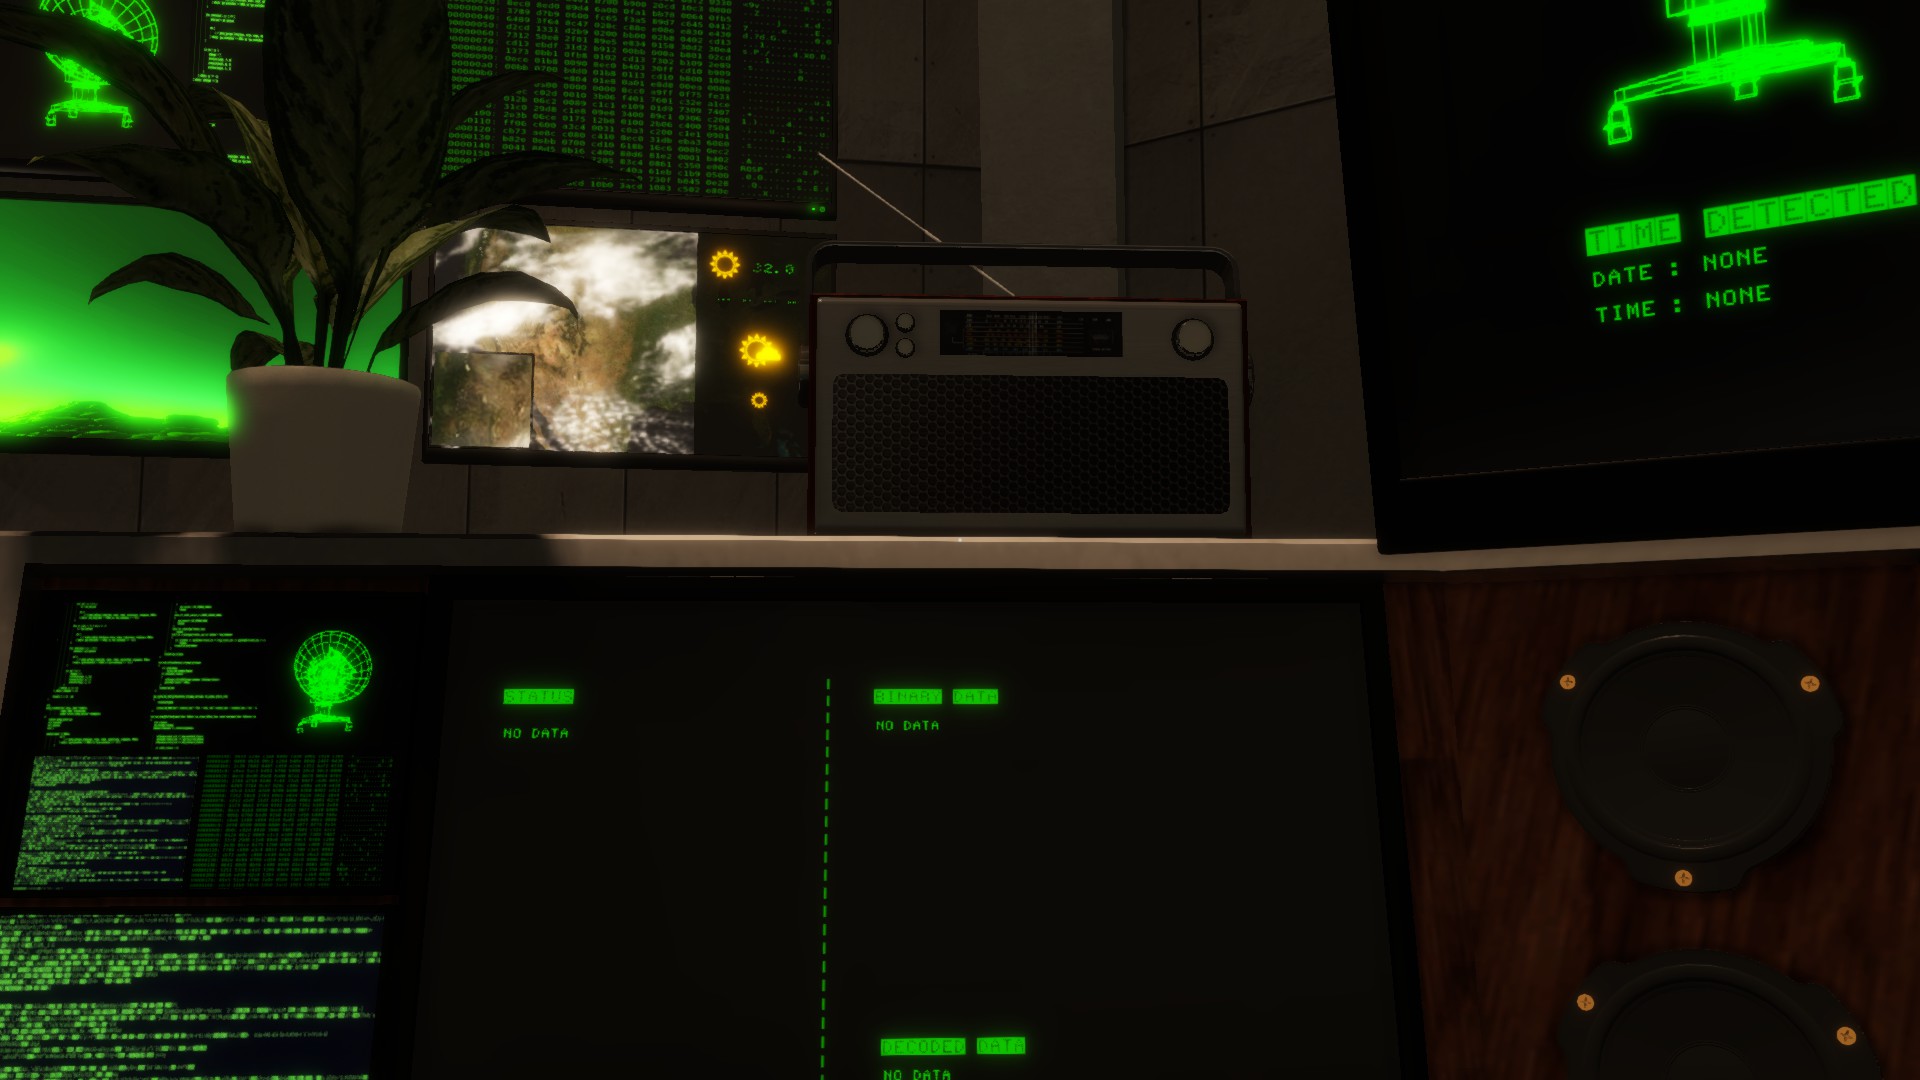
Feeling lonely out there in the middle of nowhere, with nobody except your *ahem* “imaginary friend” to keep you company? Need something to listen to so you don’t go crazy from lack of human contact? Well then, the Radio is for you! This wonderful little thing plays actual podcasts, NASA recordings, and much more! One of my favorite recordings is the one from Neil Armstrong’s famous touchdown on the moon (and it includes his even more famous speech!). And if you haven’t grabbed it yet, the Flashlight can be found right next to the Radio too!
Your New Home! (Main Office Area)
Your main office is where your workspace can be found, and holds more than you might think!
-
Workspace
The heart and soul of your entire operation, the Workspace is located in the very center of the Main Office Area. As its name might already suggest, this is where you will be doing all of your signal detection work. Of course, you could always just remotely control your antennas and whatnot, but you can’t do EVERYTHING that way! That’s why it’s important to not rely so heavily on being able to do your job from the antenna terminals.
-
Energy Distribution Controller
Located to the right of your workstation, this small series of switches control your electrical priority. This means that, if you turn on the switch labeled “Server”, it will draw energy from all other systems to speed up your download speed. However, that means that your other systems (meaning your coordinate detection’s error margin and antenna rotation speed) will suffer decreased efficiency as a result. To return your energy distribution to its normal state, simply turn off any switches you currently have on.
The Solar Panels
Outside of the main building is a small group of ten solar panels, with a maintenance box beside each panel for cleaning. The panels themselves do nothing but provide you with power, and the big part of what these panels are about are located within the maintenance boxes. Inside is a Power Overview Screen and a big red button. Pushing this button will begin cleaning that panel and increase your charge efficiency by roughly 10%, so keeping all of your panels clean during the day willl keep your system efficiency from dropping. Whenever it begins to rain, however, charge efficiency drops to 30% of what it normally would be during the day.

The Antennae and You
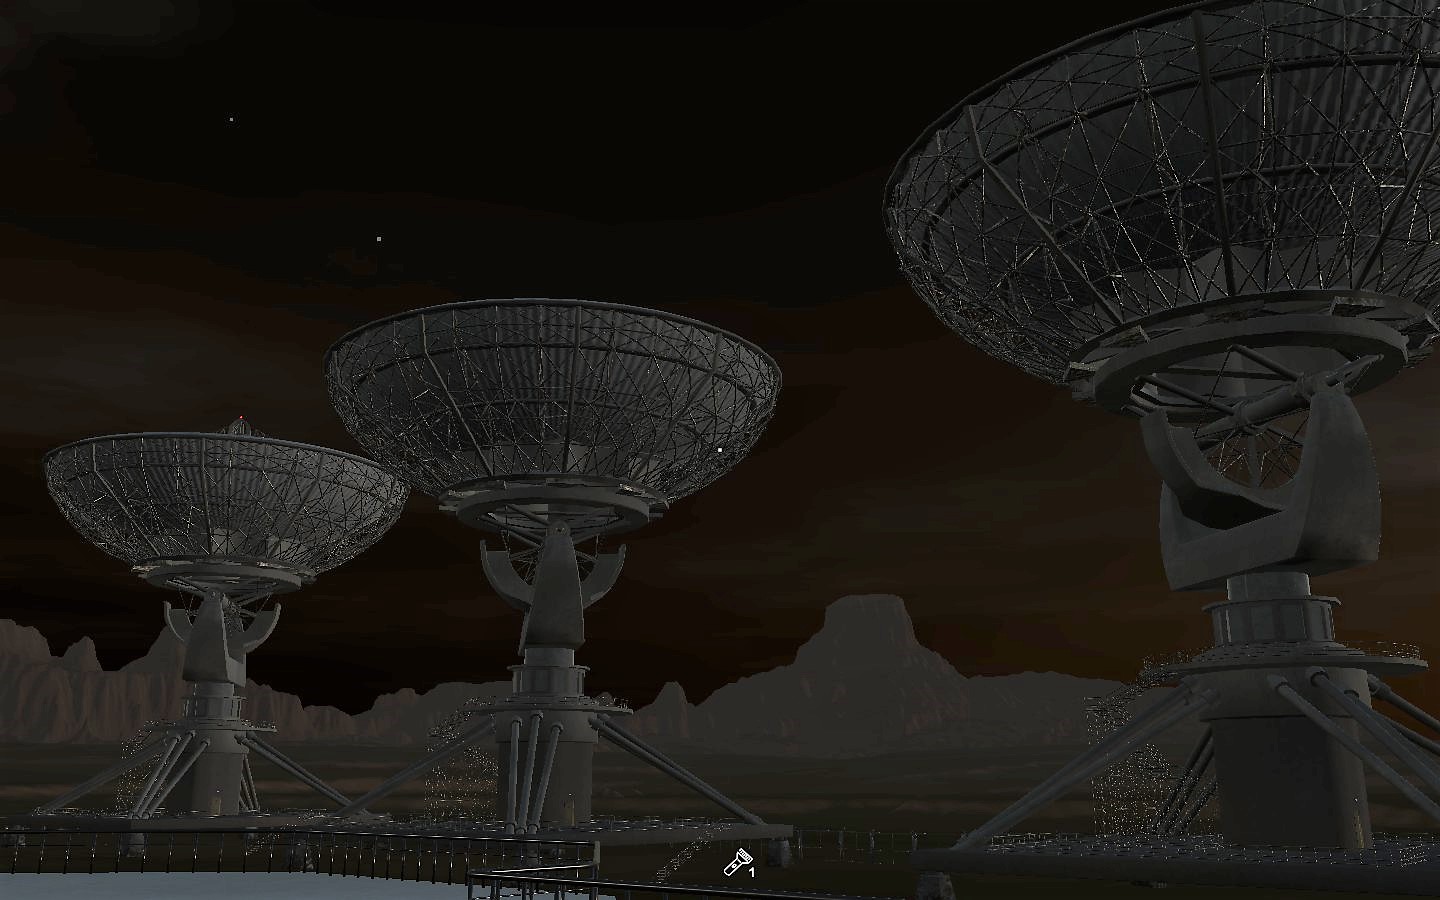
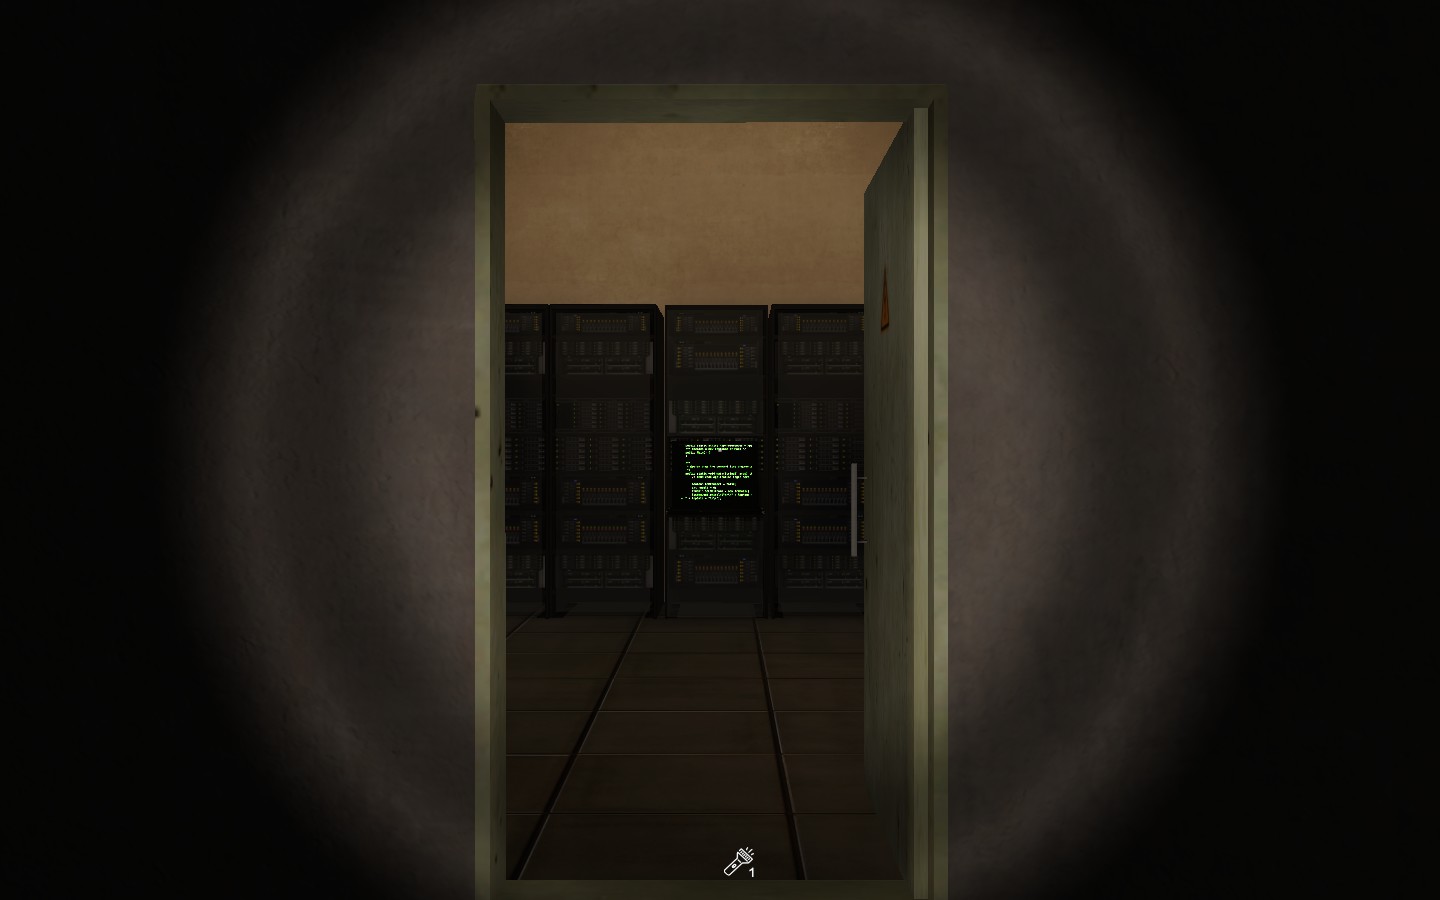
Outside of the main building are a set of 5 SETI radio antennas, with a mini server room on the first level of each one. Antenna 01 is the one at the end closest to your building and Antenna 05 is the one furthest away. Sometimes the antennas will experience problems, and rebooting them from the Terminal in your laptop won’t always work. In these situations, you’ll need to travel to whichever antenna is experiencing problems and manually reboot it from the server room inside.
The Database
The Database holds every signal you’ve successfully downloaded and decoded, and organizes them into one of three catagories depending on their importance.
- Random Signals- A majority of detected signals are random and have no signifigance, and will be put here once fully downloaded.
- Story Signals- Sometimes, signals end up being a lot more than random letters and numbers. While harder to find and usually larger than a random signal, these signals contain secret messages encoded within. Aliens? Secret human bases? Hoaxes? It’s up to you to find out…
- Event Signals– ?????
The Terminal
The Terminal acts as a sort of system overview of the antennas, the temperature of your servers, as well as a few other helpful commands that’ll make your job much easier. (Commands and their definitions are to be added this afternoon, so keep your eyes peeled for that and more updates to the guide!)
Upgrades and Modules
[PLACEHOLDER]
Tech (Items, Fuel, Etc.)
[PLACEHOLDER]
Tips and Tricks
[PLACEHOLDER]
Secrets!
Coming soon…

