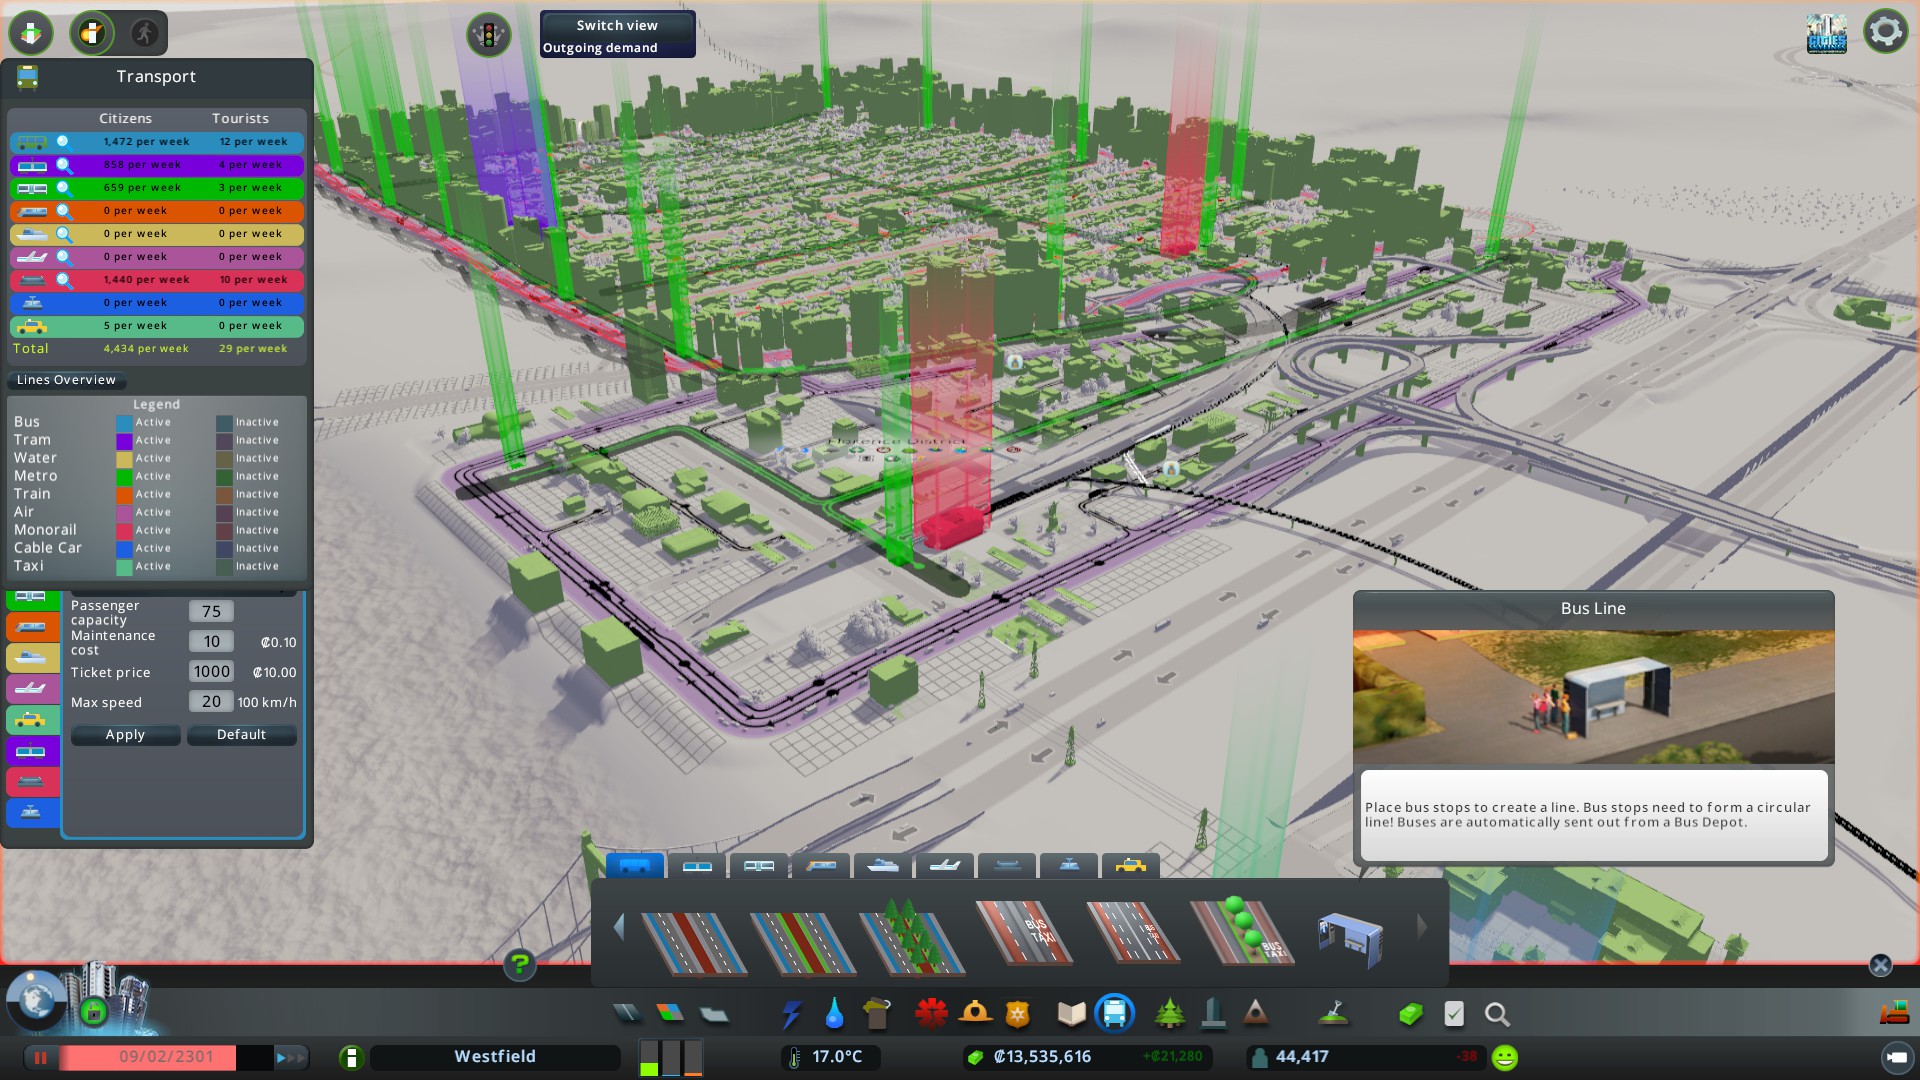
Overview
One of the very first suggestions; (from the discussion linked below) from someone with what they’re having trouble with is buses.http://steamcommunity.com/app/255710/discussions/0/1473095965286396659/I’ve also noticed when skimming through the community hub or discussion board a lot of people don’t seem to know exactly how they actually work.Hey it’s okay I didn’t either at first, so here’s a step by step guide for you.
Introduction
Firstly, please feel free to add in any opinions you may have with any parts of this guide.
The humble bus is the first form of transport available to the player unlocking with the “Boom Town” milestone when your population hits 2600, not to mention the cheapest, most beneficial and easiest to cover your city with. They take your cims from A, to B. Plain and simple. The main goal is to get those cims there as fast as possible.
Pros;
- Bus stops and lines are free to place and can be anywhere (so long as there is a road).
- Buses can drive on any “level” (ground, elevated, tunnel) of any road.
- Buses can form cheap and effective transportation links (when done properly) as they have a very low upkeep cost compared to that of other transport forms.
- Roads can now have dedicated bus only lanes to reduce congestion, though are only available with the After Dark DLC and the Mass Transit DLC.
Cons;
- Buses pulling in and stopping may block traffic and intersections.
- The dedicated bus lane roads will still be used by all other vehicles, especially at intersections if they are a dedicated turning lane. The design of this road means buses will favour the bus lane over the normal lane/s. (This can be fixed with mods, which will be looked at later).
- Efficiency of your bus system is heavily affected by traffic.
- The upkeep cost still is the cheapest form but with the Parklife DLC update the cost becomes (depot+12/bus/week). So it is now much more difficult to earn a decent profit.
- “Bunching” issues.
- Small capacity (30 cims).
1: Bus Depots
Before anything else, please follow this first simple step; and construct a bus depot.
Bus depots supply buses to your lines and one must be built before you are able to place and draw lines.
Click on the “Transport” tab down below and select the bus icon, click on the first building which will be “Bus Depot”. Place the depot wherever you like.


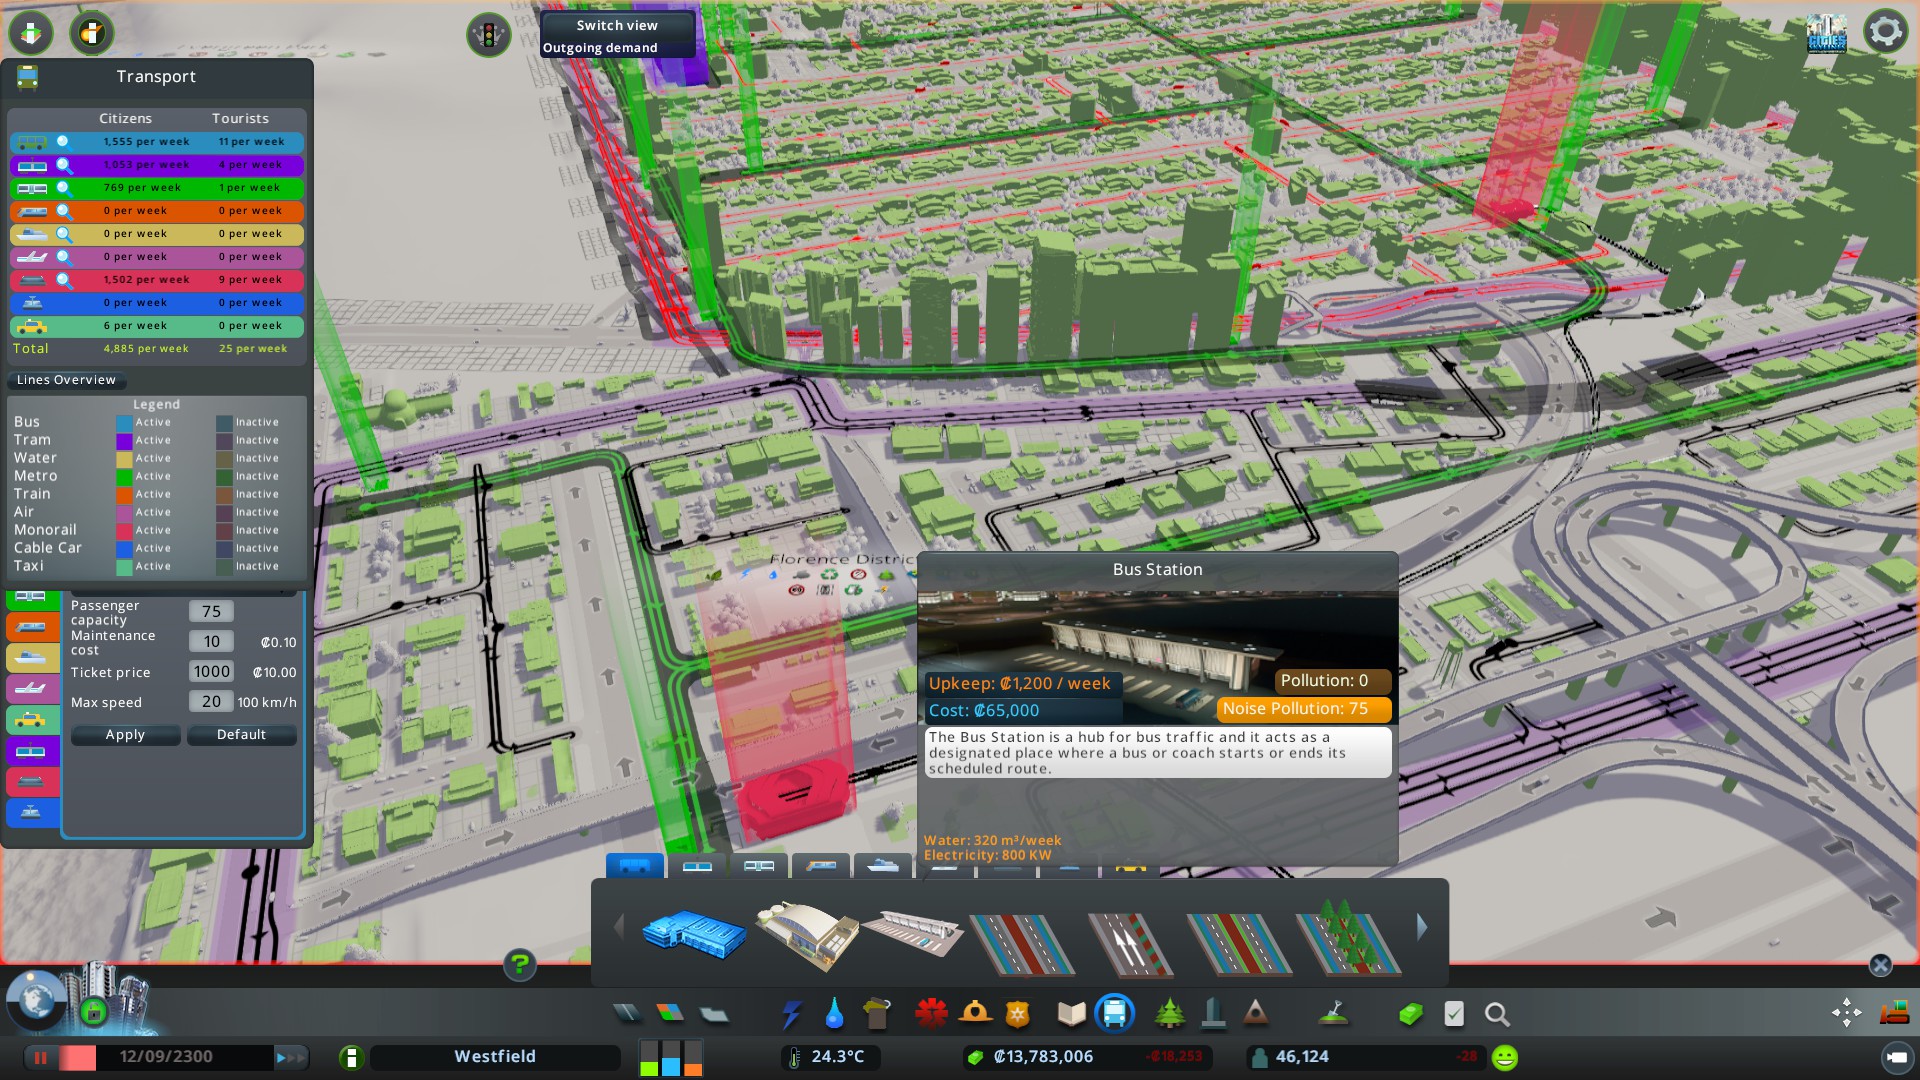
No matter what type of bus depot you are placing, bus depots have nothing to do with routes, stops or your cims. It dispatches buses, that is all. It is simply a large, loud garage for your buses, and when I say loud;
I mean loud! It creates a radius of 50 noise pollution, which can be seen by the red circle when placing. So make sure to place it well away from your residential areas so the noise doesn’t upset them.

I need to move my depot!! Do I have to delete all of the lines I’ve already placed??
A common mistake players make is thinking you need to delete all your lines before you move your depot. This is false, you do not need to delete any bus lines to move your depot. Simply click the depot, followed by the button “Relocate Building”.

Is there a benefit to multiple depots?
A single bus depot can spit out 125,000 buses at max, (yes you read that right,THOUSAND) so one is sufficient for smaller cities.
Though keep in mind;
- When the day/night budget is set differently a portion of the buses will physically return to their depot at nightfall, meaning they will (regardless of passengers) start heading back to the closest depot and
- Vice versa in the morning, all returning to their route.
Larger cities may require more than one depot. If, as your city neverendingly expands, this is starting to become a problem on the road of the depot, build another depot on the opposite side of your city/map to allow separate spawn points for your buses reducing congestion around the depots.
There are currently four depots available, as shown below;

They each have their own uses and certain aspects in which you would favour one over the other;
1. The biofuel bus is an alternative to the regular bus depot and sends out more environmentally friendly buses. The depot itself requires less; space, water, electricity and produces considerably less noise pollution. The buses are also quieter as they drive along their route.
– This bus would be excellent to use if you are working on or towards a more eco-friendly district or you would like to be more eco-friendly in general.
– You could also keep your old depots or replace just one to have some of your buses more eco-friendly.
2. The sightseeing tour bus acts as a new form of “attraction” for the tourists and even your citizens. Set your lines through high appeal areas and not only will they act as an extra source of income, but they also boost the effectiveness of the parks, plazas and unique buildings along the route.
BUT, keep in mind because they visually have a different stop, the standard bus stop and tour bus stop are mutually exclusive; meaning, they cannot share the same stop. A tour bus stop also cannot use any platforms of any of the bus hubs.
I (as mentioned before) use them for my “leisure” lines.
3. The trolleybus is basically a trackless tram and operate in a similar manner to trams rather than buses. The fact they were implemented at all baffles me because of how technically (and mathematically!) complex they are!
The trolleybus (much like trams) require their own electrically wired roads as the electric buses draw their power from the overhead cables, though the difference being, because they’re not on tracks they can change lanes and pull into a stop on the side of the road. As the bus is moving along route the poles connecting bus and wire rotate and tilt to stay attached to the wires.
The trolleybus poles must be attached to the wires at all times including the road from the depot to the lines you have set. They cannot share intersections, roads or stops with trams.
– I use them in my high density areas purely just for aesthetics, but also mentioning, even though they run entirely on electricity they still only use 800 kW and the buses themselves run almost silently.
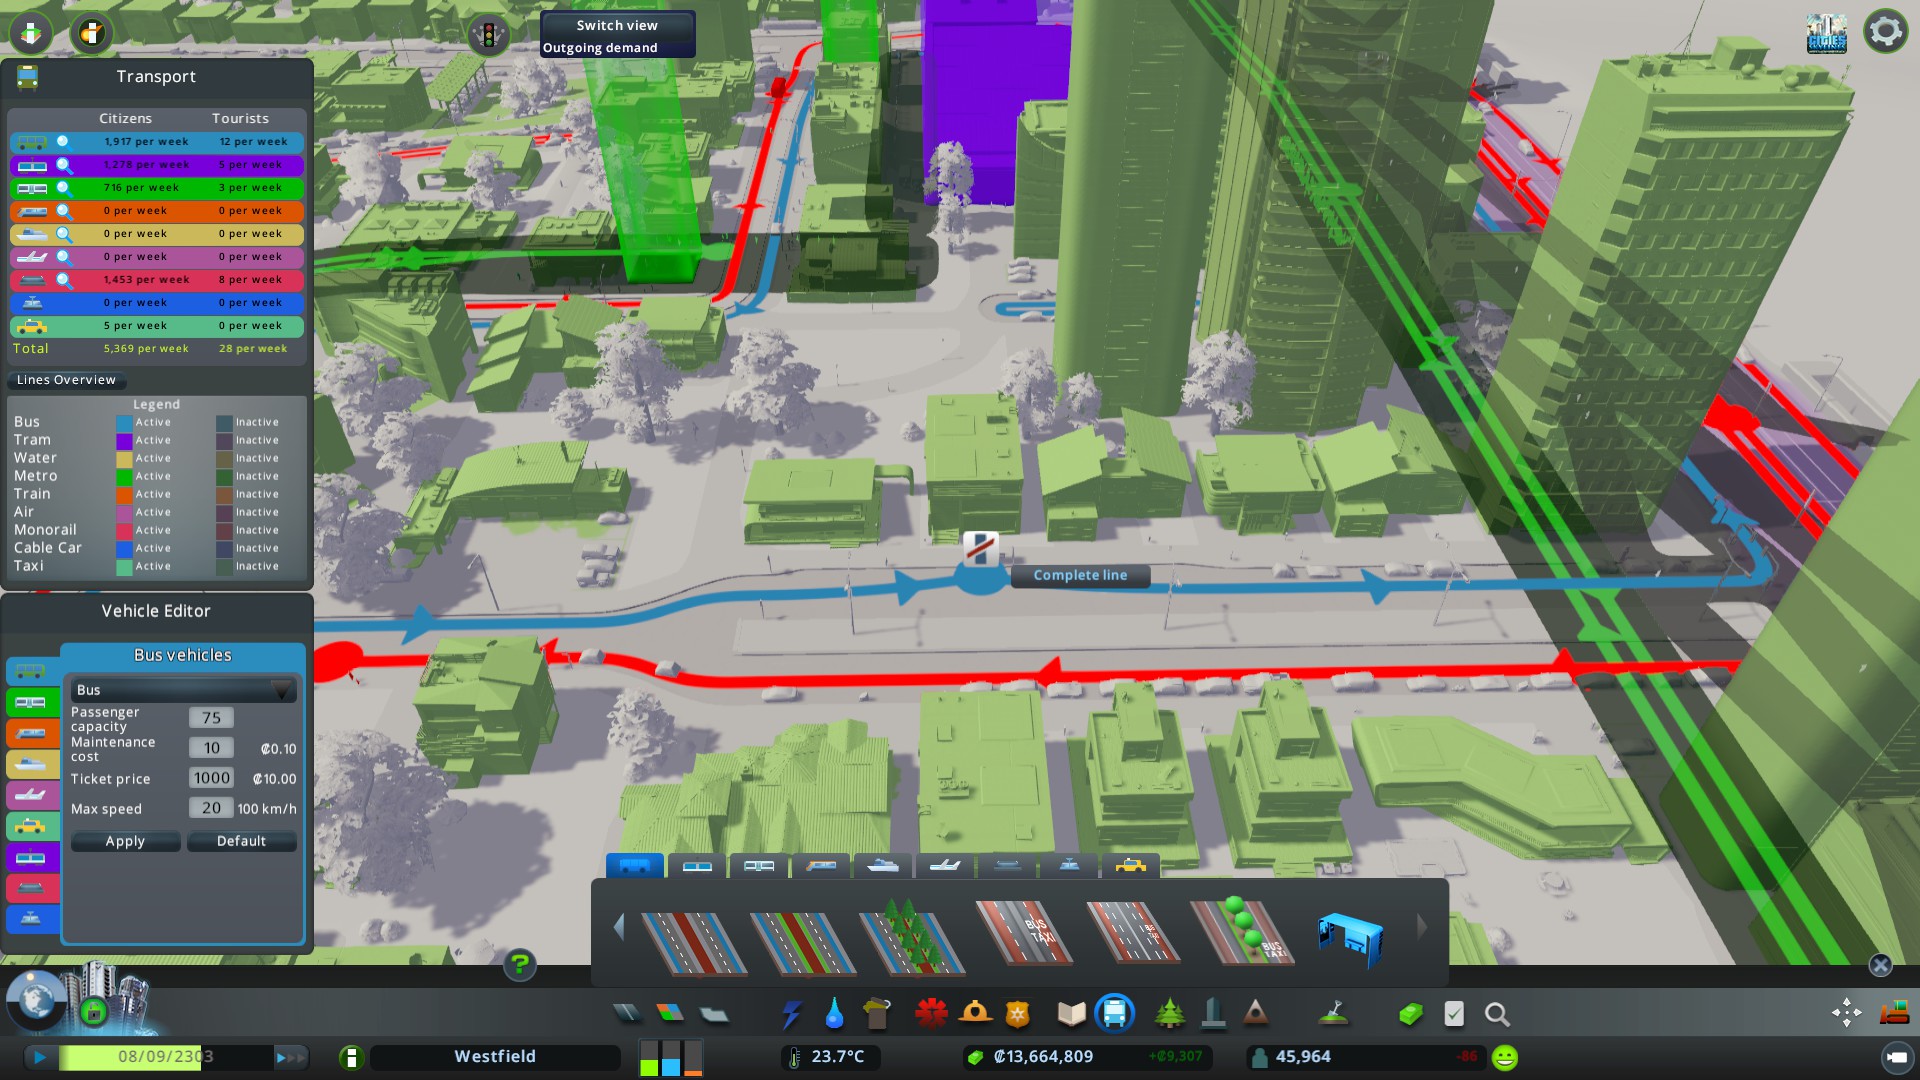
2: Setting your Lines
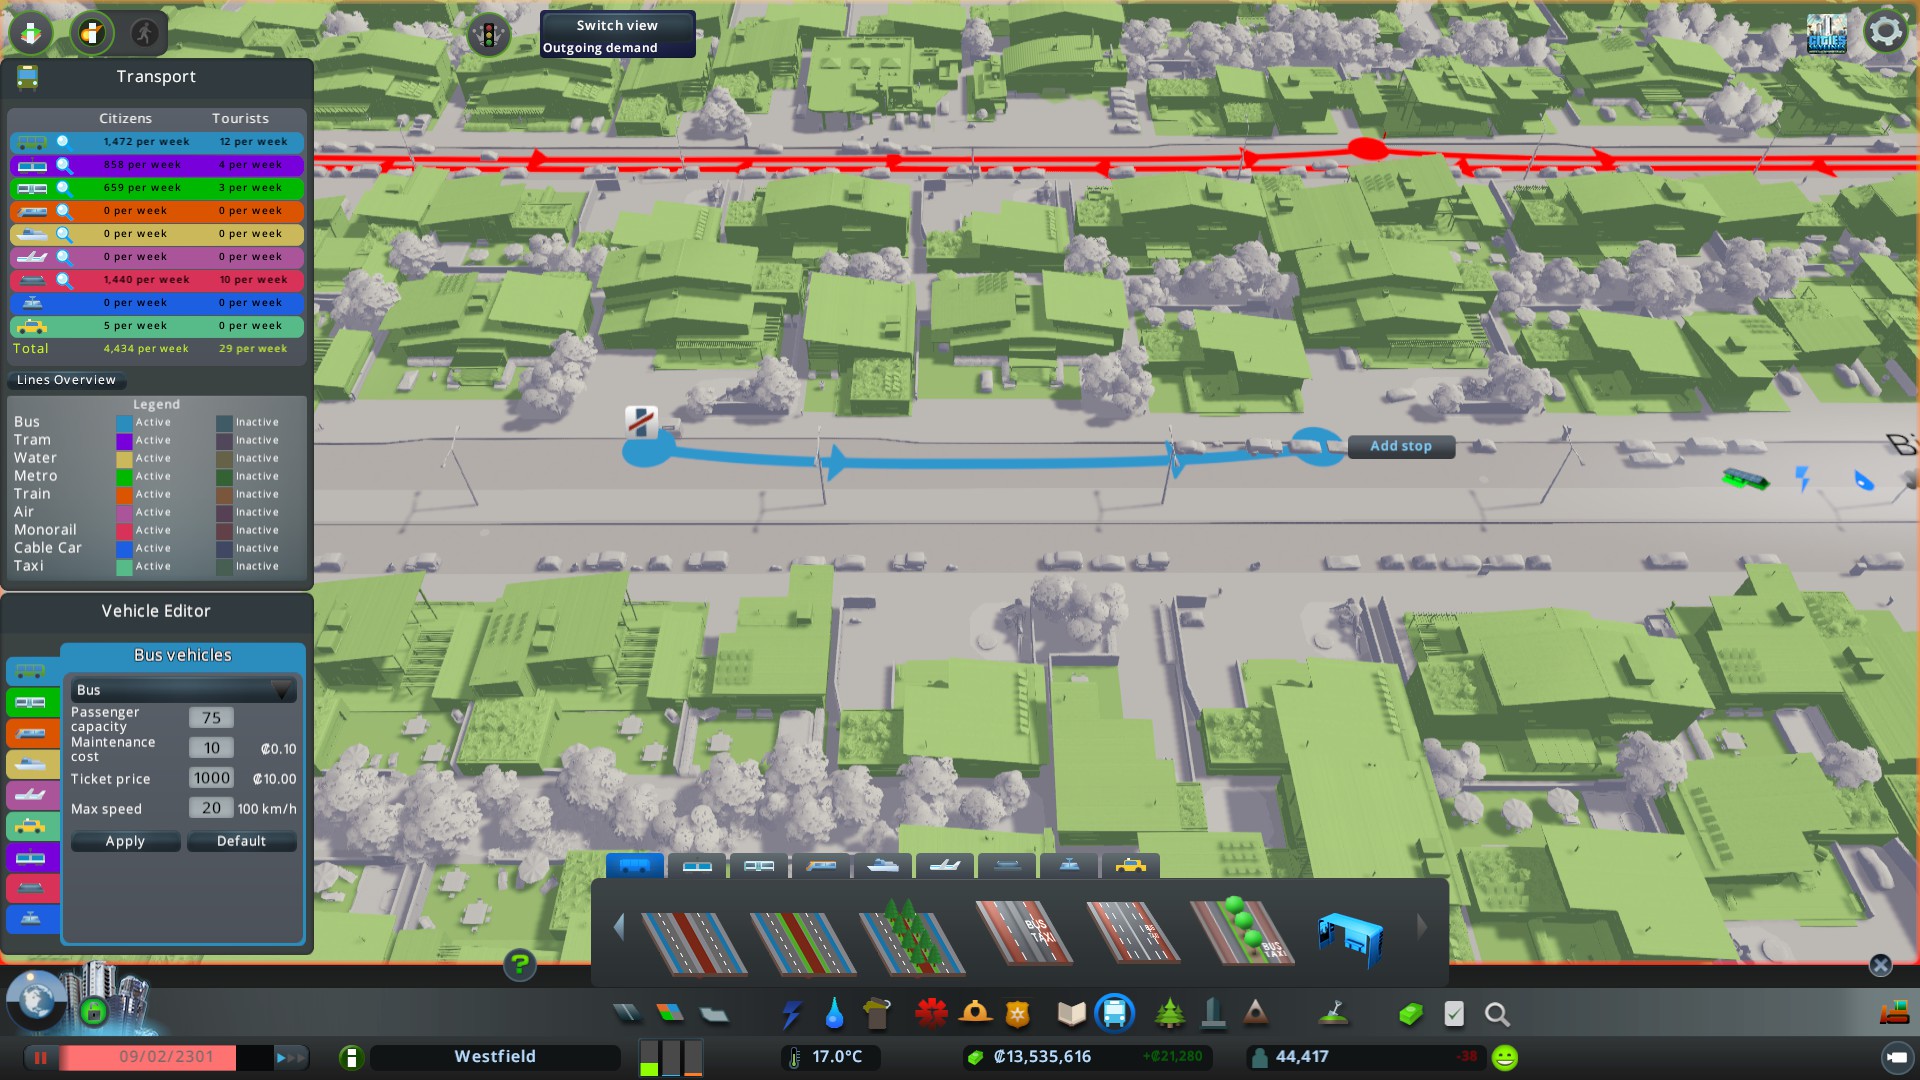
Creating bus lines are pretty straight forward. Click on the “Transport” tab down below and select the bus icon. Scroll to the end and click the “Bus Line” tool.
Simply click alongside any road to start your bus line;

and, continue clicking along the road which will then place down stops;
Keep in mind to avoid placing bus stops near or right next to a major intersection as they can block traffic and other buses while passengers board the bus.
How do you delete a bus stop?
If you are currently creating a line and don’t like where you have placed it, click the right mouse button once and it will remove it, taking you back to the stop placed before it.
If you have already completed the line, click on the “Transport” tab down below and select the bus icon. Scroll to the end and click the “Bus Line” tool, then hover over the “unwanted” stop with your mouse and right click.
3: Line Length vs Amount of Stops
Which is better?;
Less bus lines but more stops, or more bus lines with less stops?
Place as many or as little bus stops as you like, they are free to place;
But keep in mind;
The maintenance cost of your bus system is determined by the number of buses on your lines.
The number of buses on your lines is determined by;
- A. Your bus budget,
- B. Line Length,
- C. Amount of stops, and
- D. (optional) How you have your day/night cycle for that bus line set.
A longer bus line uses more buses and a shorter bus line uses less buses, not to mention the more stops on a line will also increase the amount of buses on said line.
The longer the line the less bus stops there should be.
Long routes means more travelling time and more detours and so people are less likely to use your bus routes to where they want to go.
Makes sense if they can get to their destination faster by taking the direct route in a car.
Less frequent stops for sprawl or express routes and more frequent stops for dense or local routes.
You will also need to take into consideration if a bus takes someone somewhere, it, or another mode of transport will need to bring them back, don’t leave part of your city transit-less, or the system will be unreliable and there will still be a lot of car rides.
The distance between stops is completely up to you, but more is not always better. The best indicator is the green smiley faces that pop up when placing a stop, showing you those that are directly in reach of the stop (roughly 10-12 units).
Place them too close together and you’ll have unused, empty bus stops which are a waste of time for buses to stop at, and, place them too far apart and the people just out of reach of either stop will choose to drive instead,

Though keep in mind as you add more into your city, more people move in and you change things around you will need to make changes to your lines to accomodate for this. There’ll be more on that later though.
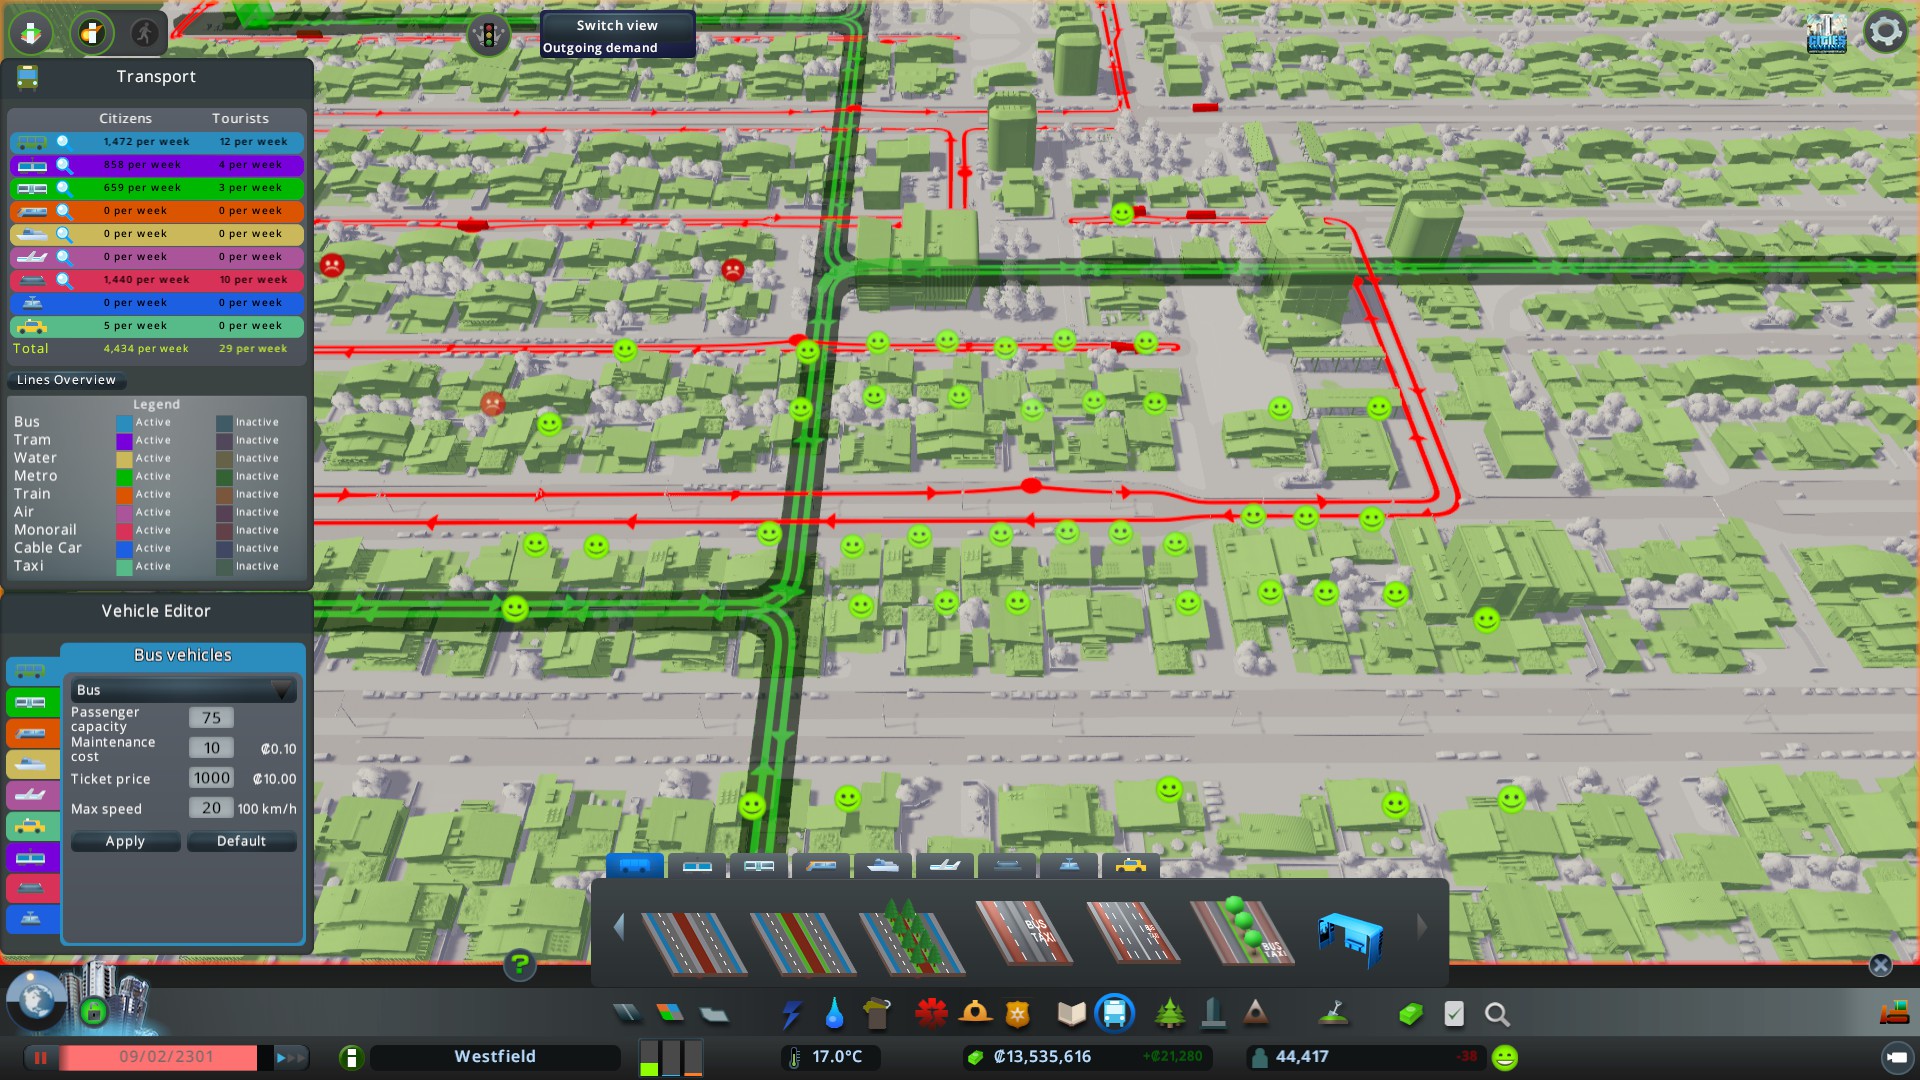
One bus stop can handle 2-3 busy bus lines at the same time, provided the number of buses on the lines aren’t too high. If you put this into perspective, this is roughly 4-6 buses at minimum that may on the off chance pull into this stop one after the other sometimes even at the same time.
Can your streets and traffic handle this?
Something to take into consideration when setting your lines.
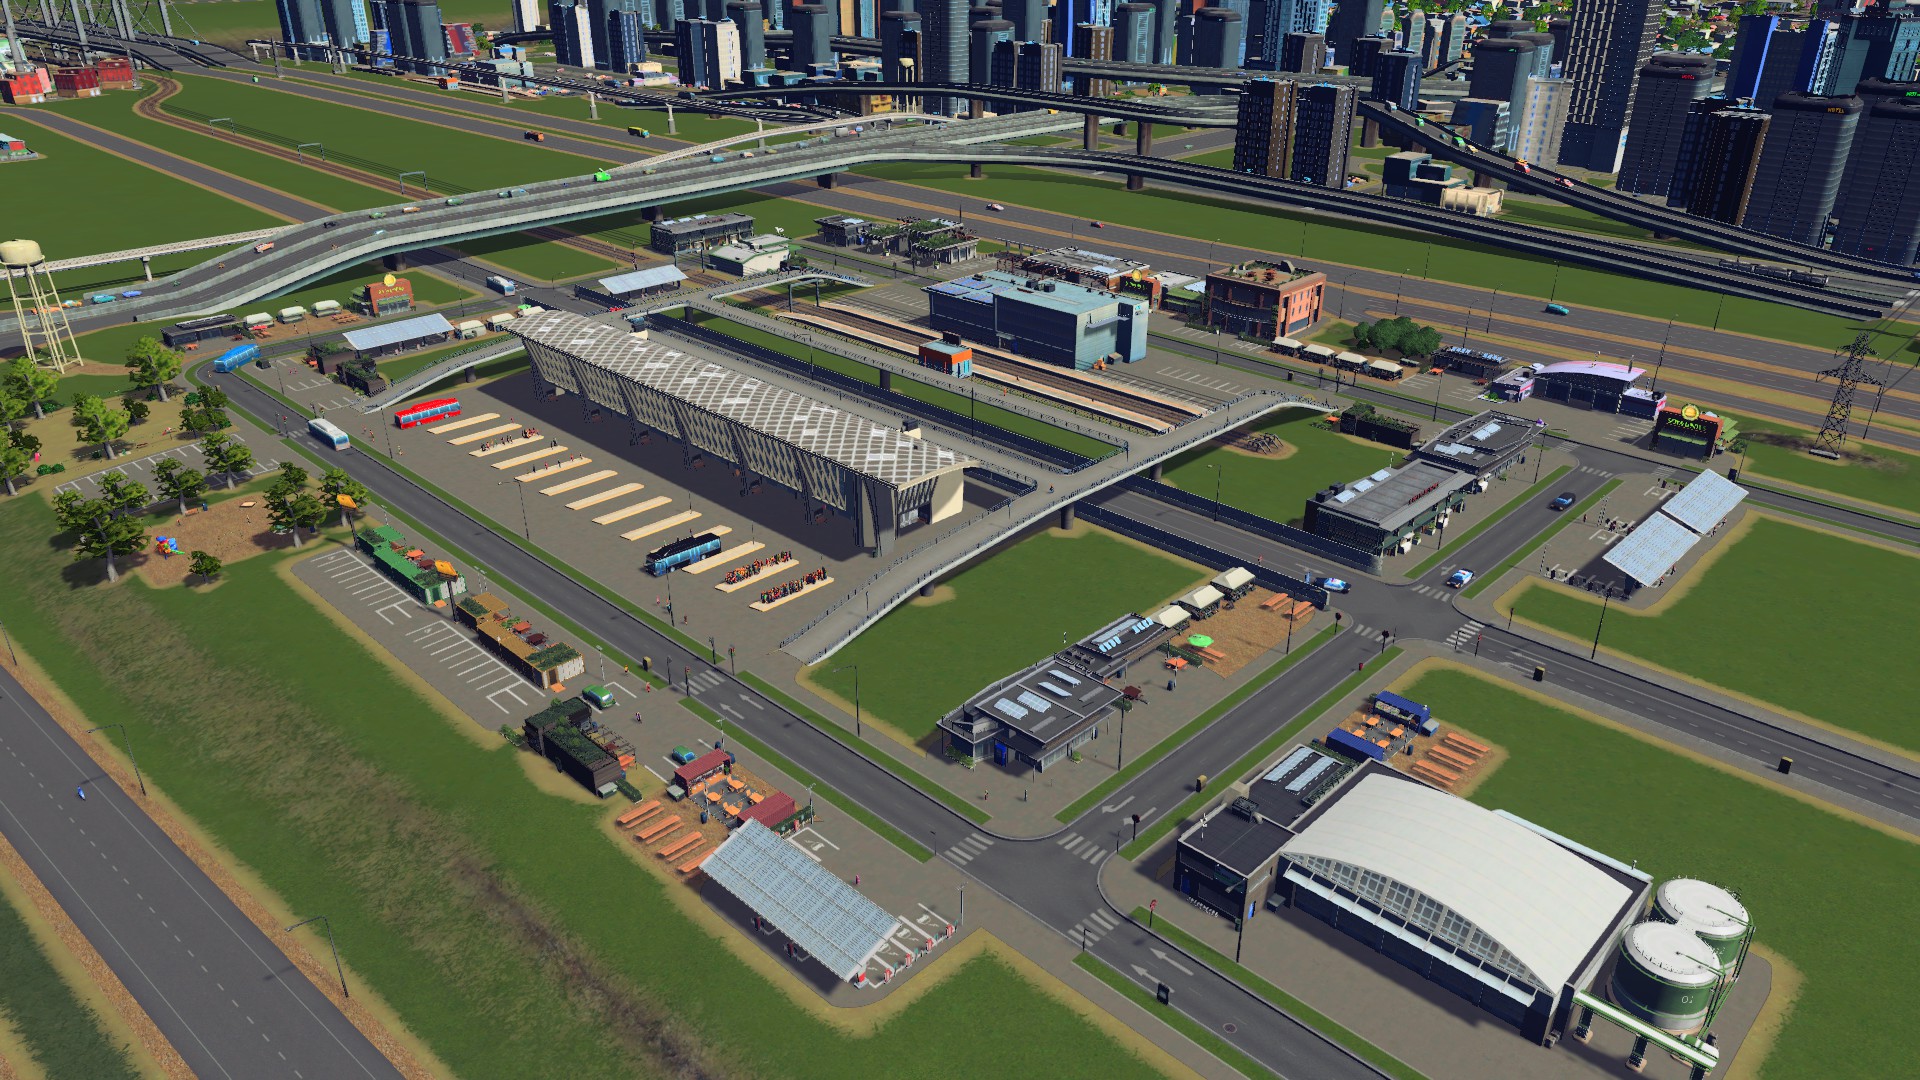
Conveniently if you need more stops in one particular area that’s where the Bus Station comes in handy;
A standard vanilla Bus Station can support up to ten simultaneous bus routes that can drop off, transfer and pick up passengers enabling transfer between lines, essentially acting as a “Hub”.
It helps cut down congestion as buses stop in the building instead of infront, on the road.
4. Buses = Feeders.
See, in the unmodded vanilla game, each bus has a capacity of 30 cims, which, realistically sucks.
Though even so, take this as a guide, bus trips are meant to be quick and short and as unrealistic as it is, they are not meant to transfer over long distances, unless it’s to an exchange hub.
(Well that’s my opinion anyway)
Buses simply gather those within a district and feed to the next mode of transport or connect residential to nearby commercial, industrial and office (cims do not travel residential >residential).
I’ve deleted, re-done and changed my bus lines so many times I’ve lost count, each no better improving than the last.
Over crowded stops and others empty which is an obvious indicator of a failing public transport system. Take a break and actually watch your traffic. It’s really part and parcel of running a transport system. You need to monitor it. That is and will always be the best advice for fixing it. “Spot check” occasionally, sort your lines by highest passenger count and look down the route at the passenger count. If majority of the buses are carrying less than 50% of the total bus capacity for a particular line, reduce the number of buses on that line, and vice versa if a stop is struggling or if it has a noticeably high passenger count you may need to figure out where they are heading to and consider creating new lines.
The amount of buses dispatched can be changed by increasing or decreasing the bus budget system, but for the sake of your income, and your traffic flow I suggest keeping your budget between 80-100% depending what you can manage.
Simply add more lines if you need to.
This has the most beneficial economical ratio.
Going lower or higher increases cost to performance ratio; It costs roughly the same to add a second line then to increase the bus budget system.
That is why and where other modes of transport come in.
Public transport does NOT need to cover every square inch of your city and roads.
Cims have no problem changing between several modes/lines of transportation.
5: Finishing Your Line
Once you’re happy with your line, complete it by looping it around and making your last stop connect up with your first stop. The first stop has an icon with a line crossed out indicating it is unfinished. All bus lines must be set as a “loop”.
As shown below;
Once completed, the line will automatically start (buses will be despatched). Buses start their journey spawning at the bus depot and will head to it’s assigned route, pulling into the stop of the first bus stop set.
6. As Your City Grows, So Too Should Your Lines.
As your city grows, changes will need to be made to your public transport to accomodate for this. Here’s a few examples on how to upgrade and improve;
- – Make a Central Station or “hub” for your district, where bus lines and other modes of transport in that district all call through and your cims can easily hop off, switch or transfer lines depending where they want to go.
Add in;
- – A bus line that visits each of your leisure and unique buildings.
(*If you have the Parklife DLC you can use a sightseeing tour bus solely for this line!) - – A bus line that visits each of your schools
(* you can also use the yellow school bus for this line!), and - – A bus line that links your Central Hub and an exchange hub outside of your district (as shown below)
This will help spread out cims through your transport lines reducing your first district bus line passenger count by at least 50% due to the fact they can get where they want a lot faster now.
Here is a list of the current default stations, stops and hubs;

Depending what type of lines you have, each individual line can be fine tuned in sync with the day/night cycle.
- – Only running during the day,
- – Only running during the night, and
- – Running both day and night.

If you have the “NIMBY” policy on in a district cut your “Leisure” line down to 50% at night due to the fact they will all be off. Makes sense right?
Or if you have a commercial area with the “Leisure” specialisation enabled have buses mainly run at night. Little changes like these make a big difference. You just have to think outside the box!
7. Line Details
To see all the information of a bus line and any others that you have created, this can be done one of two ways,
1:
- Click on “Info Views” in the very top left corner, followed by “Transport” which is about halfway down the right side column;

- Next, click on the magnifying glass icon next to the bus tab which will bring up all of your current lines;

- Find the line in the list you wish to see information on and click on the magnifying glass on the right; This will bring up the “Line Details” info box.

2:
- Clicking on one of the buses running that line will bring up a box with information regarding to the line. Here you can rename the bus (in which George can be our demonstration bus), see how many passengers are currently on board and the distance it has travelled on the line.

- Clicking on “Line Details will bring up the information box in regards to it. (Same as above)
Here you can;
- Change the colour of the line AND bus running it.
Wait, the BUSES change colour depending on the line colour??
Yes! It helps immensely with telling lines apart, also the cims waiting on that bus will be the same colour too!
- Change the name of the line.
- See your weekly passenger count, and
- See the percentage of car trips saved.
Not to mention it shows the line itself with the stops (you can click on and navigate to), amount of passengers at each stop, the whereabouts of each bus on the line and amount of passengers on each bus.
What’s the quickest way to delete an entire bus route?
- Select a bus that is currently running that route.
- Click, “Line Details” followed by “Delete Line”.
You can also change the “Line Activity”. Whether you want the bus to run exclusively through the day, night or both. (This option really only applies when you have “Day/Night” turned on in the gameplay settings).
Problems?
As someone mentioned in the comments below, sometimes you’ll come across an odd problem where buses will go down sidestreets that you had no intention of including in the original route.
Why does it do this??
It will only ever happen to multilane roads where a bus stop is right next to an intersection. See, once the bus hops in the lane of the bus stop, it has no choice but to turn at the traffic lights just after it.
Thankfully there are a few ways around this.
- A. One way is to simply move the stop away from the intersection, a stop before, a stop after or put it up the sidestreet it was heading up anyway.
- B. Remove the stop altogether.
- C. Downgrading the road to a two-lane, two-way road which will automatically set the lanes and line markings to a turning lane and straight.
- D. Lastly you can set the lanes yourself, with Traffic Manager: President Edition
Extra Information!
Bus Roads List

Did you know you can have bus stops on BOTH sides of a two lane, one-way street?
- First place the stops on both sides of a normal two-way road.
- Then change it to a one way street!
Conclusion
I hope this guides helps a few people at least, feel free to add any questions below and thanks for stopping by!
May Your City Thrive!