
Overview
This guide aims to tackle any problem one may encounter in their game that could eventually make players frustrated, or worse losing the game. This guide’s content was written based on the network sandbox mode in Normal difficulty in game version Alpha 96, and updated based on Alpha 99, one can expect this guide to be obsolete when the game development progresses.(Update: Nov 2020) Heat Management added, Staff Management and General Tips updated.
Introduction
Overcrowd: A Commute ‘Em Up is all about design and management of train stations. While this game is fun, there are two main issues that players have to deal with in order to not lose the game. This guide would guide you through this two issues, and how to avoid/deal with them.
Station Reputation
The first issue is station reputation. Different station starts with different amount of reputation points, and these rep points would determine if you are doing good or you are gonna lose the game. To begin with, let’s talk about what would cause your station reputation to decrease.
Overcrowded
Perhaps the most obvious one is overcrowding your station, as suggested by this game’s title. Overcrowding is a real issue, and it could cause a lot of problem. For example, later in the game, when first aid box is available for unlock, your commuters would start to get sick, and overcrowding would make the spread of disease prevalent. Moreover, overcrowding itself would generate a lot of negative reputations.
Unfortunately, there are currently no measures to stop commuters from enter your station, however, there are certain things that you can do to control the crowd.
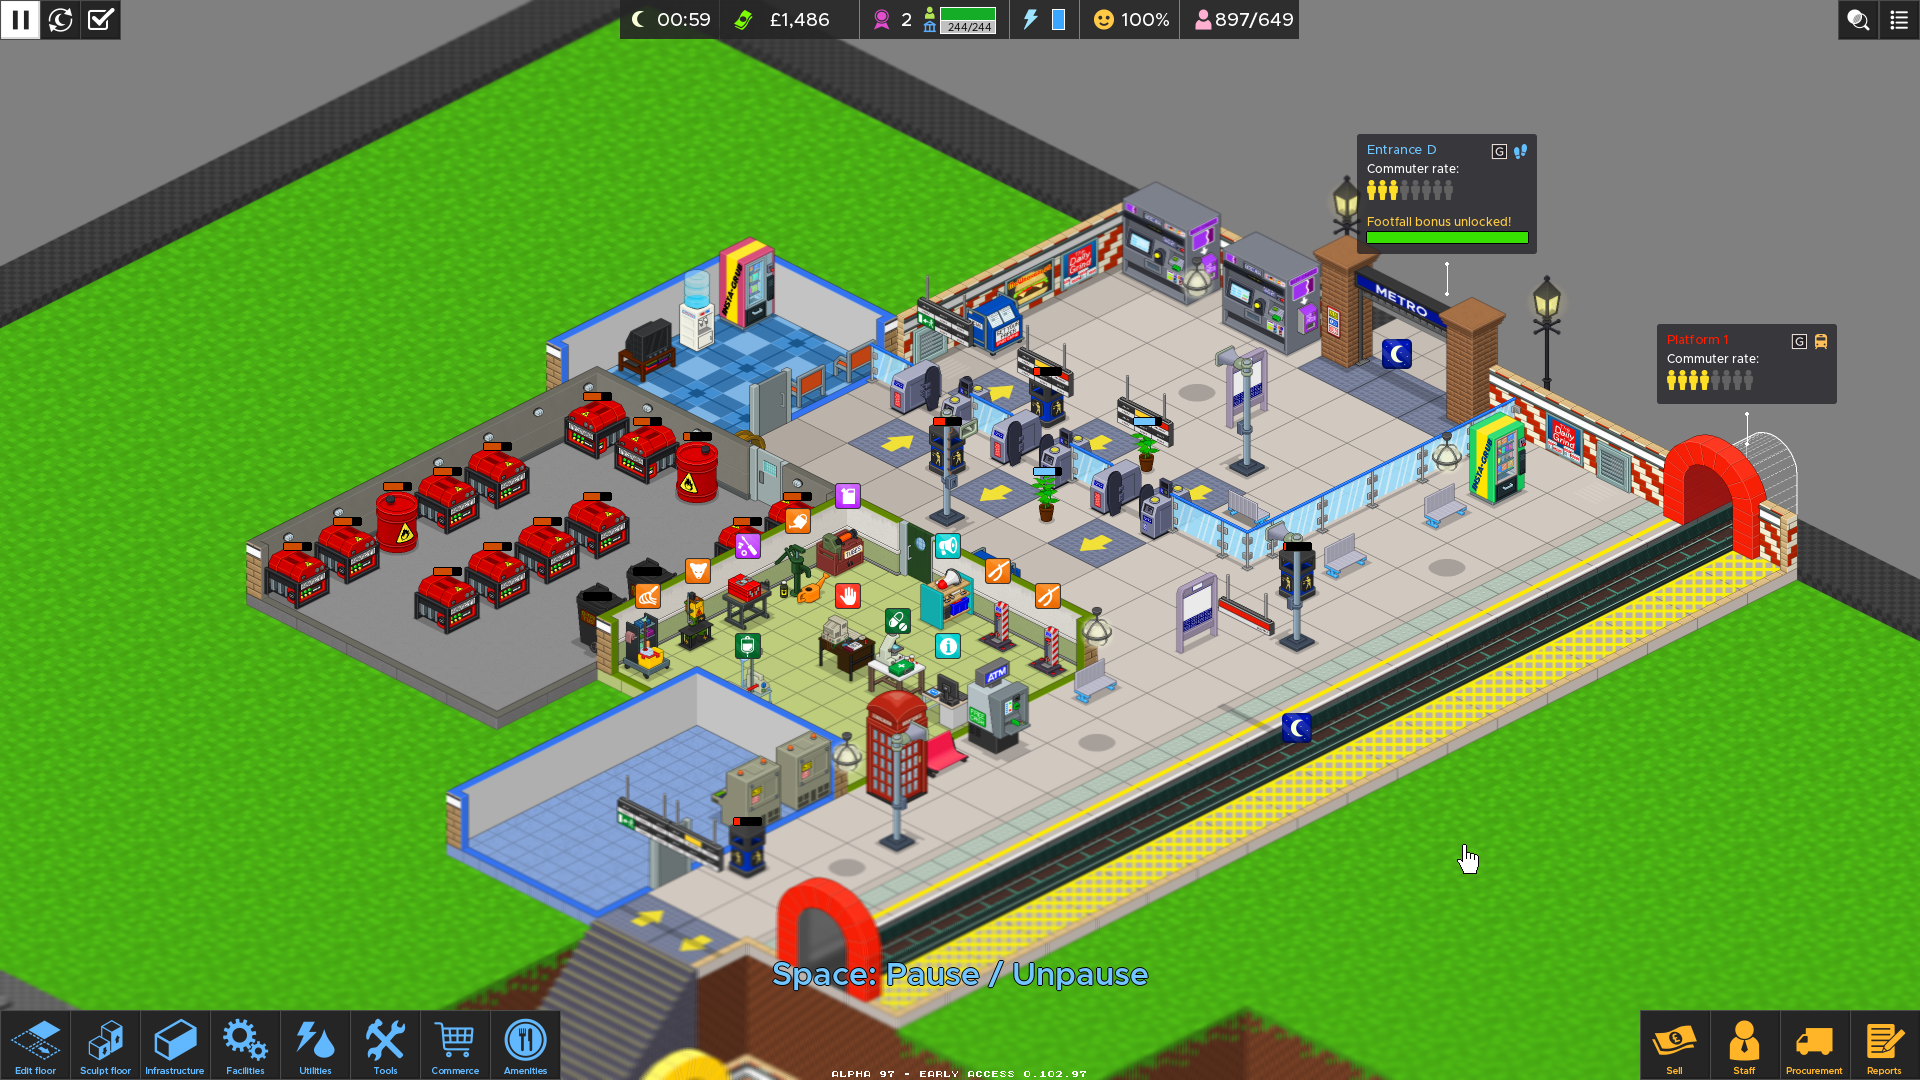
First, when you build your platform, you are advised to leave sufficient space for commuters to go around both in the concourse and in the paid areas. For the platform, leaving 2-3 spaces away from the platform would be suffice, so that you can place PA, benches, ads, and trash bins and still have some spaces left. For the concourse, it is hard to say what is a sufficient space, it depends on the commuter rate. Here is a photo with a small station design.
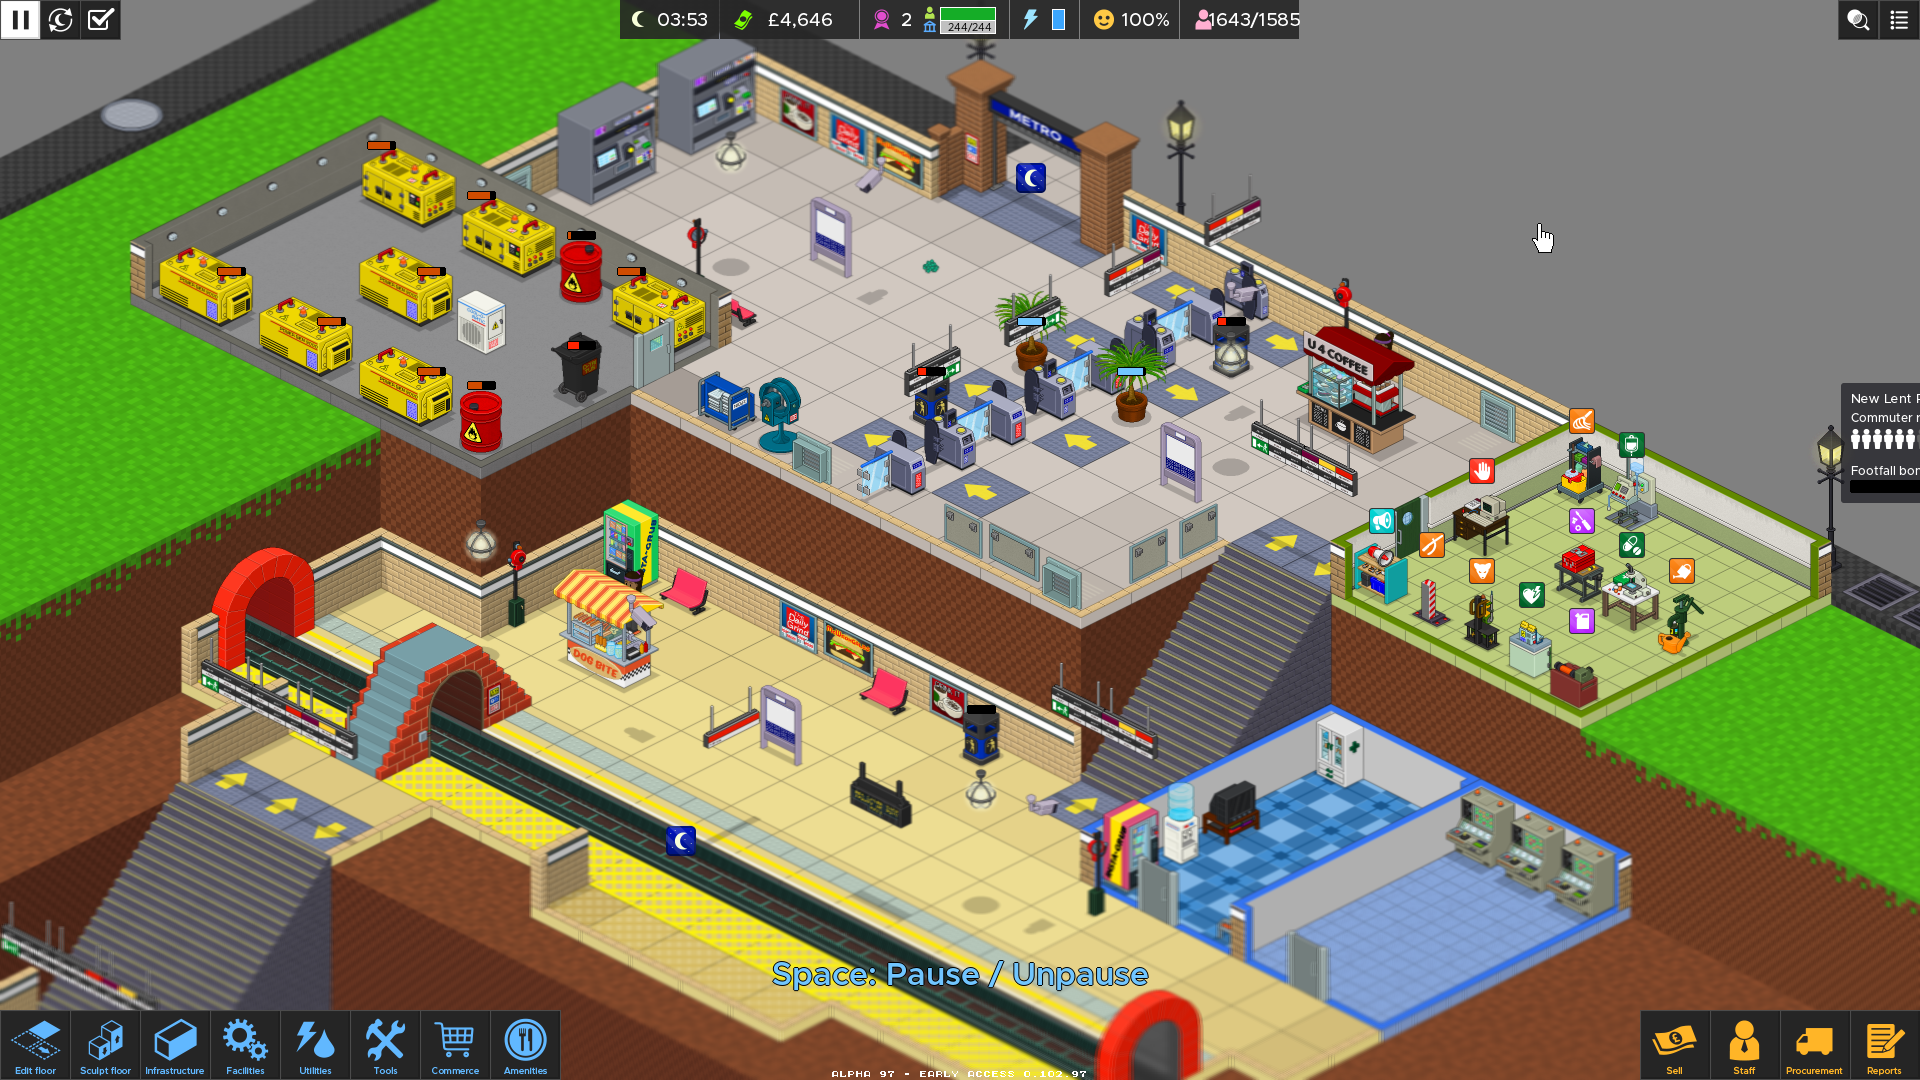
Here is a photo with suffice commuter area.
Second, you would like to have one staff constantly using their megaphone and usher the commuters to walk faster, that way they would not stand on a point and stuck the passages. PA would help a bit but megaphone would help the most.
Disease and Vomit
In Zone 4, the ability to unlock first aid procurement is granted, that means your commuters might start to get sick. This has nothing to do with your station environment (though noxious fumes can make them sick), commuters could be prone to sickness if it is the norm of your station. This could be checked in Report > Summary > Disease index.

High price
Commuters would always complaint about high price, even at 10 pounds, which is the default price, going between 10 to 12 pounds should be good, as other positive reputation items could cover this. For other vendor items, I never play with the prices, but you can feel free to try.
Gloomy
Gloomy means your station is dark, it can deplete your station’s reputation really badly. So your first station in Zone 5 started off with 2 bonds, you are recommended to spend it on lightings first, to ensure that your station is not gloomy. The light logos when you are building lightings would suggest how much do the light spread across the station, you are advised to build lights a little bit packed than it would spread as light source gradually fall off.
So these are the major items that would deplete your reputation, now let’s talk about the major items that raises your reputation.
Journey complete
Obviously, for building a train station, your major goal is to bring your commuters to their destination, and for each one boarding the train and alighting, you have one person completed their journey, which is good. You are advised to unlock more carriages and new stock type ASAP because this would increase your station’s throughput, and reduce the problem of overcrowding. New stock type would also consume less energy, and have a shorter cooldown time for the next train to arrive.
Aesthetics
What it means by aesthetics is having plants, they do account for 9-10% of your positive reputation, which is a lot. If you check the screenshots above, I put two plants at each side of the turnstile and that is enough to keep my commuters happy, though you are reminded to water them regularly, as dead plants would generate negative reputation towards your station. If you are to skip the night to save some wages and time, you are advised to manually have your staffs to water your plants before pressing the button, because skipping the night could instantly generate dead plants.
Retail bargain
Later in the game when goods vendor is available, such as kiosk, hot dog stands, crisps machine, etc, these commerce items would increase your reputation considerably, they also generate revenue for your station, consider setting them up when you have space, though be careful not to concentrate them in a certain area, they would cause overcrowd problem, and disease are inclined to spread.
Staff Management
The second issue here is staff management, it does not only include micromanagement, but something more. Basically from the choice of staff, assign them tasks, and training.
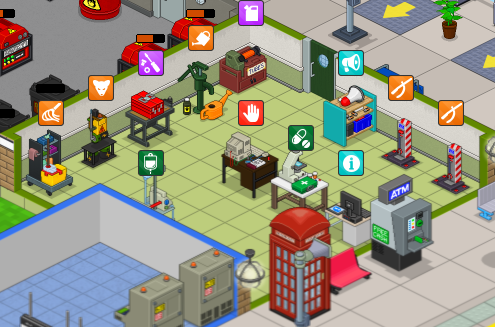
Here is a peek of my staffs:

Attributes
Currently there are four attributes for staffs, Strength, Speed, Stamina, and Perception.
Strength determines how many items your staff can carry, 1/8 would carry one, 3/8 would carry two, 5/8 would carry three, and 8/8 would carry four.
Speed determines how fast your staff walks, this is especially important when you have a large station, but not too important if your station is small.
Stamina determines how much time your staff need to “cooldown” their ability after performing a certain task before they move on to the next one. They would not move until their cooldown is complete, so you can micromanage them to the next destination as their cooldown bar progresses to save some time.
Perception determines how attentive your staffs are to their environment, basically it is the radius of perception. For example, you have a full trash bin in the other end of your platform, a low perception staff with the litter tool at the other end of the station might not notice it, so you might need to micromanage them to empty the bin.
Skills
Currently staffs have five skills. People(Cyan), Refuse(Orange), Medical(Green), Security(Red), and Repair(Purple)
Staff AI (Added Nov 2020)
In newer version of the game, staff AI was introduced, here is an example of job distribution among staffs:

Threshold (Added Nov 2020)
Threshold is also a new function in the later patches, it controls when your staff take action with regards to object conditions, attaching my setup for reference:


Staff needs (Updated Nov 2020)
Now come to the core problem, which also make players very frustrated, as they constantly hear their staffs frown. Desperation usually appear early in-game to non-trained staffs. Staffs become desperate when they fail on tasks, and without enough rest. I personally recommend players to turn on autorest for all staffs, as no one knows their own need better than the AI does. Timed rest does not make sense in this regard. Micromanaging could help reduce staff desperation. For example, you have a staff mastering Refuse and Medical, but there are no issues at the moment that require their help, you could just assign them to the staff room and let them rest. That way they would not be desperate while they are doing literally nothing.
Early in the game, the only way to reduce staff desperation effectively is resting on uncomfy chair, that is why I generally do not recommend players to skip the night in early games, because the wages for staffs are more affordable then having a desperate staff. Later in the game, when you unlocked Staff TV or even Arcade game, these items kills desperation really quickly, and worth every penny for investment. Brewing station in staff room could be replacing water cooler for thirst need, and giving staffs a temporary speed boost.
Update Nov 2020: Food Trolley is also a similar addition in a newer patch to the brew station, replacing staff vending machine with boost.
Staff training
Your staff would gain experience upon completing a task, though the amount of experience they gain varies upon different tasks. For example, you gain less experience for using the megaphone, because you can use a megaphone for many times, as it is a rather easy task. Doing task of the a specific color increases your staff’s skill on that particular category. Such as megaphone for people, litter bin for refuse, etc.
Staff training is also another issue you have to think of as you progress through the zones. You might think it is a good idea to move on when you unlocked a new area, but not quite, especially when you try to move from Zone 2 to Zone 1. Staffs not hired in the previous zones are moved to the later zone, so say for example if you just finished Zone 3, even if you had some applicants in Zone 4 not hired yet, once you quit Zone 3, all of the applicants from Zone 3 to 5 would be moved to Zone 2, i.e. you can’t go back to that zone and hire them with the cash you have got in that particular zone. Alpha 96 provides you with the ability to fire a staff permanently (without a warning), some said new applicant would appear, I never tried this before, nor do I recommend firing a staff. Putting them off-shift would be good enough, you don’t gain anything from firing a staff, or maybe you hired someone very bad in skills by mistake, that you would like to lower the cost of hiring.
As you hire more staff, the cost of hiring a staff would increase, so you would need to plan ahead if you really need more staffs or not. Staff skills do accumulate and share between stations, so sometimes it is a good idea to train your newly hired staffs back in smaller stations, like in Zone 5 or 4 if you hired them in Zone 2. But bear in mind that, as your procurement progress, situations that never happened before (like sickness or commuter rage) could happen in Zone 5 if you return, though not as frequent. You are advised to upgrade your station’s equipment and plan ahead.
Once your newly hired staff are trained to the similar level of your senior staffs, you are good to proceed.
Heat Management
(Updated Nov 2020)
If you can manage heat well, this is the heat map you would get:
By the way, this game in 32:9 is stunning 😉
Thinks you can do to vent heat:
Earlier zones:
Air vents. Air vents is all you’ve got. You would like to put air vents everywhere in your station, because that is the only thing you can unlock in the earlier zones.

Middle zones:
Air con 1. The air con 1 would replace the use or air vent as it has better cooling power. It can only be put in the concourse so you would like to spam it all over your concourse as well. You can put pillars in your station to create some walls. Here is an example:
Later zones:
Air con 2. The air con 2 can only be placed in rooms, it cannot be placed in the concourse. However, the ambient temperature around the room would be cooled down if you do have a room with air con 2. So somehow if you have a very large concourse, you can put a room, any room in the middle, even with just 3×2 in size. Install an air con 2 in the room, and enjoy the power of heat ventilation it brings.

Pro tips:
1. If you have terrain enabled, while boulders and water can obstruct your land use/station development, water can absorb a lot of heat. You would like to put heat-producing objects around water for better ventilation. Before you start building your station, you can enable terrain and see if you can make good use of the water for heat dissipation. If it does not seem usable to you, you can abort your station and go back to disable terrain. That way you can design your station however you like.
2. Exits also act as a good ventilation spot, so with limited real estate early in a new station, you can place heat-emitting machines such as the ticket machine around entrances.
3. Do not build the utility room in the middle of the station unless you have air con 2 procurement unlocked. The effect of temperature goes both ways. If you have a cool room in the middle of the station, it can cool down the ambient areas (the concourse); vice versa, if you have a hot room in the middle of the station, the heat would spread.
4. Fans only cool down commuters, it does not reduce the temperature of your station.
5. Air con 1 has limited area of effect, you might want to build air cons besides ticket machines, so that the heat could be dissipated more easily. Building air con early on can stop the heat from even spreading.

General Tips
This section would talk about some good habits that would make your life easier.
Maintenance
Machines like turnstiles, ticket machines have a condition value, they could be seen by hovering your mouse on them. With a staff equipped with tool kit, you can actually maintain these machine before they potentially break. This is good for both your station and your staff, as repairing a machine takes very long, causes noxious fumes and would reduce your station’s reputation. Regular maintenance of machines would grant your staff experience, reduce the time to fix a machine, prevent the generation of noxious fumes, and keep your commuters happy.
Invest in lights and carriages early
As mentioned earlier, commuters do not like gloomy stations, lighting is a must have when you start off your station. Investing in more carriages and newer stocks would increase the throughput, and hence reducing overcrowd problem. When you have a big train, you would like to send off the very first train after passengers alighted as passengers would not board the train anytime soon. Once they are ready to board the train, another train would be arriving.
Invest in Level 2 trash bin early
Though Level 2 trash bin only increase the capacity by 5, but it is 50% As of Alpha 99, Level 2 trash bin only increase the capacity by 3, but still it is 30%, and doing so actually make your commuters less prone to littering (not sure if it is true of simply because the bin are less prone to full). Micromanage your staffs to clean the bin when they are 50% full, because full bins would generate noxious fumes, which is harmful to both your staffs and commuters.
Save bonds and money for new procurements
Some players might tend to use up the bonds whenever they have something unlocked, actually this is unnecessary, because not all of them are of immediate use. Sometimes this could kill you off (you might not lose the station, but could cause some serious troubles). It is a common mistake to spend all the bonds and suddenly a commuter with cardiac arrest pops up (oops). A good practice is to check the to-do list on the top right hand corner, if it ask you to build a rat prod, your station is probably gonna be infested with rats very frequently, that way you can prepare for it.
Do NOT over-expand your station
Over-expanding is something that players prone to do but do not realize is harmful to their station, if your station is flooded with commuters, you are advised to close one of the entrances, or set them to exit only (yes you can actually do that), otherwise overcrowding and the spread of disease could make you lose reputation really quickly. Setup alarms to evacuate commuters if a pandemic outbreak is out of control. Do not attempt to hold the alarm and move them around after building one, because that does not work, and would trigger the alarm. Sell it instead and build a new one.
Limit the number of entrance to only one or two (Added Nov 2020)
Usually limiting the number of entrance to one could solve you a huge problem, that could potentially make you lose the game, which is overcrowding. You can toggle entrances to exit only (way out only), and have only one entrance set way in and way out. I recommend reaching footfall bonus for an entrance, then setup another entrance, and turn the original two-way entrance to exit only. That way you can avoid overcrowding your station, while progressing to achieving footfall bonus for eventually all of your entrances.
Plan ahead
If you are an accomplisher, and would like to have all of your station reaching 5 stars, you might want to spend 5-10 minutes planning on where to put your platforms as you cannot overlap platforms and concourses in this game. Once you opened the station, there is no going back, unless you abort challenge.
DIY some pillars
Items like ads and vents could only be built on concourse walls, but walls are scarce. If you have a huge concourse, you can consider removing 1×1 floors in the middle of the concourse to build some pillars, that way you can hang four ads or put some vents on the pillar. Note that these pillars would block light sources.
Substitute some facilities/utilities for staff actions
Later in the game, rat poisons could be deployed to substitute rat prods. Maps could be deployed to substitute assist tablets. That way you can reduce the workload of your staffs and reduce the degree of micromanagement in the game. However, it takes more time for a rat to die with rat poison (and it also consumes it), and you might need to build a lot of map if you have a big station. It is also faster to attend to commuters’ need if you chose to micromanage it or you have a staff with high perception.
Entrance and Exits (Added Nov 2020)
While it might sounds sensible that commuters enter from multiple entrance and leave from multiple exits, you actually have to make sure all trains are accessible from every entrances, because commuters come from any entrance to ride on any trains. However, for those who arrived from a train, as long as there is an exit accessible from the platform, it would be suffice. Arriving commuters are not picky where would they want to leave from.
Conclusion
The more you play this game the more you know what to expect and how to counter them. I am no expert in this game, so if you find anything untrue in this guide or have better suggestions, feel free to comment on it. I hope this guide made your life easier, and I hope all of you enjoyed this game.