Overview
A quick FAQ about superweapons.
1. Introduction
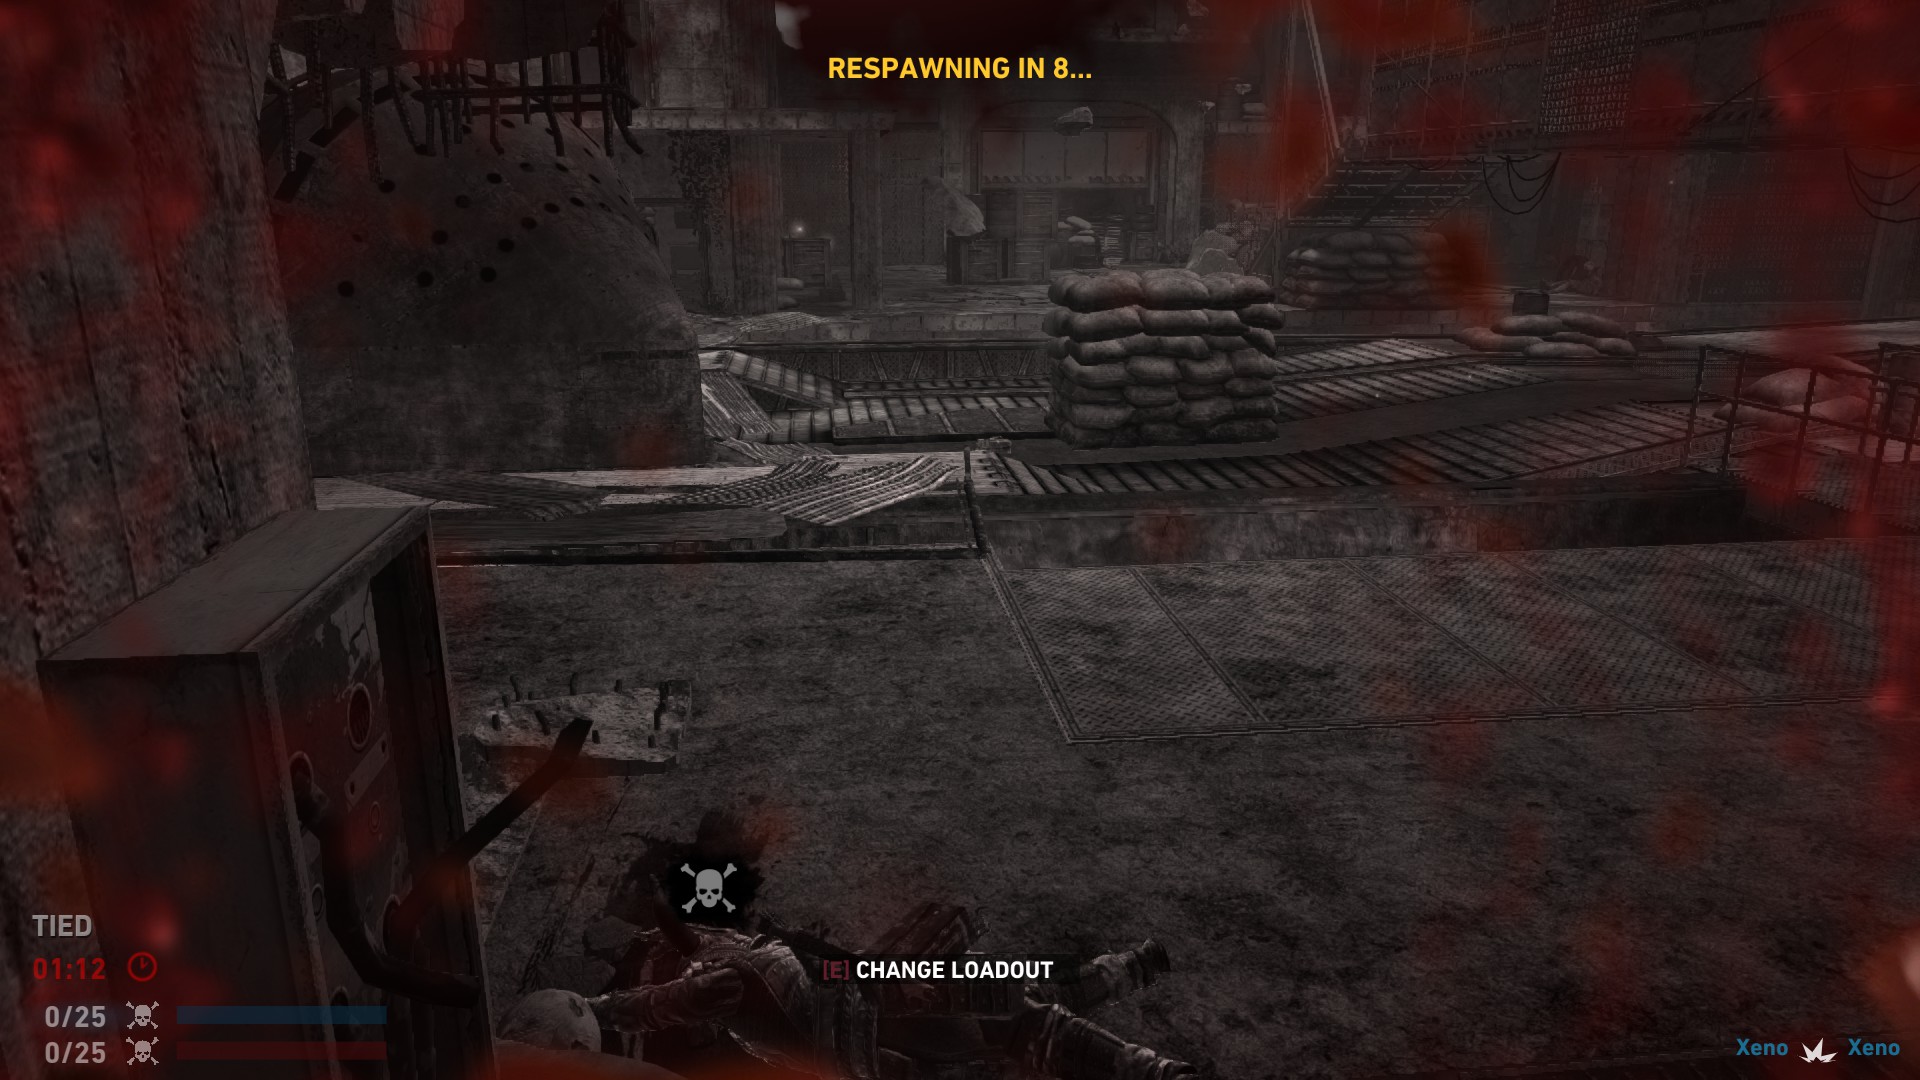
Hello! I’m Xeno. Currently I’m in the top 10 of kills, wins and revives.(Not anymore)
This game has me playing for so long now, can’t even remember straight!
It has it perks though, as I know so much about it.
I’m writing this guide for my friends, but I figured why not make it public so everyone can be helped! I find that the multiplayer of Tomb Raider is pretty good. It has its issues, but hey, nobody is perfect. It required different gameplay than most shooters, so it’s a nice change. I’ve seen a lot of people complain that it sucks or what not. I simply don’t agree with you. They never provide solid reason, so chances are, they didn’t even try the multiplayer! Anyways, to begin this guide, you probably read the title, and if you’re new, you might even go:
Wait what?! There are superweapons in multiplayer??
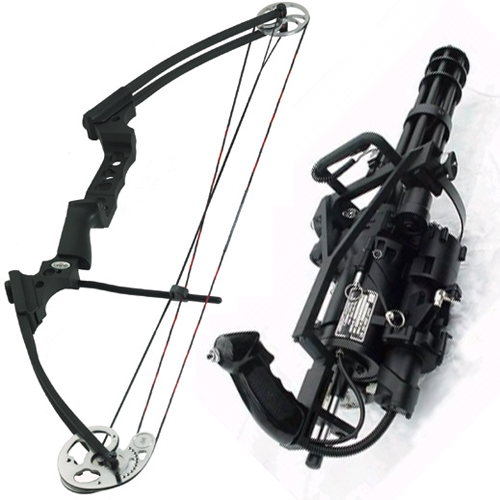
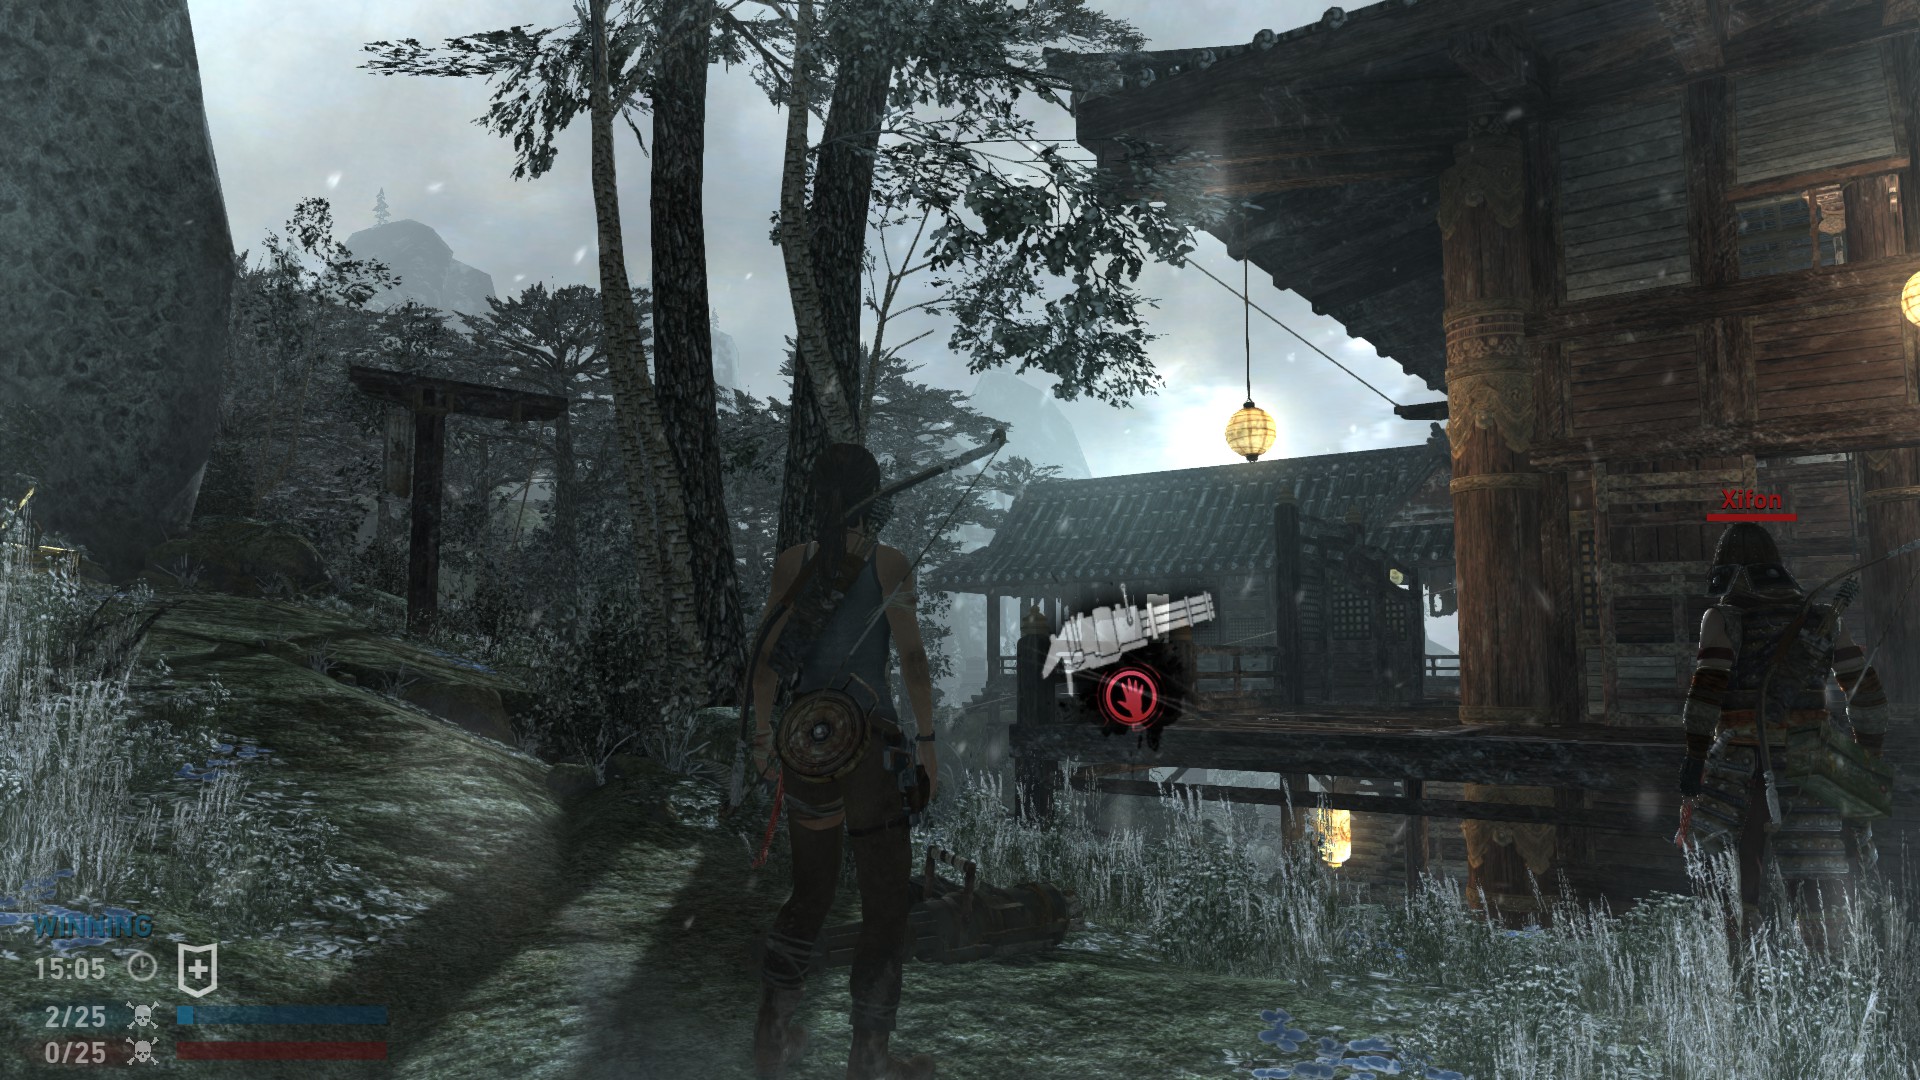
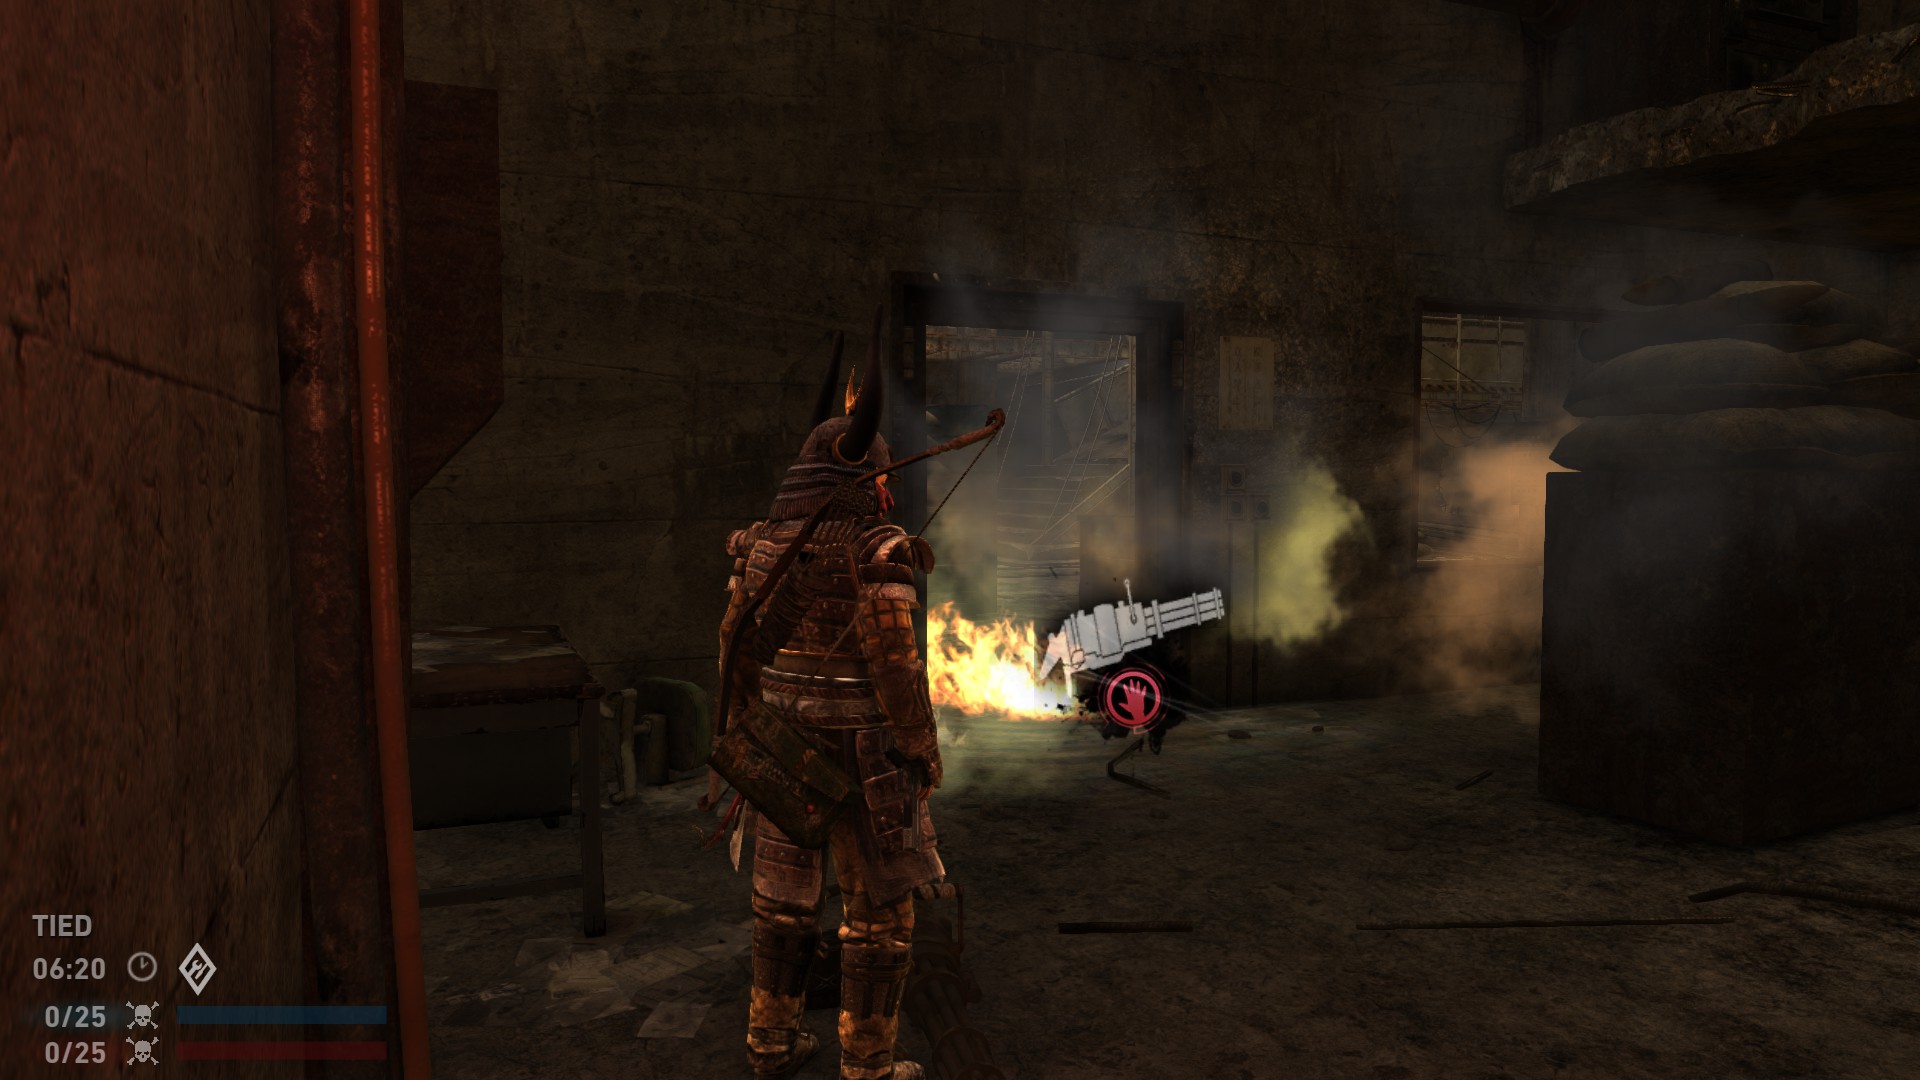
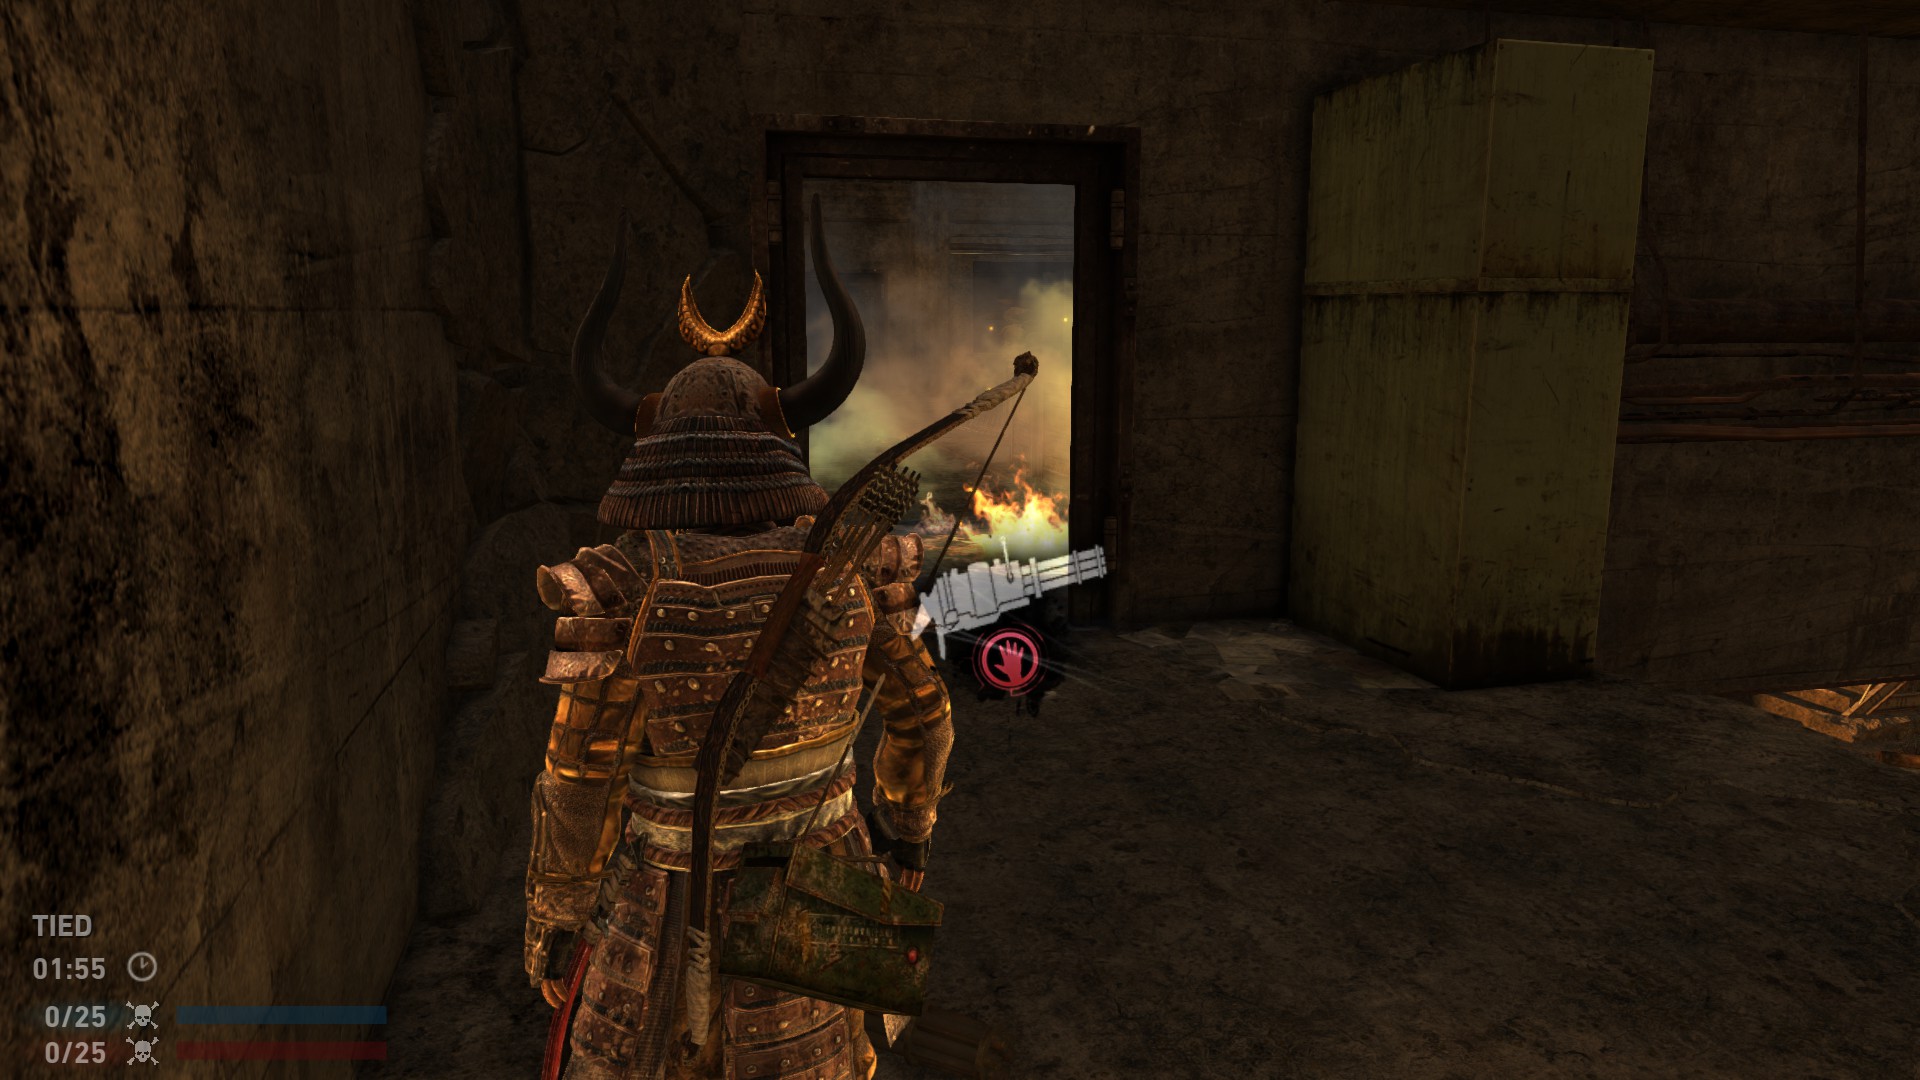
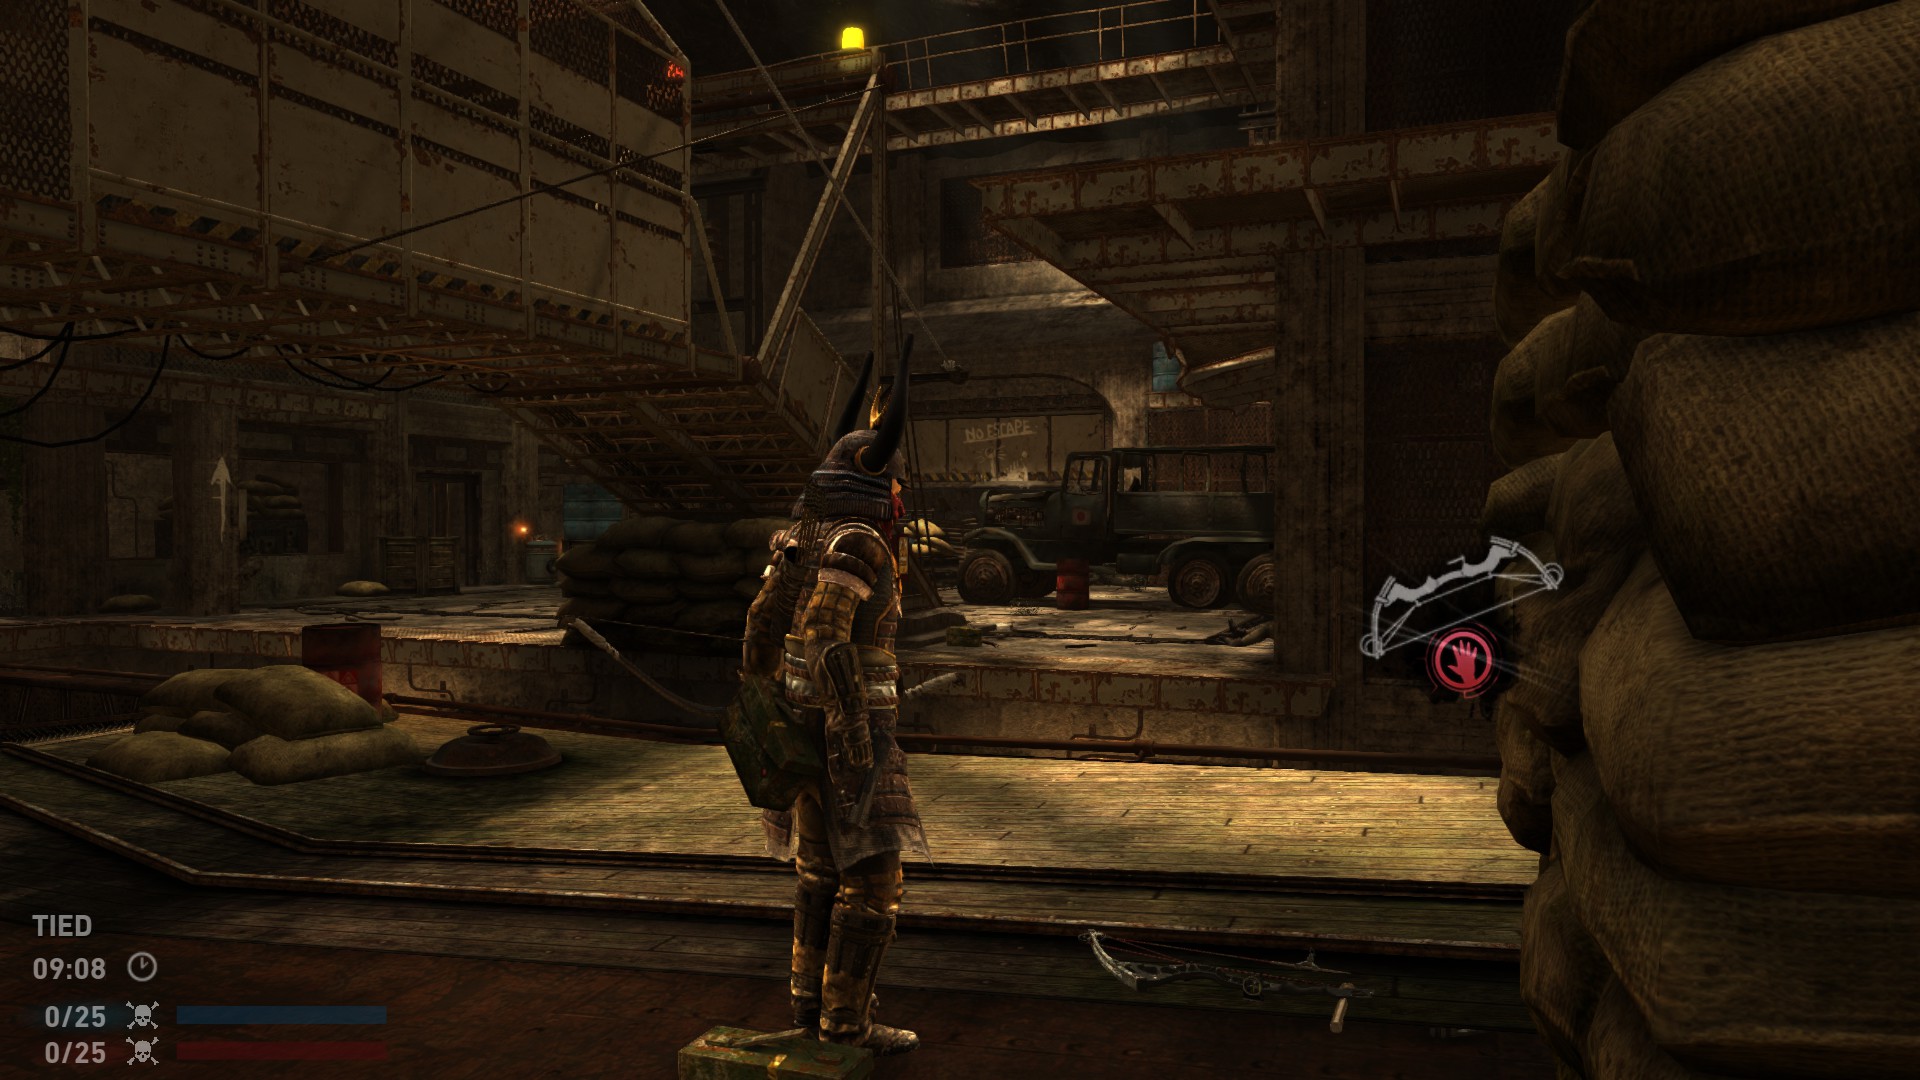
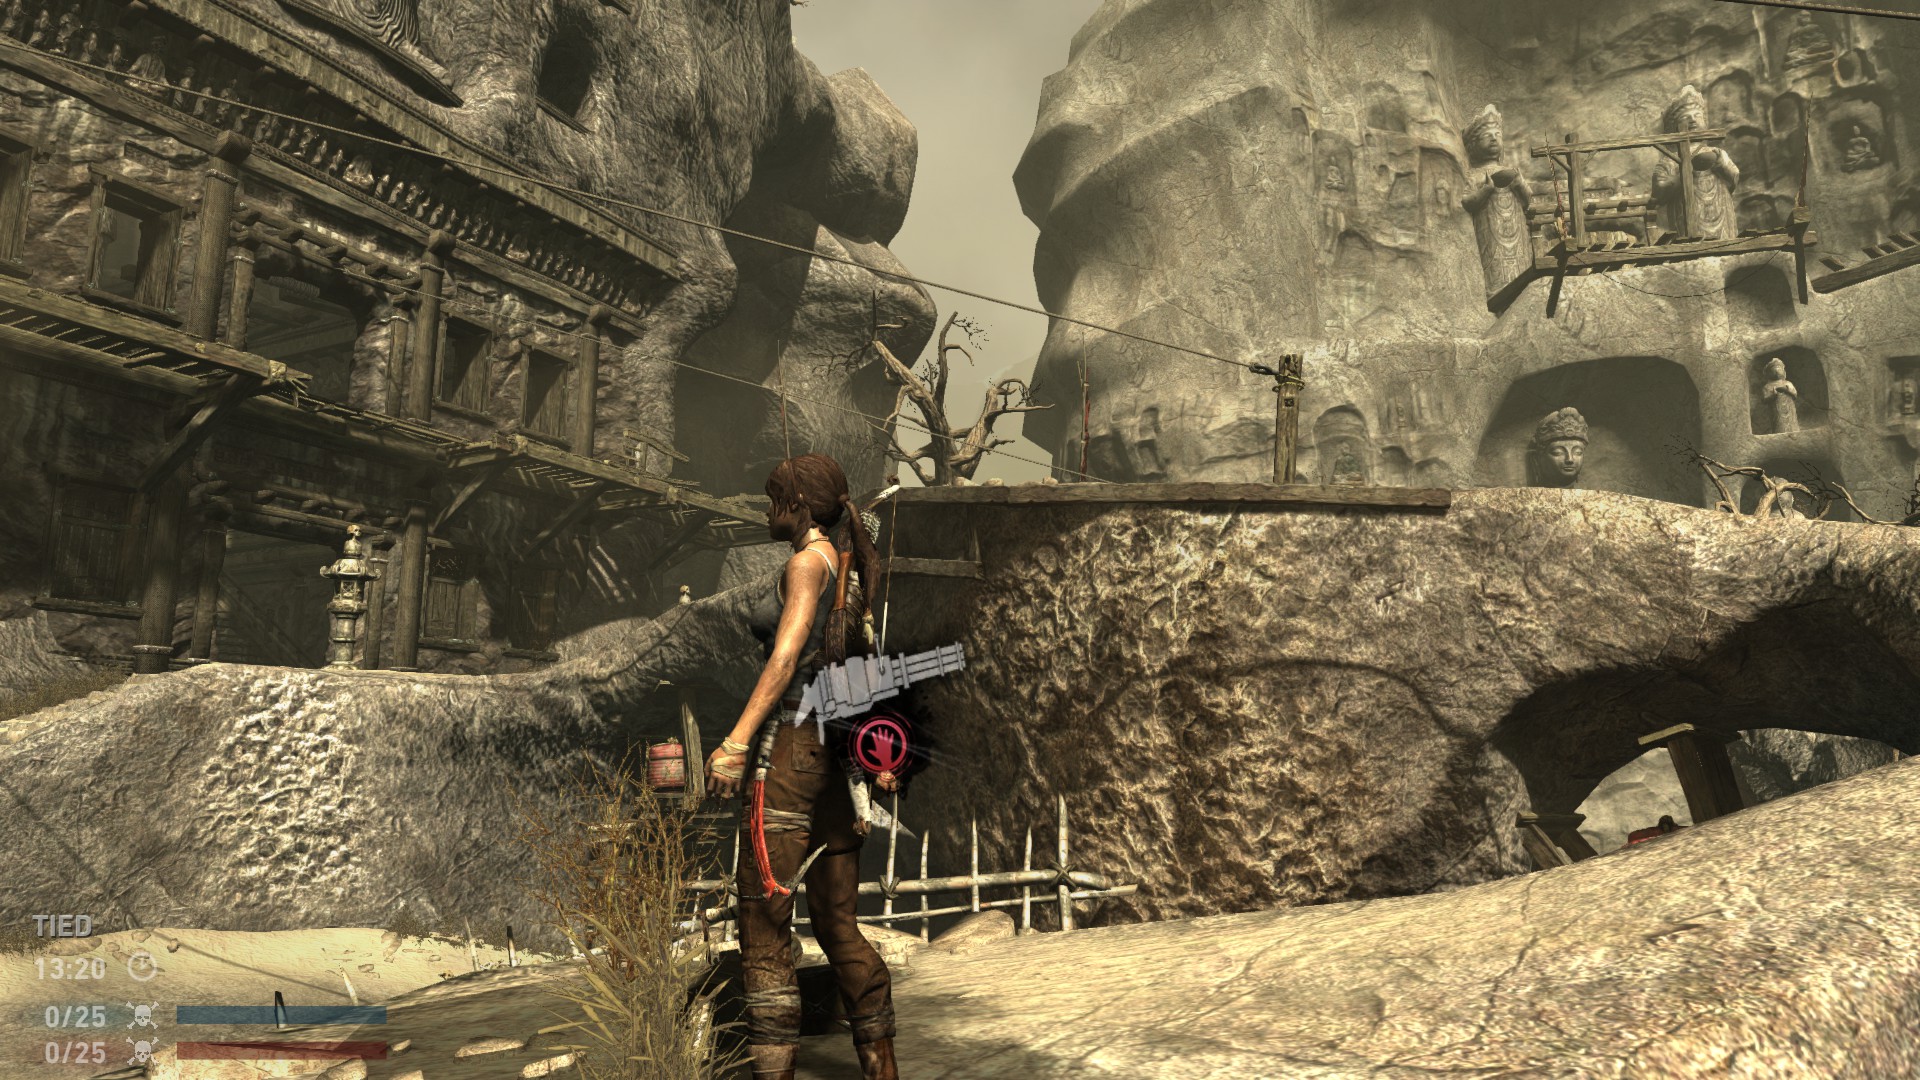
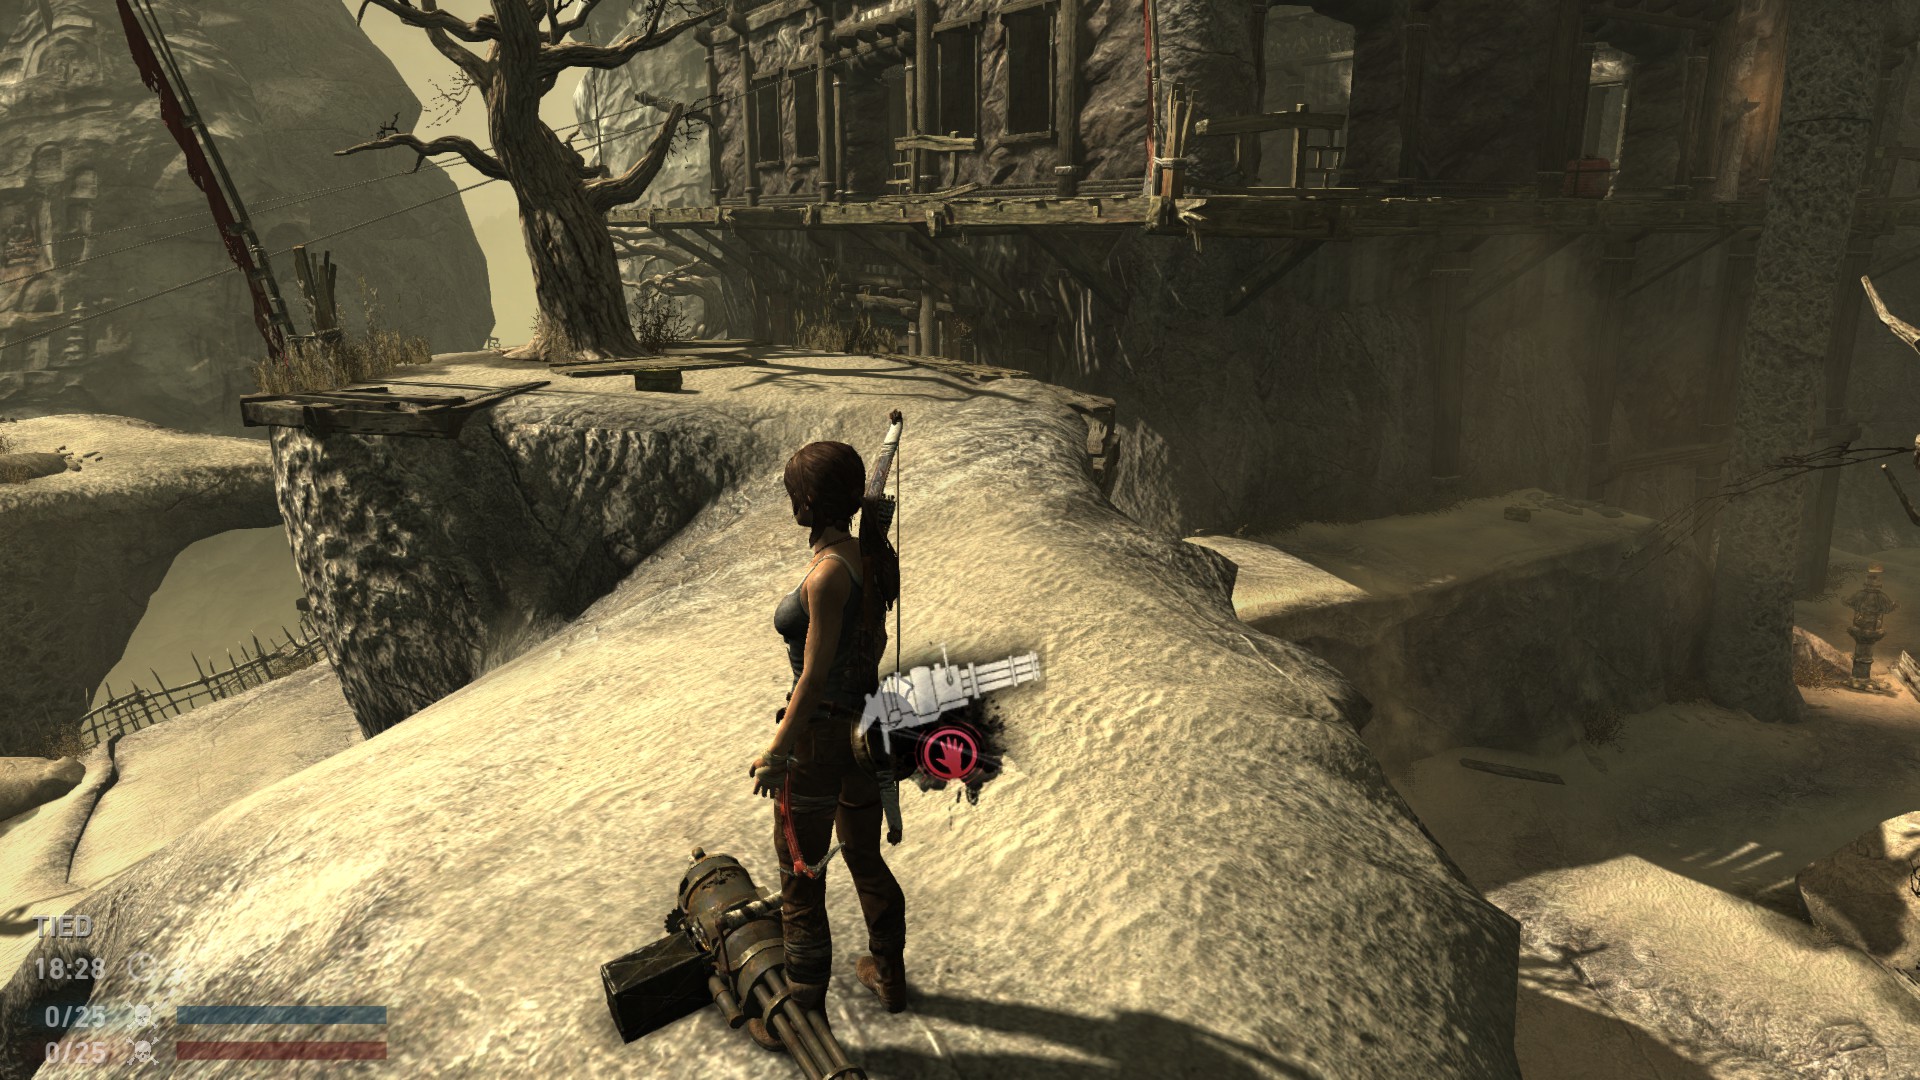
Yes! There’s a minigun and competition bow in random locations in every map!
Every map has 3 spawnpoints where the minigun or competition bow can spawn.
The location is different every time and only one can be “alive” at one time.
Controlling who has the superweapon in your match might decide who wins.
Whenever you kill someone with a superweapon, they’ll drop it on the ground.
This is your time to pick it up! or make it time out. After exactly 30 seconds on the ground, they will disappear. 60 seconds later, they will respawn on one of the 3 locations.
The choice to pick up the current superweapon or let it time out, it entirely up to you.
Here’s what makes them special:
- High ammo capacity
- High damage
- No reload needed
- Instant kill when fully charged (unless people use pincushion)
- very fast draw speed
- infinite hold time
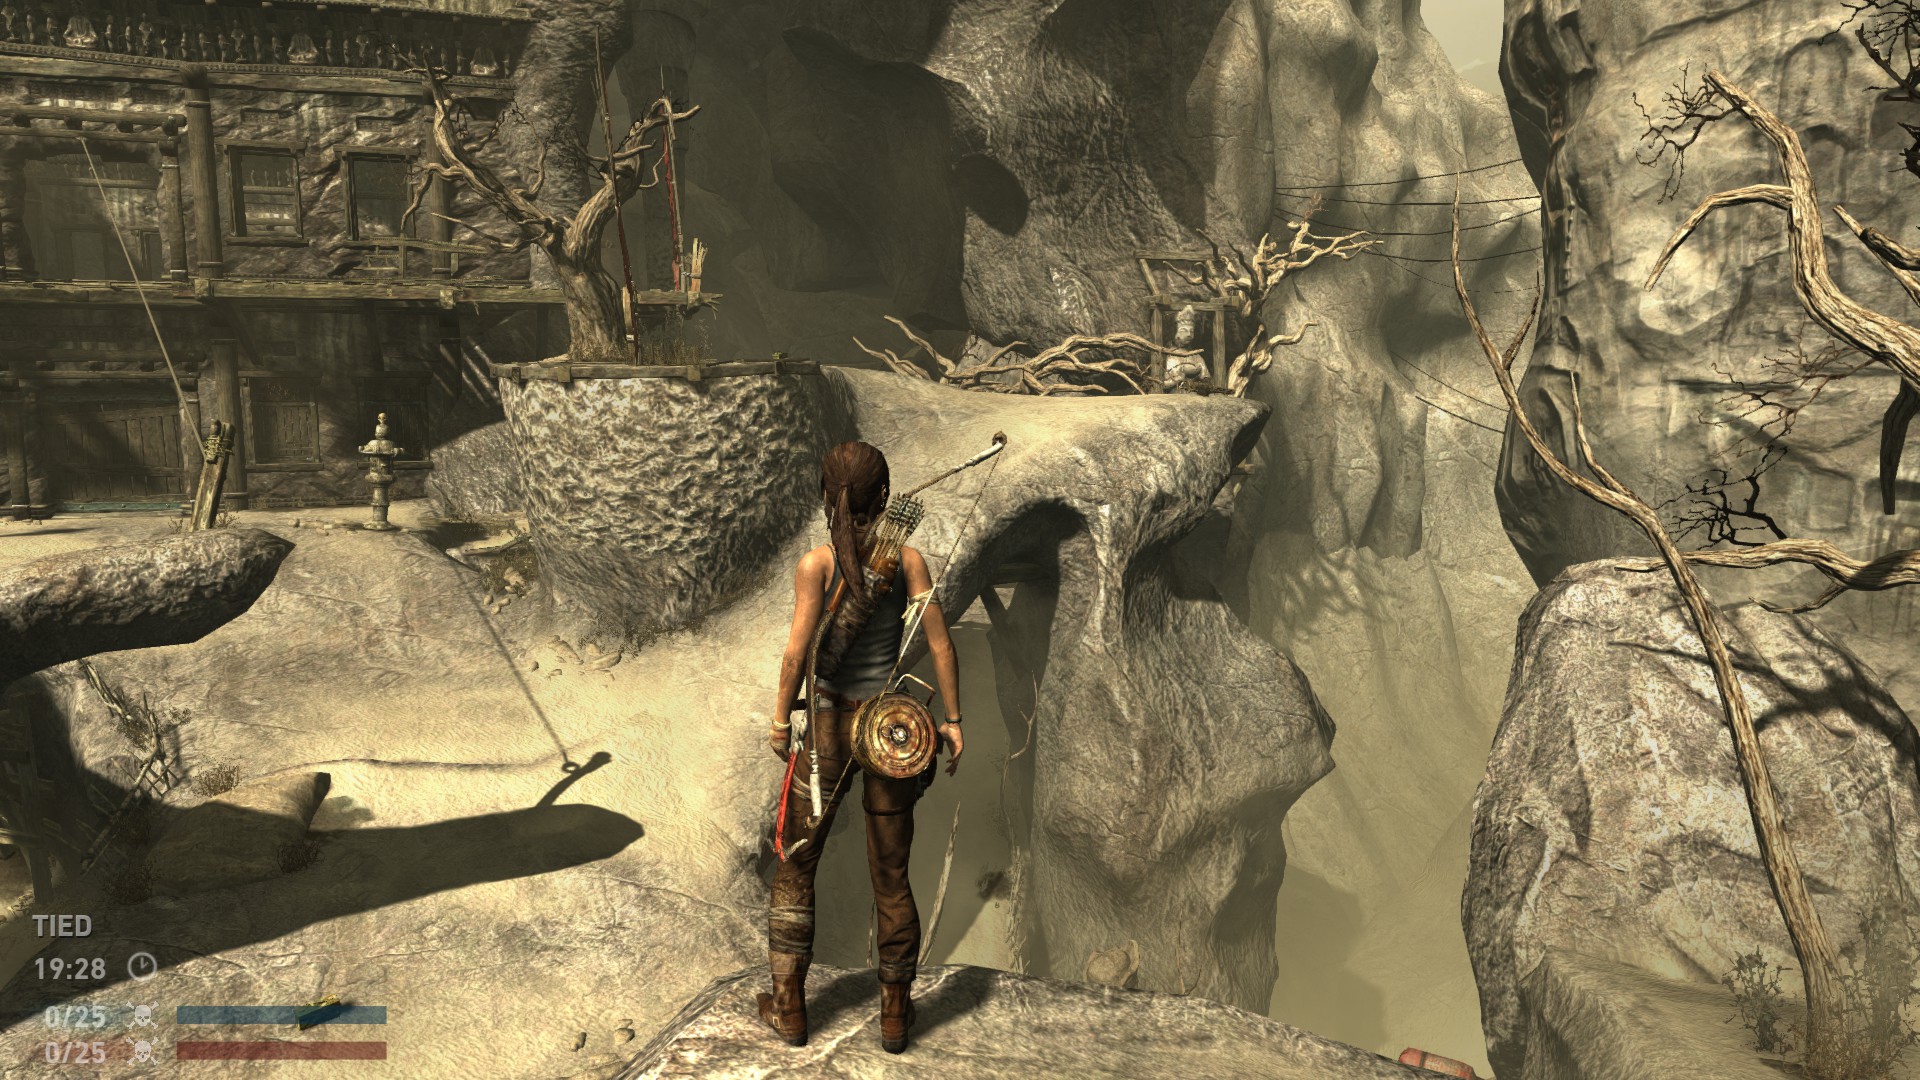
Next section will contain where they are located in every map.
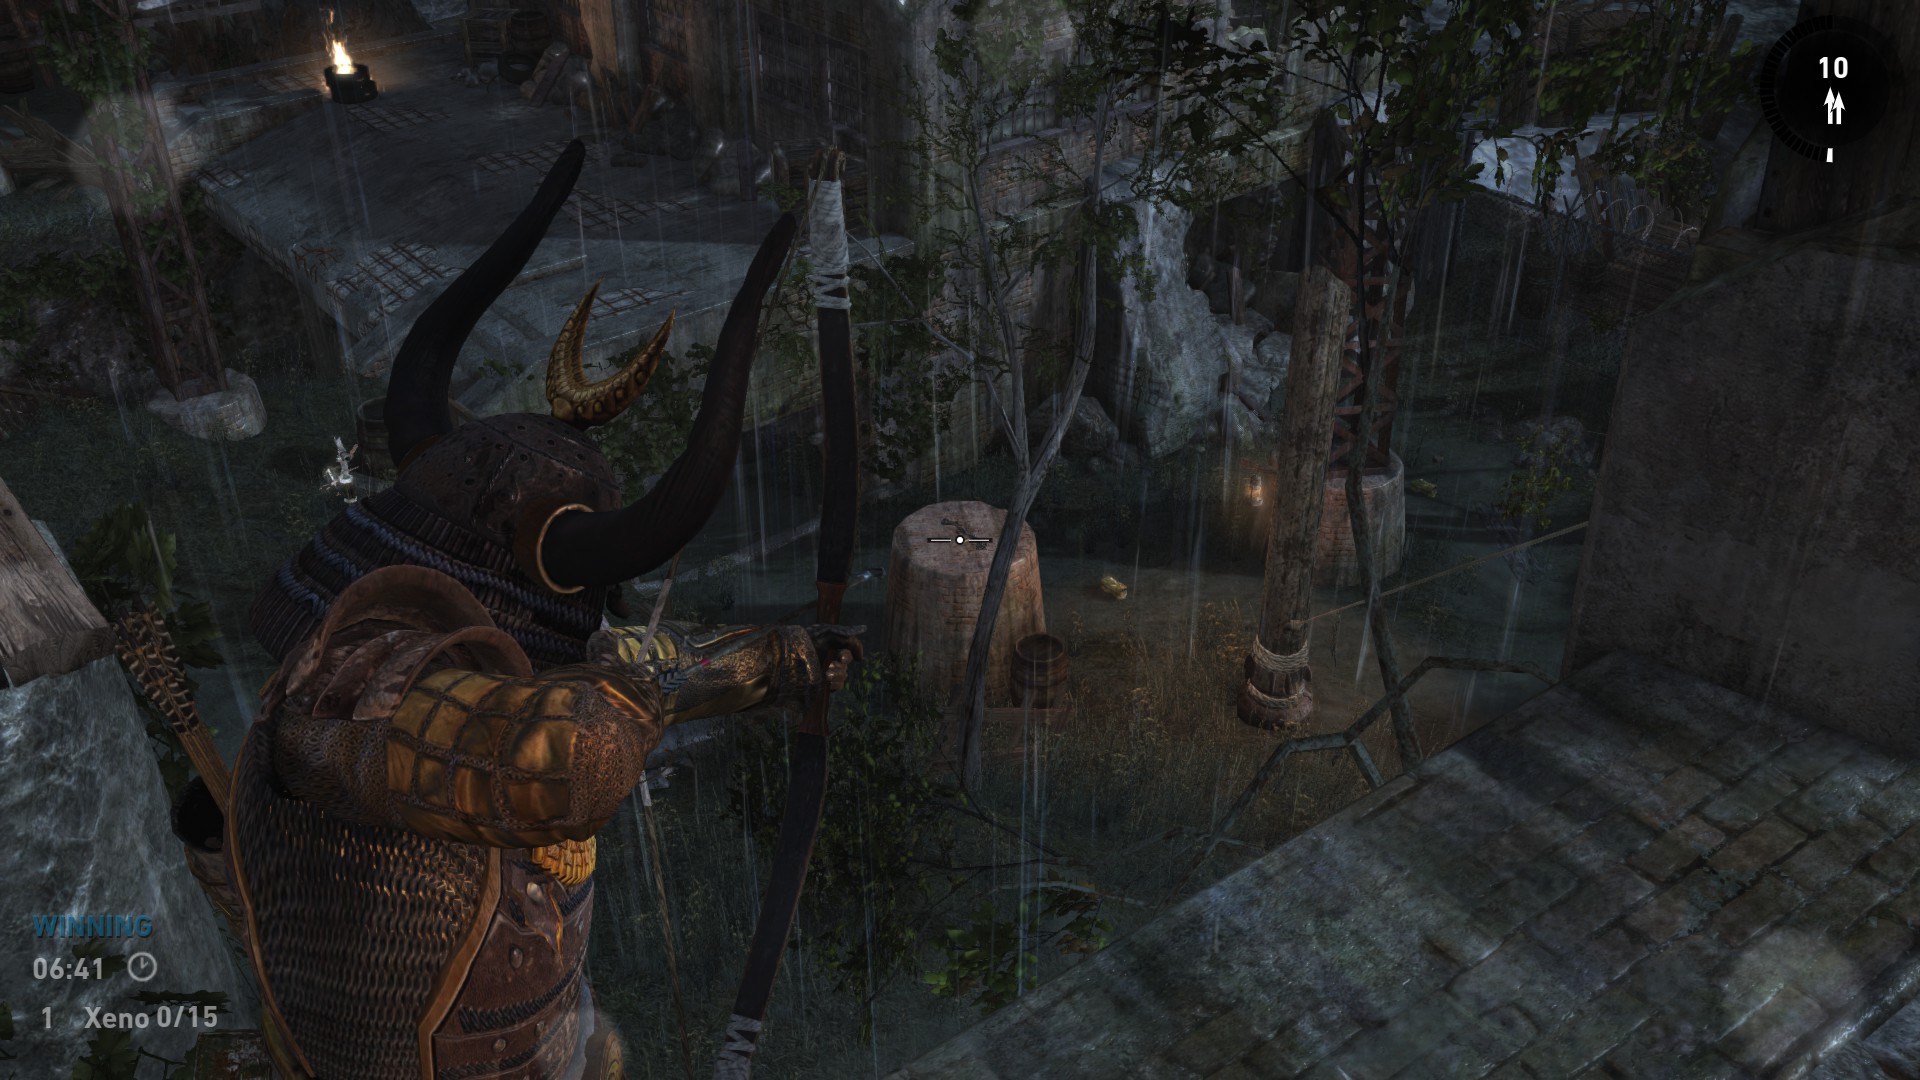
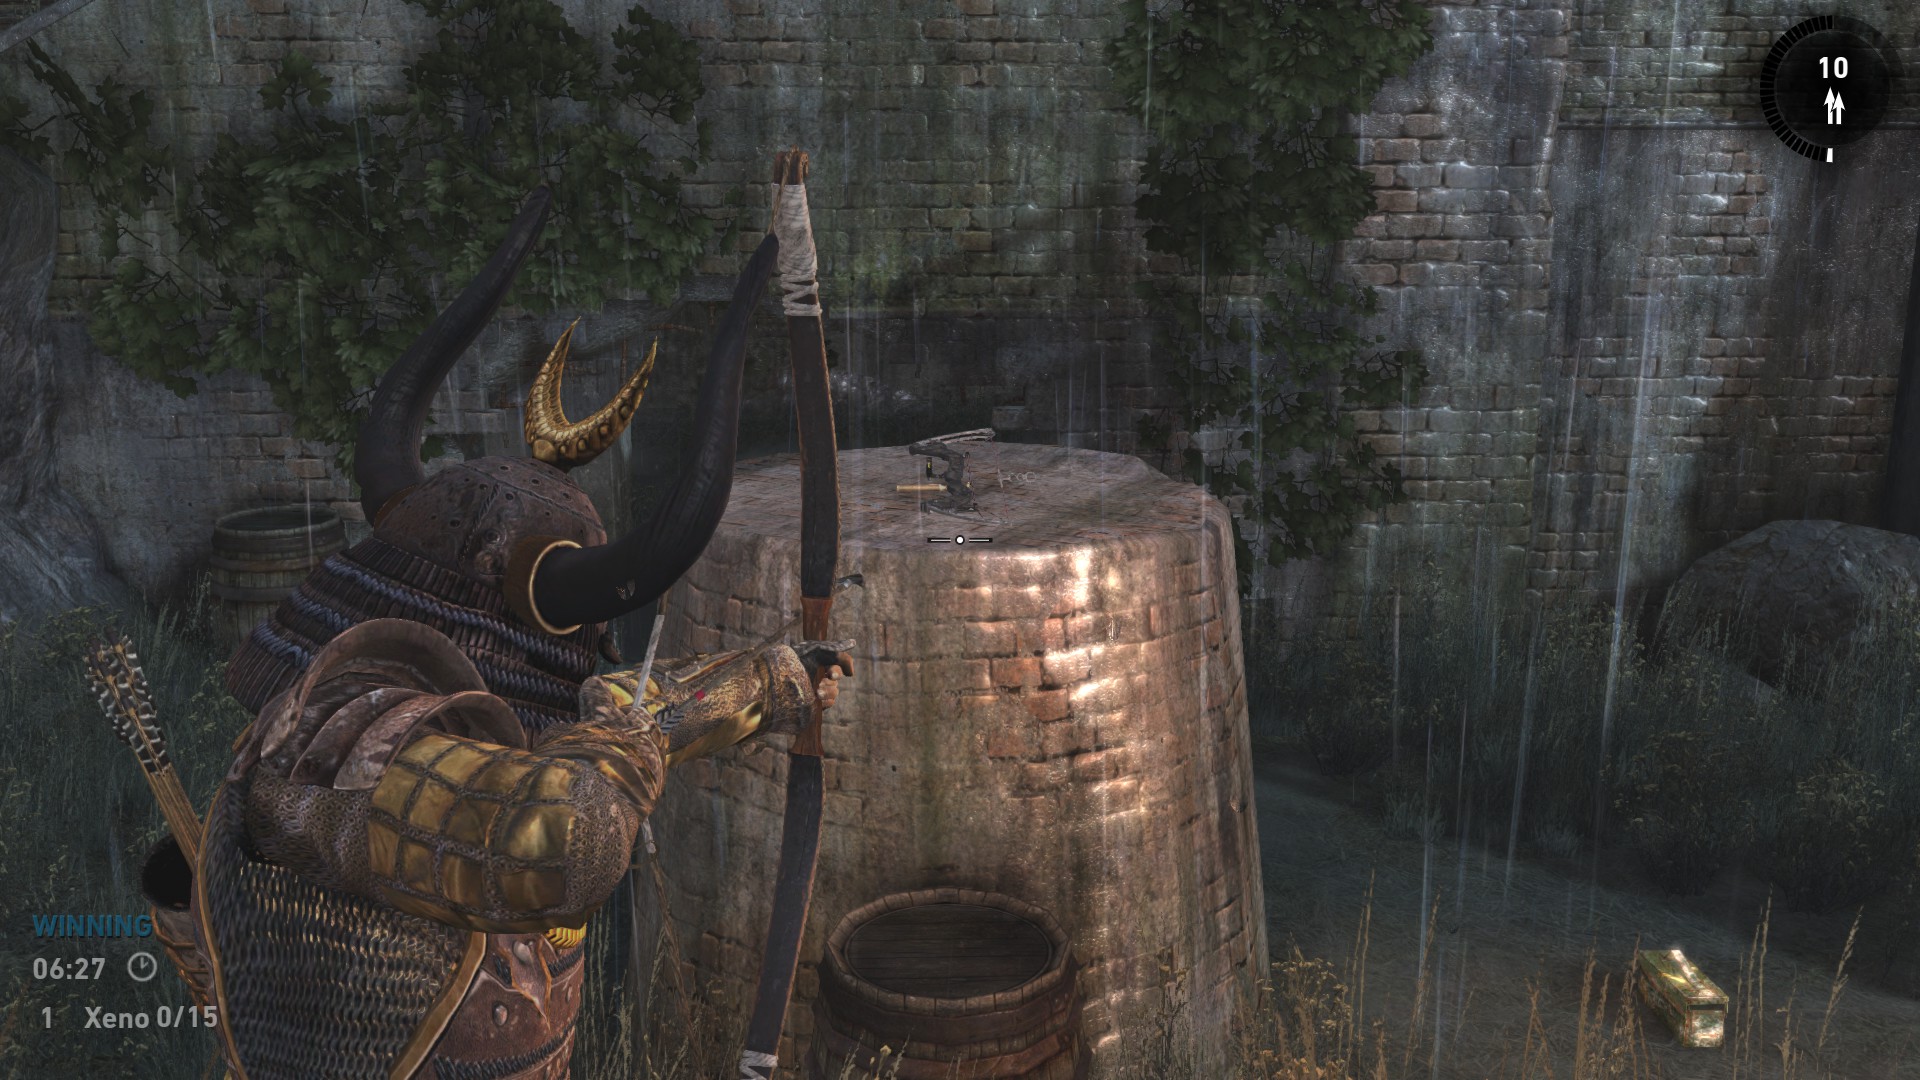
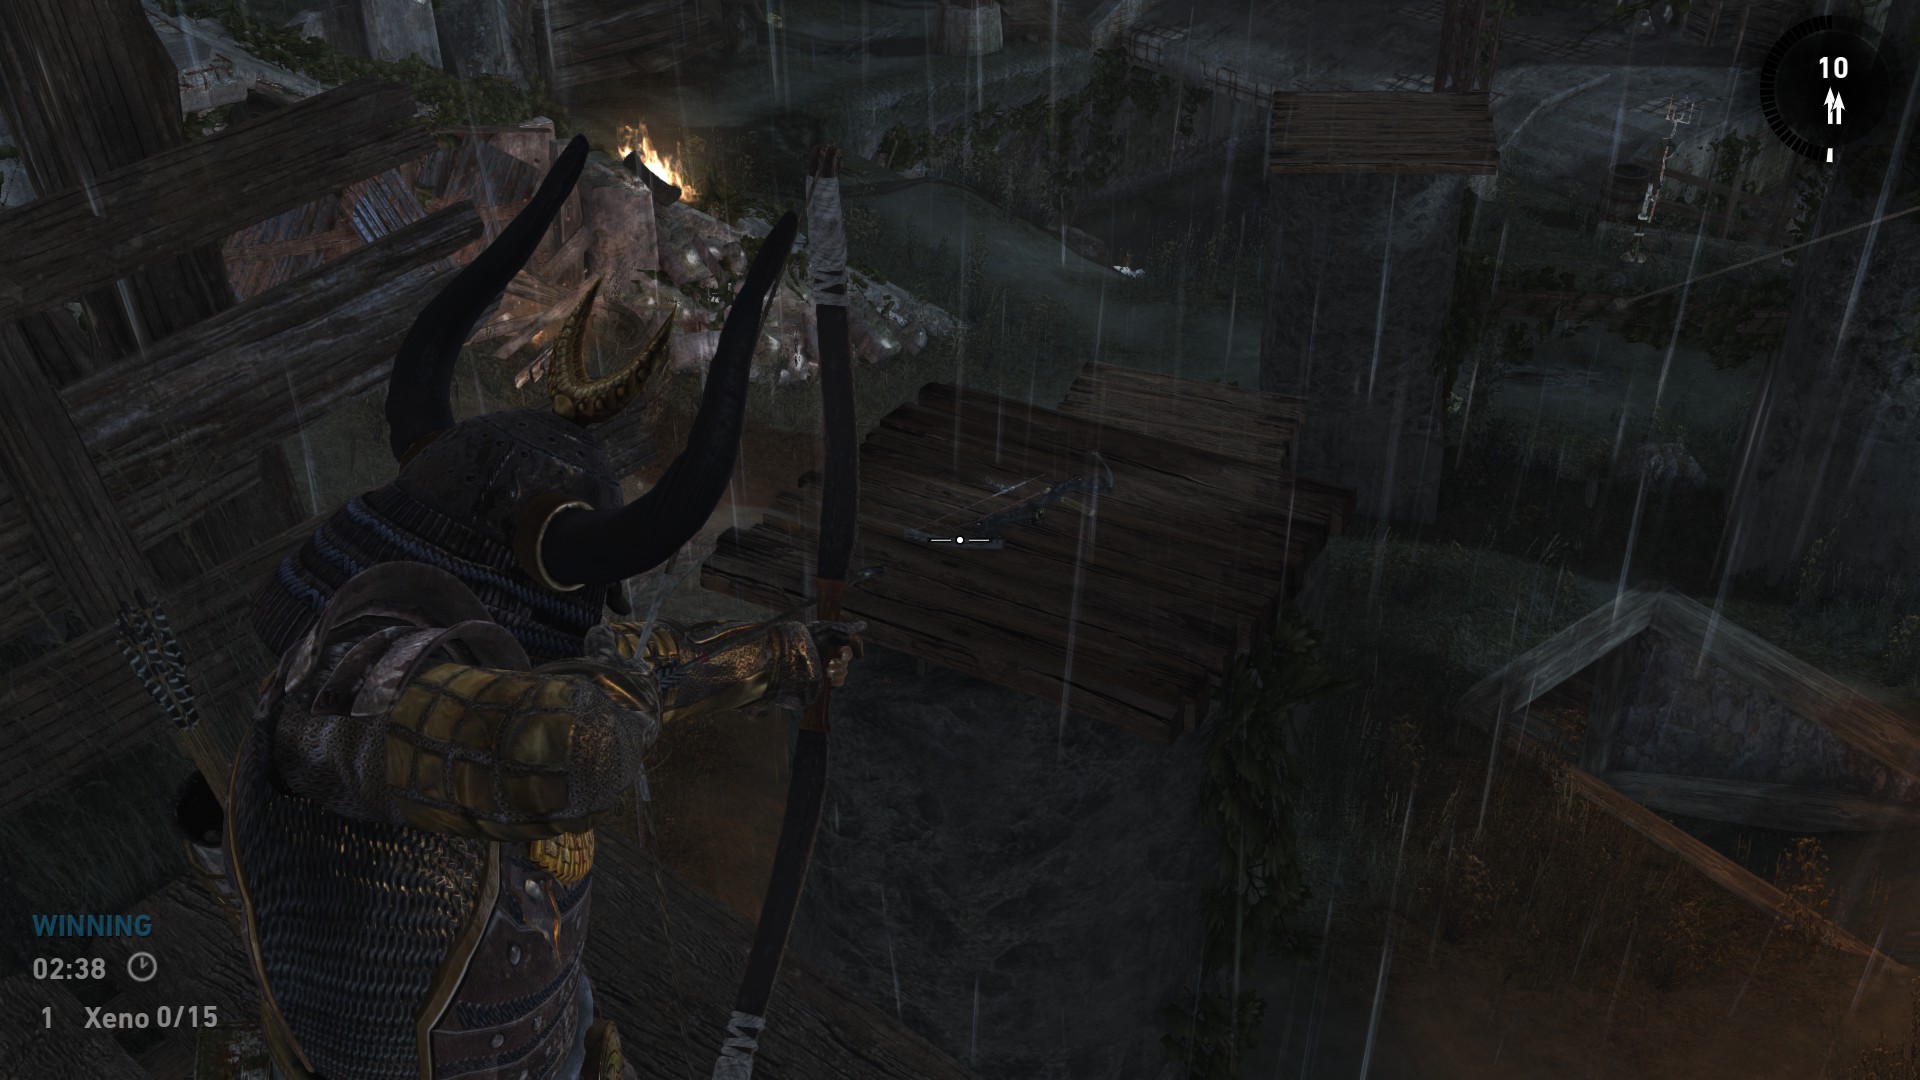
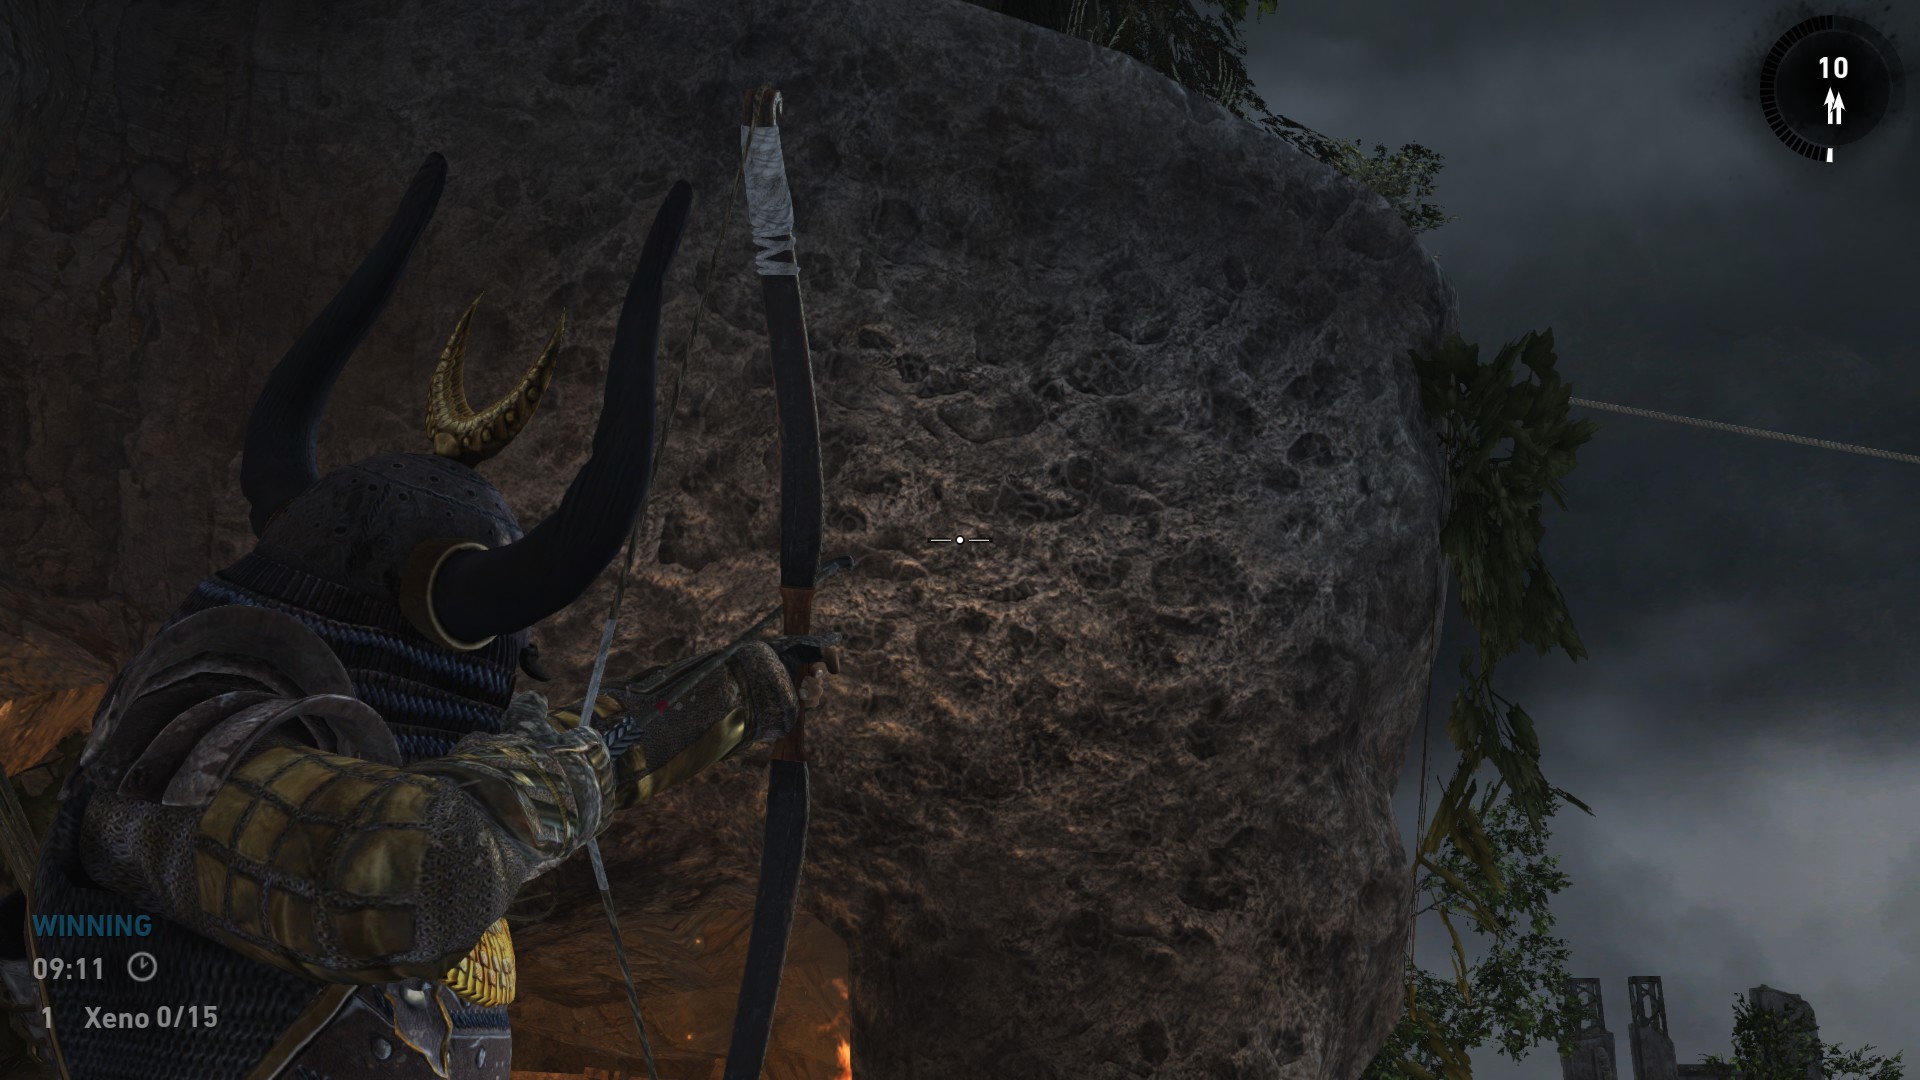
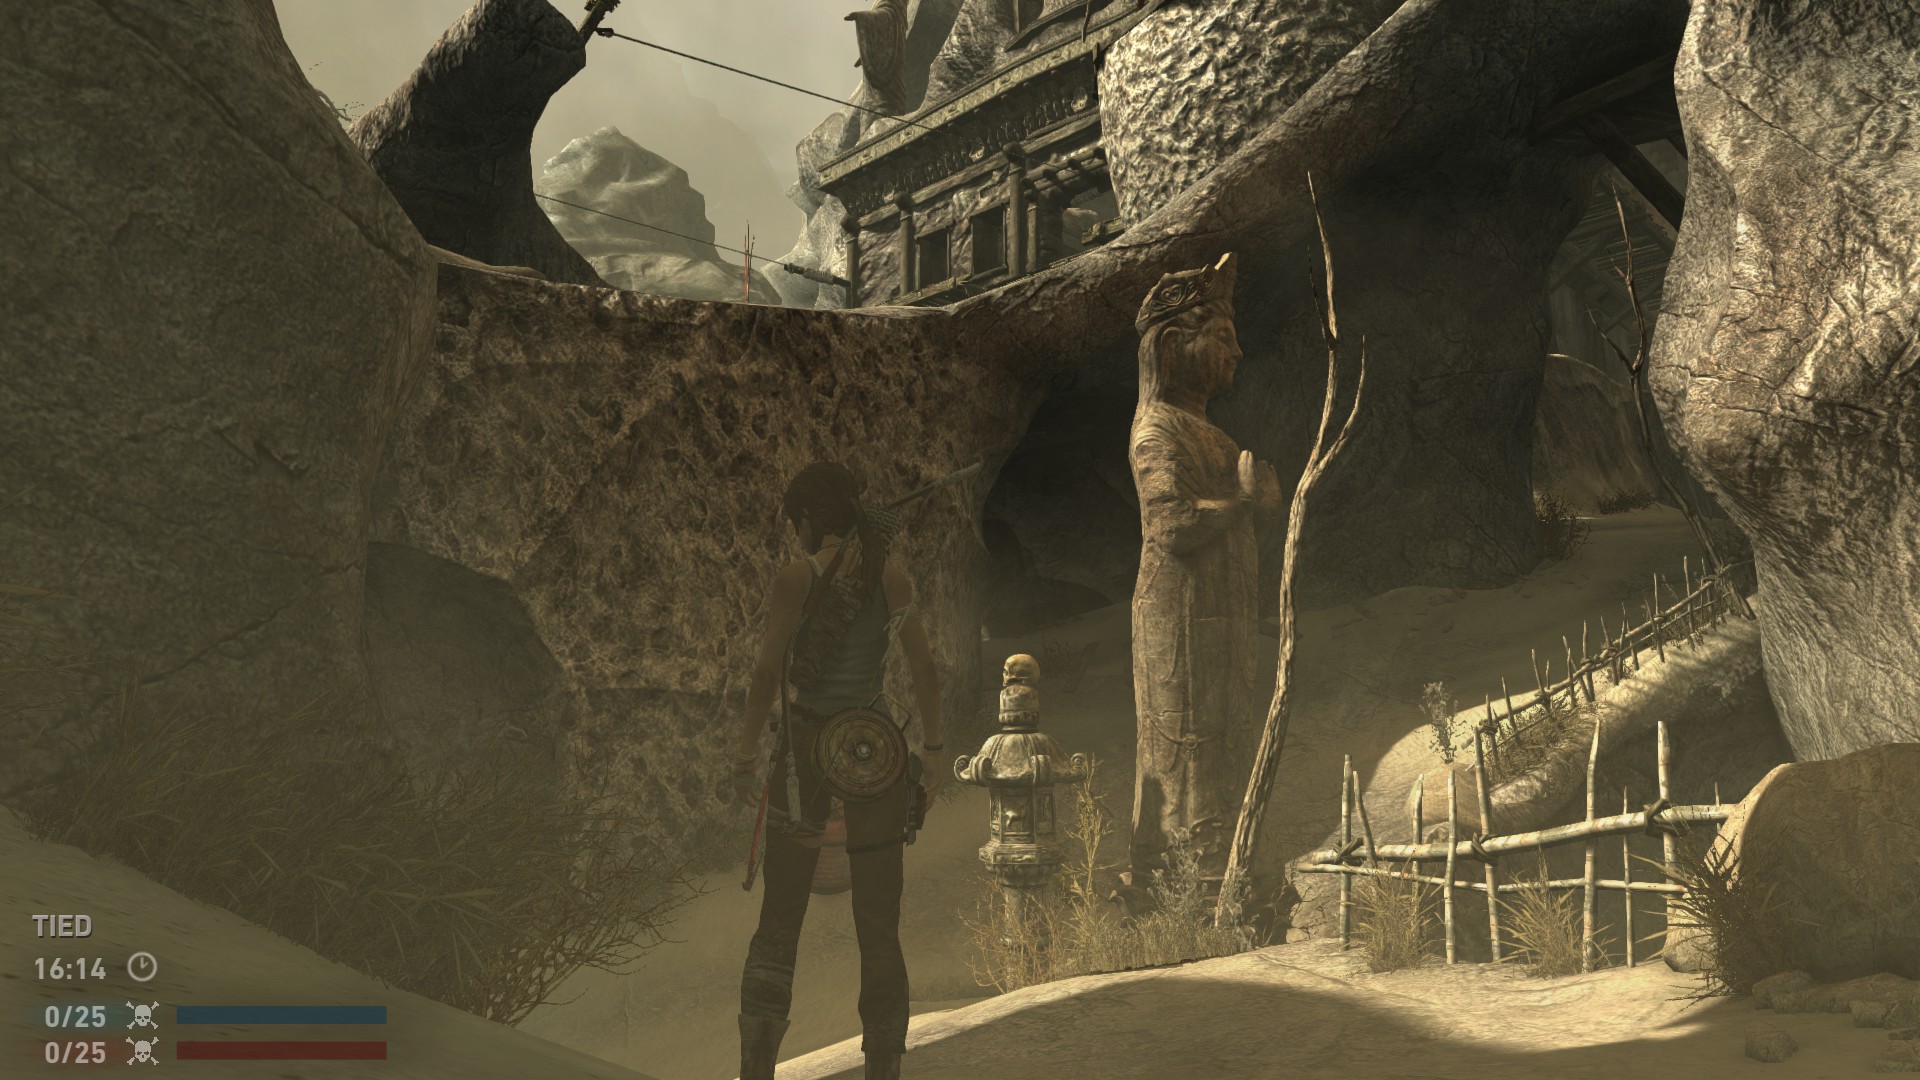
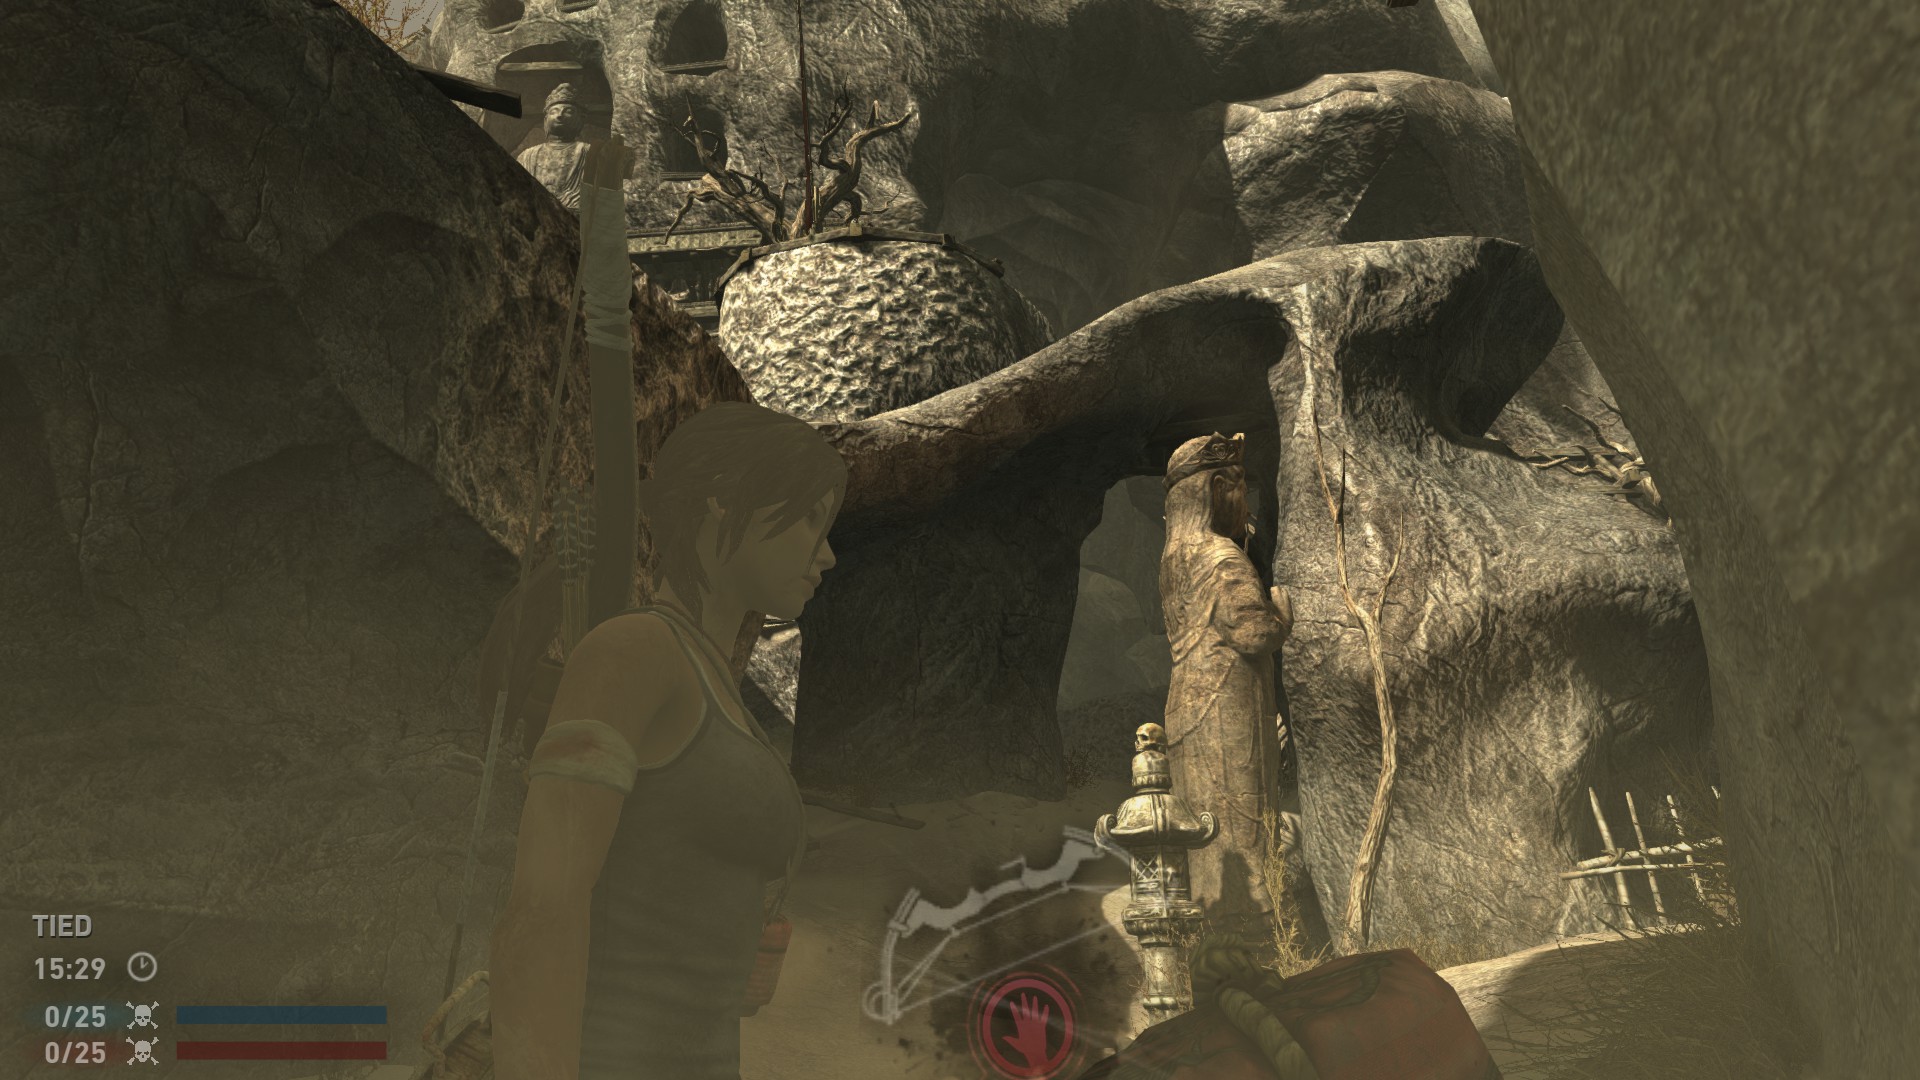
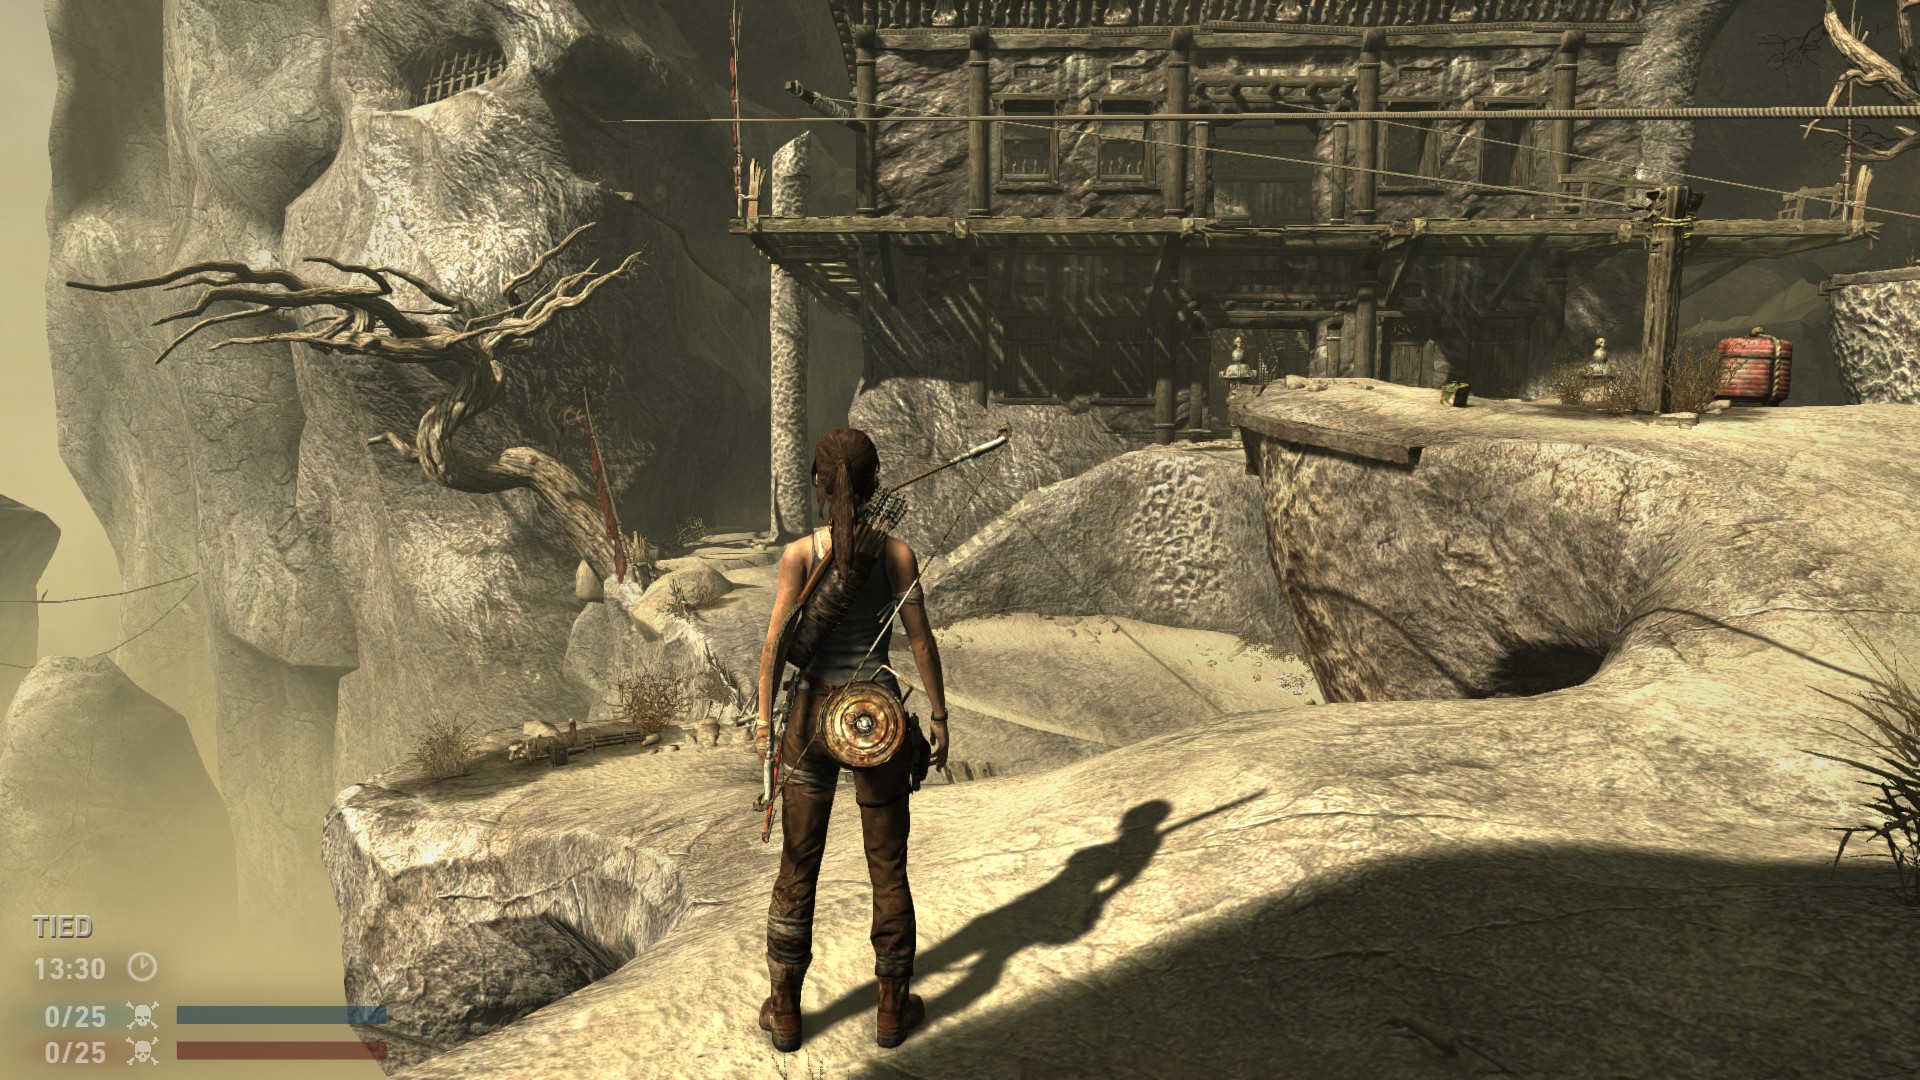
2.1 Beach
The first one is located near the Survivors base. If you spawn, there are 3 exits. Left, middle and right. You can take the left one and turn right. Or you can take the middle one and turn left. There’s a (very) small pillar right next to you where it spawns atop.
Screenshots:
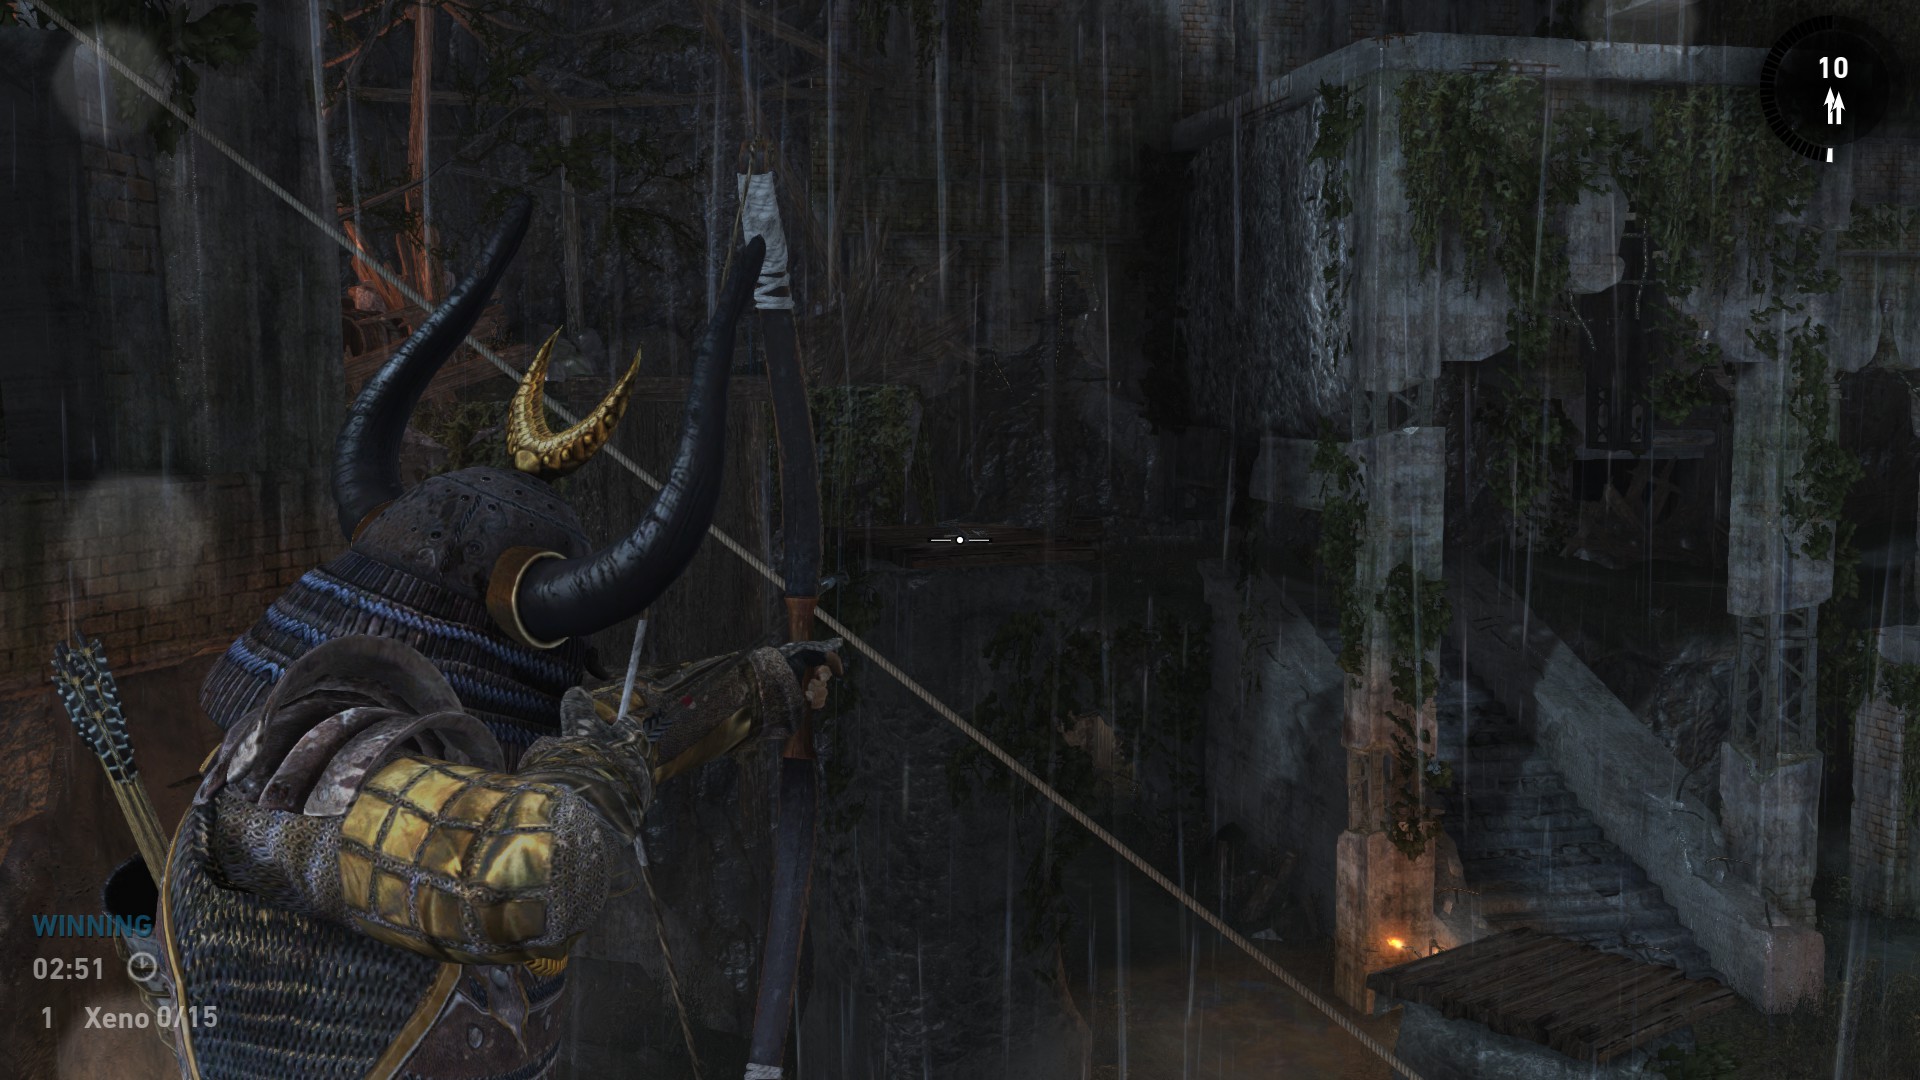
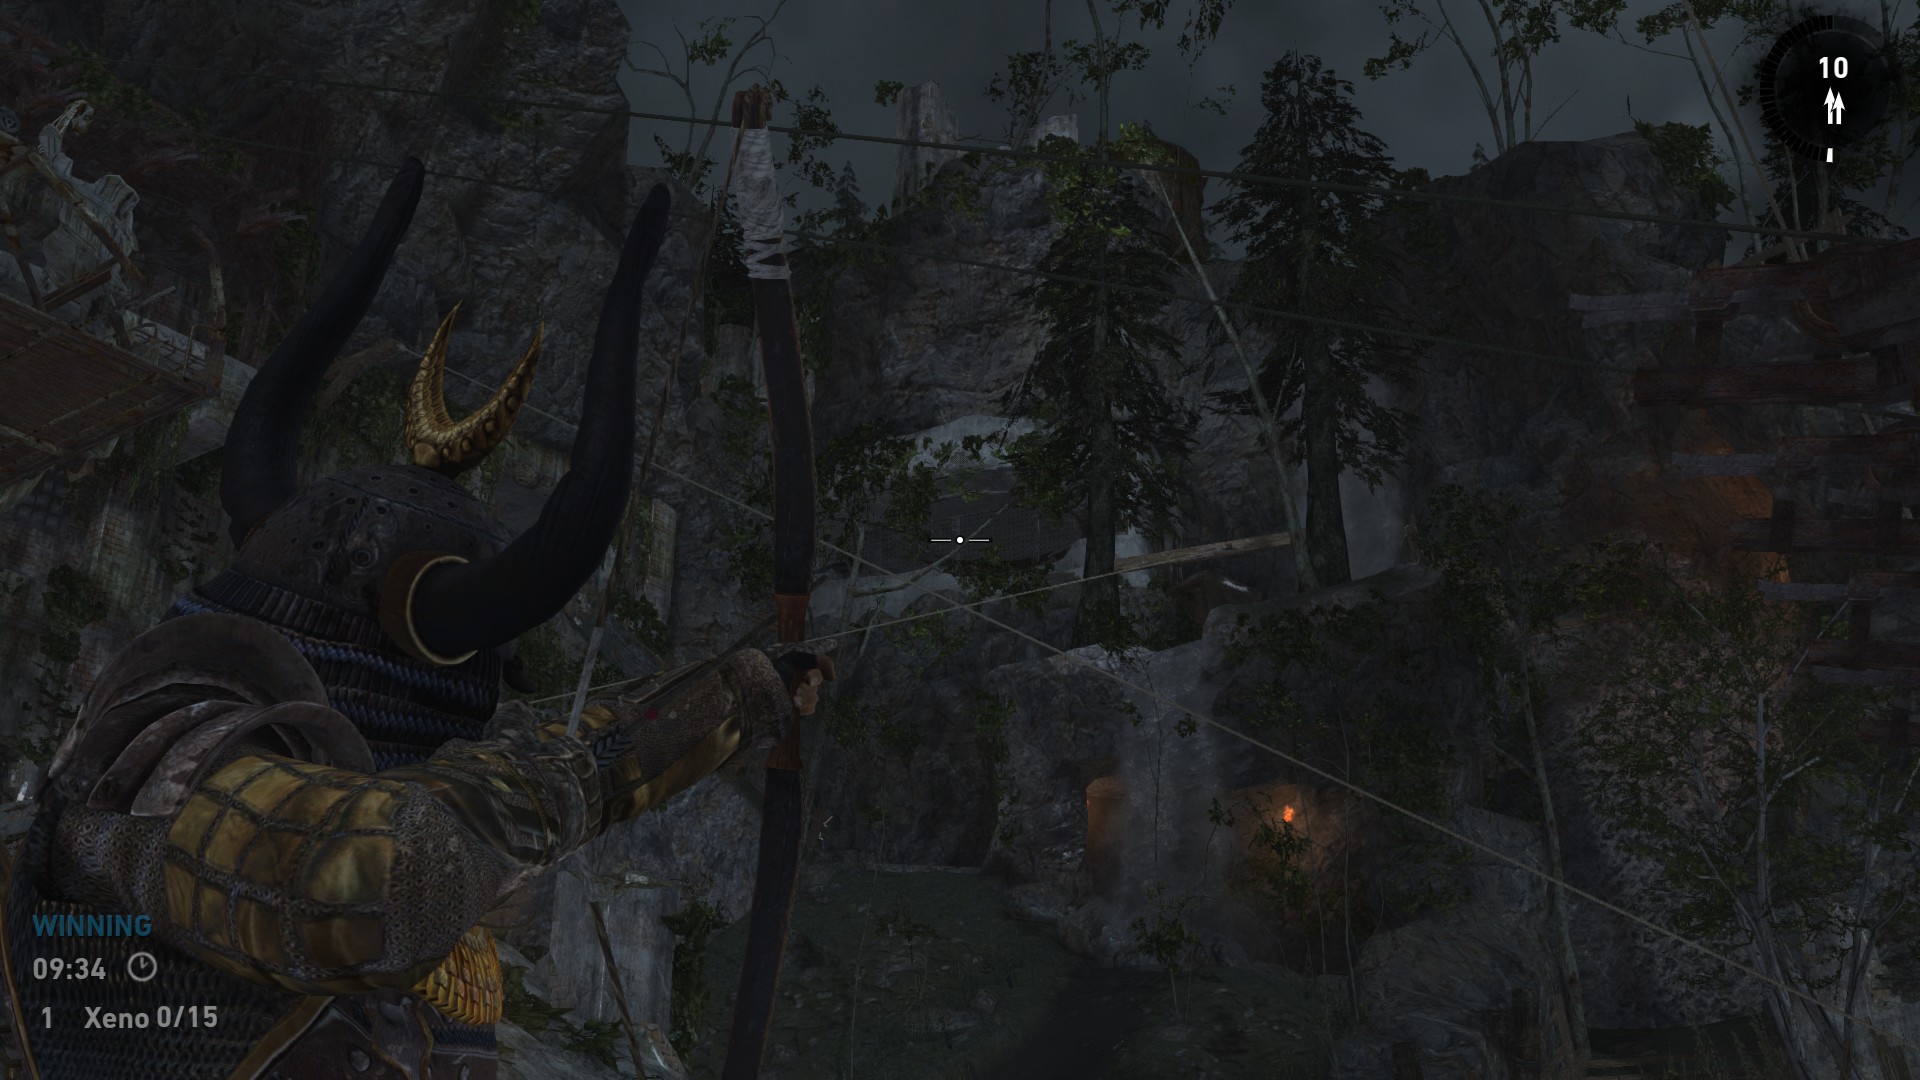
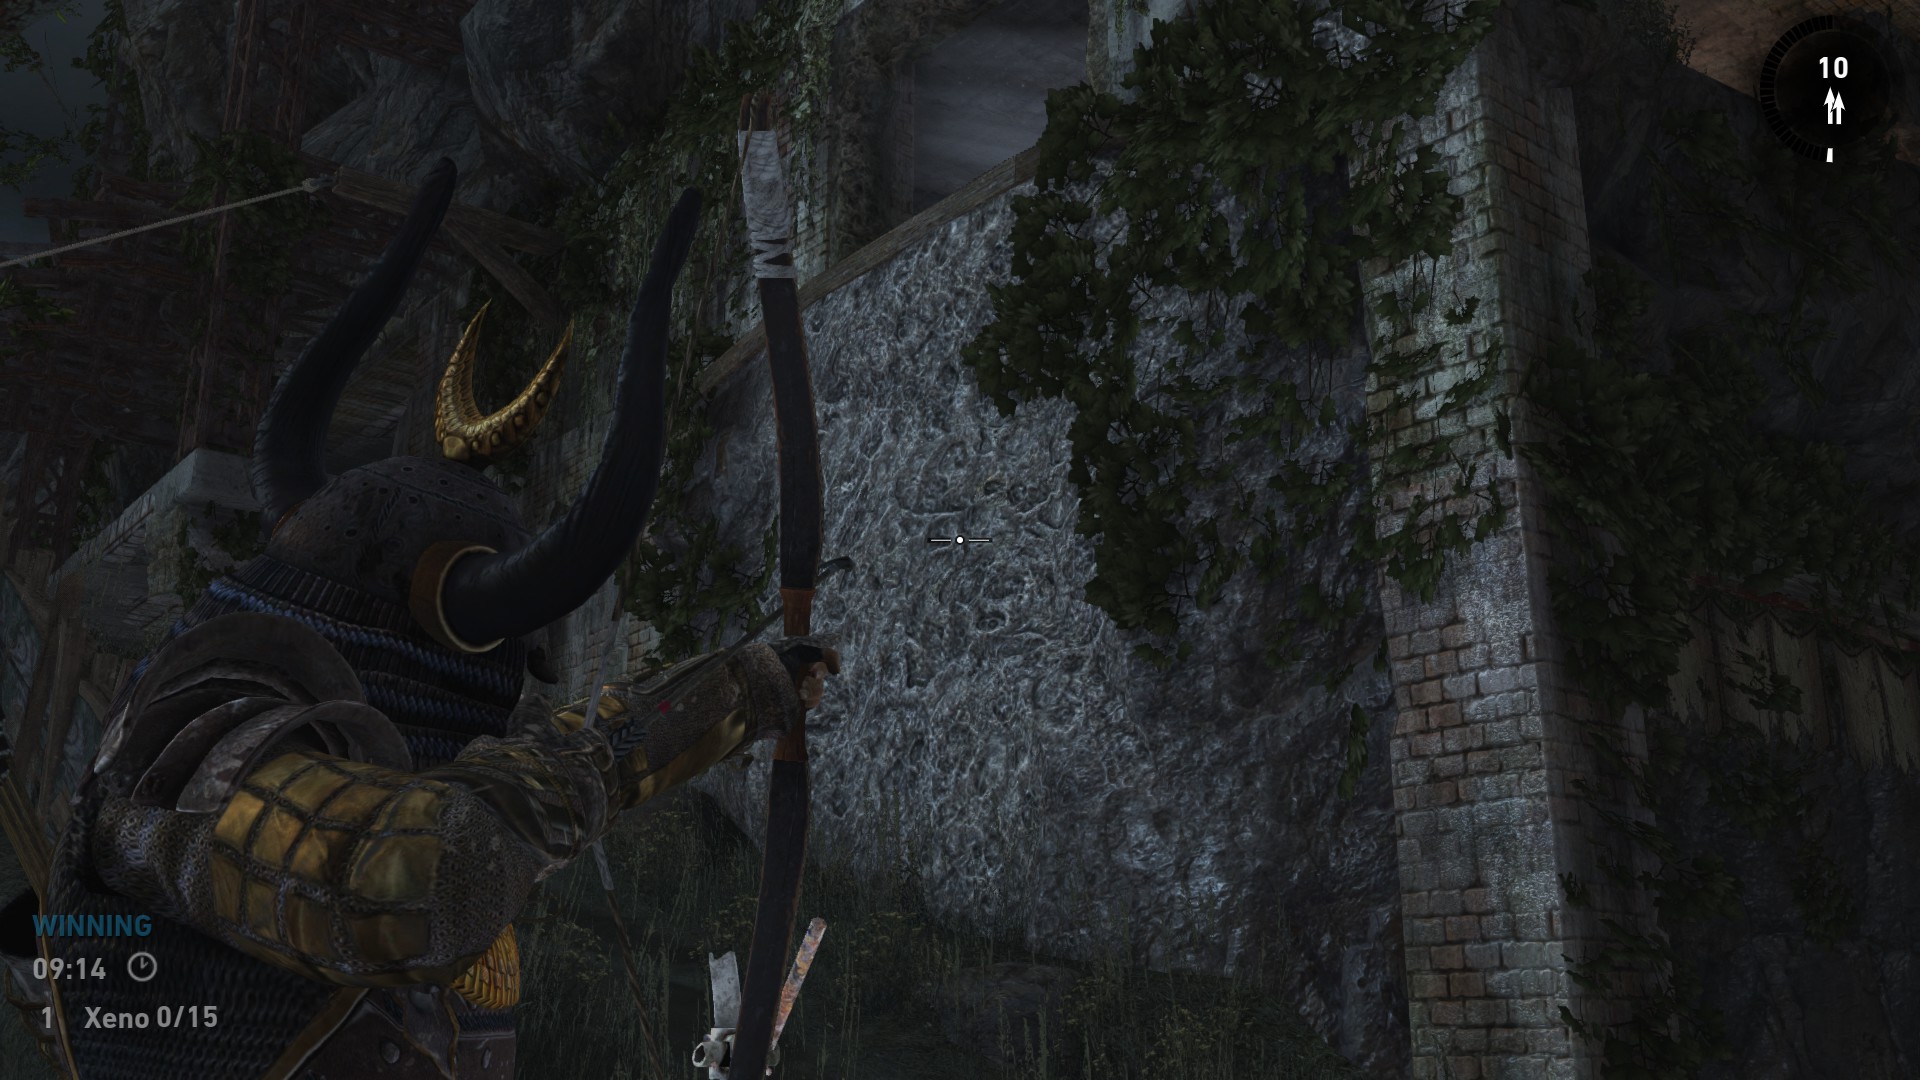
The second one is located closer to the Solarii base. There are wooden stepping stones in the middle of the air close to the very tall tower. The spawnpoint is located on the last stepping point, closest to Solarii base.
Screenshots:
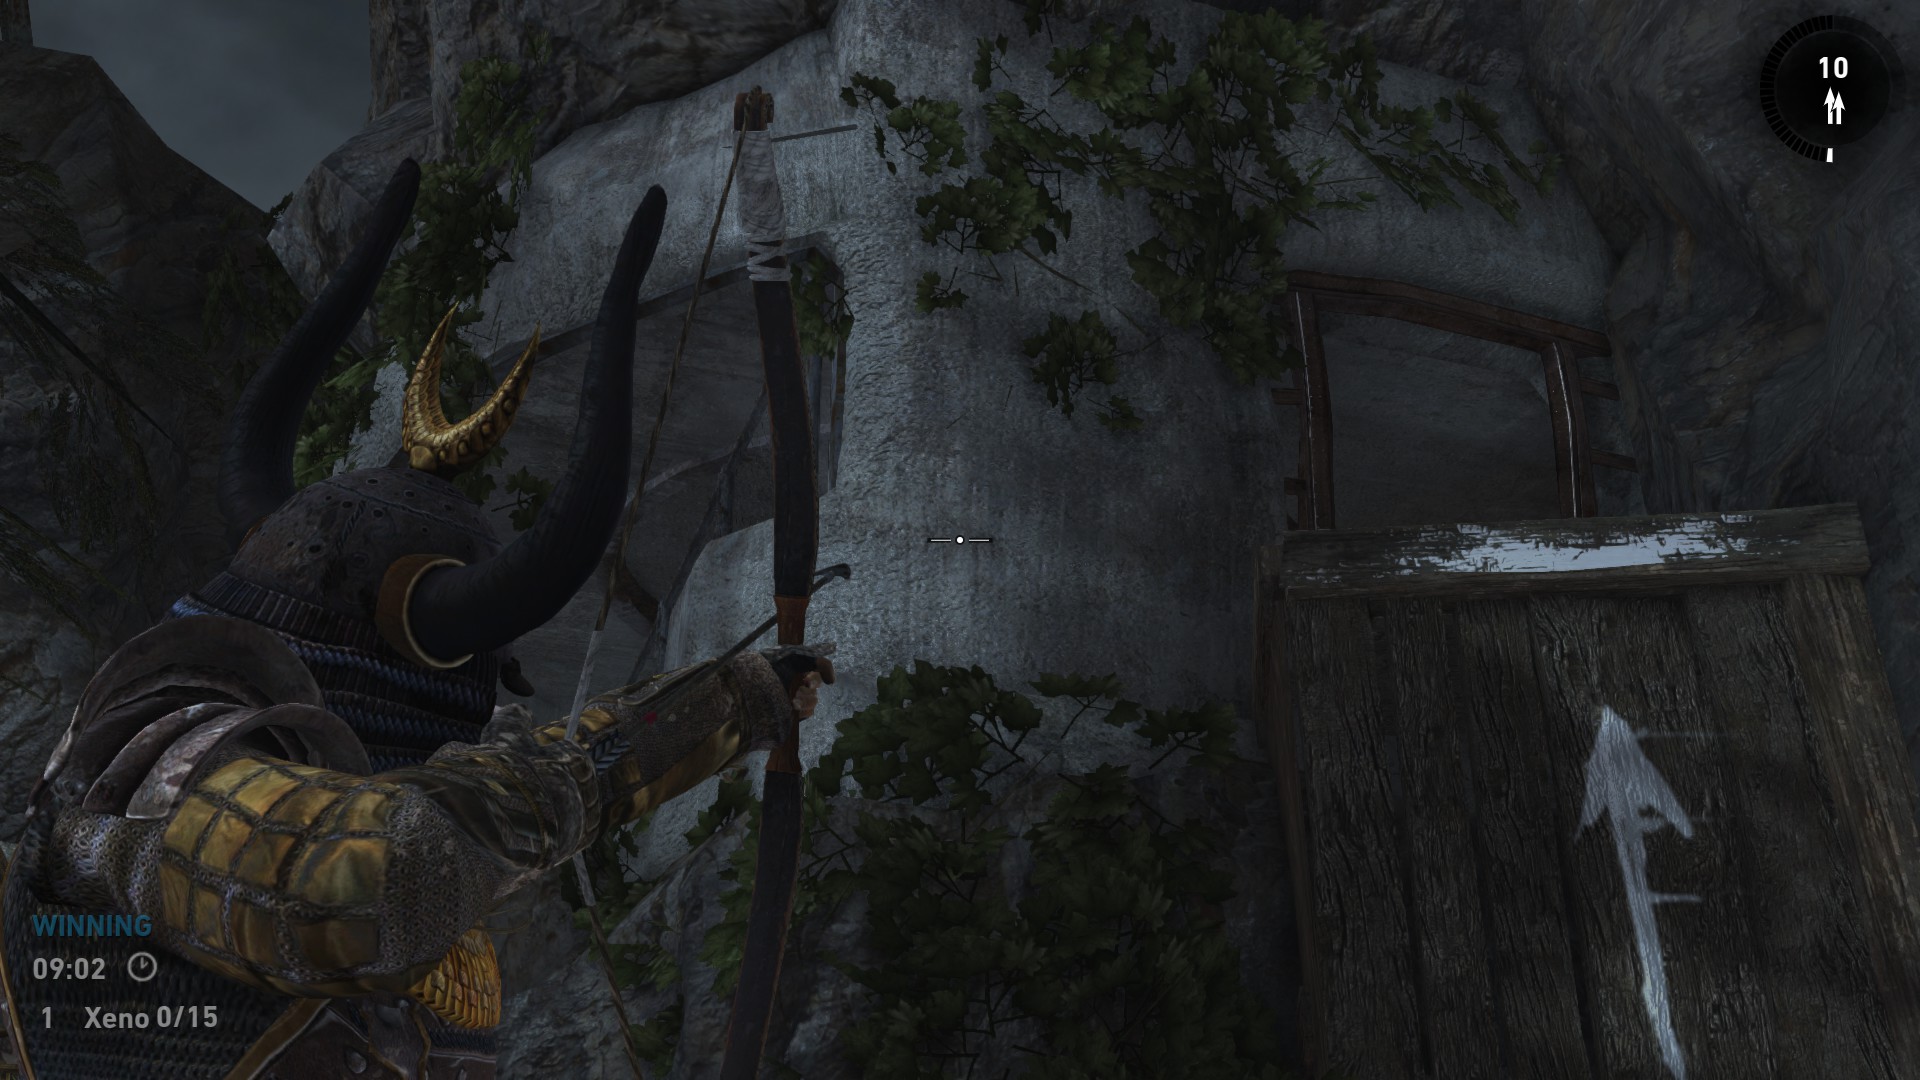
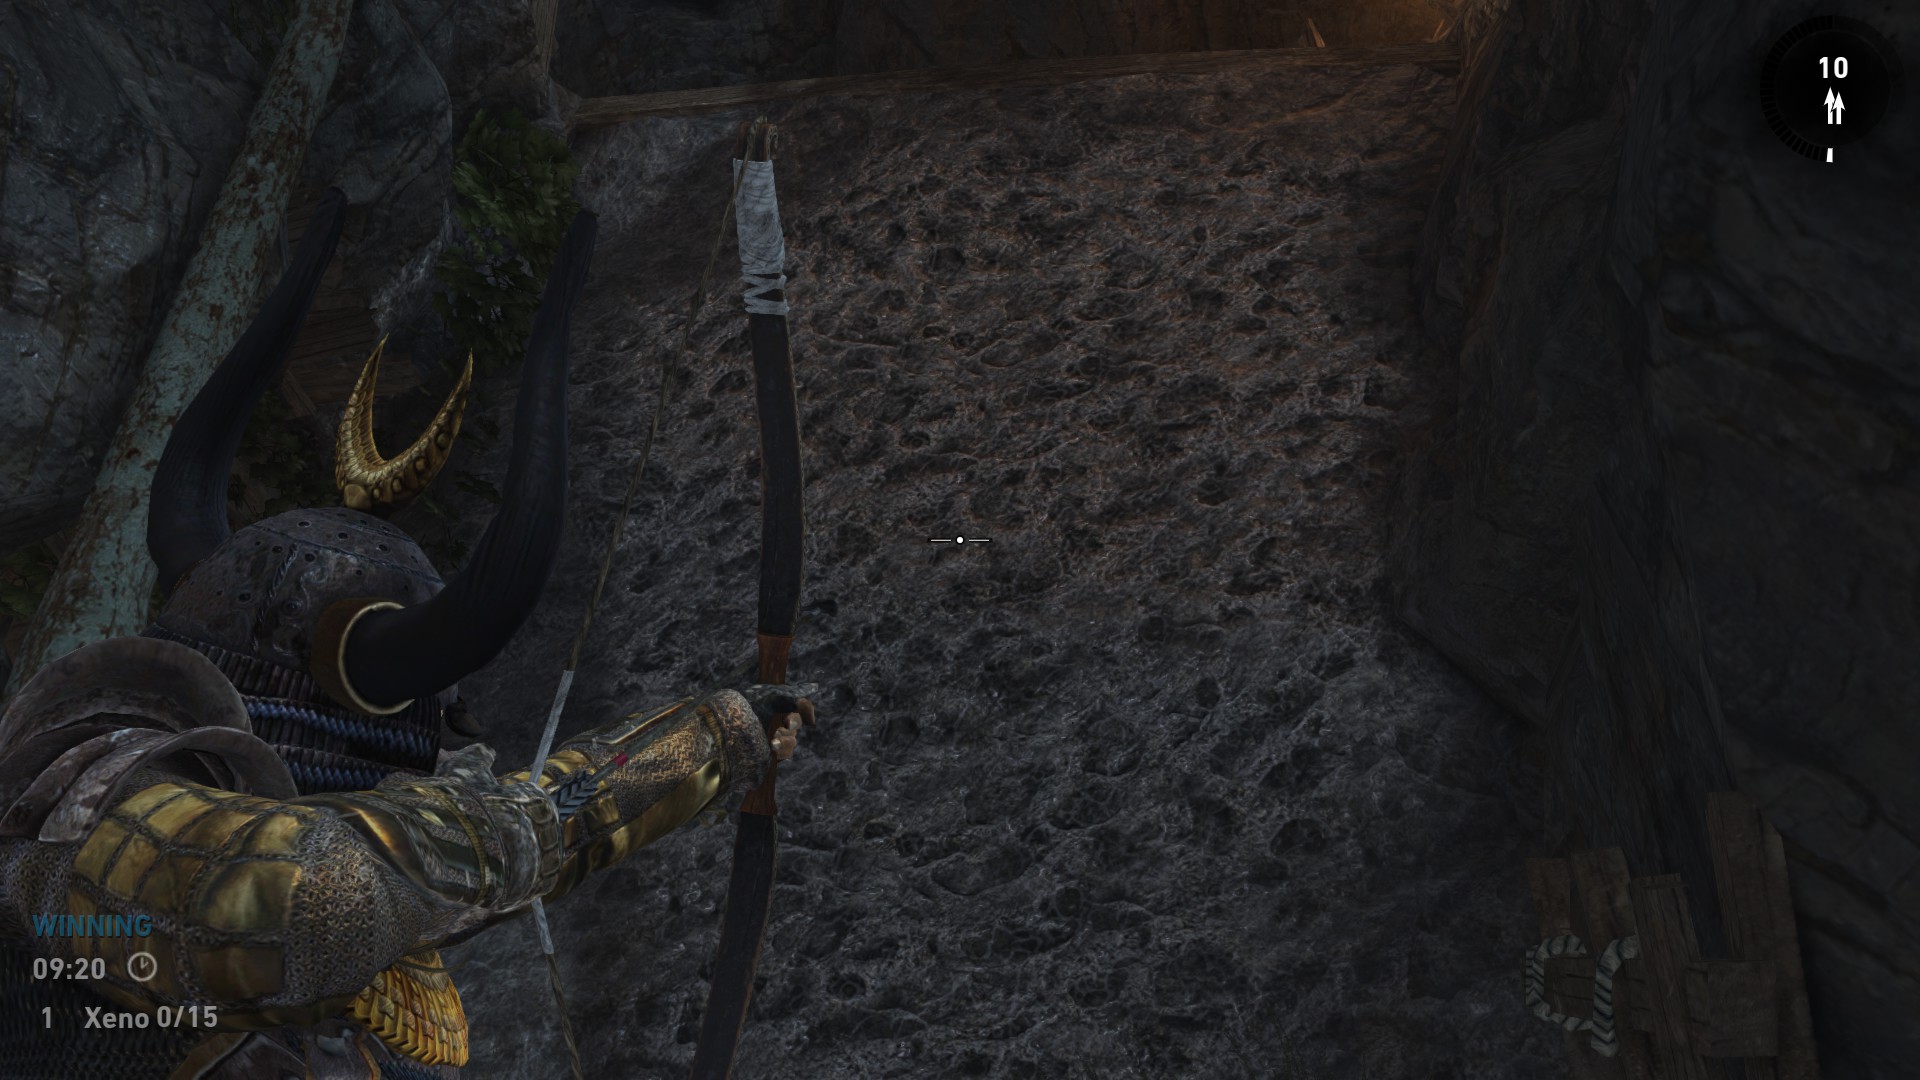
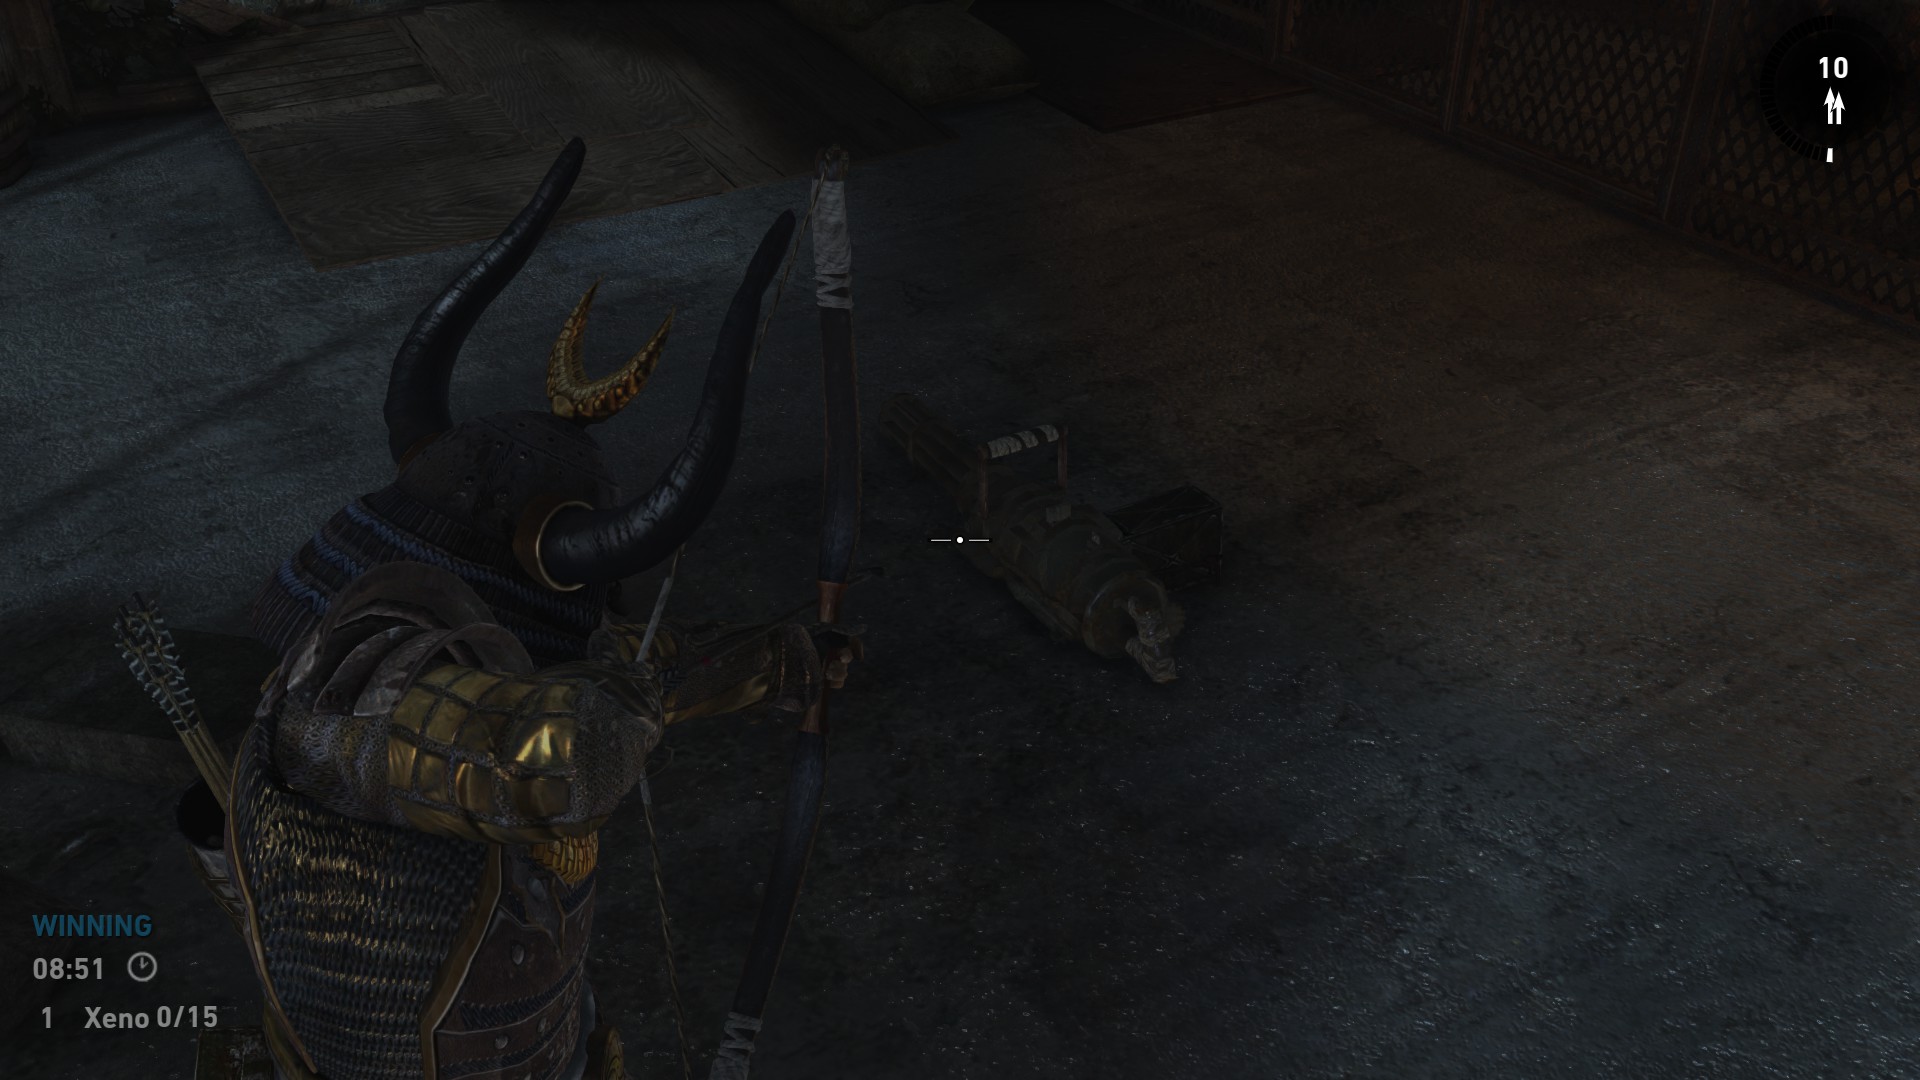
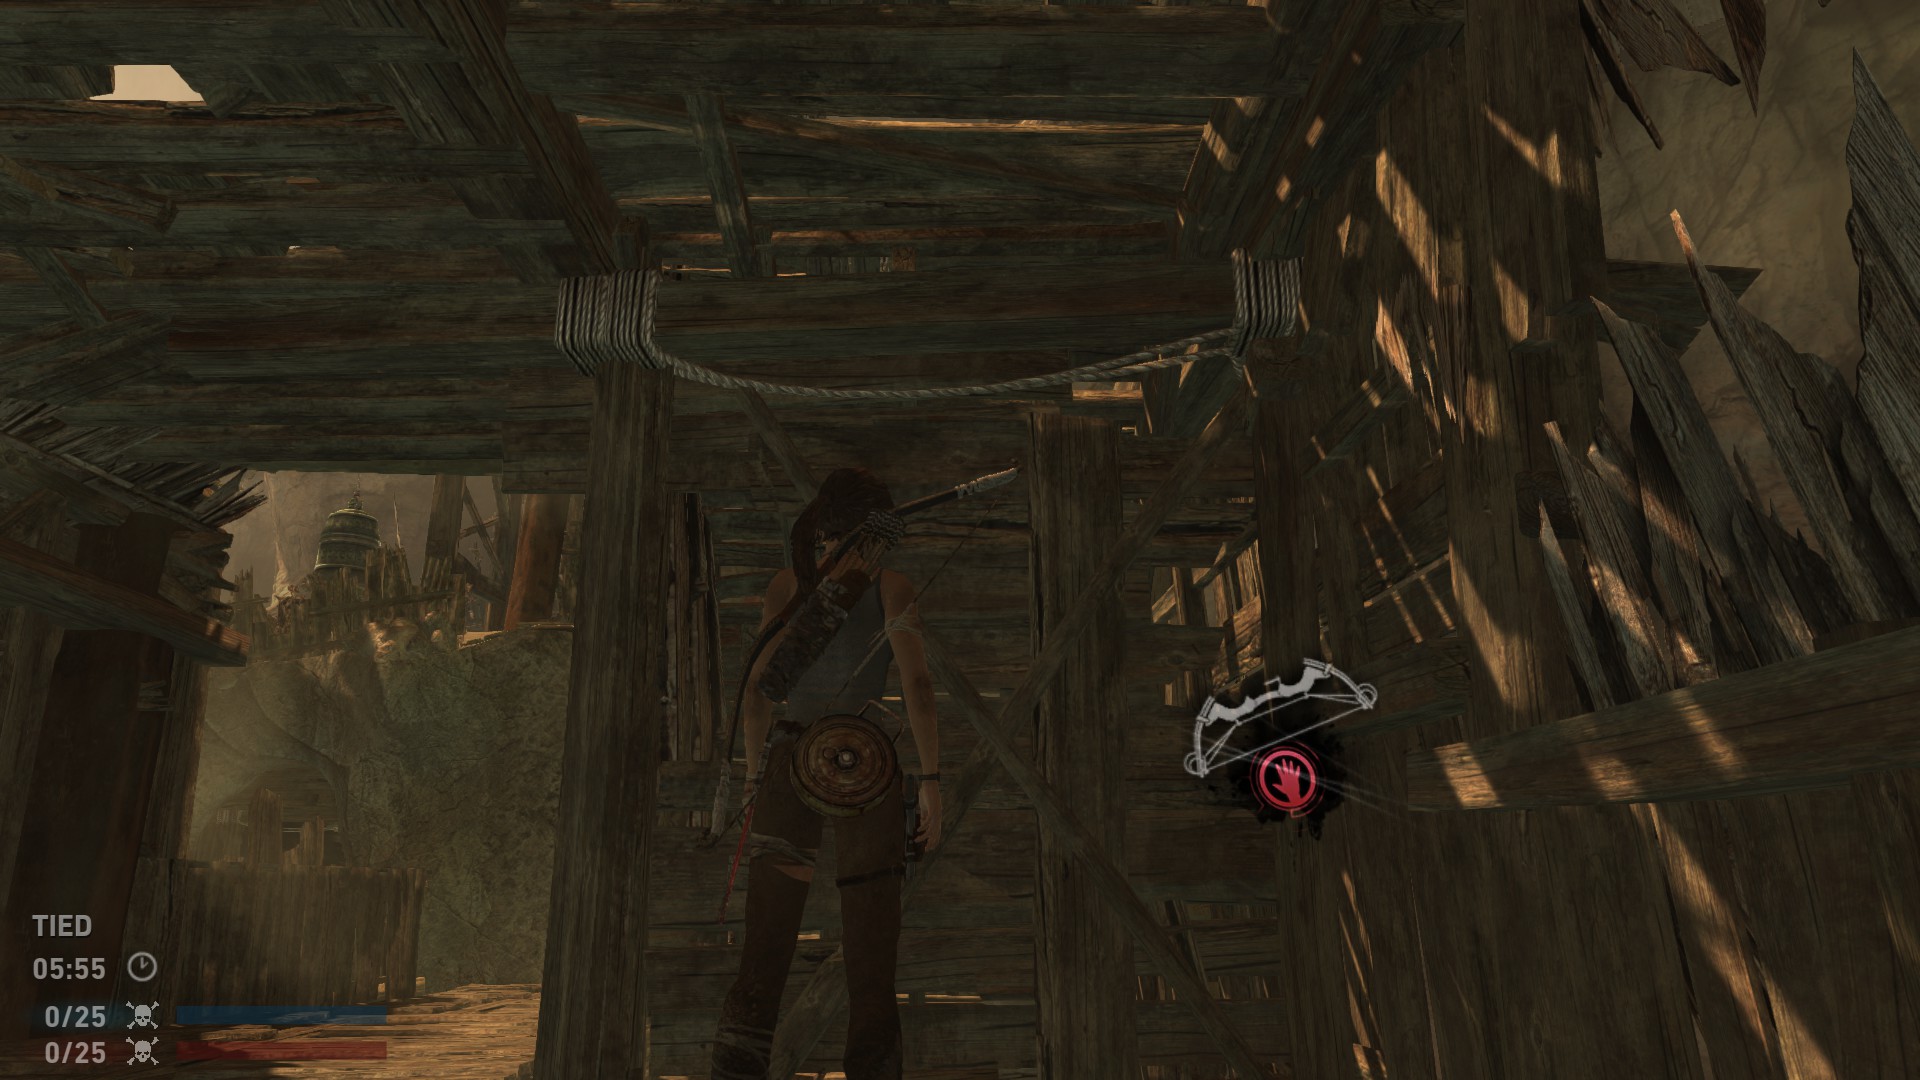
The third one is a hidden location. There’s a big white/grey bunker in the map. It’s closer to Solarii base, so if you spawn as Solarii, face the Survivors base and look left. There’s a big bunker there. You’ll have to climb to it through one of the 3 ways and grab the superweapon within.
Screenshots:
The huge tower can be climbed all the way to the top! Many lightning rods in this map, they are instant-killing traps, so beware!
2.1.1 Beach Video
I’ll uphold the following rule in my videos:
Survivor’s view first, then solarii. Loop from location #1 to #3.
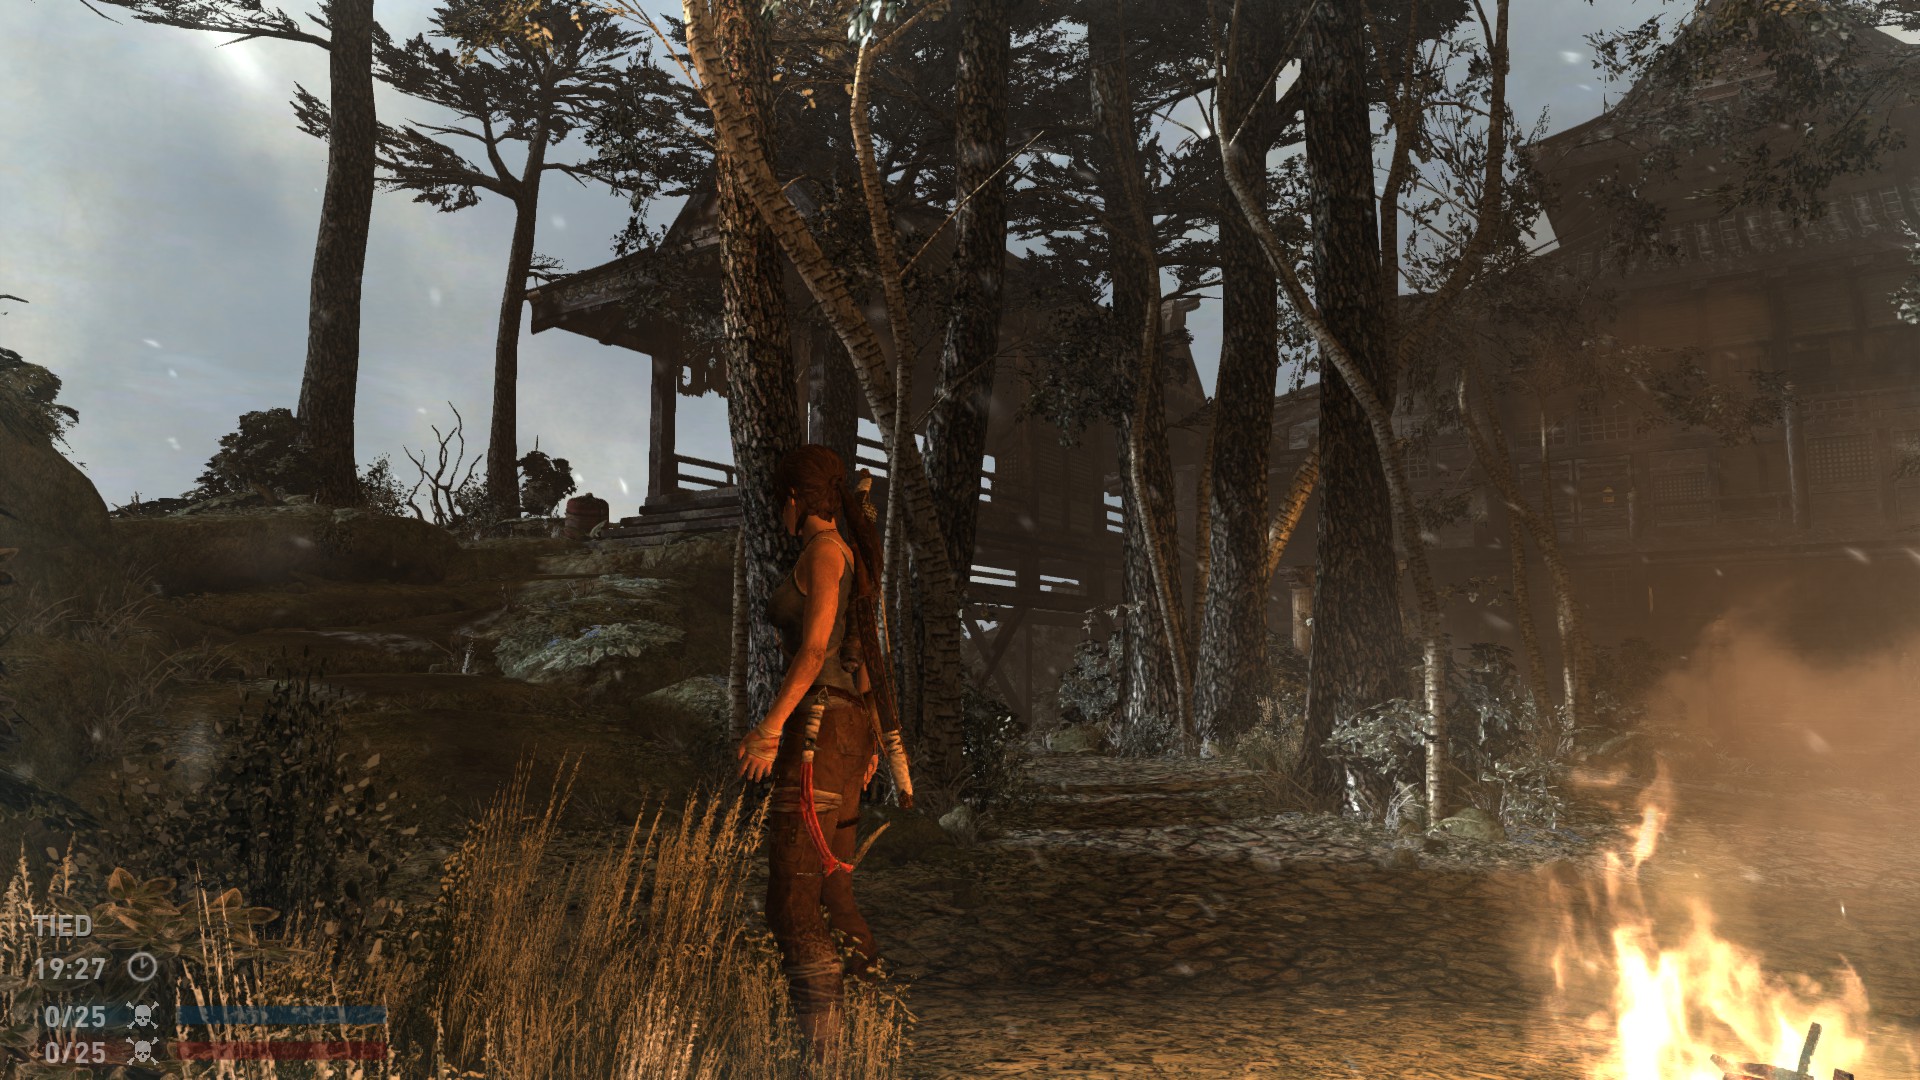
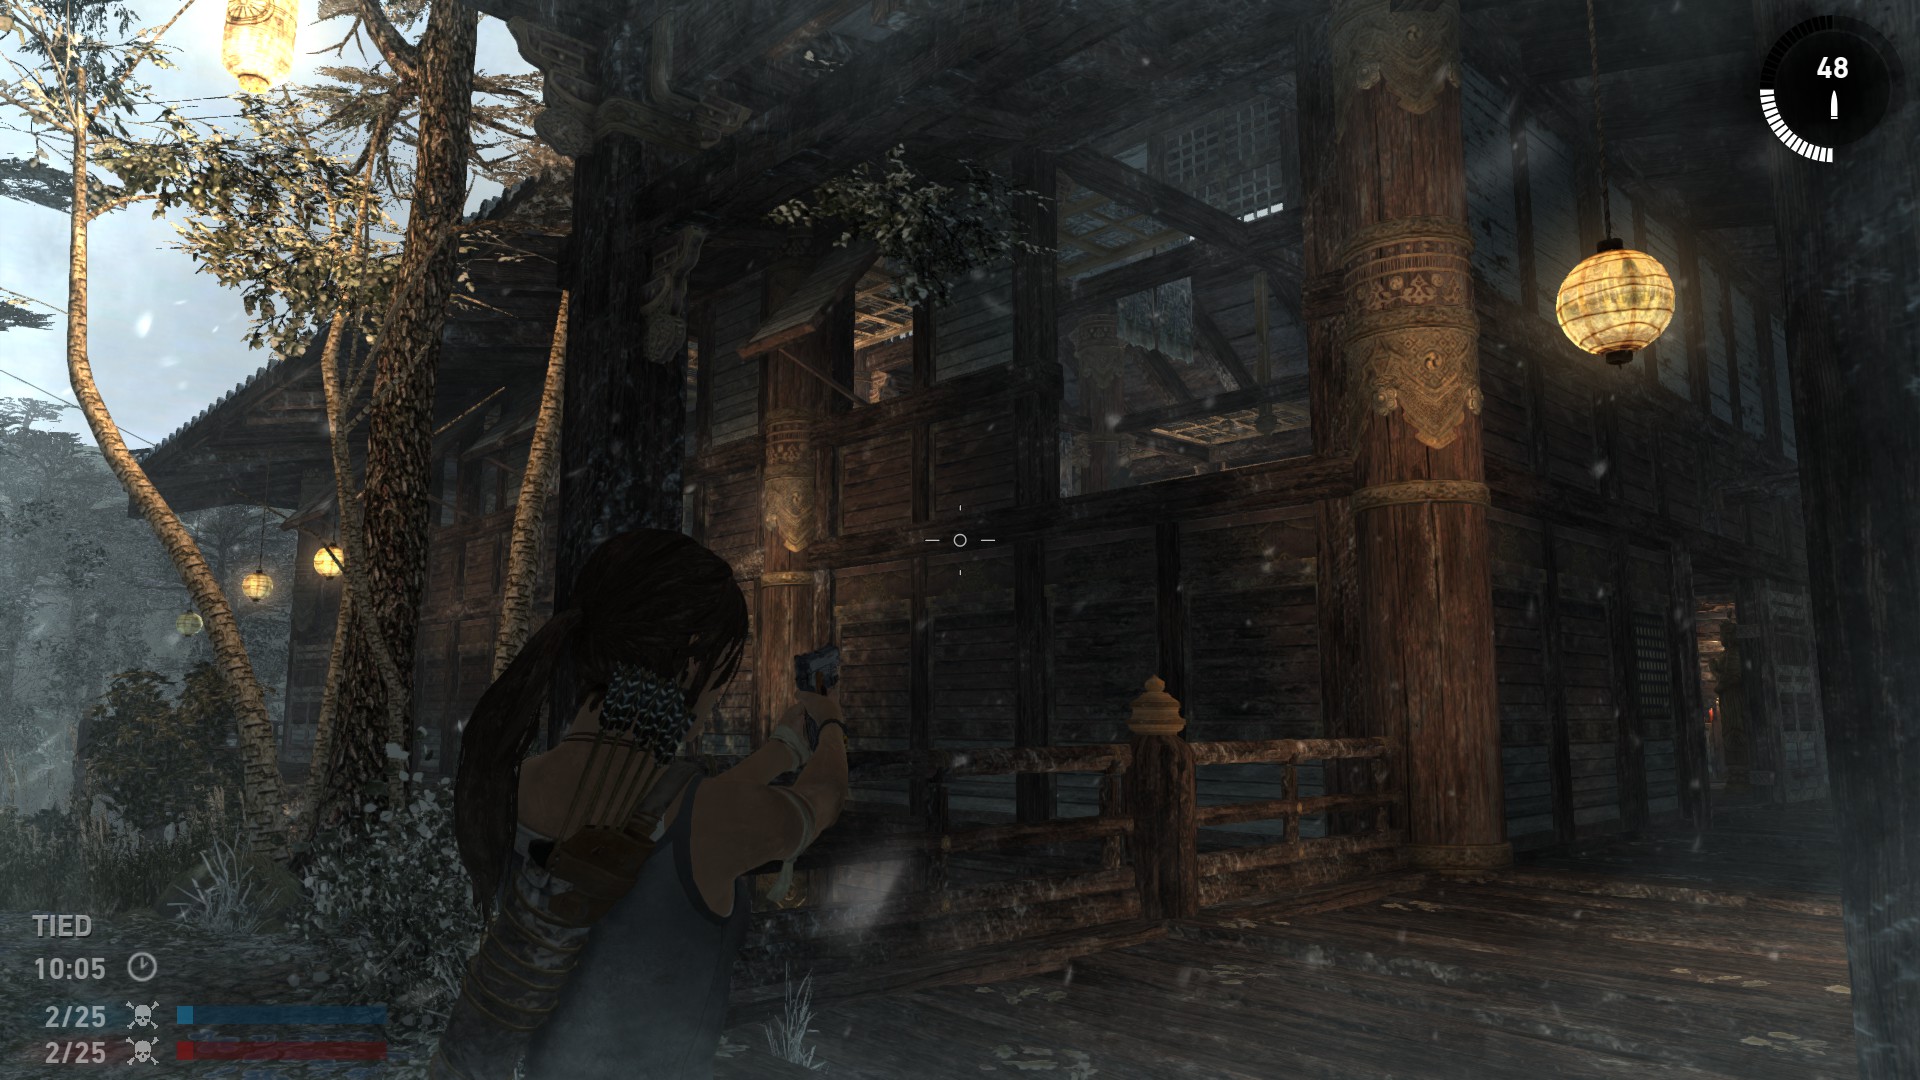
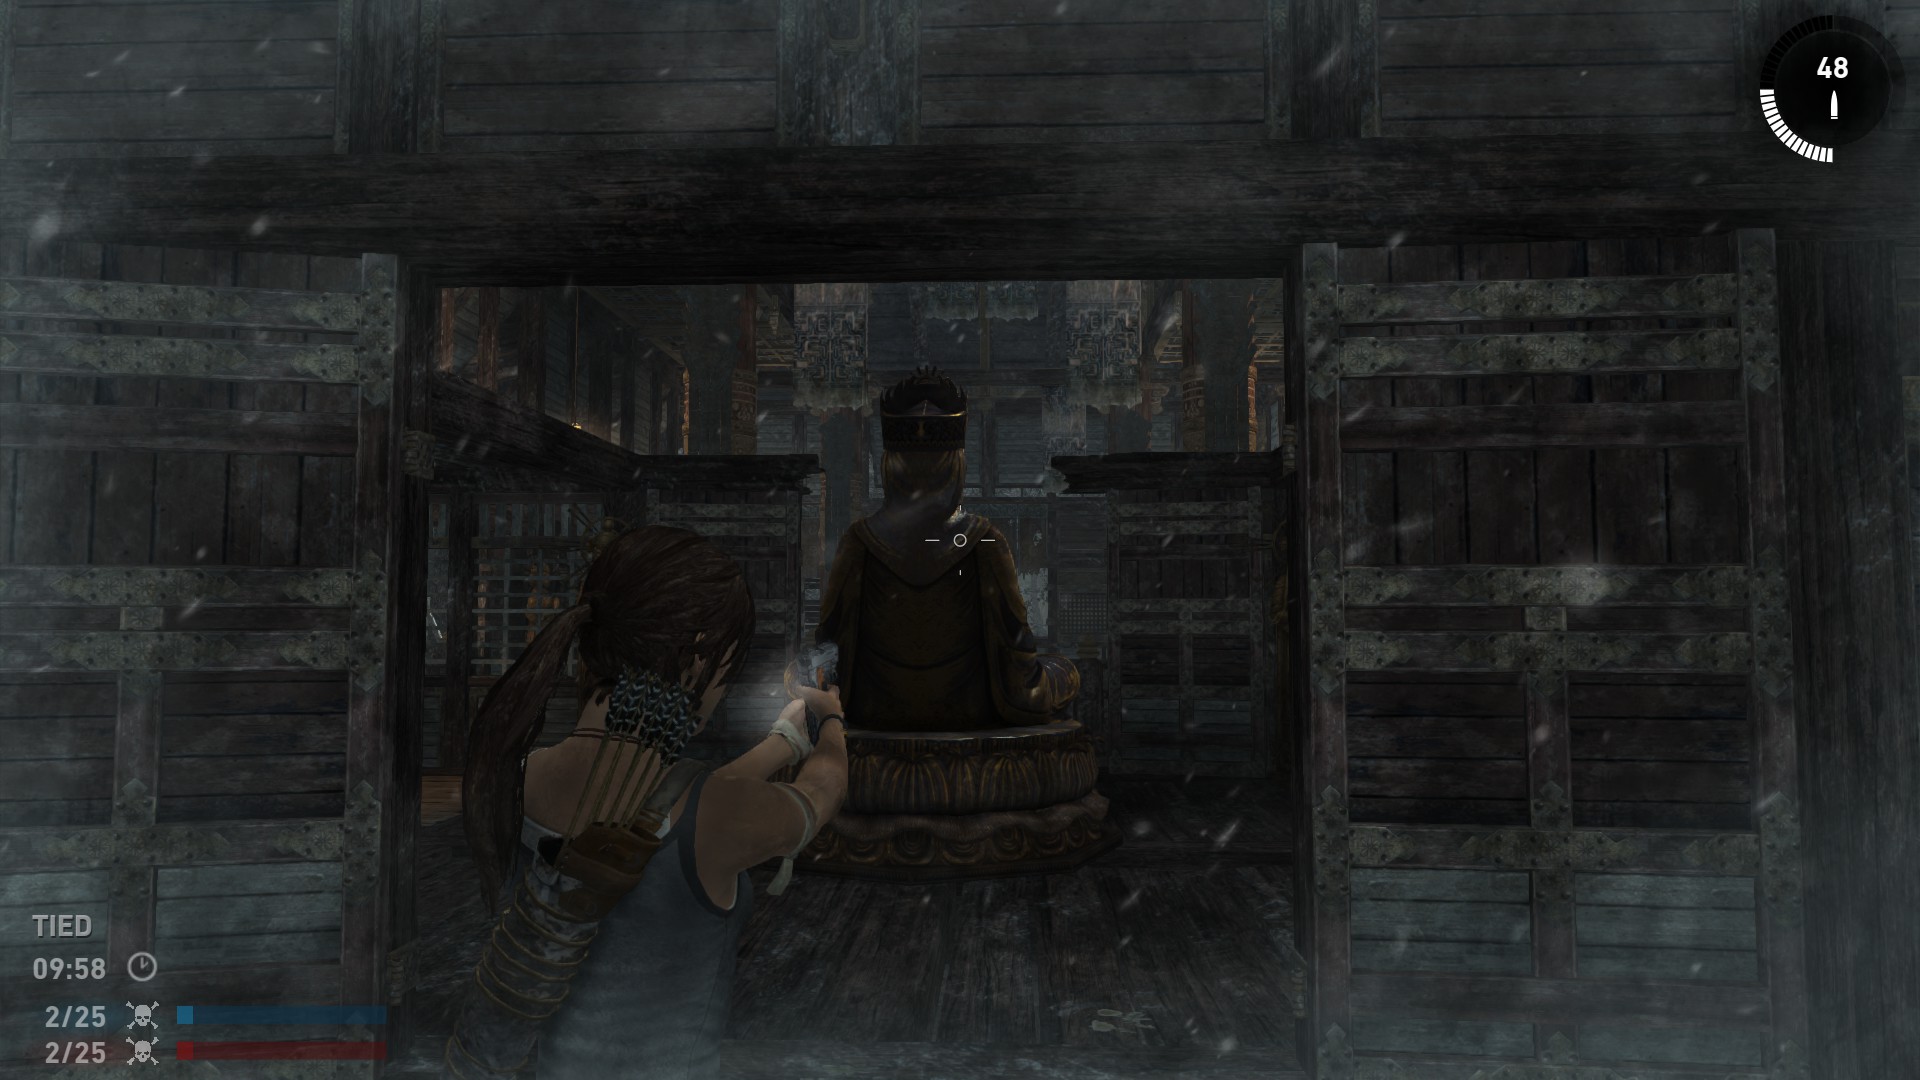
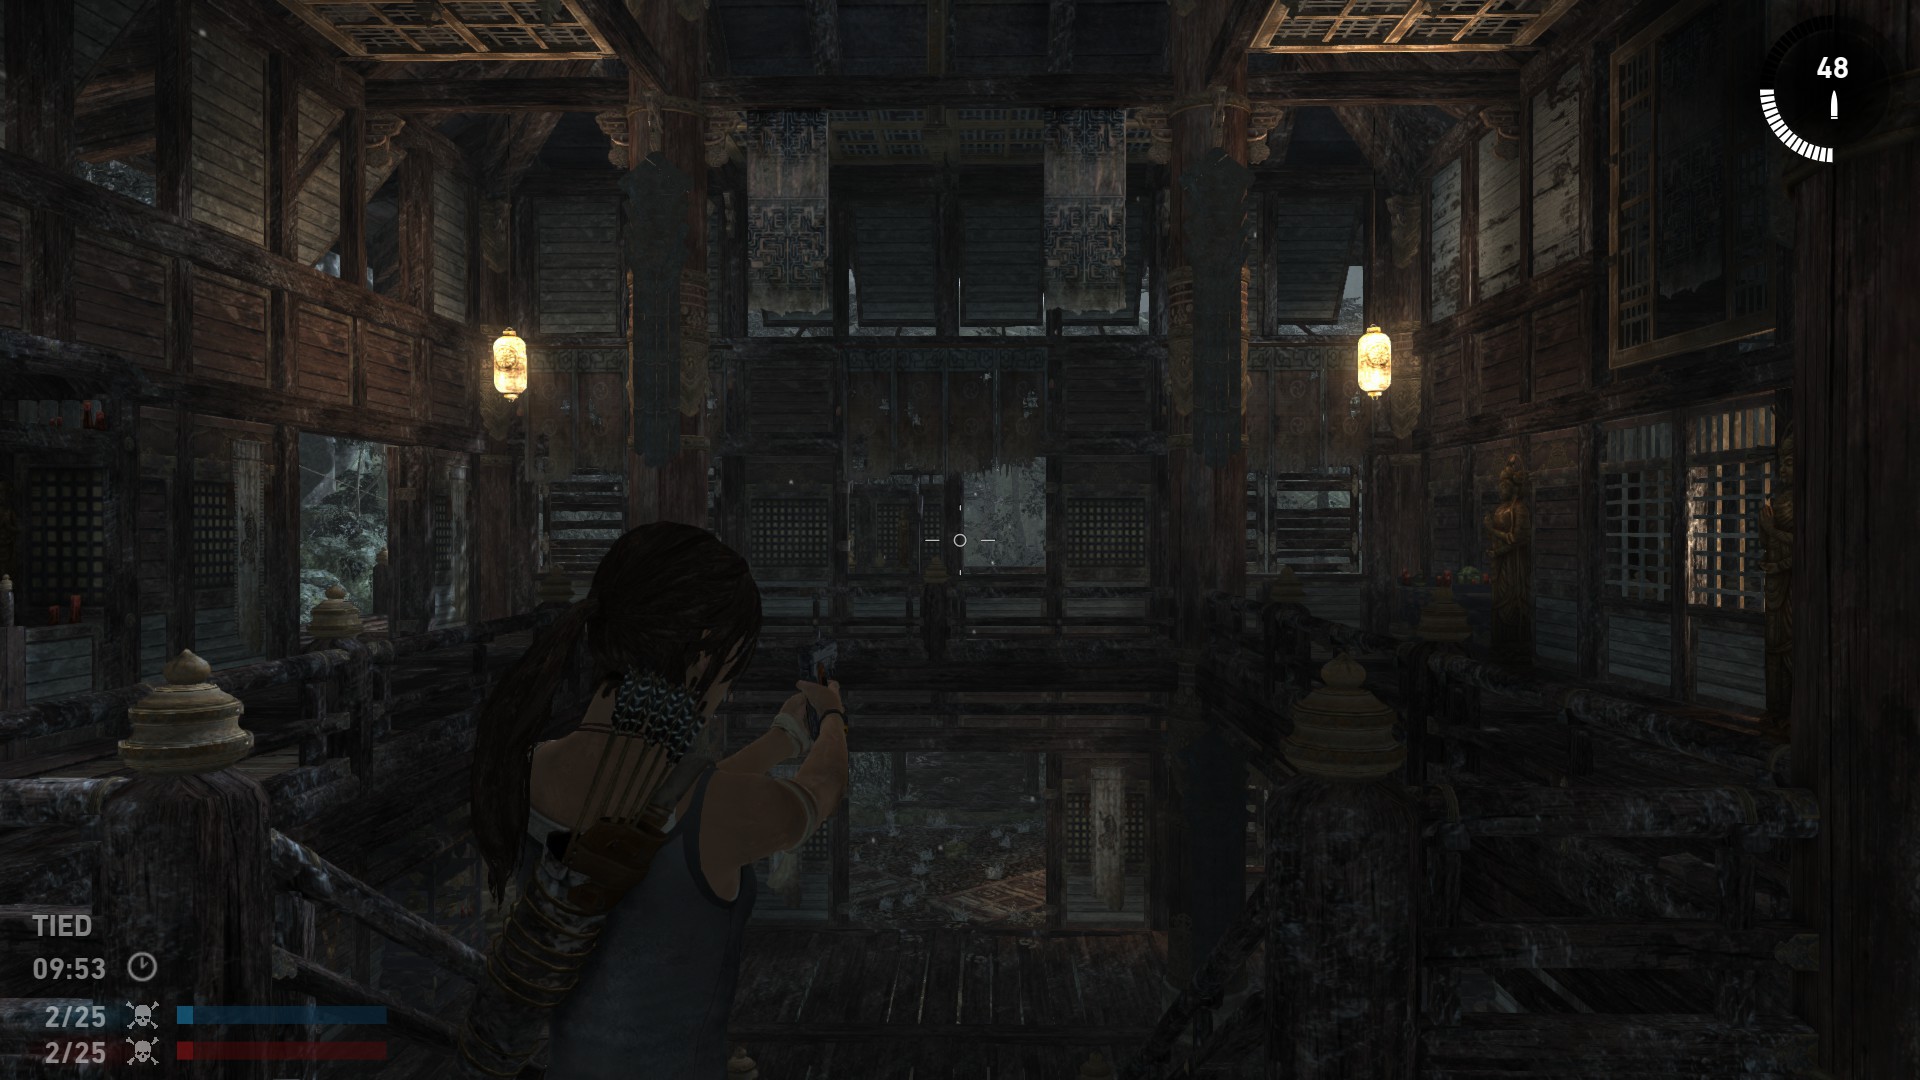
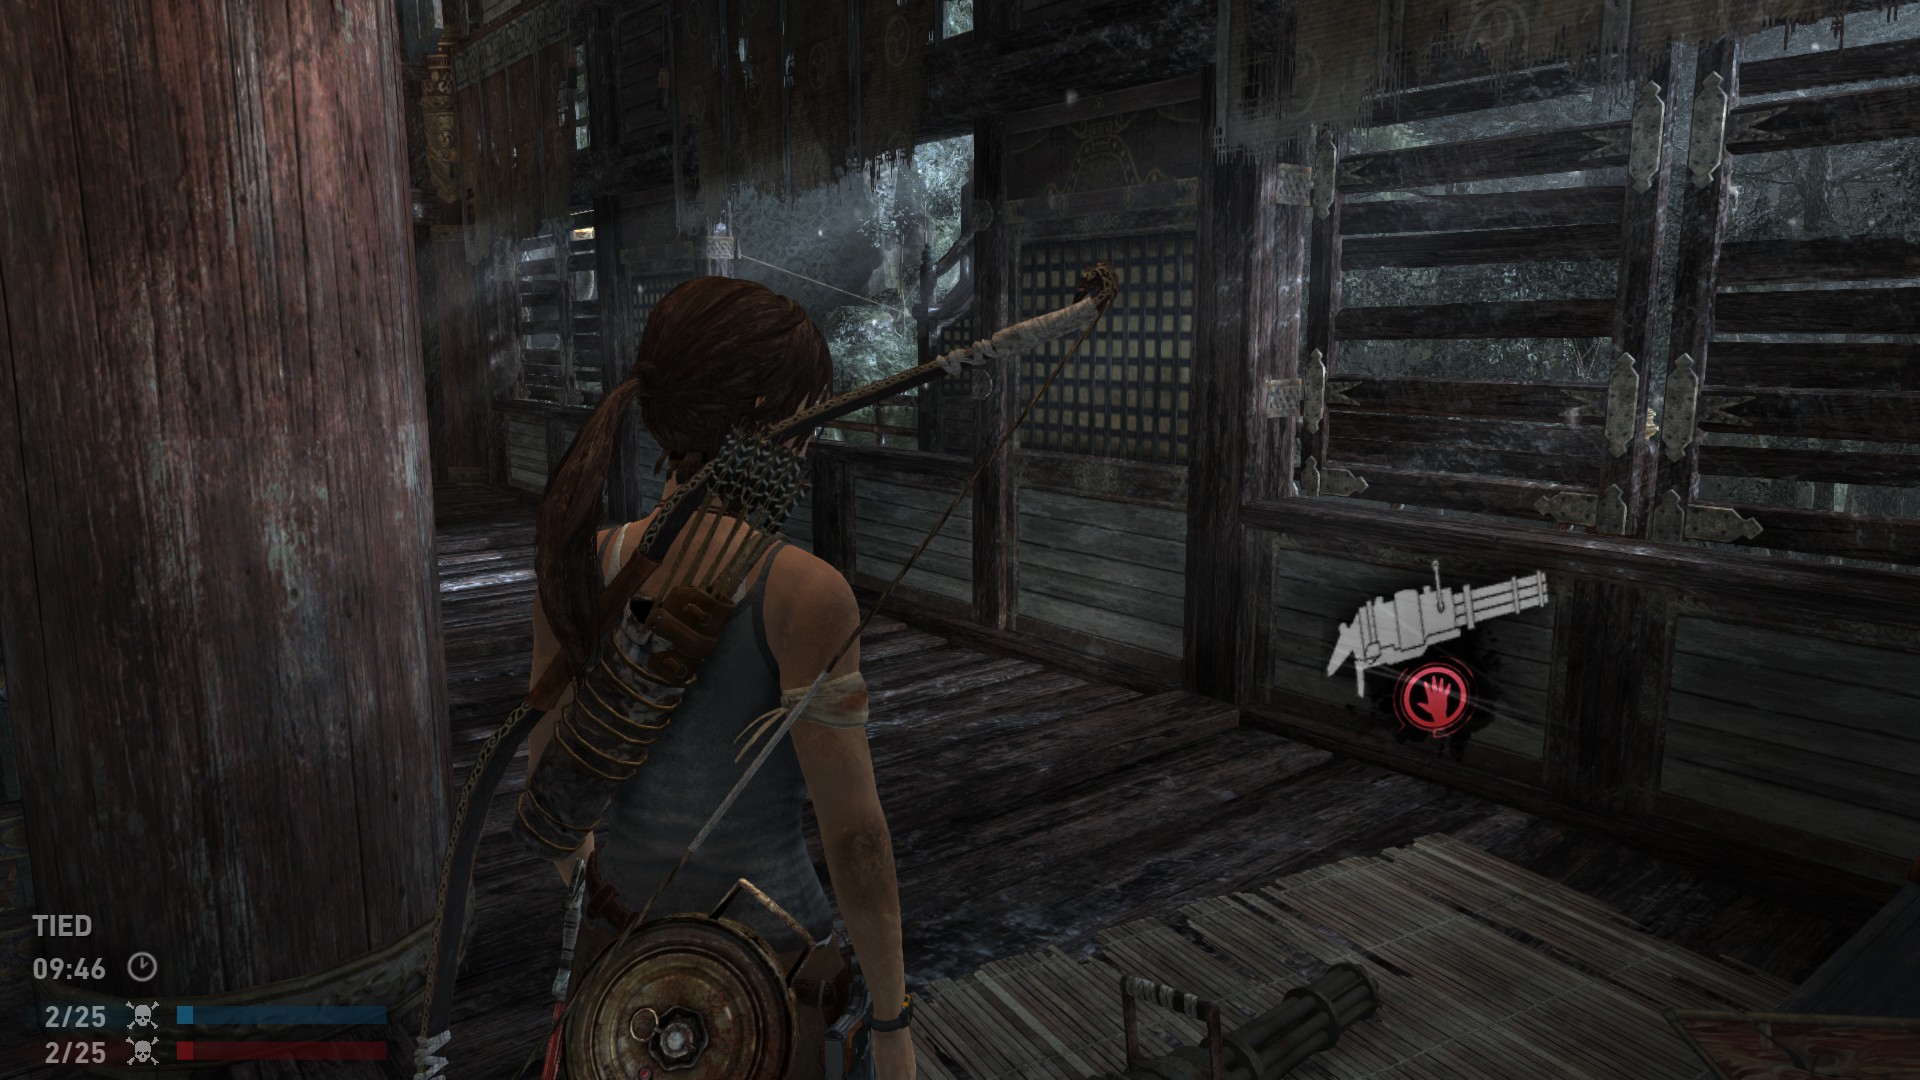
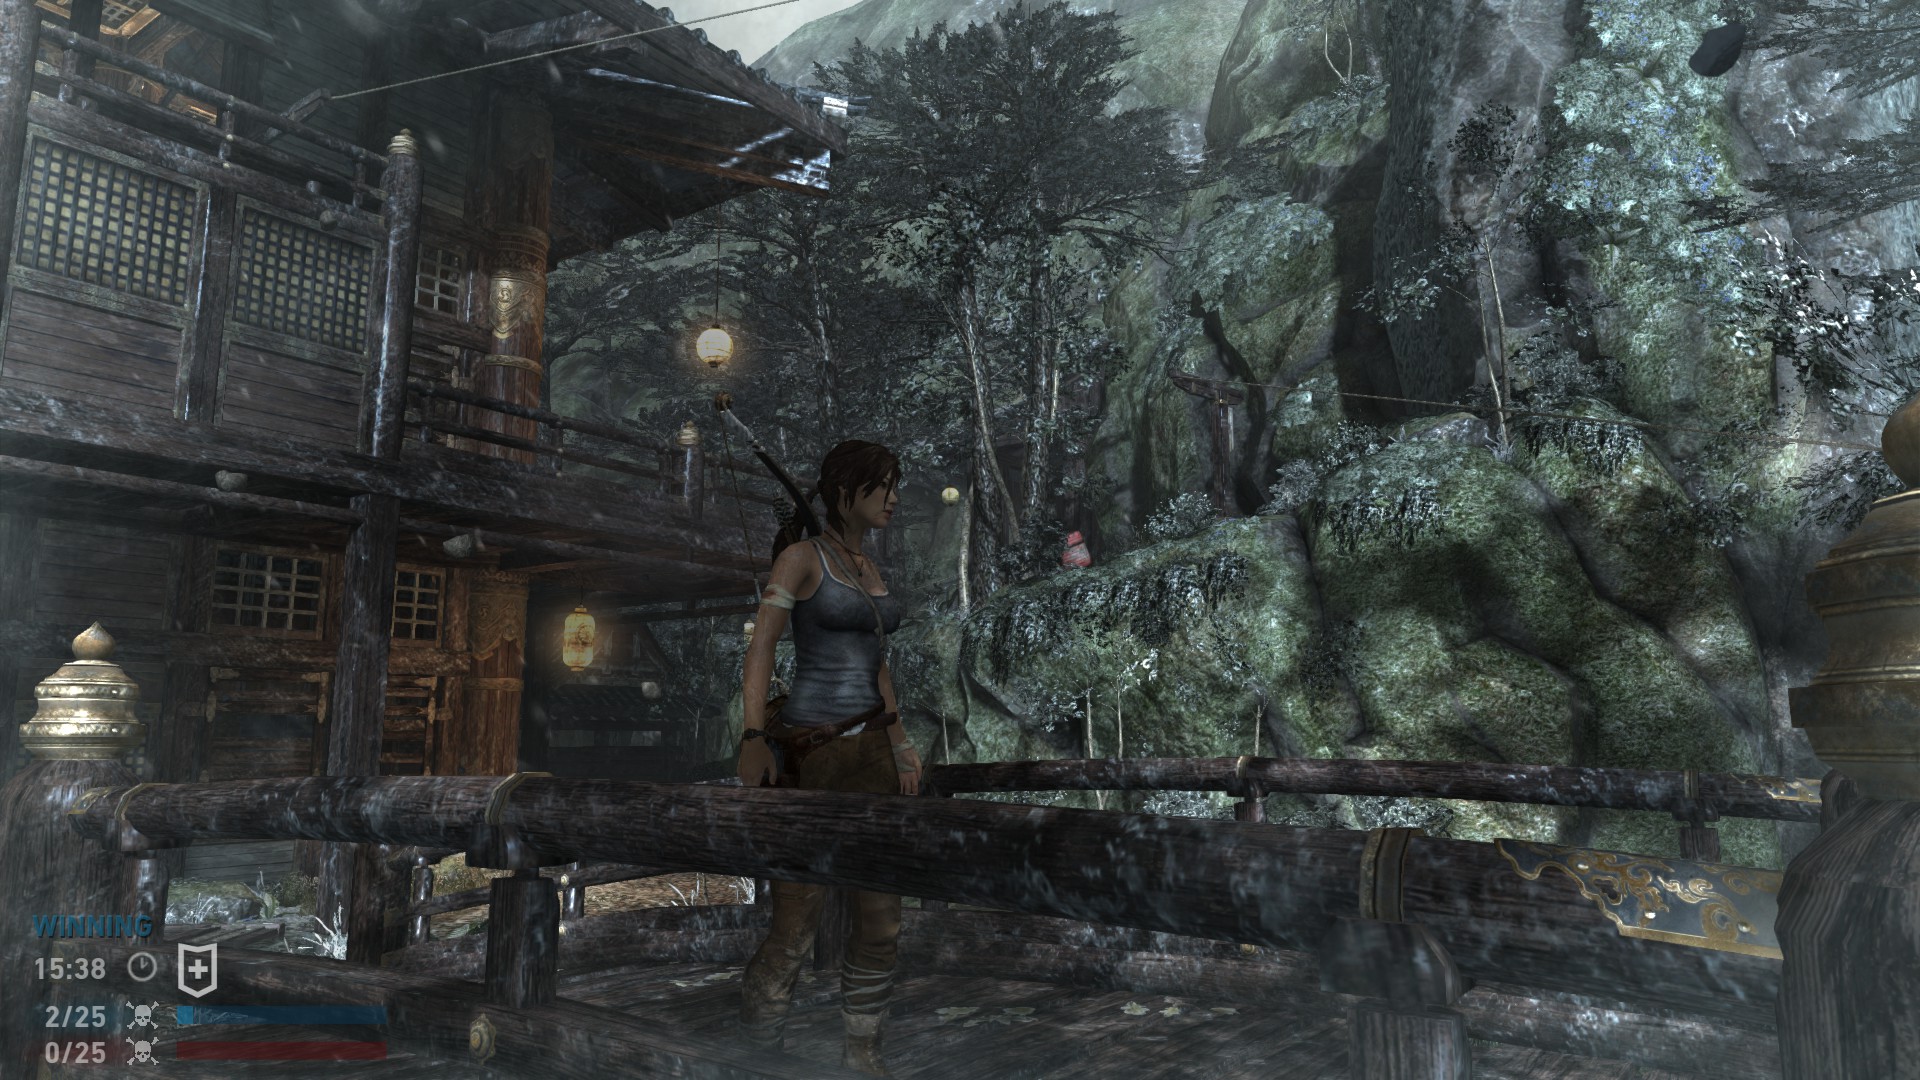
2.2 Shrine
The first location is nearest to Survivor base. It’s on the bridge on the far left right before the snare trap. There’s a little wooden altar thingy where most people hide behind. It spawns right on the bridge there.
Screenshots:

The second is nearest to Solarii base. There’s a building with 2 rooms a first floor and a second floor. (a basement too, but nevermind that) On the 2nd floor on the left room. There’s 3 windows looking to Survivors base. Middle one will be open and left and right one can be broken. The spawnpoint is on the right window on a weird carpet thing.
Screenshots:
The last spawnpoint is near the hill you can climb, on Solarii side. There’s an explosive barrel on that ridge. It spawns close-by.
Screenshots:
There’s a basement with a spike trap and a mountain you can climb with your climbing axe.
2.2.1 Shrine Video
I’ll uphold the following rule in my videos:
Survivor’s view first, then solarii. Loop from location #1 to #3.
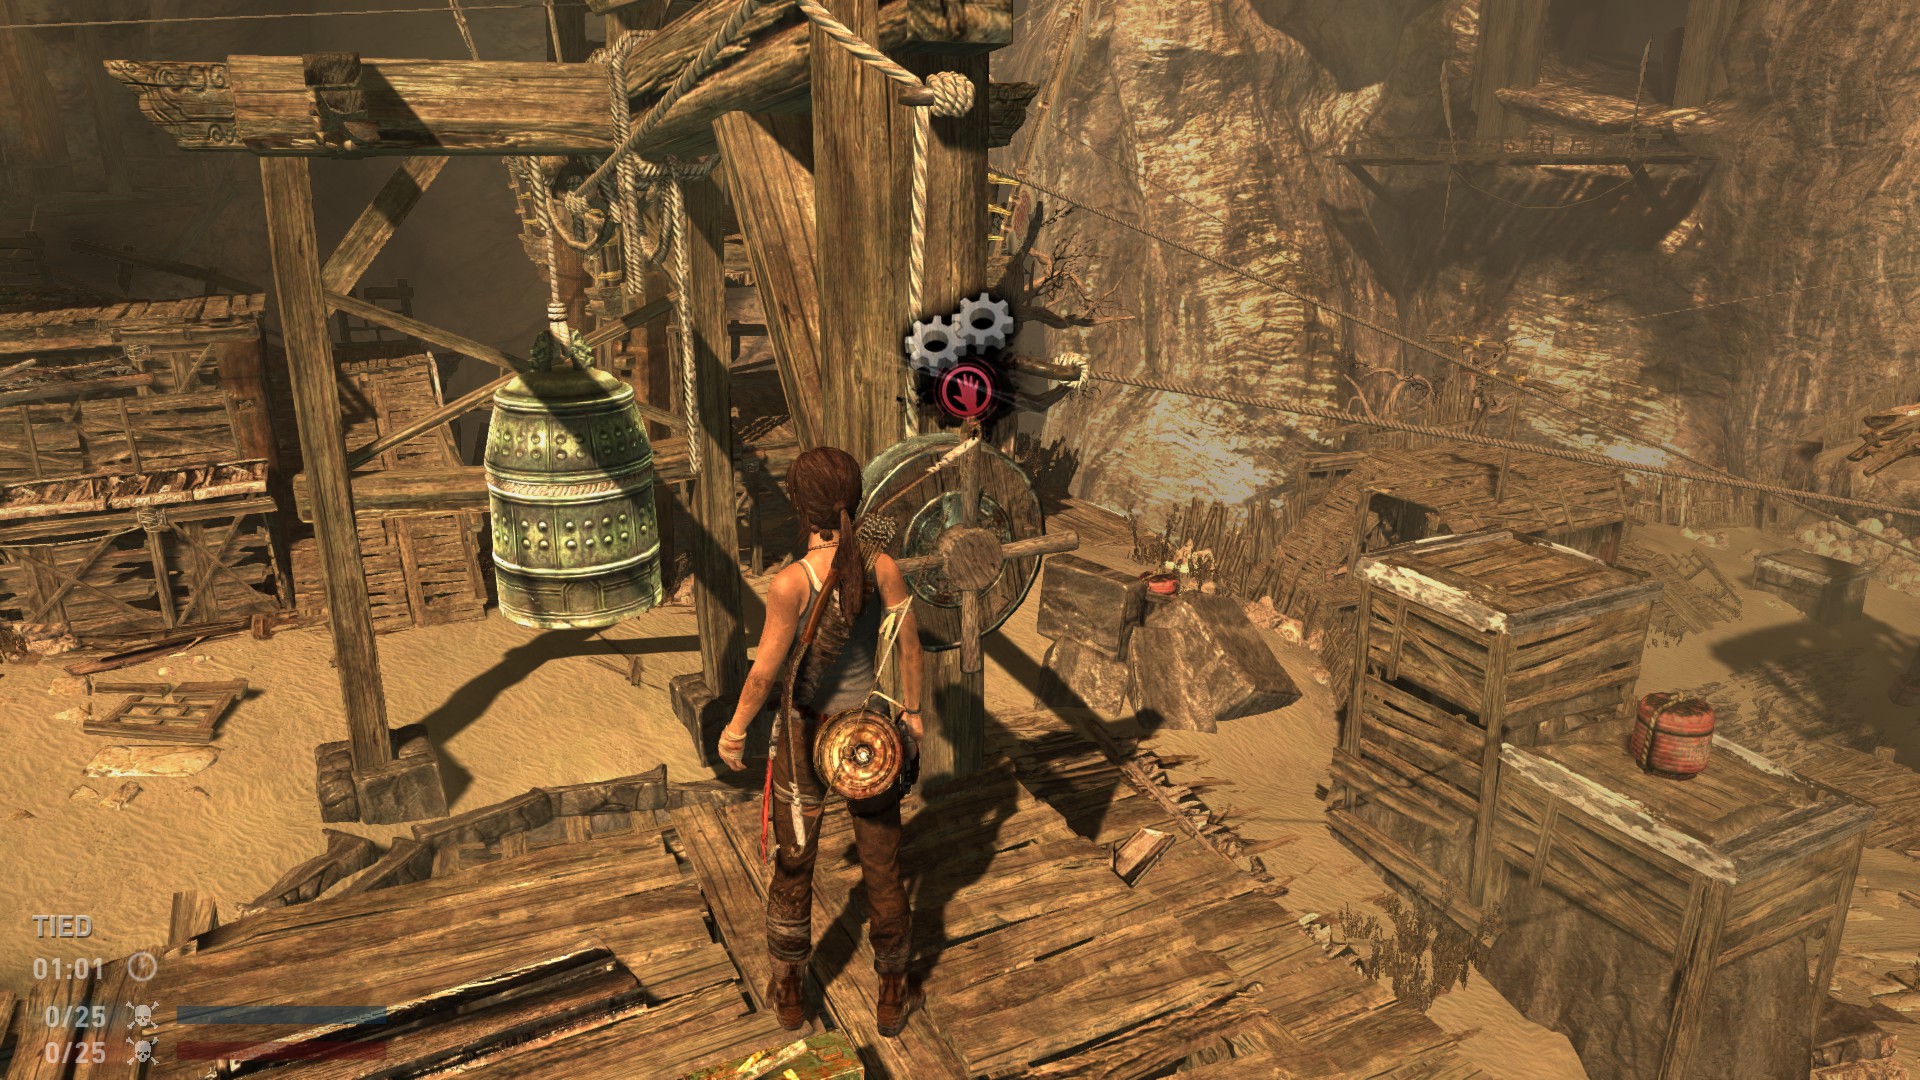
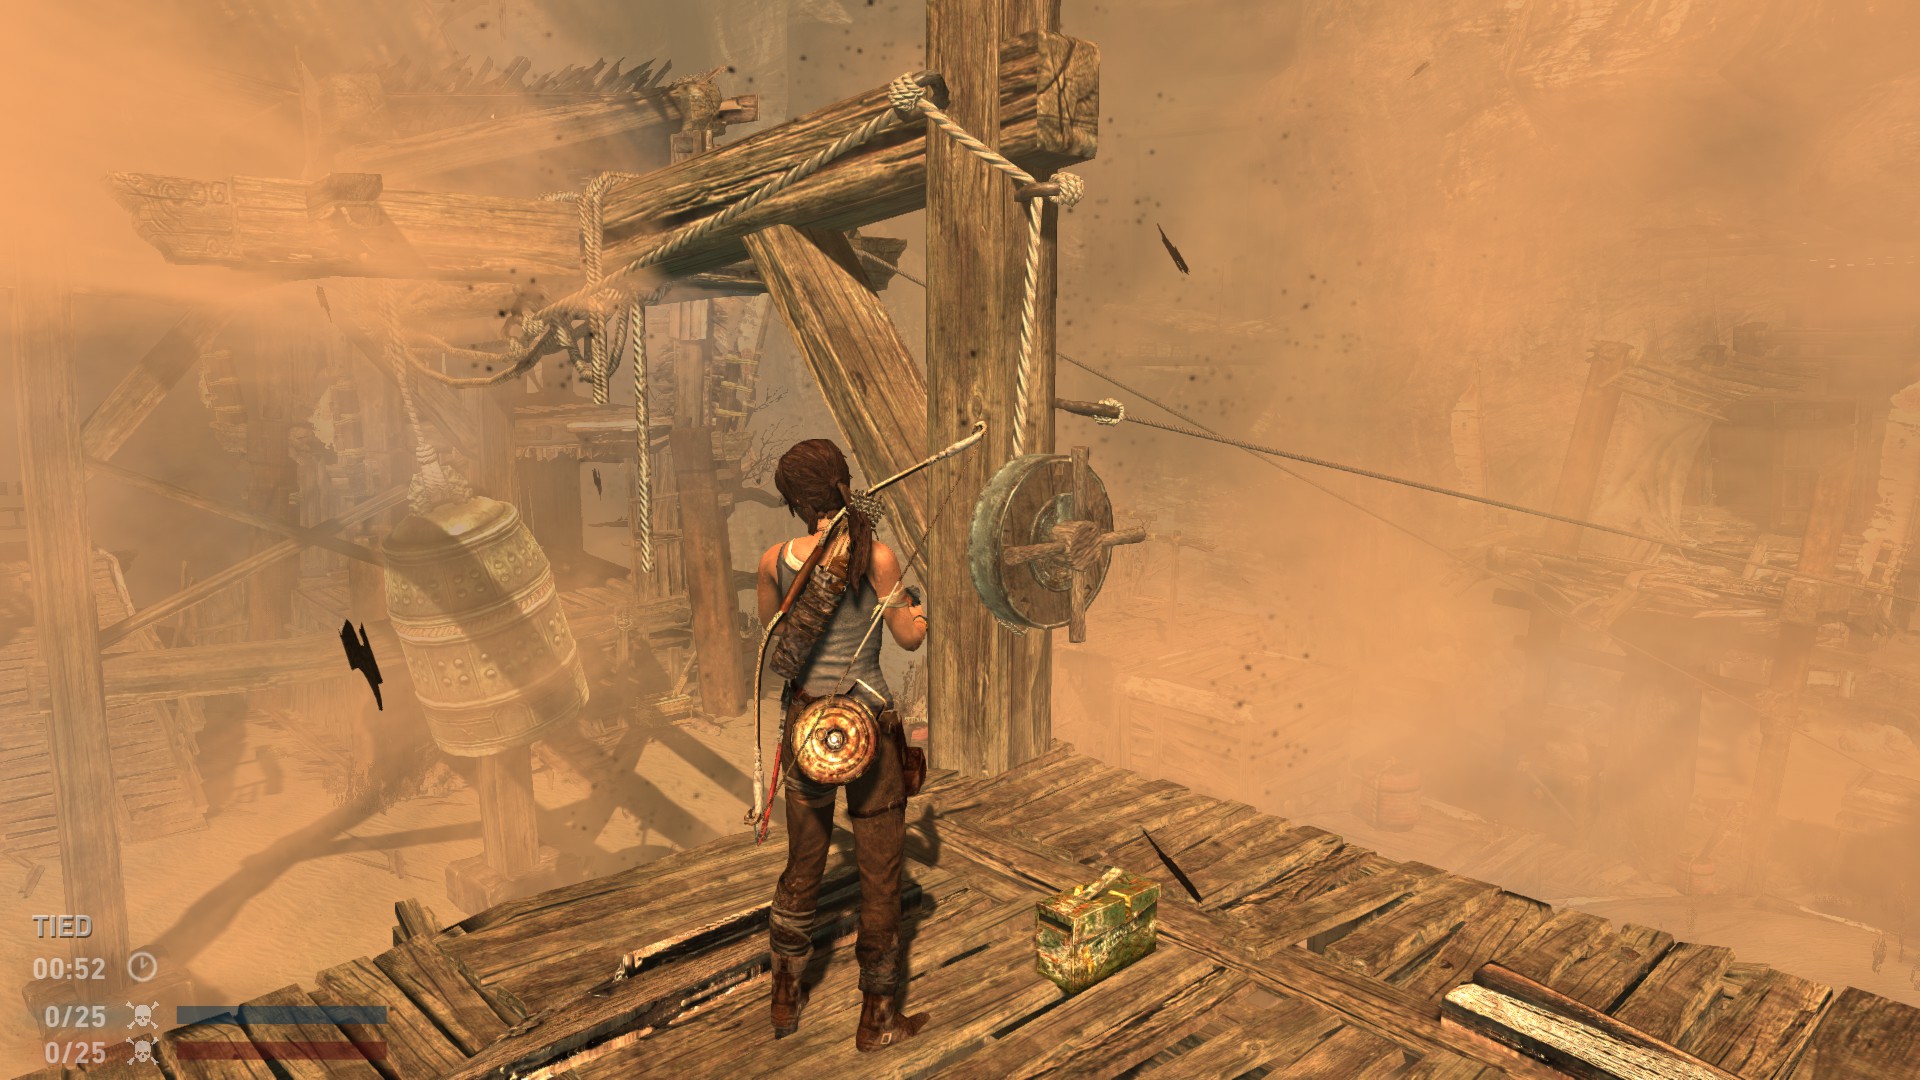
2.3 Chasm
The first location is nearest to Survivor base. From survivor base, take the zip-line to the right and you’ll land on a small cabin/builing. Inside is the spawnpoint.
Screenshots:
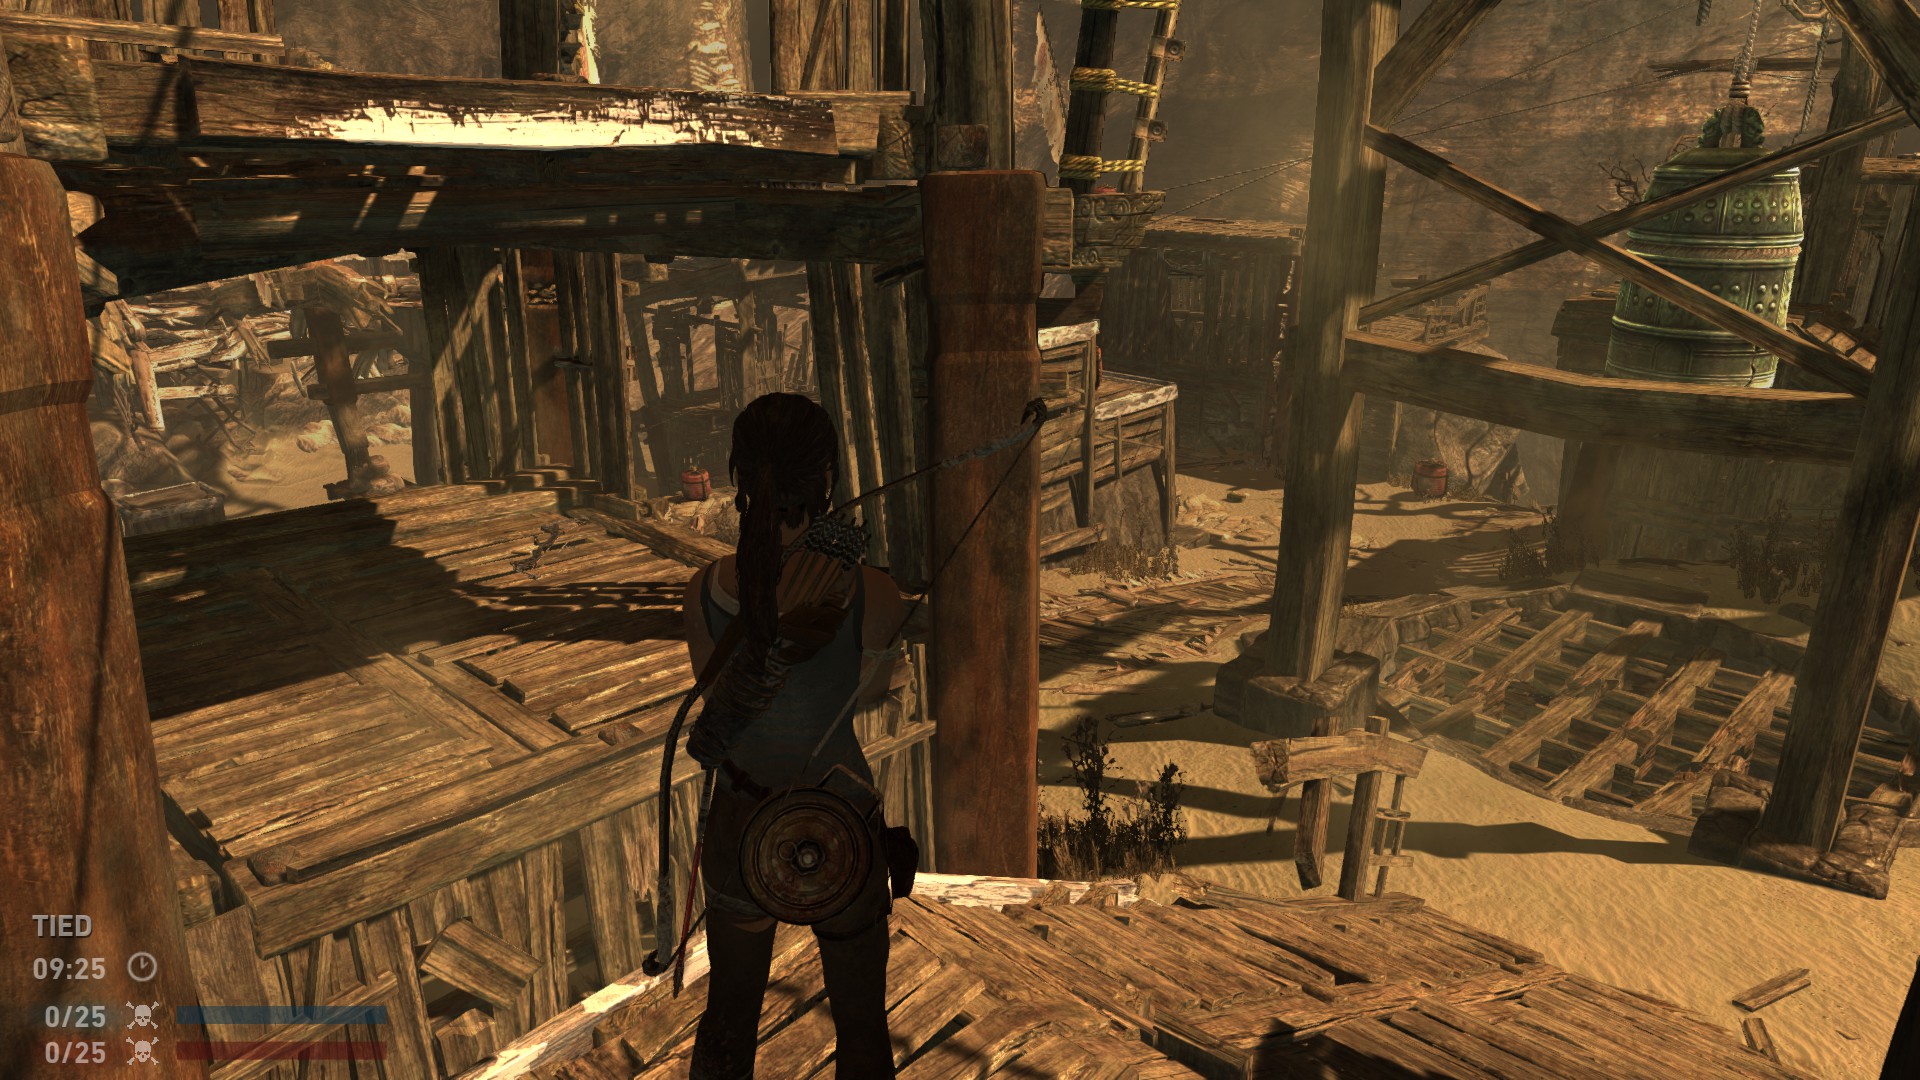
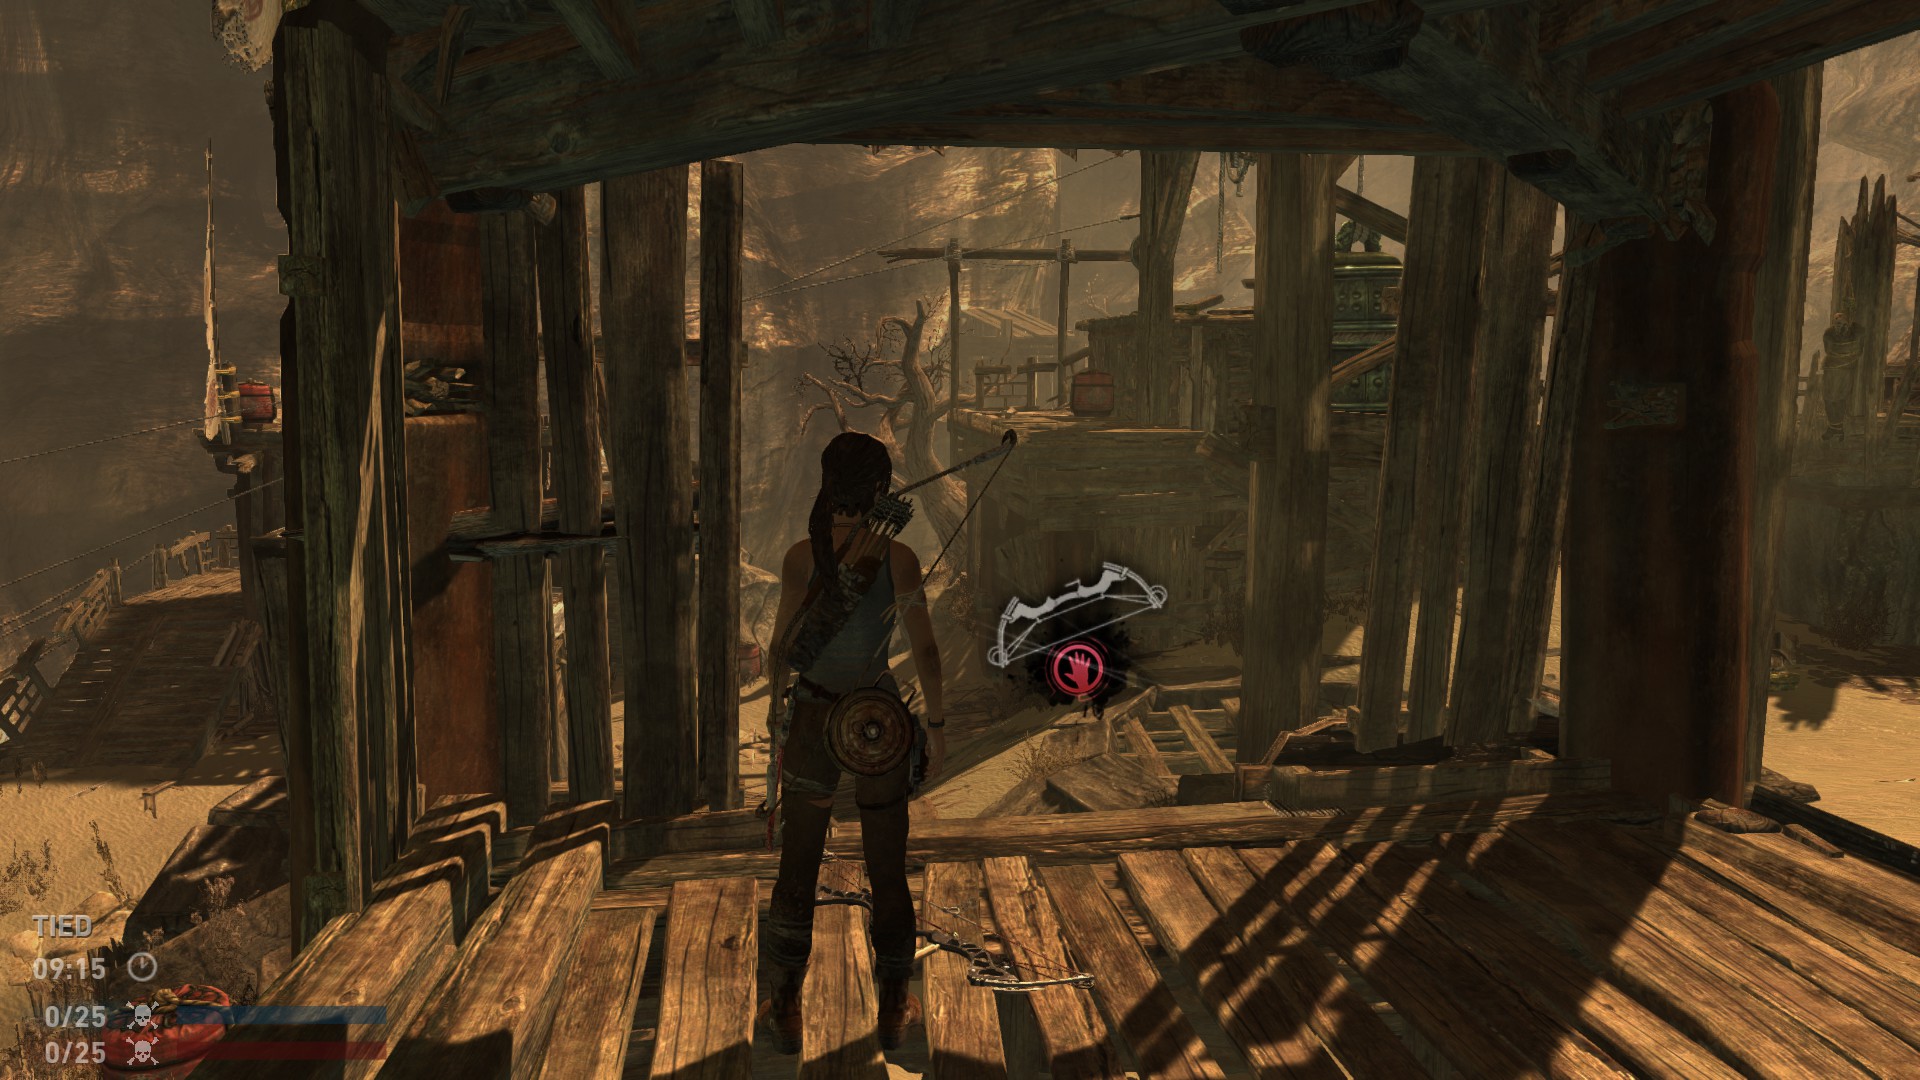
The second spawnpoint is closer to the Solarii base. From their base, there’s a zip-line on the left side that connects to a 2 story tower on the left side of the big bell. The spawnpoint is on the bottem floor.
Screenshots:
The last spawnpoint is somewhere in the middle. There’s a small hill going up/down from both other superweapon spawnpoints. It’s hidden in a corner inbetween.
Screenshots:
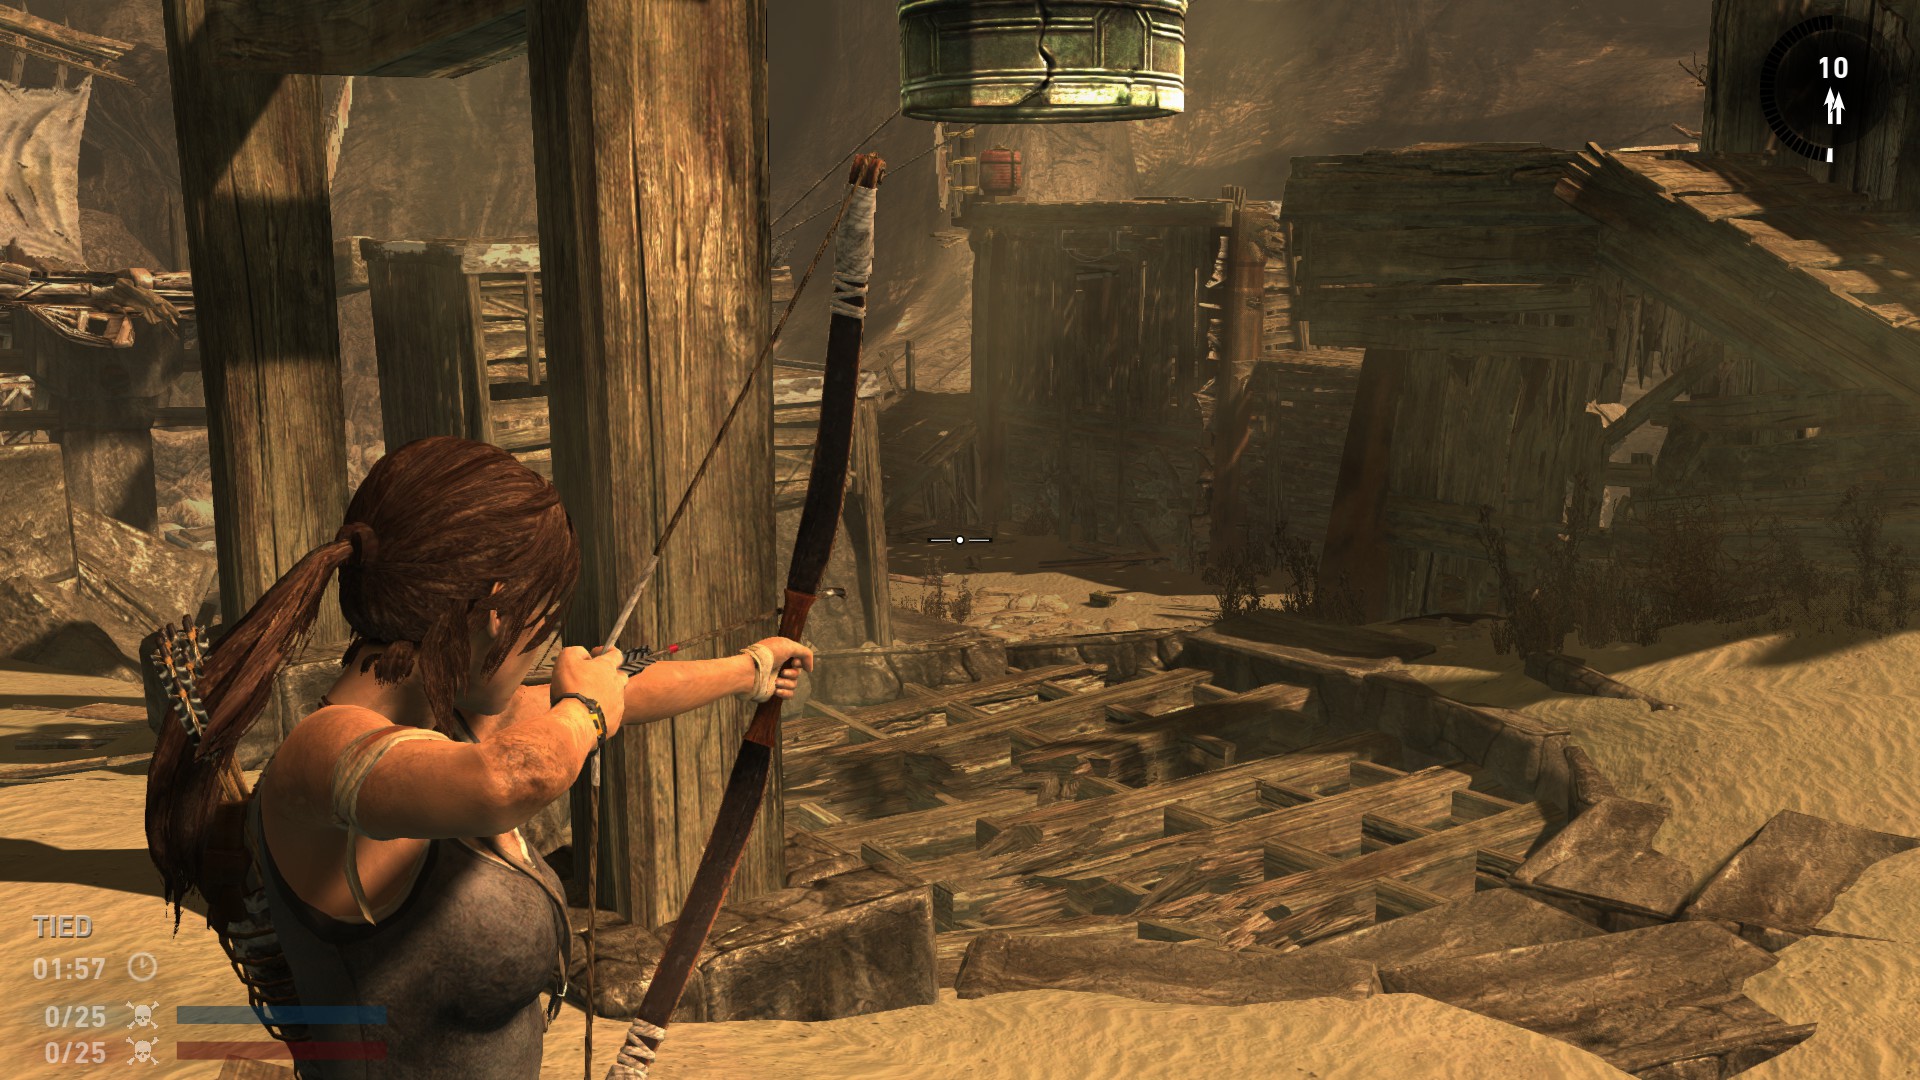
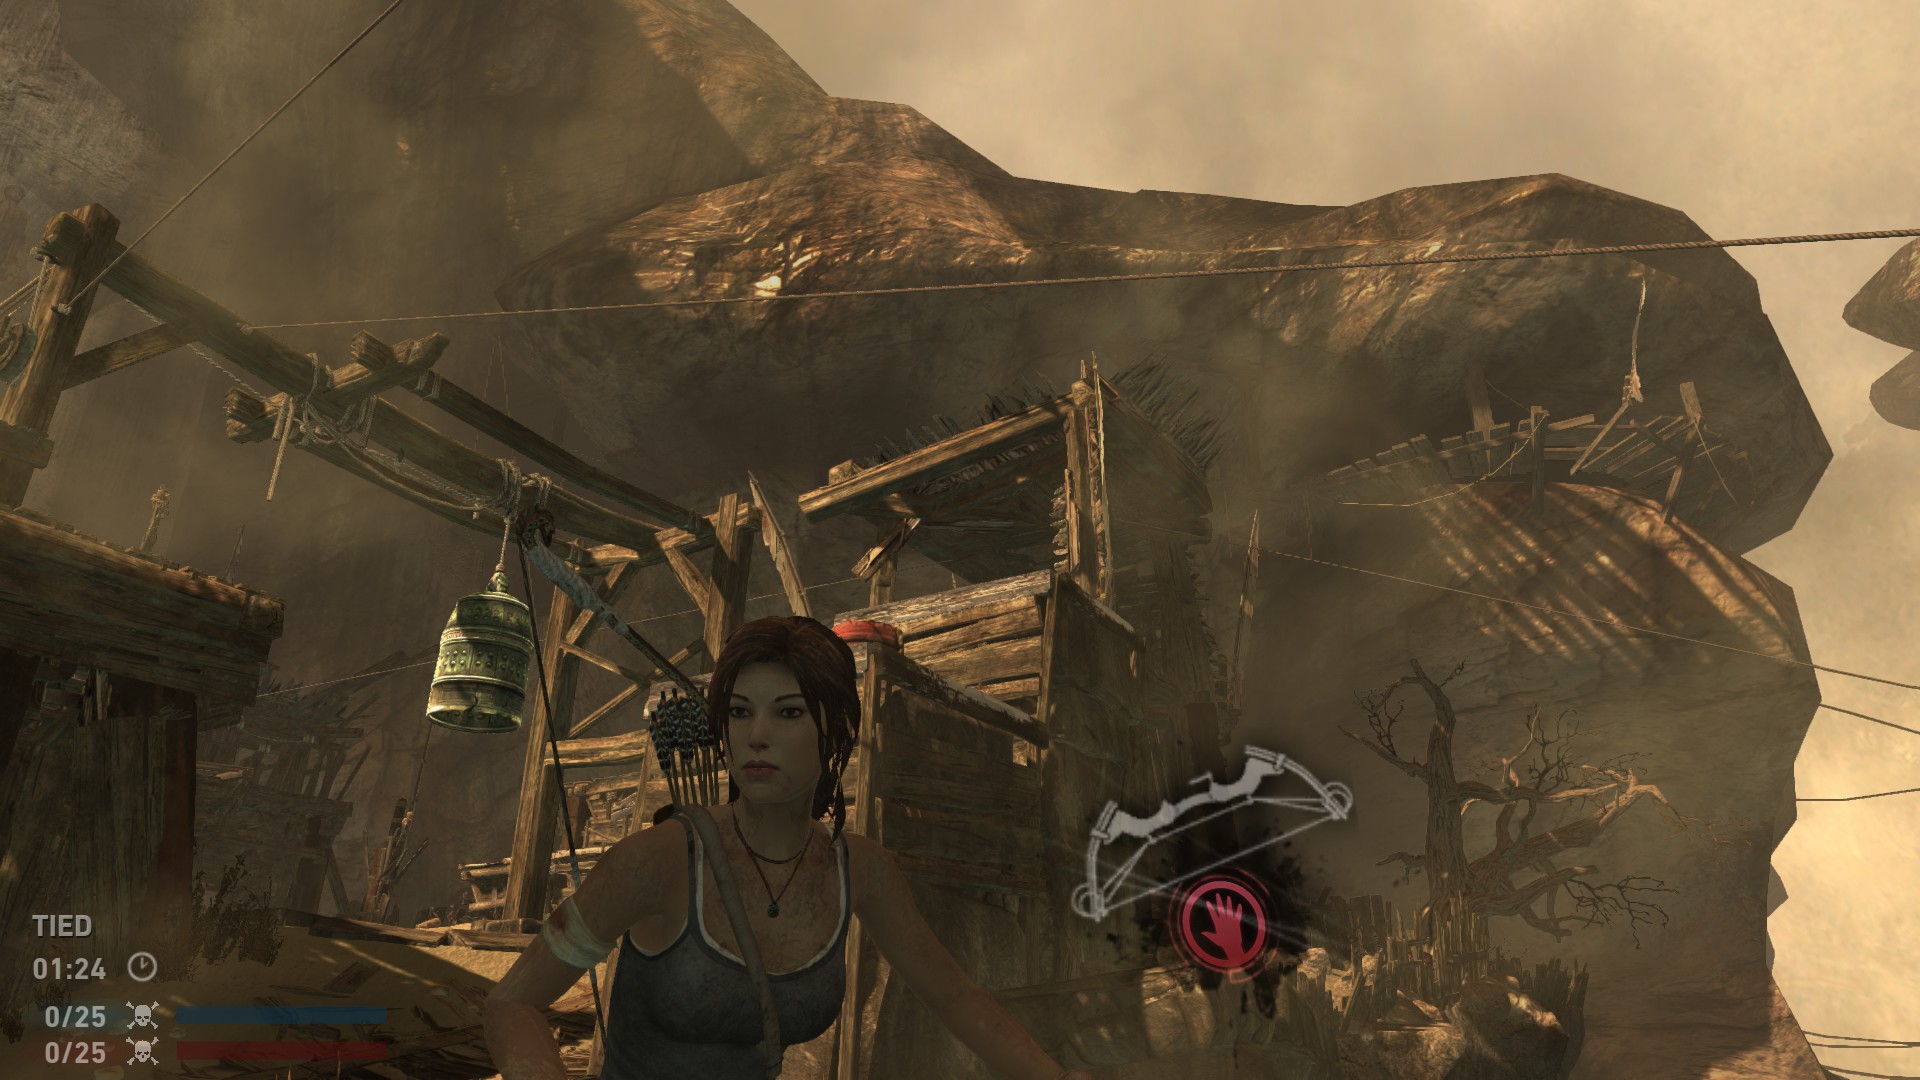
The bell in this map can be rung in order to summon a sandstorm. Sandstorms limits visibility, but the first 10 seconds will grant whoever rung the bell, a survivor vision through the storm.
The lever is on the right side of the bell
Screenshots:

2.3.1 Chasm Video
I’ll uphold the following rule in my videos:
Survivor’s view first, then solarii. Loop from location #1 to #3.
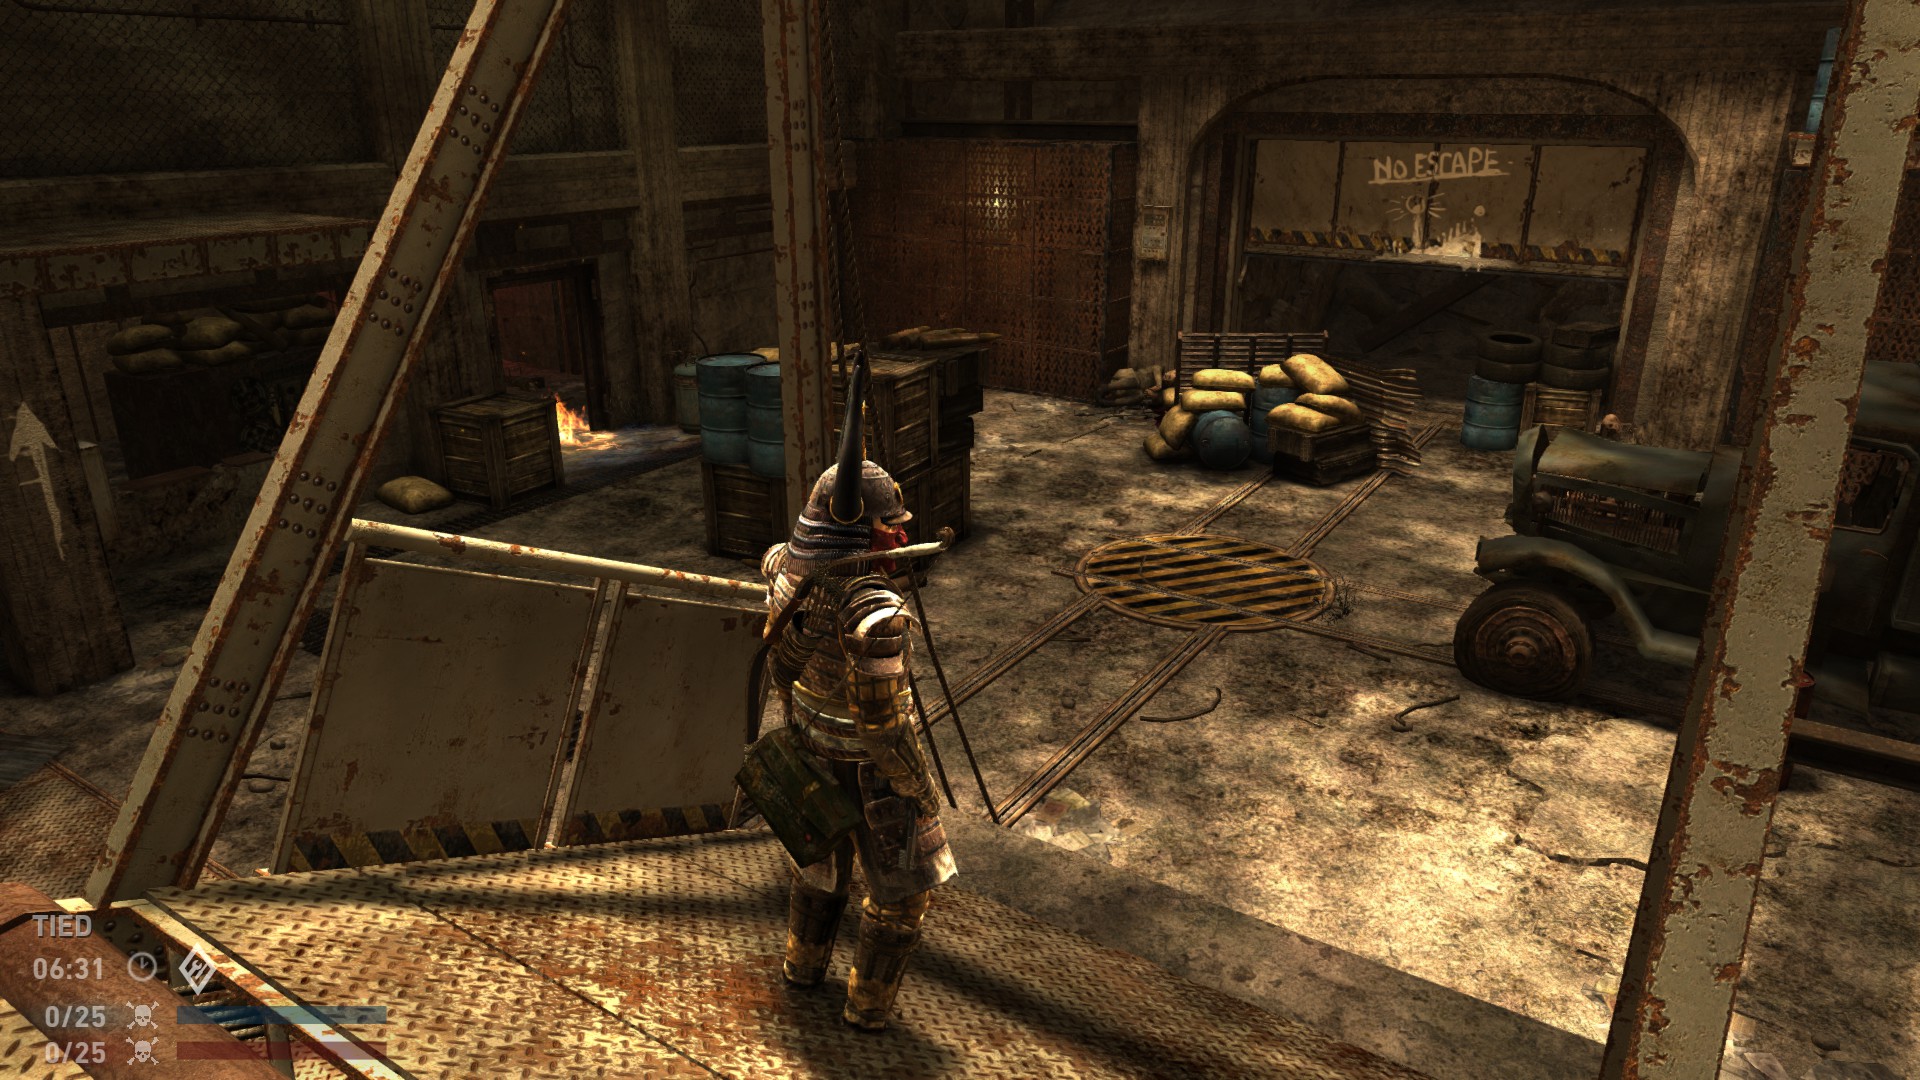
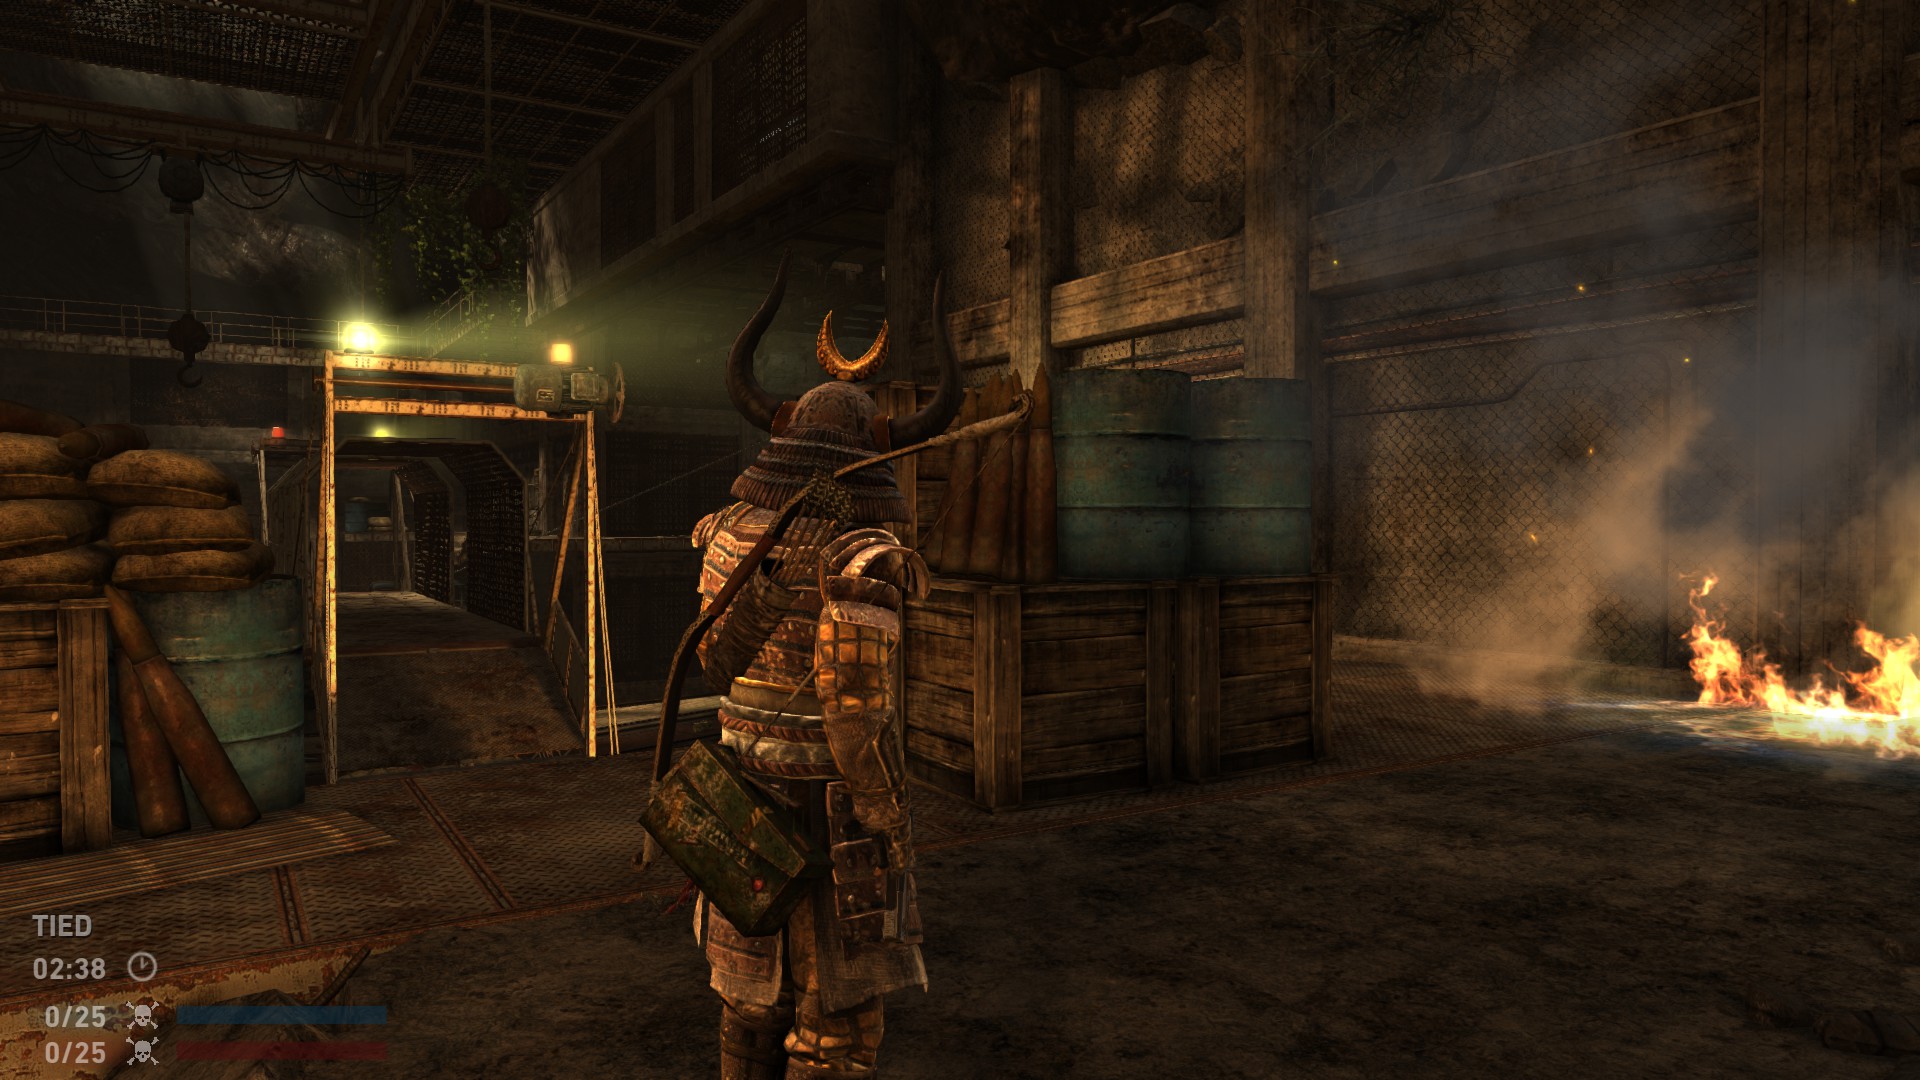
2.4 Underground
The first one is pretty much right next to Survivors base. When you drop down in the middle exit. Turn right into the doorway. It should be right there already.
(the area for drop off for medkits in rescue mode)
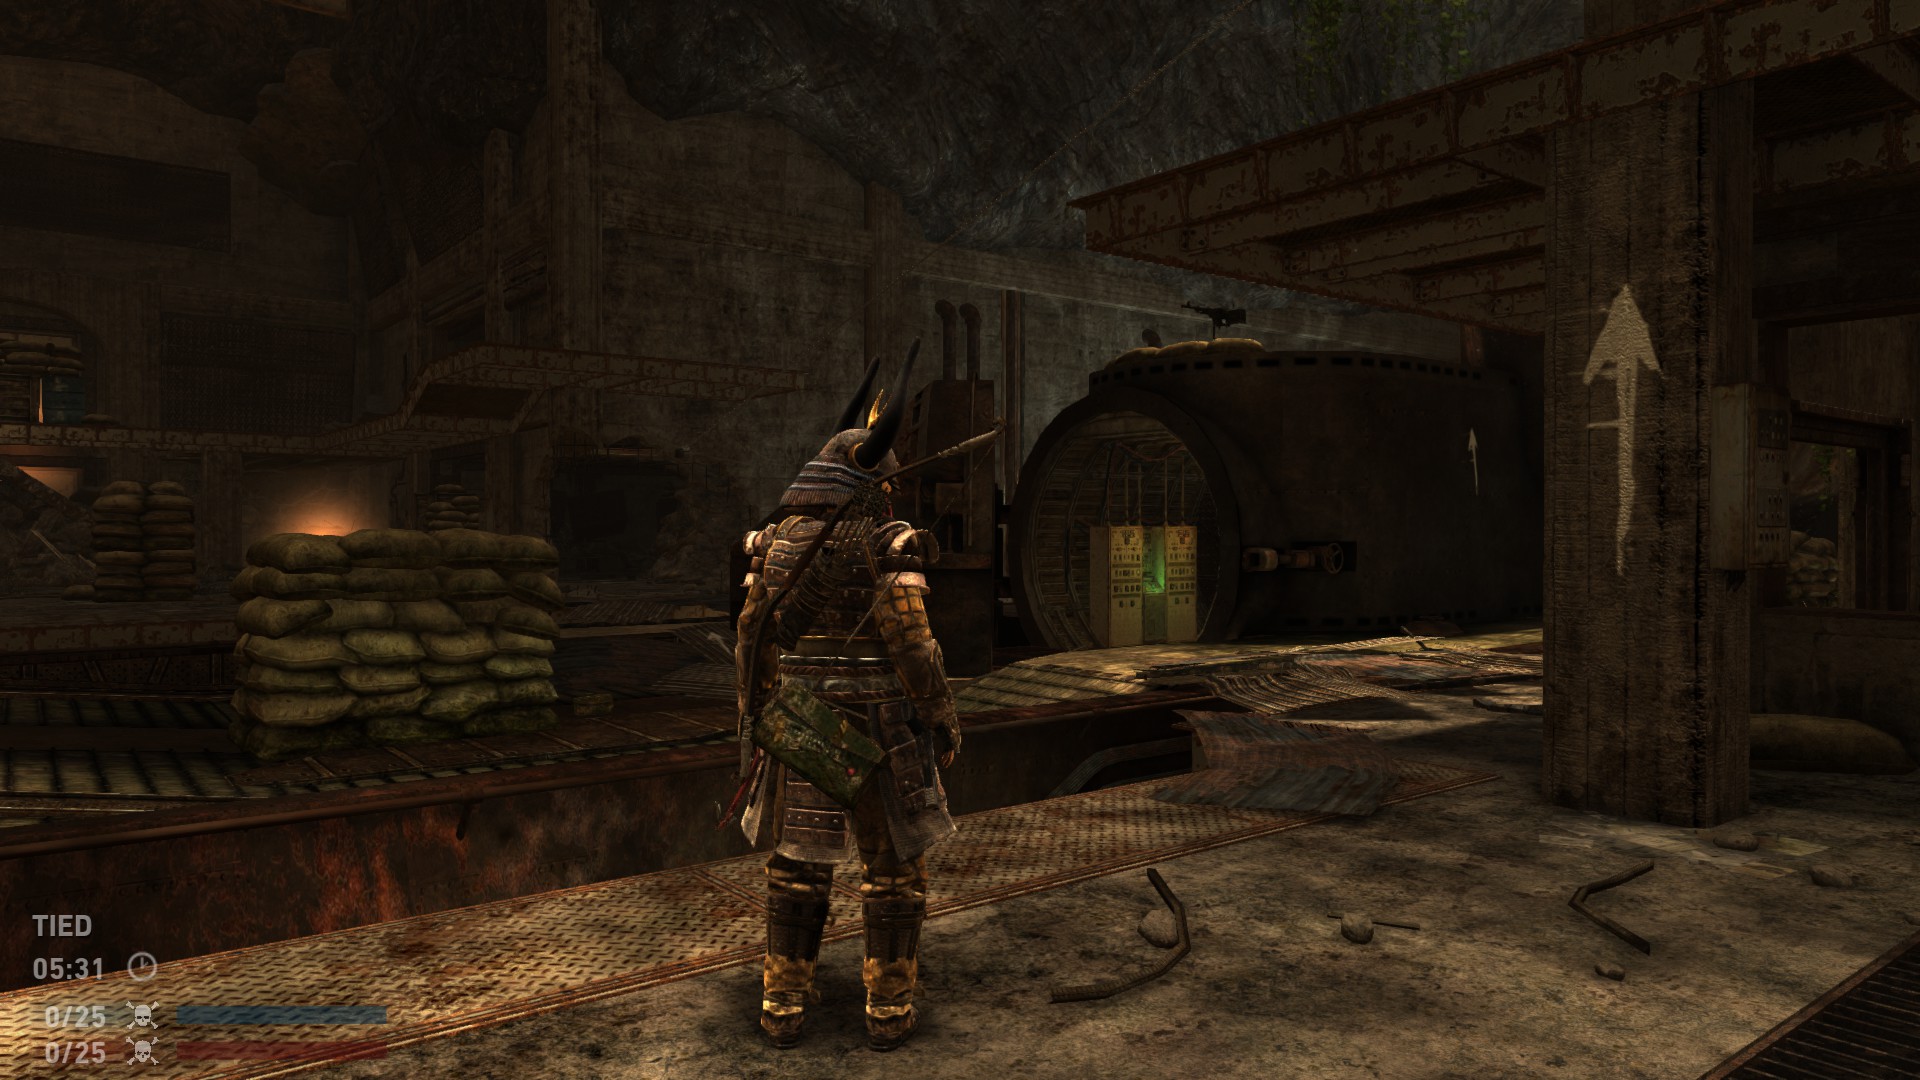
Screenshots:
The second one is right next to the Solarii base. When you go through the middle exit from their spawn, turn right into the doorway, it should be right there as well.
Screenshots:
The last one is in the middle. There’s something floating on the water here. It’s next to a stack of sandbags under the bridge.
Screenshots:
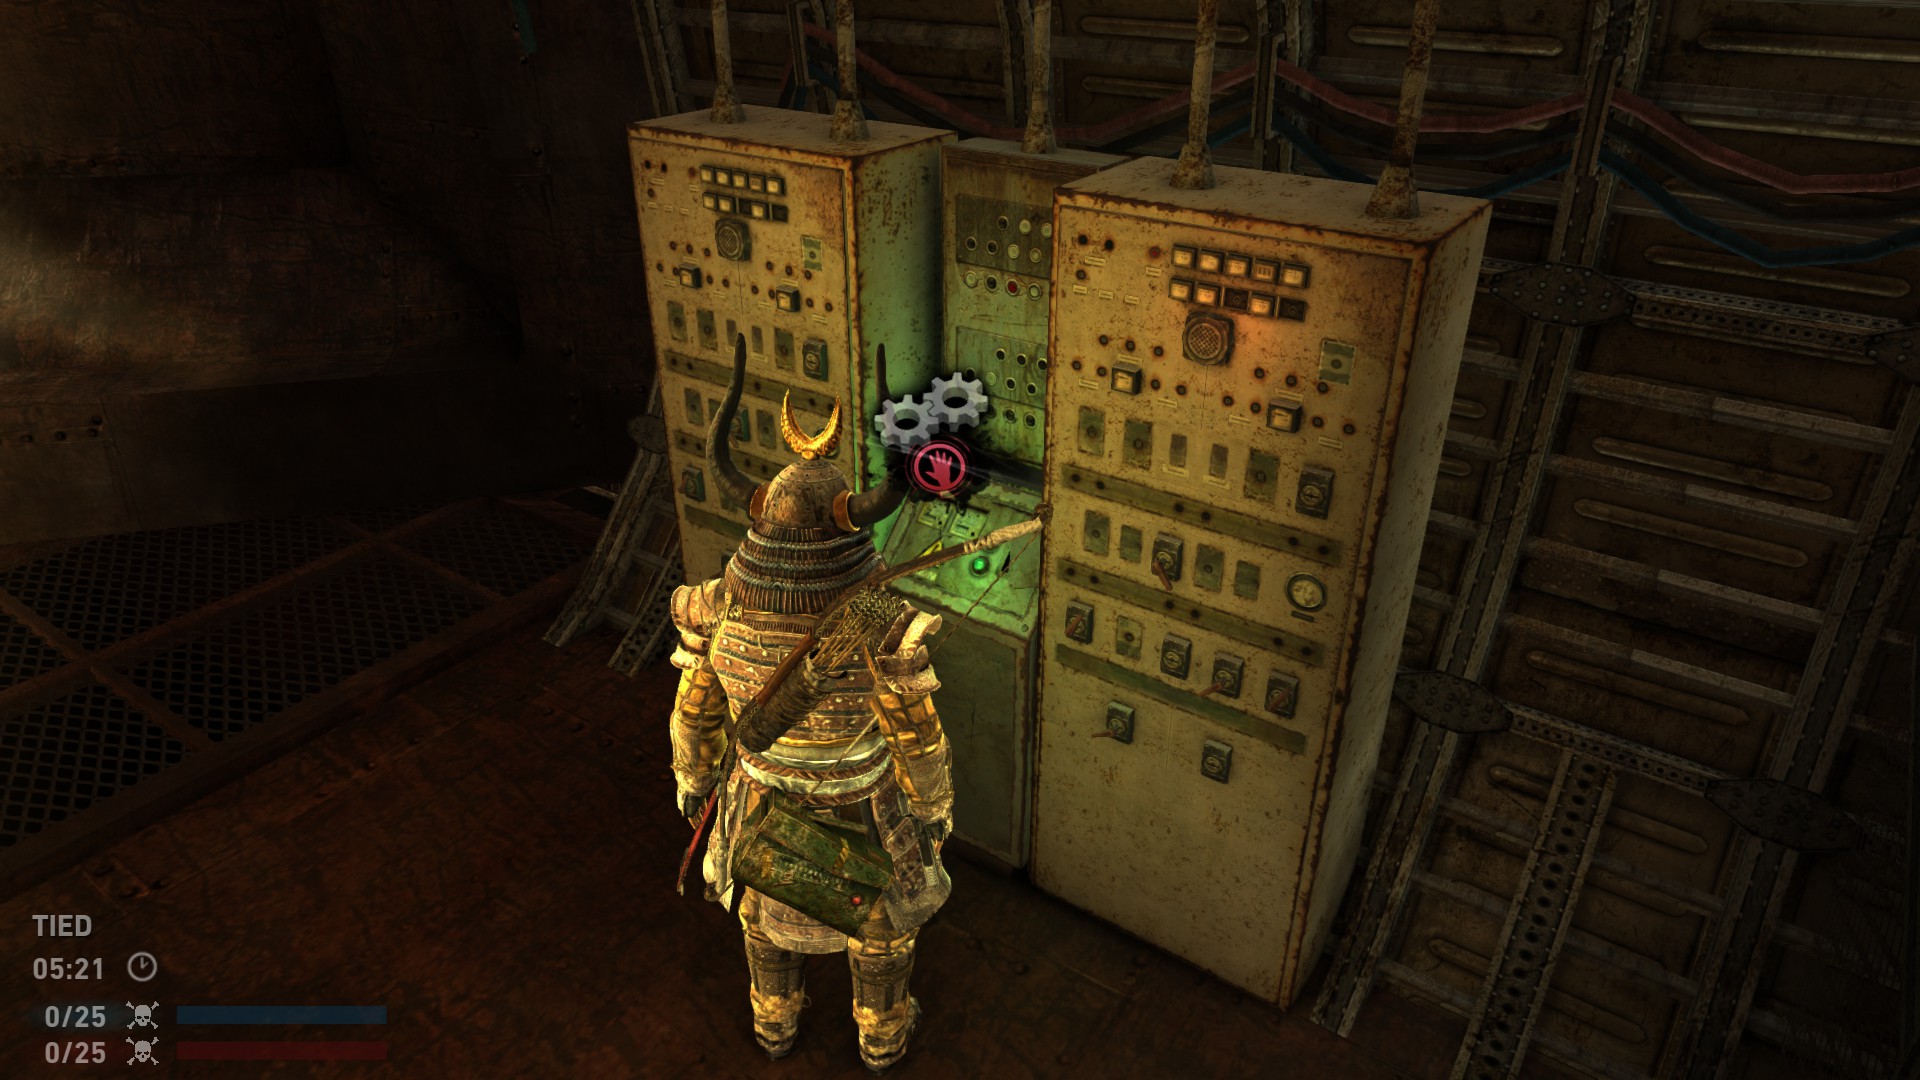
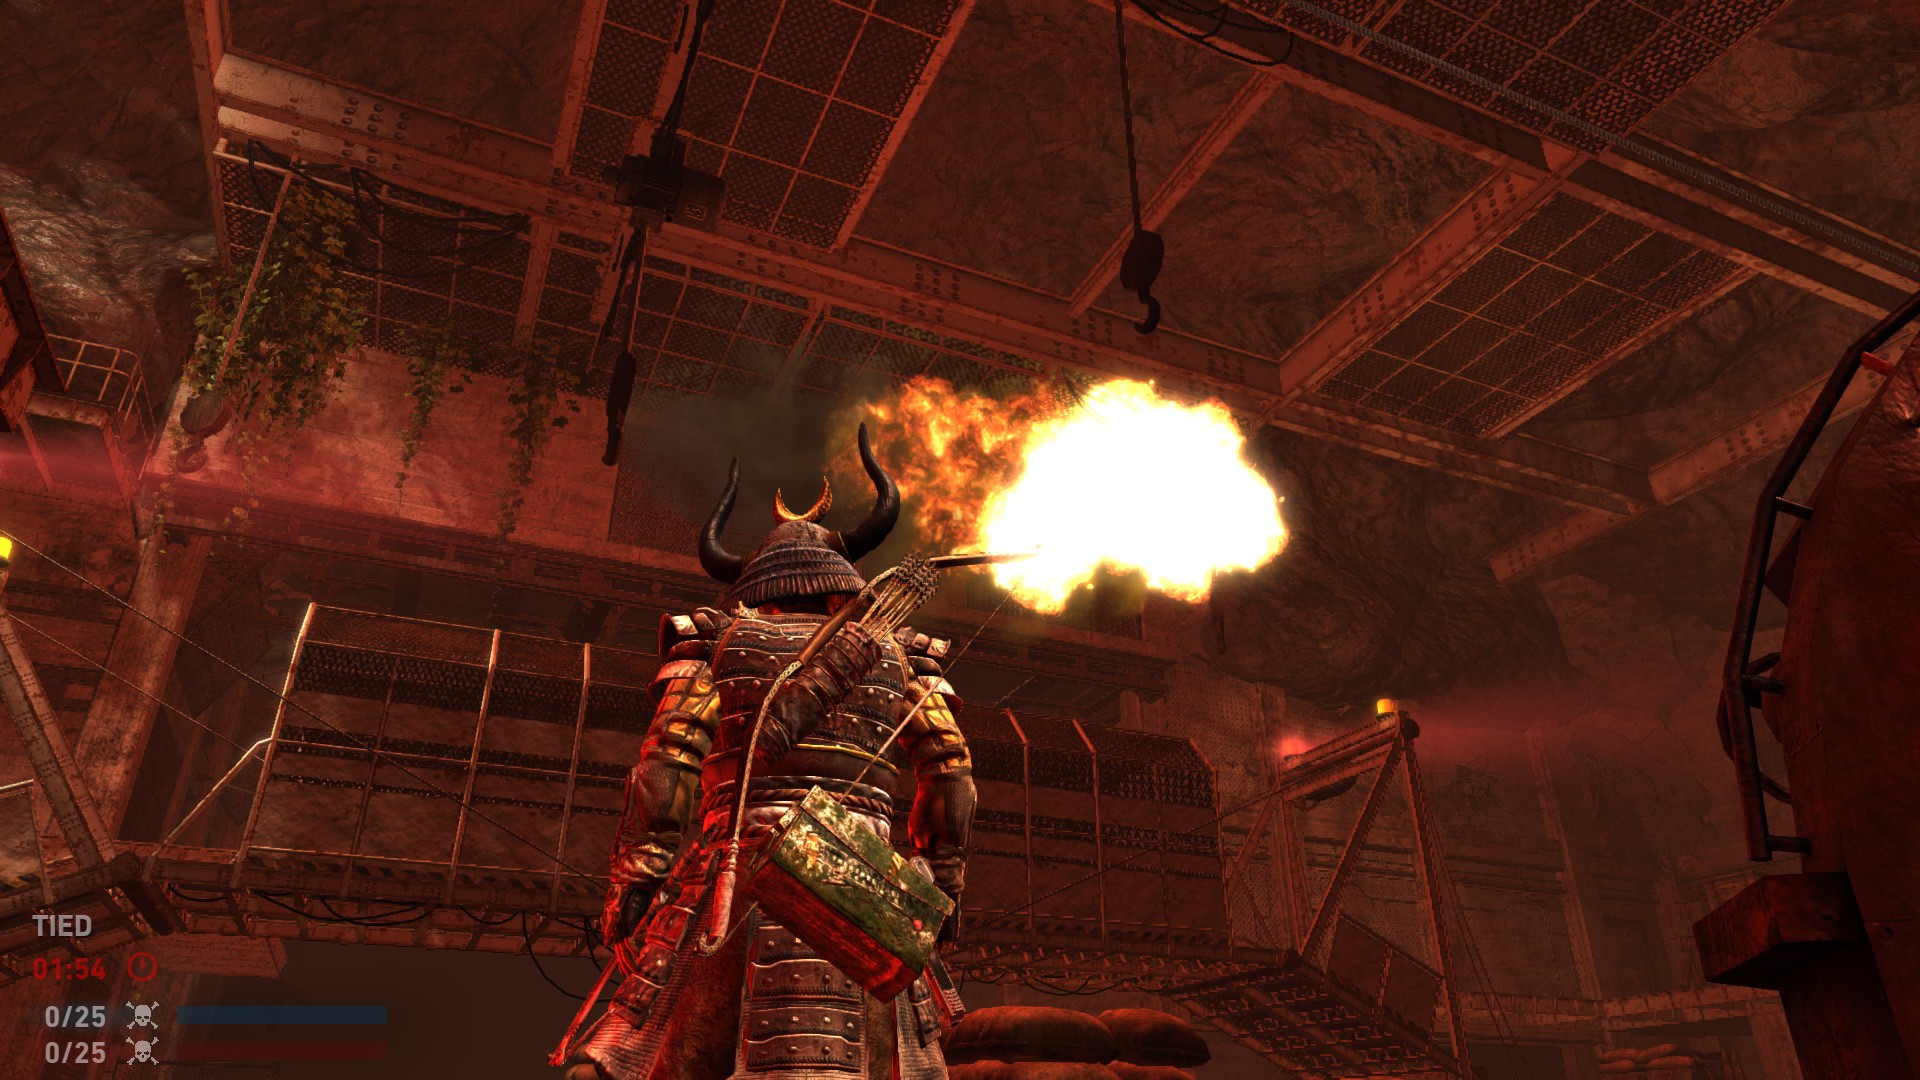
When the round has been in progress for 4 minutes, the submarine will open and you can click the self-destruct button. Doing so will set the remaining time on 2 minutes and the whole level will start to fall apart. Random rocks that fall and kill enemies(or teammates) will count as a kill for whoever pressed the button.
Another note: It doesn’t matter what time it currently is in the game, the self-destruct sequence will ALWAYS set it to 2 minutes left. So if done properly, you can achieve a total roundtime of 6 minutes, or 12 minutes. (2 more than default)
Screenshots:
2.4.1 Underground Video
I’ll uphold the following rule in my videos:
Survivor’s view first, then solarii. Loop from location #1 to #3.
2.5 Monastery
All 3 are in favor for Survivors, the first one is under the main path. Take the far right exit from Survivors base and follow the path a little. There’ll be a crossing and an explosive barrel to your left. It’s hidden behind this barrel.
Screenshots:
The second one is on a lone pillar. It’s high up in the air and usually deserted when the road to it has been blown away. It’s easy to see. Though easy for Solarii to access with the far right zip-line. You’re extremely vulnerable when using said zip-line.
Screenshots:
The last one is on another pillar! This time it’s the big one that enabled you to jump ontop of the building. There’s a small outlet that seems to go nowhere, but the spawnpoint is at the end.
Screenshots:
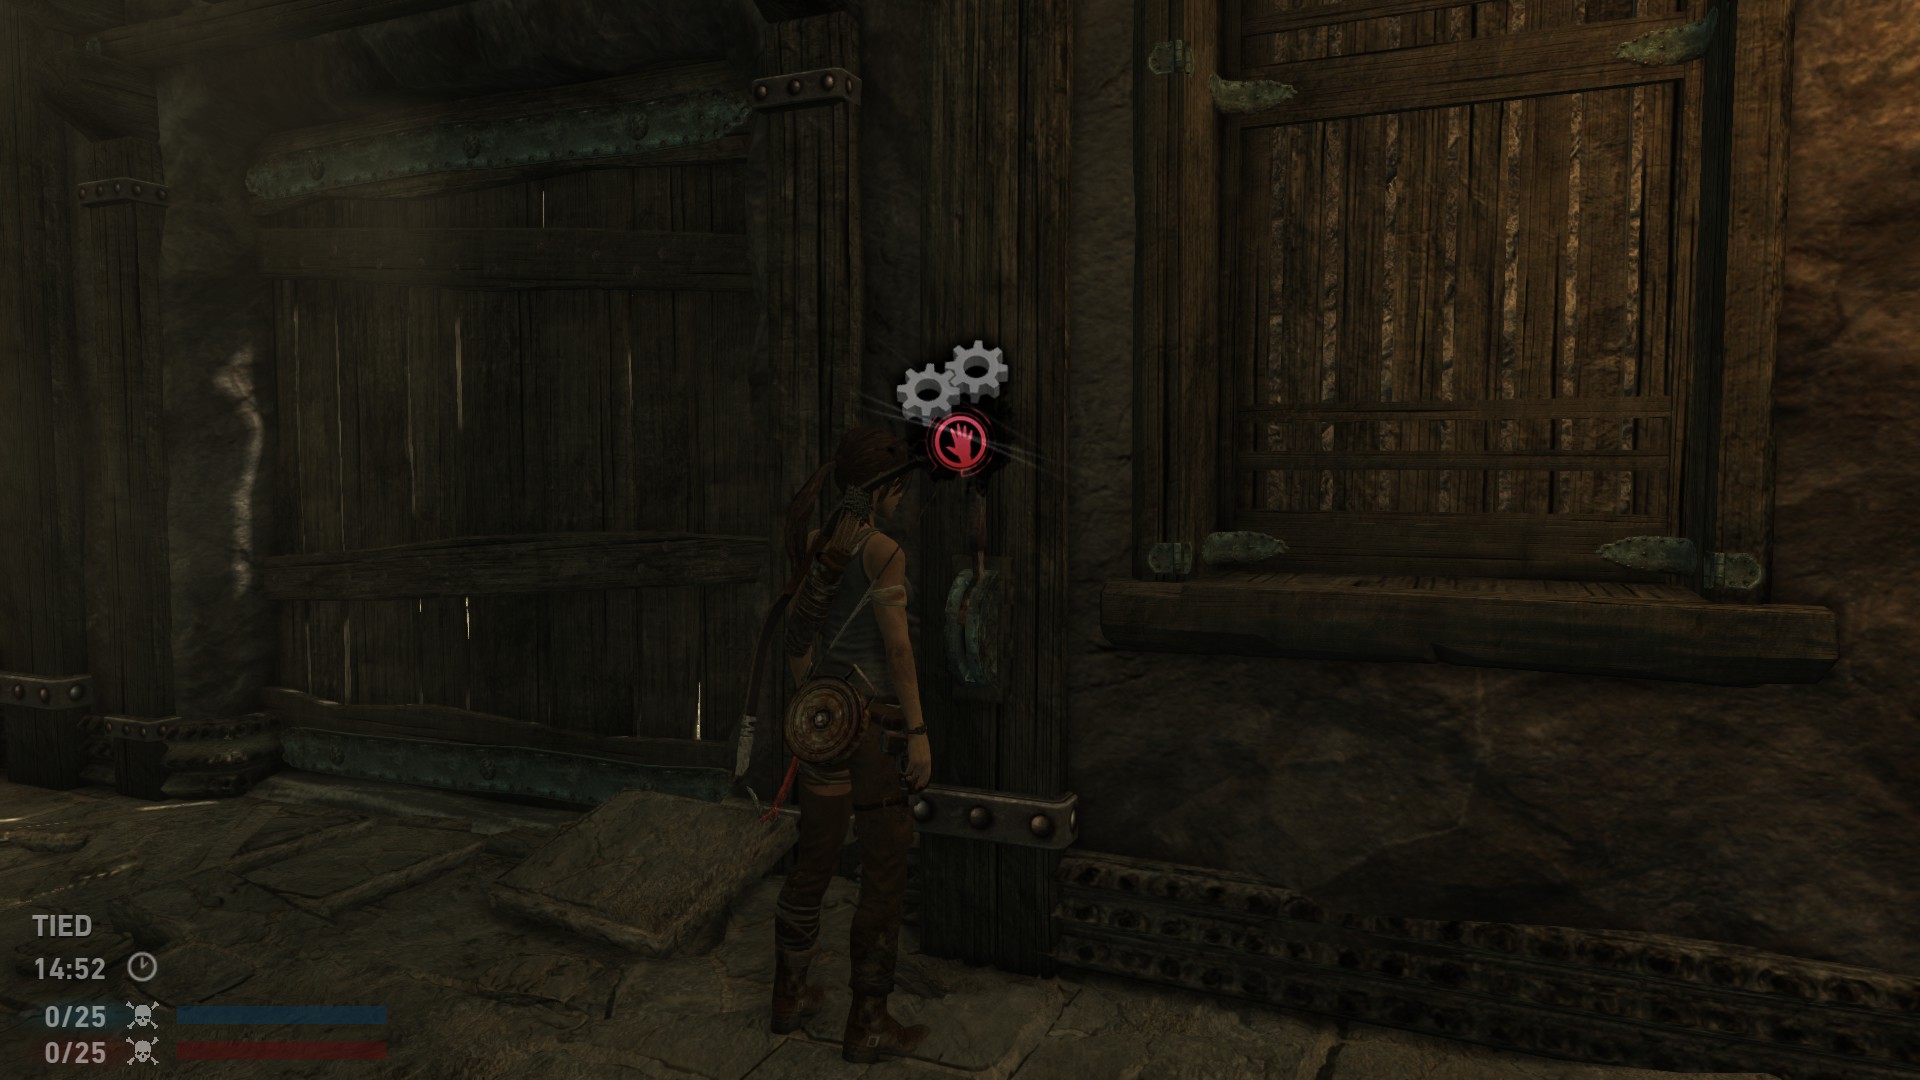
On the 2nd floor of the building, there’s a door that can be opened for easier access. Lever is inside.
Screenshots:
2.5.1 Monastery Video
I’ll uphold the following rule in my videos:
Survivor’s view first, then solarii. Loop from location #1 to #3.
3 Tips n tricks
Don’t forget these easy tips!
- Only one superweapon can be in existence.
- It takes exactly 30 seconds for a dropped superweapon to despawn
- It takes a random amount of time (10-60 seconds, but usually 60) for a despawned weapon to respawn.
- You can charge-hold a competition bow (almost) indefinitely. (~1 minute)
- There are only 3 spawnpoints on each map
- Miniguns don’t need to reload, but beware of overheating
- Salvage crates sometimes give ‘heat sink’ which causes your guns to never overheat, spray away!
- Headshot always does extra damage. Even with the minigun.
- Competition bow’s arrows can be refilled with normal ammo boxes across the map.
- Minigun cannot be restocked with ammo, instead, make sure you die and pick it up again.
If you think I missed anything, let me know! I’ll add it.
4 Thanks for reading!
Thanks for reading my guide, I put a simple 2 hours(+5 for the videos) in this to get it all together.
Nonetheless It’s still appreciated if you leave a comment. (positive or negative)
If you have any suggestions please comment as well!
Enjoy your game in multiplayer!
And don’t forget to rate up if you appreciated my work!