🤗Ultimate Beginner's Guide To Warframe 2026🤗
Support Me
To Get a Free 7-Day Affinity Booster, Create an Account Using My Referral Link
You'll also be supporting me in the process.🙂Type the first section in a web browser. Then copy and paste the code at the end. 54ab3c0e384632b07d1d5a31
😜😜😜GETTING STARTED😜😜😜
Is WF Pay2win?
The answer is a clear cut NO. Warframe is an example of free to play done right. Everything in the game can be gotten without spending real money. There are some cosmetics that can only be gotten using real money, but there are a TON of cosmetics that don't require real money. If you're into fashion and don't want to spend real money, don't worry! However spending real money does get you some exclusive cosmetics, convenience, and potentially faster progression. Paying real money also contributes to DE and allows them to maintain and update the game!
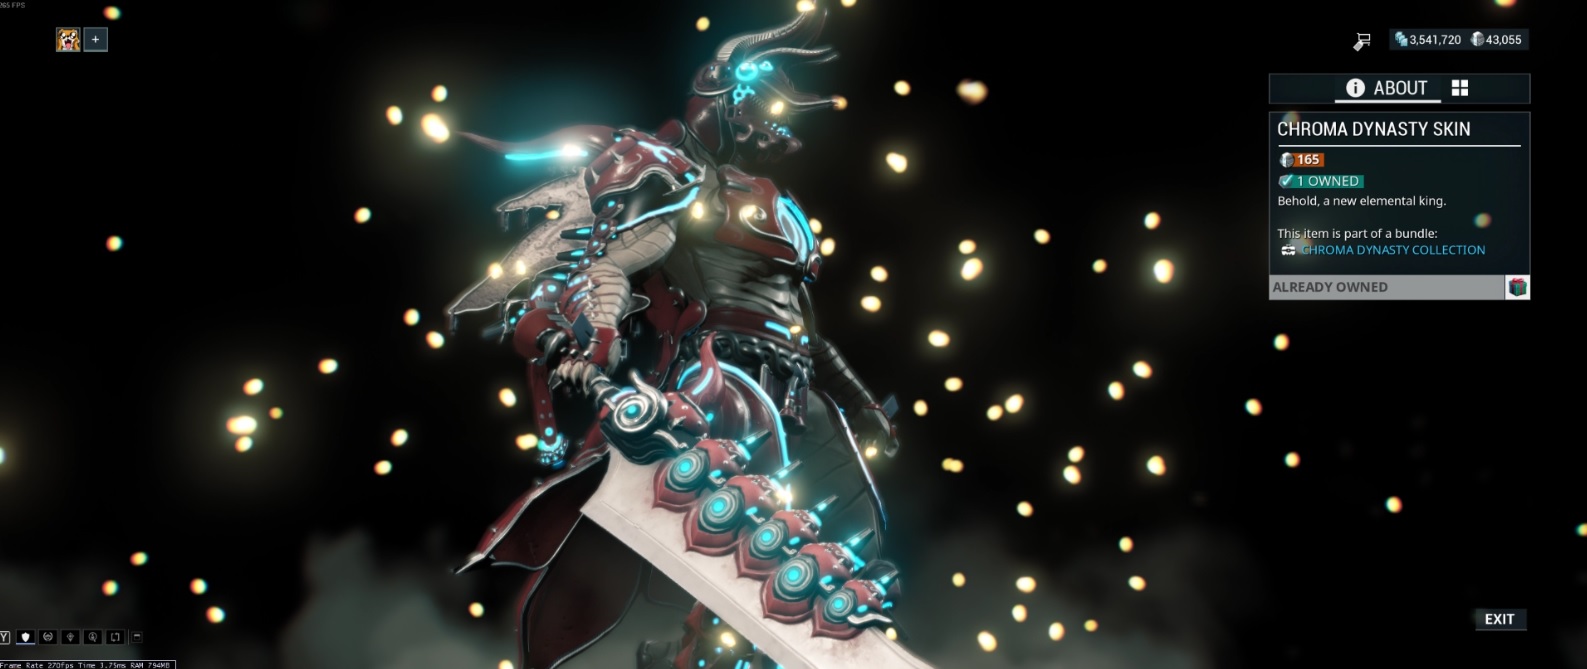
Example Skins That Don't Require Real Money To Buy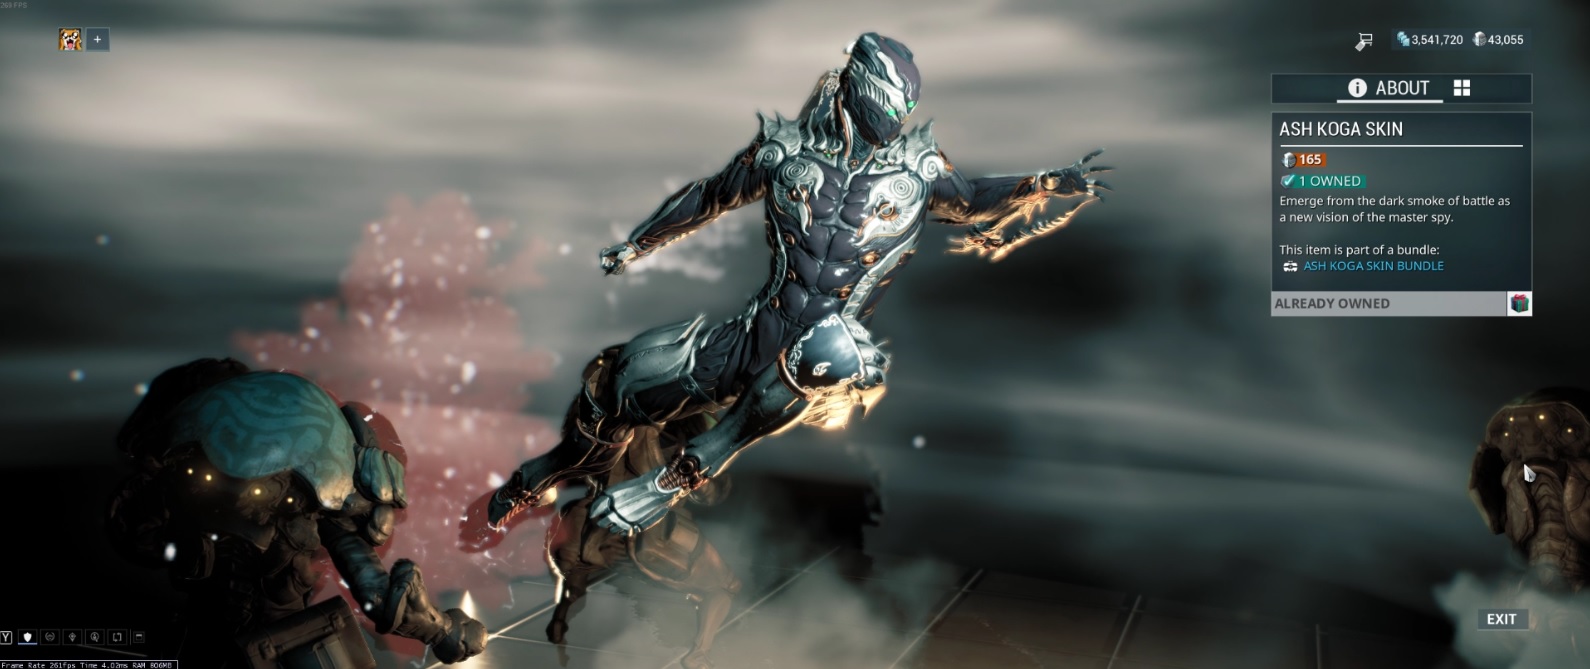
Main Menu
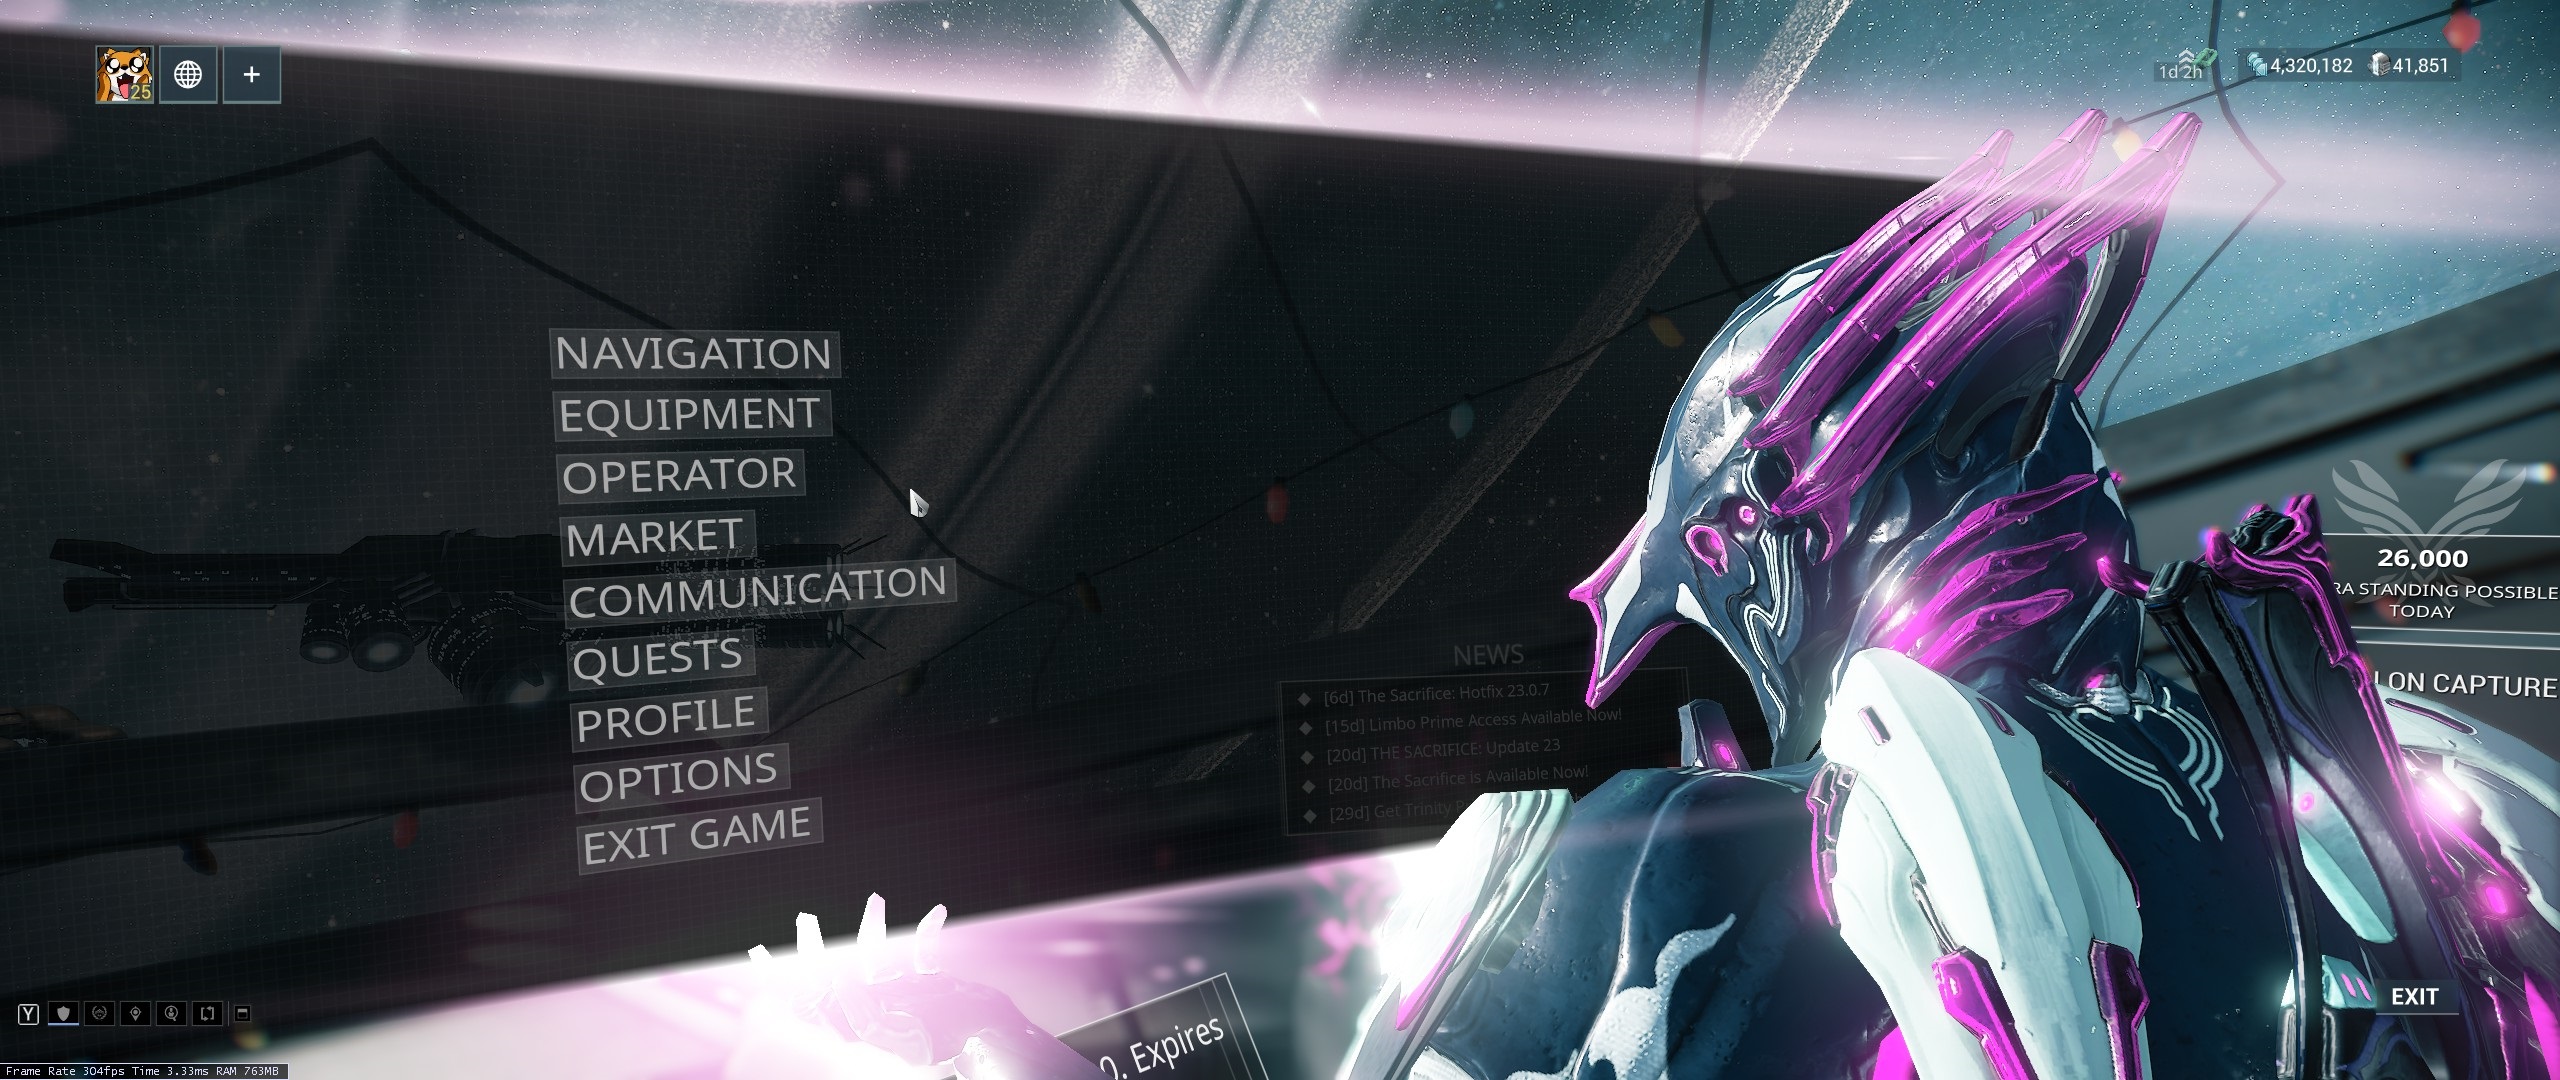 Pressing 'esc' brings up the menu which provides shortcuts to many things you'll need to navigate through the game. Many of these options will not be shown at first, but will unlock as you progress through the quests.
In-Game Currency
 Credits represented by three shards can be farmed or bought off the in-game market (total rip off). Platinum represented by a silver cylindrical shape is the premium currency which can only be traded for or bought with real money. If trying to avoid spending real money, it is suggested to farm parts and build items rather than purchasing them directly with platinum. Platinum is very valuable and should be spent intelligently.
Ranks/Levels
What Ranks Do To Warframes, Weapons, and Companions
Warframe doesn't use the term levels. It instead uses the word ranks, but they are basically the same thing. Affinity is the equivalent to experience.All warframes, weapons, and companions can be ranked up to 30 through gaining affinity. It is important to note that ranking up doesn't quite work the same as other games. When a warframe ranks up, it will unlock abilities and each warframe has 4 abilities. Ranks will also provide more capacity to equip stat enhancing mods. Each mod costs different amounts of capacity. When weapons are ranked up, they do not increase in power. They only increase in capacity. Mods are the key to improving dps.
Experience Division To Your Loadout
Affinity will be divided up between all warframes and weapons. Companions will receive their own affinity pool. It might be a good idea, when attempting to level up, to only equip warframes and weapons that are not max level to not waste affinity, unless you need your rank 30 warframe or weapon to deal damage.
What Is a Mastery Rank?
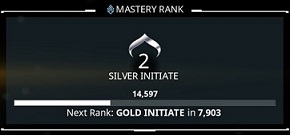
You also have an overall rank called, Mastery Rank, seperate from warframes, weapons, and companions which provide vital benefits.
The Benefits of Mastery Rank
Ranking up mastery rank is vital for progression. First and foremost, ranking up unlocks weapons in the game. As you progress, more and more weapons will be unlocked until finally at mastery rank 16 all weapons will be unlocked. Trading requires at least mastery rank 2. Mastery rank 16 unlocks all rivens which is non-essential end-game content. Note that all warframes and companions have no mastery rank requirement. Here are additional benefits of mastery ranks:- Increased daily trading limit which is equal to your Mastery Rank
- Increased daily syndicate point limit
- Increased void trace limit
- Increased daily focus limit
- Increased starting capacity of a level 0 warframe, weapon, or companion
How To Level Up Mastery Rank
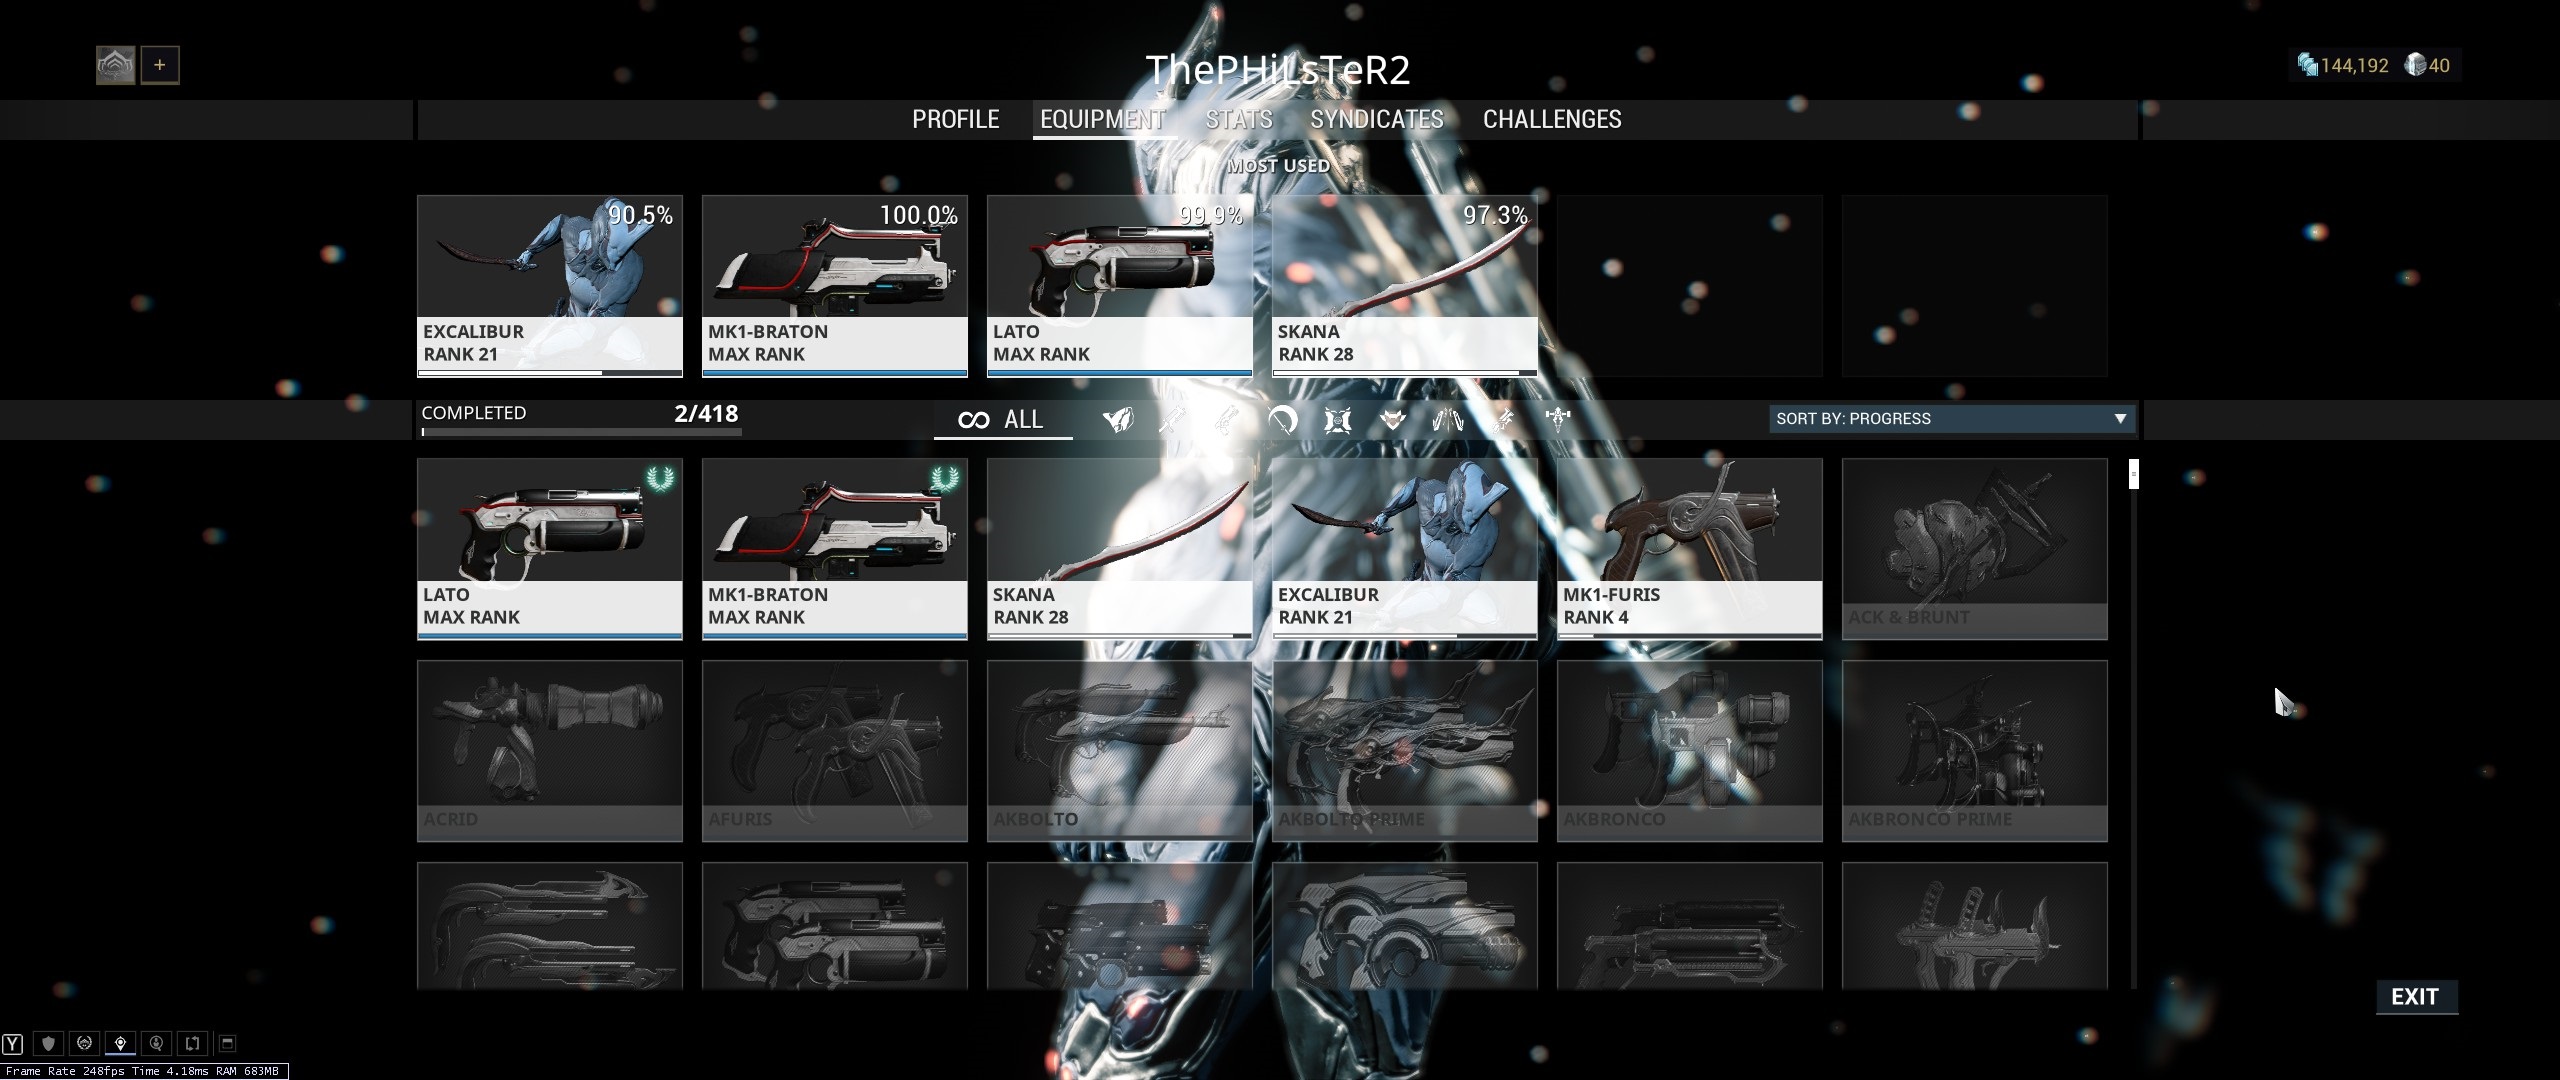 Mastery rank is gained by ranking up warframes, weapons, companions, archwings, and archwing weapons to level 30. Once an item is max ranked, you will never be able to gain mastery rank points from ranking up that same item. To find out what items you have ranked up and what items you haven't, check either the codex (esc-->quests-->universe tab) or profile (esc-->profile-->my profile-->equipment tab). Ranking up warframes, companions, and archwings provide double the amount of points toward Mastery Rank than weapons do.
Mastery Rank Tests
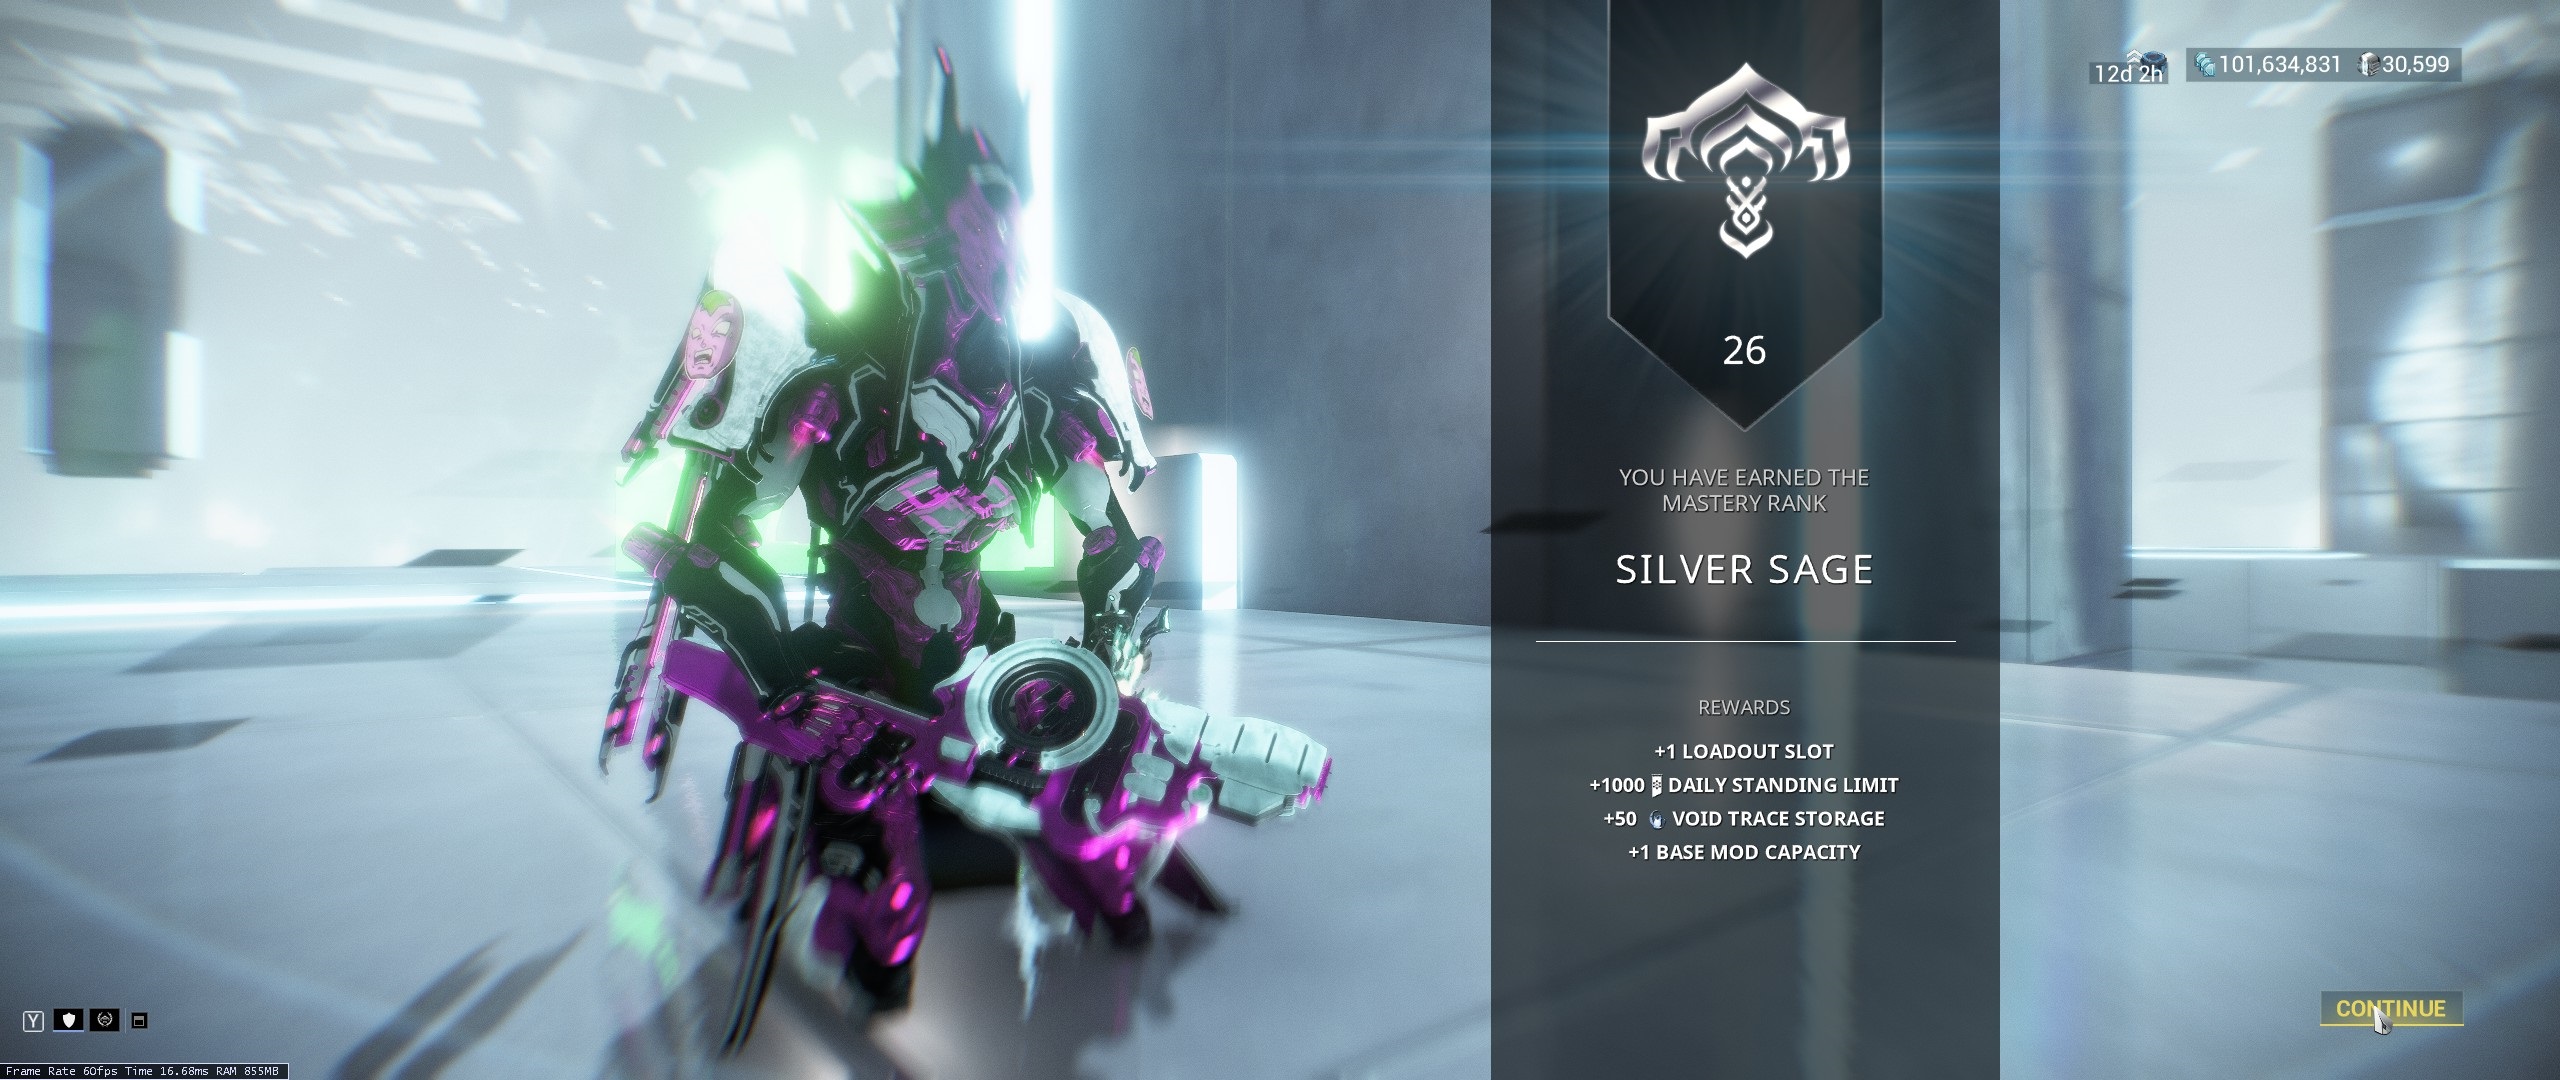 When you're ready to rank up, you must first pass a mastery rank test. The game will notify you and a new option "Mastery Rank Up" will appear in the main menu. The tests are easy, though later they can present more challenge.
How To Gain Experience From Enemies Killed By Teammates
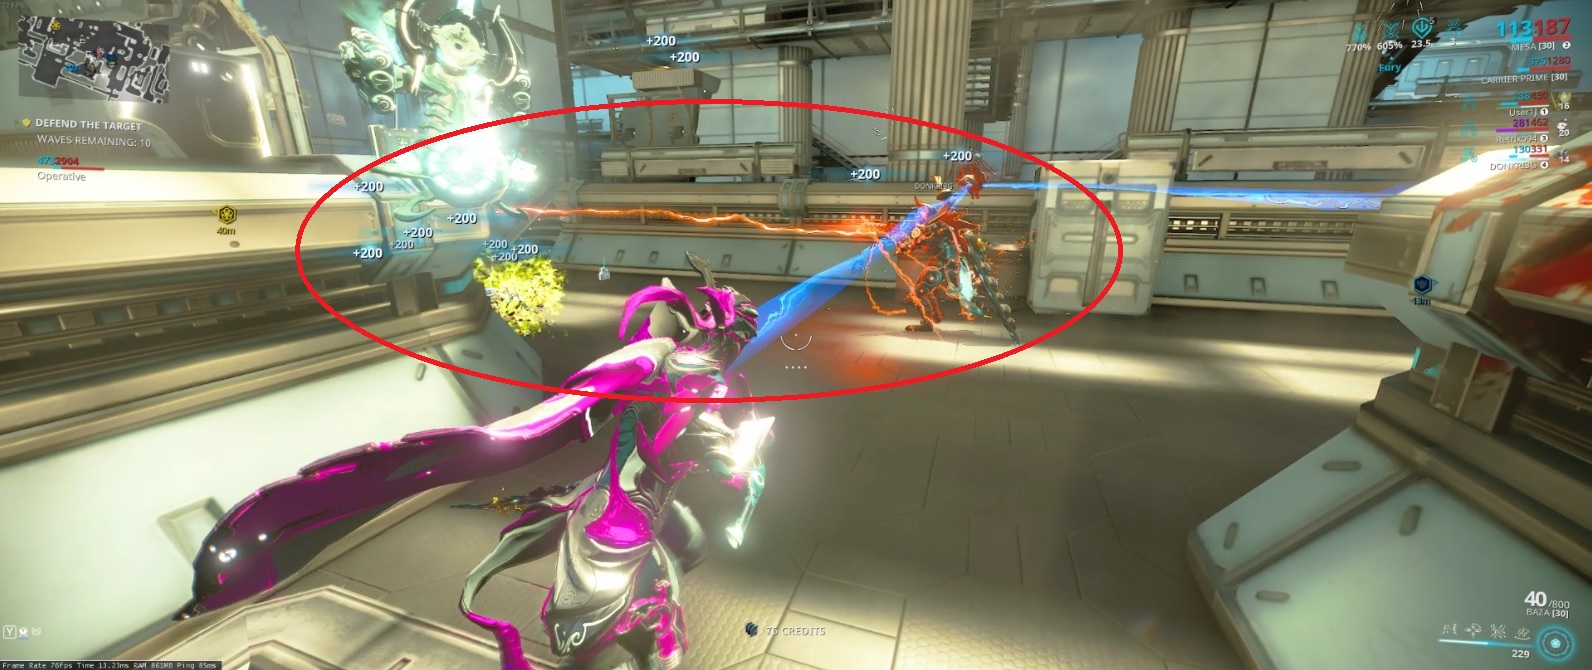
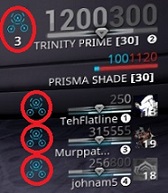
Affinity isn't split among teammates, but you do receive affinity every time a teammate scores a kill. However, you will only receive this affinity, if you are within 50 meters (base distance) of the teammate who scored the kill. Therefor it would be ideal, when leveling, to stay within affinity range indicated by the three circle symbols next to player names.
Inventory Management In Early-Game
How To Access Inventory
esc-->inventory-->warframe or weapon tabThe Difficulty of Inventory Management During Early-Game
One of the biggest difficulties of a new player is inventory management. As said in the previous section, leveling Mastery Rank is vital. You will have to max rank many items. HOWEVER, you only start with 2 warframe slots, and 8 weapon slots. It will cost platinum to increase slots. Limited slots and limited platinum creates a dilemma for a new player. To rank up new weapons, old weapons will have to be deleted to create space. What Items To Keep and What Items To Level Solely For Mastery Rank
 Some weapons are worth keeping and others are not, also known as MASTERY FODDER. Most of the lower rank weapons are not worth keeping. However, some of them are and they are listed in the "Weapons" section. There are so many warframes and I'm sure you'll be interested in at least several. In that case, it will be important to increase warframe slot capacity. Warframes to keep are ones you find fun and/or are useful. Warframes awarded from quests (see "Warframes (Quest)" section) should be kept unless there is an available primed version within reach, because the quest warframes can never be acquired again (Digital Extremes is looking to change this at some point). Several Prime warframes have been vaulted, which means they no longer are in the drop tables. If the prime version of a quest frame is vaulted, it may be better to keep the non-prime version until acquiring the prime version. Some weapons, are also ingredients to other weapons, so those should be kept also. Check out this Wiki Link[warframe.fandom.com] for a list of all weapons that are ingredients.
How To Get Additional Warframe and Weapon Slots
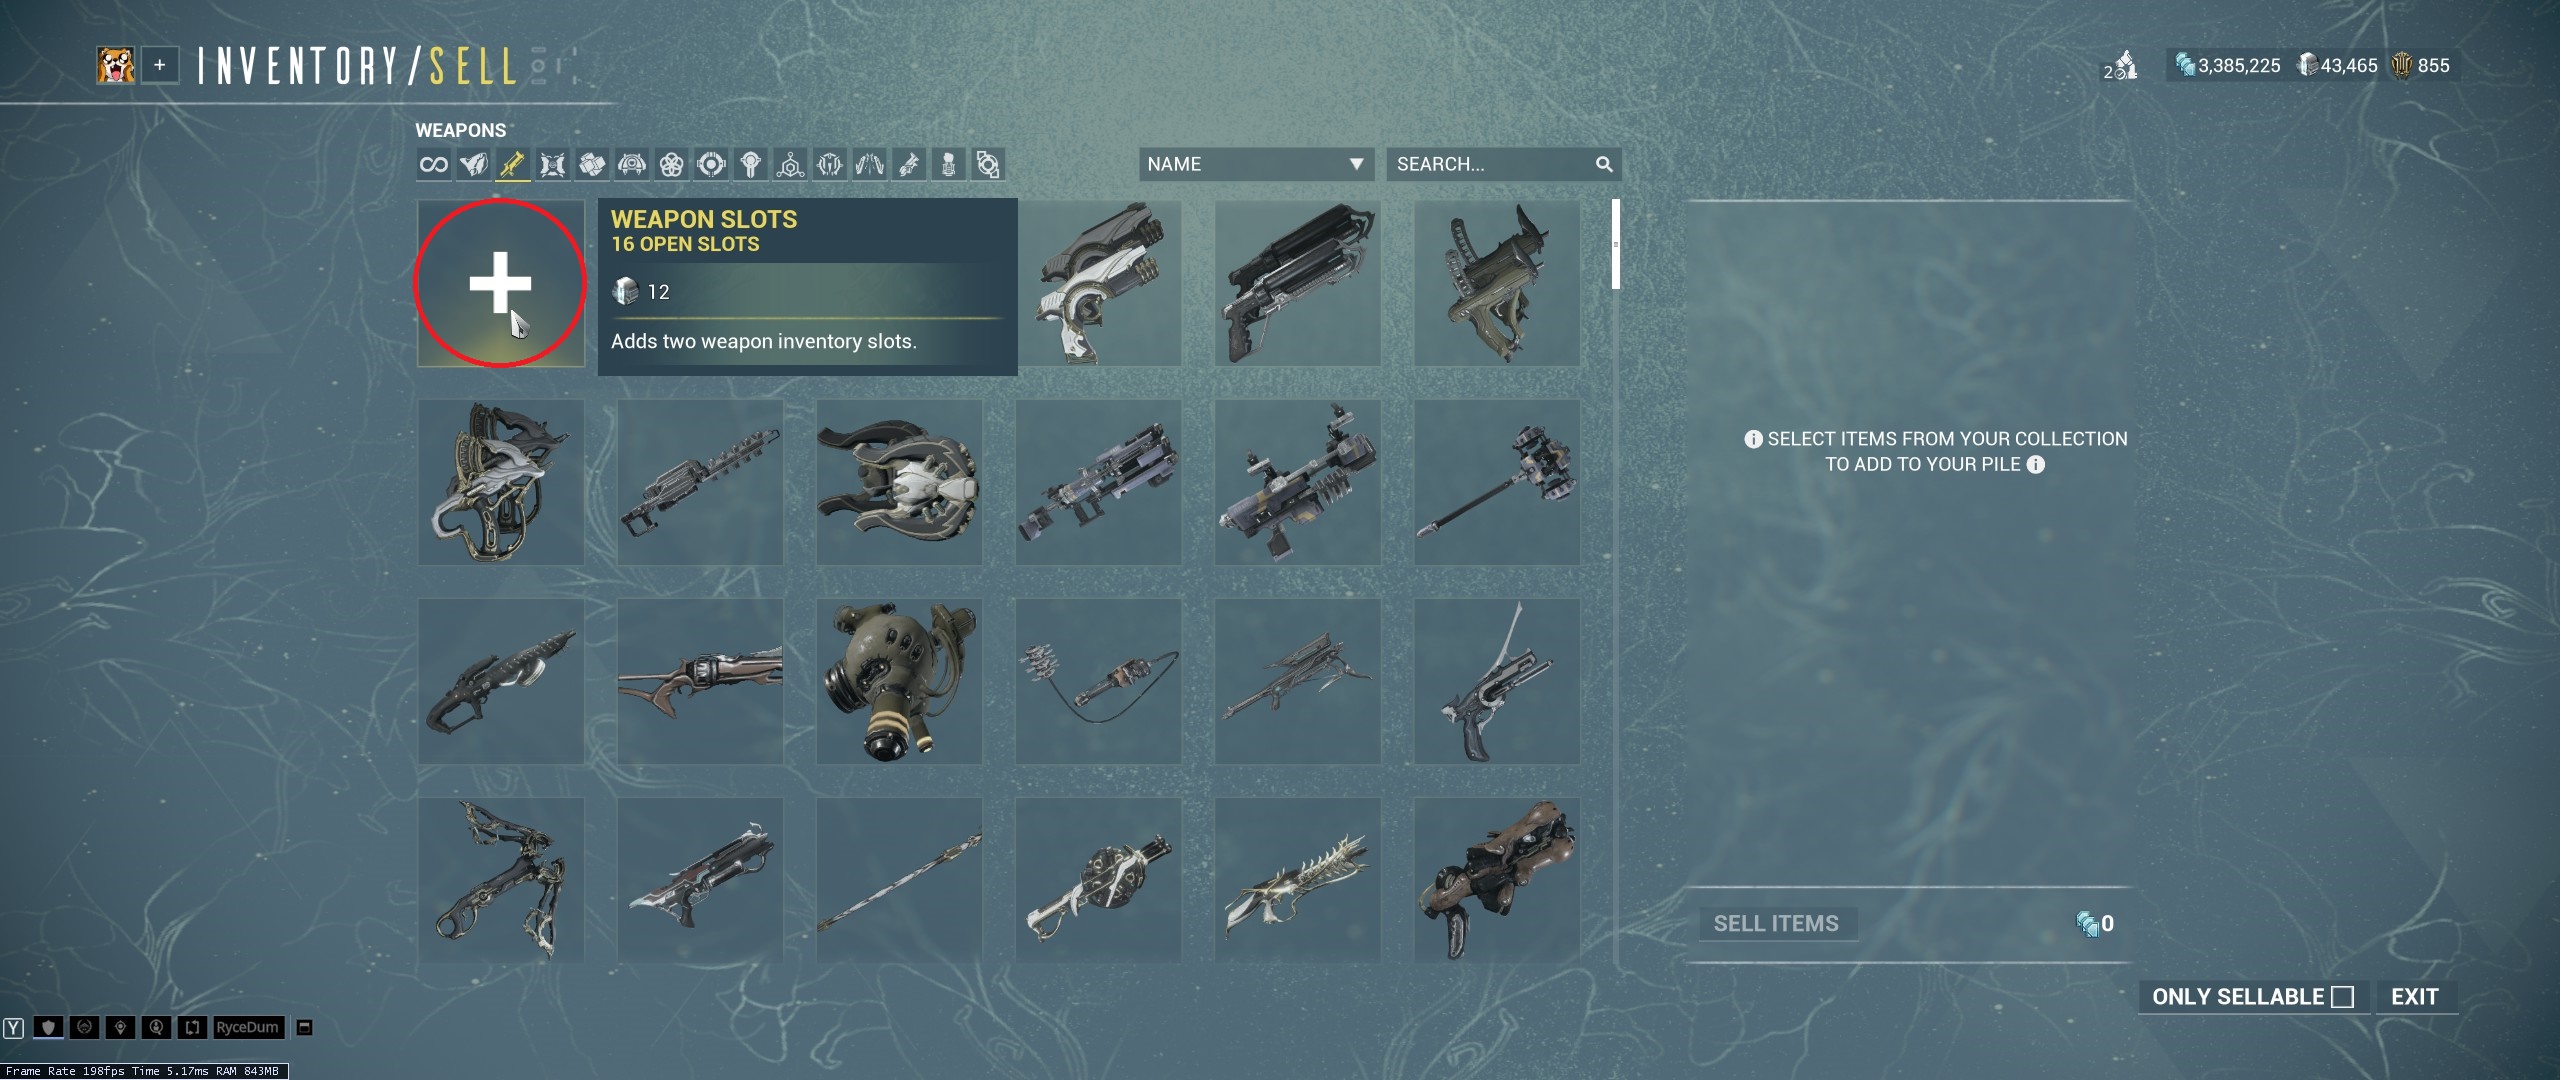
Luckily DE has provided every new account with 50 platinum which allows for purchase of 1 warframe slot and 4 weapon slots. The slots are so important that the platinum shouldn't be wasted on anything else at this point. To buy the slot, just click on the + sign. Eventually you'll want to buy even more slots, because a development of interest in multiple warframes and weapons is almost guaranteed as you progress. In that case, you'll need more platinum, so check out the "How To Make Platinum" section of this guide. Alternatively, you can buy 1 orokin reactor (20 platinum) and 1 orokin catalyst (20 platinum) which allows more mods to be equipped on 1 warframe and 1 weapon (more details on orokin reactors/catalysts in "Modding" section)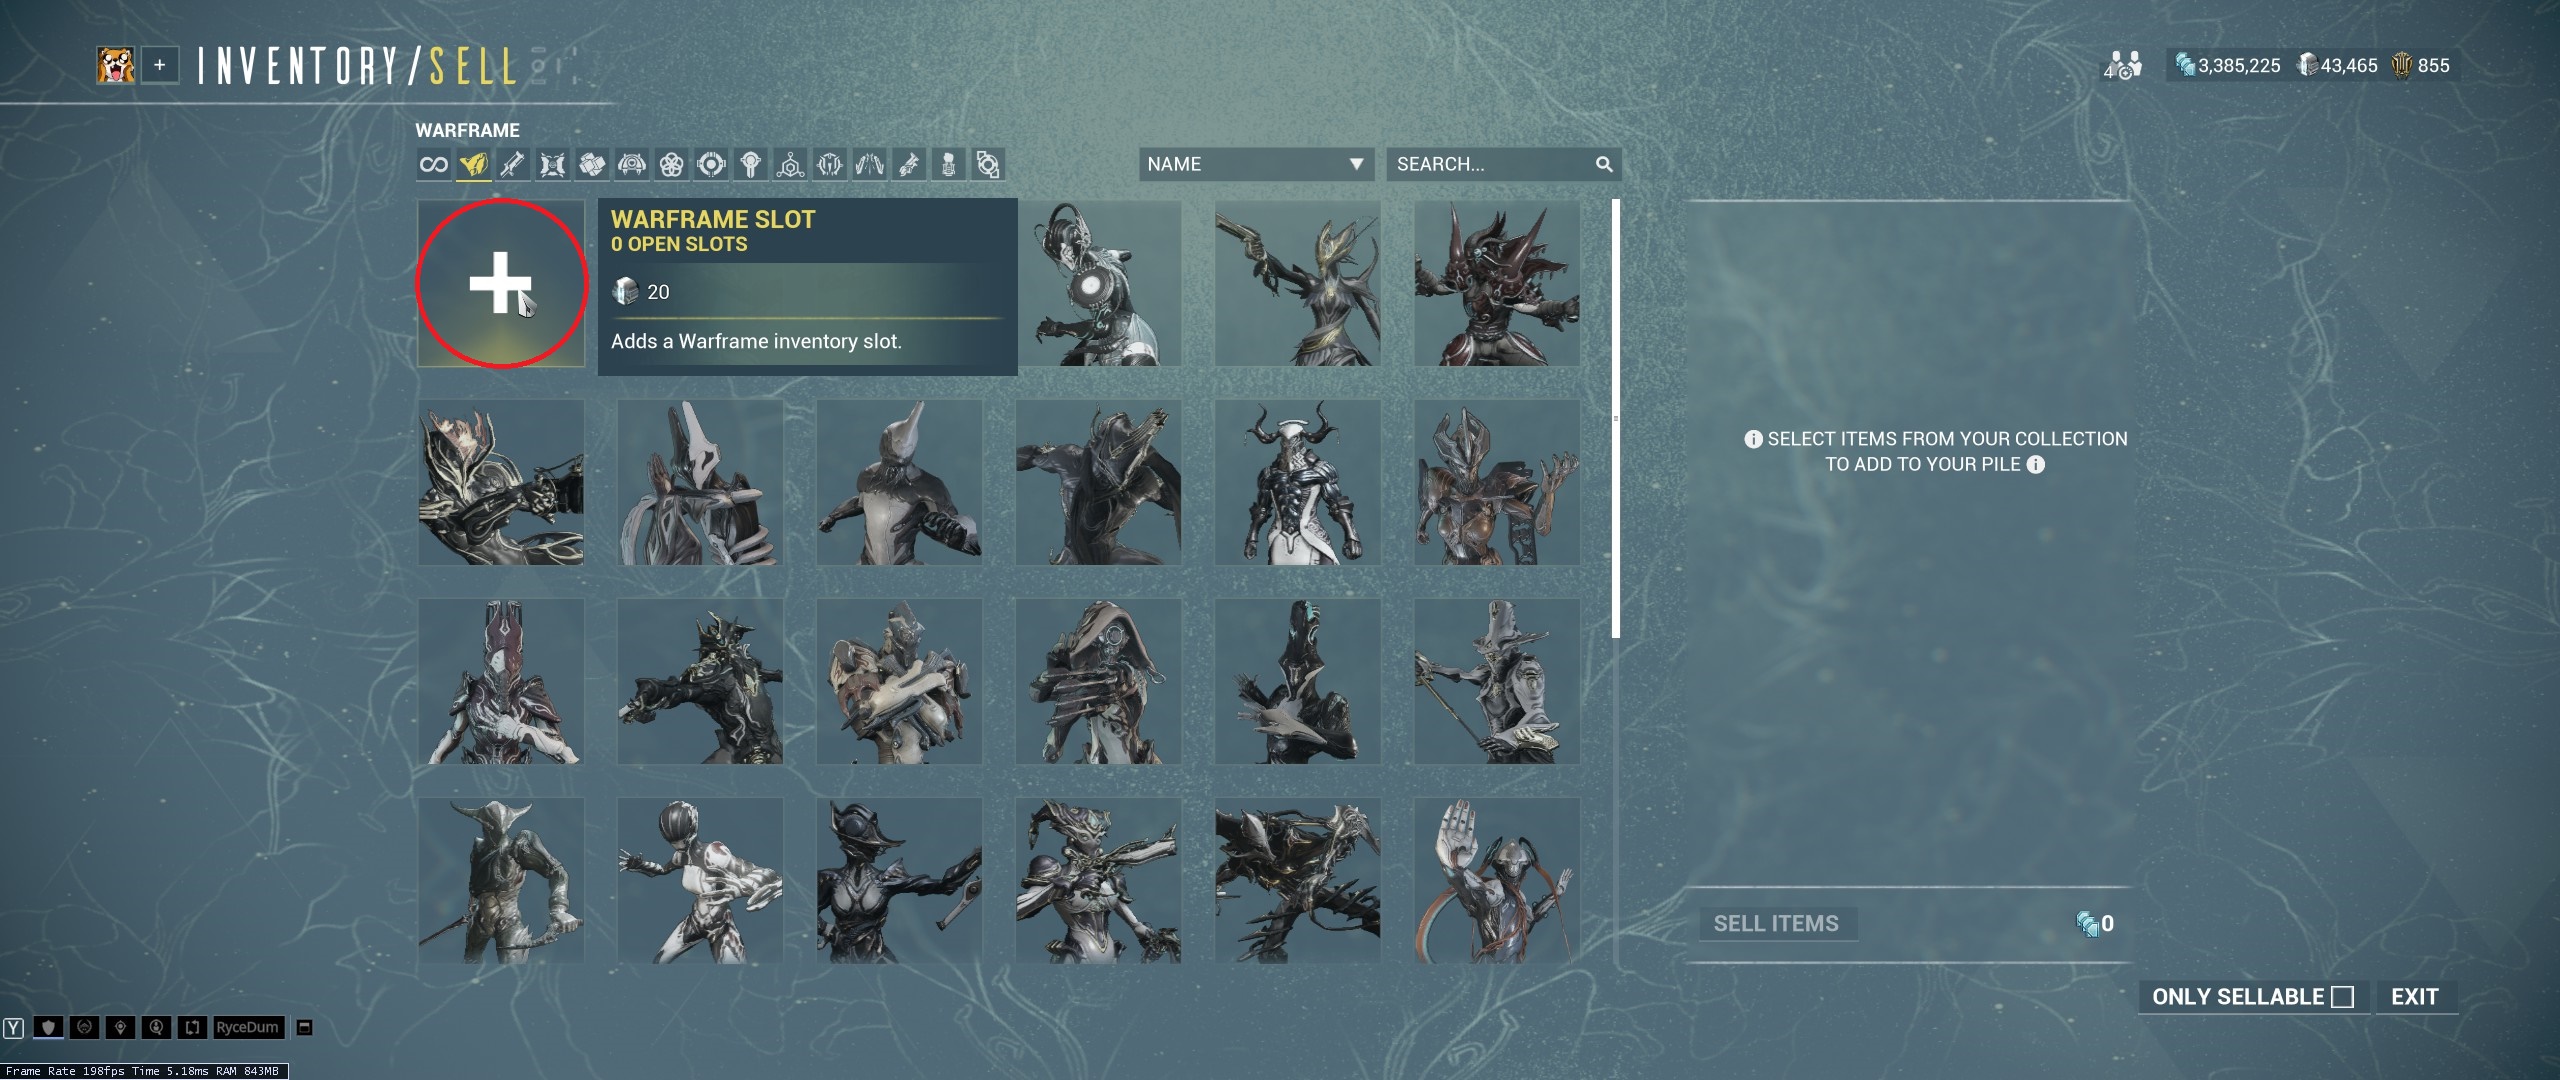
Building
Foundry - How Items Are Made
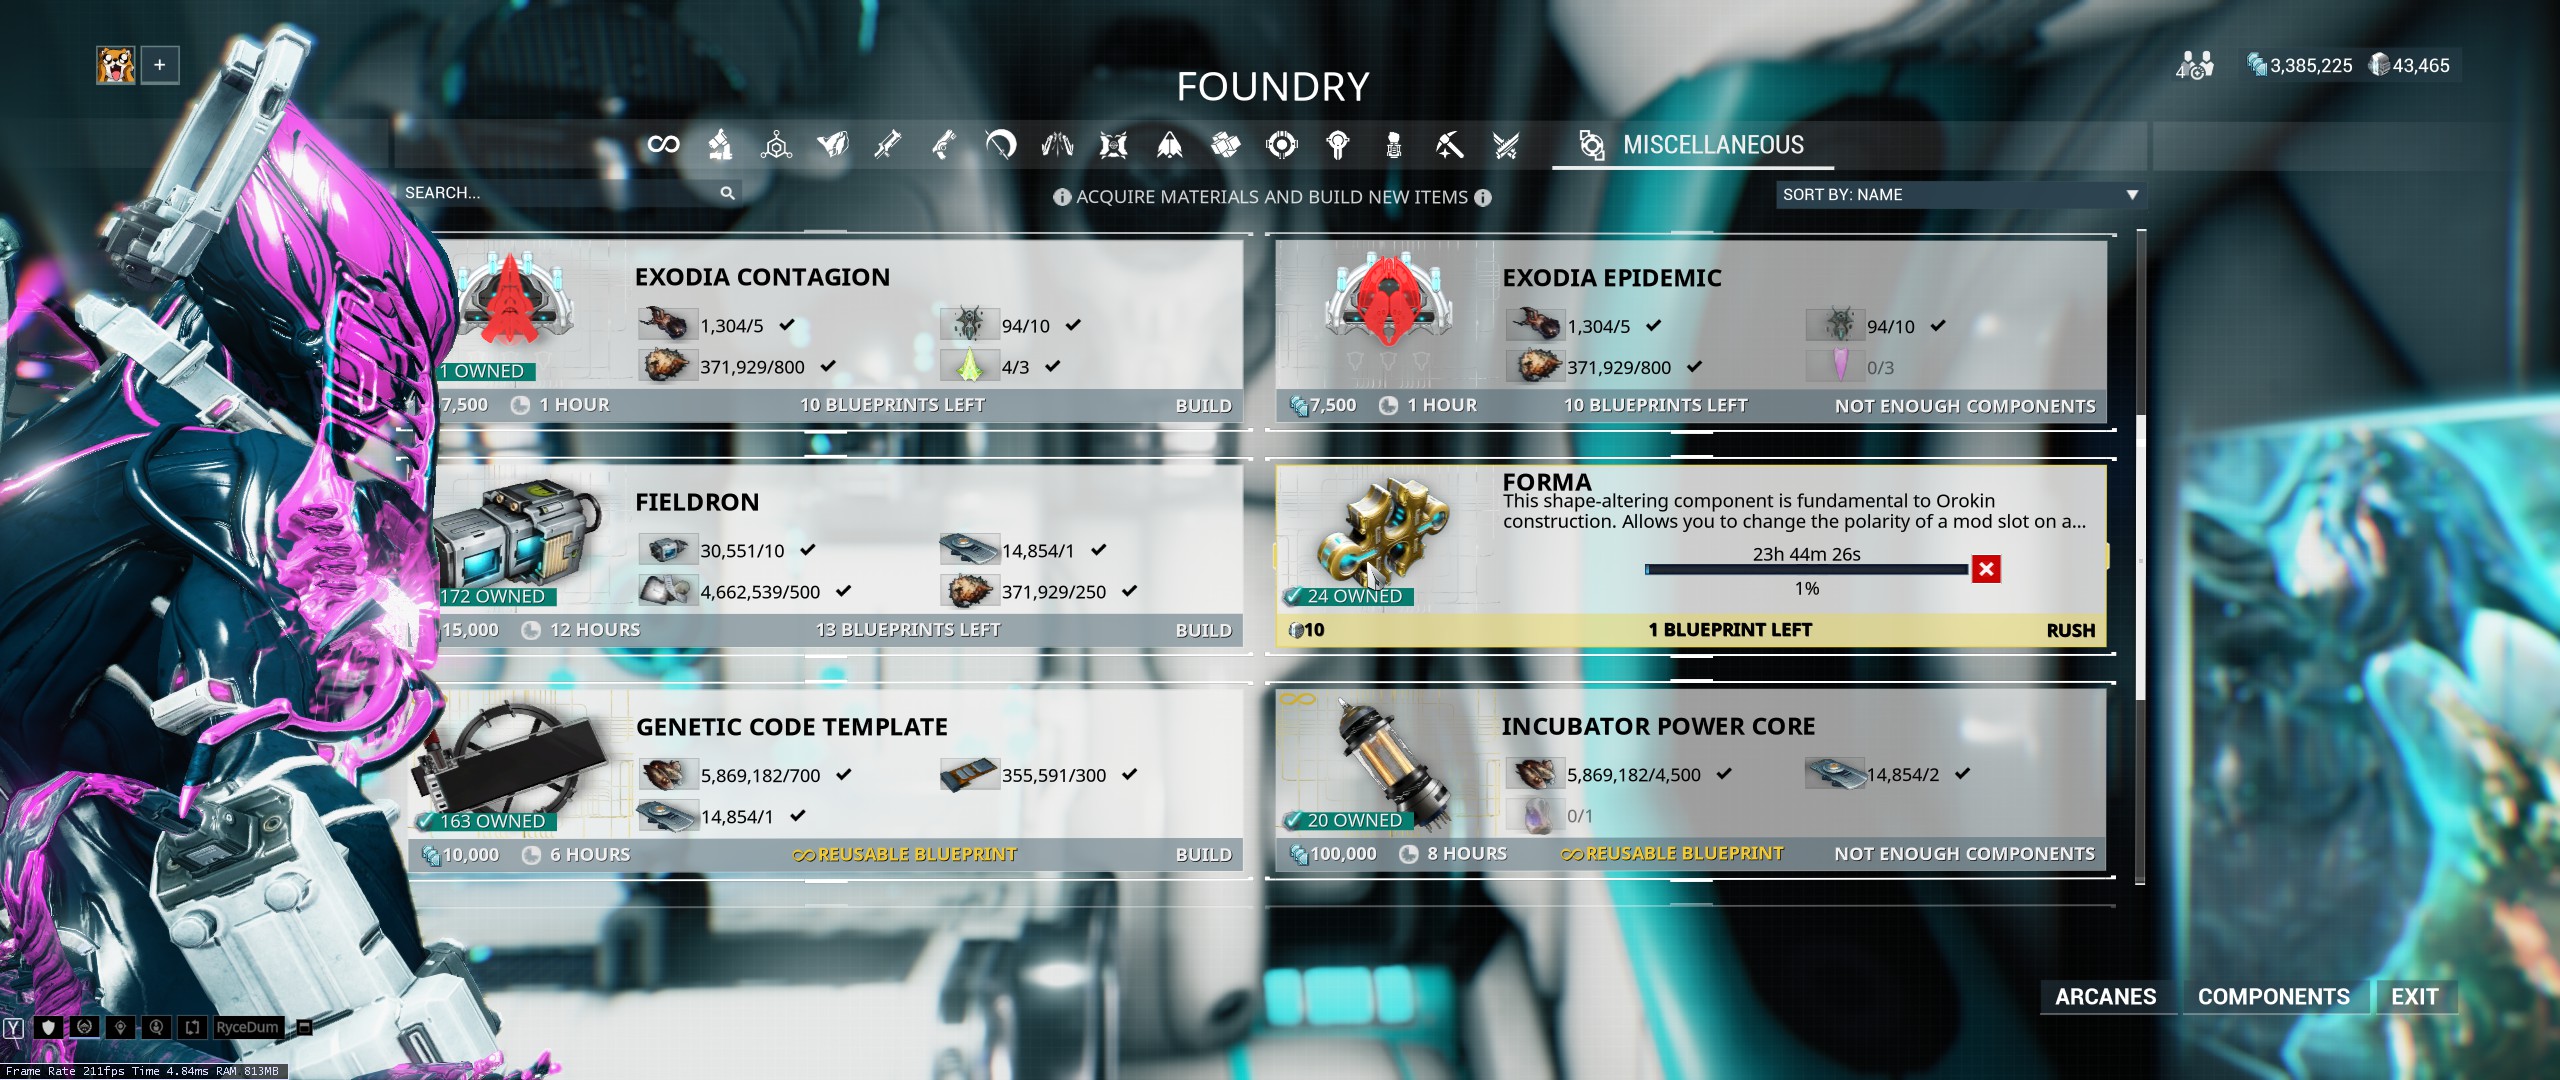 To access foundry: esc-->equipment-->foundry
Many items are built using resources and/or parts.
All Building Requires Time
Everything has a build time with warframes being the most at a whopping 3 days. Weapons take 12 hours. New players are usually shocked at this wait time. It is a significant amount of time and matters less later in the game.How To Lessen The Impact of Long Build Times
To lessen the impact of such high wait times, it's smart to continuously build, so that way while your leveling your current warframes and weapons, there will be new ones ready by the time you max rank them. This way a cycle begins eliminating all or almost all wait time. Alternatively, building can be rushed with platinum, but this is not recommended if low on platinum.How The Foundry Can Help With Inventory Management
As mentioned earlier, inventory management is troublesome in the beginning. A smart trick is to build items even if you have no more slots left, and leave it unclaimed in the foundry. When a slot opens up, you can claim them then.How Non-prime Warframes Are Made
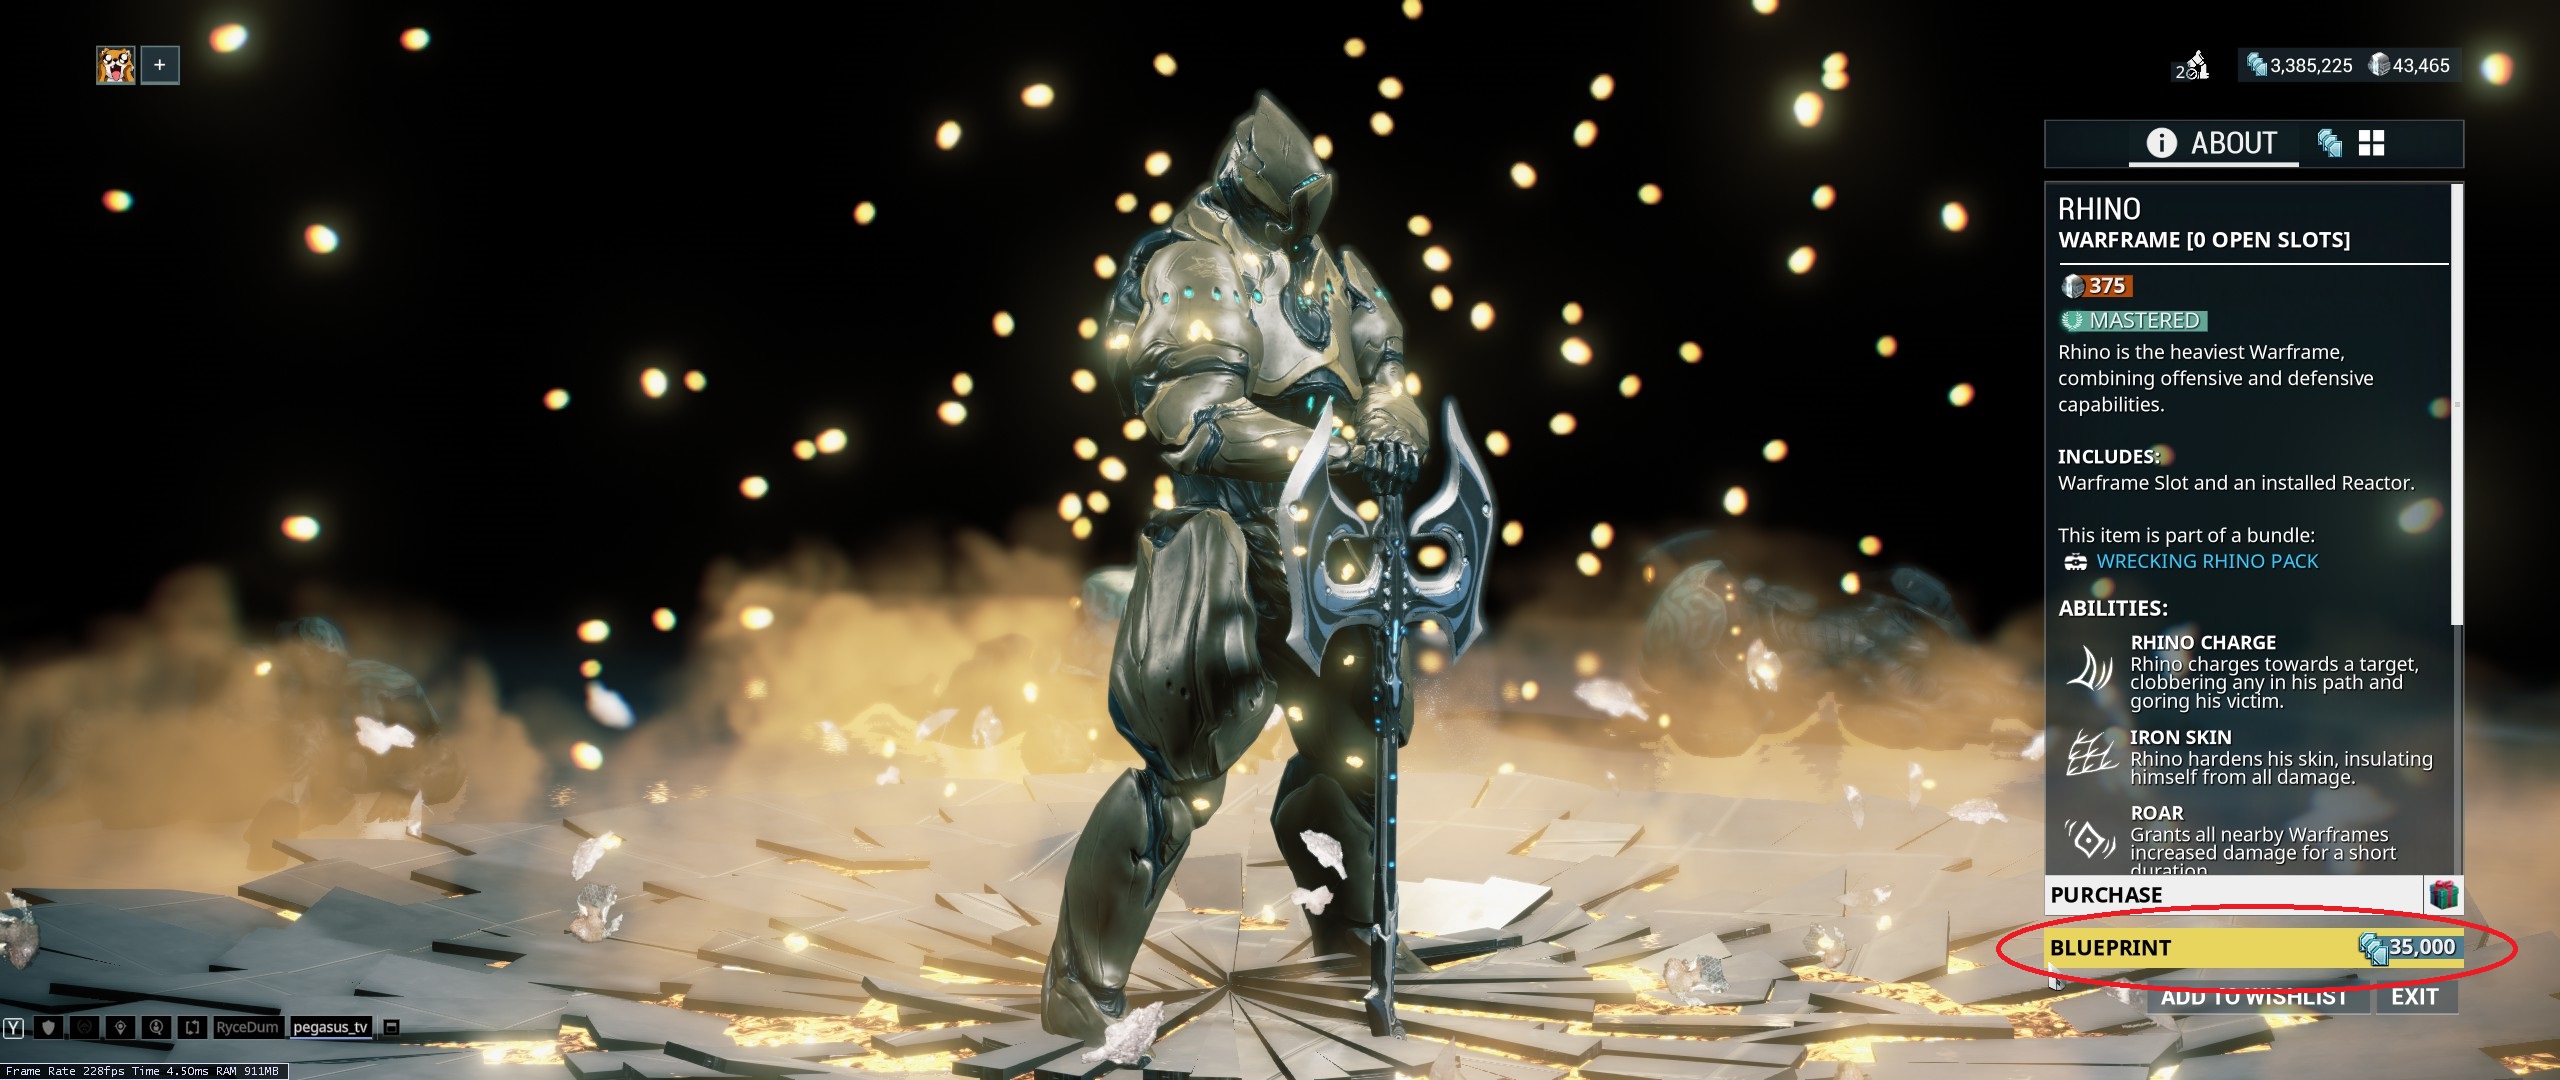 Most blueprints for non-prime warframe parts (Neuroptics, Chassis, and Systems) can be farmed. The blueprint that combines the parts can be bought off the in-game market with credits. Some warframe blue prints can only be gotten from completing Quests (more details in "Warframes" section). After getting the blueprint, it will be displayed in the foundry.
How to access the in-game market: esc-->market
Resources
Where To Get Specific Resources
There are many different types of resources. They all drop from enemies and containers with some exceptions. Each planet drops a specific type. You can find out which resource drops from which planet by selecting a planet and hovering over the extractor icon at the bottom right.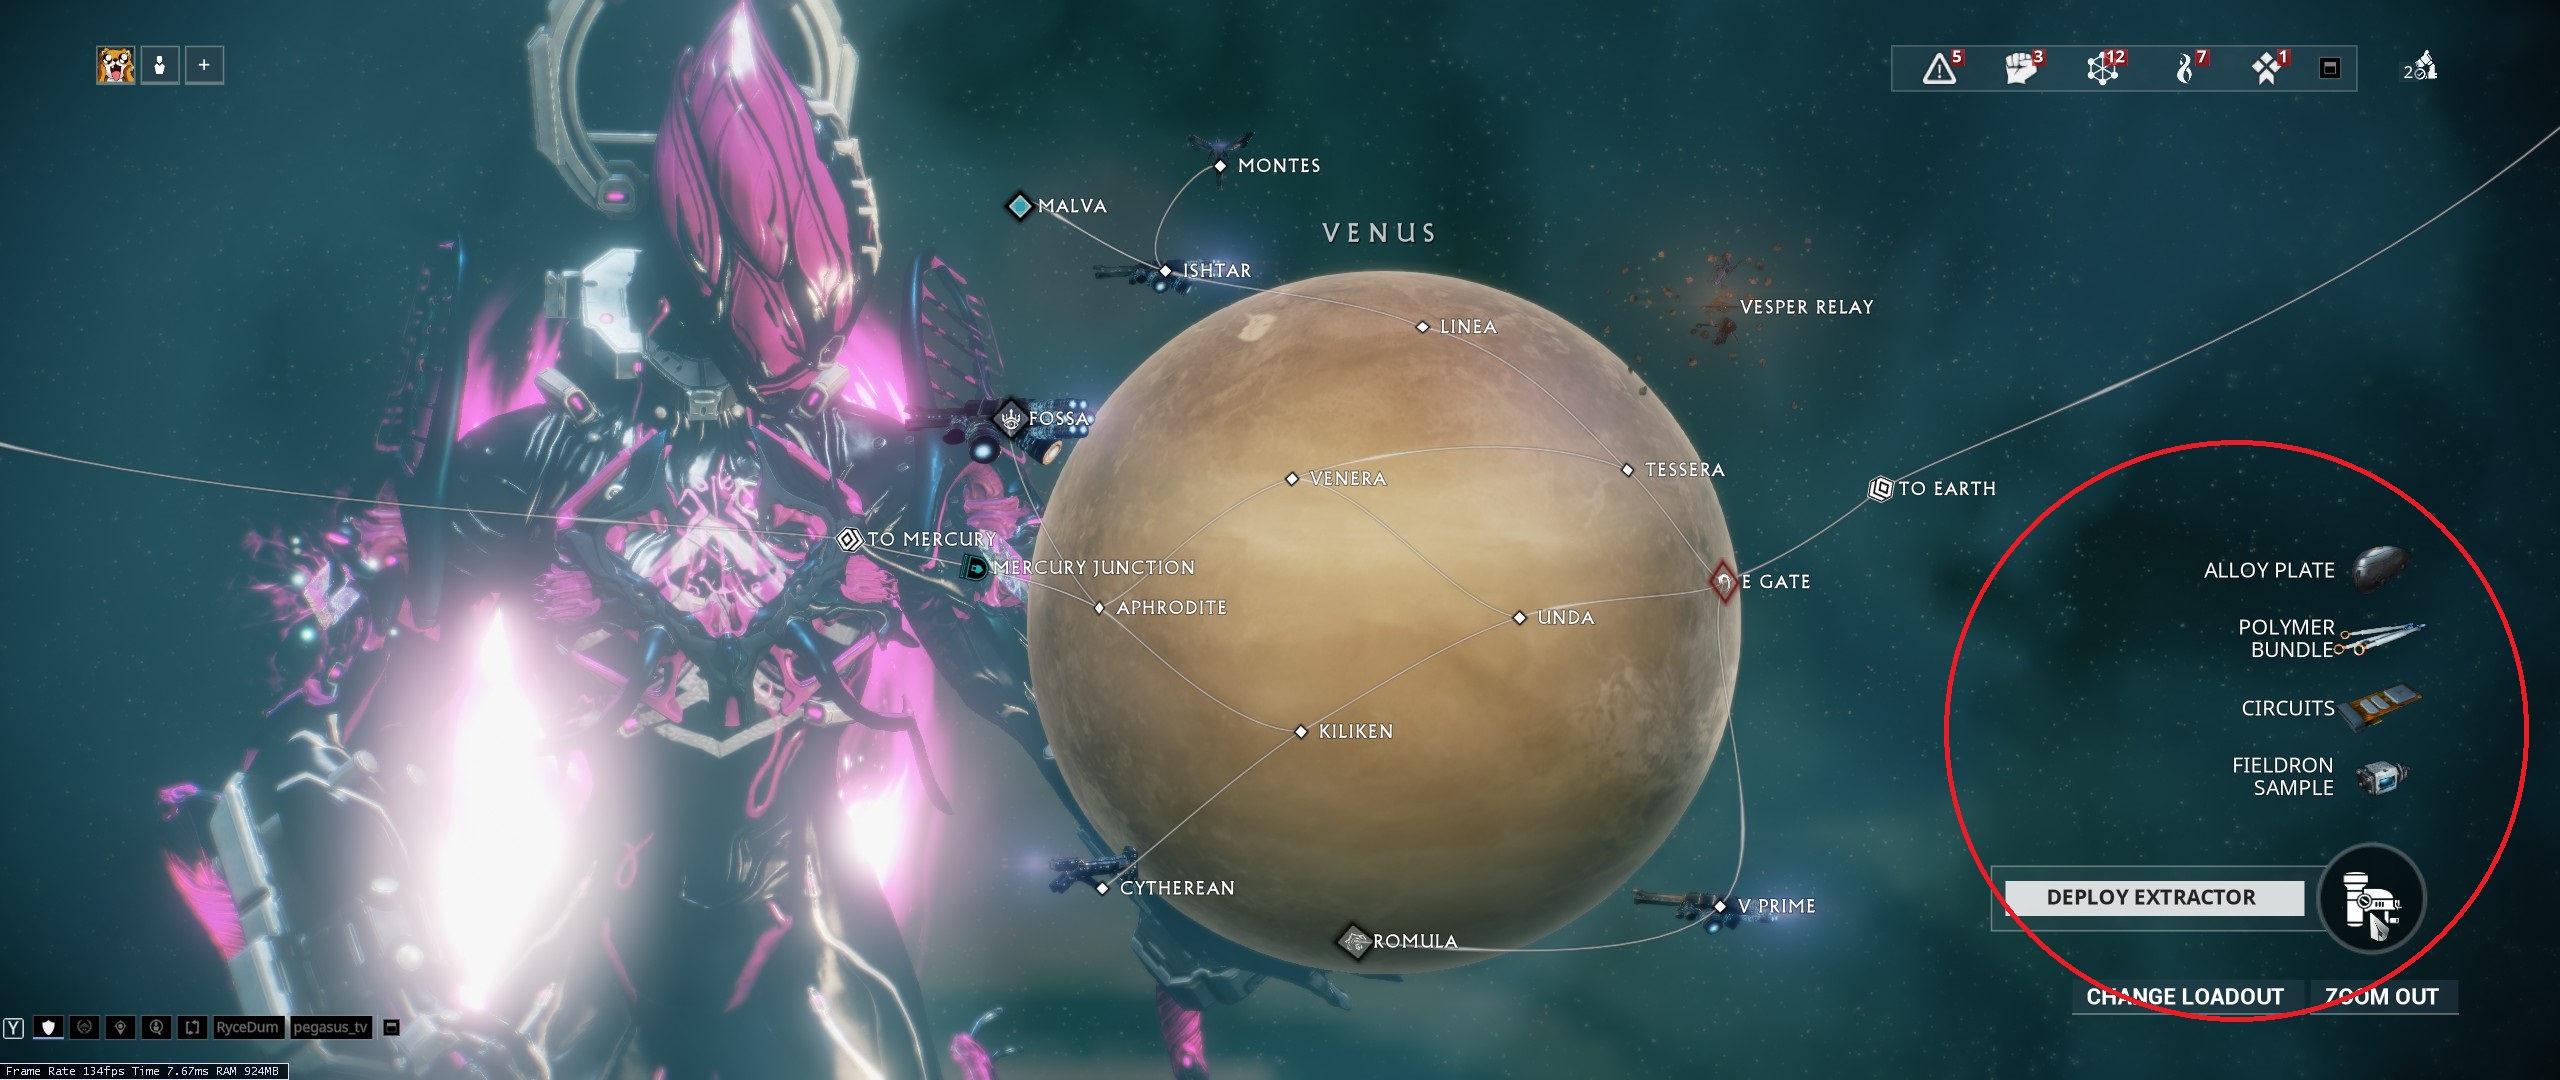
Strategies for Farming Resources
Generally, more resources drop the higher the planet level is. They also drop more when fighting high concentrations of enemies, which are usually found in survival or defense missions and more players in a the party will cause more enemies to spawn. Argon Crystals drop from enemies but they also often spawn as containers. Therefor, it would be smart to enter rooms with high concentration of containers and destroy them all.Warframes That Increase Resource Drop
- Nekros - Nekros' third ability desecrates dead enemy bodies for additional chance for loot. Weapons with high slash damage will cut bodies in half. Each half can be desecrated for even more loot drop chance.
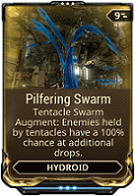
- Hydroid - Hydroid's fourth ability with augment mod Pilfering Swarm increases chance for additional loot from affected enemies.
- Kora - Kora's fourth ability with augment mod Pilfering Strangledome increases chance for additional loot from affected enemies.
- Atlas - Atlas' third ability, Petrify, with augment mod, Ore Gaze, increases chance for additional loot. Atlas is the least effective compared to Hydroid and Nekros.
- Ivara - can pickpocket enemies for another chance for a drop while her third ability, Prowl, is active.
How To Increase Pickup Range
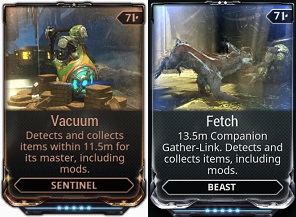
Equipping a sentinel with the mod Vacuum (preferably max ranked) or companion with Fetch will collect all items within a nice radius. Without this mod, it would be easy to accidentally miss drops.
Modding
Arsenal
To access Arsenal: esc-->equipment-->arsenal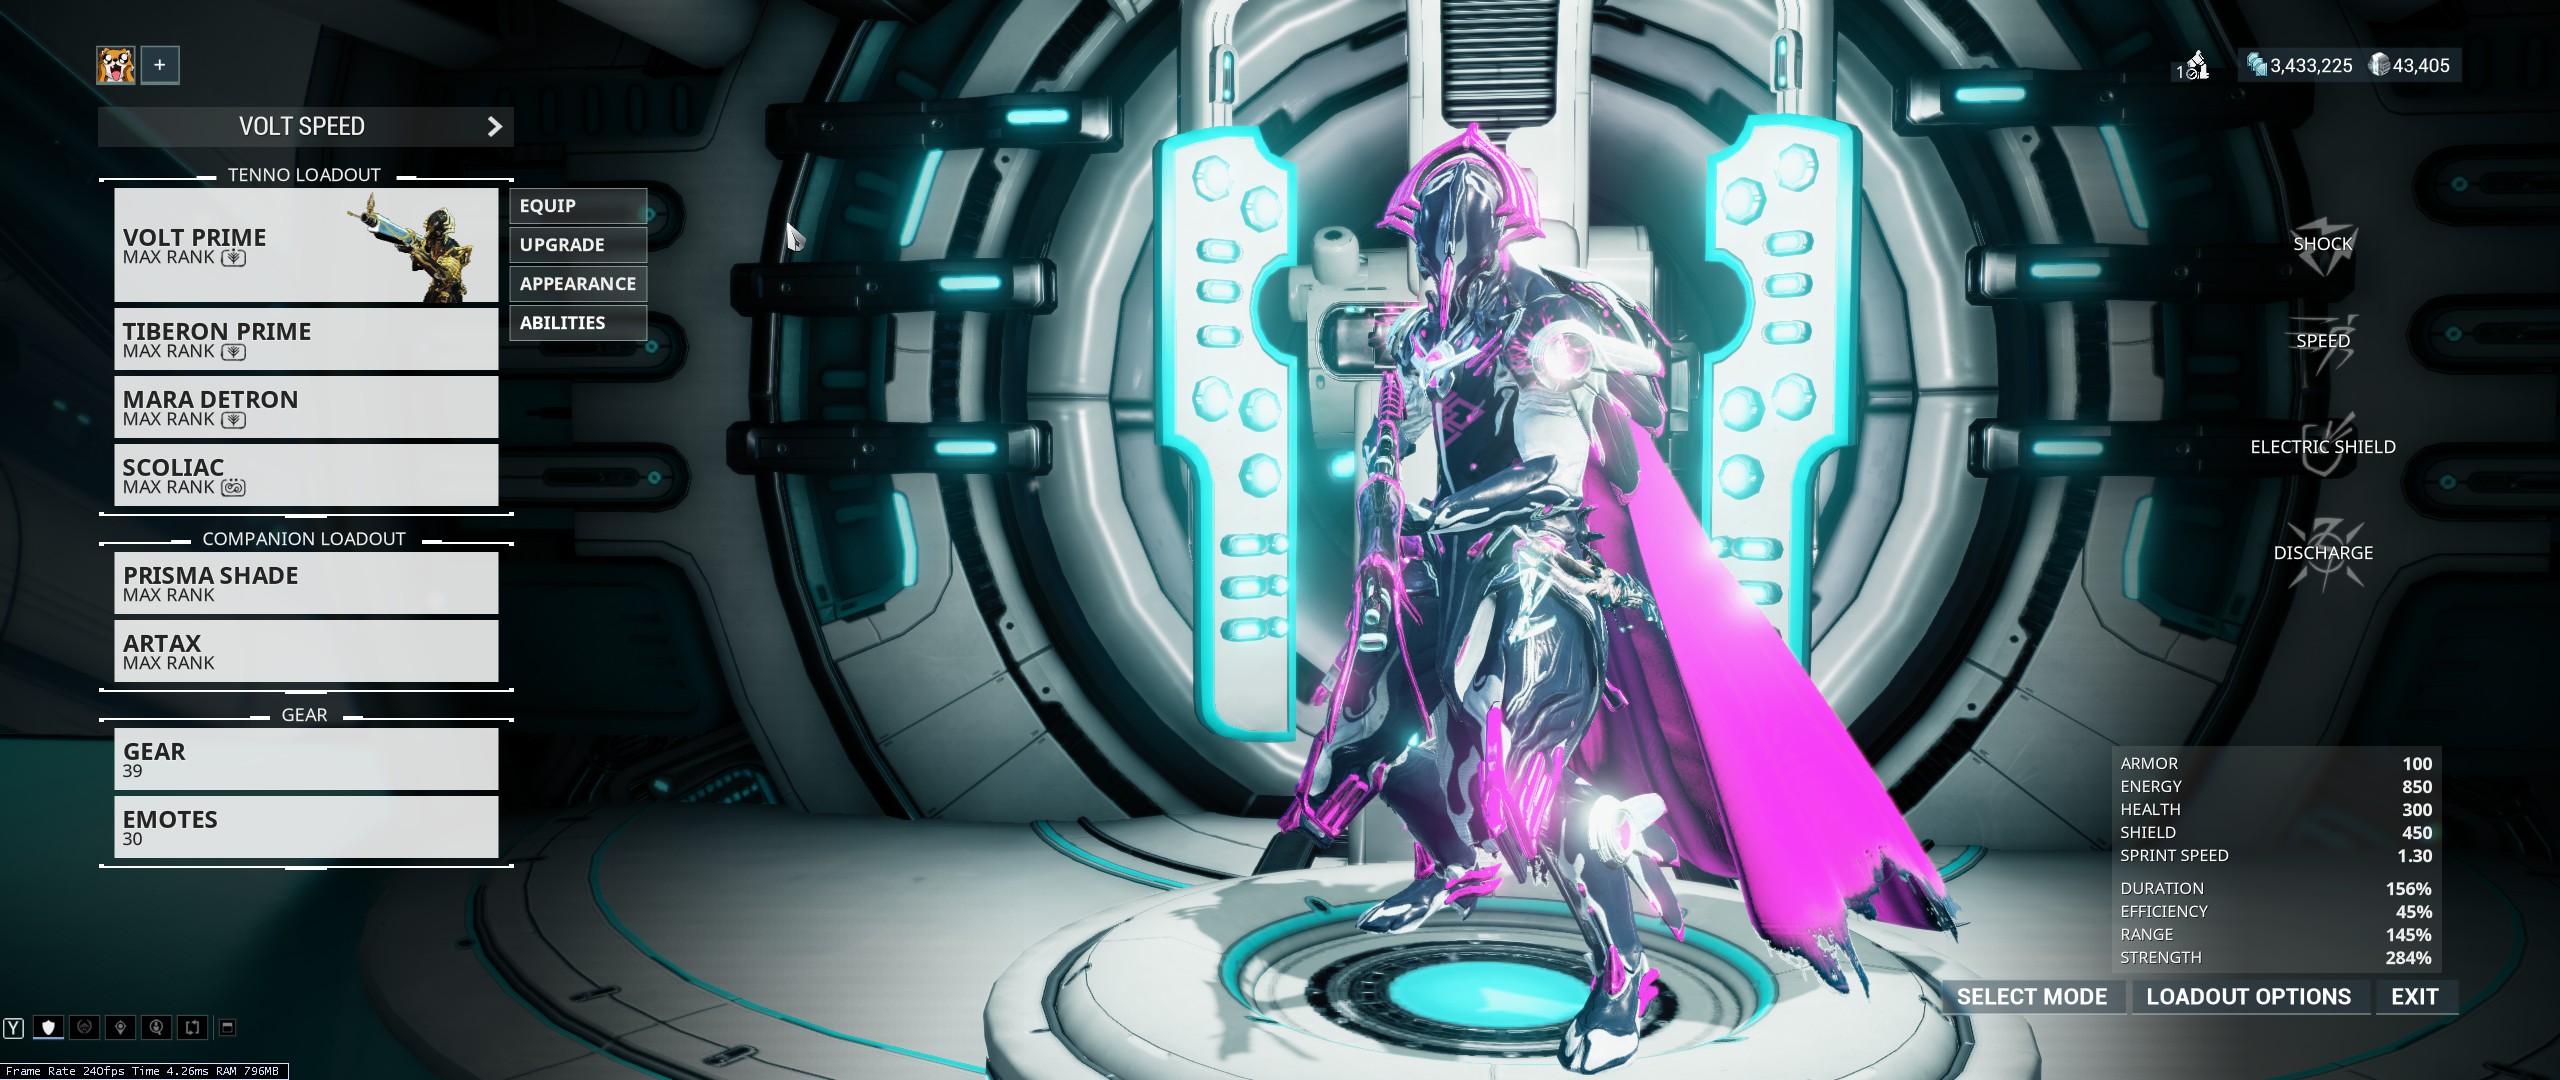 Here you can switch warframes, weapons, and companions. Gear is where you equip items such as scanners and kinetic siphon traps. To mod a warframe, weapon, or companion, hover over them and click upgrade.
Modding Screen
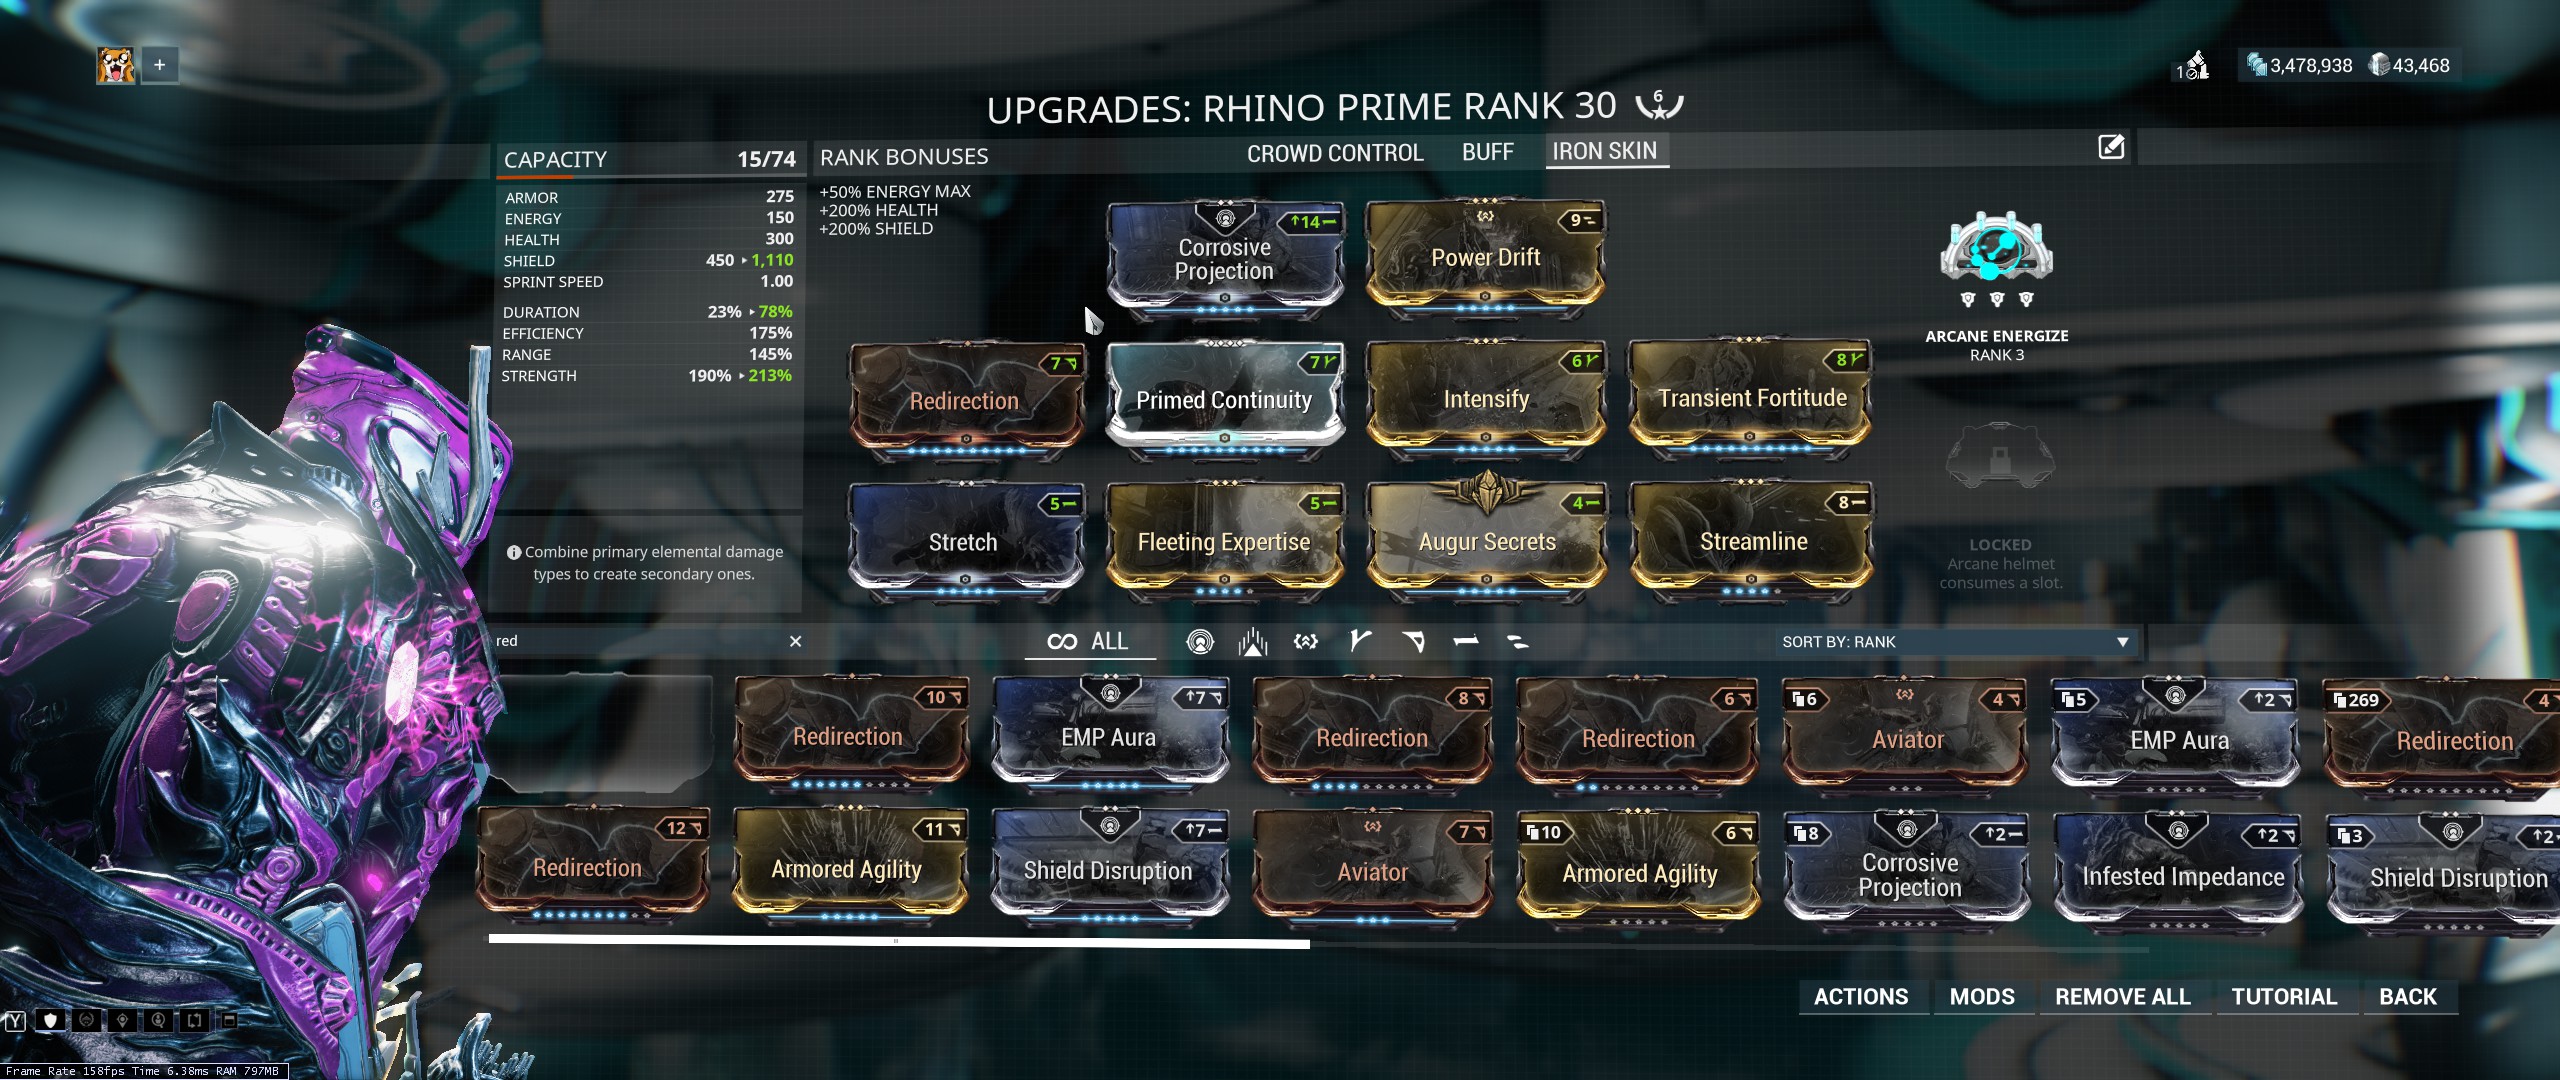 Here you will equip vital mods and create your build. Mods take up capacity. Whenever you rank up and open up capacity, you should take advantage and either equip more mods or rank up currently equipped mods.
Polarities - How To Decrease the Capacity Cost of Mods
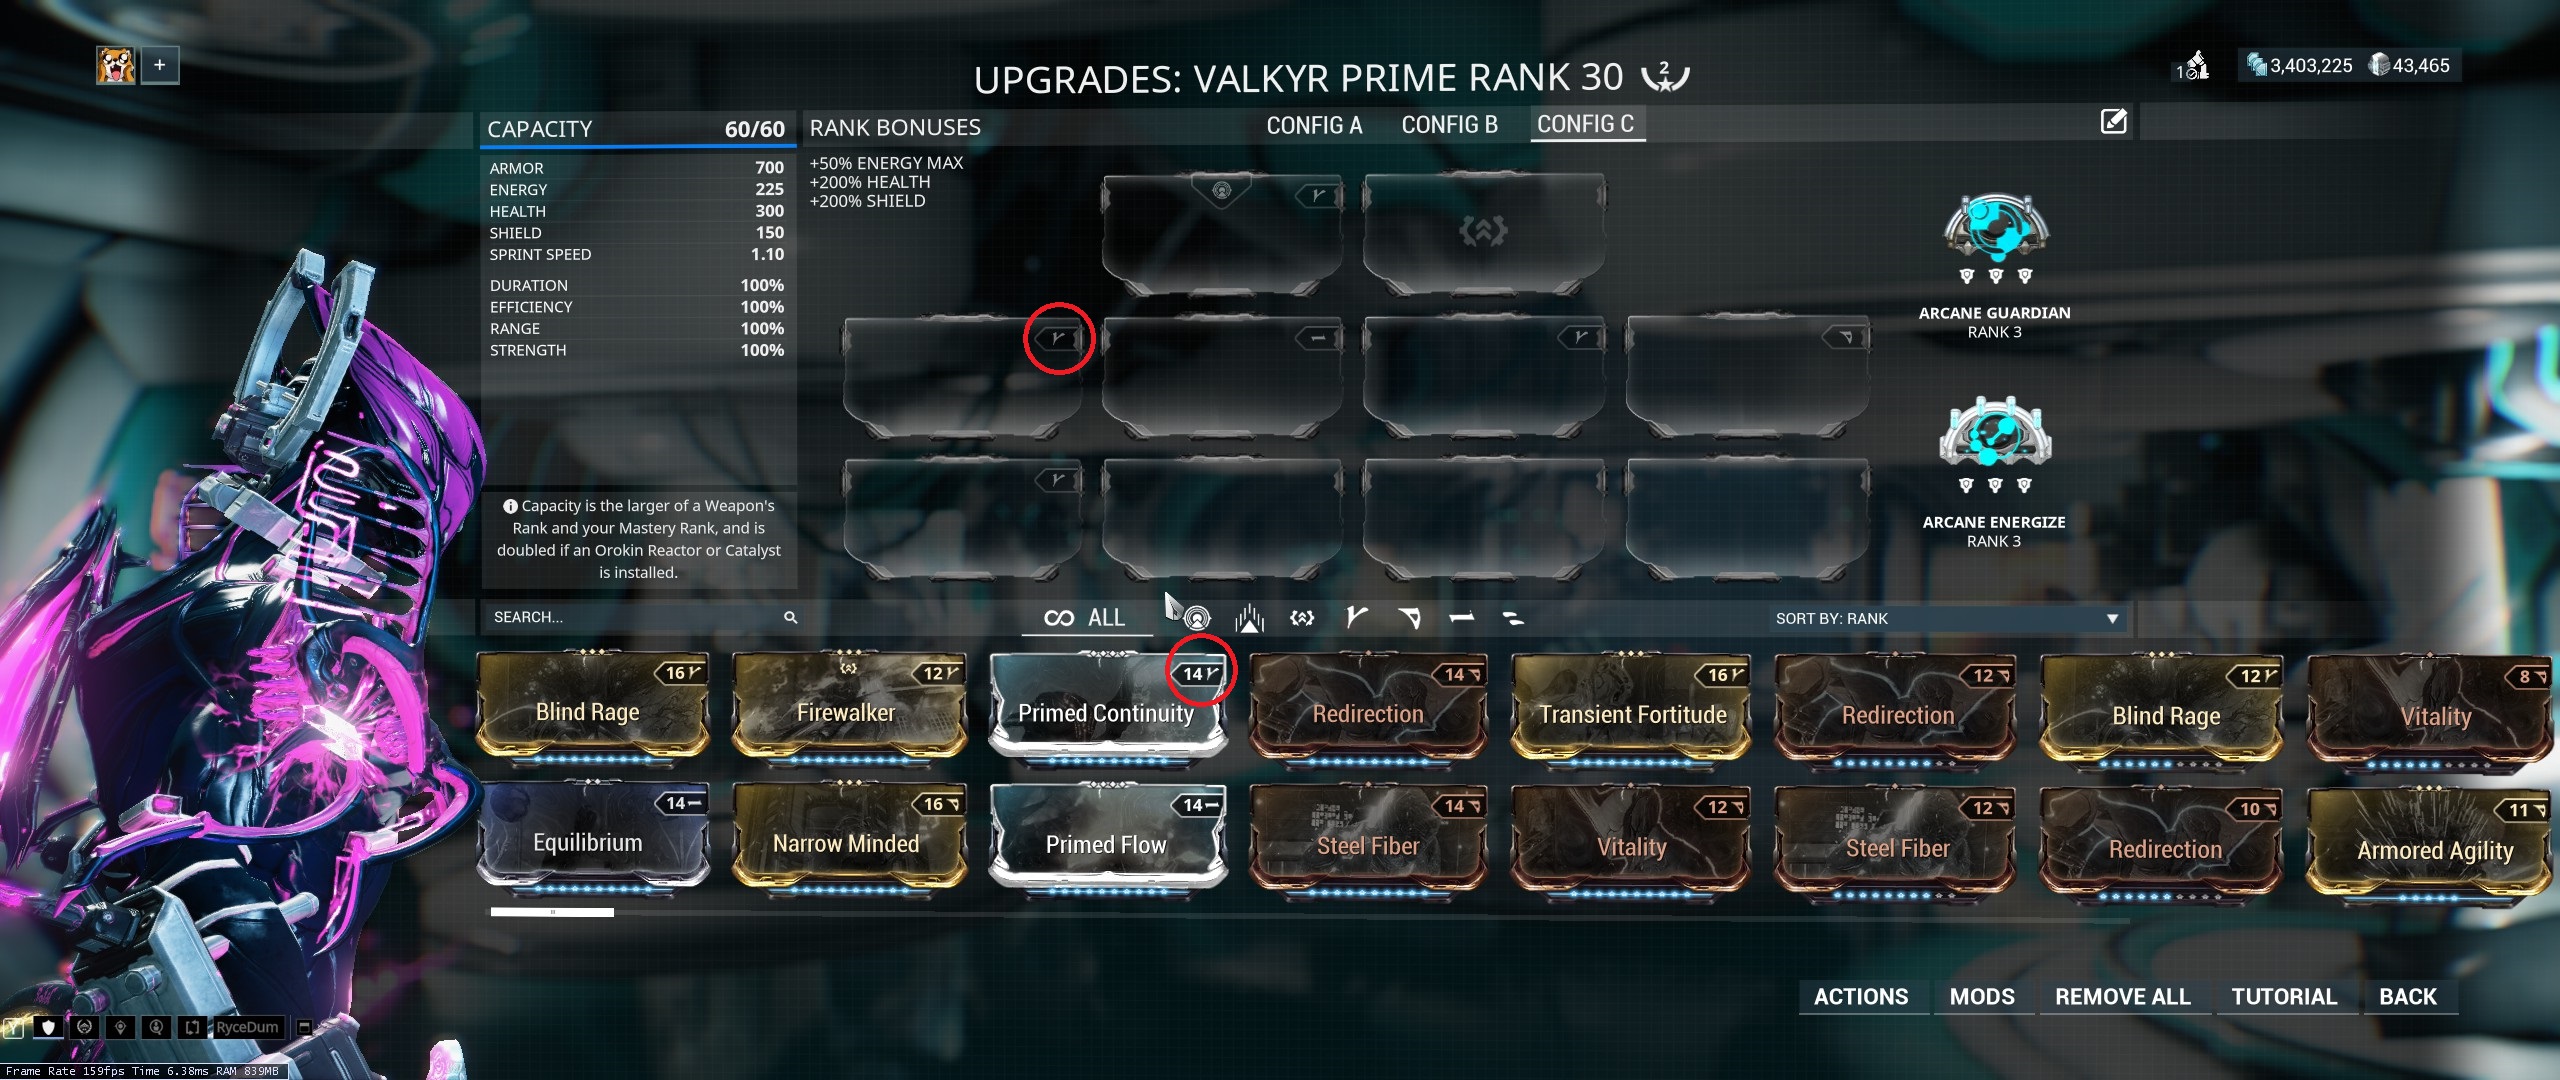 Warframes, weapons and companions often come with polarities. Because there is limited capacity, you'll want to use polarities to your advantage. If you look closely you'll see a symbol on some slots. There's D (Vazarin), V (Madurai), and - (Naramon). Every mod also comes with its own polarity. When you match polarities, the mod takes up half the normal amount.
Auras - Mods That Increase Total Capacity
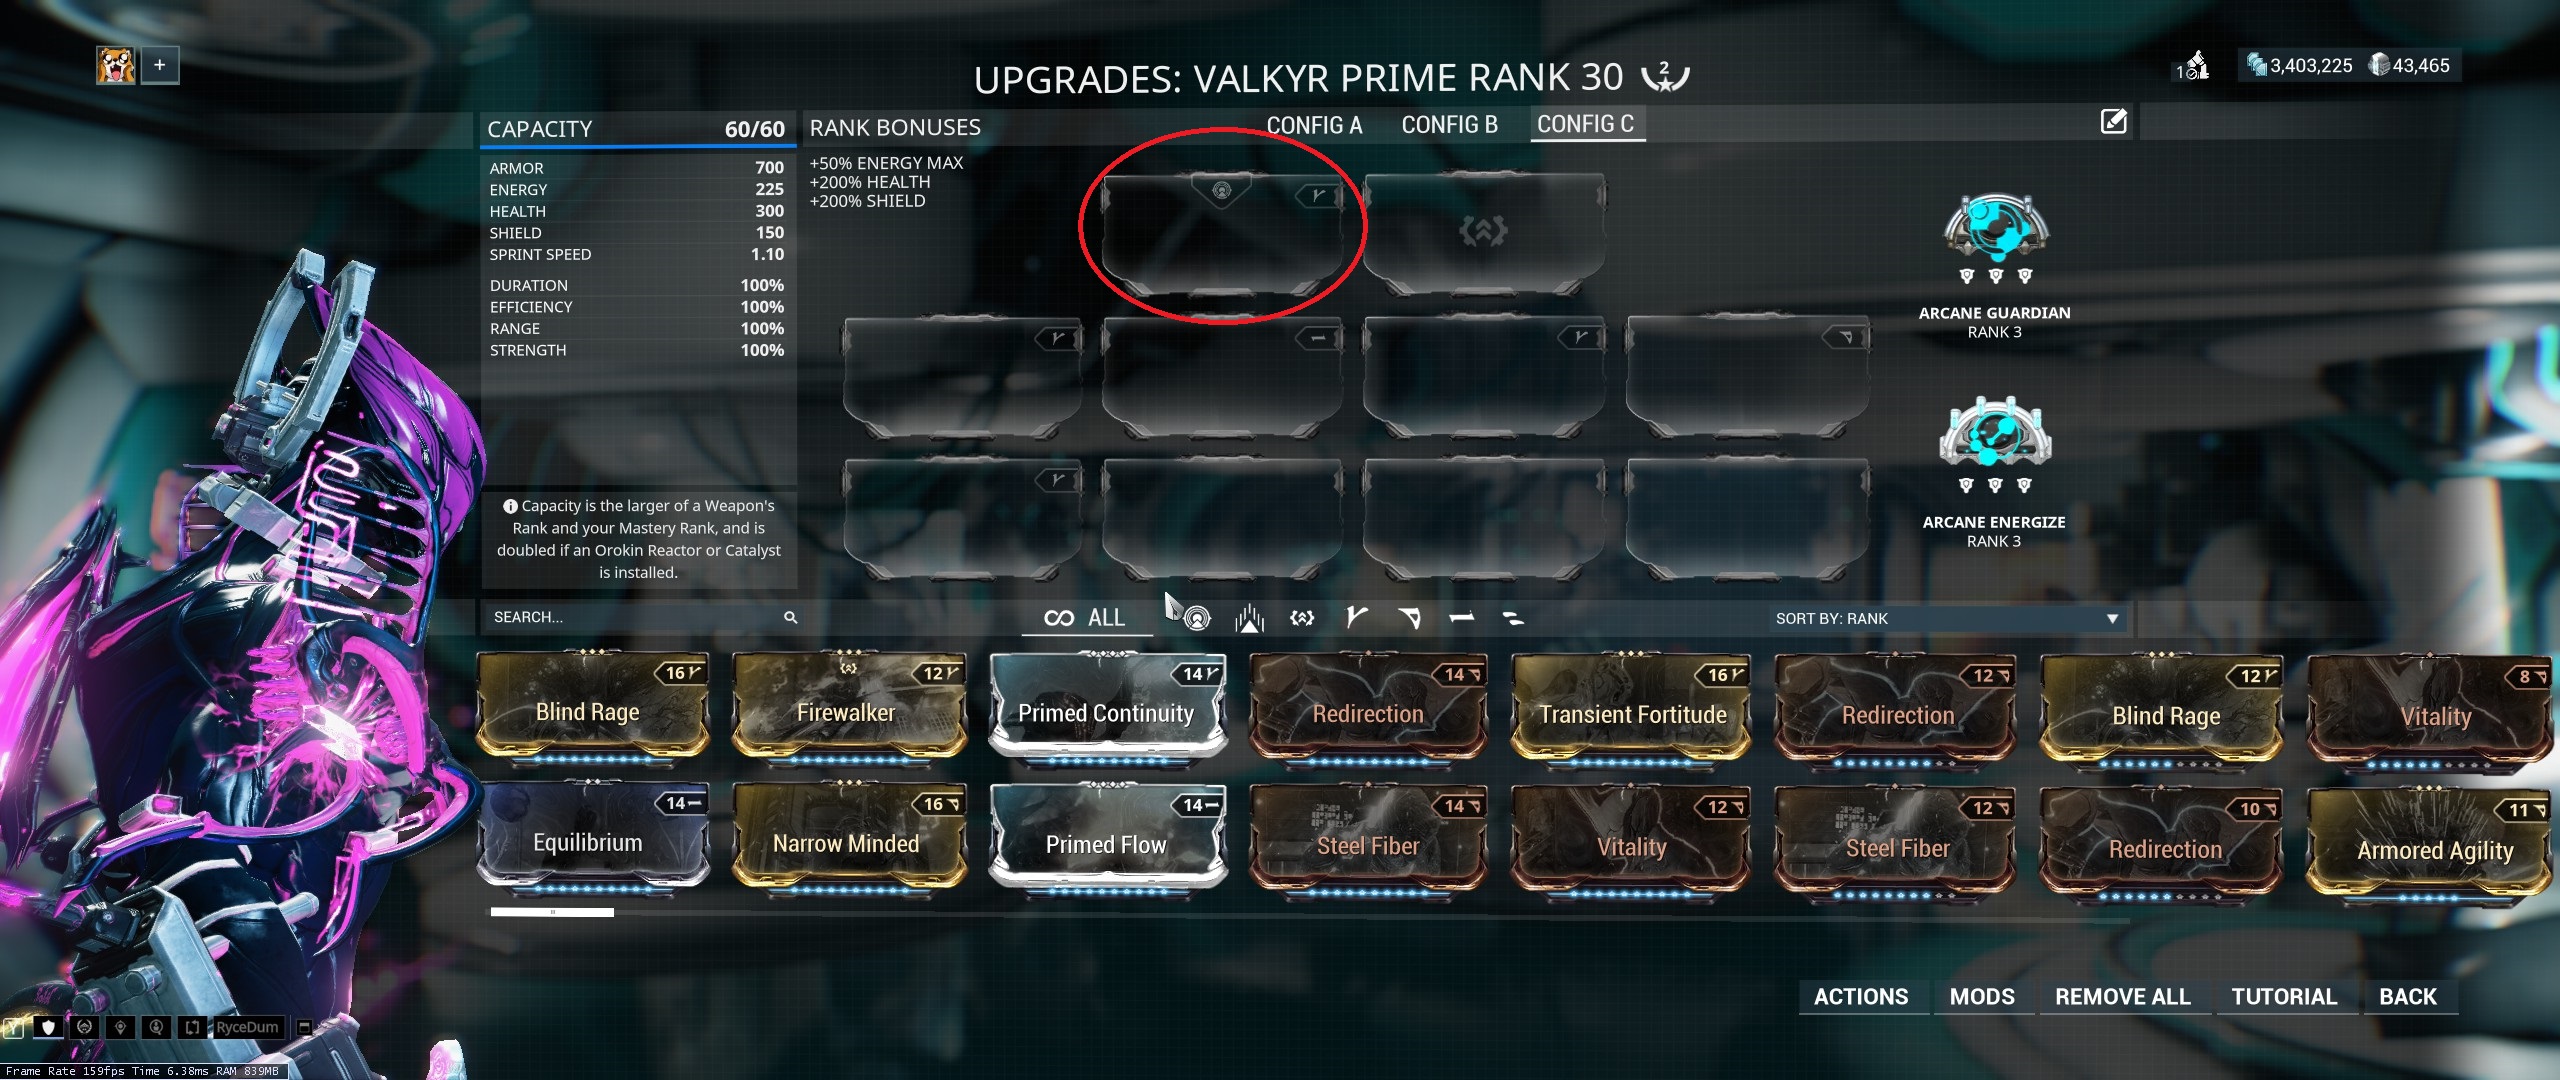 For warframes, there's a special slot called the aura. For melee weapons, it's called a stance. Aura mods for warframes come from Nightwave (more information on Nightwave in "Nightwave System" section). As soon you have one, you'll want to equip them because they increase capacity. If auras polarities are matching, they will increase capacity even more.
Actions Screen
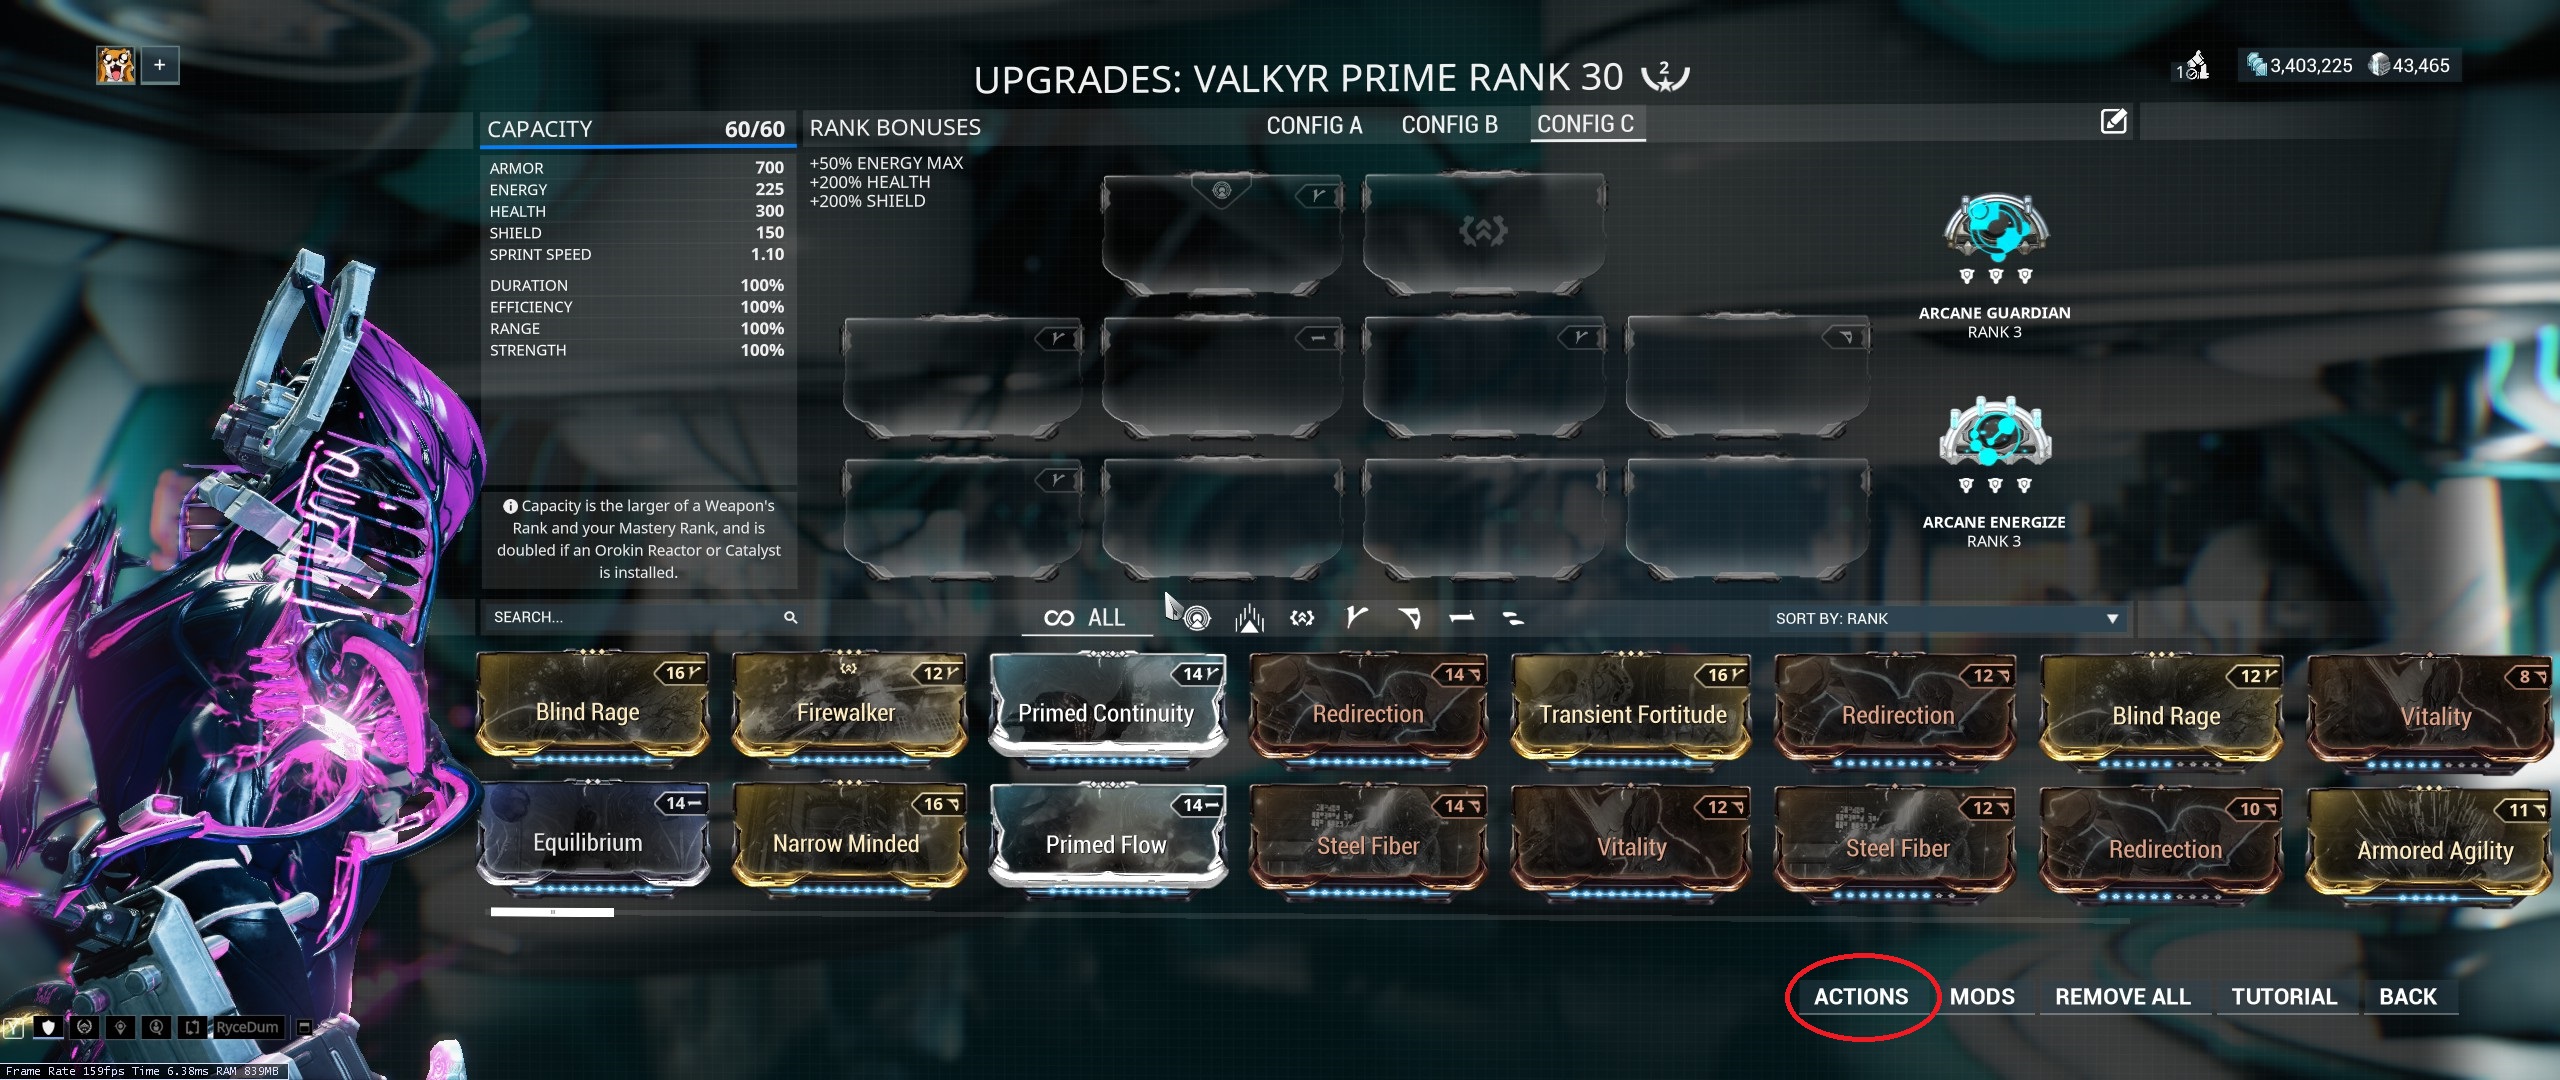 At the bottom right of the screen you'll see the actions button.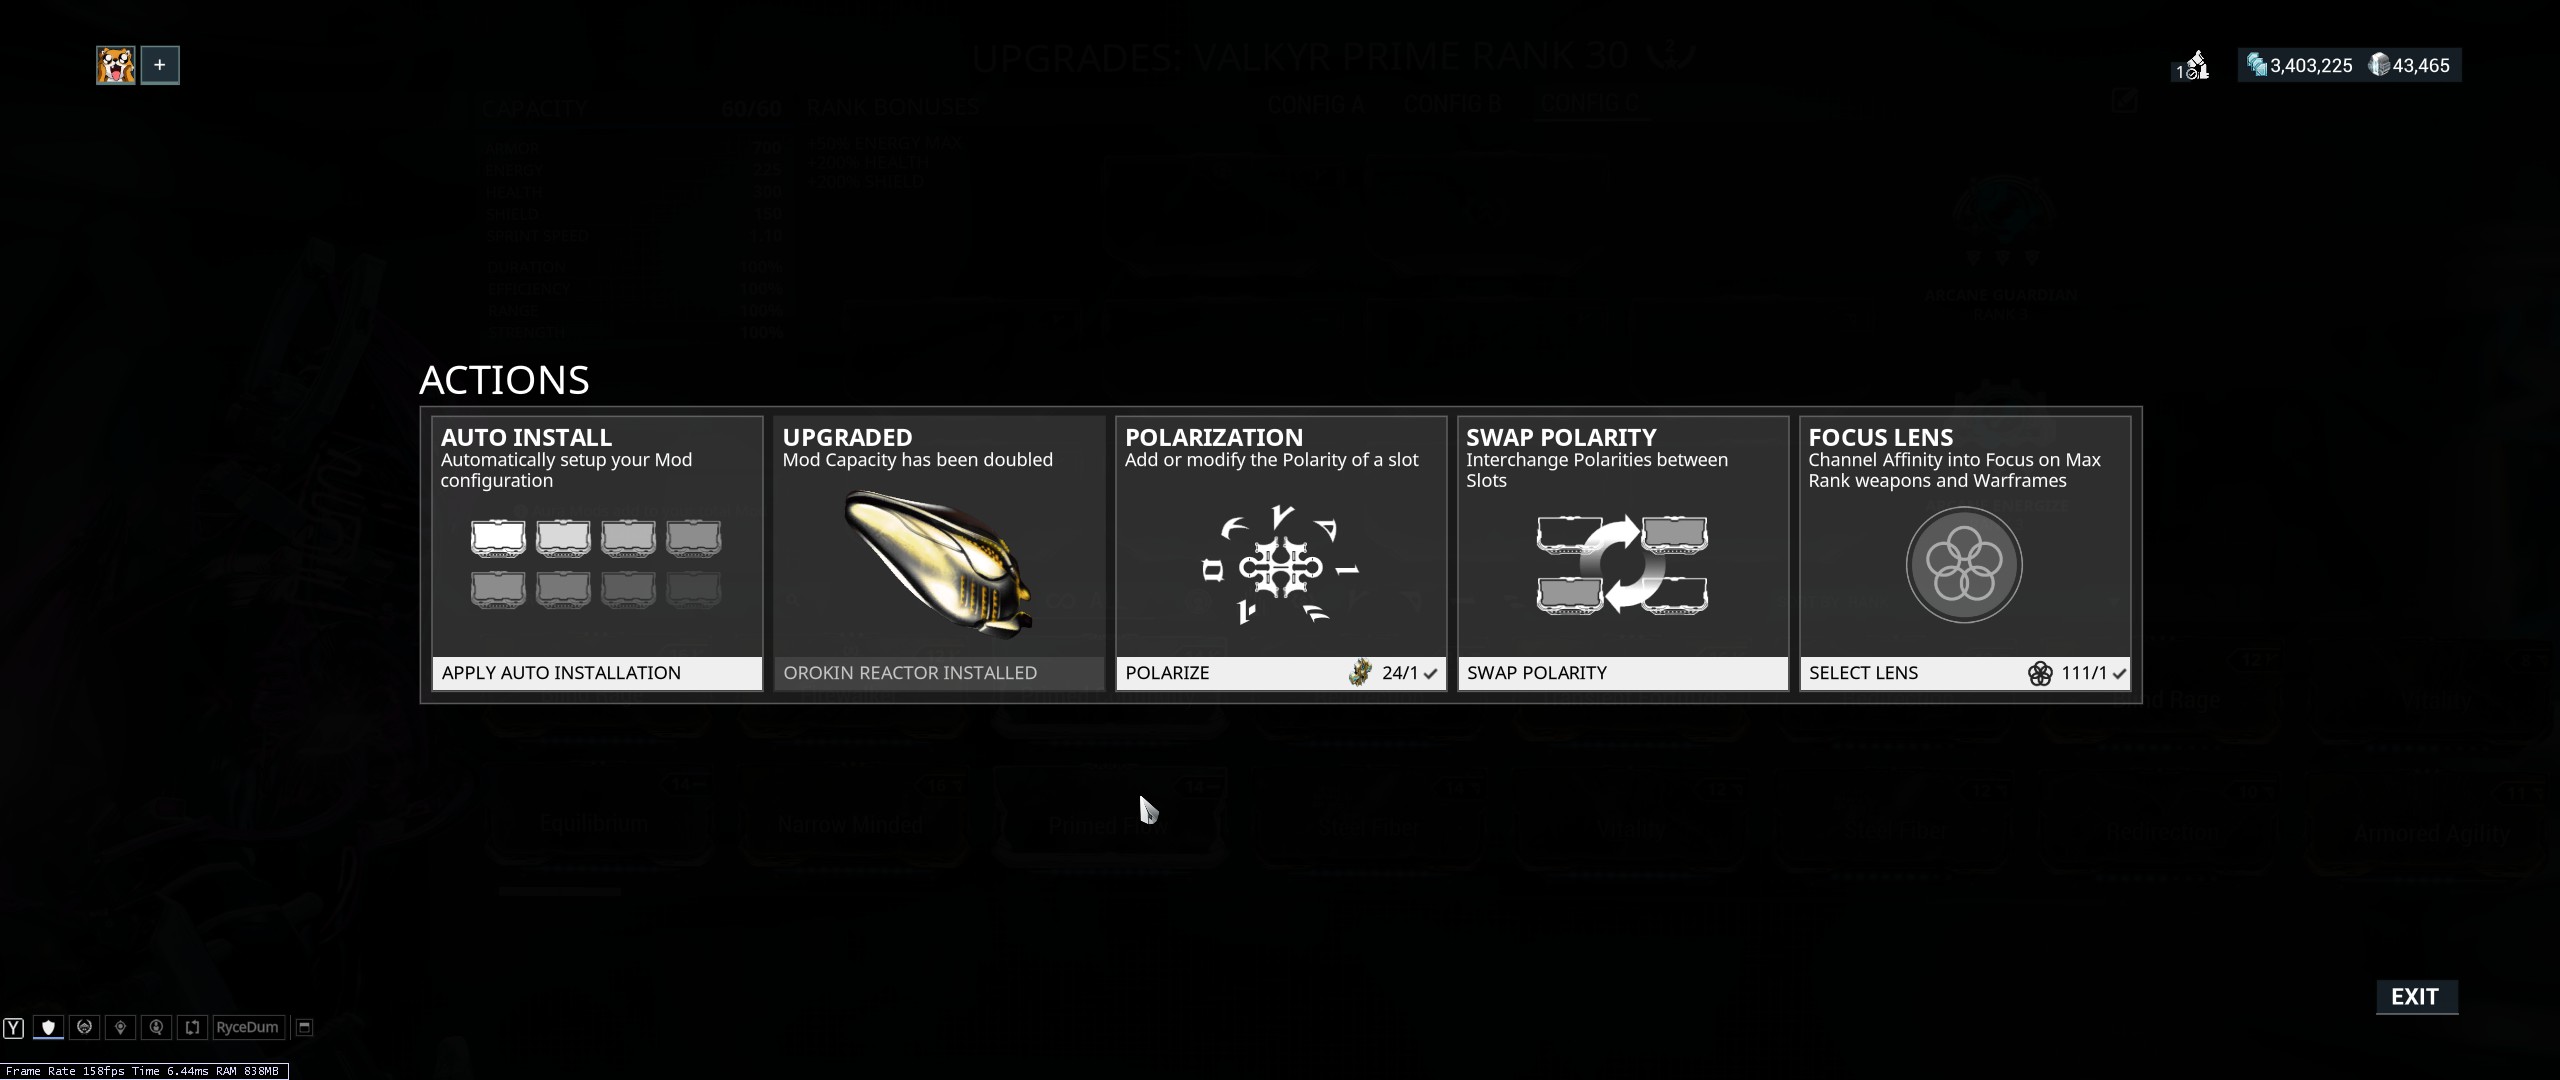
Forma - How To Change A Polarity
In the Actions screen, you can apply what's called a forma. When you apply a forma, you can either change an already existing polarity or add a new polarity to a blank one. Note in order to apply a forma, the weapon, warframe, or companion must be rank 30 and after applying the forma, the item will return to rank 0. There are also omni-forma available for 50 platinum on the in-game market. They provide special universal polarity.
What are the best ways to farm Forma?
- Built Forma can be purchased from the in-game market - 1 for 20 platinum, or 3 for 35 platinum.
- Blueprints can be found in Void Relics (more details in "Fissure" section)
- Blueprint received as an Alert Reward.
- Blueprint offered as Invasion battle pay.
- Built Forma can be obtained as a rare Sortie reward (mid to end game content).
- Built Forma can be found in rare containers which spawn after solving a music puzzle on Lua planet missions. Random puzzles spawn every mission. To farm Forma this way, it is suggested to spam exterminate missions until the music puzzle spawns. This youtube video explains the process very well.
- Built Forma can be farmed during the Plague Star Event.
Orokin Reactors/Catalysts - How To Double Capacity
Orokin Reactors double total capacity for warframes and companions while Orokin Catalysts double the capacity of weapons. In the actions screen, you will be able to apply them. Unlike forma, items will retain their rank and need not be level 30. These items are vital and should be applied to your favorite warframes and weapons as soon as you get them.
Where Do I Get Orokin Reactors/Catalysts?
- From the in-game market, for 20 platinum each.
- Nightwave
- Invasion Battle Pay
- Special Events
Ranking Up Mods
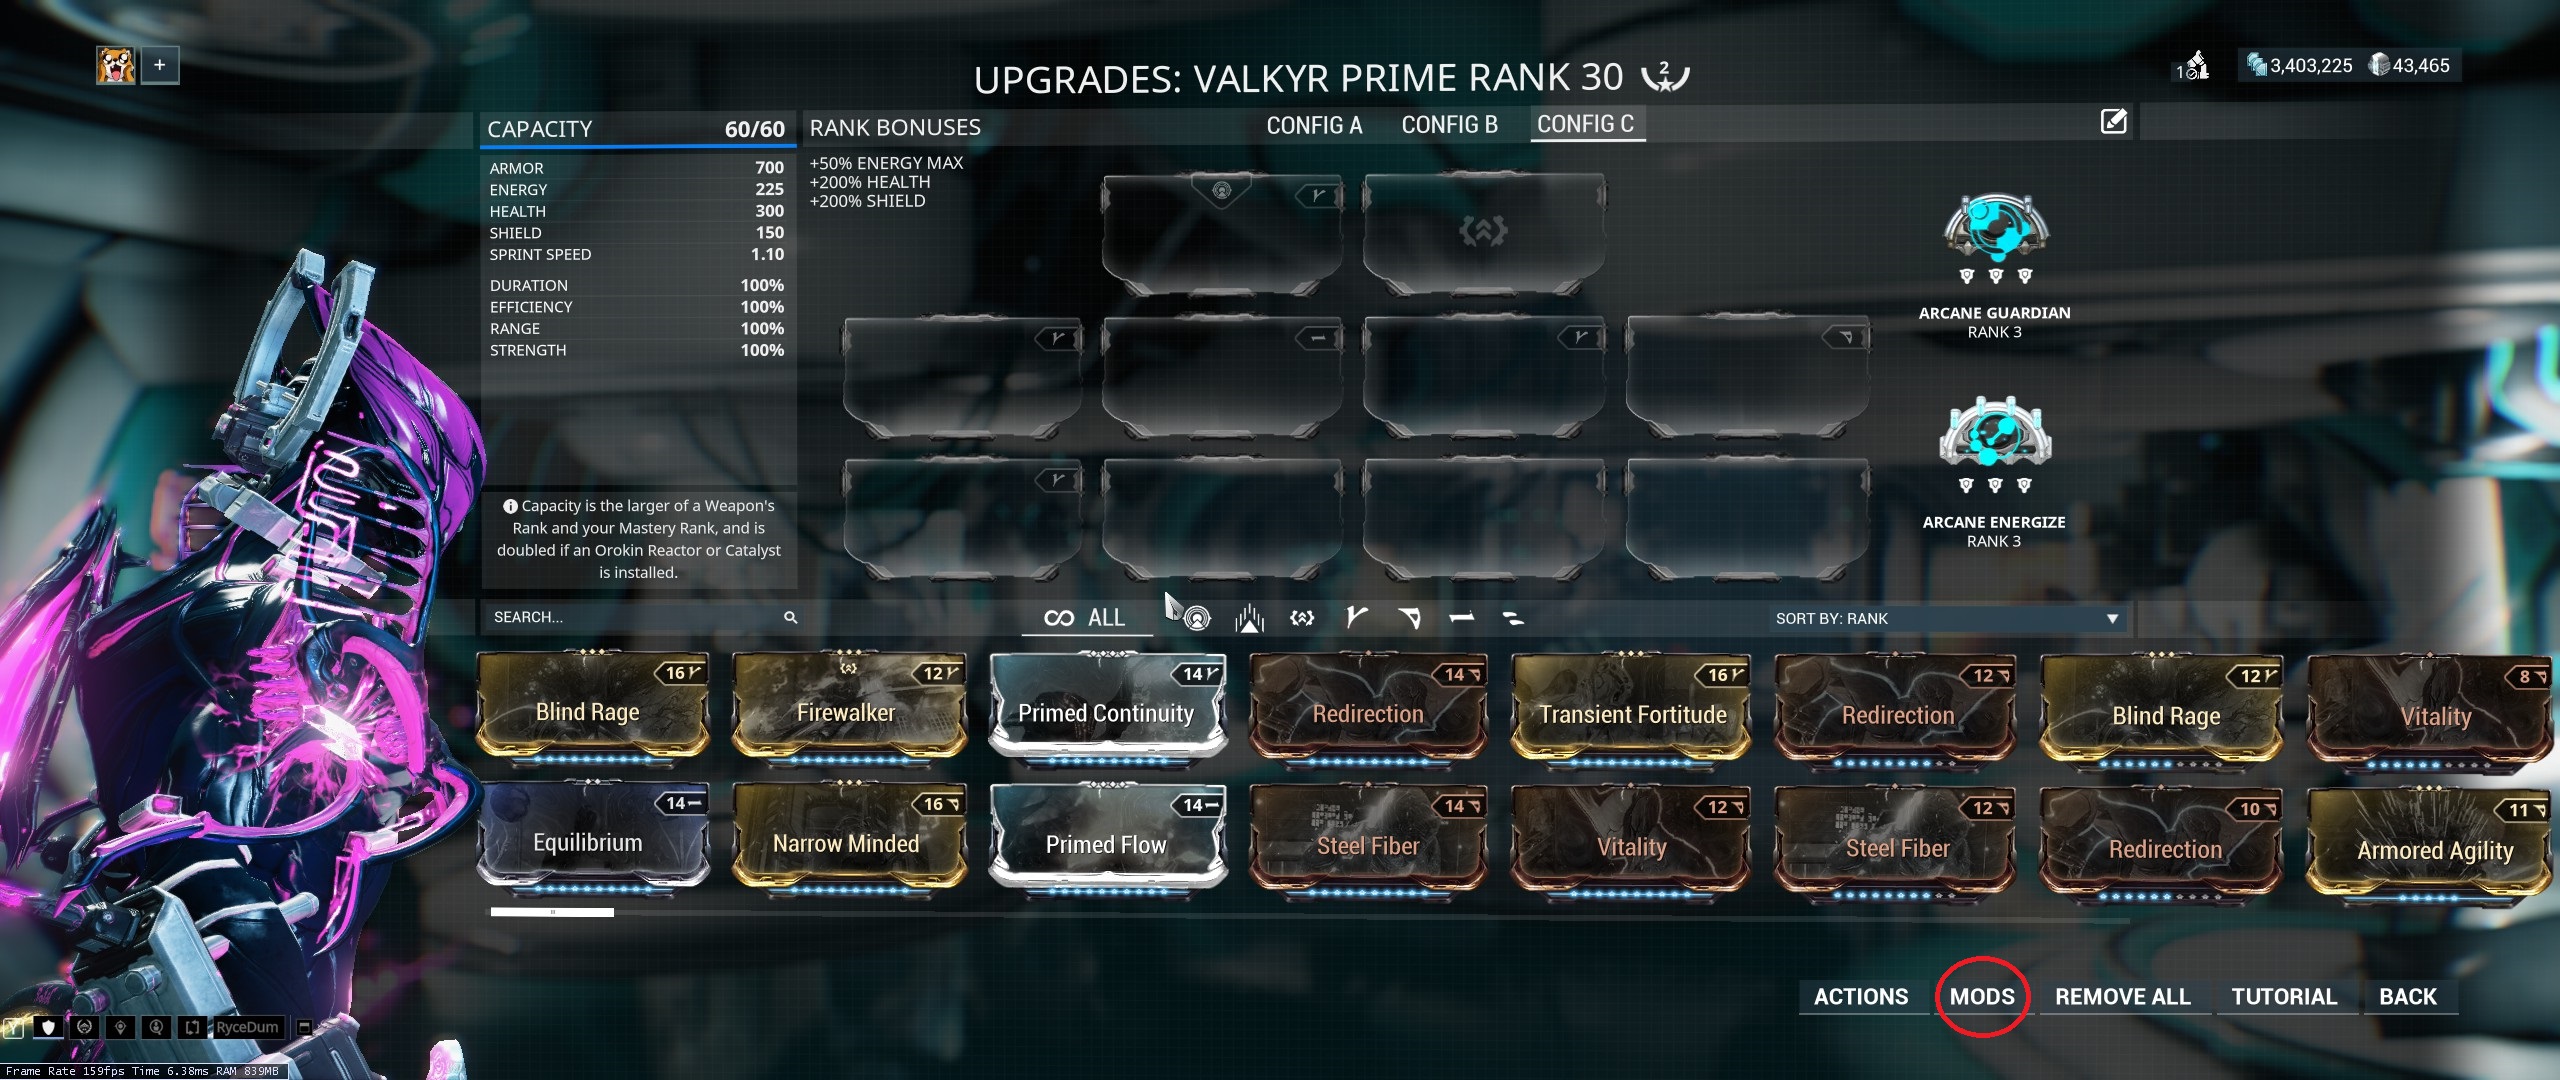 Going back to the previous screen, you'll see a mods button at the bottom right.
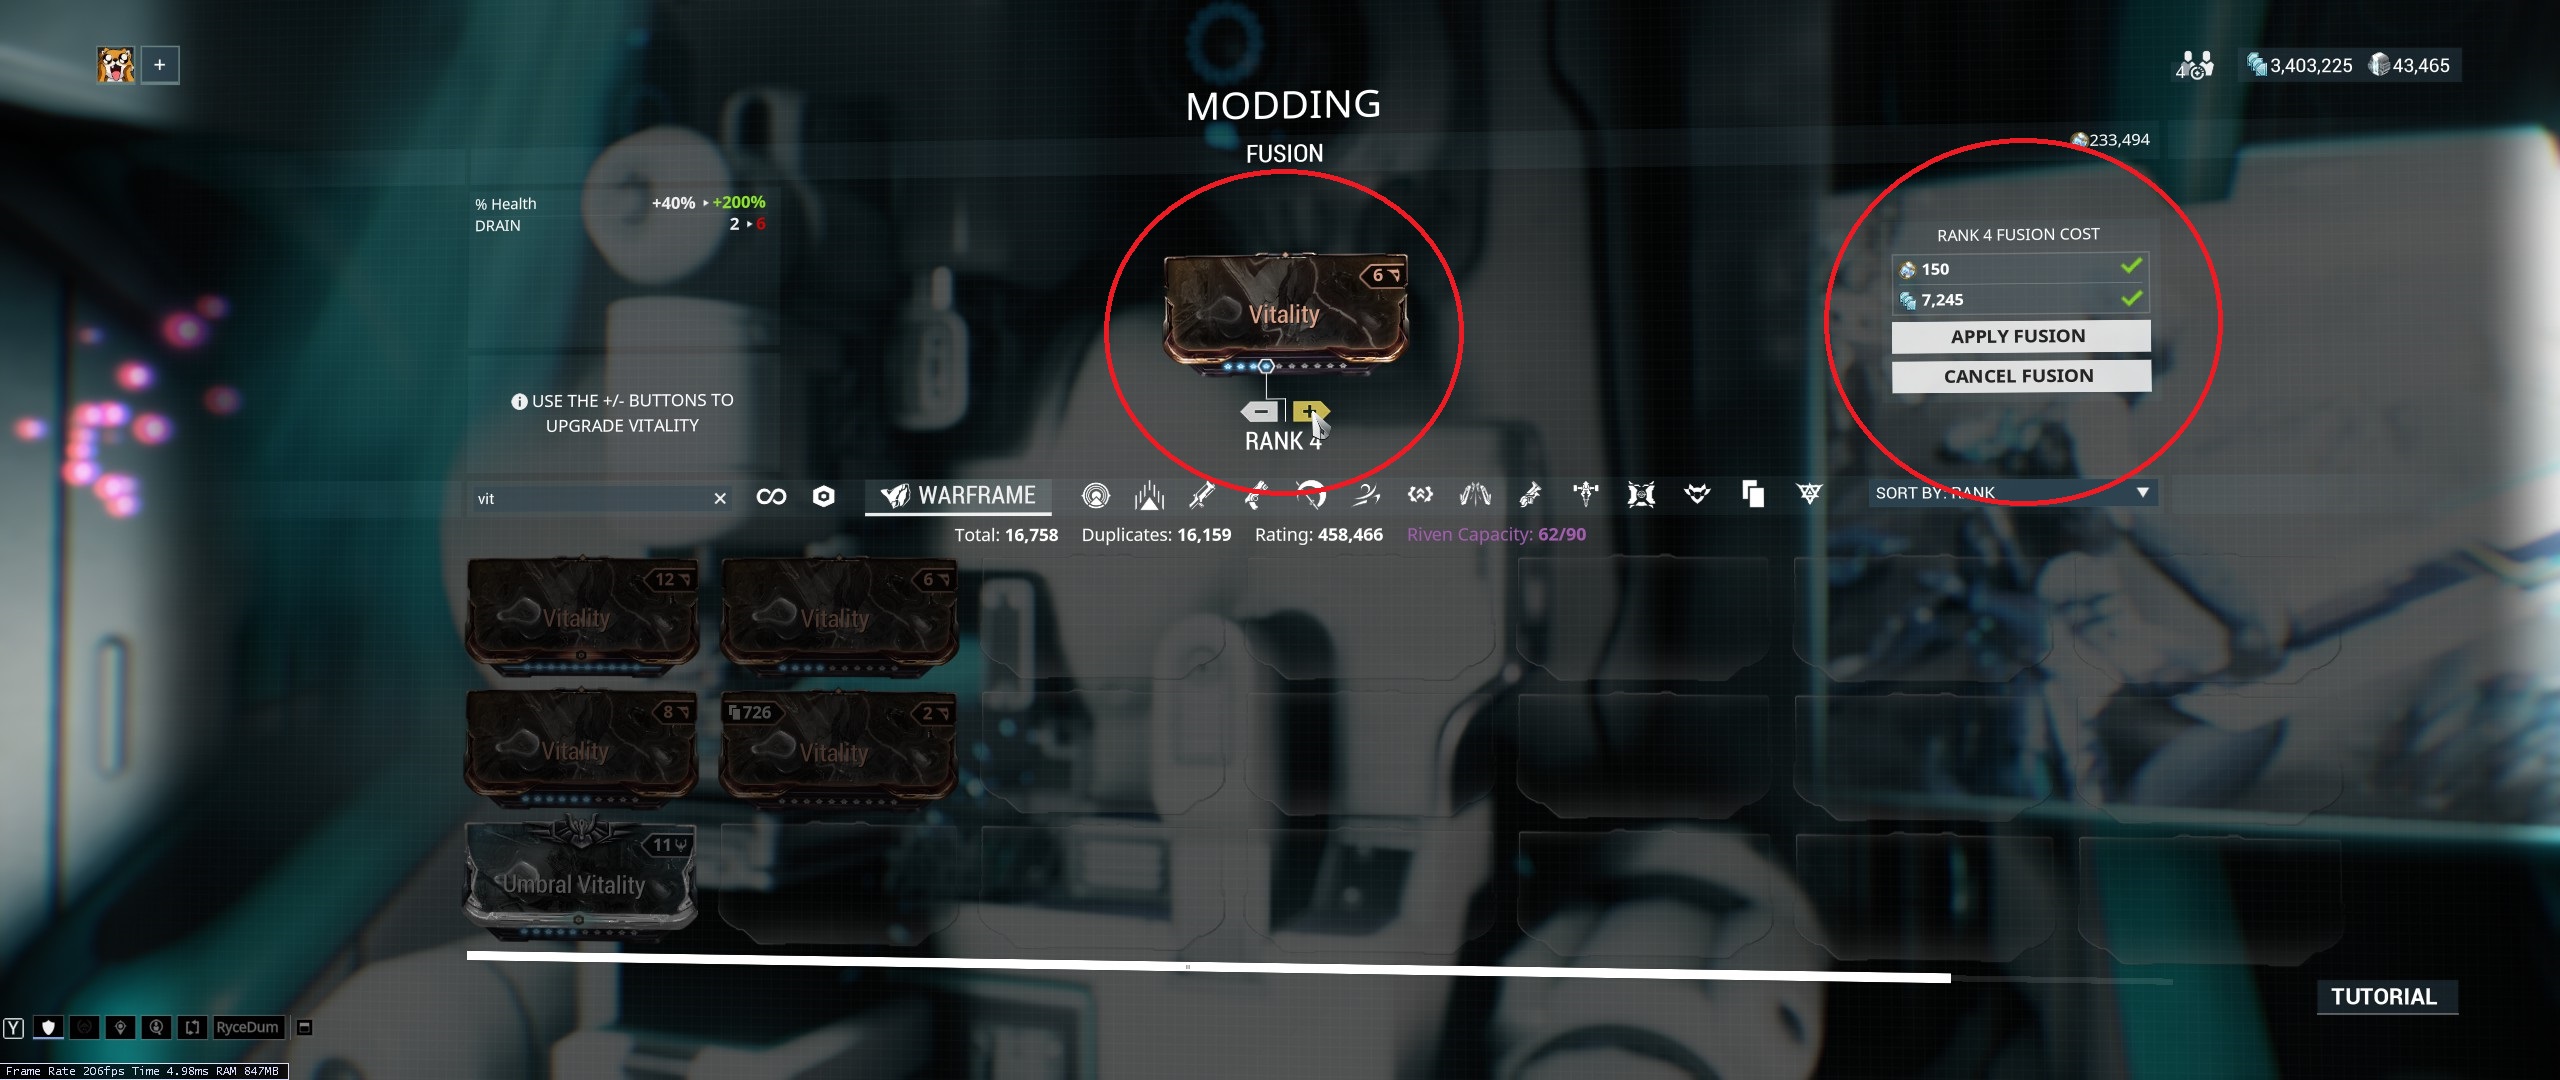 Here you will be able to rank up mods to increase their stats.
 Endo - Currency Used To Rank Up Mods

Ranking up mods will cost endo. Endo can be collected in various ways. They will randomly drop from enemies and be rewarded from completing missions objectives.
Endo Cost To Rank Up Mods
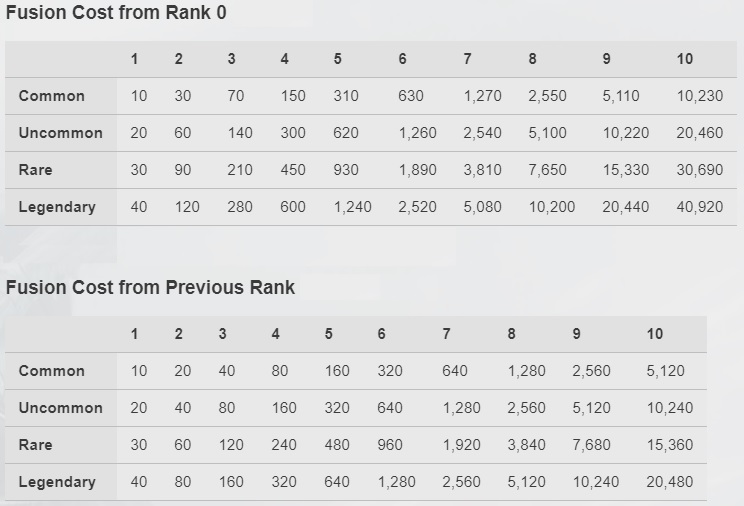
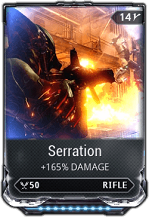
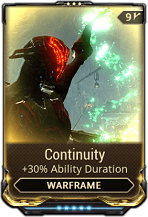
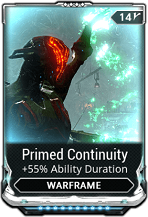
Mod Tiers By Rarity
Common (Bronze)
Uncommon (Silver)
Rare (Gold)
Legendary (White)
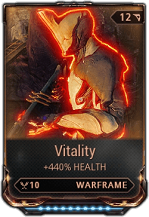
Great Ways to Farm Endo
- Can be built up just playing the game
- Rathuum arena on Vodyanoi, Sedna with pre-made team (mid-game content)
- Doing Daily Sorties regularly rewards 2k-4k endo (mid-game content)
- Arbitrations (mid-game content)
- Excavation mission at Hierchon, Pluto (late early-game content)
- Deimos Bounties (mid-game content)
Dissolving Mods For Endo
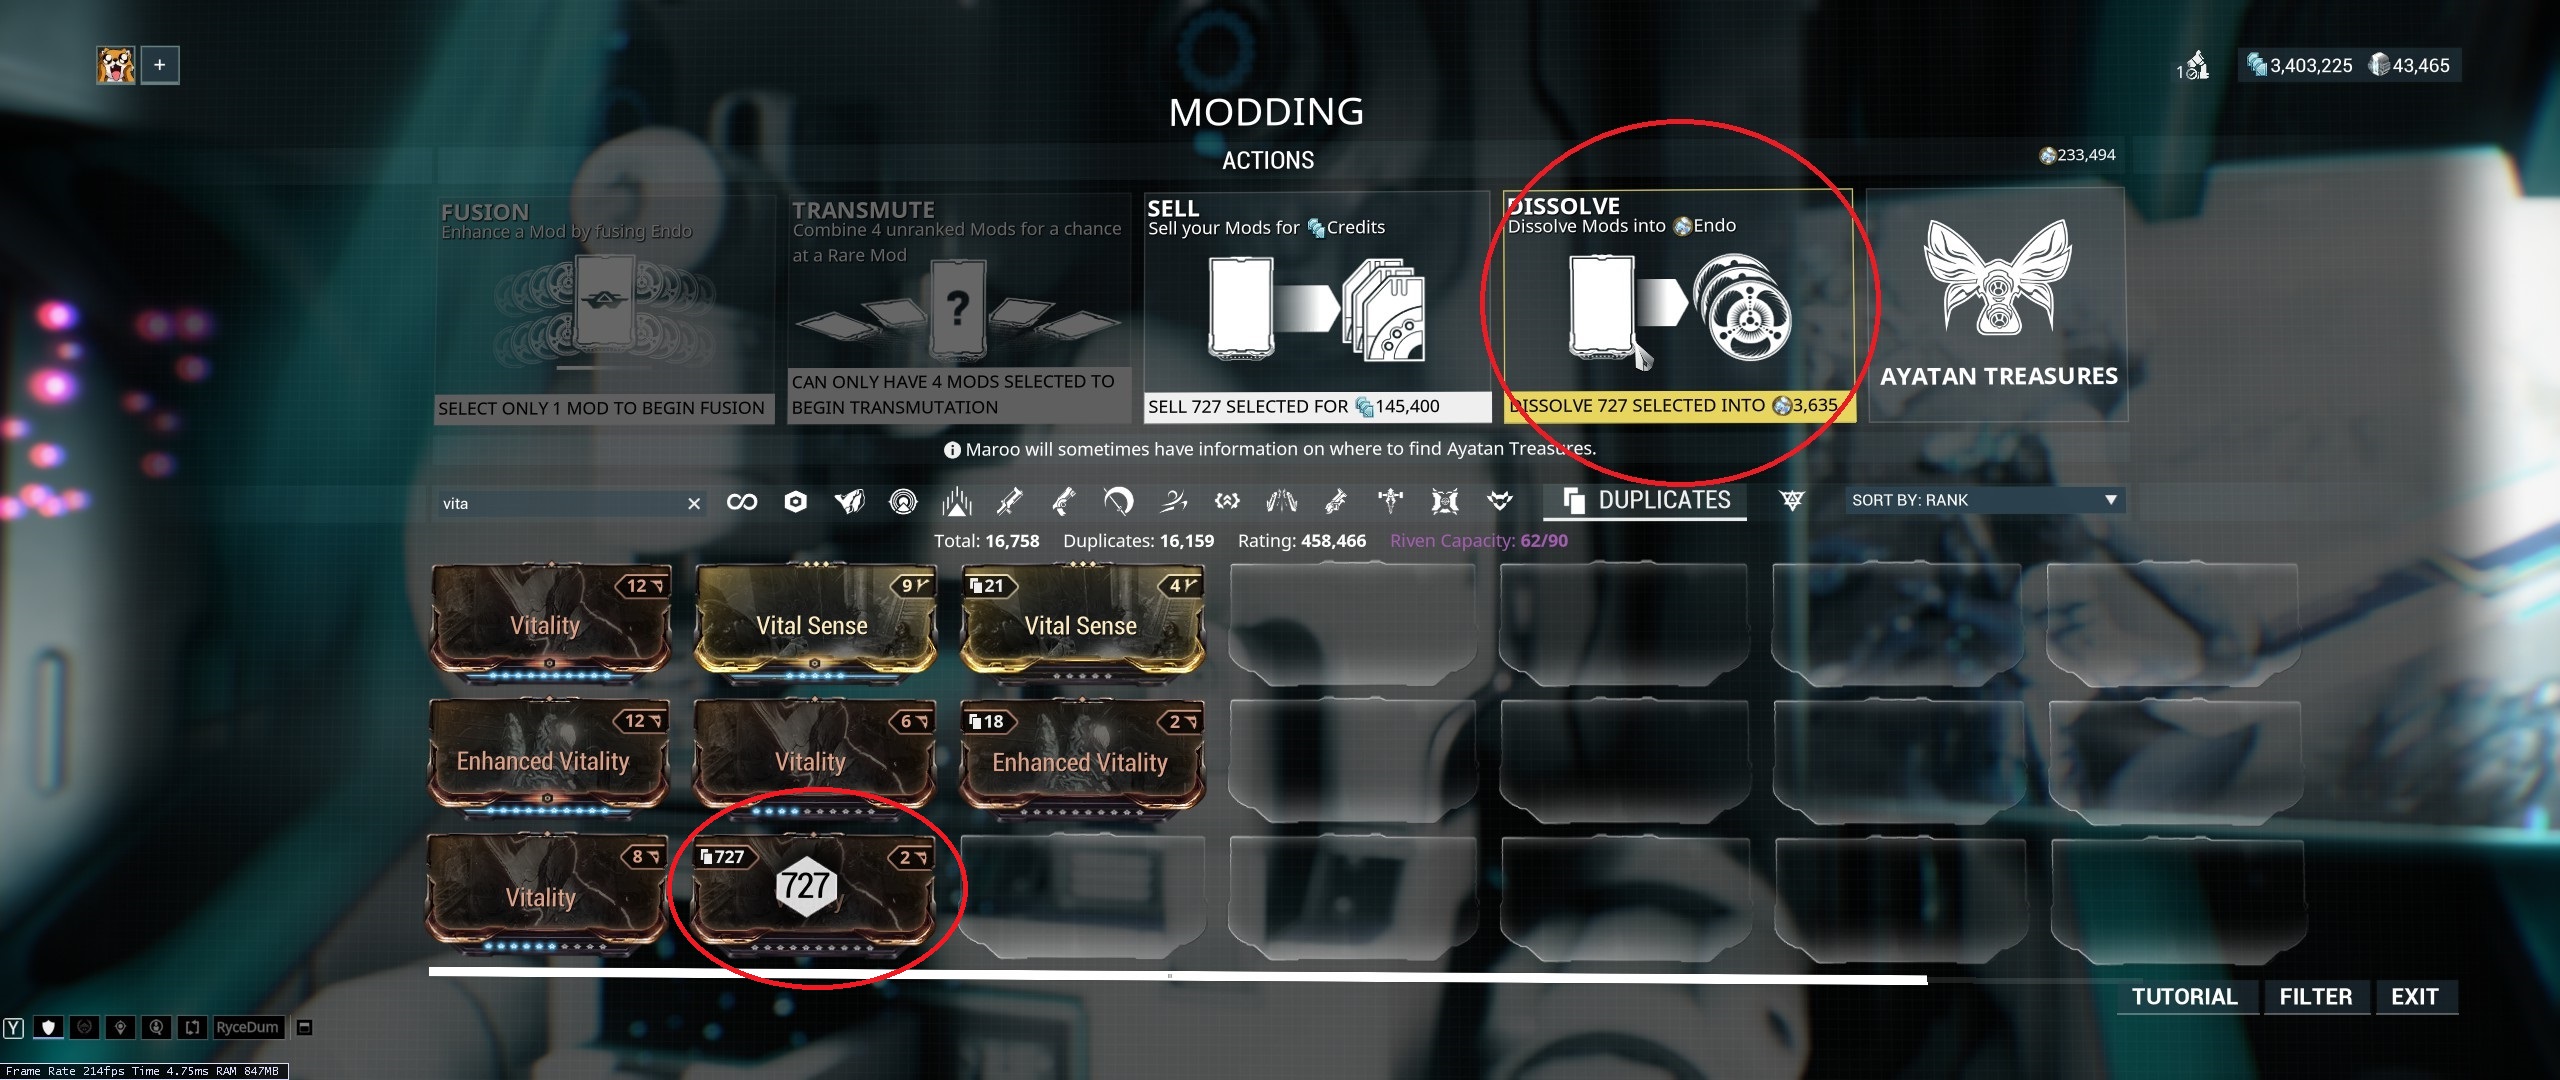 In the modding screen, duplicate mods that aren't worth any platinum can be dissolved into endo. Mods can also be sold for credits, but I recommend dissolving them instead.
Ayatan Sculptures
Ayatan Sculptures - A Good Source of Endo
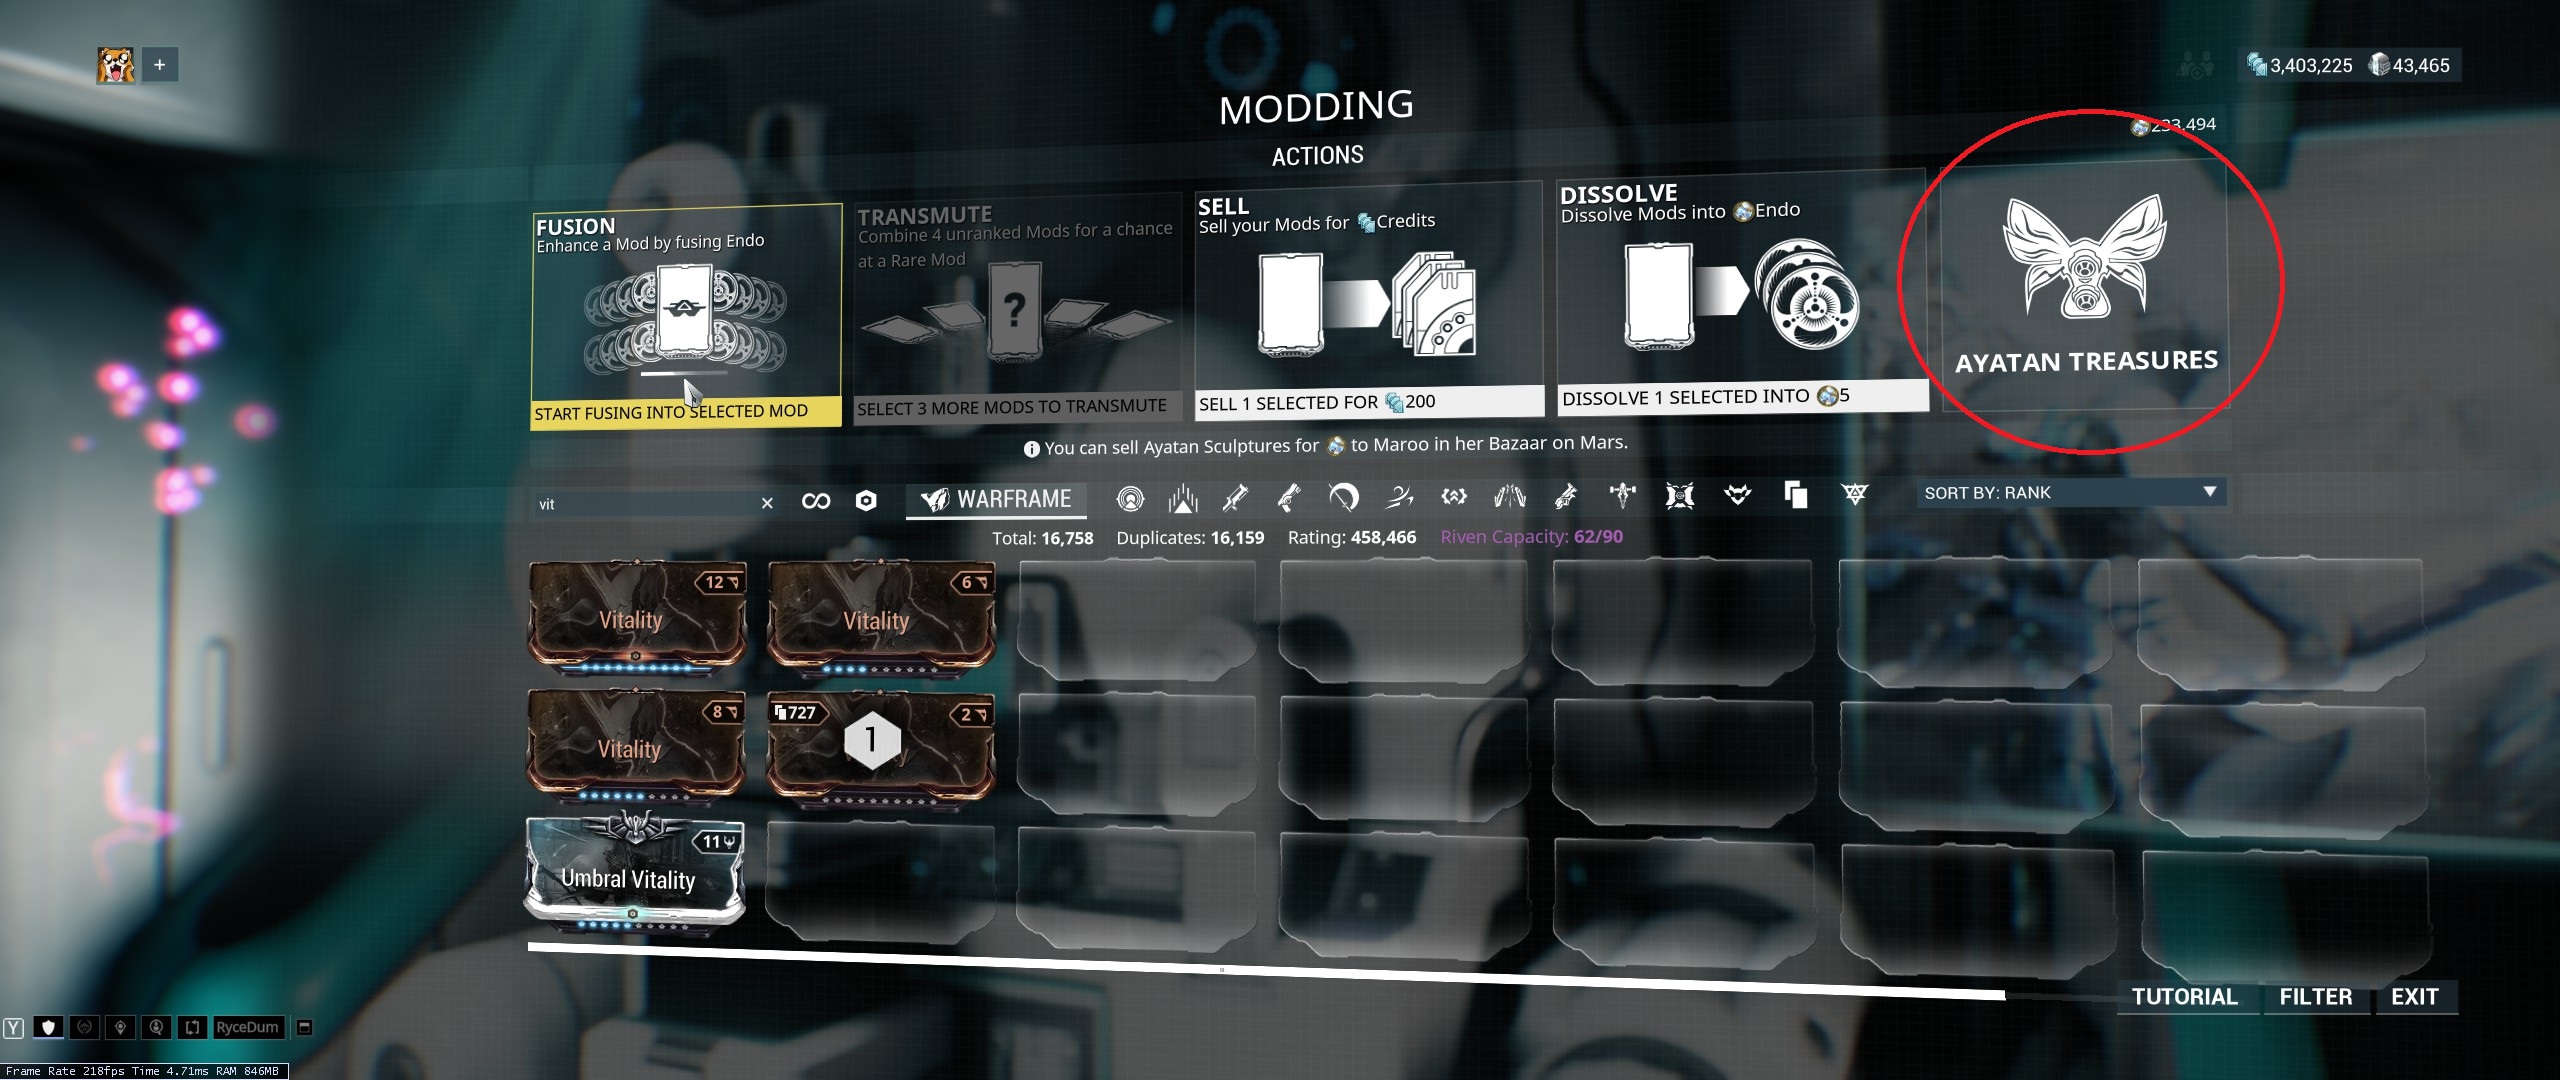 In the modding screen, you'll see an Ayatan Treasures button.
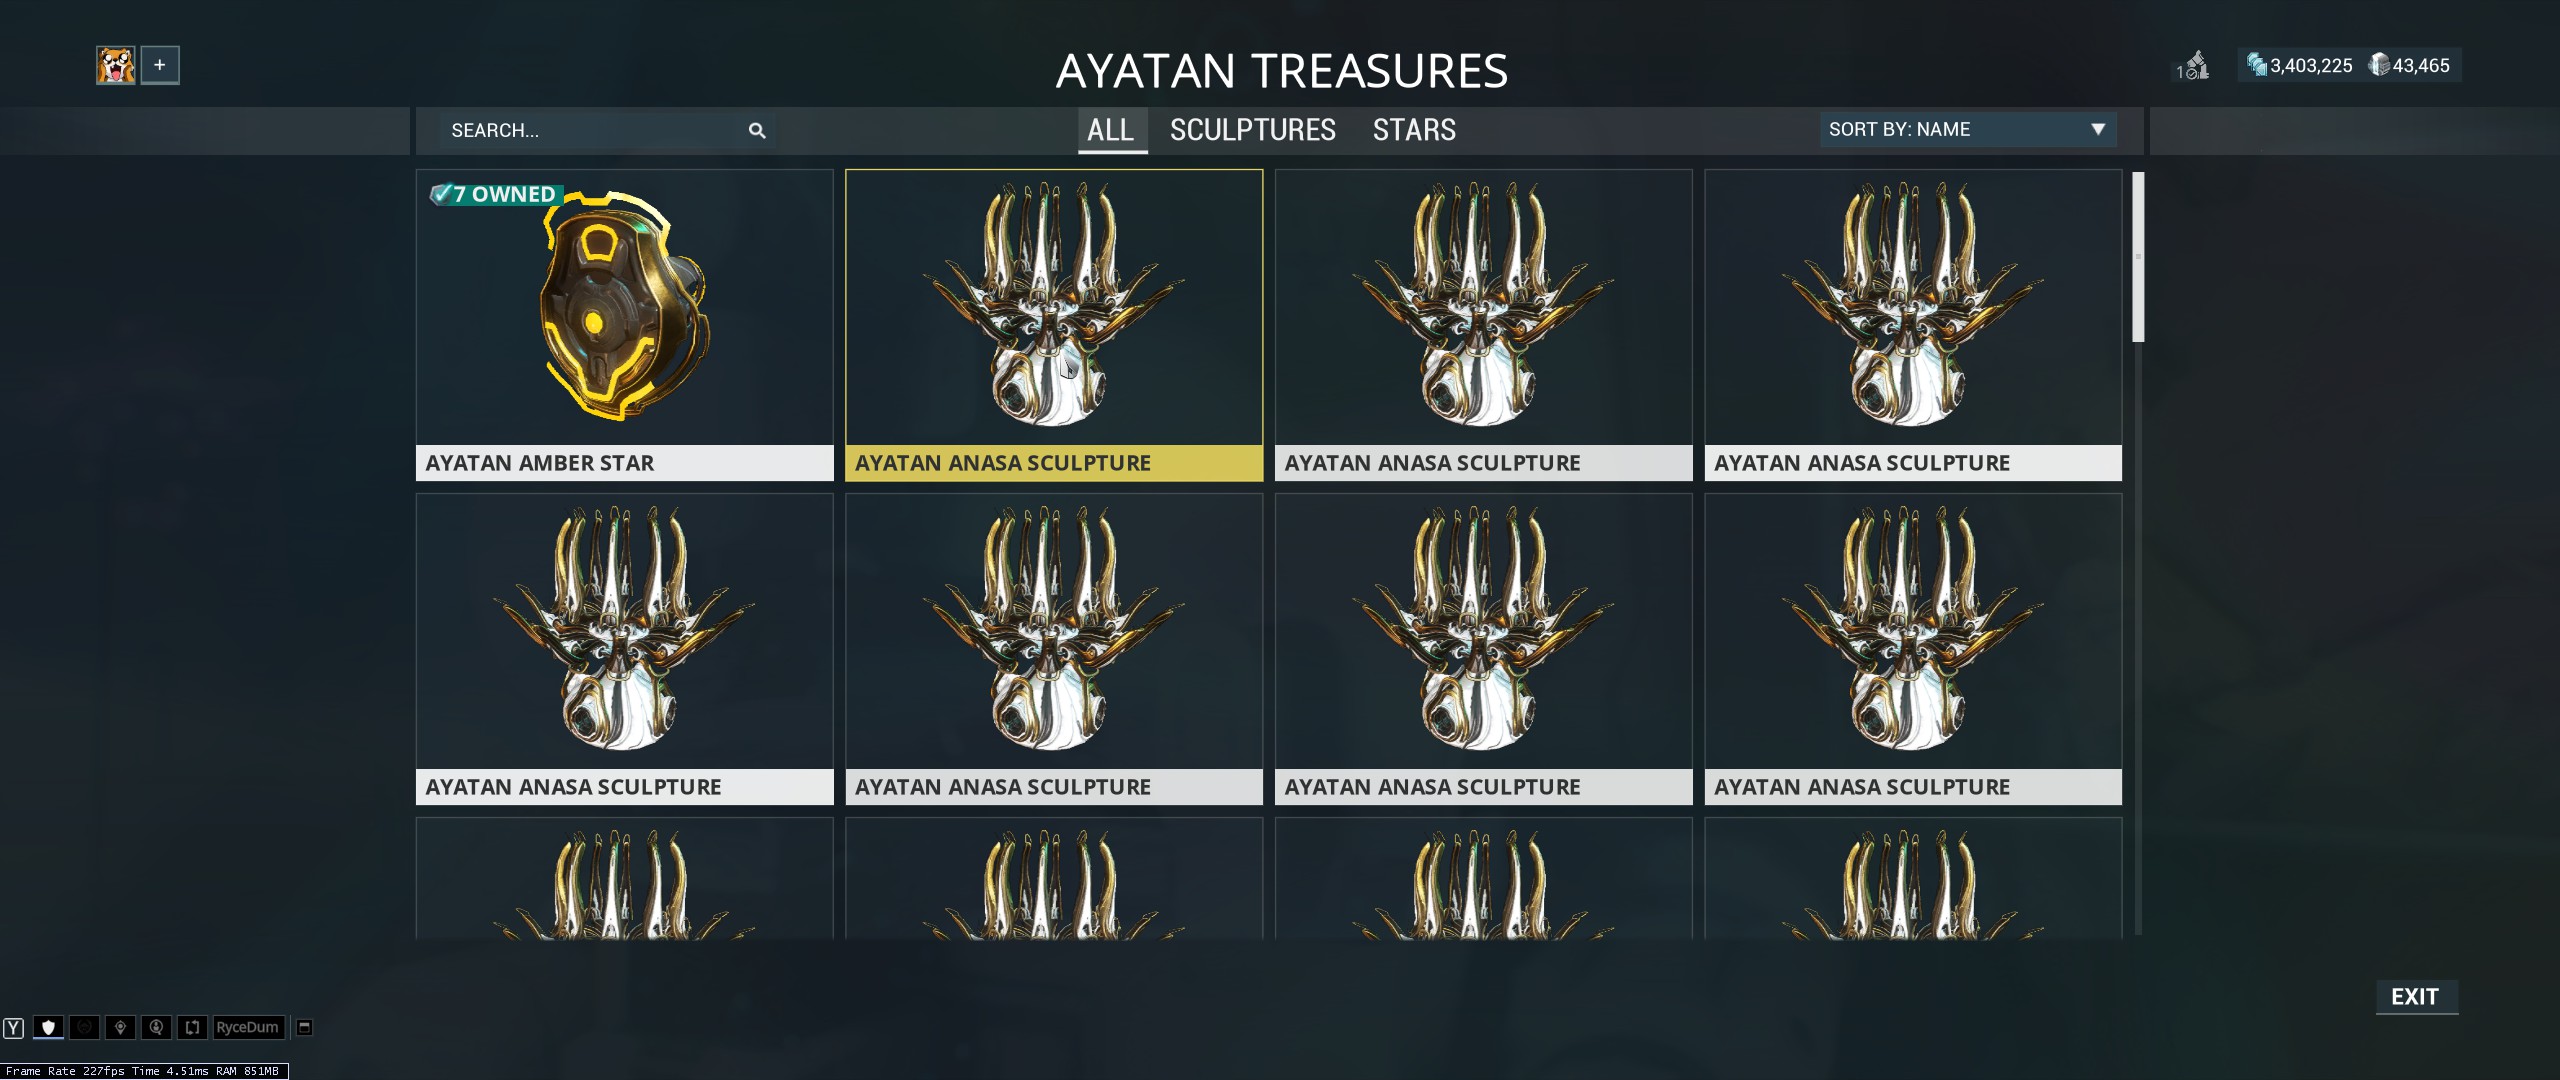 This window lists any ayatan sculptures, ayatan stars, and ayatan amber stars you've gotten from missions.
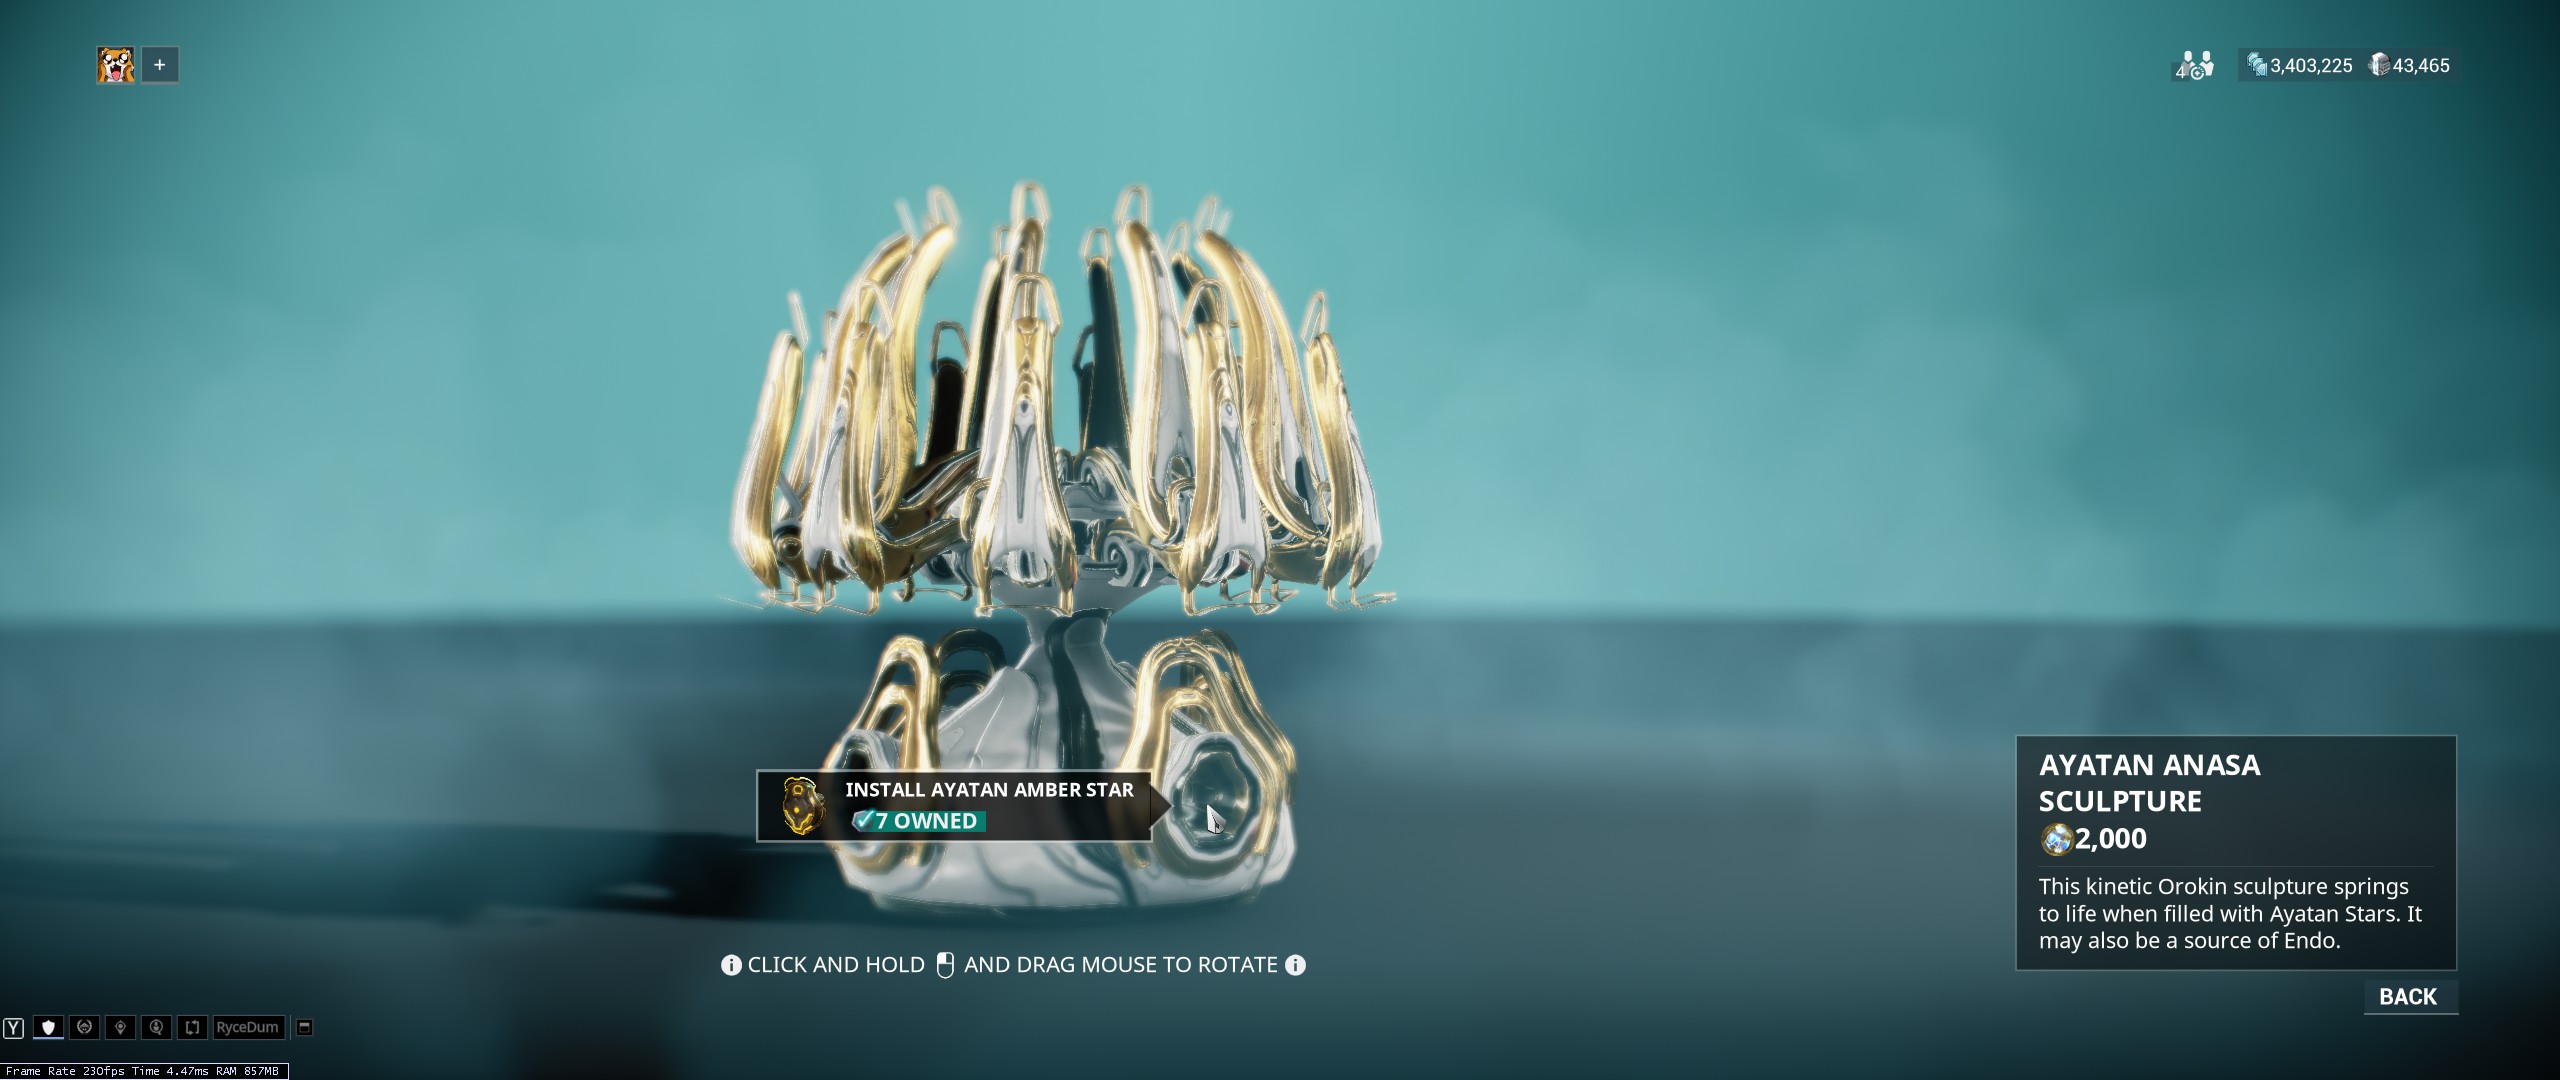 Sculptures can be upgraded using ayatan stars and ayatan amber stars. They are randomly placed in missions but rarely. They can also be gotten once a week from Maroo's Ayatan Treasure Hunt. There's also daily sortie missions that reward sculptures and endo. More information on these missions are detailed in the "Navigation System" section.
Maroo's Bazaar - Where To Extract Endo From Ayatan Sculptures
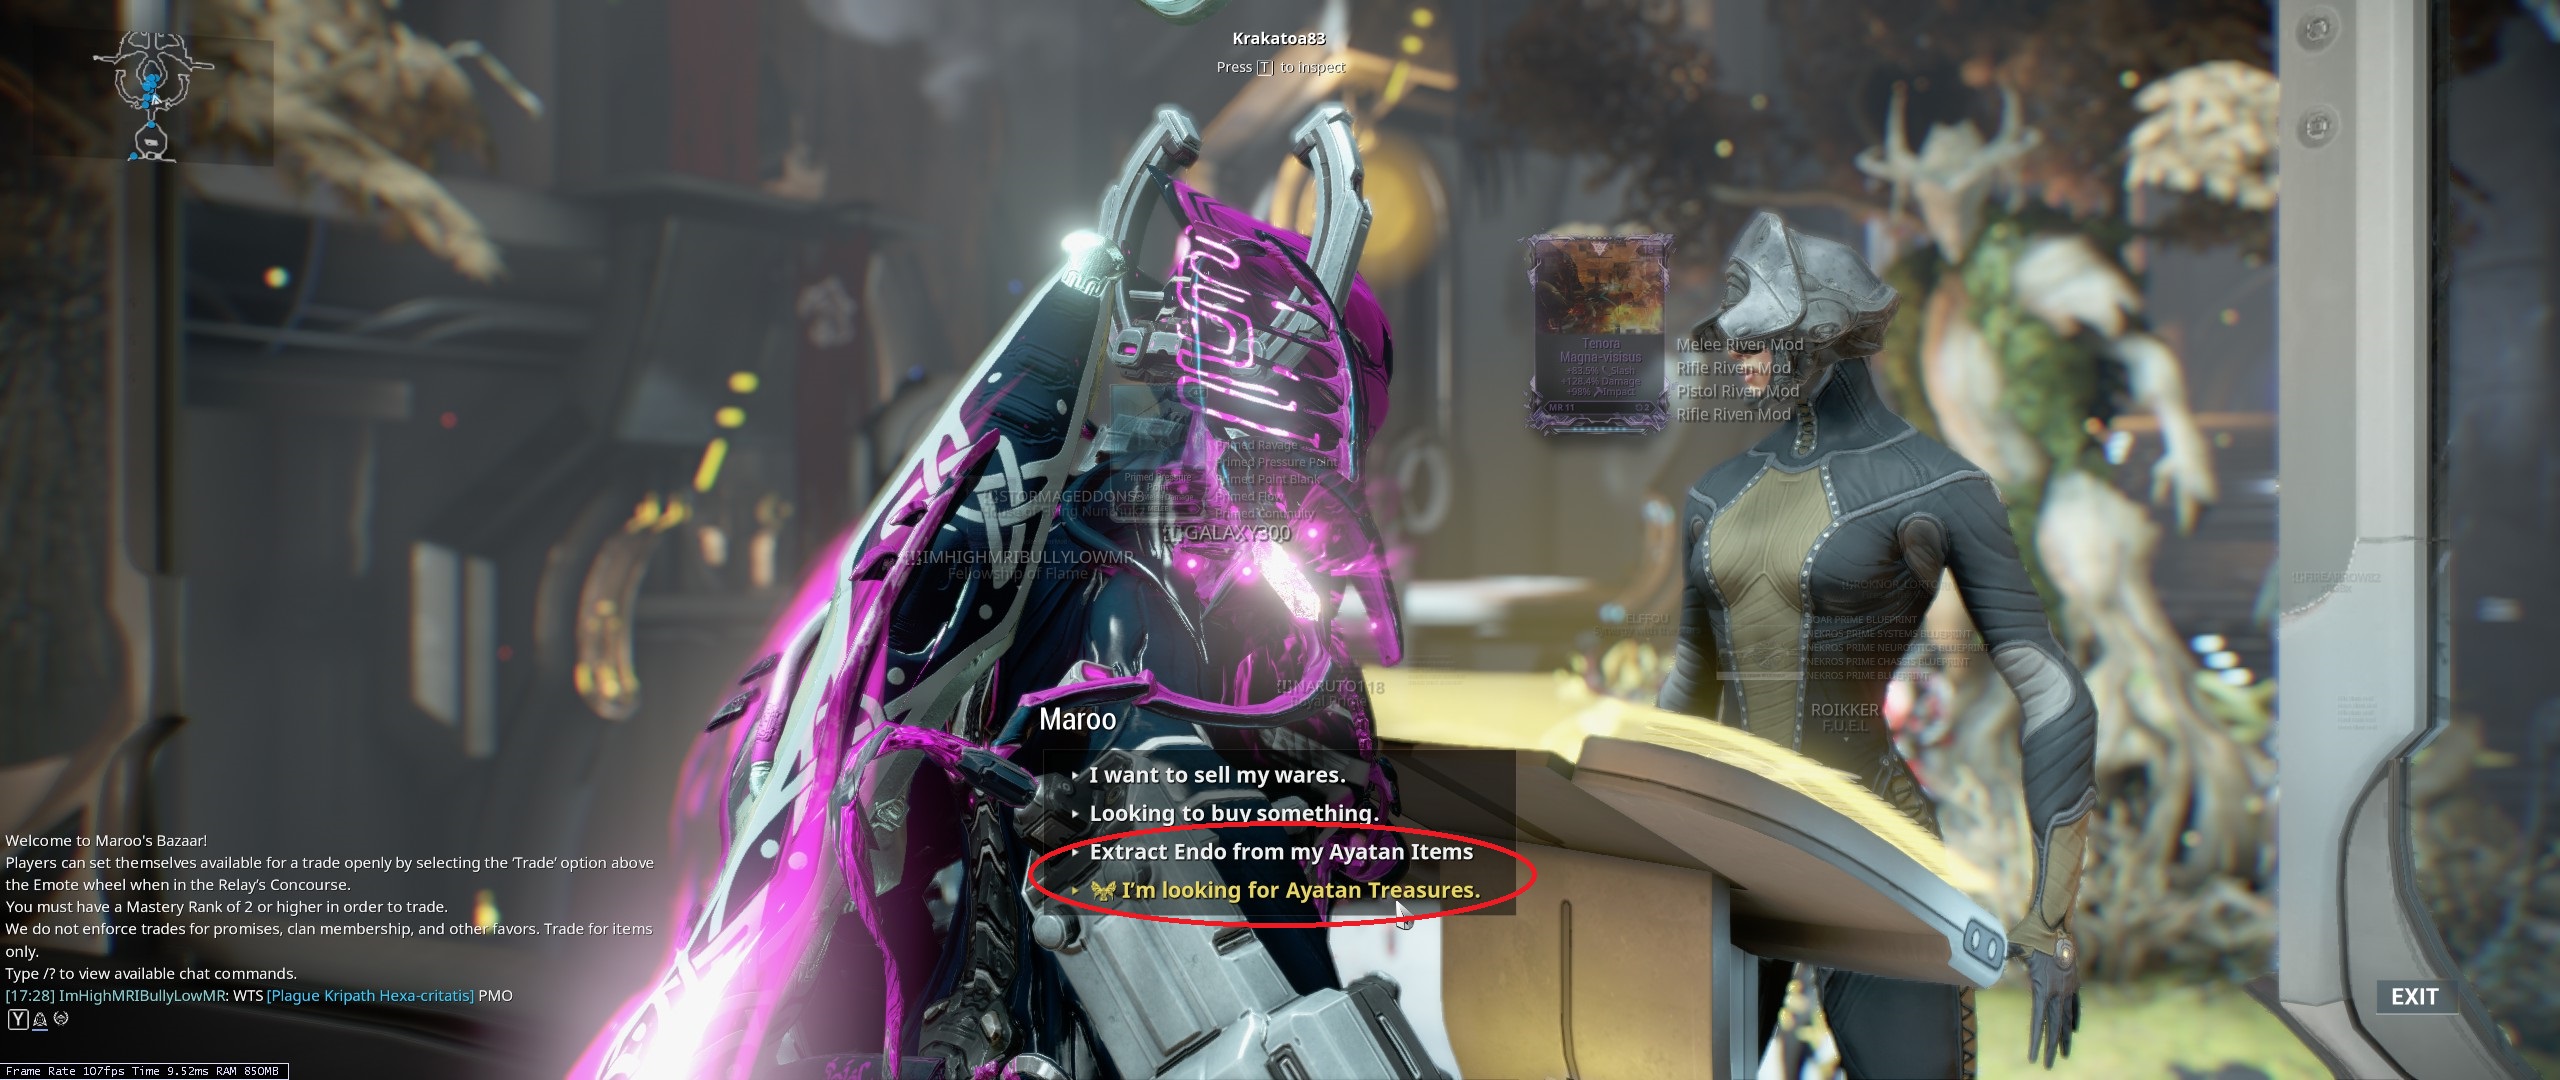 Endo can be claimed from sculptures by talking to Maroo in Maroo's Bazaar located on Mars.
Maroo's Ayatan Treasure Weekly Hunt
 Only 1 Ayatan Sculpure can be claimed once a week. Maroo's Ayatan Treasure Hunt will be a test of parkour. To learn more about speed boosting parkour mechanics, visit my guide, Speed Runs: Tips, Parkour, And Ability Mechanics.
How To Farm Ayatan Sculptures
- Ayatan Sculptures have higher spawn rates in Syndicate missions (late early-game content). Here is a video showing the process.
- Sorties Rewards - common reward (mid-game content)
What To Focus On In Early Game
Unlock All Planets and Missions
- Check "Navigation System" section for reference if needed.
Complete All Quests
- Check "Quest" section for details
Rank Up Mastery
- Rank up as many warframes, weapons, companions, archwings, and archwing weapons as you can.
- Check section "Additional Tips" for easily accessible weapons to rank up for mastery.
- Check section "Resources" on how to farm resources.
Pick a Long Term Warframe, Weapon, and Companion
- Check out the warframe, weapon, and companion sections which will help you pick one.
- Once you pick one, you can start hooking them up with an orokin reactor/catalyst, formas, and mods. More details in section, "Modding."
Get Important Mods
- Detailed in section, "Important Mods"
Do Weekly Ayatan Treasure Hunt
- Detailed in section, "Ayatan Sculptures" section
Work on Nightwave
- Detailed in section, "Nightwave System"
Join a Clan
- Some players don't like being in a clan, and some players do, but it really is necessary because they give access to clan research which provides exclusive warframes, weapons, and items. In order to farm important Corrupted Mods, you'll need dragon keys which is only available from Clan Research. More details on clans are in section, "Clan/Dojo."
What To Focus On Late Early-Game
- Farm prime sets and forma detailed in sections, "Modding" and "Fissure System - How To Farm Prime Sets."
- Make some platinum detailed in section, "How To Make Platinum in Early-Game ." If you're going to use real money, check out section, "Using Real Money," for tips.
- (Optional) Farm Endo detailed in sections, "Modding," "Ayatan Sculptures," and, "Endo Farming At The Arena."
- Syndicates detailed in section, "Syndicates."
- After completing quest, "Second Dream", start leveling a focus school. See sections, "Focus Schools," and "Focus Lens."
What To Focus On Mid-Game
- This game doesn't ever point you in a peticular direction. There is so much content to the game and freedom to choose.
- Some things you can work on in no particular order:
- Credit farming: Index or Profit-Taker
- Resource farming
- Max Syndicates
- Collect prime mods
- Endo Farming
- Collect more warframes for a well rounded selection for different situations (AOE damage, high single target damage, tank, crowd control, damage buff, speed, support, etc.)
- Collect more weapons for a well rounded selection for different situations (AOE damage, high single target damage, short/mid/long range, automatic, semi-automatic, etc.)
- Arbitrations
- Invasions
- Fissures
- Sorties
- Nightwave
- Collect Cephalon Simarus rewards
- Scan enemies for the Simulacrum
- Level mastery rank
- Lich
- Rail Jack
- Archwing
- Open World content
- Eidolon Captures
- Focus farming
- Get rich with platinum
- Fashion Frame
- Rivens and Kuva farming
- Decorate ship
- Push far into endless type missions
- Participate in periodic special events such as Acolytes, Plague Star, and Balor Fomorian.
- Learn to speed run missions with speed frames and/or advanced parkour
- Pvp at the conclave, dojo duel room, or lunaro
- Make a clan (warning: dojo and research is resource intensive)
- Steel Path
- Incarnon Weapons
- Galvanized mods
- Arcanes
- Archon Shards
- Credit farming: Index or Profit-Taker
Navigation System
How To Access Navigation Screen
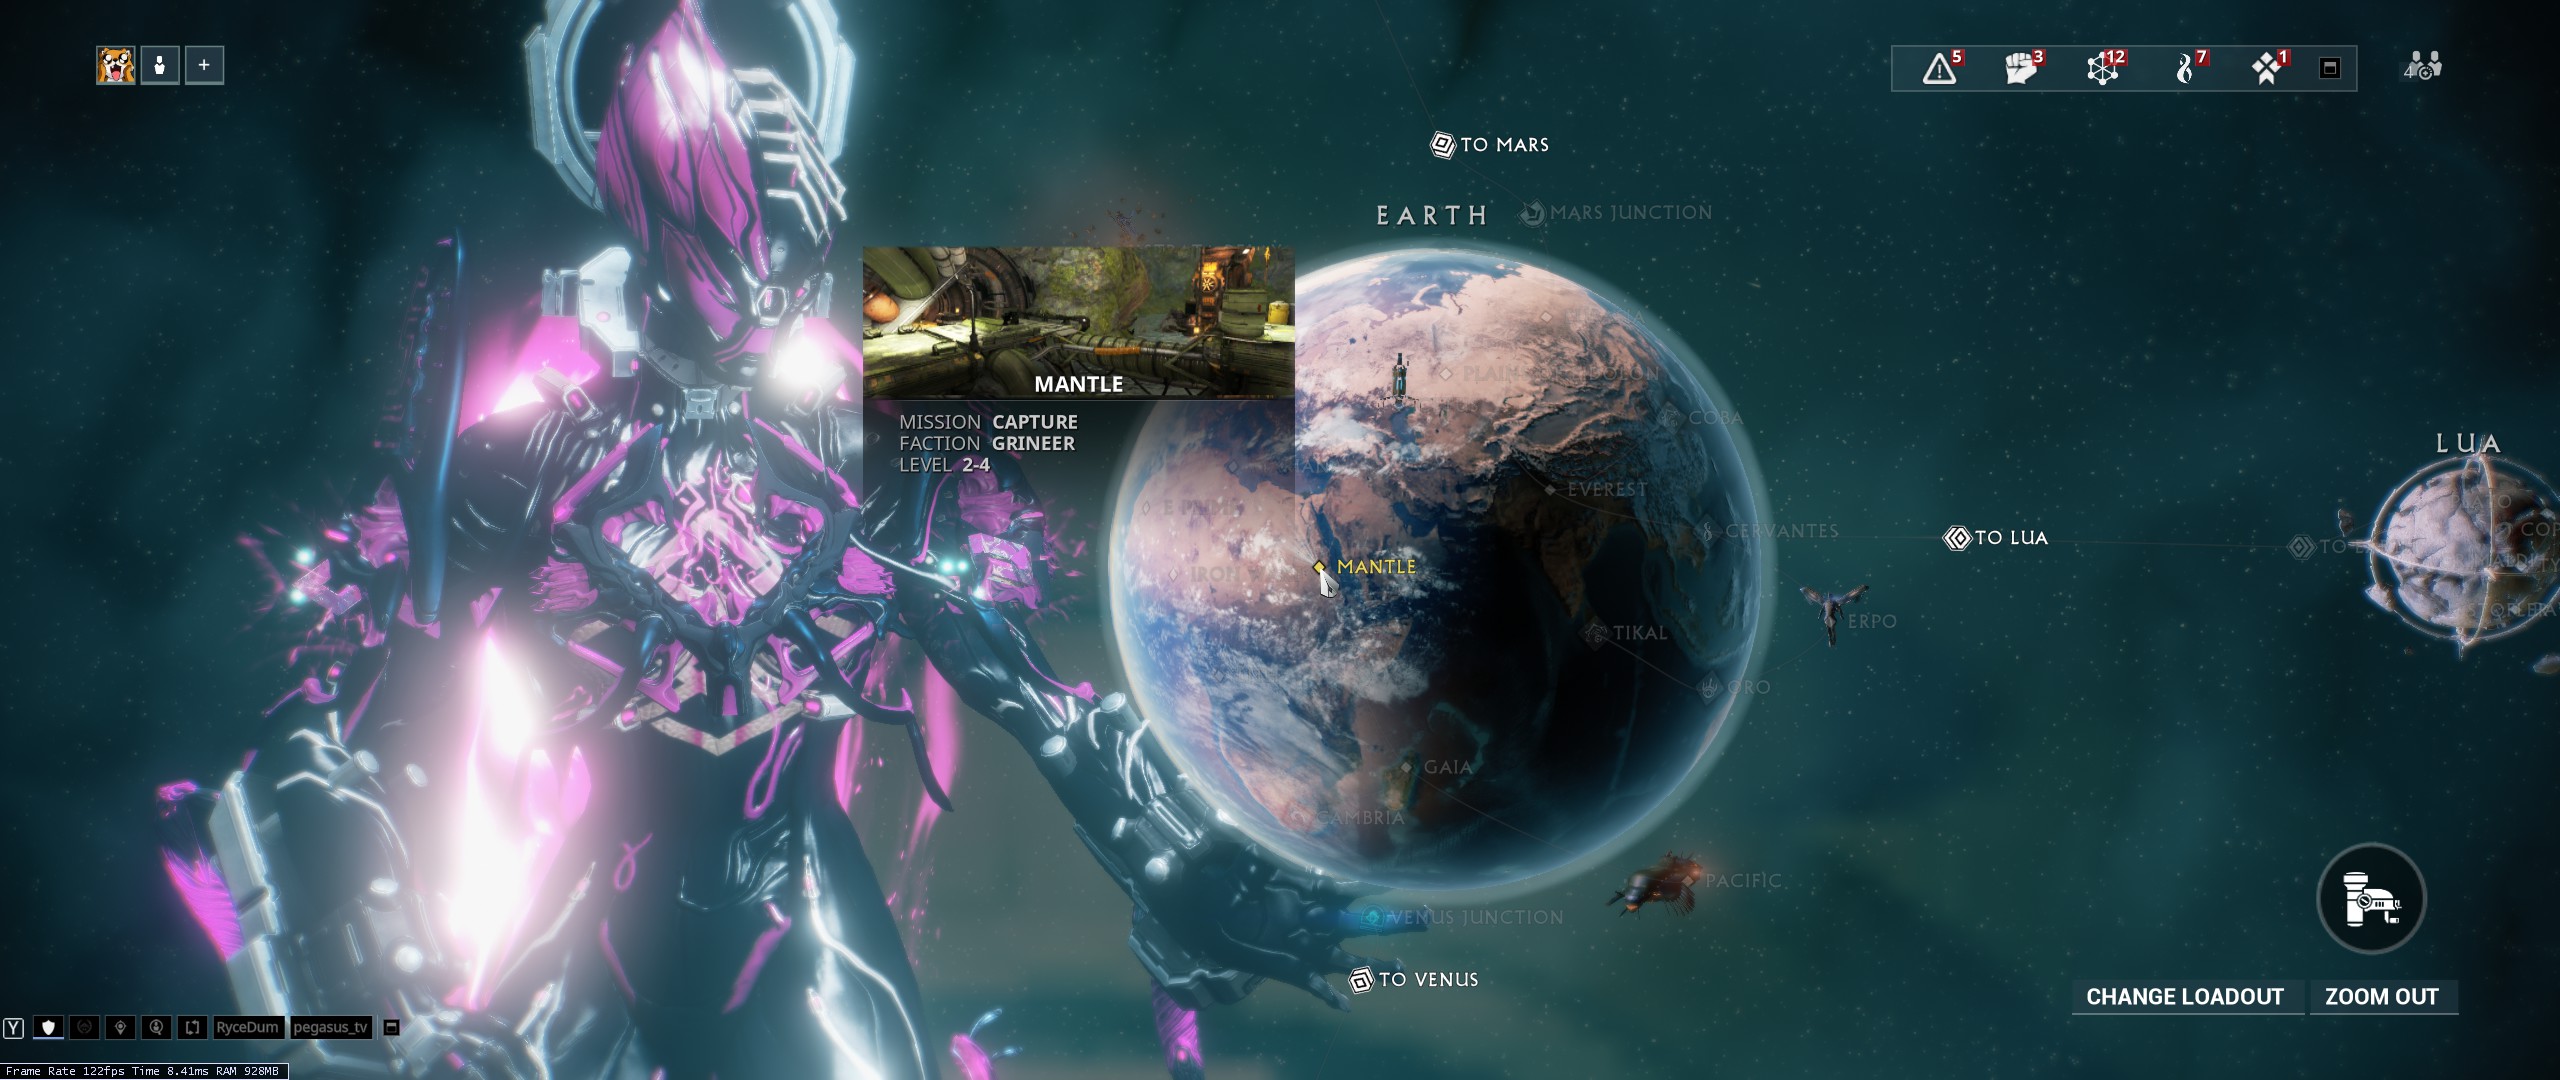 To Acess Navigation: esc-->navigation
How To Unlock All Missions Types
Progressing through the quests, will unlock special mission types represented by tabs at the top right of the screen. It is imperative to unlock all missions and planets, because these special missions will be located randomly on any location on any planet.Junctions - How To Unlock Planets
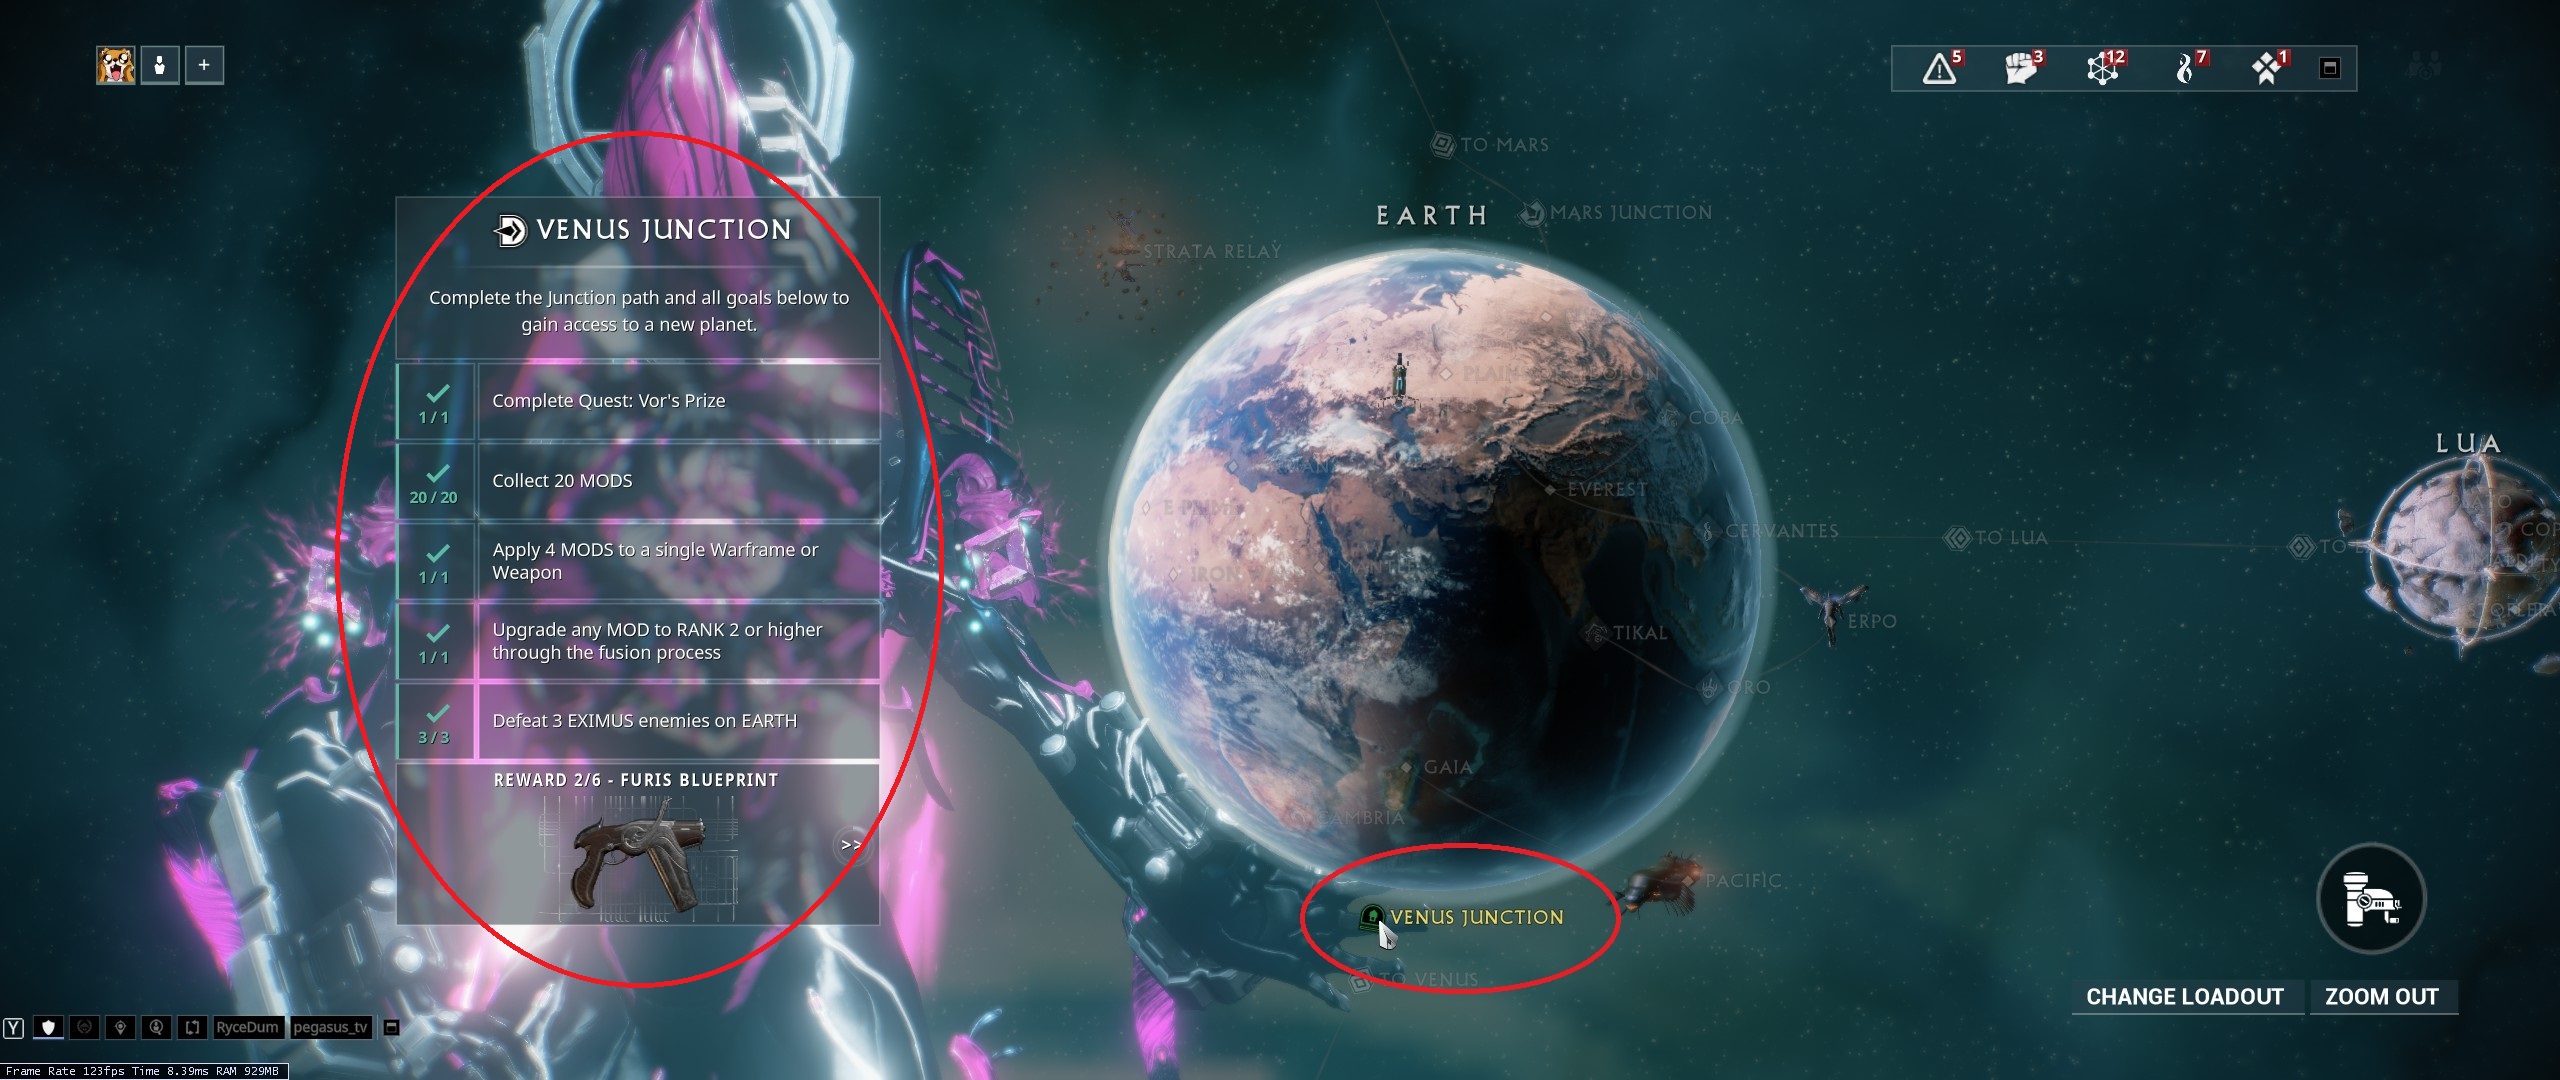 To unlock planets, missions need to be completed toward junctions. Junctions are the gateway to the next planet and involve completing challenges to unlock and reward various items.
Planet Unlock Order
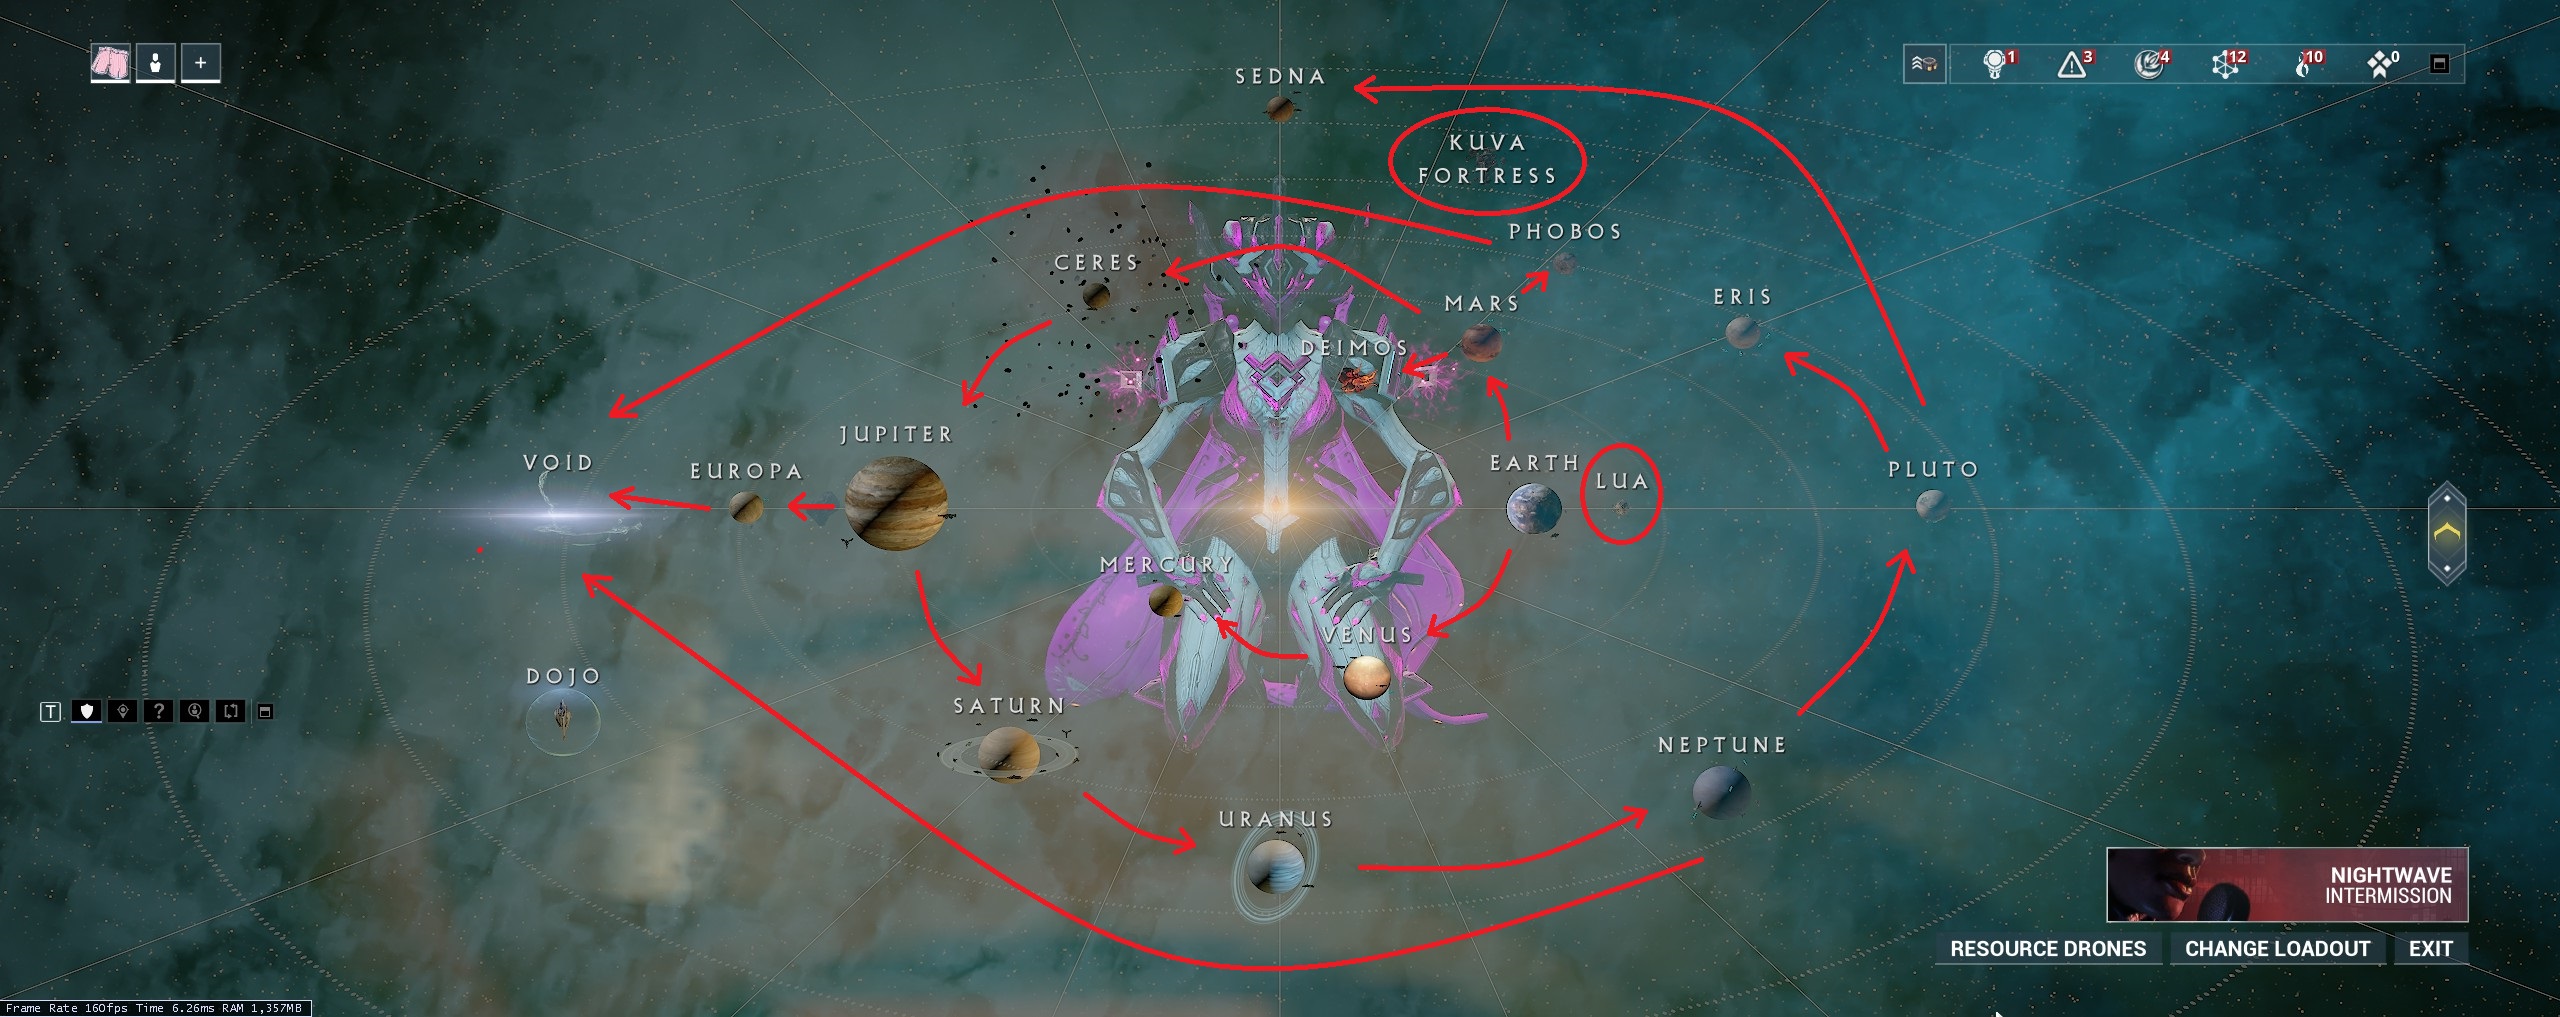 Here is the planet unlock order starting from Earth.
Lua is accessed after completion of the Second Dream Quest
Kuva Fortress is accessed after completion of the War Within Quest
Setting Games To Public or Solo
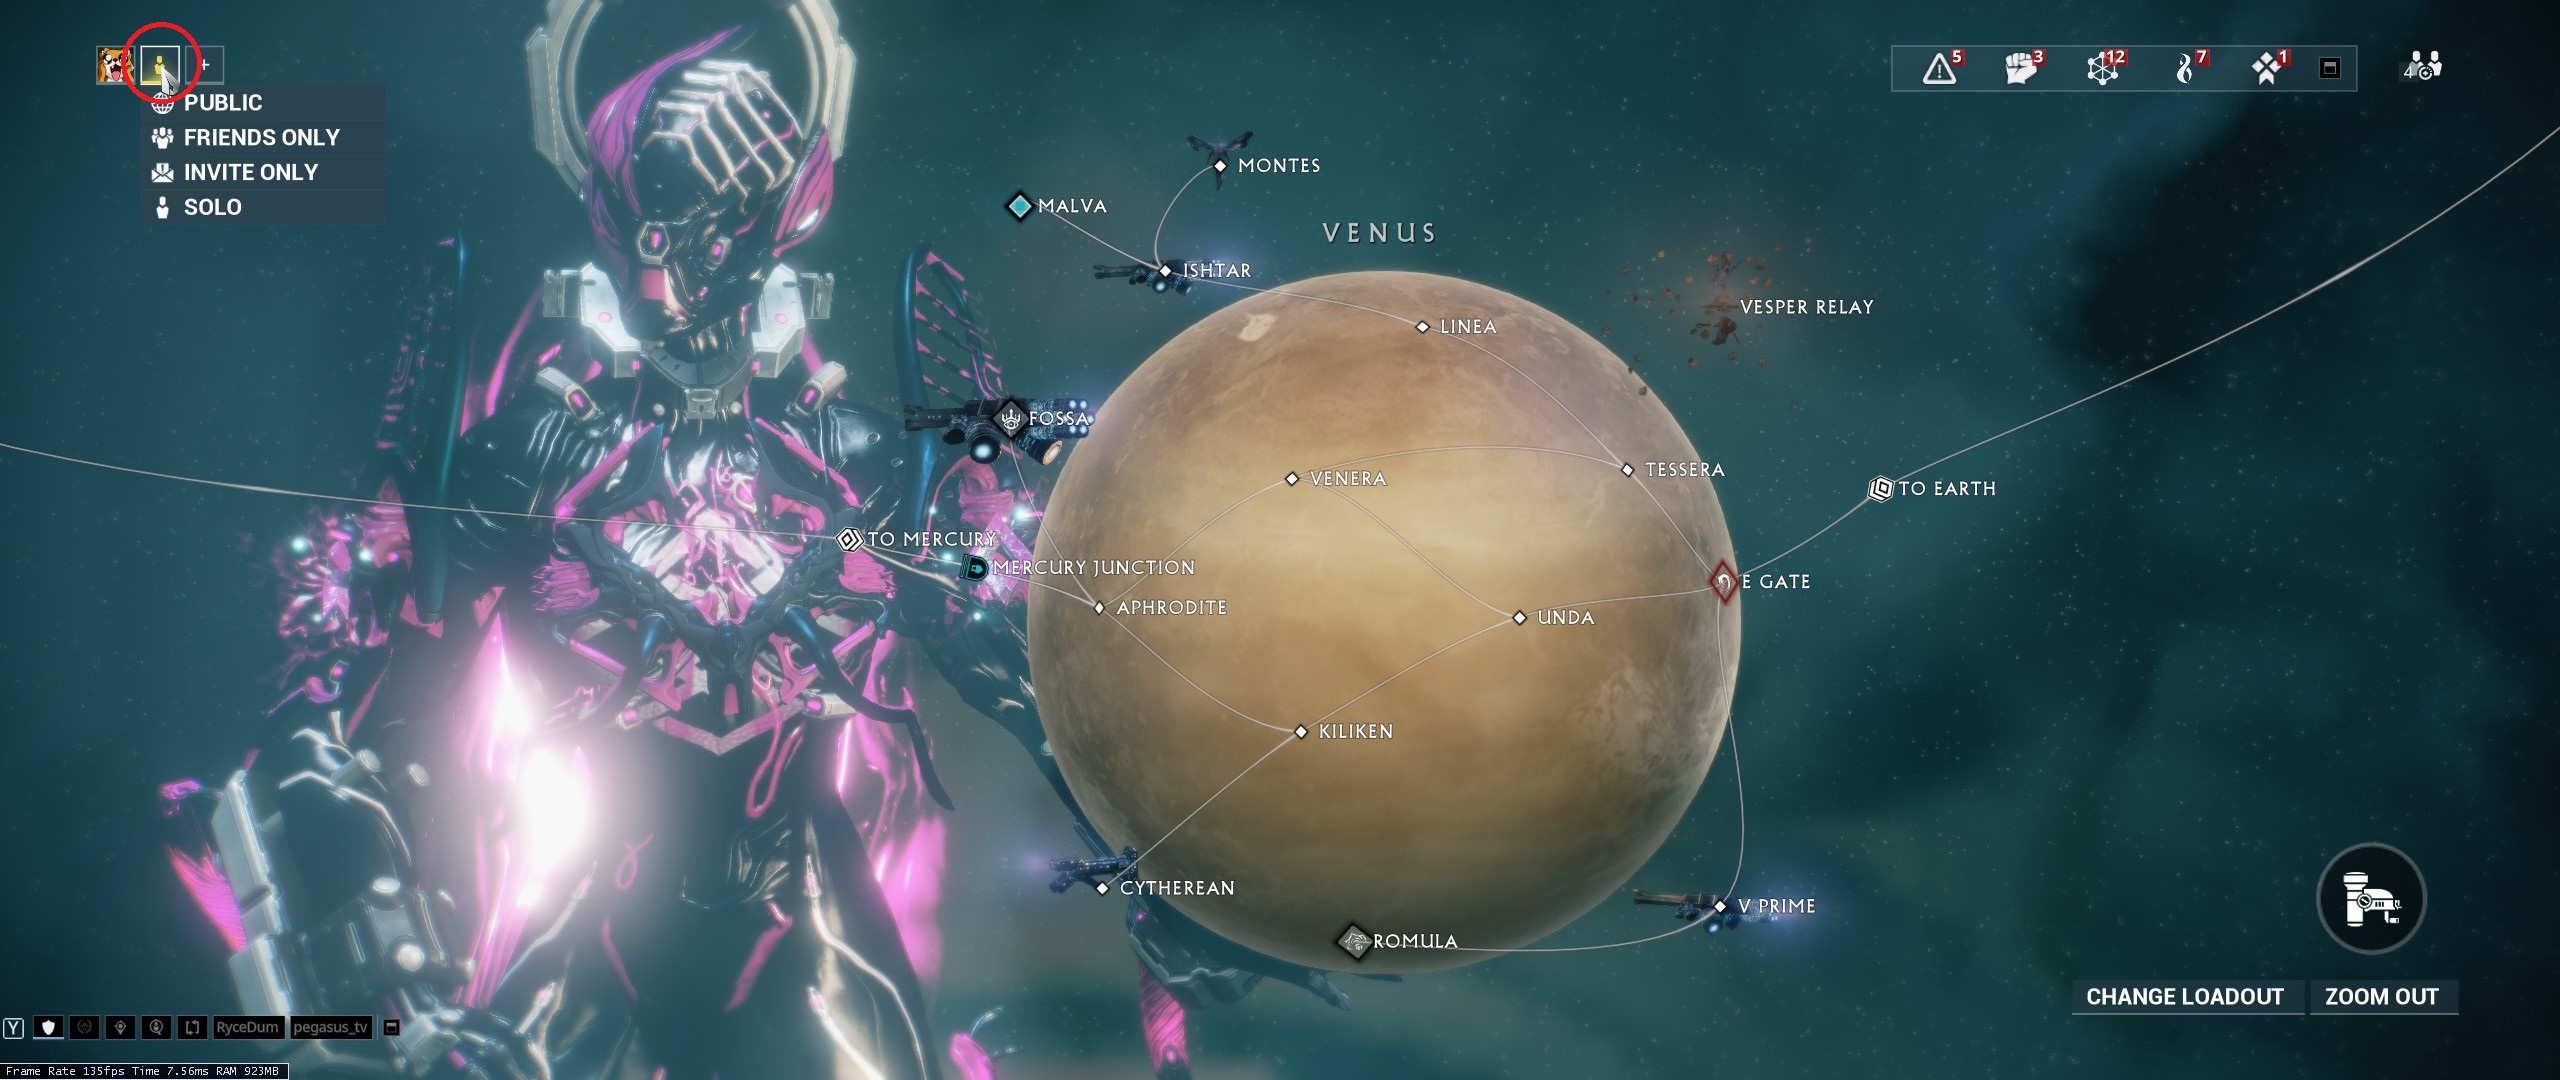 Hovering over the icon at the top left, you can set games to public, friends only, invite only, and solo.
Nightwave
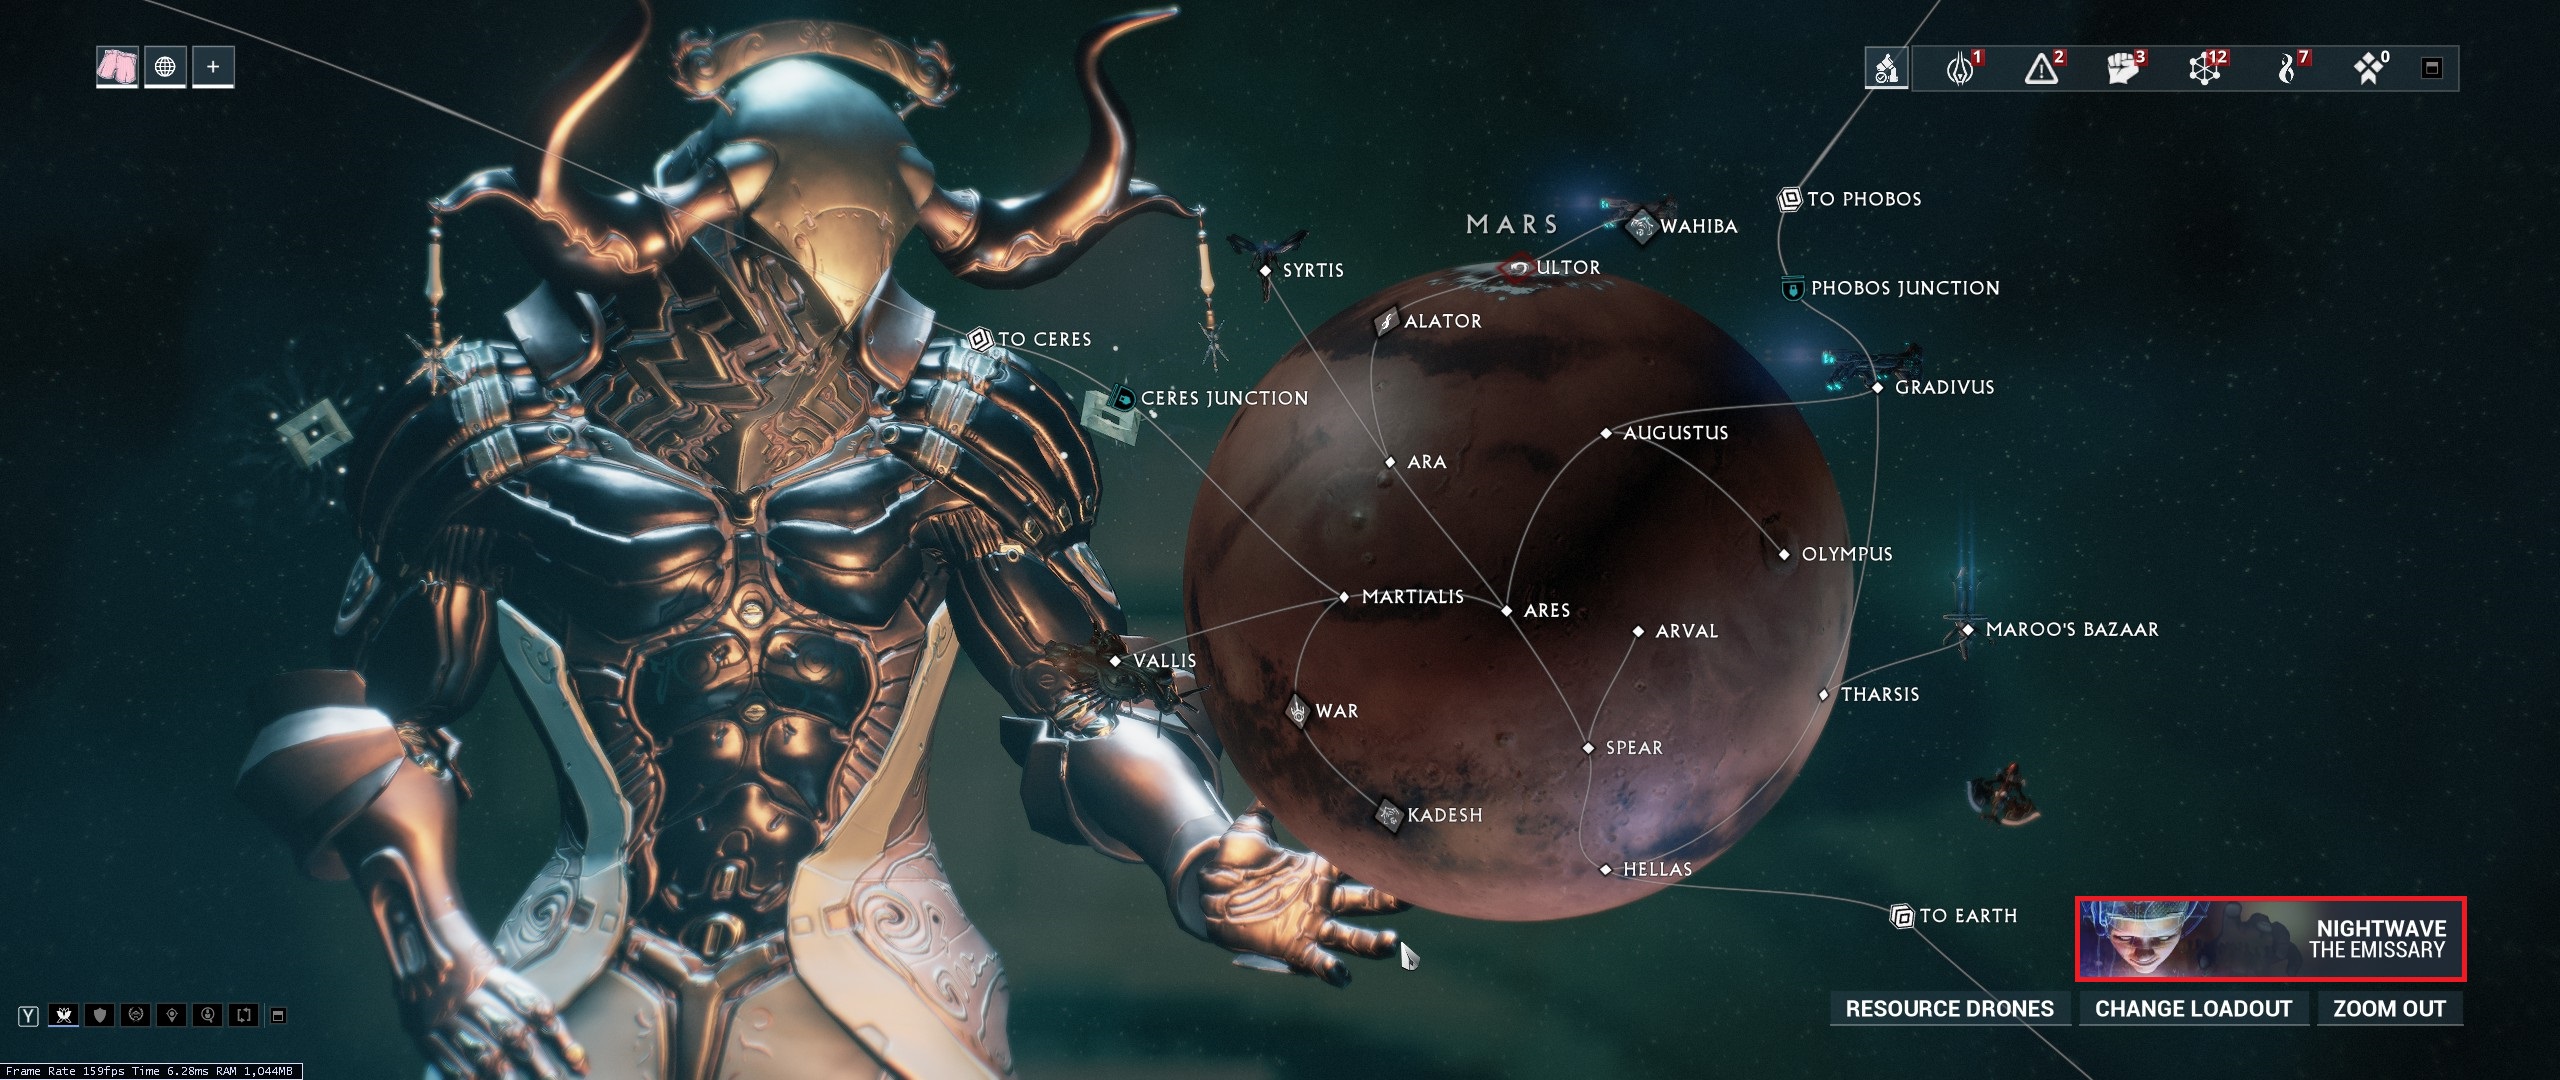
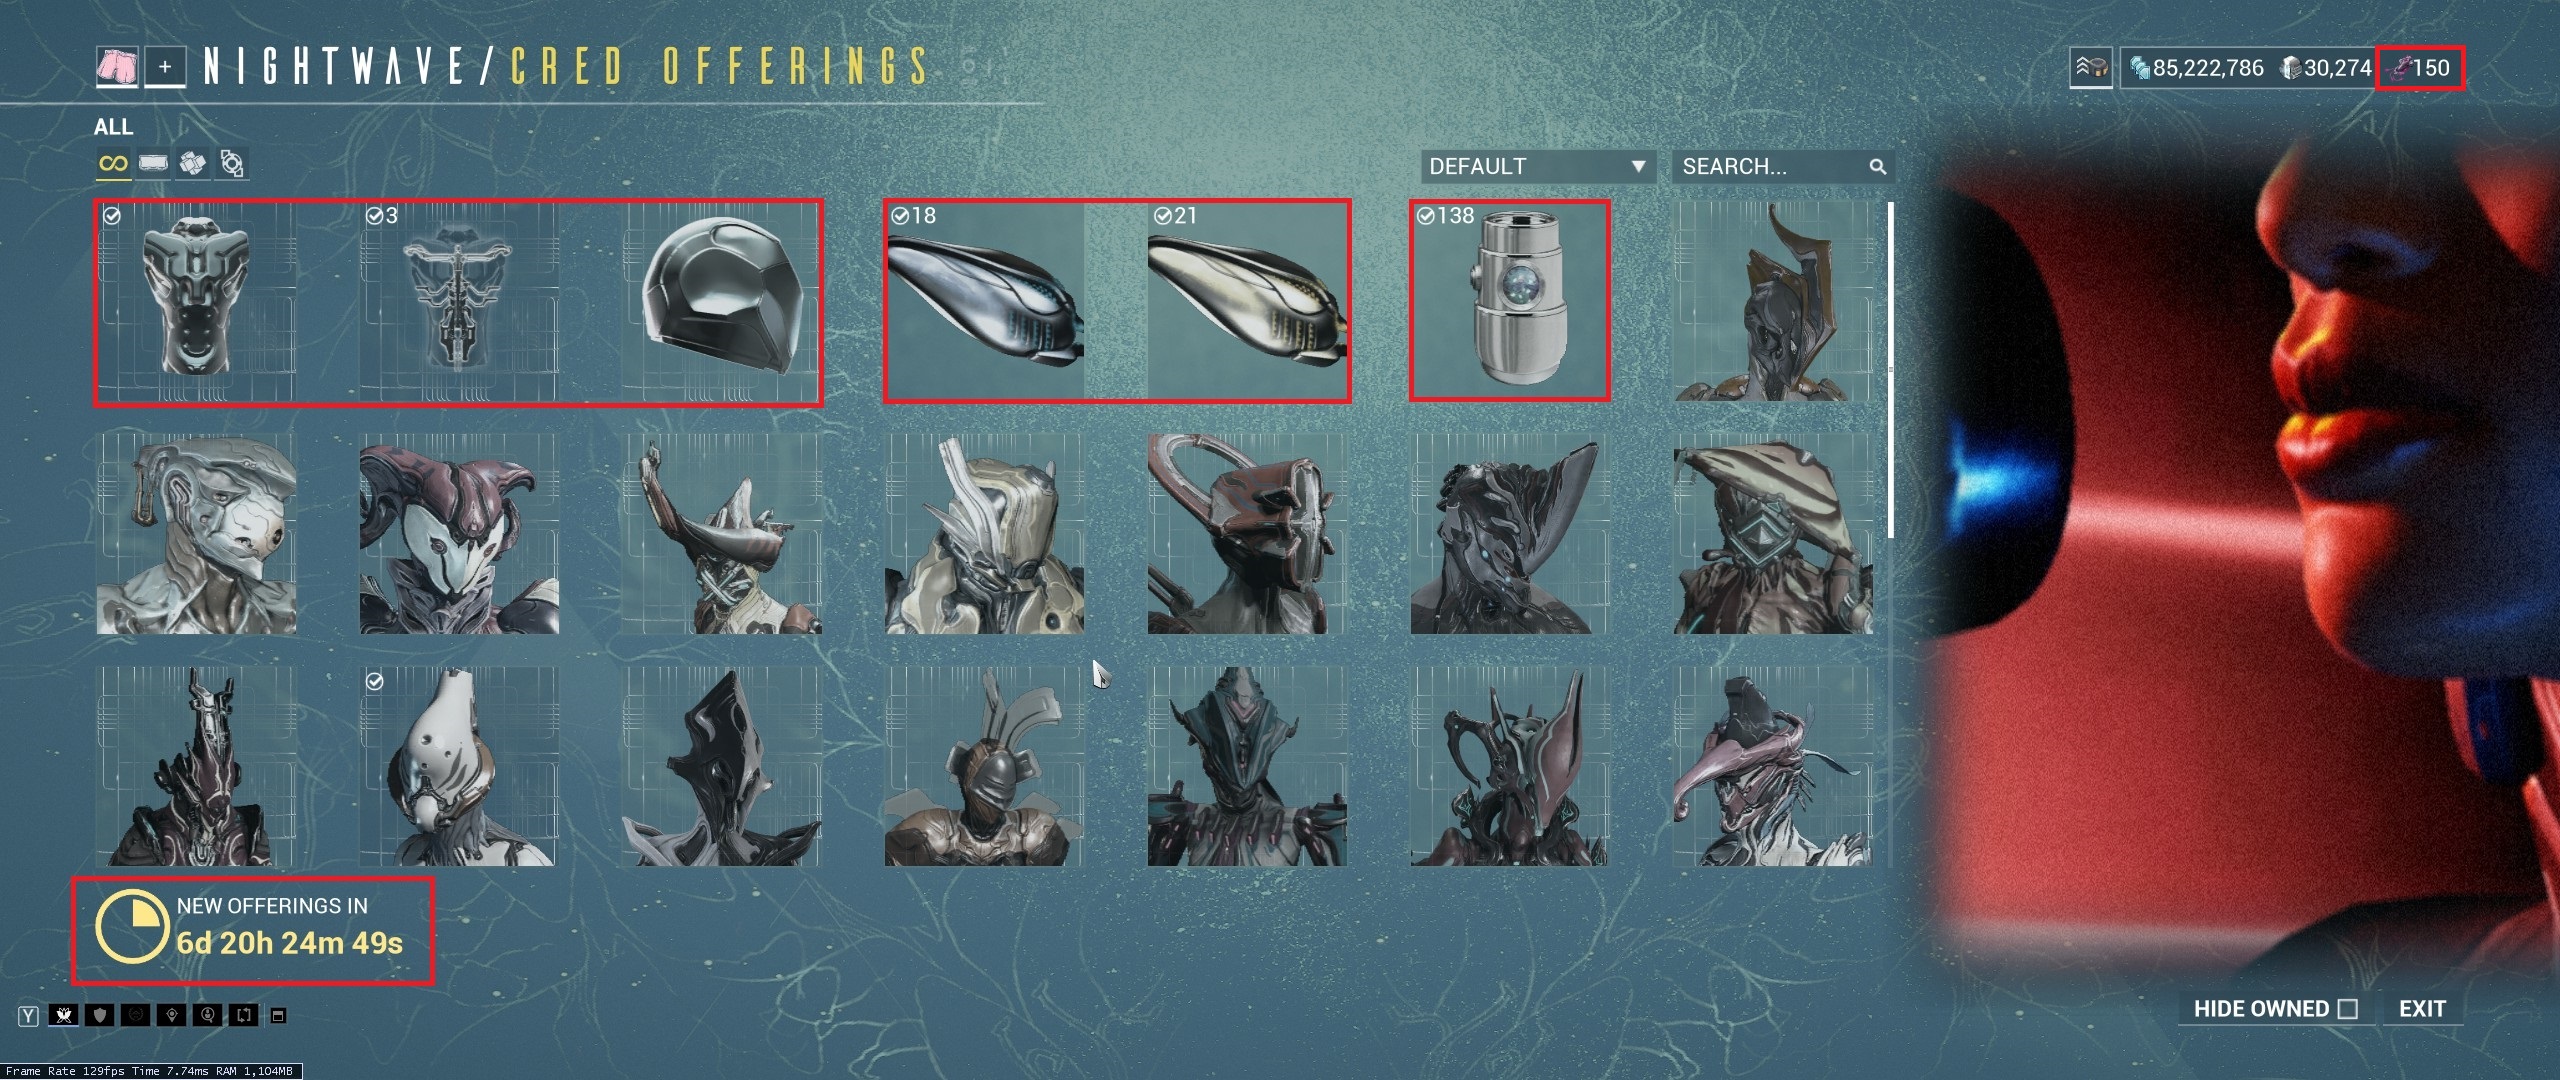 Nightwave is important and offer rewards such as: orokin catalysts, orokin reactors, nitain extract, aura mods, exclusive weapons, and the Vauban warframe. See section, "Nightwave System," for more information.
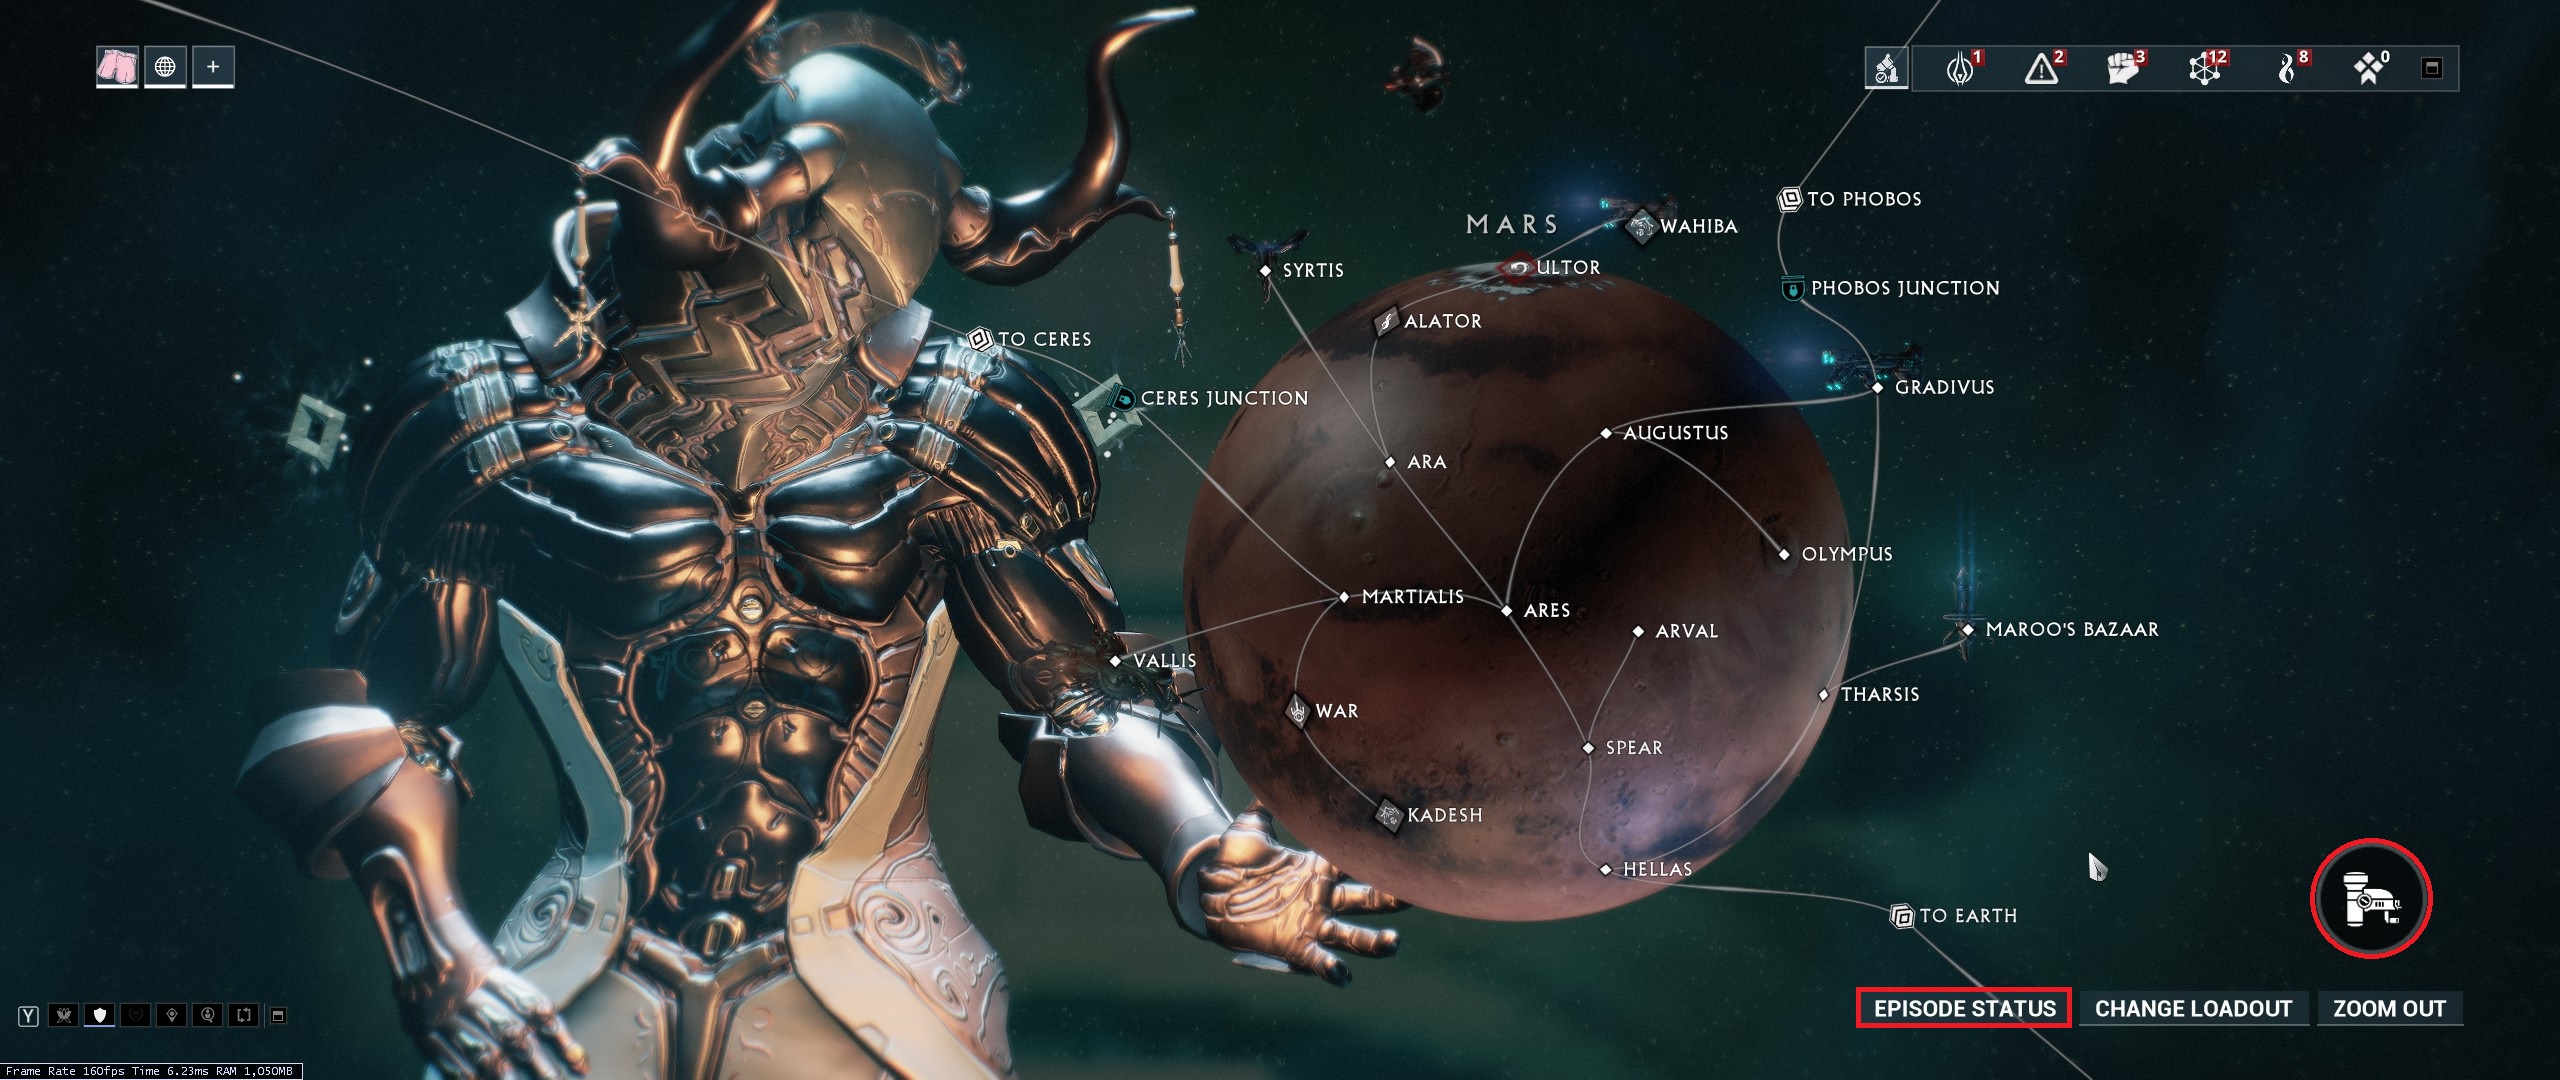 If you see the resource drone at the bottom right, click episode status, to switch to Nightwave display.
Alerts
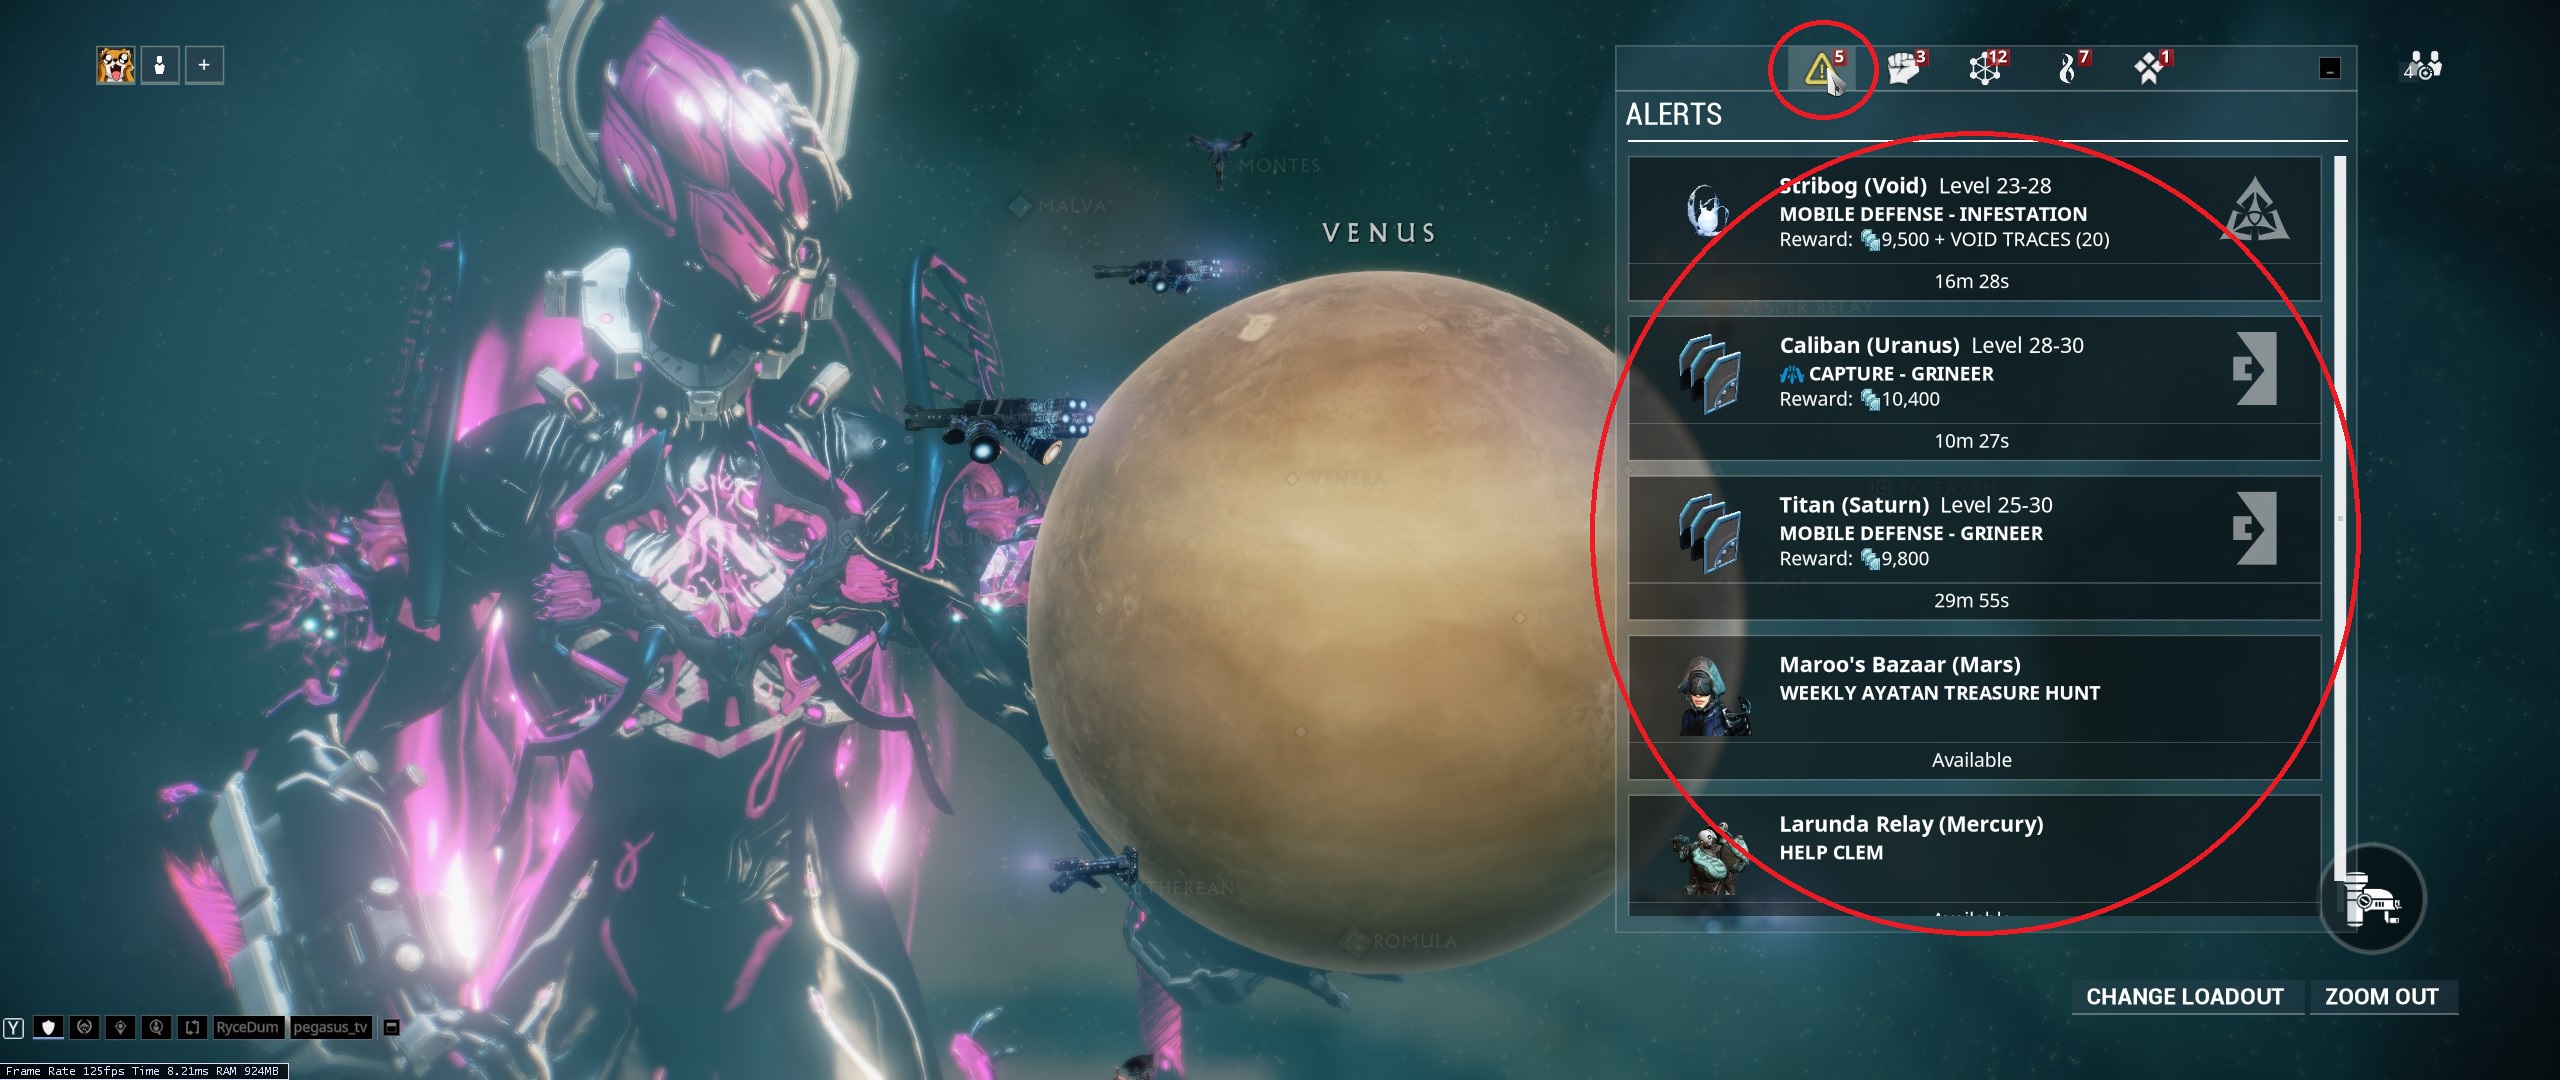 Alerts are important and occasionally reward important items such as orokin catalysts/reactor blueprints, forma blueprints, and rivens. Maroo's Weekly Ayatan Treasure Hunt is also located here.
 Invasions
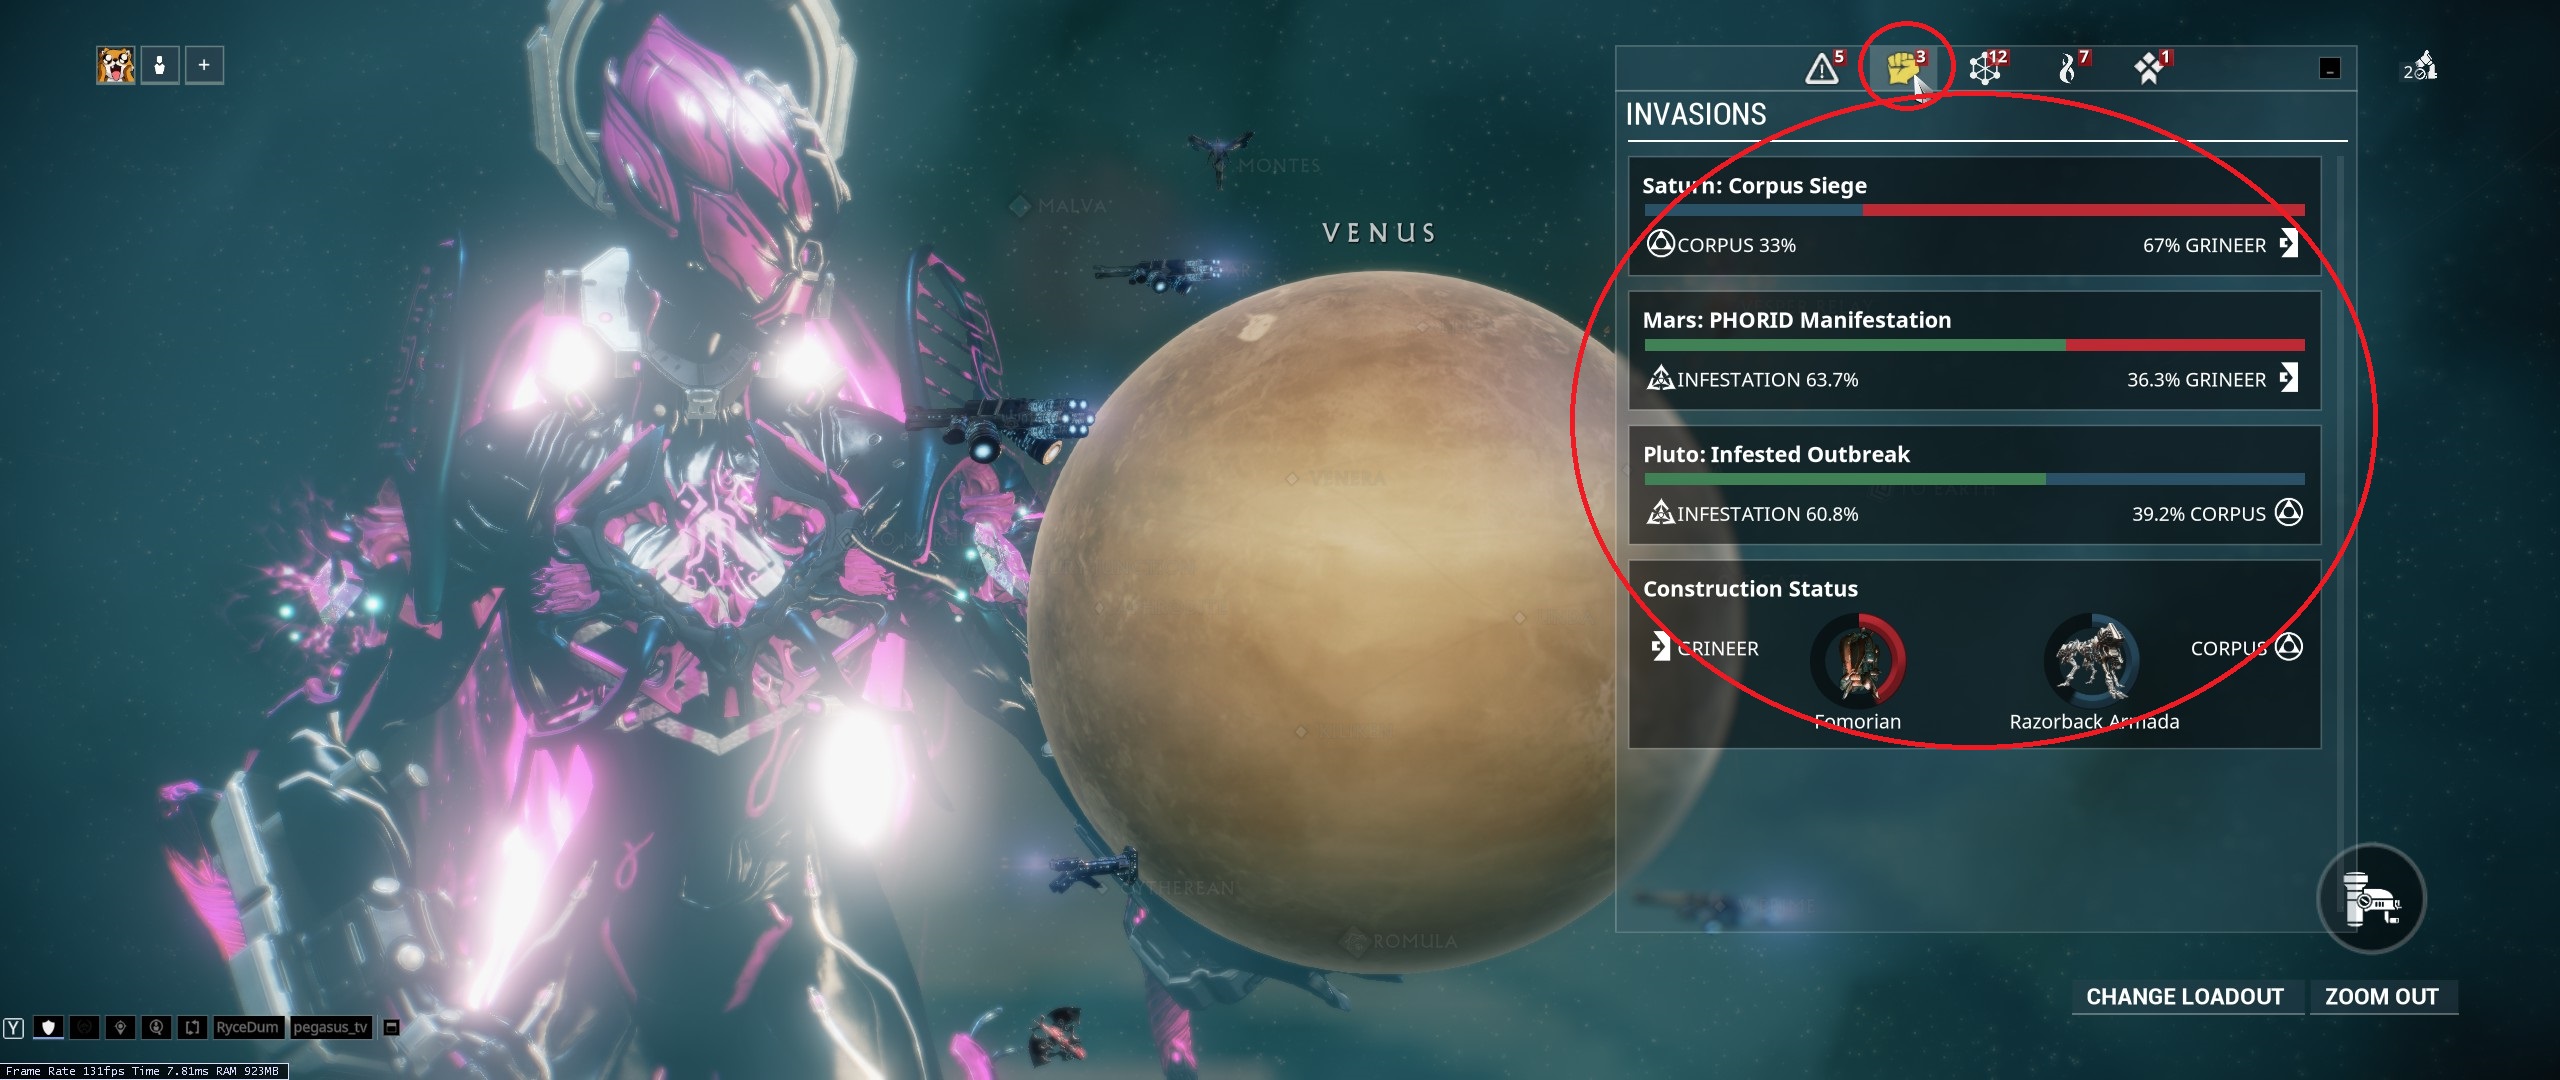 Invasion missions need to be completed 3 times to receive the invasion reward. Rewards include orokin catalyst/reactor blueprints, forma blueprints, exclusive weapon parts, and special resources.
Syndicate
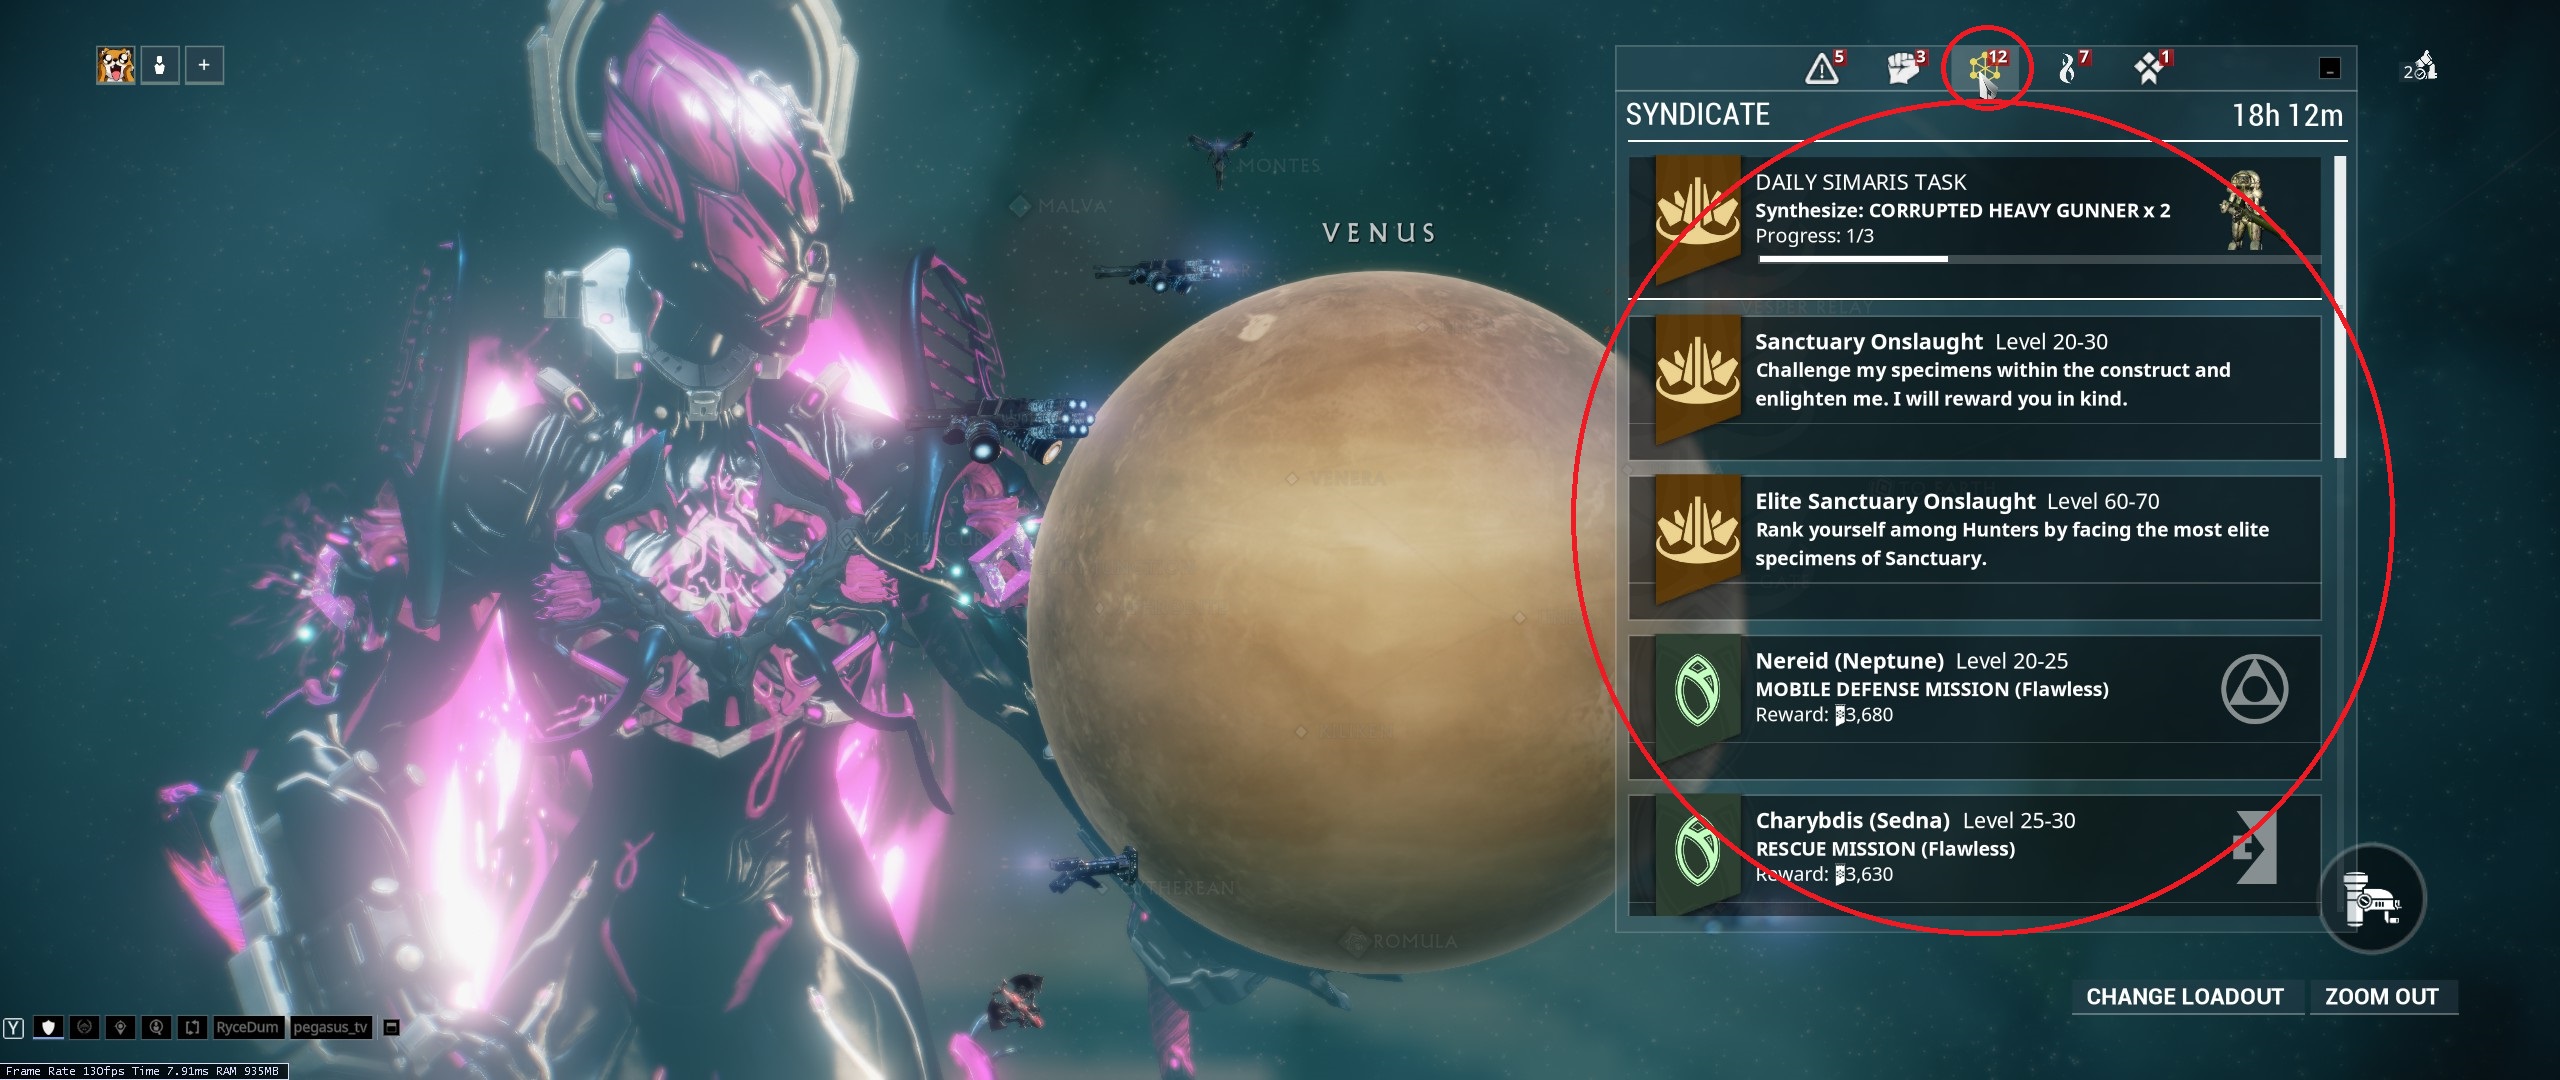 Syndicate missions reward syndicate points and syndicate medallions, which award additional syndicate points and are randomly located on mission maps. This is not that urgent but should be worked on at some point. This tab also lists Cephalon Simaris and Onslaught missions which will be more important mid-game. More details are in the "Syndicate" section.
Fissures
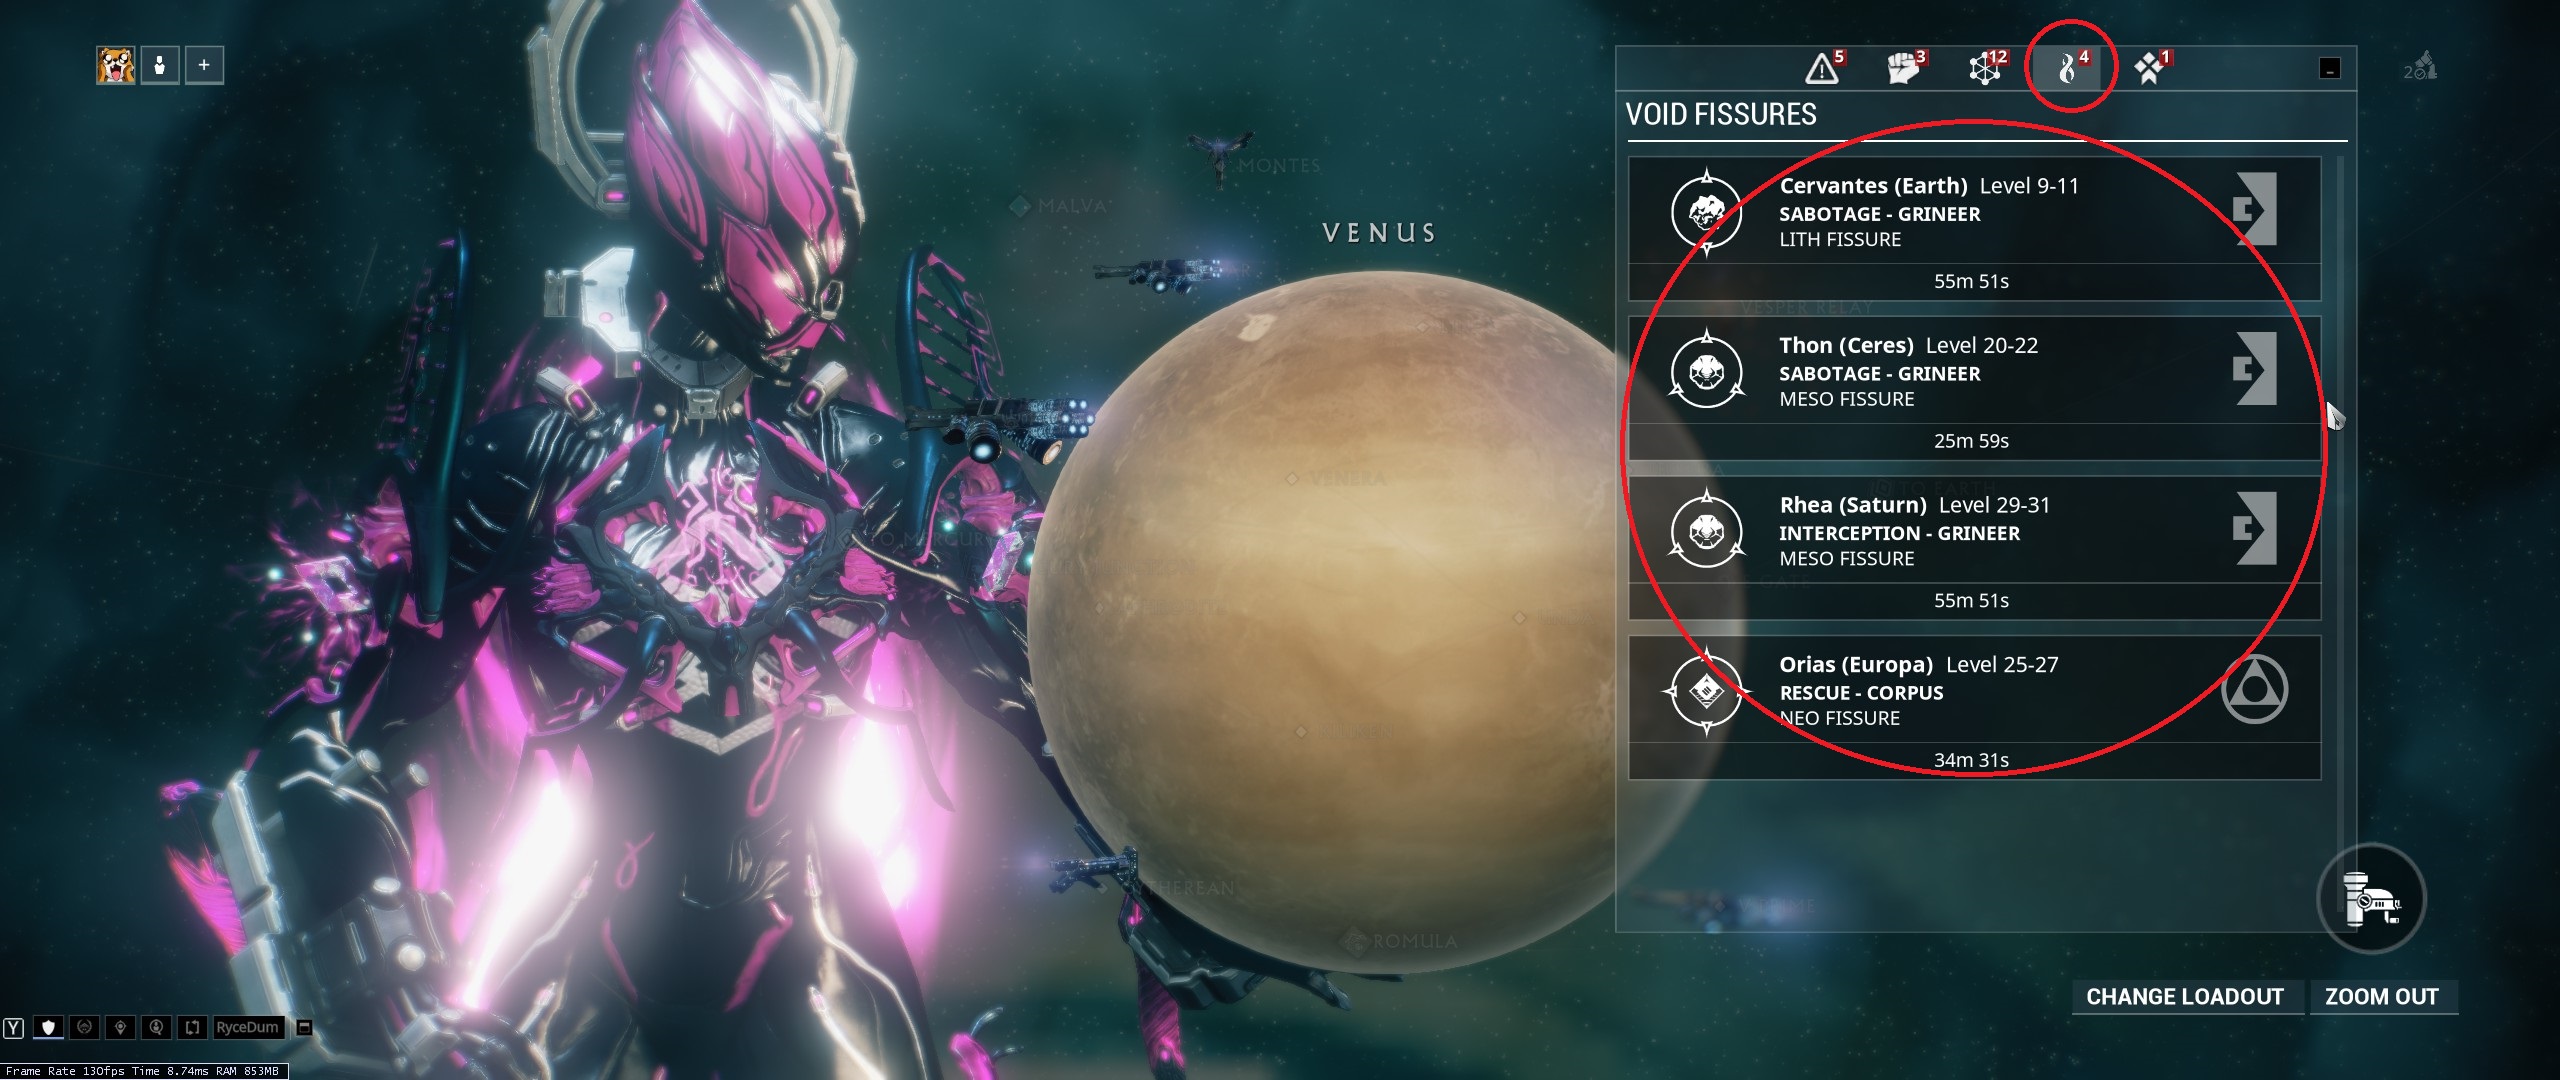 Fissures reward traces and prime parts. Traces will be needed in the beginning of the game to farm vital mods. Effectively farming prime parts will be difficult in the beginning, but will become a regular activity during mid-game and after. Details are located in the "Fissure System" section.
Sorties
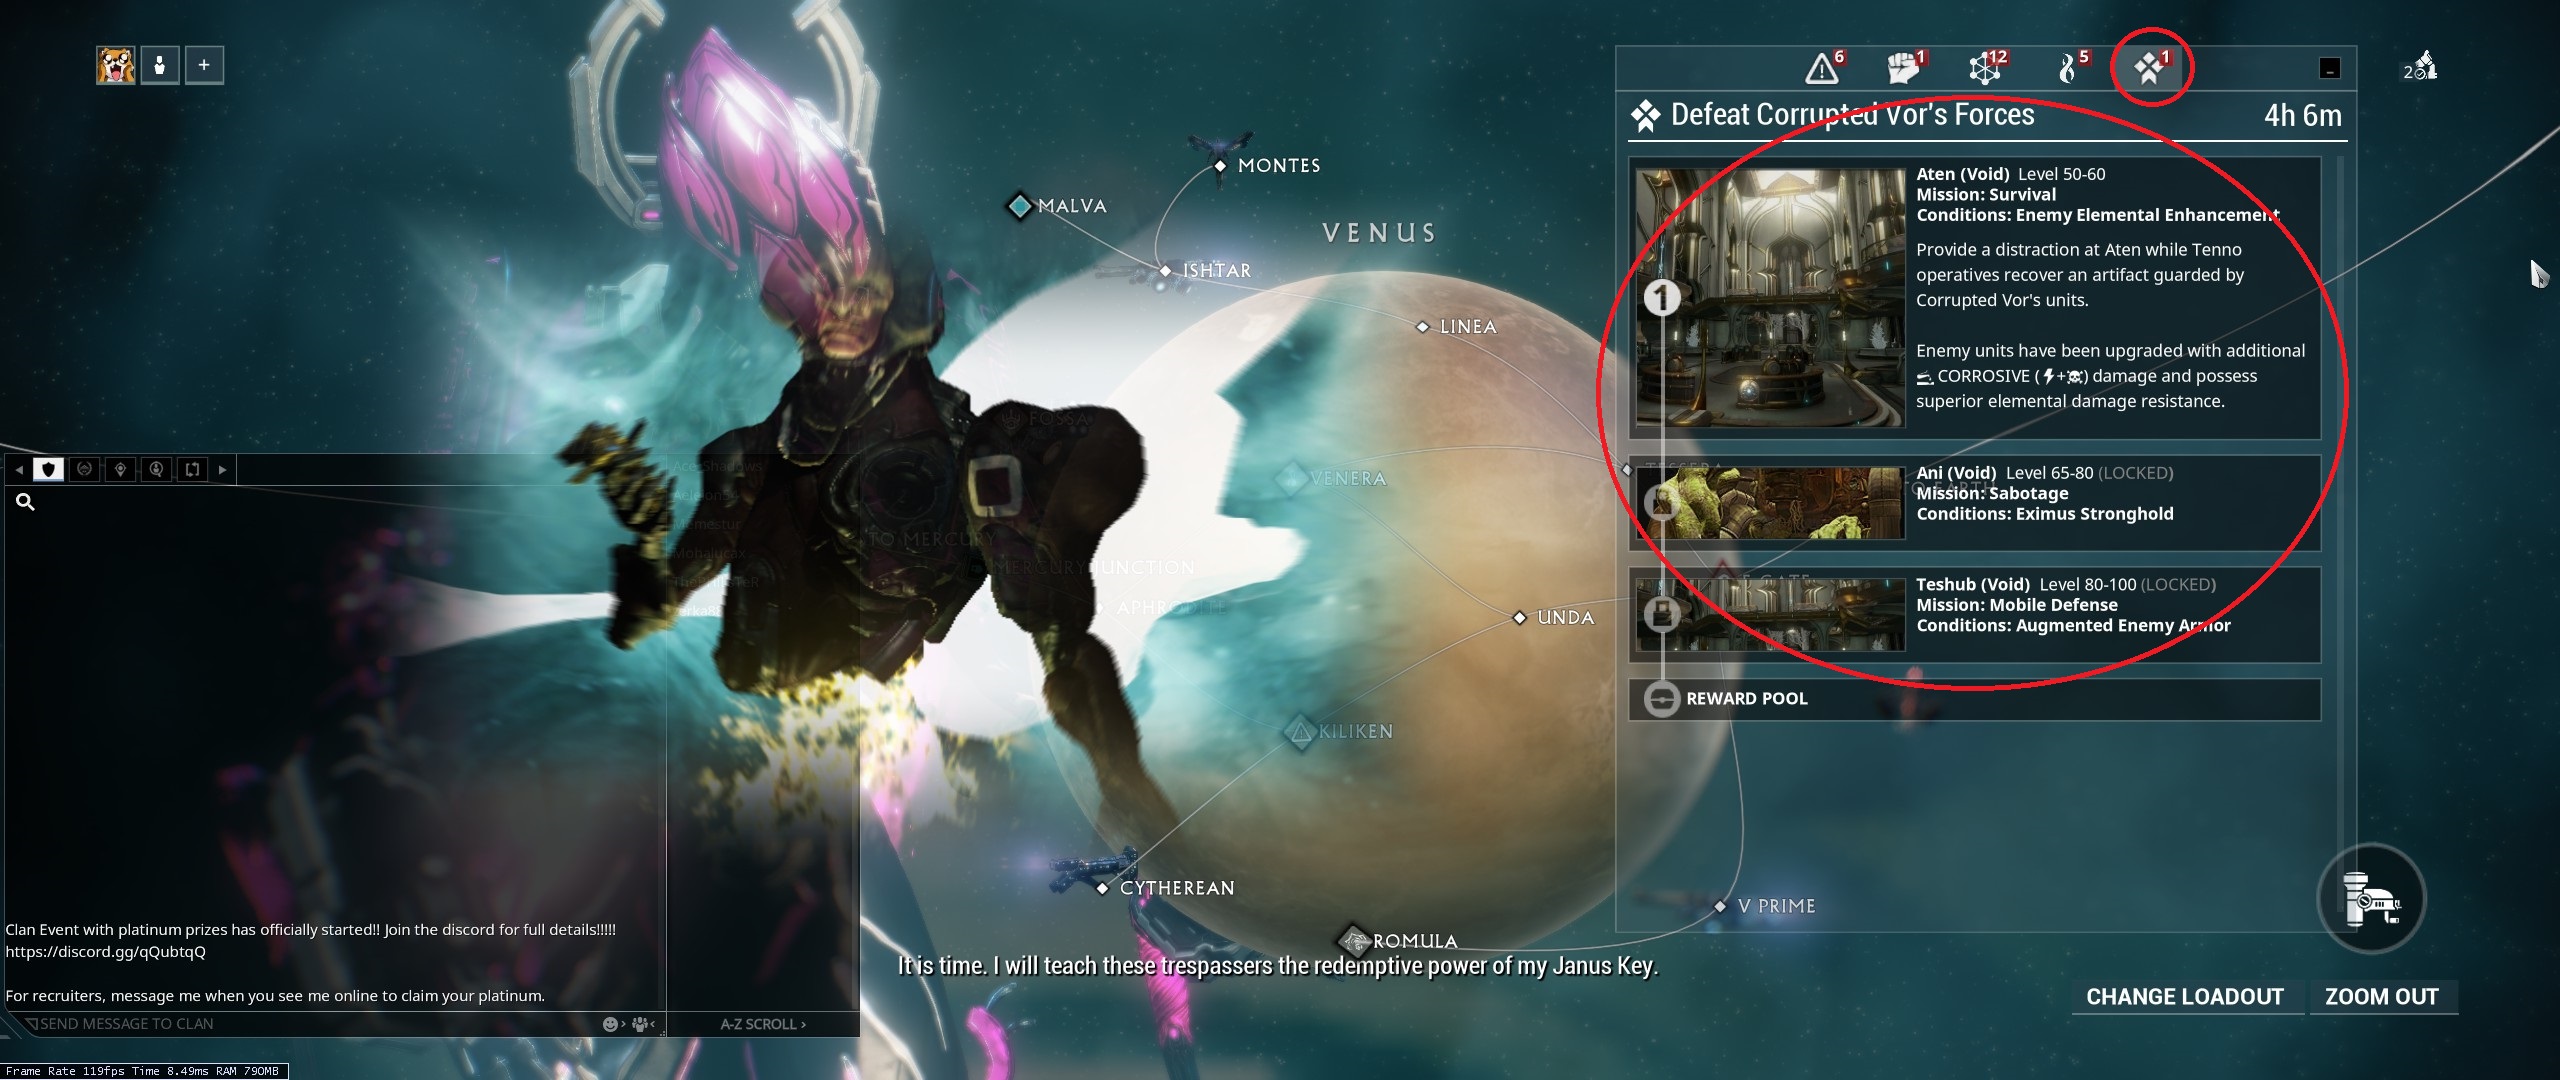
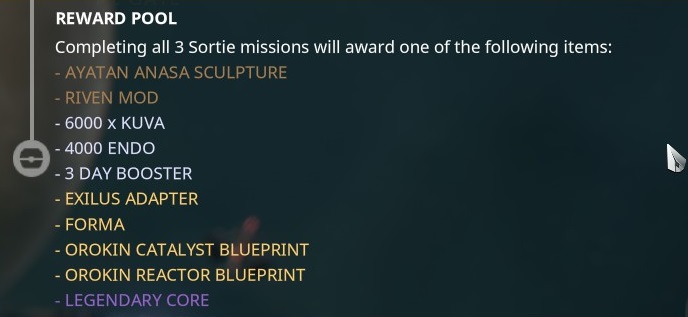 Sorties are unlocked after the War Within quest and contain higher level enemies between 50 and 100. They randomly reward endo, boosters, forma, orokin catalyst/reactor blueprints, and items that can net some platinum.
Quests
Digital Extremes has a nice quest guide located here[www.warframe.com].
How To Navigate Channels
How To Navigate The Recruit Channel

The recruit channel is going to be an important tool as you progress through the game, unless you're a strict solo gamer. However, there are segments of the game, that solo players will truly benefit from in a party or otherwise that content will be a major pain. There's lingo, like most online games, that you're going to want to get familiar with. A very comprehensive list is in the "Warframe Lingo" section.
Recruitment Channel Lingo
Lingo
Meaning
Example
H
Host
H Vault Runs
LF
Looking For
LF Vault Runs
Taxi
A player has a mission unlocked and will bring along players who don't have it unlocked
LF Taxi to Orokin Catalyst Alert
How To Navigate The Trade Channel

The trade channel is pretty important. If you hate trading, the warframe market [warframe.market]is always available and convenient. If you really hate spending time in the trade channel, there are buy and sell sections that are both very effective. If you're a big trader, serious platinum can be made from flipping items meaning buying an item low and selling it high. Strategies for making platinum through trading is located in section, "Trading Strategies."
Trade Channel Lingo
WTS
Want To Sell
WTS [Energy Siphon]
WTB
Want To Buy
WTB [Fleeting Expertise]
PMO
Private Message Offer
WTS [narrowminded] PMO
WTT
Want To Trade item for item
WTT [Constitution] for [Streamline]
Enlarge the Size of Your Chat Window
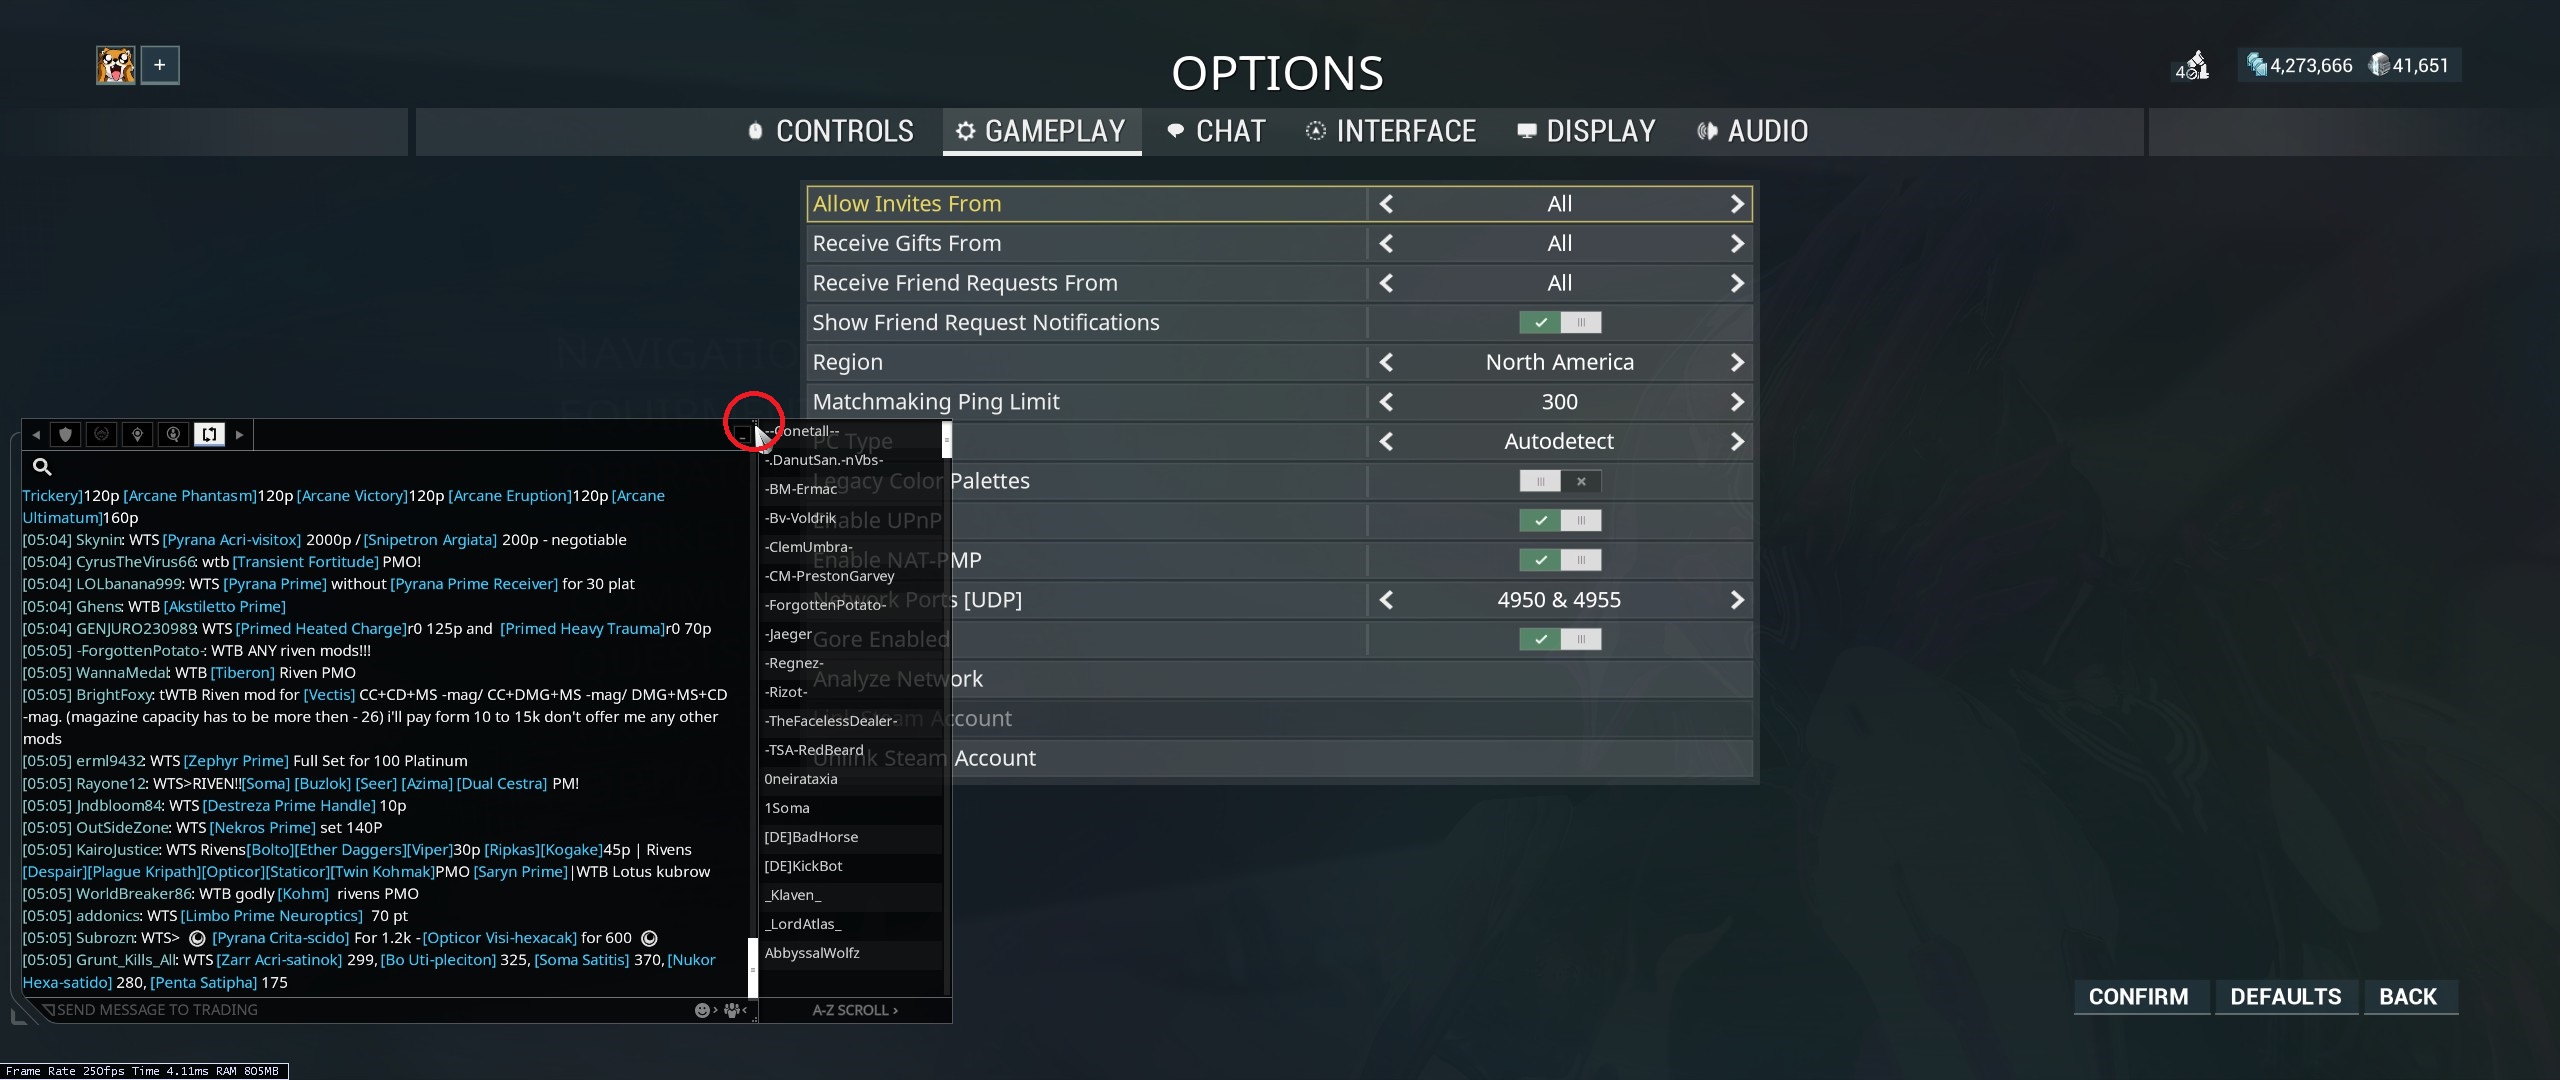 Many players don't know but you can, or else the trade/recruit chat will be hard to read making you prone to messaging the wrong person or misreading. The top right corner of the window has three little dots that you can drag.
Use the Chat Filter When Looking For Something Specific
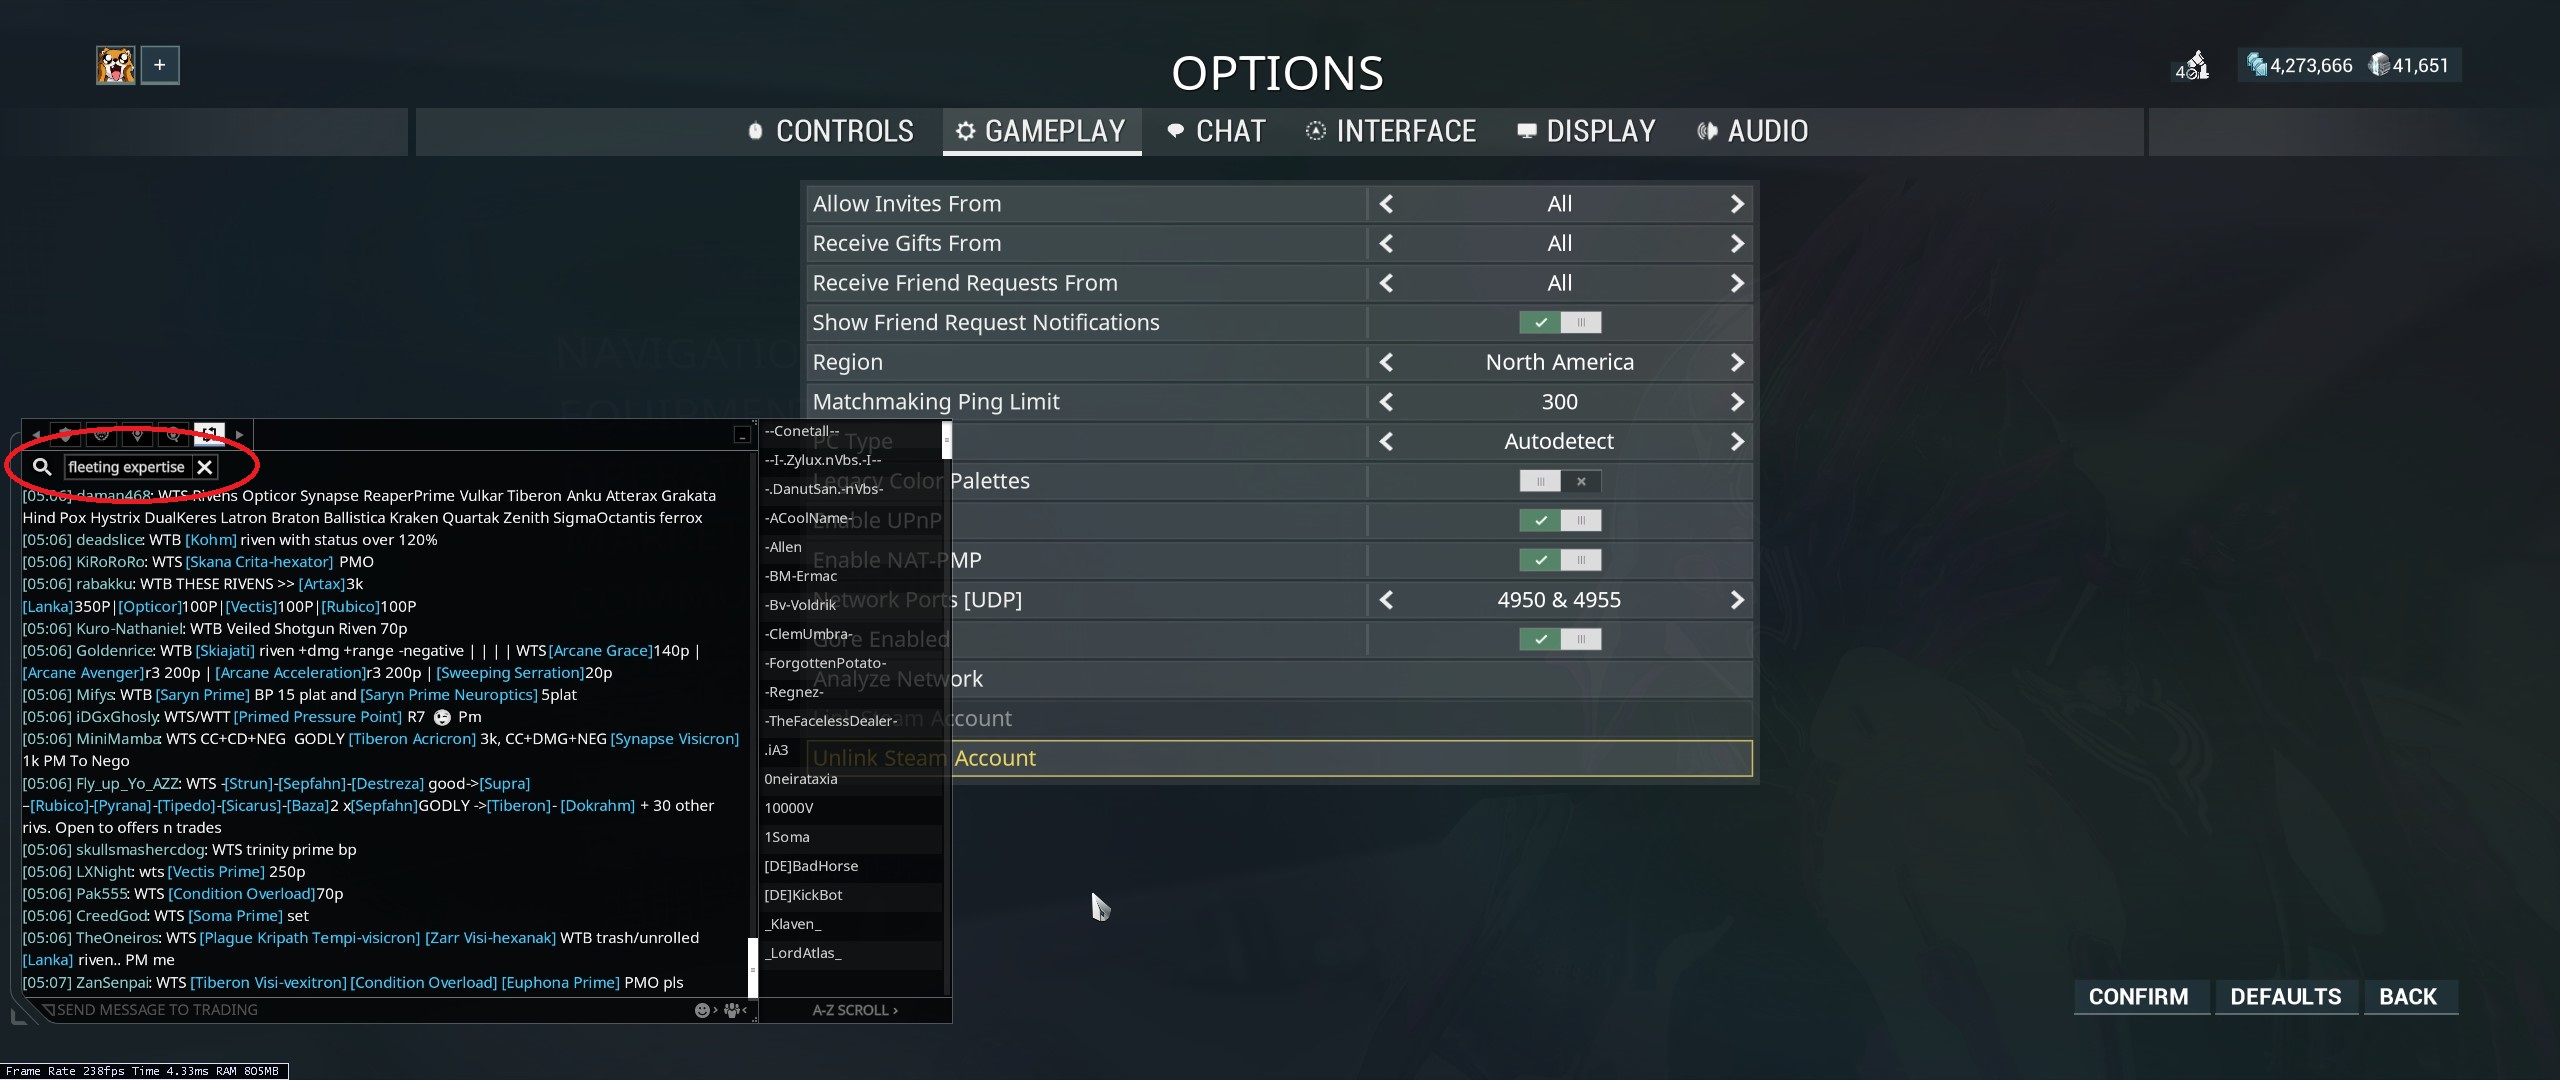 The magnifier symbol is at the top left corner of the chat window.
Chat Commands
Most Used Chat Commands
/invite username
invite a player to a party
/unstuck
use whenever glitched in a map
[item name]
link an item in chat. E.g. [Corrosive Projection] (Link will point to the item in the in-game market.)
/friend add username
send a friends request
/i username
ignore a player cutting off communication (They can still see your messages but not vice versa.)
/profile username
check a player's profile
/?
view full command list
Clans/Dojo


Benefits of Joining a Clan
- A way to trade with other players via the dojo trading post
- Weapons, warframes, and items only available in the dojo
- People to play with
- People who can help
- People who can answer questions
What Clan To Join
Make sure to join a clan with 100% clan research. I suggest moon clans because they have the highest capacity of players capped at 1000 and they usually have 100% research and none to barely any requirements. Really the choice is all yours, but a one with 100% research is a good idea.Size of Clans By Tier
Ghost
1-10
Shadow
11-30
Storm
31-100
Mountain
101-300
Moon
301-1000
How To Join a Clan
You can ask to join a clan in the recruitment channel or in the Official Warframe Forums for Clan Recruitment[forums.warframe.com]. If you meet the requirements and are not currently in a clan, a recruiter will send you an invite. The invite will show up in your inbox (esc-->communications-->inbox).How To Access the Dojo
To access the Clan Dojo: esc-->communication-->clan-->enter clan dojoYou must first build a clan key in the foundry to enter.
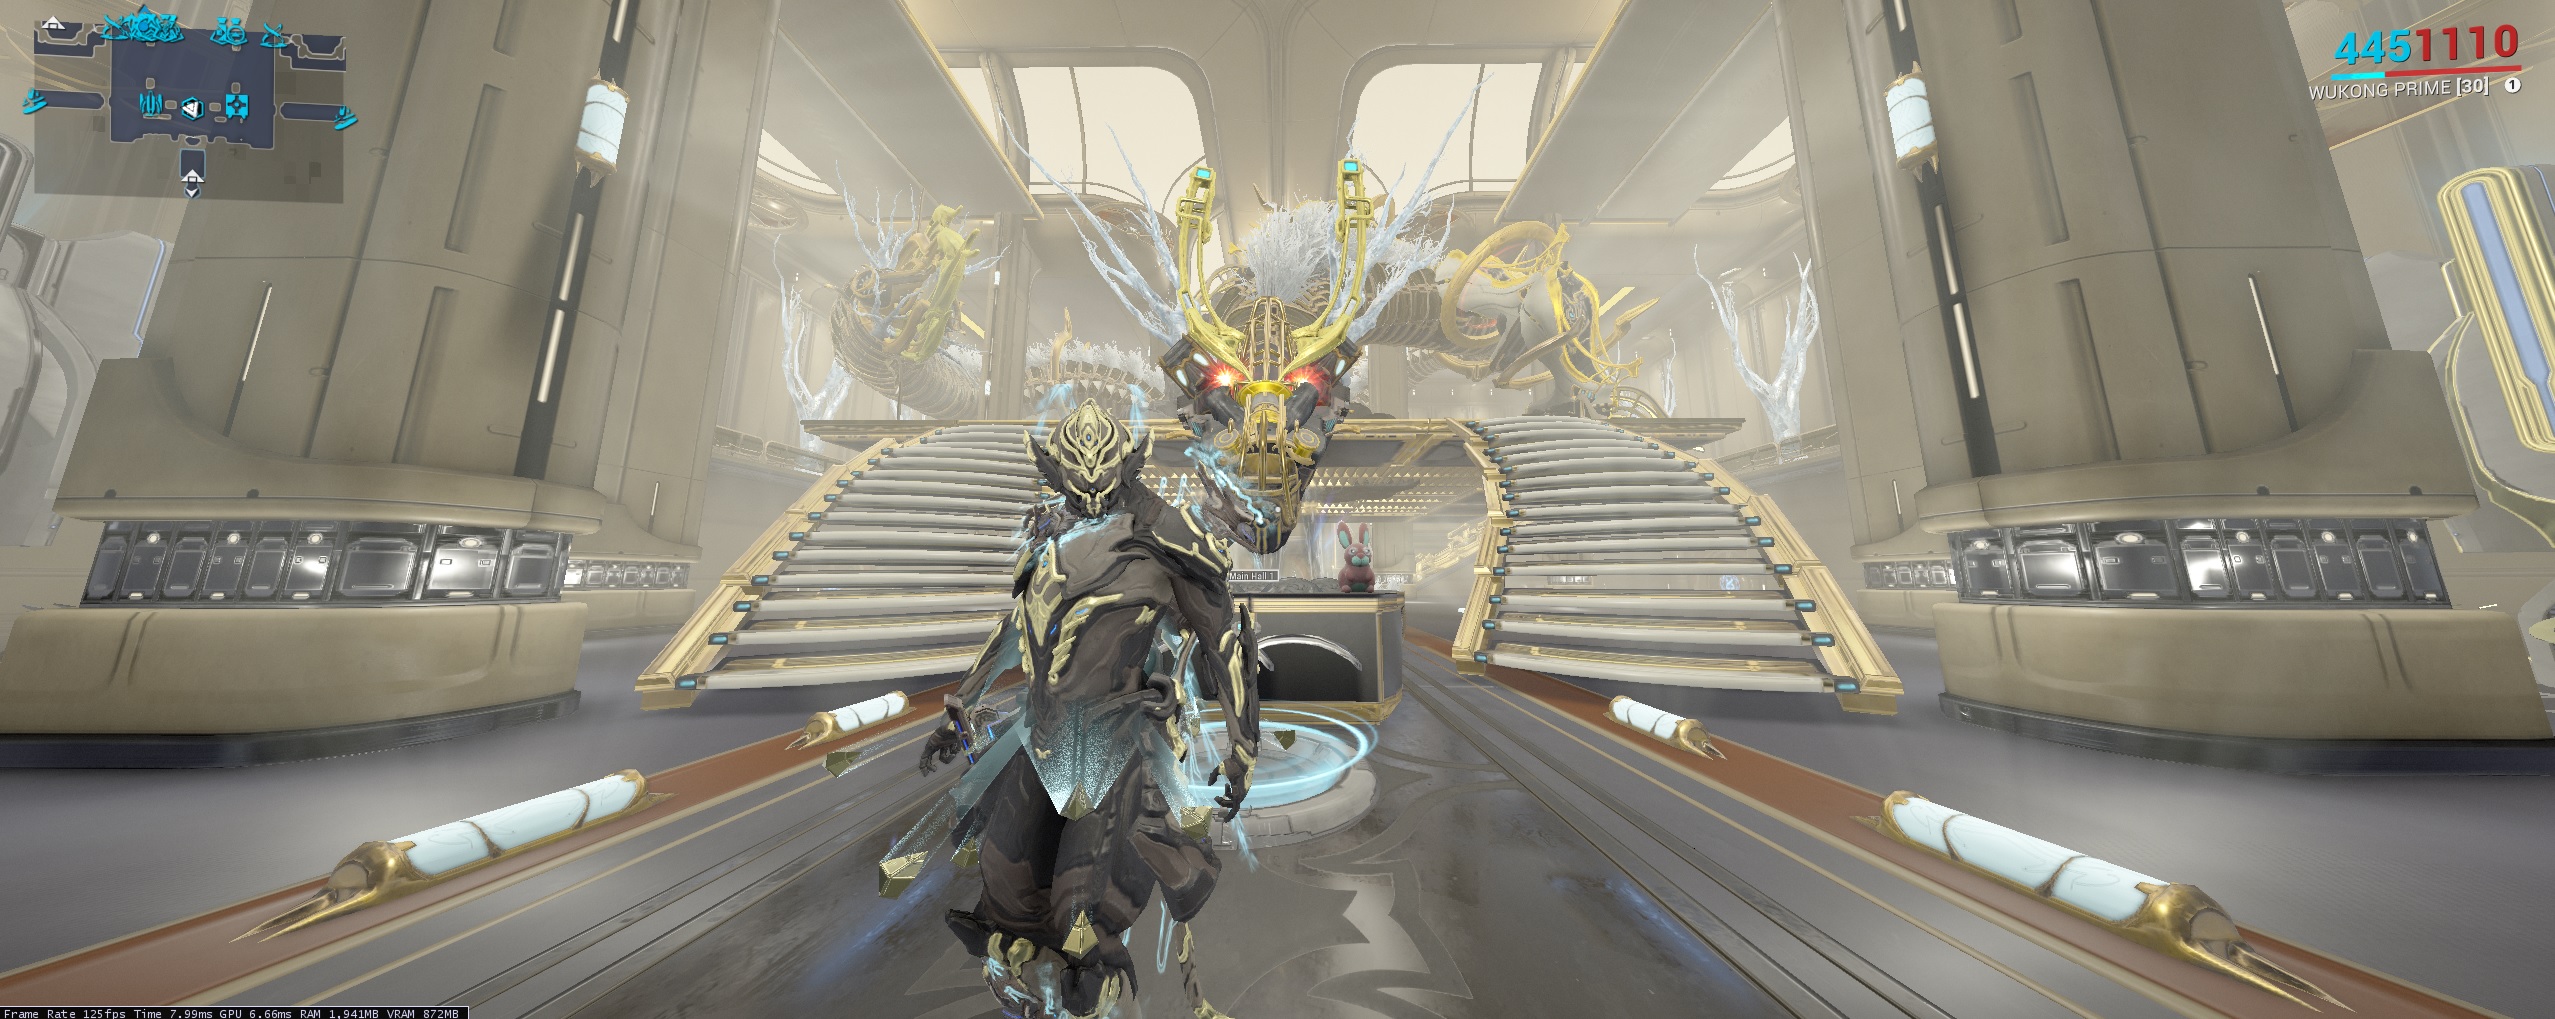
What the Trading Post in Dojo Looks Like
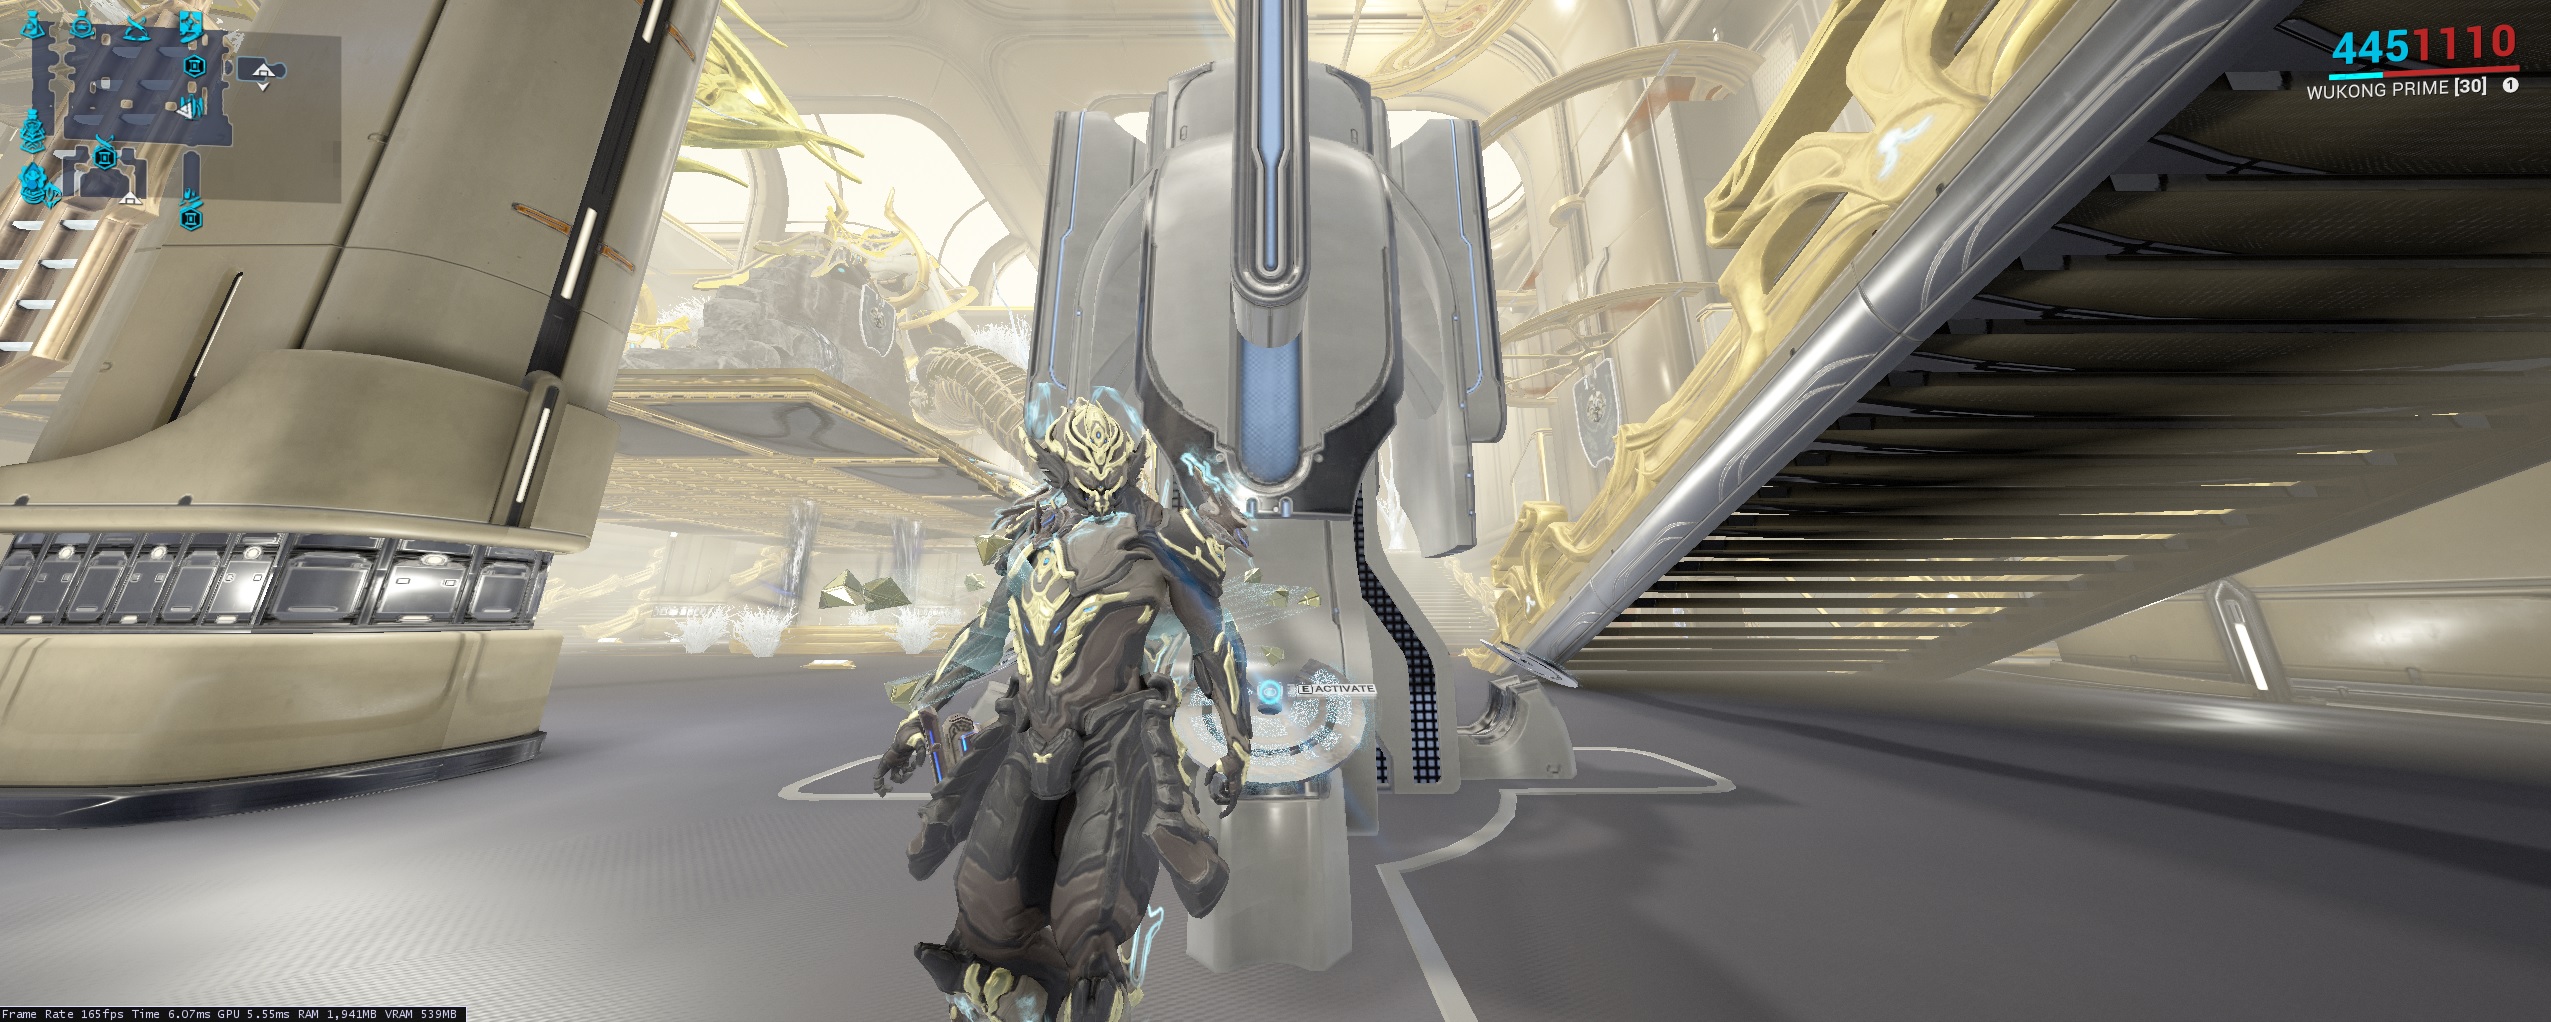
Requirements To Trade
- Mastery Rank 2
- Two Factor Authentification Enabled via website under account management. Click here[www.warframe.com].
Nightwave System
What Do I Get From Nightwave?
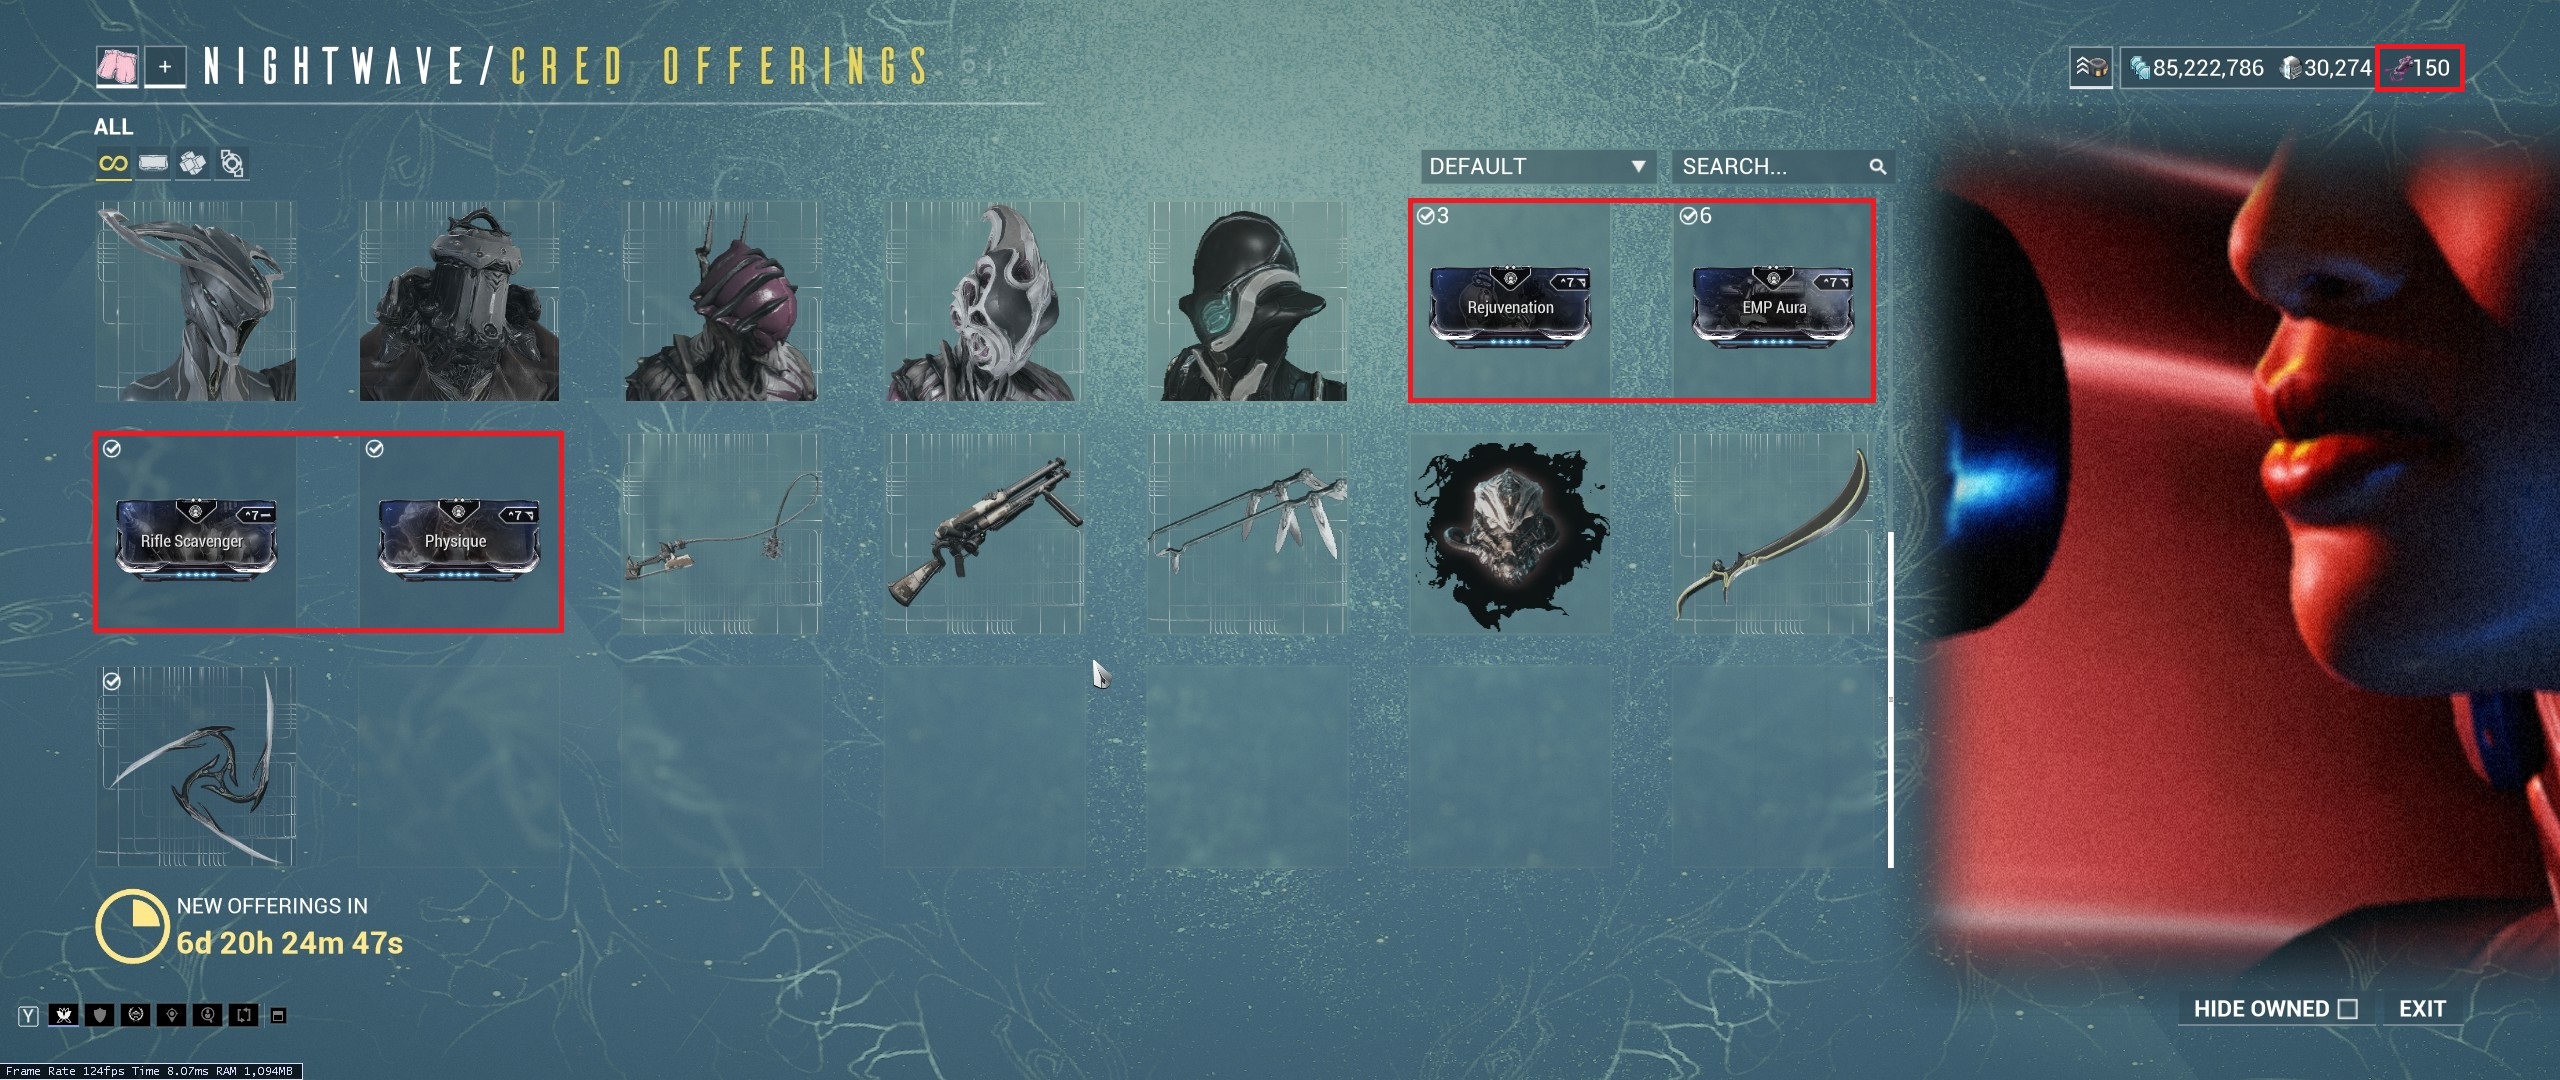 Progressing through the Nightwave system gives you access to many essential items. They include: Orokin reactors/catalysts, Aura mods, exclusive weapons, forma, nitain extract, and the Vauban warframe.
How To Access Nightwave
How To Progress In Nightwave
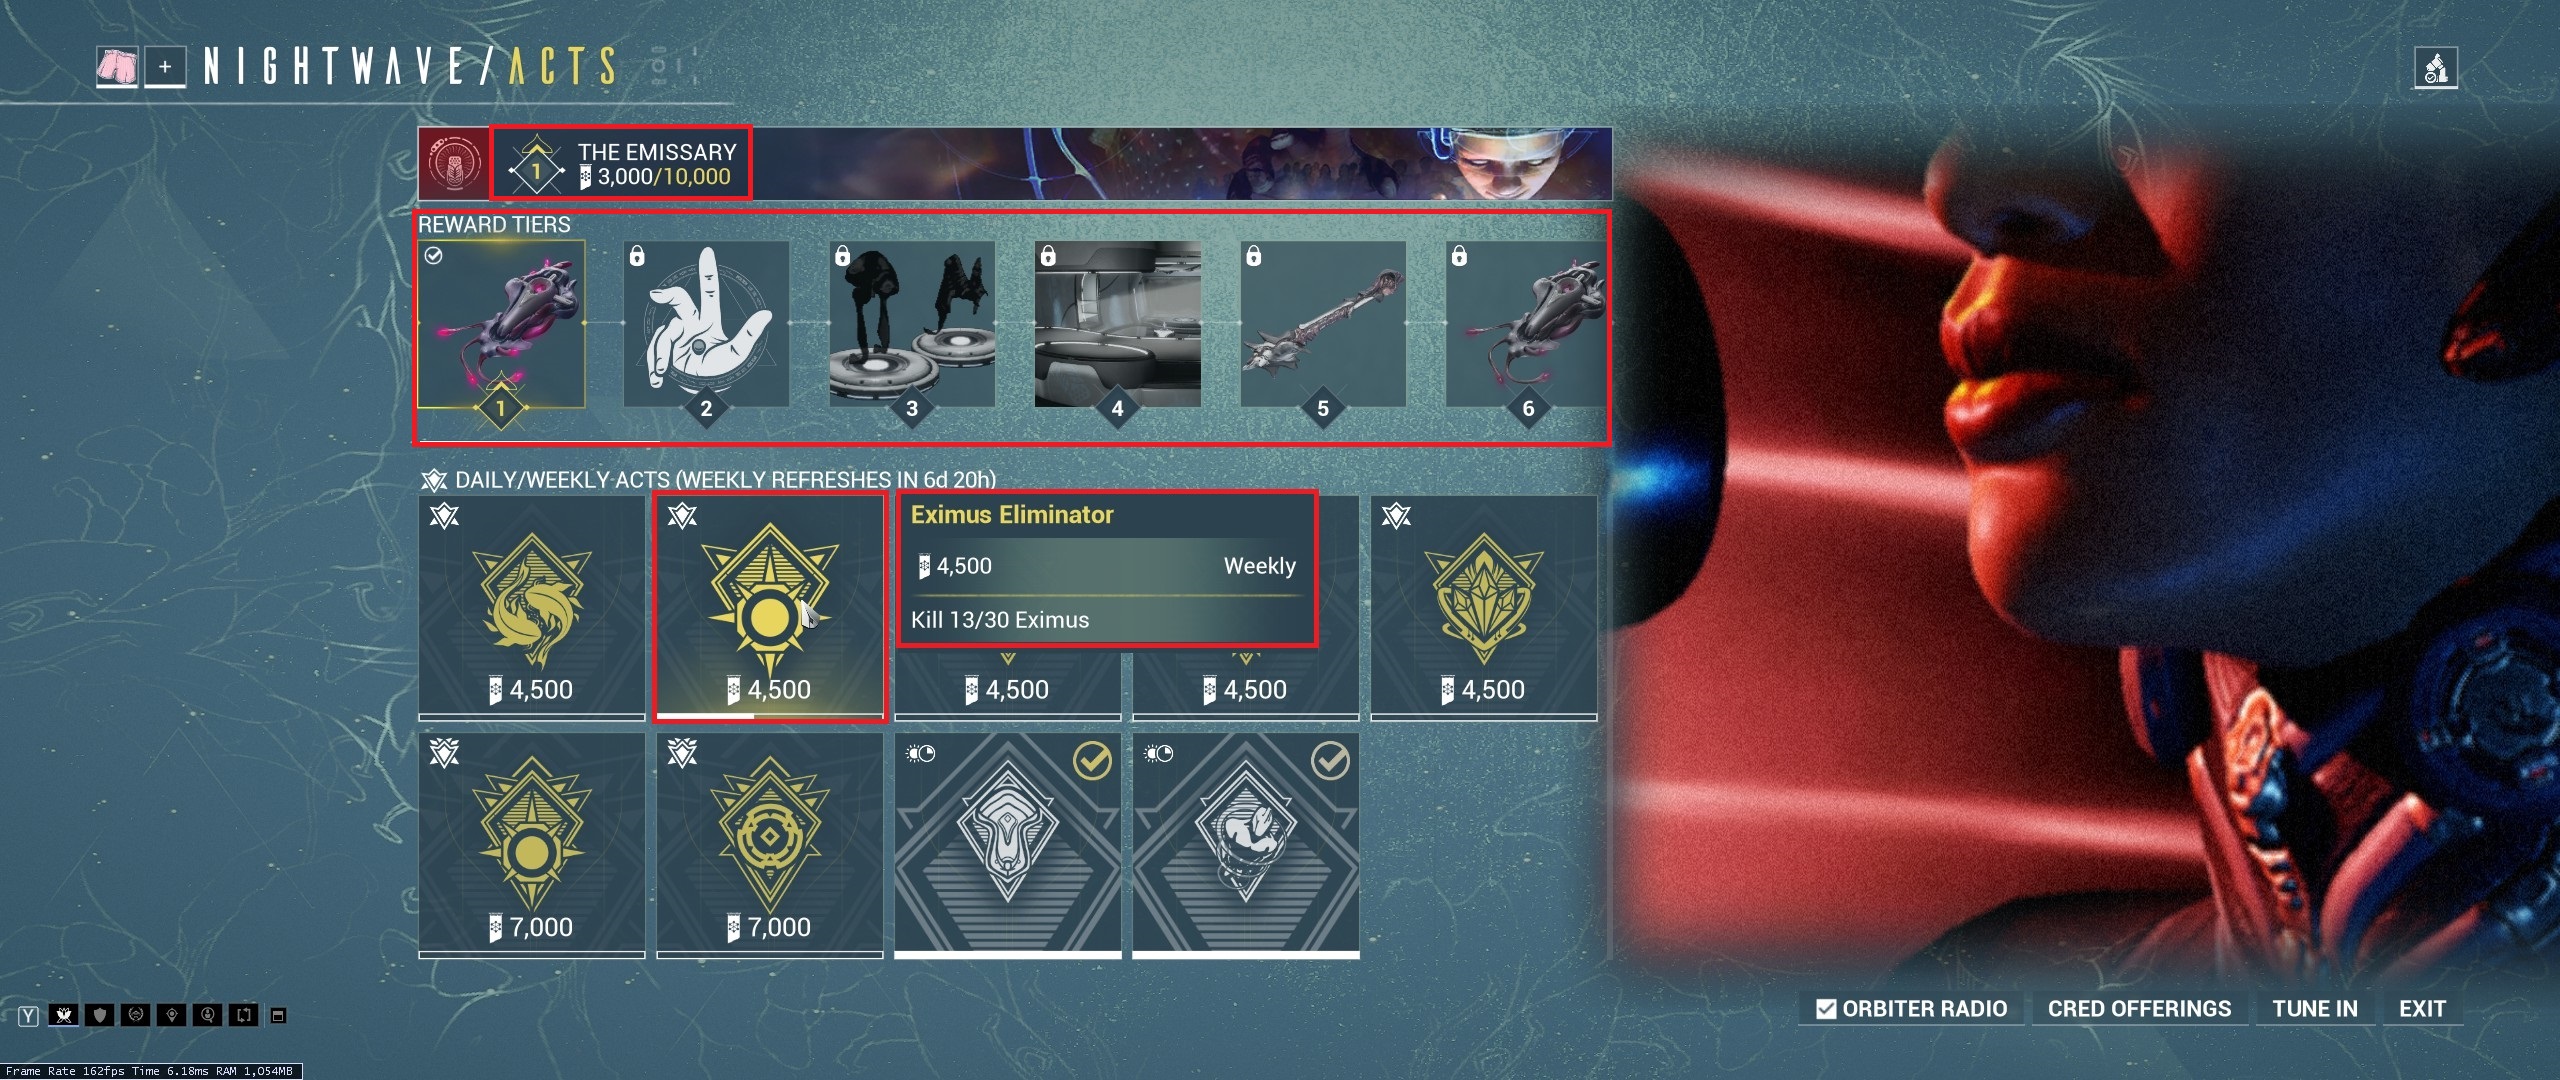 Nightwave has a total of 30 ranks aka reward tiers. You'll have to do daily/weekly acts to rank up. The challenges award anywhere from 1,000 and 9,000 points toward the rank. Each rank takes 10,000 points to level up. The challenges reset every 7 days on Sunday.
Nightwave Credits
Rewards from each tier changes through each rank. Every few tiers, you will be rewarded with Nightwave credits. These credits are used to buy the various items listed above. The available items rotate every 7 days on Sunday. The top right corner displays how many credits you currently have.Nightwave Skins
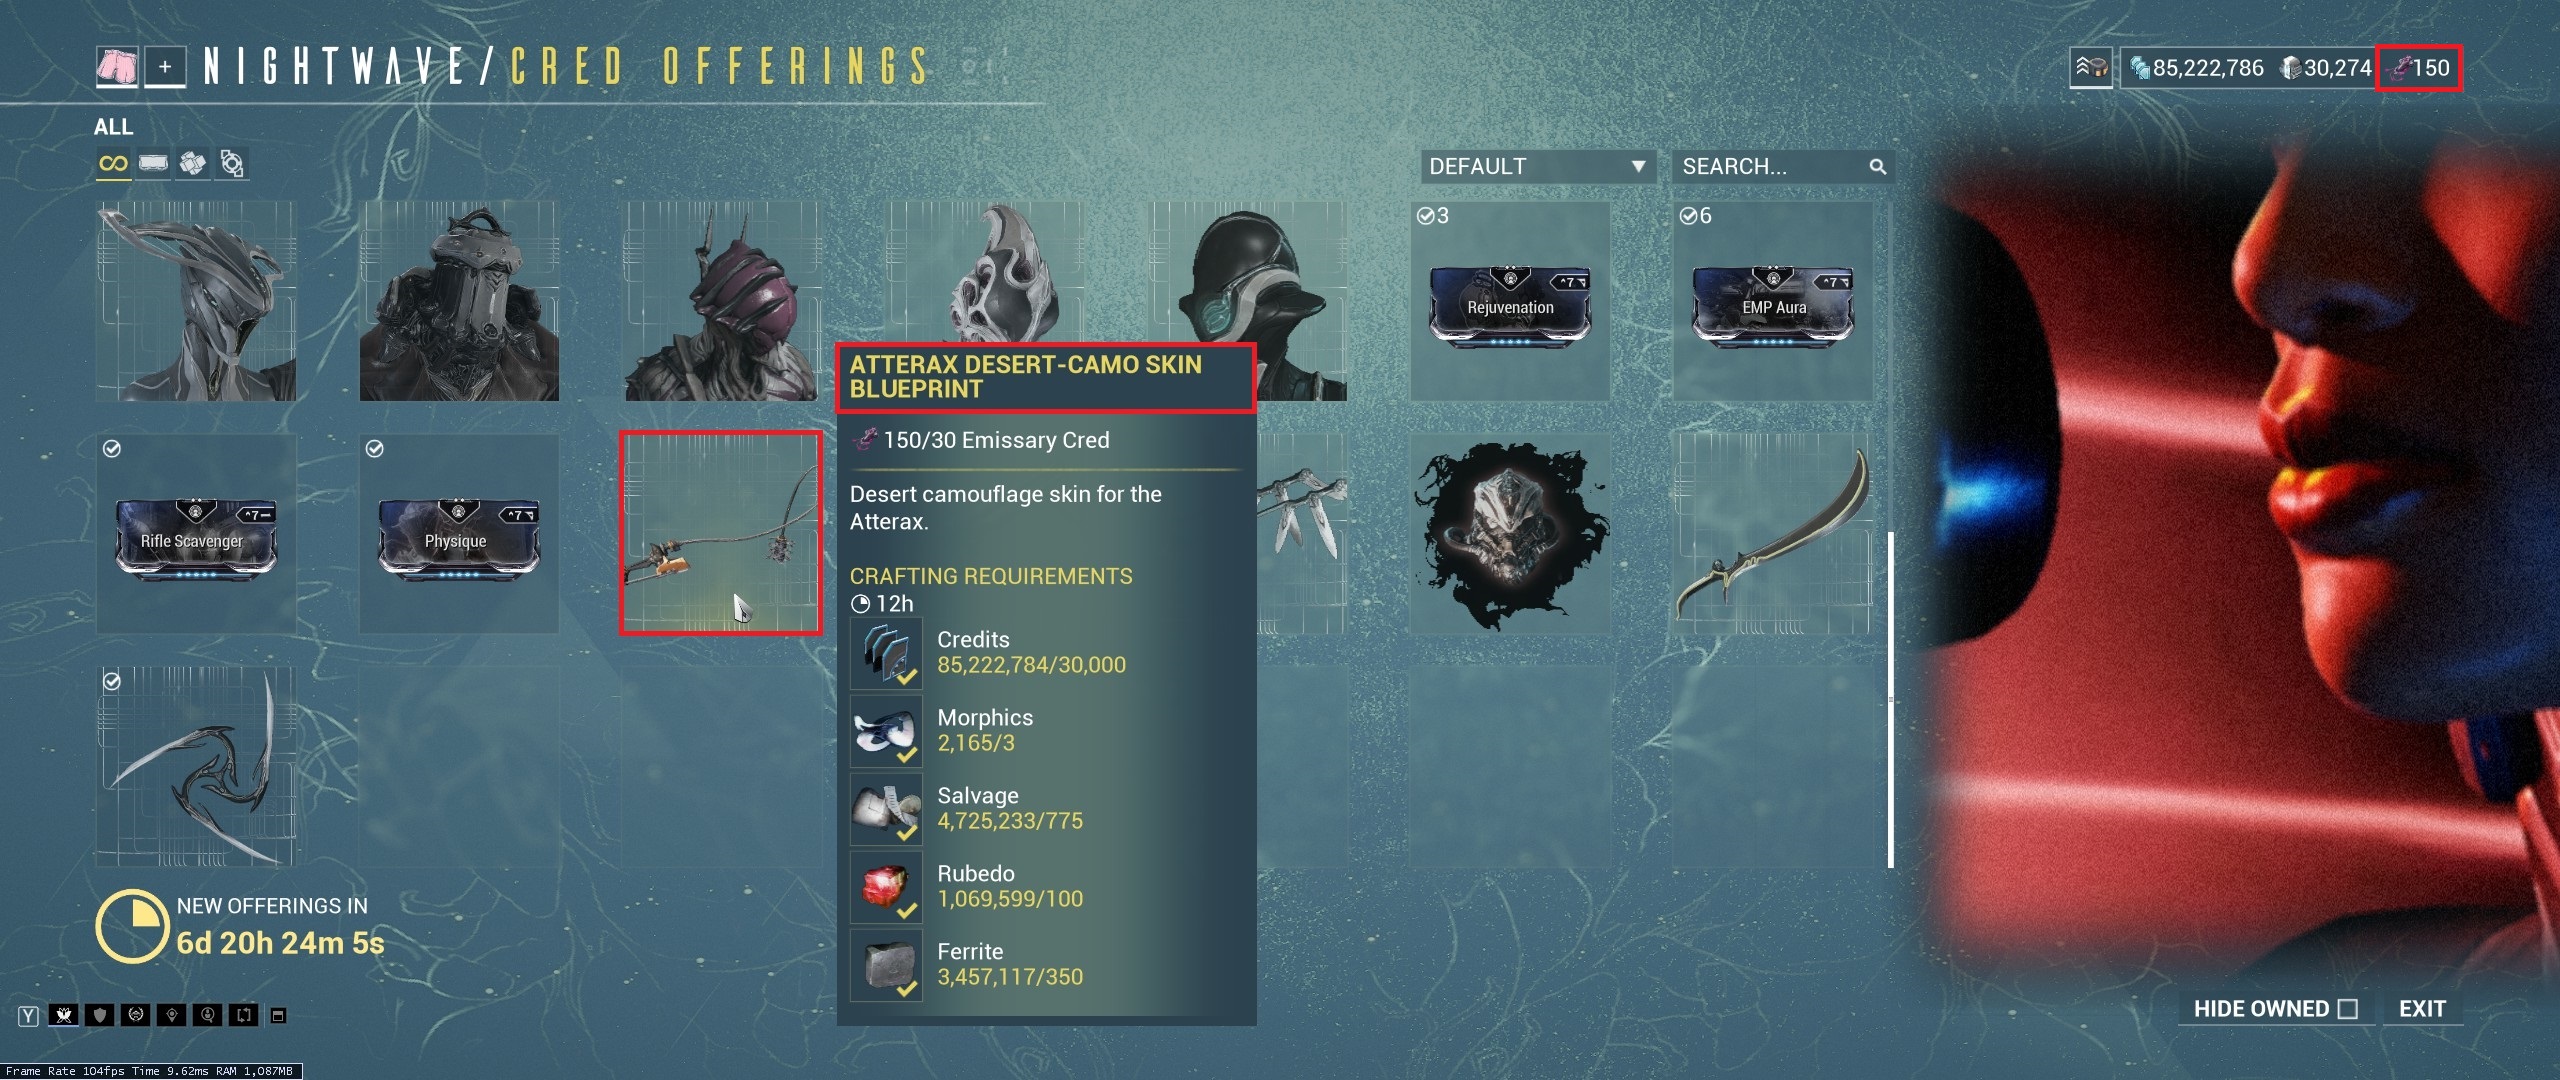 Many of the items available are only skins, so be sure to look closely before buying.
Make sure to spend all your nightwave credits at the end of each season because they will disappear in the next season.
Missed Acts
Any Weekly and Elite Weekly Acts that have not been completed before the next week's rotation will be put on reserve. After all of the current week's Acts are completed, any missed Acts from previous weeks will be available and marked as Recovered, three at a time. Once all missed Acts have been completed, they will no longer appear, only to be refreshed in future week rotations.
Nightwave System (Daily Acts)
This section only lists acts with less obvious solutions. To equip gear items, go to arsenal (esc-->equipment-->arsenal-->third tab). To use a gear item in mission, open the gear wheel (default key Q).
Daily Act
Solution
Deploy an Air Support Charge in a Mission
Air support charges are built in the foundry and must be equipped in gear menu.
Kill 150 Enemies with Magnetic Damage
Combine Electric and Cold
Kill 150 Enemies with Gas Damage
Combine Heat and Toxin
Kill 150 Enemies with Blast Damage
Combine Heat and Cold
Kill 150 Enemies with Corrosive Damage
Combine Toxin and Electric
Kill 150 Enemies with Viral Damage
Combine Cold and Toxin
Kill 150 Enemies with Radiation Damage
Combine Heat and Electric
Mark 5 Mods or Resources
Target item on floor and mark (default key G)
Complete 1 Transmutations
Go to Mods (esc-->equipment-->mods). Select 4 mods and transmute.
Hijack a Crewship from the enemy
Requires unlocking railjack from the Rising Tide quest after completion of The Second Dream.
Kill 10 Enemies with Finishers
Sneak up behind enemies and melee for finisher animation or bypass the need to sneak using blinding abilities such as Excalibur's radial blind.
Play 1 Emote
In mission, select gear wheel and press right click to open the emote wheel.
Deploy a Glyph
Glyphs need to be equipped in gears. In mission, select glyph in gear wheel.
Find 5 Syndicate Medallions
See section, "Syndicates."
Suspend 5 or more enemies in the air at once with a Heavy Slam Melee Attack
Requires jumping and pointing at a downward angle before melee'ing. Equipping Reach melee mod will be helpful. An easy mission to do this would be an infested defense because the infested will all gather at the defense objective.
Deploy a Specter
Most specters come from killing syndicates in mission when they randomly spawn or bought from them using standing. They must be equipped in gear (esc-->equipment-->arsenal-->third tab to the right) before deployment.
Rescue an animal in Duviri
There are some corrupted animals in Duviri. They will be hostile if they spot you, so sneak up from behind them.
Visit a Featured Dojo
Esc-->Navigation-->dojo-->featured dojo
Interact with your Kubrow or Kavat
See section, "Companions," on how to get one.
Donate to the Leverian
To enter the Leverian museum: esc-->Quests-->Leverian tab. There will be a small donation box.
Scan 15 Objects or Enemies
For more information, see section, "Cephalon Simaris."
Visit Acrithis in Duviri
Requires completion of The Duviri Paradox Quest. She always appears at end of mission after beating the Orowyrm in either modes: The Duviri Experience or The Lone Story.
Kill 3 Drones or Ospreys with your Melee Weapon
Ranged melee weapons such as gun blades and thrown weapons make this challenge easier. Examples with low MR requirement include: Glaive (MR1), Redeemer (MR4), Xoris (MR4), Orvius (MR5), Cerata (MR7), Corufell (MR8), Falcor (MR8), and Sarpa (MR8).
Place 1 decoration in your Orbiter or Dormizone
Esc-->equipment-->orbiter-->decorate.
Kill 20 Enemies while riding a K-Drive, Kaithe, Velocipod, Merulina
Requires completion of the Vox Solaris Quest.
Successfully defend an Excavator without allowing it to run out of power.
completely filling an excavator takes 6 power cells amounting to 1 minute and 20 seconds worth. It might be good idea to kill enough power carriers before deploying the excavator.
Pierce and kill 2 or more enemies in a single Bow shot.
You can do this by equipping punch thru mods such as Metal Augur or Shred, and lining up enemy shots. You can also do this with explosive bows such as Lenz (MR8).
Complete a game of Komi in Duviri
Komi is the othello game.
Nightwave System (Weekly Acts)
This section only lists acts with less obvious solutions. To equip gear items, go to arsenal (esc-->equipment-->arsenal-->third tab). To use a gear item in mission, open the gear wheel (default key Q).
Weekly Act
Solution
Fully socket 3 Ayatan Sculptures
See "Ayatan Sculptures" section.
Find all caches in 3 Sabotage missions
See section, "Difficult Junction Challenges." This can be done at any sabotage mission with Grineer, Corpus, and Void tilesets.
Complete 6 different Perfect Animal Captures
Done in Orb Vallis of Fortuna.
Complete 12 Conduits in Disruption
Disruption mission is located on Jupiter and is unlocked after doing the Natah quest.
Kill 30 Eximus
Eximus units spawn more in Sanctuary Onslaught and Sortie missions with modifier Eximus Stronghold. The New Strange quest must be completed to unlock Sanctuary Onslaught.
Help Clem with his weekly mission
See Darvo to que this mission. He is located in the room next to Cephalon Simaris' room. To go to Cephalon Simaris' room, while in the relay, press esc-->fast travel-->Cephalon Simaris.
Polarize with Forma 1 time
See section, "Modding."
Complete 3 Scans for Cephalon Simaris
See section, "Cephalon Simaris."
Complete 3 Nightmare missions of any type
See section, "Useful Nightmare Mods," on how to access them.
Unlock 3 Relics
See section, "Fissure System."
Unlock 4 Dragon Key vaults on Deimos
See section, "How To Farm Corrupted Mods."
Activate 3 Requiem Obelisk on Deimos
Requires completion of the Heart of Deimos and The War Within Quests. Requiem Obelisks spawn randomly in Cambion Drift in Deimos. They require an amp to activate.
Retrieve the Ayatan Statue for Maroo in Maroo's Bazaar
Maroo's Bazaar is located on Mars. She offers a weekly Ayatan treasure hunt.
Defeat the Orowyrm
Requires completion of The Duviri Paradox Quest. Orowyrm is the boss at the end of The Durviri Experience or The Lone Story game modes.
Kill 20 enemies in 5 seconds.
Warframes with AOE abilities modded with range and power strength will work. Range mods include Overextended, Stretch, Augur Reach, and Cunning Drift. Power strength mods include Intensify, Transient Fortitude, Blind Rage, Augur Secrets, and Power Drift. Warframes with AOE abilities include: Banshee, Dante, Ember, Equinox, Excalibur, Frost, Gauss, Kullervo, Mesa, Mirage, Nezha, Rhino, Saryn, Yareli, and Zephyr.
Complete 3 Kuva Siphon Missions
Requires completion of The War Within Quest. Destroying the Siphon is not required.
Complete 2 Void Armageddon missions
Requires completion of the Angels of the Zariman Quest.
Complete 3 Railjack Missions
Requires unlocking railjack from the Rising Tide quest after completion of The Second Dream.
Play 2 different Shawzin songs in Duviri
Requires completion of The Duviri Paradox Quest.
Complete 3 Void Flood Missions.
Requires completion of the Angels of the Zariman Quest.
Fly your Kaithe for 1000 meters
Kaite is your horse in Duviri.
Complete 6 Invasion missions of any type
See section, "Navigation."
Gain 5,000 Standing with any one Syndicate faction
See section, "Syndicates."
Kill 100 enemies with a Necramech
Requires completion of the Heart of Deimos and The War Within Quests.
Complete 1 Sortie
Requires completion of The War Within Quest. For more information, see section, "Navigation."
Complete 5 Syndicate missions
See section, "Syndicates."
Complete 8 waves of Sanctuary Onslaught
Requires completion of The New Strange Quest.
Kill a Tusk Thumper in the Plains of Eidolon
Spawn in POE during the daytime. They are always initially burrowed underground until you hover over them.
Unlock 3 Relics
Do 3 fissure missions. See section, "Fissure System."
Complete 4 different Bounties in the Zariman
Requires completion of the Angels of the Zariman Quest.
Nightwave System (Elite Weekly Acts)
This section only lists acts with less obvious solutions. To equip gear items, go to arsenal (esc-->equipment-->arsenal-->third tab). To use a gear item in mission, open the gear wheel (default key Q).
Elite Weekly Act
Solution
Complete 4 Halls of Ascension on Lua
Lua planet is unlocked after completing the "Second Dream" quest. More information is on the warframe wiki[warframe.fandom.com].
Win 3 wagers in a row without letting the enemy score in one match of The Index
Index is located on Neptune. Any risk level can be completed. Warframes with crowd control abilities is recommended.
Complete 8 Zones of Elite Sanctuary Onslaught
ESO unlocks after completing the New Strange quest.
Kill 100 Eximus
Eximus units spawn more in Sanctuary Onslaught and Sortie missions with modifier Eximus Stronghold. The New Strange quest must be completed to unlock Sanctuary Onslaught.
Survive over 30 minutes in Kuva Survival
Completion of War Within quest is required. Kuva survival missions are any survival missions on the Kuva Fortress.
Kill or Capture an Eidolon Hydrolyst
Plains of Eidolon is mid-game content and is not included in this guide.
Complete 10 Nightmare missions of any type
See section, "Useful Nightmare Mods," on how to access them.
Unlock 10 Relics
See section, "Fissure System."
Open one of each era/tier of Relic (Lith, Meso, Neo, Axi)
See section, "Fissure System."
Complete an Archon Hunt
Requires completion of the Veilbreaker Quest.
Evolve any Incarnon weapon in-mission 5 times
Requires completion of Angels of the Zariman Quest.
Kill 1000 Enemies on The Steel Path
Unlocking Steel Path (hard mode) requires completion of all missions on the star chart. Undone missions will blink blue.
Defeat the Orowyrm in Steel Path
Requires completion of The Duviri Paradox Quest.
Requires completion of all Star Chart nodes. Orowym is the boss in modes, The Duviri Experience, and The Lone Story.
Requires completion of all Star Chart nodes. Orowym is the boss in modes, The Duviri Experience, and The Lone Story.
Complete 8 Railjack Missions
Requires unlocking railjack from the Rising Tide quest after completion of The Second Dream.
Defeat 5 Void Angels in the Zariman.
Requires completion of the Angels of the Zariman Quest. Bounties with secondary objective defeat Void Angel, will have quest marker.
Defeat the Ropalolyst
The boss on Jupiter on node, The Ropalolyst.
Complete 3 waves of Mirror Defense.
Access to the node on Tyana Pass, Mars requires completion of the Heart of Deimos quest and Mastery Rank 3, while Munio, Deimos requires completion of Whispers in the Walls quest.
Kill The Exploiter Orb
Check the warframe wiki[warframe.fandom.com] for more information.
Kill the Profit-Taker
Requires completion of the Vox Solaris Quest and Rank 5: Old Mate with Solaris United. Check the warframe wiki[warframe.fandom.com] for more information.
Kill 300 enemies using a Necramech without getting destroyed
See section, "Necramech."
Complete 3 Sorties
See section, "Navigation."
Finish a Capture mission in less than 90 seconds
Speed warframes make this easier which include: Volt, Nova, Gauss, Wisp, Nezha, and Titania. They are not required with use of parkour mechanics. Check my other guide, Speed Runs: Tips, Parkour, And Ability Mechanics
Destroy 3 Necramech Isolation Vault guardians
They are tough enemies but have a weakness on their back. Voidrig can easily destroy them. See section, "Necramech."
Exchange 10 Riven Slivers for a Riven Mod
Rivens slivers come from eximus units in steel path mode, requiem relics, and railjack empyrean mission rewards. Exchange them with Palladino located on Earth, Ironwake.
Complete 5 Steel Path Missions
Steel path mode (hard mode) requires completion of all Star Chart nodes.
Free one Captured Solaris using a Granum Crown
Requires completion of The Deadlock Protocol Quest. Captured Solaris can be found hidden in tight maintenance corridors or in some rooms on the Corpus Ship. A Granum Crown can be spent to free these prisoners. They drop from Treasurers that randomly spawn on Corpus Ship missions. Venus, Fossa is a good mission. Defeating the Jackal will not be required. 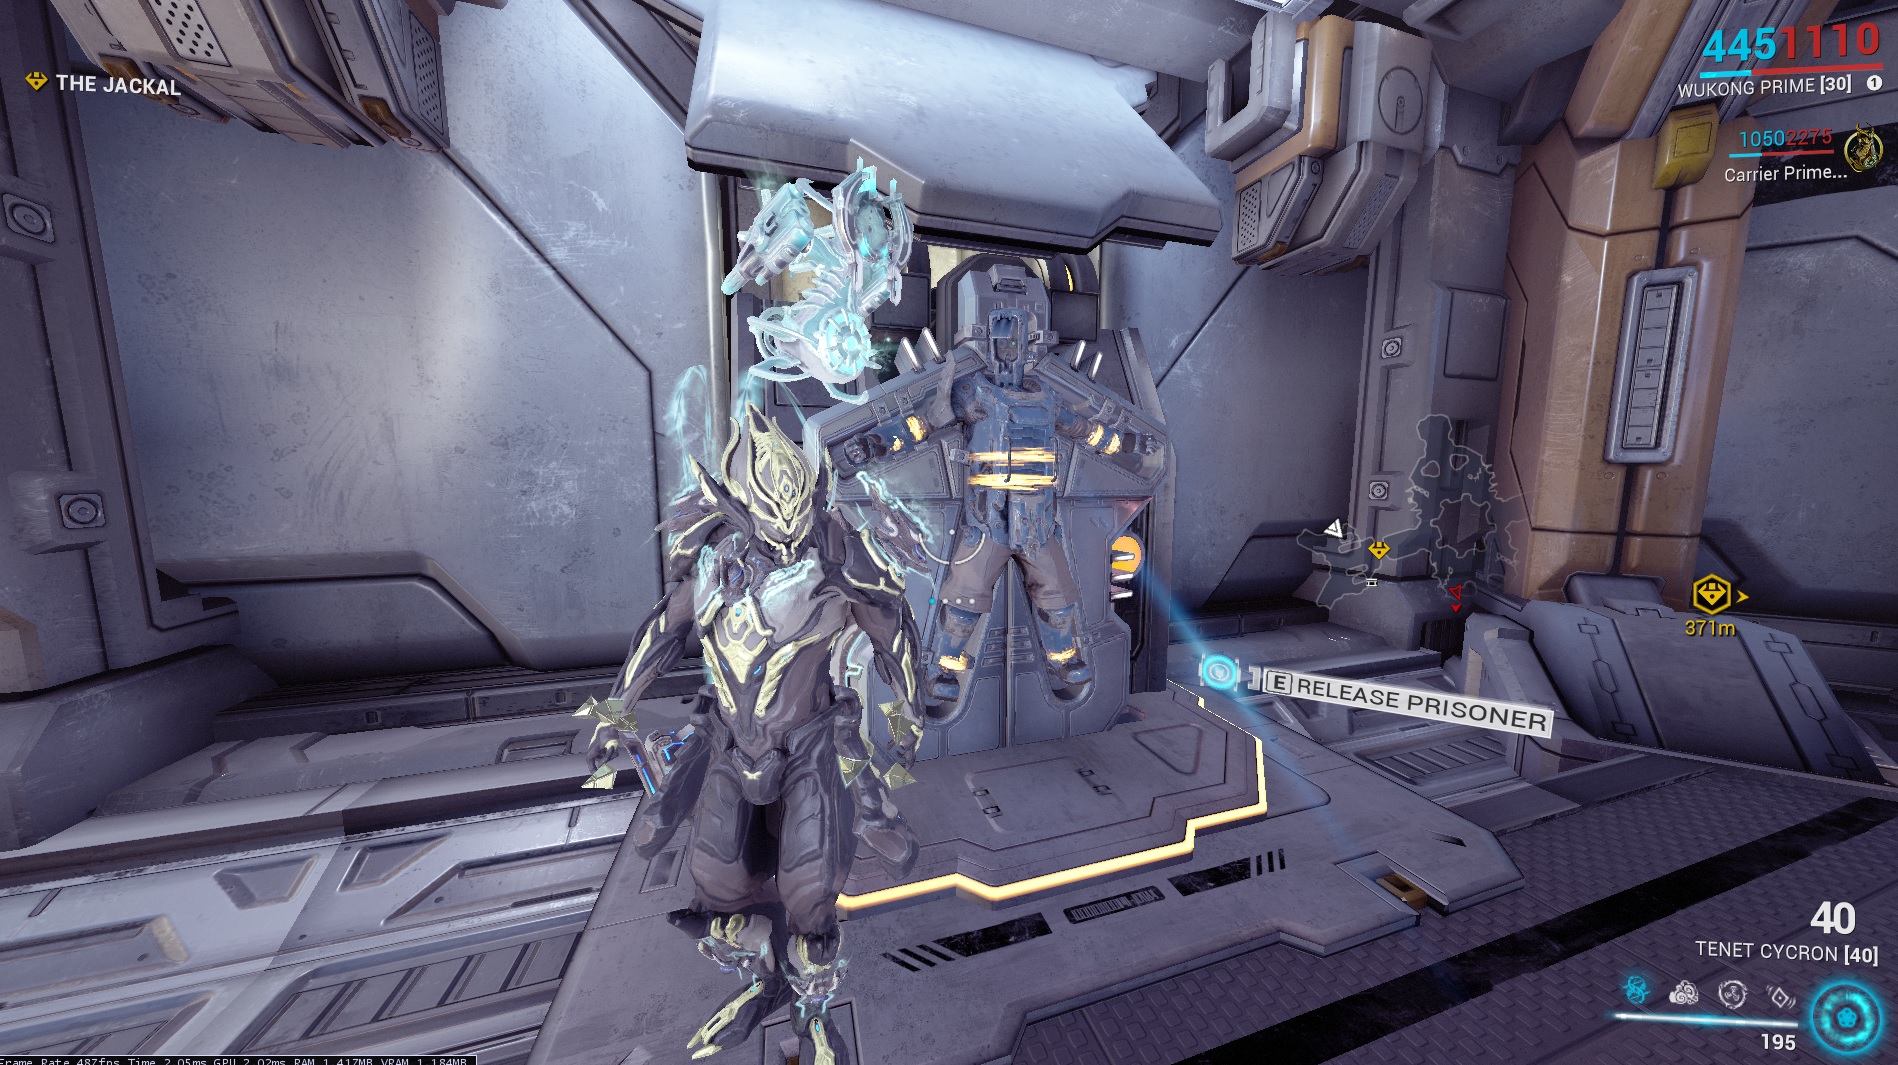
Complete an Arbitration Mission
Requires completion of all Star Chart nodes. Arbitrations will show on the Alerts tab in navigation.
Kill a Tusk Thumper Doma in the Plains of Eidolon
Tusk Thumper Domas only spawn in Tier 5 level bounties during the day.
🤤🤤🤤🤤 WARFRAMES🤤🤤🤤🤤
Warframes Introduction
 This section gives VERY brief descriptions of warframes, so that you can pick which ones interest you without information overload. All the warframes are useful and specialize in different mission types although it is true that certain warframes are requested more often in parties than others. Due to power creep, some warframes are little more outdated than others. Also some warframes are more new player friendly than others. Prime variants are the superior versions that mostly boast small stat increases with a few exceptions. They also tend to look nicer. Not all prime variants have been released yet and some prime warframes have been vaulted meaning they are no longer in reward tables and can only be traded for with other players with platinum. Periodically these vaulted warframes will be temporarily un-vaulted for a couple months. Otherwise, all prime variants can be farmed in fissures.
Check out my other guide, Beginner Friendly Warframes And Builds 👌, for more beginner builds.
Warframes (Starter)
Introduction
 I have provided basic builds for the starter warframes, Excalibur, Volt, and Mag, since new players are guaranteed to have one of these warframes. These builds should only be temporary and are designed to be new-player friendly. The builds are energy efficient and cheap, with all mods within grasp requiring only an orokin reactor and no forma. Many of the mods used are mods, detailed in section, "Important Mods." You probably don't have all the mods and enough endo. Therefor, you can slowly build up your collection, add each mod, and rank them whenever you can. Advanced builds will be available later on and can be tweaked according to your play style and tastes after learning more about the game.
Excalibur Overview

Acquisition: Starter or farmed from Lieutenant Lech Kril on War, Mars
Many new players like Excalibur. He can shoot high damage waves out of his exalted blade. Exalted Blade is easy to mod for early game, and can be built for very high damage with an advanced build. He also has a nice AOE attack and blinding ability. Superior Variant, Excalibur Umbra, will be available after completing the quest, The Sacrifice, deep within the quest line. Without spoiling anything, be warned that to fully utilize Excalibur Umbra will take a ton of credits and endo.
Excalibur's Exalted Blade
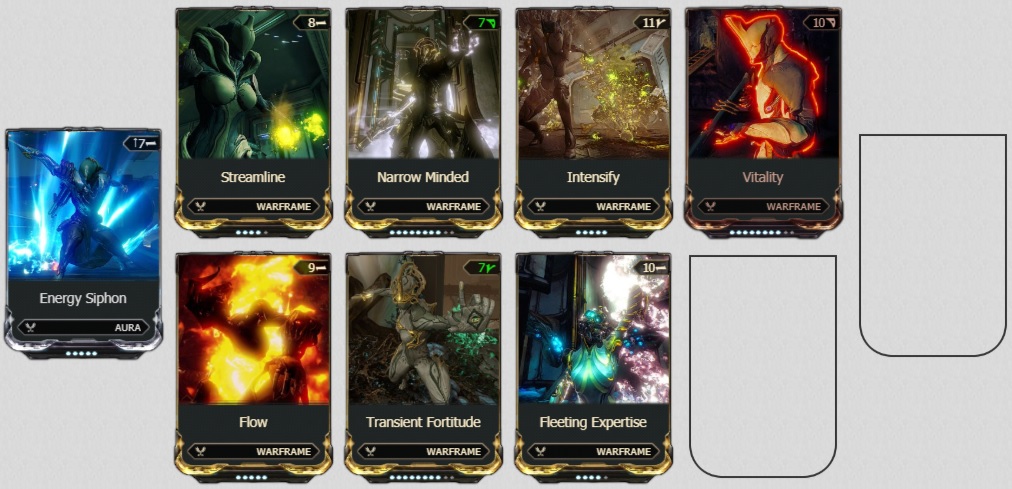
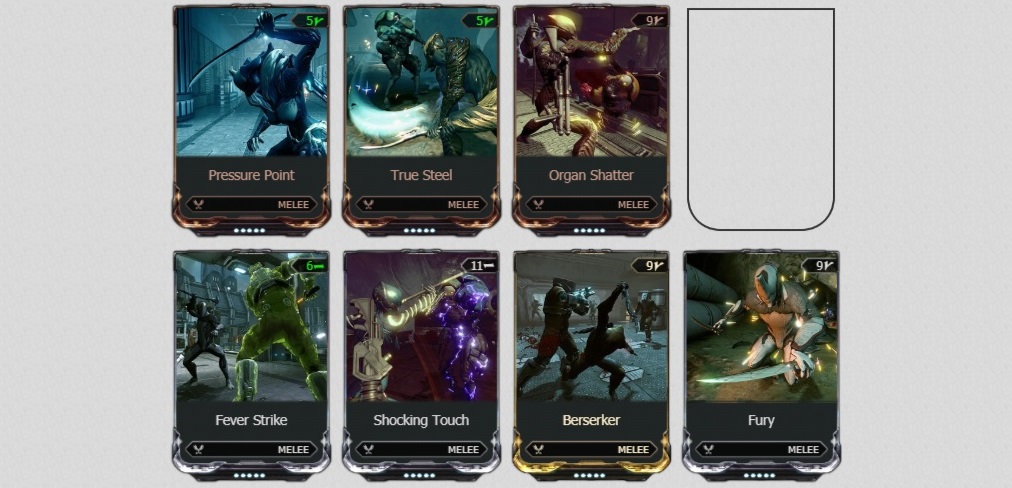 The first build is designed for Excalibur's fourth ability, Exalted Blade. The second build is for the Exalted Blade itself. Many new players like Excalibur because of this ability. After activation, Excalibur's melee will shoot waves that damage enemies, with unlimited punch through passing through enemies and walls, for up to 40 meters. Activating Exalted Blade will cost 6.25 energy and cost 0.63 energy per second to maintain. Each energy orb pickup buys you 40 more seconds of Exalted Blade. The Exalted Blade can be modded as well and will increase DPS. Note: This build is the most new player friendly and relies the least on mods to be effective compared to all other builds including volt's and mag's builds.
Excalibur's Radial Javelin
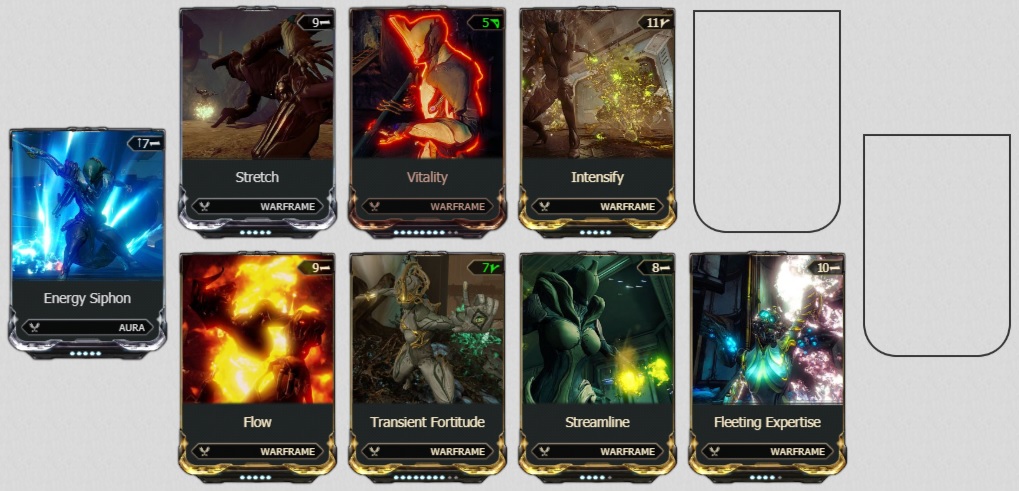 This build is designed around Excalibur's third ability, Radial Javelin. Excalibur will slam his sword into the ground and nuke all enemies, that are in line of site, within 36.25 meters.
Excalibur's Radial Blind
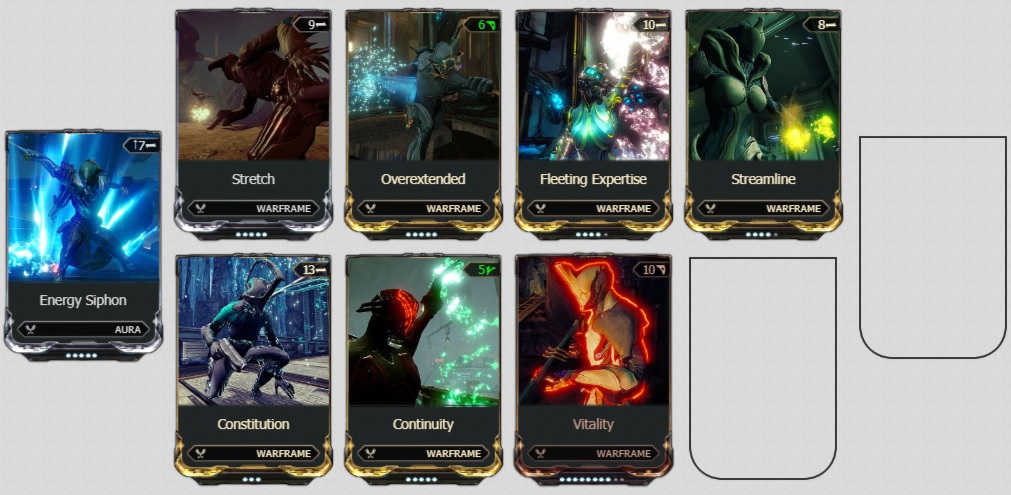 This build is designed around Excalibur's second ability, Radial Blind. This build is a very defensive build and casting Radial Blind will blind all enemies within site of a distance of 58.75 meters for 16.20 seconds. Radial Blind costs 12.5 energy to cast. Blinded enemies are debuffed to take additional damage.
Volt Overview

Acquisition: Starter or at the Tenno Lab in the Clan Dojo (details in "Clan/Dojo" section)
Volt may not be a good choice as a starter not because he isn't good, but because he is easy to get from the Clan Dojo. Volt can give a team-wide sprint speed, melee attack speed, and reload speed boost. He can set a small invincible shield, that when shot through increases electric damage and critical damage. He also has an aoe wide attack that can be modded to restore shield and provide overshield. He is the main warframe out of 4 that is requested in pubs for end-game content, Eidolon Captures.
For all the Volt Builds listed here, the aura mod can be interchanged between Steel Charge (+60% Melee Damage), Rifle Amp (+27% Rifle Damage), Shotgun Amp (+18% Shotgun Damage), Pistol Amp (+27% Secondary Damage), and Dead Eye (+52.5 Sniper Rifle Damage), depending on the weapon type you want to use. Steel Charge at max rank will provide 4 extra capacity than the other auras.
Volt's Speed/Electric Shield Hybrid
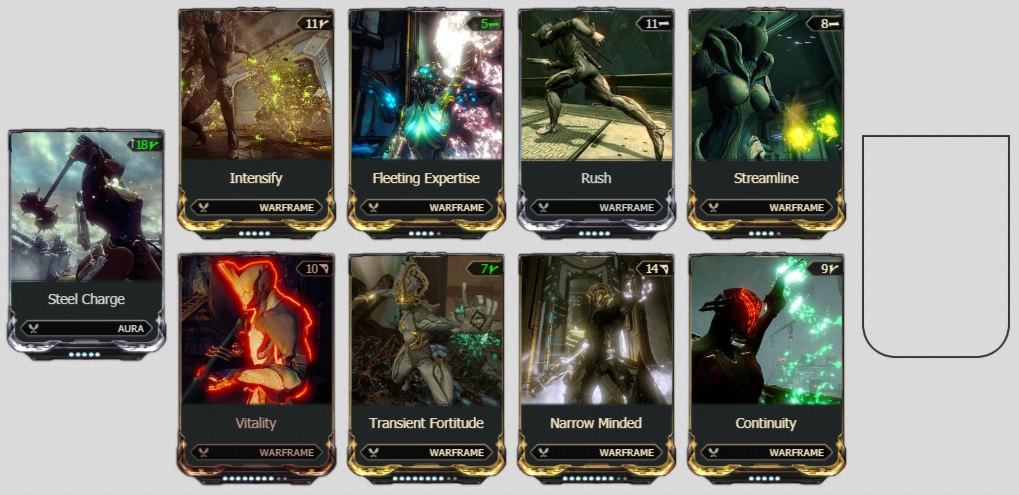 This build is designed primarily for Volt's second ability, Speed, and secondarily for Volt's third ability, Electric Shield. The speed ability give +87.5% sprint and melee attack speed and +29.75% weapon reload speed. This is especially good for clearing maps faster, boosting melee dps, and to a lesser extent weapon dps. Speed will only cost 6.25 energy to cast and will last 13.85 seconds. Small electric shields can be placed with Volt's third ability. These shields are invincible and when shot through gives +150 Electric damage and +200% critical damage synergizing with high critical chance weapons. Electric Shield will cost 12.5 energy to cast and last 34.63 seconds.
Volt's Pure Electric Shield
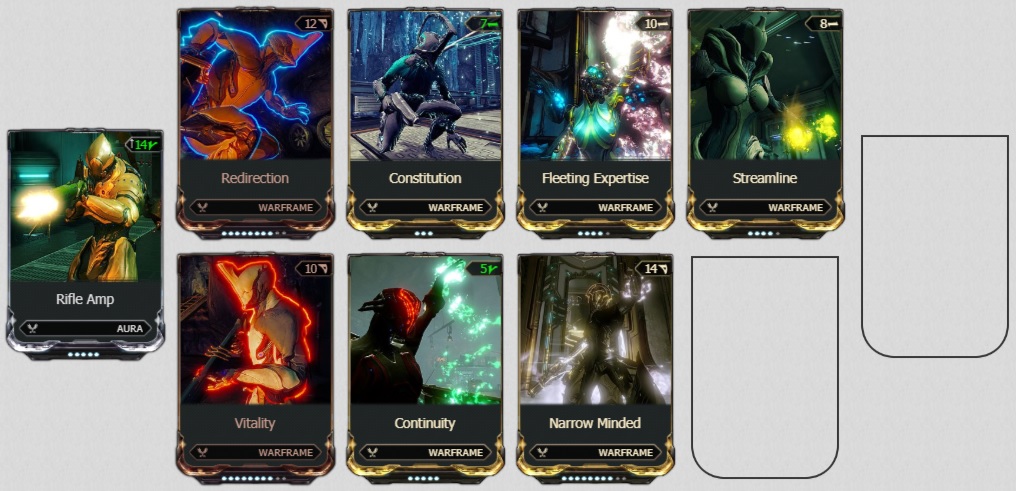 This build is designed purely for Volt's third ability, Electric Shield, and has more survivability than the other builds. Electric Shield is very powerful because it is invincible and buffs weapon damage when shot through for +150 electric damage and +200% critical damage. The shields can be stacked up to 3 times for a maximum of +450 electric damage and +600% critical damage! The shields can be picked up, but will cause energy drain. To get the most out of the damage buffs, shields will have to be set in place leaving little room for mobility. Therefor, this build is good when camping in one spot or when protecting choke points. The shields will cost 12.5 energy to cast and last 47.25 seconds.
Volt's Discharge
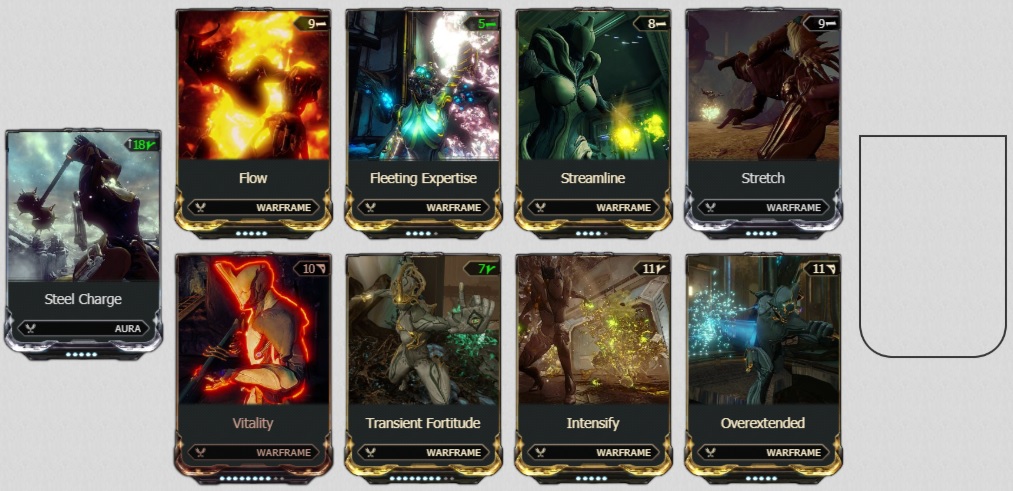 This build is designed for Volt's fourth ability, Discharge. Discharge is a nuke and will zap all enemies within 47 meters. For more damage, Overextended can be swapped with Vigor at the cost of a smaller range of 29 meters.
Warframes (Starter)
Mag Overview

Acquisition: Starter or farmed from The Sergeant on Iliad, Phobos.
Overview: Mag is somewhat of a niche frame that is hated or loved by the community. She can cast a bubble around enemies that when shot at attracts bullets and redirects them toward the enemy. This can be modded for insane damage in end-game in combination with the correct weapons. She can also lower enemy armor and has an AOE attack.
For all the Mag Builds listed here, the aura mod can be interchanged between Steel Charge (+60% Melee Damage), Rifle Amp (+27% Rifle Damage), Shotgun Amp (+18% Shotgun Damage), Pistol Amp (+27% Secondary Damage), and Dead Eye (+52.5 Sniper Rifle Damage), depending on the weapon type you want to use. Steel Charge at max rank will provide 4 extra capacity than the other auras.
Mag's Pull/Crush Hybrid
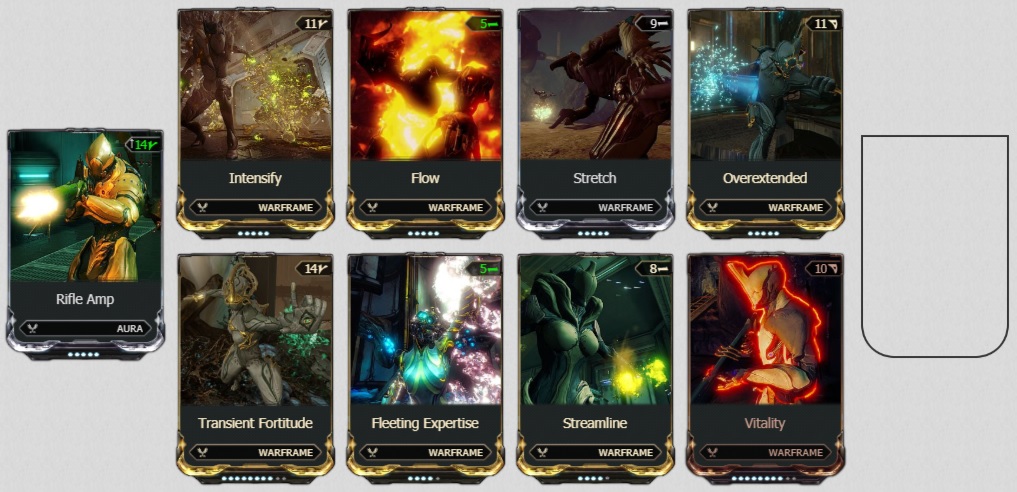 This build is designed for both Mag's first ability, Pull, and fourth ability, Crush. Pull does 345 magnetic damage to all enemies within 58.75 meters. Pull is extremely energy efficient only costing 6.25 energy and pulls all items including energy orbs toward Mag. Additionally any enemies killed by pull have a 28.75% additional chance of dropping an energy orb. It doesn't do that much damage and so will be more effective with enemies level 20 and below. Crush is stronger but not quite as energy efficient costing 25 energy per cast. It will do 1725 magnetic damage to all enemies within 42.30 meters.
Mag's Polarize
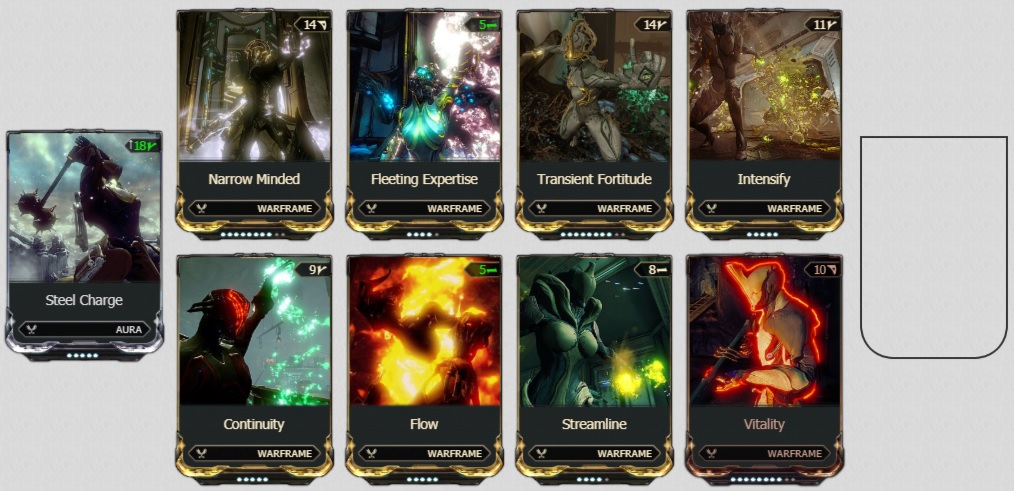 This build is designed around Mag's third ability, Polarize. Polarize sends out of a wave that expands in every direction 7.5 meters per second for a duration of 6.92 seconds eventually reaching a distance of 51.9 meters before disappearing. Enemies will take 700 damage, suffer shield and armor reduction, and debuffed to receive 4.63x damage.
Mag's Magnetize
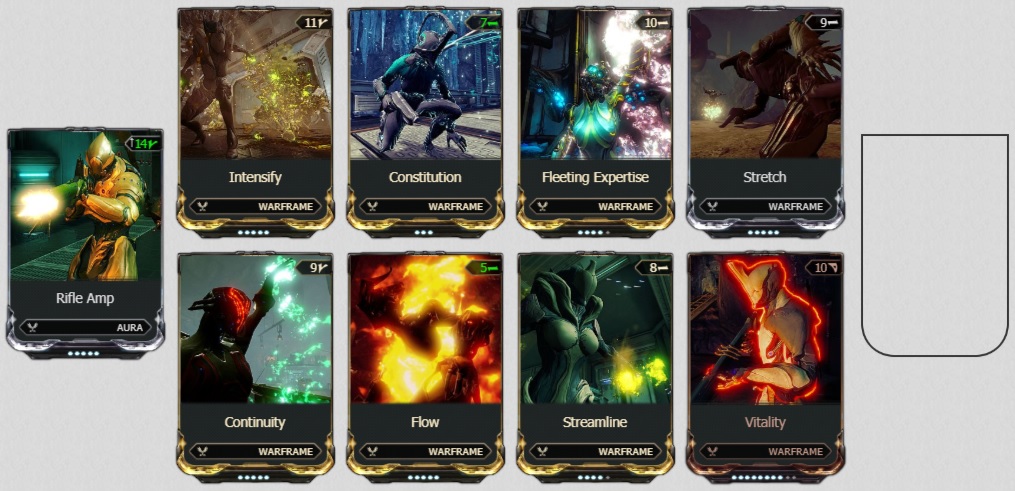 This build is designed around Mag's second ability, Magnetize. When casted on an enemy they will be engulfed by a bubble (10 meter circumference). When shooting whether by you or enemies at the bubble, projectiles will be redirected toward enemies caught within the bubble. Additionally, they will take +260% more damage. For maximum damage, shoot above enemies, because projectiles will be redirected toward enemy heads. When the bubble disappears, it will explode and do additional damage in a 21.75 meter radius. Certain weapons will synergize with Magnetize because they will swirl around several times within the bubble before dissipating for additional damage. Low mastery rank weapons detailed in the "Weapons" section include: Ignis (MR5), Dera Vandal (MR 7), Atomos (MR 5), and Synoid Gammacor (MR 7). An advanced build for Magnetize combined with certain top tier weapons available at higher MR will do insane damage and can propel players several hours into survival missions. Magnetize is best used in small hallways as the bubble will cover whole choke points doing damage to all enemies in the condensed space as well as offering protection from enemy projectiles.
Warframes (Farmed From Bosses)
Warframes Are Organized According To Planet Unlock Order
Each planet has a boss and most reward warframe part blueprints.Hydroid (Earth)

Acquisition: Farmed from Councilor Vay Hek on Oro, Earth.
Hydroid can do an AOE attack that can be modded with augment mod, Pilfering Swarm, to provide additional chance for loot drops from affected enemies. He can turn into an invincible pool of liquid that traps enemies when they fall in and inflicts damage upon them.
Rhino (Venus)

Acquisition: Farmed from Jackal on Fossa, Venus.
Rhino can be modded to be super tanky. He can provide crowd control and a nice damage buff for himself and his teammates to both weapons and abilities.
Nekros (Deimos)

Acquisition: Farmed from Lephantis on Magnacidium, Deimos.
Nekros is the master of the dark arts and can resurrect dead enemies to fight by his side. He can be modded to become a tank and give additional loot drops. He is often used in farming parties for extra loot and survival missions for additional life support drops.
Frost (Ceres)

Acquisition: Farmed from Lieutenant Lech Kril & Captain Vor on Exta, Ceres.
Frost is a defensive warframe and can provide a health-based protective bubble. It is effective in protecting teammates and mission objectives. He also has an AOE attack that doubles as a crowd control ability temporarily freezing enemies. This AOE attack also strips enemy armor, which will be helpful against enemies above level 100.
Valkyr (Jupiter)

Acquisition: Farmed from Alad V on Themisto, Jupiter.
Valkyr can go into hysteria mode where she becomes invincible but limited to powerful melee attacks. She can also provider her and her teammates increased melee attack speed. She has the highest base armor in the game.
Wisp (Jupiter)

Acquisition: Farmed from the Ropalolyst who is located on the node on Jupiter called, "The Ropalolyst." This mission is unlocked after completing the 12th main quest, Chimera Prologue. There is a specific sequence to defeating this boss and I recommend looking up a youtube video to understand the process.
Wisp is most notable as a great support warframe with buffs and crowd control abilities. Her buffs are not entirely unique, but the way they are administered is. She can set down three different types of flowers which last for entire missions. Two of each flower can be set at different locations further increasing the flowers' versatile. When Wisp and allies step within the flower's buff radius, they will gain increased movement and attack speed, maximum health and heal over time, or ability to stun enemies with an electric aura depending on the type of flower set. Most wisp players will place a set of 3 flowers in the same spot for simultaneous triple buffs. After stepping in and out of range, Wisp and allies will keep the buffs for a duration which can be increased with duration mods.
Nova (Europa)

Acquisition: Farmed from Raptors on Naamah, Europa.
Nova can cast a slow-traveling explosive orb that deals high damage in a radius upon impact. She can set teleport portals for her and her teammates good for speed runs. Portals can teleport players up to a whopping 140 meters. As a result, she is the fastest warframe going point A to point B. She can debuff enemies to take 2x damage and slow up to 75%. She can also speed up enemy movement by 30% good for farming.
Ember (Saturn)

Acquisition: Farmed from General Sargas Ruk on Tethys, Saturn.
Ember is a fire-based warframe. Heat is great as it can lower enemy armor. She has abilities that do AOE damage and crowd control. She can also give herself some damage reduction increasing her survivability.
Equinox (Uranus)

Acquisition: Farmed from Tyl Regor on Titania, Uranus.
Equinox has a powerful AOE attack, Maim, that does scaling slash damage. As damage builds up, disabling Maim creates an explosion that deals additional damage calculated from damage done during Maim. She has another ability that boosts power strength to her and her teammates. She can also put enemies to sleep.
Loki (Neptune)

Acquisition: Farmed from Hyena Pack on Psamathe, Neptune.
Loki is an invisible warframe with other defensive capabilities. He can disarm enemies in a large radius forcing them to melee only. He can set a decoy that attracts enemy attention.
Trinity (Pluto)

Acquisition: Farmed from Ambulas on Hades, Pluto.
Trinity can heal herself and teammates within a 50 meter radius. She is one of the most requested warframes in team compositions for her ability to restore energy to herself and her allies. Her energy restore is the most consistent to all other warframes with similar capabilities giving the ability for teammates to spam their abilities. She can also provide a team-wide damage reduction up to 75% and provide overshield. She is the main warframe out of 4 that is requested in pubs for end-game content, Eidolon Captures.
Nyx (Eris)

Acquisition: Farmed from Phorid during infested invasions.
Nyx can mind control enemies causing enemies in a large radius to attack each other. She can also become invincible, but at a high energy cost and becoming immobile. She can be modded to be mobile during this invincibility but with -50% movement speed.
Saryn (Sedna)

Acquisition: Farmed from Kela De Thaym on Merrow, Sedna.
Saryn is a powerful warframe capable of spreading spores that rips apart enemy armor taking away their damage reduction simultaneously damaging them. She can do an AOE attack and spawn a Molt that can be modded to provide some health regeneration.
Warframes (Acquired from Clan Dojo)
These Warframes Require No Farming Except for Resources and Credits. Just Join a Clan with 100% Research! They are located in the Tenno Lab.
Banshee

Acquisition: Tenno Lab in Clan Dojo
Banshee has one of the strongest enemy debuffs in the game and can be modded to make enemies take as much as 15x damage. She also has an AOE attack and can be modded for strong crowd control.
Nehza

Acquisition: Tenno Lab in Clan Dojo
Nehza has the fastest base slide speed. He has a speed boosting ability, though it is not as strong as Volt's. He also has an AOE attack that double as a crowd control ability. He can lay the floor he walks over with fire damaging enemies. He also has an ability that reduces incoming damage by 90%, but has a limit before it runs out. Nehza is tanky with this ability but is outclassed by the best tanks in the game.
Wukong

Acquisition: Tenno Lab in the Clan Dojo
Wukong's passive revives himself and provides random buffs for up to 3 times per mission. Wukong can summon a copy of himself that will aggressively attack enemies. Wukong can make himself invulnerable for a short time and based on damage received during the invulnerability receive a buff to armor. Wukong is also an amazing at speed running missions. He is able to turn into a cloud that leaves him invulnerable, invisible, and able to travel freely in the air. He also has a melee focused build that can put up huge damage with the right build. His melee ability has high attack speed and high range.
Zephyr

Acquisition: Tenno Lab in the Clan Dojo
Zephyr can cast powerful clowds that destroy enemy armor making them much more susceptible to damage. Enemies as high as level 150+ become much easier to kill as a result. The clowds also provide some crowd control. She can give a small boost in movement speed and is capable of flight good for traveling through the Plains of Eidolon.
Dagath

Acquisition: Dagath's Hollow within the Clan Dojo. Component blueprints require a total of 102 Vainthorn Vainthorns, obtained from the Abyssal Zone, a unique Exterminate mission on Ceres. Access requires Abyssal Beacons, purchased from Faction Syndicate.
Dagath has an ability that regens her own energy and another that does AOE damage in a rectangle in front of her. She can also increase critical damage on her weapons.
Warframes (Acquired From Missions)
Oberon (Eximus Units)

Acquisition: Dropped from Eximus units. (Can be acquired easily just playing the game.)
He provides the team with health regeneration and can law a large blanket of fire on the ground damaging enemies who step on it.
Vauban (Nightwave)

Acquisition: Bought with Nightwave credits
Vauban provides crowd control that disables and suspends enemies especially good against the Infested. He can also casts vortexes that attract enemies.
Ivara (Spies)

Acquisition: Ivara's main and component blueprints are acquired from Spy missions depending on mission level. More information here[warframe.wikia.com].
Ivara can provide her and herself with invisibility and can put enemies to sleep. She can be modded to travel through lasers undetected. Her fourth ability is a bow that does good damage. Her invisible ability prohibits her from doing fast parkour moves such as bullet jumps or sprints. In order to move at faster speeds, she can shoot ziplines which allows her to sprint. Therefor, her playstyle is more a slower methodological approach. Not everyone uses her, but she has a small cult following who swear by her.
Ash (Manics)

Acquisition: Drops from Manics.
Fatal Teleport can be modded for insane single-target scaling damage. He can go invisible and has a single target ability that lowers enemy armor by 70% good for high end game. He can send out clones to attack enemies. He is essentially the ninja of warframe.
Khora (Sanctuary Onslaught)

Acquisition: Rewarded from Sanctuary Onslaught missions.
Kora is the cat lady who provides pretty good crowd control. She has a cat that can attack, protect, and heal. With augment mod, Pilfering Strangledome, for her crowd control ability, affected enemies have an additional chance to drop loot.
Hildryn (Fortuna: Exploiter Orb)

Acquisition: Hildryn's blueprint can be bought from Little Duck for 5,000 standing upon reaching the rank of Agent with Vox Solaris. Her component blueprints can be acquired as drops from the Exploiter Orb.
Hildryn is a very unique warframe. She has the highest base shield by far at 1575. With a max Redirection mod (+440% shield), her total shield comes to 3555, making her tanky. However, she has a severe weakness to toxin and gas because these elementals bypass shields. The grineer unit, Nox, and many infested enemies deal toxin and gas damage. With Hildryn's second and/or third ability, this weakness can be alleviated by maintaining overshield (purple health bar) which prevents bypassing. There are some items that provide Toxin resistance, but they are not usually attained until mid-game or beyond. Her third ability, gives you a 3-second invulnerability, if your shields were to be completely depleted. Her fourth ability, does AOE damage and provide energy orbs.
Gauss (Sedna, Kelpie)

Acquisition: C rotation of disruption mission, Sedna, Kelpie.
Gauss is another speed warframe similar to Volt, except that he cannot provide a team-wide buff, and his ultra speed ability, Mach Rush, restricts Gauss to a straight line. He also has an ability that gives very high damage reduction, making him tanky. He can afflict enemies with cold and heat status. He can also buff himself for increased fire rate, reload speed, melee attack speed, and holster speed.
Grendel (Europa)

Acquisition: Grendel's component blueprints are awarded by completing certain missions on Europa using Locators, which can be purchased from the Arbitration Honors vendor found in any Relay for 25 Vitus Essence each. Vitus Essense is acquired from Arbitration missions which are unlocked after the tenno as completed all missions on all planets.
Grendel is not very popular though his abilities are not completely horrible. He is tanky although not quite in the same tier as some of the best tanks in the game. He can swallow many enemies which slow strip their armor and do damage to them. Each enemy swallowed gives +50 armor each at the cost of higher energy drain per second. Eating a swallowed enemy regens Grendel's health. He can buff himself and teammates for increased energy regen gotten from various sources such as energy orbs, Trinity's energy vampire, and Zenurik's energizing dash.
Caliban (Narmer Bounties)

Acquisition: Caliban's main blueprint is purchased from the in-game market. His component blueprints are acquired from Narmer Bounties after completion of The New War. One component blueprint is available as an uncommon drop; which component is available is chosen randomly on every Bounty refresh after 2½ hours.
Debuffs and strip enemy defenses.
Citrine (Mars, Tyana Pass)

Acquisition: Citrine's main and component blueprints can be obtained from Rotation C of Mirror Defense Tyana Pass on Mars, whose access requires completion of Heart of Deimos. Alternatively they can be purchased from Otak in the Necralisk, Deimos with Belric Crystal Fragment and Rania Crystal Fragment.
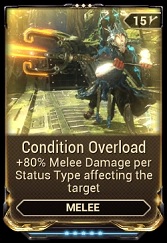
Citrine is great at spreading many status effects to enemies in an AOE which greatly buffs weapons that equip mods such as Galvanized Aptitude and Condition Overload.
Dante (Deimos, Armatus)

Dante's main and component can be obtained from Disruption Armatus on Deimos, whose access requires completion of The Deadlock Protocol and Whispers in the Walls; all parts come from Rotation C. Alternatively they can be purchased from Loid in Sanctum Anatomica with VesselCapillaries Vessel Capillaries dropped by Disruption Armatus Demolishers in quantities of 2-4 (5-7 on The Steel Path); each component requires 90, while the blueprint requires 270, totaling to 540 Vessel Capillaries.
Dante is definitely the Sorcerer of Warframe and is a heavy caster. Most notably, he can give his team and himself over 40k overguard with a proper build. Overguard is seperate from shields and makes one invulnerable to status effects such as knockdown. He also deals slash to all enemies in line of sight. Slash is effective against heavily armored enemies. His protective and offensive nature makes him a welcomed member to many squads.
Gyre (Chrysalith Bounties)

Gyre's component and main blueprints can be acquired from The Holdfasts' bounties on the Chrysalith.
Gyre can buff critical chance on her weapons, gather enemies, regen her own energy, crowd control, and cast large balls of electricity.
Warframes (Acquired From Missions)
Voruna (Lua, Conjunction Survival)

Aquisition: Voruna's main and component blueprints can be obtained from Rotation C of Conjunction Survival Yuvarium and Circulus on Lua, whose access requires completion of The War Within. Alternatively they can be purchased from Archimedean Yonta on the Chrysalith, Zariman (requires completion of Angels of the Zariman to access) with Lua Thrax Plasm; each component costs 75, while the main blueprint requires 125, totaling to 350 Lua Thrax Plasm.
Voruna is a melee focused warframe. She can increase her status chance and critical damage, increase chance enemies drop a health and energy orb, and spread status effects good for condition overload.
Warframes (Awarded From Main Quests)
Warframes are chronologically ordered according to main quest line.
Xaku

Acquisition: Xaku's main blueprint will be awarded upon completion of the Heart of Deimos quest. Xaku's component blueprints are acquired from Cambion Drift Bounties. The Helmet Neuroptics are obtained from Bounties lvl 15-25, Systems Systems from lvl 30-40 and Chassis Chassis - from either lvl 40-50 or Steel Path lvl 100; each of those can be acquired from any stage beyond the first one.
Xaku steals enemy guns and turns them into his auto-targeting armament.
Chroma

Acquisition: Chroma's main blueprint will be rewarded upon completion of the quest The New Strange. Component blueprints are awarded by completing Junctions. The Neuroptics will be rewarded after completing the Uranus Junction, the Chassis the Neptune Junction, and the Systems the Pluto Junction.
Chroma has a very strong damage buff ability and can be modded to be team-wide. He also has an armor buff ability making him a tank. He is not as tanky as the other warframes in this class, but makes up for it with his offensive capabilities. He is the main warframe out of 4 that is requested in pubs for end-game content, Eidolon Captures.
Harrow

Acquisition: Harrow's main blueprint is awarded upon completion of the Chains of Harrow quest.
Harrow can provide temporary invincibility and damage buff to his team. He provide the team with energy via enemy kills. He is the main warframe out of 4 that is requested in pubs for end-game content, Eidolon Captures.
Excalibur Umbra

Acquisition: Excalibur Umbra is awarded upon completion of The Sacrifice quest.
Superior Variant of Excalibur. Without spoiling anything, be mindful that it will take a crazy amount of endo and credits to unlock the full potential of Excalibur Umbra. Therefor, regular Excalibur is a great alternative.
Qorvex

Acquisition: Qorvex's main blueprint is acquired upon completion of Whispers in the Walls quest. His component blueprints are acquired from Sanctum Anatomica Bounties as an uncommon drop. Alternatively Qorvex's blueprints can be purchased from Bird 3 of Cavia on Deimos.
Qorvex can gather enemies, give his weapons punchthru, slow enemies by 35%, proc radiation status effect which confuses enemies into attacking each other, and fire a linear radiation beam which with the right build can destroy high level enemies.
Warframes (Awarded From Side Quests)
Mirage

Acquisition: Component blueprints are awarded at the end of each mission for the Hidden Messages quest.
Mirage can provide a damage buff to herself and her teammates. She can cast mirror images of herself which can be modded to deal up to 50% of her real self's damage. Additionally, these mirror images attract enemy attention and damage. She also has a blinding ability that blinds enemies within a large radius as long as they are within direct line of sight.
Atlas

Acquisition: Atlas' blueprint is awarded after completing The Jordas Precept Quest, which unlocks the Jordas Golem Archwing Assassination mission that drops the remaining component blueprints.
Atlas can be modded to be a tank who can self-heal with some crowd control abilities.
Limbo

Acquisition: Component blueprints are awarded from The Limbo Theorem quest, obtainable by completing the Europa Junction on Jupiter. An Archwing is required to begin the quest's missions.
Limbo can switch to alternate dimension called the Rift Plane. Here he becomes invincible, but unable to attack other enemies. Limbo can convert a large area into the Rift Plane. Here enemies can be frozen in place and Limbo and his teammates will be safe from harm from enemies outside the rift. Limbo can also do AOE damage but at a high energy cost.
Mesa

Acquisition: Mesa's component blueprints are acquired from Mutalist Alad V after completing the quest Patient Zero.
Mesa is a very powerful gunslinger capable of decimating hordes of enemies in seconds with her fourth ability peacemaker. It is not unusual, when a Mesa is on the team, to see all enemies on screen destroyed. Mesa also has a very high dps and can destroy tanky enemies. Her third ability, shatter shield, reduces incoming bullet damage by up to 95%. Her second ability, Shooting Gallery, boosts damage for her and her teammates.
Titania

Acquisition: Titania's main and component blueprints are obtainable from The Silver Grove quest. The quest is obtained from the New Loka leader at any relay.
Can go into a tiny Archwing-like mode and buff weapons for increased fire rate.
Inaros

Acquisition: Inaros' main and component blueprints are obtainable from the Sands of Inaros quest. The quest blueprint is purchasable from Baro Ki'Teer for 100 ducats and 25,000 credits. More information on Baro Ki-Teer in "Baro Ki-Teer" section.
Inaros is a tank with the highest health pool of all warframes totalling over 4k health with a maxed Vitality. He has the ability to self-heal and provide crowd control.
Nidus

Acquisition: Nidus' main blueprint is acquired from The Glast Gambit quest. Nidus' component blueprints are acquired from Rotation C of Infested Salvage on Oestrus, Eris.
Nidus is an advanced warframe that takes some skill to play. He can gather enemies into a concentrated area. He can become just about invincible and deal very high damage. However, that invincibility and damage needs to be built up. Therefor, he really shines in endless type missions. He is also used in the team composition for farming endo in the Arena on Sedna.
Octavia

Acquisition: Upon completion of the Octavia's Anthem quest.
Octavia is one of the most powerful warframes in the game with many capabilities. She can set down a mallet that attracts enemy attacks. Scaling damage is inflicted to enemies around the mallet based on how much damage it has received. Therefor, she can easily last hours into survival missions, because enemies will deal higher and higher damage and as a result receive higher and higher damage. She can also provide her and her team with invisibility, damage buffs, and increased energy regen.
Gara

Acquisition: Gara's main blueprint will be awarded upon completion of the Saya's Vigil quest. Gara's component blueprints are acquired from Bounties in the Plains of Eidolon.
Gara can provide a protective glass that prohibits enemies from entering a radius. She can then destroy the glass to produce AOE damage. She can provide her and her team with up to 90% damage reduction. She can debuff enemies to take additional damage.
Revenant

Acquisition: Revenant's main blueprint will be awarded upon completion of Nakak's mini-quest, which is unlocked after reaching the rank of "Observer" with The Quills, opening a prompt with Nakak that allows the player to purchase the Mask of the Lost One from her. Equipping the mask on the Operator and entering the Plains of Eidolon at night will begin the mini-quest. Revenant's component blueprints are acquired from Bounties. Acquiring and building at least two components are required to advance and complete the mini-quest.
Revenant can nuke a large area, but at a high energy cost. He can also temporarily convert sentient enemies to allies.
Garuda

Acquisition: Blueprint awarded upon completion of Vox Solaris quest. Parts are in Cetus bounty reward tables.
Garuda's abilities do more damage the less health she has. She can absorb damage from enemies and reflect them back. She can lunge at enemies and cause bleeding status effect.
Baruuk

Acquisition: All of Baruuk's blueprints can only be acquired by purchasing from Little Duck, using Vox Solaris standing.
Baruuk can build up very high damage resistances. He has the ability to dodge all incoming projectiles as long as he isn't attacking. He can also put enemies to sleep.
Kullervo

Acquisition: Kullervo's main and component blueprints are purchased from Acrithis for Kullervo's Bane; Acrithis spawns at the end of game modes The Duviri Experience and The Lone Story; the main blueprint requires 15 Banes, while the parts require 9, to a total of 42 Kullervo's Banes. Banes are obtained from defeating the Kullervo Boss and completion of the Spiral (defeating the Orowyrm) in Duviri. He will appear on the island Kullervo's Hold, which only spawns during Anger, Sorrow, and Fear Spirals from The Duviri Experience and The Lone Story game modes.
Kullervo can teleport to enemies and buff melee critical chance, cast an ability that spreads damage, and do AOE slash damage in a large circle around him.
Lavos

Acquisition: Lavos's main and component blueprints are available from Father with Entrati standing on Deimos.
Can be modified to deal 10 different elemental damage types of your choosing. Different factions are weak to certain elements. He can heal himself, with practice speed through missions, restore his ammo. Built correctly, he can spam abilities as they are all on cooldown rather than costing energy. With Lavos at the helm, Railjack abilities become on cooldown as well. He has a good healthpool and second highest base armor in the game.
Warframes (Awarded From Side Quests)
Protea

Acquisition: Protea's main blueprint is rewarded upon completion of The Deadlock Protocol quest. Additional main blueprints can be bought from Cephalon Simaris for 50,000 standing. Component blueprints can be acquired from within the Granum Void, a special location only accessible from the Corpus Ship tileset. Neuroptics blueprints come from Rotation C of the basic Granum Void (Granum Crown), Chassis blueprints from Rotation C of Extended (Exemplar Granum Crown) Granum Void, and the System blueprints from Rotation C of the Nightmare (Zenith Granum Crown) Granum Void.
Protea can deploy powerful artillery guns and provide health orbs, energy orbs, and ammo drops for the team.
Sevagoth

Acquisition: Sevagoth's main blueprint is acquired after completing the Call of the Tempestarii quest. His components apart from the main blueprint each have a 10% chance of being awarded as a bonus reward at the end of Void Storm missions exclusively in Neptune Proxima (Meso and Neo fissures), Pluto Proxima (Neo fissures), or Veil Proxima (Axi fissures).
Sevagoth is a melee focused warframe who can slow enemies by up to 95% and lifesteal.
Stynax

Acquisition: Requires completion of the Veilbreaker quest. Styanax's main and component blueprints are available from Chipper of Kahl's Garrison with KahlStock Stock. The Systems requires players to be at Rank 2 - Encampment, Neuroptics at Rank 3 - Fort, Chassis at Rank 4 - Settlement, and main blueprint at Rank 5 - Home. Each component blueprint costs 60 Stock, while the main blueprint costs 90, totaling to 270 Stock.
Stynax's jumps and hovers into the air for a short period and throws a barrage of javelins doing slash damage. With the right build, it does great damage against high level armored enemies. He can also regen his own energy.
Yareli

Acquisition: Yareli's main blueprint is acquired by completing The Waverider quest. Component blueprints are acquired through Research inside the Ventkids' Bash Lab within the Clan Dojo.
Yareli can surf around on her board with slashing blades. She can also cast a watery maelstrom damaging enemies in a large radius.
Circuit: Alternative Warframe Farming
Duviri, Curcuit
Available after completing Vor's Prize and The Duviri Paradox quests.Esc-->Navigation-->top right of screen
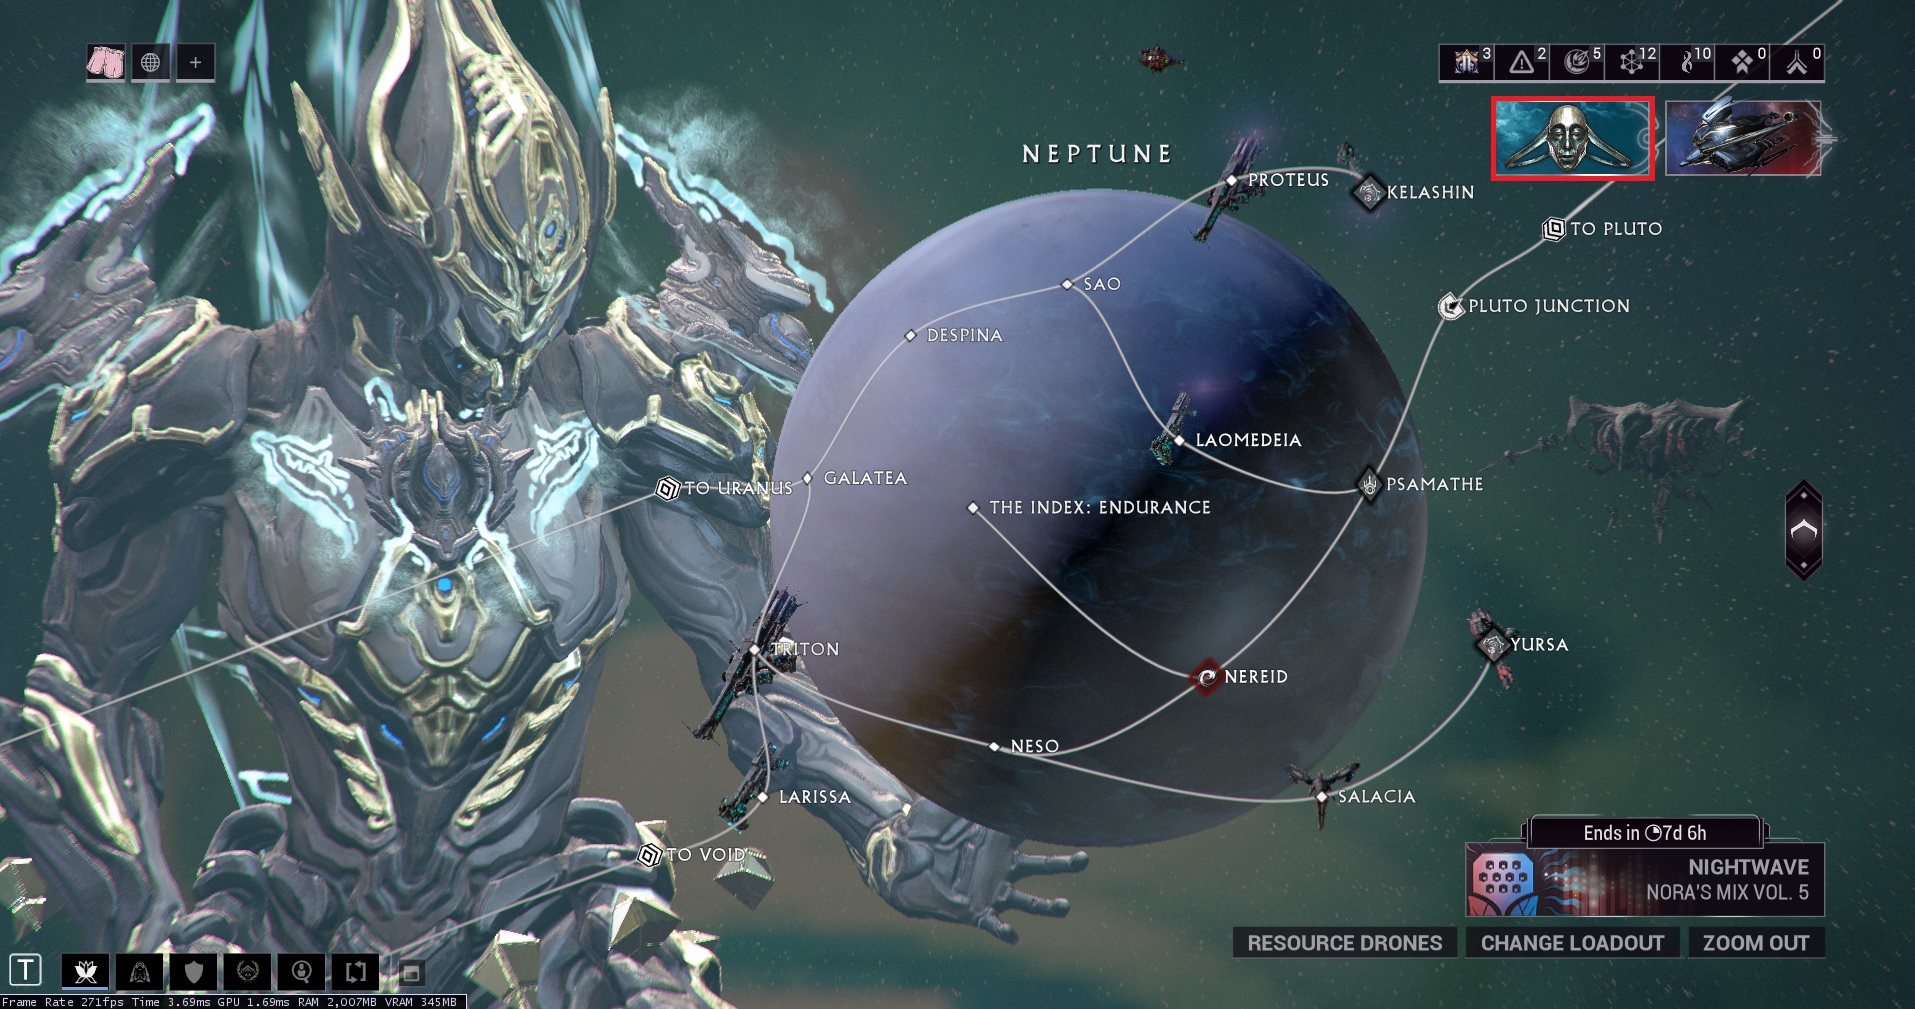
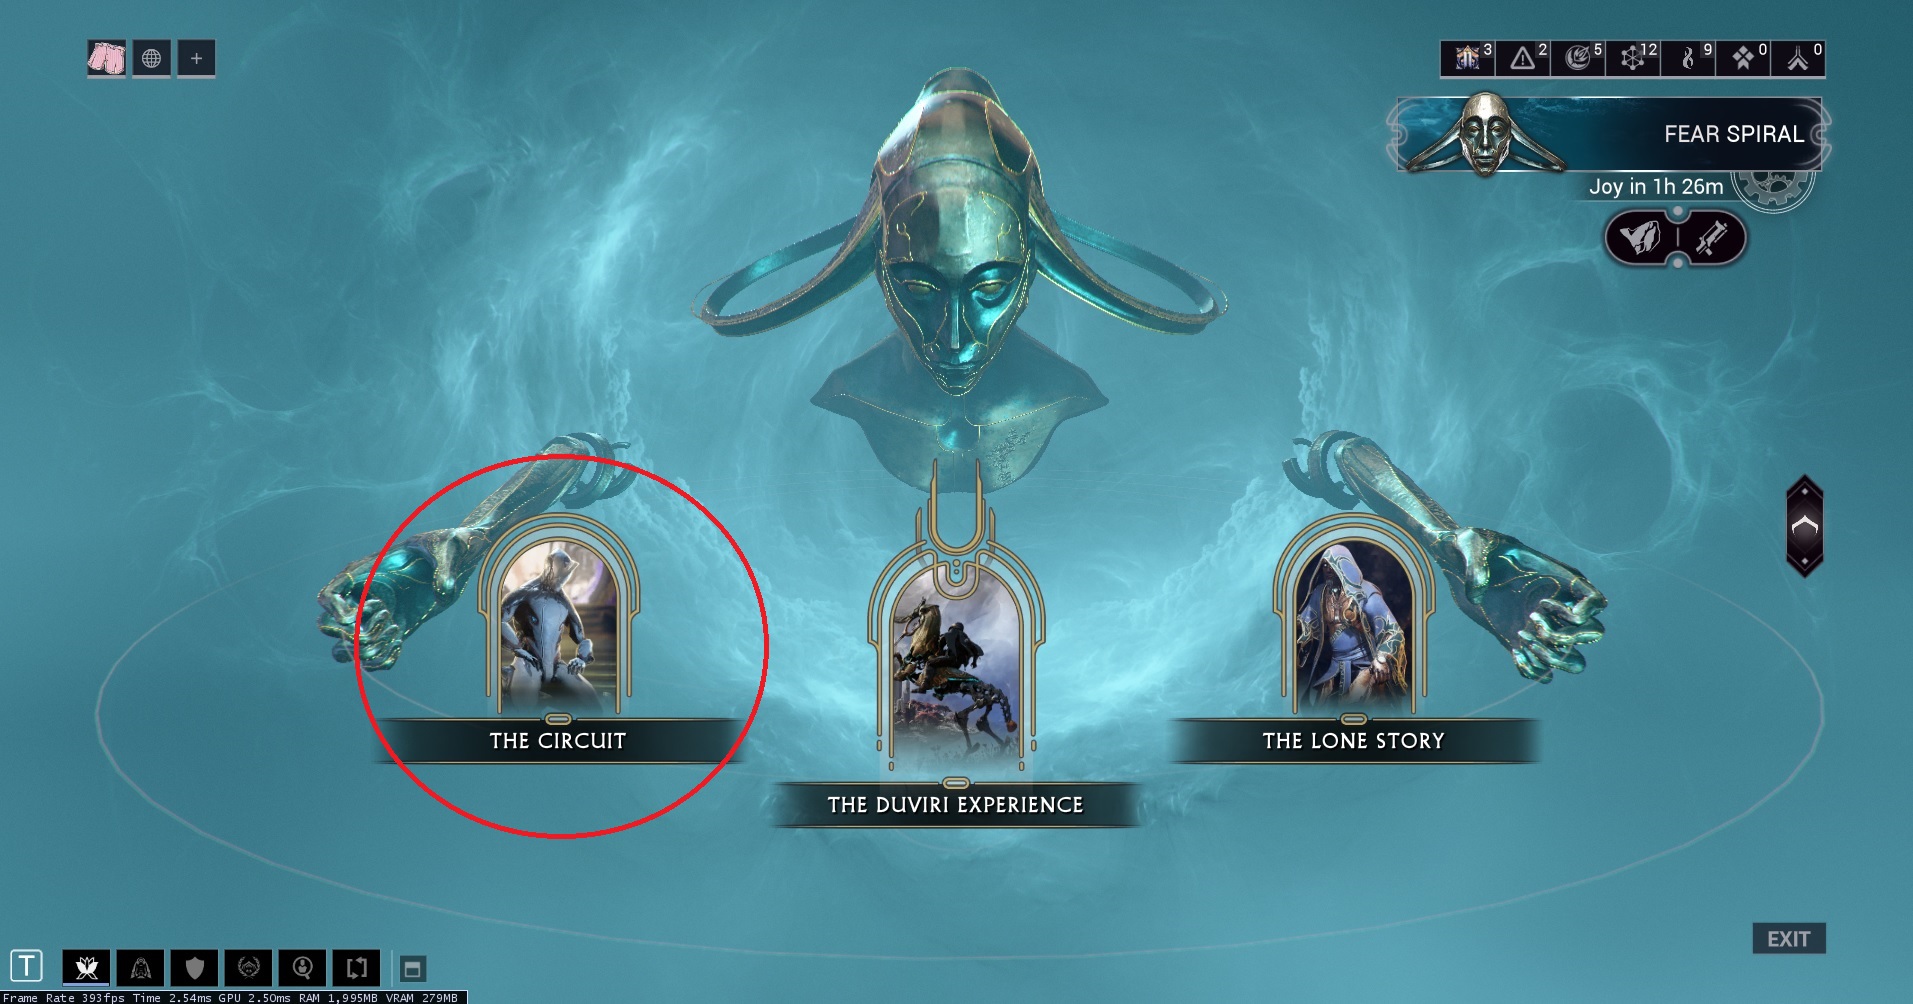
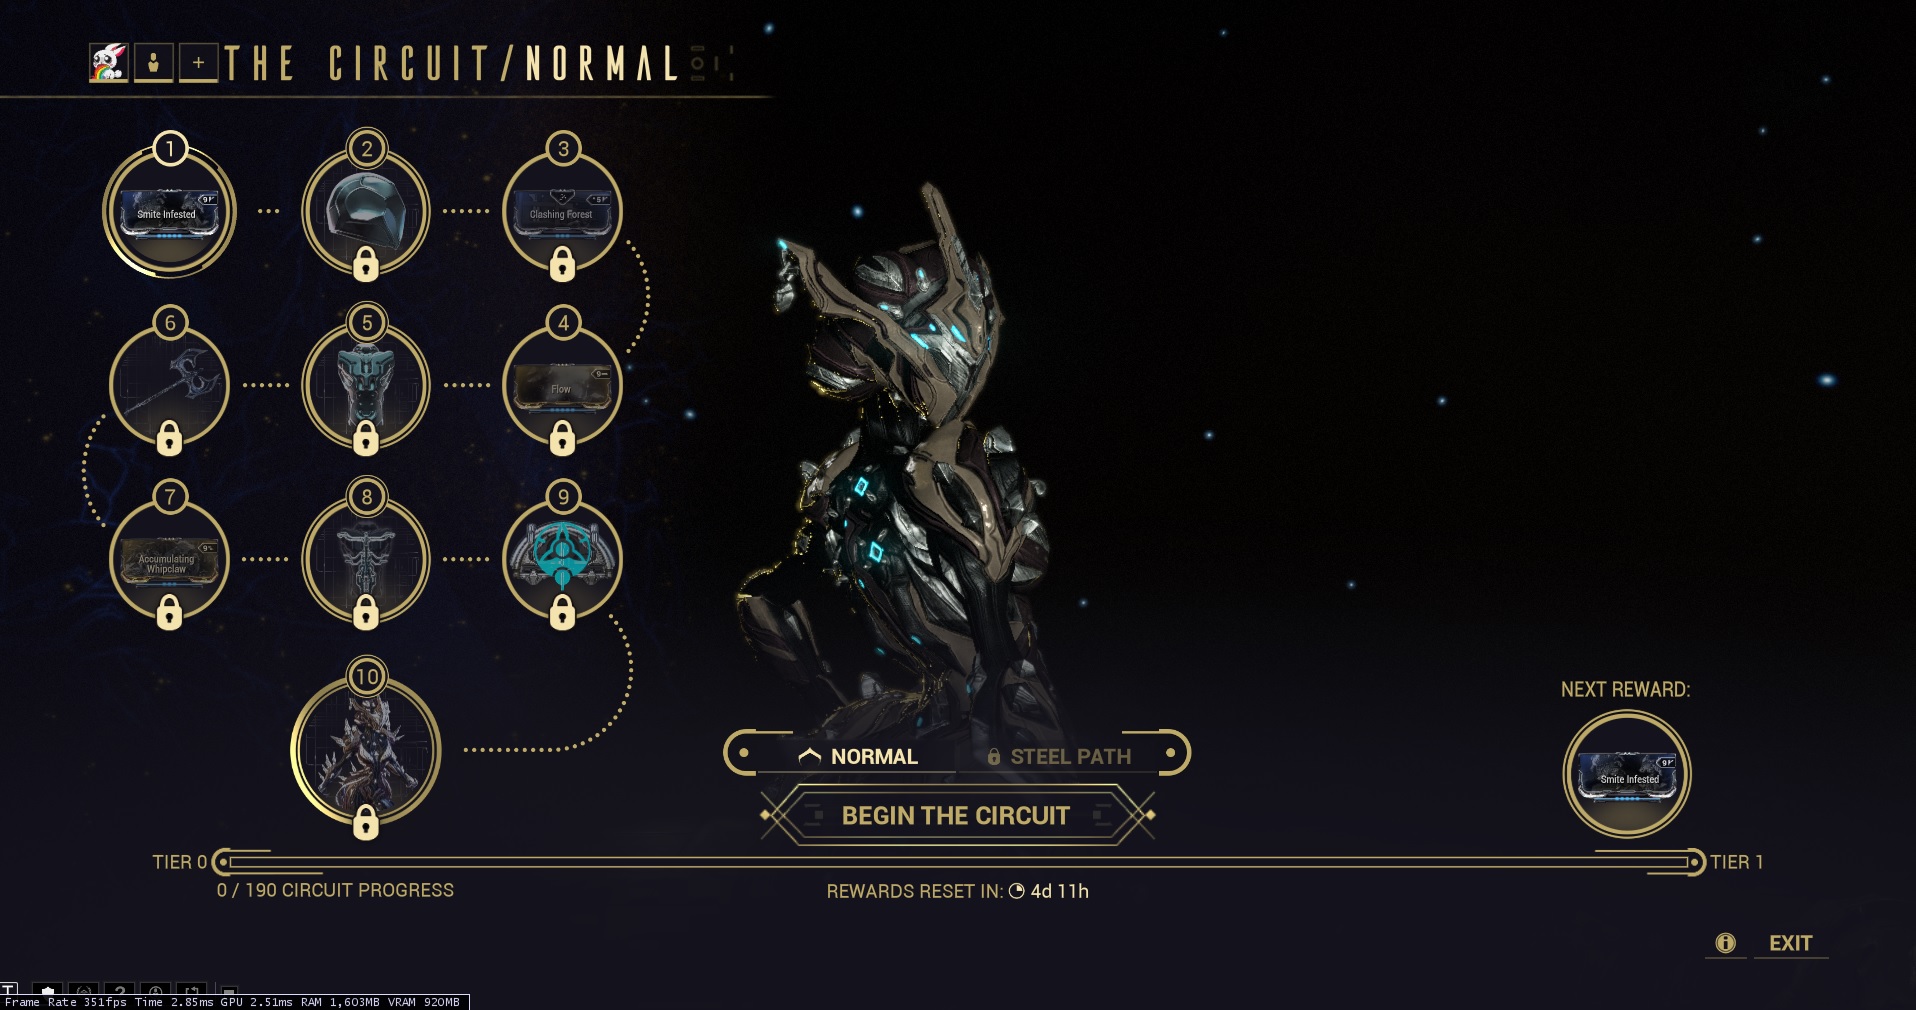
Why Duviri, Circuit?
Pros- Simple farming method
- Takes approximately 3 hours (good if conventional way of farming takes longer)
- Not RNG based
- Unlocked in very early game after Vor's Prize and Duviri Paradox quests.
- Frequent pubbers in public squads
- Pubbers are often veterans because they will always have incentive to play this mode
- Comes with weapons, useful mods, and arcanes.
- Collecting decrees provides various buffs that build up over time.
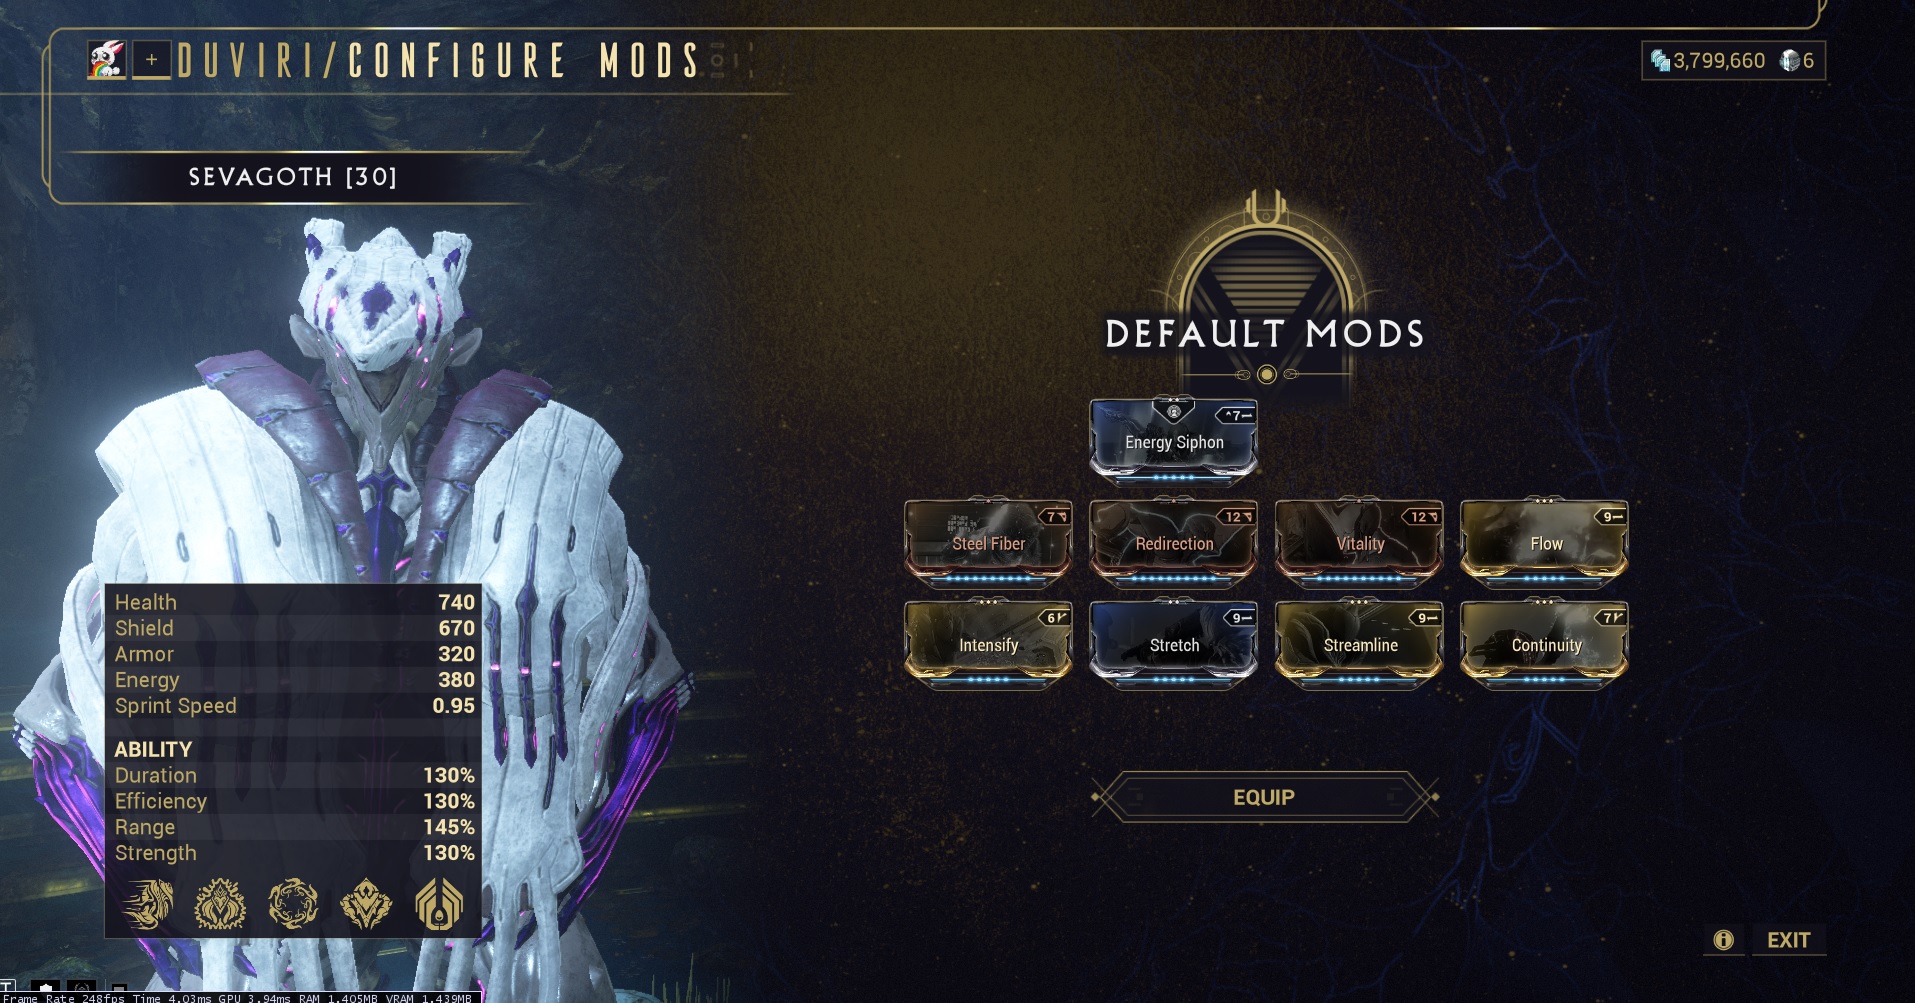
- To complete the missions, you get a random selection of warframes and weapons to choose from. If you do not have said warframe or weapon, the game provides a default mod loadout for you. This build is in no way mix/maxed but for the new player they could be good relative to what they have.
- Takes approximately 3 hours, when many warframes take less.
- Can only choose 1 warframe per week from a selection of 3 warframes on set rotation. Check wiki for Normal Circuit Warframe Rotation[warframe.fandom.com].
- To complete the missions, you get a random selection of warframes and weapons to choose from. If you do not have said warframe or weapon, the game chooses functional but sub-optimal default mod loadout for you.
Which Warframe should I choose?
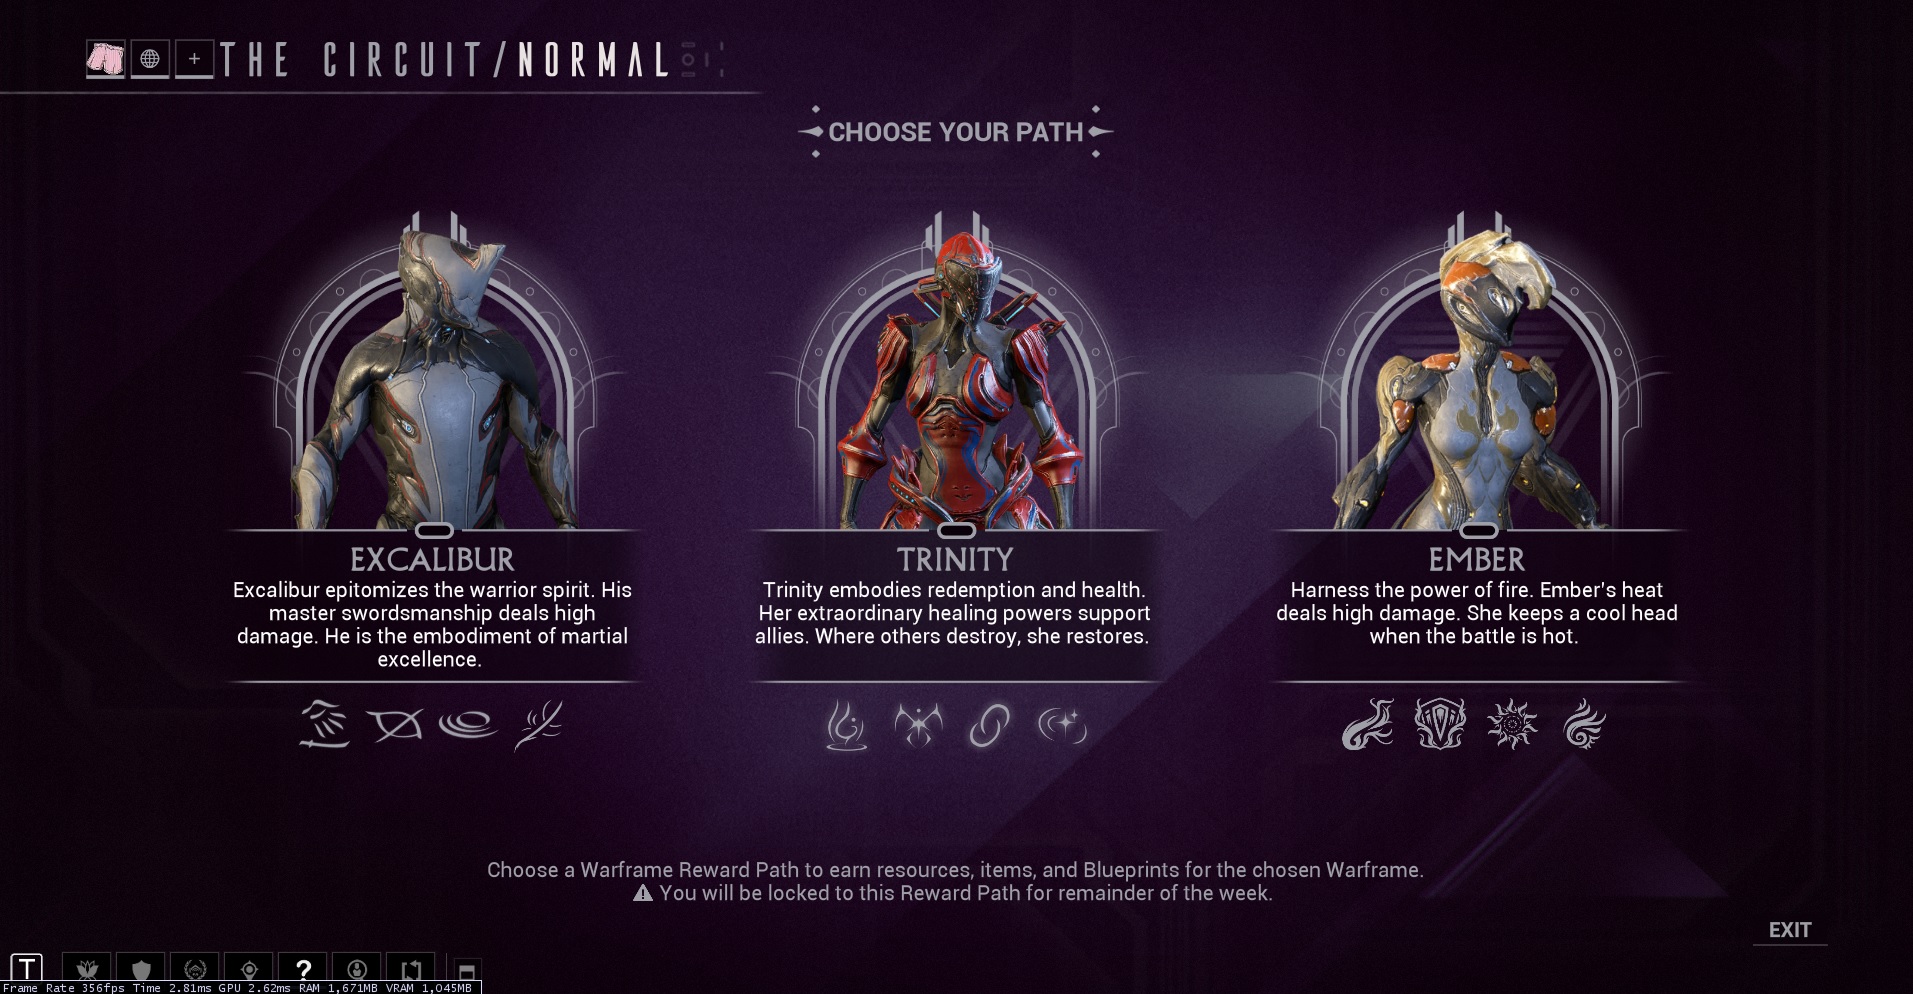 The following are ratings for non-circuit farming methods to help determine whether they should be gotten from circuit or conventional method. These are just rough estimates based on estimated farm time, difficulty, complexity, and player base frequent sentiments. I recommend making your own choice because there will always be exceptions to the rule. For example, Ivara can be farmed from spies. Some people love spies and don't mind the farm. Khora drops very rarely from santuary onslaught, but some players spend a lot of time there and it wouldn't be very hard for them.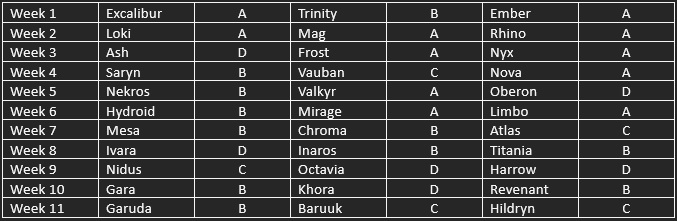
What are Decrees and Decree Fragments?
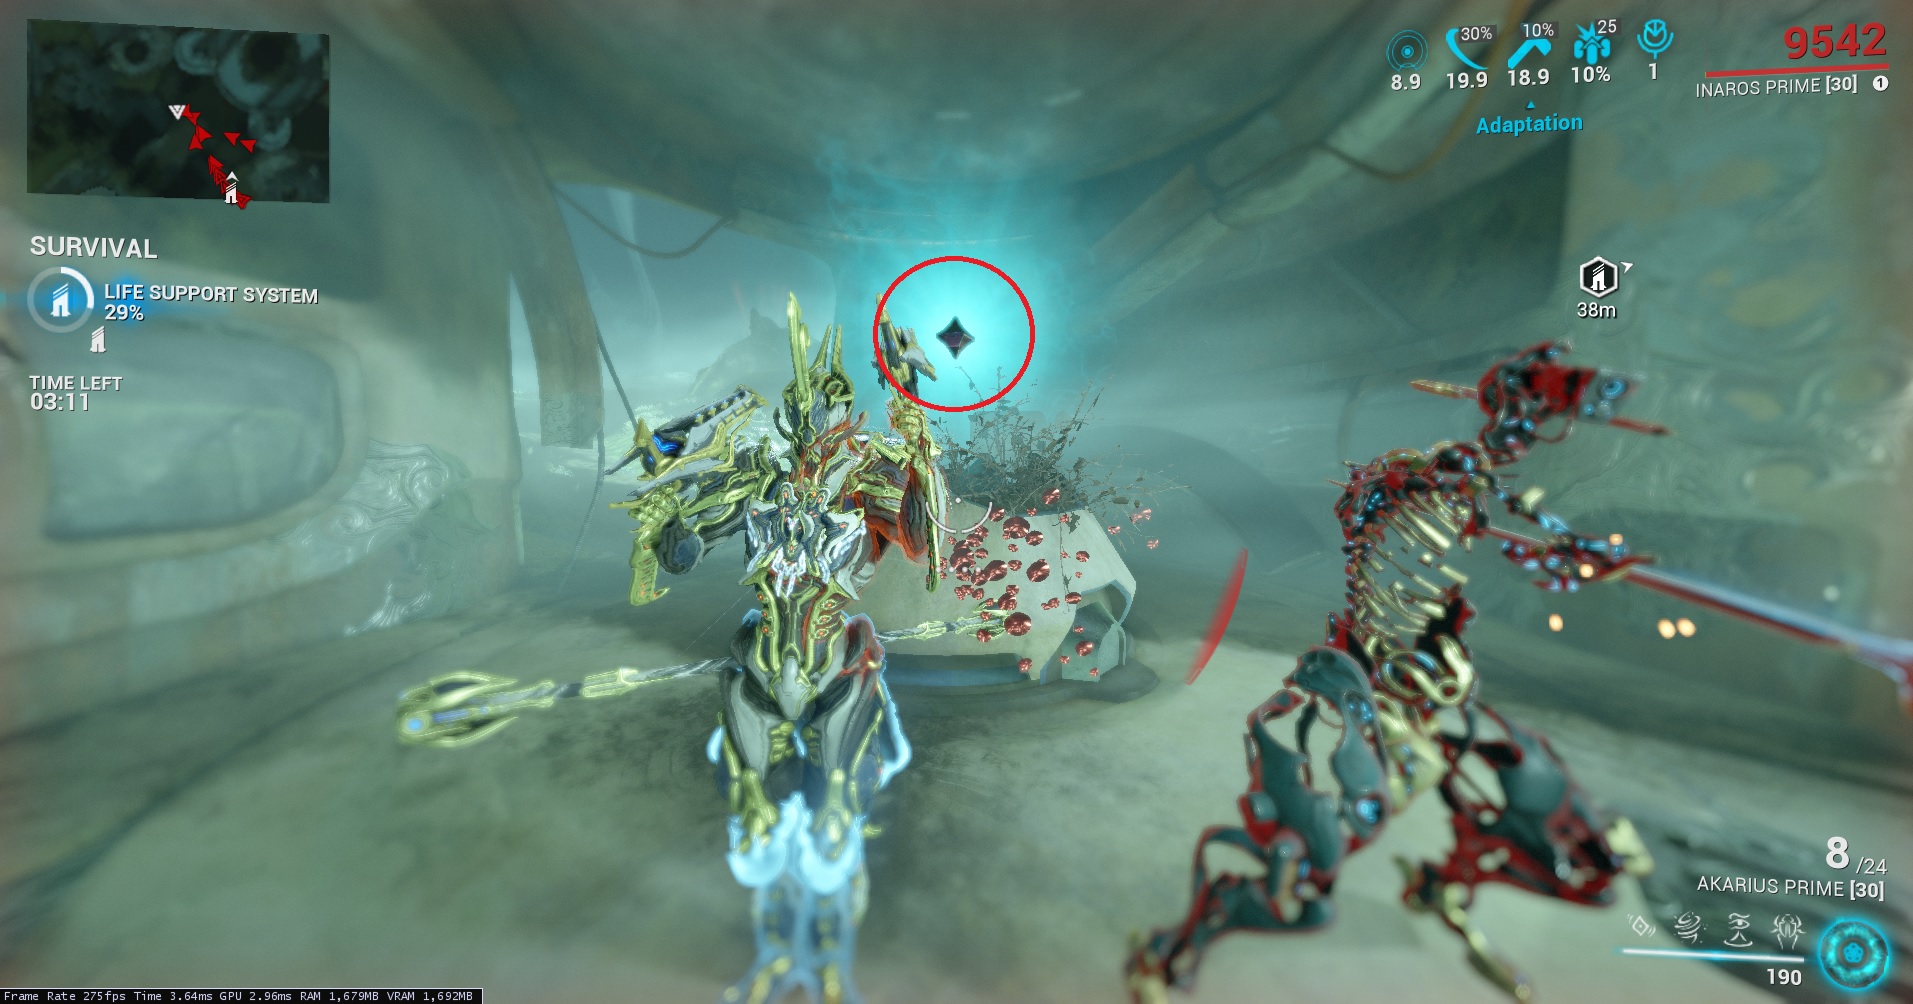
- After every round, every new map will have 3 fragments scattered around the map.
- Most of them will be located on the outskirts. However, some can be sneakily hidden.
- Decrees provide buffs, build up over time, and will only reset after extraction.
- 1 decree buff for every 3 decree fragments.
- You will be given 4 rolls to choose from.
- I recommend at first only focus on buffs 1 at a time on either guns, warframe, or melee to increase dps.
- Sometimes a decree is rare (gold color) which means it is special or gives double the normal amount.
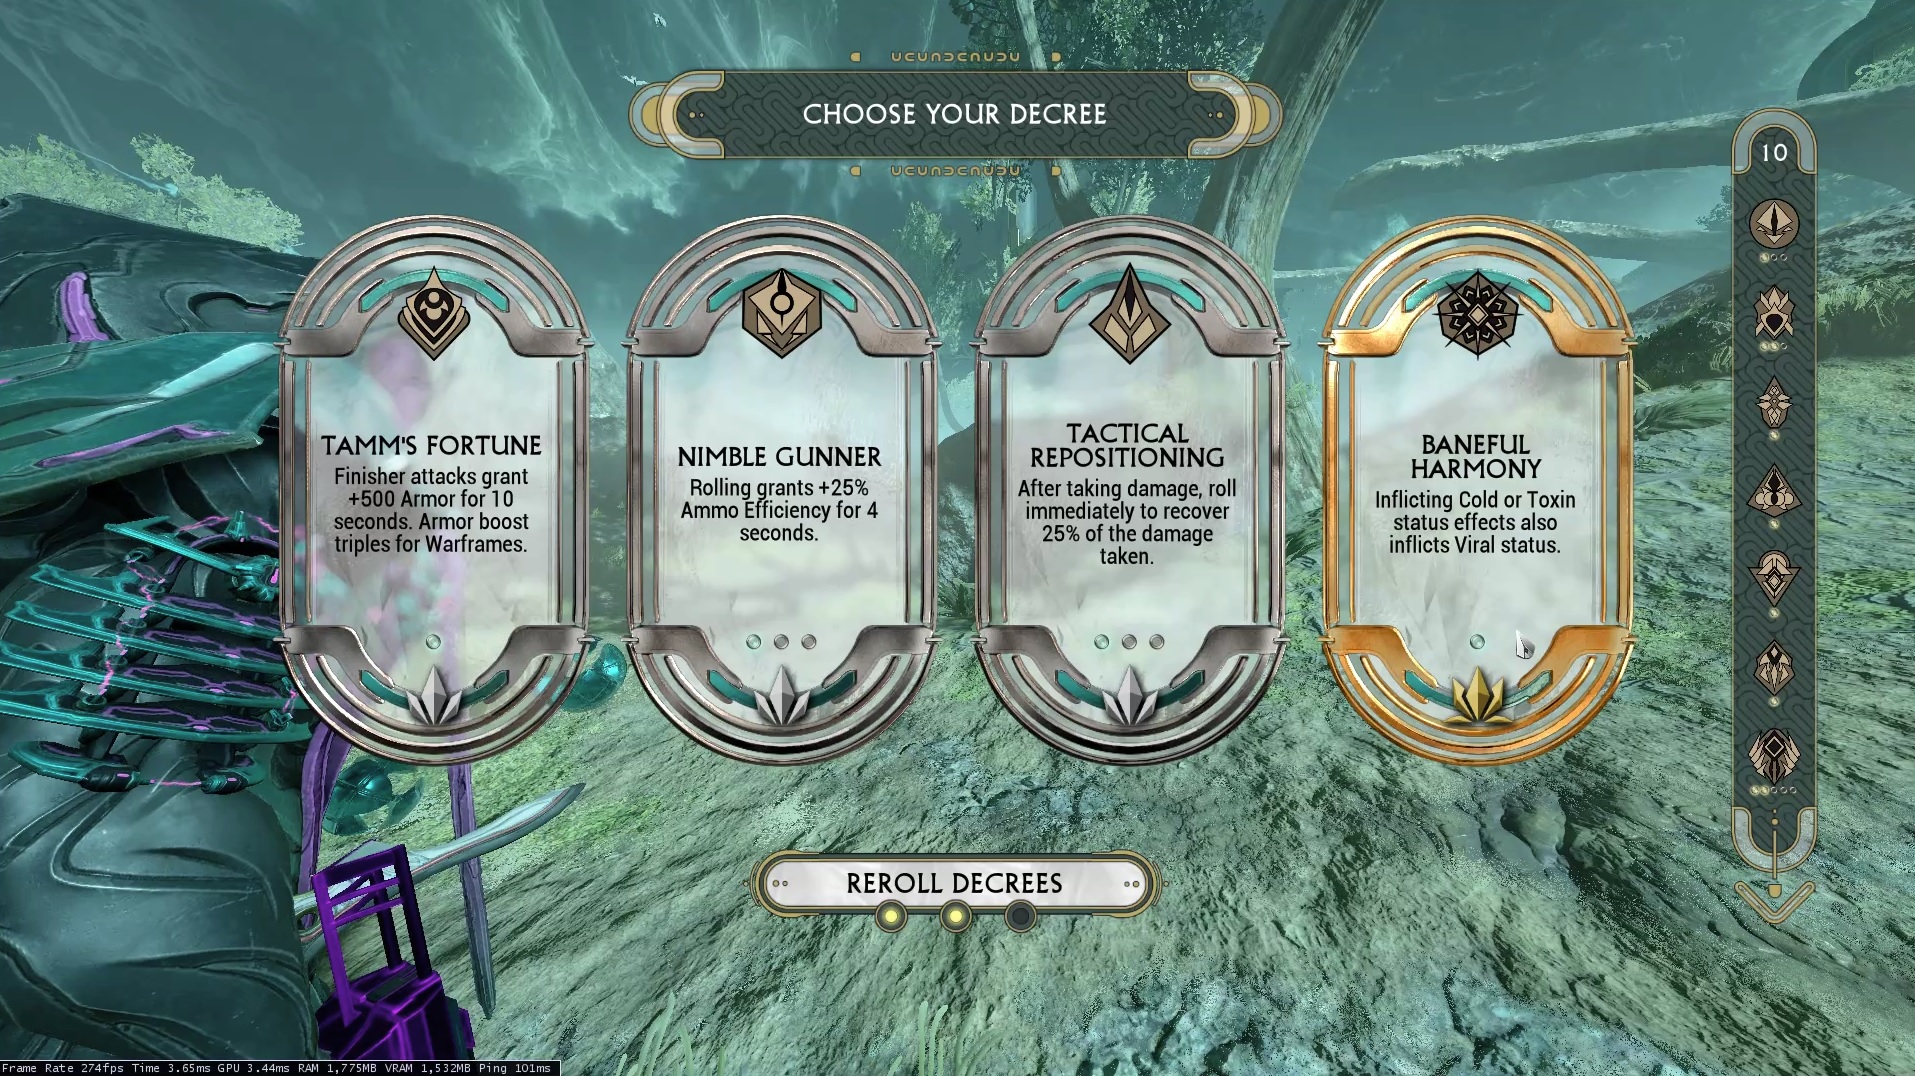
*The following I rate as best decrees. This doesn't mean the other decrees aren't good. They didn't make the list because they are situational, conditional, and/or too dependent on player playstyle. The other decrees should be chosen according to player discretion.
Best General Buffs
- Critical Damage is doubled.
- Status Effects deal double damage.
- Deal Heat Damage per second to nearby enemies with 15% Status Chance. Enemies struck suffer +50% Heat Damage for 3 seconds. (Heat strips 50% enemy armor.)
- Every second you are moving, gain 5% damage. Stacks up to 50%. Stacks steadily decay when you are stationary.
- Foes inflicted with Status Effects have a 50% chance to spread that Status to enemies within 10m.
- Every Decree collected increases movement speed by 10%. (Builds up over time. Not worth it in short playthroughs.)
- Inflicting Cold or Toxin status effects also inflicts Viral status. (Viral status is very powerful, so only pick this if you happen to be doing cold or toxin and missing viral.)
- On Warframe Ability cast, refund 25% of Energy spent. On Drifter Ability cast, the Transference bar fills 30% more for 6 seconds.
- Casting an Ability grants a 30% chance for the next Ability cast to have no cooldown for Drifter or cost no Energy for a Warframe.
- Drifter Ability cooldown reduced by 15%. Warframes gain +15% Ability Efficiency.
- Every 50 Armor grants 5% Ability Strength and Power Strike damage.
- With full Health, Warframes regenerate 5 Energy per second and Drifter's Transference bar fills 20% more.
- On headshot, gain +50% damage for 3 seconds.
- On Headshot, 30% chance for enemies near the target will be inflicted with 30% Toxin.
- Rolling grants 25% Ammo Efficiency for 4 seconds
- Shots deal an extra hit with 40% Corrosive Damage and Status.
- Rolling reloads the equipped weapon.
- The target becomes 10% more vulnerable to damage with each shot.
- Each shot briefly increases Fire Rate by +10/20/30% cumulatively.
- Melee attacks hit twice.
- (For critical weapons) Each successful melee hit grants cumulative +10% Critical Chance for 3 seconds.
- (For critical weapons) Critical melee hits grant +50% Critical Damage for 7 seconds.
- (For critical weapons) On Critical Hit, gain +30% melee attack speed for 3 seconds.
- Melee Attacks are imbued with fire, dealing Heat Damage. +20% Status Chance (Heat status strips 50% enemy armor).
- Nearby enemies (10 meters) are affected by Cold Status, slowing them.
- On melee kill, gain Overguard. Overguard boost doubles for Warframes.
- Inflicting a Status Effect restores 20 Health.
- Rolling deals 60 damage to nearby enemies and staggers them. Damage radius doubles for Warframes
- Killing enemies restores 10% Health.
- Reduce incoming damage by 3% per Decree up to 75%.
Good Circuit Etiquette
 After choosing your warframes and weapons, wait for others to finish choosing as well. If you enter the portal prematurely, other players will go in with random equipment, and likely leave resulting in a smaller squad. It is advantageous to be in a full squad for circuit. Players who are ready usually stand by the portal, and sometimes type in chat, "r," short for ready.
What is a Runic Compact?
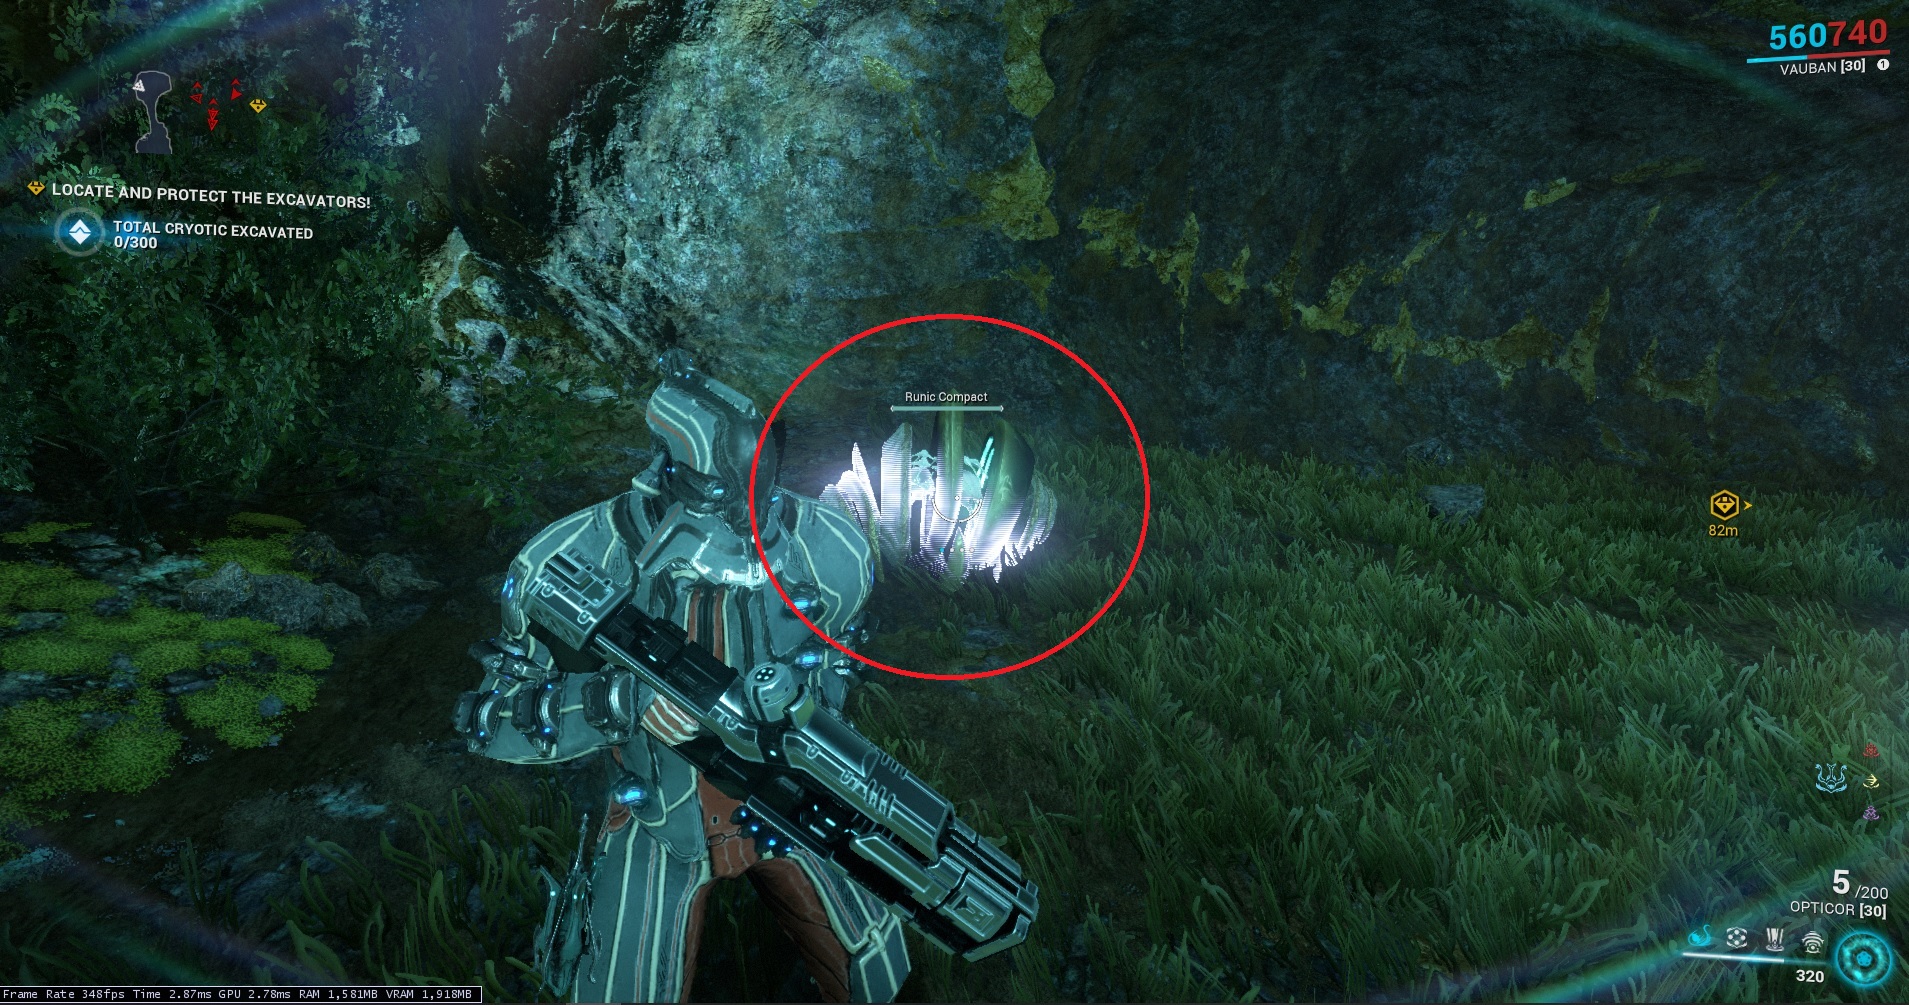 They will be scattered throughout the map and upon opening drop rune marrow. This is a resource used to make really powerful weapons later in the game and the Kullervo warframe.
Free Resources
 You can get free resources once per day in an adjacent room to equipment selection.
Archwing

Acquisition: Players can acquire their first Archwing, the Odonata, during The Archwing quest. Completion of the quest is also required to obtain the rest of the Archwings.
*For all archwing builds, the mod hyperion thrusters is optional.
Itzal

Acquisition: The Itzal's main and component blueprints can be researched from the Tenno Lab in the clan dojo. The blueprints can only be purchased after completion of The Archwing quest.
Itzal is the fastest archwing and I recommend it for general use in open world content. It is also used for end-game Eidolon hunting, because it is fast and can gather drops. It can also go invisible. However, it cannot move whilst invisible.
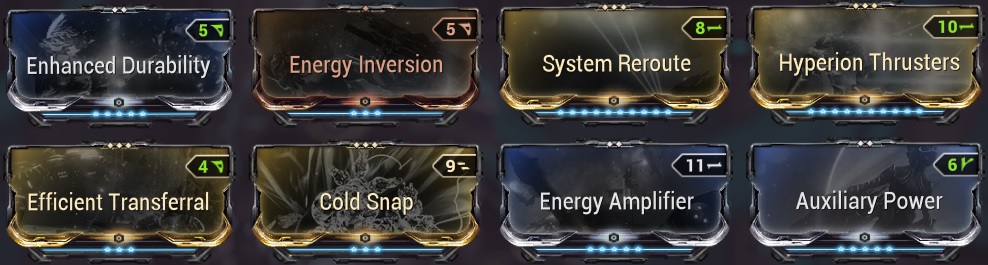
Amesha

Acquisition: The Amesha's main and component blueprints can be researched from the Tenno Lab in the clan dojo. The blueprints can only be purchased after completion of The Archwing quest.
Ameesha is by far the tankiest of the archwings. It can become invincible. It can also cast an ability that draws fire and heals any allies within a large radius.
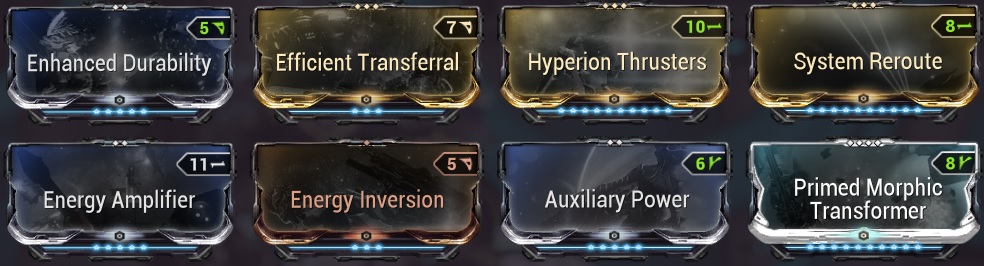
Elytron

Acquisition: The Elytron's main and component blueprints can be researched from the Tenno Lab in the clan dojo. The blueprints can only be purchased after completion of The Archwing quest.
Elytron is the most powerful nuker of all the archwings. Cast 3 for random explosions in a large radius combined with 4 which shoots a warhead that causes a large explosion.
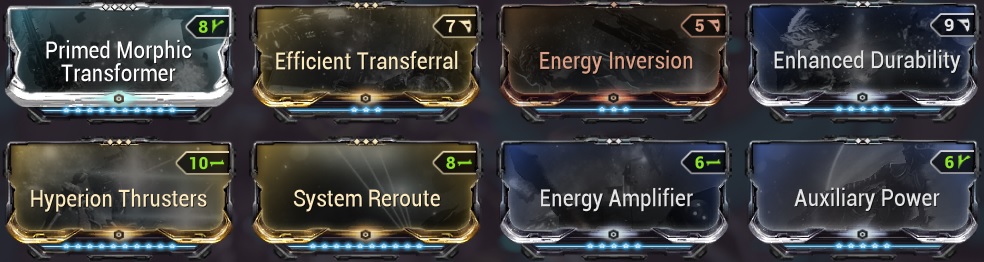
Odonata (Prime)

Non-Prime Acquisition: The Archwing quest
Prime Acquisition: Odonata Prime is vaulted and can be traded with other players or gotten from rare temporary unvaultings.
Odonata's first ability provides additional heat damage and 2x critical multiplier to weapons. Its third ability shoots homing missiles.
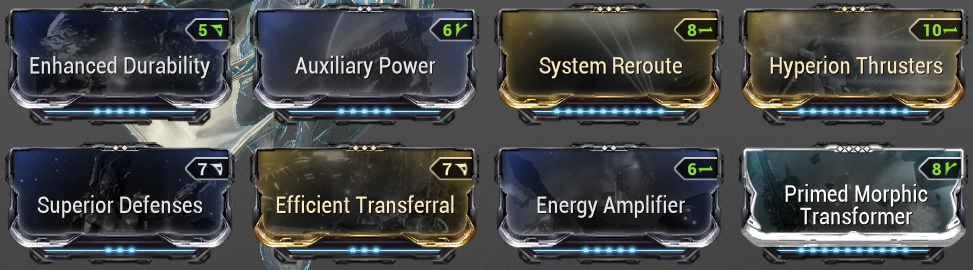
Archwing and Necramech Guns
The following weapons have low MR requirement are only meant to be temporary until more weapons are unlocked.
Acquisition: The Fluctus's blueprint can be researched from the Tenno Lab in the clan dojo. Its parts can be purchased from various Syndicates. All parts, except for the blueprint, are tradeable.
This weapon shoots projectiles that goes through walls and enemies.
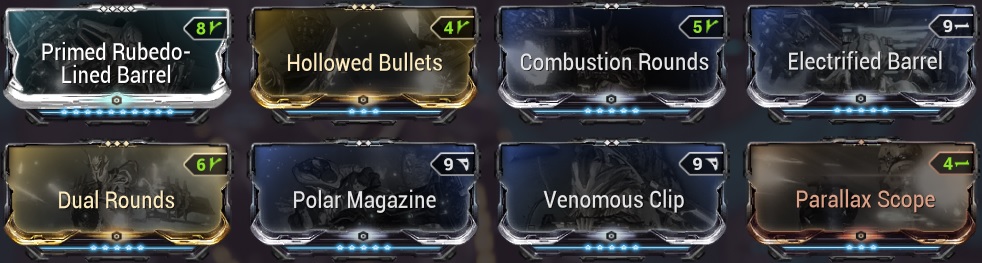
Acquisition: The Grattler's blueprint can be researched from the Chem Lab in the clan dojo.
Gratler makes quick work of enemies that are bunched together as its projectiles detonate in a small AOE upon impact.
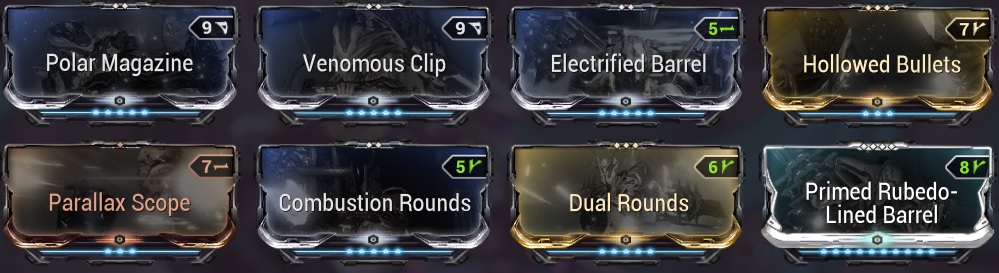
Acquisition: The blueprint and parts are obtainable from the Balor Fomorian Invasion via Fomorian Sabotage. All components can be traded.
It is a fast fire rate single target weapon that can be a long term weapon as well.
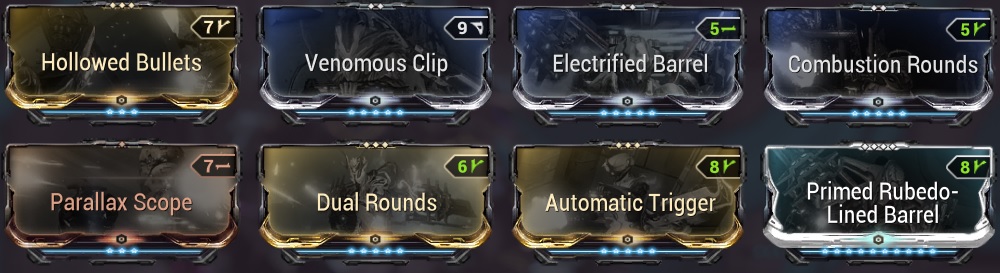
Fluctus (MR2)
Acquisition: The Fluctus's blueprint can be researched from the Tenno Lab in the clan dojo. Its parts can be purchased from various Syndicates. All parts, except for the blueprint, are tradeable.
This weapon shoots projectiles that goes through walls and enemies.
Gratler (MR 4)
Acquisition: The Grattler's blueprint can be researched from the Chem Lab in the clan dojo.
Gratler makes quick work of enemies that are bunched together as its projectiles detonate in a small AOE upon impact.
Imperator Vandal (MR 5)
Acquisition: The blueprint and parts are obtainable from the Balor Fomorian Invasion via Fomorian Sabotage. All components can be traded.
It is a fast fire rate single target weapon that can be a long term weapon as well.
Archwing Melee
The following melee weapons have a low MR requirement, but are also the best archmelee weapons in the game! Archmelees have a teleporting mechanic which is further elongated by the mod Extend. If you don't like this mechanic, swap Extend for Critical Meltdown.
Acquisition: The Centaur's blueprint can be purchased from the Market. Its parts can be purchased from various Syndicates. All parts, except for the blueprint, are tradeable.
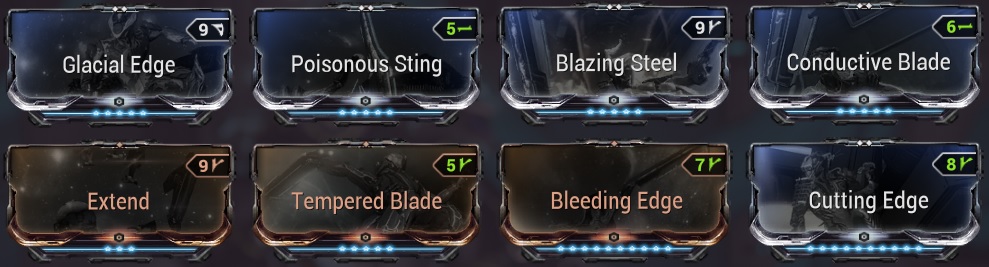
Acquisition: The Prisma Veritux is sold by Baro Ki'Teer in the Relay for 150,000 credits and 550 ducats.
Slightly stronger than the Centuar, but 8% lower attack speed.
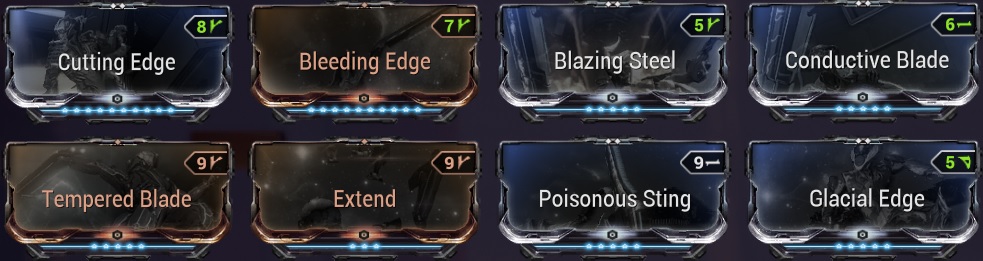
Centuar (MR 8)
Acquisition: The Centaur's blueprint can be purchased from the Market. Its parts can be purchased from various Syndicates. All parts, except for the blueprint, are tradeable.
Prisma Veritux (MR 8)
Acquisition: The Prisma Veritux is sold by Baro Ki'Teer in the Relay for 150,000 credits and 550 ducats.
Slightly stronger than the Centuar, but 8% lower attack speed.
Necramech
Acquisition: Players can craft their own Necramechs by buying their component blueprints from Loid on Deimos, Necralisk. Each Necramech requires their own Casing, Engine, Capsule, and Weapon Pod to be built from their damaged counterparts. Damaged Necramech components are obtained by defeating enemy Necramechs in Isolation Vault bounties.
Necramechs can be controlled by the Operator. I recommend Voidrig as its 4th ability turns it into an overpowered turret.
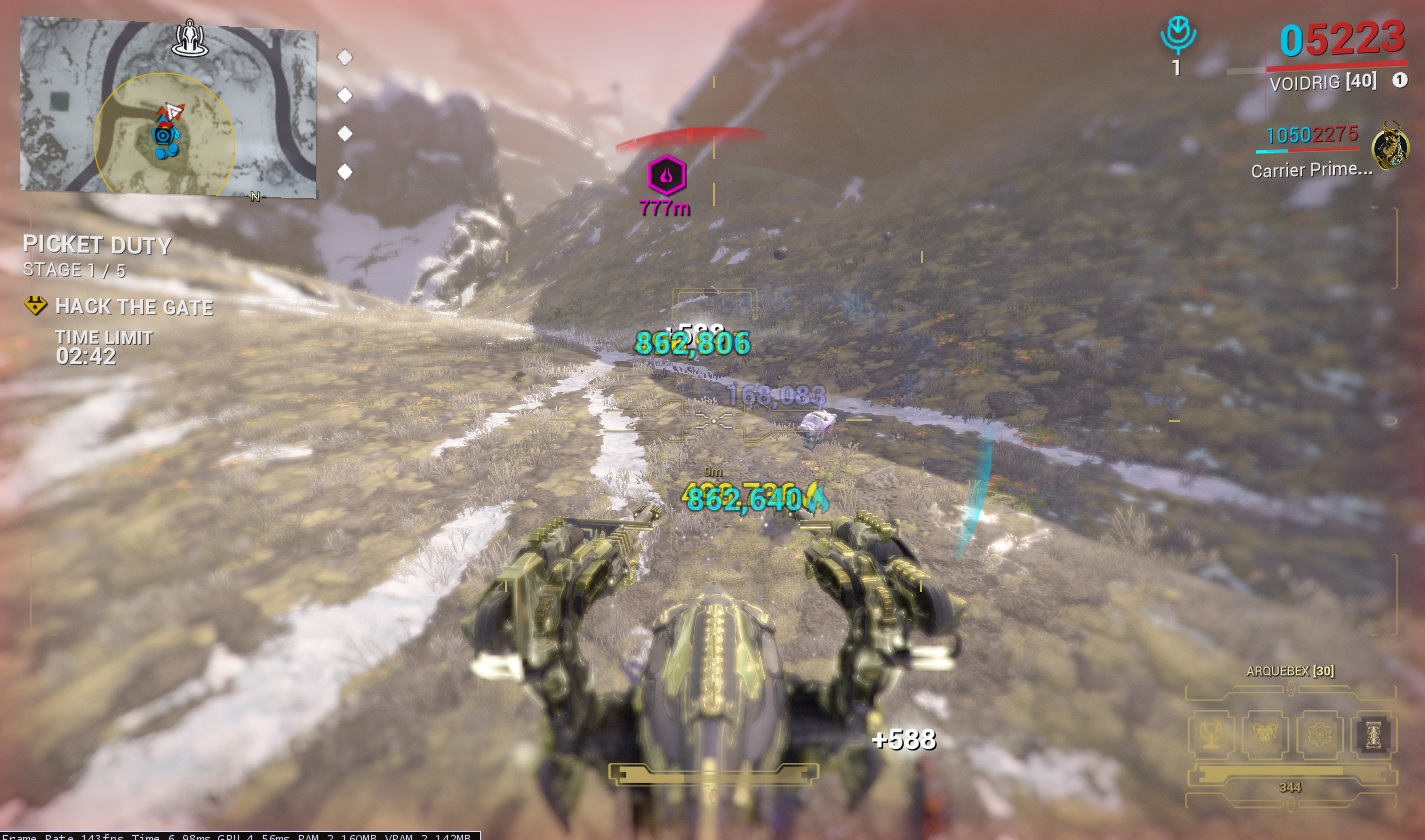
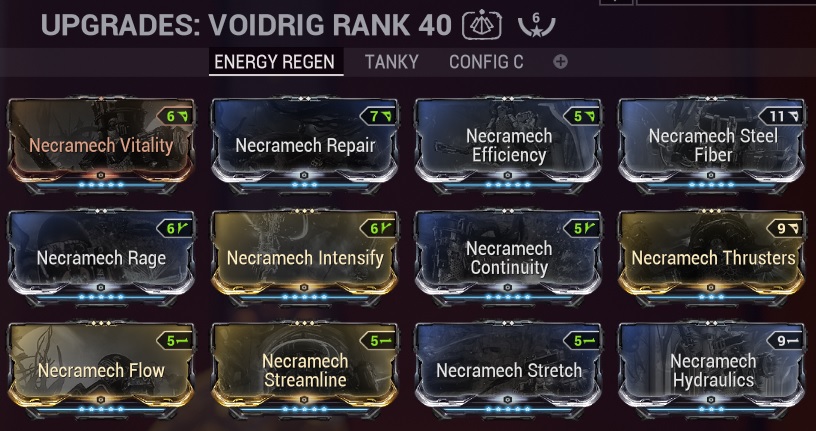
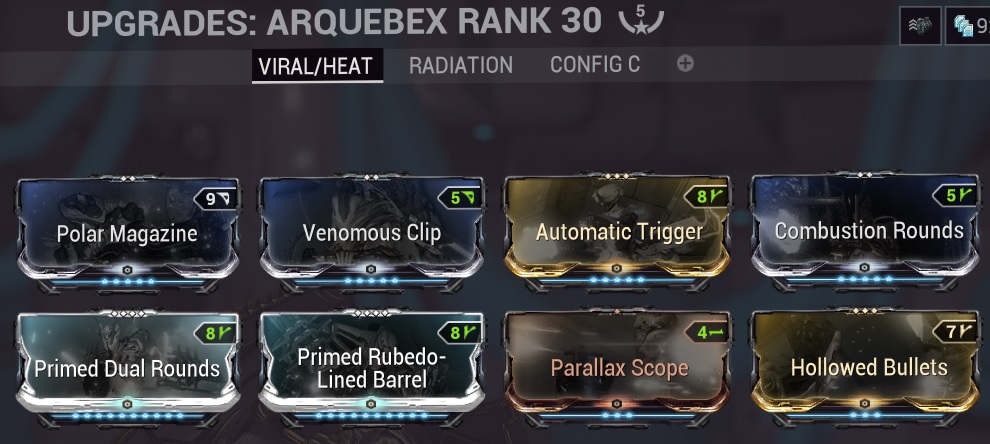
Railjack
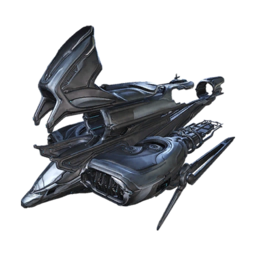
Acquisition: A Railjack is constructed during the Rising Tide quest, which requires completion of The Second Dream. It can also be bought from the in-game market.
There are different viable builds to Railjack. However, here is mine. It works well in solo and party play. It has both defense and offense.
Components
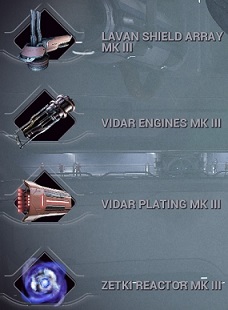
Armaments
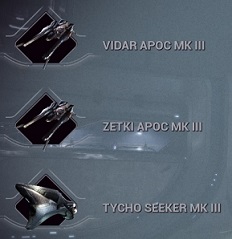
Integrated Mods
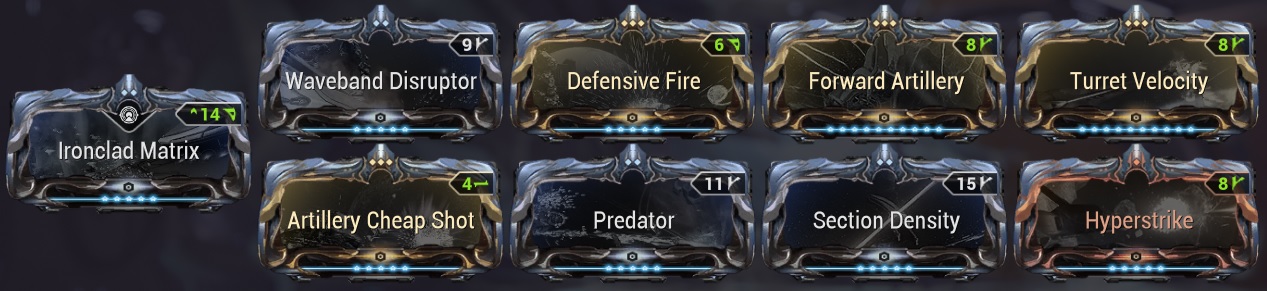
Battle Mods

Tactical Mods

Crew
Crew member 1 - Combat level 5, Endurance level 5Crew member 2 - Gunner level 5, Endurance level 5
Crew member 3 - Repair level 5, Endurance level 5
Companion - Nautilus
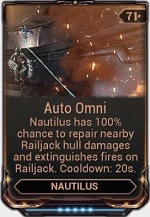
😍😍😍😍WEAPONS😍😍😍😍
Weapons Introduction
Weapons With Low Mastery Rank Requirement
 Some of the best weapons in the game have a high mastery rank requirement. This weapons section lists weapons with a low mastery requirement from 0 to 8. Some of these weapons are temporary solutions until better weapons are unlocked, but others can be long-term. The problem with weapons is that they NEED forma. Warframes can get away with being underforma'd, but weapons do not. Without forma, weapons are pretty lackluster, even the best ones. Some weapons come with polarities and need only 3-4 forma, but this is on the lower end. Some weapons need 6 to 7, and sometimes even 8! Melee weapons typically need less at 1 or 2. Note that a weapon's mastery rank requirement isn't reflective of how effective a weapon is, though many of the best weapons are concentrated from 10-16.
When modding primaries and secondaries, look to add mods with these stats:
- +Damage
- +Multishot
- +Toxin, +Cold, +Electric, +Heat (if possible combine toxin and cold to make viral or toxin and electric to make corrosive)
- +Critical Chance (if weapon has base critical chance of 20 or more)
- +Critical Damage (if weapon has high critical chance)
When modding for Melee, look to add mods with these stats:
- +Damage
- +Toxin, +Cold, +Electric, +Heat (if possible combine toxin and cold to make viral or toxin and electric to make corrosive)
- +Combo Duration
- +Critical Chance (if weapon has base critical chance of 20 or more)
- +Critical Damage (if weapon has high critical chance)
- +Attack Speed
- +Range
Explosive weapons can cause knockdown to self, if caught within detonation range.
The following mods either lessen the effect or eliminate the effect all together.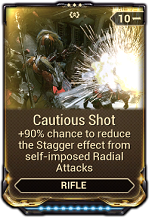
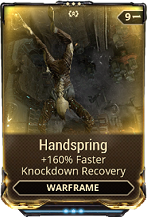
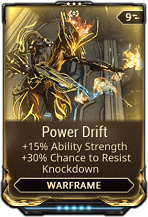
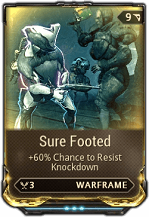
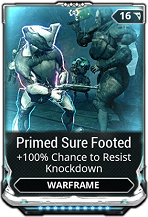
The coveted Primed Sure Footed will become available as a login reward at day 400, 600, and 900, until chosen as the Milestone reward, among Mod Primed Vigor, Primed Shred, and Primed Fury. Most used in builds probably go: Primed Sure Footed > Primed Shred > Primed Fury > Primed Vigor.
Do not underestimate secondaries in this game.
In most games, secondaries are just emergency weapons when your primary weapon runs out. This is not the case in warframe. Some of the most powerful weapons are secondaries. With secondaries it is possible to have a more well rounded loadout. For example, you can run a fast fire rate or AOE primary and a strong single target secondary for bosses and special units. There are also mission objectives that require you to carry an object with one hand which disables primary weapon.All the following weapon builds are just temporary until the Tenno levels up their Mastery Rank and acquires better mods and weapons.
Weapons (Primaries)
Nataruk (MR 0)

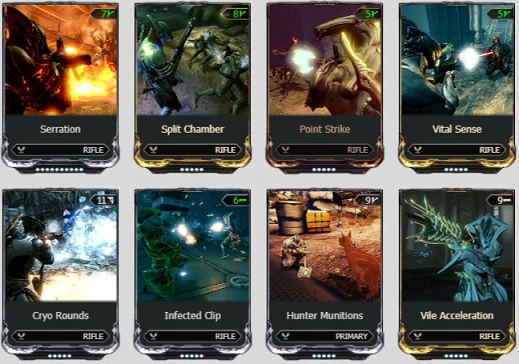
Acquisition: Nataruk is given upon completion of The New War, complete with a free weapon slot and a pre-installed Orokin Catalyst.
It's got high slash, critical chance, and infinite ammo! It is very powerful and end-game viable.
Boltor (MR 2)
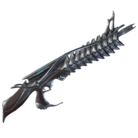
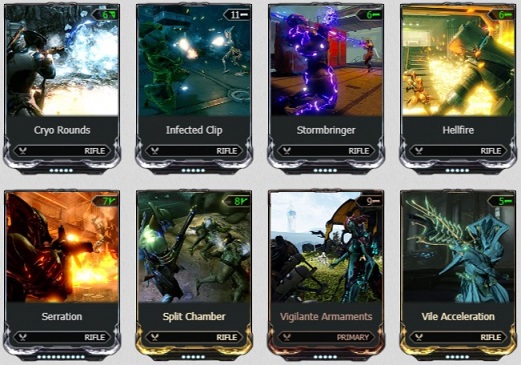
Acquisition: The Boltor's blueprint can be purchased from the Market. Alternatively, it can be acquired from completing the Venus to Mercury Junction.
Superior Variants: Telos Boltor (MR 12), Boltor Prime (MR 13)
This is definitely not the most powerful weapon, but it is the first available gun that functions like a traditional fully automatic assault rifle. Its projectiles have slight travel time.
Hek (MR 4)
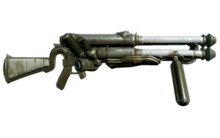
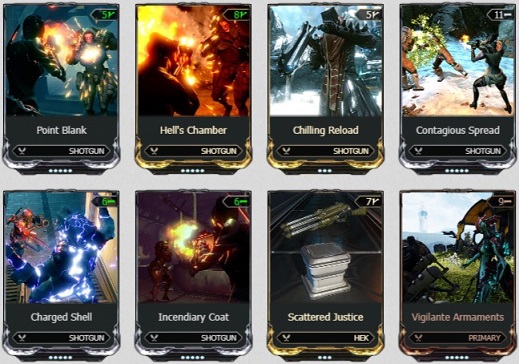
Acquisition: in-game Market
Superior variants: Vaykor Hek (MR 12) and Kuva Hek.
Powerful semi-automatic Shotgun for early game hampered by low magazine capacity of 4.
Note: Scattered Justice cannot be equipped on Vaykor Hek or Kuva Hek.
Dread (MR 5)

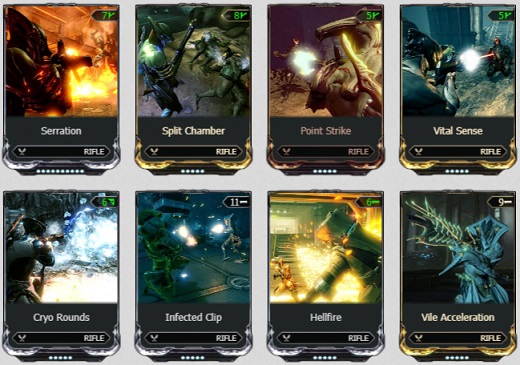
Acquisition: Stalker
Superior variant: Dread Incarnon
End-game viable with an incarnon genesis gotten later in the game. It is slow firing bow with arcing projectiles. High crit chance and slash damage.
Ignis (MR 5)
Acquisition: Grineer Lab in Clan Dojo
Superior variant: Ignis Wraith (MR 9)
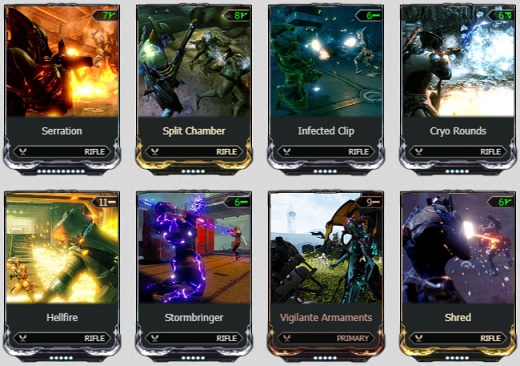
A great flamethrower, with high fire rate and cone shaped AOE.
Kohm (MR 5)
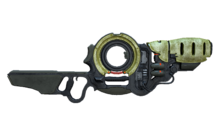
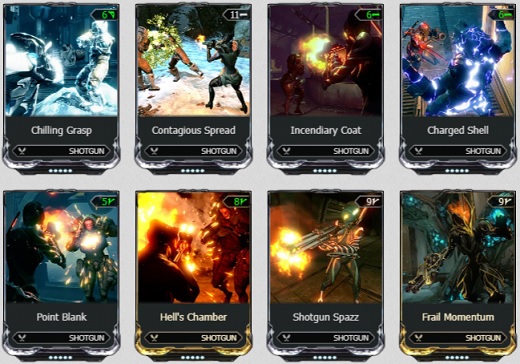
Acquisition: in-game Market
Superior variant: Kuva Kohm
Has 2 fire rate mods installed to combat the long windup.
Tonkor (MR 5)
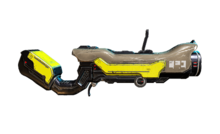
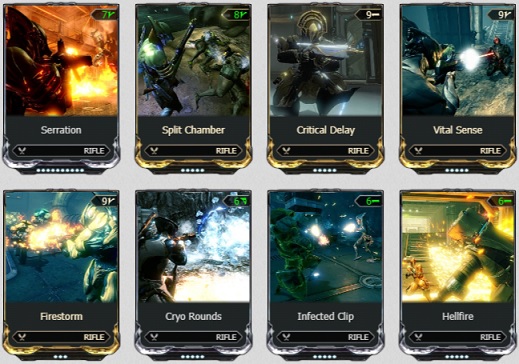
Acquisition: in-game Market
Superior Variant: Kuva Tonkor
A good grenade launcher, but be warmed it causes self-knockdown. Refer to section, "Weapons Introduction," for knockdown resistance mods.
Rubico (MR 6)
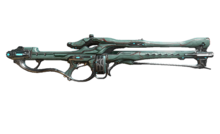
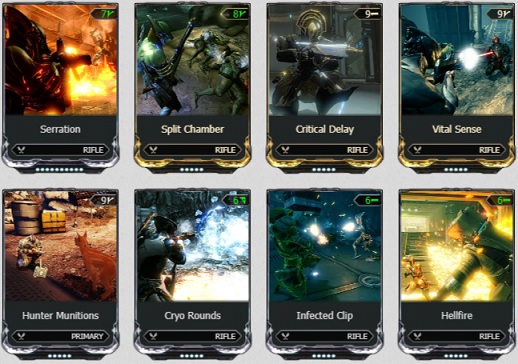
Acquisition: in-game Market
Superior Variant: Rubico Prime (MR 12)
Good sniper rifle with hit-scan bullets.
Dera Vandal (MR 7)
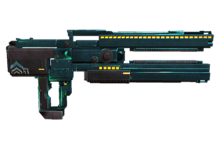
Acquisition: Invasion Reward
Superior Variant: Dera Vandal Incarnon
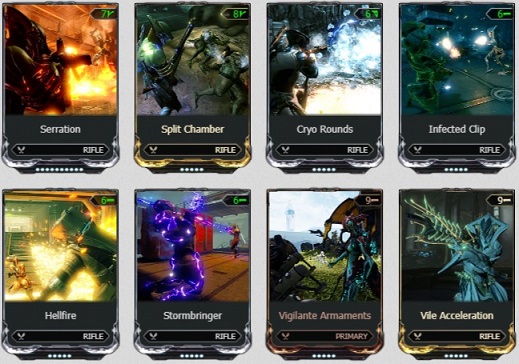
Fully automatic laser rifle, but its projectiles have slight travel time and relatively small magazine size of 60 for fully automatic rifles.
Dex Sybaris (MR 7)
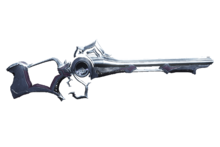
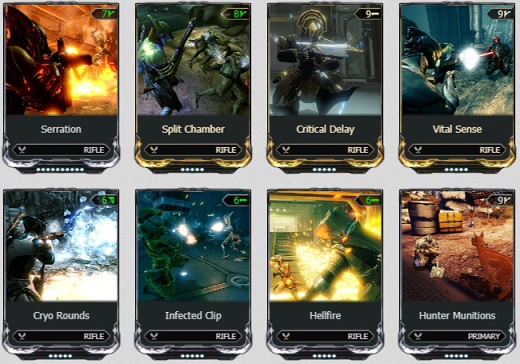
Acquisition: Given as a gift during the second half of March in celebration of Warframe anniversaries
Superior Variant: Sybaris Prime (MR 12)
A good burst fire rifle.
Sobek (MR 7)
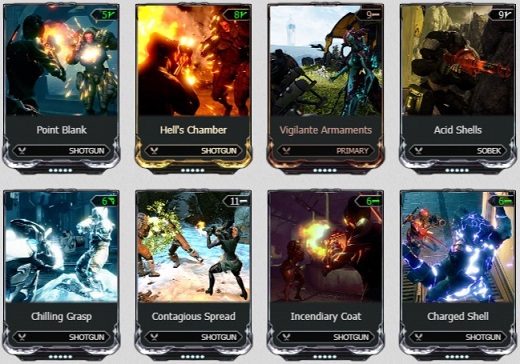
Acquisition: Grineer Lab in Clan Dojo
Superior Variant: Kuva Sobek
An automatic shotgun with a decent fire rate that does area damage with the mod, Acid Shells.
Soma Prime (MR 7)
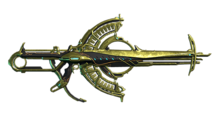
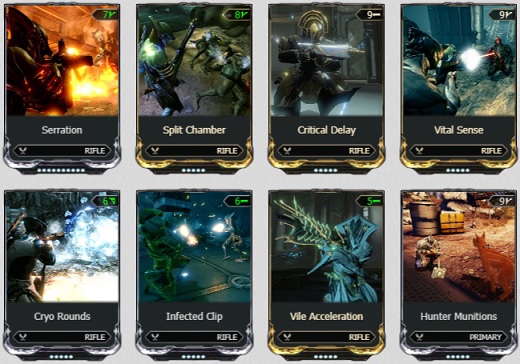
Acquisition: A vaulted prime set which can only be traded for or farmed during temporary un-vaultings
Superior Variant: Soma Prime Incarnon
A good easy-to-use fully automatic rifle with 200 bullets in a magazine with hit-scan bullets.
Baza (MR 7)
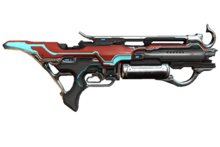
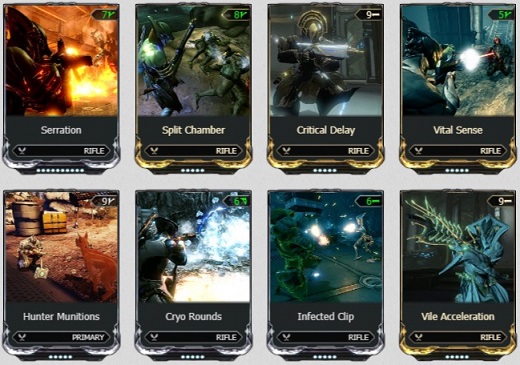
Acquisition: Tenno Research in Clan Dojo
Superior Variant: Baza Prime (MR 10)
The Baza is similar to the soma prime and is very accurate. Its magazine size is only 40, but makes up for it with a fast reload speed of 1.4 seconds. It is innately silent which synergizes with invisible warframes.
Tigris (MR 7)

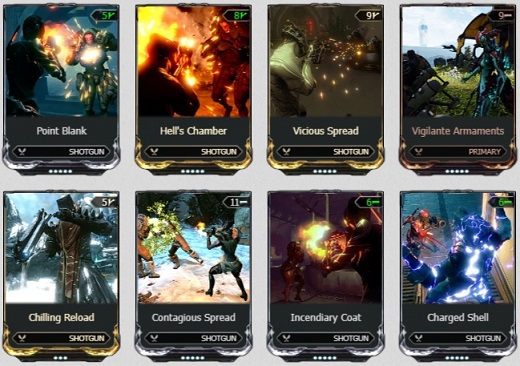
Acquisition: in-game Market
Superior Variants: Sancti Tigris (MR 12), Tigris Prime (MR 13)
A double barrel shotgun. Tap fire to fire 2 in a barrel. Hold to fire 1 and let go to fire 2nd.
Zarr (MR 7)
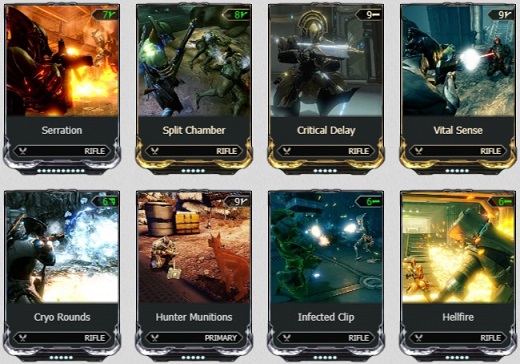
Acquisition: in-game Market
Superior Variant: Kuva Zarr
A powerful grenade launcher that is capable of inflicting self-knockdown. Refer to section, "Weapons Introduction," for knockdown resistance mods.
Weapons (Secondaries)
Sonicor (MR 2)
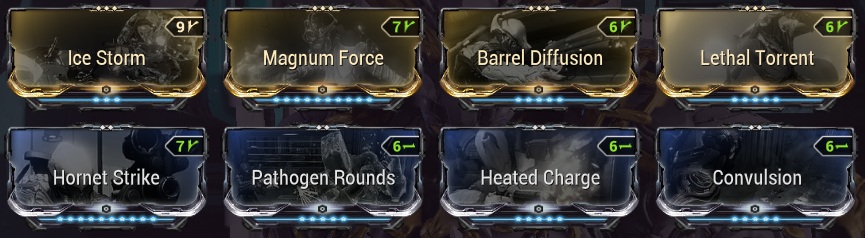
Acquisition: in-game Market
A very effective area damage weapon with enemy knock back ability
Hikou (MR 2)

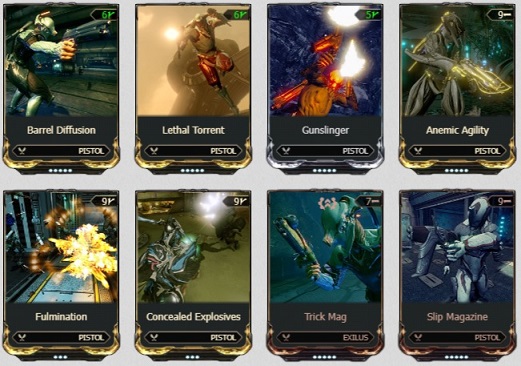
Acquisition: in-game Market
Superior Variant: Hikou Prime (MR 4)
Only effective with the mod Concealed Explosives and up to level 40 enemies. Does area damage and self-knockback. Refer to section, "Weapons Introduction," for knockdown resistance mods. This build will also work on Hikou Prime (MR 4).
Lex (MR 3)

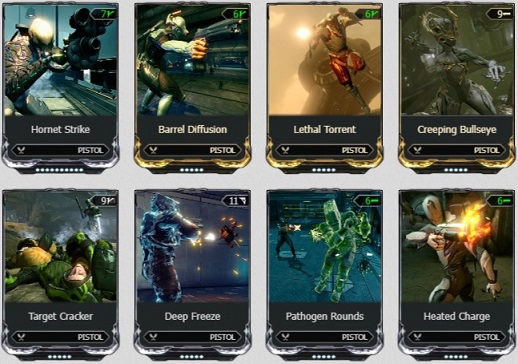
Acquisition: in-game Market, pre-built for credits
Superior Variant Lex Prime (MR 8)
A good and accurate semi-automatic pistol
Aklex (MR 4)
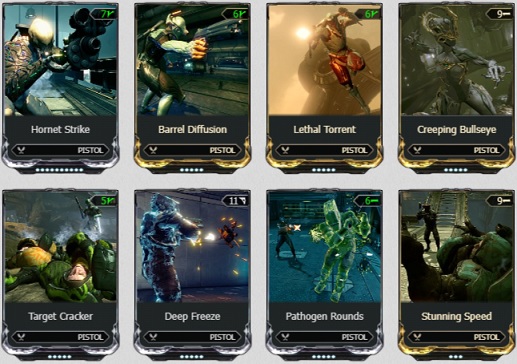
Acquisition: in-game Market, Ingredients: 2 Lex'
Superior Variant: Aklex Prime (MR 15)
A dual wielded version of Lex with magazine size of 12
Atomos (MR 5)
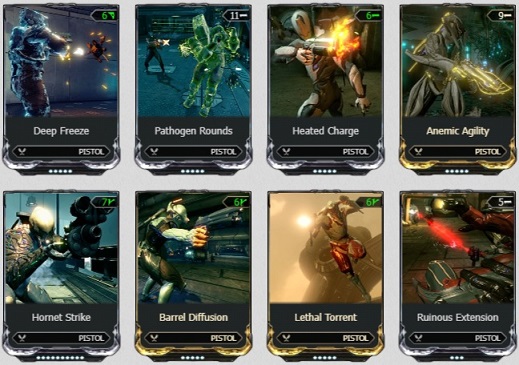
Acquisition: in-game Market
Superior Variant: Atomos Incarnon
An effective area damage weapon
Brakk (MR 6)
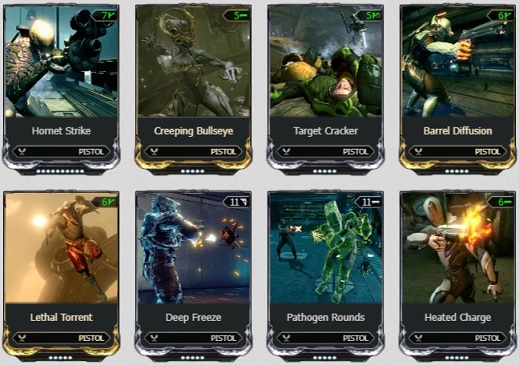
Acquisition: The Grustrag Three[warframe.wikia.com] - appears after completing 5 consecutive invasions against the grineer or summoned using a beacon [warframe.wikia.com]sold by Baro Ki-Teer
Superior Variant: Kuva Brakk
A powerful mini-shotgun.
Synoid Gammacor (MR 7)
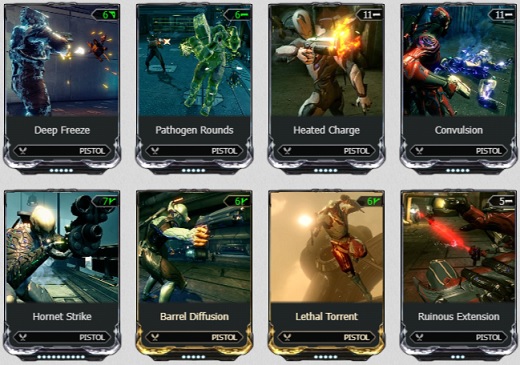
Acquisition: Cephalon Suda Syndicate or traded for
Superior Variant: Synoid Gammacor Incarnon
A powerful single-target beam weapon that restores energy
Weapons (Melee)
Note: The following builds use a powerful mod, Condition Overload. It is somewhat rare, so if you don't have it, replace it with Pressure Point. Body Count can replace Drifting contact if you don't have it. Melee weapons increase in damage with combo counter. More information on this in section, "Combo Counter."

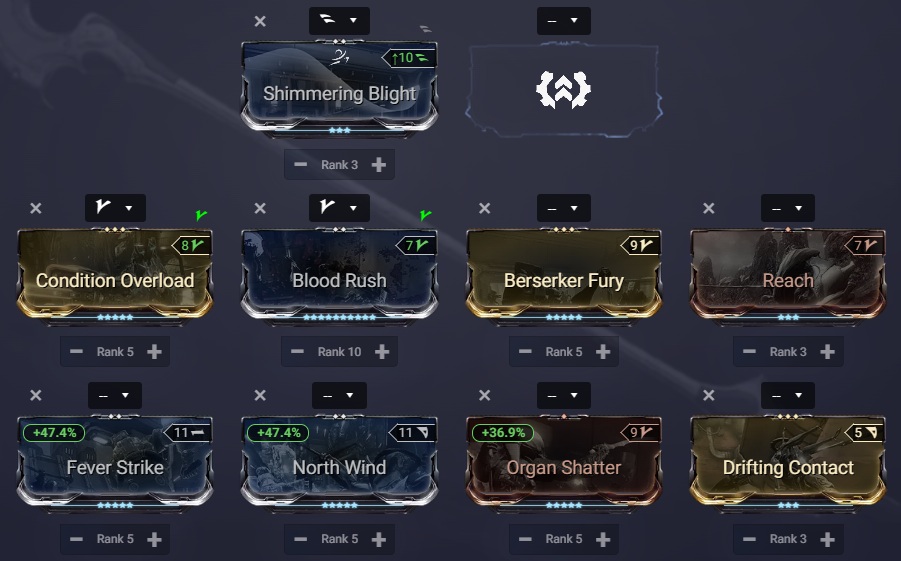
Acquisition: Farmed via Fissures or traded for
A good polearm with the largest range possible for polarms
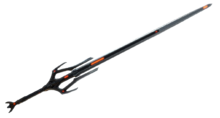
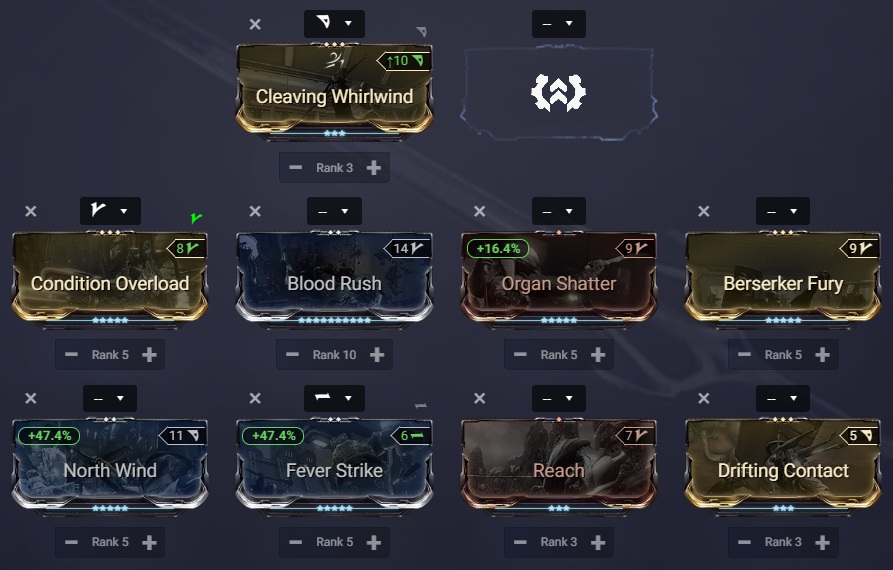
Acquisition: in-game Market
Superior variant: Galatine Prime (MR 13)
A powerful sword and a very very solid choice for early game.
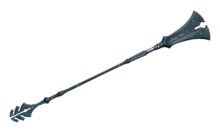
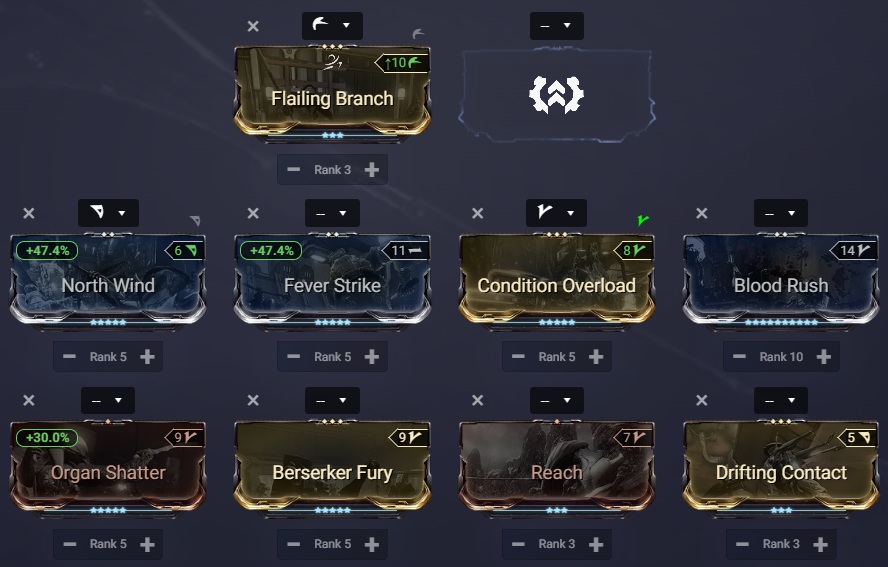
Acquisition: in-game Market - Ingredients Kunai [warframe.wikia.com]and Bo[warframe.wikia.com]
Superior Variant: Tipedo Prime
A good polearm with one of the highest attack speeds in the game and good range
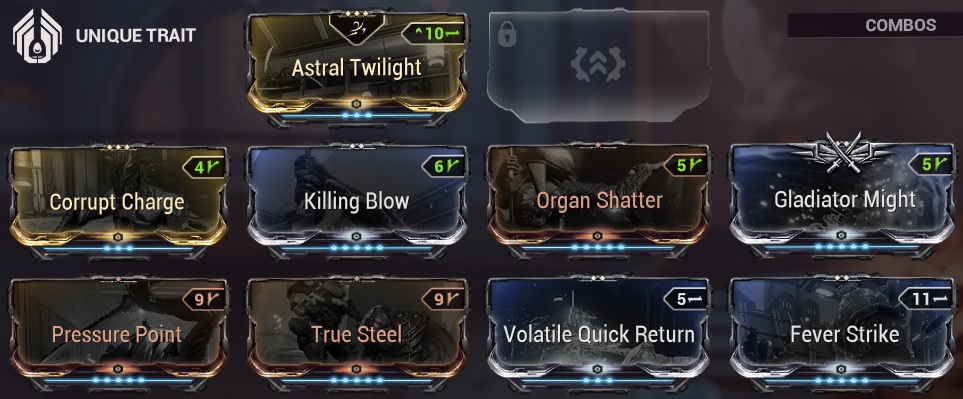
Acquisition: The blueprint, core, handle, and blade are all obtained during The Deadlock Protocol.
A thrown AOE melee weapon that will destroy many enemies. For maximum damage, throw the melee weapon and detonate it mid-air using heavy attack button. Stance mods, Astral Twilight and Gleaming Talon, both work well.

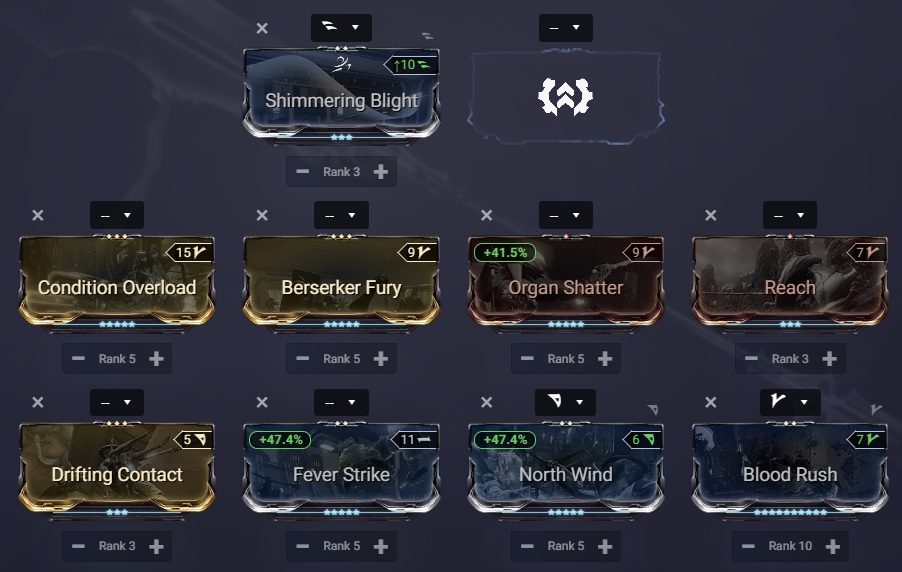
Acquisition: Tenno Lab in Clan Dojo
Superior Variant: Guandao Prime
A good polearm with the largest range possible for polearms.
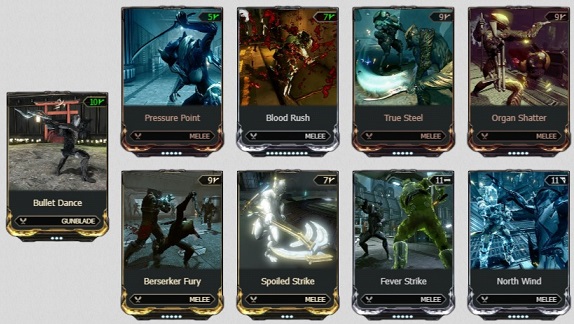
Acquisition: in-game Market - Ingredients Vasto[warframe.wikia.com] and Dual Skana[warframe.wikia.com]
Superior variant: Redeemer Prime (MR 10)
Ranged shotgun-like attack while holding down the melee attack button. It is silent and useful in the Mastery Rank 9 test.

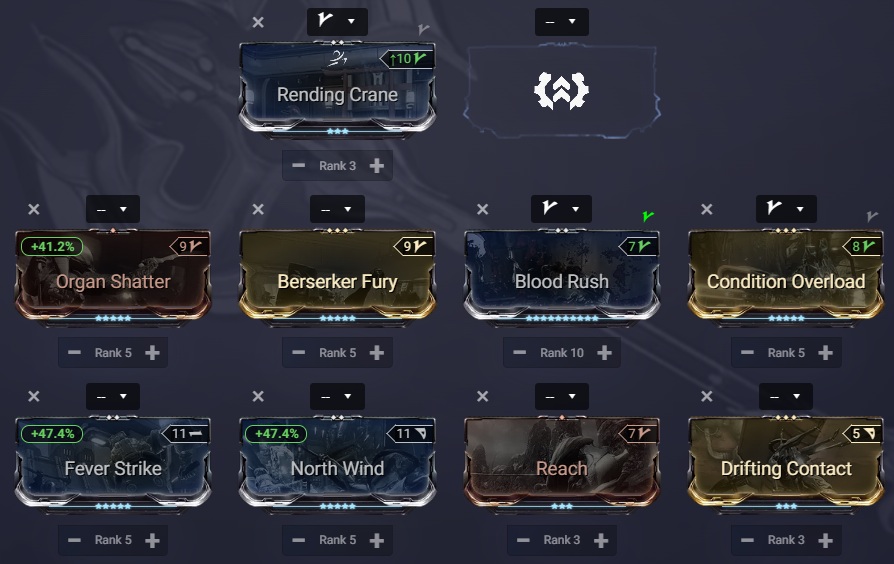
Acquisition: A vaulted prime set which can only be traded for or farmed during temporary un-vaultings
A mid tier axe
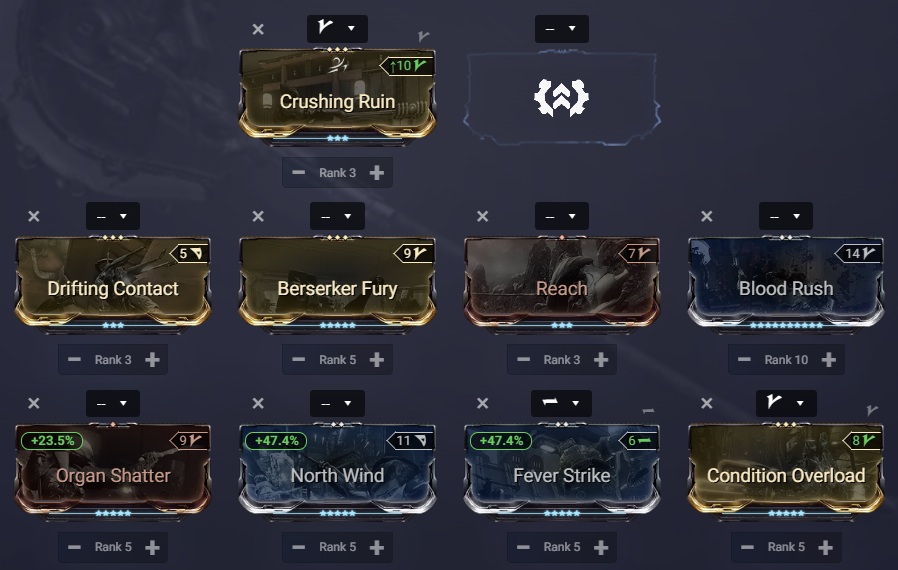
Acquisition: Grineer Lab in Clan Dojo
A strong hammer with slow attack speed. It has a special mod, Vulcan Blitz. Every time you kill enemies in a 6m radius receive damage.
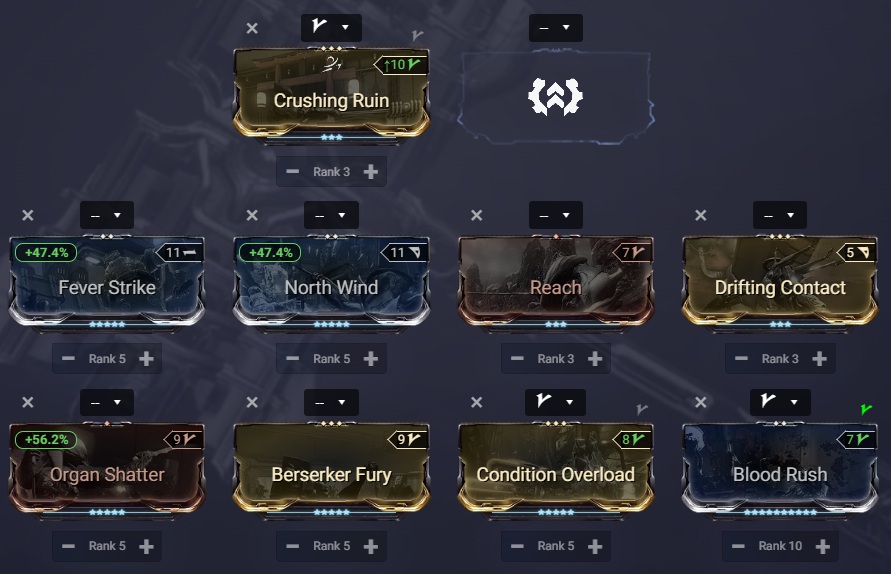
Acquisition: Farmed via Fissures or traded for
Good enough to be a long term weapon, but as with all hammers has slow attack speed
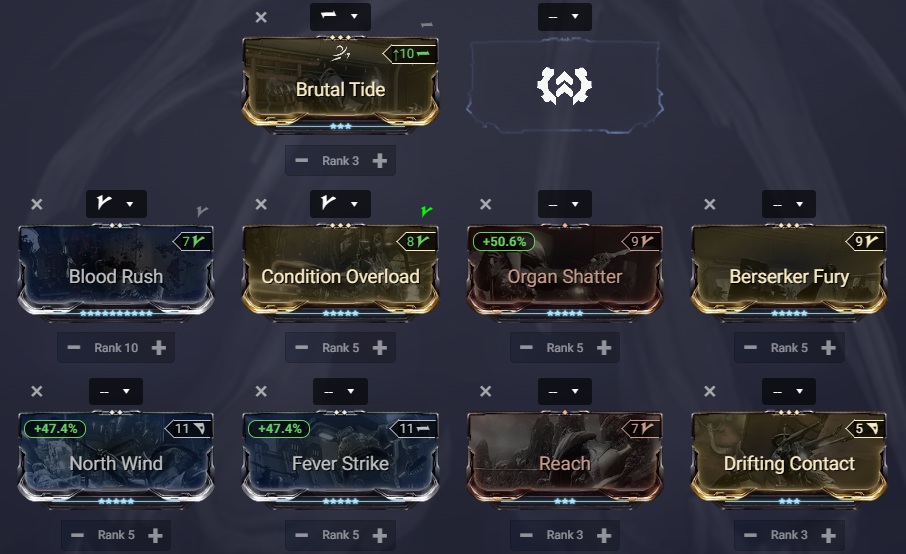
Acquisition: in-game Market - Ingredient Kogake[warframe.wikia.com]
An effective claw weapon with self-healing properties. Critical hits have 5% life steal and increases maximum health by 5% for 15s. Stacks up to 25%.
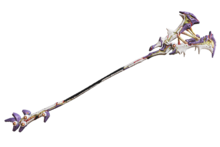
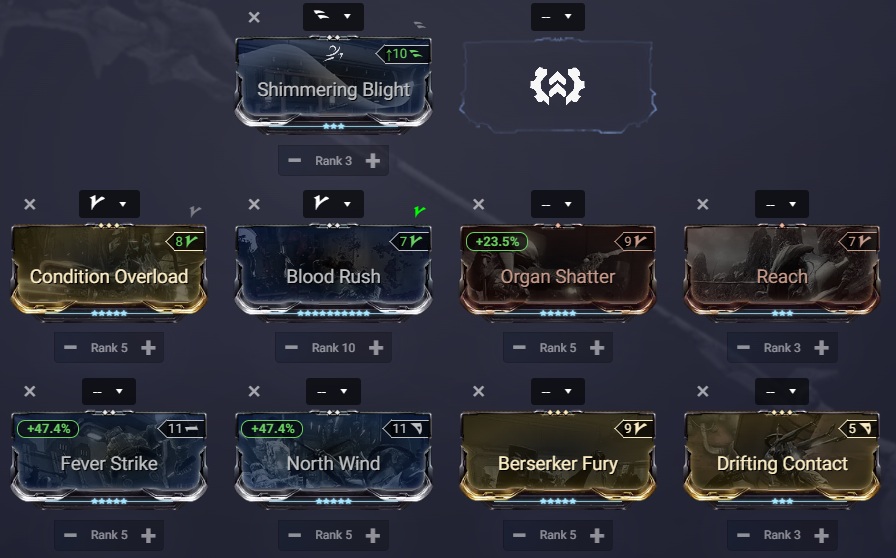
Acquisition: in-game Market - Ingredient Tipedo
A strong polearm
Orthos Prime (MR 2)
Acquisition: Farmed via Fissures or traded for
A good polearm with the largest range possible for polarms
Galatine (MR 3)
Acquisition: in-game Market
Superior variant: Galatine Prime (MR 13)
A powerful sword and a very very solid choice for early game.
Tipedo (MR 3)
Acquisition: in-game Market - Ingredients Kunai [warframe.wikia.com]and Bo[warframe.wikia.com]
Superior Variant: Tipedo Prime
A good polearm with one of the highest attack speeds in the game and good range
Xoris (MR 4)
Acquisition: The blueprint, core, handle, and blade are all obtained during The Deadlock Protocol.
A thrown AOE melee weapon that will destroy many enemies. For maximum damage, throw the melee weapon and detonate it mid-air using heavy attack button. Stance mods, Astral Twilight and Gleaming Talon, both work well.
Guandao (MR 4)
Acquisition: Tenno Lab in Clan Dojo
Superior Variant: Guandao Prime
A good polearm with the largest range possible for polearms.
Redeemer (MR 4)
Acquisition: in-game Market - Ingredients Vasto[warframe.wikia.com] and Dual Skana[warframe.wikia.com]
Superior variant: Redeemer Prime (MR 10)
Ranged shotgun-like attack while holding down the melee attack button. It is silent and useful in the Mastery Rank 9 test.
Scindo Prime (MR 4)
Acquisition: A vaulted prime set which can only be traded for or farmed during temporary un-vaultings
A mid tier axe
Jat Kittag (MR 5)
Acquisition: Grineer Lab in Clan Dojo
A strong hammer with slow attack speed. It has a special mod, Vulcan Blitz. Every time you kill enemies in a 6m radius receive damage.
Fragor Prime (MR 7)
Acquisition: Farmed via Fissures or traded for
Good enough to be a long term weapon, but as with all hammers has slow attack speed
Hirudo (MR 7)
Acquisition: in-game Market - Ingredient Kogake[warframe.wikia.com]
An effective claw weapon with self-healing properties. Critical hits have 5% life steal and increases maximum health by 5% for 15s. Stacks up to 25%.
Lesion (MR 7)
Acquisition: in-game Market - Ingredient Tipedo
A strong polearm
😋😋😋IMPORTANT MODS😋😋😋
Useful Nightwave Mods
Nightwave Credits Can Buy Important Mods
This section lists the most commonly used Nightwave mods.Auras
 Polarity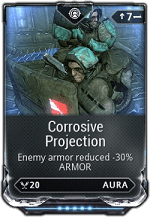
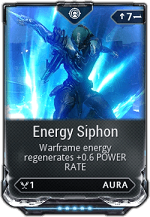
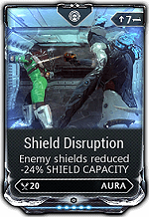
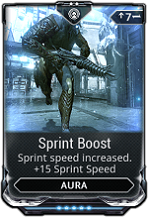
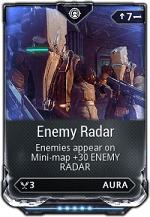
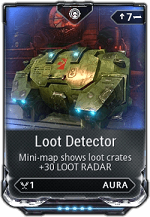
Auras
 Polarity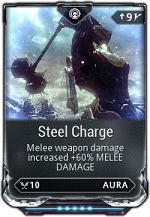
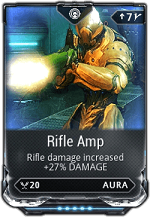
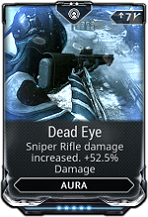
Auras
 Polarity
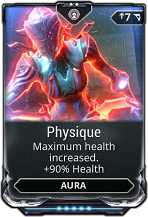
Details on the Nightwave system are in section, "Nightwave system."
Useful Nightmare Mods
This section lists the most commonly used Nightmare mods.
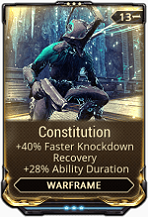
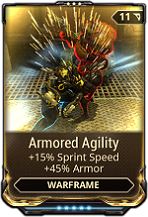
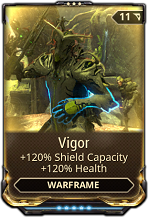
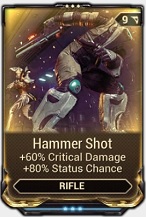
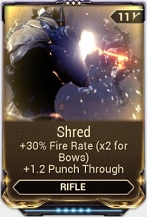
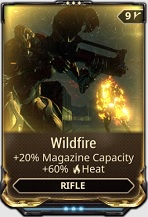
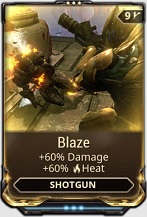
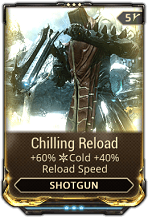
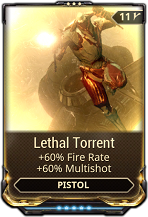
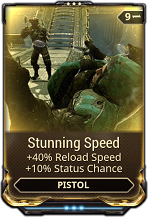
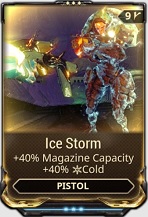
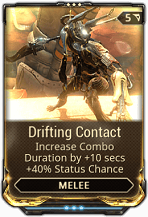
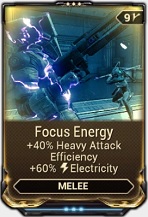
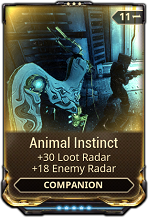
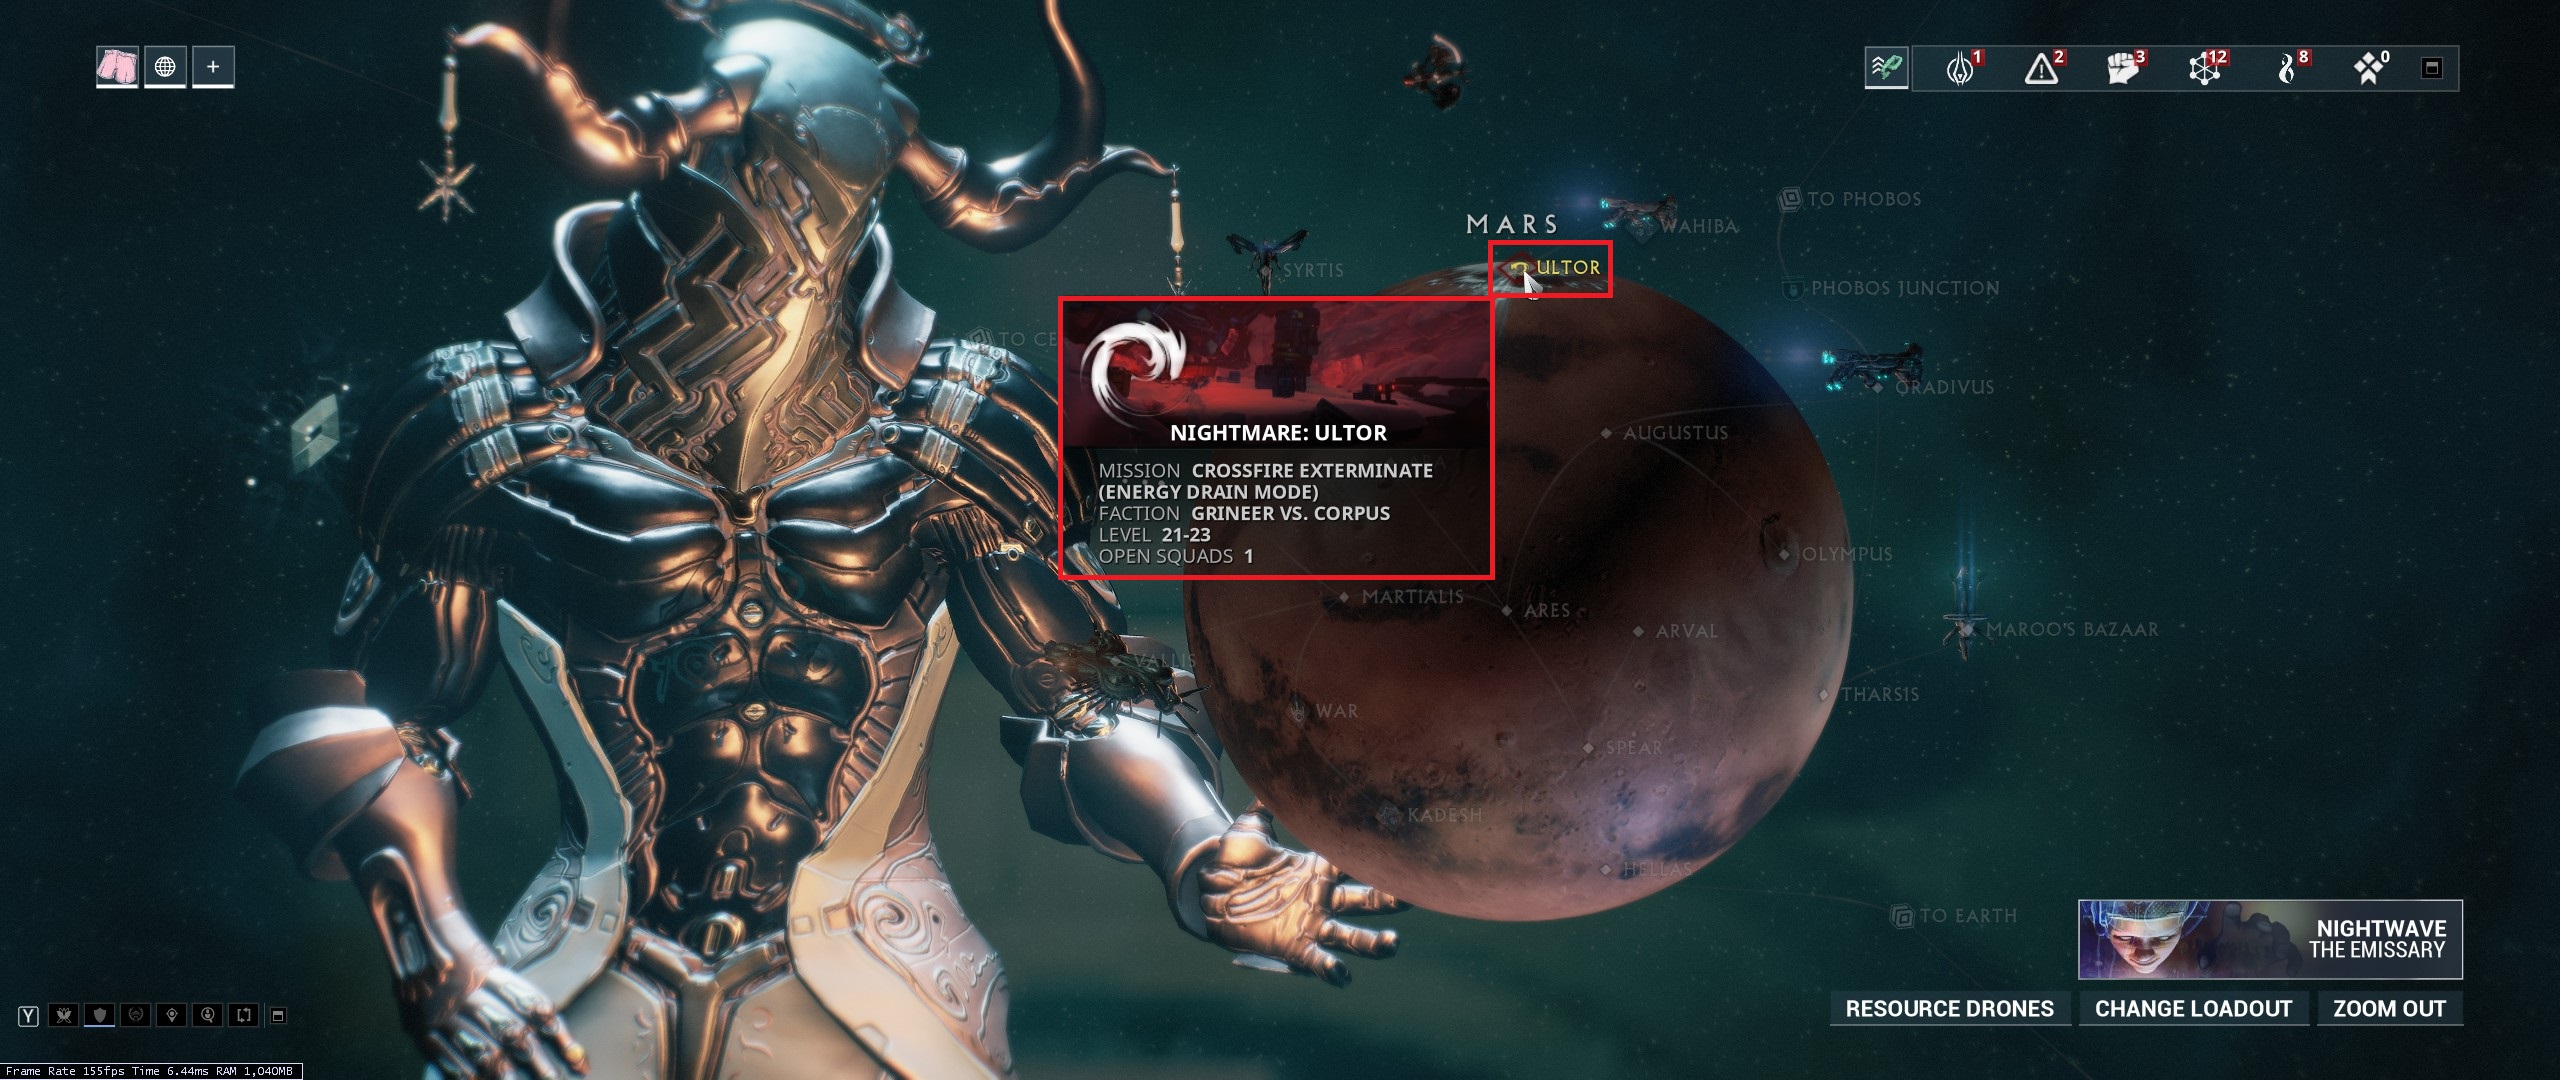 Nightmare mods are rewarded after completing special Nightmare missions. To unlock Nightmare missions, you must complete all missions on a given planet. A Nightmare mission will show on a random mission highlighted in red. Nightmare missions come with random a handicap which can include: no shields, timer, health vampire, energy drain, low gravity, and death detonation.
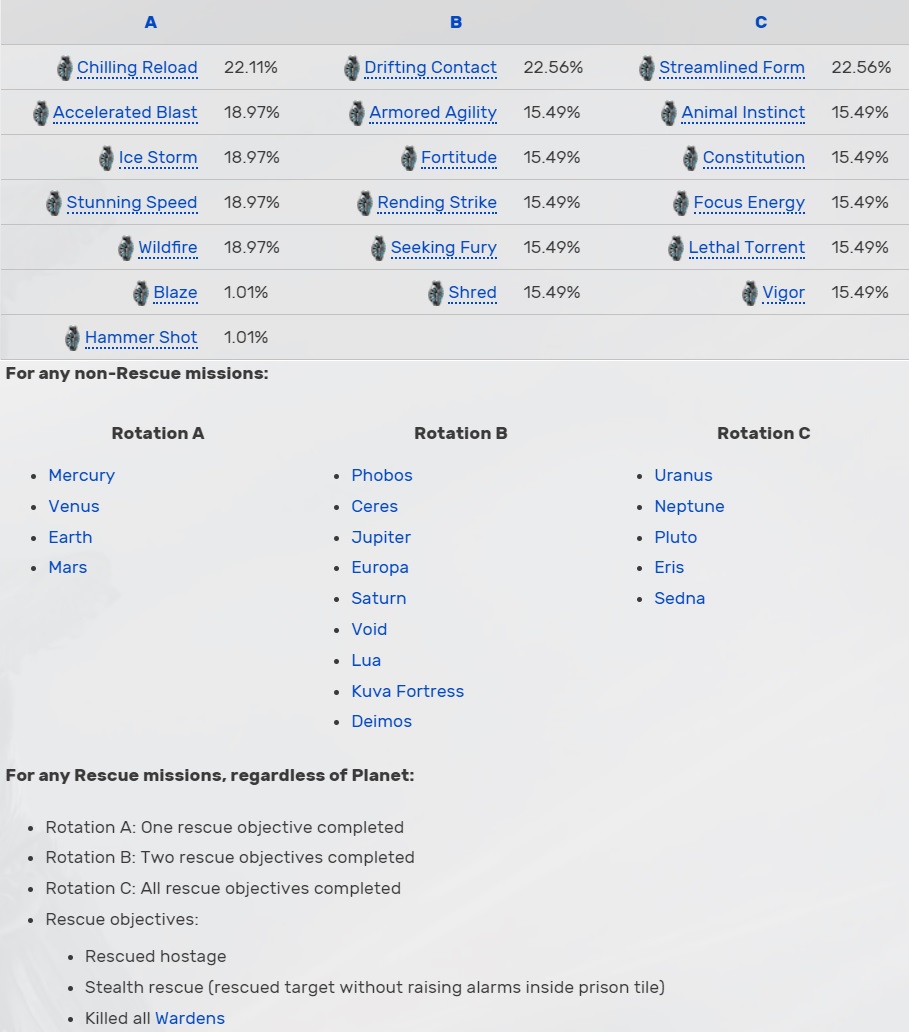
Warframe Mods
Weapon Mods
Companion mods
How To Farm Nightmare Mods
Nightmare mods are rewarded after completing special Nightmare missions. To unlock Nightmare missions, you must complete all missions on a given planet. A Nightmare mission will show on a random mission highlighted in red. Nightmare missions come with random a handicap which can include: no shields, timer, health vampire, energy drain, low gravity, and death detonation.Tiered Reward Locations
How To Farm Corrupted Mods
Most Commonly Used Corrupted Mods
Warframe
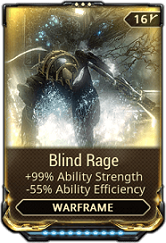
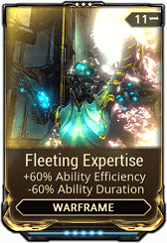
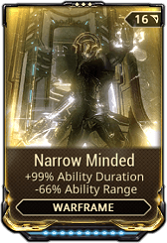
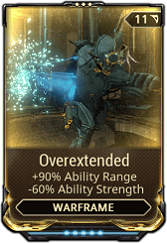
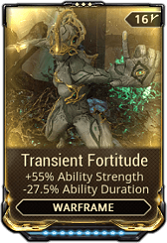
Weapons
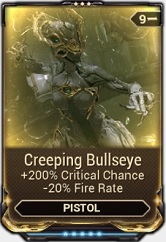
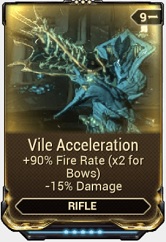
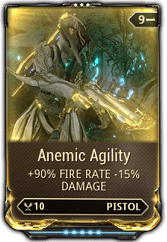
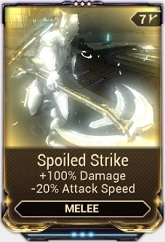
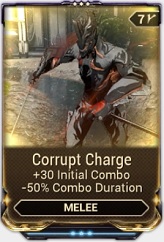
How To Farm Corrupted Mods
- Farm some traces via fissure missions detailed in section, "Fissure System". About 80 is good.
- Go to the Orokin Lab in the Clan dojo
- Purchase 1 of each dragon key blue print: Bleeding, Decaying, Extinguished, Hobbled
- Go to the foundry (esc-->equipment-->foundry) and build 1 or 2 of each dragon key.
- Look for a vault run party in recruitment or clan channel
- The party will likely go to a capture or exterminate mission on Deimos planet. In these missions there will be a hidden door called the orokin vault. Opening them will require a randomly selected dragon key. All four party members will equip 1 of each type to ensure the unlocking of the vault. To equip your dragon key go to gears (esc-->equipment-->arsenal-->gears).
Where To Find The Door
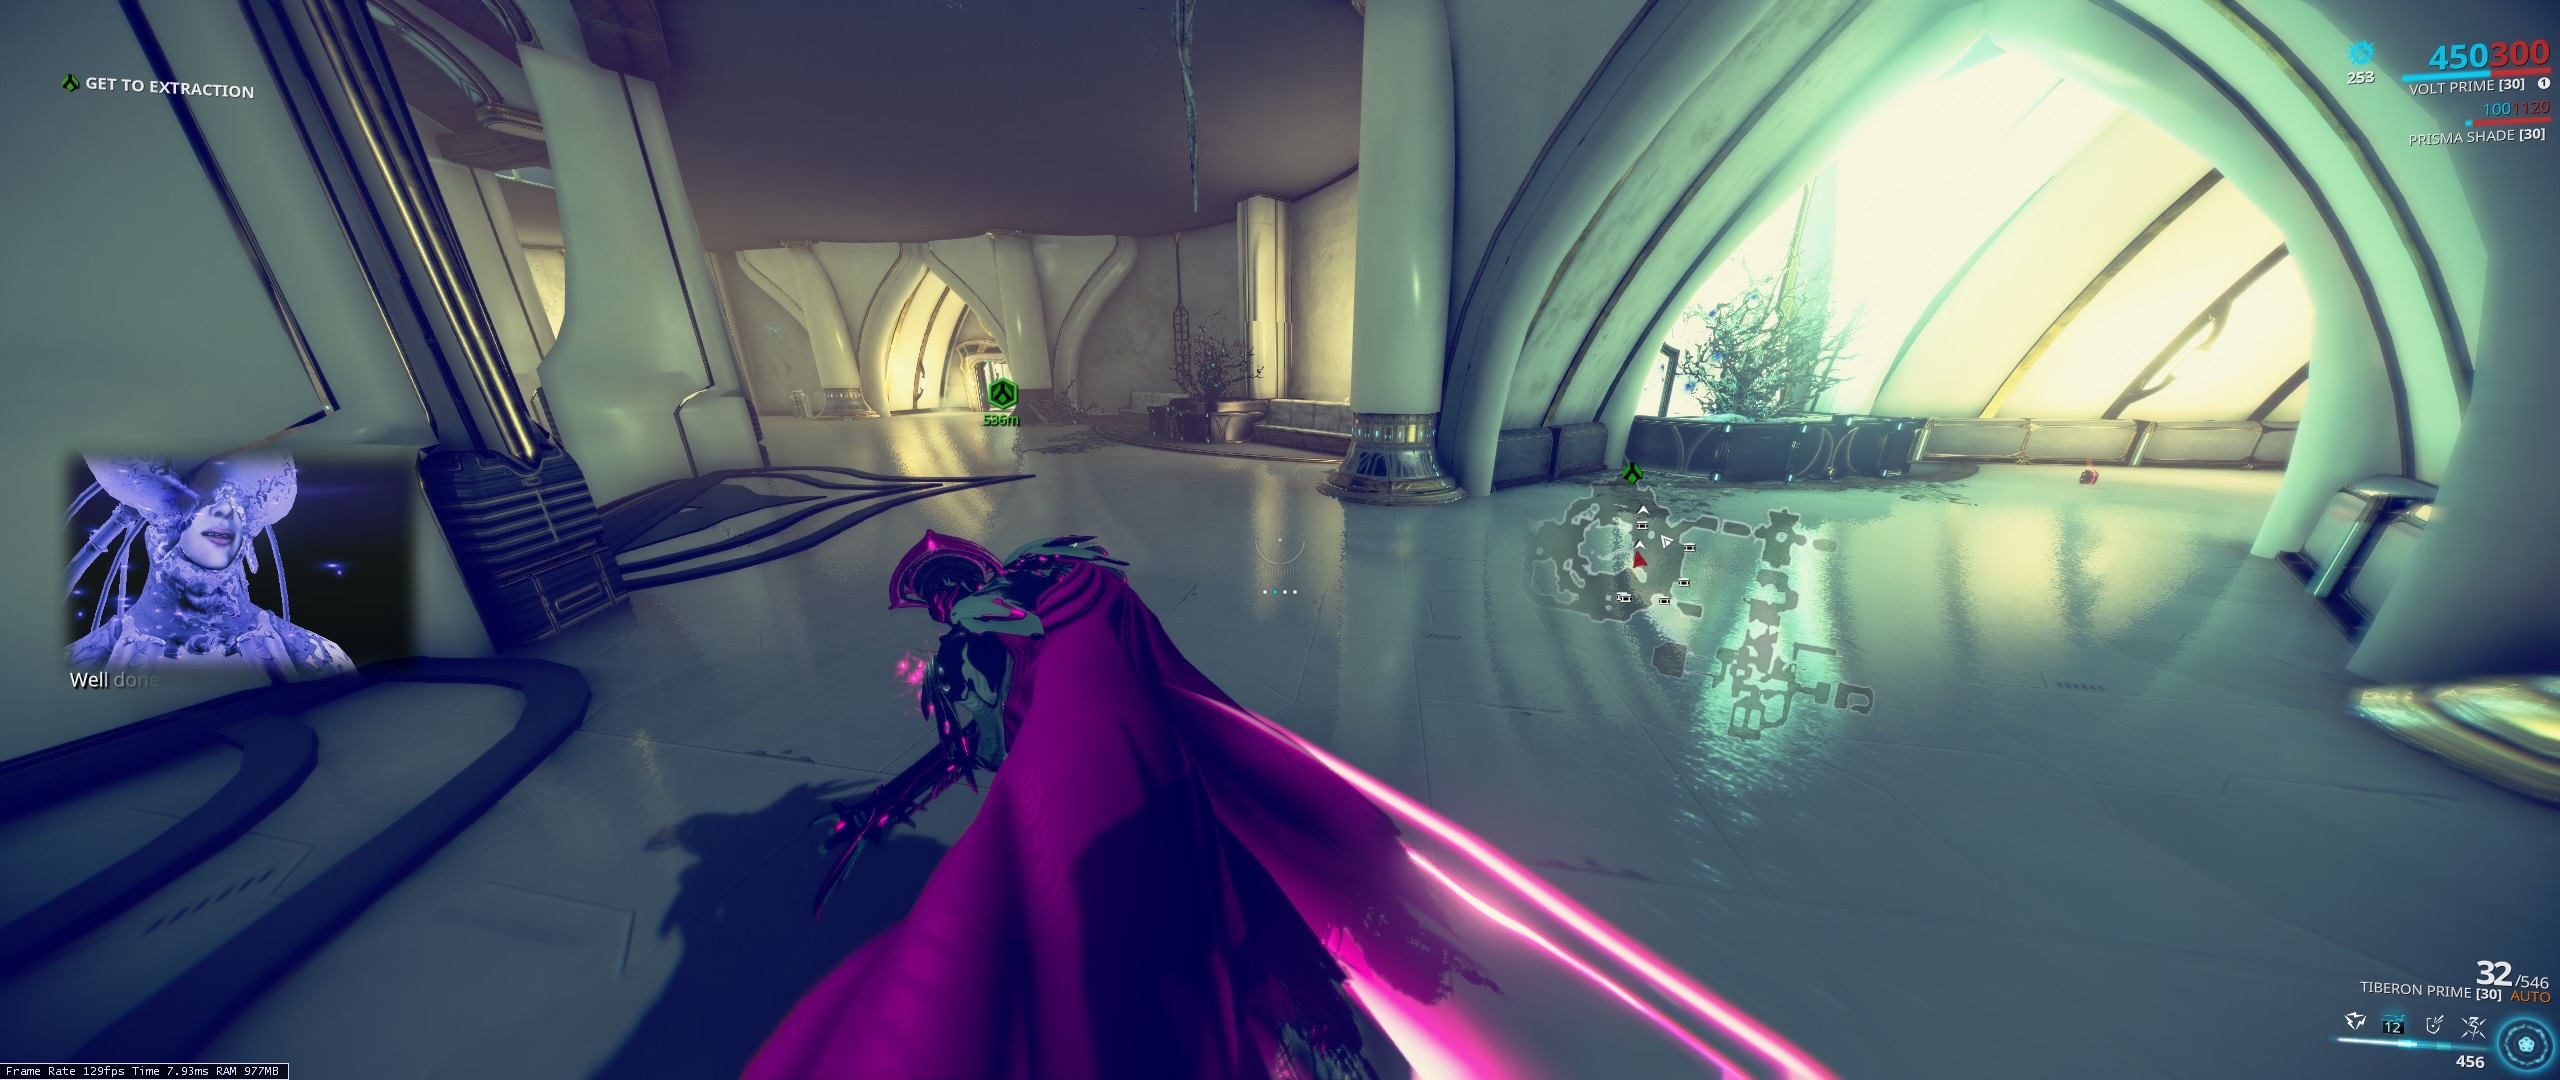
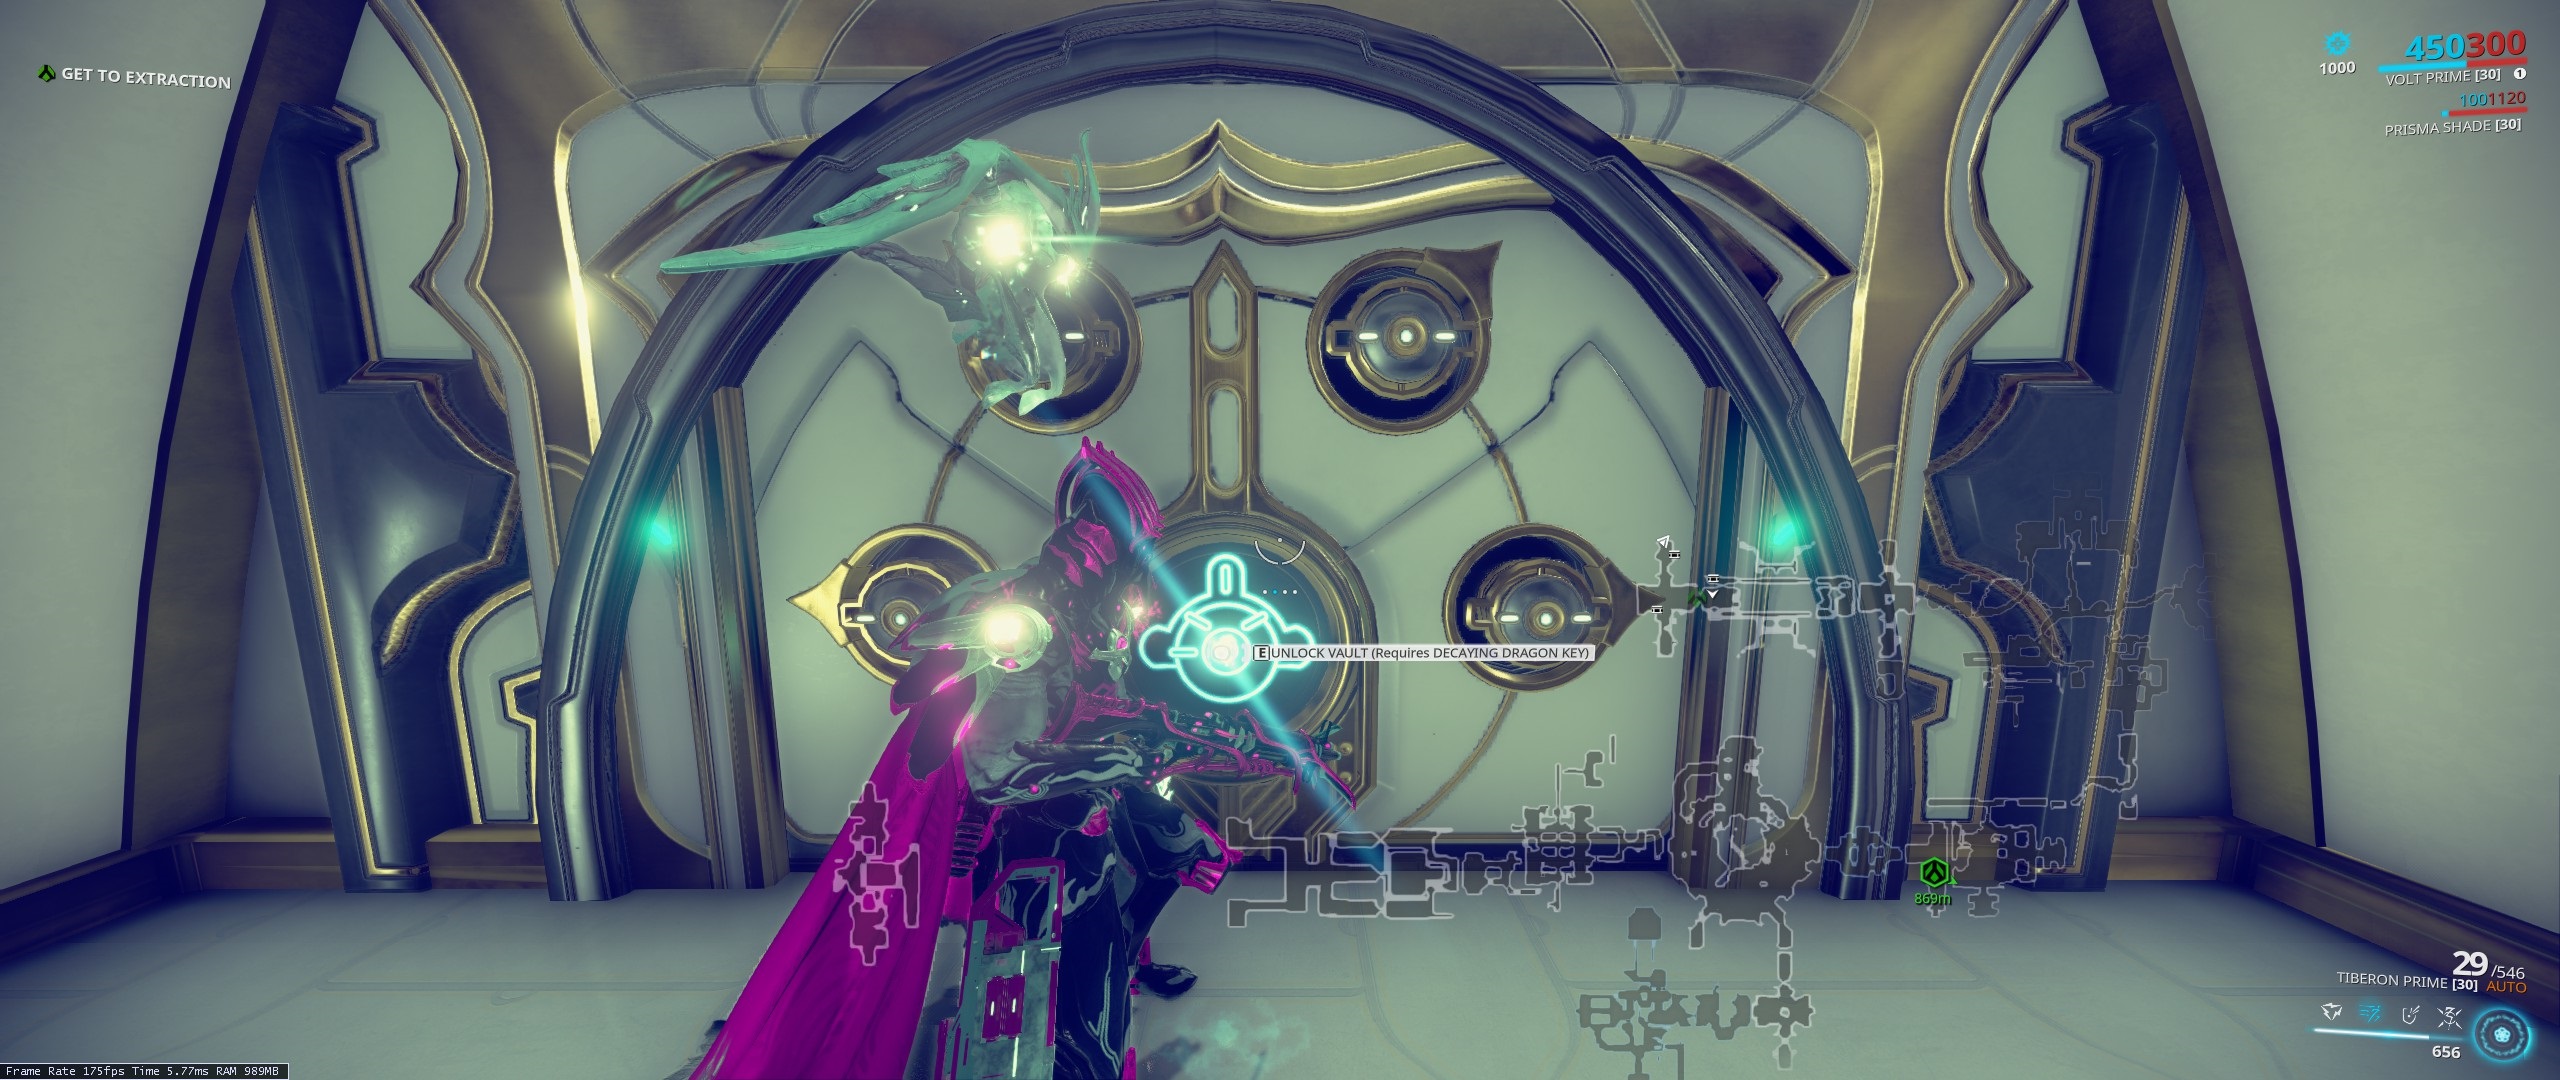 The whole map should be checked until a player finds it.
Vault Runs Can Also Be Solo'd
They can be solo'd by equipping all four dragon keys. Be mindful of the advantages and disadvantages. The advantage is obviously that you don't need a group. Each dragon key handicaps you in different ways and you'll have to find the door on your own.- Bleeding Key (-75% Health)
- Decaying Key (-75% Shield)
- Extinguished Key (-75% Damage)
- Hobbled Key (-50% Speed)
😮😮😮😮OPEN WORLD😮😮😮😮
Most of the Open world content should be avoided until at least late-early game. However, there are worthwhile mods and items that are attainable and worth farming for in early-game or late early-game.
Open world bounties recycle their missions and mission reward tables every 2.5 hours. If the item you are looking for is not in the designated reward table. Check back again later.
Open world bounties recycle their missions and mission reward tables every 2.5 hours. If the item you are looking for is not in the designated reward table. Check back again later.
Useful POE Items
POE stands for Plains of Eidolon which is the open world to hub Cetus, Earth.
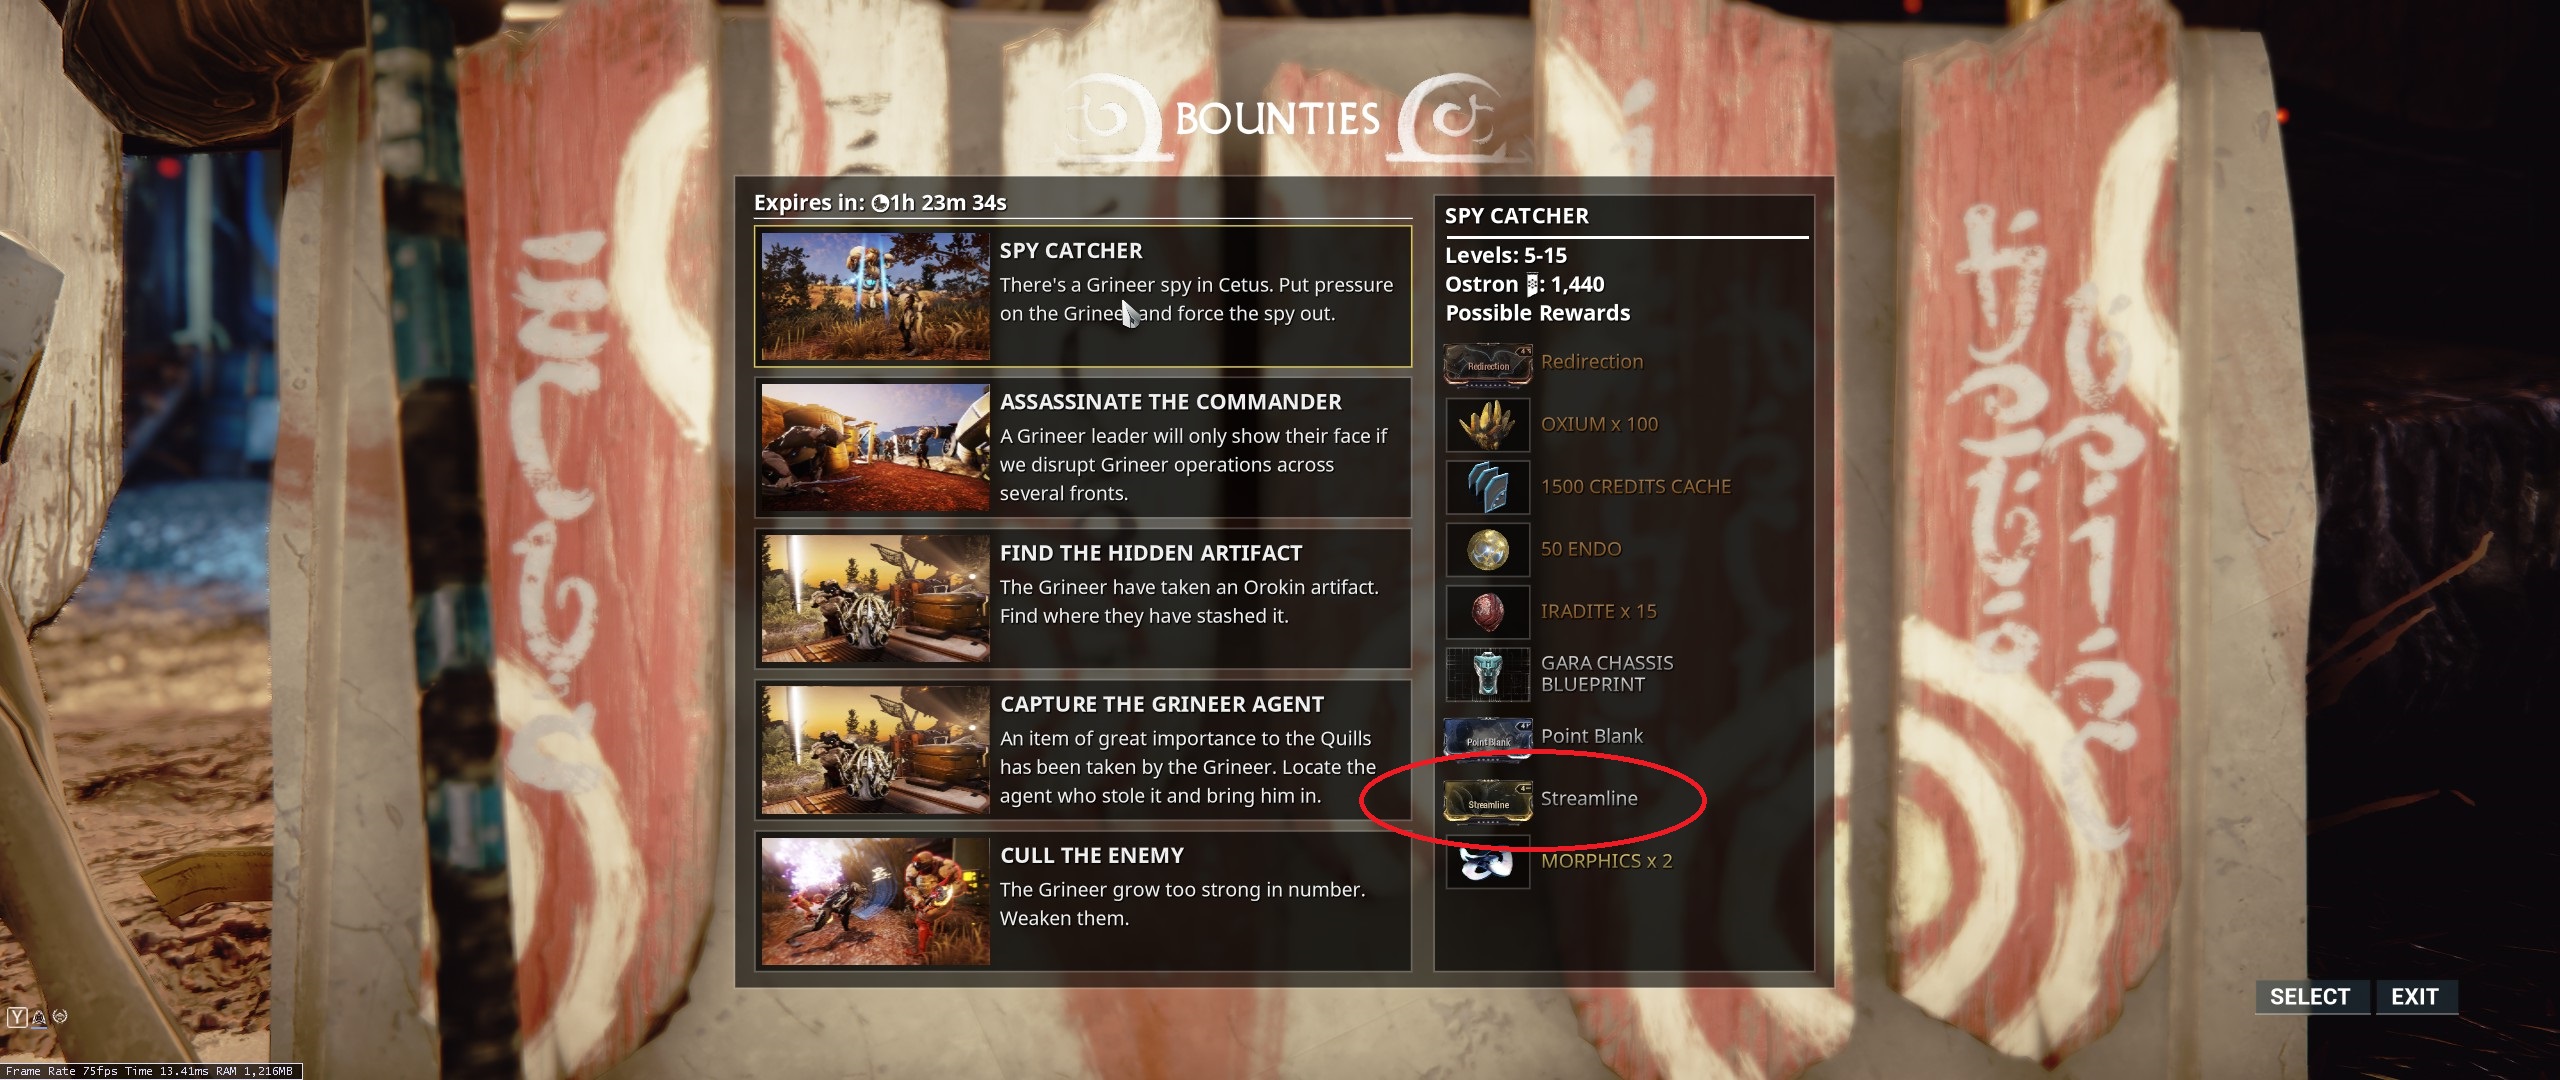 (In Cetus, esc-->fast travel-->Konzu)
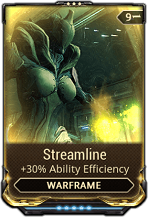
Streamline drops from many sources such as random missions and many grineer type enemies. If it takes too long to get streamline naturally just playing the game, farming it here is an option.

Focus Lens - see "Focus Lens" and "Focus Schools" sections for more details.
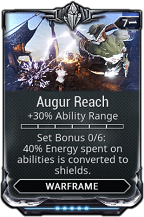
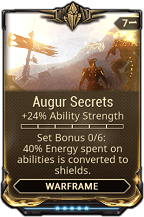
Note that Augur Secrets is extremely rare.
 Ghoul Purge is a recurring event in POE. When they are available, Lotus will send you a message to your inbox notifying you about the ghoul presence in POE. The event can be accessed from the events tab or by going to Konzu in Cetus (esc-->fast travel-->konzu)
How To Access Bounties
(In Cetus, esc-->fast travel-->Konzu)Bounty Reward Mission Level 5-15
Streamline drops from many sources such as random missions and many grineer type enemies. If it takes too long to get streamline naturally just playing the game, farming it here is an option.
Bounty Reward Mission Level 20-40
Focus Lens - see "Focus Lens" and "Focus Schools" sections for more details.
Bounty Reward Mission Level 30-50
Note that Augur Secrets is extremely rare.
How To Acess Ghoul Bounties
Ghoul Purge is a recurring event in POE. When they are available, Lotus will send you a message to your inbox notifying you about the ghoul presence in POE. The event can be accessed from the events tab or by going to Konzu in Cetus (esc-->fast travel-->konzu)Ghoul Bounty Reward Mission Level 15-25
Preparation for The Sacrifice (11th Quest in Main Quest Line)
Without spoiling anything, unlocking Quills in Cetus and getting a mote amp will make this quest easier, though the quest is still doable without one.
Useful Fortuna Items
Fortuna is the open world hub for Venus, Orb Vallis.
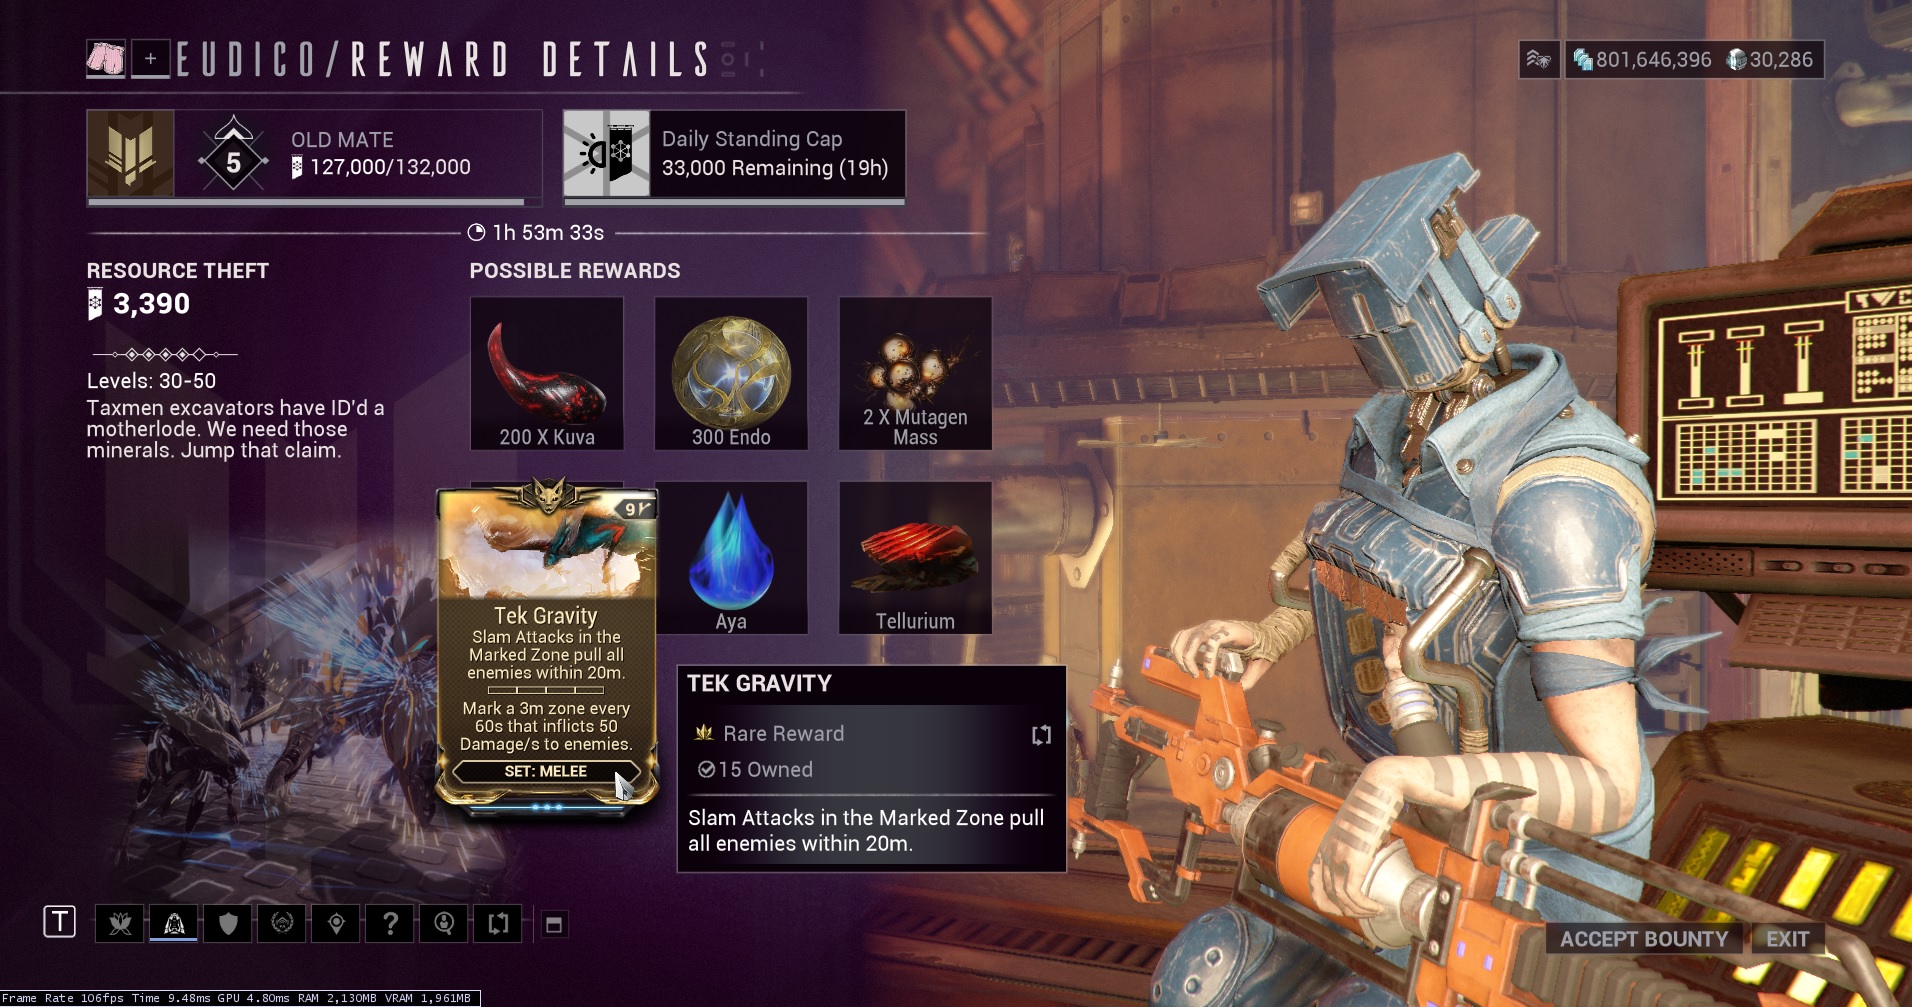 (In Cetus, esc-->fast travel-->Eudico
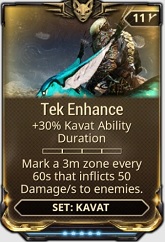
Focus Lens - see "Focus Lens" and "Focus Schools" sections for more details.
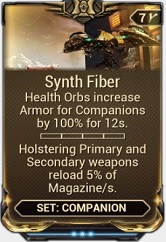
How To Access Bounties
(In Cetus, esc-->fast travel-->EudicoBounty Reward Mission Level 10-30
Bounty Reward Mission Level 20-40
Focus Lens - see "Focus Lens" and "Focus Schools" sections for more details.
Bounty Reward Mission Level 30-50
Useful Necralisk Items
Necralisk is the open world hub on Deimos.
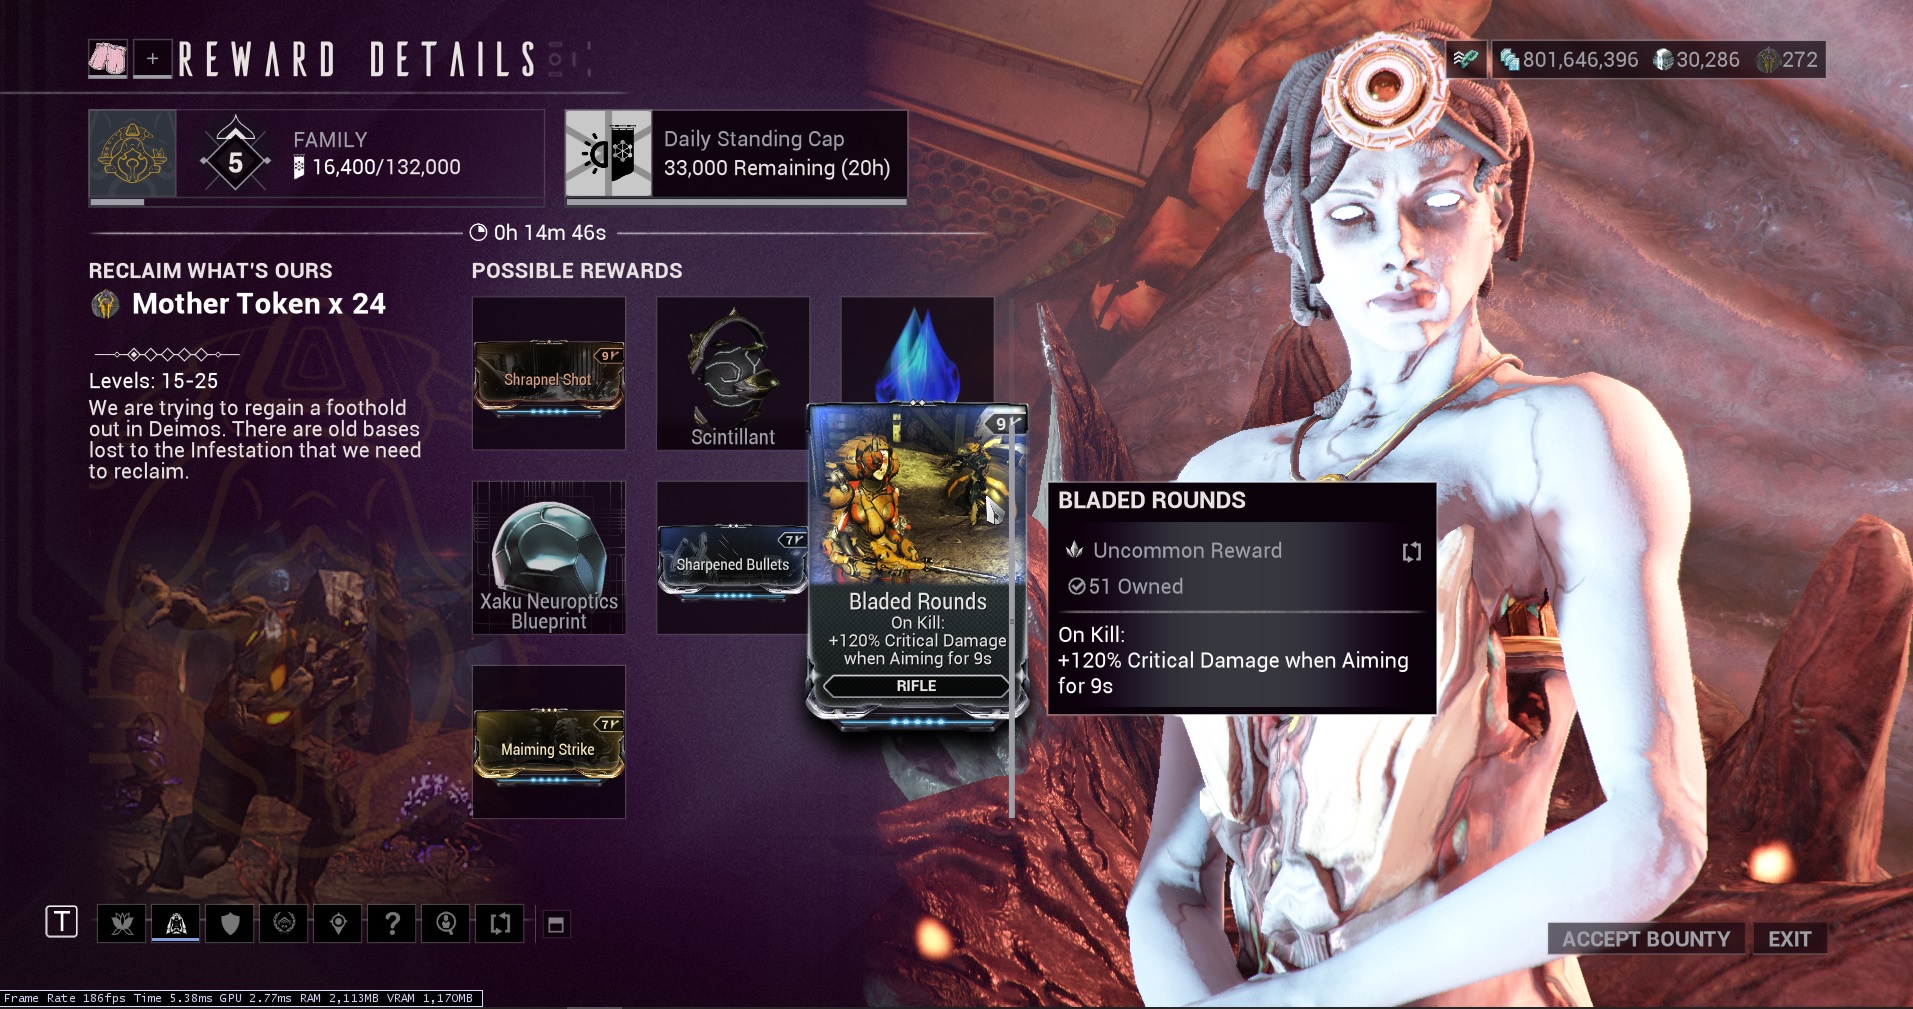 (In Necralisk, esc-->necralisk fast travel-->mother)
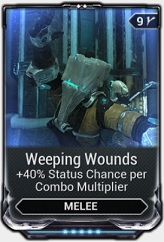
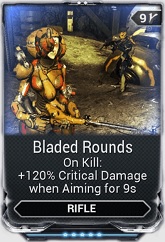
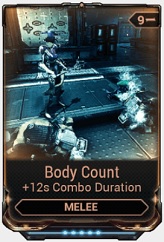
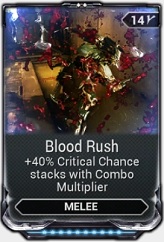
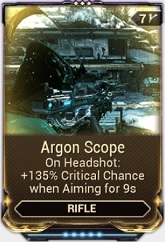
Focus Lens - see "Focus Lens" and "Focus Schools" sections for more details.
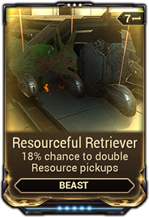
How To Access Bounties
(In Necralisk, esc-->necralisk fast travel-->mother)Bounty Reward Mission Level 15-25
Bounty Reward Mission Level 30-40
Focus Lens - see "Focus Lens" and "Focus Schools" sections for more details.
Sold by vendor, Son
🐱🐱🐱🐱COMPANIONS🐶🐶🐶🐶
Companions Introduction
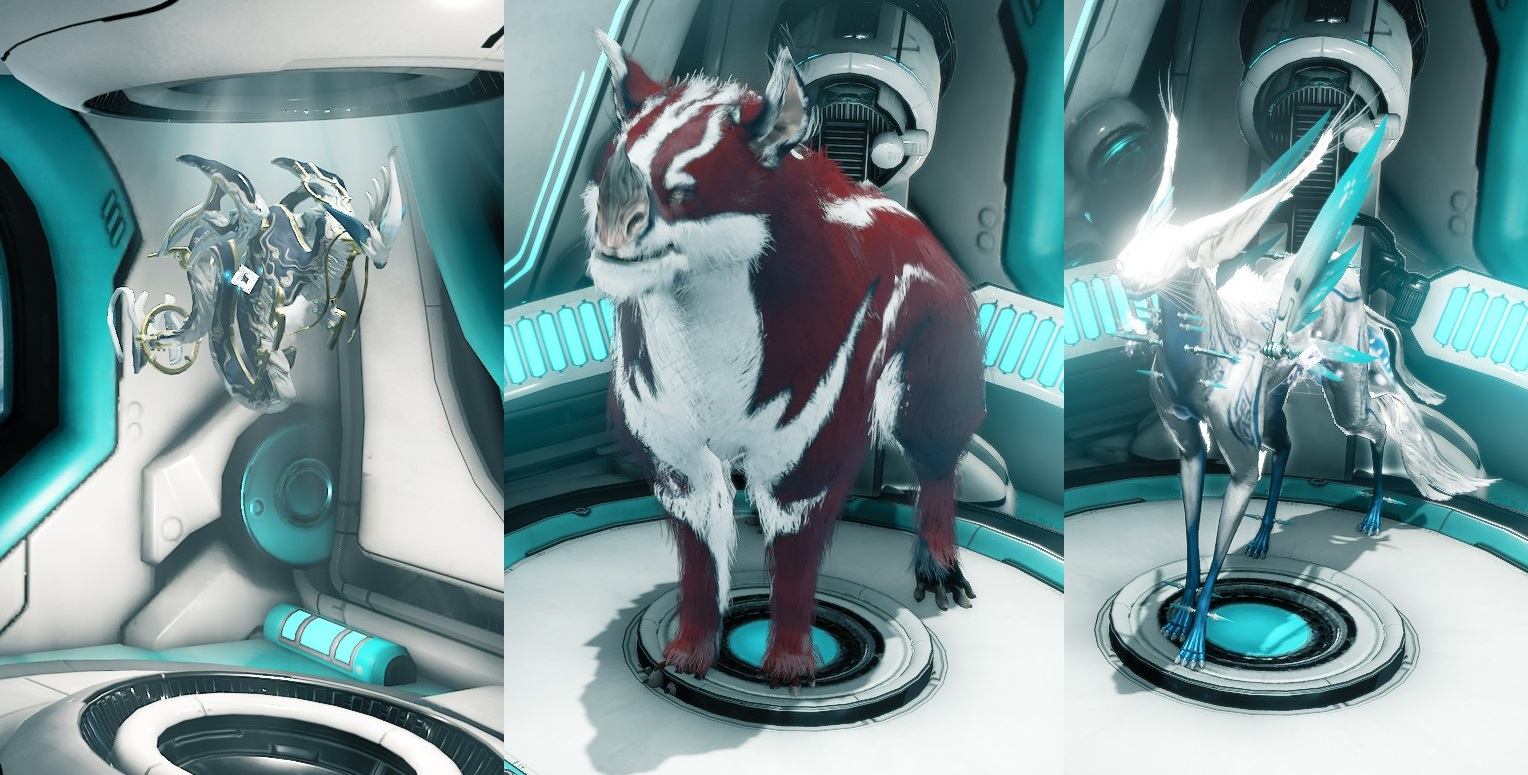 Companions are very useful and should not be ignored. There are 7 categories of companions: Sentinels, Kubrows (canine-like), Kavats (feline-like), MOA, Hounds, Predasite, and Vulpaphyla. There are several different Sentinels and different breeds of Kubrows and Kavats. Sentinels can do many things such as: pick up drops for you, turn you invisible, debuff enemies to take more damage, provide some crowd control, and heal your health and shields. Kubrows can disarms enemies, turn you invisible, heal your shield, and break loot crates for you. Kavats can boost resource drops, affinity gain, and critical chance. I recommend farming for MOA, Hounds, Predasites, and Vulpaphyla in mid-game. Companions gain their own experience pool and isn't shared with warframes and weapons.
Useful Universal Mods for All Companions
These can be equipped on all companion types.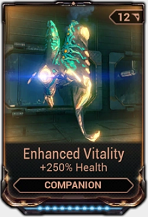
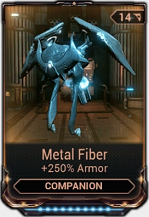
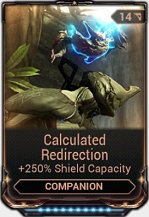
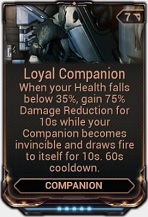
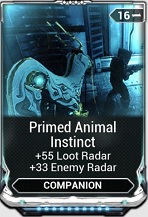
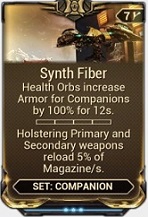
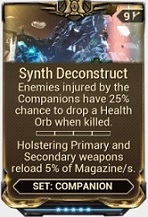
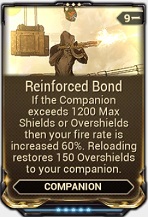
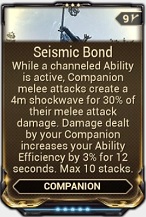
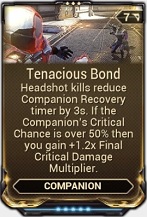
Companions (Sentinels)
Useful Universal Sentinel Mods
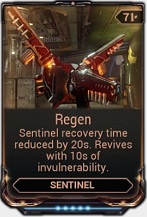
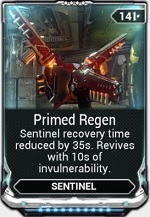
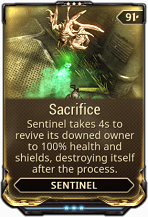
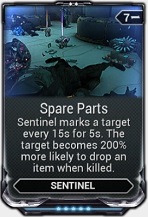
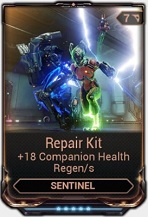
Taxon (Weapon: Artax)


- Acquisition: In-game market with credits
- Exclusive mods
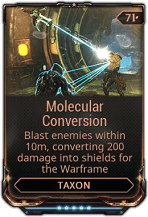
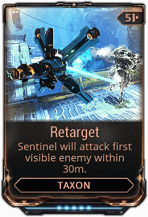
Carrier (Weapon: Sweeper)


- Acquisition: In-game market for credits
- Exclusive mods
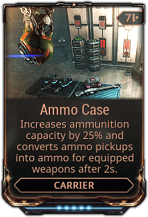
Helios (Weapon: Deconsctructor)


- Acquisition: Energy Lab in Clan Dojo
- Exclusive mods
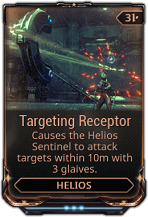
Shade (Weapon: Burst Laser)


- Acquisition: In-game market with credits
- Exclusive mods
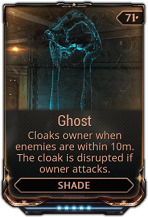
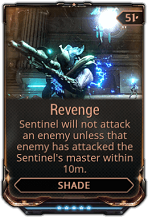
Diriga (Weapon: Vulklok)


- Acquisition: In-game market with credits
- Exclusive Mods
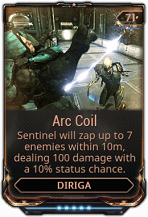
Wyrm (Weapon: Laser Rifle)


- Acquisition: In-game market with credits
- Exclusive mods
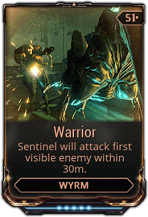
Djinn (Weapon: Stinger)


- Acquisition: Infested Lab in Clan Dojo
- Exclusive mods
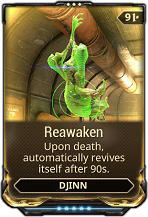
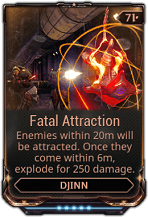
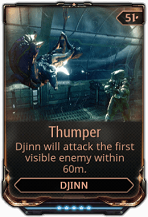
Dethcube (Weapon: Deth Machine Rifle)


- Acquisition: In-game market with credits
- Exclusive mods
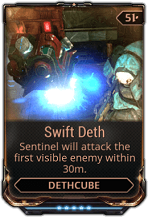
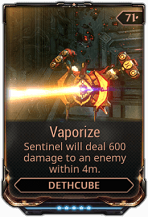
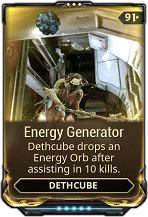
Nautilus (Weapon: Verglas)


- Acquisition: Points of Interest and Arva Vector Defense in Neptune Railjack missions.
- Exclusive mods
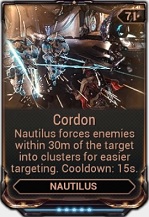
Oxylus (Weapon: Multron)


- Acquisition: Business in Fortuna
- Exclusive mods
Useful Universal Robotic Mods
Can be equipped on all robotic companions: Sentinels, MOA, and Hounds.
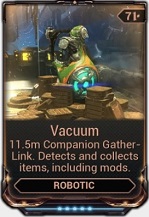
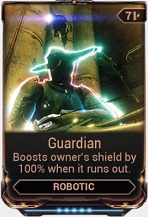
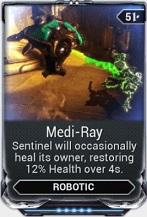
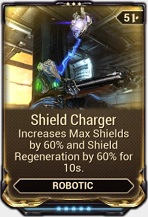
Companions (Kubrows)
Required "Howl of the Kubrow" Quest Completion
How To Make A Kubrow
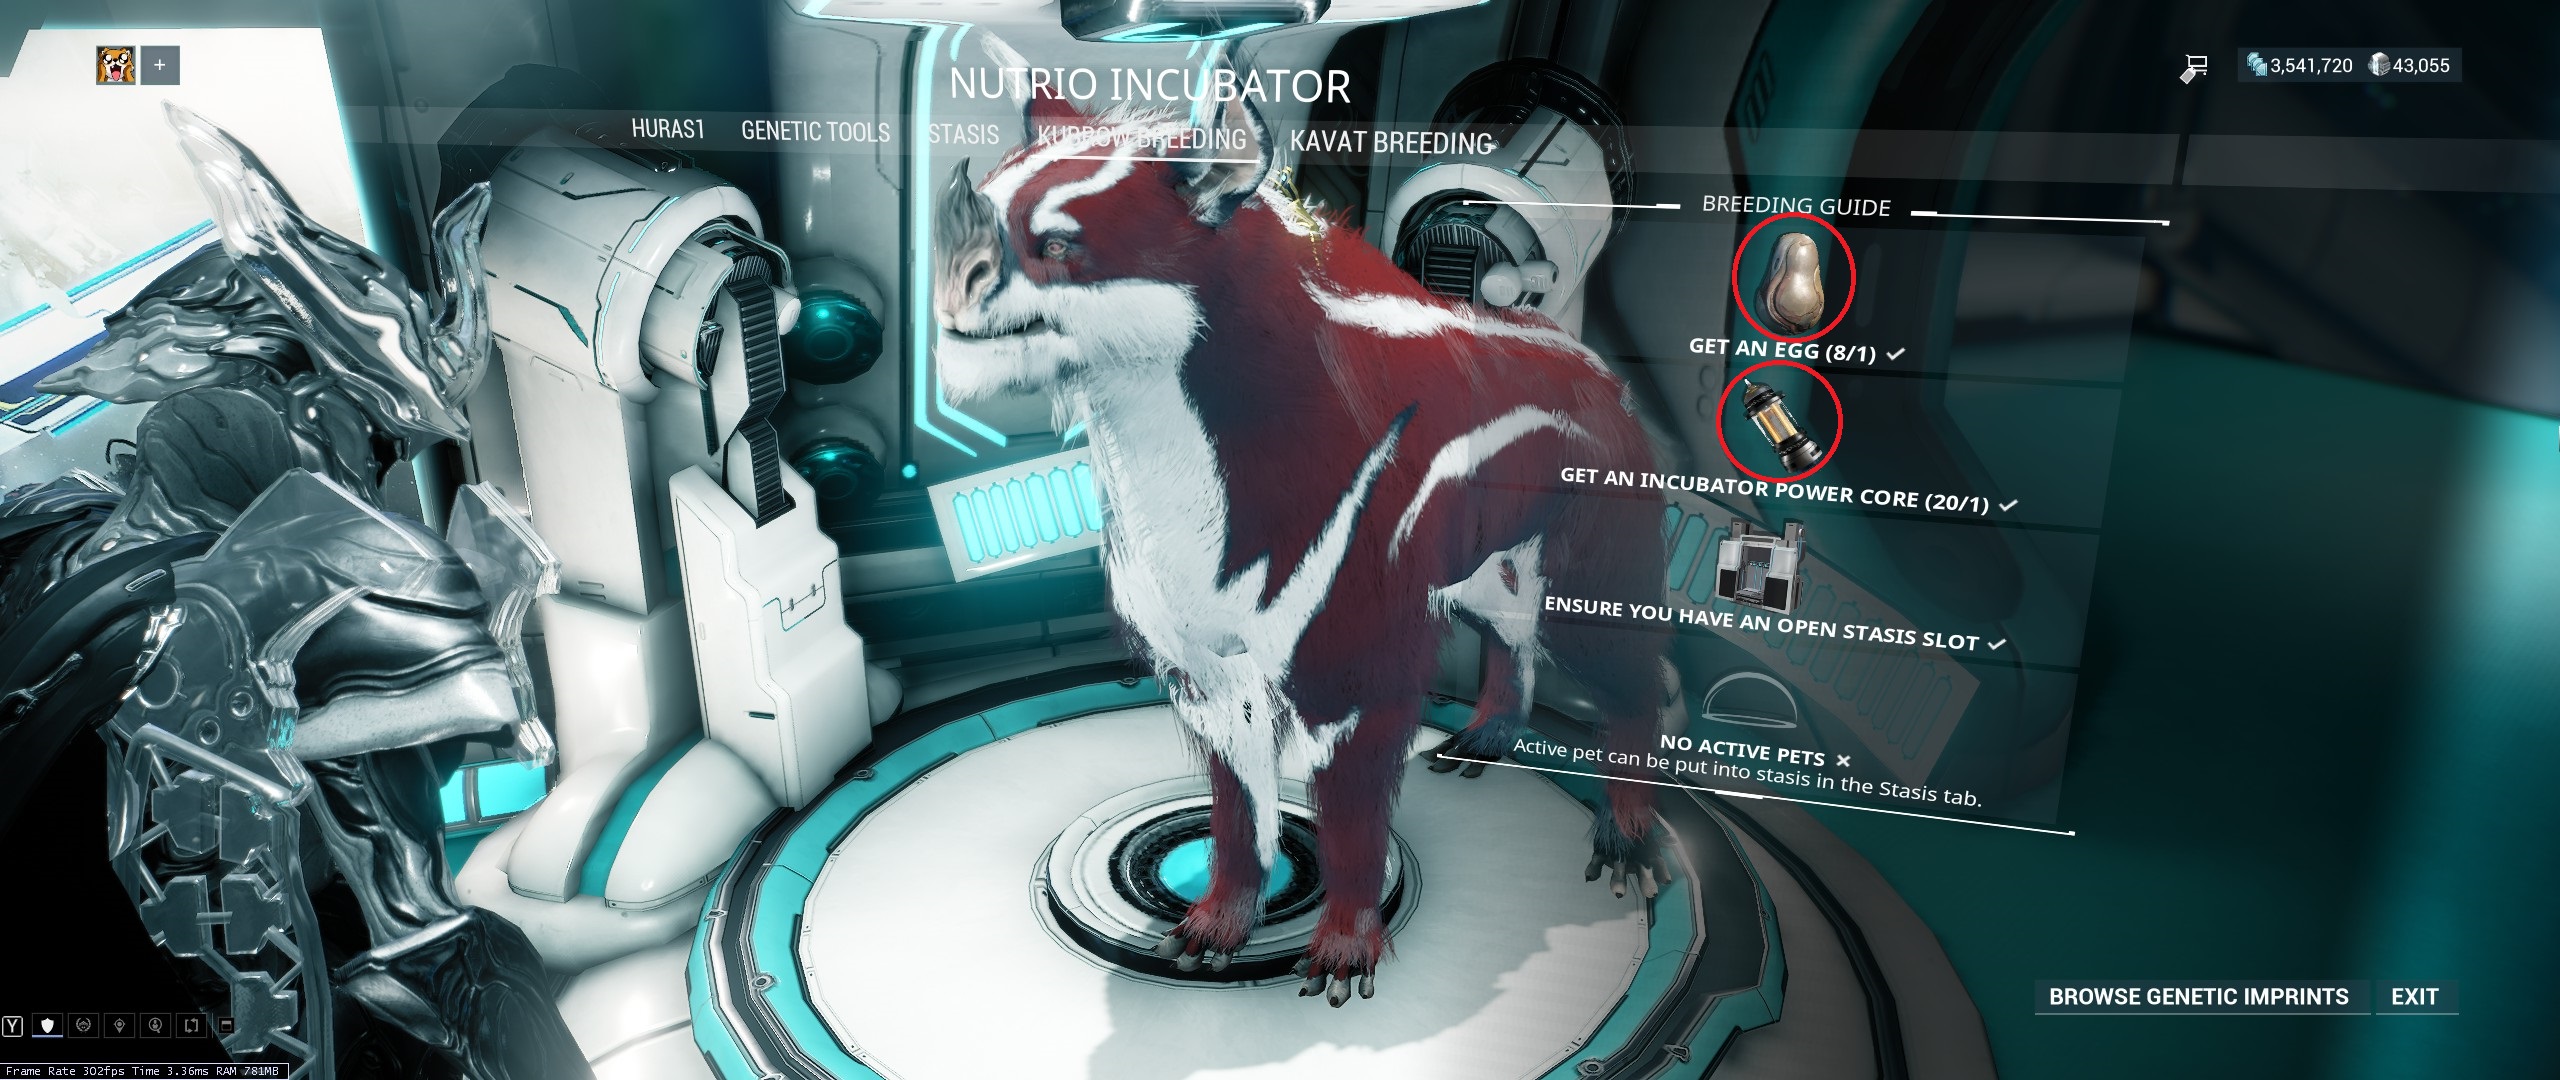
- Ingredients
- Kubrow Egg
- Incubator Power Core
- Kubrow Egg
- Where
- Incubator (esc-->equipment-->incubator)
How To Get a Power Core
- Blue print is located in the in-game market.
How To Get Kubrow Eggs
- Can be bought off the in-game market for 10 platinum each
- Can be farmed on Earth Missions
How To Farm Kubrow Eggs
Recommended missions- Mantle, Earth (Capture)
- E Prime, Earth (Exterminate)
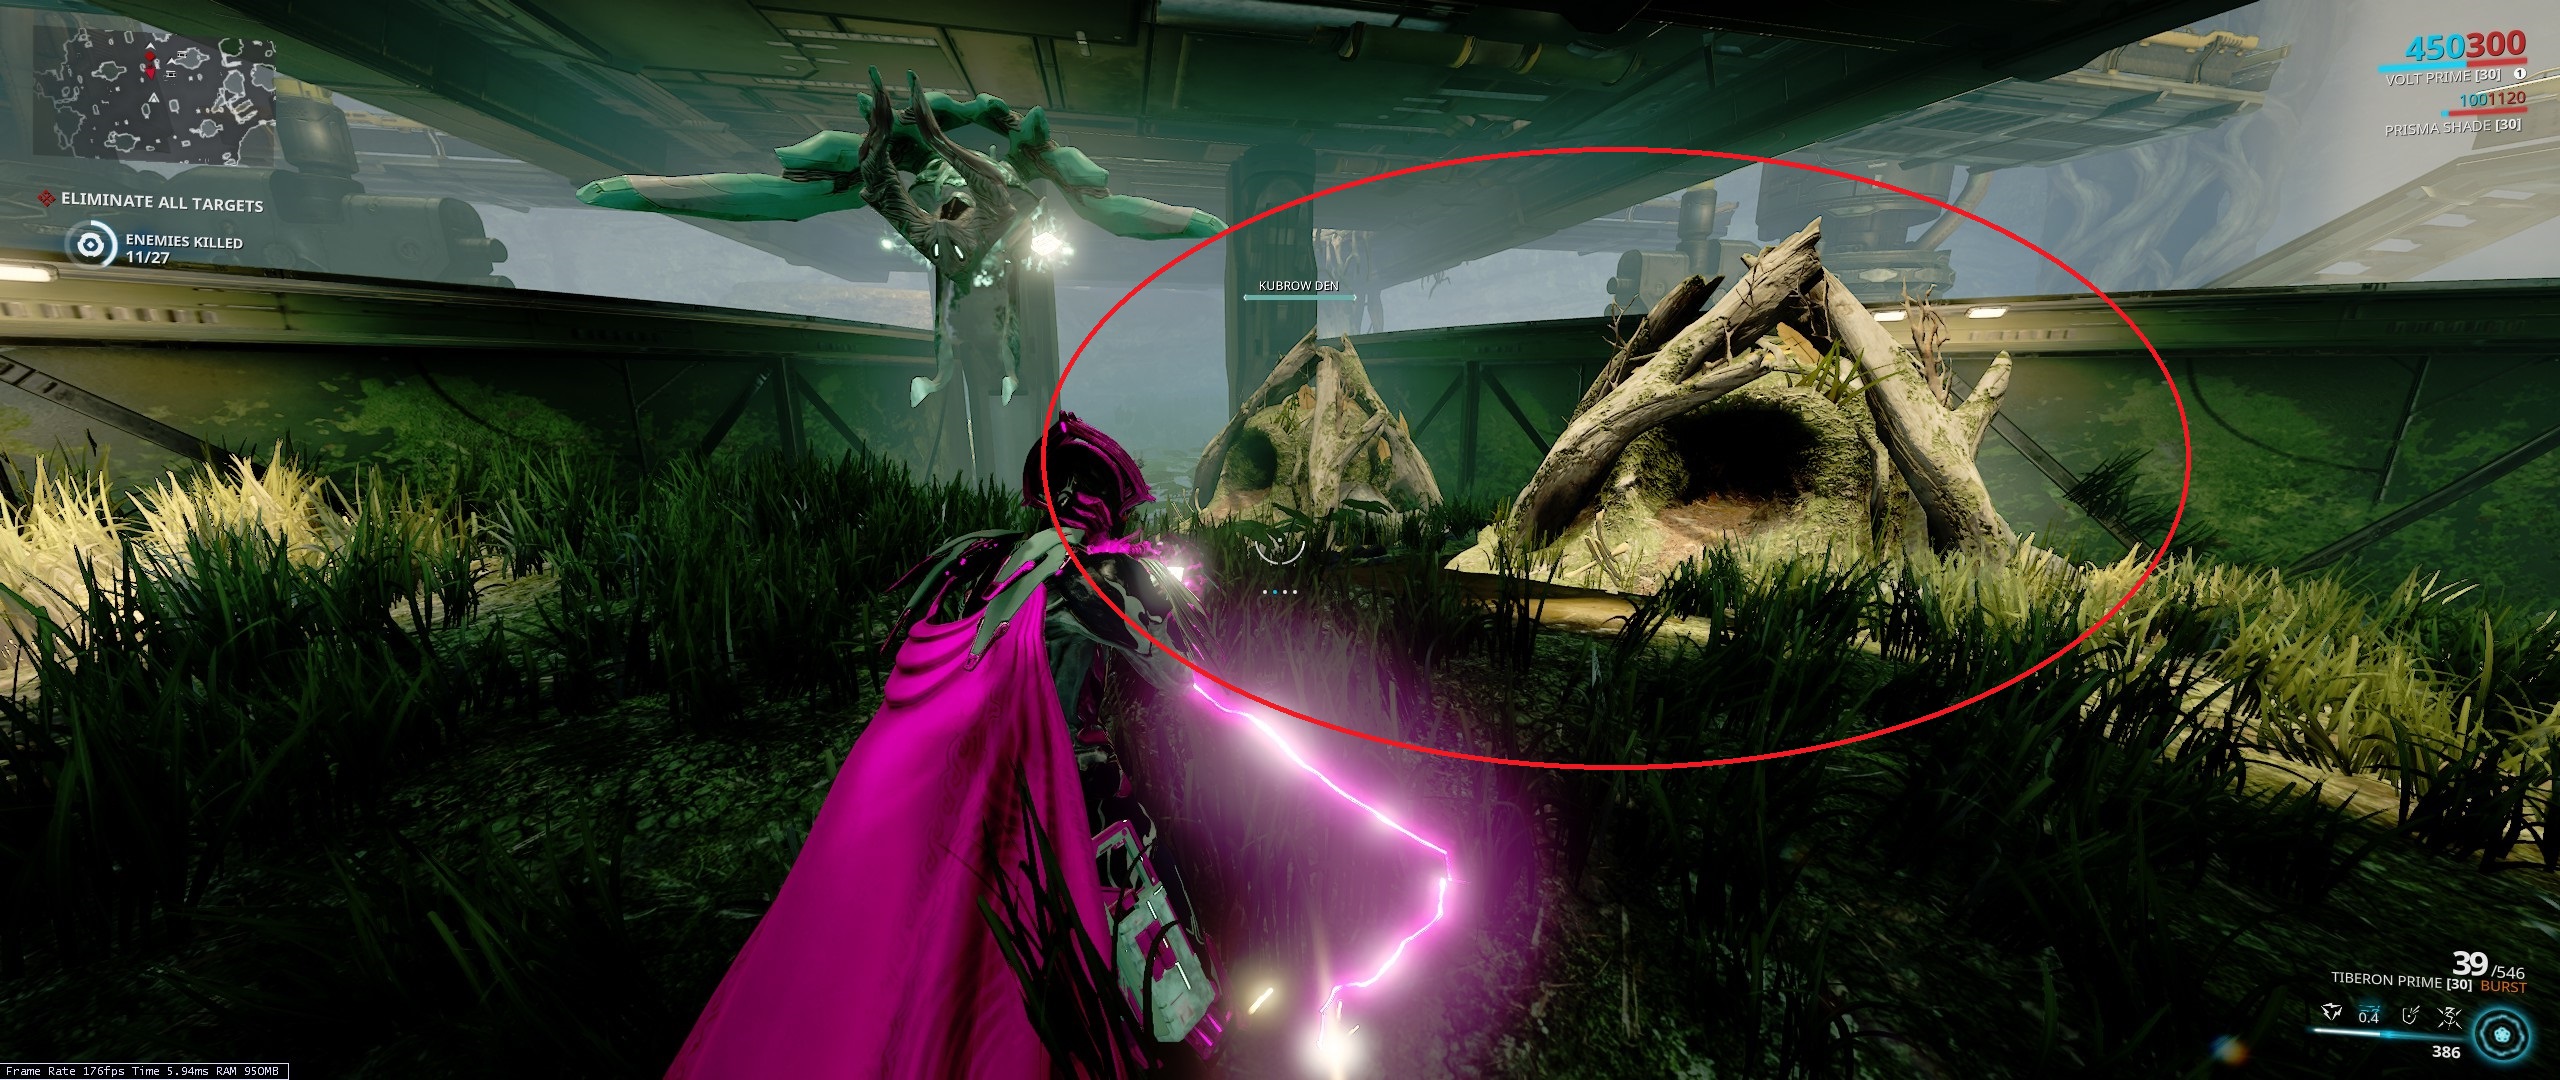 Each mission will spawn about 6-7 kubrow dens. The Tenno has to search for them and and destroy them for a chance for an egg drop. They spawn randomly in different locations, but if you do it enough times you'll memorize where to look and farming will go faster.
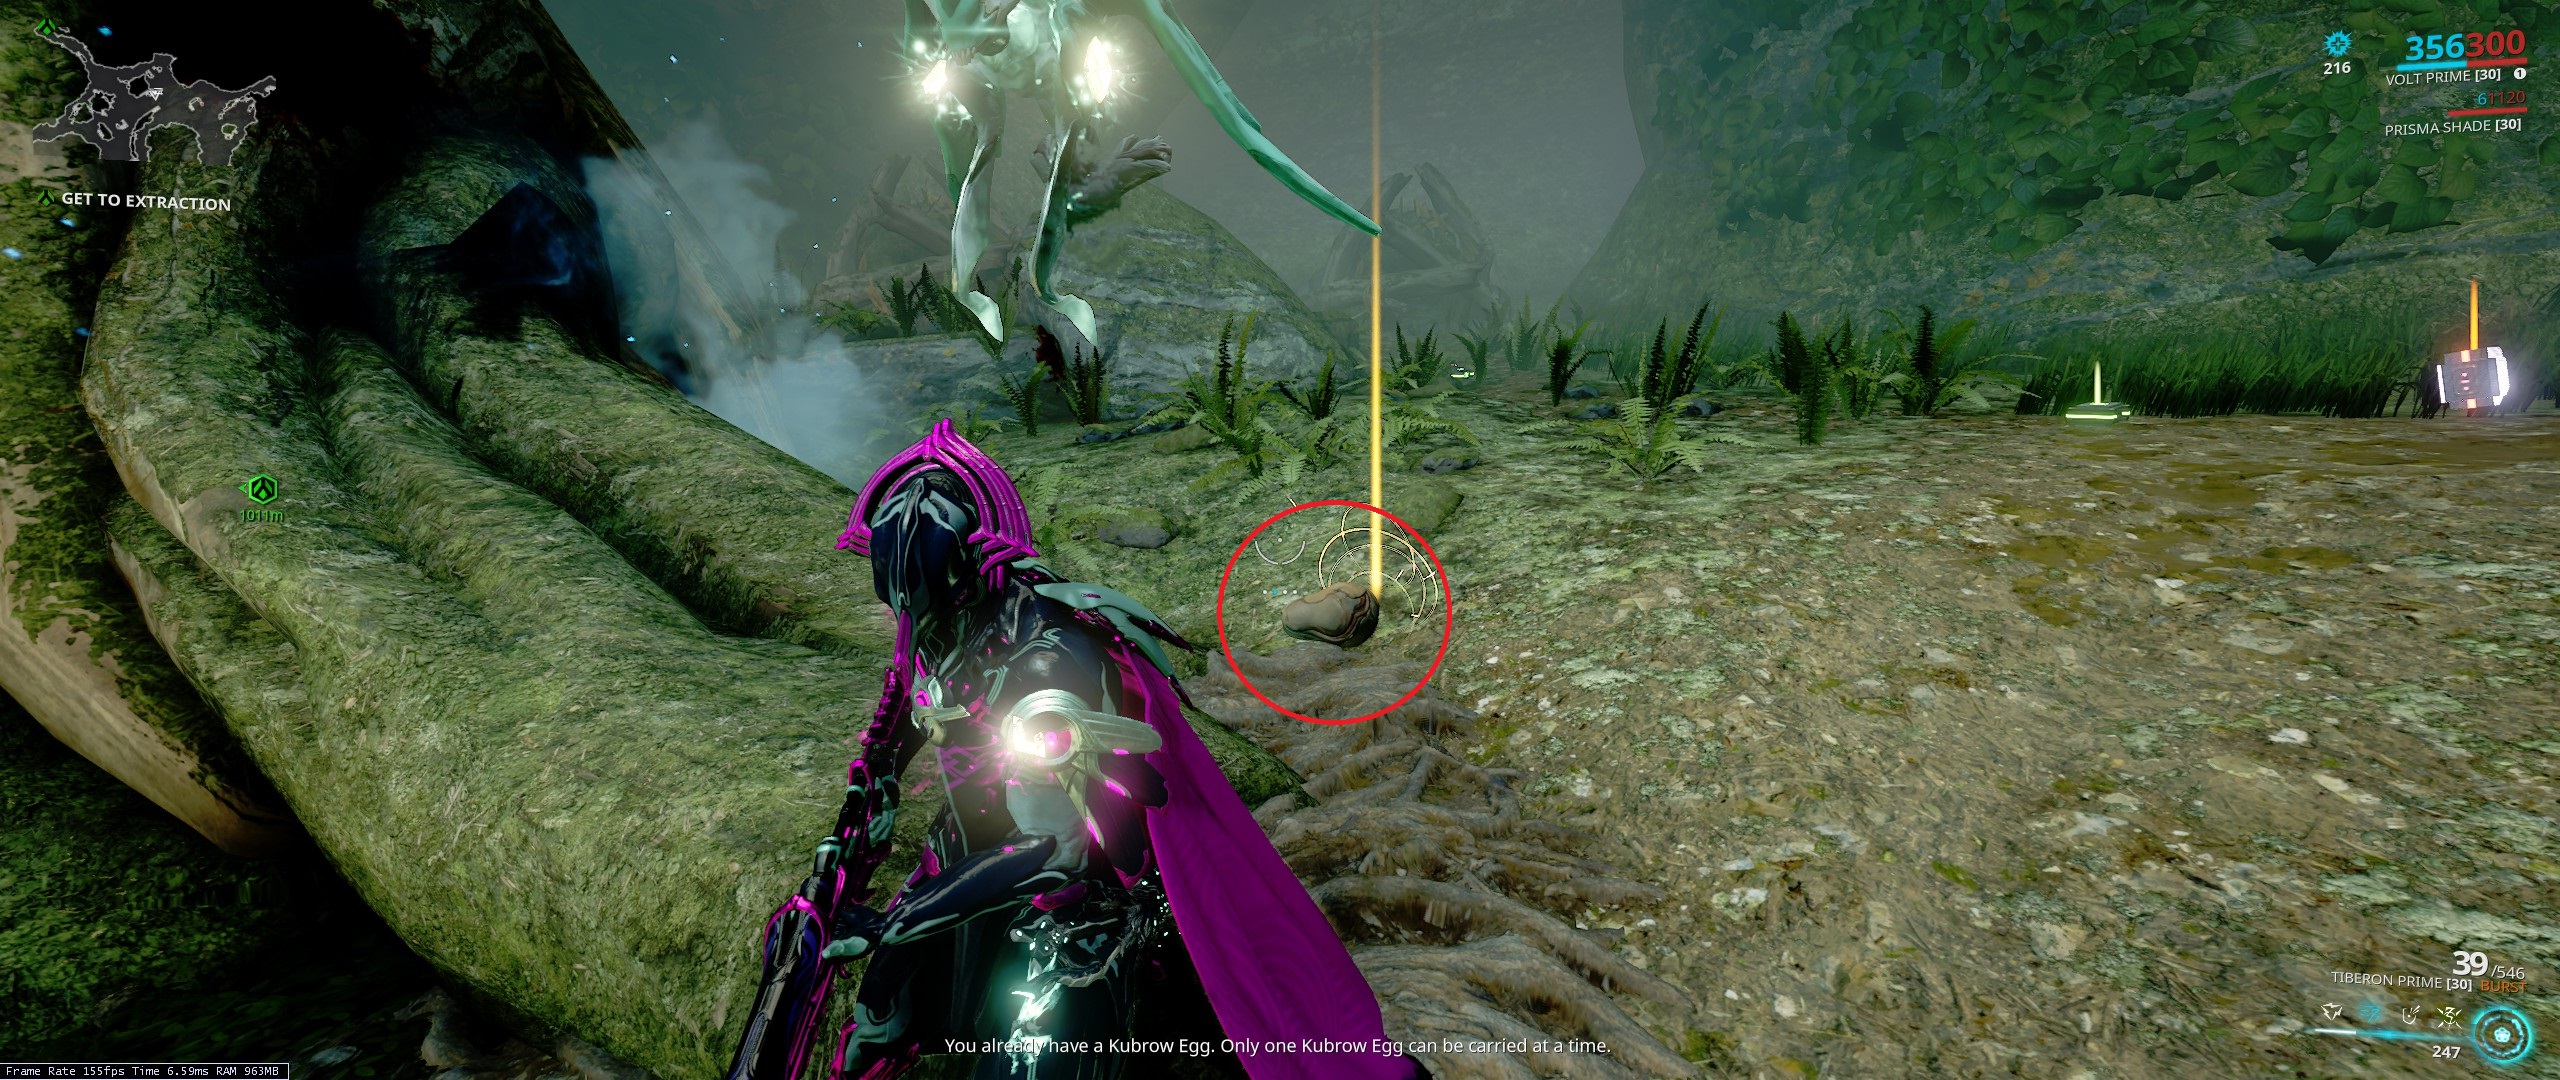 If you destroy all kubrow dens, you should get around 1 egg every 2-4 runs.
Kubrow Breeds Are Based On RNG (Mostly)
There are six different types of kubrows detailed below. When incubating traditionally, 1 of 5 breeds is randomly spawned. Only way to ensure a specific breed is made, is to use imprints. The sixth kubrow type is made using a different process.Useful Universal Kubrow Mods
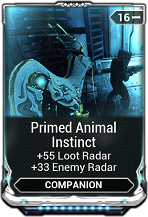
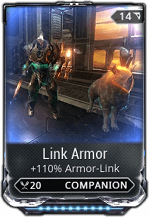
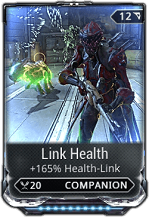
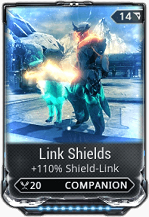
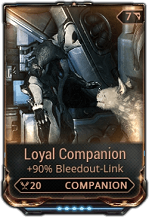
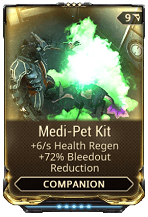
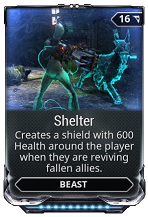
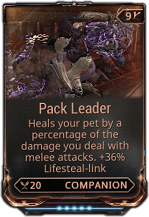
Huras Kubrow
- Exclusive Mods
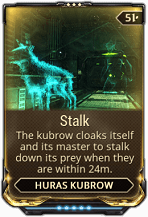
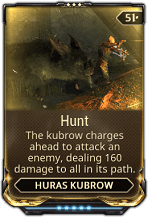
Raksa Kubrow
- Exclusive Mods
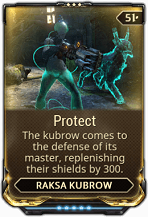
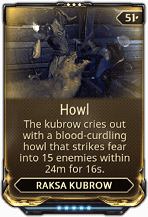
Sahasa Kubrow
- Exclusive Mods
Sunika Kubrow
- Exclusive Mods
Chesa Kubrow
- Exclusive Mods
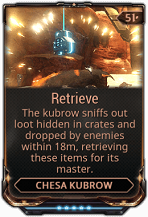
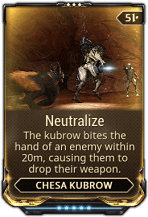
Helminth Charger
- Acquisition: A cyst will grow on warframes after being infected. After 6 days it will mature and be ready to be drained at the incubator. The cyst's liquid can be used during incubation to make a Helminth Charger.
- Exclusive Mods
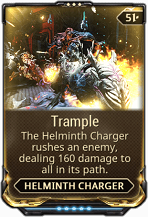
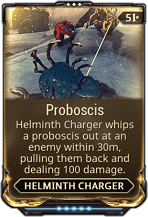
Companions (Kavats)
How To Make a Kavat
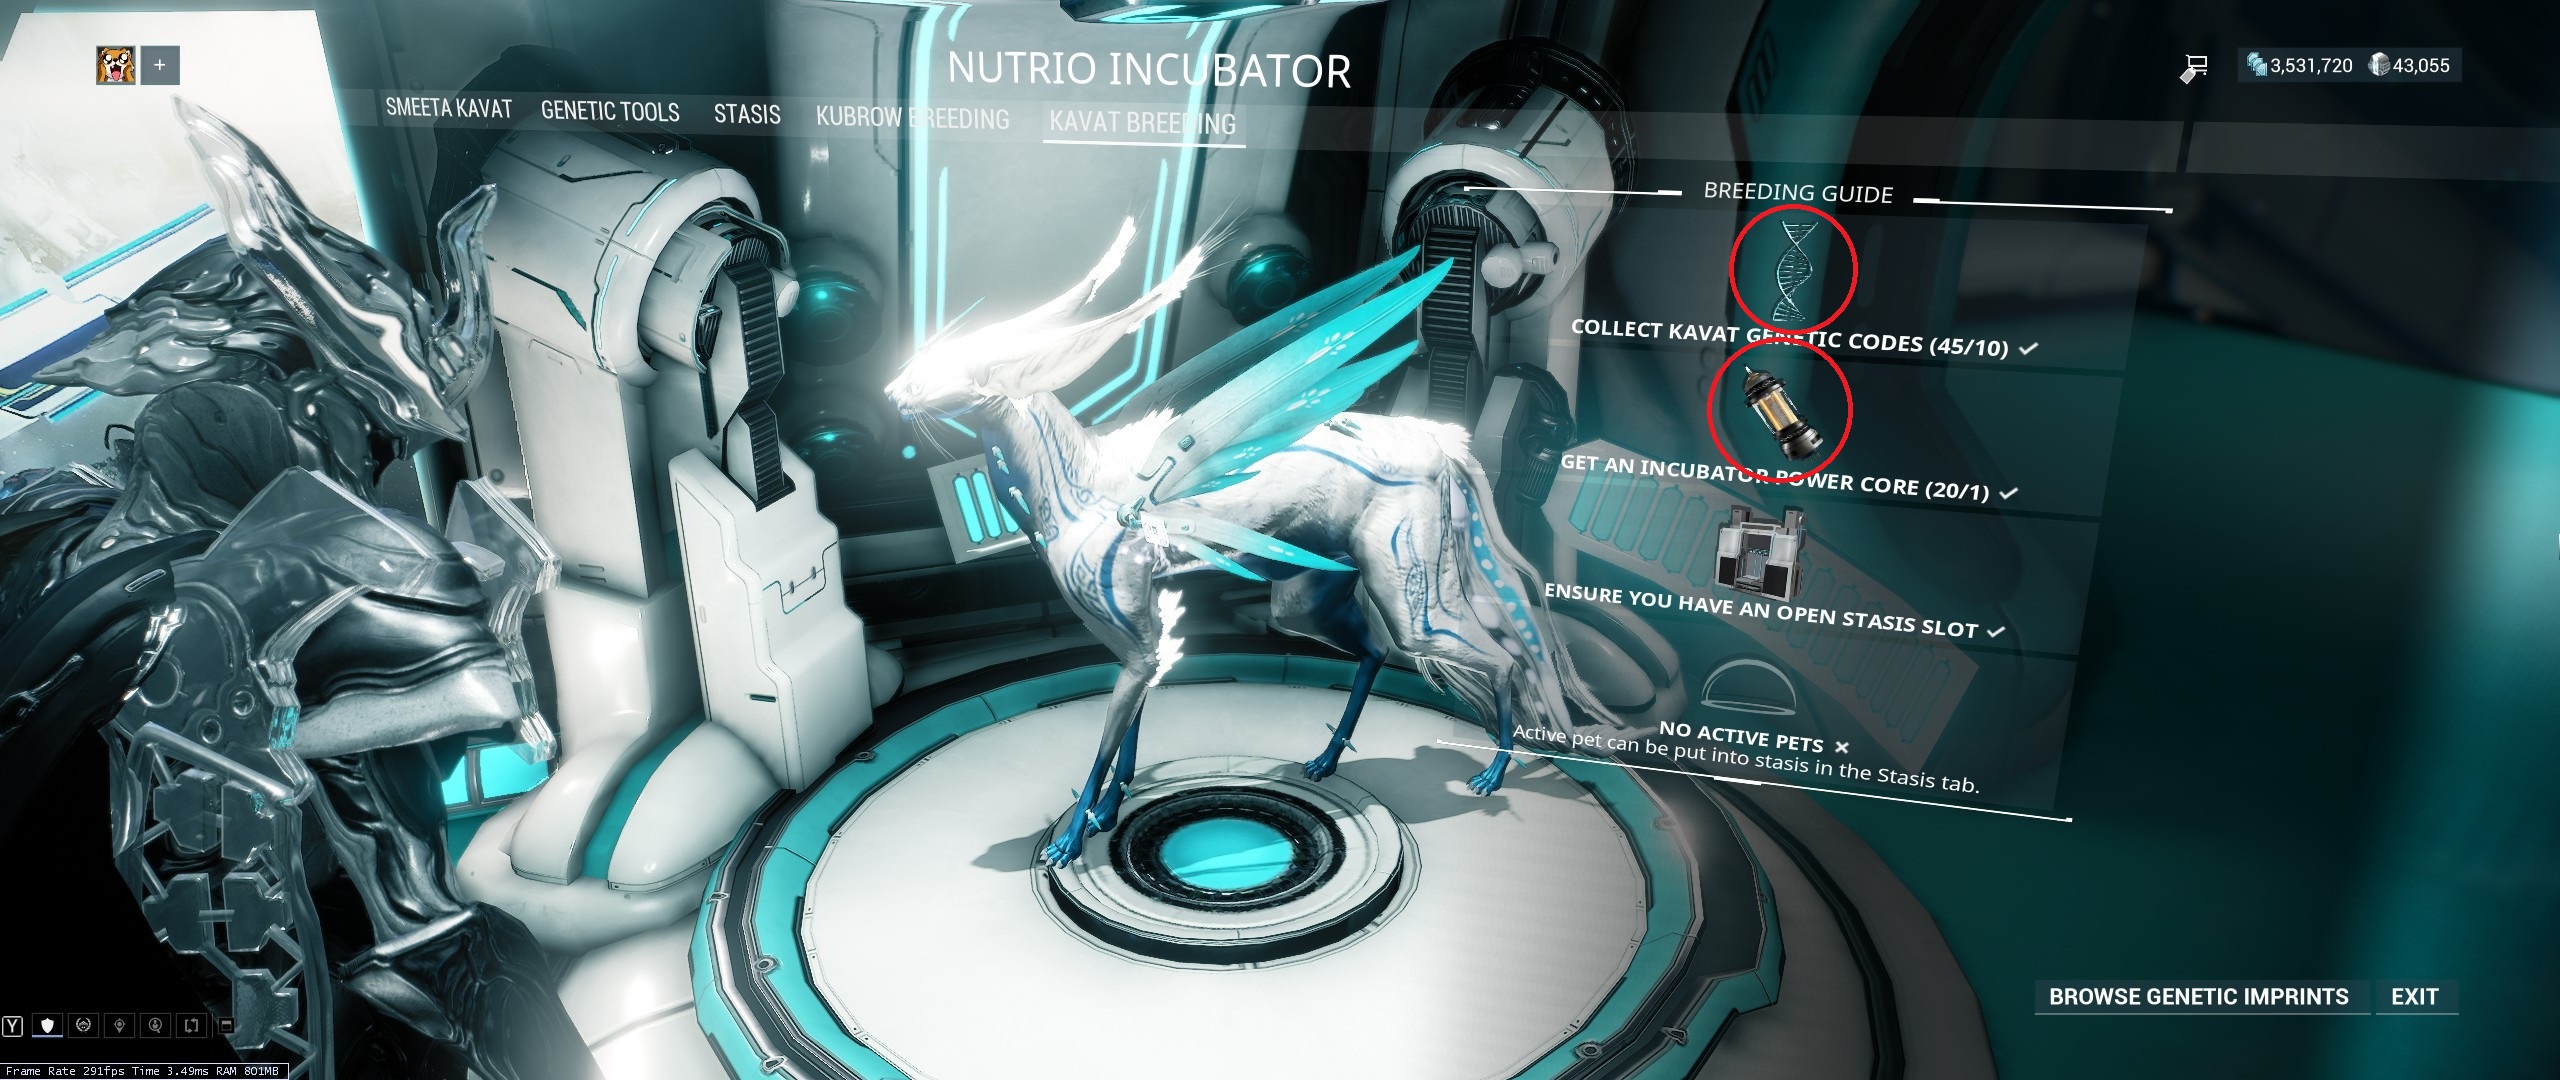
- Where
- Incubator (esc-->equipment-->Incubator)
- Ingredients
- Genetic Code
- Incubator Power Core
- Genetic Code
How To Get Genetic Code
- The in-game market offers them for 5 platinum each
- Kavat Starter Kit for 95 platinum
- Alerts (5 at a time)
- Farmed at Sands of Inaros Quest
- Farmed at Deimos
How To Farm Genetic Codes
- Quest
- Sands of Inaros - In second mission, 50 kavats will spawn. Sands of Inaros quest blueprint can be bought from Baro Ki-Teer
- Suggested Missions
- Orokin Exterminate - exterminate is nice because it shows where all enemies are on the map
- Orokin Capture
- Orokin Exterminate - exterminate is nice because it shows where all enemies are on the map
- Suggested Widgets
- Cross Matrix Widget - chance for each scan counting as two - can be bought from Cephalon Simaris
- Sol-Batter Widget (optional) - infinite scanner charges - can be bought from Cephalon Simaris
- Cross Matrix Widget - chance for each scan counting as two - can be bought from Cephalon Simaris
Deimos Farming
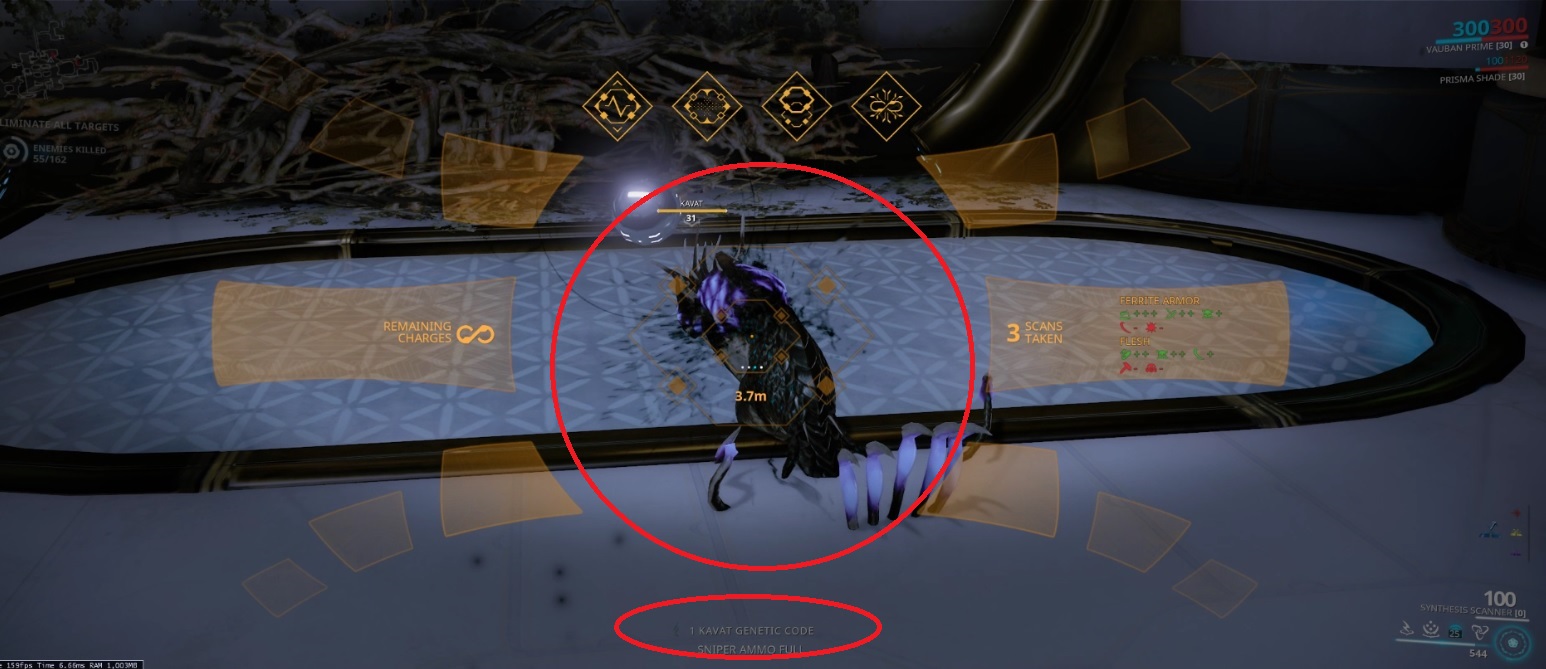
- You have to scan the Kavats that spawn in the Deimos missions except Cambion Drift.
- Warframes with hard crowd control is recommended, since they run around alot.
- Take the mission nice and slow and look carefully at all enemies before killing them.
- Going with a full party is highly recommended, because more kavats will spawn. With a full party, you'll average about 1 code per mission.
Hyekkas Spawned From the Hyekka Master DO NOT Count
Kavat Breeds Are Based On RNG (Mostly)
- There are two different types of Kavats detailed below. When incubating traditionally, 1 of 2 breeds is randomly spawned. Only way to ensure a specific breed is made, is to use imprints.
Useful Universal Kavat Mods
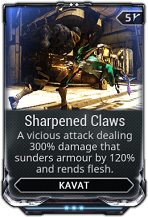
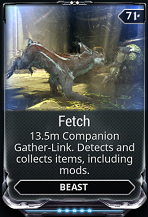
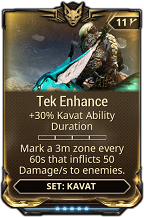
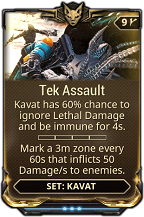
Smeeta Kavat
- Description - Gives random boosts such as affinity booster with mod Charm
- Exclusive Mods
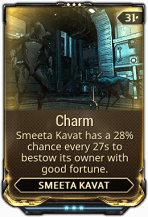
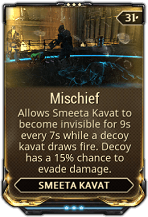
Adarza Kavat
- Description - Insane +critical chance from mod Cat's Eye
- Exclusive Mods
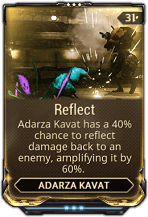
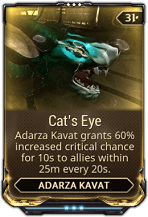
Vasca Kavat
- Description - Revival via Transfusion has a 120 second cooldown. The Vasca Kavat is good for solo mode, where there are no teammates to revive you.
- Exclusive Mods
- Synergy - Transfusion synergizes with Pack Leader. With this mod, pet health regens extremely quickly.
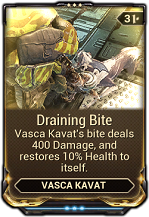
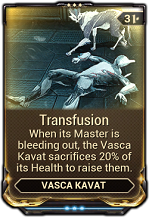
Kavats Can Increase Your Critical Damage
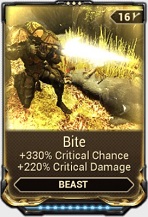 Combine a rank 4 Bite and Tenacious bond to any Kavat to get 50% critical chance and 1.2x critical damage multiplier.
Useful Universal Beast Mods
Beast includes Kubrows and Kavats.
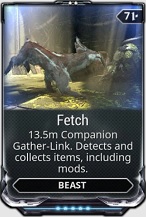
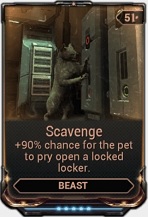
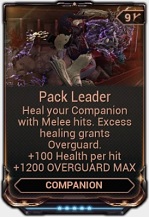
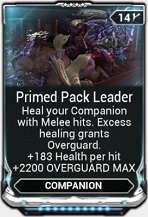
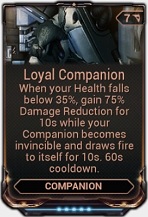
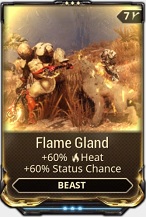
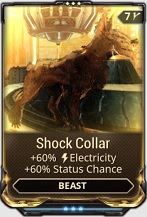
*Heat debuffs enemy armor and electric provides some crowd control.
*Heat debuffs enemy armor and electric provides some crowd control.
🙄🙄🙄GAME MECHANICS🙄🙄🙄
Enemy Factions
Grineer Enemy Faction
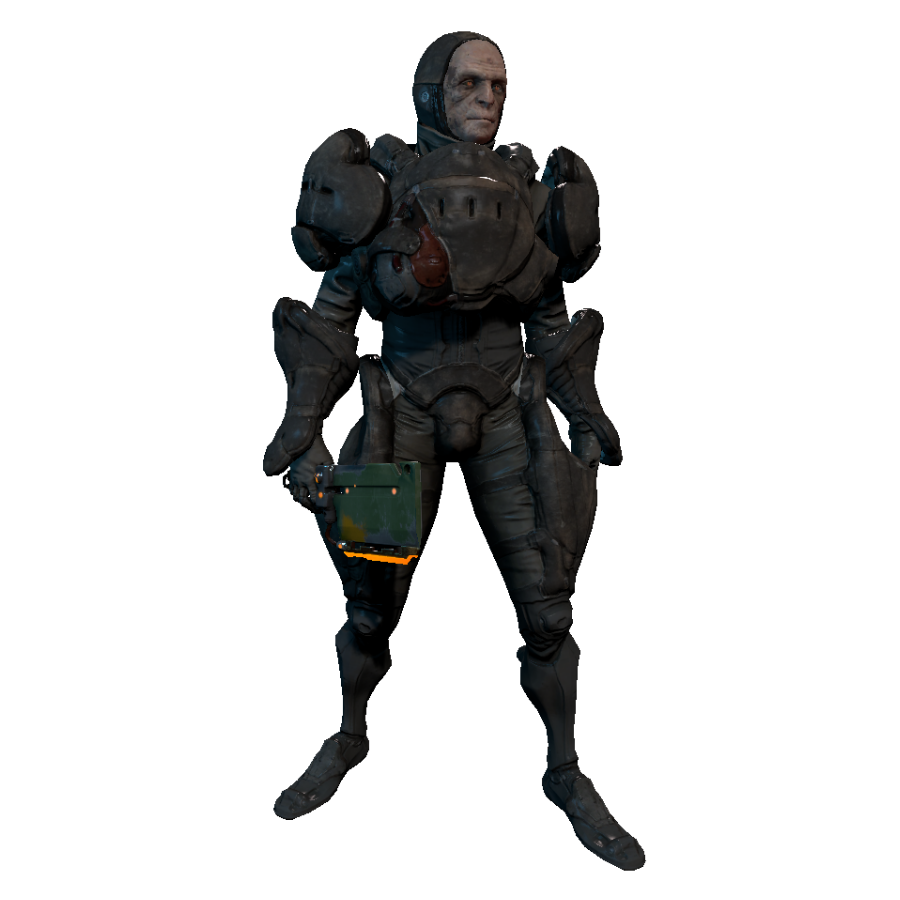 Lore
Lore- The Grineer, swallowing colonies whole, their clones flood the system from a hidden, toxic womb. The Twin Queens, the sisters, have sent their most beloved commanders on an urgent mission. To protect the twisted crusade they have begun. To transform the scattered colonies into an empire. To see that the Tenno, hidden and asleep, will never awaken.
- Armor
- Cloned Flesh
- Grineer are the tankiest enemies in the game that's why most people mod according to their weakness. Its too much trouble and not worth it to most players to keep changing elementals according to the faction and modding against grineer is more than good enough for normal content. It starts mattering more in Sorties and fighting level 100+ enemies in endless missions. Sortie missions sometimes come with modifiers such as enhanced armor or shield. Their weapons include conventional rifles, shotguns, sniper rifles, and flamethrowers.
Corpus Enemy Faction
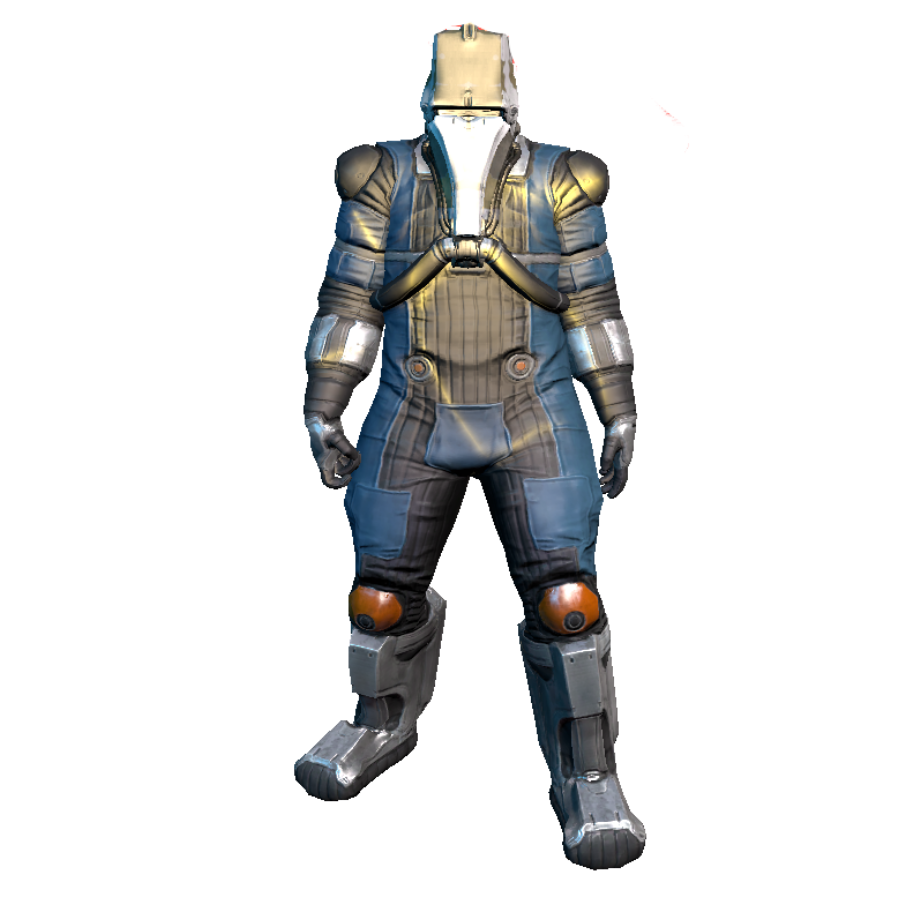 Lore
Lore- The Corpus are a merchant cult, built on the foundation of salvaged technology and robotics. They scavenge the outer systems, greedy for the Old War salvage. Their most sought after of all - the Tenno and their WARFRAME armor. Those captured are treated as salvage; meticulously dissected, integrated. The remains are sold to the highest bidder.
- Flesh
- Robotic Health
- Shield
- Armor (Very few Corpus types have armor)
- Corpus use technology against the Tenno. Some enemy types can disable warframe abilities. Their arsenal consists of laser weapons, flying drones, and bi-pedal robots.
Infested Enemy Faction
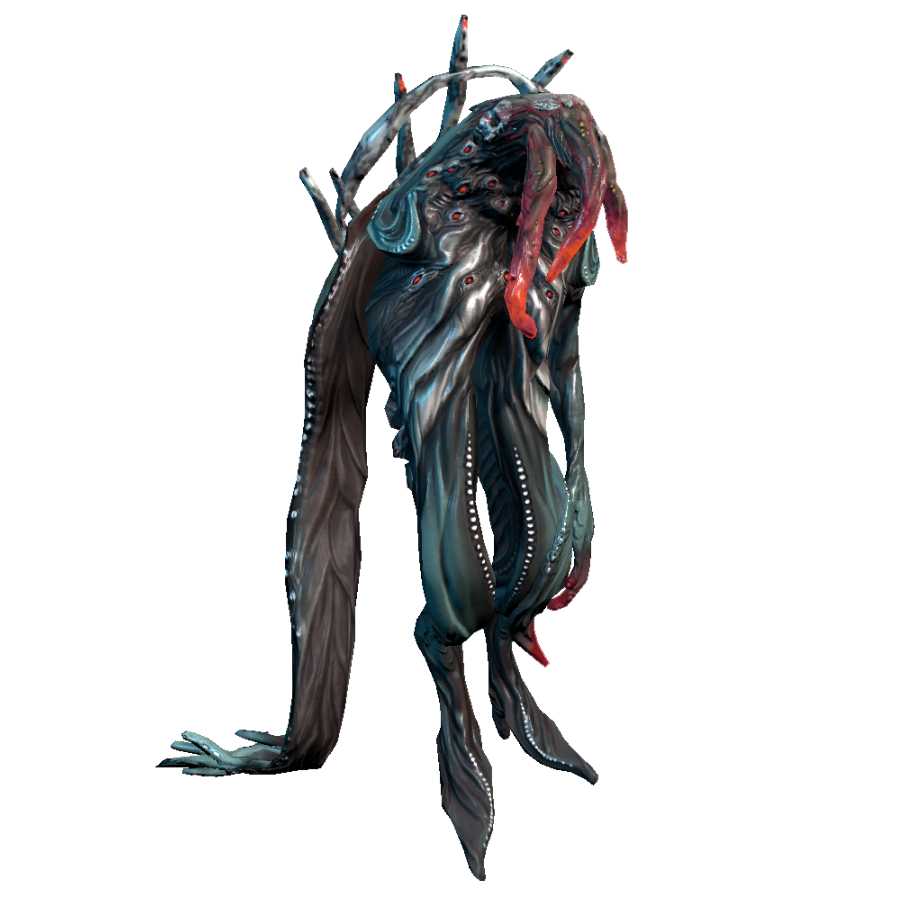 Lore
Lore- Infestation describes both a disease and its victims – a metamorphic affliction without cure. Living organisms are consumed and merged into rabid amalgamations.Individuals are violent and animalistic yet the larger whole exhibits signs of coordination, with multiple swarms converging on ships and colonies. Its origins are uncertain but there is historical evidence of a similar outbreak before The Collapse.
- Infested Flesh
- Infested are mostly limited to melee attacks, though some enemy types can shoot poisonous projectiles, throw poison goop on the floor, and spray poisonous gas into the air. These damage types are toxin and gas, both of which bypass warframe shields and directly damage health.
Status Effects and What They Do
Slash
Does damage over time and bypasses enemy armor.
Impact
Causes stagger
Puncture
The first Puncture Status Effect has an enemy deal 40% less Damage. Subsequent Puncture Status add +10% weakening, leading to up to 80% (capped). Each Puncture Status has a duration of 10 Seconds.
Toxin
Does damage over time, and bypasses shields.
Cold
The first Cold Status Effect deals 50% slow. Subsequent Cold Status Effects deal +5% slow for a total of 90% slow at 9 procs. Each Cold Status has a duration of 6 seconds. Enemies also take increase critical damage.
Heat
The status effect of Heat damage is Ignite. It sets the enemy ablaze, which makes them panic, reduces their armor by up to 50%.
Electric
Stuns enemies for 3 seconds.
Viral
Combine Toxin and Cold to make Viral. First Viral Status Effect deals 100% additional Health damage, subsequent Viral Status add +25% for a total of 325% (capped).
Radiation
Combine Electric and Heat to make Radiation. Radiation causes enemies to target other enemies. The first Radiation Status Effect has an enemy deal 100% Damage to its allies. Subsequent Radiation Status adds +50% damage, leading to up to 550% (capped). Each Radiation Status Effect has a duration of 12 seconds.
Gas
Combine Toxin and Heat to make Gas. Does AOE damage over time 6 seconds in a 3 meter radius. Stacks up to 10 times increasing radius by .3 for a total of max 6 meters.
Corrosive
Combine Toxin and Electric to make Corrosive. The first Corrosive Status Effect strips 26% Armor for 8 seconds. Subsequent Corrosive Status Effects strip 6% more Armor, leading up to 80% Armor removal.
Blast
Combine Cold and Heat to make Blast. On maximum 10 stacks or when the target dies, premature detonation occurs and all stacks are dealt simultaneously as enemies within 5 meters are dealt 300% of base damage per proc.
Magnetic
Combine Electric and Cold to make Magnetic. First Magnetic Status Effect deals 100% additional shield and overguard damage, subsequent Magnetic Status add +25% for a total of 325% (capped). Enemies under a Magnetic Status Effect cannot regenerate Shields. Magnetic Status Duration is 6 seconds.
Note: Some special enemies are immune to status effects.
Physical and Elemental Damage
How Mod Order Affects Elemental Combos
 Mod slots have an order to them from left to right. Elementals join together according to order. The first two elementals will always combine and if there is a third and fourth elemental, they will combine.
 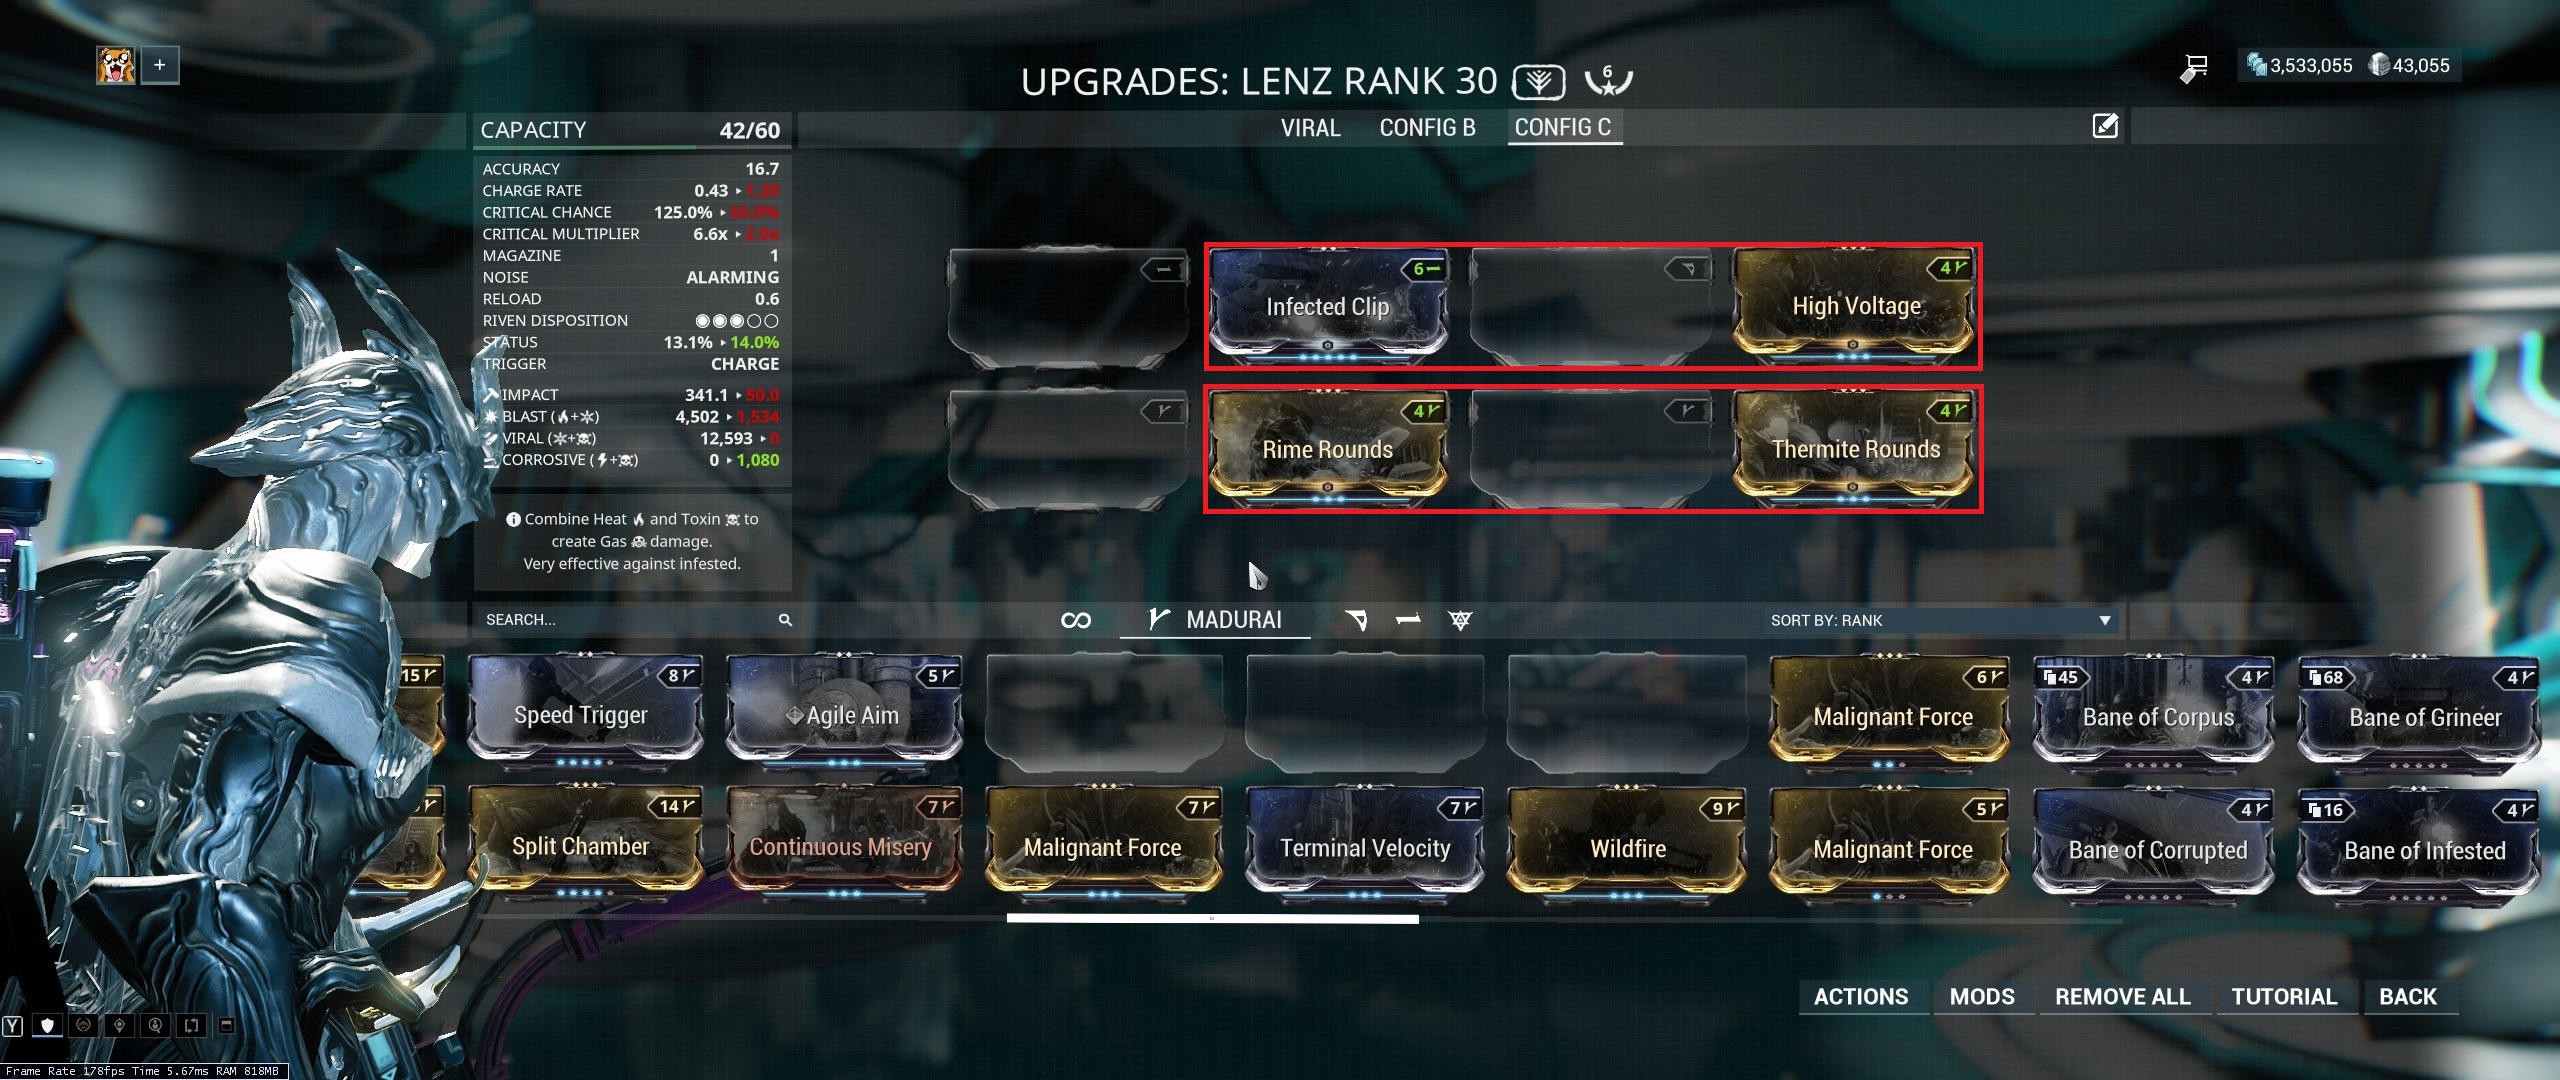 ☣️Toxin is in position 2, ⚡Electric is in position 4, 🔥Heat is in position 6, and ❄️Cold is in position 8. The resulting combos will be Corrosive (☣️Toxin and ⚡Electric) and Blast (🔥Heat and ❄️Cold). If we take off ❄️Cold, the resulting elements will be Corrosive and 🔥Heat.
 How Mod Order Affects Weapons with Innate Elemental Damage

Most weapons by default only have physical damage types unless modded with an elemental. However, some weapons have an innate elemental. For example, Silva & Aegis Prime has innate 🔥Heat damage. If a weapon has an innate elemental, elementals from mods can combine with the innate elemental, but not always.
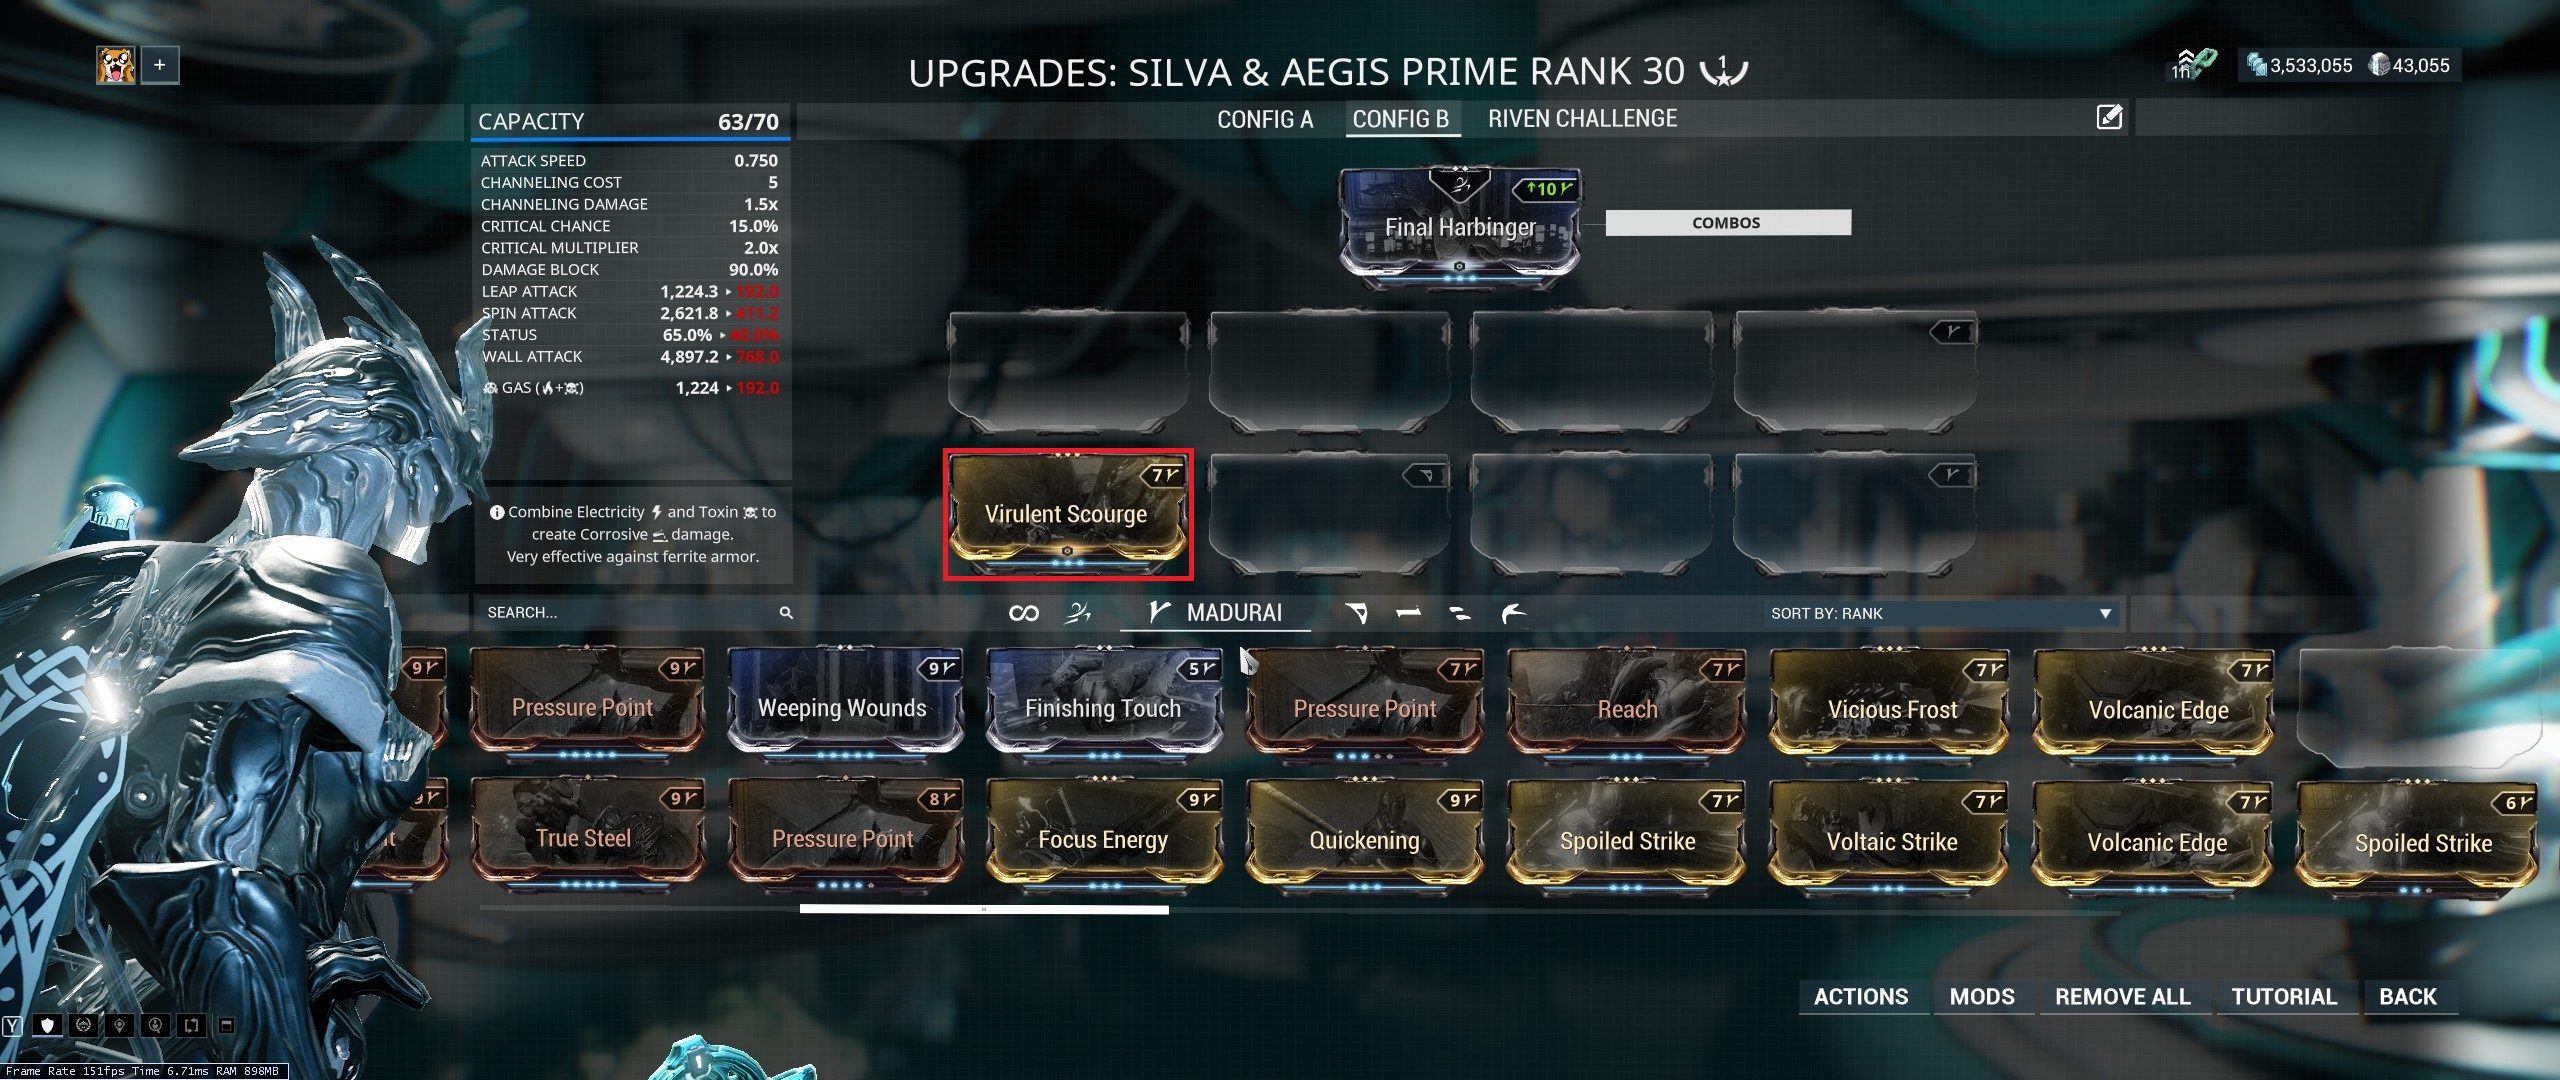 Here we have installed a lone elemental, ☣️Toxin, in position 5. The toxin combined with the innate elemental to form Gas (☣️Toxin and 🔥Heat).
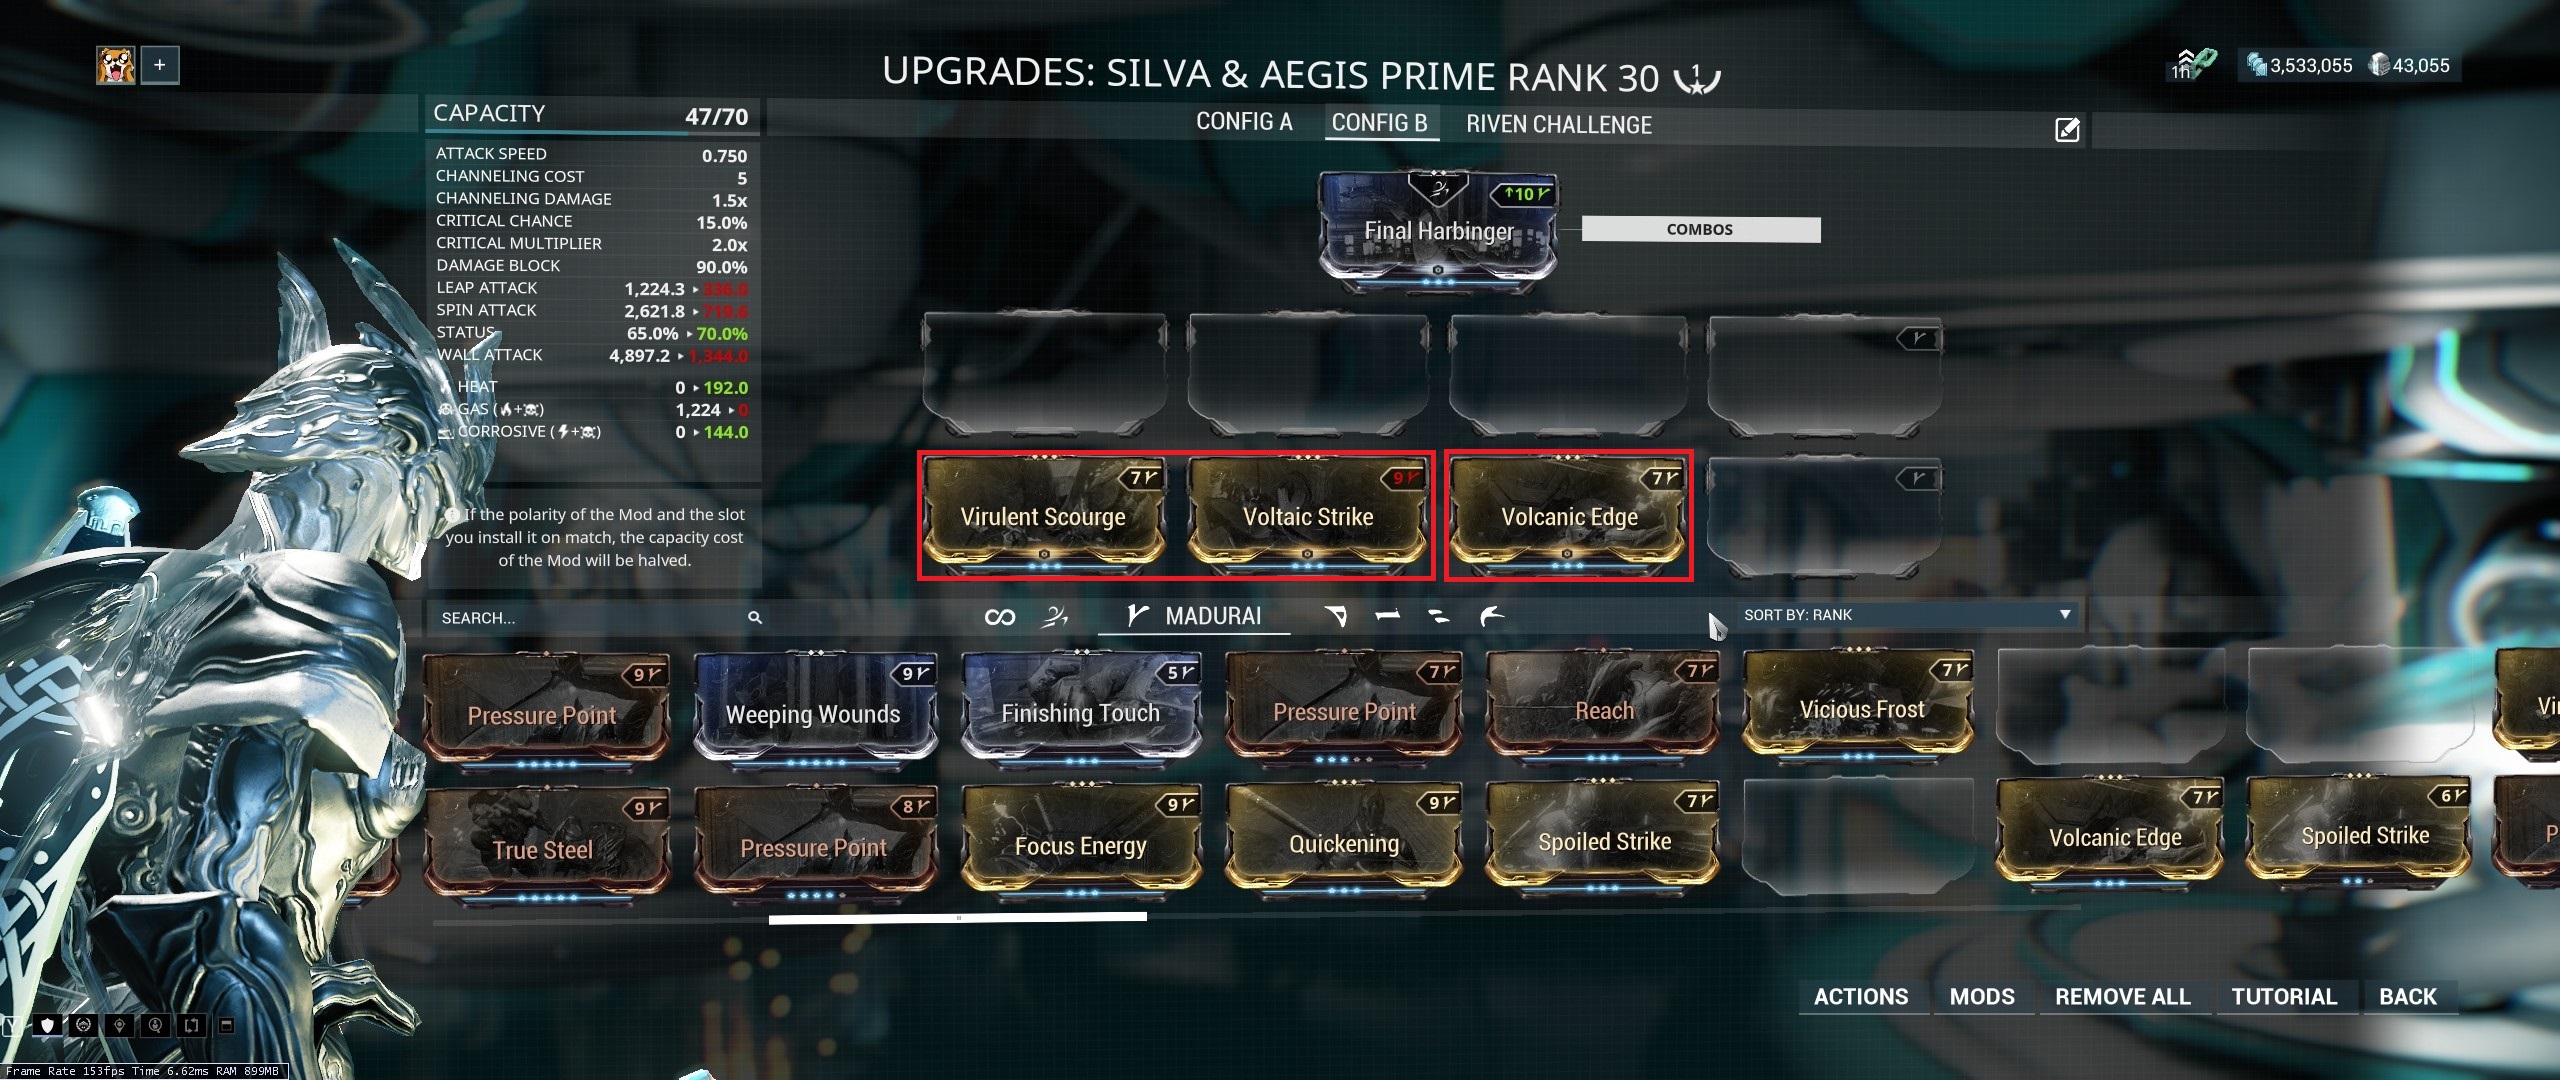 Here we have ☣️Toxin in position 5, ⚡Electric in position 6, and 🔥Heat in position 7. The first two elementals will always combine with each other. The third left over elemental will combine with the innate elemental. In this case, we get Corrosive (☣️Toxin and ⚡Electric) and 🔥Heat (Innate + Mod).
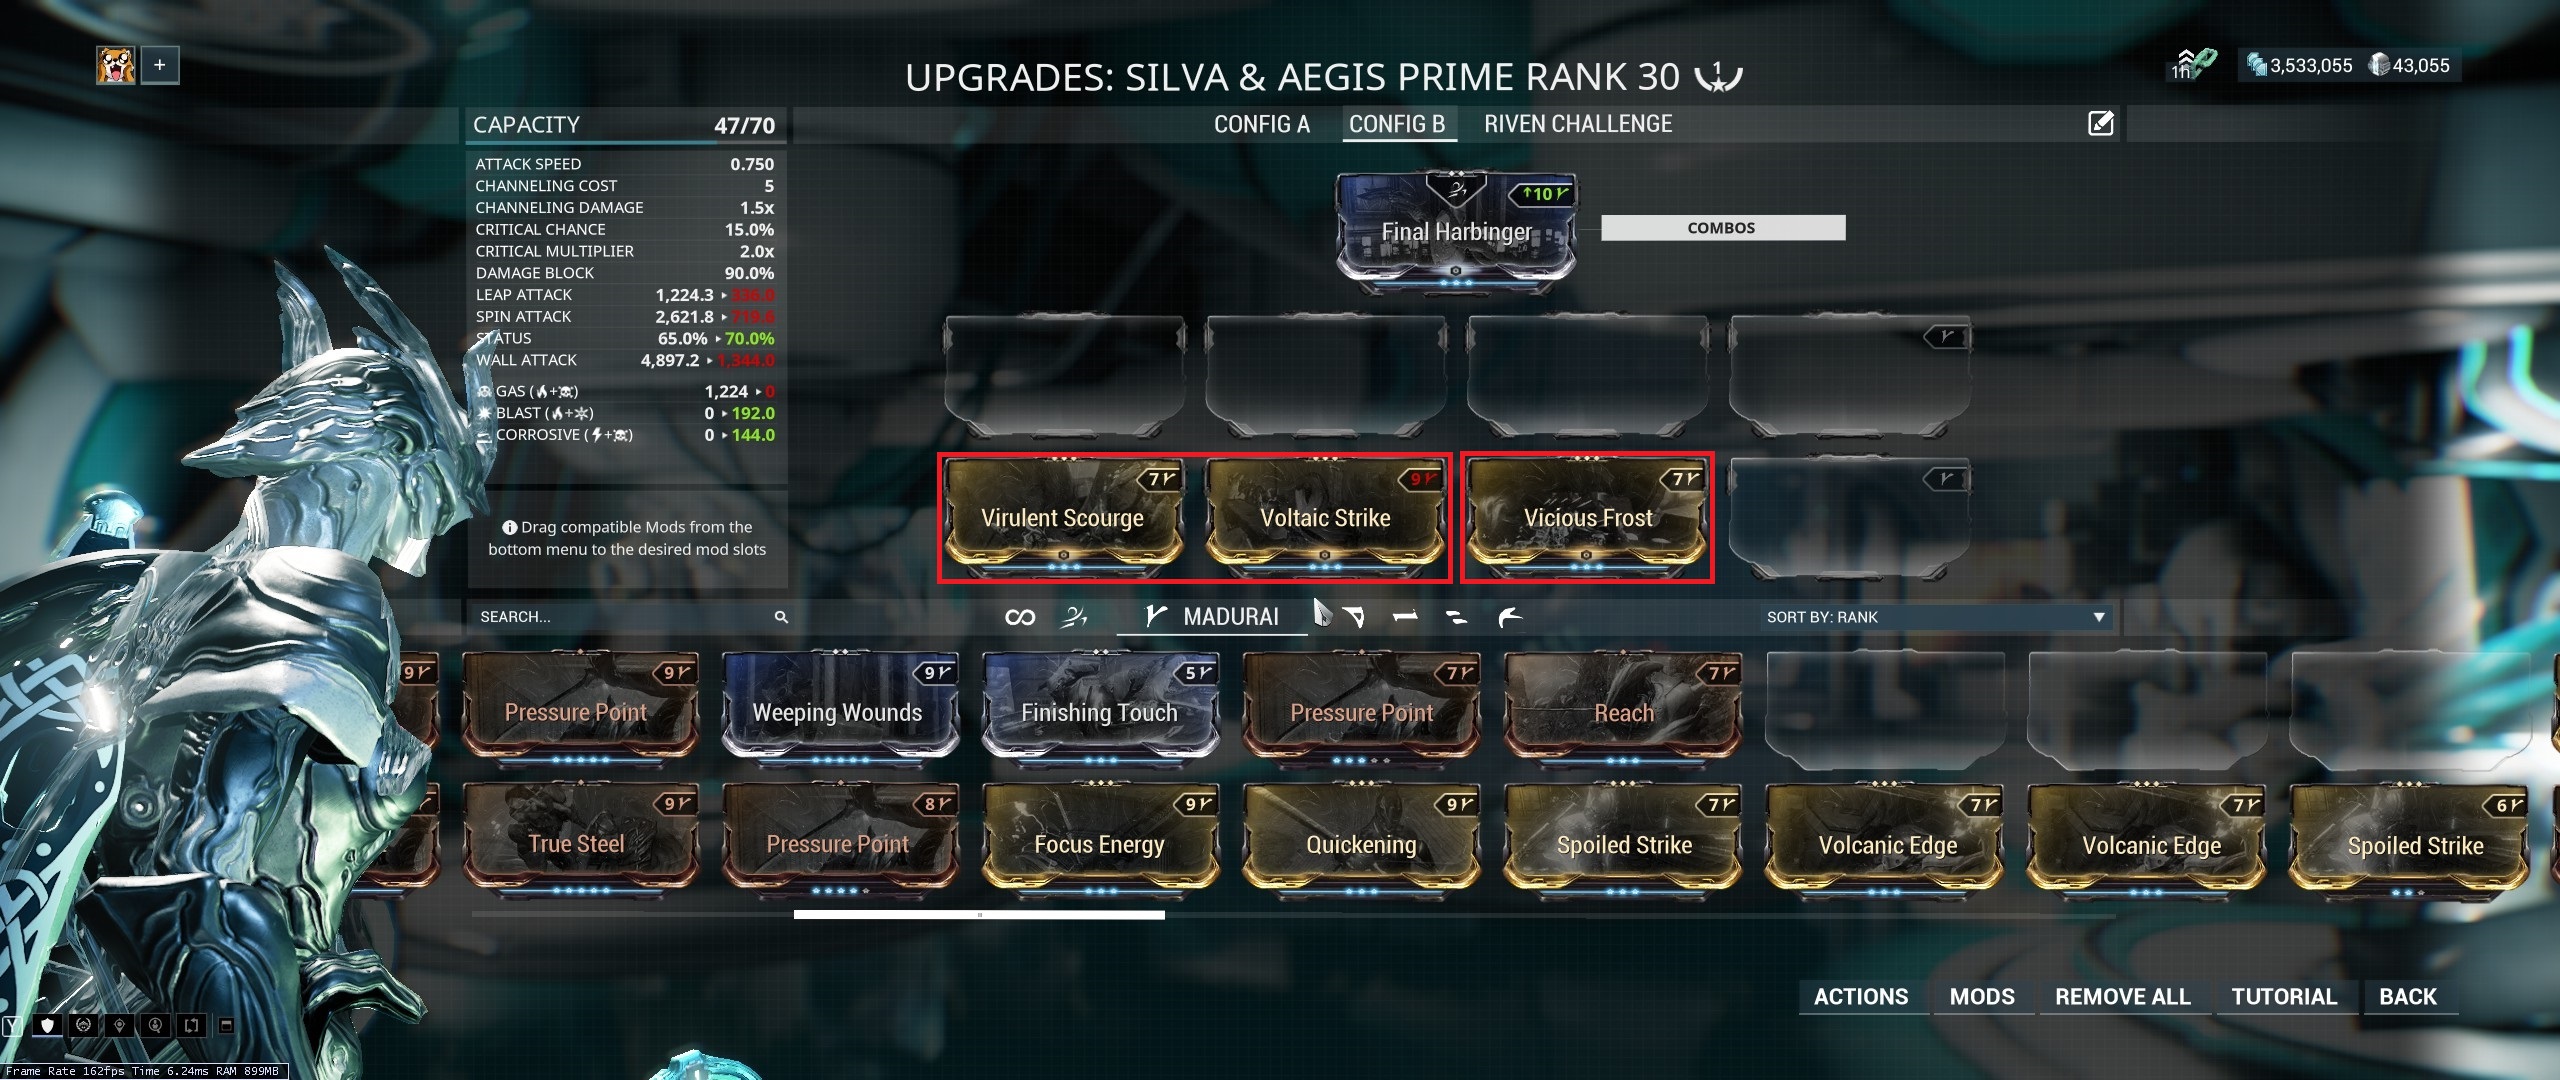 Here we have ☣️Toxin in position 5, ⚡Electric in position 6, and ❄️Cold in position 7. ☣️Toxin and ⚡Electric form Corrosive, while ❄️Cold combine with Innate 🔥Heat forming Blast.
How To Calculate Chances For Which Damage Types To Proc
Since most weapons come with all physical damage types, and with elementals mods, that's another 1 to 2 more damage types. Each damage type has a chance to proc whenever there is a status proc and they is spread out between the damage types for a weapon. Let's say for example a weapon has these stats:- Puncture 25
- Impact 25
- Slash 100
- Corrosive 400
- Puncture 25 x 4 = 100
- Impact 25 x 4= 100
- Slash 100 x 4= 400
- Corrosive 400
Faction Weaknesses
When To Adapt Damage Types
- Most players simply run Viral, Viral/Heat combo, Corrosive, Corrosive/Heat Combo, or Blast for AOE. and only bother adapting damage types according to faction for end-game content (Sorties, ETA/EDA, and Endless missions past level 100 enemies). Good weapons modded with Viral or Corrosive will be more than enough for normal content.
Grineer Missions - Overall Best Choices for Damage Types
- Viral
- Viral/Heat Combo
- Corrosive (if weapon has fast fire rate)
- Corrosive/Heat Combo (if weapon has fast fire rate)
Corpus Missions - Overall Best Choices for Damage Types
- Toxin elemental is great because it bypasses shields.
- Magnetic
Infested Missions - Overall Best Choices for Damage Types
- Viral
- Heat
- Slash
Void Missions - Overall Best Choices for Damage Types
- The void has corrupted enemy versions from every faction. Since Grineer enemies are the tankiest and hardest to kill, it is ideal to mod for Grineer. List is same as grineer missions list.
- Viral
- Viral/Heat Combo
- Corrosive (if weapon has fast fire rate)
- Corrosive/Heat Combo (if weapon has fast fire rate)
Critical Vs Status Weapons
Status Weapons
Status weapons have high base status chance (above 25%) and can be modded to be close to 100% or even higher. Because these weapons have such high status chance, enemies will receive bonus damage from physical and elemental procs. They can suffer great status effects such as slash (ignores armor) and viral (halves enemy health). The bonus is much needed against high level enemies. Status chance can be modded above 100% for a chance to apply the status effects more than once.Critical Weapons
Critical weapons have high base critical chance (above 25%) and high base critical damage multipliers (2.2+) and can be modded to have 100+ critical chance or close to 100%. Because of the critical damage multiplers, these weapons are able to put up big numbers. However, without status procs, critical damage will not benefit from physical and elemental damage bonuses. High level armored enemies have a lot of damage mitigation. With high damage mitigation, those bigcritical numbers will dwindle. For critical weapons to perform well into higher levels, they need to apply status effects as well.
Hybrid Weapons
 Hybrid weapons boast both high critical chance and high status chance. When a critical and status proc at the same time, the critical damage multiplier applies to the elemental damage, having the best of both worlds.
How To Survive
Standard Survivability Mods for Warframe
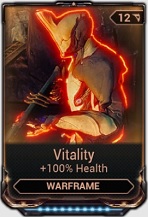
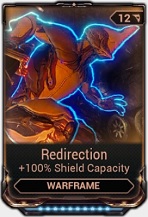
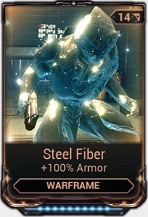
Note that the increase these mods give depends on base stats of the warframe. Lower base stats equal lower increase and higher base stats equal higher increase.
Umbral Mod Set
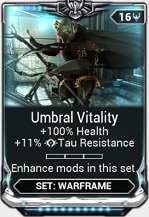
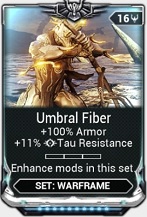
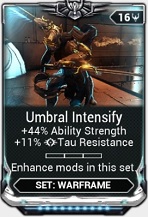
Umbral Mod Set with Max Set Bonus
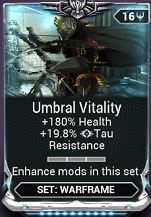
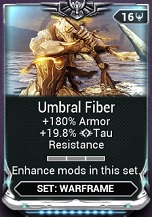
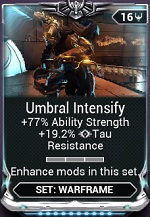
How much damage mitigation does armor give?
Armor only applies to health, NOT shields or overguard.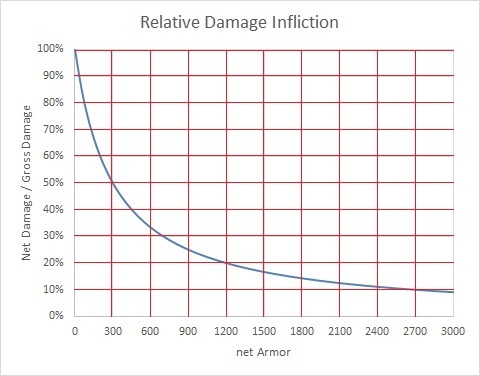
Looking at the graph we see how armor rating affects damage infliction.
Armor
Damage Received
0
100%
300
50%
600
33%
900
25%
1200
20%
1500
16%
1800
14%
2100
12%
2400
11%
2700
10%
The stats page calculates % damage reduced.
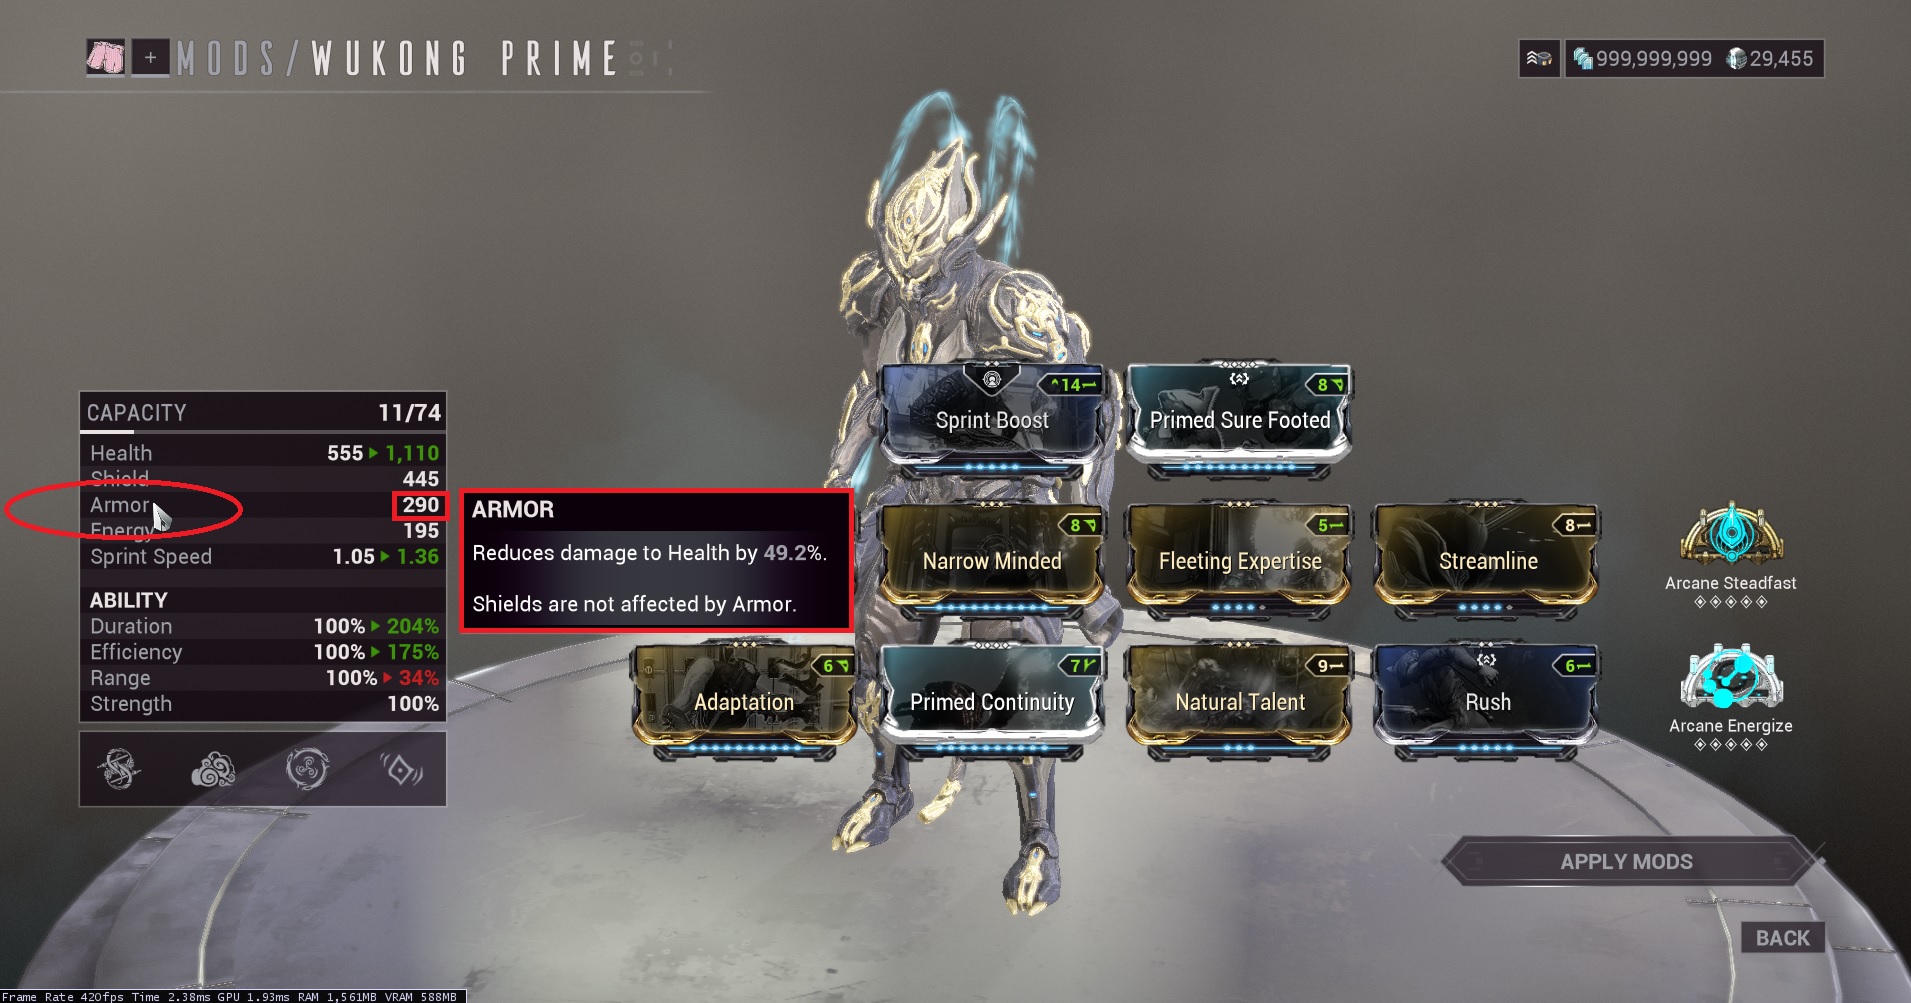 If you mouse over armor stat.
Adaptation
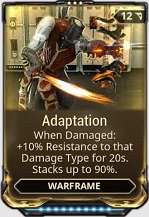
Gives 90% damage reduction that applies to both health and shields.
Rolling Guard
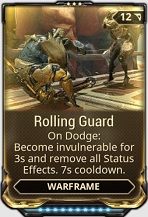
Shield Gating
Shield gating is a mechanic in the game where when you lose all shields, you become temporarily invulnerable. This mechanic essentially prevents players from being immediately 1-shotted. Invulnerability duration will scale based on the maximum shields replenished since the last shield gate occurred. Invulnerability period scales from 0.33 seconds minimum to a maximum of 2.5 seconds at 1,150 shields.How To Survive Against High Level Enemies
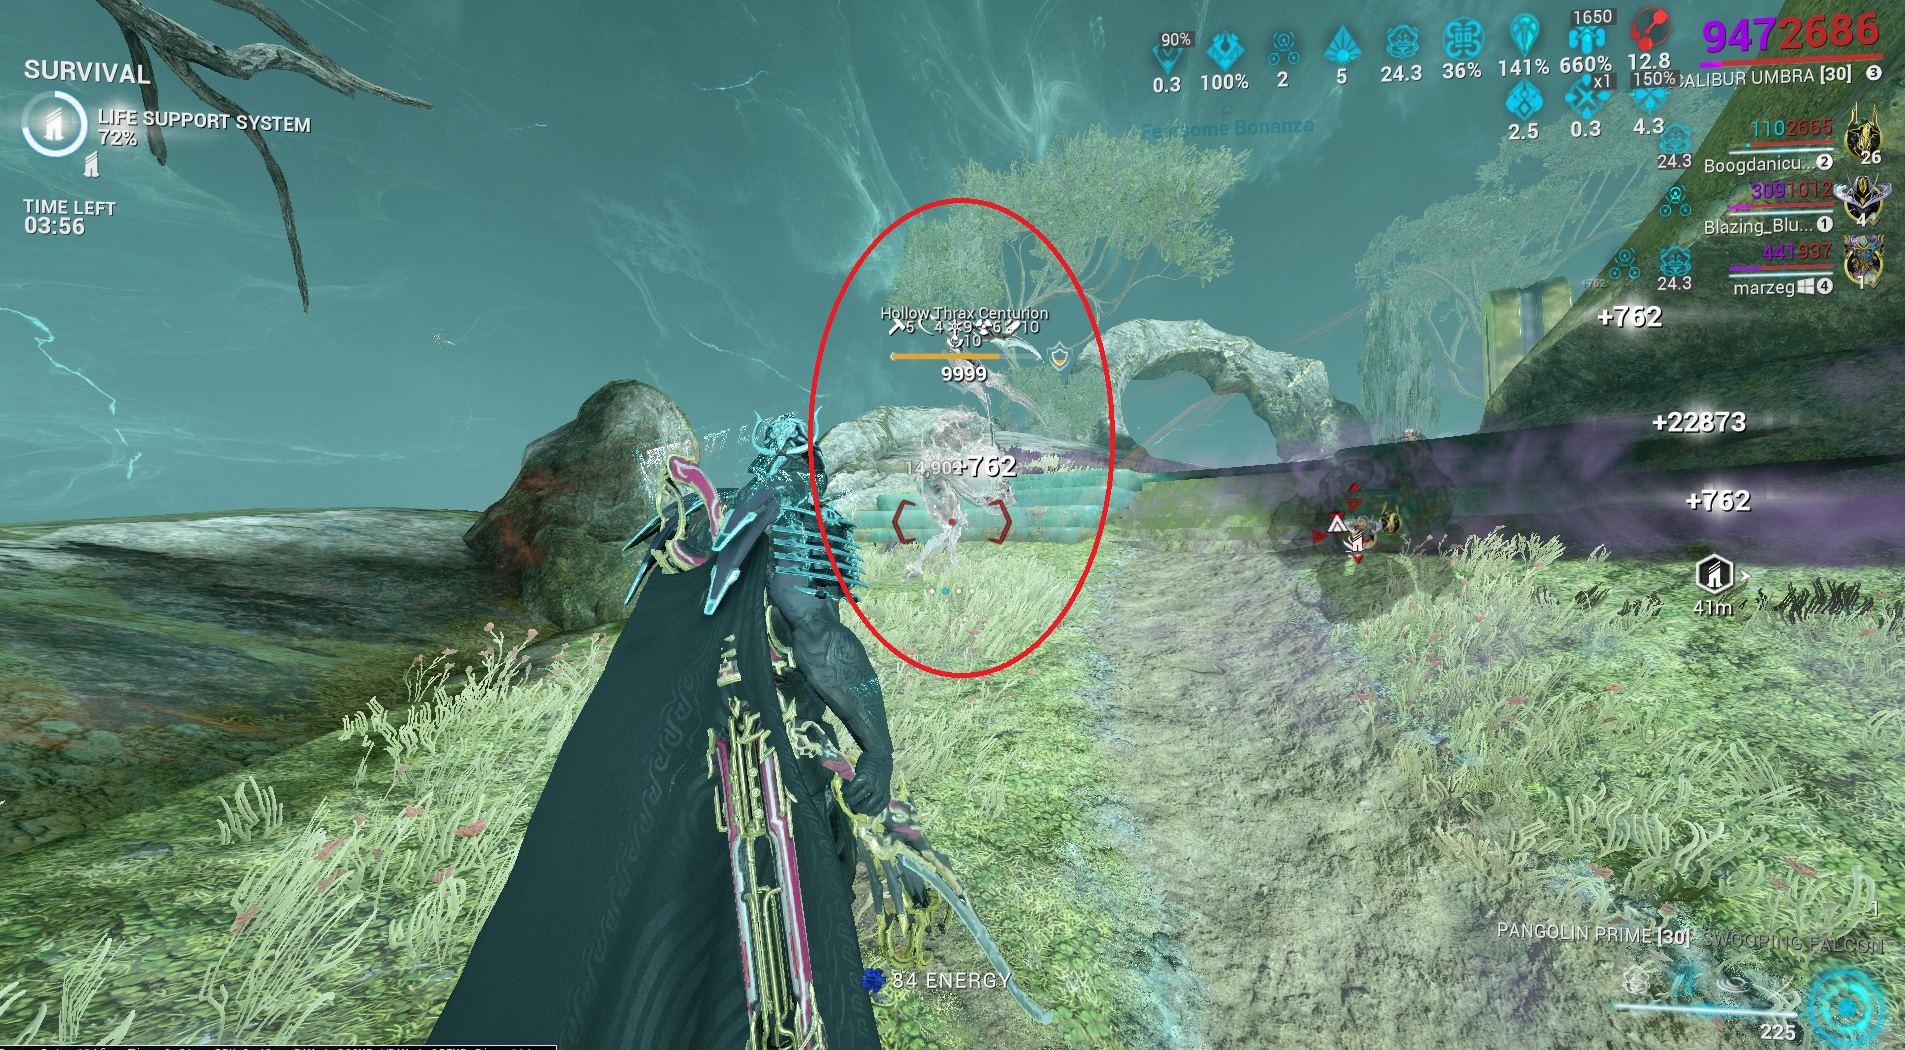
It's actually possible to survive against level 9999 enemies who under normal circumstance kill you in 1 shot.
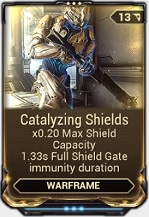
This mod reduces shields by 80%. This makes it easier to attain the max immunity duration of 1.33s. If we continuously replenish shields we essentially stay invulnerable.
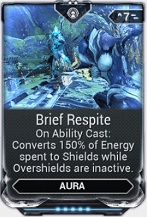
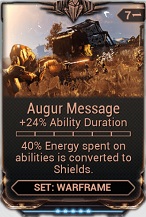
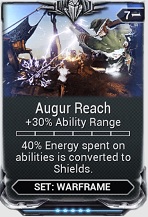
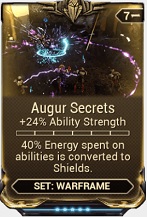
These warframe mods restore shields on energy spent.
As an example, Frost Avalanche cost 70 energy per cast. Catalyzing Shields reduces Frost's shields to 130. Brief Respite and Augur Reach restores 190% energy spent to shields. I will replenish 133 shields with every cast of Avalanche which fully restores shields. Pair this with Rolling Guard to ensure constant invulnerability.
Mods and Items that Synergize with Shield Gating
Arcane Aegis and Arcane Barrier (See below for details)
Rolling
Rolling also reduces all damage taken by the player by 75% during its animation.What speed running has to do with survivability?
As you may see in many public games, many players will race from start to finish. Not only does this mean clearing content and farming faster but also means greater survivability. The faster you move the harder you are to hit.Advanced Parkour - Fastest Sequences
*For Maximum Effect, moves should be done in quick succession.- In areas with low ceiling that prevent jumping - sprint, slide, roll, repeat
- In areas that allow jumping - bullet jump, double jump, roll, glide, air-kick while gliding, land/kickslide, roll repeat. If you start to hear wind, you're executing correctly.
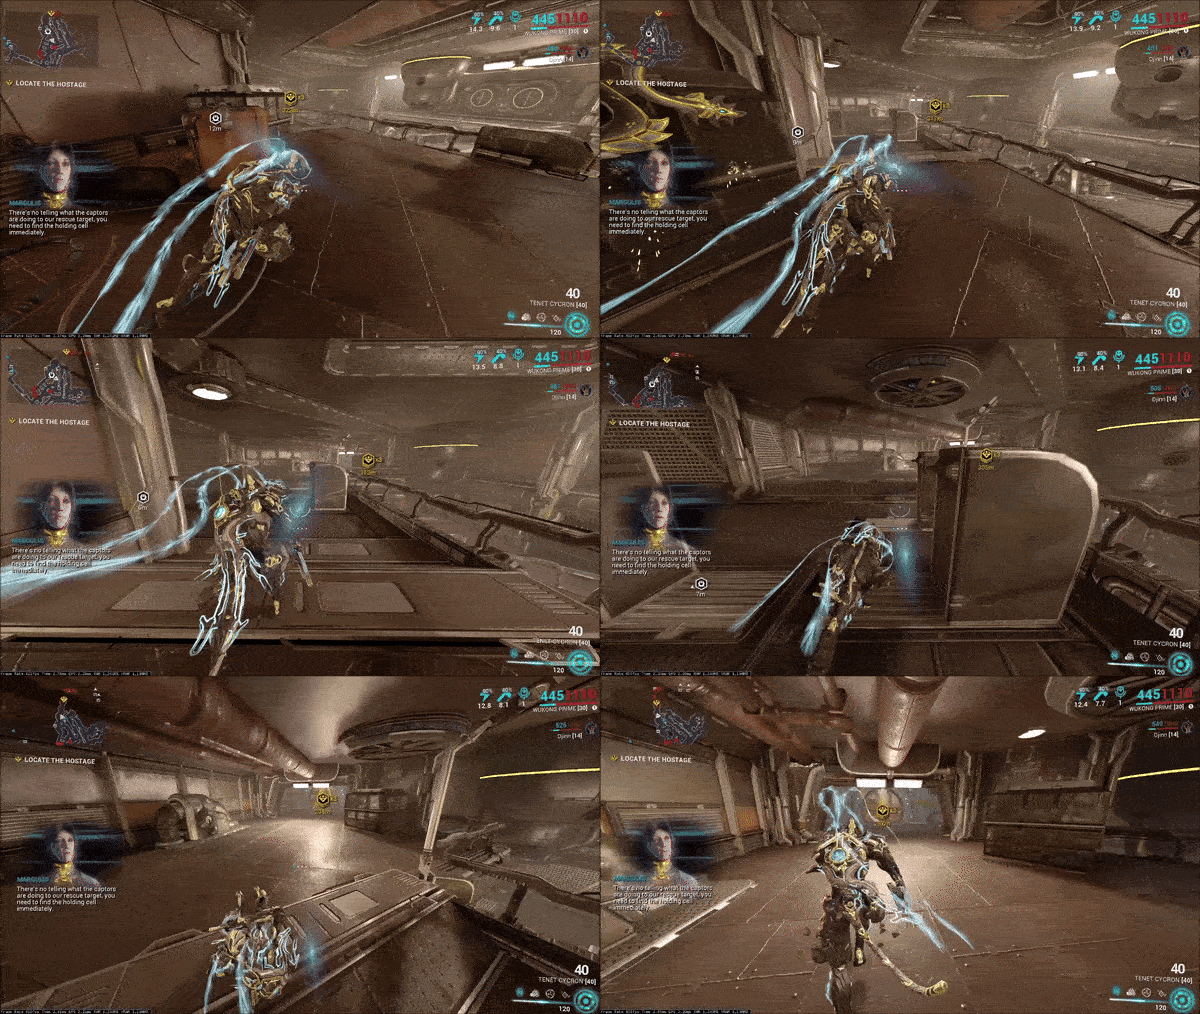
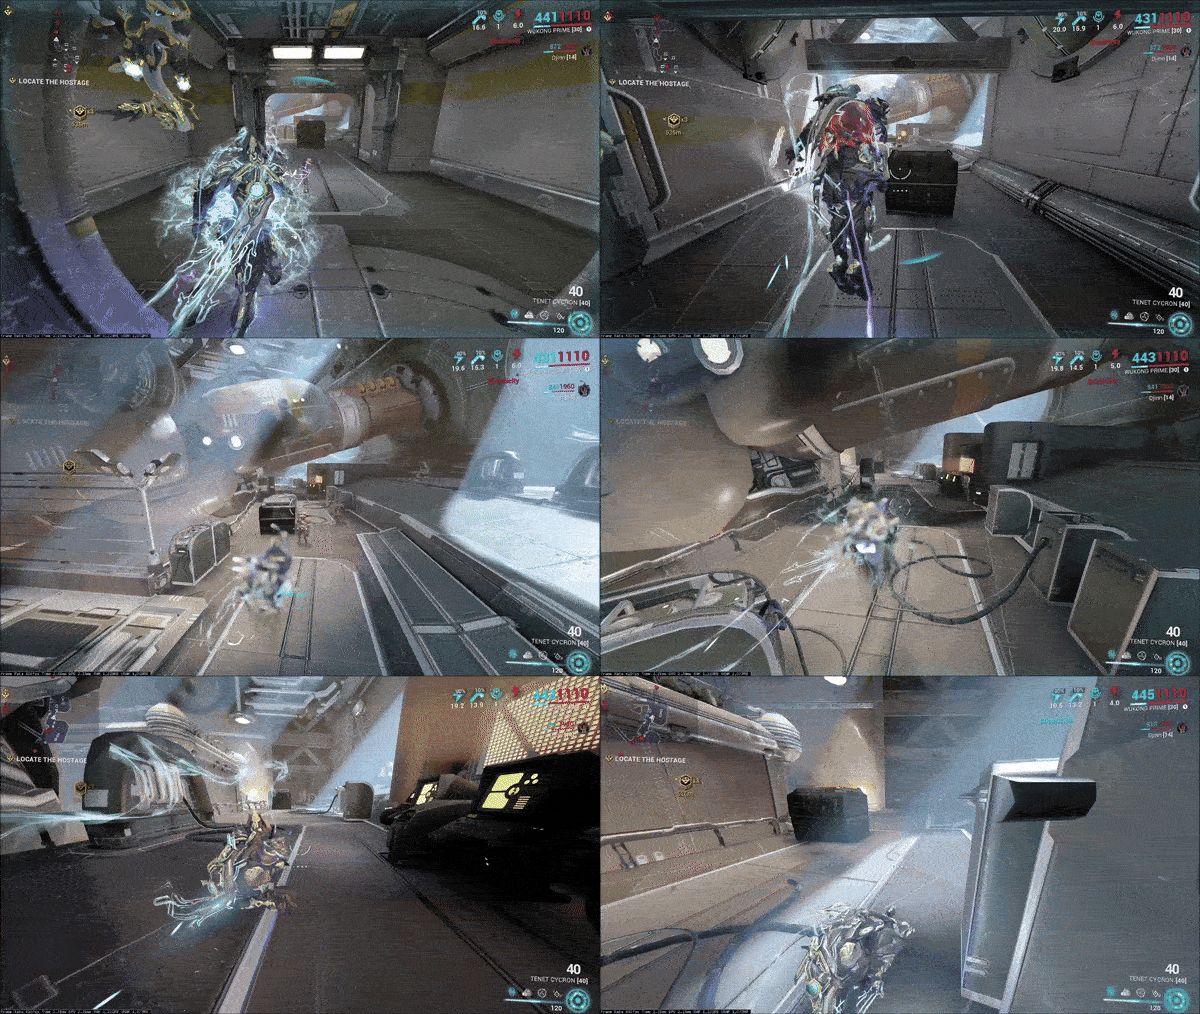
Arcanes

Arcane Guardian
Acquisition: Eidolon Hunting
Provides a 15% chance whenever the player receives damage to increase the Warframe's armor by 900 for 20 seconds.
Arcane Grace
Acquisition: Eidolon Hunting
Provides a 9% chance whenever the player receives health damage to regenerate 6% health per second for 9 seconds.
 Arcane Blessing
Acquisition: Obtained from Conjunction Survival Circulus on Lua as a Rotation C reward. Alternatively it can be purchased from Archimedean Yonta for 15 Lua Thrax Plasm each, with a total of 315 for max rank.
Increases 1200 maximum Health on Health Orb pickups.

Arcane Aegis
Acquisition: Eidolon Hunting
Provides a 3% chance whenever the player receives damage to shields to regenerate 30% Warframe Shields for 12 seconds.
Arcane Barrier
Acquisition: Eidolon Hunting
Provides a chance to instantly restore full Warframe Shields whenever the player receives damage to their Warframe Shields.
 Magus Elevate
Acquisition: Can be bought from The Quills for 10,000 standing each upon reaching the rank of Architect.
Arcane Enhancement for the Operator that grants a 95% chance to restore 300 health to a Warframe after transferring into it.
Magus RepairAcquisition: Can be bought from Vox Solaris for 10,000 standing upon reaching the rank of Shadow.
Arcane Enhancement for the Operator that restores 25% Health per second to Warframes within 30m while in Void Mode.
 Magus Lockdown
Acquisition: Can be bought from Vox Solaris for 10,000 standing upon reaching the rank of Instrument.
Arcane Enhancement for the Operator. Whenever the Operator performs a Void Sling, they will drop a Tether Mine at their destination that tethers up to 10 enemies in place for 4 seconds.
How To Survive
 Arcane Reaper
Acquisition: Steel Path Circuit Reward, Acrithis, and undercroft portals in Steel Path Duviri experience
On melee kill, provides 24 health regen per second and +660 armor for 10 seconds
 Arcane Persistence
Acquisition: Can be bought from Roathe at La Cathédrale in the Sanctum Anatomica for 5 maphica.
Lose all shields, but if armor is above 700, incoming damage is capped at 500 per second.
Ancient Protector Specter

Acquisition: New Loka Syndicate
Provides 90% damage reduction to those within 10 meter range
Dante Specter

Acquisition: Vapor, Phase, and force specters are rewarded from rescue missions.
Provides overguard and immunity to status effects. I recommend equipping them with weapons with infinite ammo such as Nataruk as they can steal ammo drops.
Shield Osprey Specter

Acquisition: Cephalon Suda Syndicate
Provides Overshields
The following contains spoilers. It is recommended to come back after completing, "The Second Dream," quest.
Power of Operator Mode
In operator mode, the warframe is invincible unless an active ability is on. If an active ability is on, the warframe will instead take 90% damage reduction. By crouching, the operator enters into void mode, where he/she becomes invisible and invincible. This void mode is helpful in many situations such as safely reviving allies or hacking.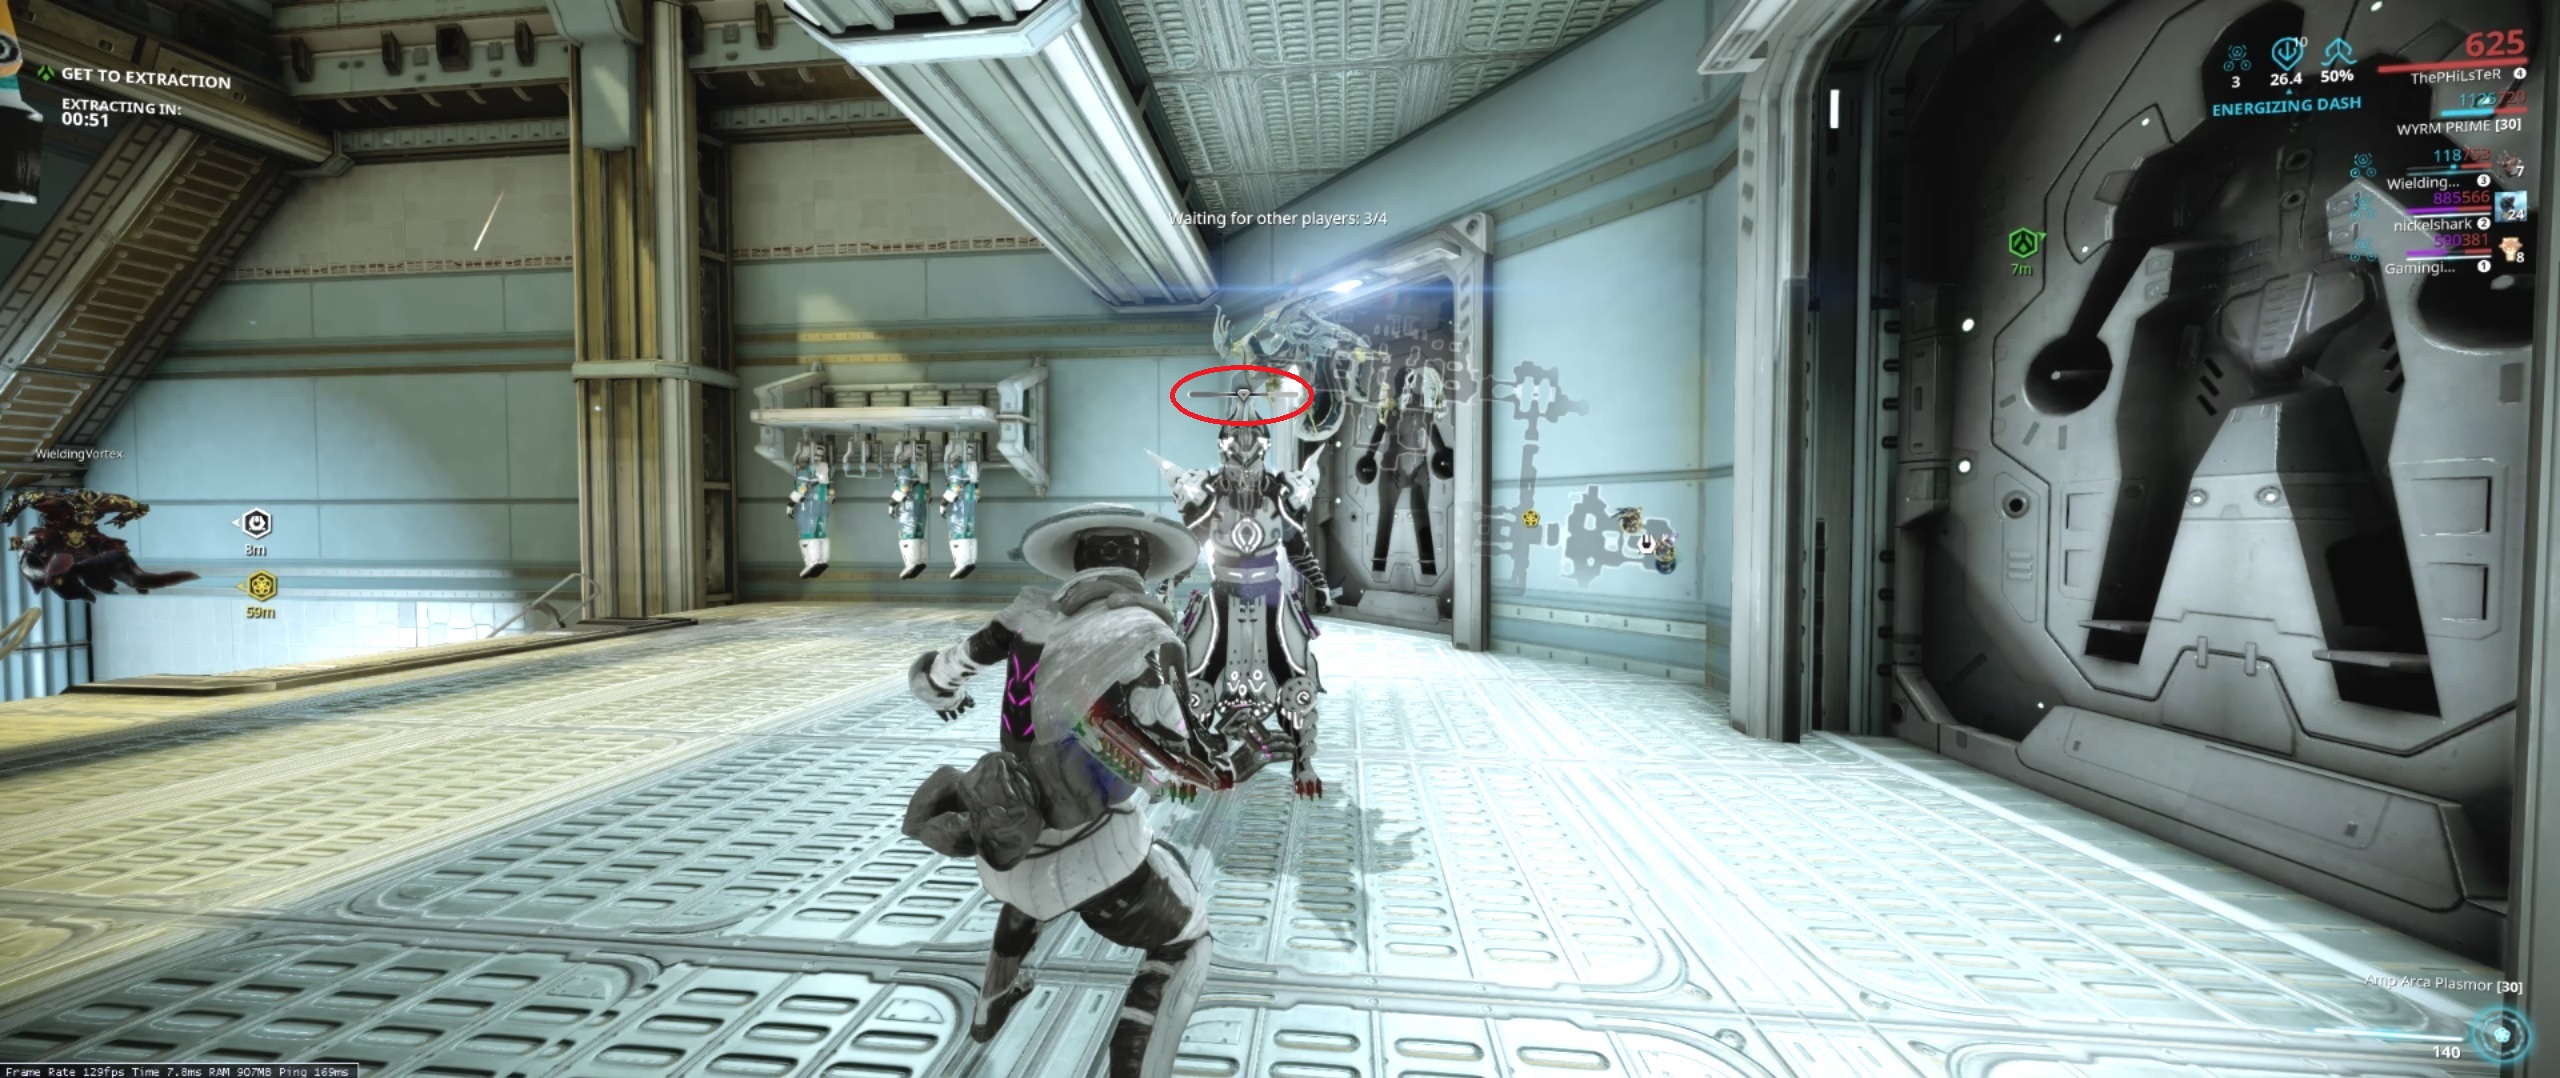
 Maxing Zenurik's Void Siphon and Void Flow is recommended to be able to stay in void mode longer. Energy restores are also an option and restore operator energy. For more information see section, "Focus Schools."
Combo Counter (Melee)
What Is The Melee Combo Counter?
It gives a damage multiplier to attack the more "consecutive" melee attacks are landed.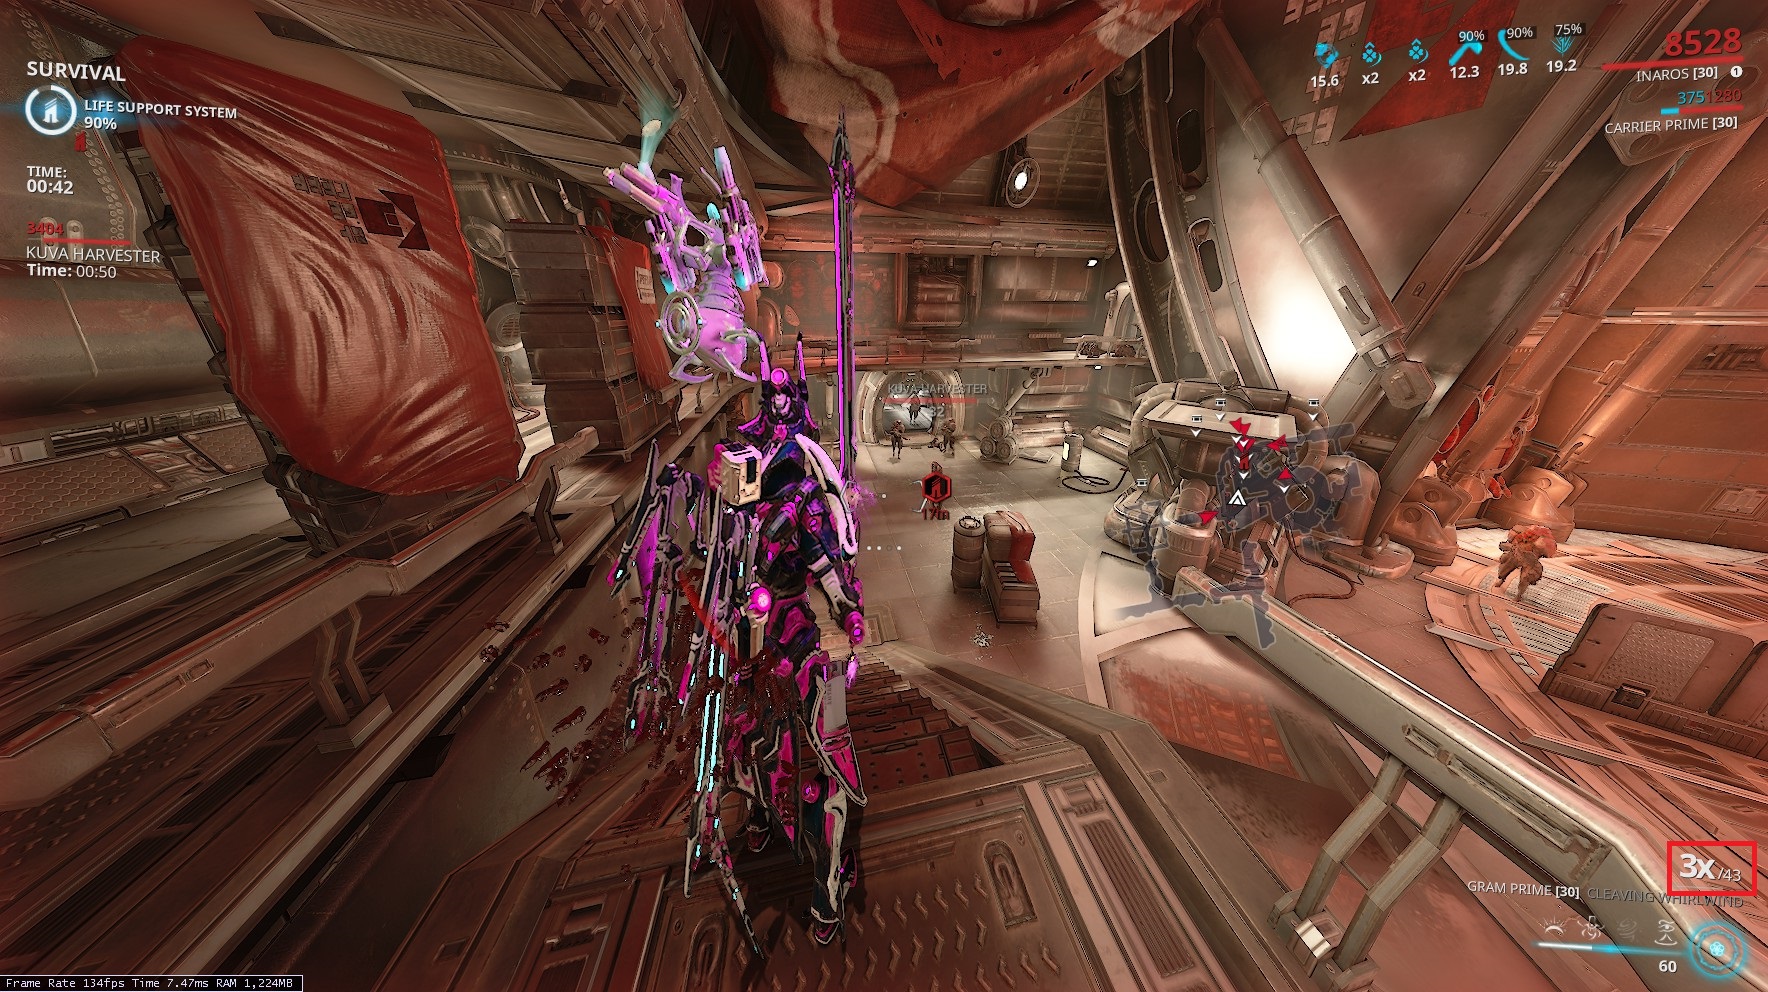 The combo counter can be seen at the bottom right when melee is out. In the picture, the multiplier is at 3x and I have landed 43 "consecutive" hits. "Consecutive" hits is not truly consecutive. What it really means is to connect hits within at least 5 seconds of each other. After performing a heavy attack, the combo counter returns to 0. This countdown time can be increased through mods.
Mods That Synergize With Combo Meter Mechanic
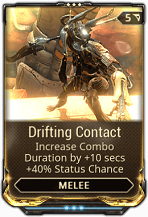
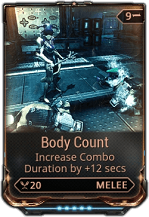
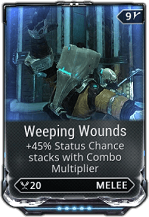
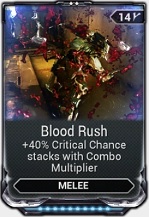
Drifting Contact
considered the best +combo duration mod currently. Not only does it increase combo duration, but gives a +status chance.
Body Count
a good alternative, if you don't have Drifting Contact. Drifting Contact is recommended, however, and it isn't too hard to farm. Generally, more than 1 +combo duration mod isn't needed as more than 1 will decrease dps.
Weeping Wounds
every increase in tier will give +40% status chance, great for status type melee weapons.
Blood Rush
every increase in tier will give +40% critical chance, great for crit melee weapons.
Gladiator Mod Set
adds a maximum of +40% critical chance per combo tier. Note that not all mods are required for the bonus. Each mod adds 10% critical chance per combo tier. These mods can be combined with Blood Rush.
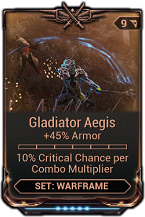
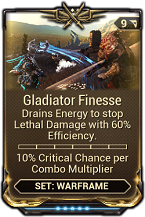
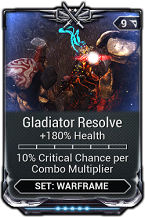
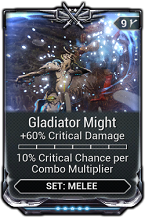
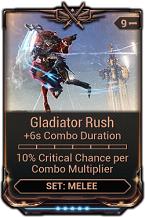
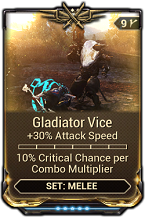
Focus School That Synergizes With Combo Meter Mechanic
For more information on Focus Schools, check out section, "Focus Schools." After the combo duration runs out, the combo meters goes back to 0. With Max Naramon's Power Spike, instead of going back to 0, the combo meter will depreciate every 5 seconds by default. With +combo duration mods, the depreciation is even slower.Combo Meter Chart
Right now Venka Prime, is the only special weapon that can reach a tier higher than normal.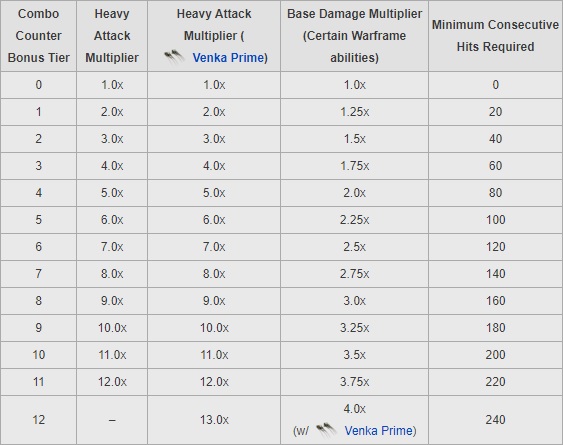
Combo Counter (Sniper)
What Is The Sniper Combo Counter?
Works similarly with the melee combo counter with some differences.Where To Locate Sniper Combo Meter
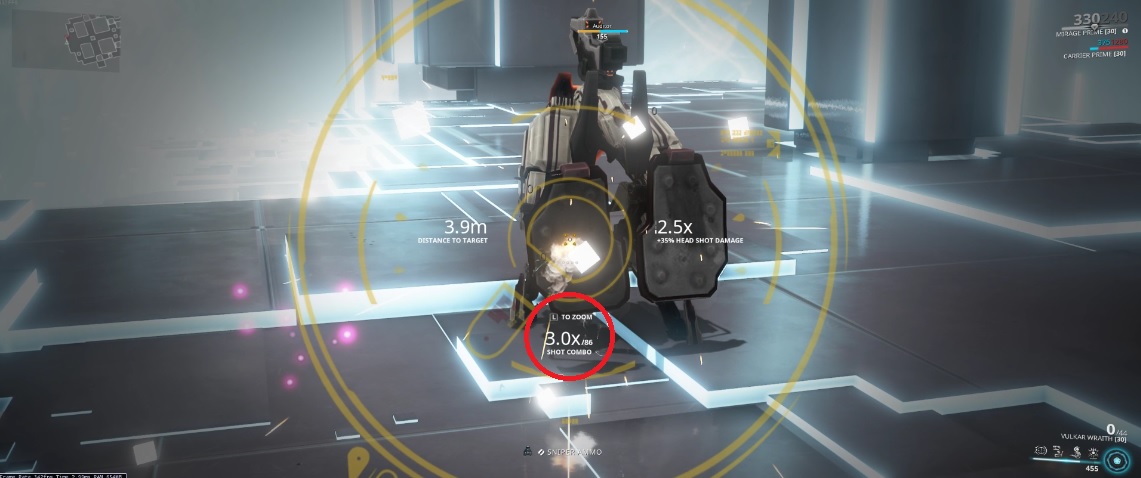 While Zooming, you can see it below the crosshair.
Combo Counter And Multiplier Chart

How To Increase Build Up Rate
- Multishot counts toward the build up rate. For example, if a sniper rifle has +100%, each shot will register two shots which will count as two toward the combo.
- Punch through counts. If a bullet punches through 1 enemy and strikes another, that counts as two toward the combo.
Combo Counter Depreciation
The combo counter will depreciate by 1 every 2 seconds and will also depreciate with every miss, with the exception of the Lanka that has a 6 second duration.Mods That Affect the Combo Meter
Harkonar Scope increases the combo duration. However, it isn't very viable because the sniper rifle will lose out on DPS.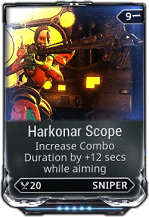
What Does Sniper Combo Counter Mean For End-Game Endless Type Mission Content?
It is difficult for sniper rifles to be viable long into endless missions. Because of the slow fire rate of sniper rifles, the combo will increase very slowly. On top of that, there are no mods equivalent to Blood Rush or Weeping wounds for sniper rifles. There is some viability, but there has to be a very specific setup. Here is an example setup:Vectis Prime
- Modded with Depleted Reload (-60% Magazine Capacity, +48% Reload Speed). This causes Vectis Prime to have 1 in a mag, and rely on reload speed for increased fire rate.
- Modded with Hunter Munitions
- Riven with +Critical Chance (to boost Vectis Prime close to 100% critical chance), +reload speed, and multishot. +Critical Chance will help slash, from Hunter Munitions, proc more. +Reload speed will increase Vectis' fire rate. Multishot will help the combo counter to raise faster. With
enough multishot, each fire will count as 3 bullets. - Vectis Prime will have faster fire rate from very fast reload speed, high chance of proc'ing slash, and multishot for faster combo rate of increase.
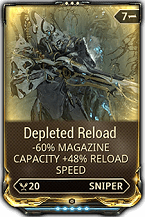
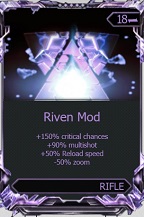
😭😭😭😭FARMING😭😭😭😭
Fissure System - How To Farm Prime Sets
What Do I Get From Fissures?
Fissure missions award prime parts, forma blueprints, and traces.What Is A Prime Set?
Prime warframes are superior versions of regular warframes. Prime weapons are 99% of the time best of all variants. Note that not all warframes and weapons have prime variants because they haven't been released yet. Also weapons in the dojo (Grineer, Corpus, and Infested Weapons) do not get a prime version. Instead they get prisma, vandal, wraith, kuva, tenet, and coda versions.What Are Relics?
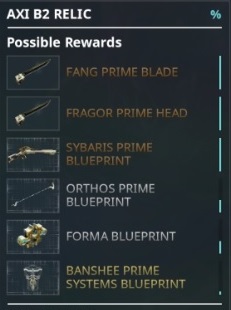
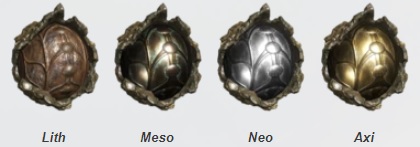
Relics are sometimes awarded for completing missions. Each relic, when used in a fissure mission, will be consumed and a random prime part will be awarded. The drop table for each relic is limited to 6 different parts. Relics also have tiers, Lith, Meso, Neo, and Axi, with each tier representing enemy levels, Lith being the lowest and Axi being the highest. Note that enemies in Axi missions are buffed to do 3x damage than normal.
What Are Traces?

- 10 traces are needed to make 1 dragon key.
- Used to refine relics which heightens the chance of rare reward.
Mission Select Screen
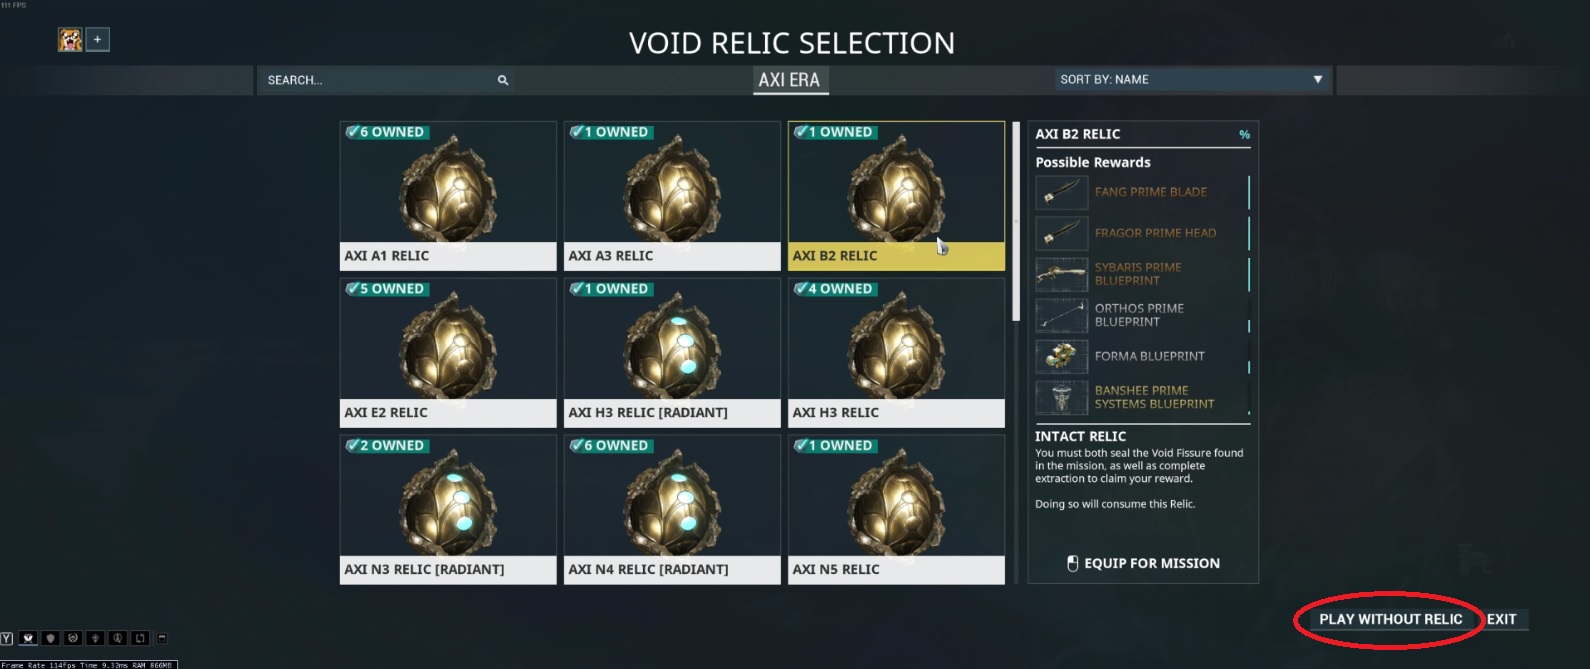 When selecting the mission, a window will pop up giving two options, select a relic or play without a relic. Each relic has its own drop table displayed on the right. Selecting play without relic will not reward a prime part but still rewards traces. If you need traces but don't have any relics, playing without a relic is fine.
Corrupted Enemies
 During the mission, groups of enemies will randomly become corrupted and start to glow. These enemies will drop reactant.
Reactants
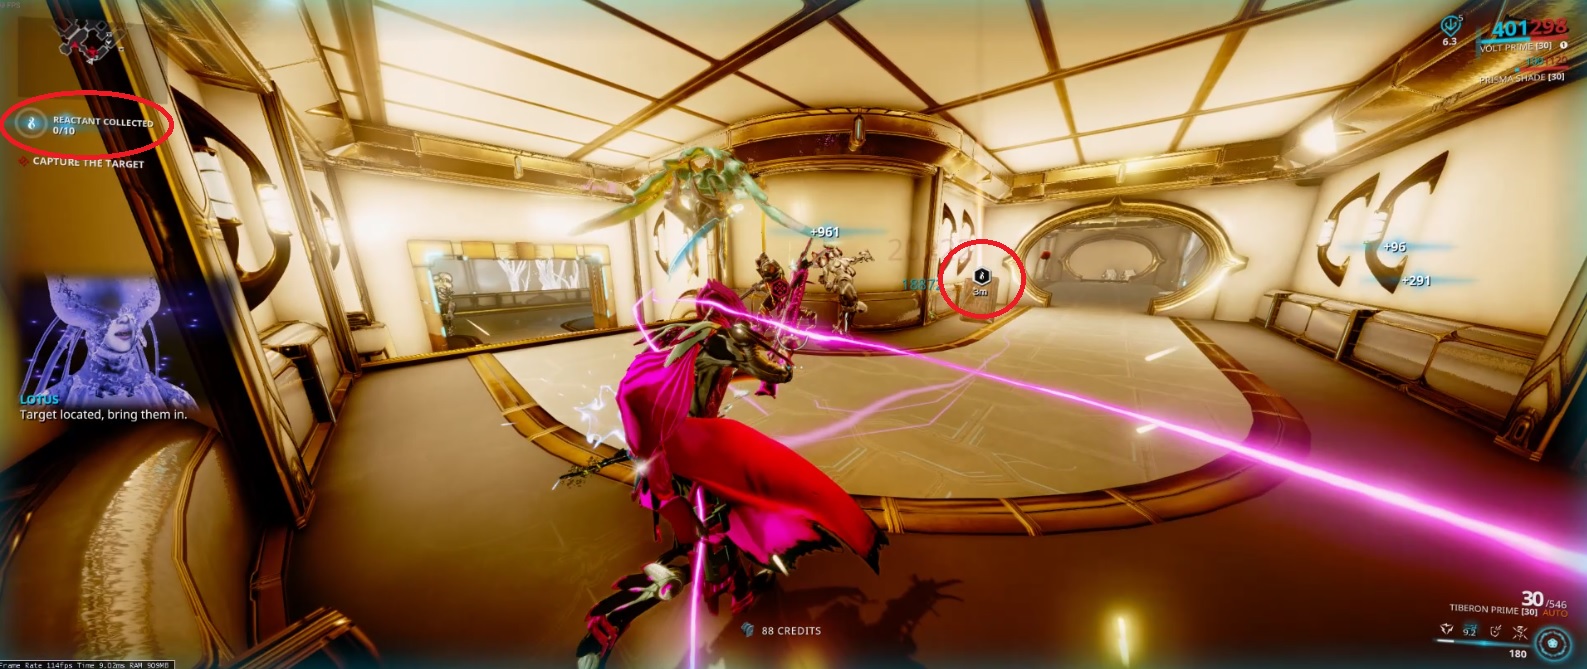 You'll need to pickup 10 reactants to receive the mission reward.
Prime Part Rarity
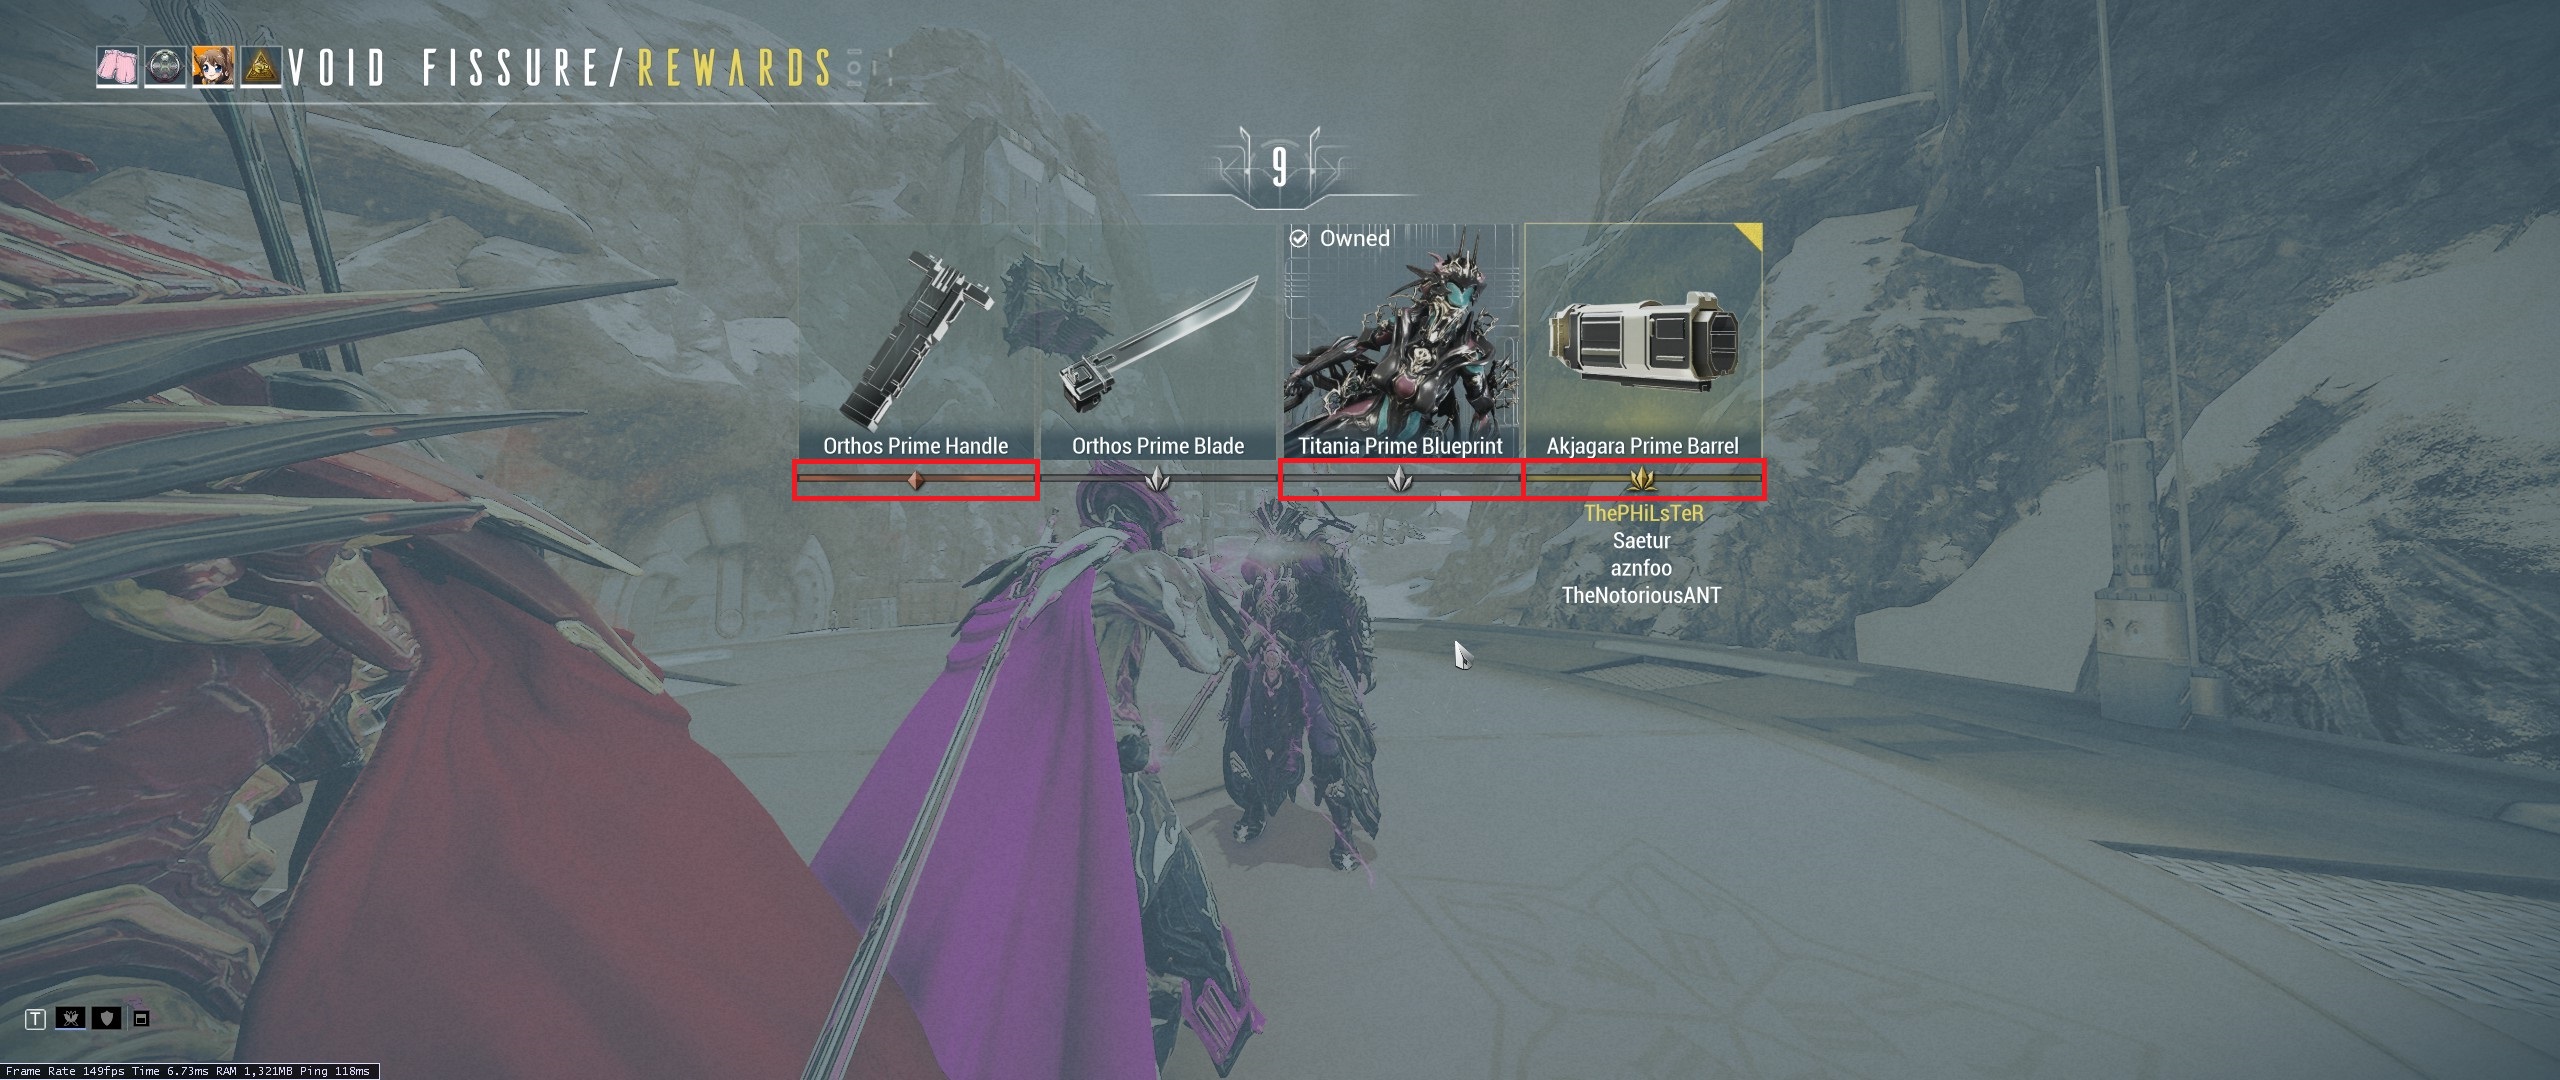 Rewards have different tiers of rarity. Gold being the rarest, silver uncommon, and bronze common. Generally speaking you'll want to select the rarest prime part out of all the choices since that will 99% of the time be worth the most (unless a prime set is vaulted). When in a party, you will be able to choose your teammates reward, so playing in a party is optimal for more chances for rare rewards.
Bronze

Silver

Gold

Relic Refinement - How To Increase Chances for Rare Reward
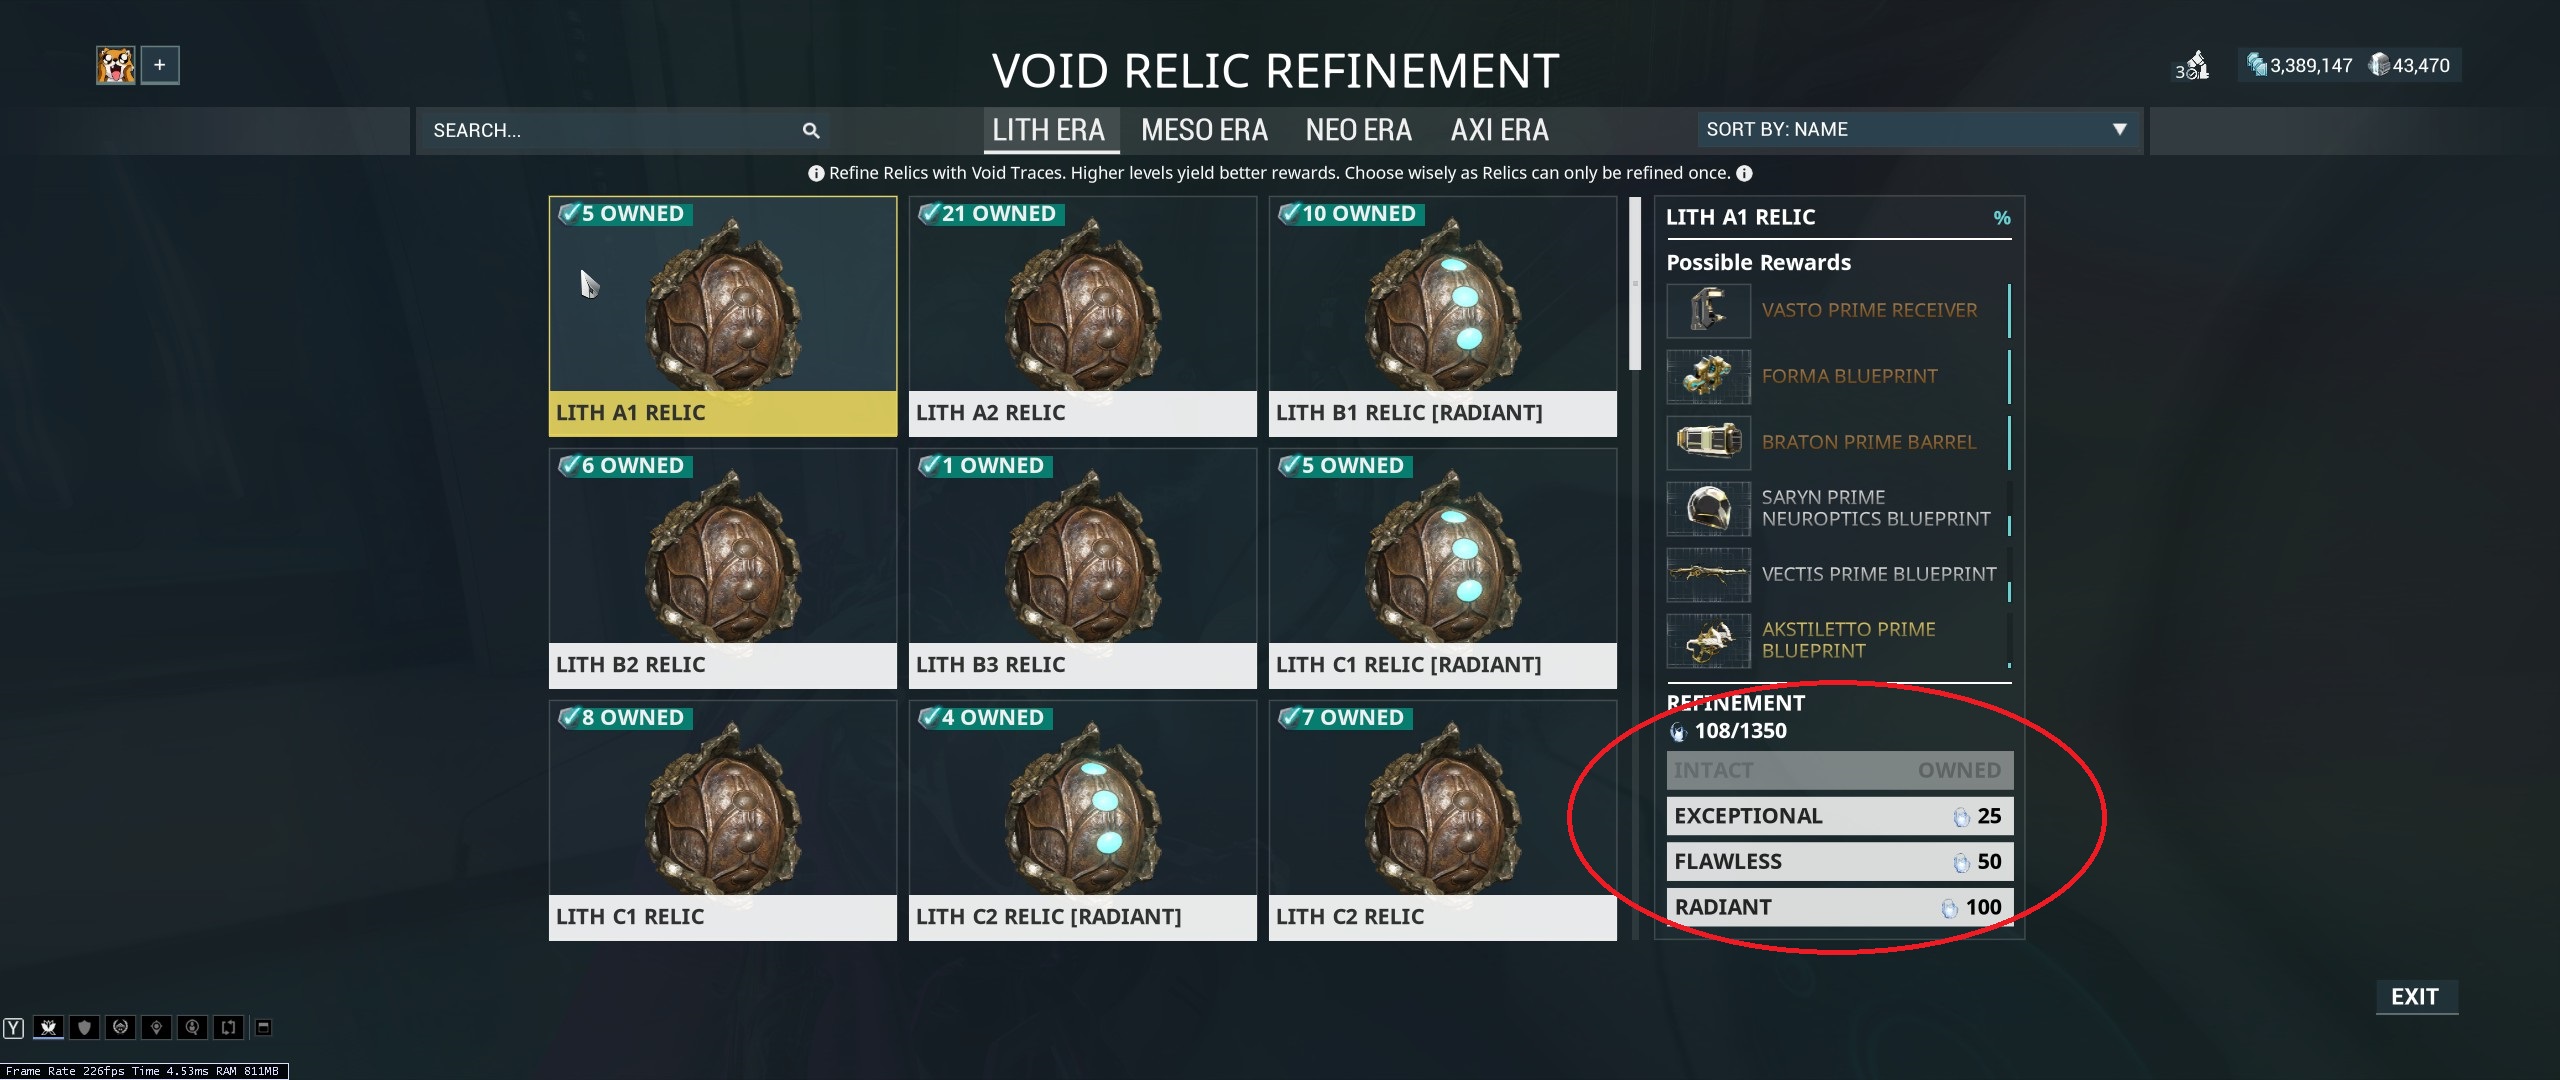 Relics can be refined in the void relics kiosk (esc-->equipment-->void relic refinement). After selecting a relic, at the bottom right will display the options to refine the relic at different levels from intact to: exceptional, flawless, or radiant. Each tier will cost more traces to refine but higher tiers will increase the likelihood of a rare drop.
Radshares - How To Maximize Chance for Rare Reward
Players often create "radshare" groups which means teams will all equip the same radiant relic to give maximum chance for a rare prime part. 4 players with all radiant relics will give a total 33% chance for a gold drop.Intactshares - How To Maximize Chance for Common Reward
Sometimes the part you need is a bronze part. Similar to radshares, all party members will equip the same intact relics. However, intactshares mostly only happen when new prime sets are released and everyone is scrambling to get the sets.What Does Vaulted Prime Set Mean?
New prime warframes and their accompanying prime weapons release every few months. Every time new prime sets are released, an already existing prime warframe and its accompanying prime weapons are vaulted. Vaulted means that the relic from which the prime sets drop will no longer be available from drop tables. Thus, they can only be traded for from other players or gotten from relics attained before the vaulting. Prime sets are vaulted chronologically according to release.
Drop Tables
What Are the Drop Tables and Drop Chances?
On the Official Drop Tables and Drop Chances Website[www.warframe.com], you'll see items dropped from tables labeled Rotation A, Rotation B, and Rotation C and drop chances.What is AABC?
The order endless missions change their drop tables is AABC. For a survival, rewards are every 5 minutes. So therefor, a drop from rotation A will be rewarded at the 5 and 10 minute mark. At the 15 minute mark an item from Rotation B will be rewarded and at the 20 minute mark an item from Rotation C will be rewarded. For defense, it's wave 3, 6, 9, and 12. After a full rotation of AABC, the drop table will cycle again to AABC. Essentially it is AABC...AABC...AABC...AABC to infinity. For Sanctuary Onslaught drops occur every 2 zones, so AABC is zone 2, 4, 6, and 8. For spies there's only three vaults, so it will be ABC.Disruption does not follow the traditional AABC rotation for endless missions. The reward tier is determined by both round progression and round performance, i.e. the number of conduits successfully defended. If going for C rotation rewards, it is efficient to continue after wave 4 as long as the performance requirement is met.
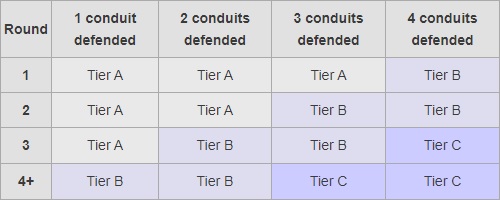
How To Farm Relics
Why Farm Relics?
Usually when farming for a specific prime set, the prime set will drop from all or almost all relic tiers. Let's take Limbo Prime for example.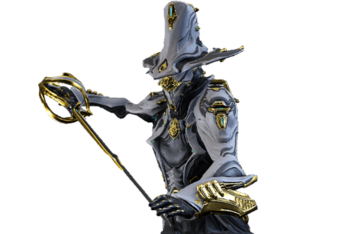
Blueprint
Meso Z1
Silver
Neuroptics
Axi L2
Gold
Chassis
Neo L1
Gold
Systems
Lith B3
Bronze
Players sometimes farm relics to speed farm specific prime sets. Let's say you have all Limbo Prime parts except Systems. You'll need Lith relics. There will be locations that have higher chance of dropping specific tiers.
Best Way To Farm Relics
Relics will build up just playing the game. Really the best way is what you find fun but here is a list of missions with highest chance of relic rewards at specific tiers.Approximate Round Completion Times By Mission Type
- Capture - under a minute with speed warframes
- Defense - 3 to 5 minutes
- Survival - 5 minutes
- Interception - 3.5 minutes when points are 100% captured
- Disruption - 3 to 5 minutes depending on kill rate to get keys
Listed percentages are the chance of getting the specific relic you're looking for. Underlined missions are most popular or recommended.
Lith

- Capture - Void/Hepit 7%
- Disruption - Mars/Olympus Rotation A&B 14%
- Defense - Deimos/Hyf Rotation A 11%
- Survival - Deimos/Terrorem Rotation A 11%
- Survival - Void/Ani Rotation A 11%
- Interception - Earth/Gaia Rotation A 10%
- Interception - Venus/Cytherean Rotation A 10%
- Interception - Mercury/Odin Rotation A 10%
- Interception - Mars/Alator Rotation A 10%
- Interception - Ceres/Cinxia Rotation A 10%
Meso

- Capture - Void/Ukko 7%
- Defense - Jupitor/IO Rotation A 14%
- Defense - Saturn/Helene Rotation A 14%
- Defense - Europa/Paimon Rotation A 14%
- Disruption - Uranus/Ur Rotation A 14%
- Disruption - Sedna/Kappa Rotation A 14%
- Interception - Jupiter/Callisto Rotation A 10%
- Interception - Saturn/Rhea Rotation A 10%
- Interception - Uranus/Umbriel Rotation A 10%
- Interception - Europa/Ose Rotation A 10%
Neo
- Capture - Void/Ukko 7%
- Disruption - Lua/Apollo Rotation A 14%
- Disruption - Uranus/Ur Rotation B&C 14%
- Survival - Void/Mot Rotation A 9% Rotation B 13%
- Defense - Lua/StöFler Rotation A 10%
- Defense - Uranus/Stephano Rotation A 10%
- Defense - Neptune/Proteus Rotation A 10%
- Defense - Eris/Kala-Azar Rotation A 10%
- Defense - Pluto/Outer Terminus Rotation A 10%
- Defense - Sedna/Hydron Rotation A 10%
- Defense - Kuva Fortress/Nabuk Rotation A 10%
- Interception - Eris/Xini Rotation A 10%
- Interception - Pluto/Cerberus Rotation A 10%
- Interception - Sedna/Berehynia Rotation A 10%
- Interception - Void/Mithra Rotation A 9% Rotation B 13%
Axi

- Disruption - Lua/Apollo Rotation B 14% Rotation C 12%
- Interception - Eris/Xini Rotation B&C 14%
- Interception - Pluto/Cerberus Rotation B&C 14%
- Interception - Sedna/Berehynia B&C 14%
- Defense - Uranus/Stephano Rotation B 7% Rotation C 11%
- Defense - Neptune/Proteus Rotation B 7% Rotation C 11%
- Defense - Pluto/Outer Terminus Rotation B 7% Rotation C 11%
- Defense - Eris/Kala-Azar Rotation B 7% Rotation C 11%
- Defense - Sedna/Hydron Rotation B 7% Rotation C 11%
- Defense - Lua/StöFler Rotation B 7% Rotation C 11%
- Defense - Kuva Fortress/Nabuk Rotation B 7% Rotation C 11%
Special Note On Axi Farm on Apollo, Lua Disruption
B rotation has a higher chance than C rotation to drop specific relic, so parties can opt to purposefully fail defending conduits to fall within B rotation rewards.Example Run:
- Round 1 - Defend 4 conduits
- Round 2 - Defend 3 conduits, and fail 1
- Round 3 - Defend 2 conduits, and fail 2
- Round 4(+) - Defend 1 conduit, and fail 3
Neo and Axi
- Void/Mot - Neo Rotation A 9% Rotation B 13% Axi Rotation C 11%
Farming Relics For Temporary Unvaulted Sets
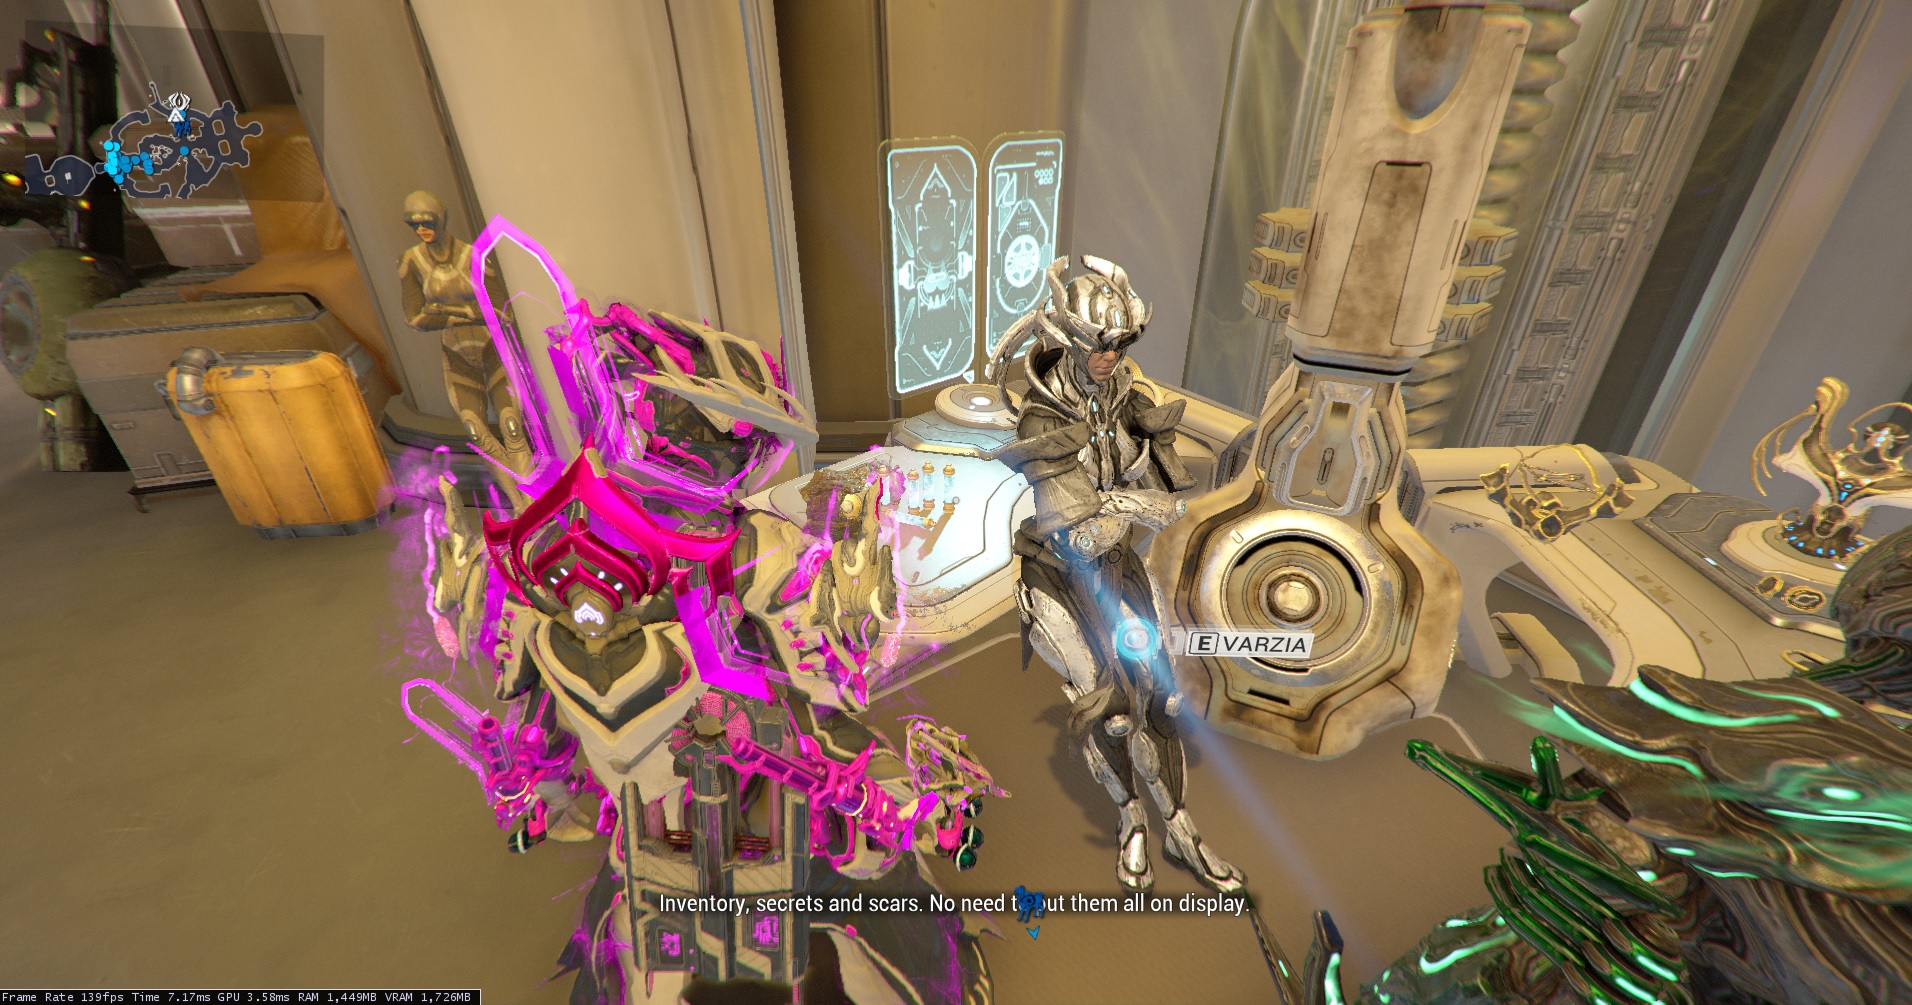
About every 6 months vaulted sets become temporarily unvaulted for 2 months. Their relics will be sold by Varzia in Maroo's Bazaar on Mars. You must buy them with Aya.
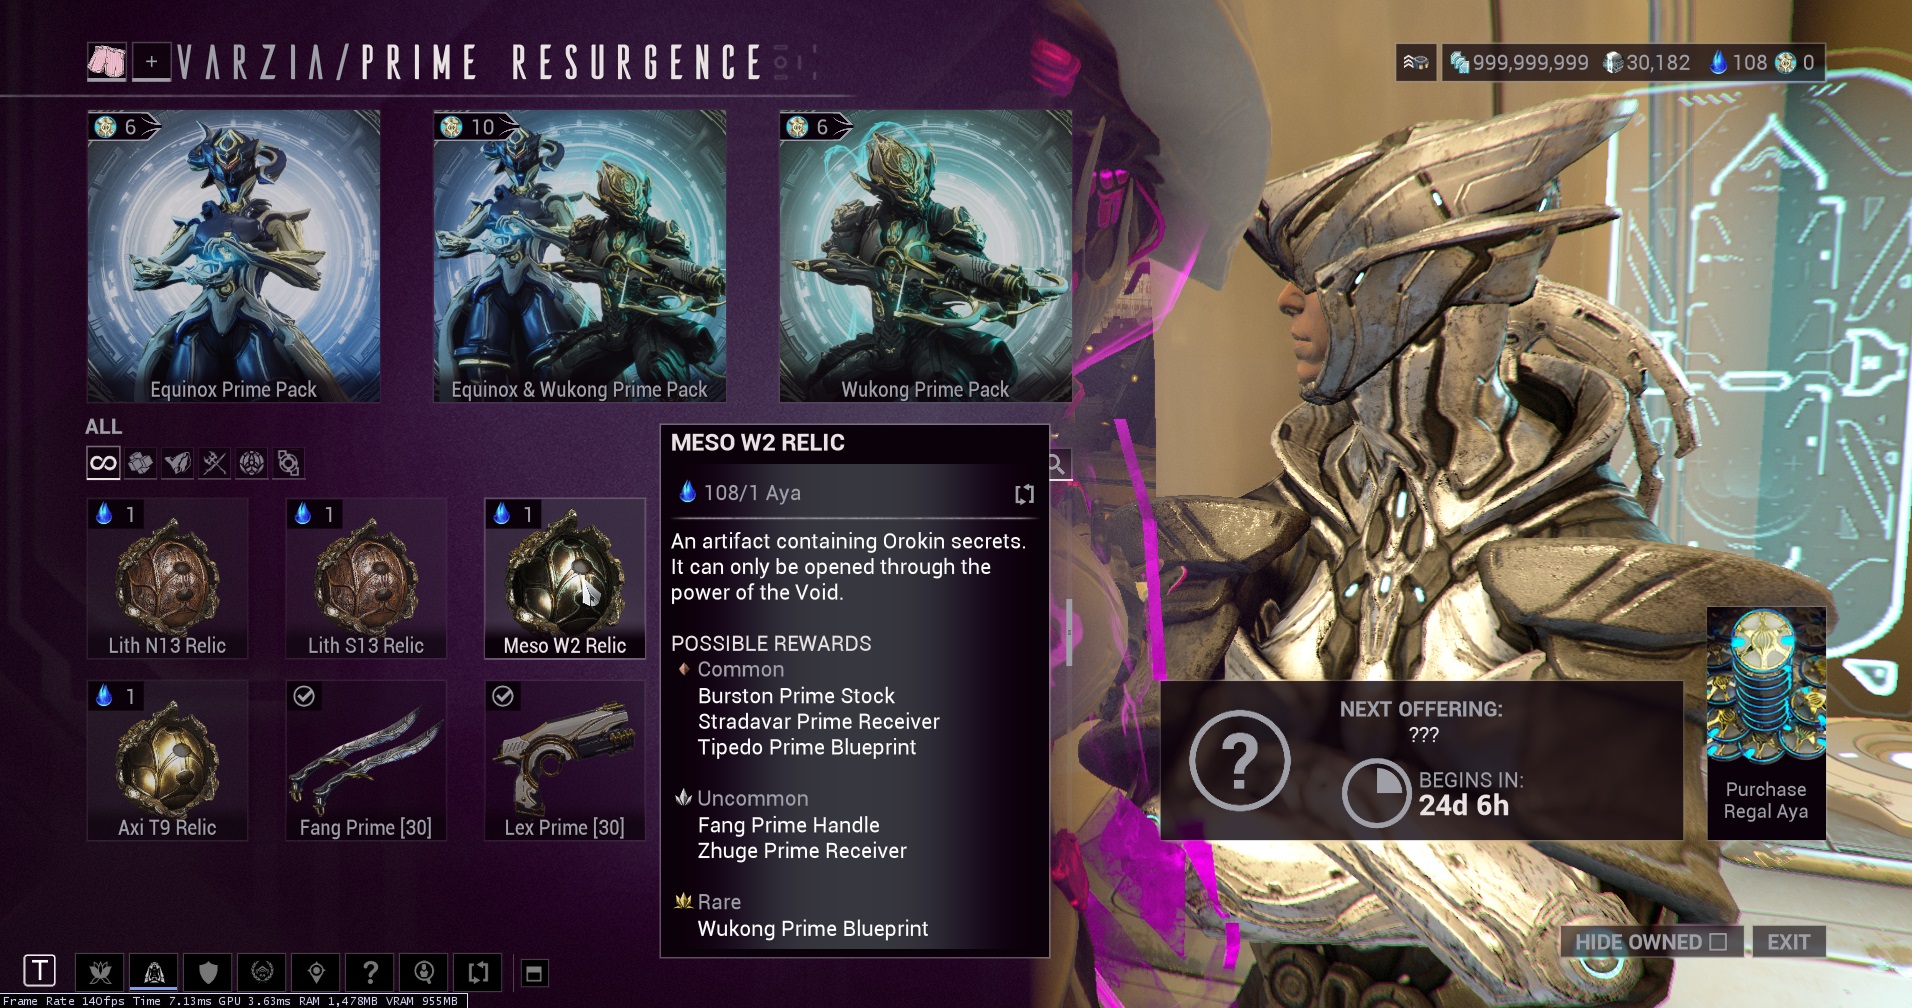 The following are highest drop locations for Aya.
Aya

- Void/Hepit (Capture) 7%
- Void/Ukko (Capture) 7%
- Void/Mot (Survival) Rotation A 9% Rotation B 13% Rotation C 22%
- Void/Mithra (Interception) Rotation A 9% Rotation B 13% Rotation C 22%
- Level 40 - 60 Cetus Bounty Stage 2&3 33% Stage 4 26% Stage 5&Bonus 39%
- Level 40 - 60 Orb Vallis Bounty Stage 2&3 20% Stage 4 17% Stage 5&Bonus 33%
- Level 40 - 60 Cambion Drift Bounty Stage 2&3 29% Stage 4 22% Stage 5&Bonus 43%
Who is Baro Ki-Teer?
The Void Trader
 To take full advantage of Baro Ki-Teer will require approximately mid-game. Baro Ki-Teer[warframe.wikia.com] offers special items for sale such as: Primed mods (superior versions of a mod), +60 elemental/+60 status chance mods, +slash/puncture/impact mods, Sands of Inaros quest blueprint which rewards the Inaros warframe, Aklex Prime relics, Volt Prime relics, Odonata Prime relics, exclusive weapons, cosmetics, and boosters. Many of the mods are required to maximize builds and weapon dps.
The Cost of His Items
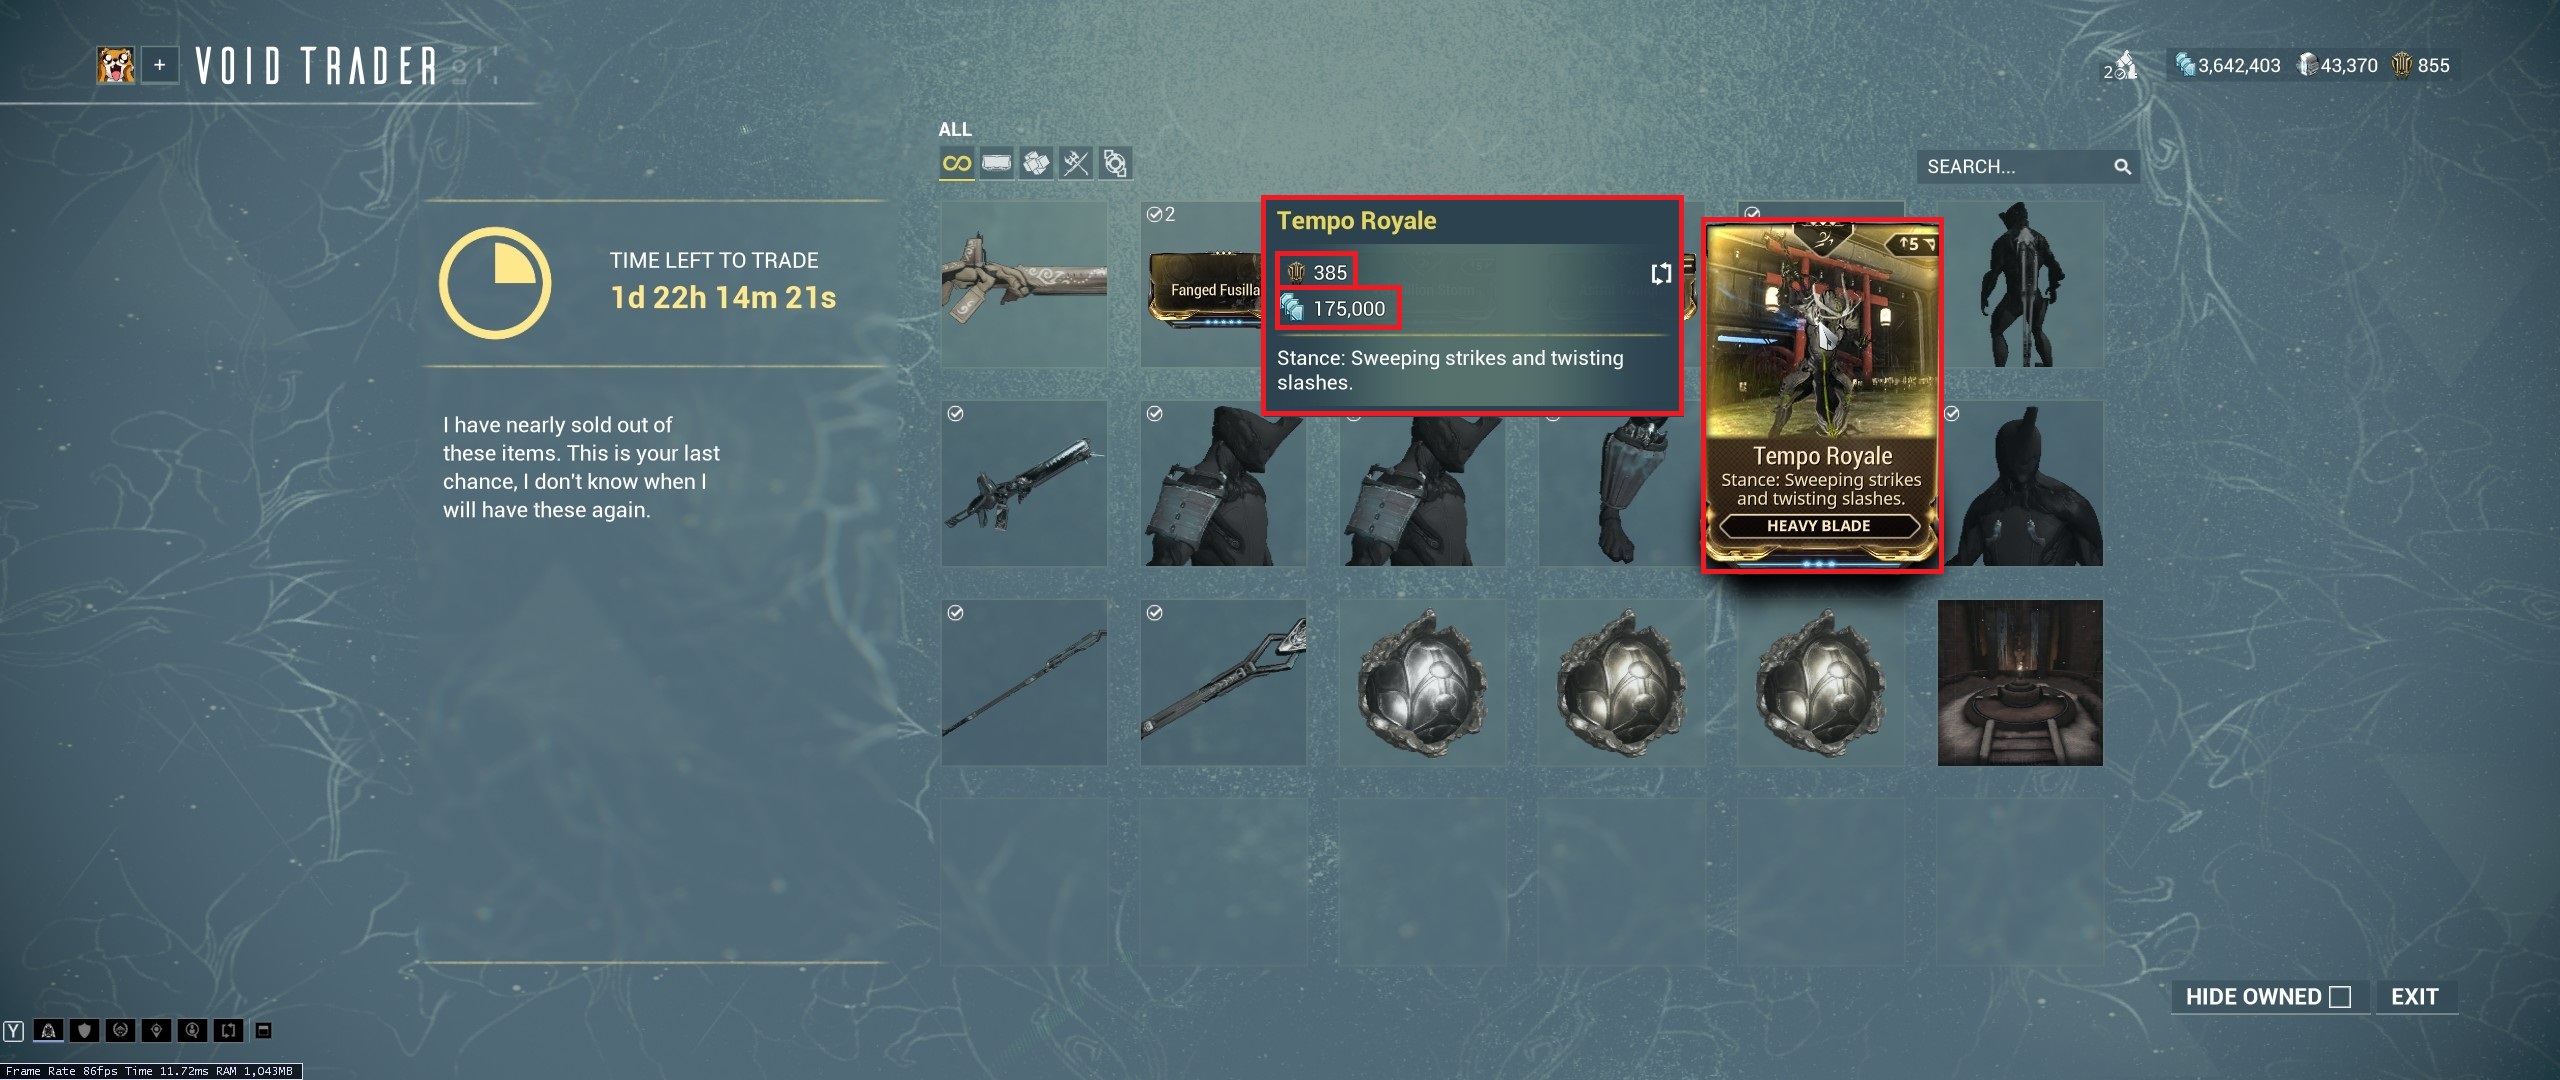
Items will cost various amounts of credits and ducats (the brown symbol).
How To Get Ducats
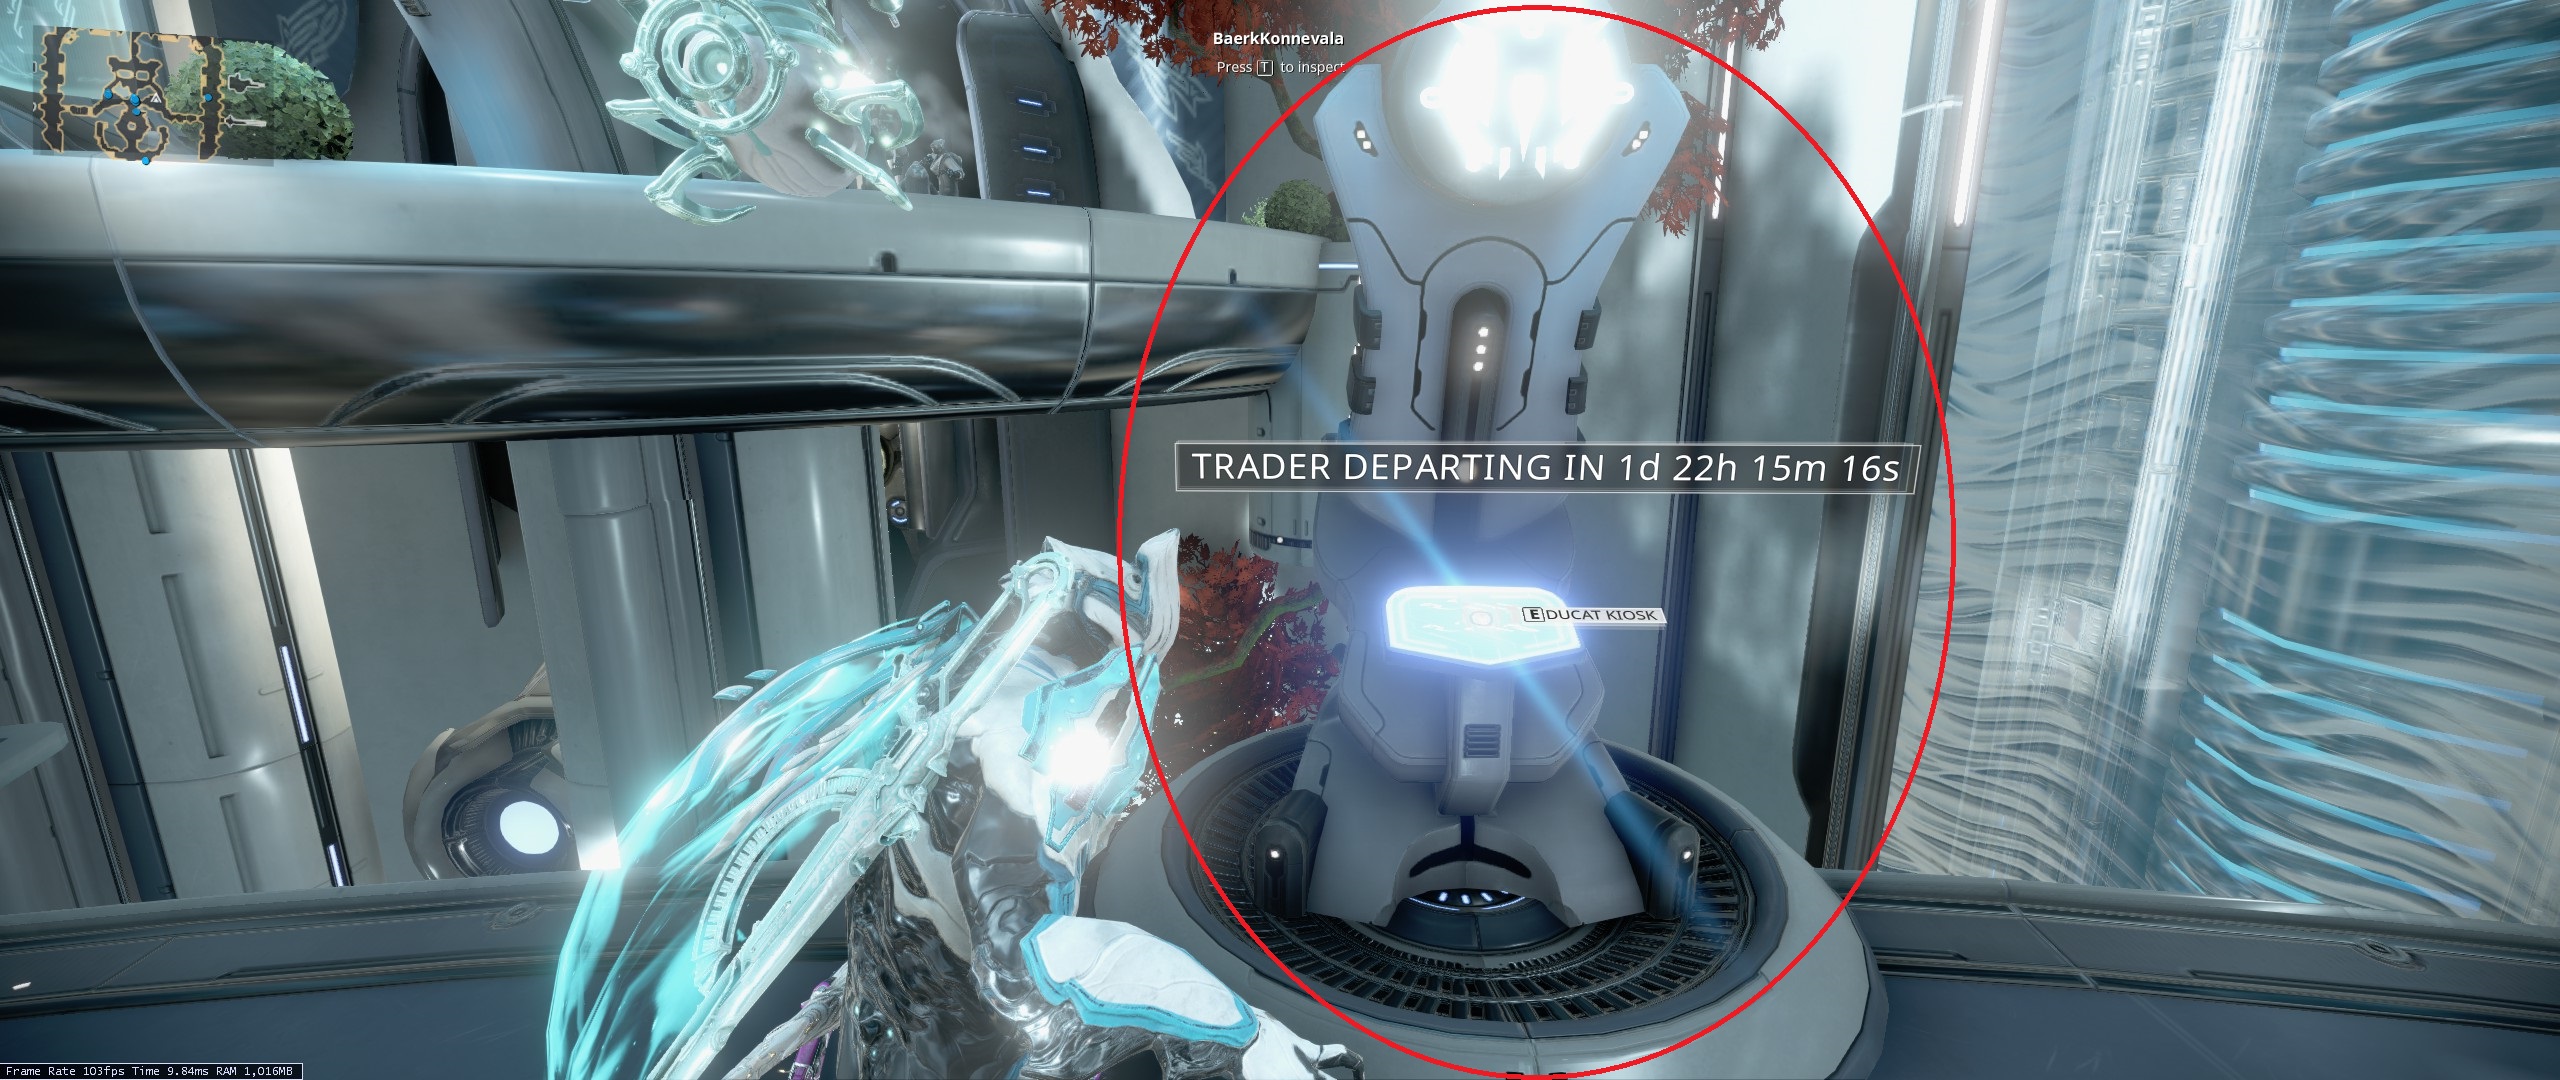
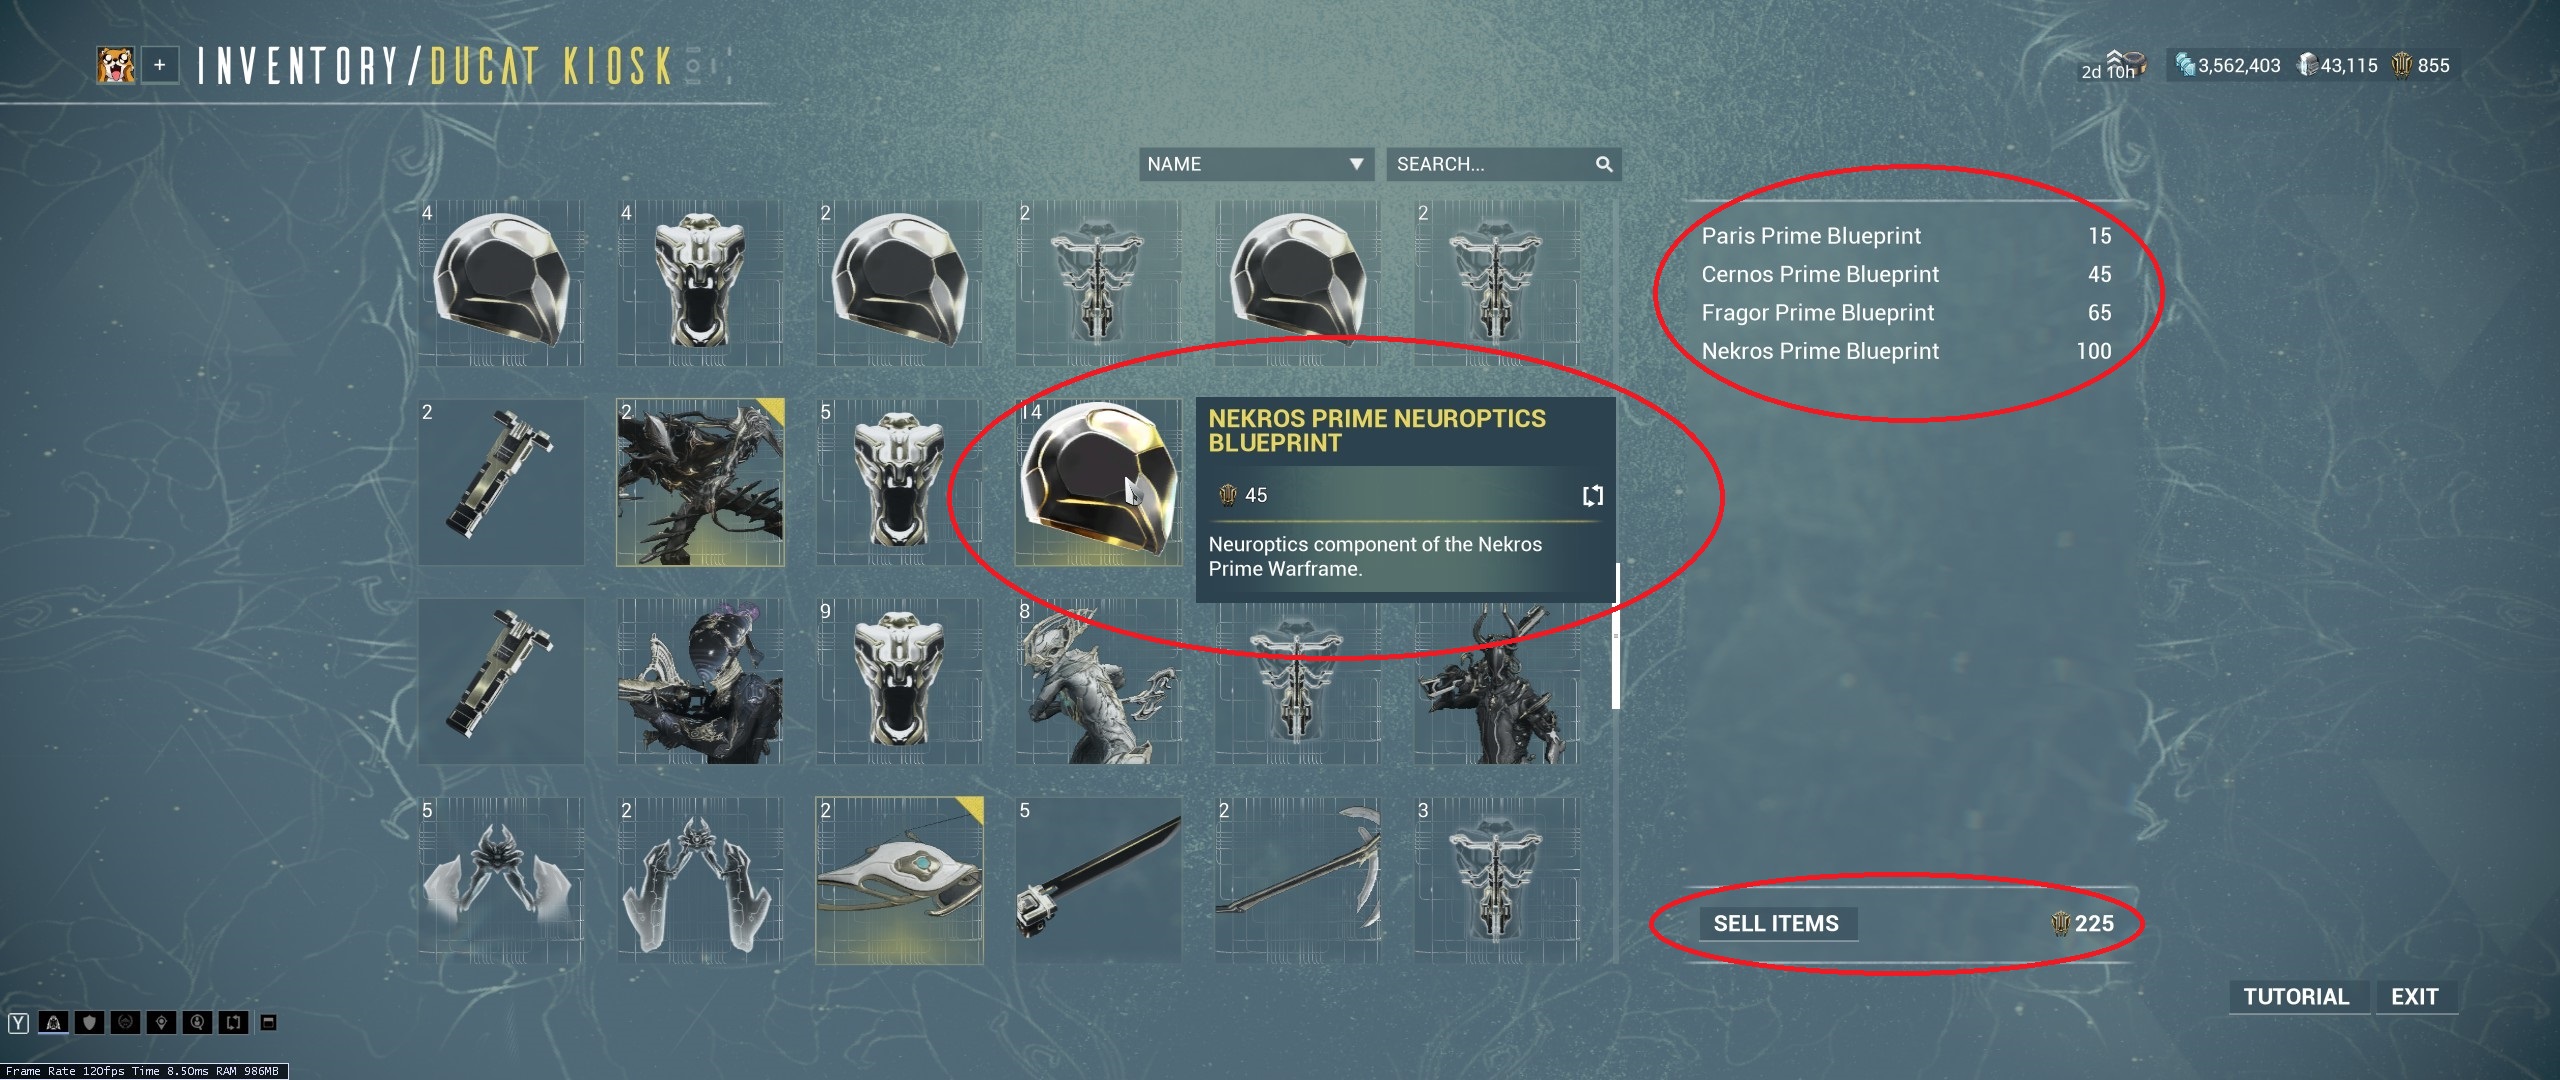 Junk prime parts can be traded for ducats at a relay kiosk at any time. The rarity of the prime part determines its value in ducats. The more rare the prime part, the more ducats it will net. Prime parts should always be checked on the Warframe Market[warframe.market] to see whether they are worth good platinum. If not, then trading them in for ducats is a worthwhile investment. Check the Warframe Market Ducanater[warframe.market] for ducat per platinum rates for each prime part.
How To Locate Baro Ki-Teer
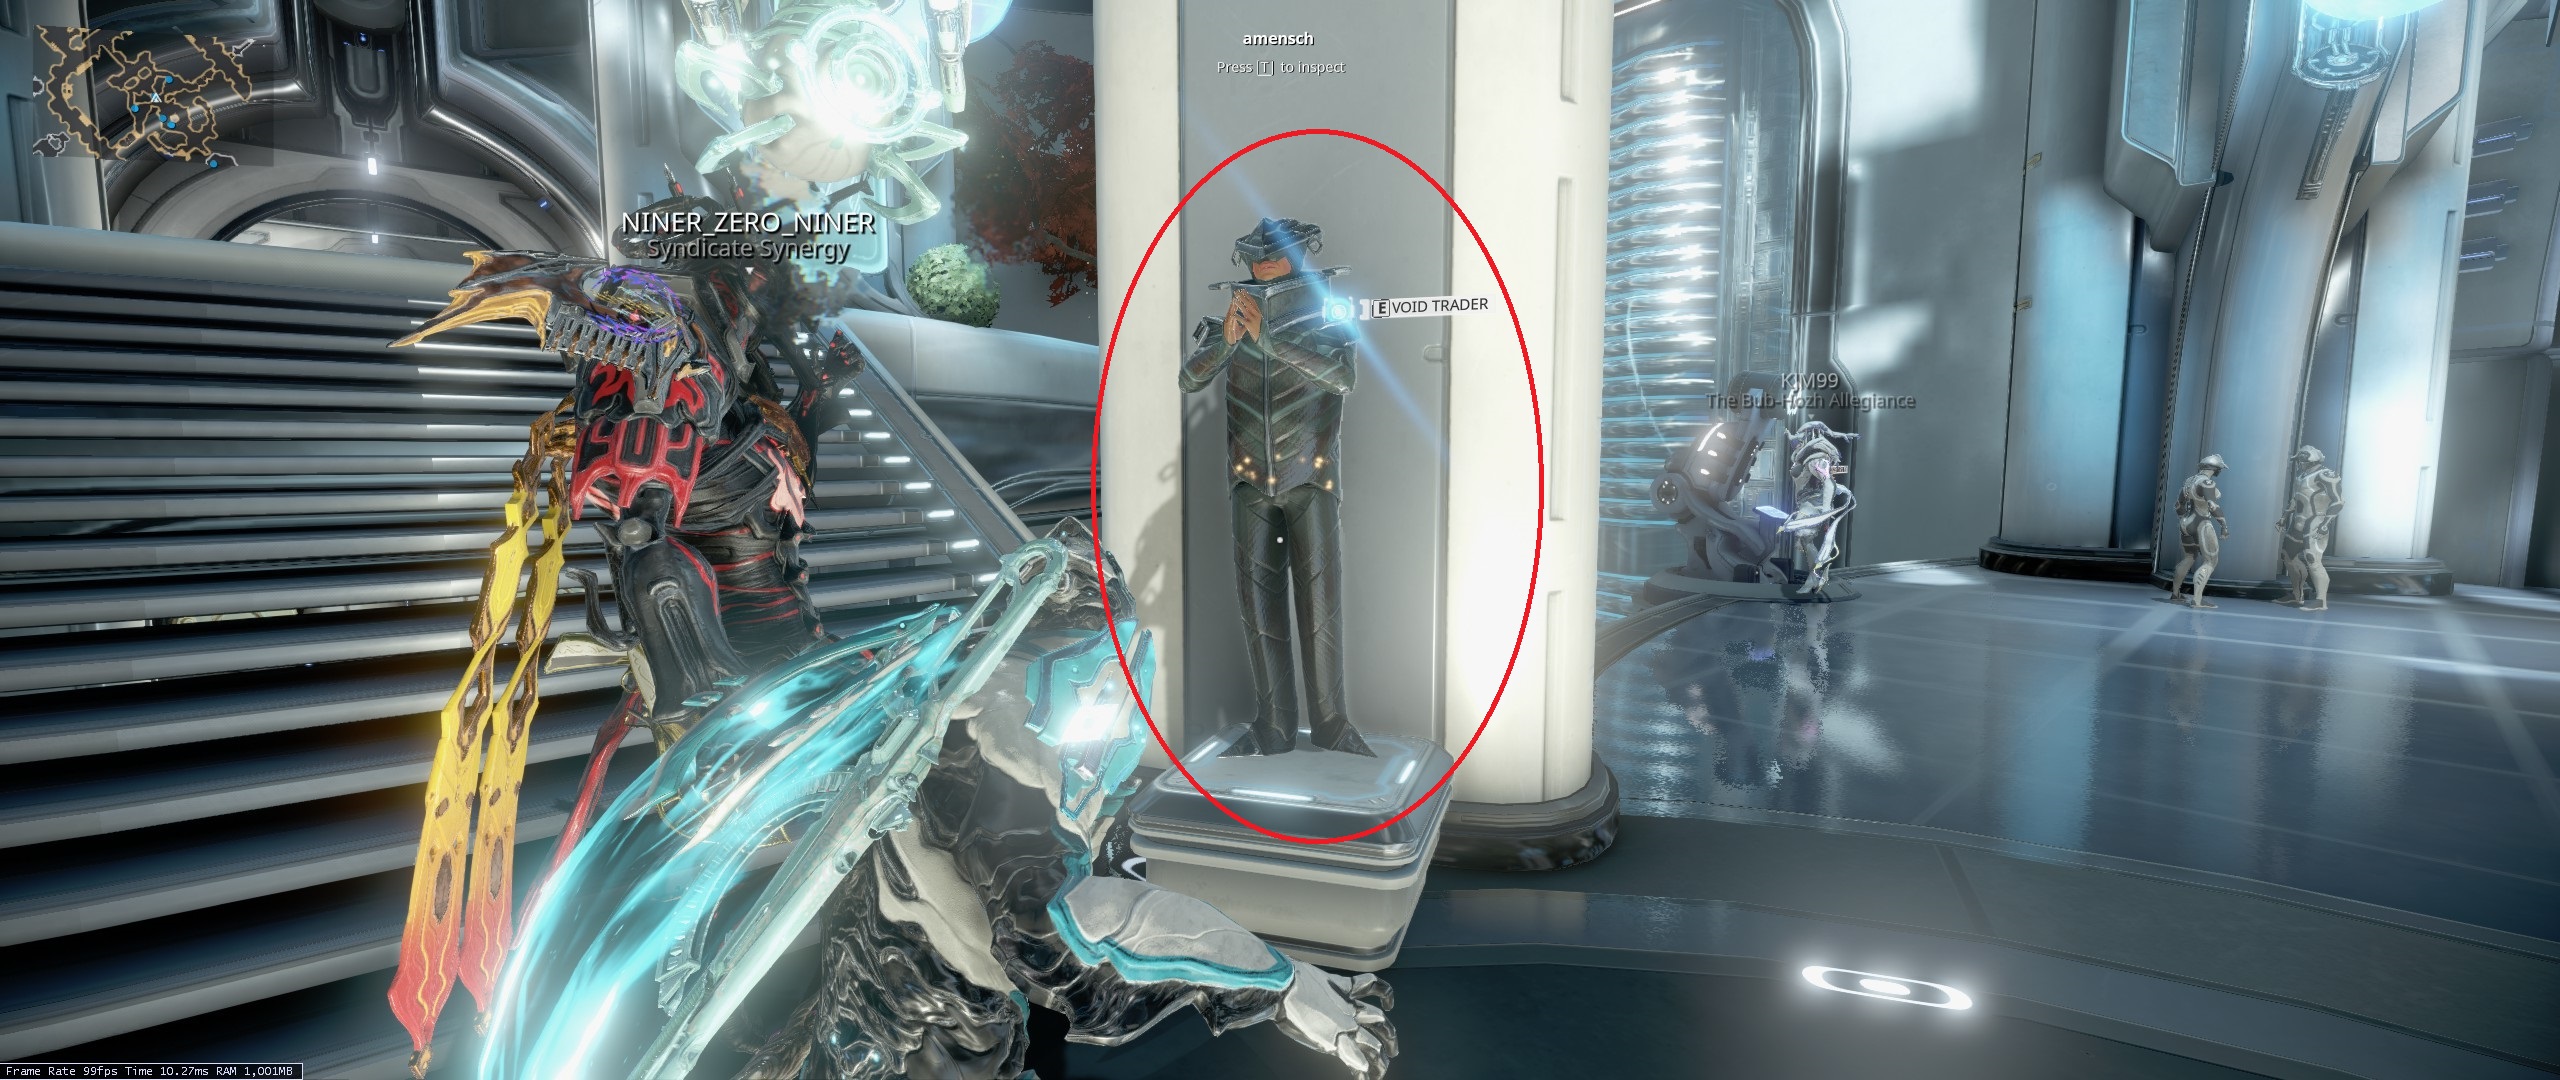 Baro appears every 2 weeks at a random relay and will stay for 48 hours. In Eastern Standard Time, that's Friday 9am to Sunday 9am. When he will arrive and at what relay can be found on the Warframe Hub[hub.warframestat.us]. When he arrives, a message in your inbox (esc-->communications-->inbox) will appear acknowledging his presence and what relay he is located in. He can also be selected in the alert missions tab.
Full list of items for sale and ducat trade value for prime parts
Full list of items for sale and ducat trade value for prime parts are located on the warframe wiki[warframe.wikia.com].Most items recycle approximately every four to five months.
Experience Farming (Pre-Made Teams)
Players don't really run pre-made teams in recruit channel anymore most likely due to power creep and the many ways of leveling. If you were to make a pre-made team, it can consist of:
Common Support Frame: Wisp
- Nuke Frame
- Nuke Frame
- Rhino Roar - buffs ability damage
- Support Frame
Common Support Frame: Wisp
Experience Farming (Public Games)
Experience Farming Hot Spots
*Grineer gives the most experience.- Saturn, Helene (Defense) is great for early game as Saturn will be available the earliest.
- Sedna, Hydron (Defense)
- Eris, Akkad (Defense)
- Sanctuary Onslaught
- Elite Sanctuary Onslaught
- Fissure survivals or defense (gives +25% experience boost after wave 5)
For Experience Farming in Pubs, Defenses Might Be Better Than Survivals
The reason defenses might be better is because defense maps require players to stay in one spot to protect the mission objective. Because of this, players will mostly stay within affinity range (default 50 meters) of each other increasing total affinity gain. In survivals, players are not forced to any one specific area, and it is a rare occurrence for random pubbers to camp in one spot.To make survivals more viable, using gear items Fosfor Blau or Fosfor Rahd increases affinity range to 200 meters and lasts 120 seconds. They can be relaunched as many times as you want during a mission. These can be bought from Nakak in Cetus. However, I do not believe the resource cost to build to be efficient in early game.
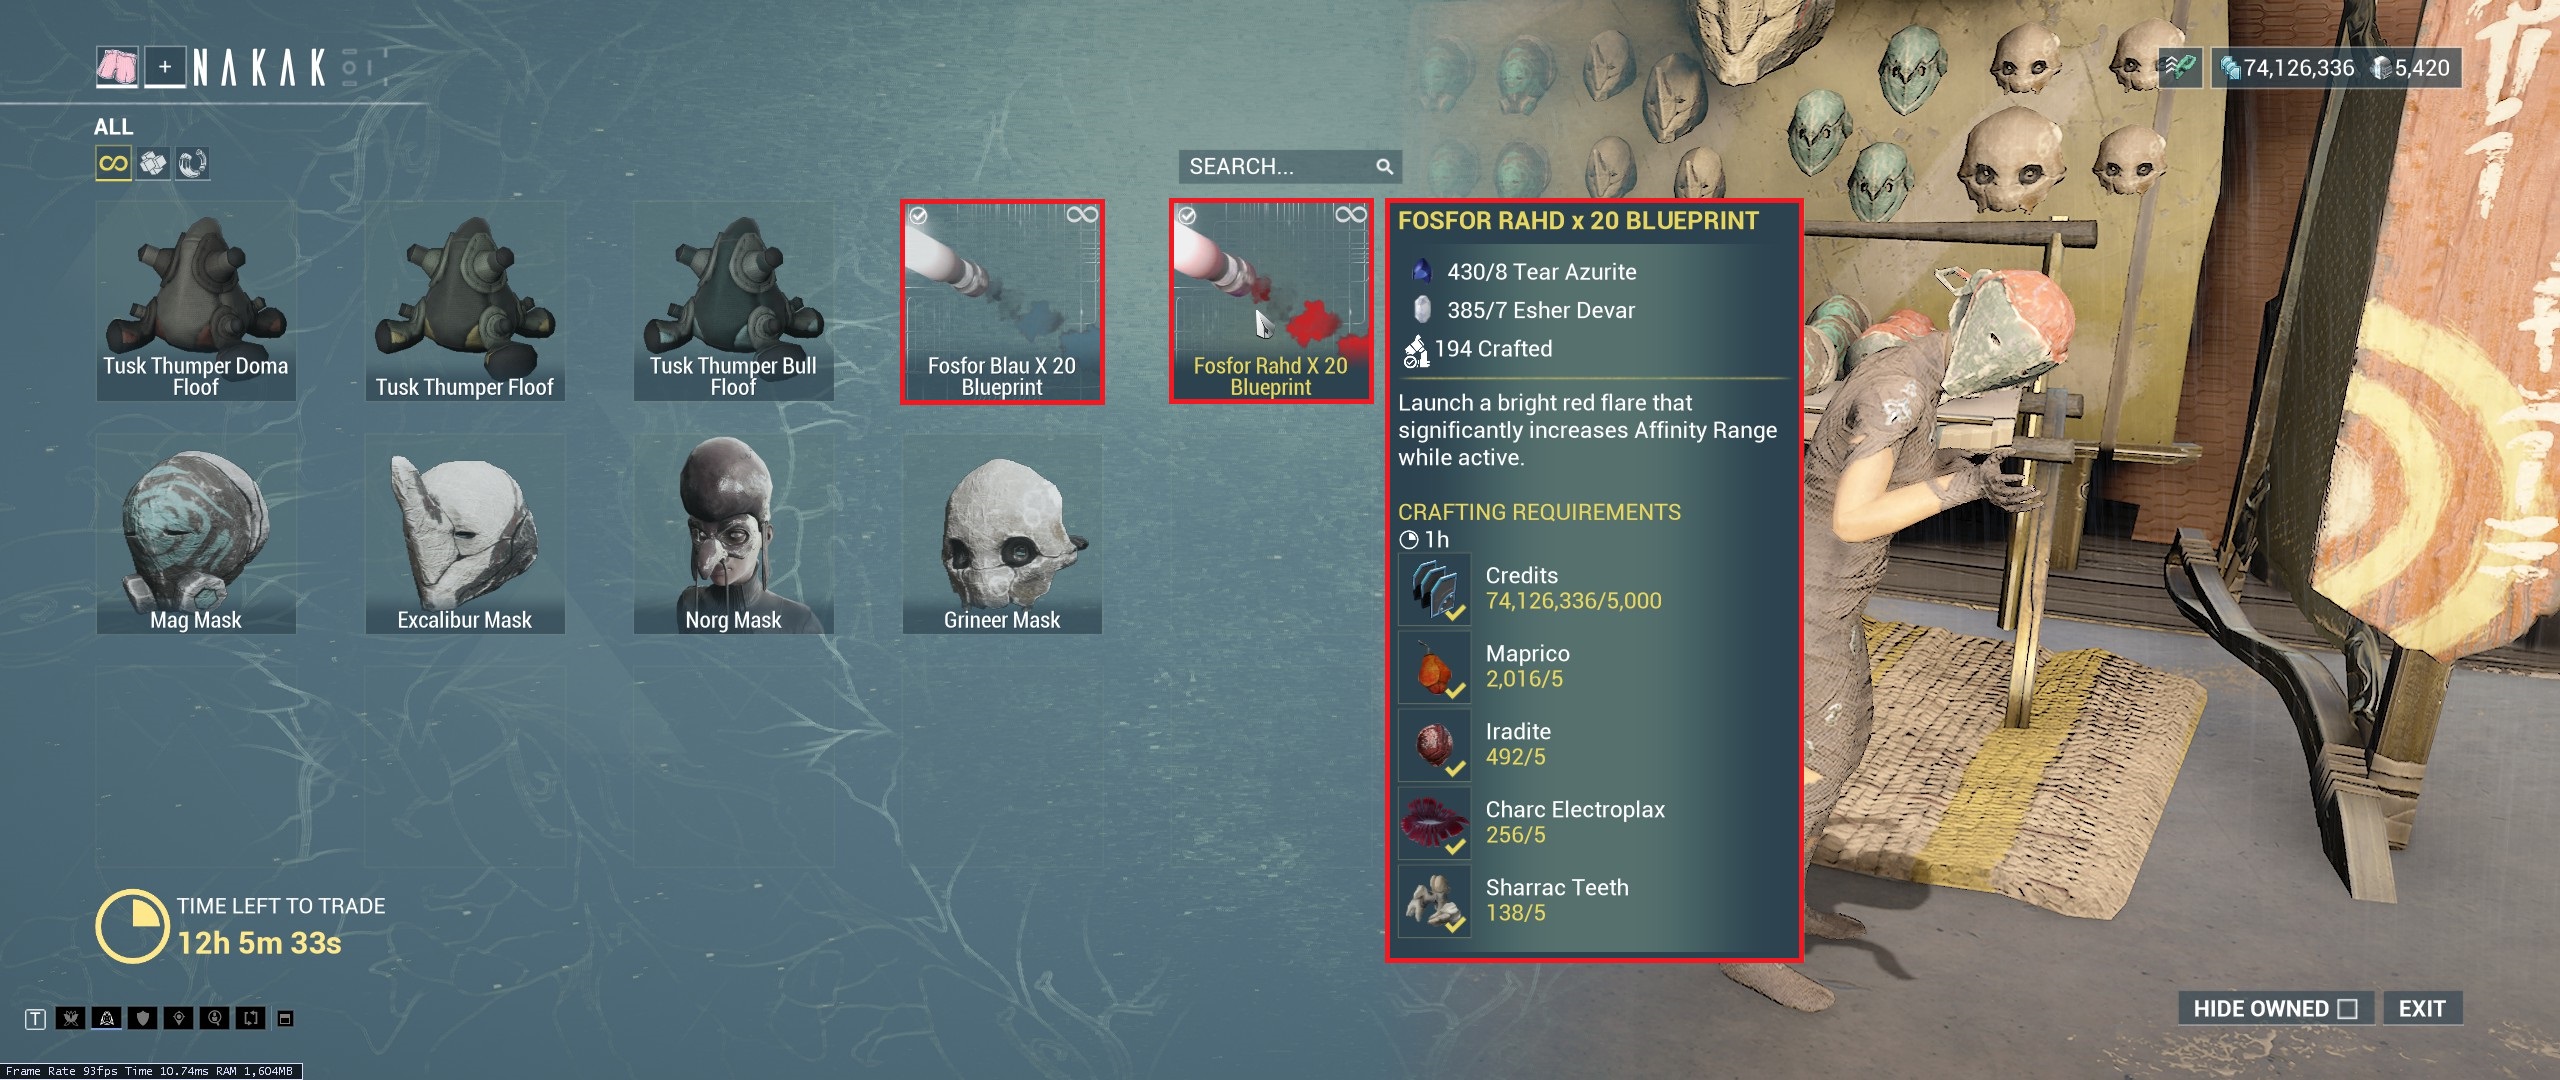
Resource/Item Farming
This Content Is Late Early-Game to Mid-Game
For massive resource farming, players tend to go to survivals on steel path mode.Team Compositions
There are many viable combinations, but here is a common team composition:- Khora - loot buff and dps
- Nekros - loot buff
- Wisp - health regen and +movement speed
- Speed nova - debuffs enemies to take 2x damage and speeds enemies by up to 90%.
Boosters That Increase Drops
- Resource Booster (can be bought from in-game market)
- Resource Drop Chance Booster (synergizes with Resource Booster and can be bought from in-game market)
- Event: 2x resource weekends (happens about twice a year)
- Resource Blessing (only lasts 3 hours and boost resource by 25%, given by players above MR30 in relays)
Boosters That Increase Mod and Endo Drop
- Mod Drop Chance Booster (from sorties and baro ki'teer)
Credit Farming
Effective Credit Farm for Early Game: Dark Sector Missions
Each planet has Dark Sector missions which spawn infested enemies. Examples are Earth, Coba which gives 14k credits and Ceres Gabii which gives 25k credits upon the 5 minute/3 wave mark. Going beyond 5 minute/3 wave mark will not increase credit reward in any significant way. Therefor, it's best to extract at the 5 minute/3 wave mark.Best Credit Farm For Late Early-Game Neptune, Index
Medium risk nets 175k profit, while high risk nets 250k profit. Credit boosters DO apply. The index has pretty tough enemies that can easily kill you. Contenders to Index are the Profit-Taker and 1999 cache runs. However, the Profit-Taker needs to be sped run with Chroma and effective weapon loadout. 1999 cache runs require a speed frame and skill in searching for effective farming. The index will be the simplest method for early game.Do boosters work?
All can be combined for total 5x credit multiplier:- Credit Booster
- Credit Blessing (in relay)
- Event 2x Credit Weekend (happens about twice a year)
Is there a best team composition and strat for index?
DE has spent a lot of time balancing the game so there are many possible combinations to running index. Nowadays most hosts don't ask for specific warframes. However, teams will do better with the following roles:- Point Carrier
- DPS
- Support
Public Credit Farming Hot Spots
- Neptune, Medium to High Index
How To Get Guaranteed Good Map
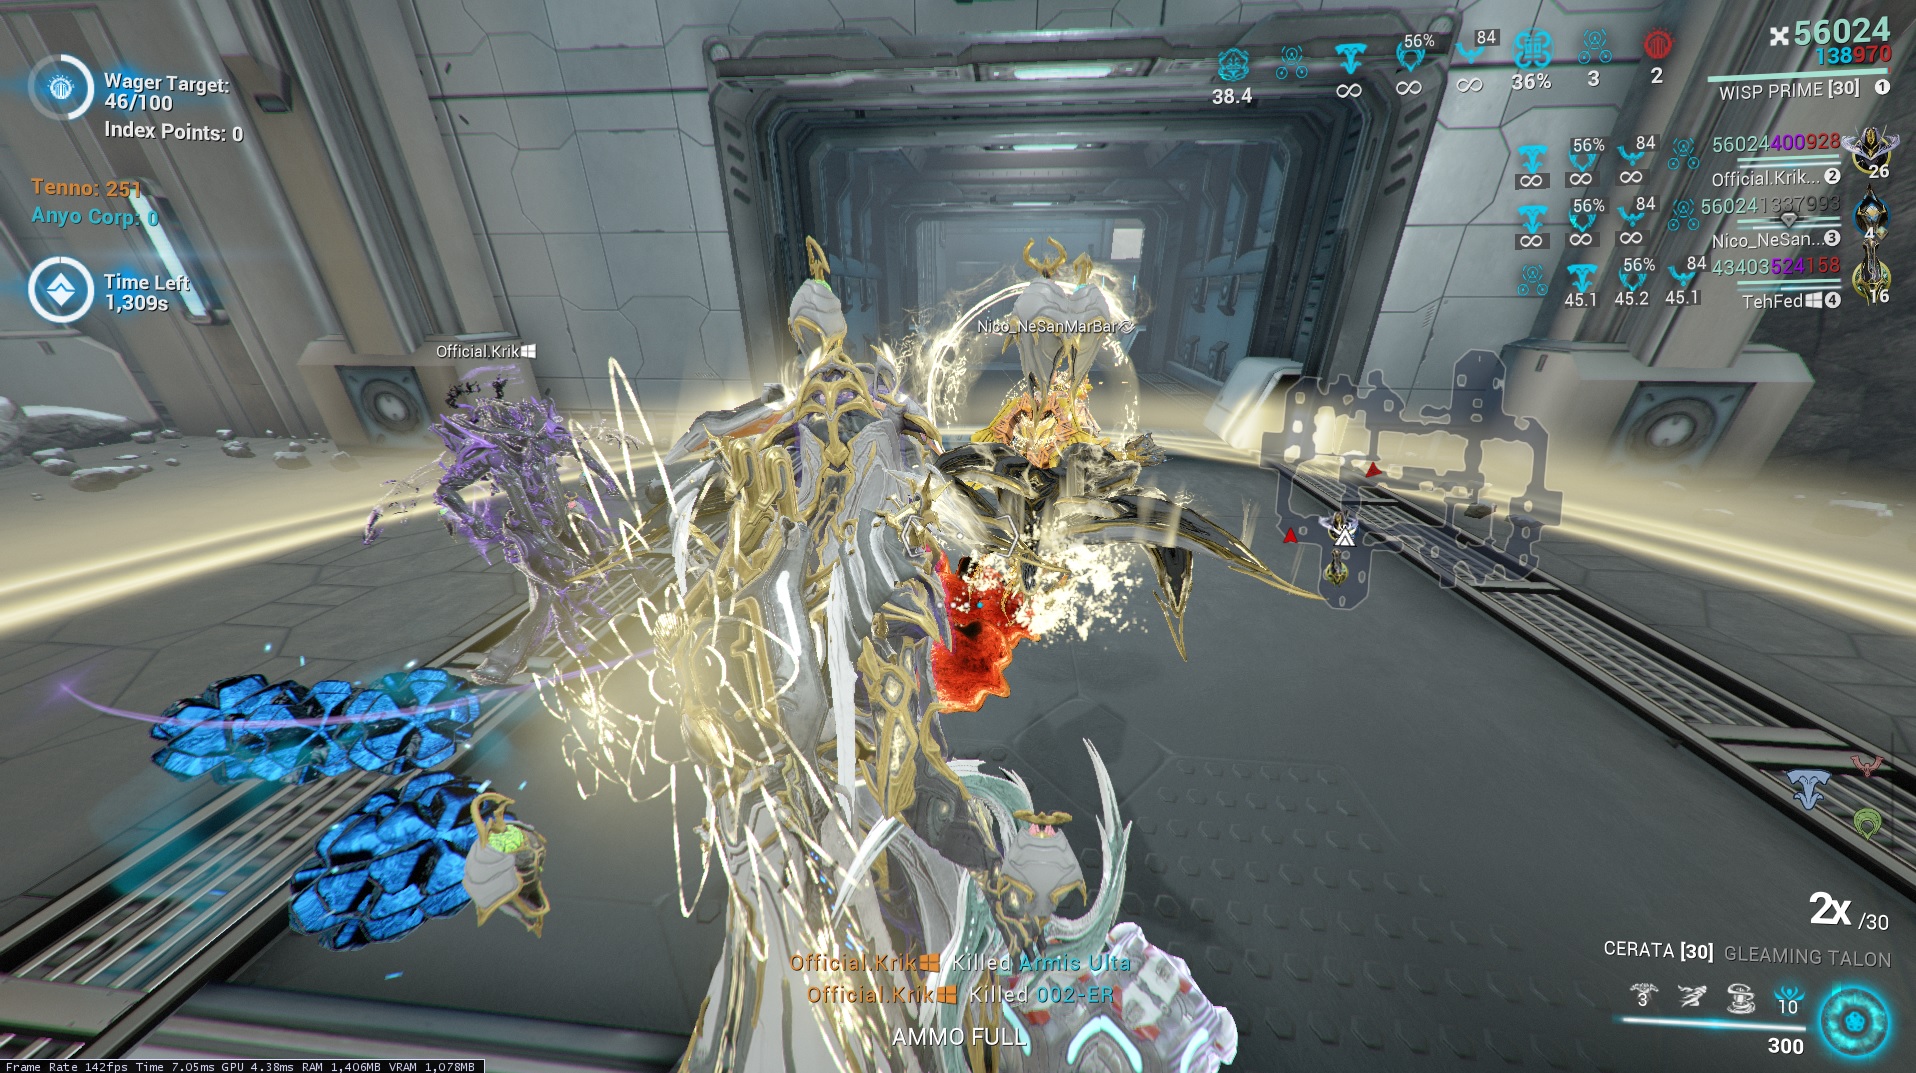 1 map is more open and considered better because of higher kill rate. To get it every time, start from the host's dojo or any relay. Busy Relays are especially good because there is a chance to get credit blessings.
Efficient Point Scoring
Most bonus per point would be 15+8 followed by 20+10. Either are viable.
My Strategy For Index
 I farmed to max credits and in that time did a lot of testing. The following strategy I found to be really fast with about 3-5 minute index rounds.
Time 1
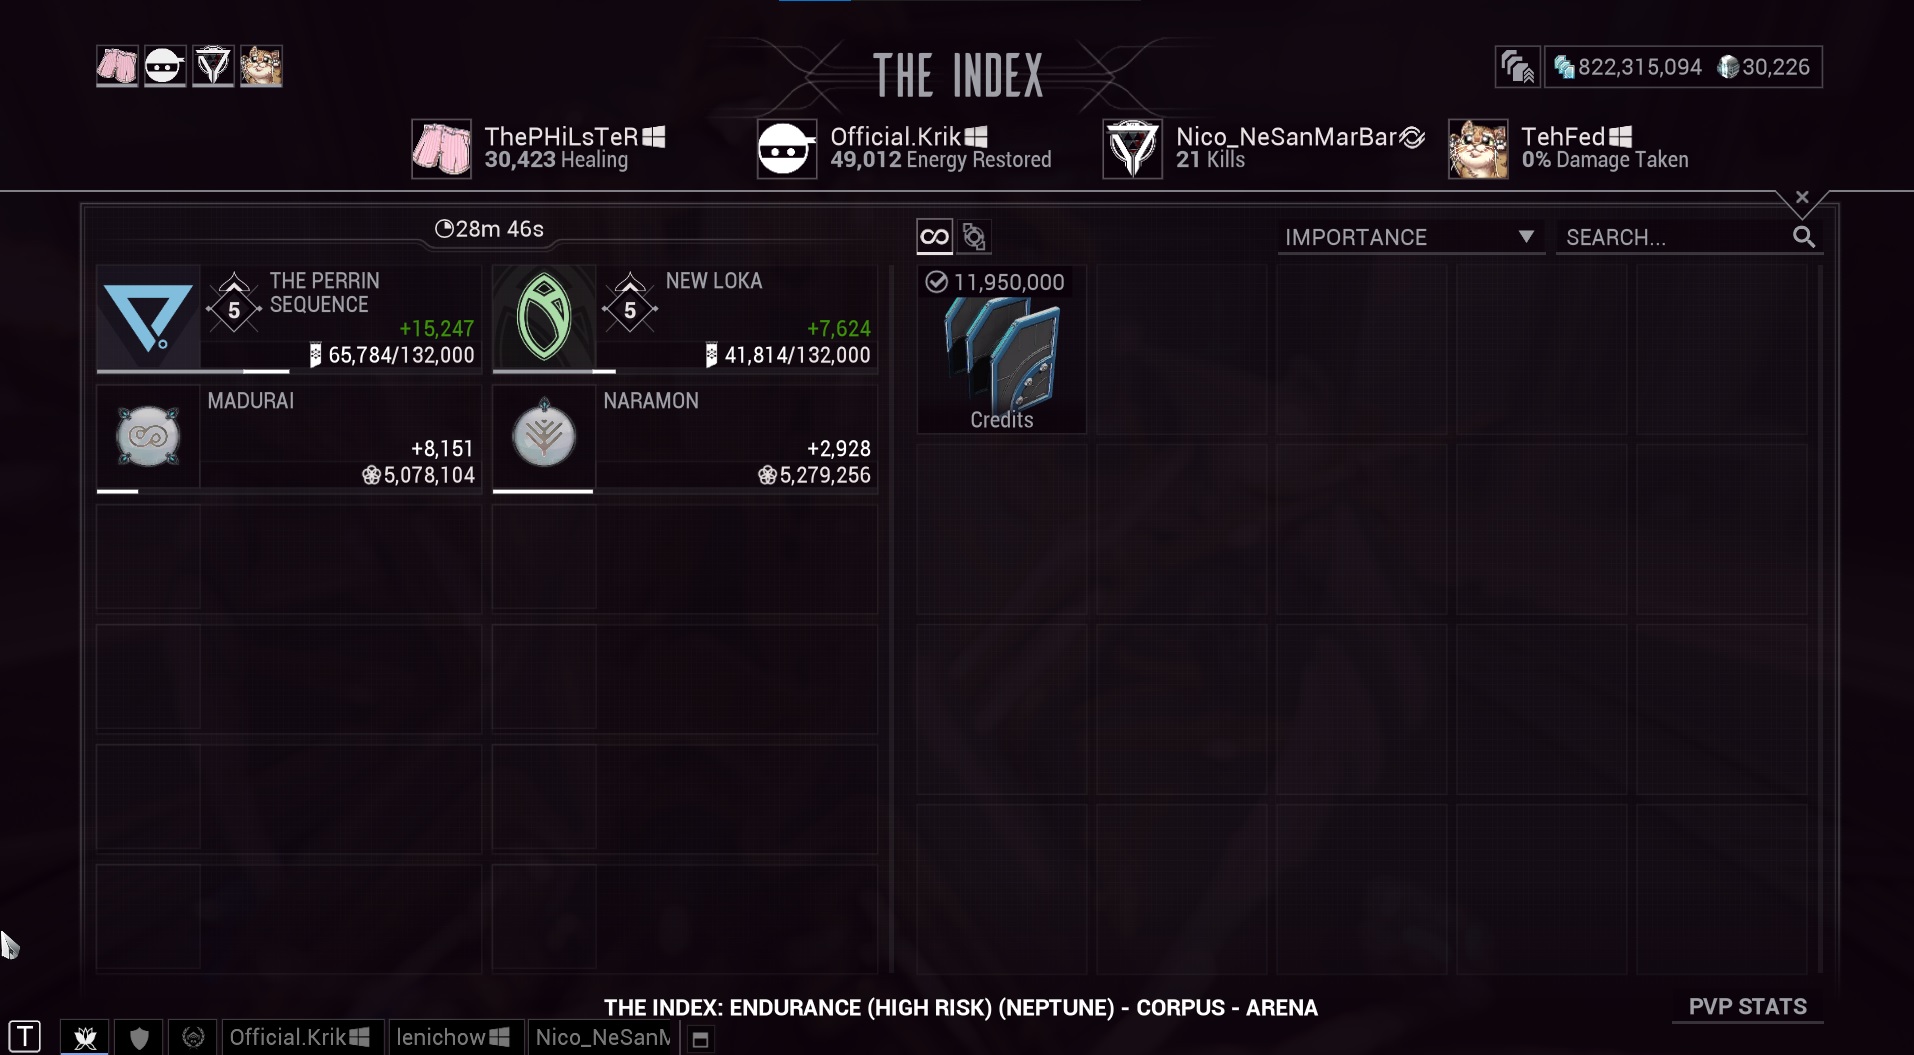 8 rounds with average 3m36s per round
Time 2
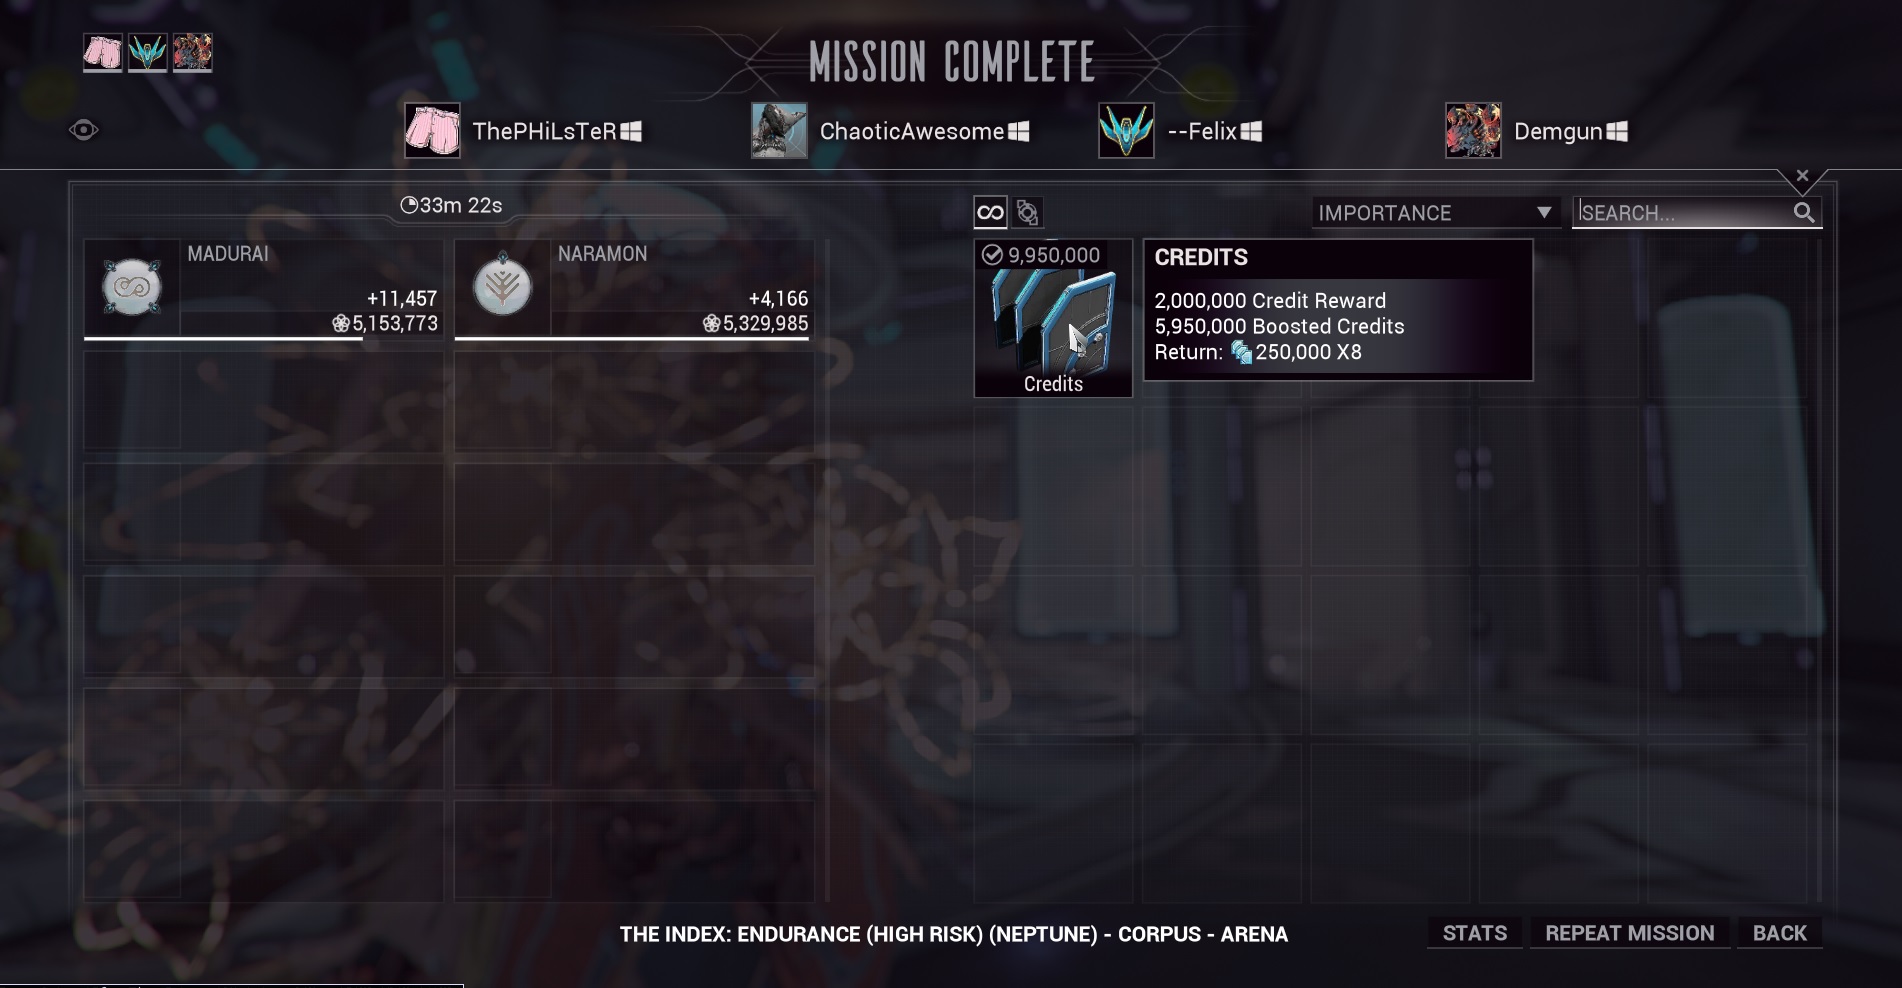 8 rounds with average 4m10s per round
Time 3
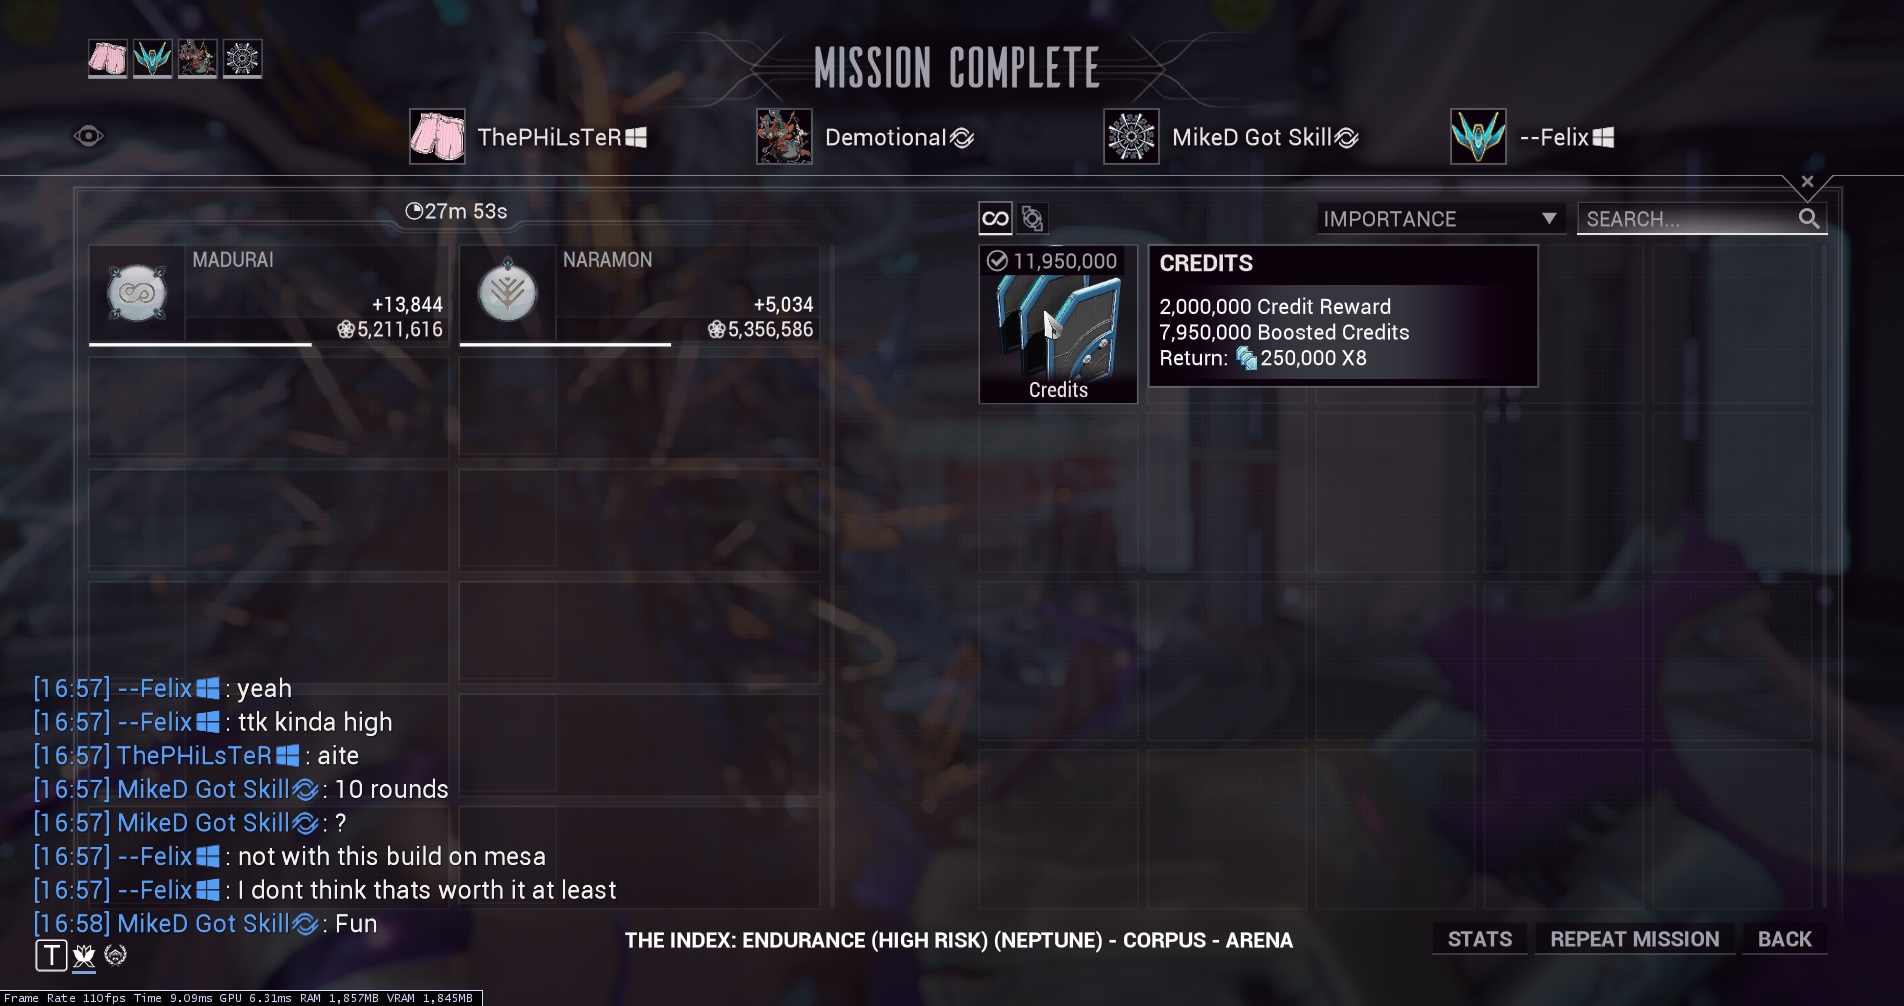 8 rounds with average 3m29s per round
Team Composition:
- Support and Host - Wisp provides +fire rate, +movement speed, energy, and ammo with helminth ability dispensary. Host is responsible for spawn manipulation.
- Support - Dante provides overguard to team and supports in spawn manipulation.
- DPS - Mesa
- Carrier - Titania, Wukong, or Khora
Bottlenecks
I found three main bottlenecks to fast times:- Spawn rate and pattern
- Inefficient point carrying
- DPS/Time to kill
Spawn Manipulation
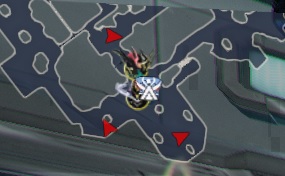
Bad spawn rate and pattern can really damper run times. We can manipulate the spawns so that they have a steady flow and spawn within sight of the Mesa.
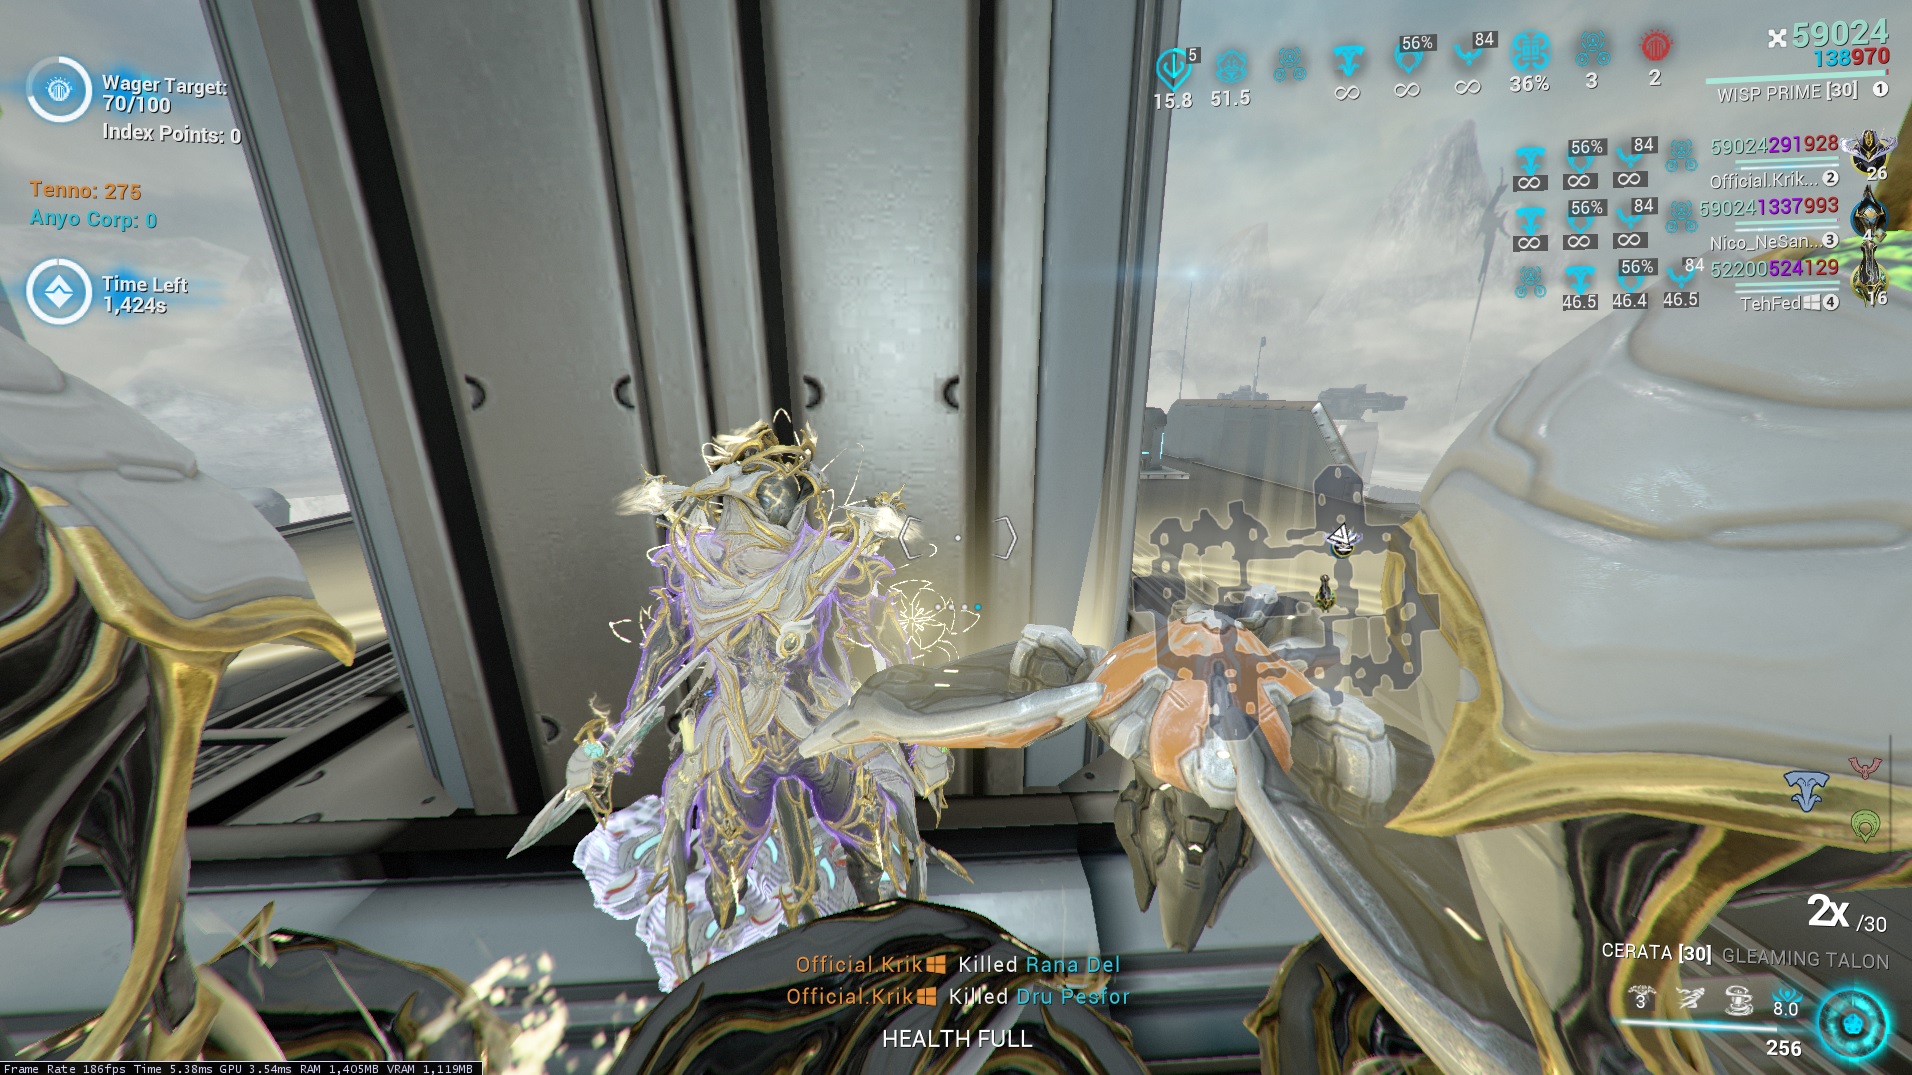
To do this, from spawn, we run to the other side. It is the same side as tennos' bank location. This side has the better spawn pattern. The host/wisp should stay planted against this wall. This specific position creates the spawn pattern in picture above.
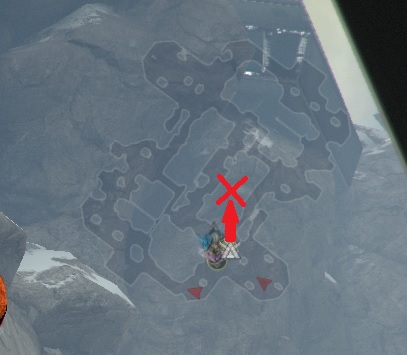
To increase the spawn rate, the Wisp and Dante must look toward the center of the map. DE designed spawn pattern to favor spawning from behind. These spawn locations are perfect for the Mesa.
Most Efficient Point Scoring
- 15+8=23
- 15+8=23
- 15+8=23
- 21+10=31
- Total = 23+23+23+31=100
Wisp Index Build
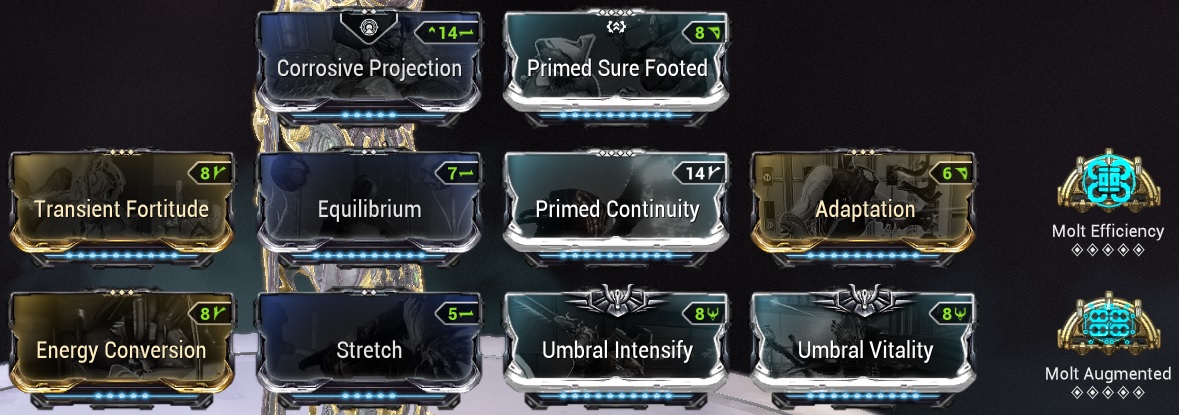 Wisp build doesn't have to be exact. It just need power strength with a little bit of range and duration. Helminth ability is dispensary. Wisp should provide Vitality and Haste Reservoirs with optional Shock. Recommended shards are power strength shards.
Dante Index Build
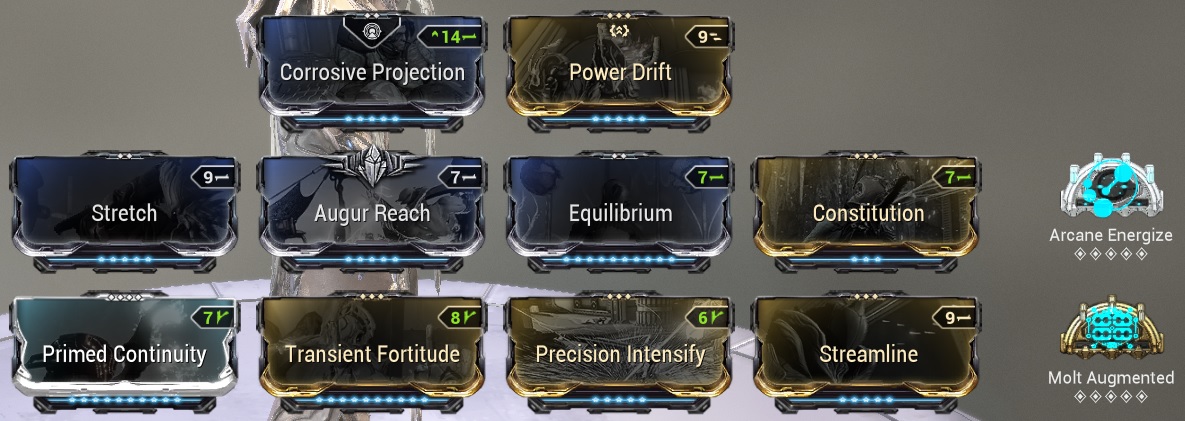 Dante build doesn't have to be exact. It just need power strength, range, and duration. Helminth ability is Roar. Recommended shards are 2 casting speed shards and 3 power strength shards.
Mesa Build
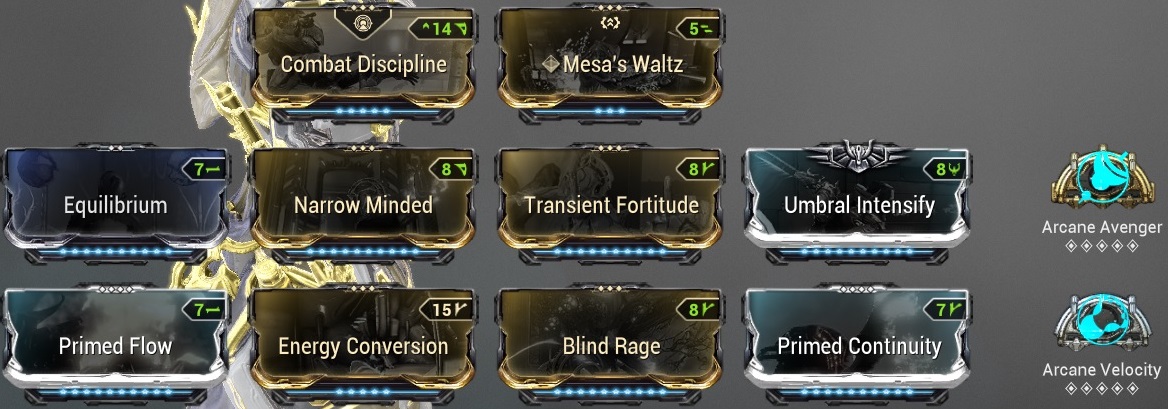 Combat Discipline procs Arcane Avenger. Helminth ability is eclipse. Important: Shards are 2 +corrosive stack emeralds, and 3 critical chance red shards. If you do not have emeralds shards, it is probably best to run radiation on regulators.
Mesa Regulators
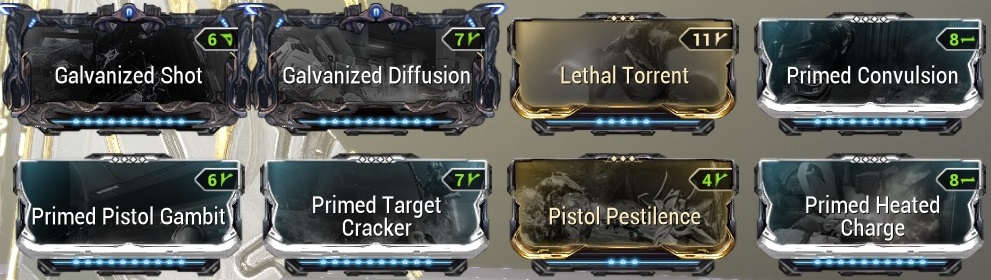 Equip arcane Secondary Merciless.
Titania Index Build
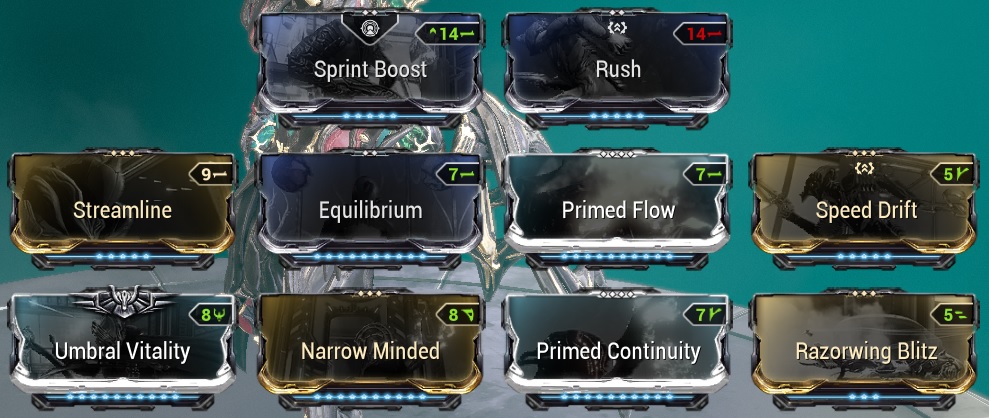 Take off Razorwing Blitz if it's too fast. If you bump into things a lot, you'll want to hold 1 every so often. I suggest to invert tap in settings. Put on Umbral Vitality or Vitality according to your polarity.
Wukong Index Build
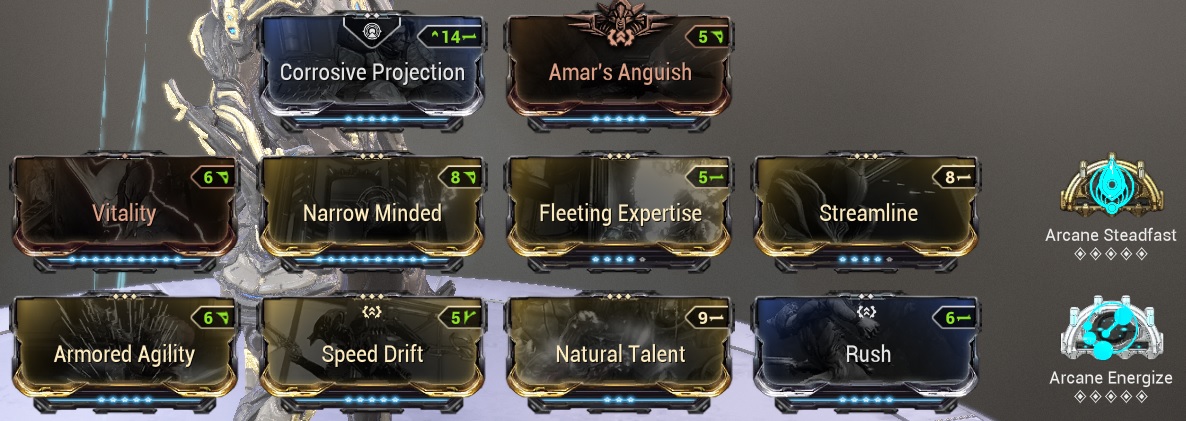 +Sprint mods are optional. I recommend 2 regular +corrosive stack emerald shards, and 3 casting speed shards. Wukong's main role here is carrier, but his twin can assist with kills. I found Tenet Cycron to be a great weapon for Wukong Twin. It armor strips very quickly and has infinite ammo.
Tenet Cycron Build for Wukong Twin
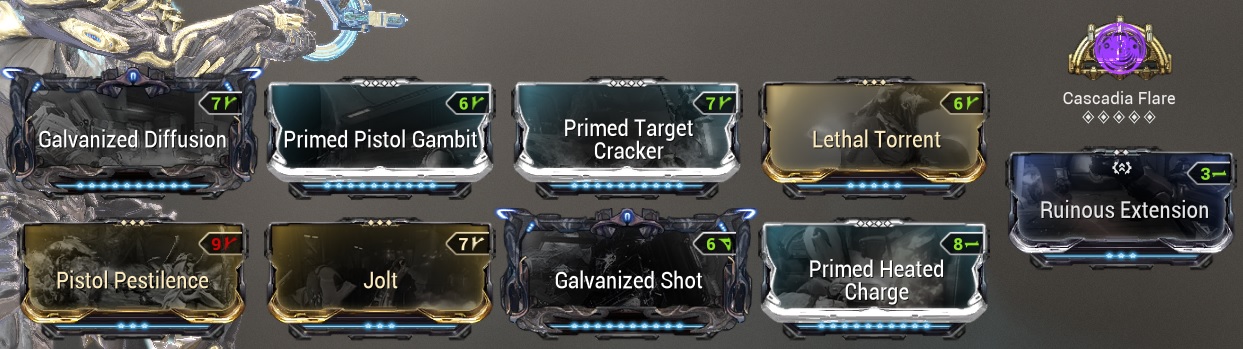
Khora Index Build
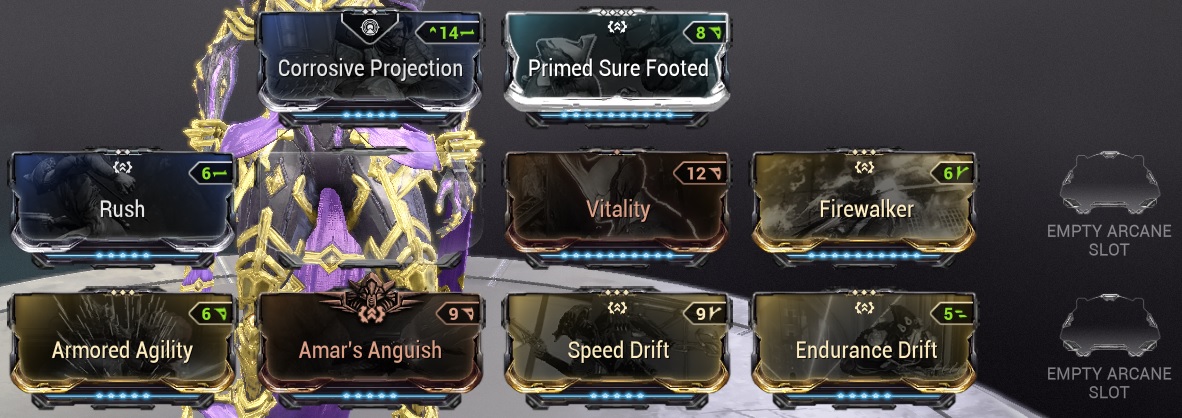 Khora's purpose is only to carry so I've installed optional +Sprint and +Parkour mods.
Praedos for sprint speed is optional.
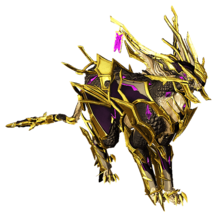
This is the most important mod for this build. Equip Fetch on Venari.
Endo Farming
The game categorizes Endo as mods, so in certain cases, Mod Drop Chance boosters would be beneficial.
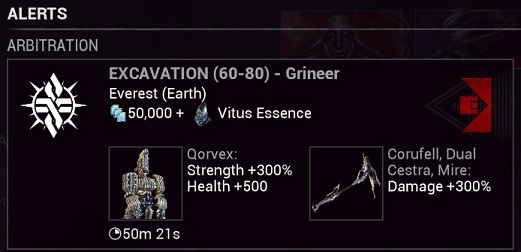
Unlocked after completing all missions on all planets.
Becareful as you only get 1 life in this mode.
The endo are end of mission rewards, so Mod Drop Chance Boosters DO NOT apply.
Teams mostly consist of:
There's a really great discord group that runs and teaches META strategies. Click here[discord.gg].
Arbitrations
Unlocked after completing all missions on all planets.
Becareful as you only get 1 life in this mode.
The endo are end of mission rewards, so Mod Drop Chance Boosters DO NOT apply.
Deimos Bounties
End-of-stage rewards are frequently endo. Mod Drop Chance Boosters DO NOT apply.Arena Endo Farming with Pre-made Team
Players run this often in recruit channel. Arena Endo Farming is very effective and is done at Sedna, Vodyanoi. The enemies there are level 85 and to be effective there needs to be a good amount of DPS. The enemies are also dangerous and can easily kill you.Teams mostly consist of:
- Khora
- Nidus for gathering
- Nekros for +loot
- 2nd Nekros for +loot
There's a really great discord group that runs and teaches META strategies. Click here[discord.gg].
😎😎😎LATE EARLY-GAME😎😎😎
Syndicates
Syndicates aren't immediately important, but can be started late early game.
Syndicate Rewards
Syndicates offer various items: augment mods, weapons, archwing weapon parts, relic packs, spectre blueprints, cosmetics, and captura scenes.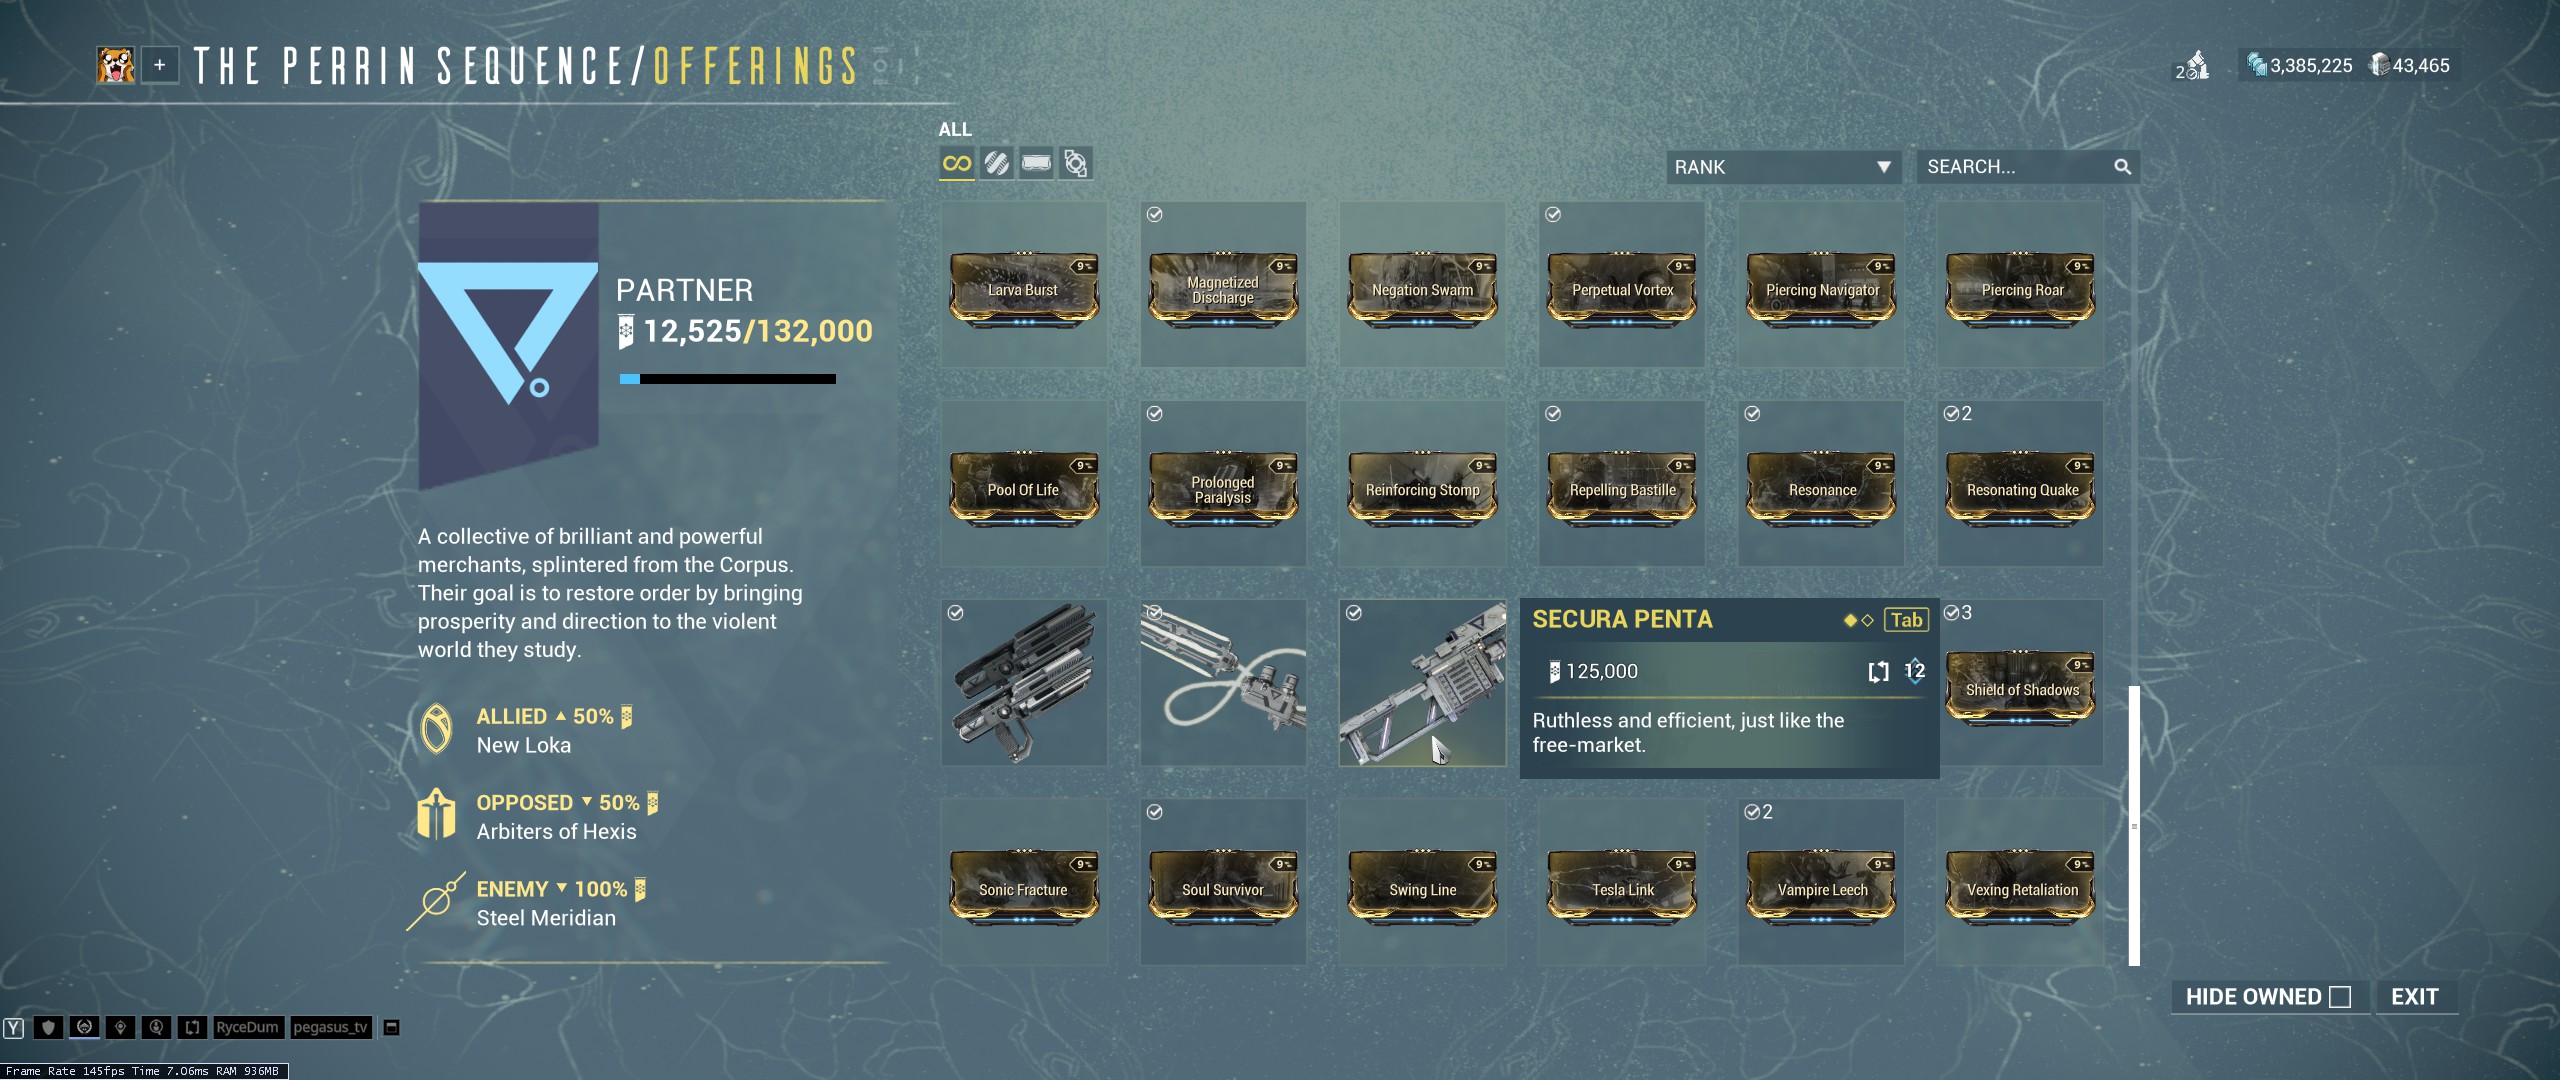
How To Access Syndicate
To access syndicates: esc-->profile-->syndicates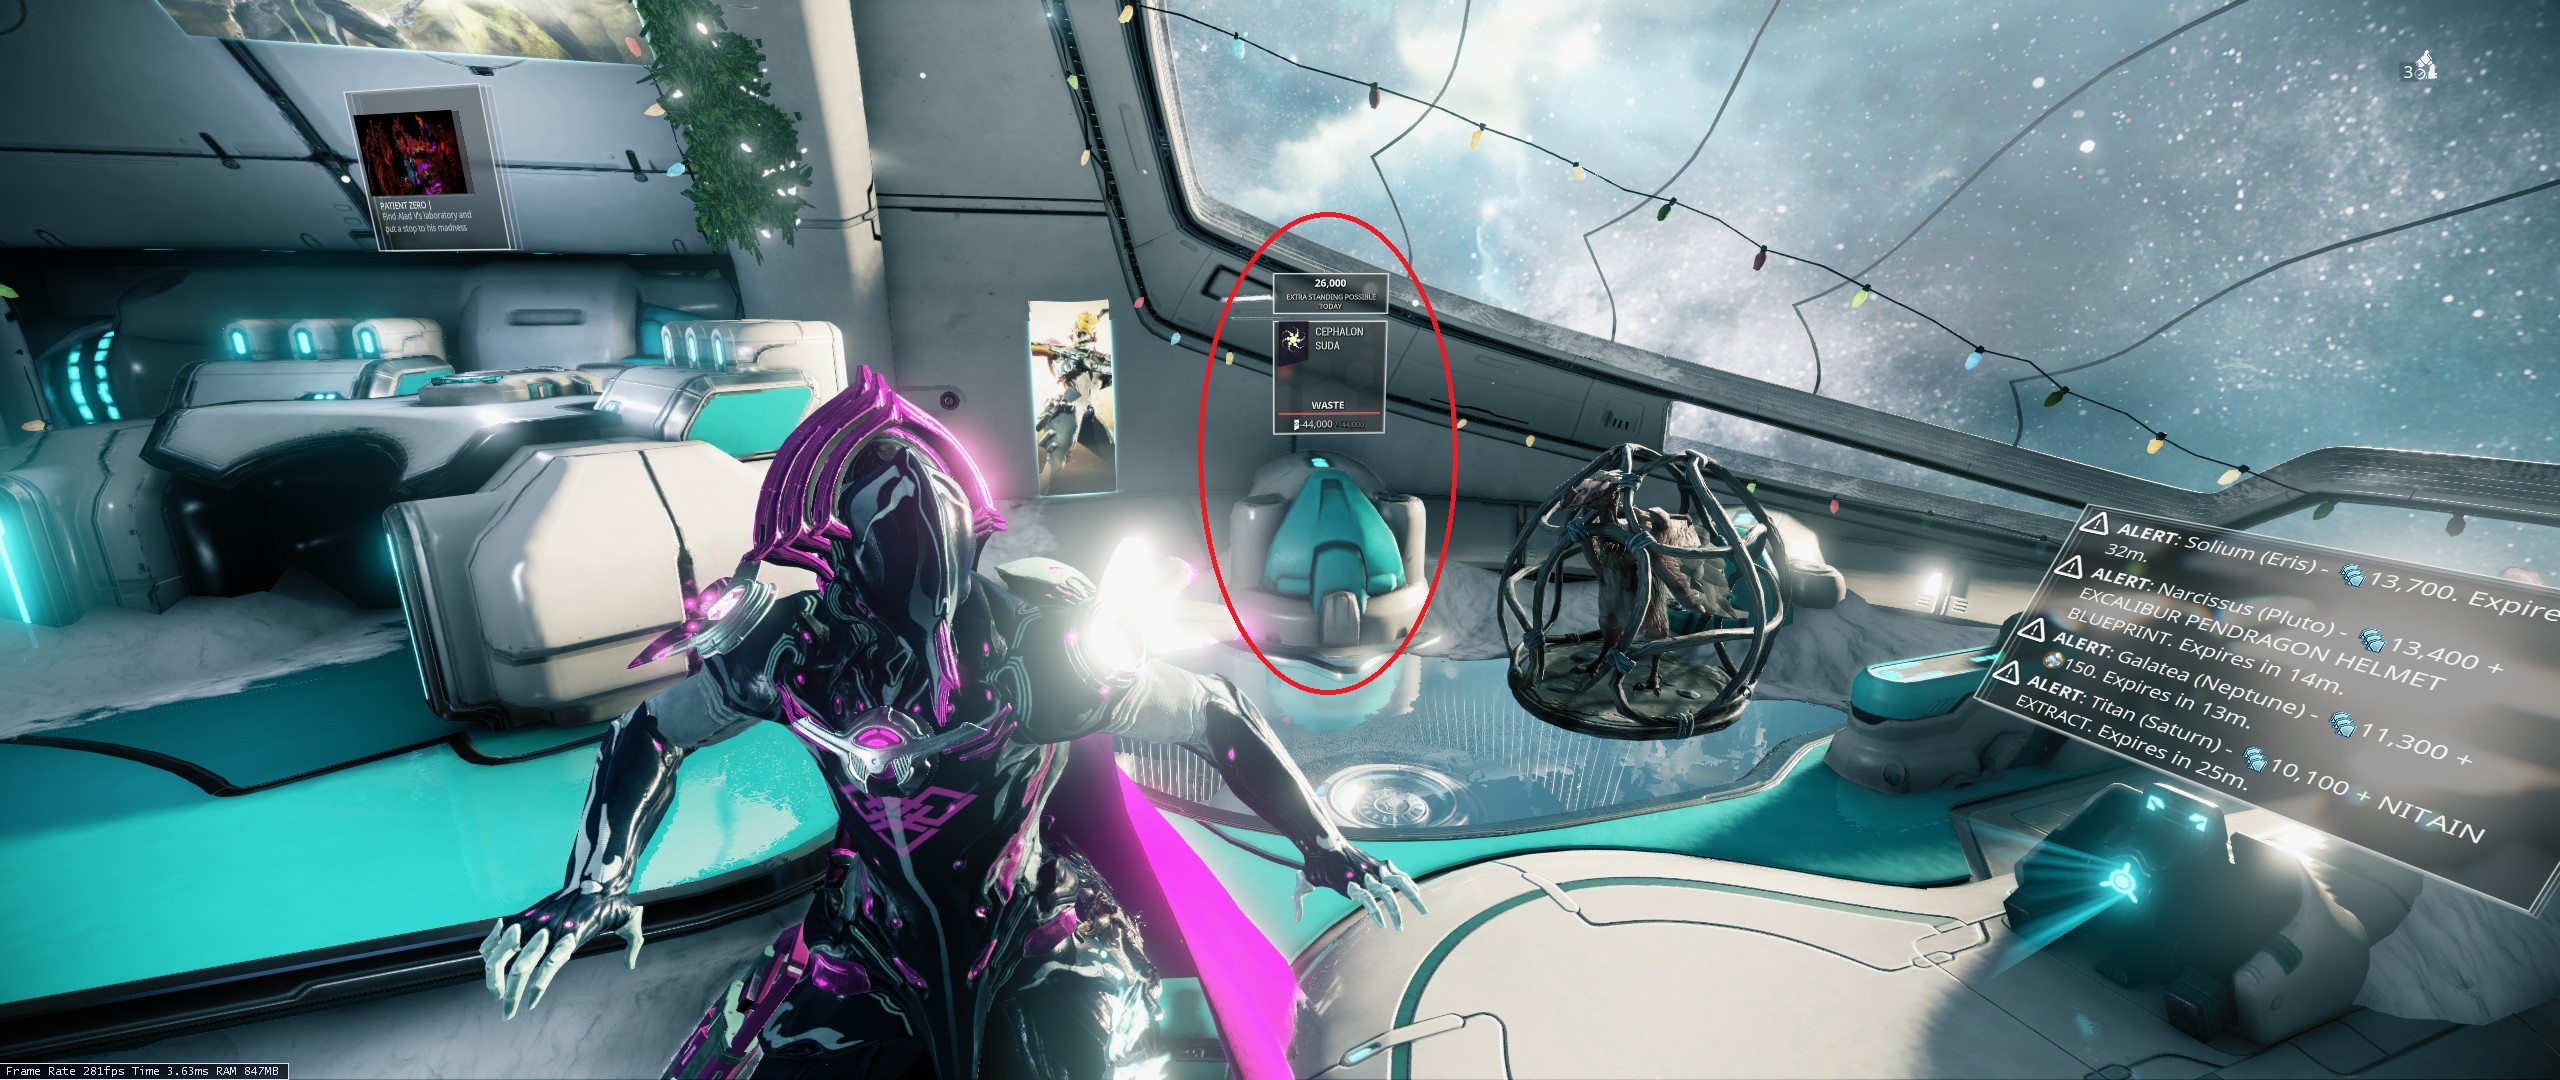
Syndicate Selection Screen
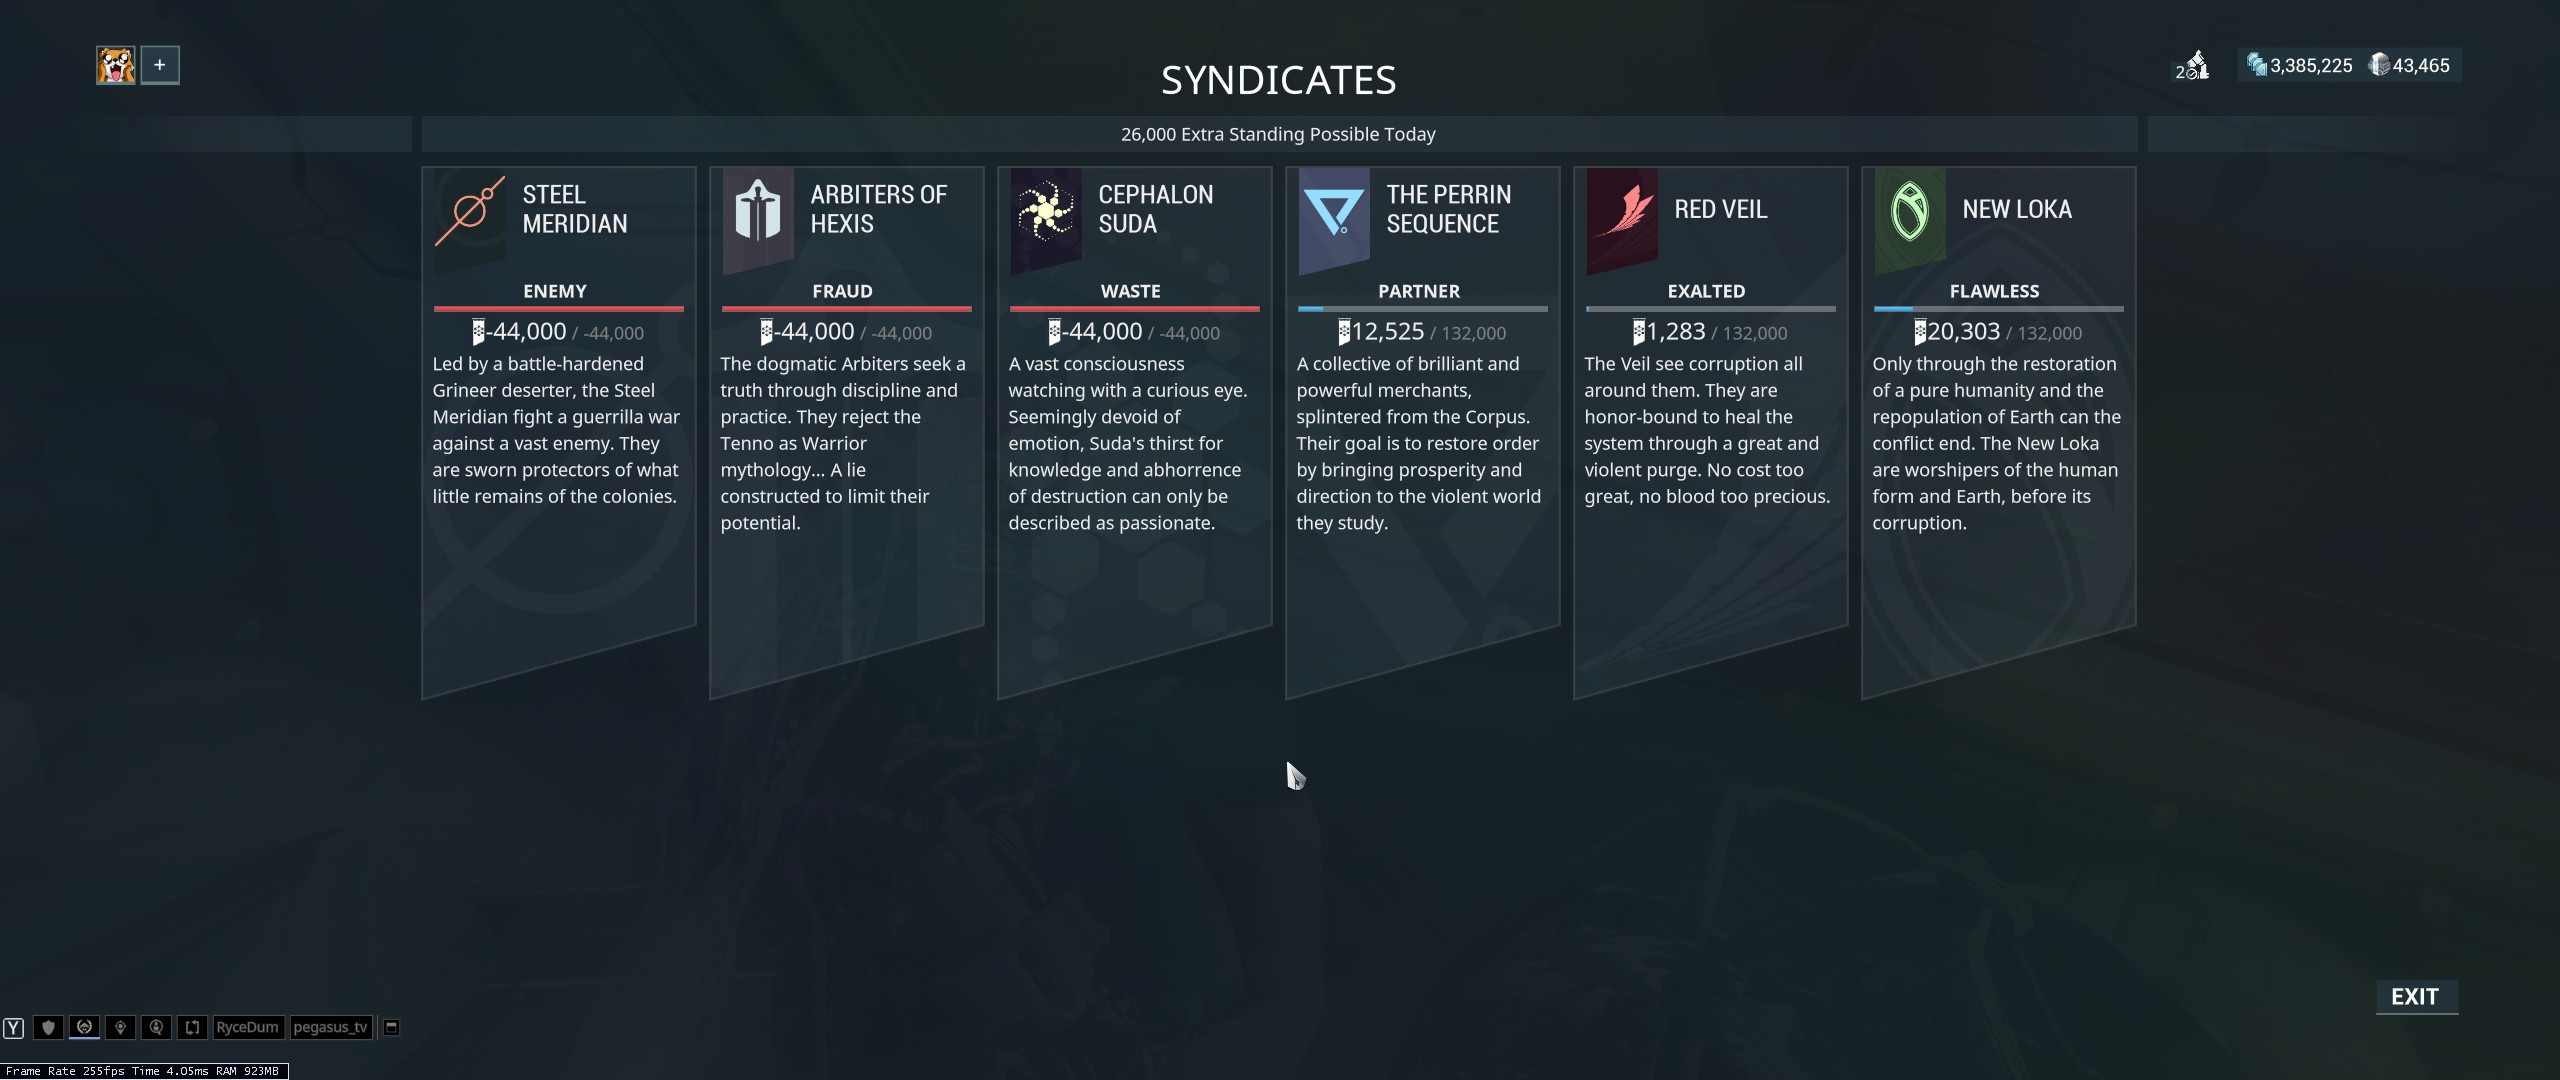
Which Syndicate To pick
You can check rewards for each one and pick one with augment mods for warframes you plan on using and weapons that interest you. In the end it doesn't matter that much because you can always trade with other players who've chosen opposite Syndicates. Alternatively, you can sell extra Syndicate rewards for platinum and use that platinum to buy items from other Syndicates from other players. The only things that can't be traded are Large Energy/Health/Shield/Ammo restores, Specters, Cosmetics, and Sigils. Some specters can be very handy such as the Ancient Protector Specter (New Loka) which gives anyone within 10 meters of it 90% damage reduction.What Syndicate Points Are For
They are needed to increase Syndicate Ranking, up to a Maximum of 5 ranks. Each rank unlocks more items offered by the Syndicate. Various items cost differing amounts of syndicate points.How To Get Syndicate Points
Gaining affinity will award syndicate points toward a daily cap. Syndicate missions and syndicate medallions also award syndicate points. Medallions can be found randomly all over the map in syndicate missions and are sometimes sneakily hidden. How To Find Medallions
 The little squares, on the map UI, represent containers, Cephalon Fragments, Soma Fragments, and Medallions. What most people do is destroy them all to eliminate all possibilities, until a square that represents a Medallion is found. To destroy cannisters quickly, it is recommended to use an area damage weapon or box breaker builds for Limbo or Xaku.
Mods That Help in Finding Medallions
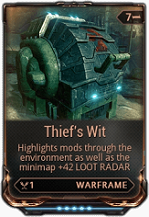
These mods help you see the squares on the map farther, with all three totaling +102 meters. These mods are also useful in farming Cephalon, Soma, and Warframe Fighter Fragments.
What a Medallion Looks Like
 Each Syndicate has a different looking Medallion, but they are all the same size like the one in the picture.
How To Claim Medallions for Points
 To claim syndicate points from medallions, go to your syndicate's designated room located on the outer perimeter of the relays on the first floor.
Cephalon Simaris
Requirement: Completion of Quest "The New Strange"

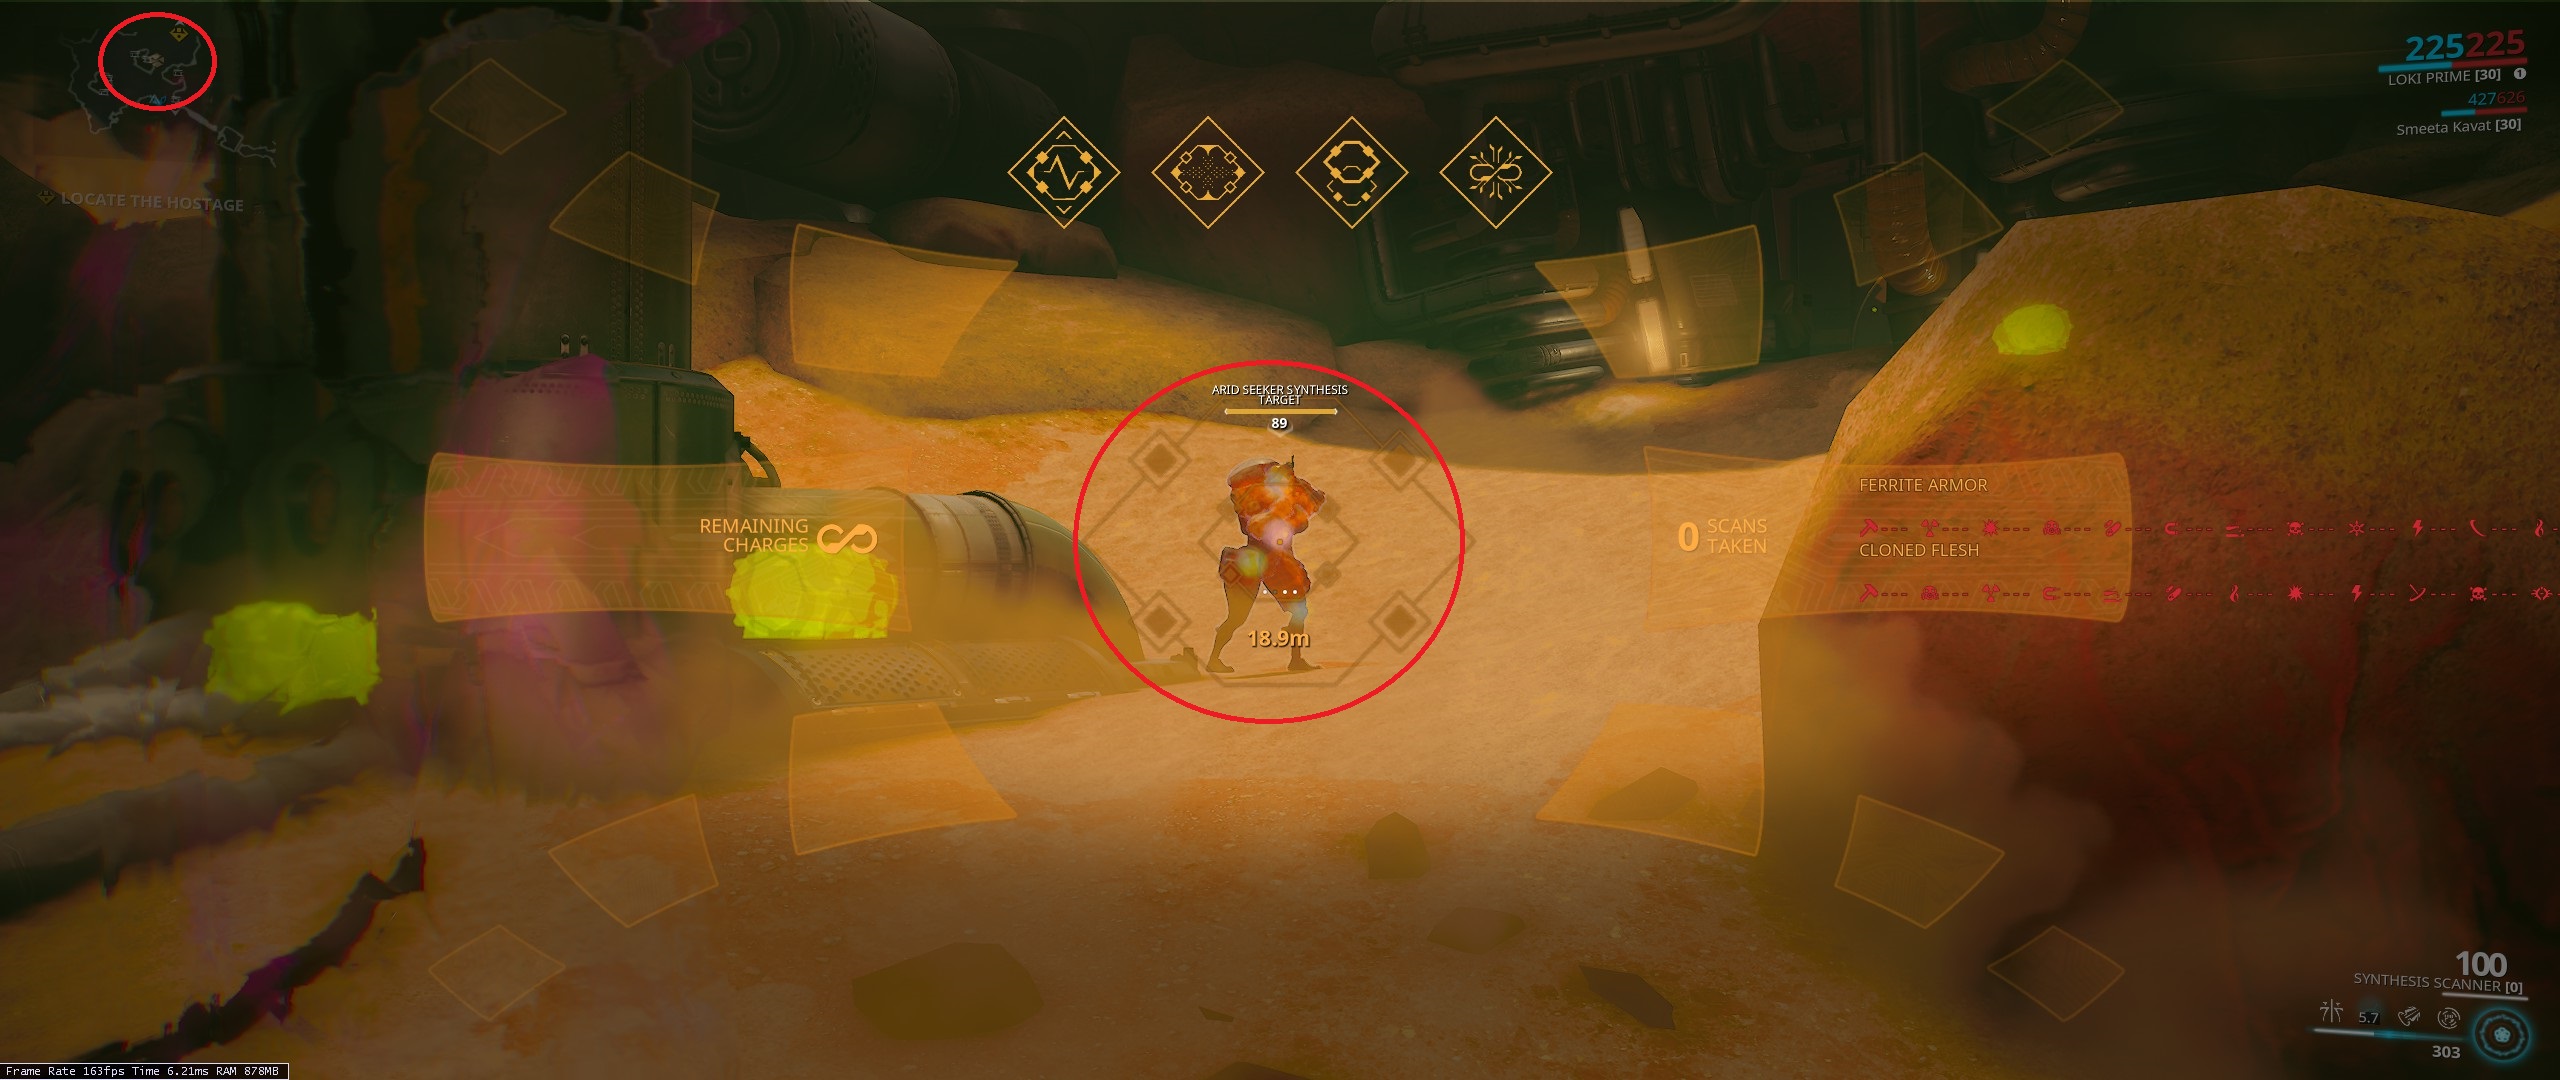 During the quest, Cephalon Simaris is going to have you scan targets. During missions a pointer will point you in the right direction toward the target. However, instead of following the pointer a shortcut is to simply keep your scanner out and zoom for a split second every so often as you progress through the map. By zooming the scanner, the target will appear on the mini-map as long as it is within a large radius around you. Don't underestimate the radius as it is very large.
What Cephalon Simaris Has to Offer
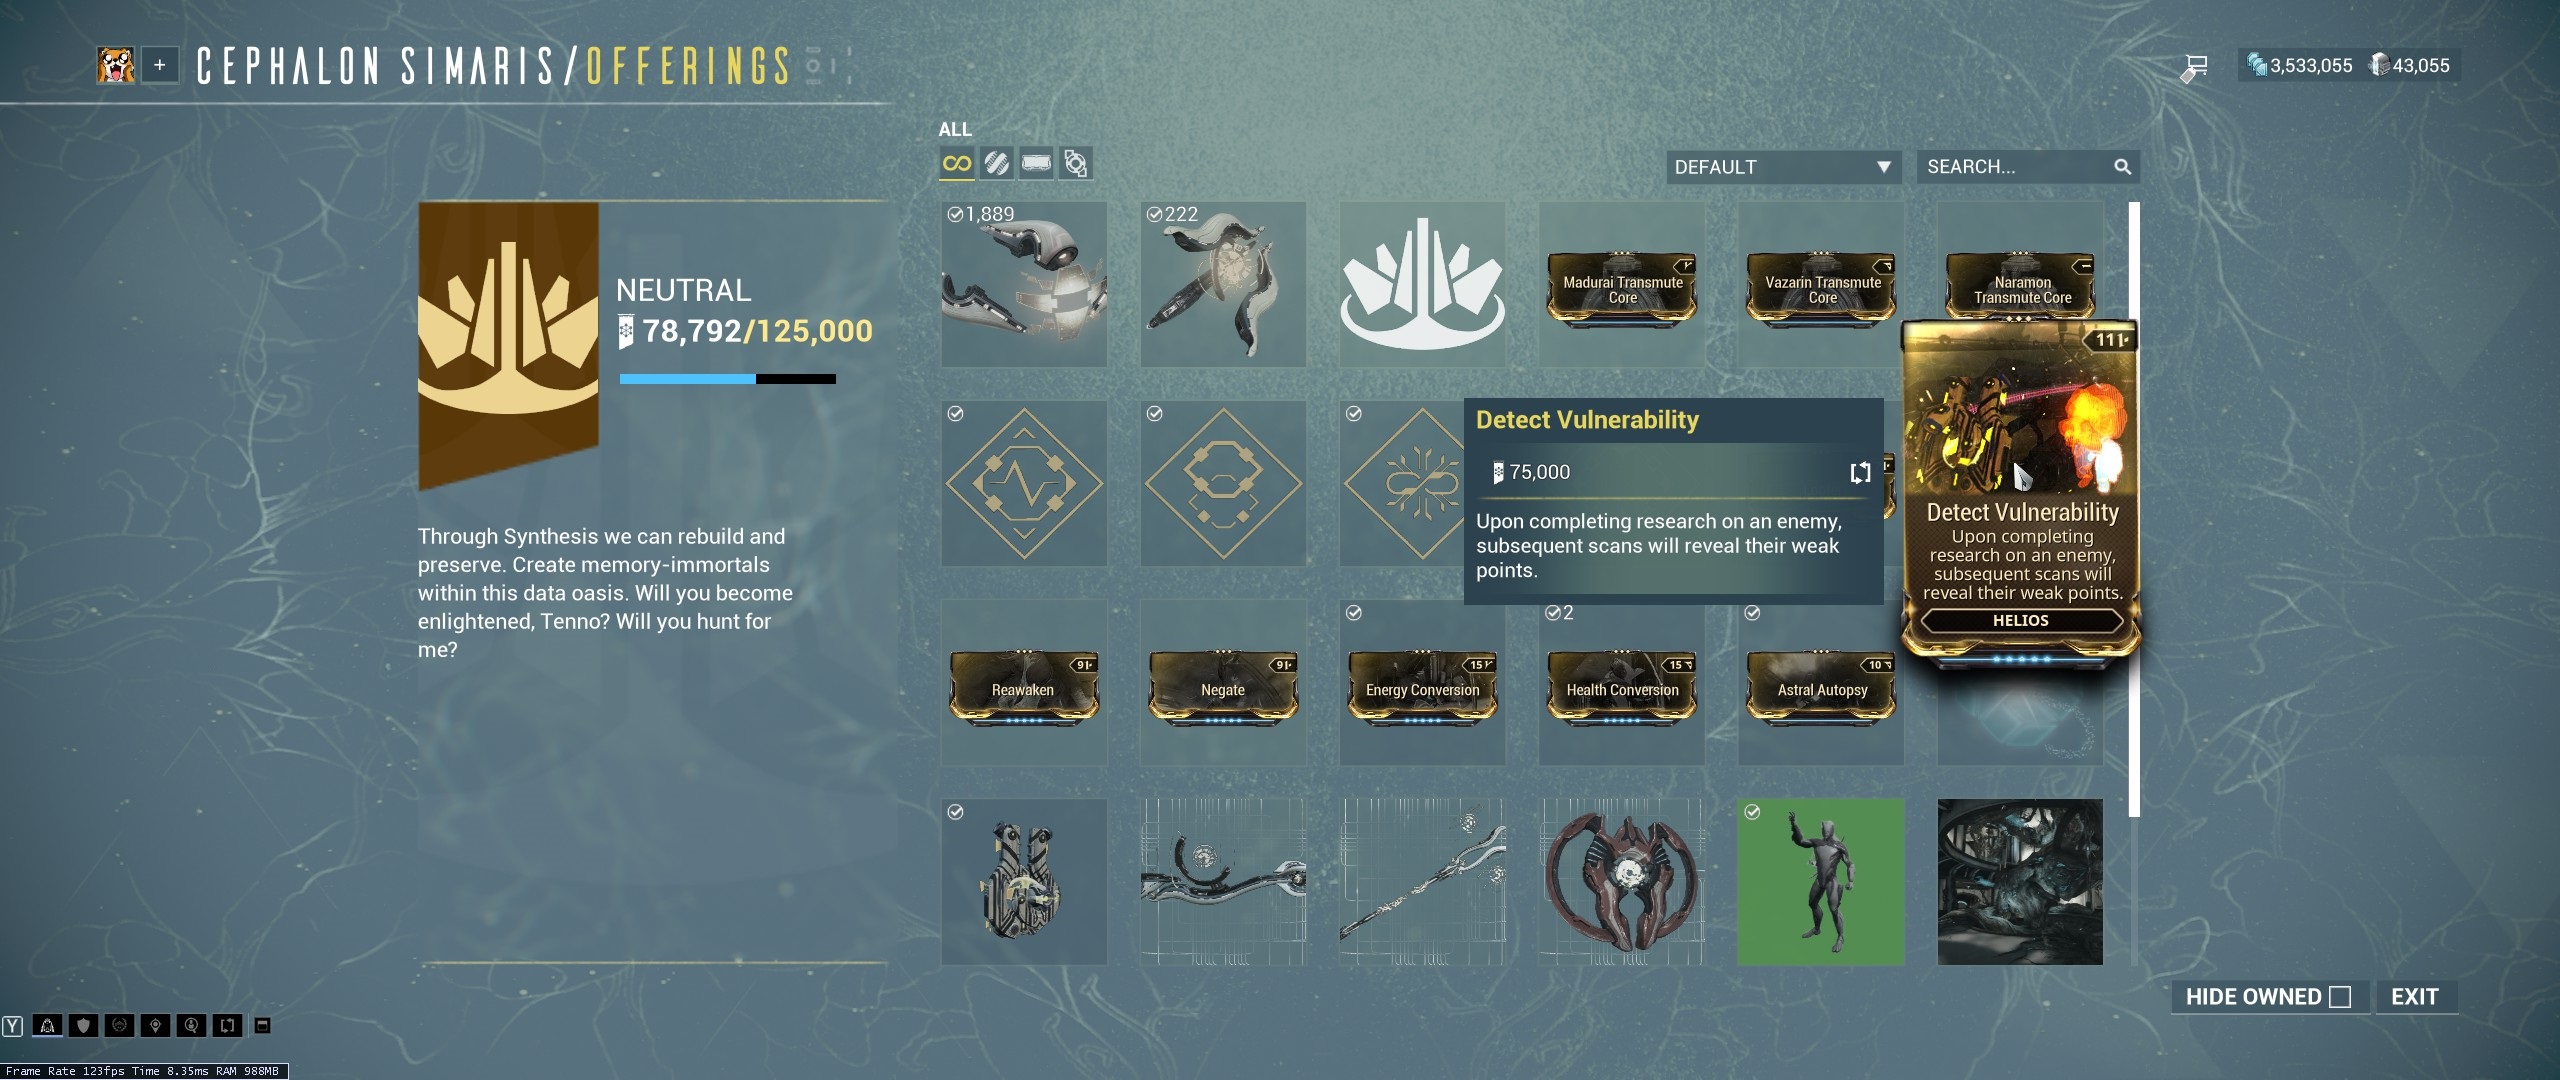
- He offers widgets, great mods like Health Conversion and Energy Conversion. He offers access to the Simulacrum and some weapons.
Daily Missions For Standing
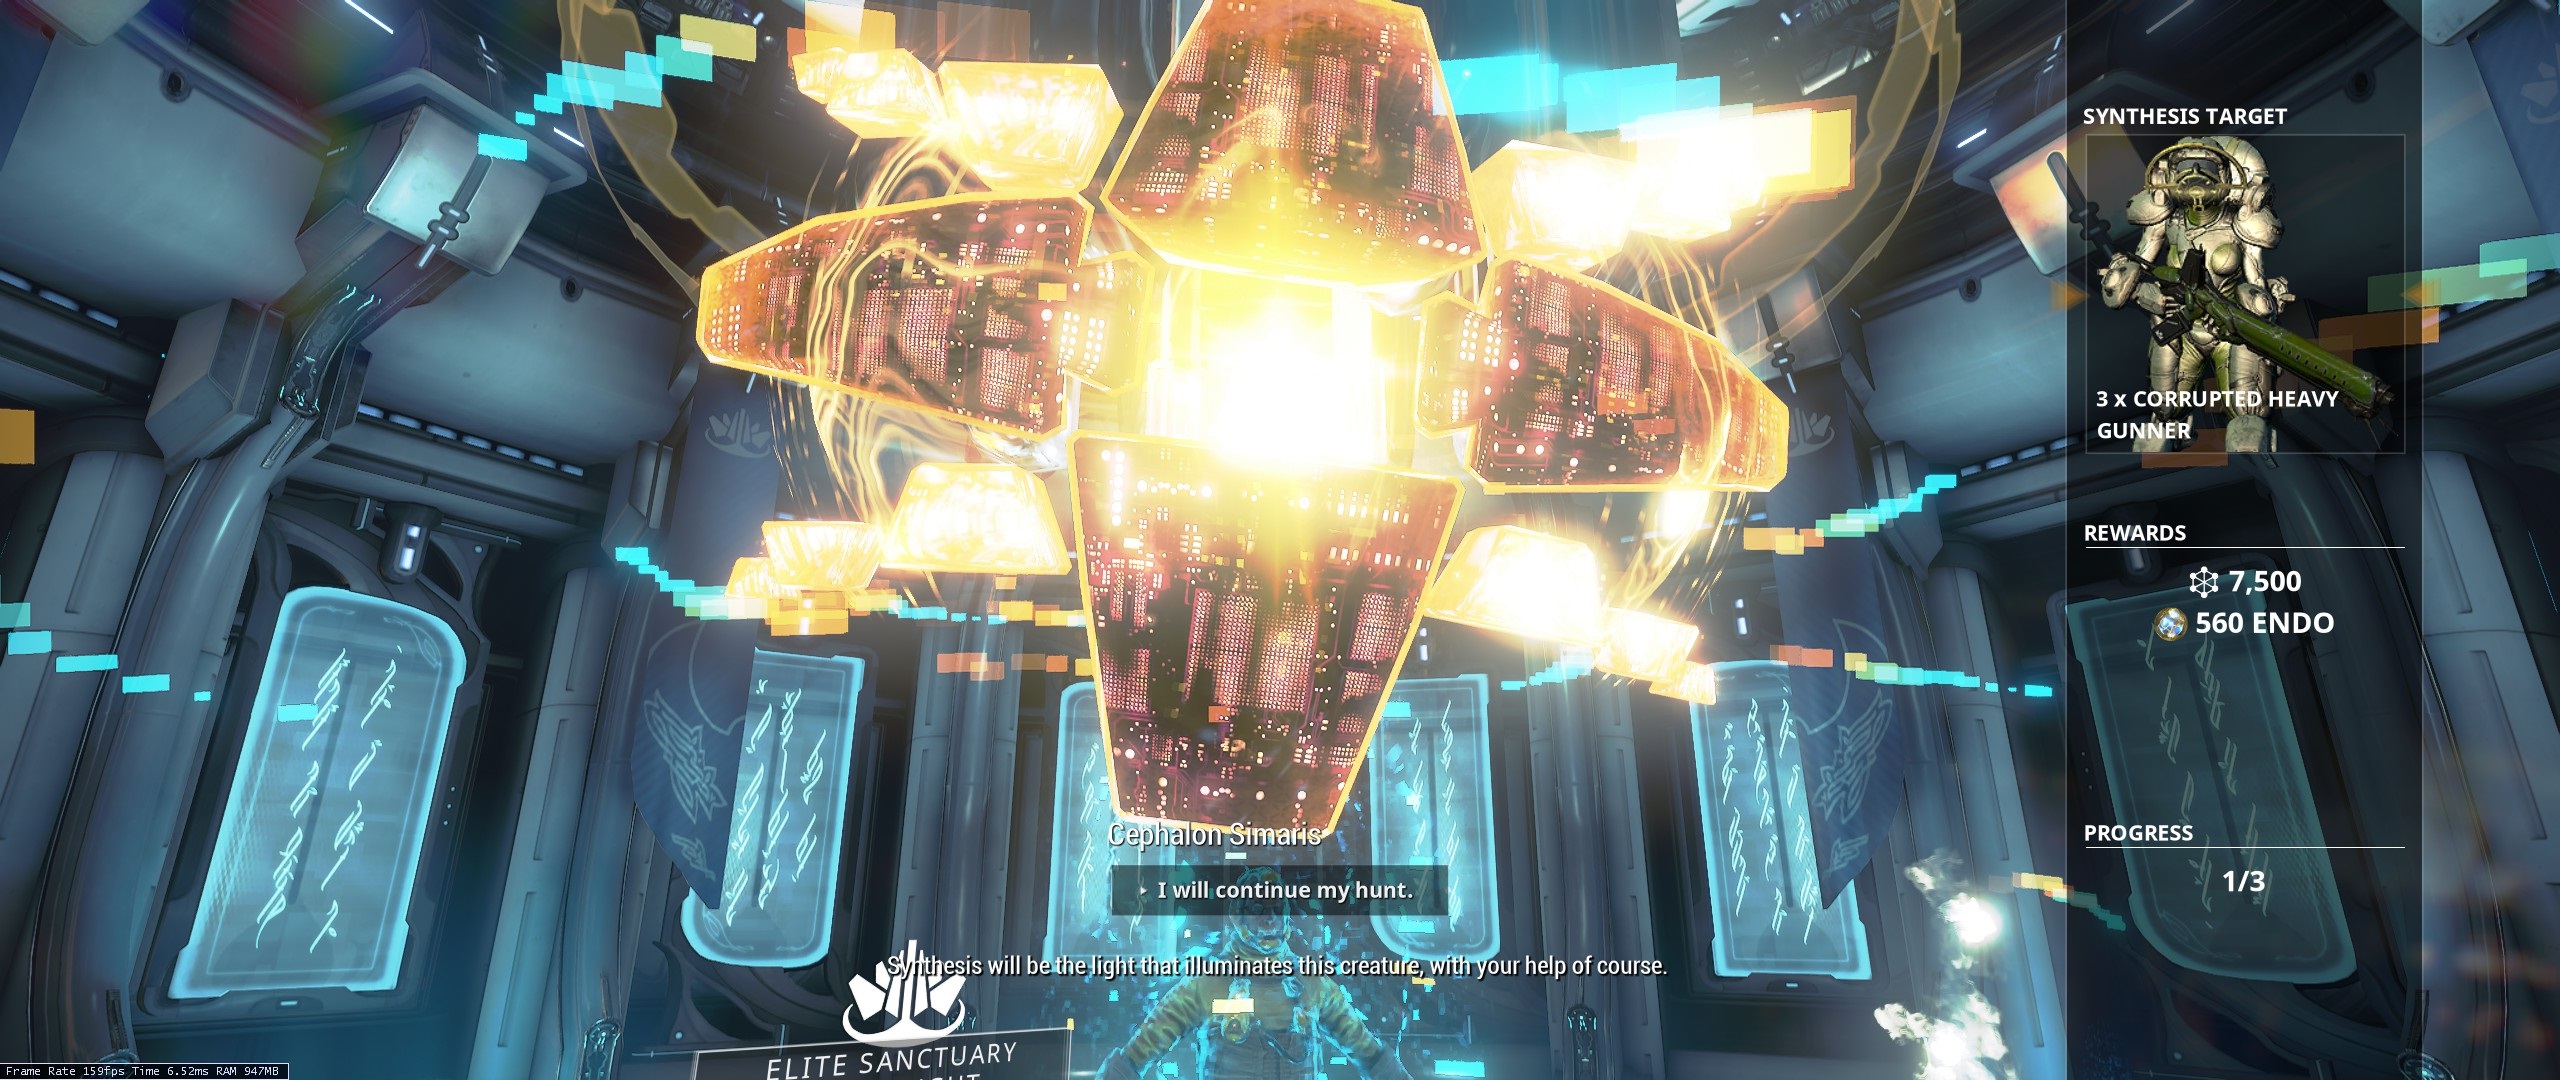
Simulacrum: Test Builds in a Simulation
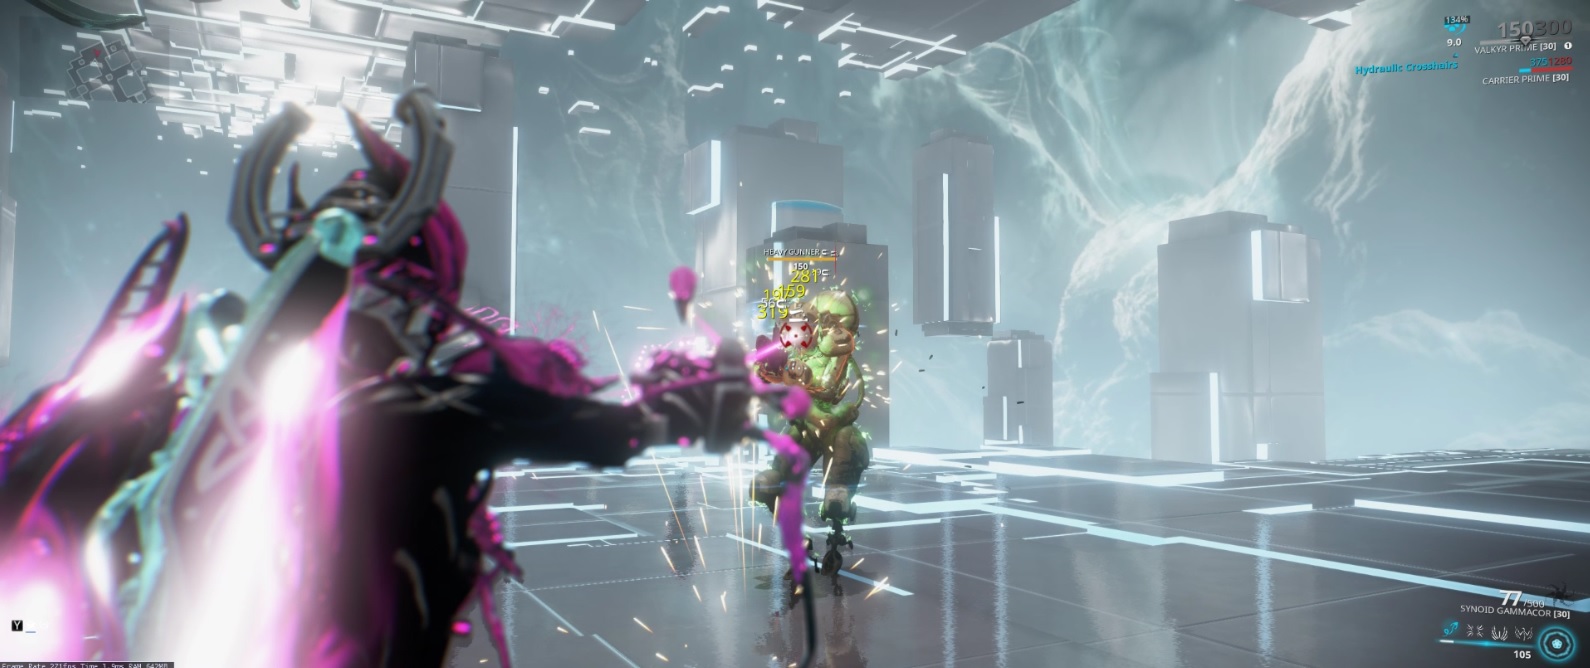
- This place is a great way to test builds. It will cost 50k standing to buy. You can spawn in enemies at any level. However, to have the ability to spawn specific enemies, you'll have to scan each several times before it is available in the simulacrum.
How To Easily Scan Mass Amounts of Targets
- The Helios sentinel has a mod that causes it to automatically scan for you.
- This will use many charges, so the Sol-Batter Widget (infinite charges) is recommended.
- Helios scans do not count toward most quest scans and kavat codes.
Top Tier Guide on Target Locations, here.
Sorties
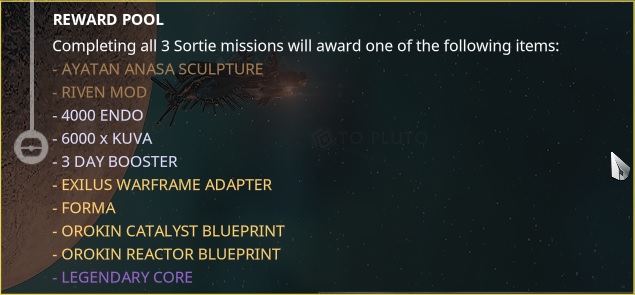 Sorties are unlocked after the War Within quest. Sorties are late-early game content and contain higher level enemies between 50 and 100. They randomly reward endo, boosters, forma, orokin catalyst/reactor blueprints, and items that can net some platinum once per day. Sorties should be started as soon as it is available to the Tenno and done daily because of its precious rewards.
Sortie Spy Missions
Spy missions also are automatic mission fail if one of the vaults fail. You'll want to be at least consistent with spies or have an invisible warframe to make things easier. Wukong is probably the easiest warframe to do Spies with because while in cloud he flies, is invisible/invincible, and goes through lasers. Here is a build for him.
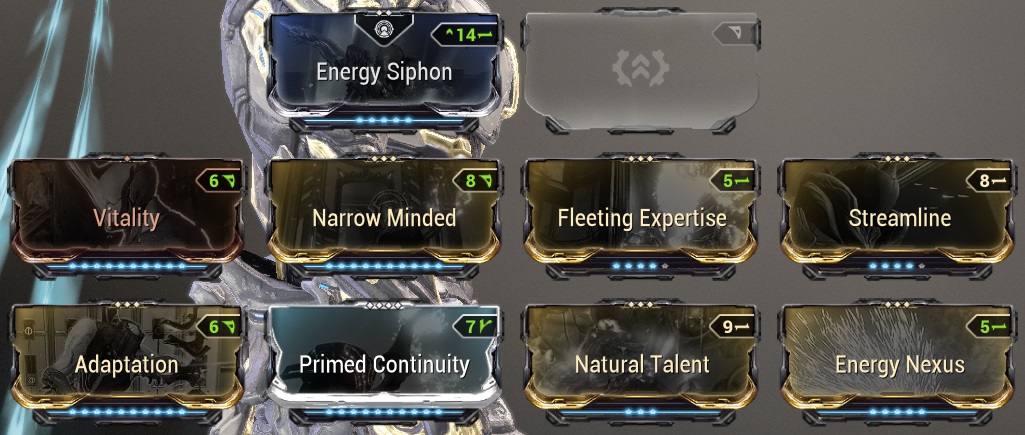
Warframes that can go invisible:
- Wukong
- Ivara
- Loki
- Octavia
- Ash
- Wukong
- Ivara - with augment Infiltrate
- Limbo - roll to go into rift plane
Gameplay Changing Modifiers
- Assault Rifle Only
- Melee Only
- Secondary Only
- Sniper Only
- Bow Only
- Energy Reduction - Maximum Warframe Energy capacity is quartered, and energy regeneration speed is significantly reduced.
- Electromagnetic Anomalies - Magnetic Clouds form and when touched drain warframe energy
Mission Modifiers
- Enemy Physical Enhancement - Enemies deal very high physical damage and gain resistances to physical damage
- Enemy Elemental Enhancement - Enemies deal very high elemental damage and gain resistances to elemental damage
- Eximus Stronghold - Eximus units spawn much more often.
- Augmented Enemy Armor - Enemies have enhanced armor
- Augmented Enemy Shields - Enemies have enhanced shields
- Radiation Hazard - Radiation clouds form and when the tenno enters it, suffers radiation status. During radiation status, friendly fire switches on, and many Tenno have been accidentally killed as a result
Focus Schools
Focus Schools are accessed after completing the "Second Dream" quest. This Section contains spoilers. It is recommended to come back after completing the quest.
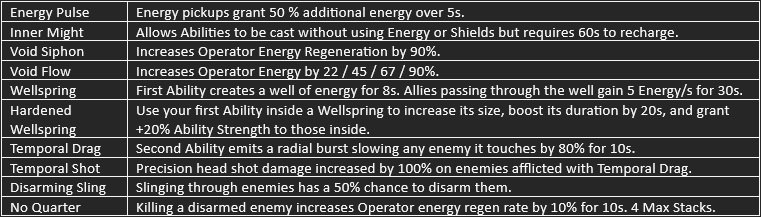
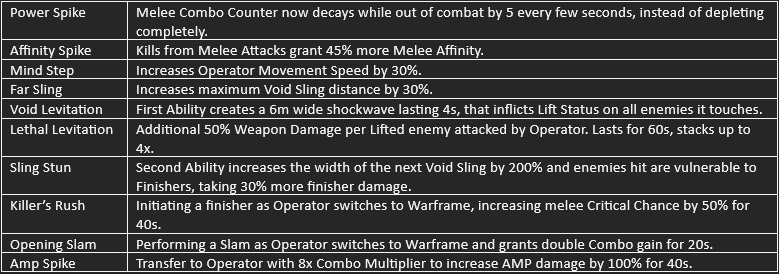
Melee-focused school
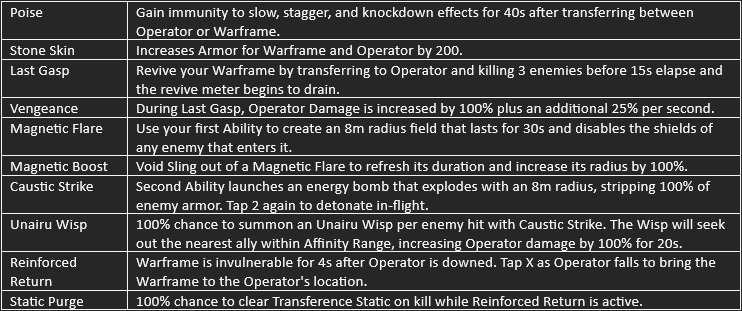
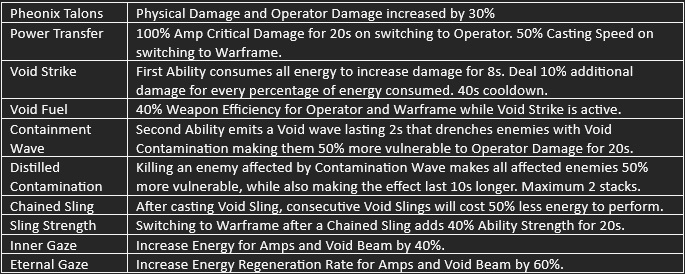
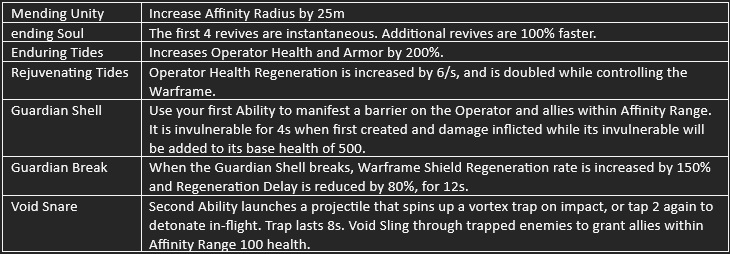
The Power Of Focus Schools
The following is a list of focus skills and passives. All focus schools have their uses in different situations and builds. However, Zenurik is good for new players because energy management in early game is difficult and Zenurik provides quick energy regen. ZENURIK
NARAMON
Melee-focused school
UNAIRU
MADURAI
VAZARIN
How To Farm Focus Points
More details are in my other guide, 250k Focus In 15 Minutes! It contains spoilers and it is recommended to finish the "War Within" first. The guide only details how to farm focus points through affinity. Another fast way of farming focus points is doing Eidolon Captures. Eidolon Captures is end-game content and will not be explained in this guide.
Focus Lens
What Is a Focus Lens?
Lens when equipped on level 30 weapons and warframes convert affinity to focus points. Therefor it is best to equip focus lens on warframes and weapons that will score the most kills.Where To Get Focus Lens
- Lens
- Converts 1.25% of excess affinity earned into focus points.
- Plains of Eidolon Bounties given by Konzu in Cetus
- Can be traded with other players
- Converts 1.25% of excess affinity earned into focus points.
- Greater Lens
- Converts 1.75% of excess affinity earned into focus points.
- Can be bought off the in-game market for 40 platinum
- Blueprints can be purchased off the in-game market with credits and require 4 regular focus lens to build
- Cannot be traded with other players
- Converts 1.75% of excess affinity earned into focus points.
- Eidolon Lens
- Converts 2.25% of excess affinity earned into focus points.
- Blue prints rewarded from bounties in Cetus offered by Konzu and require 1 greater focus lens to build
- Eidolon Lens are not assigned to any peticular school until they are built and combined with a greater lens of a specific school in the foundry.
- Can be traded with other players
- Converts 2.25% of excess affinity earned into focus points.
- Lua Lens
- Converts 3.25% of excess affinity earned into focus points.
- Their blueprint can be acquired as a Rotation C Lua Disruption reward and require 1 eidolon focus lens to build
- Can be traded with other players.
- Converts 3.25% of excess affinity earned into focus points.
How To Install a Focus Lens
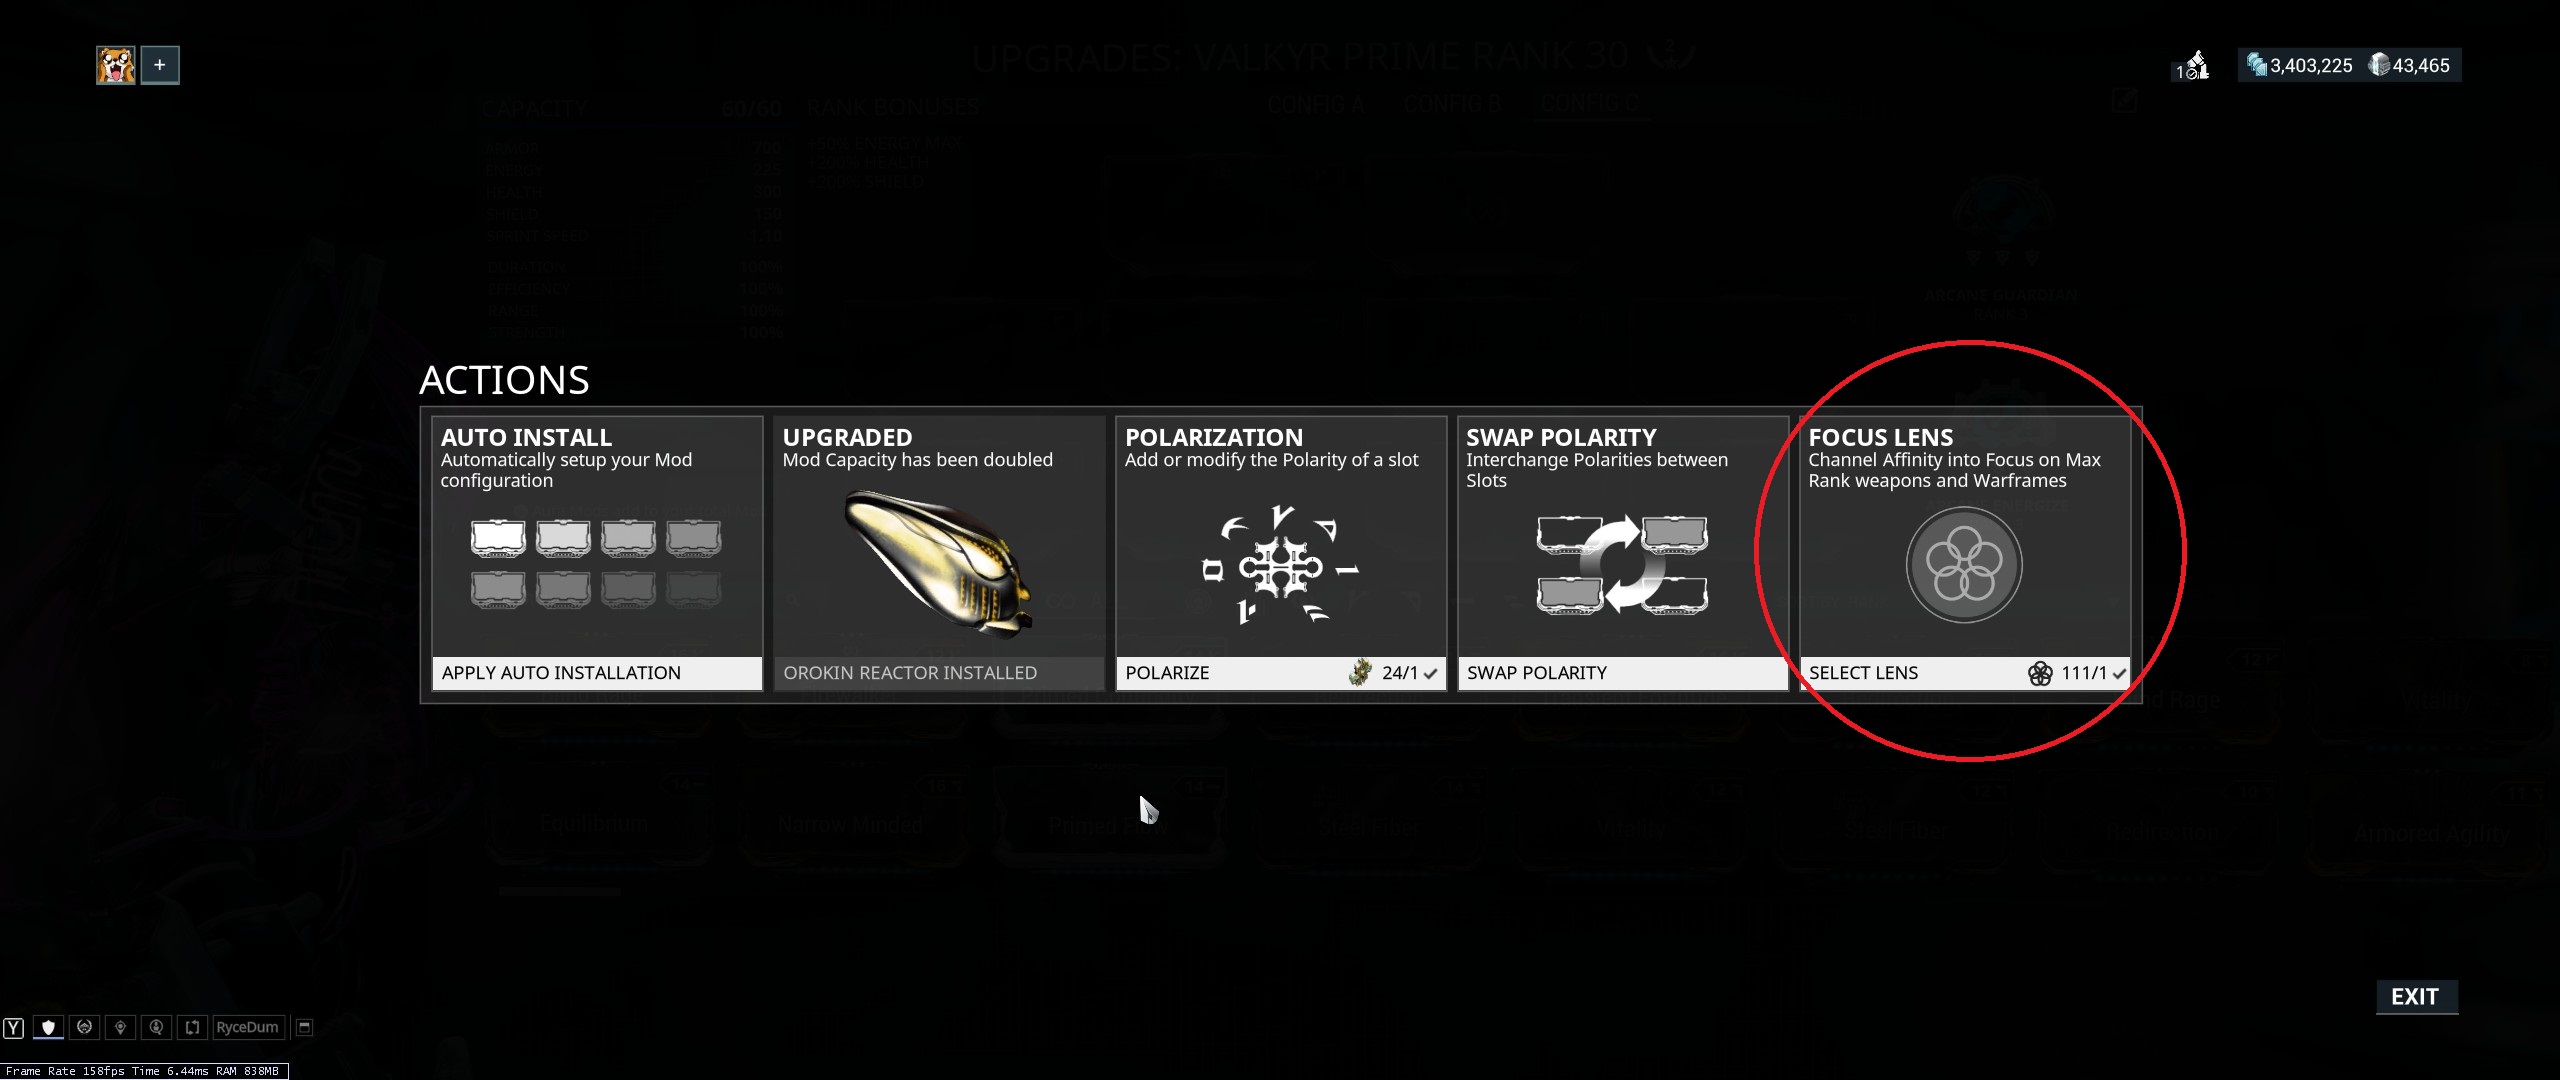
- In actions screen select install focus lens.
- Can only be applied to level 30 warframes and weapons
- If a focus lens is installed on a warframe or weapon, the focus lens will not disappear after using a forma. The lens will not produce focus points until the warframe or weapon reaches level 30.
Helminth System
What is the Helminth System?
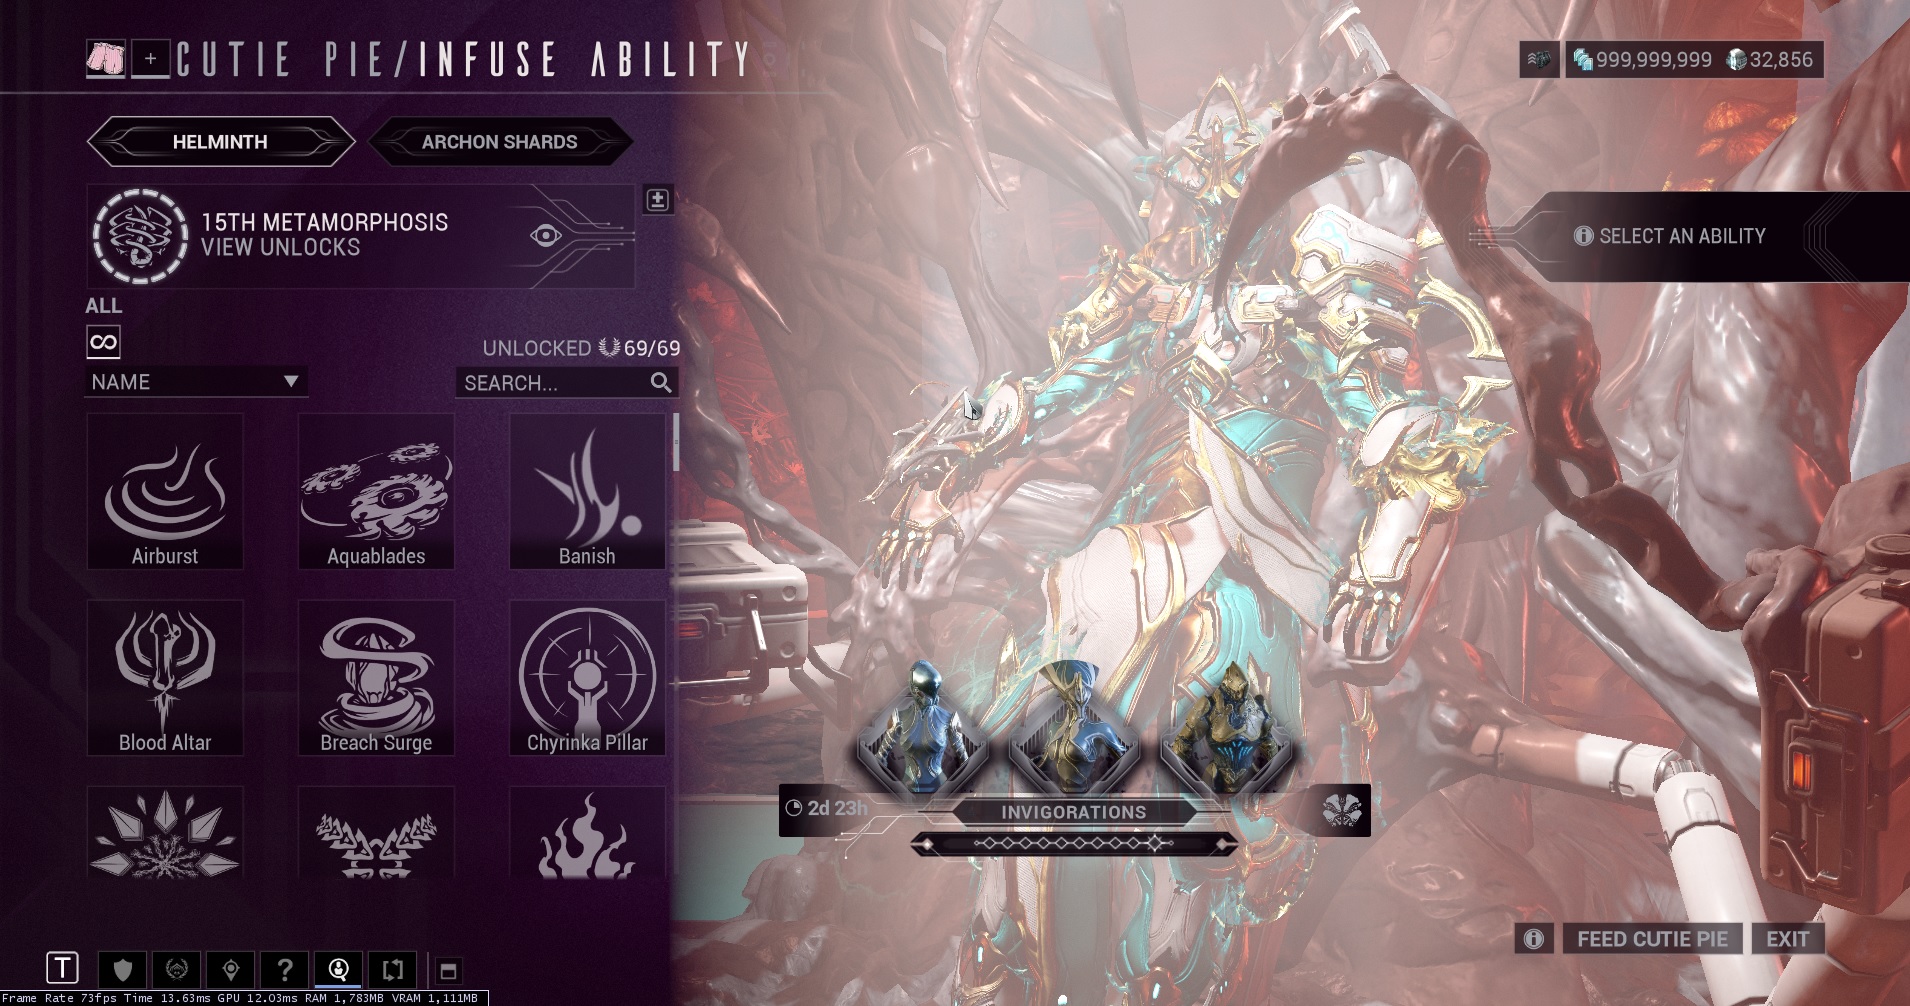 The Helminth has the ability to replace Warframe Abilities with those of other Warframes or even unique ones. Most end-game builds incorporate helminth abilities.
Acquisition: It can be accessed through the Helminth Infirmary on the Orbiter, requiring the Helminth Segment whose blueprint is purchased from Son in the Necralisk for 15000 standing and requires Mastery Rank 8 and Rank 3 - Associate with the Entrati. Alternatively, a built Helminth Segment can be purchased from the Market as part of the Helminth Segments Bundle for 300 platinum.
Steel Path Mode
What is Steel Path Mode?
It is Warframe's "hard mode," unlocked by completing all missions on all planets. Get ready, Tenno! In Steel Path mode all enemies gain the following modifiers:- level increased by 100,
- additional 2.5x bonus to health and armor
- shields multiplied by 6.25 and approximately 16 for eximus units.
- higher enemy density
Why Steel Path Mode?
- +Credit
- +Resource
- +Experience
- +Loot
- Steel Essence (dropped from Acolyte)
- Arcanes (dropped from Acolyte)
- and more
What are Steel Essence?
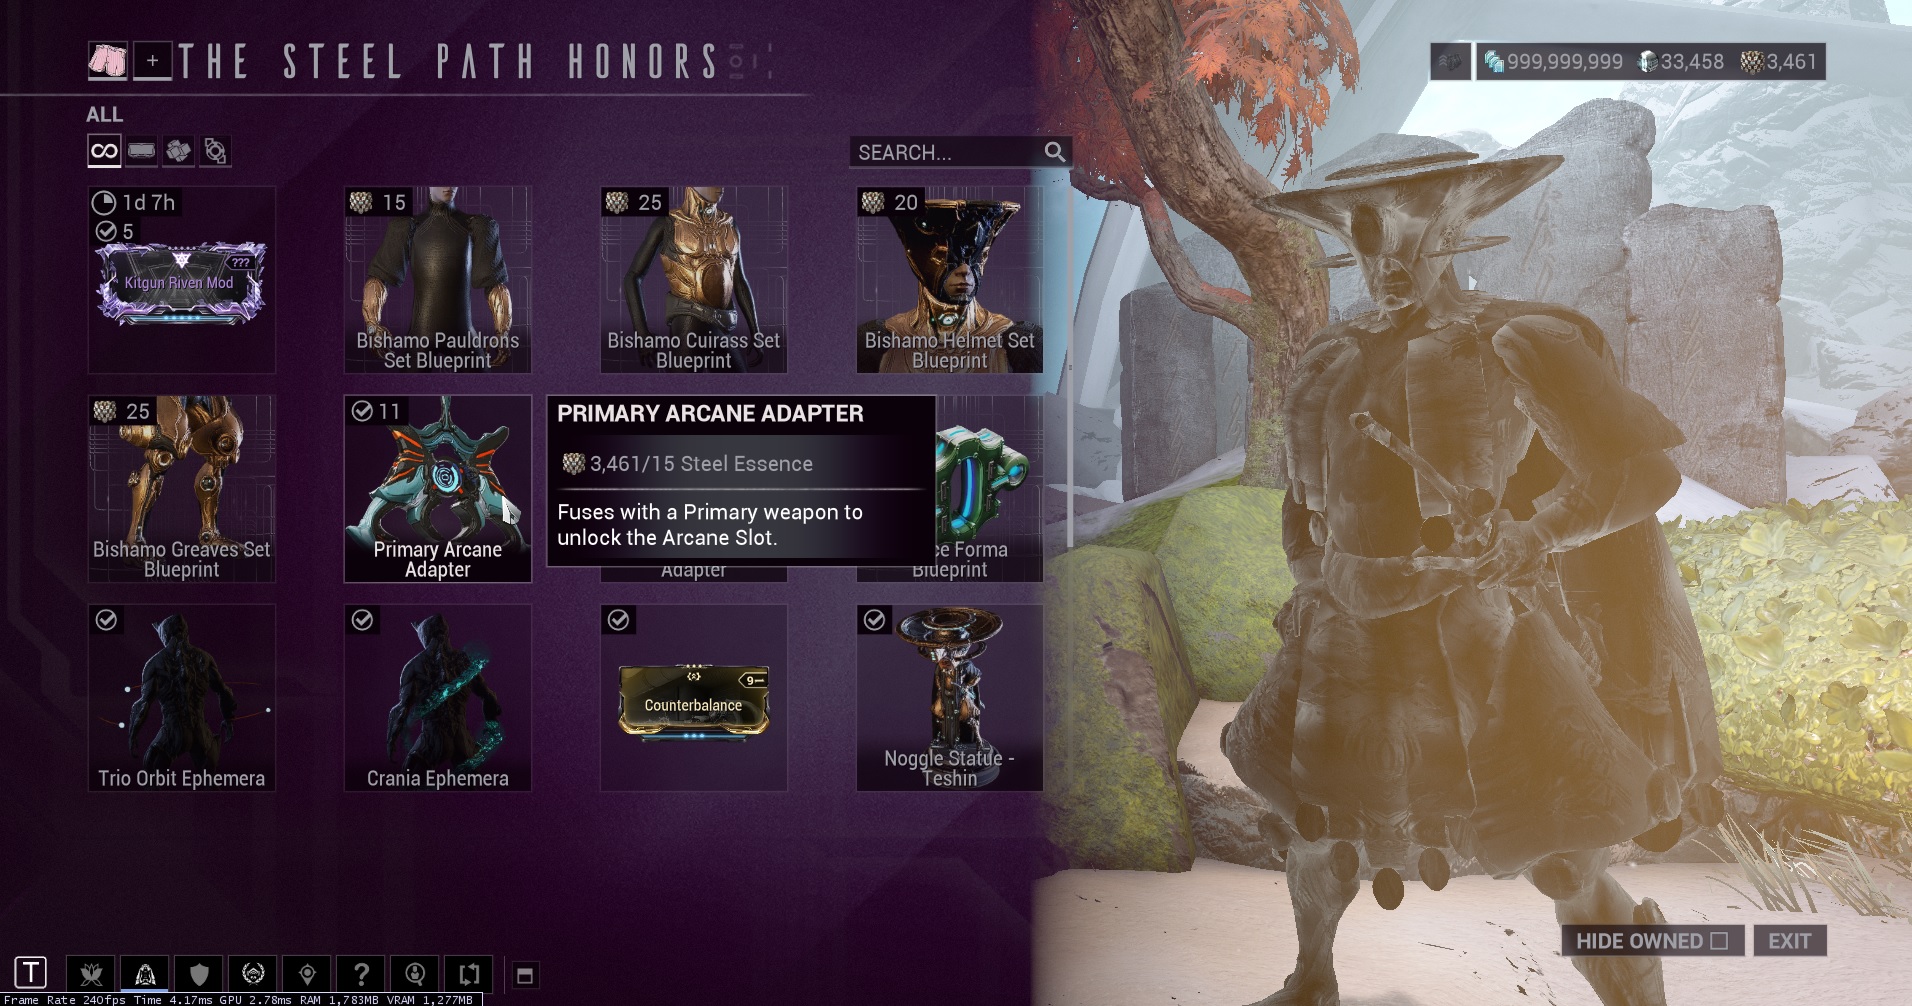
Pay Steel Essence to Tenshin at any relay for:
- Umbra Forma (every 8 weeks)
- Endo (every 8 weeks)
- 3 forma bundle (every 8 weeks)
- veiled rivens (on rotation)
- riven ciphers
- cosmetics
- weapon adapters
- stance forma
- exclusive mods
- relic packs
- kuva
How To Have An Easier Time in Steel Path Mode
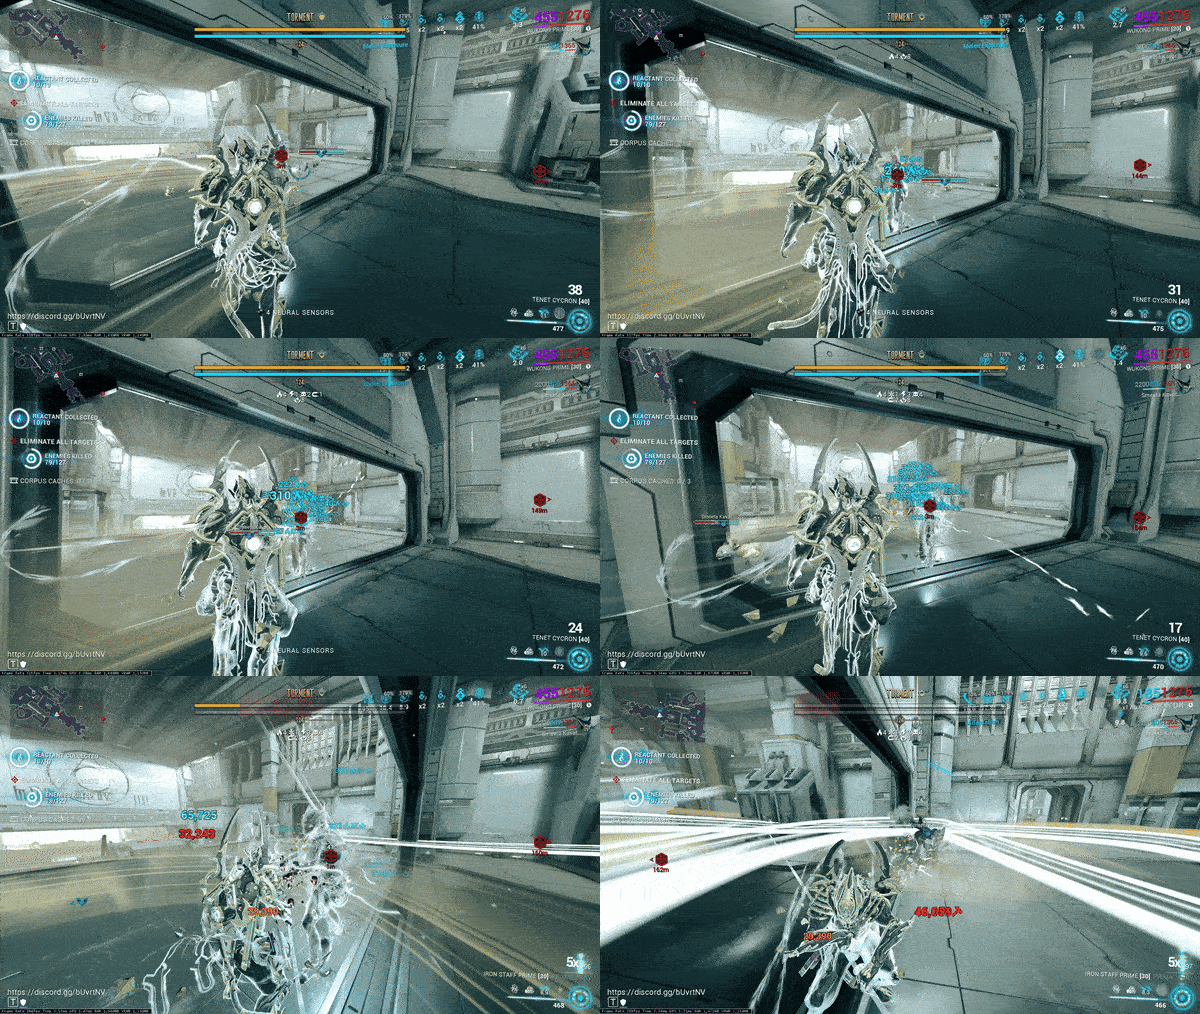
- Strong Weapons with Arcanes and Galvanized Mods (see section, "Galvanized Mods")
- Armor Stripping
- Primer Weapons (see section, "Primer Weapons")
- Useful warframe abilities
- More Survivability (see section, "How to Survive")
- Archon Shards
Recommended Weapons for Steel Path
Incarnon weapons are currently top tier. Weapons that become more viable with a riven are not included in this list. Mastery Rank requirement is NOT an indication of power levels.Primary Weapons for Steel Path
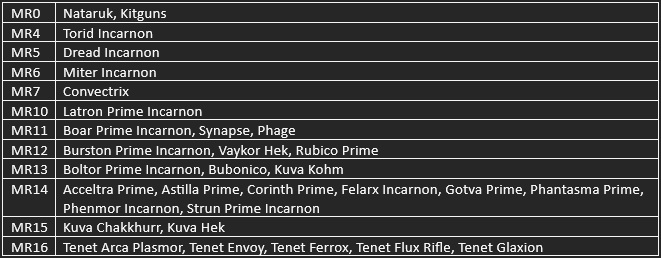
Secondary Weapons for Steel Path
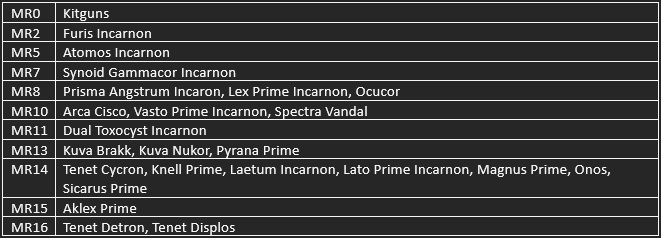
Melee Weapons for Steel Path
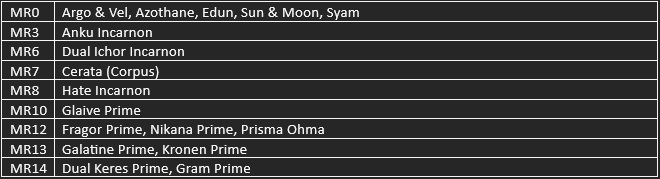
Primer Weapons
These mods increase weapon damage based on number of status effects affecting the enemy.
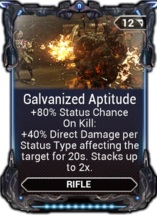
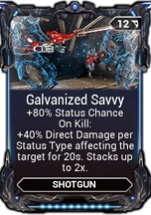
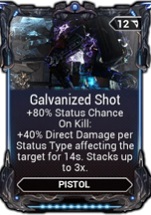
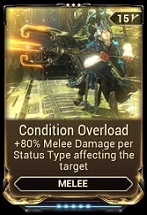
What is a primer weapon?
A weapon with sole purpose of quickly applying as many status effects as possible to enemies to boost damage.Kompressa Primer Build
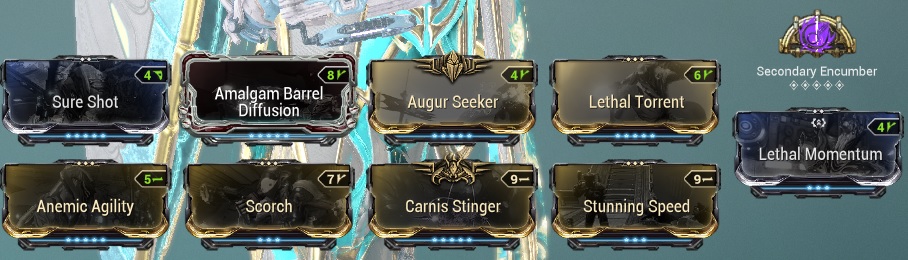
Epitaph Primer Build
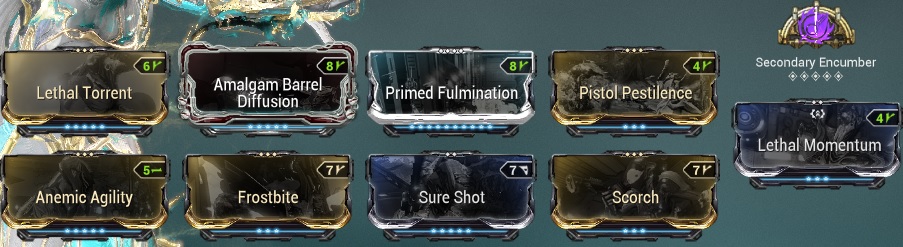
Galvanized Mods
Acquisition: purchased from the Arbitrations vendor for 20 Vitus Essence in the Arbiters of Hexis room in any Relay. Vitus Essence is attained from Arbitrations.
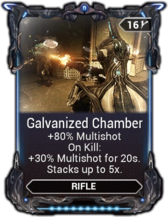
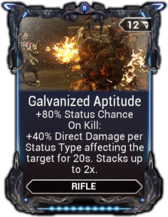
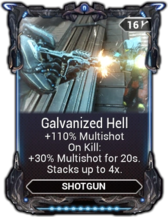
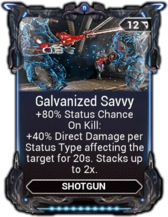
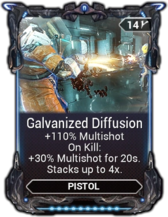
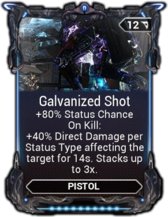
Galvanized mods are used in most end-game builds.
Kuva Farming
What is Kuva?

Requires completion of "War Within" quest. Kuva is a resource required to craft some warframes, weapons, and cosmetics. However, the main reason most players farm Kuva is to reroll rivens.
What is a Riven?
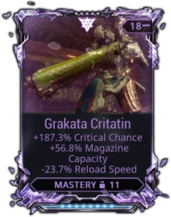
Acquisition: Sorties, Iron Wake on Earth, Tenshin, Archon Hunts, Acrithis, Steel Path Circuit
Rivens are special mods for weapons that come with random stats. Those stats can be rerolled using Kuva.
Rivens are always initially veiled. They must be unlocked by completing random challenges. Some challenges can be tricky. Check out my other guide, Riven Challenge Guide.
Most Effective Kuva Farming Missions
- Meta Arbitrations
- Kuva Floods - in alerts tab in navigation
- Steel Path Requiem Fissure Survival on Taveuni
Why Steel Path Requiem Fissure Survival?
Steel Essence
you can buy 250k Kuva per week from Tenshin for 375 Steel Essence. For more information see section, "Steel Path Mode."
Fissure
The more rounds you stay the more resource booster you will receive which applies to both kuva and steel essence.
Harvesters
This mission has enemies that drop harvesters which can be inserted into life supports for Kuva.
Steel Path Requiem Fissure Survival Camping Strategy
There are many viable setups. Players can easily run this mission in public with random squads. However, a specific strategy should be used if going past an hour into SP kuva survival. The following strategy is designed to make an hour+ run as easy as possible. It also has the most popular team composition.Team Composition
Khora with DPS build
responsible for most of the kills, crowd controlling enemies using Strangledome, and crowd controlling the Acolyte using Ensnare.
Wisp
provides +attack speed, +fire rate, +movement speed, +maximum health, and health regen to team. Provides +maximum health and health regen to harvesters. Shock mote is optional but may slow down kills which will slow down the rate of Acolyte spawning.
Nekros
provides +loot
Speed Nova
debuffs enemies to take 2x damage and speeds enemies up so that they run quickly into Khora's Strangledome. More kills means more Acolyte spawning for more steel essence.
Life Support Spawn Manipulation
In order to camp while harvesting Kuva, we need to manupulate the life support spawns in such a way that after each harvest completion, the life support will respawn in the same location.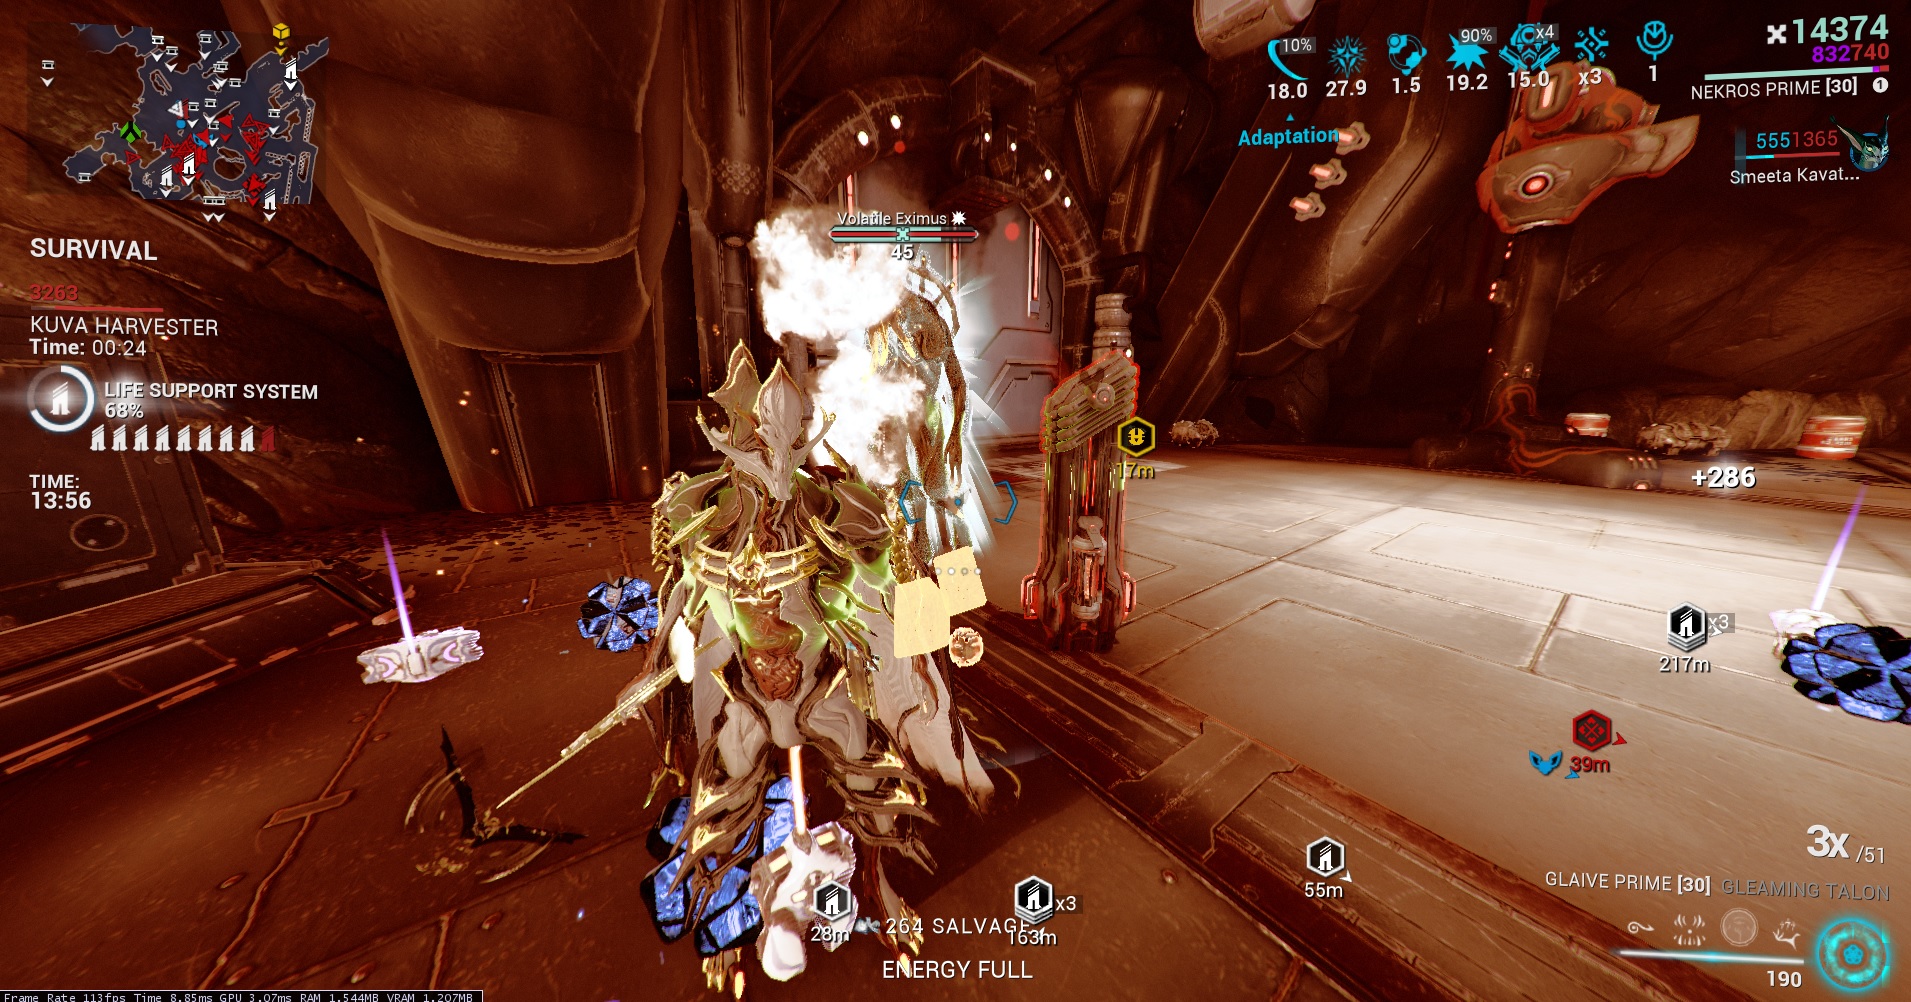
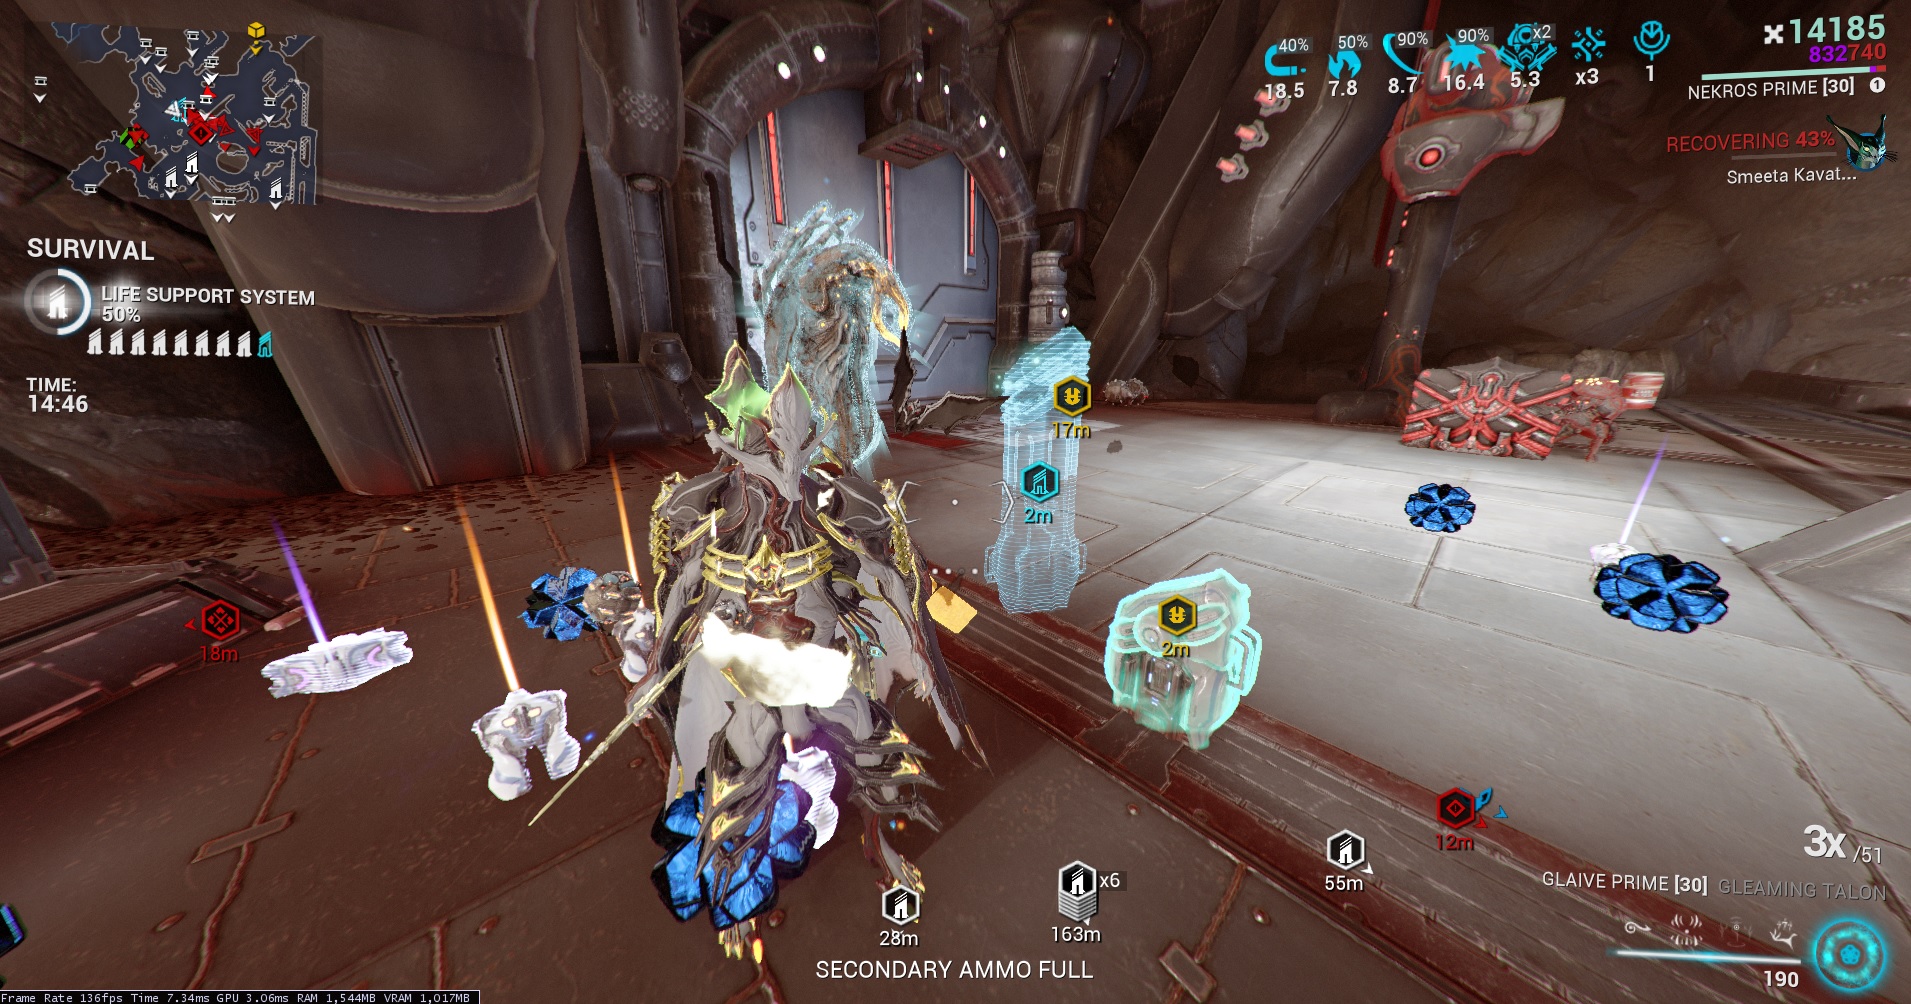 There are about 7 different large rooms, that each will spawn 3-4 life supports. In every game, 8 to 9 life supports will spawn. In order for the life support to keep respawning in the same location, you must pick a life support to camp within the first 2 large rooms, because the room you camp must be at max life support spawns for that area. Example: 1st large room spawns 3 life supports. 2nd large room spawns 3 life supports. 3rd large room spawns 2 life supports. If you camp in the 3rd large room which did not reach its max life support spawns, the life support will not keep respawning in the same location.
Recommended Life Support Camp Locations
I have done 2 hour runs in each of these locations and found them to be easier to manage. It is important to pick a good location, because later in the run, the harvesters can easily be destroyed. Every location works better if the Khora has a large range on Strangledome.
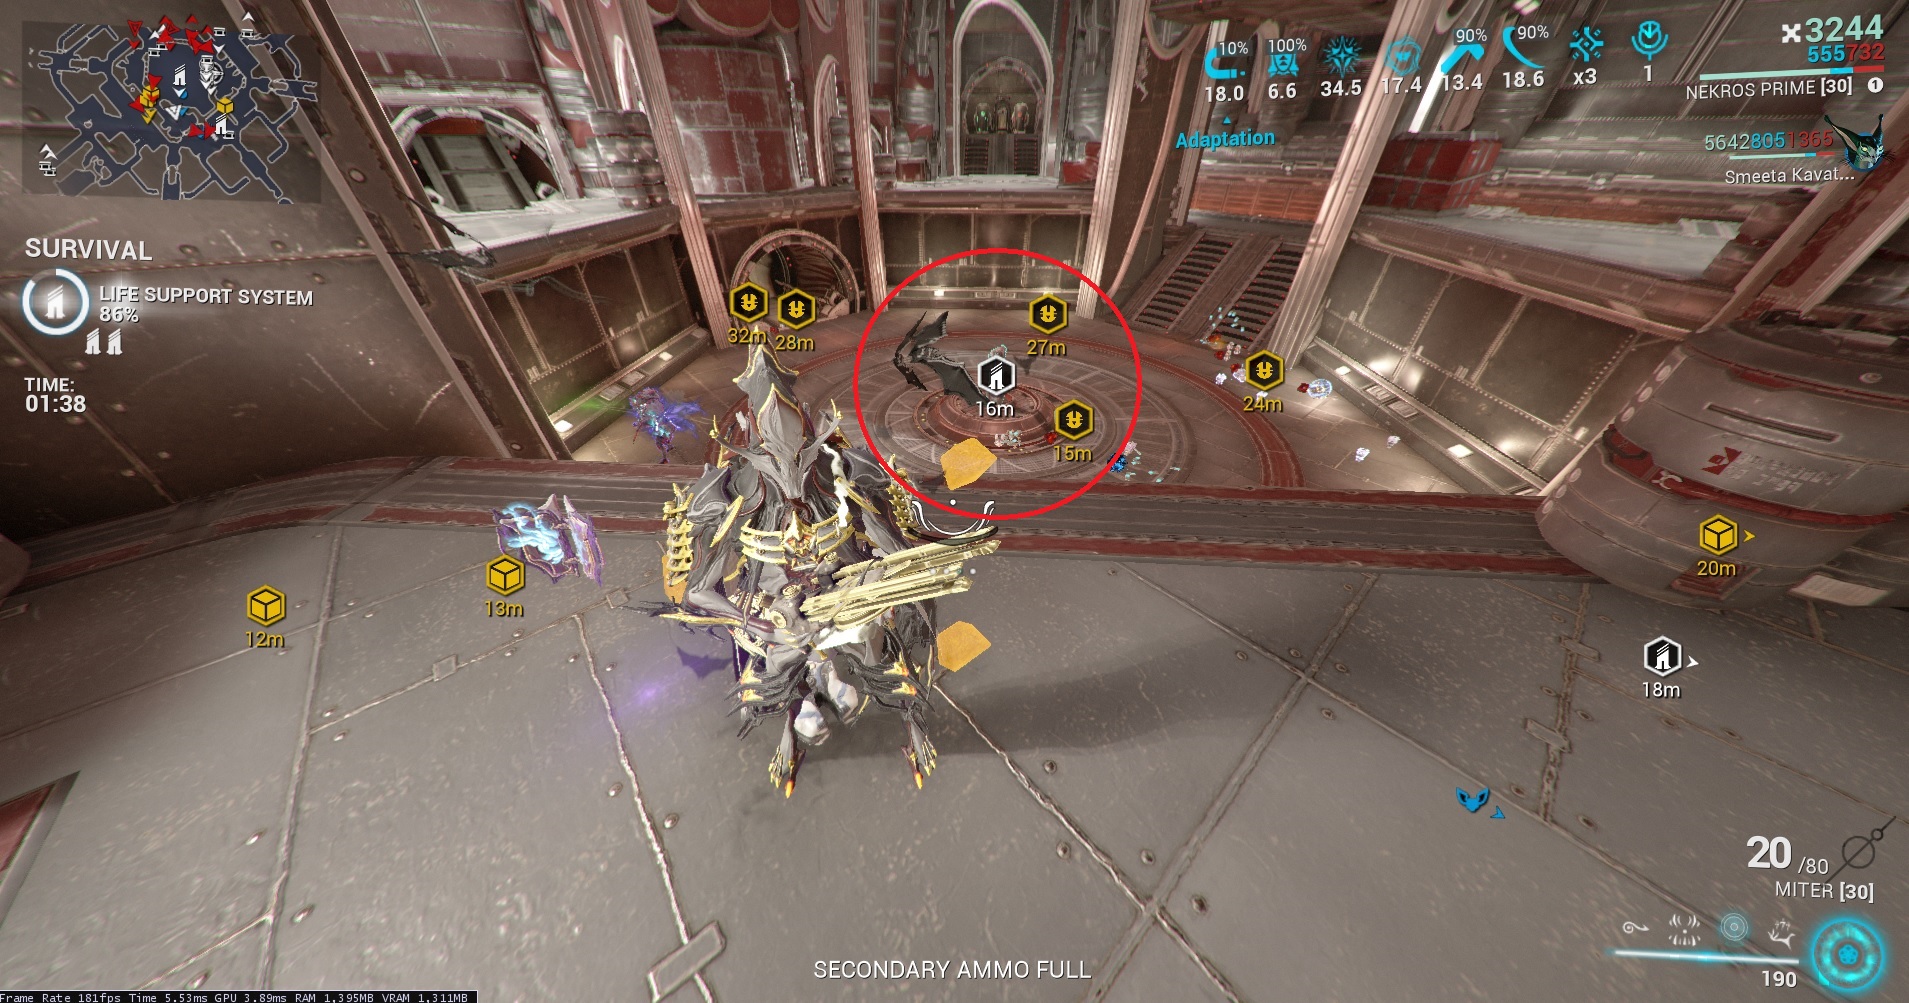
How To Keep Harvester From Being Destroyed
In a long run, the harvester can stay alive from Wisp's +health maximum and regen buff, if the health mote is set within range. An Ancient Protector Specter is a must have and must be set to "Hold Position" within 10 meters of the harvester.
Status Effect Immunity
Many eximus units will swarm the area and create annoying status effects. I recommend Dante specter for overguard and immunity.
2 Hour Mission Summary
The longer you go, the more boosters you will receive. Here are a couple runs I did with resource booster and pre-nerf Smeeta Kavat.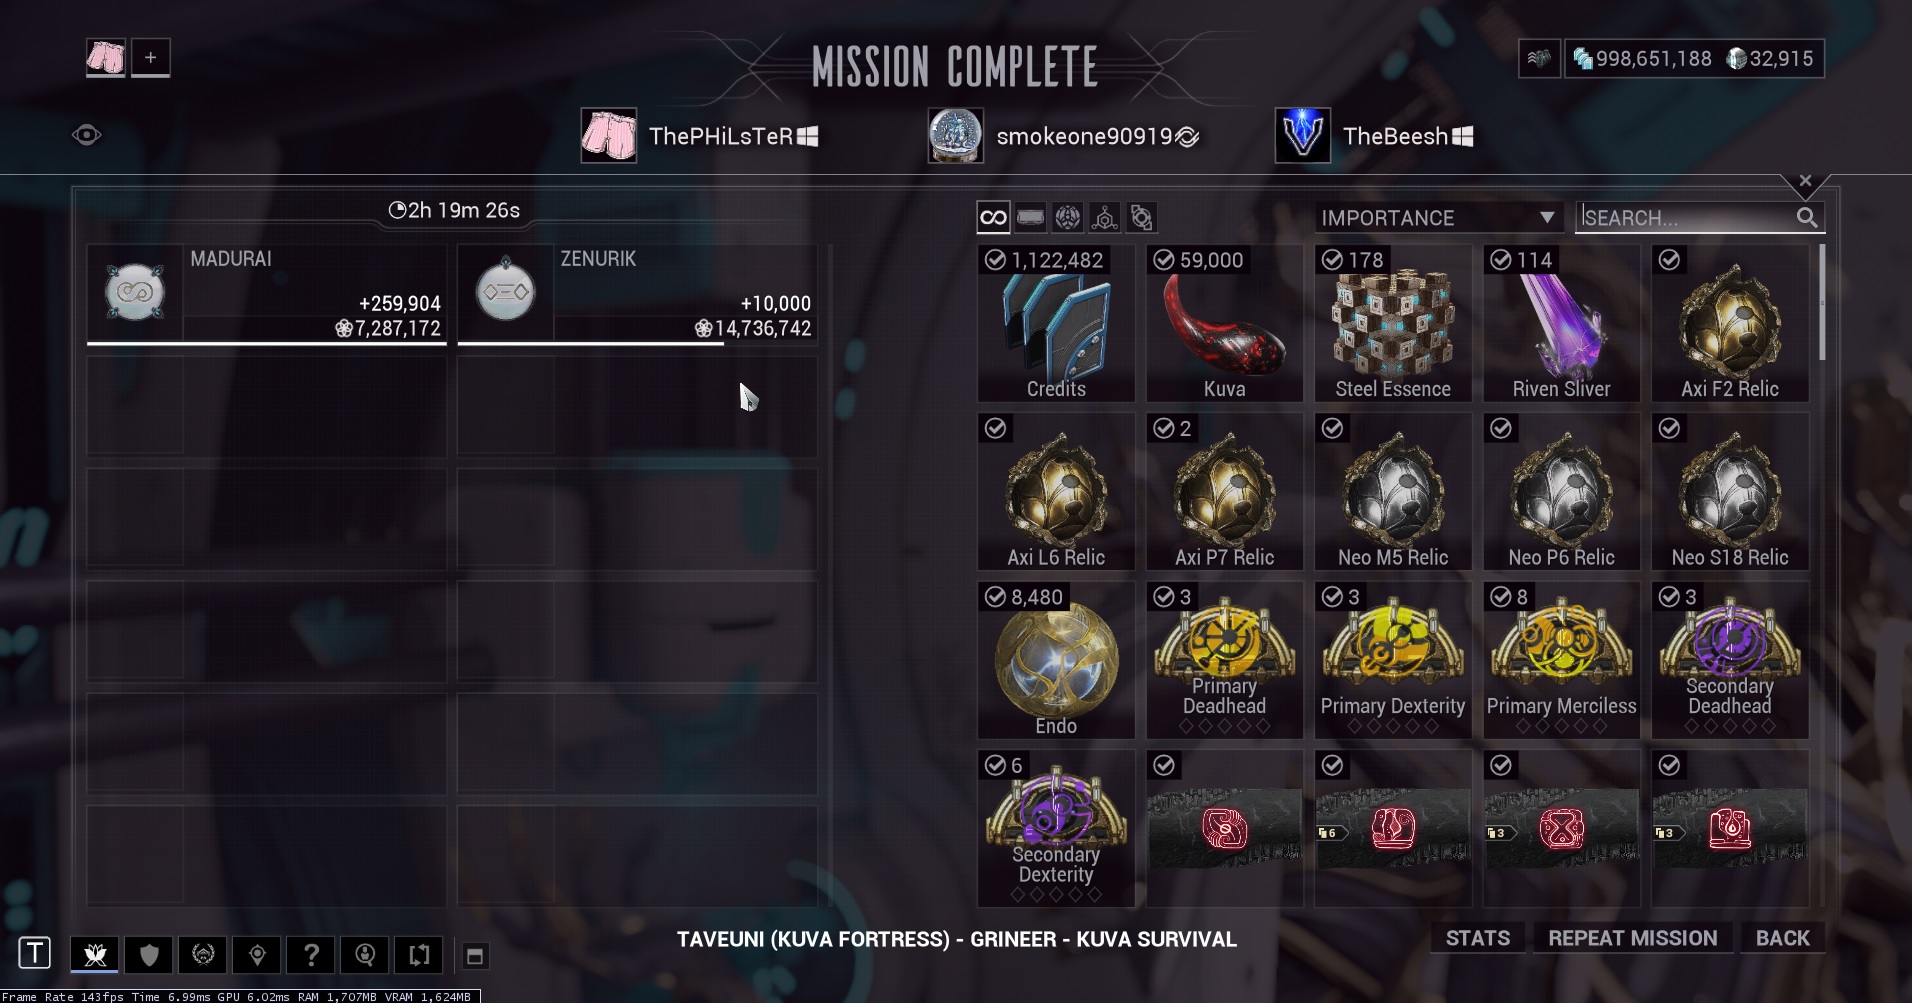
 This method isn't as effective as Meta Arbitrations for kuva, but you do farm a lot of other things, like steel essence.
🤑🤑🤑🤑TRADING🤑🤑🤑🤑
How To Make Platinum in Early-Game
First 50 Platinum Cannot Be Traded
The first 50 platinum that is automatically given to all new accounts cannot be traded. That's why it's best as said earlier to buy slots and/or orokin catalyts/reactors. This makes sense or else people would just keep making new accounts to make platinum.Surfire Ways of Making Platinum in Early Game
As you advance from early to mid to end-game, you'll unlock more and more ways of making platinum. In the beginning you'll be limited, but here are a couple sure-fire ways of making some platinum. There are other ways too but they tend to be niche and/or based on a trend. Other beginner guides on platinum will have more information.Nightwave Mods That Are Worth the Most (10-30 platinum)
- Corrosive Projection
- Steel Charge
- Energy Siphon
- Dead Eye
- Rifle Amp
- Enemy Radar
Nightmare Mods That Are Worth the Most (15-100 platinum)
- Blaze (1% chance)
- Hammer Shot (1% chance)
- Lethal Torrent
- Constitution
Corrupted Mods That Are Worth the Most (10-30 platinum)
- Blind Rage
- Fleeting Expertise
- Narrow Minded
- Overextended
- Transient Fortitude
- Vile Acceleration
- Catalyzing Shields
- Critical Delay
- Critical Deceleration
Where to Sell Mods
The warframe market[warframe.market] or trade chatSelling Prime Parts
Selling prime parts will net pretty good platinum. Highly sought after prime sets will be worth more, while prime parts to unpopular weapons are considered "prime junk." Prime junk can be sold for platinum to players for per ducat going rate. Check Warframe Market[warframe.market] for prices.
Trading Strategies
How To Haggle
Haggling has a lot to do with patience. Whether you or another player has low patience, you or they will have to buy high or sell low to quickly close a deal. If a player has a lot of patience, then they can afford to wait for a better deal. Every item has a price range, and trading truly involves dancing within that range, a tug of war so to speak between selling in the high range and buying in the low. If you tug too hard, the other player will likely say no deal. If you tug too softly, you might end up with a less than ideal trade.- Always be respectful. This heightens the chance of a successful transaction. If you're rude, no transaction will probably be ever made or they might just outright put you on ignore. You never know. Maybe a player at first says no deal, but changes their mind 15 minutes later and accepts the deal. If a player is rude to you, just stop responding or put them on ignore if it's that bad.
- Know the mid range value of the item you are seeking to buy or sell. You can then low ball or high ball the price you are going for and then meet the other player halfway which will be close to the price you were going for in the first place. For example, if you are trying to buy Limbo Prime, and they post in chat an overvalued price of 180 platinum and you were going for 160. You can message them a counter offer of 150 platinum. If they bite and counter offer, they might say 170. Then you can counter offer again for 160 or 165 platinum. If they outright ignore you, that means their original price is firm with no to barely any wiggle room. If a player posts PMO (private message offer), he or she is likely trying to buy low or sell high.
- If a player is on the fence about a deal, don't rush players to decide. I found that every time I rushed people, they tended to decline in the end.
Increase Your Daily Trade Limit
You'll want to rank up, so that you have many trades per day (number of trades per day = your mastery rank) or else your cash flow will suffer as you'll have to wait for daily reset every 24 hours.Enlarge the Size of Your Chat Window
Many players don't know but you can, or else the trade chat will be hard to read making you prone to messaging the wrong person or misreading. The top right corner of the window has three little dots that you can drag.Use the Chat Filter When Looking For Something Specific
The magnifier symbol is at the top left corner of the chat window.Use the Warframe Market To Price Check
Warframe Market[warframe.market]Use the Want To Buy Section On The Warframe Market
Save some platinum for items you're looking to buy. You WILL get messaged, if you post a price that keeps your post as the first listing.Take Advantage of Trends
Sometimes there will be a buff to a weapon or warframe. In that case, their price will rise, so you can make a quick buck or two. For example, there was a major melee rework. Some weapons got buffed and their price rose. Another example was when Digital Extremes put out a massive weapons buff to many weapons and the prime sets and Baro Ki'Teer weapons surely raised in value.Long Term Investments
Check out my guide How To Make Platinum: Long Term Investments to take advantage of items whose value grow over time. This strategy may not be everyone's cup of tea, because it involves a lot of waiting. However, the great thing about it, is that while waiting for value to grow, one can actively make platinum in the present. People tend to take breaks and come back after updates. During that break, the value of your items will rise, while you're doing absolutely nothing.Newly Released Prime Sets
The sets will go for 200-300 platinum within the first day or two of release depending on how popular the set is, will depreciate in value by the second half of the week, and then depreciate once again after 1 week. It will be optimal to farm a ton the very day, the prime set is released (usually Tuesday). Check out sections, "Fissure System - How To Farm Prime Sets," and "How To Farm Relics."Higher Prices At Night And Lower Prices at Day
Whatever region you are, you can buy during the day and sell at weird hours 12am to 7am if you're a night owl. Or you can just switch regions to the other side of the world where times are different by 12 hours. To change regions, esc-->options-->gameplay tab-->region.Slow But Steady Income
Syndicates can make steady platinum after you're maxed ranked. You can perhaps do the syndicate missions and find all the medalions. Syndicate mods sell for 15-20 platinum while weapons sell for 25 to 50 platinum.
Hardcore Trading Strategies (Flipping)
How To Flip Items (Strategy For Hardcore Traders)
- Probably THE most lucrative way of making platinum is flipping. The richest people in this game are long time players and flippers.
- You're probably starting off with next to no platinum or no platinum at all (first 50 platinum free with every account isn't tradable). You might have to start with Nightwave, Nightmare and corrupted mods. If you're already good at trading, you'll probably get up to 200 platinum pretty quickly and be able to move on to more lucrative items.
- Types of Players Who Tend To Sell Low and Buy High
- There are a lot of players who hate trading and will want to sell or buy items quickly and be done with it. These players will sell low and buy high in order to do that.
- Players with extra real money will buy lots of platinum and tend not to worry about how much they spend.
- Rich players who are already established tend to be more generous with their platinum. Poor people will probably be the biggest hagglers which is understandable.
- Players sometimes don't know the value of their items and will sell you items super low. For example, many prime sets have been vaulted. There are many players who take long breaks, from months to even years. They haven't caught up yet with all the updates.
- There are a lot of players who hate trading and will want to sell or buy items quickly and be done with it. These players will sell low and buy high in order to do that.
- Types of Players Who Tend To Sell Low and Buy High
- At the Warframe Market[warframe.market], use the buy section to buy low. This is actually very effective, and if you post there, players WILL message you. Check out the differences between the Want To Buy and Want To Sell sections for Rhino Prime.
- Warframe Market Want To Buy Section
- Warframe Market Want To Sell Section
- Warframe Market Want To Buy Section
- Great Items To Flip According To Tiers
- Low Tier
- Corrupted, Nightwave, and Nightmare Mods (10 to 100 platinum) This might bit a tricky since there are a lot of sellers, but also a lot of buyers.
- Syndicate Mods (15-20 platinum) - These will be more difficult to flip since not everyone needs these mods unlike corrupted, Nightwave, and Nightmare mods.
- Corrupted, Nightwave, and Nightmare Mods (10 to 100 platinum) This might bit a tricky since there are a lot of sellers, but also a lot of buyers.
- Mid Tier
- Prime Sets (30 to 100 platinum)
- Rank 5 Arcanes (100 to 1000+ platinum) A whole set of 10 will be worth more than selling 1 by 1. Beware that it will be difficult to flip legendary Arcanes because each has a 1 million tax credit.
- Newly Released Prime Sets (200 platinum+) The sets will be 200-300 within the first day or two of release depending on how popular the set is, will depreciate in value by the second half of the week and then depreciate once again after 1 or 2 weeks. Note that flipping these may be risky since time is against you.
- Vaulted Prime Sets (50 to 150 platinum)
Vaulted Prime Sets are probably solid for flipping because vaulted sets have a psychological effect on players. Since they are no longer available from drop tables, players might feel that they are scarce and valuable.
- Prime Sets (30 to 100 platinum)
- High Tier
- Must be at least MR8.
- Rivens Rivens Rivens (250 platinum to 5k platinum+)
- Check out my guide on riven trading, How To Make Thousands of Platinum Selling Rivens, though truthfully it is a bit outdated. It still holds true for rivens for the hottest weapons. Since rivens have been out for a good while now, a lot of players have gotten all or most of the rivens they want. As a result, most rivens have depreciated in value. When I sold the Tiberon riven in the picture, Tiberon was a super hot weapon, because at the time Tiberon Prime had just been released and it is an amazing weapon.
- Must be at least MR8.
- Low Tier
- Drawbacks to Flipping
- High credit costs
- When selling an Item for platinum, you will be taxed 500 credits for every 1 platinum. If your selling an item for 500 platinum, that amounts to 250k credits!
- You'll probably have to spend a lot of time at the Index on Neptune which is one of the best way to farm credits. For medium risk, you'll be rewarded 175k (350k with credit booster) per round and for high risk 250k (500k with credit booster) per round. There's also 1999 cache farm and profit taker for credit farming.
- The in-game market offers 3-day credit boosters for 40 platinum, 7-day credit boosters for 80 platinum, and 30-day credit boosters for 200 platinum. They might be a worthy investment.
- Occasionally Digital Extremes will host a 2x credit weekend though rarely. With a credit booster, that amounts to 4x credits.
- Beware that Warframe prime sets have no mastery rank requirement, while weapon sets do, up to a maximum of 15 MR. If you are not a high enough MR for the weapon, it cannot be traded to you.
- When selling an Item for platinum, you will be taxed 500 credits for every 1 platinum. If your selling an item for 500 platinum, that amounts to 250k credits!
- High credit costs
- I am honestly not a flipper, but I understand trends and prices, know flippers, and have heard about some of the things they do. Therefor you'll probably have to figure a lot out on your own. However, I think this section gives a good starting point.
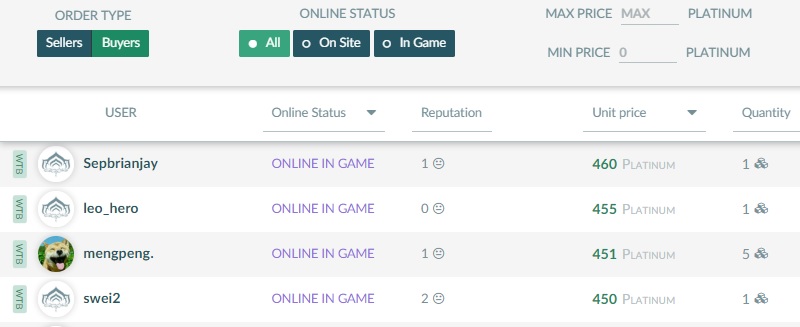
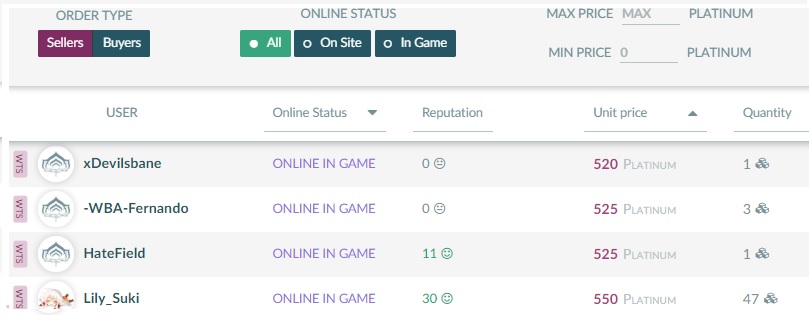
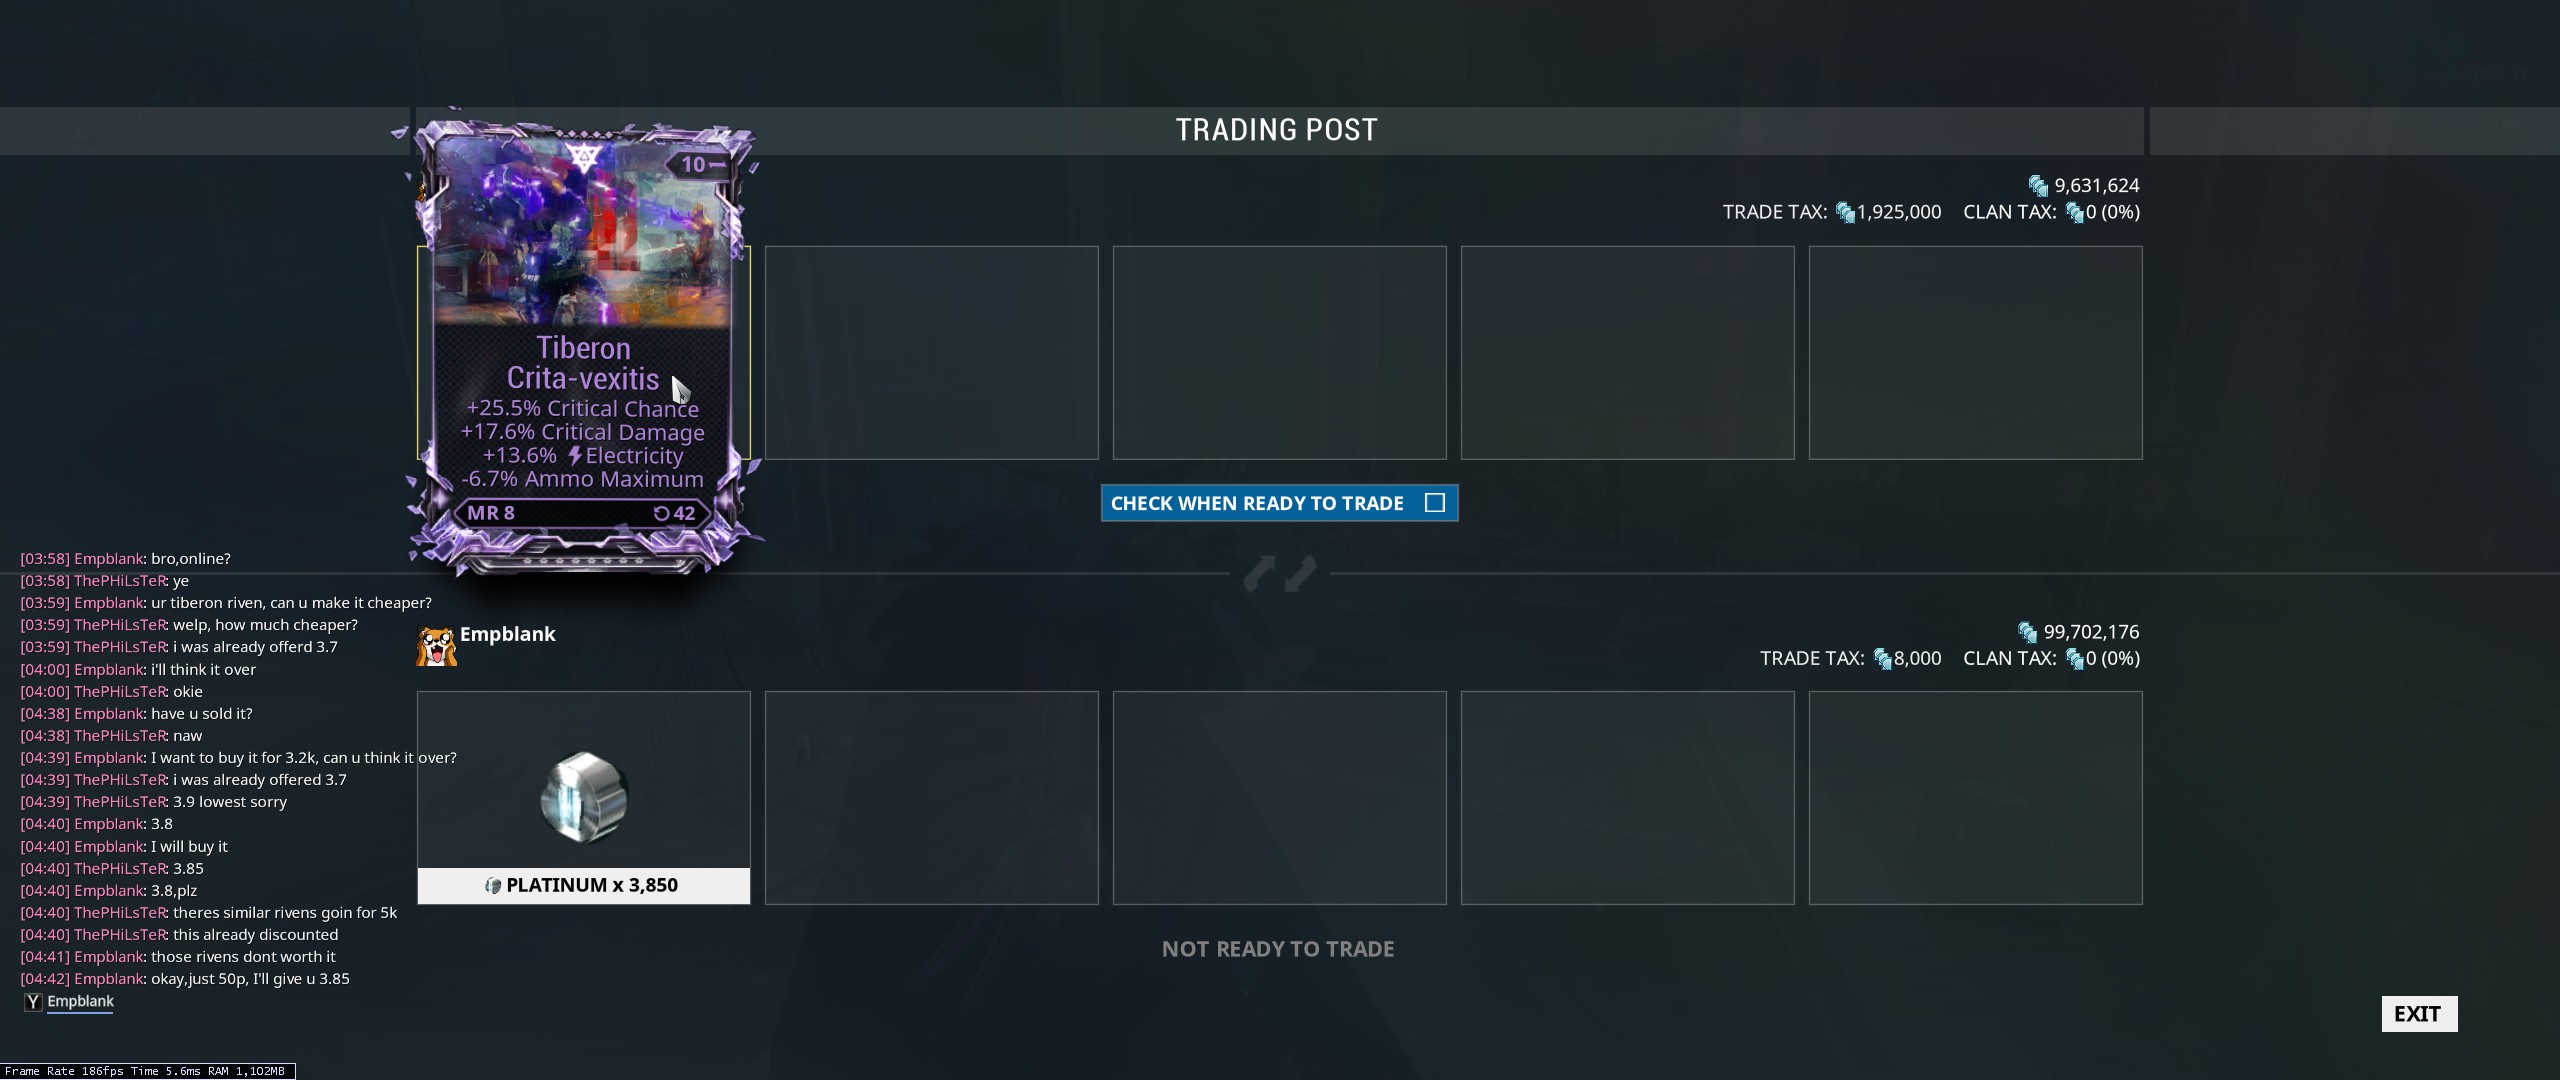
😘😘😘 MISCELLANEOUS😘😘😘
Difficult Quest Segments
How To Activate Natah Quest - Scanning An Oculyst
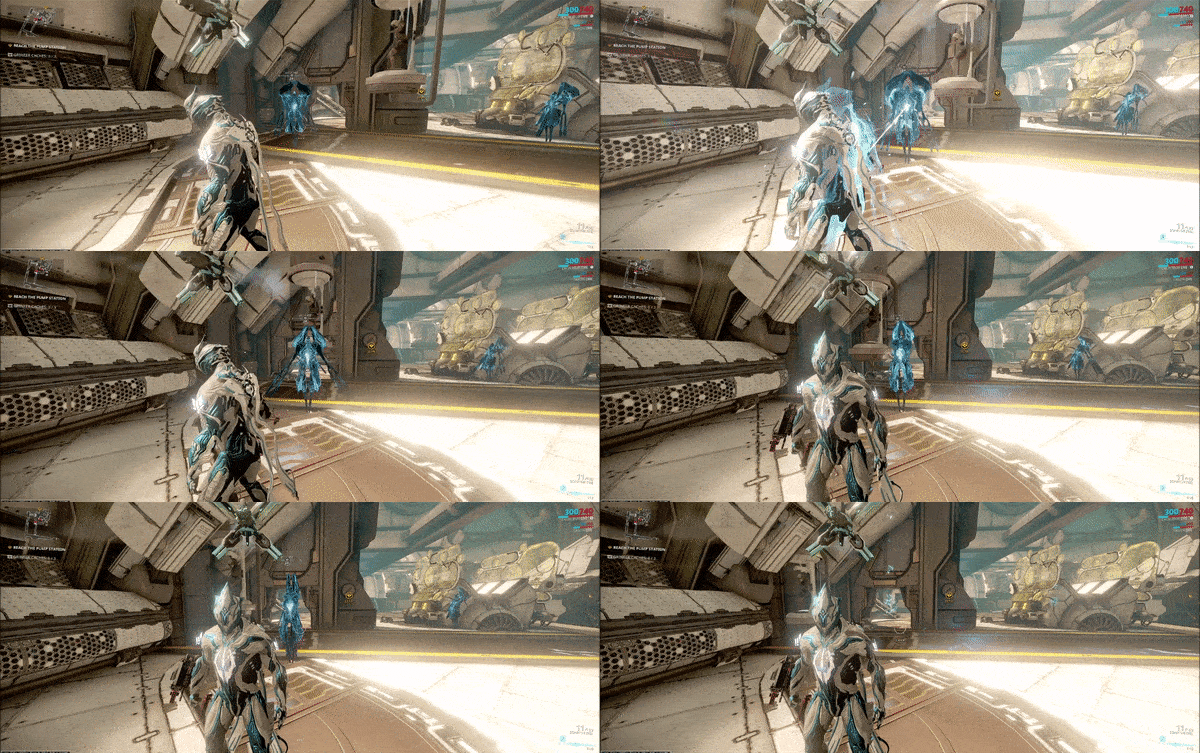 Oculysts will spawn on Uranus missions listed below. Try not to let them detect you before scanning them or they will retreat.
- Uranus, Ariel - Capture
- Uranus, Caliban - Rescue
- Uranus, Cressida - Mobile Defense
- Uranus, Desdemona - Sabotage
- Uranus, Ophelia - Survival
- Uranus, Puck - Exterminate
- Uranus, Rosalind - Spy
- Uranus, Stephano - Defense
- Uranus, Sycorax - Exterminate
- Uranus, Umbriel - Interception
The Second Dream - Security Eye
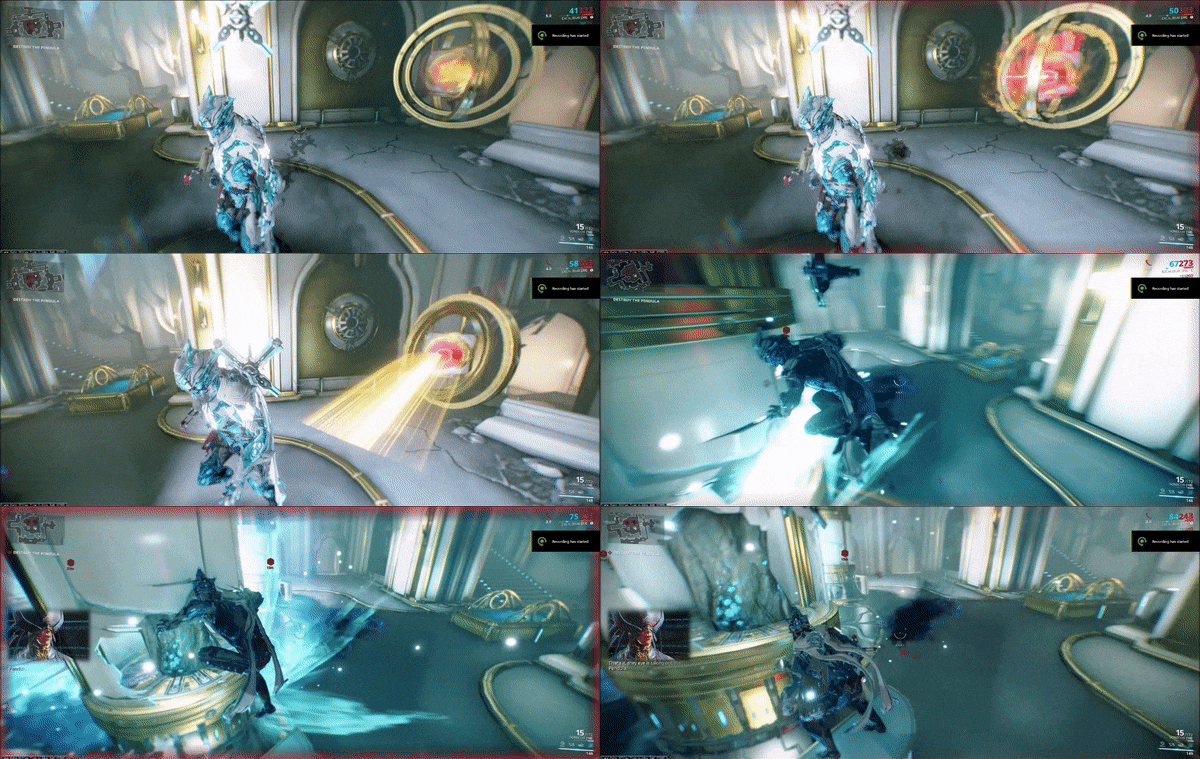 A button is located at the bottom of the pillars. If you shoot them, a small platform will appear. Essentially you'll want to jump on the small platform and divert the eye to shoot its beam at the pillar destroying it. Bringing a tank for this mission will give more leeway for errors, but is not necessary with good timing.
Jordas Precept - Jordas Golem Assasinate
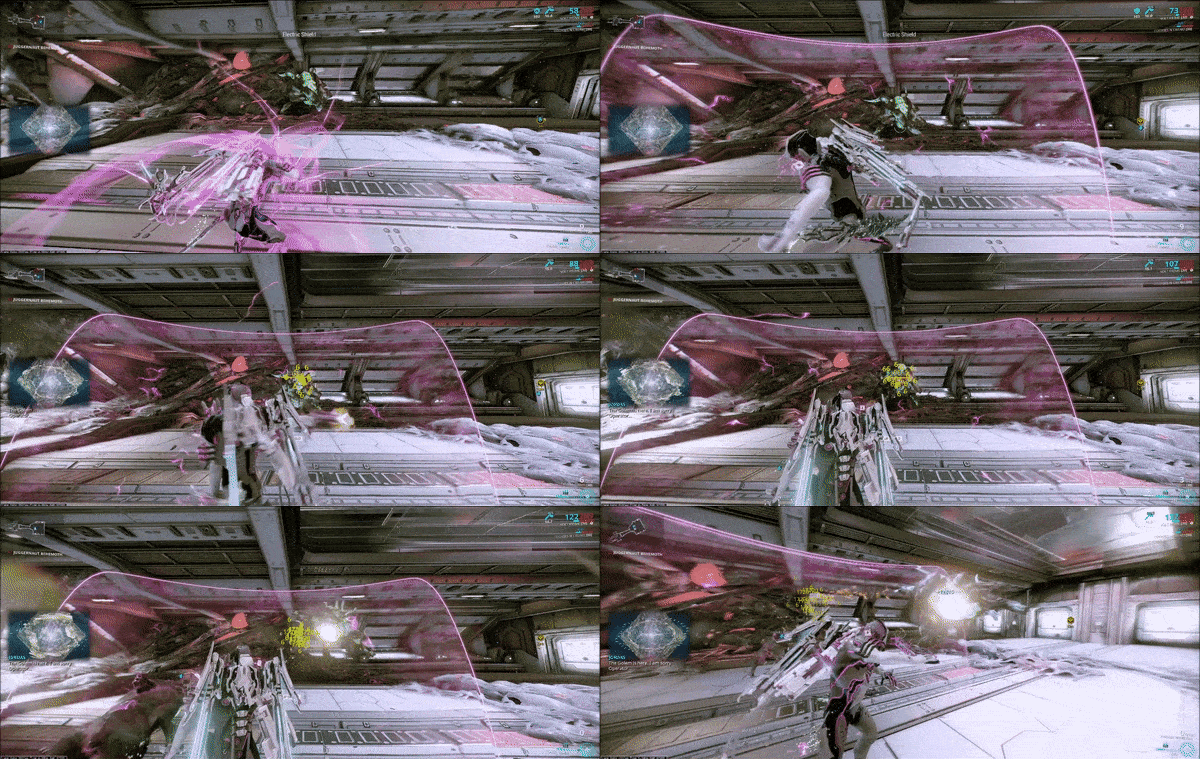 Before fighting the Jordas Golem, you'll have to fight a tough mini-boss, the Behemoth, a larger version of the Juggernaut. The Behemoth has a ton of armor. To bypass that armor, shoot the top of its body or its underbelly. Juggernauts have these same weak spots.
 The Jordas Golem is invincible except for its engines on its backside. Check out section, "Archwing," to get powered up enough to quickly kill Jordas Golem.
Difficult Bosses
Raptors - Namaah, Europa
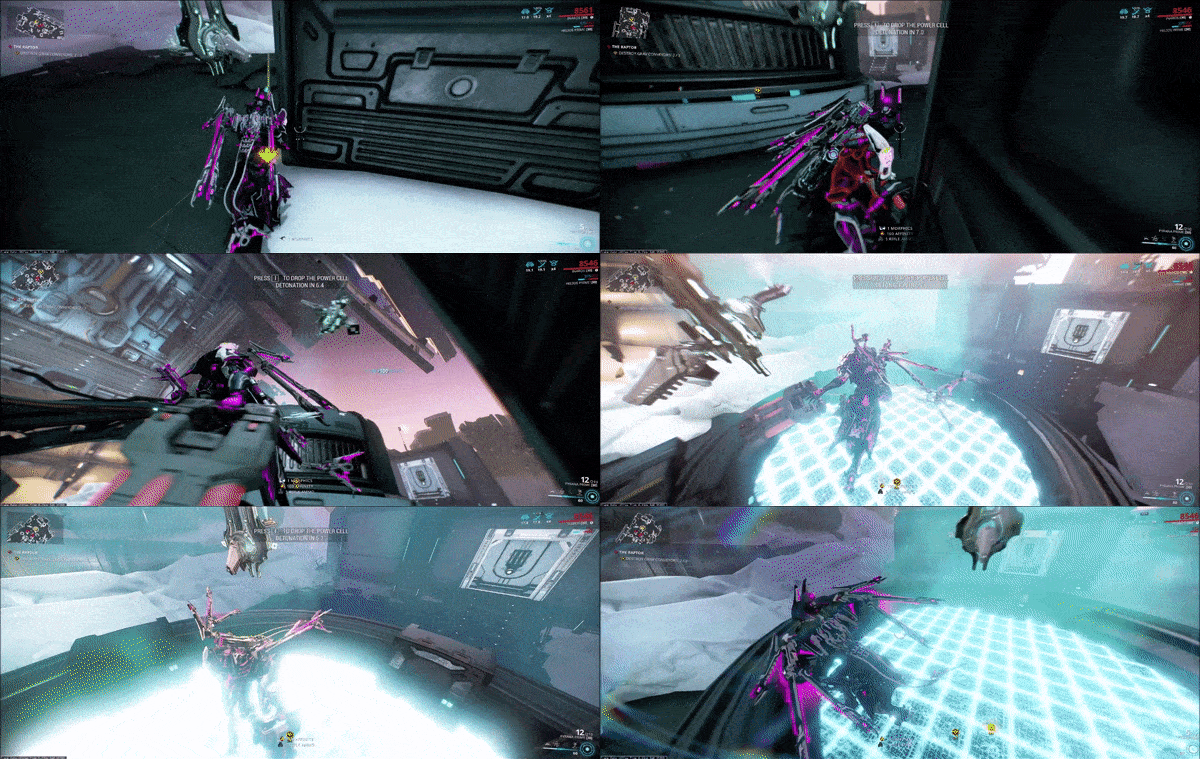 After being destroyed, the Raptor will drop a power cell that will detonate 10 seconds after being dropped. You have to pick up the power cell and drop it into the Gravity Conveyor, the opening where the Raptor spawned. You drop the power cell by switching weapons. Repeat this three times with each Gravity Conveyor.
Kela De Thaym - Merrow, Sedna
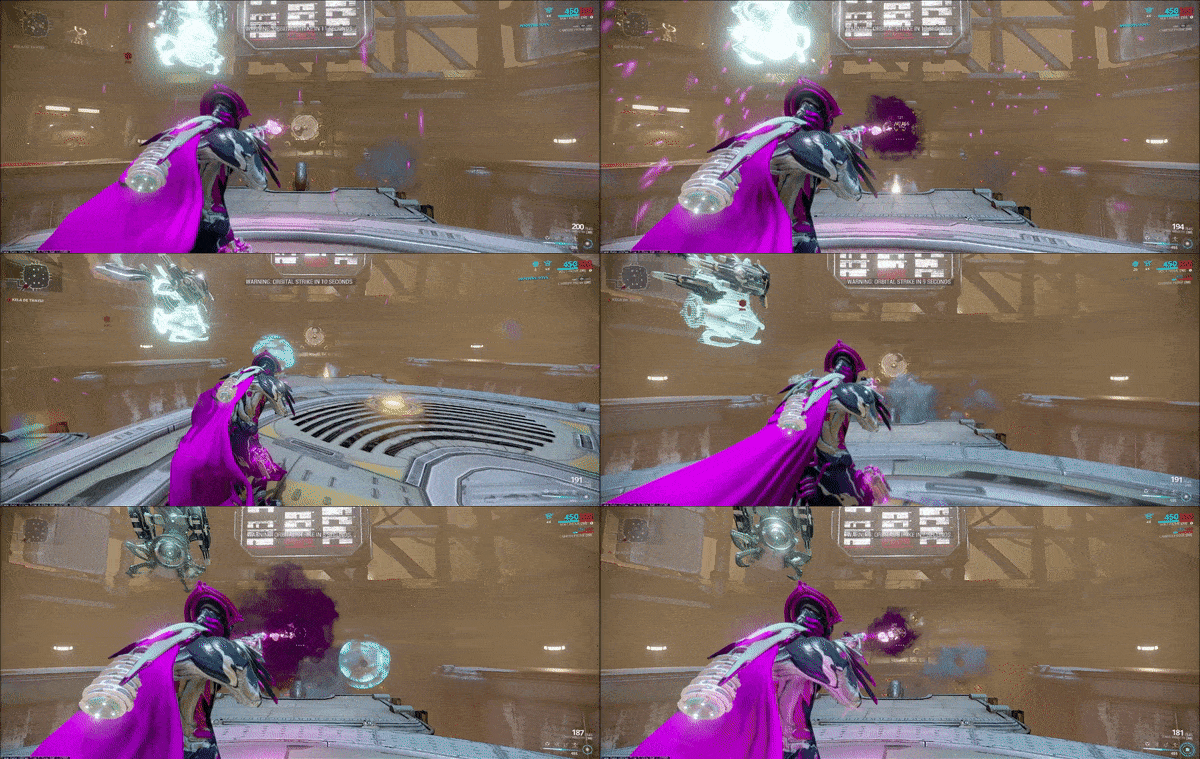 After stepping on the button on the floor, a panel on the wall will start spinning. Behind the spinning panel are 4 mini-buttons you'll have to hit. An option is to use a weapon with punch through, innate or modded with punch through, and a weapon whose projectiles spread over the entire spinning panel. Ignis and Ignis Wrath are perfect examples and are shown in the picture above.
Using Real Money
Ways to Save
First, thank you for allowing this game to stay free to play! There are a few ways to get the most bang for your real buck.These comparisons are for PC only as the value of platinum is very different on consoles. Consoles versions of Warframe do not offer platinum discounts as login rewards, which significantly affects the market.
Platinum Discounts From Login Reward
 Login occasionally rewards platinum discounts at 20%, 50%, or 75%. Beware that the login rewards are random and it's hard to say how soon or long it will take to get the maximum discount of 75%. Some people say taking breaks from the game causes more 75% discounts, but is not confirmed.
Price Comparisons Between Different Discounts
No Discount
20% Discount
50% Discount
75% Discount
75 platinum
5$
4$
2.5$
1.25$
170 platinum
10$
7.50$
5$
2.50$
370 platinum
20$
15$
10$
5$
1000 platinum
50$
37.50$
25$
12.50$
2100 platinum
100$
75$
50$
25$
4300 platinum
200$
150$
100$
50$
What are Prime Access Packs?
There are prime access packs that offer newly released prime sets, exclusive cosmetics, platinum, and boosters. If you don't care about the exclusives and gotten the discount login reward, it's cheaper to just buy straight platinum and to buy whatever item you want from other players via the warframe market trading site[warframe.market] and the in-game market using platinum.Packs Vs Buying Pure Platinum
Packs give platinum and some items, but with pure platinum, you will have full freedom to buy whatever you want through trading with other players or the in-game market. Certain packs, however, come with exclusive cosmetics that will never be purchasable with platinum.Prime Access Packs - Good Deal Or No?
 For example, this Limbo Prime access pack, specifically the banish pack for 49.99$, after calculations is worth a depreciating value 1850 platinum. On the day of release, it was worth 1850. Within a few days, its value dropped down to 1450. Within a couple weeks, its value dropped down to 1250. With a 75% discount, you will net 3700 platinum. Still the prime access pack is a pretty good offer if it takes too long to get a 50 or 75% discount login reward. However, the pack forces you to buy specific items you may not have wanted, while with pure platinum you have the freedom to buy whatever you want.
The stasis pack, which costs $80, I value at a depreciating value of 3825. On the day of release, it was worth 3825. Within a few days, its value dropped down to 3225. Within a couple weeks, its value dropped down to 2925. With a 75% discount, you will net approximately 6500 platinum. This is a pretty good offer if you are having trouble getting the 50 or 75% discount.
The cataclysm pack, which costs $140, I valued at a depreciating 6390 platinum upon immediate release. 140$ worth of pure platinum with a 75% discount is 10360. Within a few days, its value dropped down to 5790. Within a couple weeks, its value dropped down to 5490. This is a pretty good deal if you're having trouble getting the 50 or 75% discount.
The accessories pack costs $50 and includes the exclusive cosmetics and boosters which are the equivalent of 1200 platinum. With $50 and a 75% discount, you will net 3700 platinum. This pack gives no platinum and although the boosters are amazing, platinum will be super helpful to give you a head start. If you like this pack, it might be better to buy this pack in addition to pure platinum, or skip this pack and buy the other options that include platinum.
Starter Bundle - Good Deal or No?
 The Starter Bundle costs $19.99 and offers: 300 platinum, 7-day affinity booster, 7-day credit booster, 1 warframe slot, 2 weapon slots, 1 orokin reactor, 1 orokin catalyst, base damage mods, and 3 exclusive cosmetics. This is approximately valued at 465 platinum. For $20, you can get 370 platinum. For $25 with a 75% off discount, you can get 2100 platinum. This is a good deal if you have a hard time getting the 50% or 75% discount.
The Nature Of Prime Vault Packs
Prime Vault Packs contain vaulted items which are not available in drop tables. These items will be available to farm for a couple months at a time, but these temporary unvaultings can take 1 to 2 years. Because these vaulted items are temporarily available to farm and buy via the packs, they are lower in value initially. However, after they are put back into the vault, their value will increase over time. In a year, they should double in value. The prices will also vary unlike the other packs that will depreciate over time.Prime Vault Pack - Good Deal Or No?
 For example, this Nova Prime pack costs $40 and is initially worth 530 platinum. After a year, the value will likely more than double. With a 75% discount, $40 can buy you 3270 platinum. This is a very bad deal, but it does offer exclusive cosmetics. Some of them are very nice depending on your taste.
The accessories pack offers 200 platinum and the exclusive cosmetics for $20. Since the Prime Vault pack is a very poor deal, the only real reason to buy it is for the exclusive cosmetics. It might be better to buy the accessories pack and spend the rest of the real money on pure platinum using platinum discount. You can then use the pure platinum to buy the prime sets and have extra platinum left over.
Prime Vault Dual Pack - Good Deal Or No?
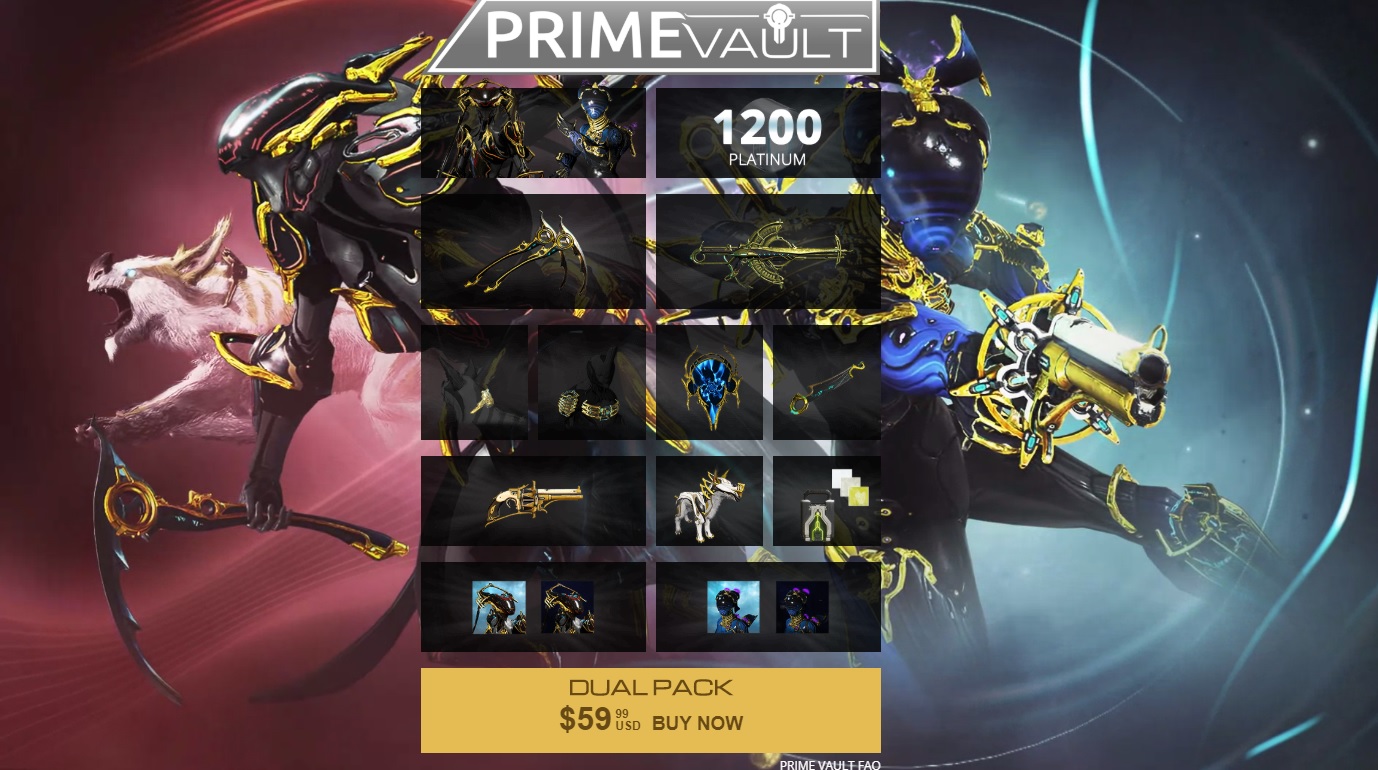 This pack includes 1200 platinum and combines 2 packs for $60. I value this pack at approximately 1565 platinum. This is a good deal, if you're having trouble getting the 75% discount.
Suggested Items To Spend Platinum On:
- Warframe slots (Market)
- Weapon slots (Market)
- Orokin Reactors (Market)
- Orokin Catalysts (Market)
- Forma bundles (Market)
- Filled Ayatan Sculptures for endo (Trade)
- Nightwave, Nightmare, corrupted, and other vital warframe mods (rank 0 or max rank, rank 4 Fleeting Expertise, rank 4 Streamline, rank 10 Adaptation, Rank 10 Vitality) - (Trade)
- Max rank weapon mods (Trade)
- Prime Warframes (Trade)
- Non-Prime Warframes which are expensive and recommended by many to be farmed instead (Market)
- Affinity boosters (Market)
- Credit boosters (Market)
- Resource boosters (Market)
- Resource drop chance boosters (Market)
- Rushing warframe building to skip that hefty 3-day build time (Foundry)
Warframe Lingo
Great guide by A1m3r, The Warframe Glossary: Shortcuts and Terminology Used in the Game.
Additional Tips
Easily Acquired Mastery Fodder
Mk-1 Weapons are the worst variants of a weapon, but are great for mastery fodder. They can be purchased pre-built with credits off the in-game market (esc-->market) and have a mastery rank requirement of 0. To easily find them, just type mk1 in the search bar.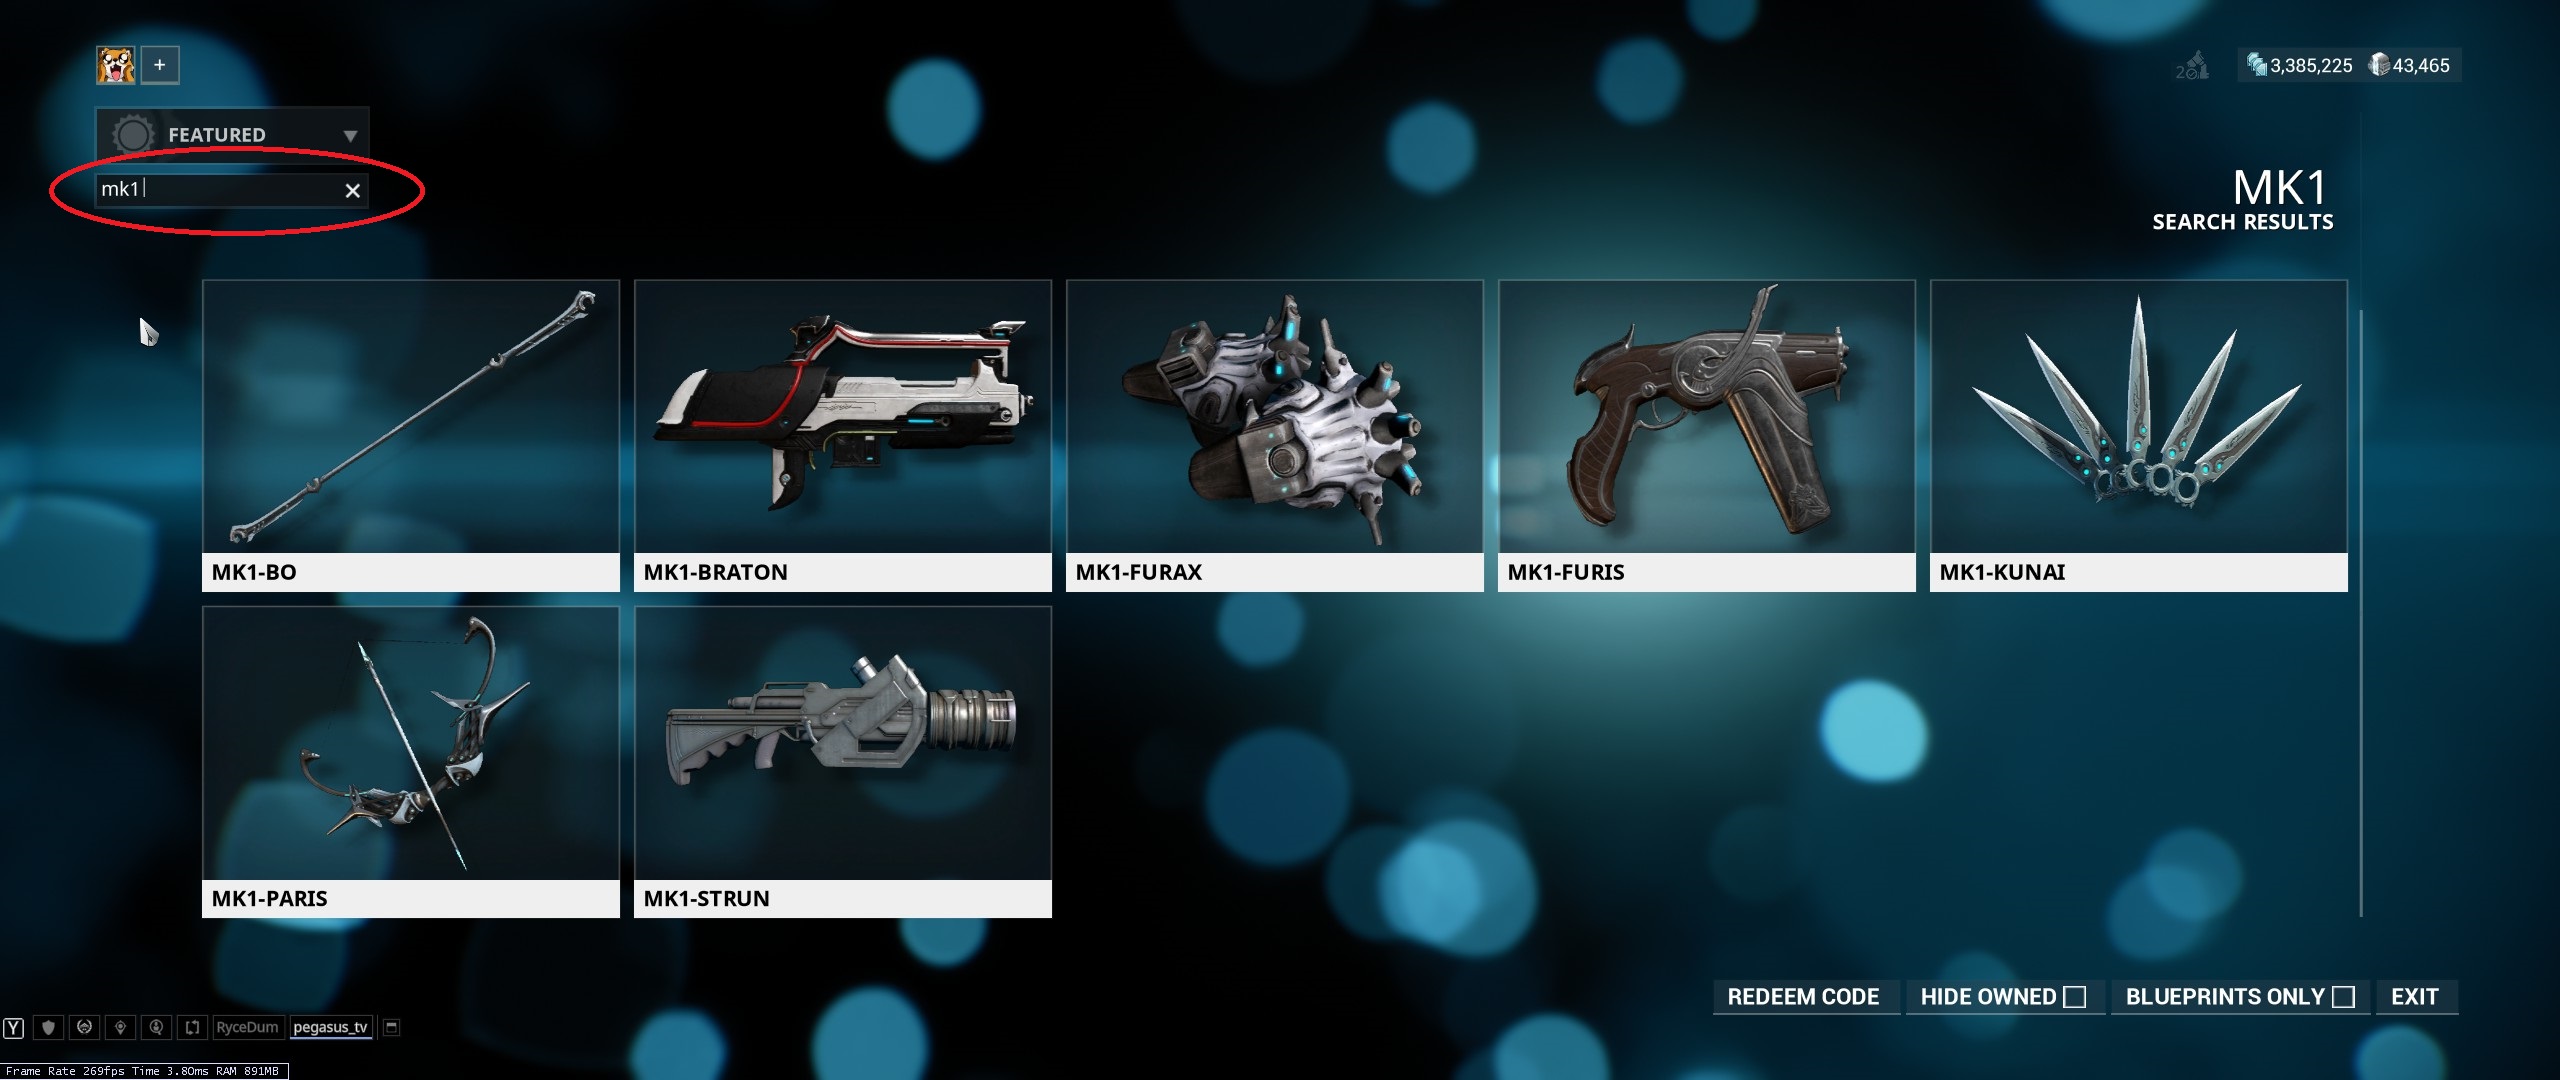 More Weapons That Can Be Bought With Credits:
- Braton
- Strun
- Lato
- Aklato
- Lex
- Sicarus
List of Mastery Fodder Weapons Ordered By MR Requirement
The warframe wiki lists weapons by MR requirement, though of course some are not MR fodder. Here is the link[warframe.wikia.com]. The list is all the way at the bottom of the page.Do Not Upgrade The Mods Fleeting Expertise and Streamline to Rank 5
Instead, upgrade them both to Rank 4. The reason is that max efficiency is capped at 175. A rank 4 Fleeting expertise gives +50 energy efficiency and a rank 4 Streamline gives +25 energy efficiency totaling to +75 energy efficiency. Rank 4's offer maximum capacity efficiency as well. Some builds will require max rank fleeting expertise and/or streamline, but most will require rank 4's. Getting additional copies of the mods and upgrading them to rank 5 to have both rank 4 and rank 5 versions may be a good idea, but not until mid-game.Upgrade Mods to a Maximum of Rank 7 or 8 During Early-Game
The +stat gain to endo cost ratio is low after rank 8. During mid-game, mods can be ranked to 9 and during late mid-game, mods can be ranked to 10 after amassing large amounts of extra endo.Hinders Progress
Do not sell ayatan sculptures for platinum. This will severely hinder progress.How To Skip To Faraway Locked Missions
Because it can take a while to unlock all missions on all planets, you can get a taxi from clan chat or recruitment chat for alerts, invasions, fissures, resource farming, credit farming, and any other important missions. Players will que the mission for you since they have it unlocked. Alerts, invasions, fissures, and sorties will spawn on a random planet in a random mission, but will only show on your navigation screen if you have unlocked the planet the mission is on. For the full list of alerts, visit the Warframe Hub Website[hub.warframestat.us].What Items To Sell For Credits
Like I said earlier I don't think it's a good idea to sell mods for credits. Perhaps it won't matter as much later, but right now you desperately need that endo. Instead there are abundant items that can't be traded and therefor are not worth anything except credits. Go to the miscellaneous tab in inventory (esc-->equipment-->inventory-->miscellaneous tab). Search for extra warframe blueprints you don't need. Common drops are Oberon, Valkyrie, and Rhino blueprints. They can be sold for 3500 credits each.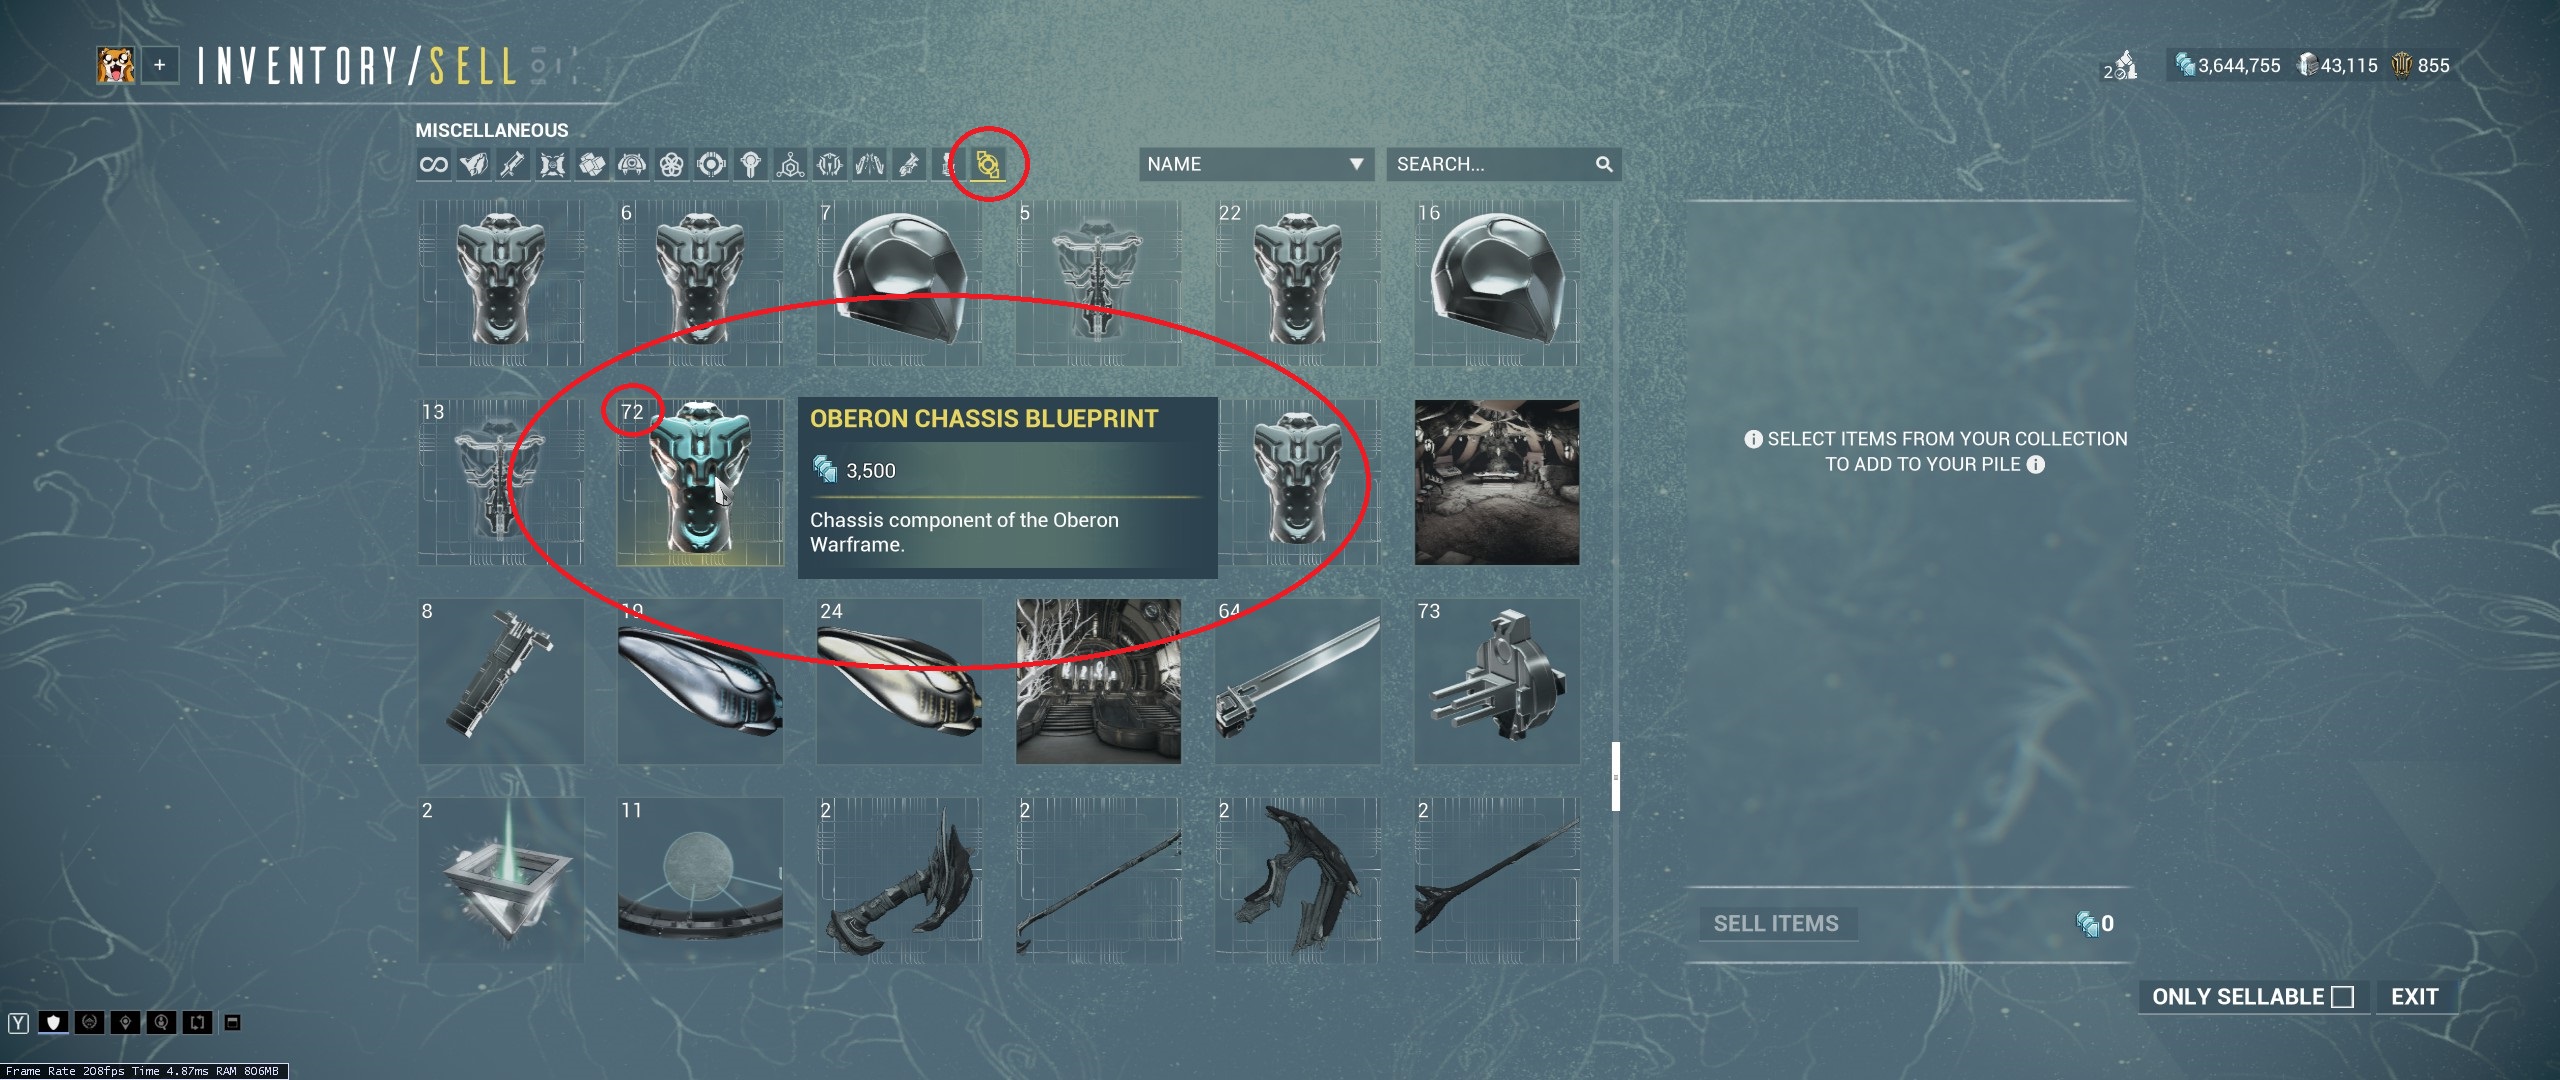 The Chroma warframe requires a Volt Neuroptics, Ember Neuroptics, Frost Chassis, and Saryn Systems to build, so you might want to keep 1 of each of those.
Learn Speed Boosting Parkour Moves
Details are in my other guide, Speed Runs: Tips, Parkour, And Ability Mechanics. The great thing about advanced parkour mechanics is that it is available to all players the moment they start. Not only does it speed up progression by clearing maps faster, but provides additional safety via evasive maneuvers. Mastering advanced parkour early will make you one of the pros sooner rather than later.Avoid Fully Diving into Open World Content Until Late-Early Game Or Later
It is not that the rewards from these areas aren't worthwhile. It's that the content has its own resources to farm. The content is limited within itself.Keyshares - Efficient Use Of Rare Keys
Example of rare keys are Mutalist Alad V Assassinate Keys which award Mesa parts. 1 Mutalist Alad V Nav Coordinate is needed to build 1 Mutalist Alad V Assassinate Key. The special nav coordinates aren't easy to come by. Therefor, efficient use of these keys would be smart. Form a keyshare party in which each party member takes turns using their key, for essentially 4 runs per key use.
Useful Websites
The Warframe Wiki[warframe.wikia.com]
The Warframe Market - Third Party Trading Site[warframe.market]
Live Updates on Alerts, Fissures, Invasions, Baro Ki'Teer, Darvo Deals, Sorties, Day&Night cycles, and Acolytes[hub.warframestat.us]
Overframe - Create Builds and View Resulting Stats[overframe.gg]
Official Warframe Forums[forums.warframe.com]
Official Quest Guide[www.warframe.com]
Official Drop Tables and Drop Chances[www.warframe.com]
My Guides
Beginner Guides
- 🤗Ultimate Beginner's Guide To Warframe 2020🤗
- Beginner Friendly Warframes And Builds 👌
- How To Survive
How To Make Platinum
- How To Make Platinum: Long Term Investments
- How To Make Thousands Of Platinum Selling Rivens
- Trading Guide - Lucrative Trends
Weapon Builds
Warframe Builds
- Optimized Volt Builds: An Advanced Guide
- Chroma: INSANE Damage And Survivability
- Nova: Crowd Control, Farming, DPS, POE, Raid, And Speed Run Builds
- Loki: All Builds
- All Things Rhino
- Proc'ing Growing Power: +25% Power Strength
- Learn To Mod On Your Own 🙂
- Inaros: The Lazy Tank Build
- Trinity Guide And Builds 👌
Archwing Builds
Missions
- Speed Runs: Tips, Parkour, And Ability Mechanics
- 250k Focus In 10 Minutes!
- Riven Challenge Guide
- Ascension Sub-6 minute Speed Run Strategy Guide
Fortuna
Conclusion
 I hope you all appreciate my guide and rate it up. It took me a long time to write this. I even watched "Let's Play Warframe" youtube videos to better understand the difficulties new players go through. (⌐■_■) Cheers!
If you want to add some input or see a mistake, feel free to comment. This is after all for beginners, and they have a tough time already!
More Warframe guides
- Synthesis Target Locations★ 5 (8.2k)220k views13k ♥27 minUpdated Apr 15
- Shawzin codes/songs (UPD 11.10.2020)★ 5 (434)35k views1.1k ♥4 minUpdated Oct 11, 2020
- The Ultimate Shawzin Collection★ 5 (1.3k)31k views3.3k ♥12 minUpdated Sep 30, 2020
- Починка чата с помощью Zapret без VPN★ 5 (367)26k views621 ♥2 minRussianUpdated Sep 28, 2025
- Duviri Archarbor Puzzle Guide★ 5 (175)26k views341 ♥5 minUpdated Nov 27, 2023
- Шазин Музыка / Shawzin Sounds★ 5 (504)24k views1.4k ♥7 minRussianUpdated Jun 11



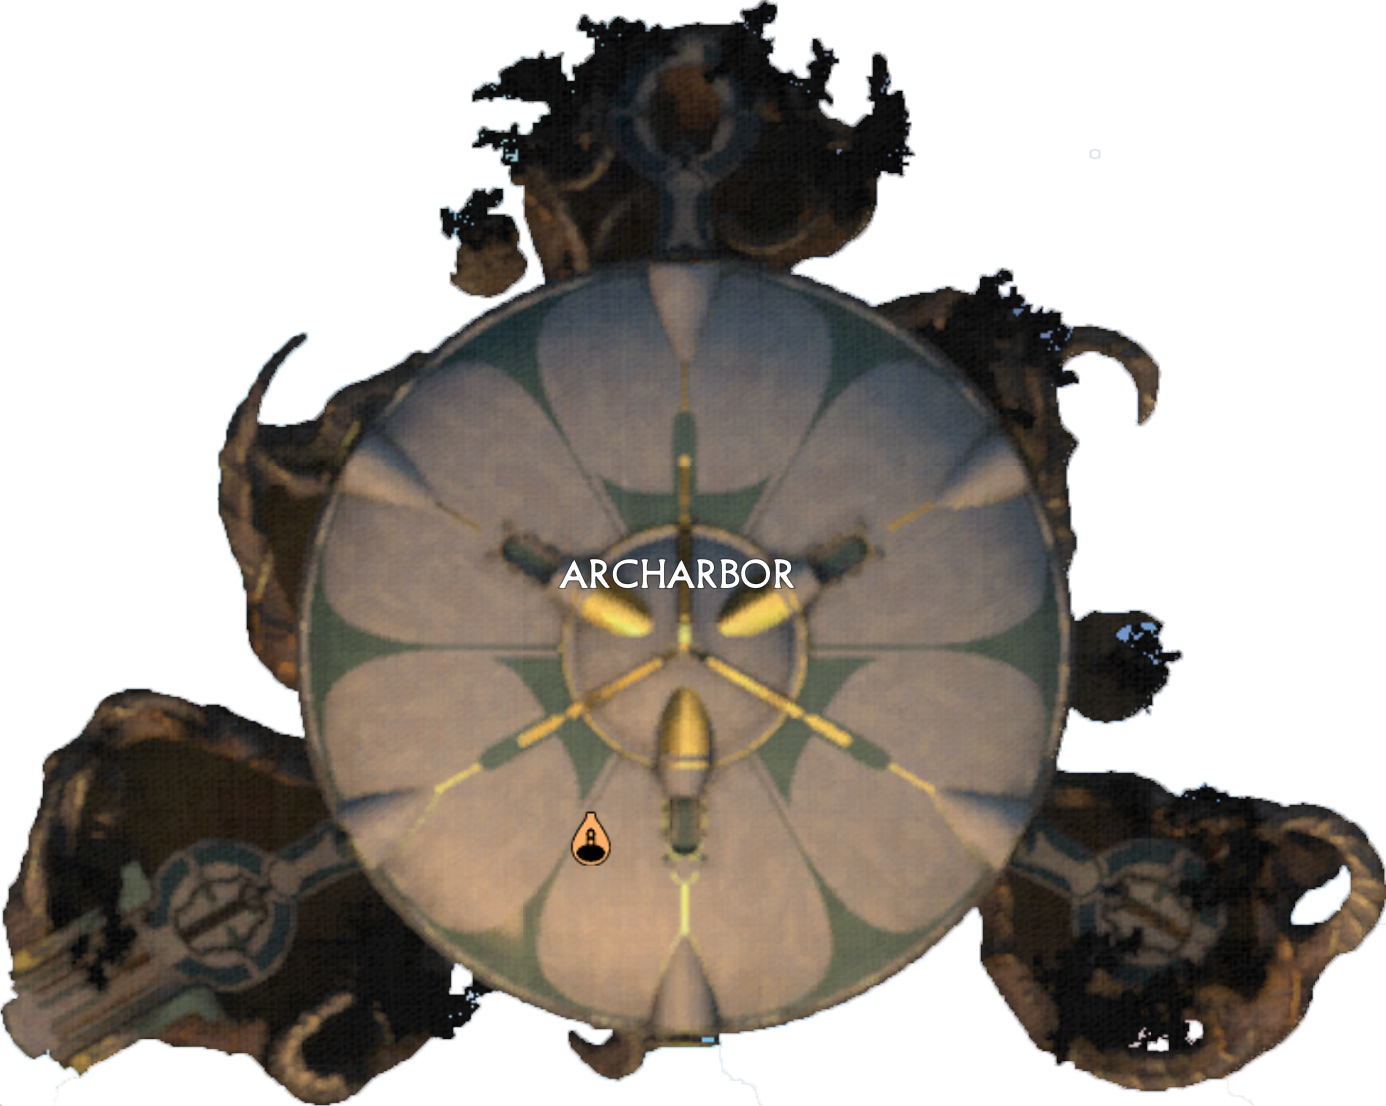

This guide was created by its original author on the Steam Community. Are you the author and want it removed? Request removal.