Overview
An in-depth guide to Verdant Skies from Early game to End Game. Locations of items, recipes, romance options and character collections, blueprints, tips and tricks, produce to sell, splicing and scenes/locations.
Getting Started
Here are some tips and tricks to getting started with Verdant Skies. You may feel overwhelmed at first and lost, but I hope this guide can help! There will be spoilers, but any huge ones will be covered. Here are some things to remember:
- You do NOT have to sleep! There is no “sleep time” or a point where your character will faint if you are not home and in bed. As long as you do not faint due to using all your energy/stamina, you will stay awake forever. Any time you do sleep, unless you change it with an alarm, you will wake up at 7am.
- However, you DO have to sleep sometimes in your own house in order to progress the game with events. (ie, Rosie will wake you up to tell you something important. But she can’t wake you up if you never sleep.)
- Each character will have a “cutscene” revealing more about them when you fill the relationship meter on the left of the character’s relationship hearts. When the meter is full, you must trigger the cutscene by entering their house (sometimes at a certain point). You will not gain any further hearts with that character, even if you talk to them every day Confirmed: You will not gain relationship points if you complete their collection, (Where you normally would) until you have the cutscene to unlock the next “heart level”.
This is hard to do, but you could potentially talk to a character before you enter the collection items, and therefore not start the cutscene, because you already in their house. The most “common” victim of this issue is Miles, since he is usually in his shop.
Some characters will ask to meet you somewhere else or at a certain time when their next cutscene is ready. Just talk to them if you’re unsure where or when to meet them.
- Crops and livestock are without doubt the best way to make money, but flower bouquets are a good alternative early game, as it doesn’t require stamina to pick up flowers or craft them. If you are happy to waste time, or do not need to sleep, crafting an easel and painting with flowers and lumber is also a good way to make money early game, as long as you have Miles’ shop unlocked.
- Complete cutscenes and character collections as soon as possible. The cutscenes with characters and completion of collections will sometimes unlock blueprints, recipes, characters and give you new tasks.
Please note – your relationship does not deteriorate if you sell the rewards for character collections, and therefore these items are a good source of money early game. Don’t worry, Miles eventually sells the items in his shop if you ever lose them or want them back.
Tips and Tricks (and Achievement Help)
So, beyond the general, vital tips outlined in the first section, I will quickly be adding some quick facts I found out about the game as I played that could help others.
- Jade gives you another watering tank early in the game, so don’t waste resources making one early.
- Scrap is your life-blood. Collect it. No, I don’t care if you have 80 pieces and want to stop. You need more. Trust me. Collect it whenever you see it.
- The Eclipse happens after 30 days of summer, and lasts for 3 days before summer returns. Stock up on flowers and berries whilst it’s sunny, and then when it’s boring around the ecplise, paint the days away to earn money.
- Storage is shared. Everywhere. Don’t make two fridges. You only ever have the one space. The blue boxes in your neighbours houses? Shared. Leave Collection items in them or your fridge so you can conveniently retrieve them from inside the relevant person’s house and not clog up your inventory. Wooden boxes are the only item that does not cross over – so it’s recommended to keep your bulk stuff in them.
- Horde everything until you have completed everyone’s collections. It’s painful selling your cometcactus and realising the next bundle needed is herbal tea, and thus you have to wait days to finish it when it could’ve taken you seconds. There’s other ways to make the money.
- You need 6 sticks of dynamite in total. 3 for collections, and 3 for removing objects around the world. Interestingly, Anthony tells you he hopes you don’t give just anybody the dynamite. So of course you give it to the weird woman who can barely speak.
- Losing stamina and passing out really isn’t terrible. There’s tonnes of berries around the map, and you can just munch on them the second you get up to restore any lost stamina penalty. The only thing you miss is time.
- I didn’t wait for the cross-gene splicer to create animals with “rare drops”. It is 100% a fine strategy to ignore incubation and gene splicing until you come across a raw-genome from a wild animal with the genome you want. In the grand scheme of things, “Rare Drops” are the only genome you should be looking for until you have completed all collections with rare drops from animals.
- I didn’t incubate any animal that didn’t have rare drops. I found it to be a waste of space and resources.
- Although it doesn’t suggest it has a rare drop, or anything to signify that it might – the Crystal Blobs do have rare drops, and they are the best rare drops going. Instead of Sweet Crystal, you receive 3 Sapphires.
- Having trouble getting the %1 achievement? Wait until you have a child and Antimatter paint is sold. It costs $550 per unit, but the paintings you create with them only require the paint and flowers, and sell for $600. The whole $600 counts towards the achievement and you will get it in no time.
- The crop/animal gene you’re trying to make 5 star? Don’t be afraid to throw genes out until a better one randomly appears in a wild animal or birds nest. The genes change every day, and you could even pick up a 4 or 5 star one. Fiddle with the sliders and see what happens.
(Note: The TOP item is the item you will make, when working with multiple species. ie, a sunfruit above a cometcactus will make a sunfruit with those traits. Same applies to animals.) - The “Oh Snapper!” achievement is usually quite easy to get if the pond is set up right – but if you don’t get it, fear not. Just upgrade your spear to the highest level later in the game. It gives you a larger margin for error and allows you to catch them further away.
- Almost all achievements can be gathered whilst progressing the story. Anything that seems potentially difficult will also usually be achieved by completing people’s collections. So try not to focus on the bug collecting or fish collecting early game. Apart from the “well-read” achievement. You’re probably a psycho if you build all those book cases. Just comment if you’re really struggling.
- Save your money, even at the “end” of the game. You need $100,000 for a certain blueprint.
Character Collections (And Rewards)
Please Note – If you have trouble unlocking the character or item needed for these collections, check out the “Unlock” section for guidance.
Note: You cannot begin Zaheen’s collection until you receive the bug jar. To collect a bug, you must find TWO and match the pair.
Character Collections (And Rewards) Continued –
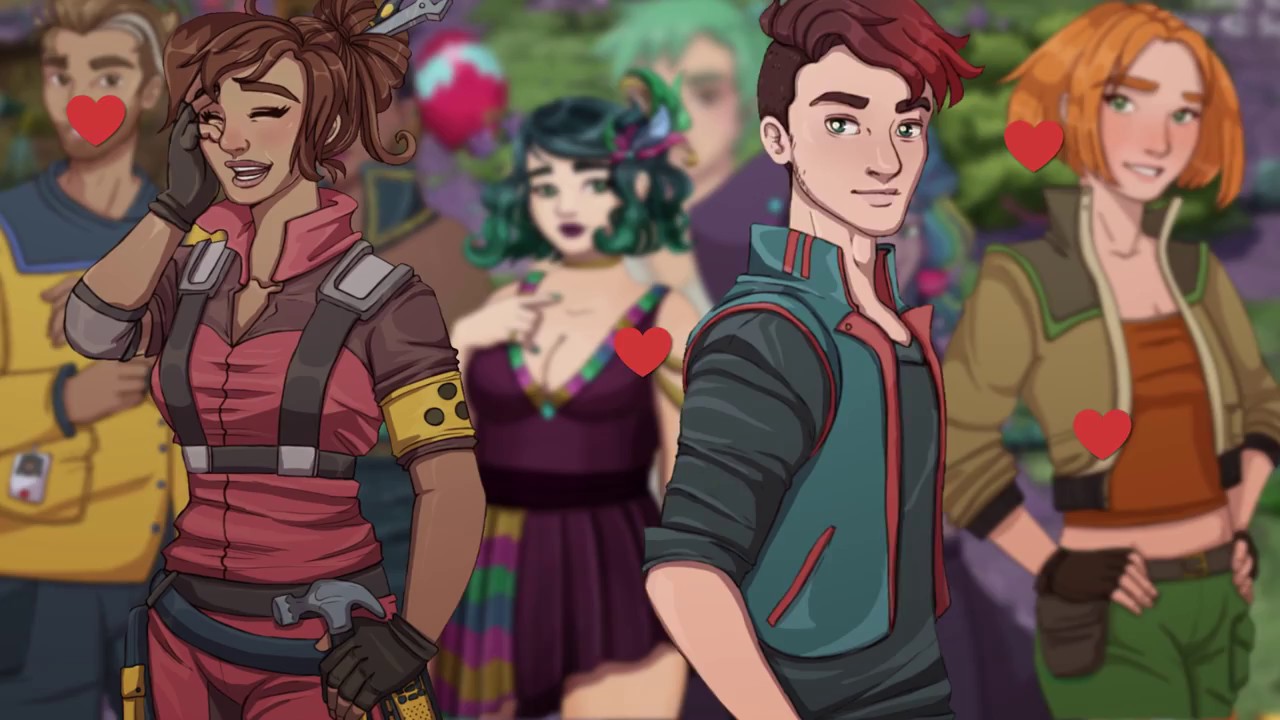
Relationships
There is a total of 12 Characters to unlock and potentially date in Verdant Skies. Each character will be introduced and unlocked at separate times and a bio will be given about them. I will not be offering the bio in this guide or covering them individually. I will only be talking about the date mechanic of the game here.
(Side note: You can immediately rename a character to something else you choose during the “black intro screen” when they first appear to you. For the purpose of this guide, I am using default names.)
A lot of characters are happy for you to date multiple people as well as them. (Although later, you can exclusively marry the one you prefer.) View the table below to find out which ones are Polyamorous or Monogamous. (Note: You need to date every Polyamorous person to earn the achievement for dating 7 people at once.)
Those who are Monogamous will immediately because “Best Friends” with you after you complete the 3 “friends” (blue) hearts on their relationship meter. If you reject a polyamorous person, you will also become “Best Friends”. If you break up with a person that has began unlocking the 3 “love” (red) hearts, their relationship will immediately decrease to “Best Friends”.
You can date or dump a character at any time if you feel you made a mistake with your decision. Just interact with the journal in the corresponding character’s home once the “date” cutscene with them has occurred once.
Note: There are no “negatives” to dumping people – apart from feeling bad during the dumping cutscene. The character will tell you to leave them alone for a couple days, and then begin to act normally.
WARNING – At the cutscene right before you unlock 3 red hearts, the character will ask you to make the relationship more serious by moving in (or marriage as well, depending on the character). If this character is a polyamorous person, they could ask you to pick them and become exclusive. If you do not become exclusive, but move in with them, you risk triggering the other characters to make you pick and make a decision anyway.
Getting Married automatically moves you in with a person.
The “Baby” option unlocks after 10 days, which is just long enough for you to “max” the relationship meter at 9 hearts. When you click this option, the baby is instant and appears that day.
After the baby is born and a day has passed, visit Jade in the administration office, and she will explain that after 10 days old, your baby can go to an intergalactic boarding school once you create the technology needed. This begins the process of your baby “growing up” and returning as an adult.
Note: Your child will not have a house or interact with the other characters in meaningful ways as of writing this guide.
There’s “supposed” to be a way to have 2 children, as I have seen talk of it. But I haven’t managed it personally.
Unlocks and Key Events
I’m unsure how to make this section formatted – so I’m just going to talk about the unlocks in somewhat chronological order (there are multiple threads of unlocks that diverge and meet others, so I can’t say exactly what is done “first). I’m not 100% sure on some of the unlocks, and they may require some friendships to be expanded on so make sure, if you’re stuck, to raise your friendship levels, sleep in-game or attempt a character collection before coming here for the trigger.
- You unlock Wyatt by harvesting your first crop.
- Talk to Jade to unlock “animal sampling” after Wyatt has arrived. Once you sample your first animal and show Jade, Nessa will become unlocked.
- Once you have gone to the Marsh wearing the Wetland Walker boots, and bring back the sample to Wyatt, you will unlock Zaheen.
- After unlocking Nessa or Zaheen (unsure), talk to Jade. She will ask you to ship $50 worth of stuff (Note: If you brag that you can send $150, you will have to send that amount instead.). When you have shipped the stuff and slept, Miles will be unlocked.
- After unlocking Miles, you must find a gem inside one of the two caves in and have a fairly high relationship with Jade in order to unlock Anthony.
(As a side note, the first time you can make dynamite should be used on the boulder in the Mountains to the North-East. It unlocks two patches of farmland for the Mountains, needed to farm crops in the mountain, and access to more rocks and a higher likelihood of gems.)
- Anthony’s presence allows you to upgrade tools to farm in the Mountains. I’m unsure if you have to have a certain friendship with him to unlock them, but you must also upgrade at least 2 base tools to “improved” before he will tell you about “superior” tools. (As another side note, I picked a hoe and the hammer, as you use them most).
- The deep-core mining equipment is unlocked when Miles and Anthony are your acquaintances and you enter Miles’ shop for a cutscene.
- I believe Sasha is unlocked when Anthony arrives and you have slept. You must walk up to the northern-most cave and attempt to enter. She should stop you.
- I believe Kenji is unlocked when you become Miles’ acquaintance and befriend him more. (It may also be his collection.)
- Speed boots are unlocked when Kenji arrives(?). Go into Rosie’s garage to find Anthony and Rosie talking in a cutscene.
- Yuki is unlocked by entering Kenji’s house after a couple days since his arrival. (You may need to be his acquaintance, but I don’t believe so.)
- The Advanced Gene Splicer (variants 1 and 2) for Cross-species Crop & Animal splicing are unlocked when you are friends with Zaheen and Nessa and enter Zaheen’s house for a cutscene, and then Nessa’s for the final cutscene the next day.
- The automatic sprinklers are unlocked when you unlock the quest of bringing cave mushroom to Ramon. This quest starts when Sasha says about it to Wyatt. (so probably unlocked via acquaintances with them both)
Note: I mean fully-automated sprinkler, btw. One that works by itself every 6 hours. - The quantum storage, found in almost every house, is unlocked when you have a baby and talk to Jade about your child going to school.
- Antimatter is unlocked when you speak to Sasha, investigate the Secret Cave, and then return with Skye. (This begins the quest to find it.)
- Antimatter paint is unlocked when you have managed to find Antimatter and then speak to Miles.
Community Projects and Quest Equipment
This section of the guide just highlights the necessary items required for community projects needed to unlock people or equipment needed to complete the “main” quest, and also unlock people. (What unlocks what will be in the Unlock section beneath this one.)
I Strongly recommend only completing the absolutely necessary upgrades until you unlock Miles and his shop, as stone and lumber can take a long time to harvest, using precious stamina you could use for other things, and they are very cheap in his shop.
Secret Cave + Code Box
To the North-Western top of the map lies a cave that is too small to enter, but you can hear a faint voice calling out to you from it.
Do not read ahead if you do not want spoilers.
The thing in the caves wants food, but only certain foods. If you give them the wrong thing, it will destroy the food and waste your time, effort and goods.
The four items he wants are as follows;
Each dish gives you 1 Sky Berry. This Berry permanently increases your base stamina, and can stack on top of each other to increase the effect.
Note: The Sky Berry also restores your entire stamina bar when you eat it. Plan when to eat the fruit in an effective manner.
Work Smarter, not Harder, Colonist!
Unexcitingly, the box available at the beginning of the game found to the South of the administrations office is a “extras” content box, and no codes are found within the game. Here are the known ones:
B4F7-43BE-965D – Beta Tester wallpaper
65B3-4728-9E25 – Salsa Bowl for streamer MadDameSalsa
1CB8-4CC8-B3F2 – PAX West coffee pot (1 of 4 codes given out)
3A68-4371-BBC6 – PAX West Saturday code (2 of 4)
? – PAX West Codes – four different codes were given out
A836-4C64-83CB – Painting for Nice Games Club Podcast
1CB8-4CC8-B3F2 – Thursday PAX East Blue coffeepot. (1 of 4)
B548-481A-9737 – Friday PAX East Purple Galaxy PAX wallpaper. (2 of 4)
3A68-4371-BBC6 – Saturday PAX East Toxic Skull PAX wallpaper (3 of 4)
D6E4-47CC-B486 – Sunday PAX East Blue carpet (3 of 4)
645A-4C1C-9697 – Chibi Painting for Twitch Streamer Astreigha
Fishing
Fishing is a great way to make money if you’re bored, unsure, or just wasting time until a meeting with a colonist. It is also essential for Skye’s collection and an achievement.
Fishing costs no resources or stamina, and only time passes during the activity. The fish change in every area – if you aren’t sure if the area has “changed”, just look at the floor lines. They change drastically and whatever side the fish pool is on, is the type of fish there.
Credit to the wiki for these images:

These Fish do NOT count to the fish achievement, and are not needed for Skye. But you might want them:
