Overview
The stock satsuma may seem very slow, but with some free modifications, it can really get going. Tuning, exhaust modification, carb modification, and weight reduction all in one guide to make your Satsuma go as fast as possible for the low cost of 0mks. With the simple build(s) we go over, you will be able to get anywhere from 110 HP – 190 HP while not spending a single mk, all while only using what is available in the garage.
Tuning car
There are 3 main parts of the car which are responsible for its performance. They are:
- The carburetor
- The distributor
- The rockershaft valves
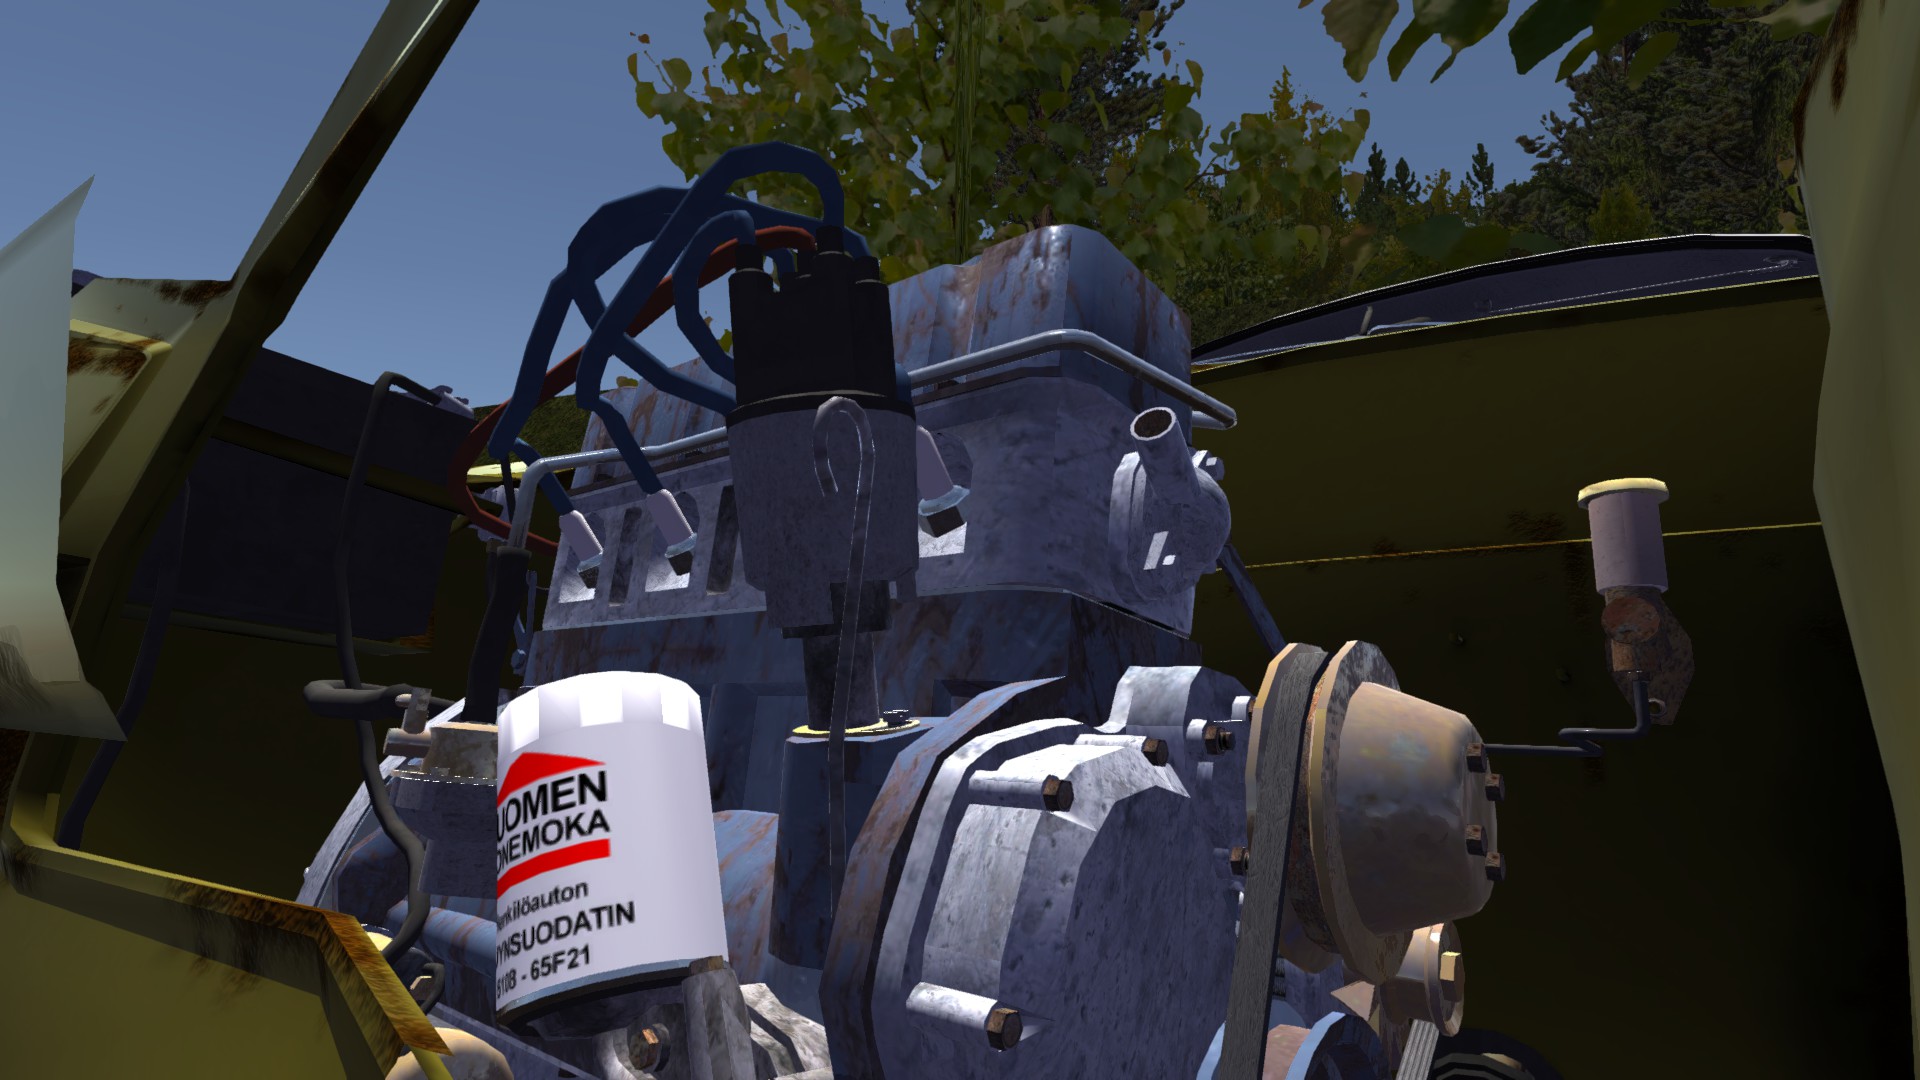
Even though it is just a single part that is bolted down to the engine by 1 screwdriver bolt. The distributor is responsible for a large amount of power as it affects the ignition timing.
To tune it:
- Make sure the engine is ON before attempting to tune it via this method.
- First, unbolt the distributor screw by 1 tick (scroll down once on the screw) while the engine is running.
- To get the best performance out of the distributor, it should be as advanced as possible without making any high pitched ringing noises.
- To adjust the distributor, switch to hand-mode (press 1) and then scroll down (to advance the distributor) 1 tick by 1 tick until you hear a high pitched ringing noise.
- Once the ringing noise is heard, scroll up (to ♥♥♥♥♥♥ the distributor) 1 tick by 1 tick until the ringing noise stops.
- Then fully bolt down the distributor screw – 1 x screwdriver bolt. Forgetting to bolt down the distributor fully may cause it to randomly reset its position after some time.
This is mainly responsible for the acceleration of the car. Economy or bad rockershaft tunes may cause the car to feel sluggish when accelerating and some bad tunes may cause the car to be unable to idle without shutting down.
To tune it:
- Make sure the engine is ON before attempting to tune it via this method.
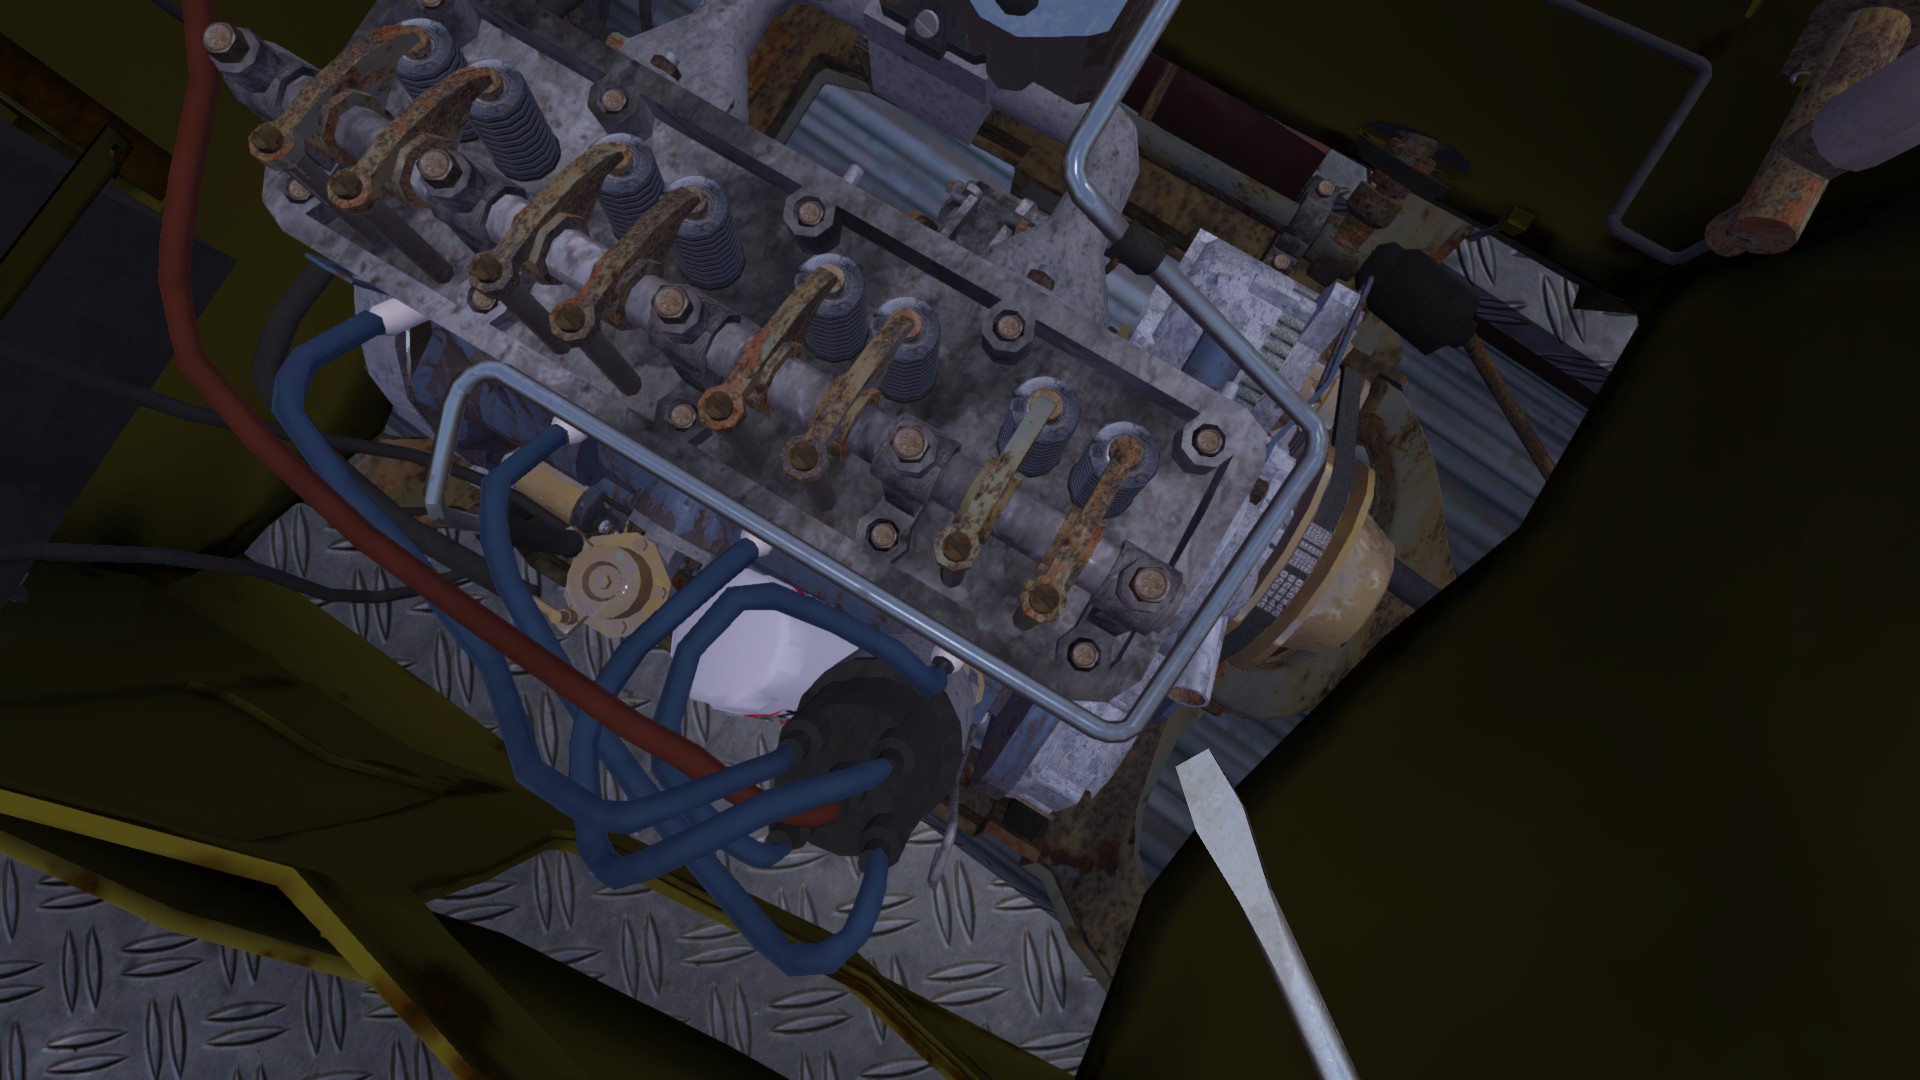
- Then remove the rocker cover – 6 x 7mm bolts
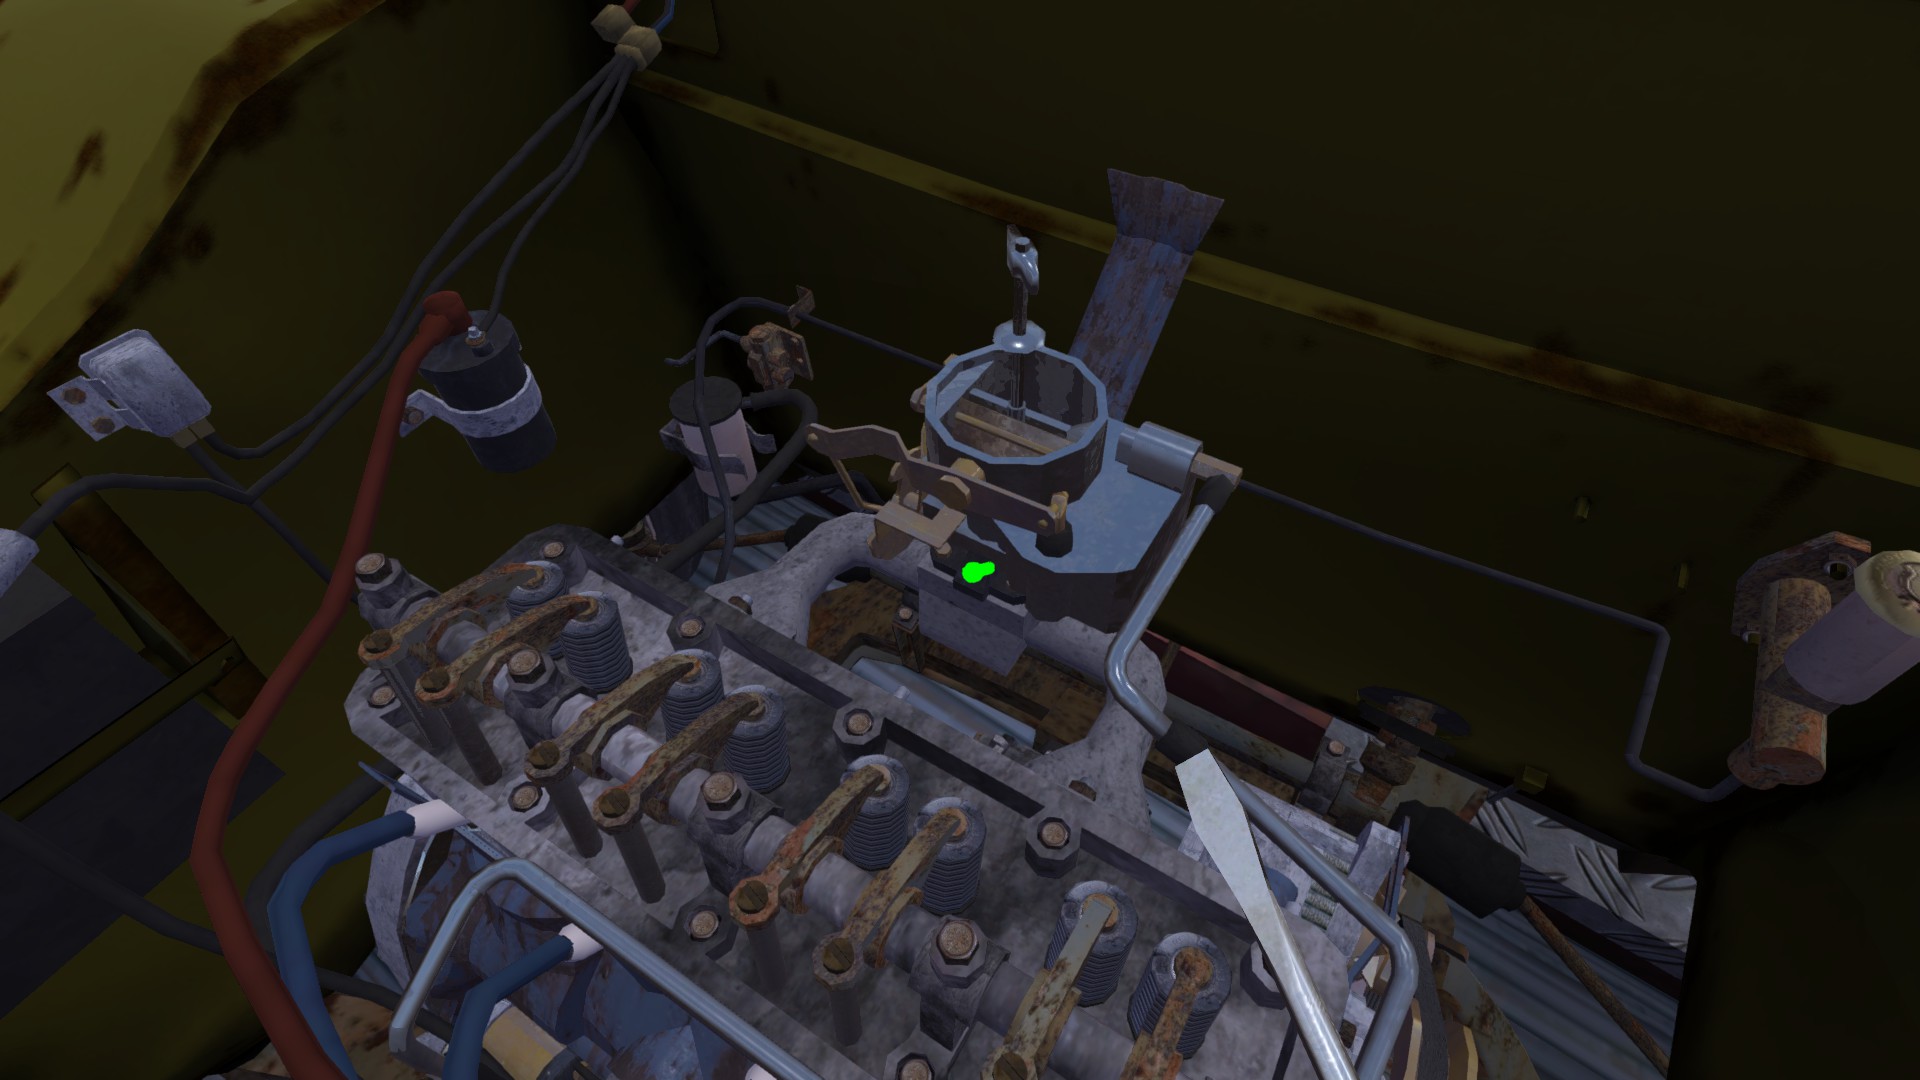
- Then equip the screwdriver and focus on the screwdriver bolts on the rockershaft (They won’t turn green unlike the other bolts when focused on).
- Now scroll down until you hear ticking, once there is ticking, scroll up one. Similar to distributor.
- Repeat the above step for all the 8 screwdriver bolts on the rockershaft.
- If some springs and screwdriver bolts are missing on the rockershaft, it means that the rockershaft has worn out and must be replaced.
- The best valve tuning is however done by fleetari’s motor tuning option. Doing it manually will get VERY close (4-0.2% off). Paying fleetari to tune it will cost thousands of mks. Mks that could have been spent on a new carb.
Important note: There isn’t really a perfect AFR. The AFR you pick will be dependent on how you will run the Satsuma. However, with the “build” we will talk about, running an AFR of 12.3-12.4 is the best. This will be explained later on in the guide.
To tune it with AFR gauge:
- First start the car and let the engine warm up until the temperature needle on the temperature gauge is exactly at the center.
- Then equip a screwdriver.
- For a no stall takeoff, AFR ratios between 14.8 – 15.6 are recommended.
- For performance, AFR ratios between 12.3 – 13.2 are recommended. (The best AFR for stock carburetor is 12.4)
- Scroll up to make the AFR leaner (Higher values)
- Scroll down to make the AFR richer (Lower values)
- To find your AFR ratio, look at the AFR gauge for about 5 – 10 seconds. The biggest number you see is the AFR ratio.
To tune it without AFR gauge:
- Make sure the engine is OFF before attempting to tune it via this method.
- Equip screwdriver.
- Scroll up on the carburetor bolt by 60 ticks (scroll up 60 times).
- Then scroll down by referring to the values in the table below.
Exhaust modification
After a proper tune is done, you can start changing the car a little. The stock exhaust system is very restrictive, and can hurt power. The race exhaust costs over a 1000 mks. So what do you do?
You just remove the exhaust system and run with open headers (No headers installed). Open headers are a little loud, and they do cause smoke to come from the engine bay, but they are a definite improvement over the stock system in terms of power. Removing the exhaust system will add a lot more power, especially when running very rich.
Carburetor Secrets
One of the easiest ways to add power is to put in a bigger & more free flowing carburetor. However, you’re stuck with the stock carburetor. But the stock carburetor has one advantage; you can take the filter off.
Now I know, the air filter is there for a reason, it blocks dirt. But removing the airfilter adds a lot of horsepower, and it’s free. However, the carburetor is a bit of a ticking time bomb depending on how hard you run the car. When the carburetor gets dirty, the carb may get stuck & rpms will go through the roof as gas and air is forced into the engine whether you like it or not.
Dealing with carburetor
“With great power, comes great pain”
So running your car without the air filter will cause problems eventually. But it takes a while for it to to go out of control, and you are able to somewhat control it.
The first 10 laps around highway will be perfectly fine, but problems may occur afterwards as dirt builds up.
The best way to deal with the carb getting clogged is prevention. 1 Loop around the dirt roads (from dump to fleetaris to teimos shop) will give you over 3x the amount of dirt you would get from one highway loop. So it is best to drive on the highway, as highway driving will accumulate less dirt. So if you have to go from the house to Fleetari’s, use the dirt road up until the highway & continue there. Avoid dirt roads if you can. If you decide to go onto the dirt roads, you may want to put the air filter on unless you decide to do rally where you need that horsepower. Putting the air filter on for just the dirt road will increase the life of your clean carb.
But constant driving makes it inevitable that the carb will get dirty, so you will have to figure out how to survive with the dirty carb.
Here are a couple of tricks when driving the car with a dirty carb:
- Shift up when the engine begins to rev high from the dirty carb. This will lead to slower acceleration.
- Tap brakes over & over to slow down. Tap pause, tap pause.
- Choke reduces acceleration at high rpm ranges.
- Best way to stop car is to tap brakes, turn ignition off, and use clutch to bring engine to 0 rpm.
- Carb will stay stuck unless the game is reloaded.
- Doesn’t get stuck on dyno if the car stays still. Carb only gets stuck when you begin to move.
- Holding brake is more effective at slowing down but comes at cost of redlining.
- Save and reload before starting the car after the carb has gotten stuck as sometimes the engine may blow up upon ignition.
- Redlining (due to stuck carb) for extended periods of time will cause more engine wear than normal.
- The carb can be unstuck by popping the hood and pressing on the throttle linkage. (Thanks to jshmccanna for the tip)
If you can’t stand the dirty carb, you will have 2 options. Either get a clean the stock carb at Fleetari’s, or upgrade carb. Upgrading carb to dual carb will increase power. Dual carb cost 1750 mks.
The stock carb can be cleaned at Fleetaris by purchasing either the “Motor Tuning” option or the “Engine adjustment” option. Motor tuning will tune the car to give you the best power, but engine adjustment will give you approx. factory tune, they will both clean carb.
Engine adjustment is 1290 mks normally, and motor tuning is 4065 mks. The only way it is even close worth it is if you were to have done the job for Fleetari to give you the 40% discount, and you can purchase the “Engine adjustment” for 774 mks. 1000 mks more can buy you a brand new dual carb. Getting the carb cleaned is not worth the mks, it’s better to buy a dual carb.
Results
Here are some results from various tests. All data was taken @8000 rpm. Falski did all the testing in a controlled environment with a racing radiator, perfectly conditioned parts while running at medium temperature with a perfect tune. By perfect tune, I mean the one given by Fleetari’s motor tuning option. You can get VERY close to the Fleetari’s tune by tuning the car yourself. I tuned my rockers & was within 4%-0.2% difference compared to Fleetari’s tune according to MSCE.
There were 3 different things tested at 5 different A/F ratios. Stock exhaust, no headers/exhaust, and then no exhaust/air filter. These were tested at AFRs of 14.7, 13.2, 13.0, 12.4, & 12.3.
Each test was done 6 times each, and the average of each test was used to make this spreadsheet with tables & graphs. Spreadsheets linked near bottom of this section.
Here are the graphs for horsepower. It is divided into 3 sections, stock exhaust/headers, no exhaust/headers, and then no exhaust/headers/airfilter.

Here is graph for torque. Same thing where it is divided into 3 sections, Y axis is just peak torque not peak Horsepower.

The graphs below are for the dyno results of no headers, exhaust & airfilter @8000rpm.


There’s some interesting data that was not recorded & put into graphs. The stock carb can run to 8500 RPM on the dyno (not consistently) and can reach a much much higher HP # when running a 12.3/12.4 AFR & running without headers/air filter. Falski has reported #s around 199 horsepower when running with the steel headers and racing exhaust attached. The picture of the 199hp dyno result is attached below.

I consistently got 183/184 a couple times while running the current build (Tuned car myself manually, 12.3 ish AFR, no air filter, no headers). This was at 8500 rpm, not 8000. So it was not included in any of the graphs or data tables. Here is a screenshot.
Falski also reported getting 185 hp @8500rpm.
At one point I did run 195 hp @8500 rpm with same tune + free “modifications” to the car. Not quite sure why there was a 10 hp gap between that & the previous tests @8500.
Here[docs.google.com]is the link to the spreadsheet with all the data averages and graphs. Here[pastebin.com]is a link to pure raw data collected.
Other modifications
While you’ve done all that you can in terms of “free mods” to make the car get more horsepower, removing weight from the car will make the car accelerate faster.
There are lots of parts that aren’t necessary for the car to run and you can easily remove with (almost) no consequences
- You can remove these:
- Fenders. They only get lost in crashes.
- Bumpers as well.
- Hood. Increased cooling power.
- Grill. Increased cooling power.
- Passenger & back seats. More room to haul beer.
- Doors. Don’t have to open anything.
- Tail lights. Don’t do anything.
- Front right light. Left one works just fine.
- Radio & gauges. Shift based off of sound.
Some of you may consider these “essential” but they honestly aren’t…
- Dashboard & dashboard meters.
- Radiator & it’s hoses. Car cools just fine without hood & grill. Temp. gauge does not work without this however.
- Brake lines. Handbrake works just fine.
There are only 2 things aside from the components that are essential to move the car (Drive train, suspension, tires, driver seat, steering wheel) that I like. The bootlid & handbrake. Bootlid so things don’t fly out the back, & handbrake because it doesn’t require brake fluid or brake lines to operate.
It is very important to note that the car can become somewhat unstable when the car is stripped. When weight is removed (particularly on rear end) it becomes a bit unstable to drive around. This combined with it’s new higher center of mass in the recent update, can make it easier to tip over or spin out. This isn’t noticed much in highway driving, but can be noticed in rally driving.
While not required for this build, if you were to purchase one modification to the car, it should be the racing flywheel. It will make it easier to get into the higher RPMs where a lot of the power is. Exhaust isn’t worth it by itself. Dual carb may be worth it.
Video
Here is a video of Falski driving with the dirty carb. The stripped Satsuma reaches 202 km/h, with 3.7 gears on the highway at around 15:45. The engine bay is seen at 22:46. This is the same build used in this guide.
Feedback
Feedback for the guide will be appreciated, & If there is anything that needs to be clarified, particularly with the data, do ask in the comment section. I will respond.


