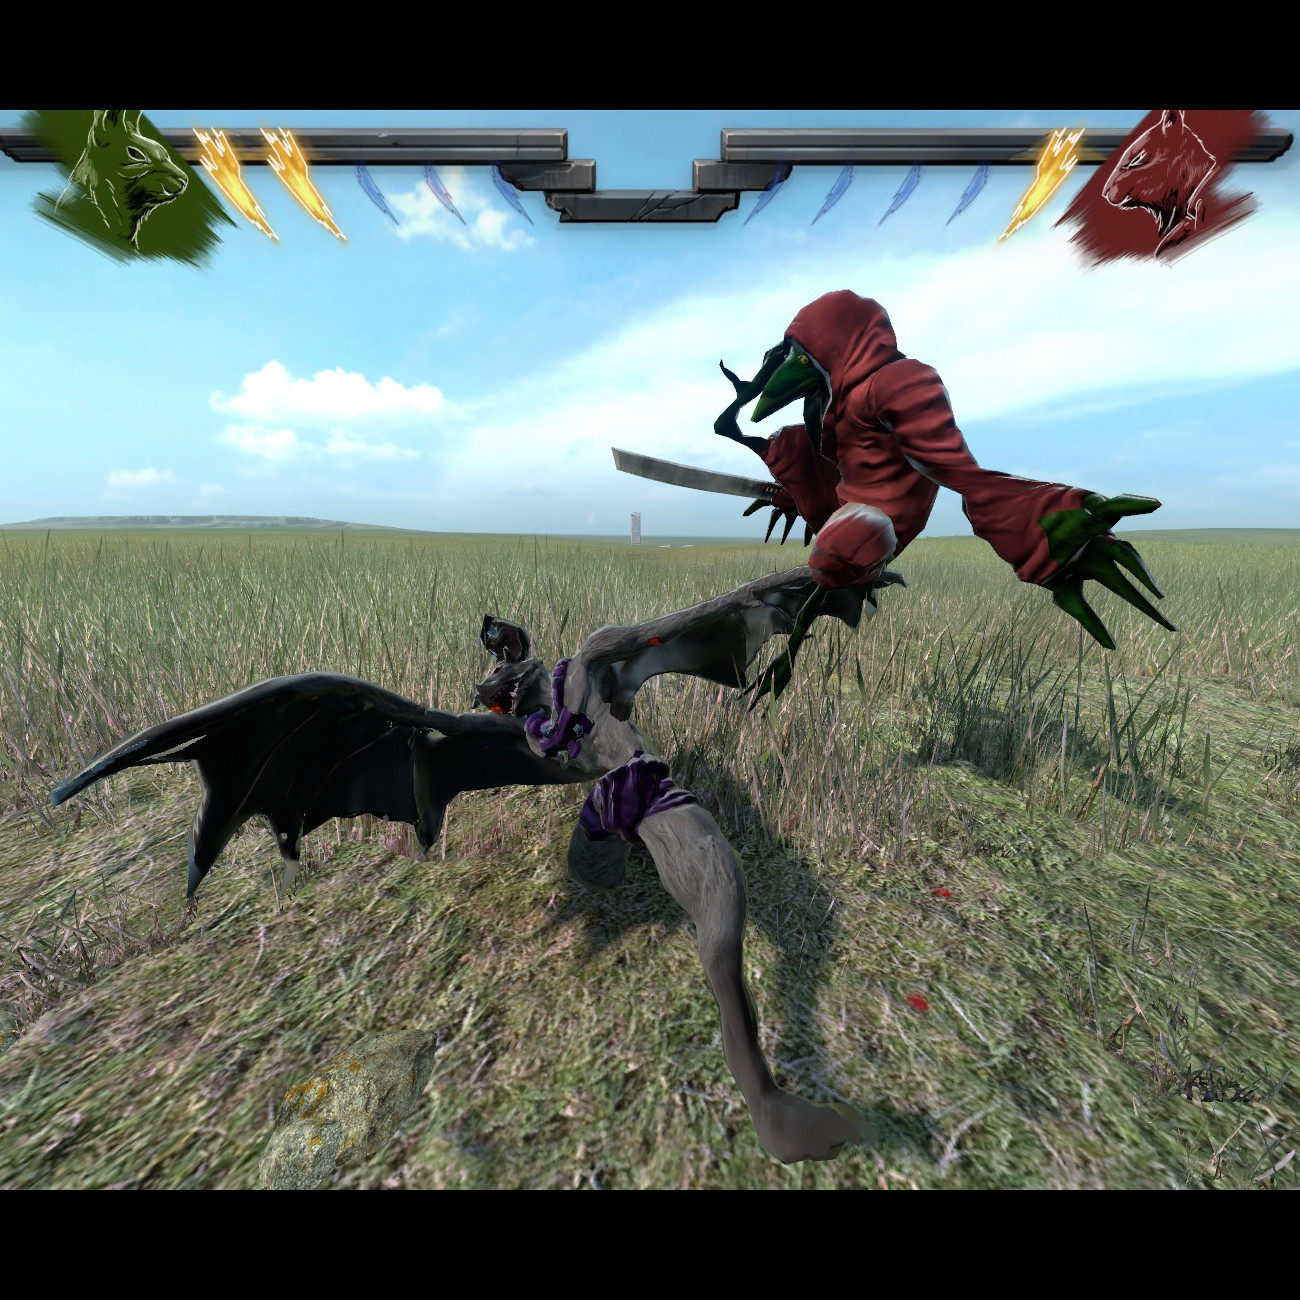
Overview
How to use custom character models you get from the Steam Workshop
Install a new custom character
Your new character has to be installed, and the mod has to be enabled in the mods menu.

If you don’t yet have any characters, you can get more in Mods -> Get More Mods,
or in the Overgrowth Steam Workshop on your browser.
Launch a level in editor mode
For now, you set up custom characters on a per-level basis. To do this, open the level that you want to play in editor mode.
- Open the level you want to play with a custom character
- Launch the editor mode so you can spawn in the new character
(Hit the F1 key, or see this guide on how to use the editor)
- Find the old character spawn point in the level
(WASD to move the camera around and Mouse Left Click to move the camera view)
Placing your new custom character in the level
Once in editor mode, and once you find your original character spawn, it is time to spawn your new character next to the old one.
- Click Top Bar -> Load
- Find the character in the Load menu, and click it
(Type the name of the new character, or scroll to the model under the Characters menu)
- Your cursor now turns into a + symbol, telling you to place the new character
- Now click next to the old character spawn point to place the new character
Playing as the new character instead of the old one
Now that the new character is placed in the level, you have to do some tricks in the editor in order to use it as your player character, instead of as an NPC.
Note: If your new character starts fighting the old one:
- Hit the L key on your keyboard to reset the level
- Hit the C key to make them passive, and stop fighting each other
- Remember to hit the C key again, later, to make enemies stop being passive and fight you
Now, switch the playable character in the editor.
- Select the new character (Double Left Click on its Spawn Point bounding box)
This will make their bounding box turn bright white
- Hit the shortcut keys that make the character playable (CTRL + SHIFT + P).
This will make their bounding box turn green
- Select the old character (Double Left Click on its Spawn Point bounding box)
This will make their bounding box turn bright green
- Simply delete the old character!
(DEL key, or Top Bar -> Edit -> Delete)
Now the old character should be removed, and will look like this:
- Switch from editor mode back into play mode
(hit the 8 key on your keyboard, or click Top bar -> Edit -> Play Level)
Your new character will now be playable!
Note: If you can’t hurt enemies for some reason, or they don’t attack you, you may need to turn off the Passive mode by hitting the C key. You may also have to tweak the new character’s Teams combat parameter. See below for how to do that

Customizing the new character
All characters support customizing some attributes.
- Their apparent size, muscle, and body mass appearance
- Their combat parameters, and who they can fight with (“Teams”)
Some characters also support applying a custom color palette to them.
Character combat parameters
You have to use the editor to change a character’s combat parameters
- Hit the Esc key to get back into editor mode
- Double click the character’s spawn box (not on the character itself)
- Hit the U key, or click Top Bar -> Windows -> Selected to open the parameter editor
- Click to expand the object that corresponds to the character
- Expand the Script Params section, and start tweaking
- If you want to change the parameters to some value outside the default maximum range, you can CTRL + CLICK the field and type in a higher value manually
- When you’re done, hit the 8 key to get back to playing the game
Some useful combat parameters to change:
- Teams changes who will fight the character, and who the character is allowed to attack
(Teams is a comma separated list. For example, set Teams to “turner, guards” to add the character to two teams, named turner and guards. The names of these teams aren’t important by themselves, and only matter if other characters are on the same team, or are not) - Attack Damage changes the damage all attacks do
- Attack Knockback changes how far enemies get flung by this character’s attacks
- Attack Speed changes how fast you the character does their attacks
- Damage Resistance changes how much damage the character takes from enemy’s attacks
- Knockout Shield changes how many regular attacks and wall collisions the character can take before they start taking standard damage. Note that an attack that sends you flying can do more than one shield worth of damage


